Bills72sj
-
Posts
4,586 -
Joined
-
Last visited
Content Type
Profiles
Forums
Events
Gallery
Everything posted by Bills72sj
-
 Just visited my friend Tim. He graciously gave me 4 fire extinguishers. One of them will do nicely in my 67 Mustang GT.
 -
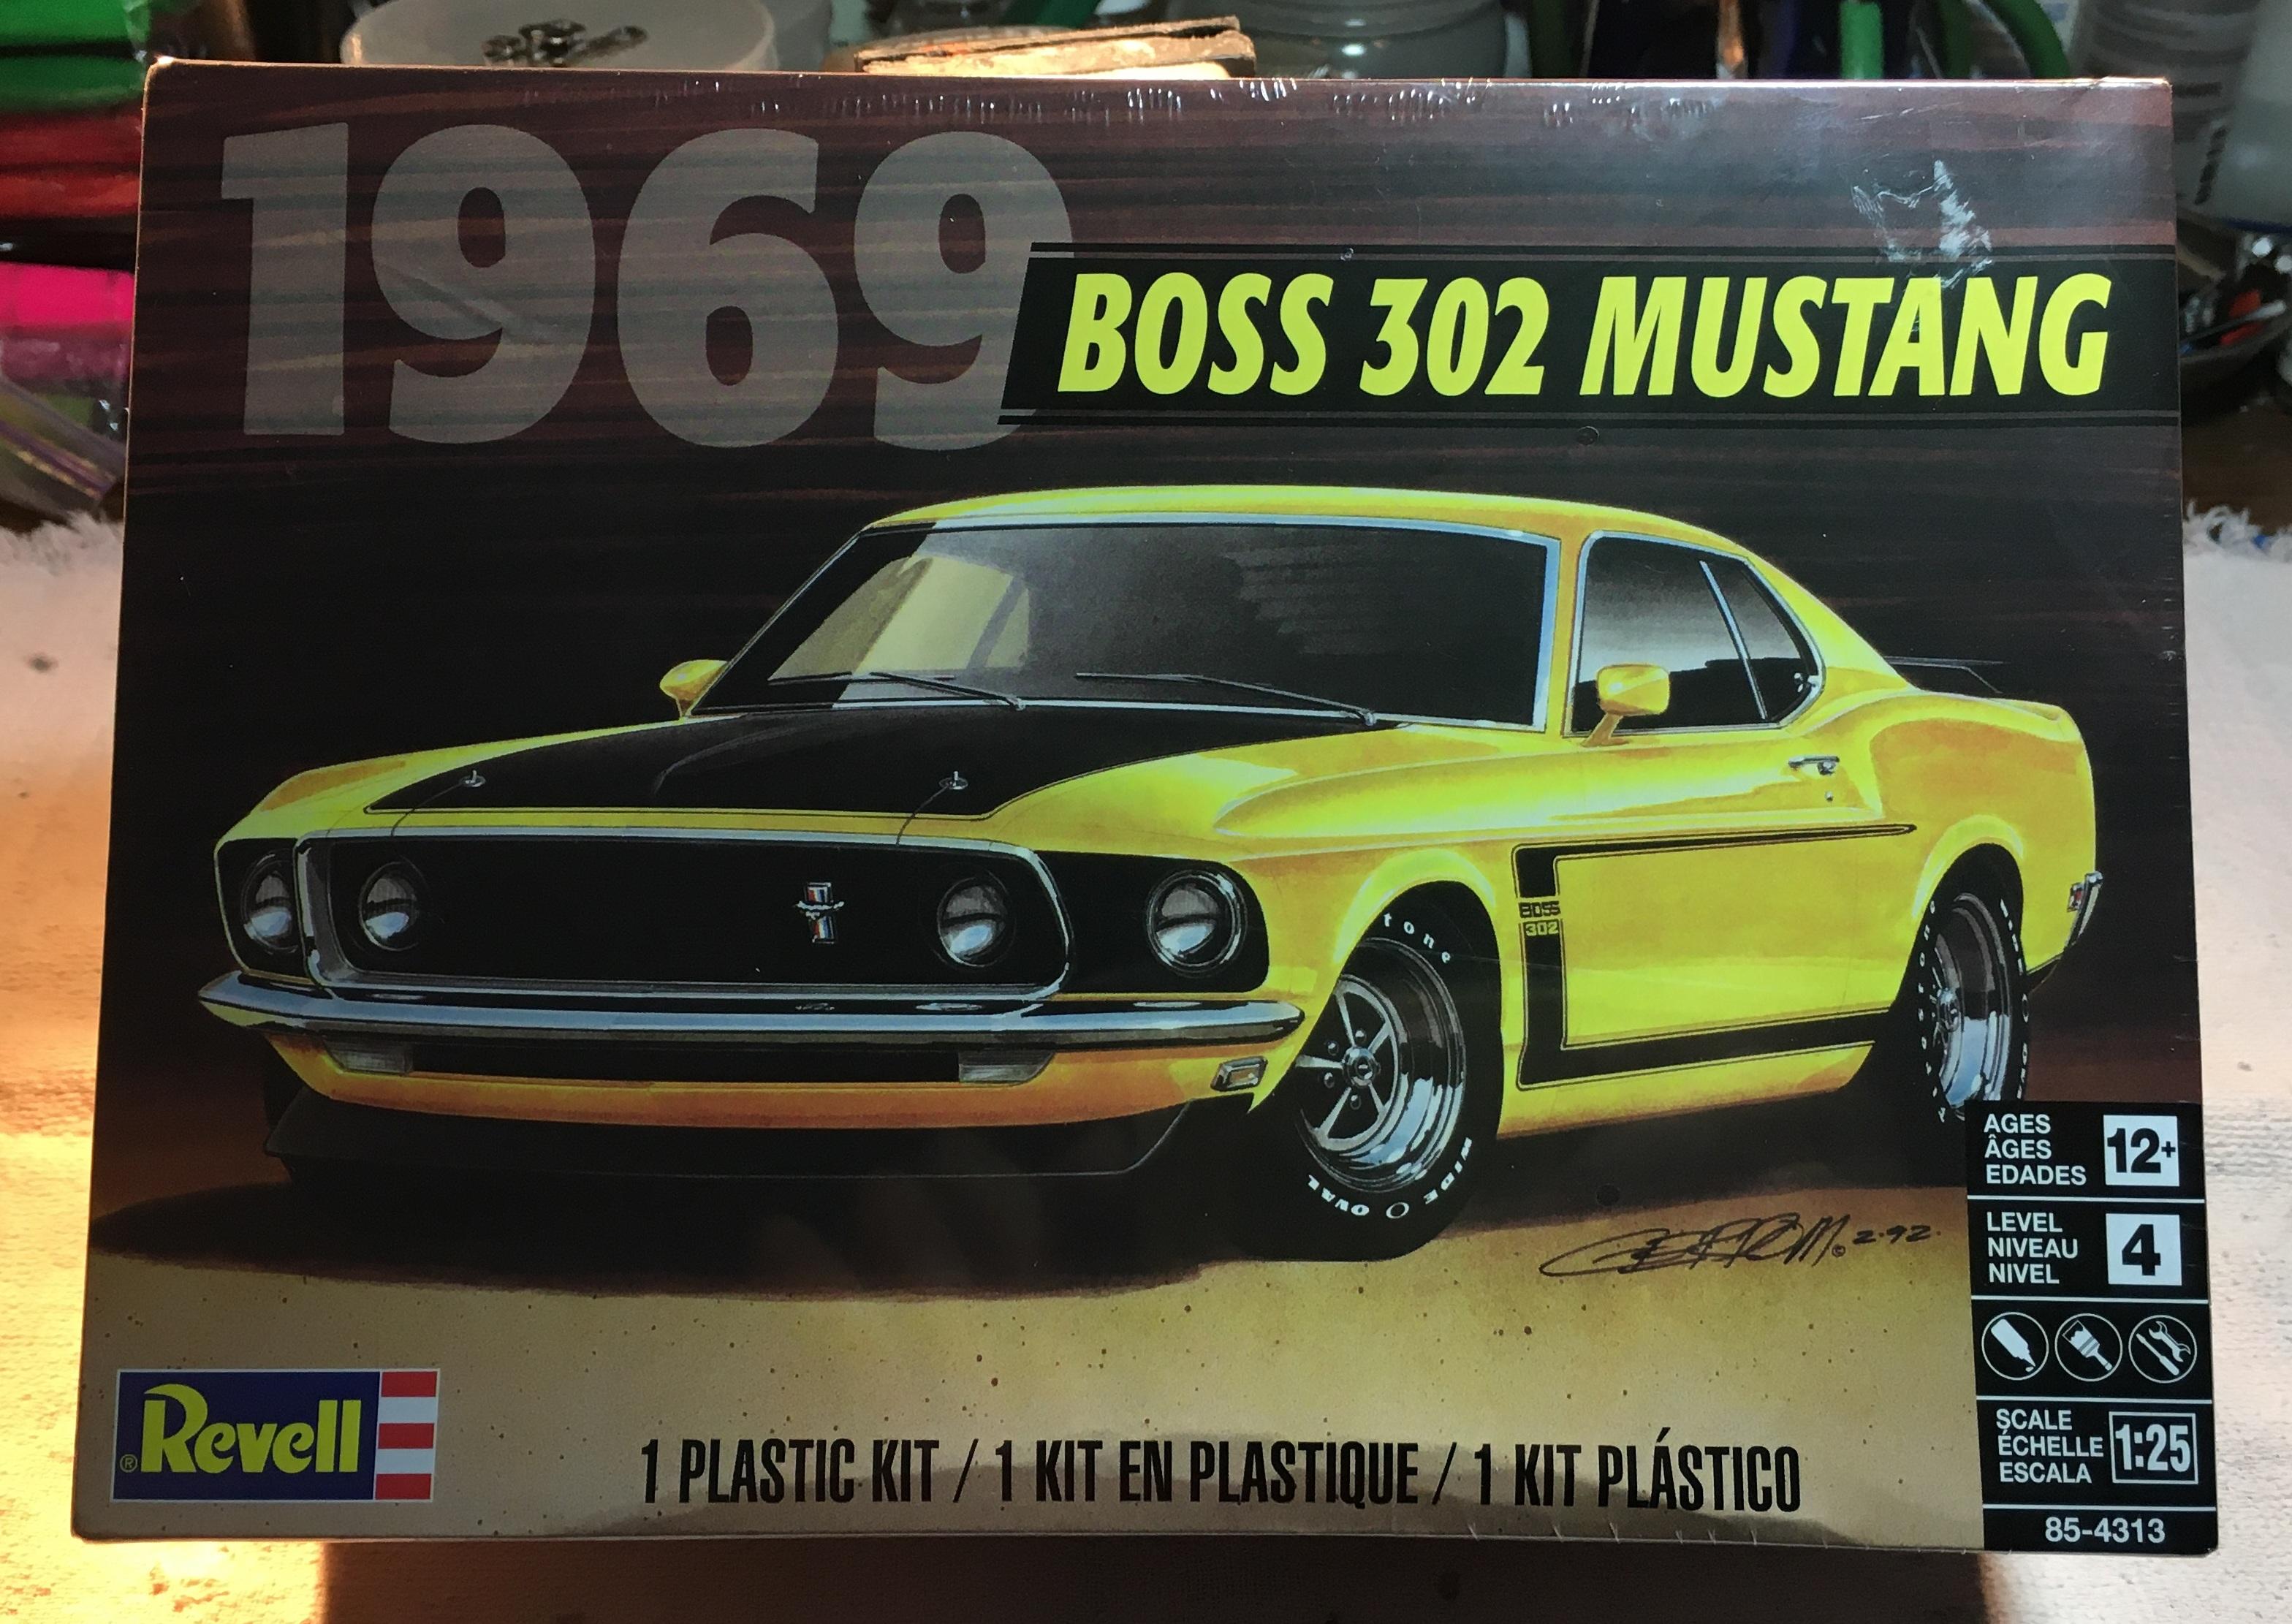
Got the last Mustang I wanted in my wishlist. 1969 Boss 302

-
-
I am in agreement with Steve. Whatever solvents are in the primer or paint are the key to adhesion. An oil (and debris) free surface is of benefit too. Sanding can give some paints some "tooth" to hang onto. Especially water based paints. I have recently modified my body prep by washing the body with dish soap and a green Scotchbrite pad or sponge. Finger oils are removed but body plastic is not.
-
Gorgeous builds! You have both great imagination and mad skills. I love the Bonne' it looks like a spaceship!
-
Sweet build. I did one when I was a teenager in the 70's. I have one in my stash for a nostalgia build.
-
I used Dupli Color over Tamiya primer and was getting some minor chipping. I handled the build very carefully until it was detailed then put Future over it. It seemed to act as a sealer. No issues since. http://www.modelcarsmag.com/forums/topic/147188-modified-for-length-amt-lowboy-trailer/
-
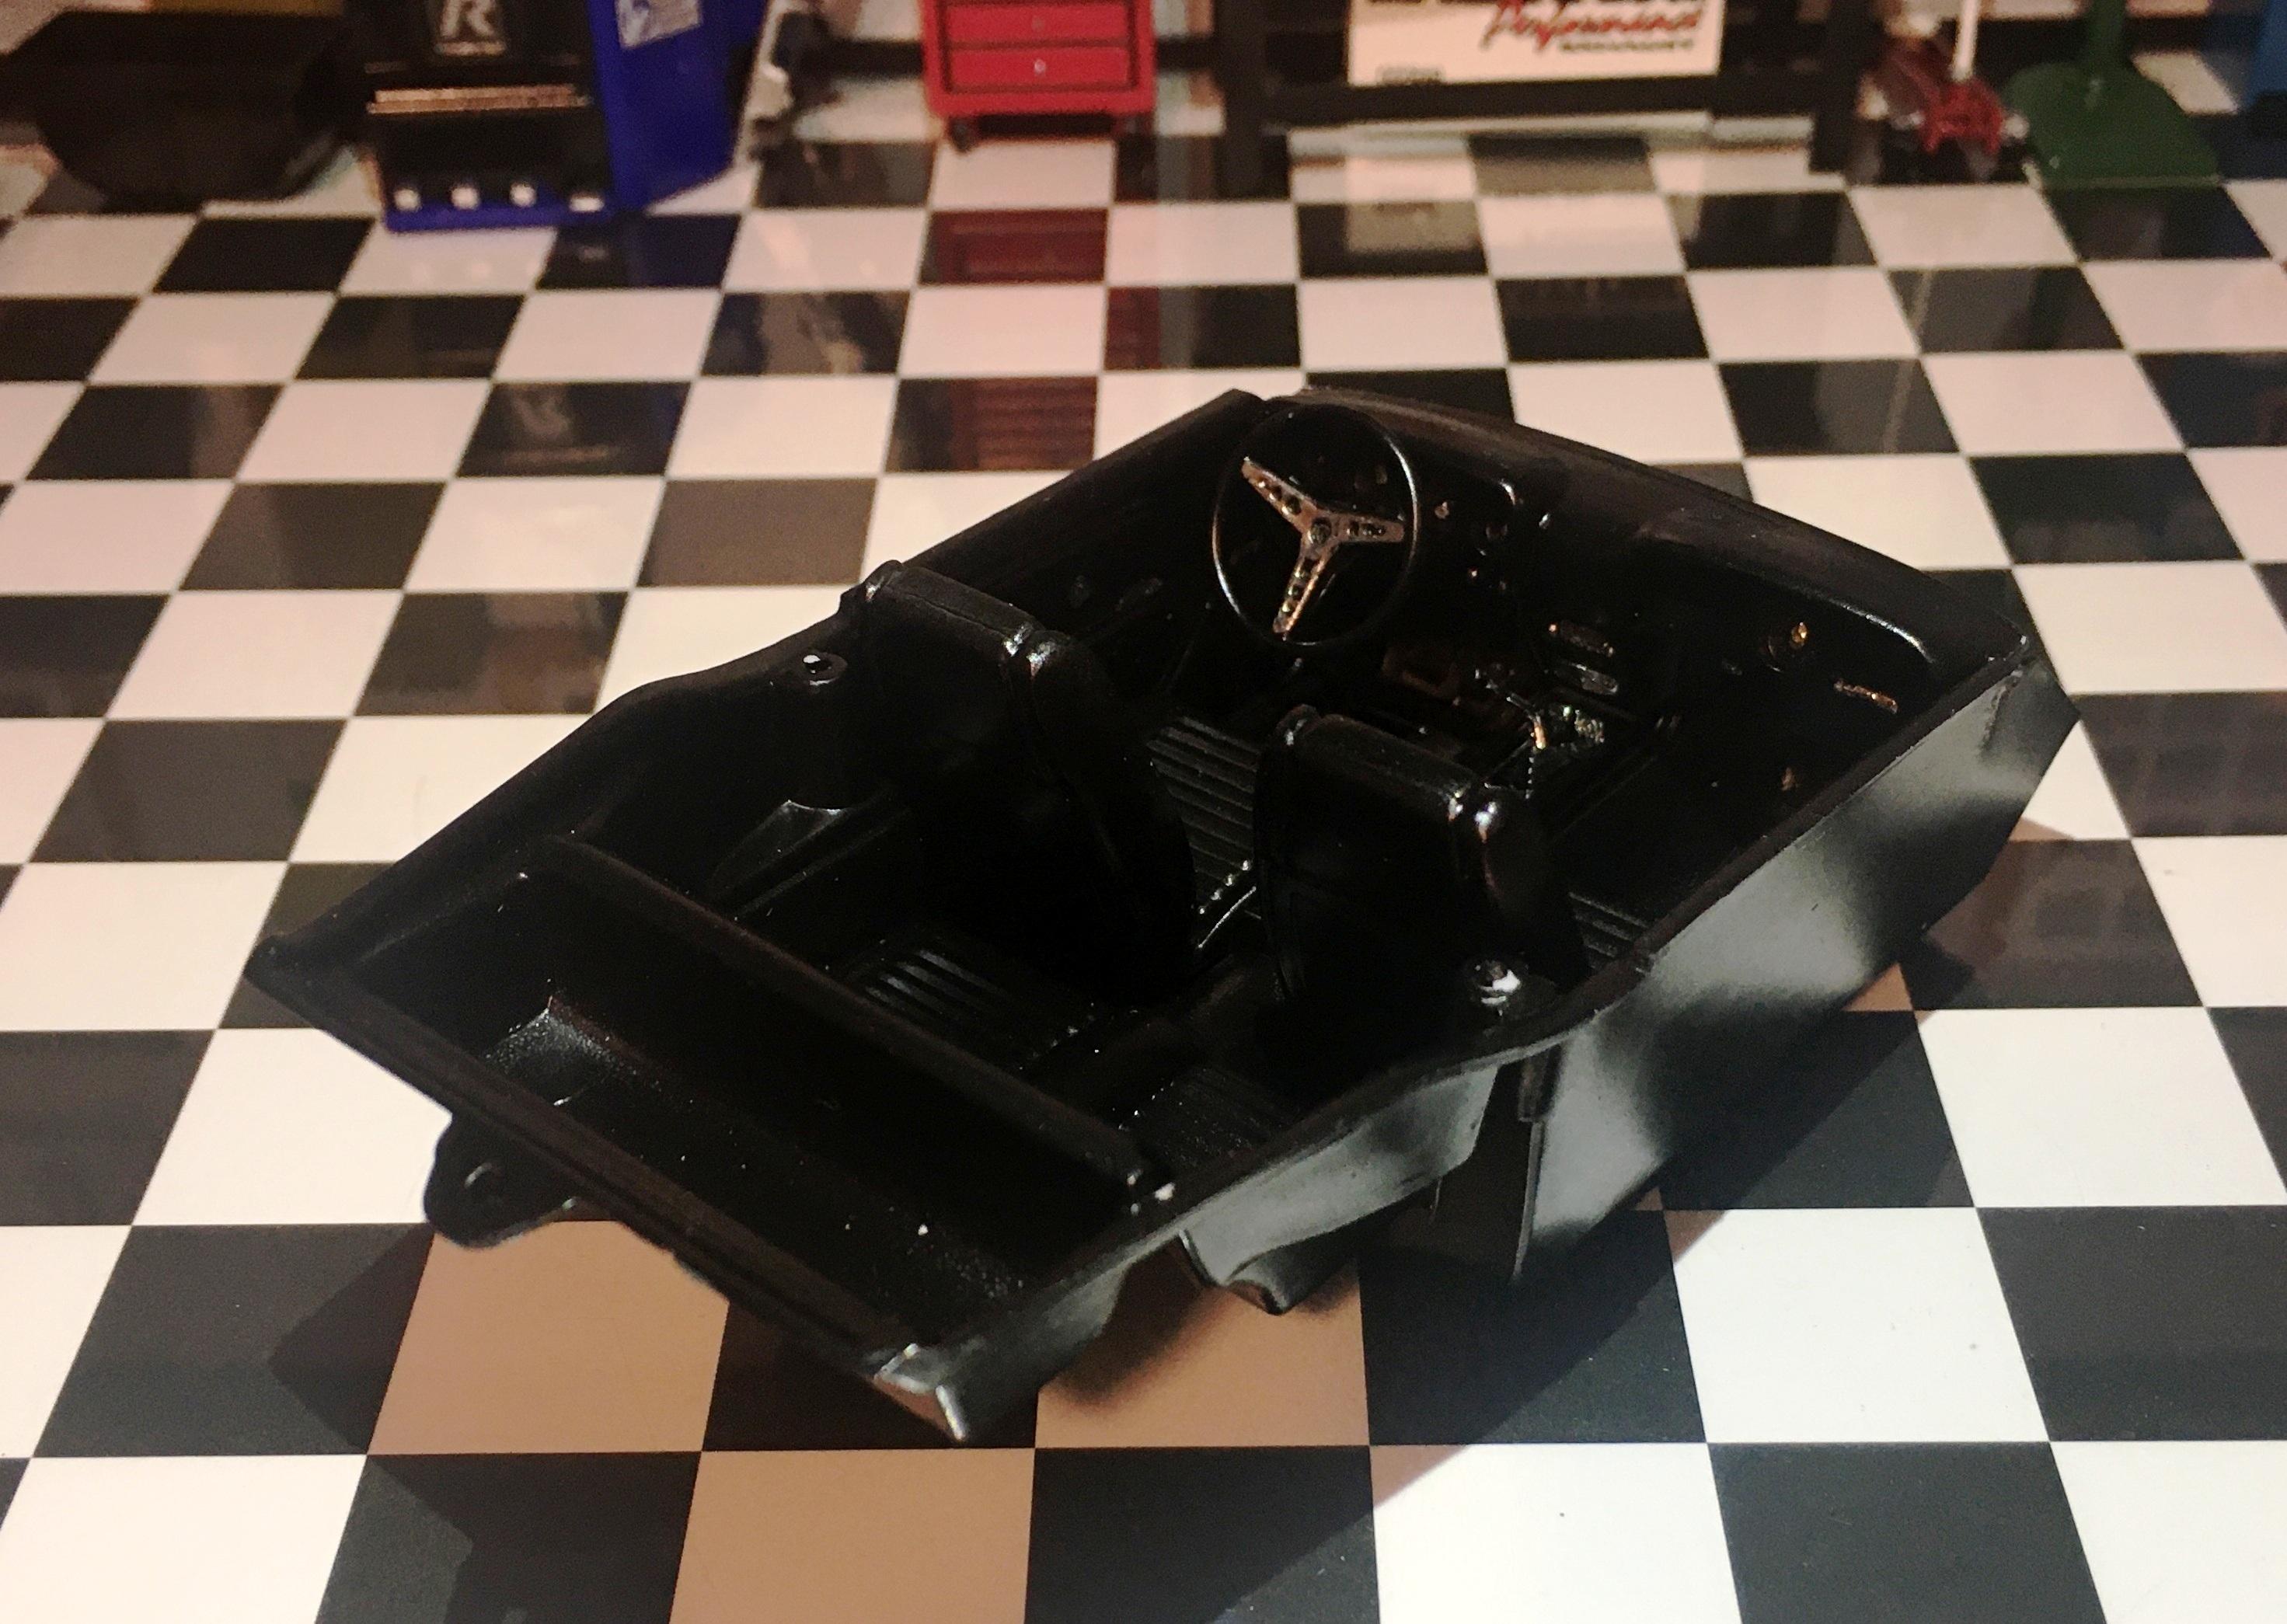
Basic black interior assembled and detailed.
-
Thank you gentlemen.
-
Dodge Ramcharger
Bills72sj replied to bbowser's topic in Model Trucks: Pickups, Vans, SUVs, Light Commercial
Great work. Nice result! -
Been slow going lately due to a busy life. I have the interior done and engine in the chassis.
-
PM sent.
-
THANKS for the tip. Any attempt I make would not turn out that nice.
-
That one I have thanks
-
That was LAST April.
-
Nice Boss 302s. My friend was at HL today and texted me that they had one on sale. I asked him to go ahead and grab it for me. I am presently working on a 69 Boss 429 from an older Mach 1 kit.
-
All New Tool big rig from AMT !!!!!
Bills72sj replied to Mr mopar's topic in Truck Kit News & Reviews
My wish would be the KW T2000.
-
I have been mostly a buyer. Model shows with raffles get you a lot of bang for the buck. I spend $40 on tickets and go home with over 10 models some times. With that said, I often end up with a few that I will never build. Of those, I have had good luck selling them on SCALEMATES.com. I just put them in my trading folder with a reasonable price and whenever someone goes to research that kit in their database, it shows that you are selling. You do not even have to post pics. Be advised you will not get a lot of nibbles but the posting does not expire. I ask the buyer to pay the real world shipping with or without insurance at their risk. After a few PM's, they send me the money and I send them the kit. No drama, no fees.
-
Thank you Torsten.
-
I unfortunately do not have one of those either. That is kinda spendy. Besides I already have a diorama full of goodies already. Thanks for sharing. I have never seen that set.
-
Thank you Gator.
-
My parents has a 60. It was white with a red interior. I do not remember the wheels that were on it. Chrome reversed rims would be my 1st choice. 8 lugs would be my 2nd.
-
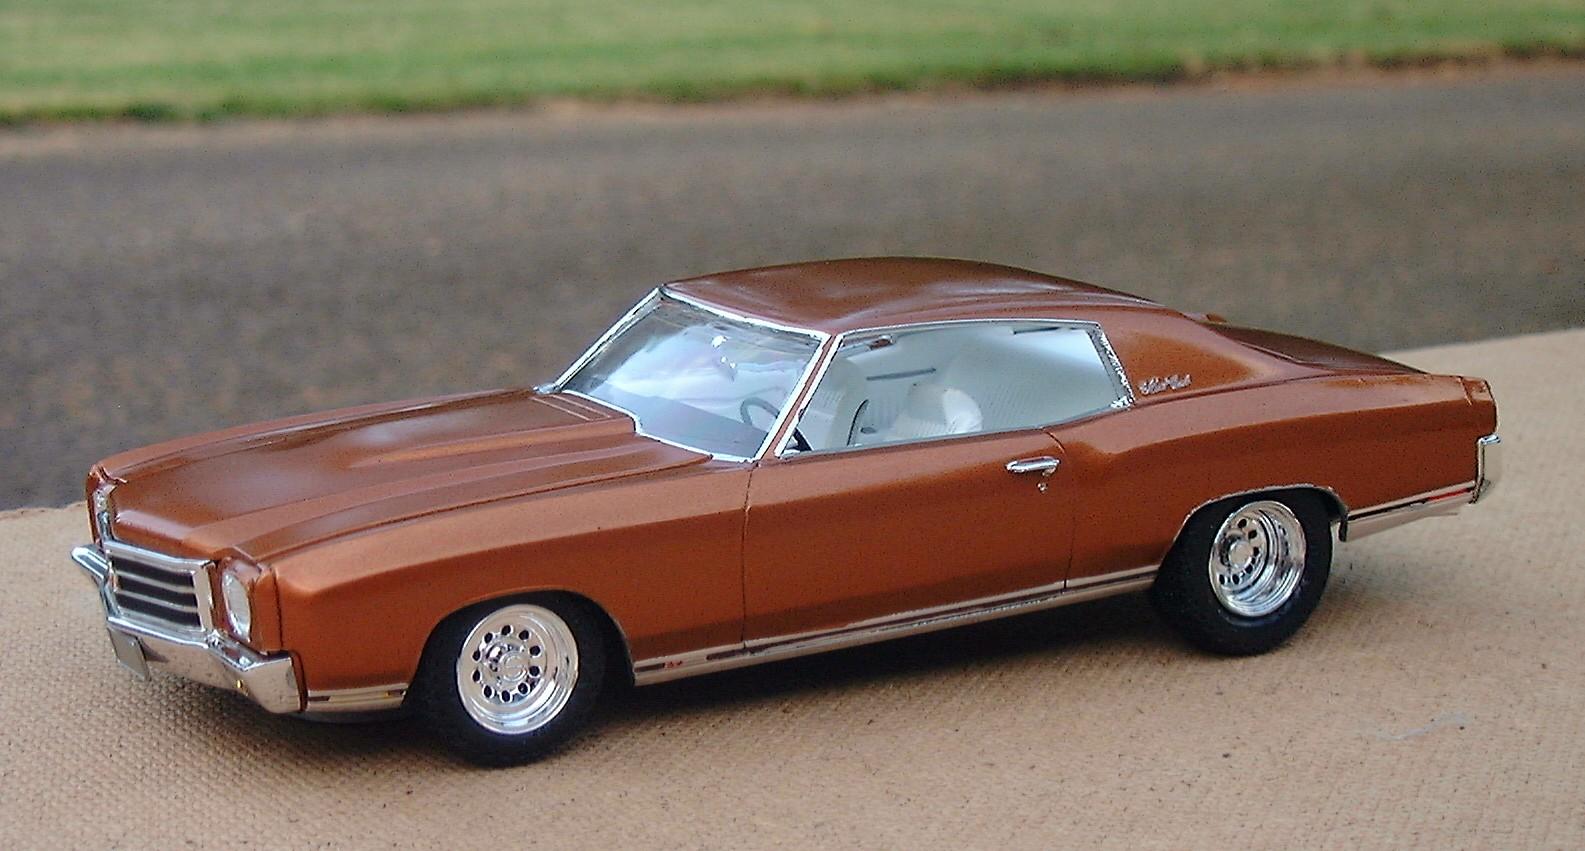
Great job! I used similar wheels when I built my Monte years ago.
-
I have had the privilege of being the recipient of such offers before. I am trying to avoid inconveniencing anyone. Unfortunately I do not have that one either. That is on my wish list. But I am fast approaching inserting the interior tub into the body stage. I checked a NASCAR kit I will never build and it does have one, but it is not chrome or have the old school handle I am looking for. Thanks for the idea though.
-
One of the tricks to decals is to put one drop of dish soap in your petri dish of water. It gives you all the time you need to slide them around to exactly the position you want. There are products that can help decal conform to the surface once the placement is correct. I use white vinegar because that is all some of them are.