Bills72sj
-
Posts
4,589 -
Joined
-
Last visited
Content Type
Profiles
Forums
Events
Gallery
Everything posted by Bills72sj
-

BRBO Kenworth K100
Bills72sj replied to KJ790's topic in WIP: Model Trucks: Big Rigs and Heavy Equipment
I like your PVC tank idea. I can make them any length I want. Too bad it doesn't come in chrome. -
You can get a bazzilion opinions on this but... The consensus is lacquers have "hotter" solvents and will reactivate enamels causing problems. There are exceptions. Long cured enamels are less prone the reactivation. Also some lacquers are hotter than others. It is basically a trial by error thing.
-
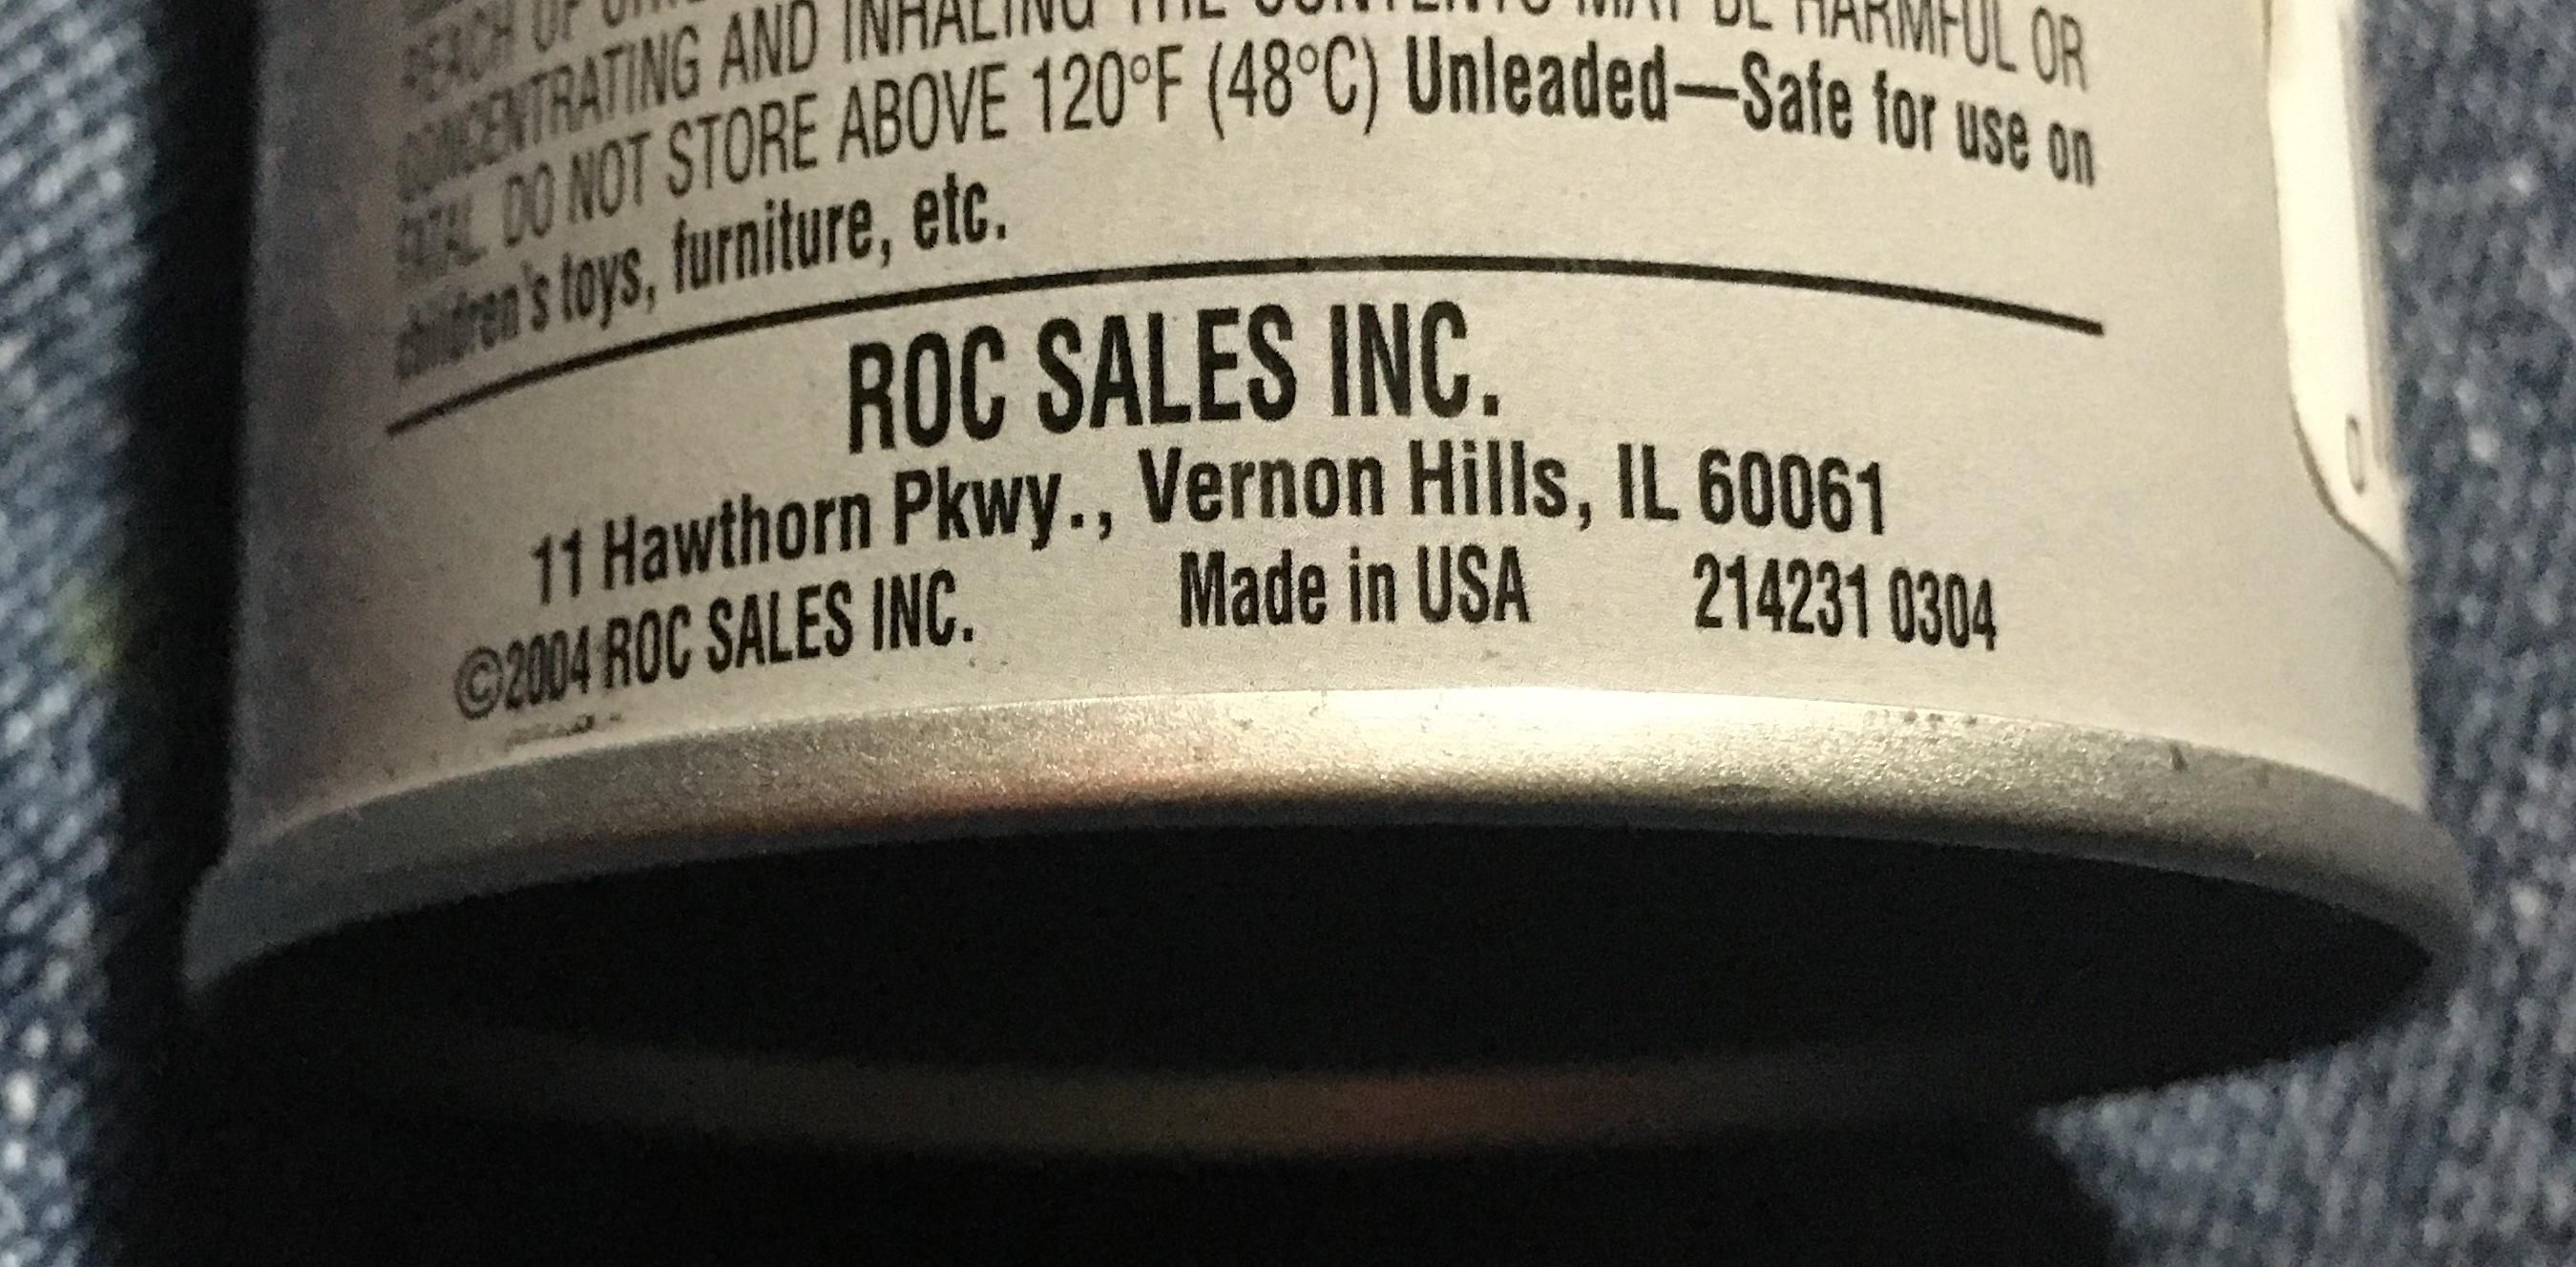
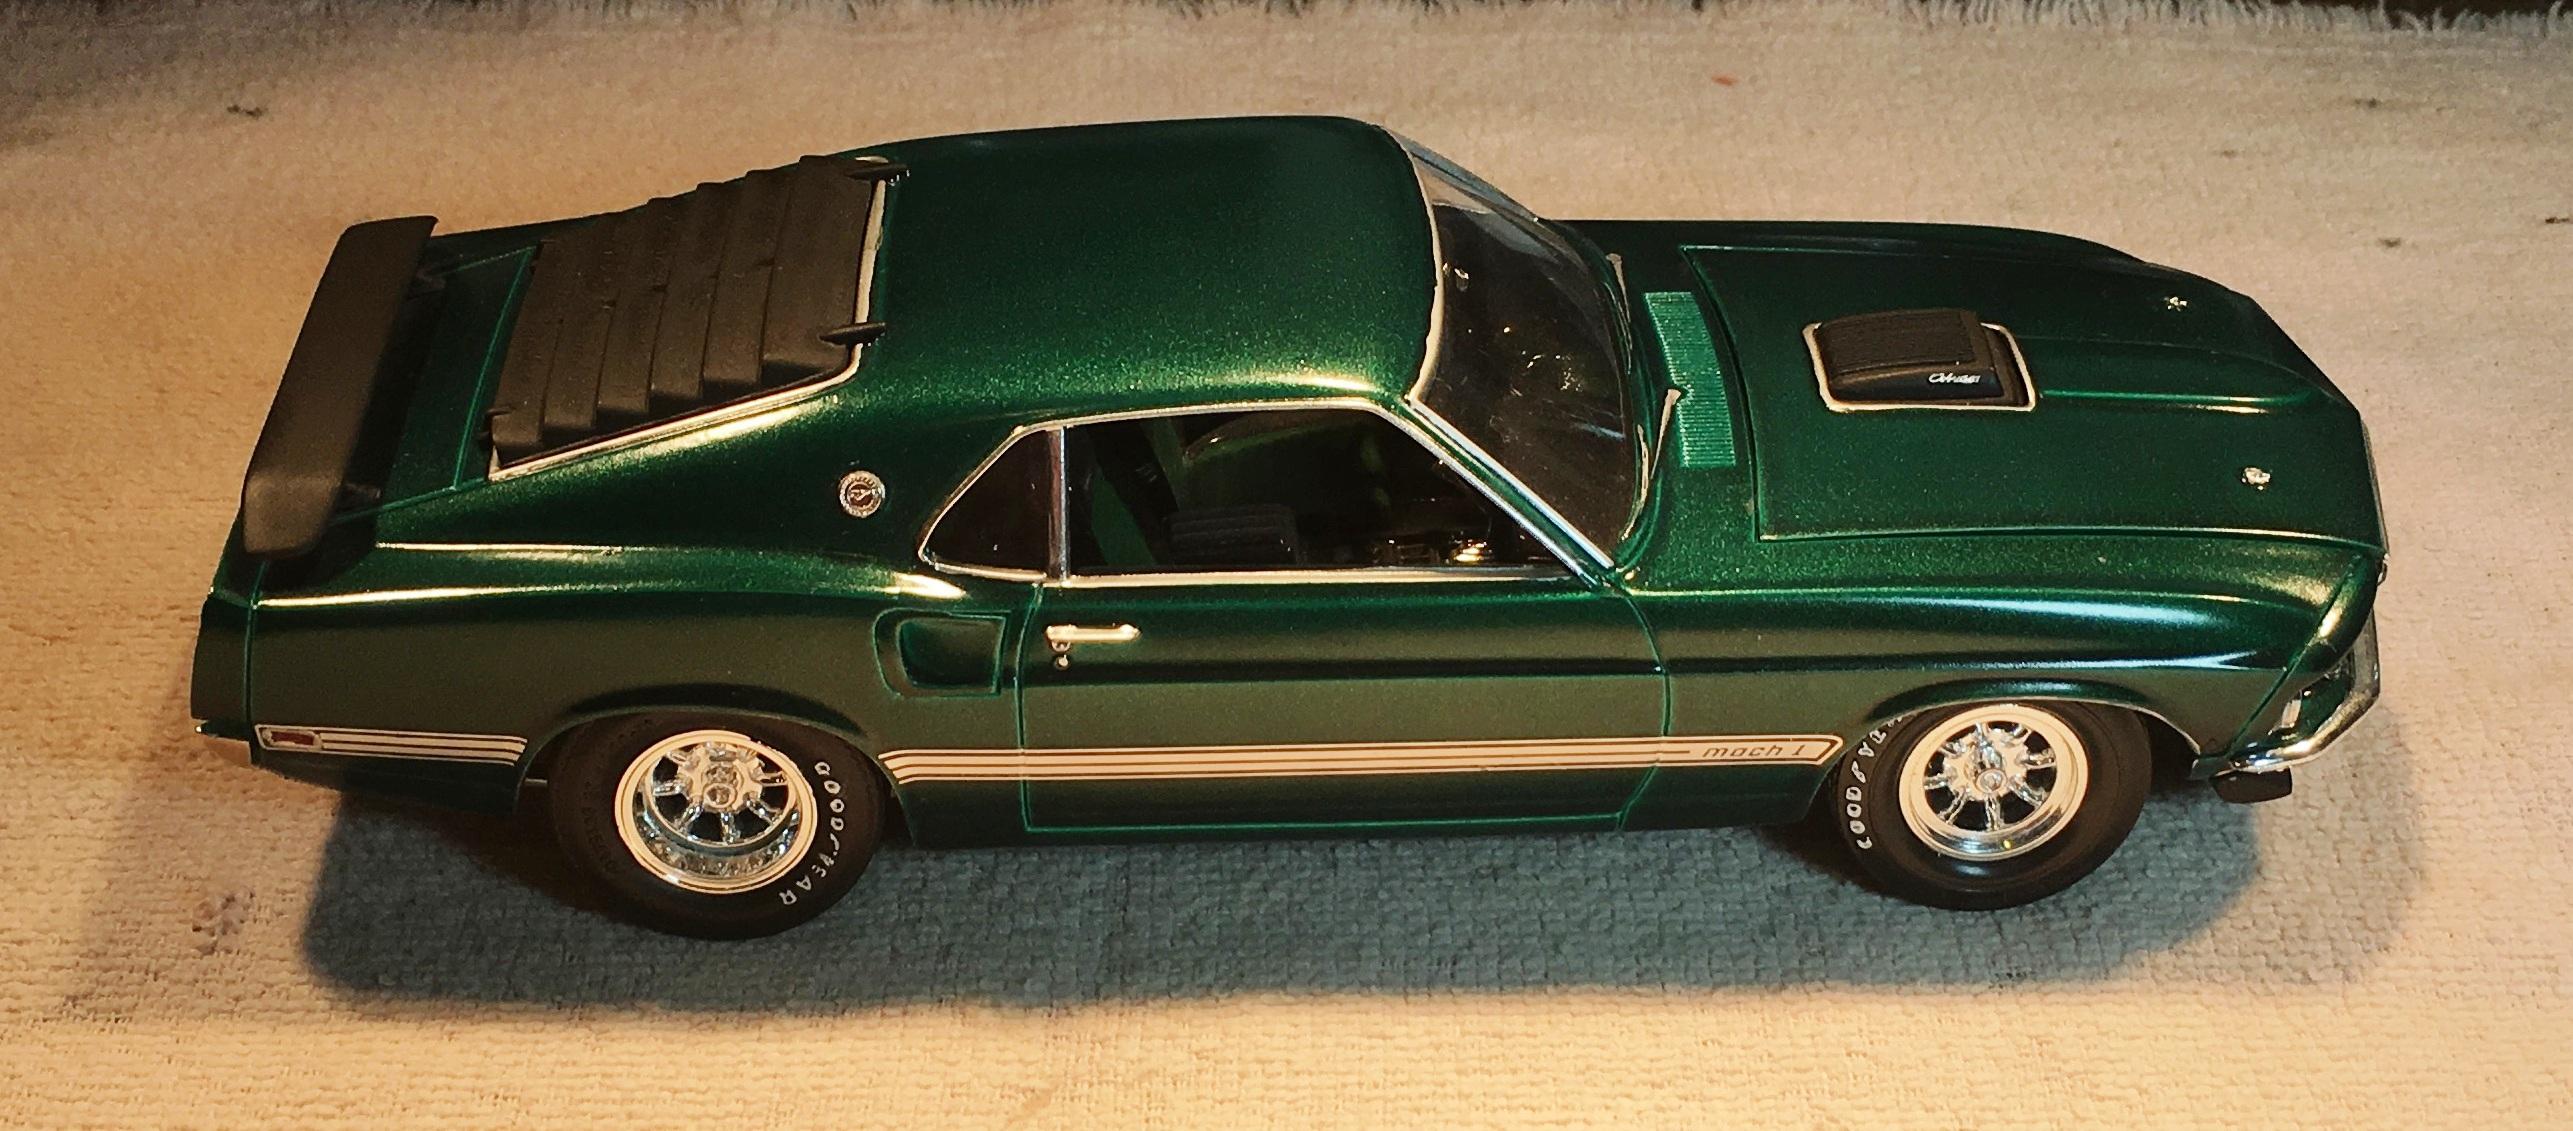
So what's up with jade green metallic...
Bills72sj replied to Sam I Am's topic in General Automotive Talk (Trucks and Cars)
Not really. I am kinda fond of it still. -
Apparently I have had it for awhile (2004)

-
So what's up with jade green metallic...
Bills72sj replied to Sam I Am's topic in General Automotive Talk (Trucks and Cars)
Sam. I have one too.
-
Just got my trailer kit on sale for less than $20 with free shipping.
-
Just got my order from freetimehobbies.com $63 plus free shipping. (Under $16 per kit)
-
Thanks Sam. The doors for the box came from the fire engine parts you gave me.
-
Thanks for the tip. I have the two bottles of the plastruct. I use it sparingly. It works well when the is a lot of surface area for the parts to be joined and the gap is tight. I also use CA glue for things that are not clear, chrome or glossy.
-
I think I enjoy restorations the most
Bills72sj replied to junkyardjeff's topic in General Automotive Talk (Trucks and Cars)
I have only one restoration under my belt. It was done only because of budget vs. the desire to have one. Over all, I can appreciate the efforts required but I am still developing skills like fabrication. Here is a link. -
Got some 150 grit sandpaper and and some Sodium hydroxide to improve my Purple Power.
-
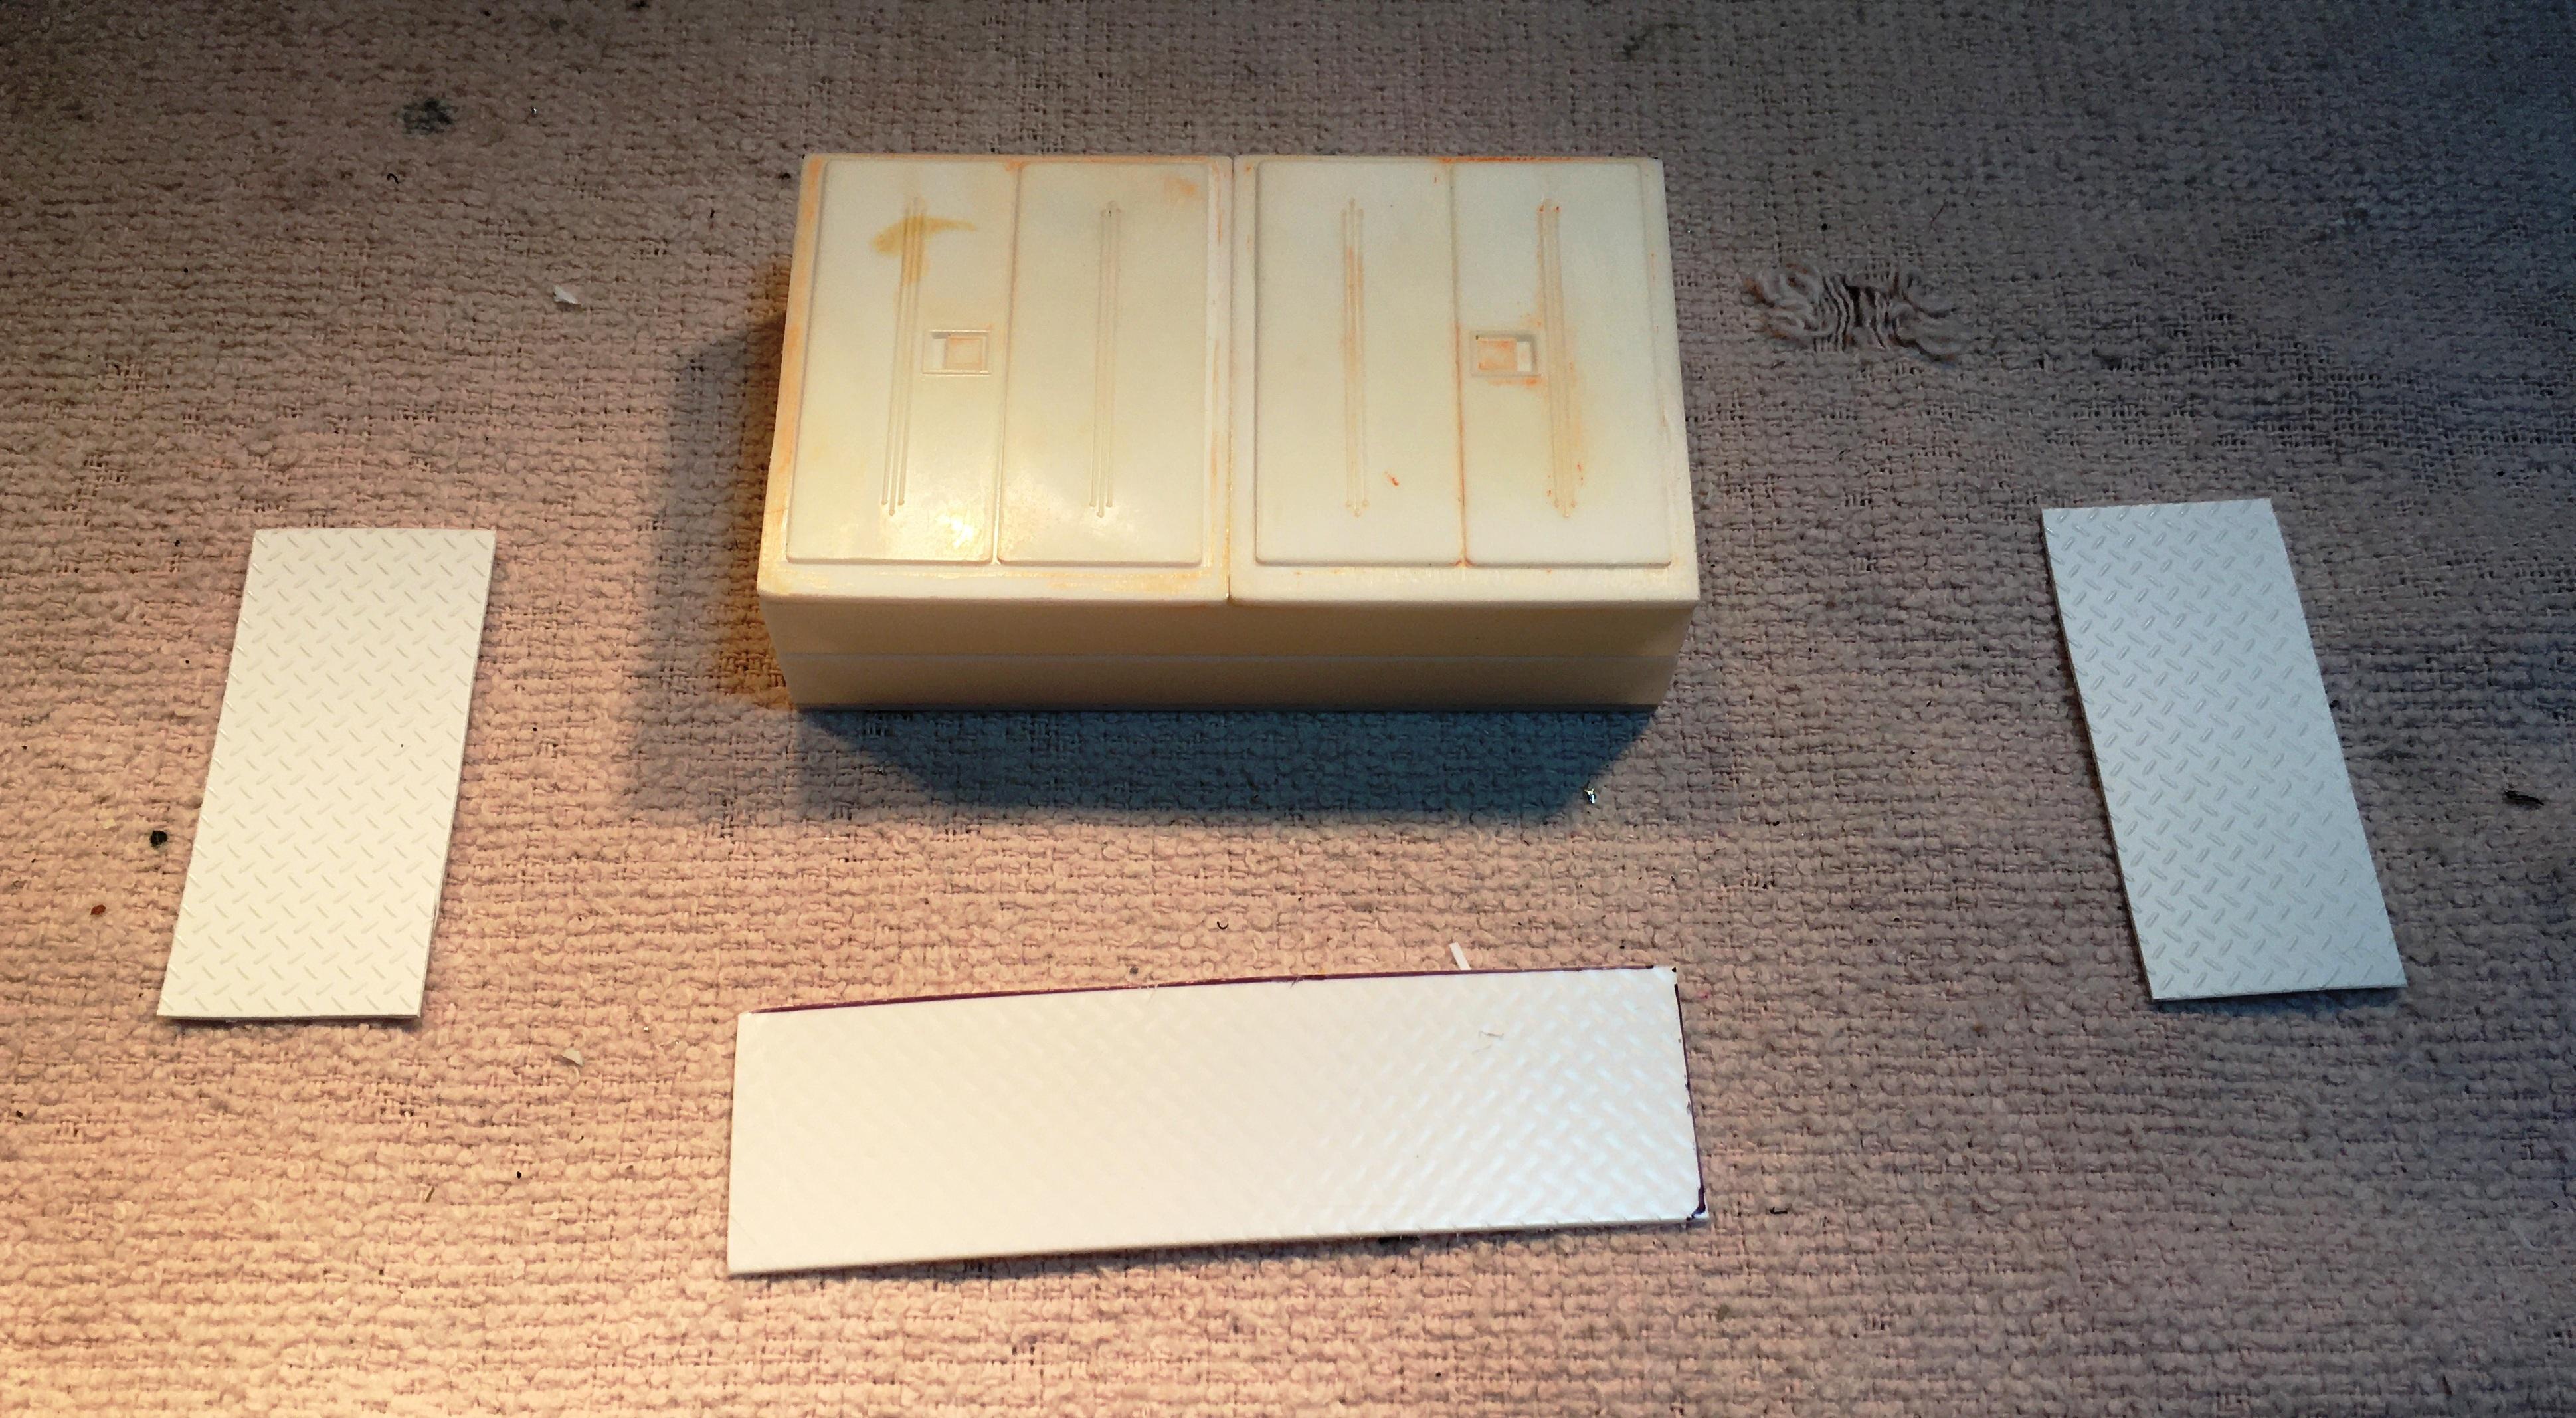
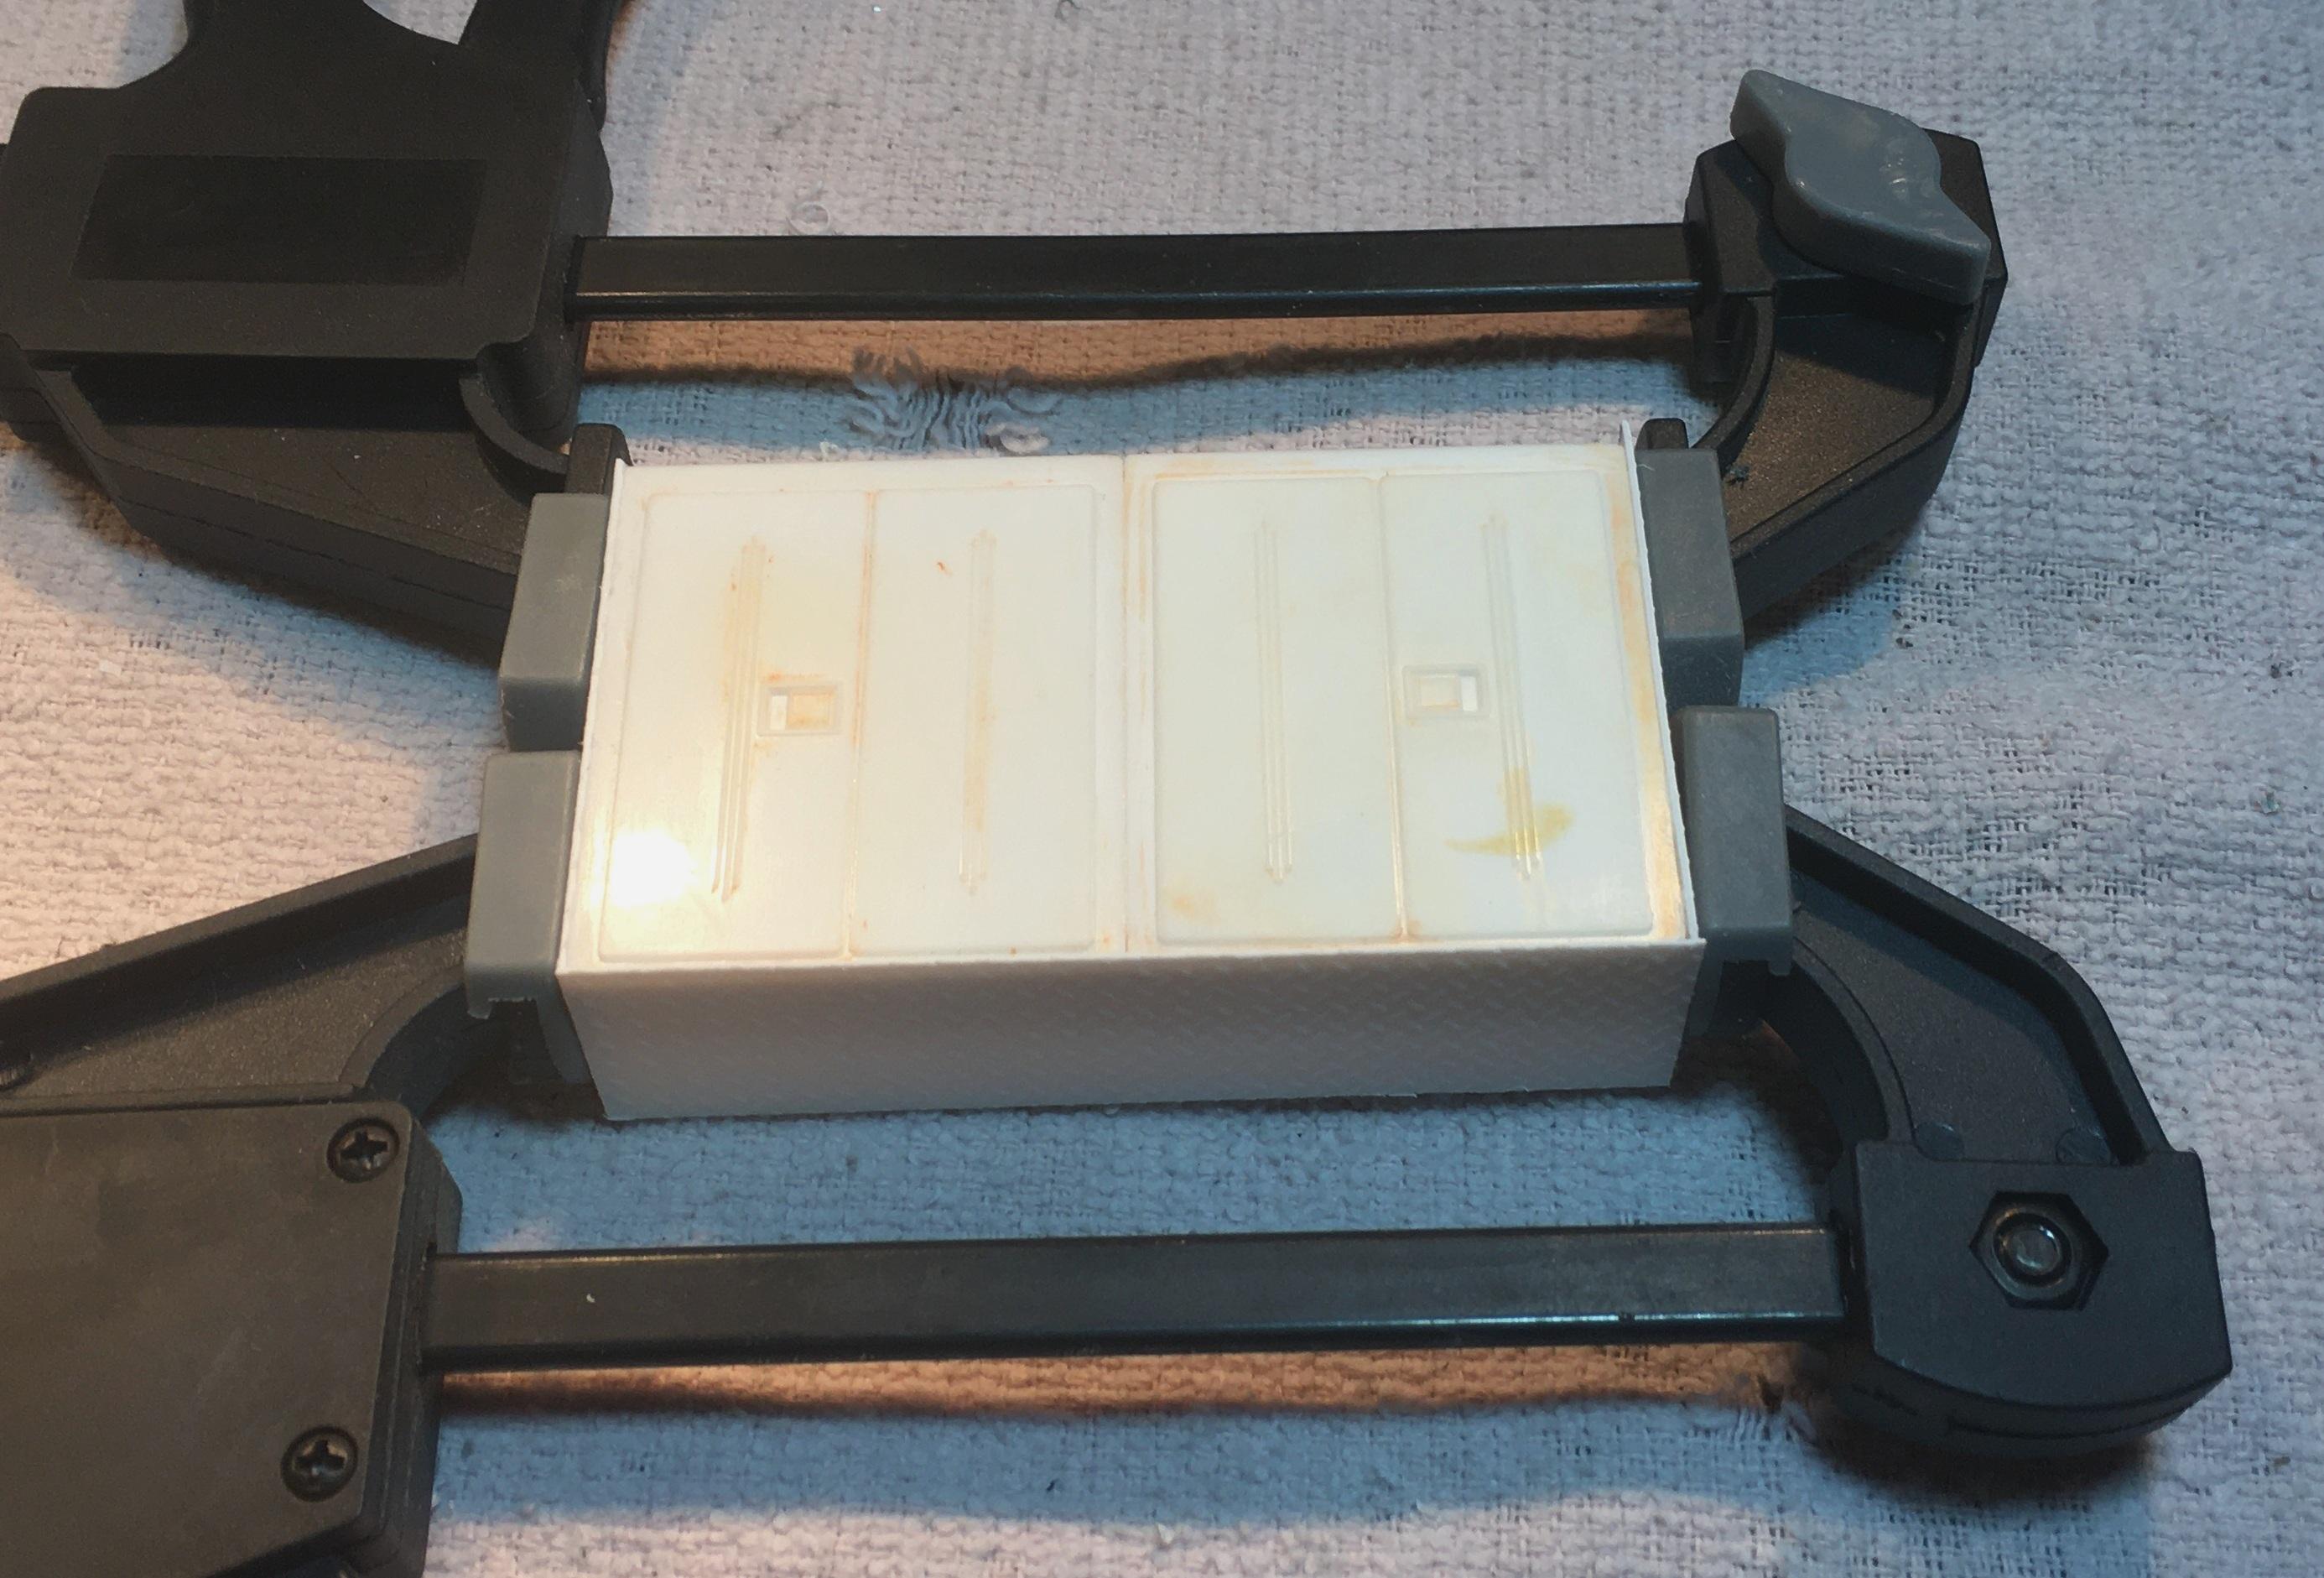
Fabbed up a headache rack/chain box from parts box pieces and some diamond plate.
-
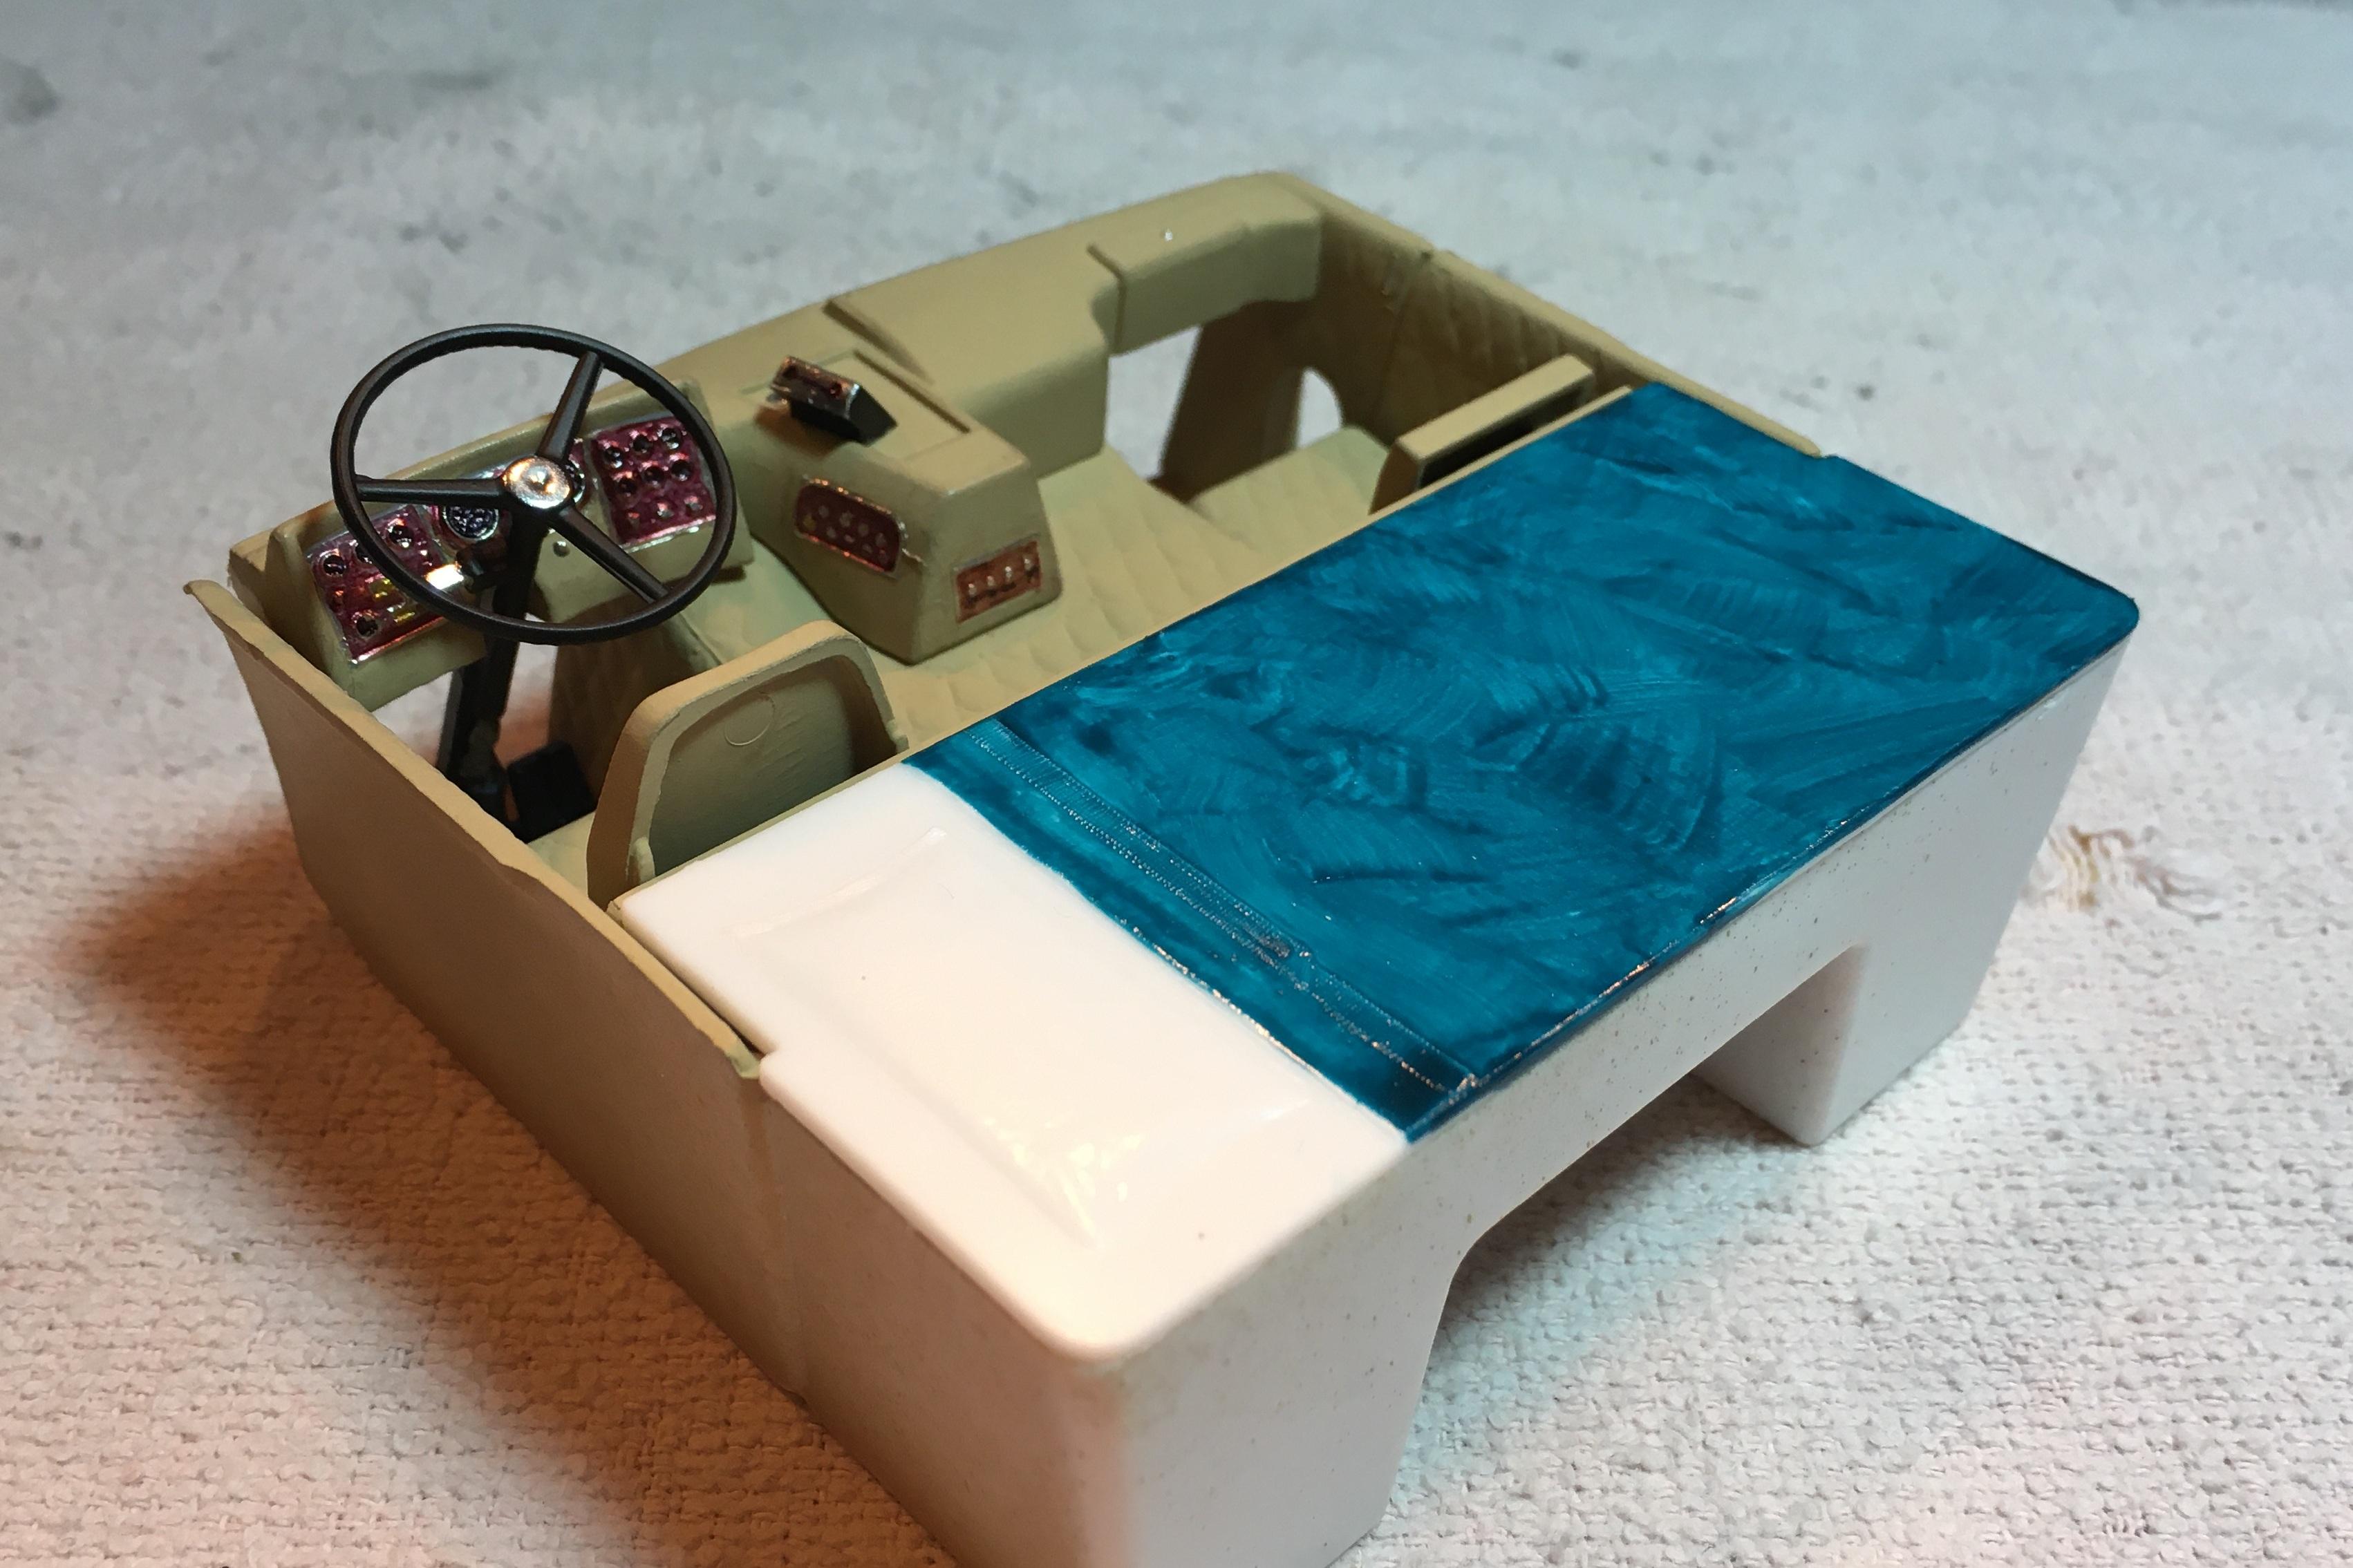
Made a little progress while waiting to be able to paint. Assembled interior and just masked it off to spray the bottom.
-
I have not invested in an airbrush (yet) I will be following to see how well you do. Besides, I like Chevelles.
-
70 Plymouth HEMI GTX 1/25 Scale
Bills72sj replied to AmericanMuscleFan's topic in WIP: Drag Racing Models
I agree. This is the most amazing 1:25th scale I have EVER seen. The carb and the transmission blow me away. -
The Rodder's Journal?
Bills72sj replied to The Junkman's topic in General Automotive Talk (Trucks and Cars)
A few years ago, I lost High Performance Pontiac. The publisher automatically switched me to Motor Trend. (Why would I want to read about somebody swooning over the number of cupholders in the latest "crossover") I had to call them to get my remaining subscription switched to Mopar Muscle. That was fine but now they have cancelled that AND Car Craft right after pestering me to resub to both. My wife did the resubs as that's all I wanted for Christmas. I actually had to call them and get a refund. On top of that, they signed her up for Motor Trend On Demand and she had 2 months of subscription charges for that without even knowing. ($4.99 per moth for the rest of your life). They didn't even have a number to call. I had to send an email to get that cancelled. Fortunately they responded right away and refunded all of it. If my cable bill gets too high, I will seriously consider Motor Trend On Demand. But not unless I can get it on my TV screen. I do not want to watch shows sitting in a computer chair in front of the PC. -
66 ford gasser
Bills72sj replied to zaina's topic in WIP: Model Trucks: Pickups, Vans, SUVs, Light Commercial
Very interesting build. I am enjoying the results of your fab skills. -
My Dad and stepmom bought one of those new in that bright red color. The top was red too. The wheels were more of a Turbine wheels with more fins. I am definitely going to be on the look out for a scale T-Bird of my own.
-
Freetime Hobbies Moving Sale
Bills72sj replied to Mike999's topic in General Automotive Talk (Trucks and Cars)
Just ordered 4 kits: '68 Chevelle 1969 GTX convertible '85 Oldsmobile 442/FE3 Great Dane Extendable Trailer Flatbed trailer FREE shipping -
I really like the results you have presented so far. The multi-tone chassis looks very realistic. For the grille I use a very small metal ball burr bit in my dremel. I just keep moving the tool and removing material until the openings become nearly transparent. THEN I take a hobby knife and gently cut each and every opening with that. You will like the result.
-
Question for any real electricians out there
Bills72sj replied to Monty's topic in The Off-Topic Lounge
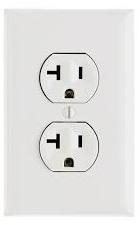
The breakers (or fuses) in your electrical panel are designed to protect the wiring IN THE WALLS. DO NOT upgrade the breaker to a 20 amp breaker unless you KNOW ALL the wiring it feeds is 12ga or heavier. 14ga wire is NOT rated for 20A especially if the run is long. Regarding your loads, items that transfer information or sound are basically insignificant. Lighting loads are based on lamp type. (LED = low draw, 150W incandescent = high draw). Any devices that purposely generate heat (heat guns and space heaters) will be the biggest issue. If these are not expected to be used then you should be just fine. Regarding your airbrush compressor. Look for the amp rating on the data plate. If it less than 10 amps again you should be fine. I would not be uncomfortable with two power strips in the same outlet as long as your loads are light. If you are powering the other side of the room and require an extension cord, go for just enough length and at least 14ga wire. DO NOT run a wimpy 50ft 16ga extension cord. Avoid wimpy, foreign two-wire extension cord especially under rugs. BTW the outlet in your picture is spec'd at 15 amps. 20 amp rated outlets look like this.
-
Question answered. Thanks DrKerry
-
Thanks, I am using the kit grille. I have already blackwashed all of them for both builds.
-
KENWORTH X 2 K123 & K100 Aerodyne
Bills72sj replied to CRUSADER2's topic in WIP: Model Trucks: Big Rigs and Heavy Equipment
Very nice plumbing detail. I can appreciate the effort. I have sometimes wished to be employed doing fine detailed wiring in electrical cabinets like that. -
Thanks guys, I keep on doing a little bit every day. I am down to glue part A to part B and LEAVE IT ALONE until the next day. It seems my ancient Testors red needs longer to dry/cure.