Bills72sj
-
Posts
4,589 -
Joined
-
Last visited
Content Type
Profiles
Forums
Events
Gallery
Everything posted by Bills72sj
-
 I have shown most of my models here on the forum. Today I am sharing my most favorite cars. 1972 Pontiac Grand Prixs. The littlest is a Johnny Lightning that I modified with gold paint, gold wheels and BFGs. The middle one is a 1/25th scale kit I bought in the mid 80's. Since then my skillset has improved greatly. It is overdue for a restoration. The wood one is a gift from my best friend who commissioned it from a local artist who usually makes VW bugs and vans. I met the artist and he really enjoyed the challenge. Could I make changes to make it closer to correct? Yes, but I will leave it alone as it is a piece of ART! The 1:1 is what is in my garage right now. I have owned it since the late 90's. It is basically a survivor with nice paint, very nice original interior and a filthy, well-running original engine. I have installed a killer 14 speaker (FOUR are 10" subs) 5 amplifier stereo in it. I had to put in a separate marine deep cycle battery just to run it. Every couple of weeks (weather permitting) I find an empty parking lot and jam my playlist for 2-1/2 hours. I mostly like female pop with good bass guitar riff. Anything that has been recorded with a sub-octavizer really shakes the seats and makes the mirrors blurry. It has a numbers matching 455 and makes enough power to turn the 295/50 BFGs into quite a smoke show. However gas mileage is around 10. (not that it matters). I go to car shows most summers and I am ALWAYS the only Grand Prix there of ANY year. Comments are welcome.
-
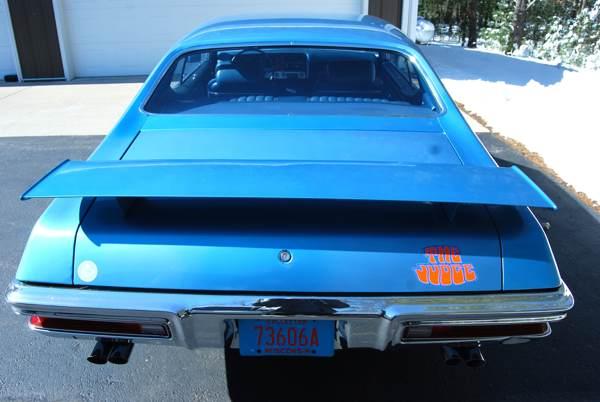
I have already searched old threads. Does anyone know of any resin casters selling this spoiler?
-
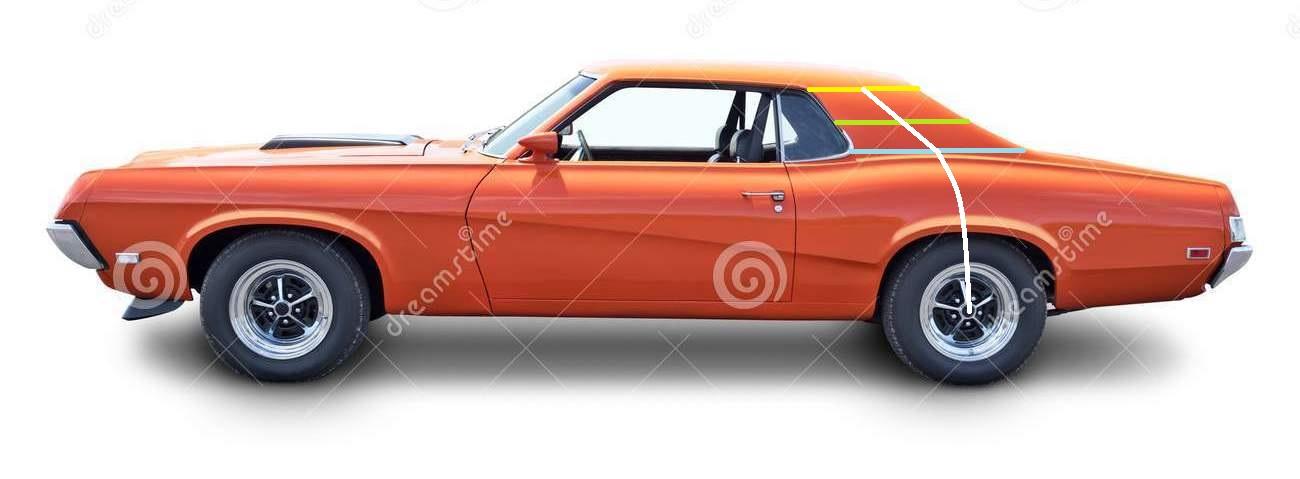
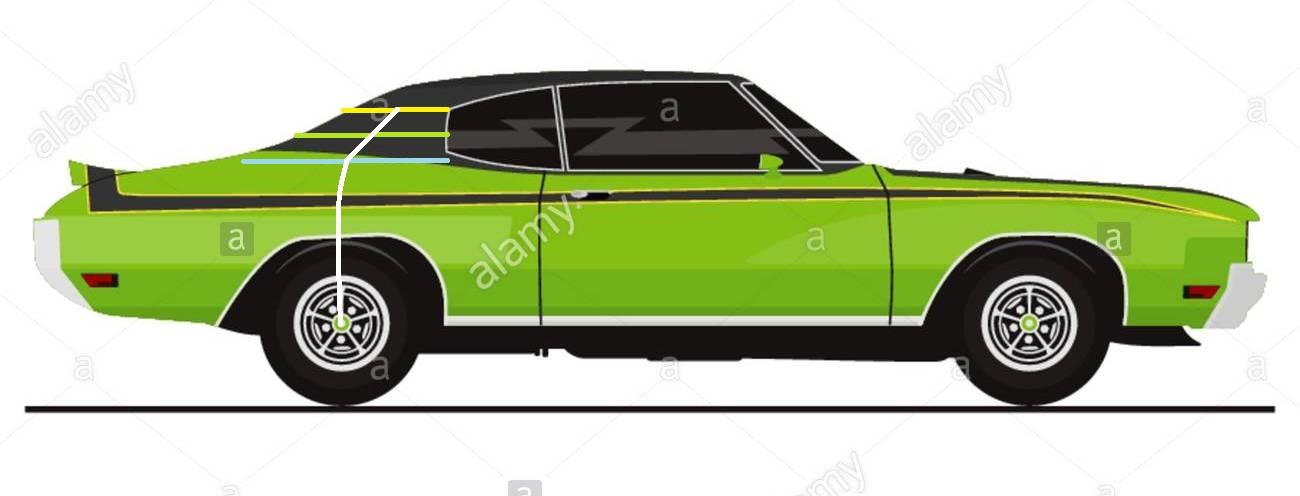
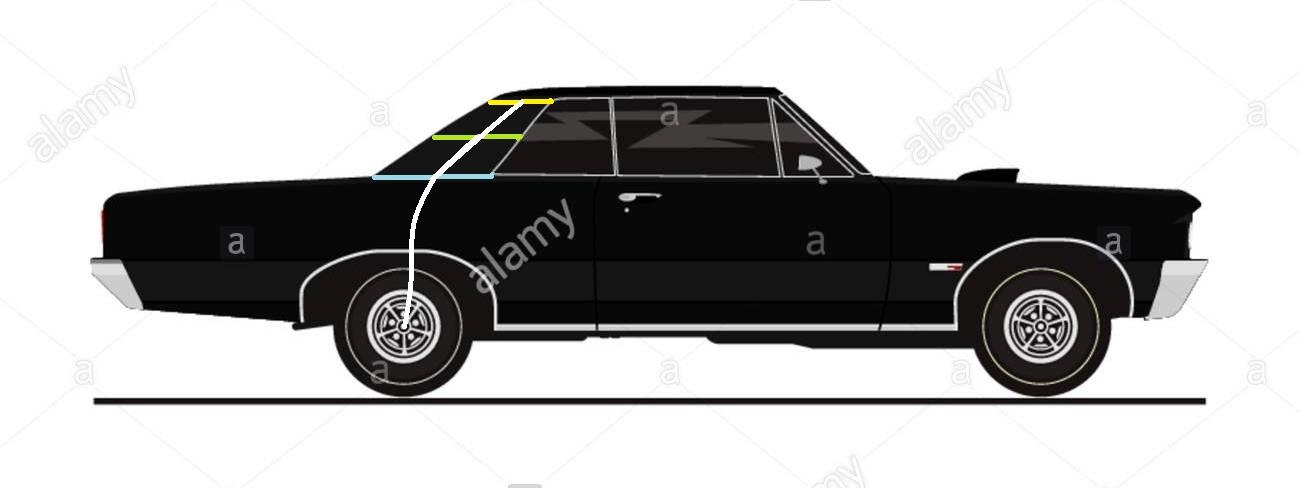
Notice centerline of C-pillars hits the top of the quarterpanel at or forward of the centerline of the rear axle. The Saab C-pillar centerline hits the top of the panel way behind the axle centerline. When you shorten the wheelbase on your galaxie, be cognizant of this relationship.
-
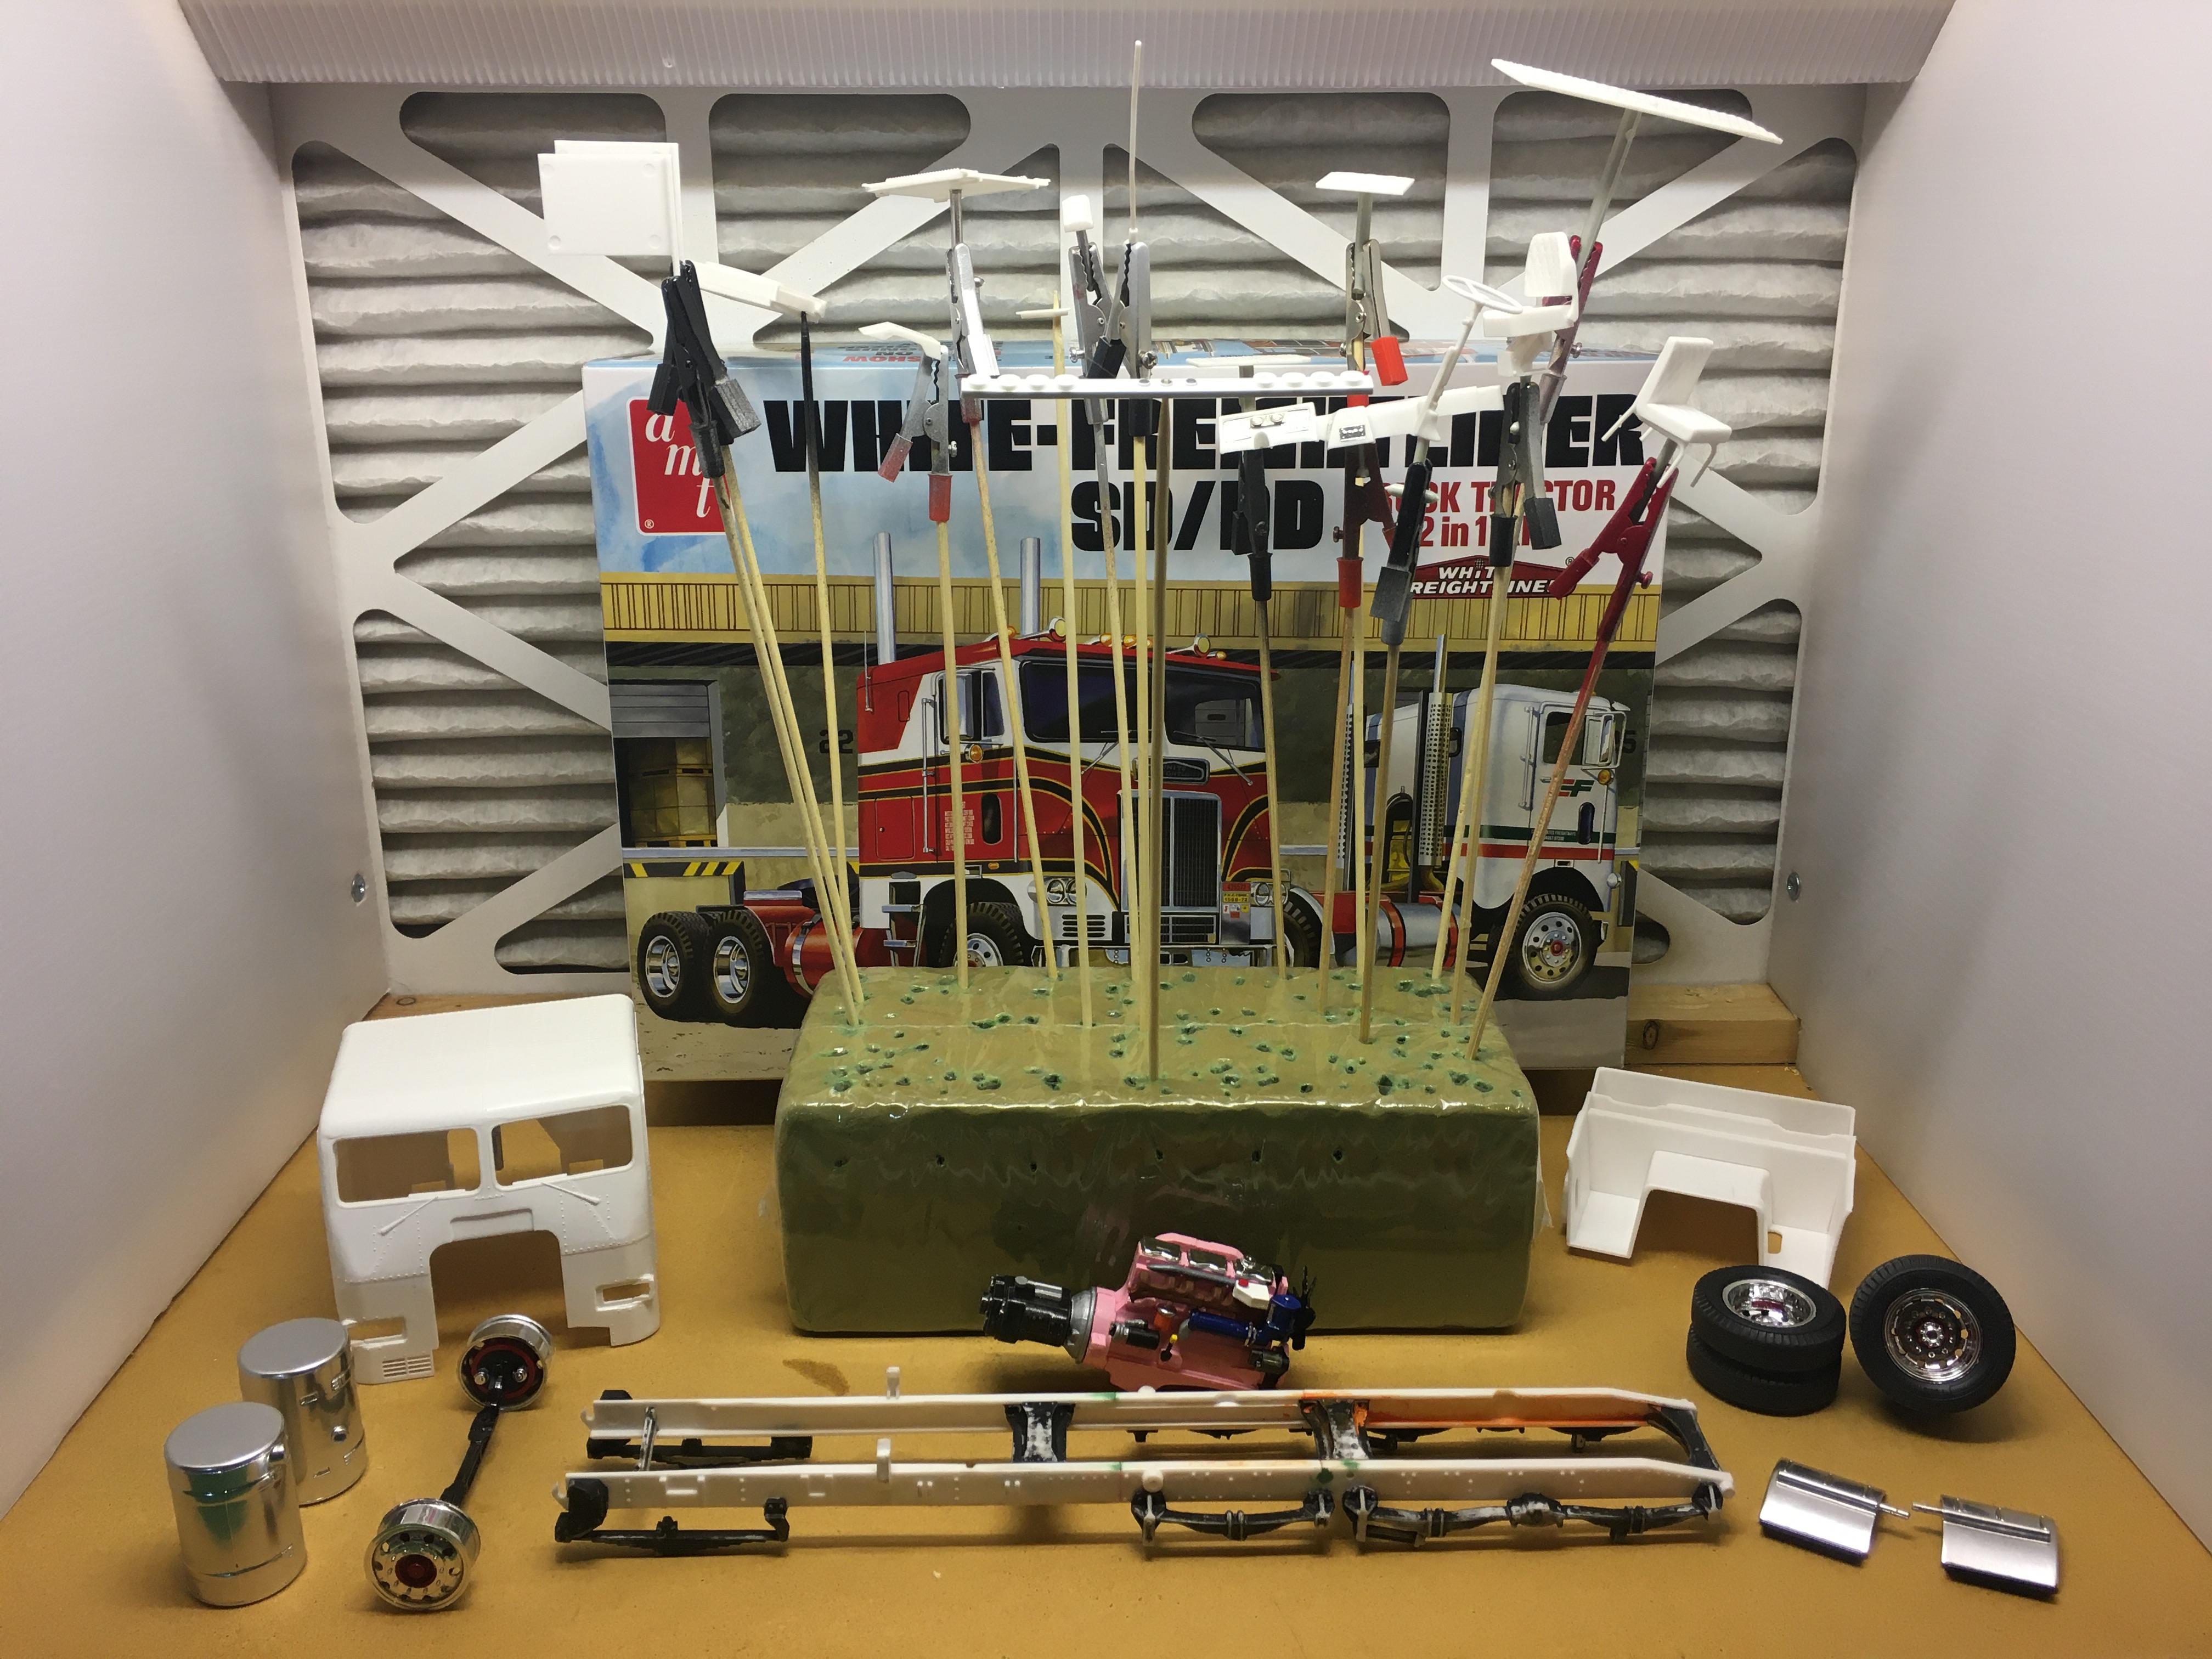
I have made a little bit of progress on my Freightliner triple drive. I am stuck not being able to paint because of the humidity here. Here is what I have so far.
-
I have been struggling to make progress. The frame spent 2-3 weeks in the purple lake followed by 2-3 days in brake fluid. It appears the black is not going to come off of the suspension pieces. If I ever get to paint, I will have to prime before shooting the frame red. I did some studying on my masking requirements for my decal placement. Upon closer inspection, I need to lay on some more gloss white under color first.
-
It has been raining here at least every other day for a MONTH so the humidity is always too high to paint. I have done a small amount of assembly and prepped a bunch of parts for painting. I am getting frustrated finally having the time but STILL not being able to spray paint. Here is my progress so far.
-
Most impressive. I envy your skills.
-
The bench looks a lot cleaner than when I visited. I would like to encourage you to concentrate on you BRBO.
-
Yellow cab, green fenders. Sounds eye catching.
-
My condolences. Losing someone you have shared so much life with is a great loss.
-
Courtesy vehicle showrod
Bills72sj replied to BIGTRUCK's topic in WIP: Model Trucks: Pickups, Vans, SUVs, Light Commercial
Interesting project. I'll be following. -
Welcome Joe. There is a lot to learn and admire here.
-
Superb craftsmanship.
-
This one made me laugh right out loud! This is hilarious!!!!!!!!!!!!
-
Very nice work indeed.
-
I love all of your builds.?
-
Nice variety. I like the 57 Draggin Wagon, The 4 door Pontiac but most of all the Bug + gooseneck camper. Though from an structural standpoint, I am not sure the VW rain gutters would contend with the wind/drag of the trailer very well.
-
Oh OK. I have some that tape in my HVAC service van. I thought your foiling looked like "real" BMF.
-
Jeff, As per our PMs, My Freightliner daycab does not qualify (too far along). Please update the list to be my Freightliner triple drive.
-
Italeri/AMT 378 Pete versions?
Bills72sj replied to Oldmopars's topic in General Automotive Talk (Trucks and Cars)
I agree on the timeline data. I myself have updated timelines a well as I am able. -
What semi would you like in a kit?
Bills72sj replied to Bobcat205's topic in General Automotive Talk (Trucks and Cars)
I want a KW T2000 in 1/25 scale. I love the hood/bumper. For a trailer I would like to see a more modern dedicated car hauler with the 5th wheel low and behind the rear wheels. -
Thank you all for your compliments. ?
-
Curt, Do you have an "On the bench" post started so we may follow along? What brand of BMF are you using? I appears to be the thick goo version.
-
Dan, I did research on the "proper" engine color and what I discovered was everything was one BLAH color. I decided to take some artistic license and mix red and white to make pink. I am not one who gets all uptight about "correctness". The rear light bar should be awesome compared to the stock lights. Though fabrication is much more labor intensive than assembly. I also have to deal with the varying thicknesses of all the lenses. Stay tuned, I have this one as part of the 2020 BRBO.
-
I like those cars as well. When I was a kid, my dad bought a White 66 Satellite convertible because it already had a trailer hitch to pull out boat. It had a red interior.