Bills72sj
-
Posts
4,583 -
Joined
-
Last visited
Content Type
Profiles
Forums
Events
Gallery
Everything posted by Bills72sj
-
 I only build 1/25 or 1/24 big rigs. I am not sure of the accuracy or level of detail the kit has inherently. I suggest you simply treat it as a fun art project. Develop your own custom color scheme and livery and just wing it. Create a vision on paper or other 2D medium then challenge you self to create that vision. For your first build I would not go all-in on the accuracy factor (especially in that scale). If you mess something up, carry on and call it road rash. If semis continue to appeal to you, you can step your game on the next one. Have fun!
 -
WOW! You even did the half dipped cosmoline on the lower control arms.
-
Way cool ride.
-
Bravo on a great result.
-
Thank you so much for sharing. Quite a variety.
-
Very nice builds. I am still looking for a 69 to add to my 70, 71 and 72s. (at a reasonable price)
-
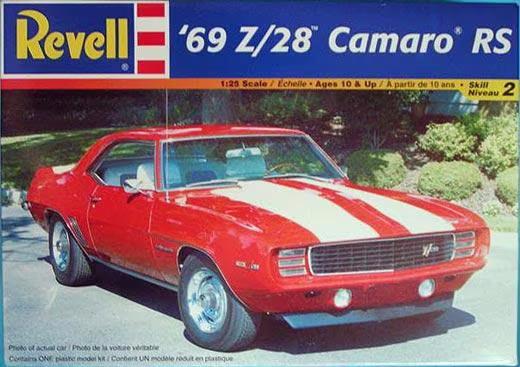
Camaro Rally Sport grille
Bills72sj replied to 9cats's topic in Model Building Questions and Answers
What is the issue with the Revell grille? -
1966 Mercury Comet
Bills72sj replied to MarkJ's topic in WIP: Stock Cars (NASCAR, Super Stock, Late Model, etc.)
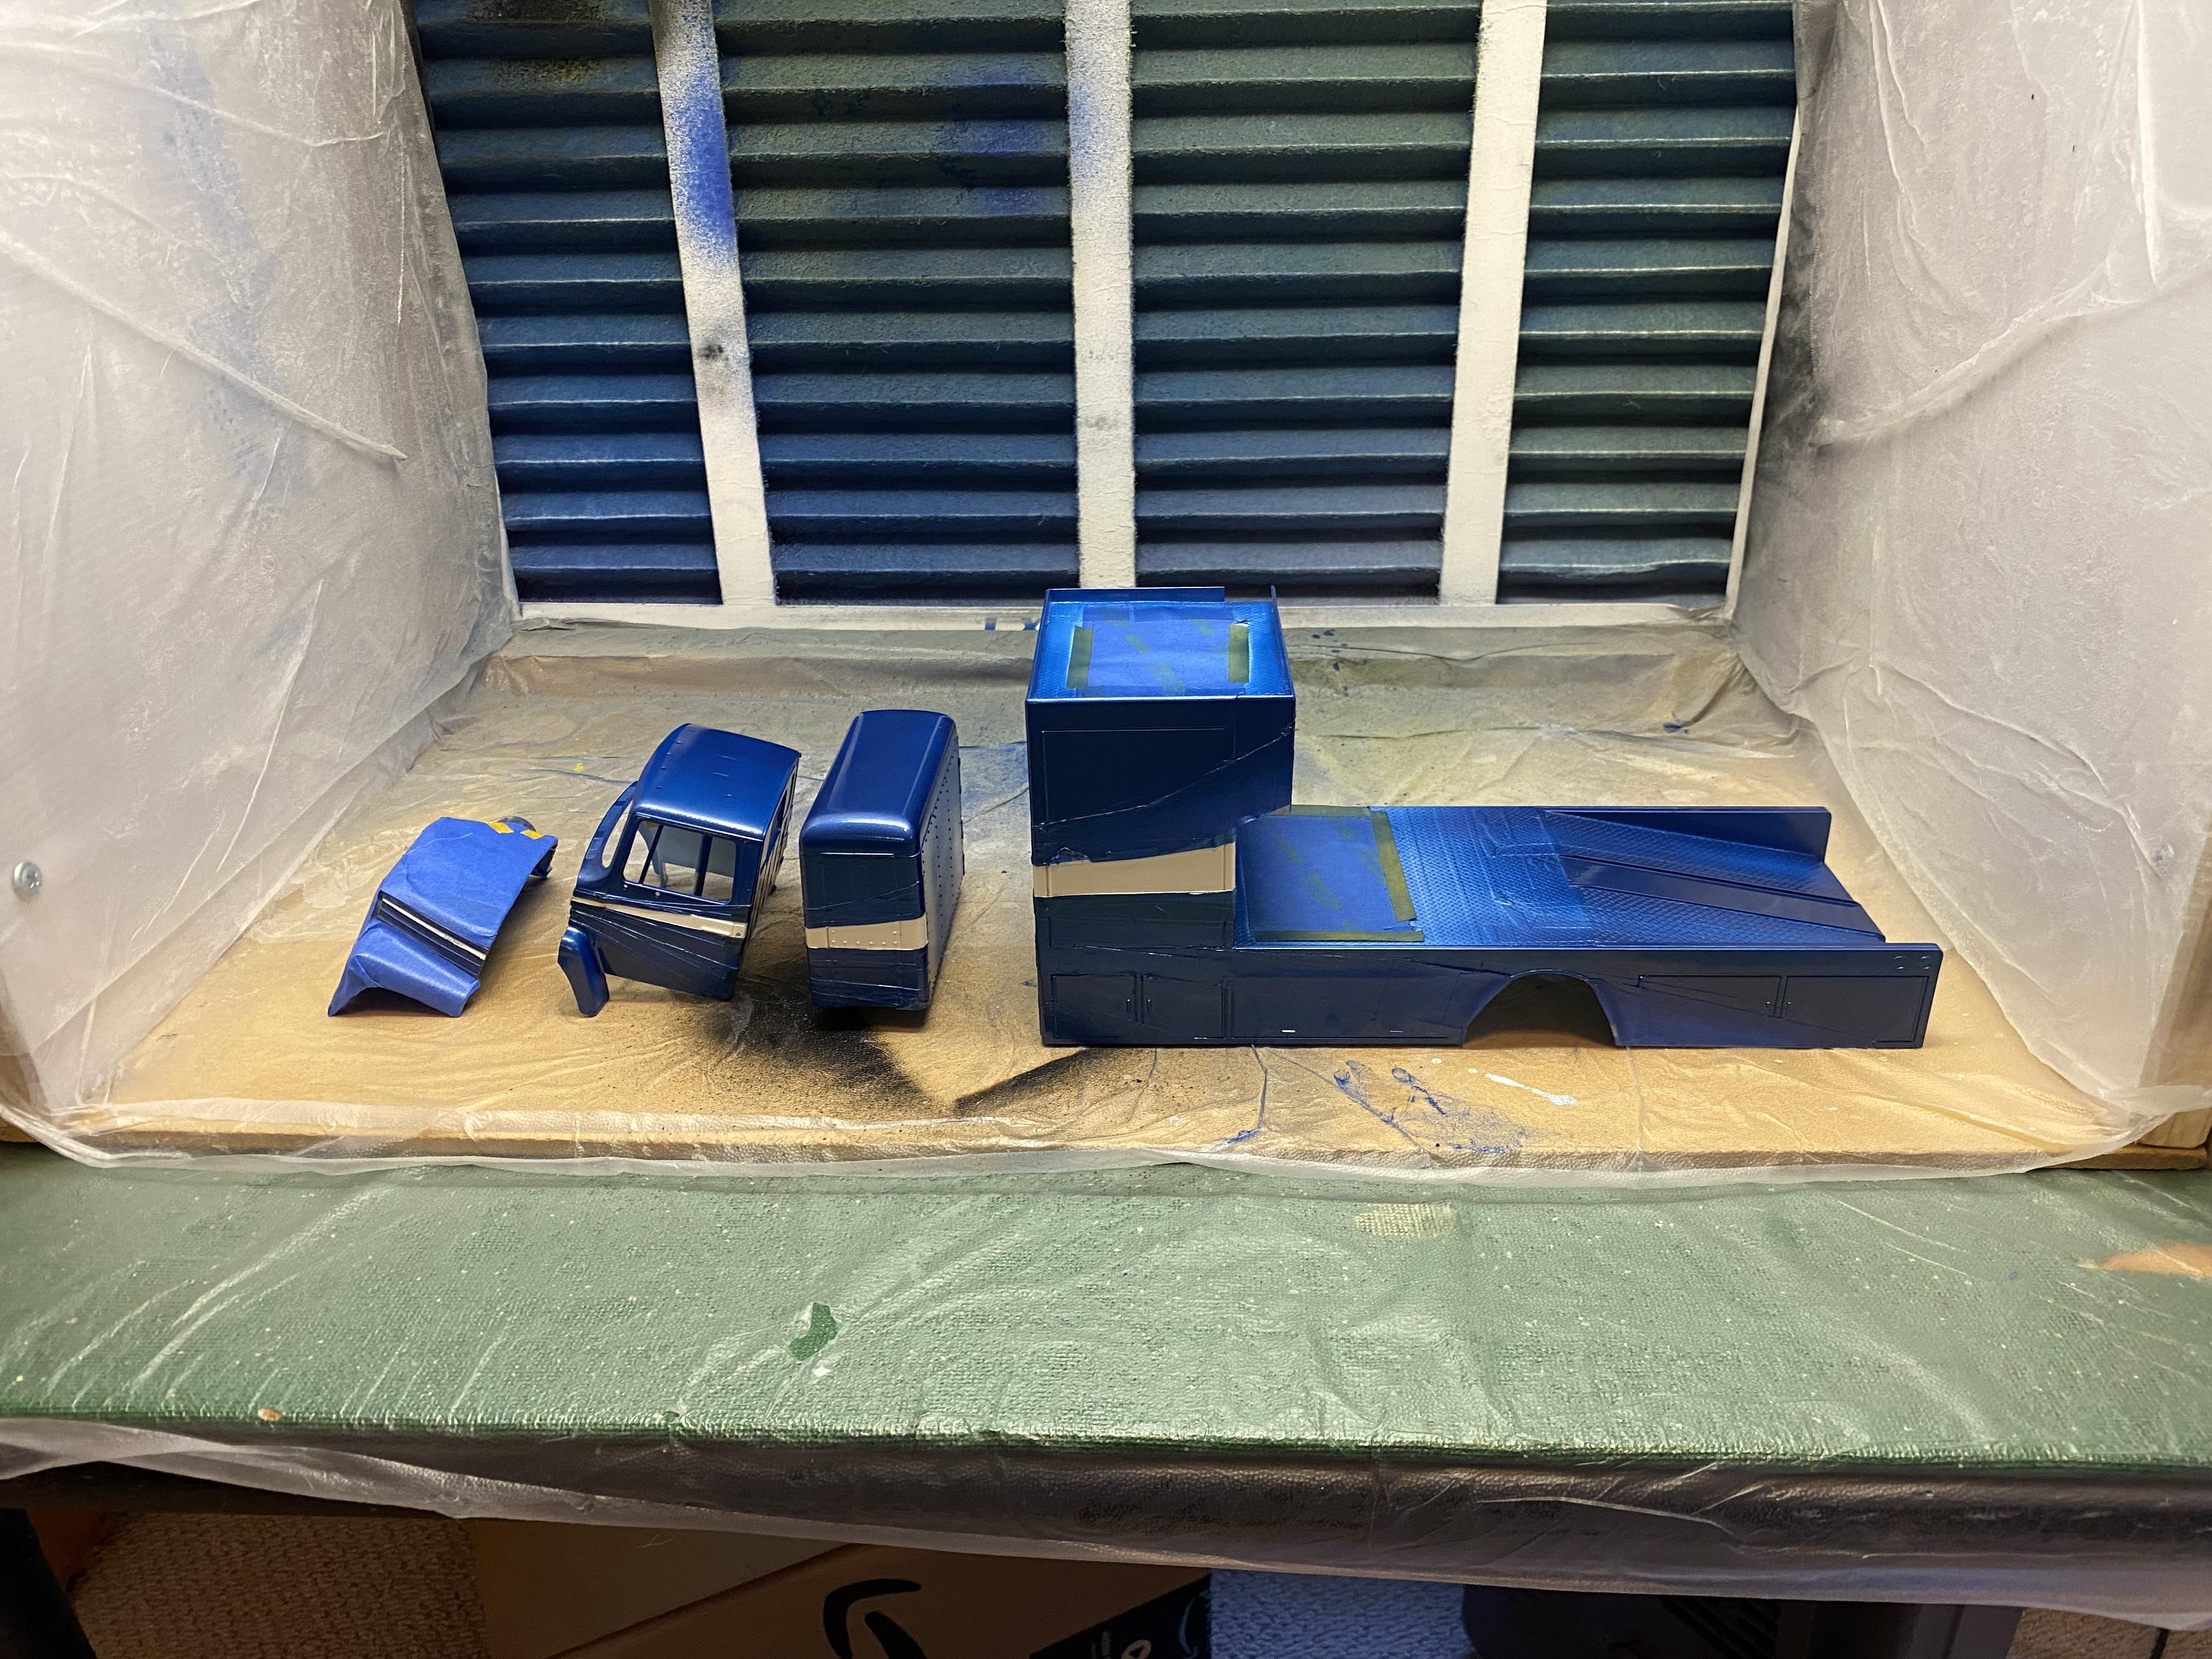
I have enjoyed watching all the fabrication you have made on this model. The seat turned out AMAZING. If I had been paying attention when you were struggling to mask your multi colored paint job, I would have strongly suggested Parafilm. It is made to seal medical test tubes. You cut a strip, stretch it to activate it, then lay it along the edge of area to be masked. If you want a clean smooth line you just lay thin 1/8" tape onto the over the top. You then cut your line based on the parting line between colors. The side that is to be painted peels off without leaving any residue. It is also malleable so you can push it around a bit with a toothpick. This is particularly handy to prevent bleed under at scribed panel lines. It never hardens or gets gooey. It is kind of like the adhesive on Post-it notes but without the paper. You can leave it on for YEARS with no ill effects. To cover the masked areas inside panels you can simply lay regular blue masking tape. Removal after painting takes no special solvents, water or technique. Simple peel or rub it off in little balls as it loves to stick to itself. Parafilm is not transparent but not opaque either. Below is a recent project. You can see the thin white line tape by itself would fail miserably over all the ridges and grooves I ran over. It has no issue with overlapping itself either. It just sticks and seals.
-
Your detailing is a pleasure to see. Keep us posted.
-
Way cool racer. We could go on tour and match race like they did in the 60's.☺️
-
Very nice build.
-
In spite of the vintage 71-72 Grand Prix kits I already have I would get as many as $120 could buy me. There are significant engine and engine compartment issues but I don't care. Even with needing to kitbash for accuracy, it would still be worth the price of admission.
-
Who doesn't love a mock-up? Let's see yours!
Bills72sj replied to Belairconvertable's topic in WIP: Model Cars
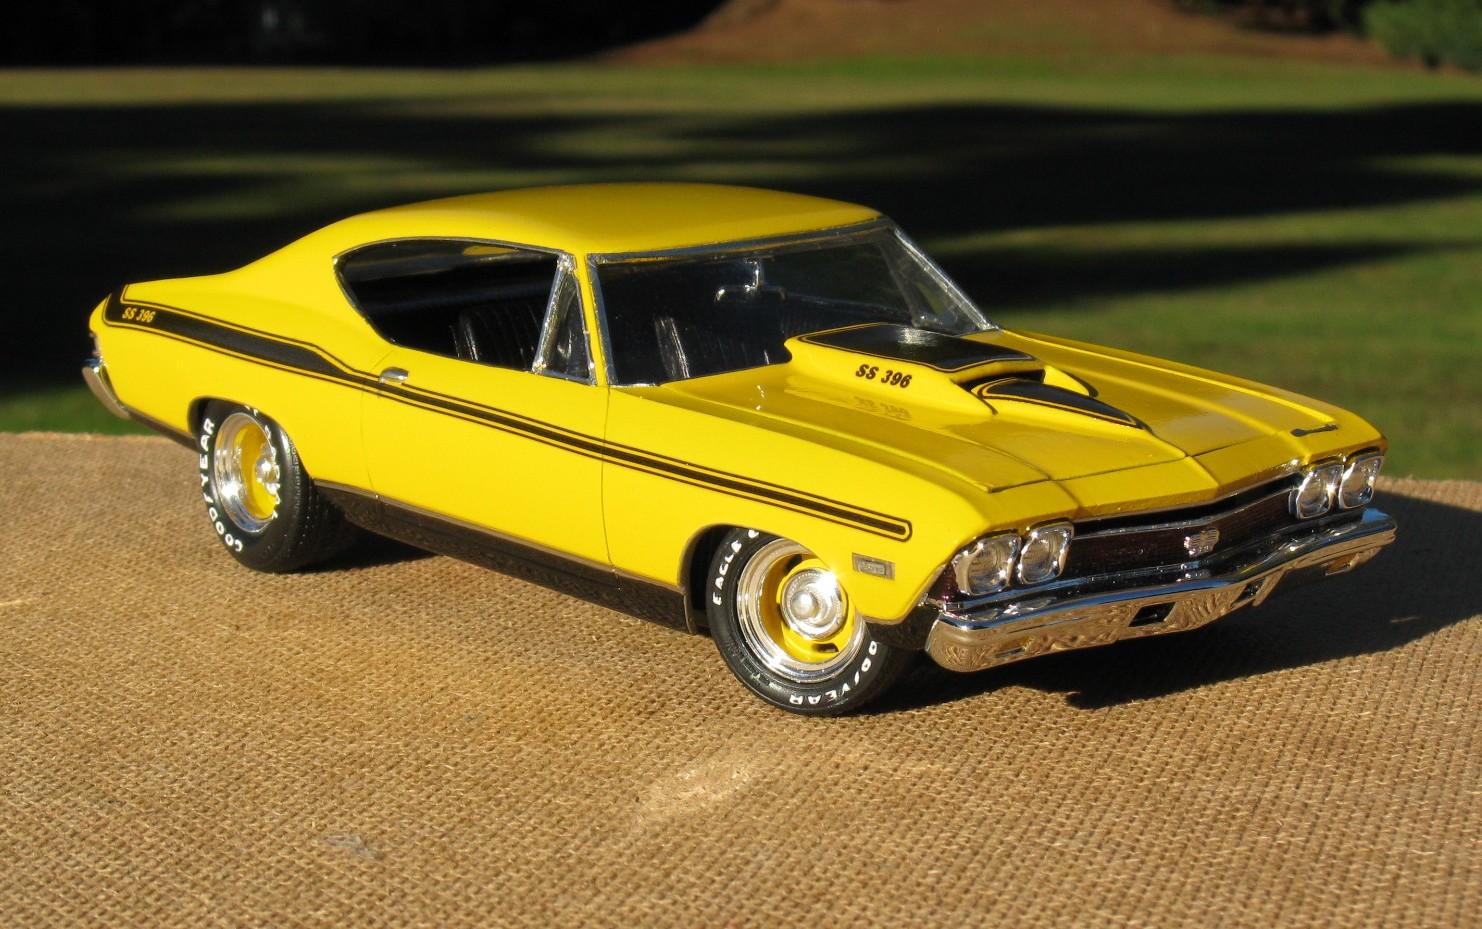
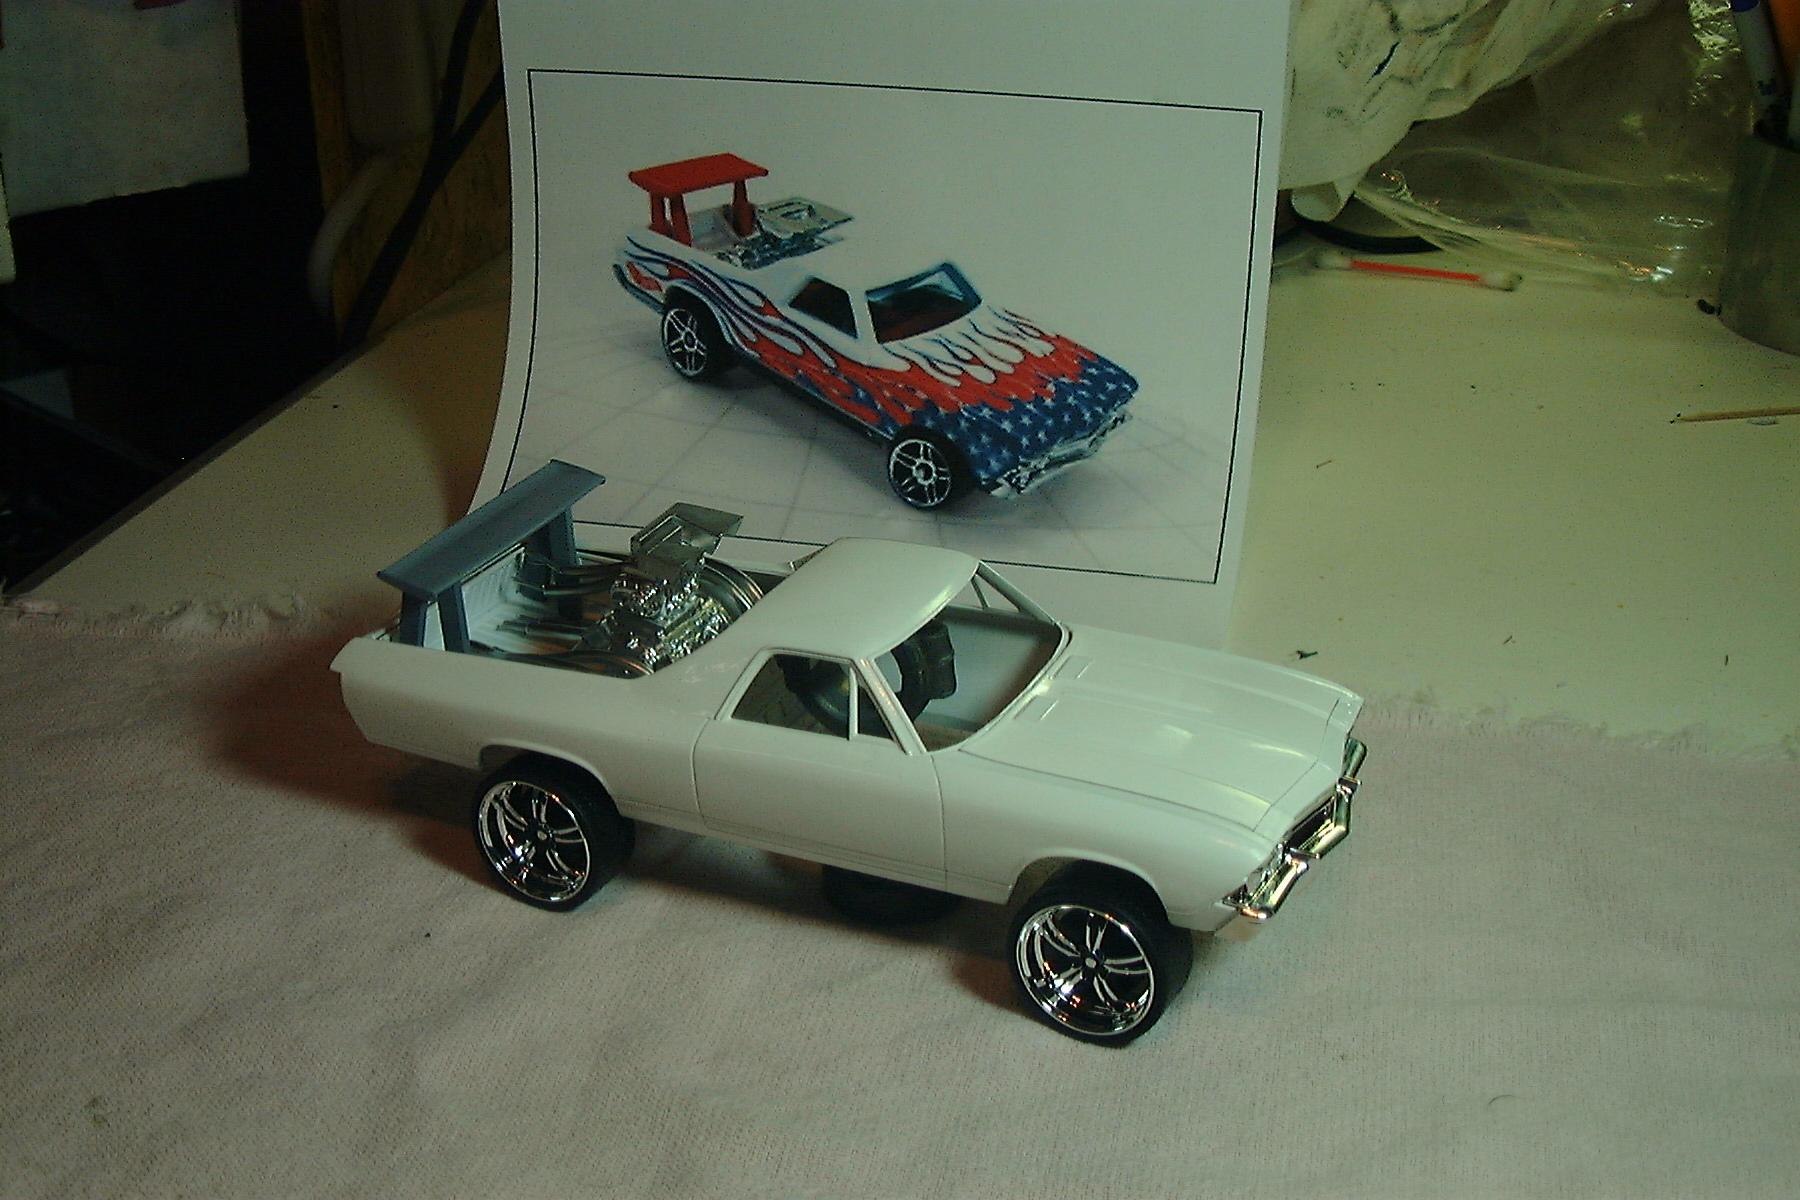
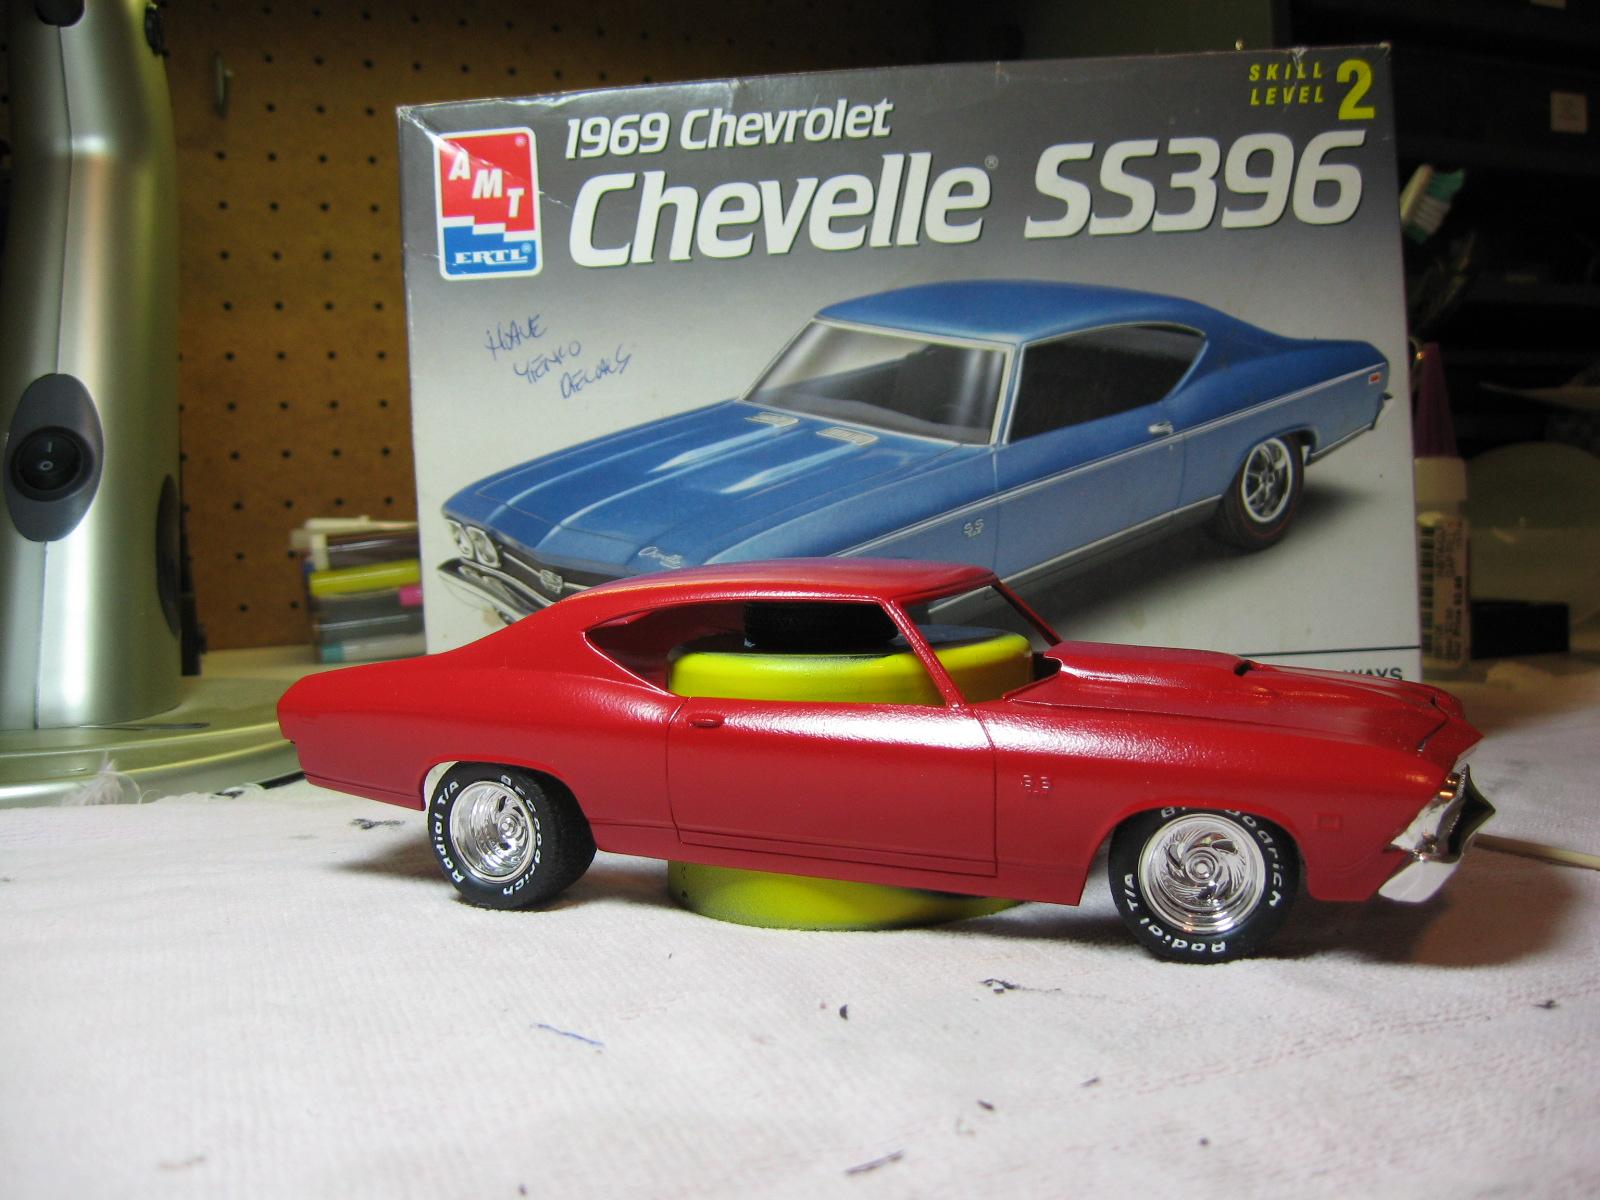
Just perused all 18 pages. A lot of really cool stuff. Here are some that I actually took pics of...
-
Finally finished detailing and clear coating all the various body parts. The photoetched grille turned out nice. Final assembly coming soon.
-
Your attention to the details will make for an amazing result. Following your vision.
-
Nicely done!
-
What kit has those wheels? I am looking for something like those for my (future) Pro Street GTO.
-
Revell 1969 Camaro SS 396 - Kit contents
Bills72sj replied to RDean58's topic in Car Kit News & Reviews
What is the differences between this kit and these 4 besides the hood?
-
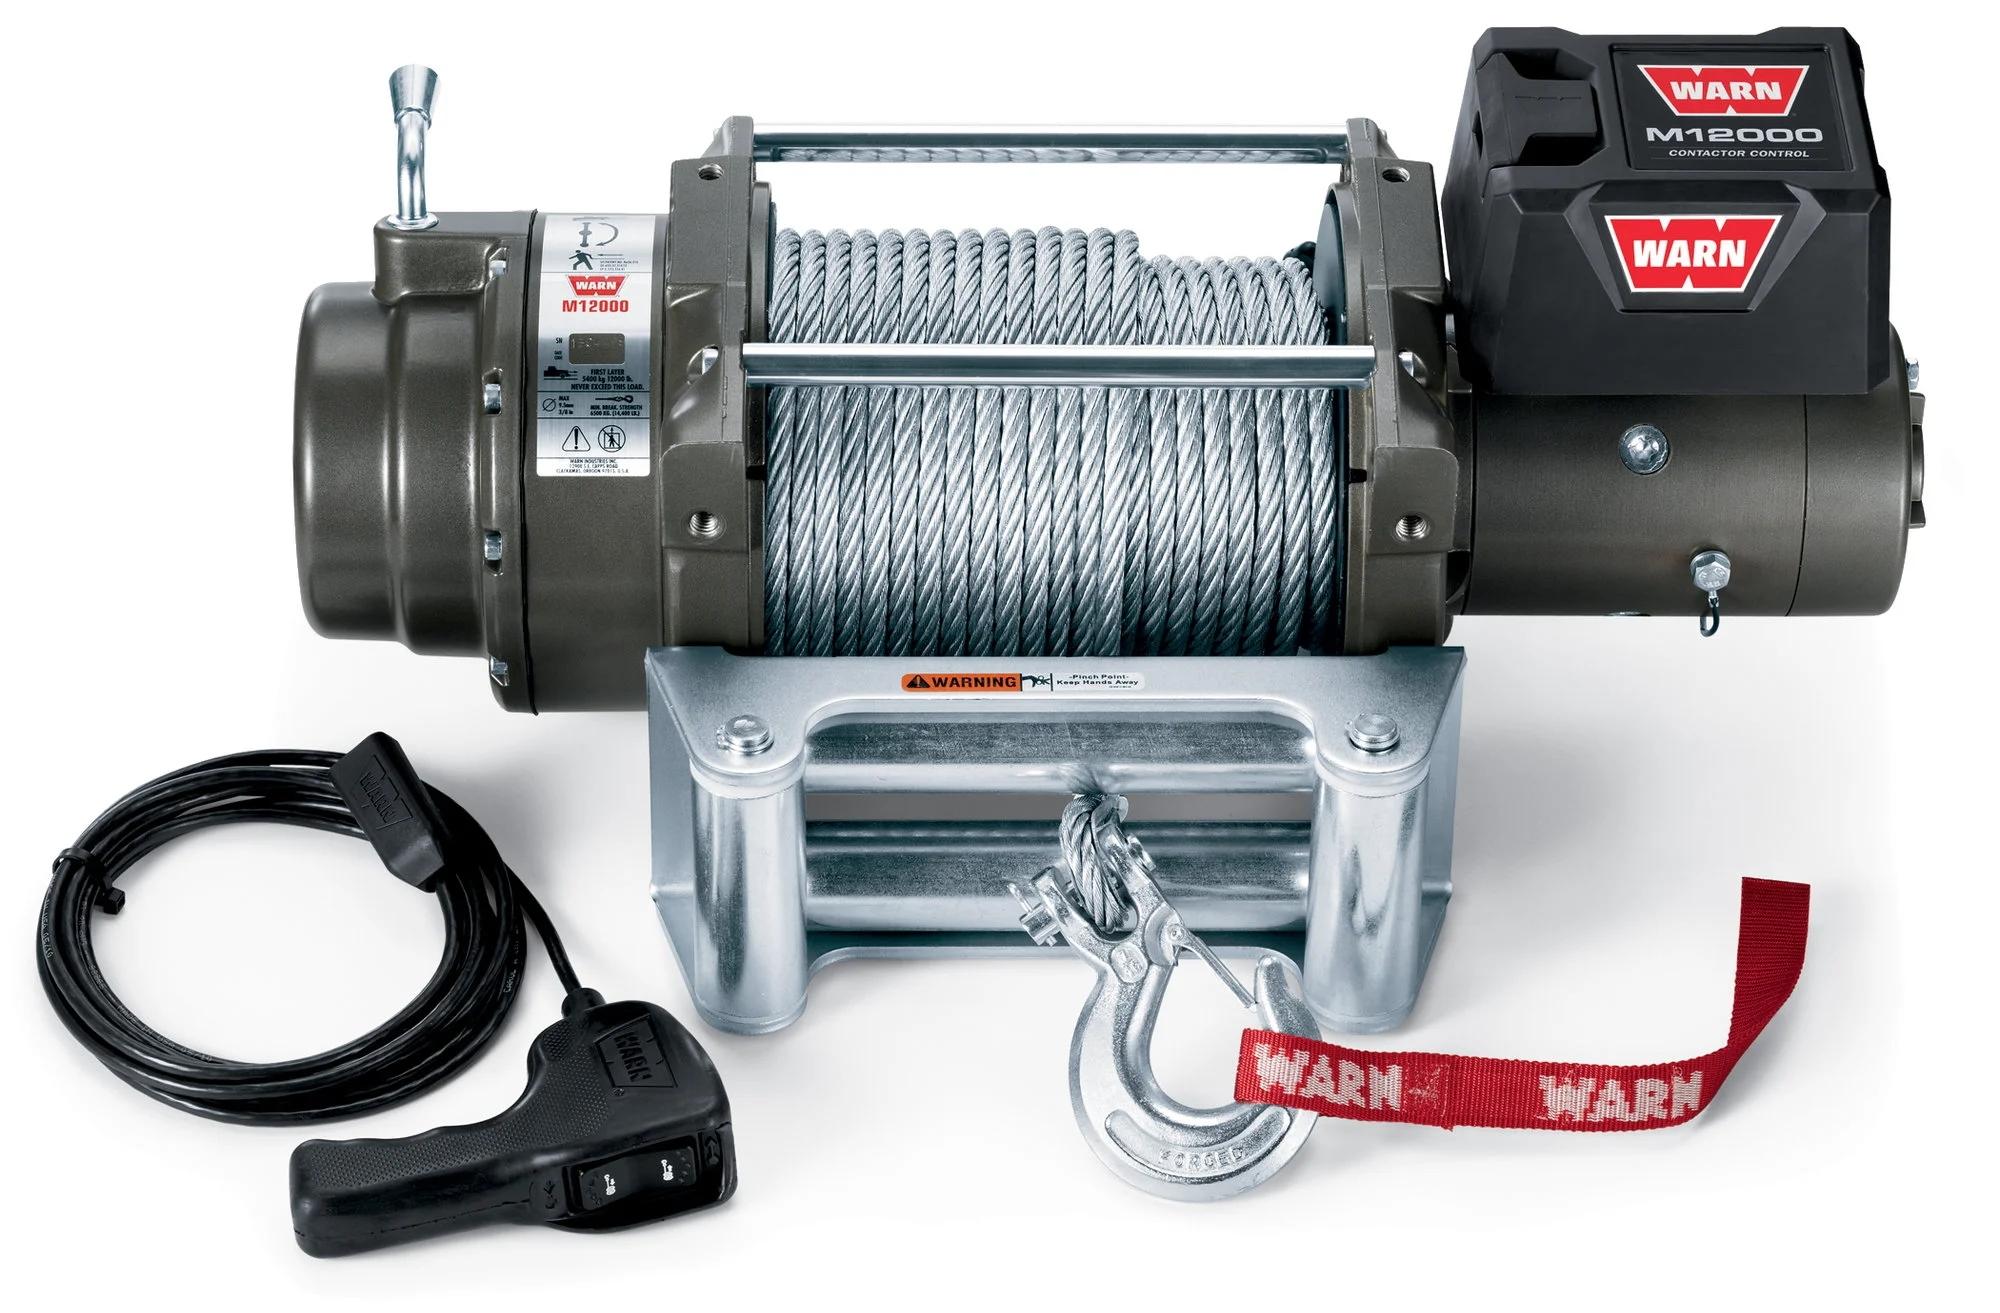
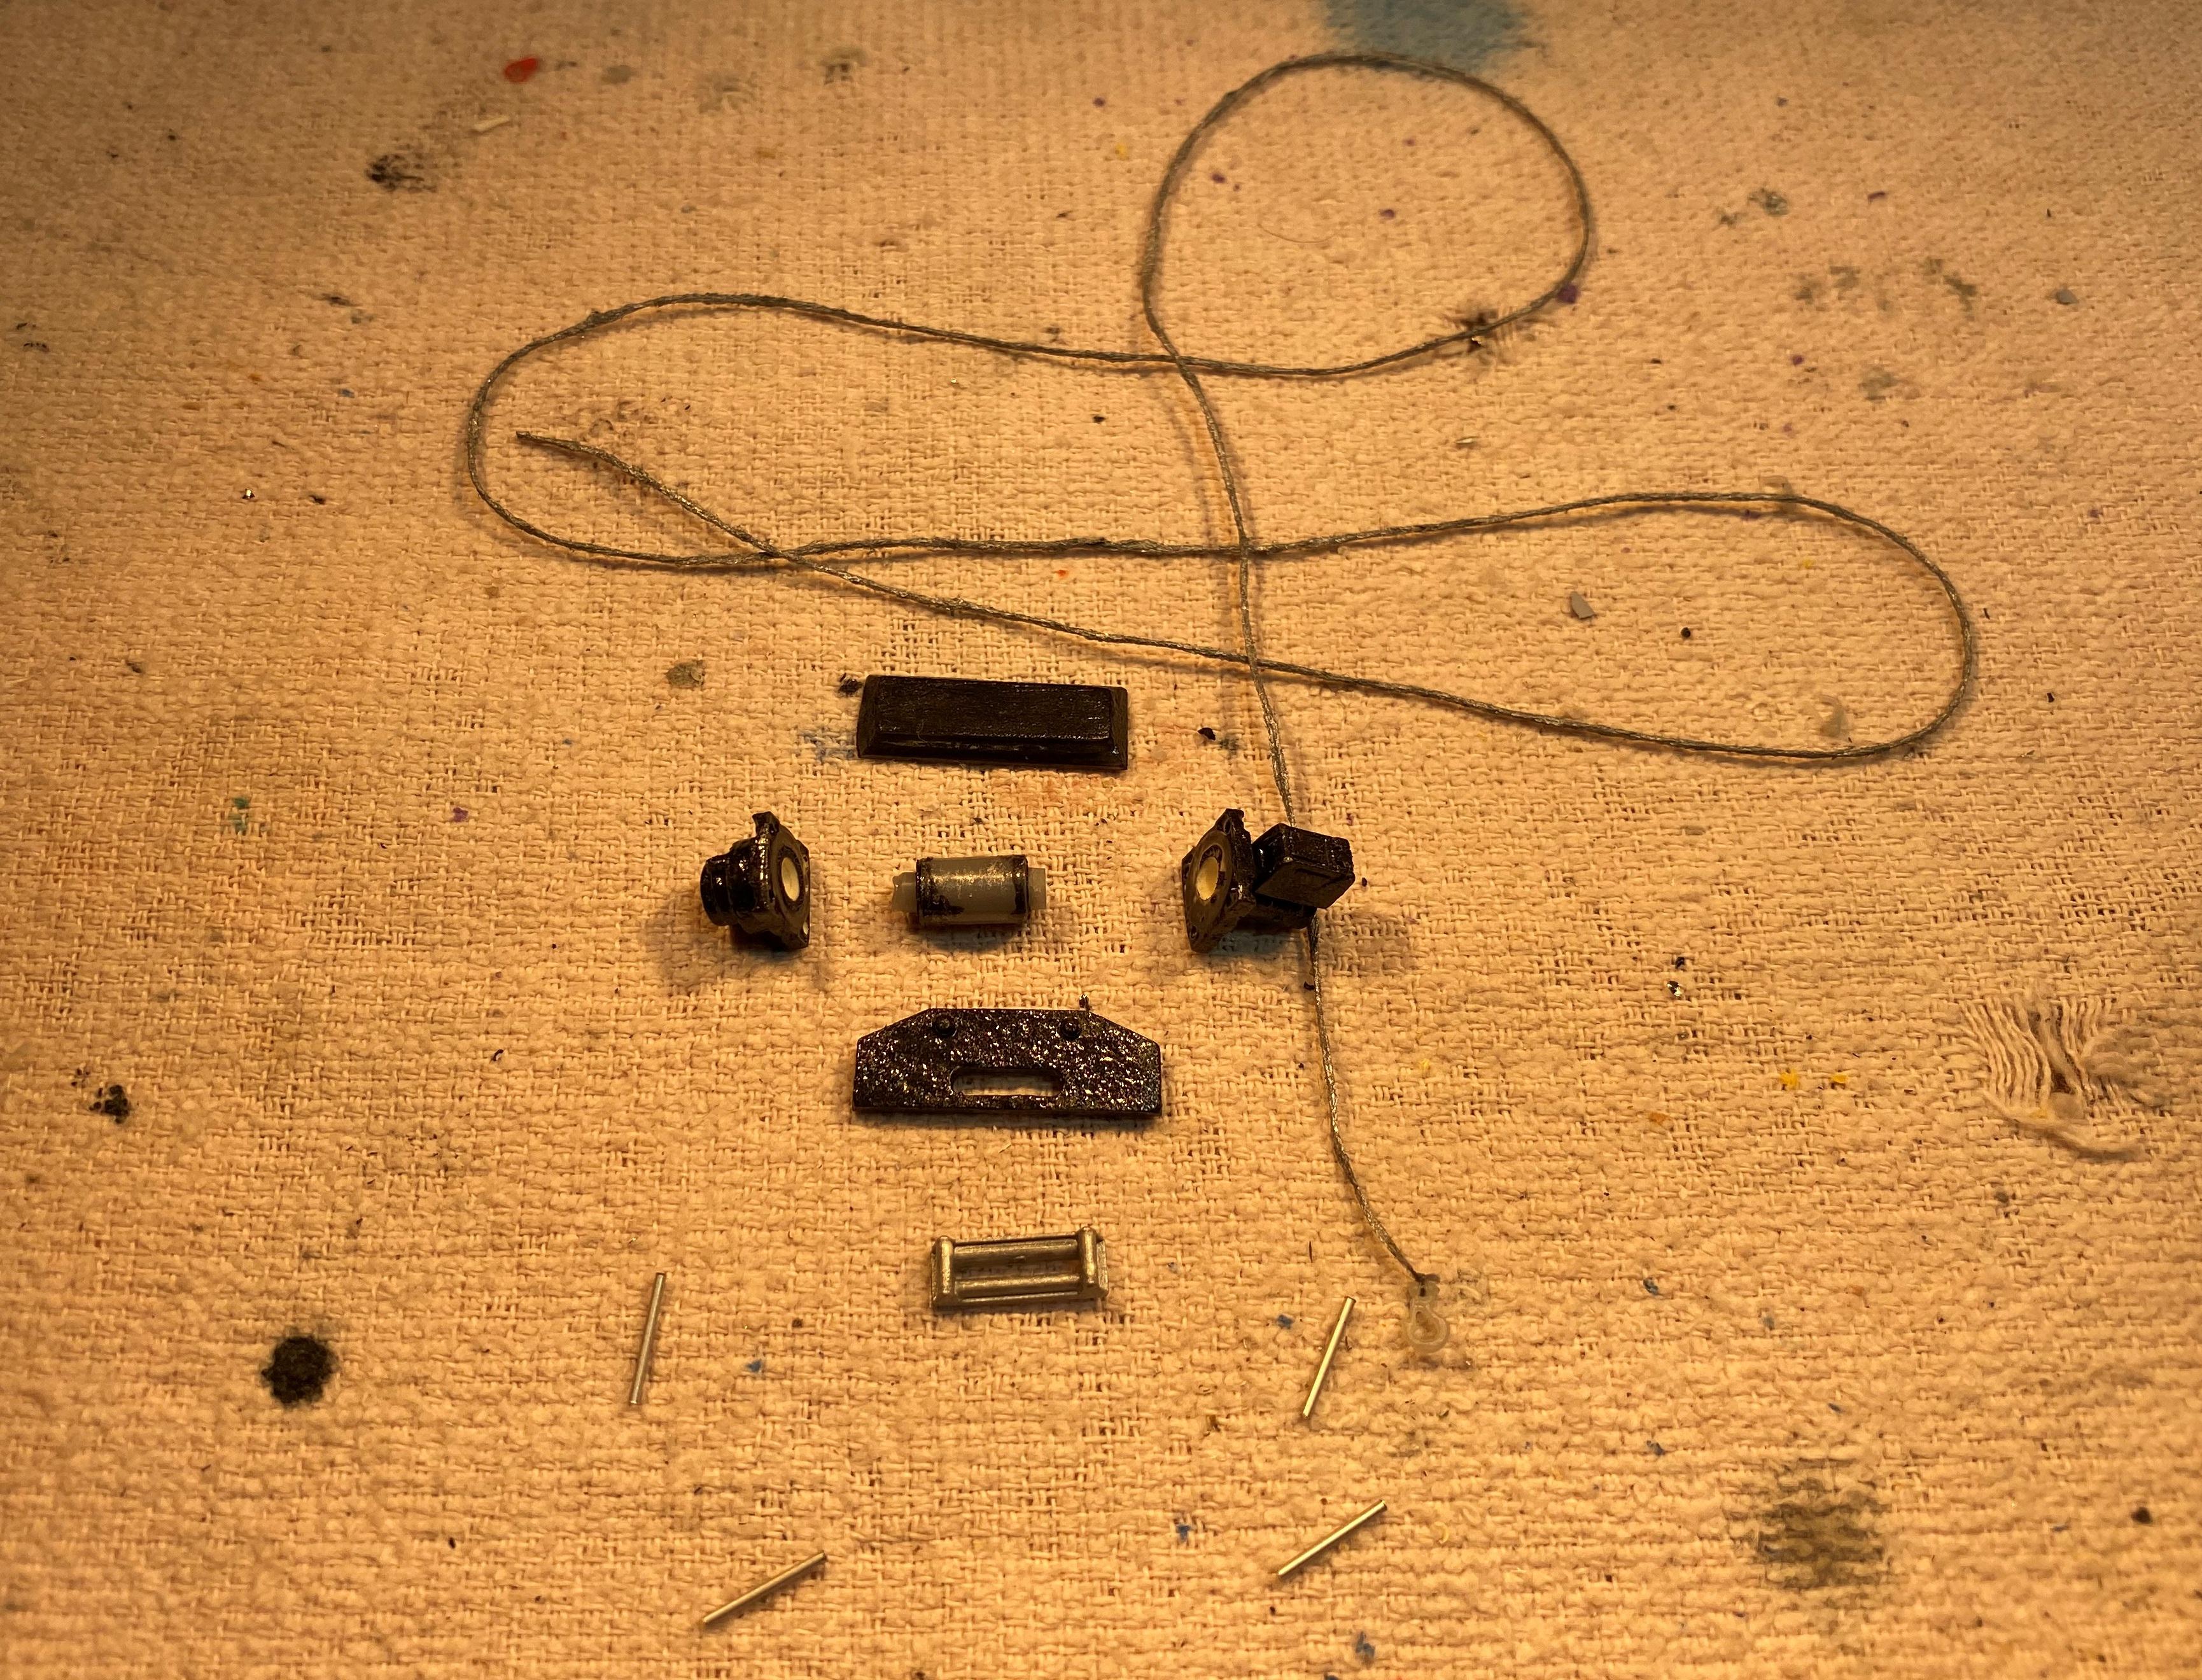
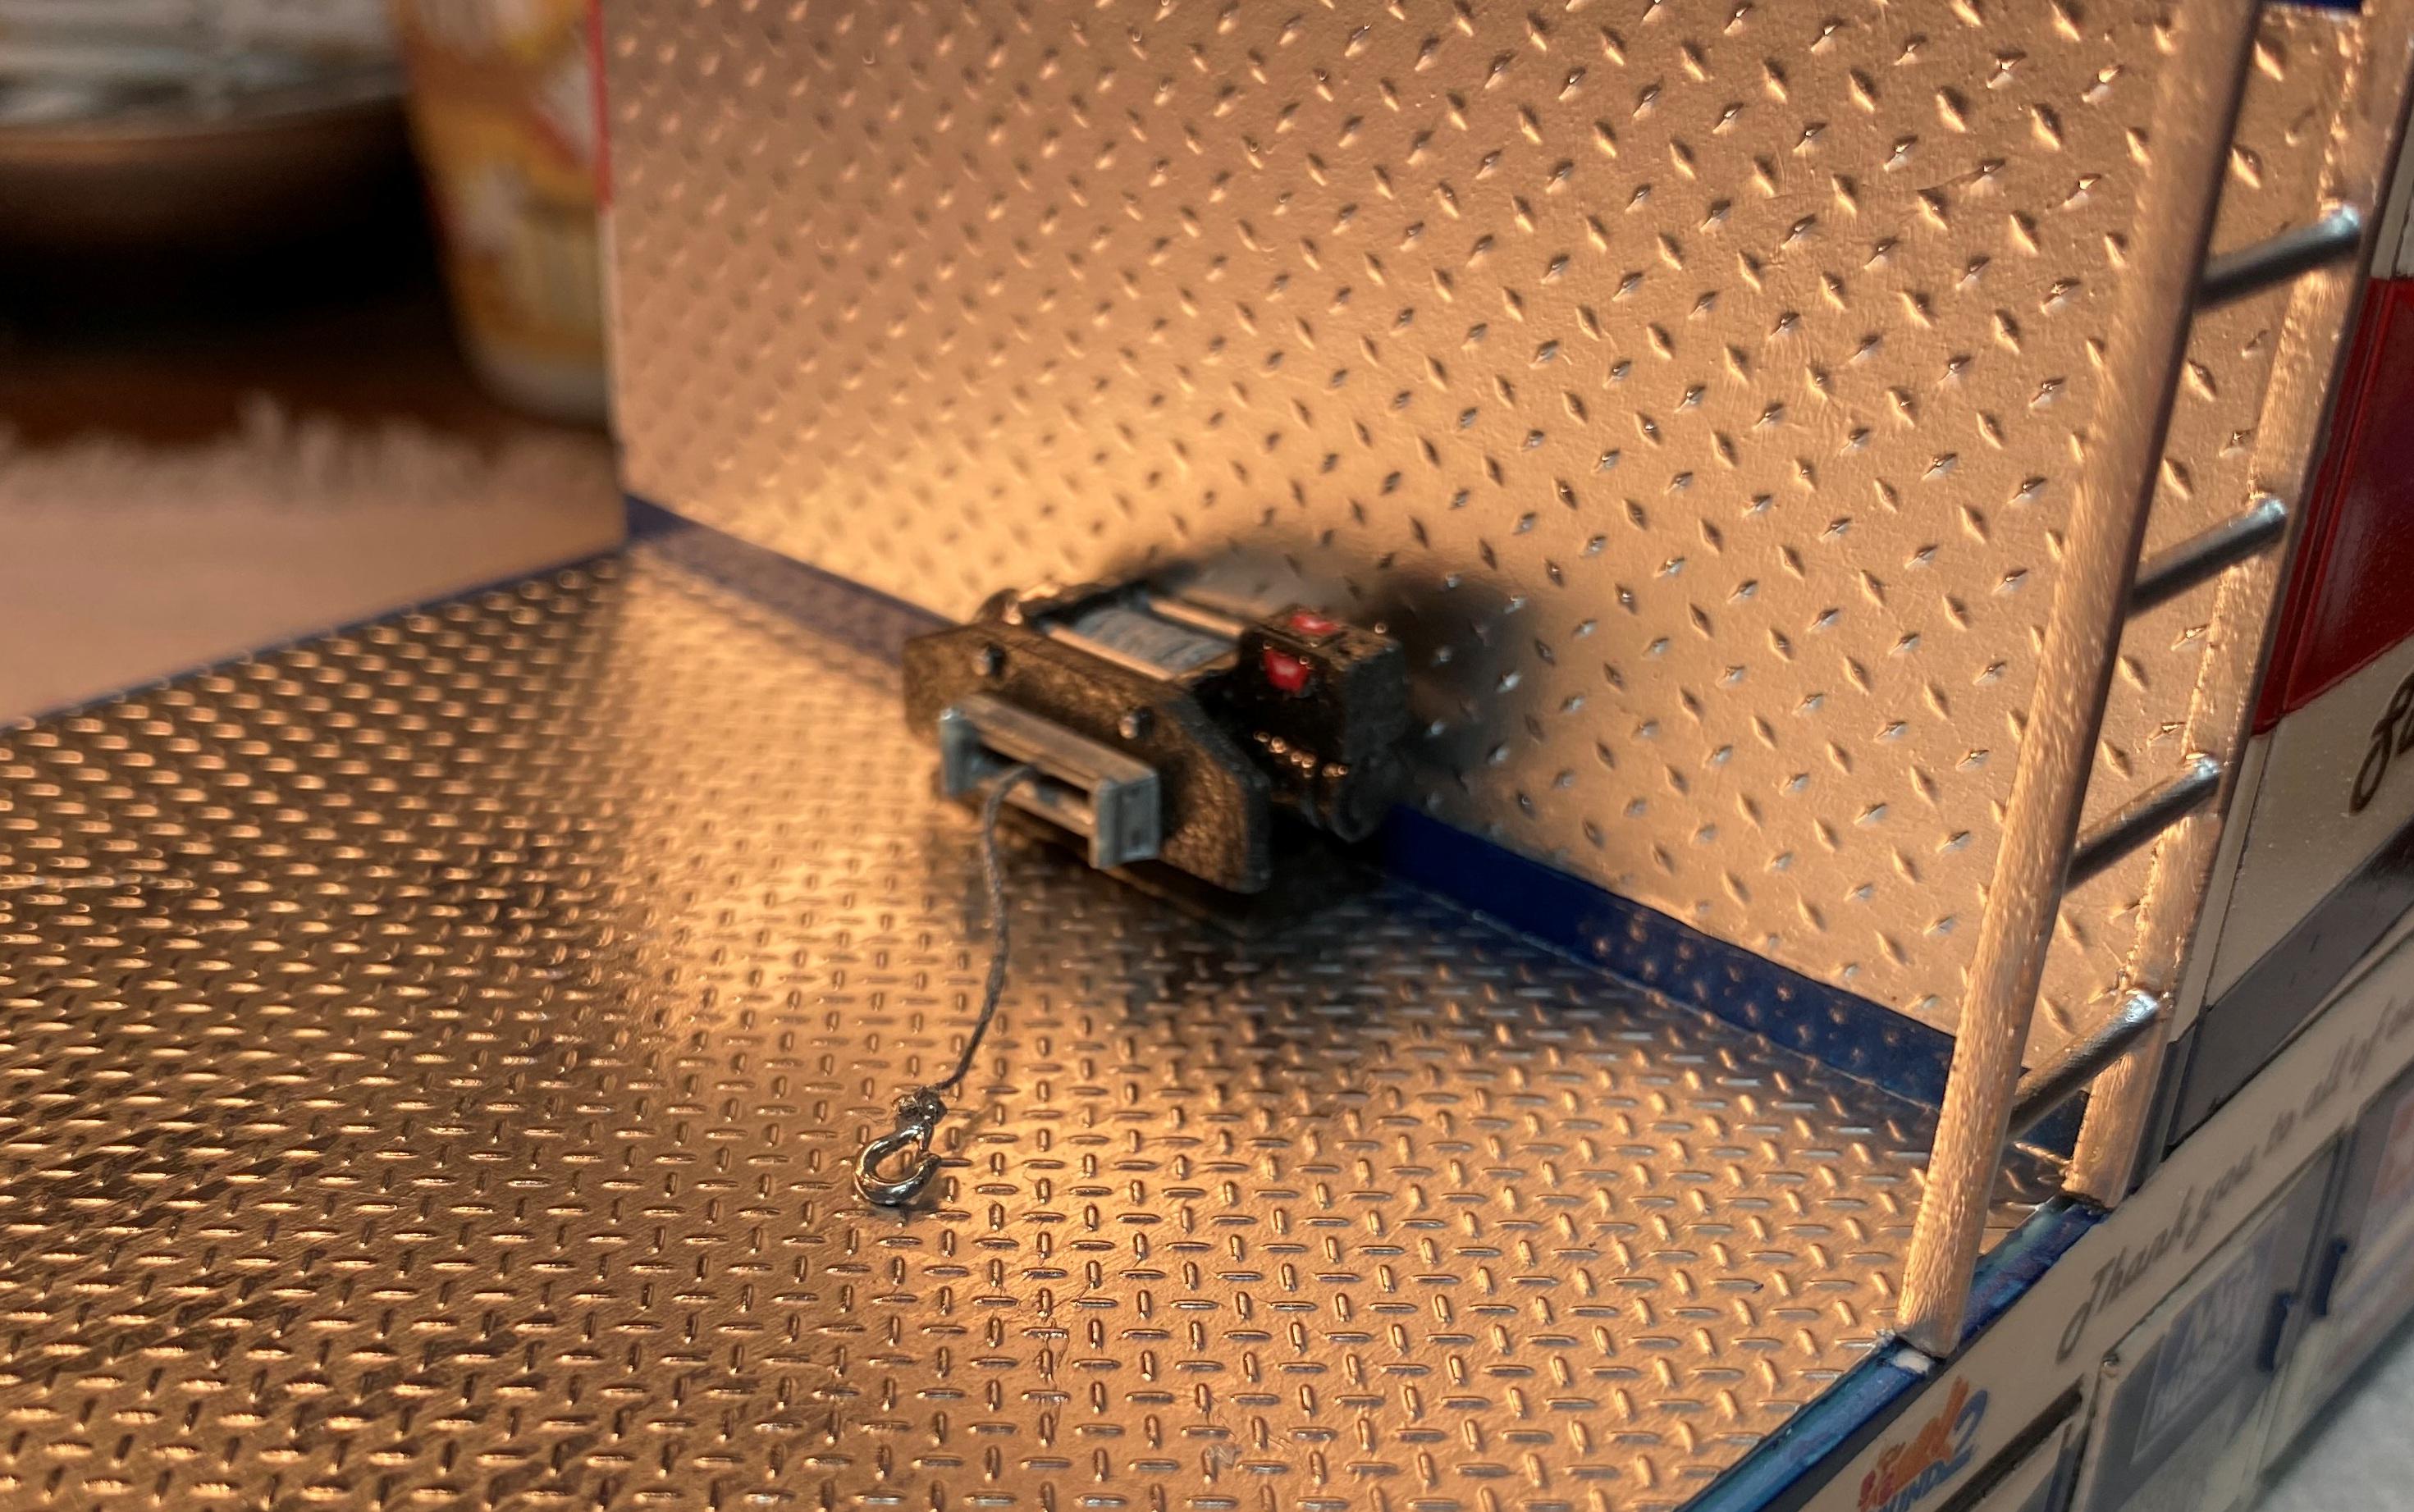
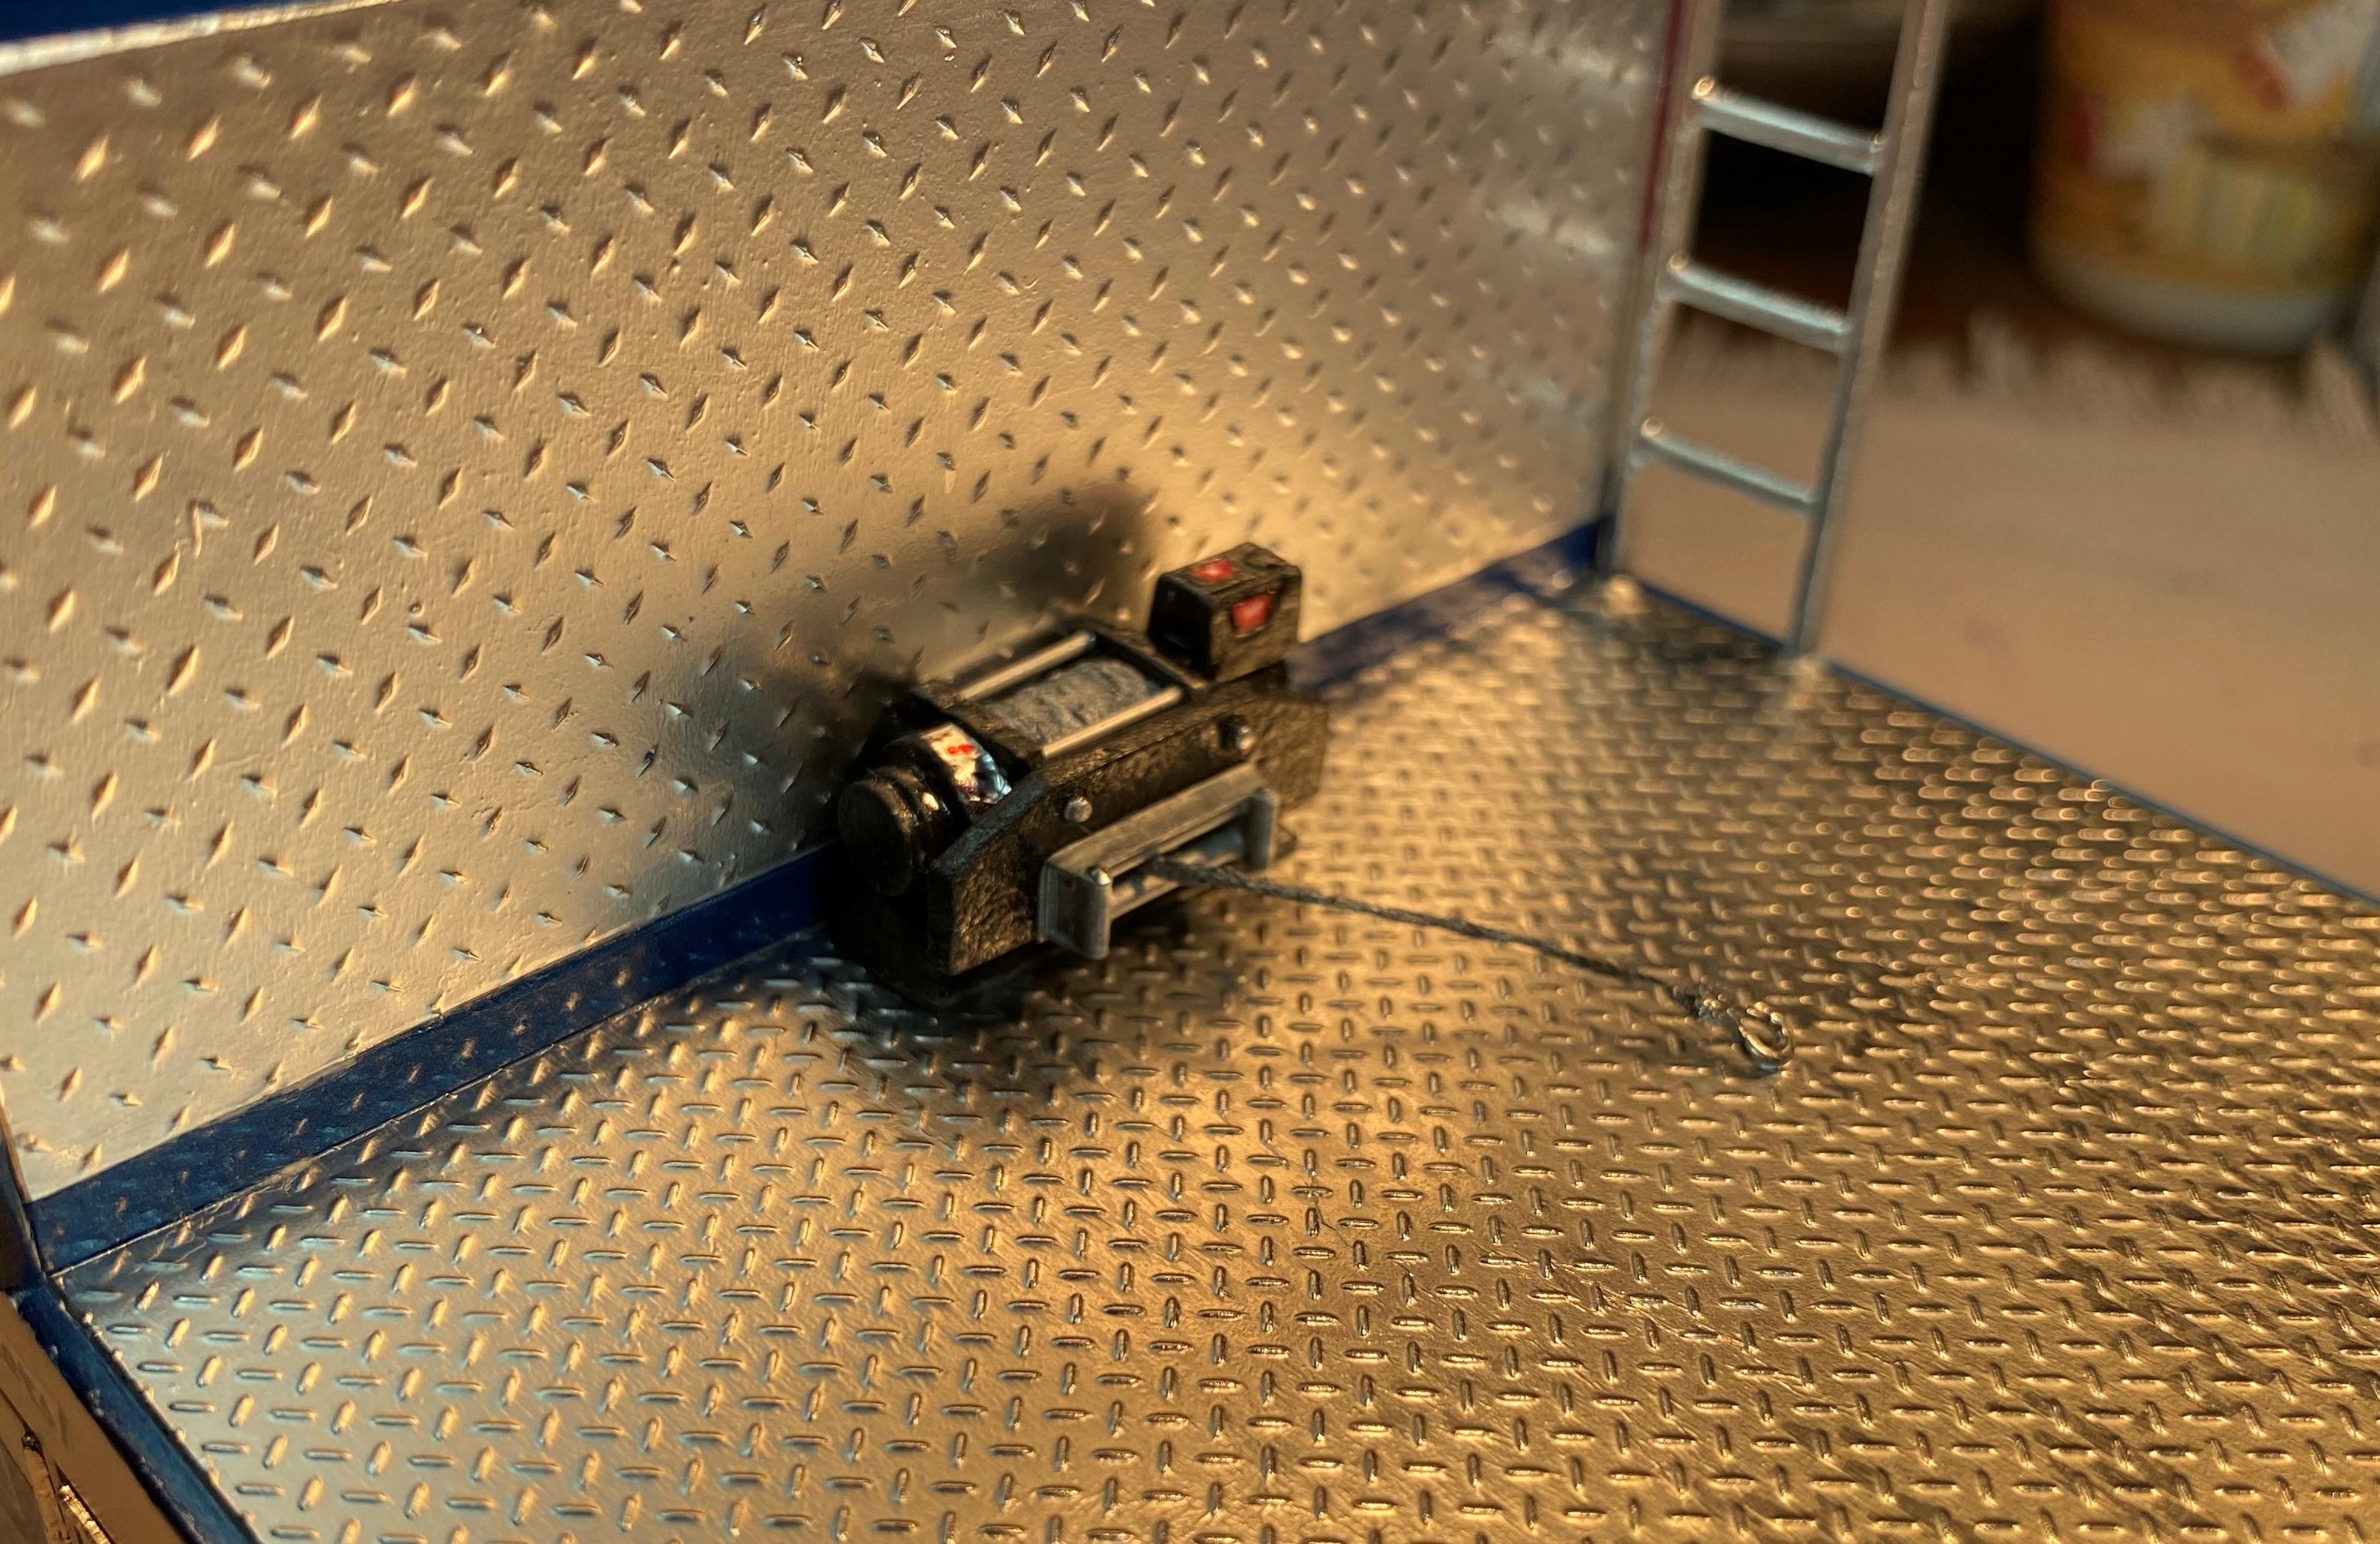
I got my Warn winch assembled and installed. I used a brush technique to get a hammertone finish and faked the decals with some ultra fine point Sharpies.
-
A little trivia for you on '74 and '75 Vettes. 1975 had the lowest HP ever with a 350 cid at 185HP. I was also the 1st year of the catalytic converter. On the 1:1, a dual exhaust kit from a small block '74 is a bolt in for a '75.
-
I like the diode fuel filter. Do you have a pic of the kit box art?
-
Brockway 457 Garbage Truck
Bills72sj replied to Warren D's topic in WIP: Model Trucks: Big Rigs and Heavy Equipment
I'm in. Following. -
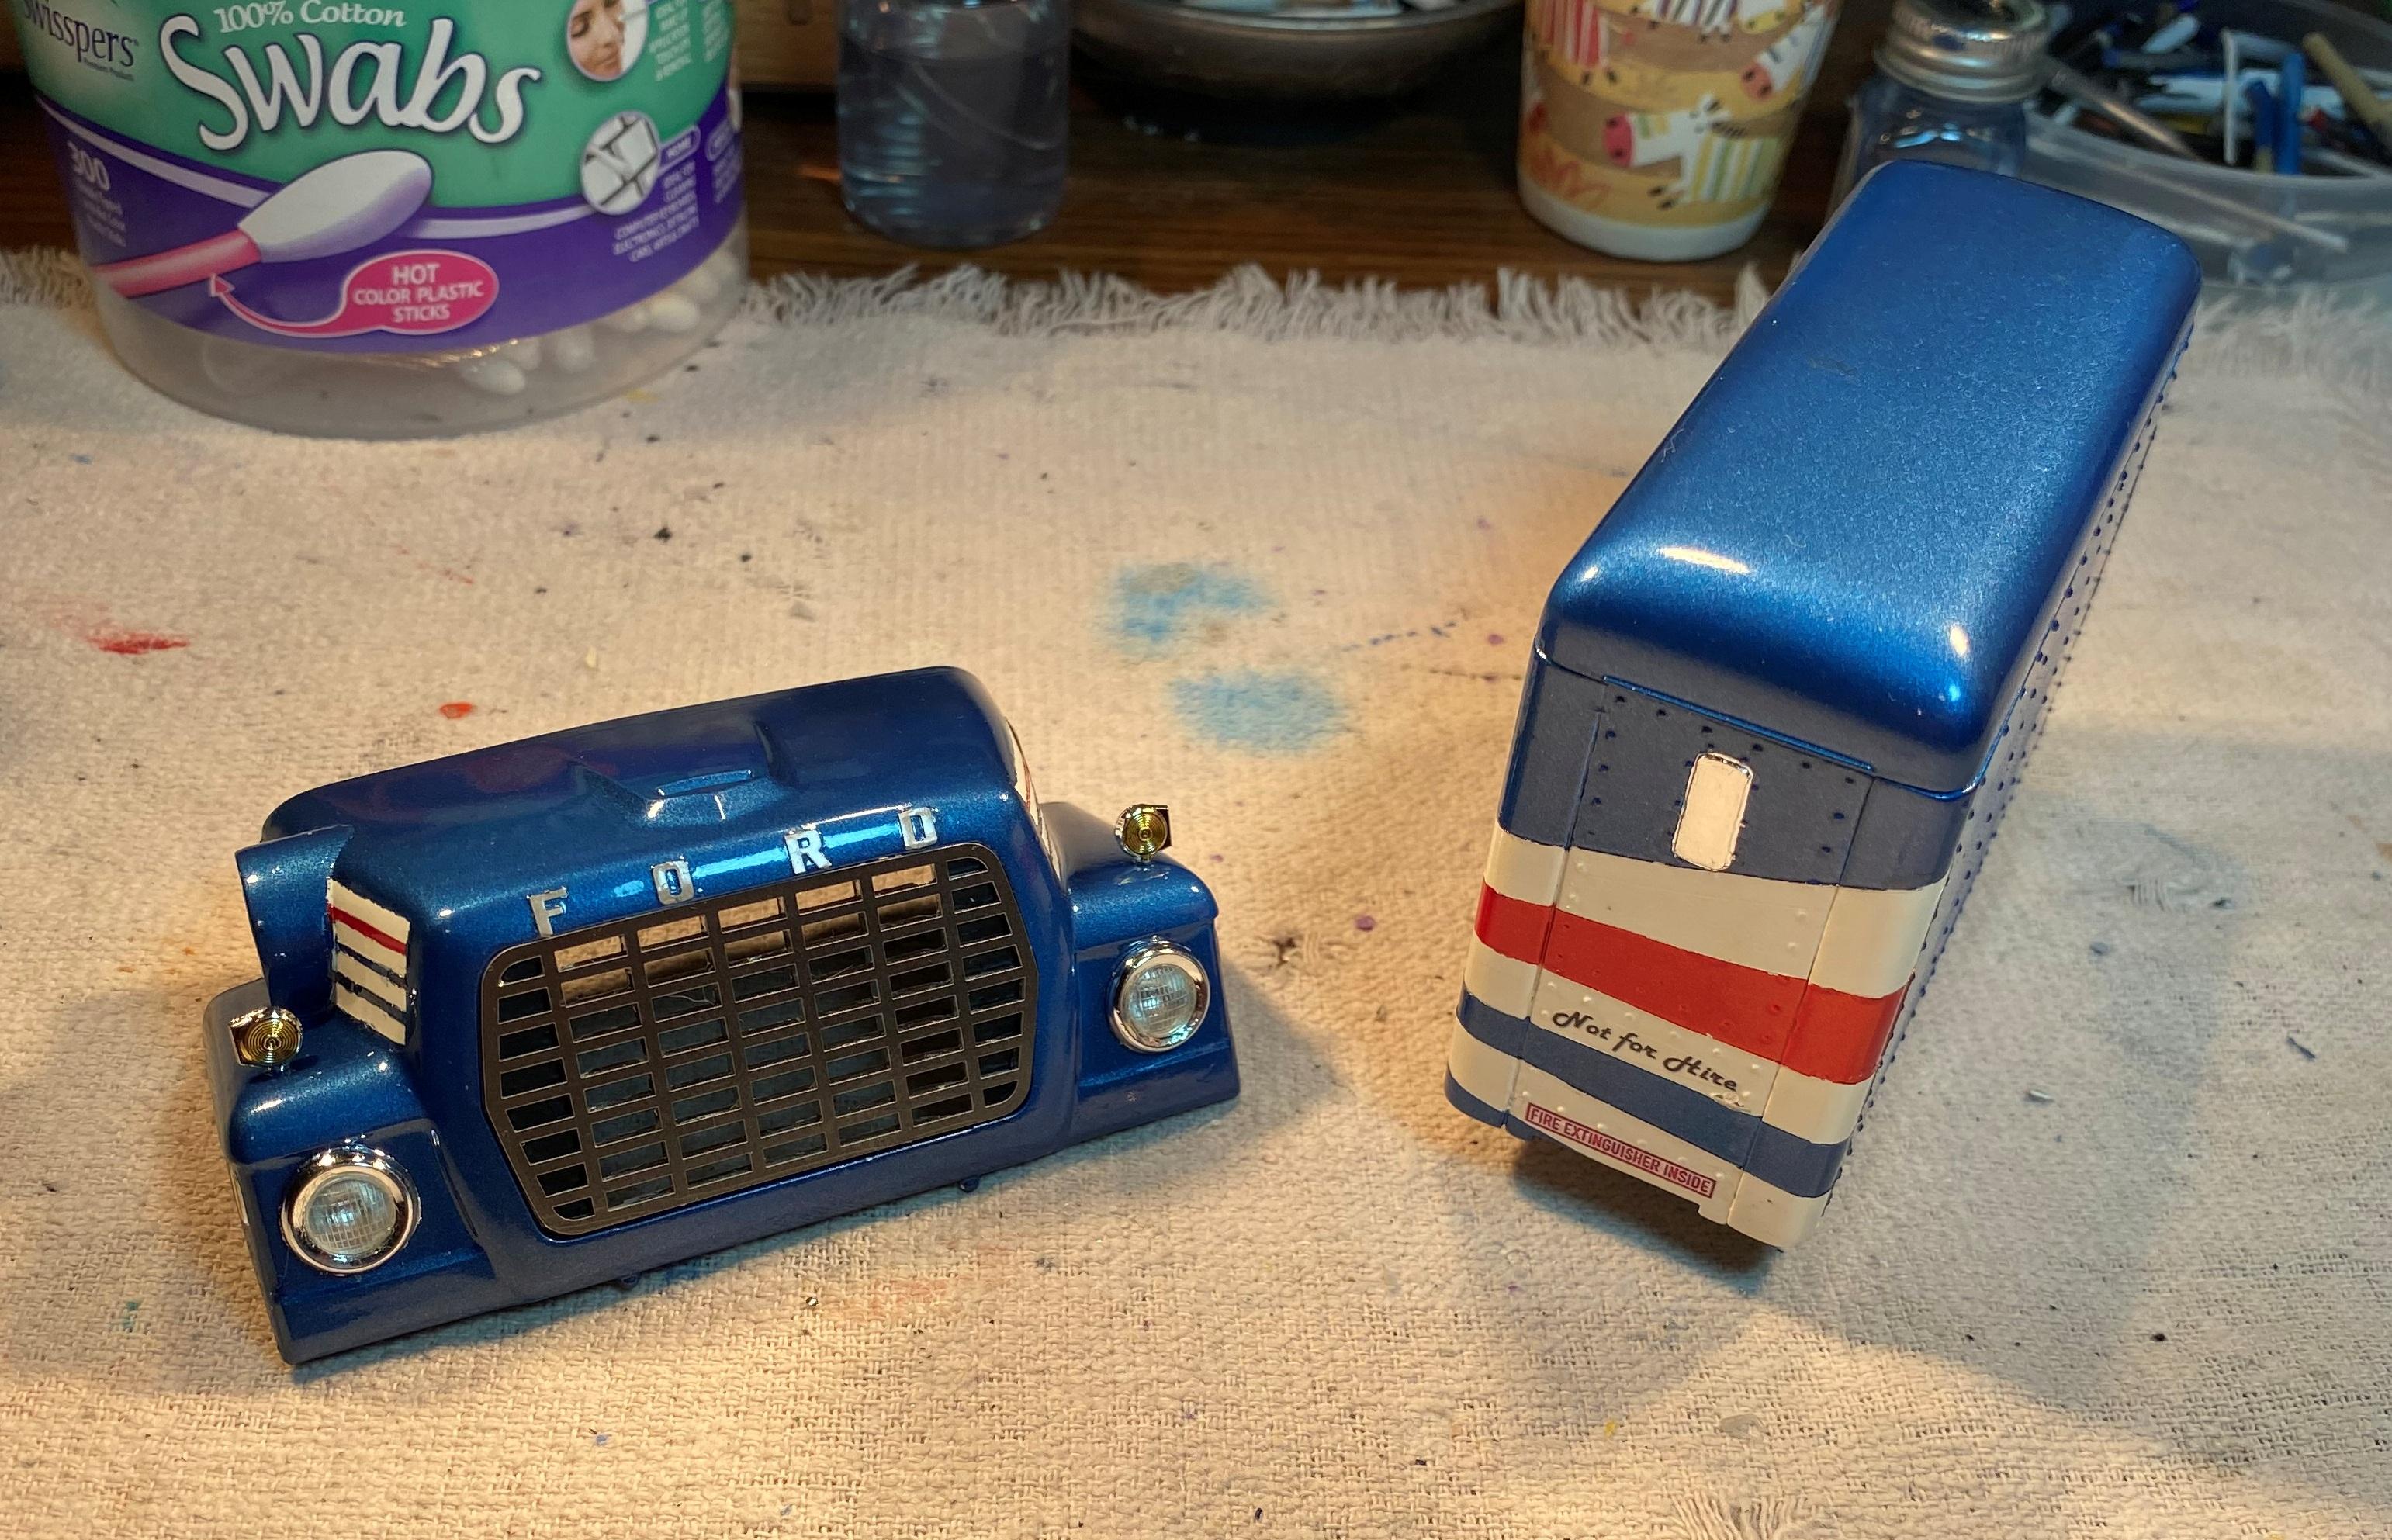
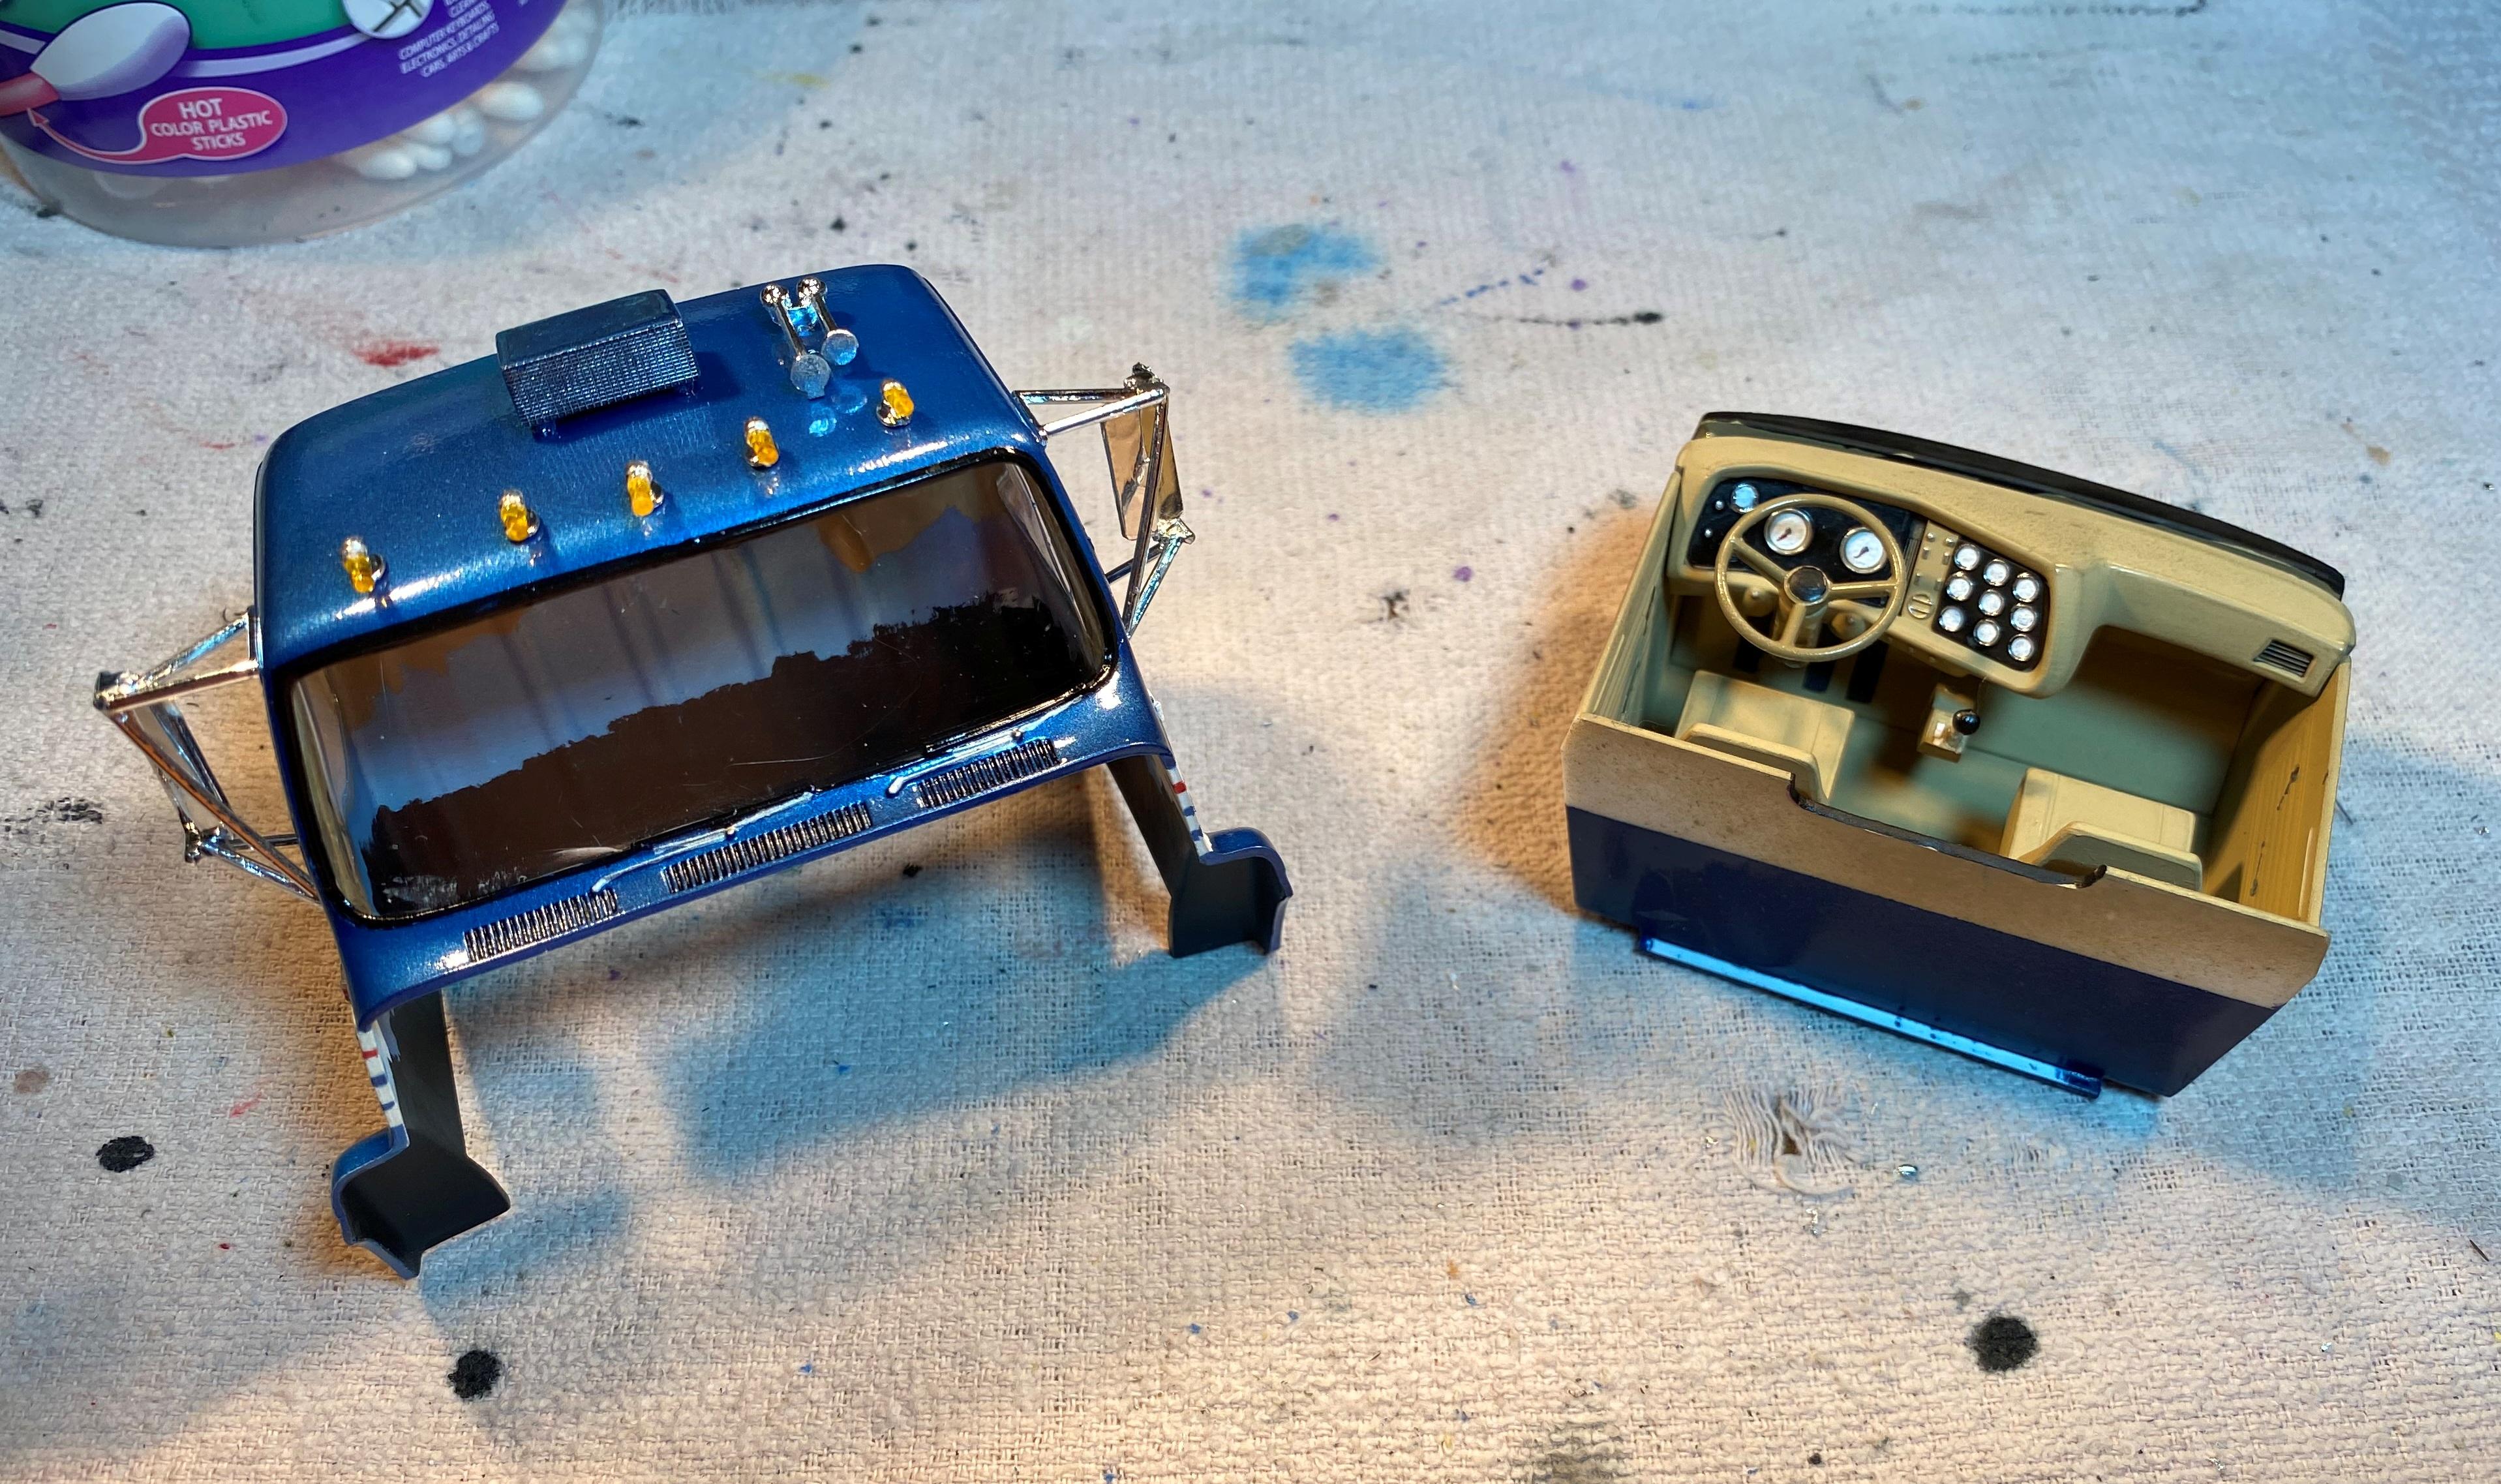
Trailways bus
Bills72sj replied to yellowsportwagon's topic in WIP: Model Trucks: Big Rigs and Heavy Equipment
Cool project. Following. -
1971 Autocar A64B & Haulaway Trailer
Bills72sj replied to Chuck Most's topic in Model Trucks: Big Rigs and Heavy Equipment
That is quite and eclectic group of vehicles. Well done. -
You definitely succeeded with the work truck look.