Pete75
-
Posts
538 -
Joined
-
Last visited
Content Type
Profiles
Forums
Events
Gallery
Everything posted by Pete75
-
Great build! ?
-
Formula 1 - 2021 crazy aerodynamics
Pete75 replied to 89AKurt's topic in General Automotive Talk (Trucks and Cars)
? High tech development is the name of the game, for sure; it's amazing how quickly F1 innovations find their way into road cars nowadays. Re gears, I believe they are currently 8 speed semi-auto paddle shift with a two-stage finger operated clutch (for starting/stopping). ? -
Super WIP & it's all looking great! What did you use for the carpet?
-
Favorite/greatest body style ever?
Pete75 replied to Venom's topic in General Automotive Talk (Trucks and Cars)
Difficult to disagree! -
Looks like an Aoshima kit now! Except the doors shut better ??
-
Humbrol Fiat 131 Abarth Rebuild
Pete75 replied to Spottedlaurel's topic in WIP: Other Racing: Road Racing, Land Speed Racers
Love how wide those wheels are! I see you're using Green Stuff; is that sandable? -
Congratulations "doorsovdoon"!!
Pete75 replied to StevenGuthmiller's topic in General Automotive Talk (Trucks and Cars)
Thank you sir - subscribed! ? -
Congratulations "doorsovdoon"!!
Pete75 replied to StevenGuthmiller's topic in General Automotive Talk (Trucks and Cars)
Congratulations Gareth. It's a pity we can't actually see your achievement here in Europe, but it's an honour nonetheless! -
Yep - a pretty easy one from this side of the pond. This can be an Americans only round!??
-
Alfa Romeo 8C 2300 Roadster Italeri 1/12
Pete75 replied to maysula's topic in Other Racing: Road Racing, Salt Flat Racers
Wow - looks 1:1scale! -
Jim Clark's Championship Wining Lotus 25
Pete75 replied to AL.'s topic in Other Racing: Road Racing, Salt Flat Racers
Super job ? -
Great job - a demon road racer! ?
-
Congrats Andrew on getting your silver stealth machine to the finish line. Those wheels/brakes look badass! That's gonna be one mean truck, Anton. A strong contender for the most extensive re-engineering award! ?
-
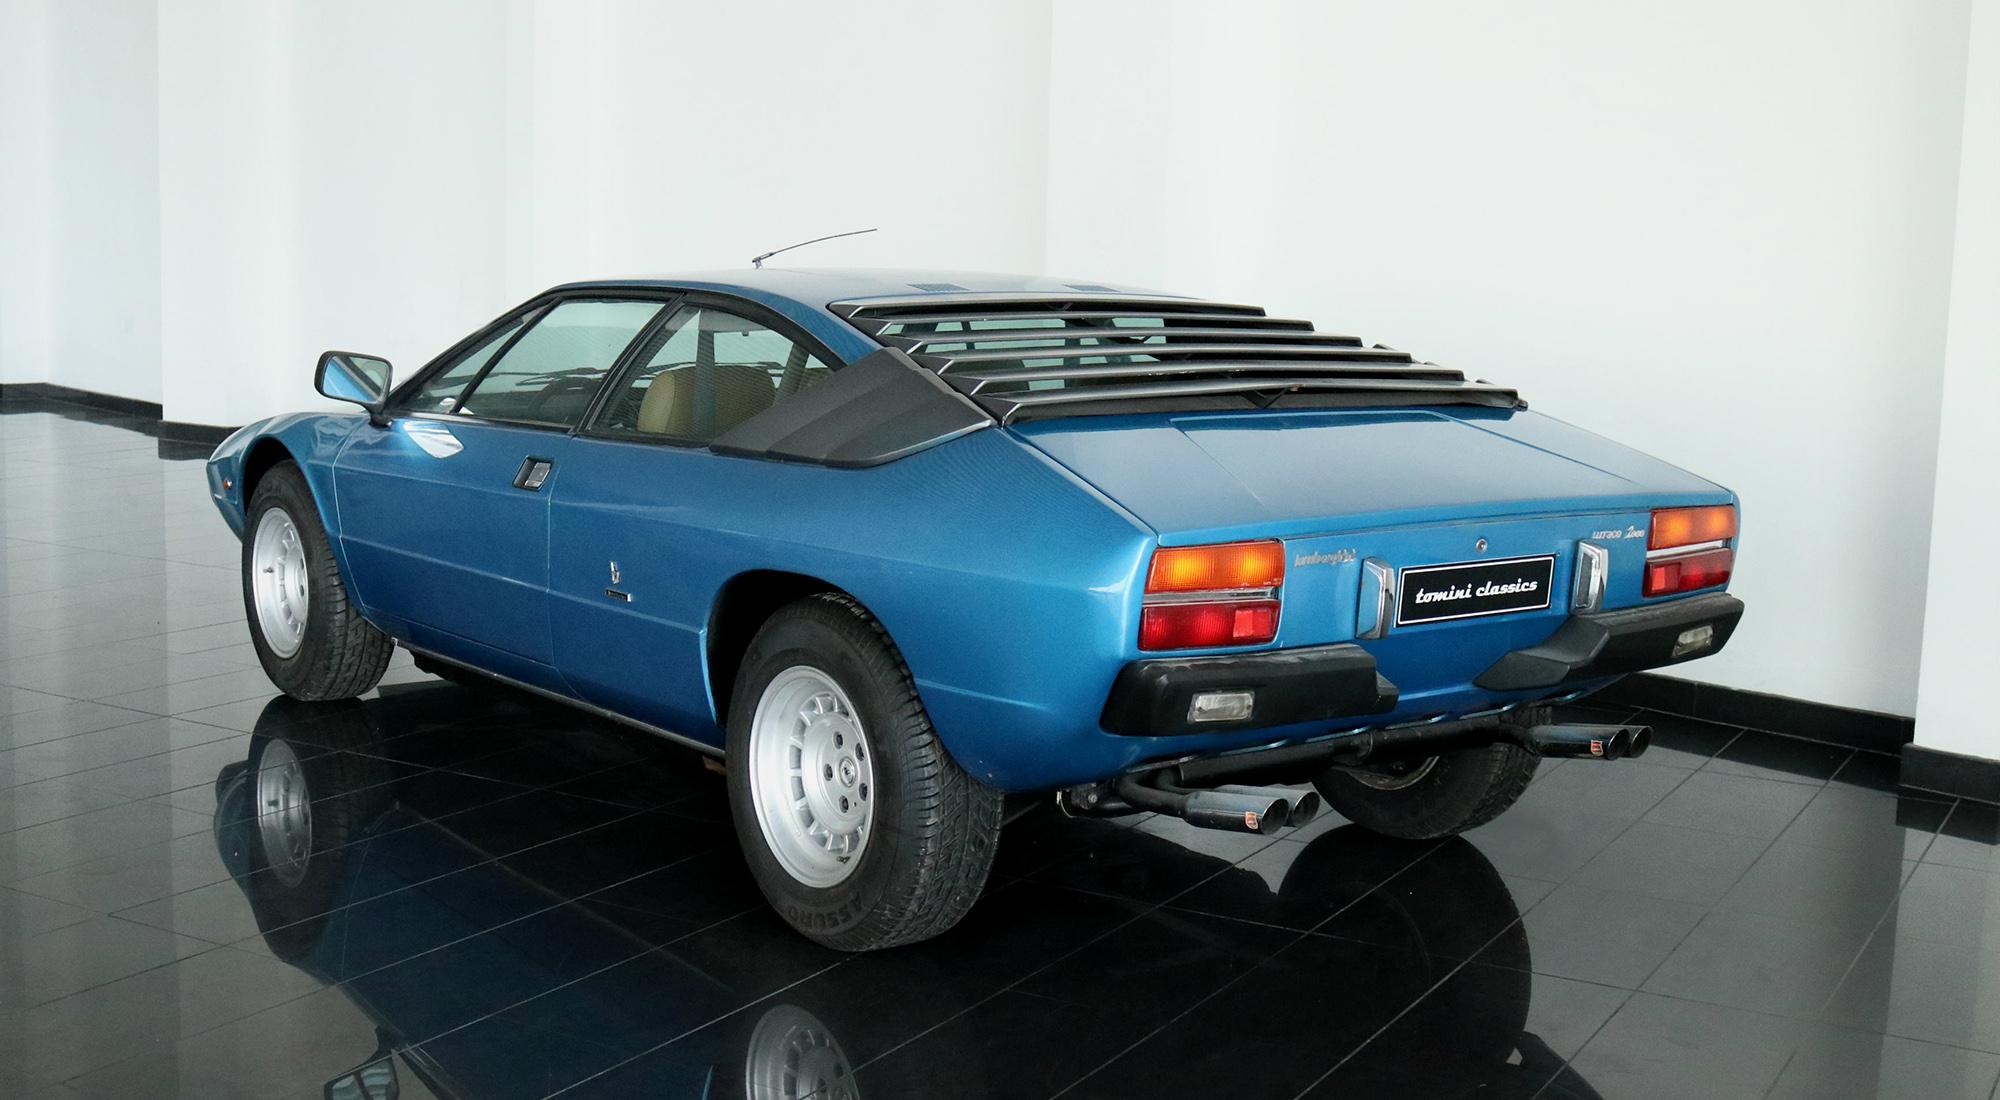
In the interests of fairness, I have to give it to you: it's as close as my guess was with the Honda. The actual model is the Urraco (1973-79), but the only real difference is some body kit. Well done Josh and over to you.

-
A fine guess, sir. But not quite right...
-
She is a less well-known member of an exotic family. Her younger sister was a pin-up in the era you mention...
-
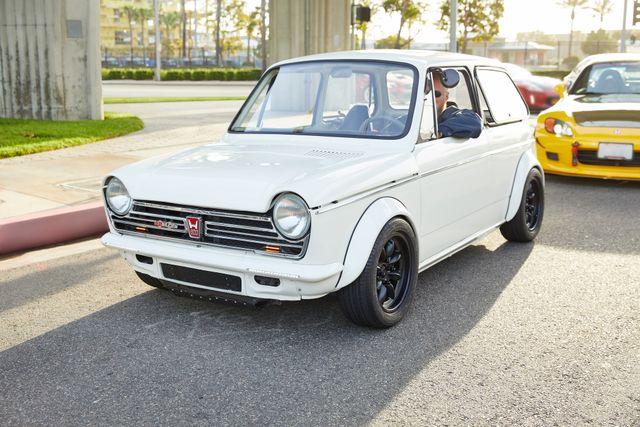
Ok, I confess I cheated somewhat: after your clue I knew it was a '60s Honda and Google filled in the rest. I didn't derive any sense of achievement, so there'll be no more internet searching from me from now on! Ok, I think this one's quite good:
-
I'm gonna guess Honda N600?
-
? Well spotted Don!
-
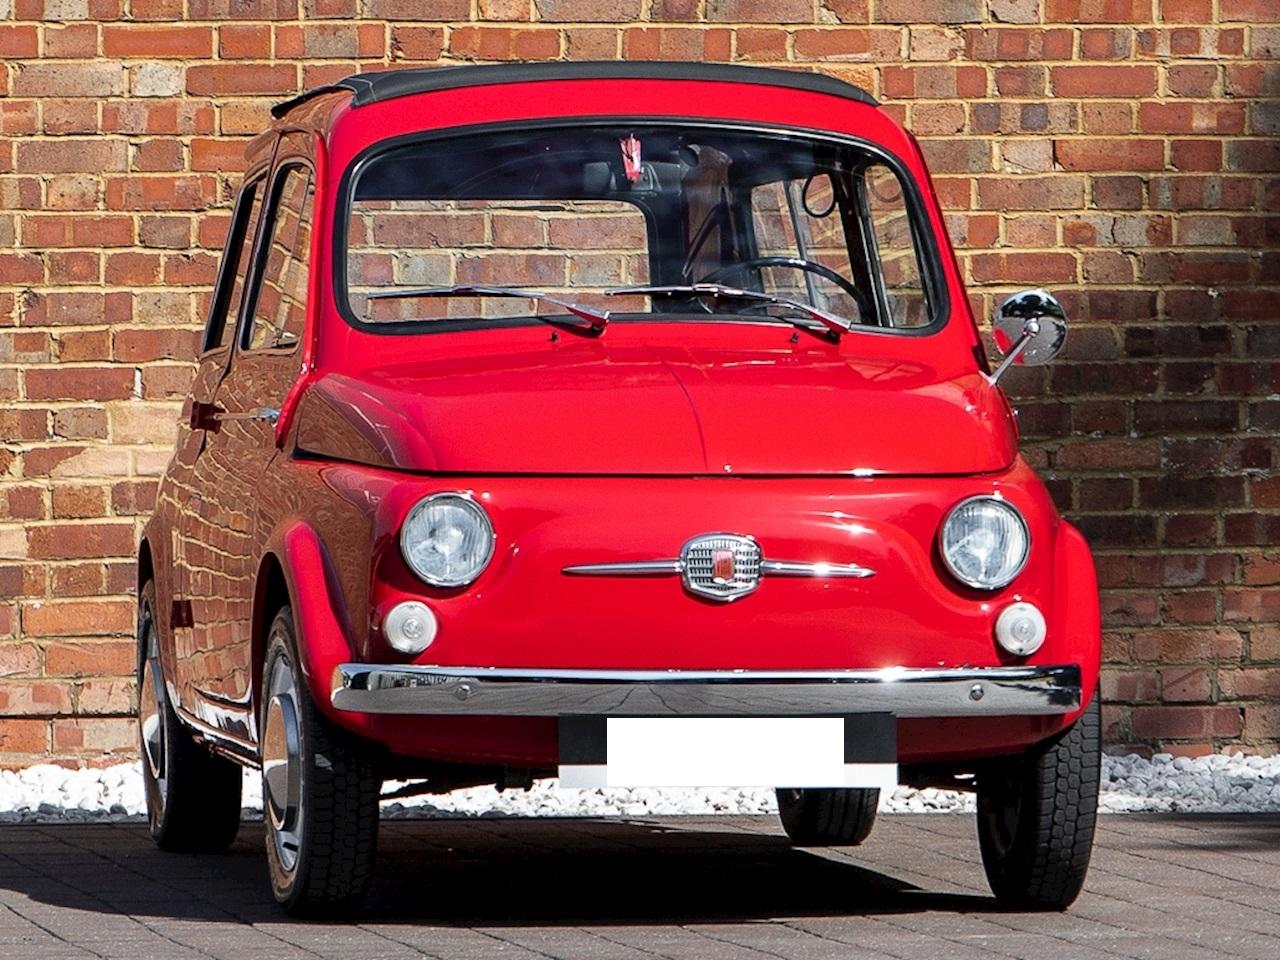
Well done Miles - Fiat 500 is correct ? Over to you...
-
Right, take two. Try this:
-
Ha ha... NOT that one. I've just noticed it's my avatar!!! I'll pick another!
-
-
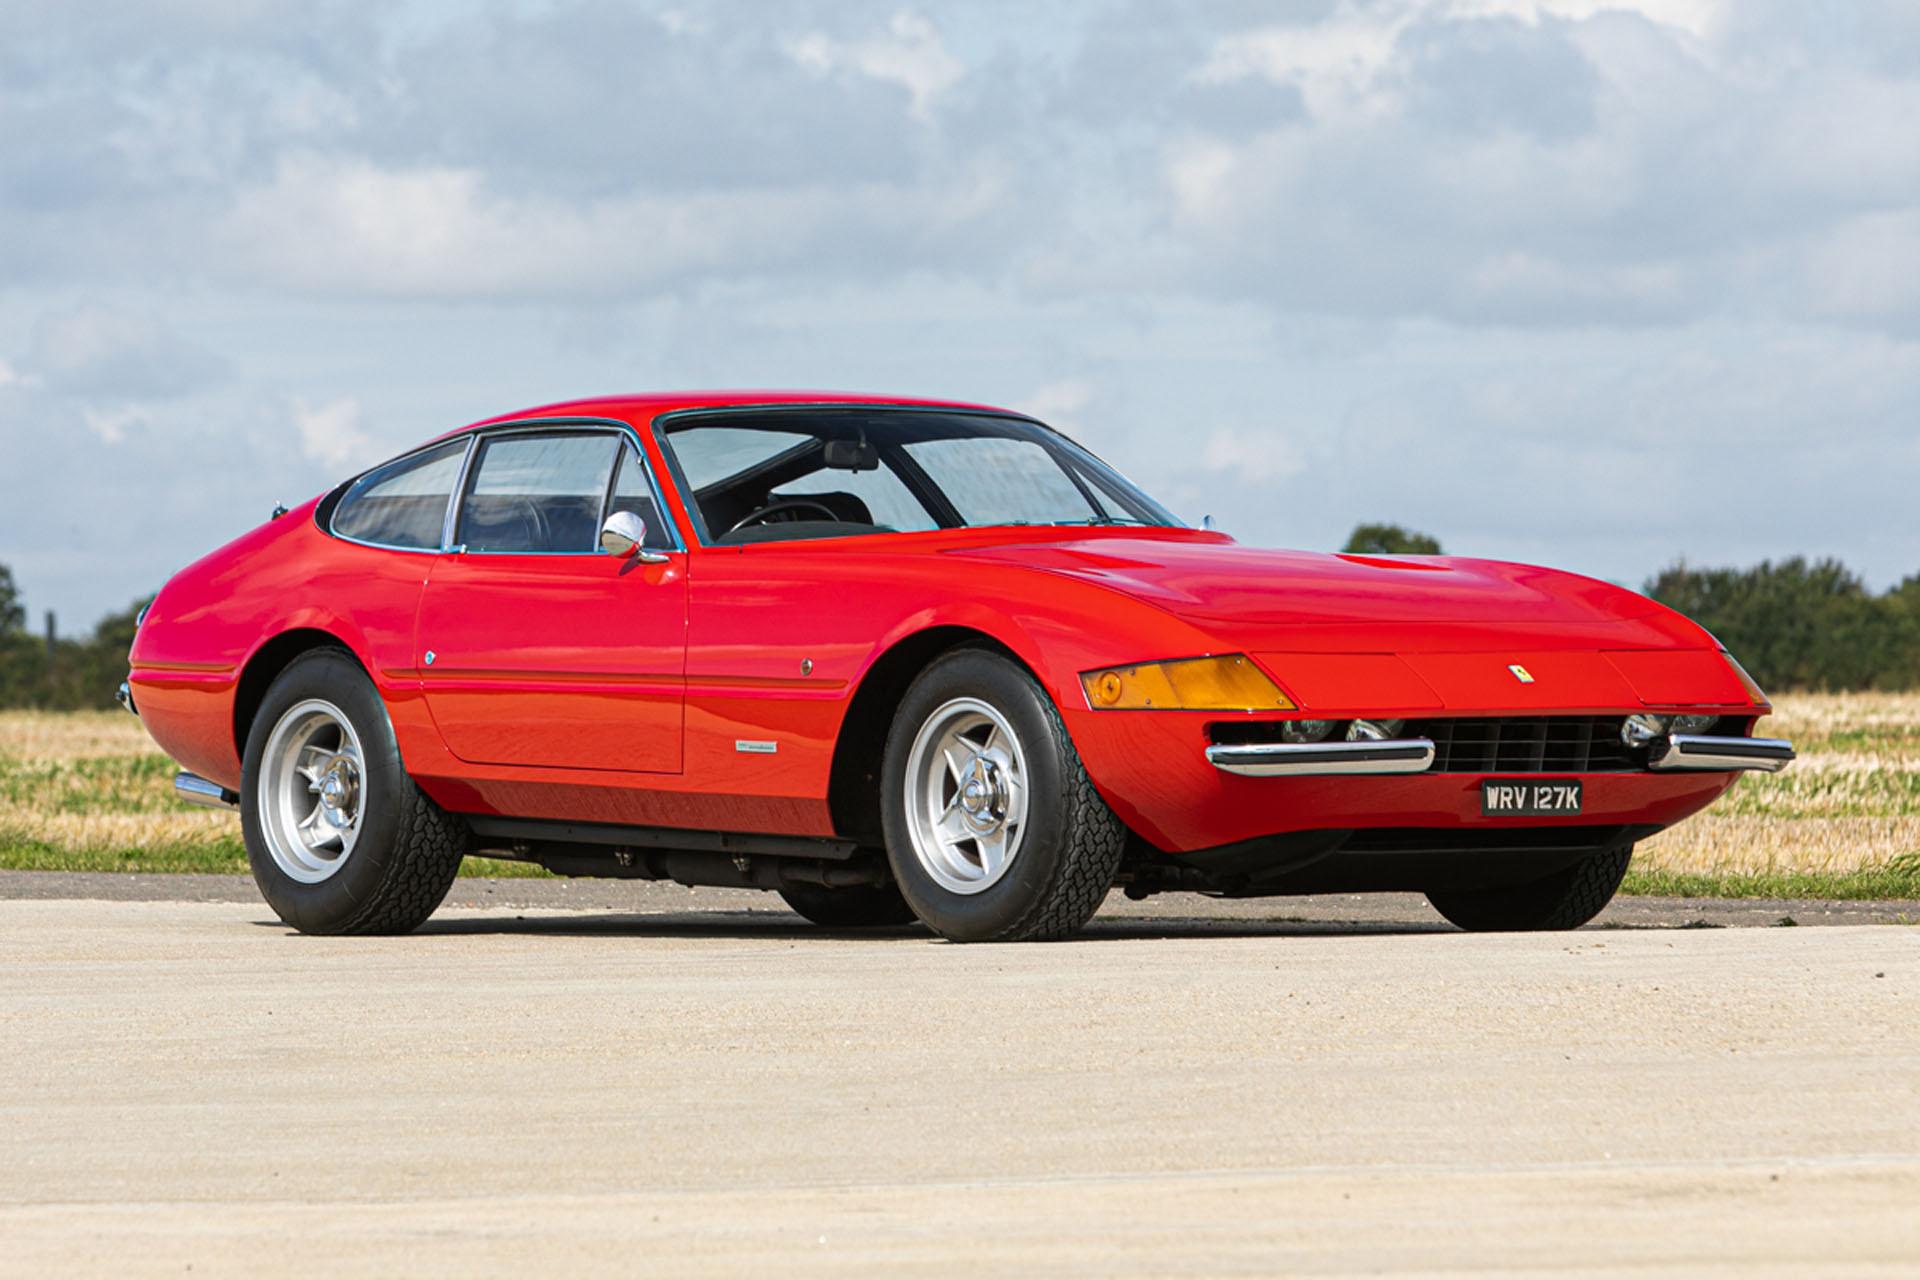
Ferrari Daytona
-
? That's a cool little trio: love how wide-ranging your taste in cars is! Very interesting to see how effective the enamel is. You'd never know it was brushed & it really captures that black plastic bumper finish perfectly ?