-
Posts
538 -
Joined
-
Last visited
Content Type
Profiles
Forums
Events
Gallery
Everything posted by Pete75
-
All getting very German around here... ? Seriously though, that's gonna be one mean concept car. Look forward to seeing more. Not even asking how you go about making those shapes - I'm still on box kits 101! ?
- 64 replies
-
- scratch build
- amg
-
(and 2 more)
Tagged with:
-
Definitely going to use your wood effect technique - looking great!
-
Humbrol Fiat 131 Abarth Rebuild
Pete75 replied to Spottedlaurel's topic in WIP: Other Racing: Road Racing, Land Speed Racers
That's going to be one seriously cool Fiat! Love those wheels ? -
Cheers Mike! ?
-
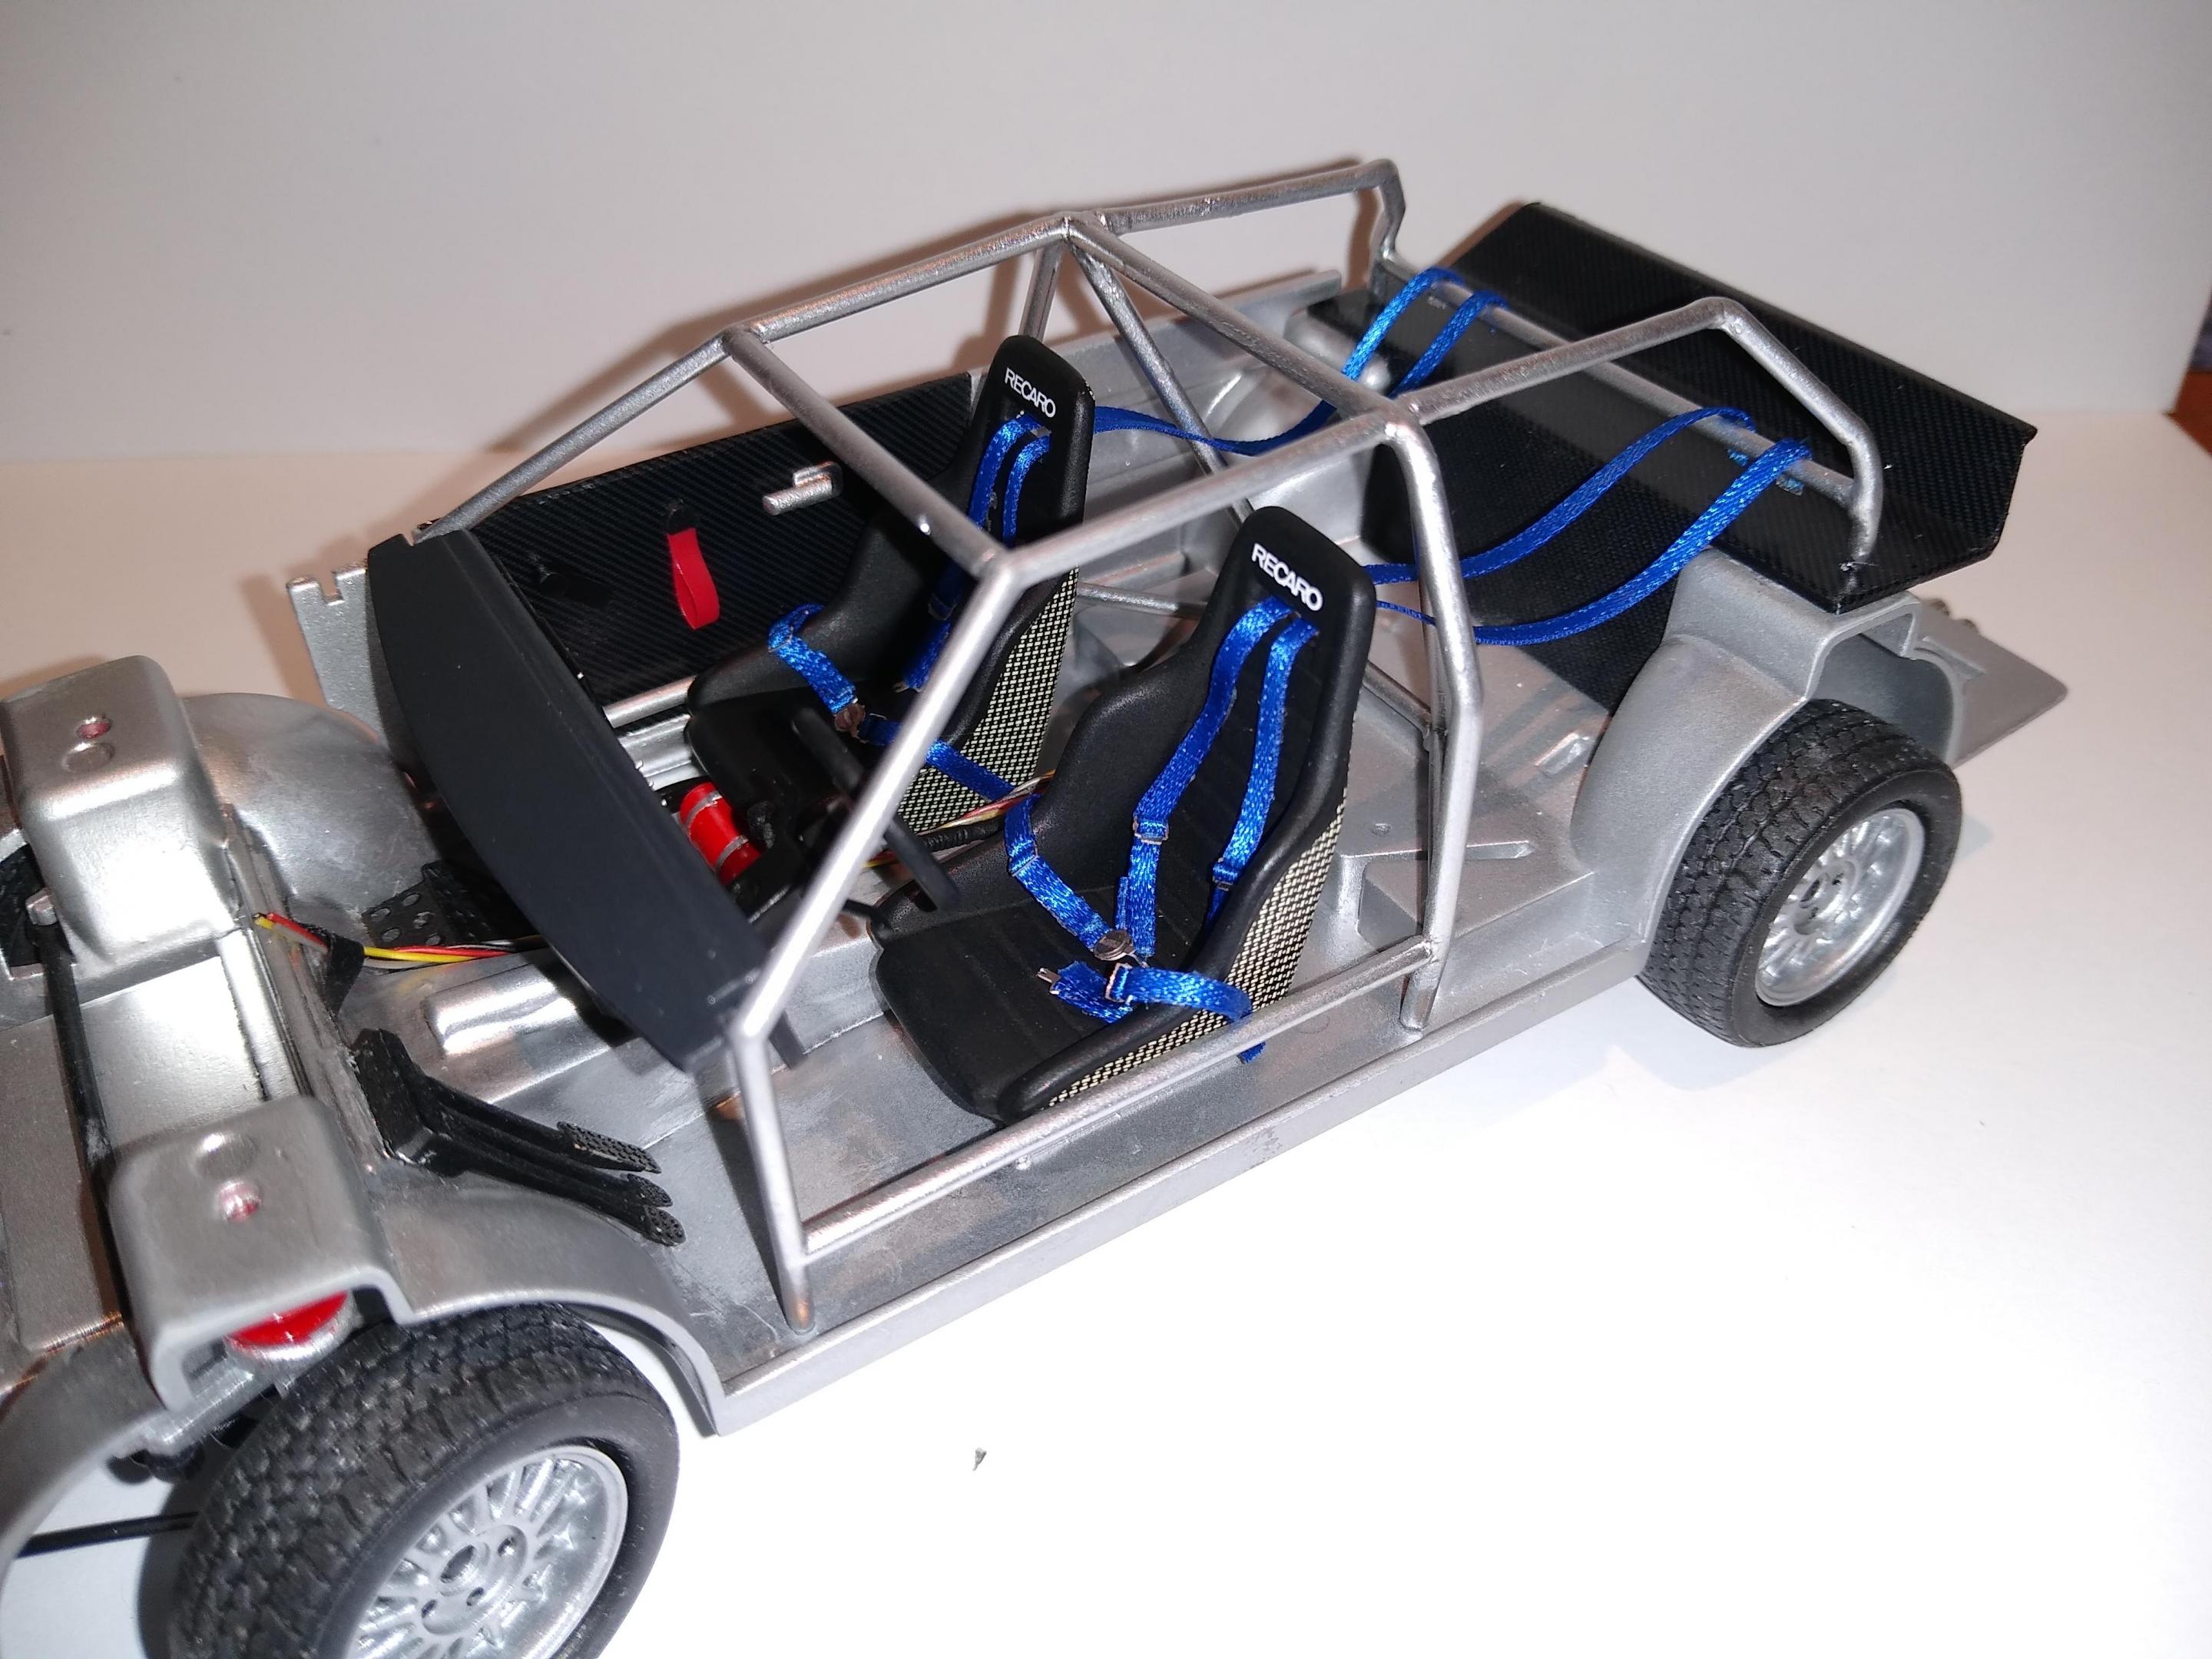
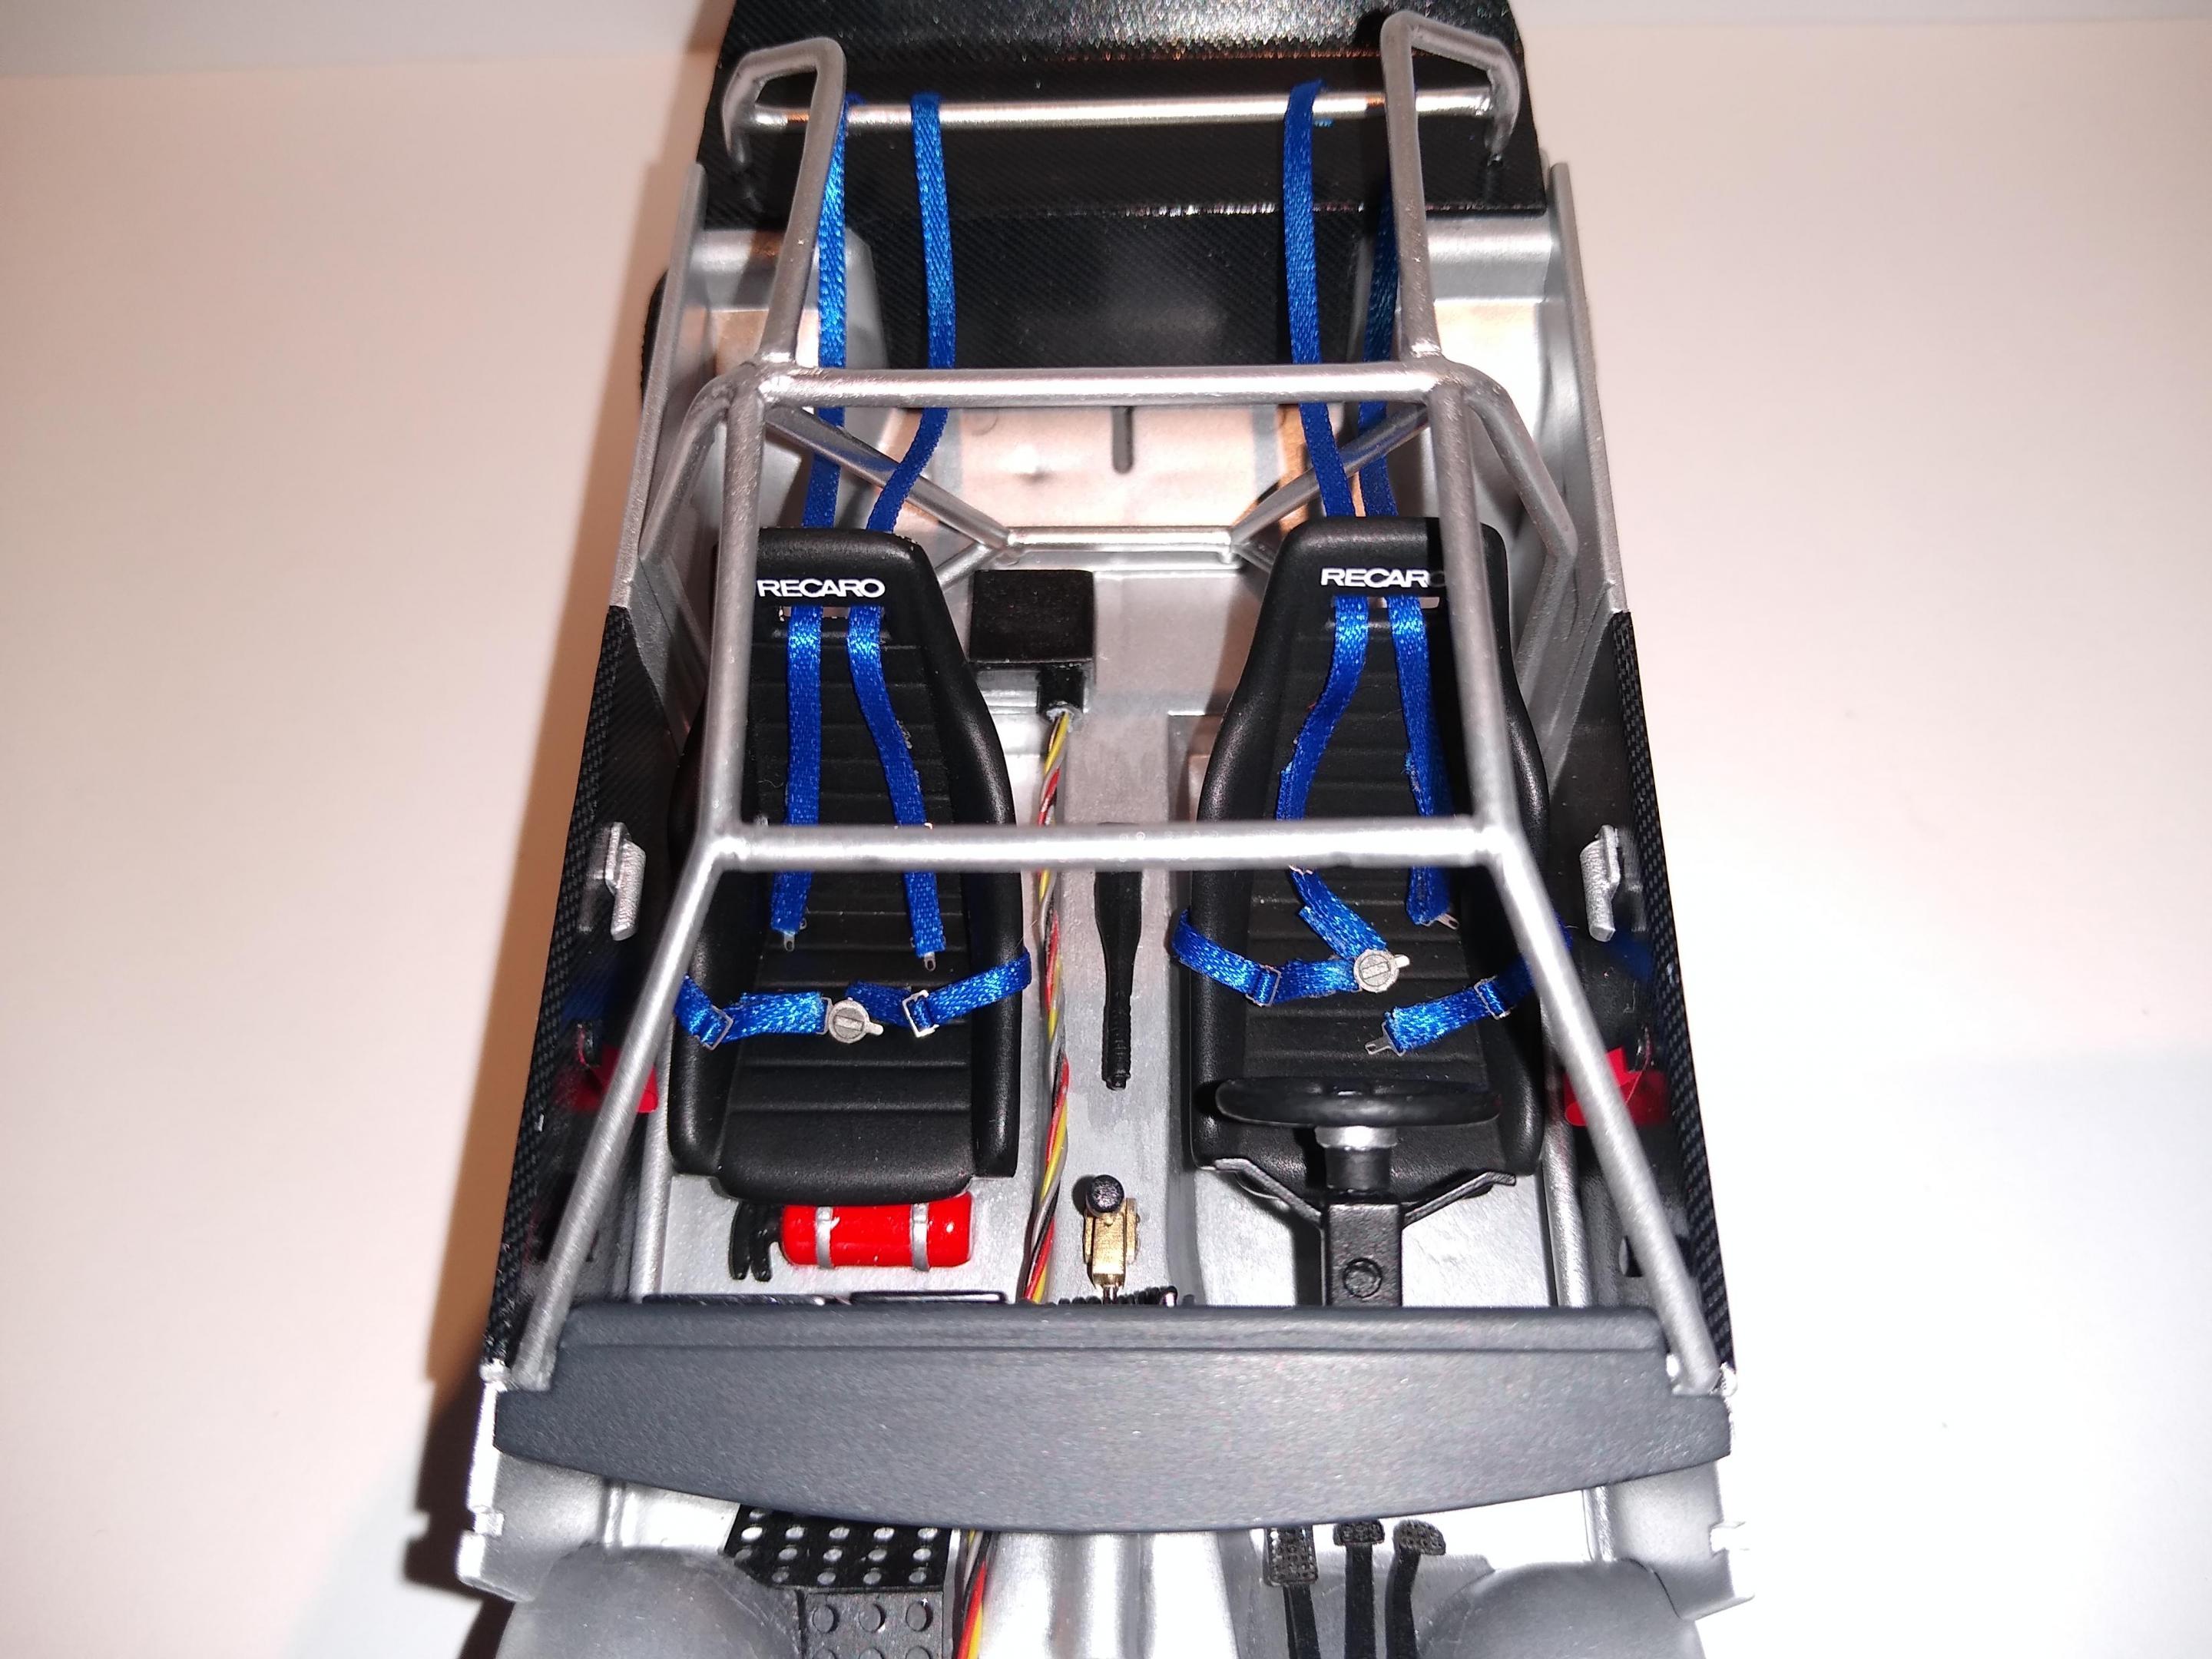
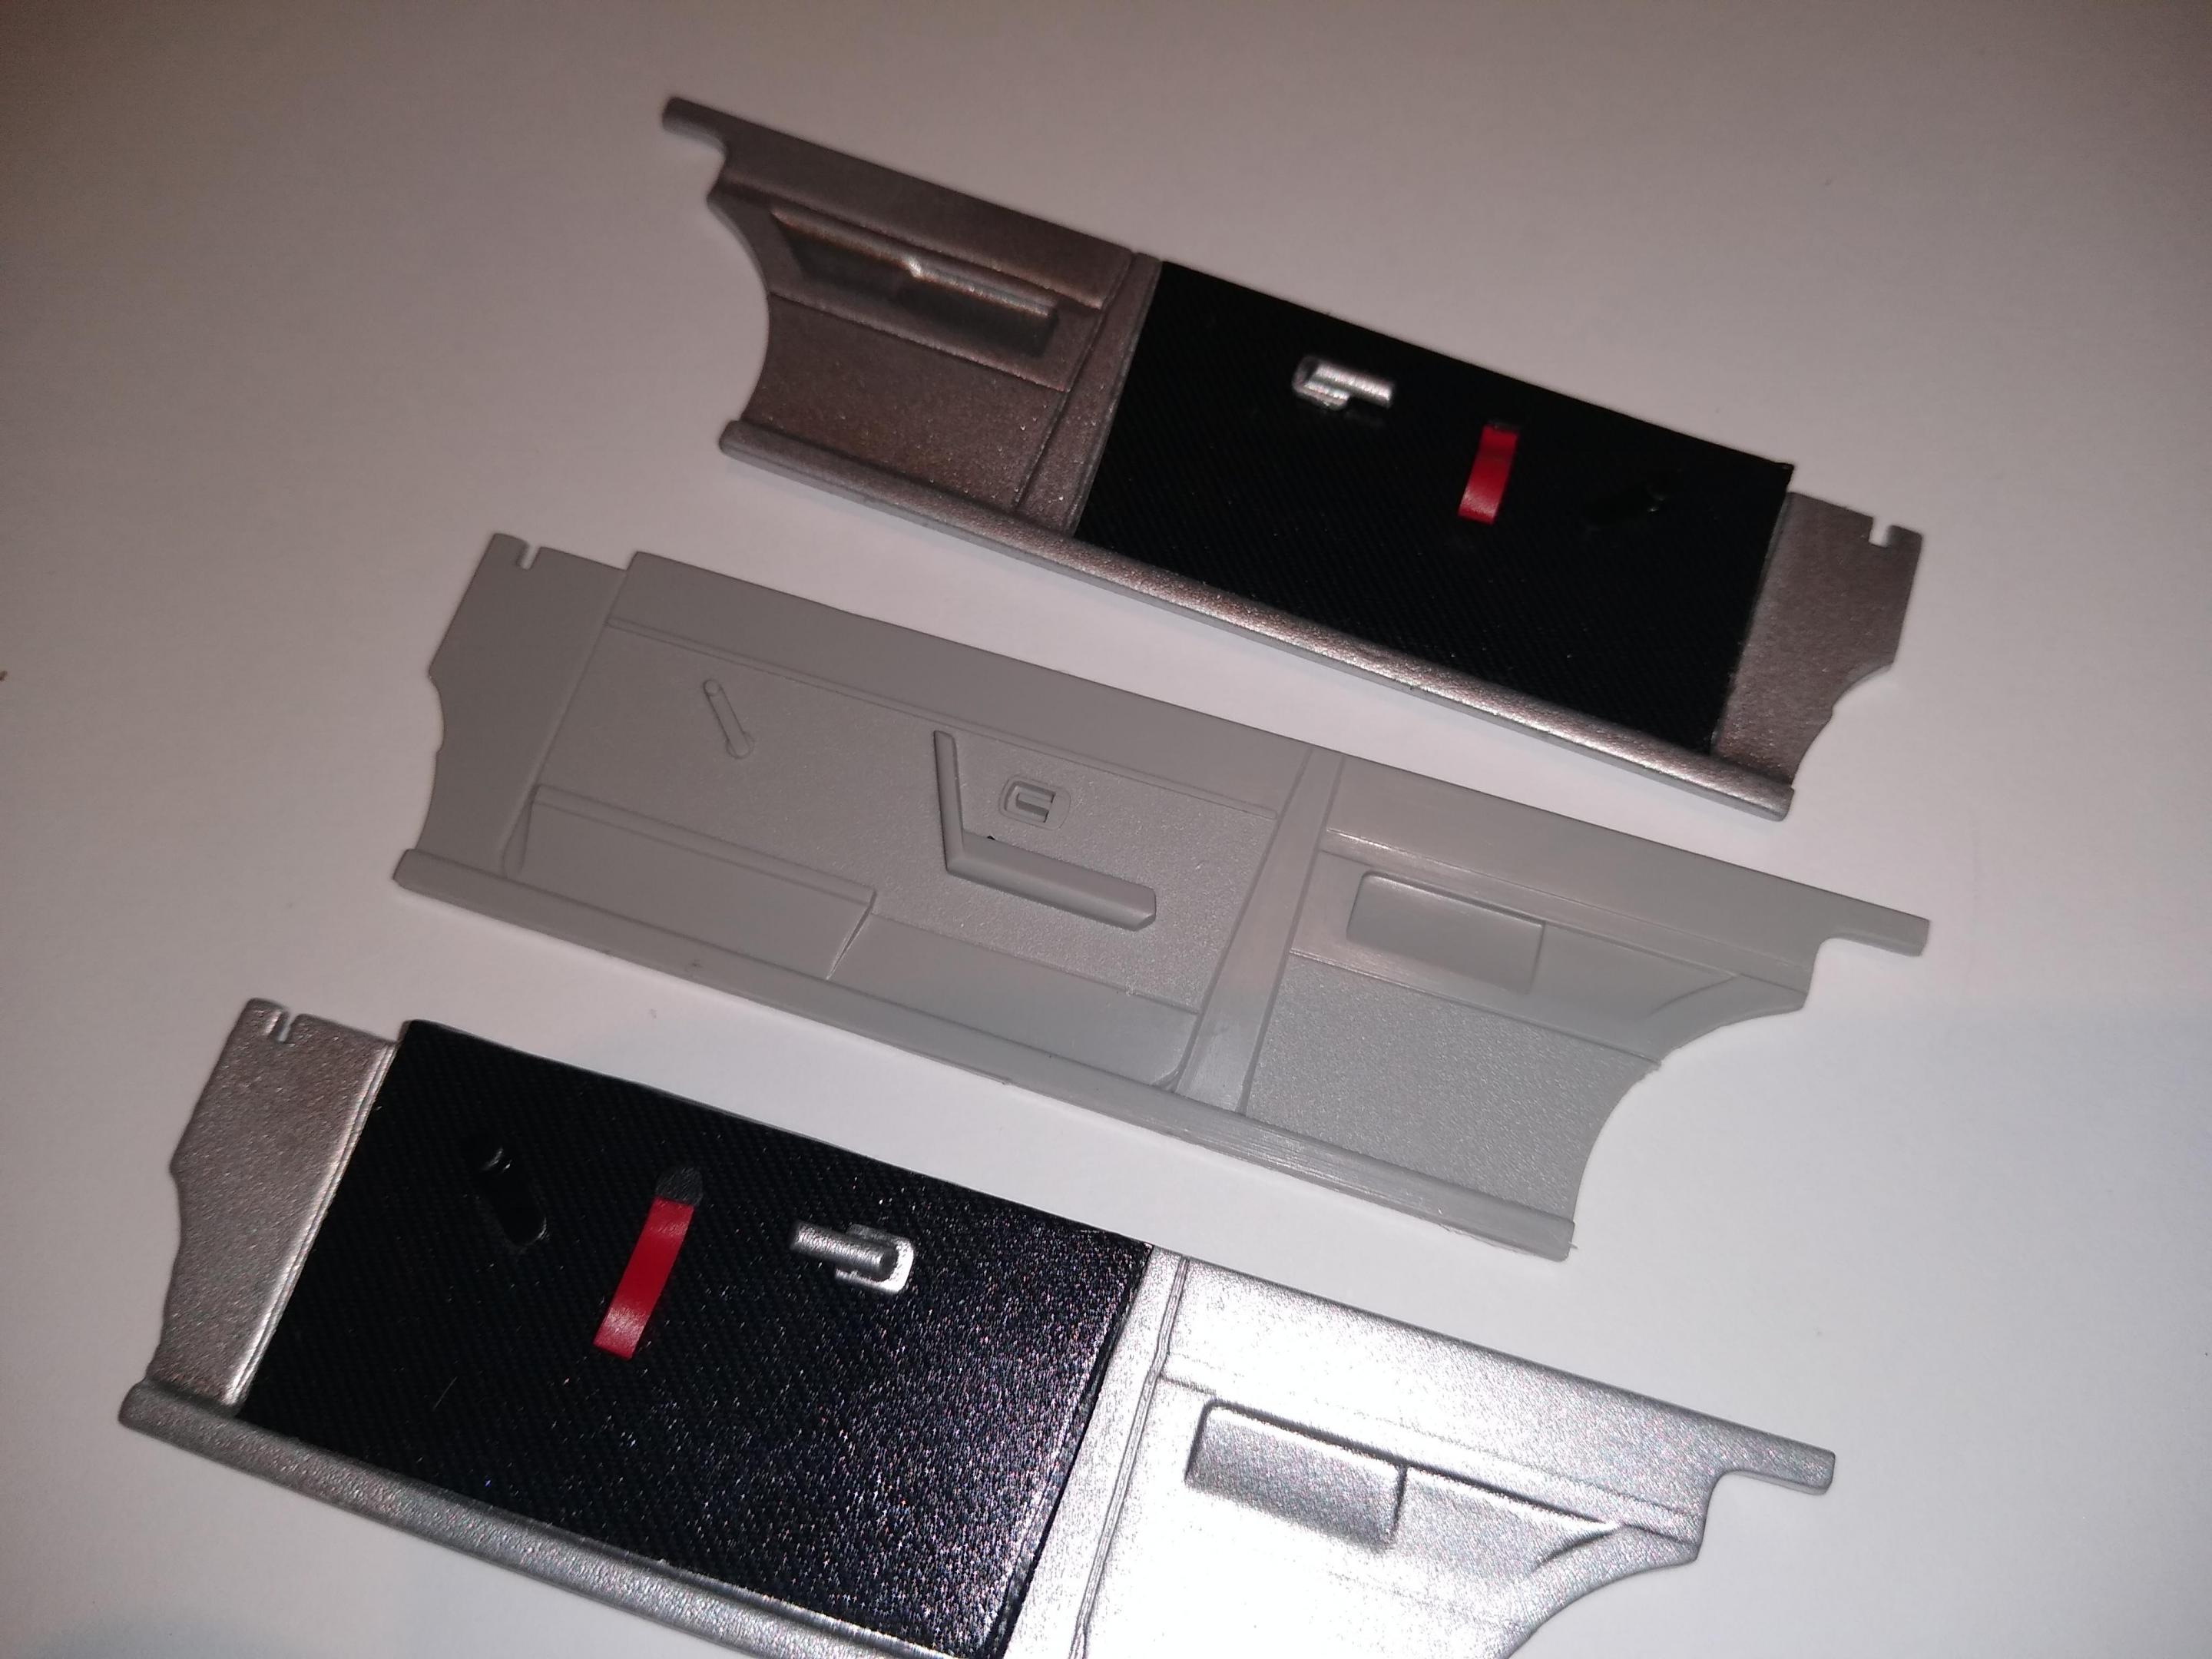
Wow, @Pat Minarick those two look great! Love the weathered bodywork, it looks so realistic. I've officially finished my Audi interior. I decided to do a carbon fibre rear firewall and door cards to go with the Kevlar seats in the name of weight saving/looking cool! It was easier to decal on a flat surface so I stripped the doors and added scratch built winders, levers & pulls. Tried using double sided tape for the belt ribbons - ok, but fiddly & will take some practice. Just waiting for the clear coat to dry on the bodywork now. Keep on Cannonballin' y'all!! ?
-
Thanks Anton! ? Ok, the interior is officially done. It all went together nicely with the exception of the ribbon belts which turned out to be slightly too thick (depth, not width) to go through the PE buckles twice. I resorted to melting the ribbon ends with a candle and stretching the fabric to make firmer & thinner ends. Turns out the fabric had a fair amount of plastic content because it stretched like melted sprue does! Anyway, it worked out in the end. Just waiting for the clear coat to harden up on the shell #2 now and the end is coming into view - finally! Cheers for looking ?
-
Cool project. A friend's dad had one of those & they could certainly move! Like the detailing on the wheels & the carpet ?
-
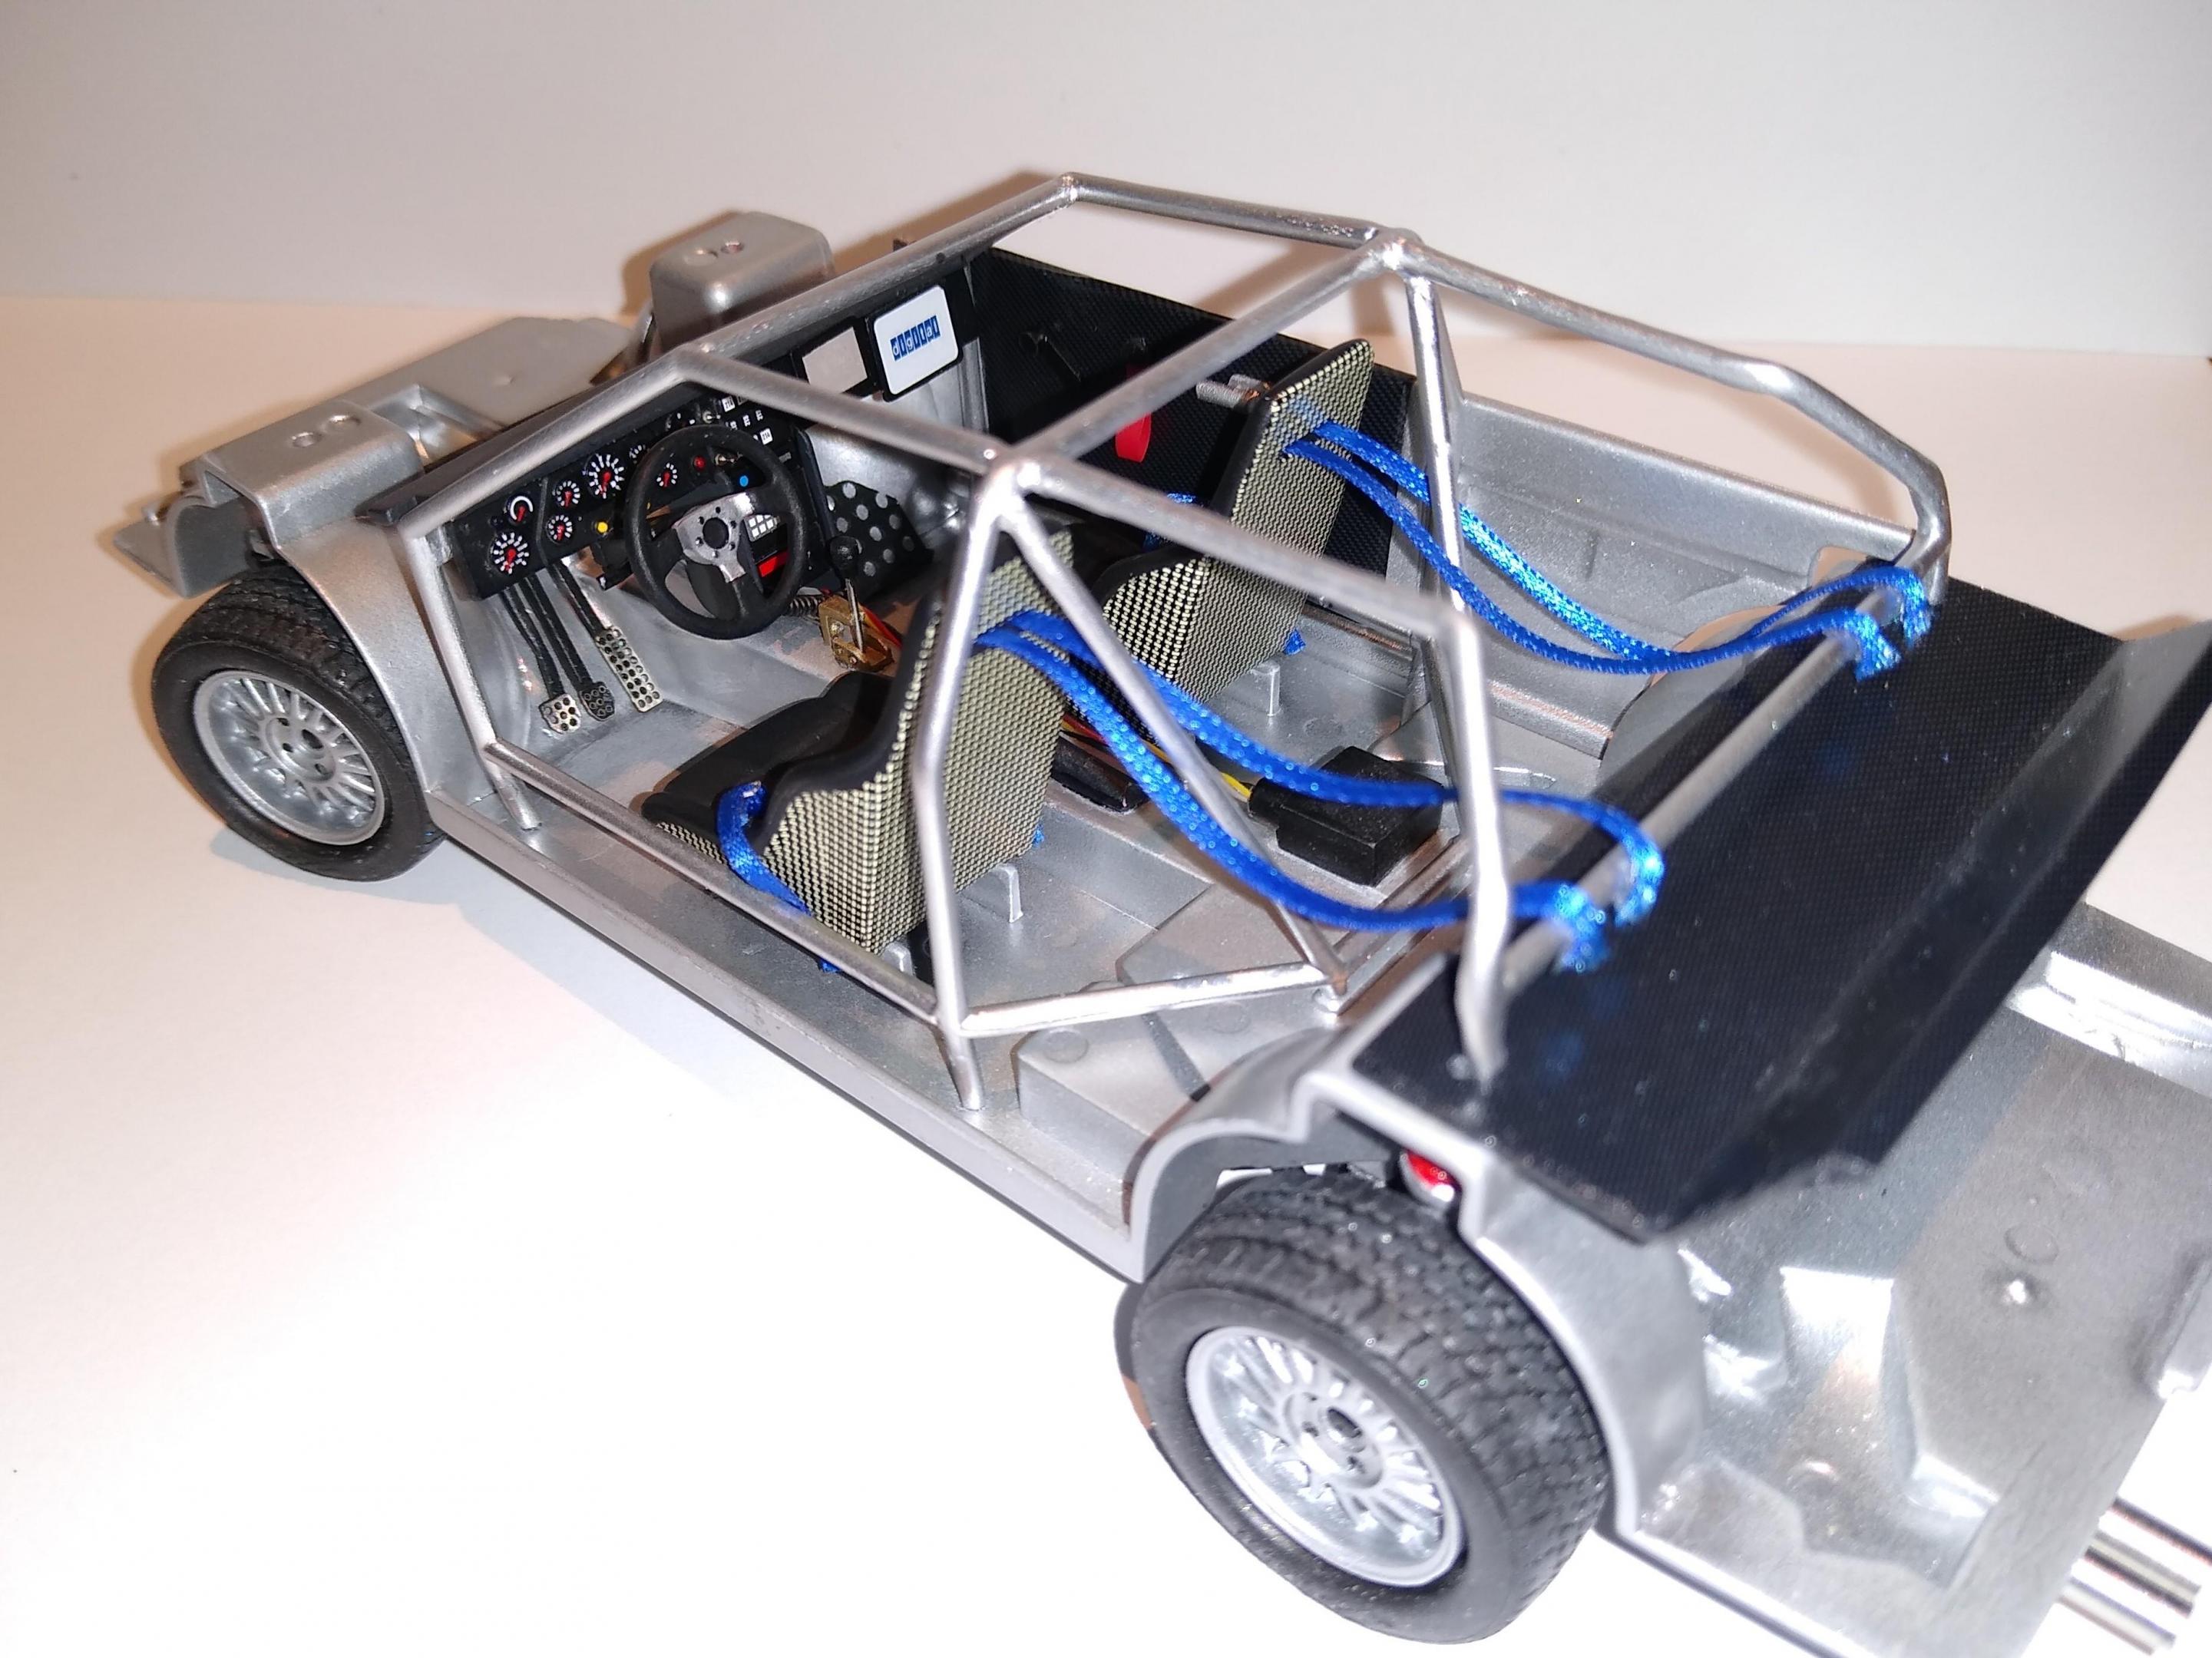
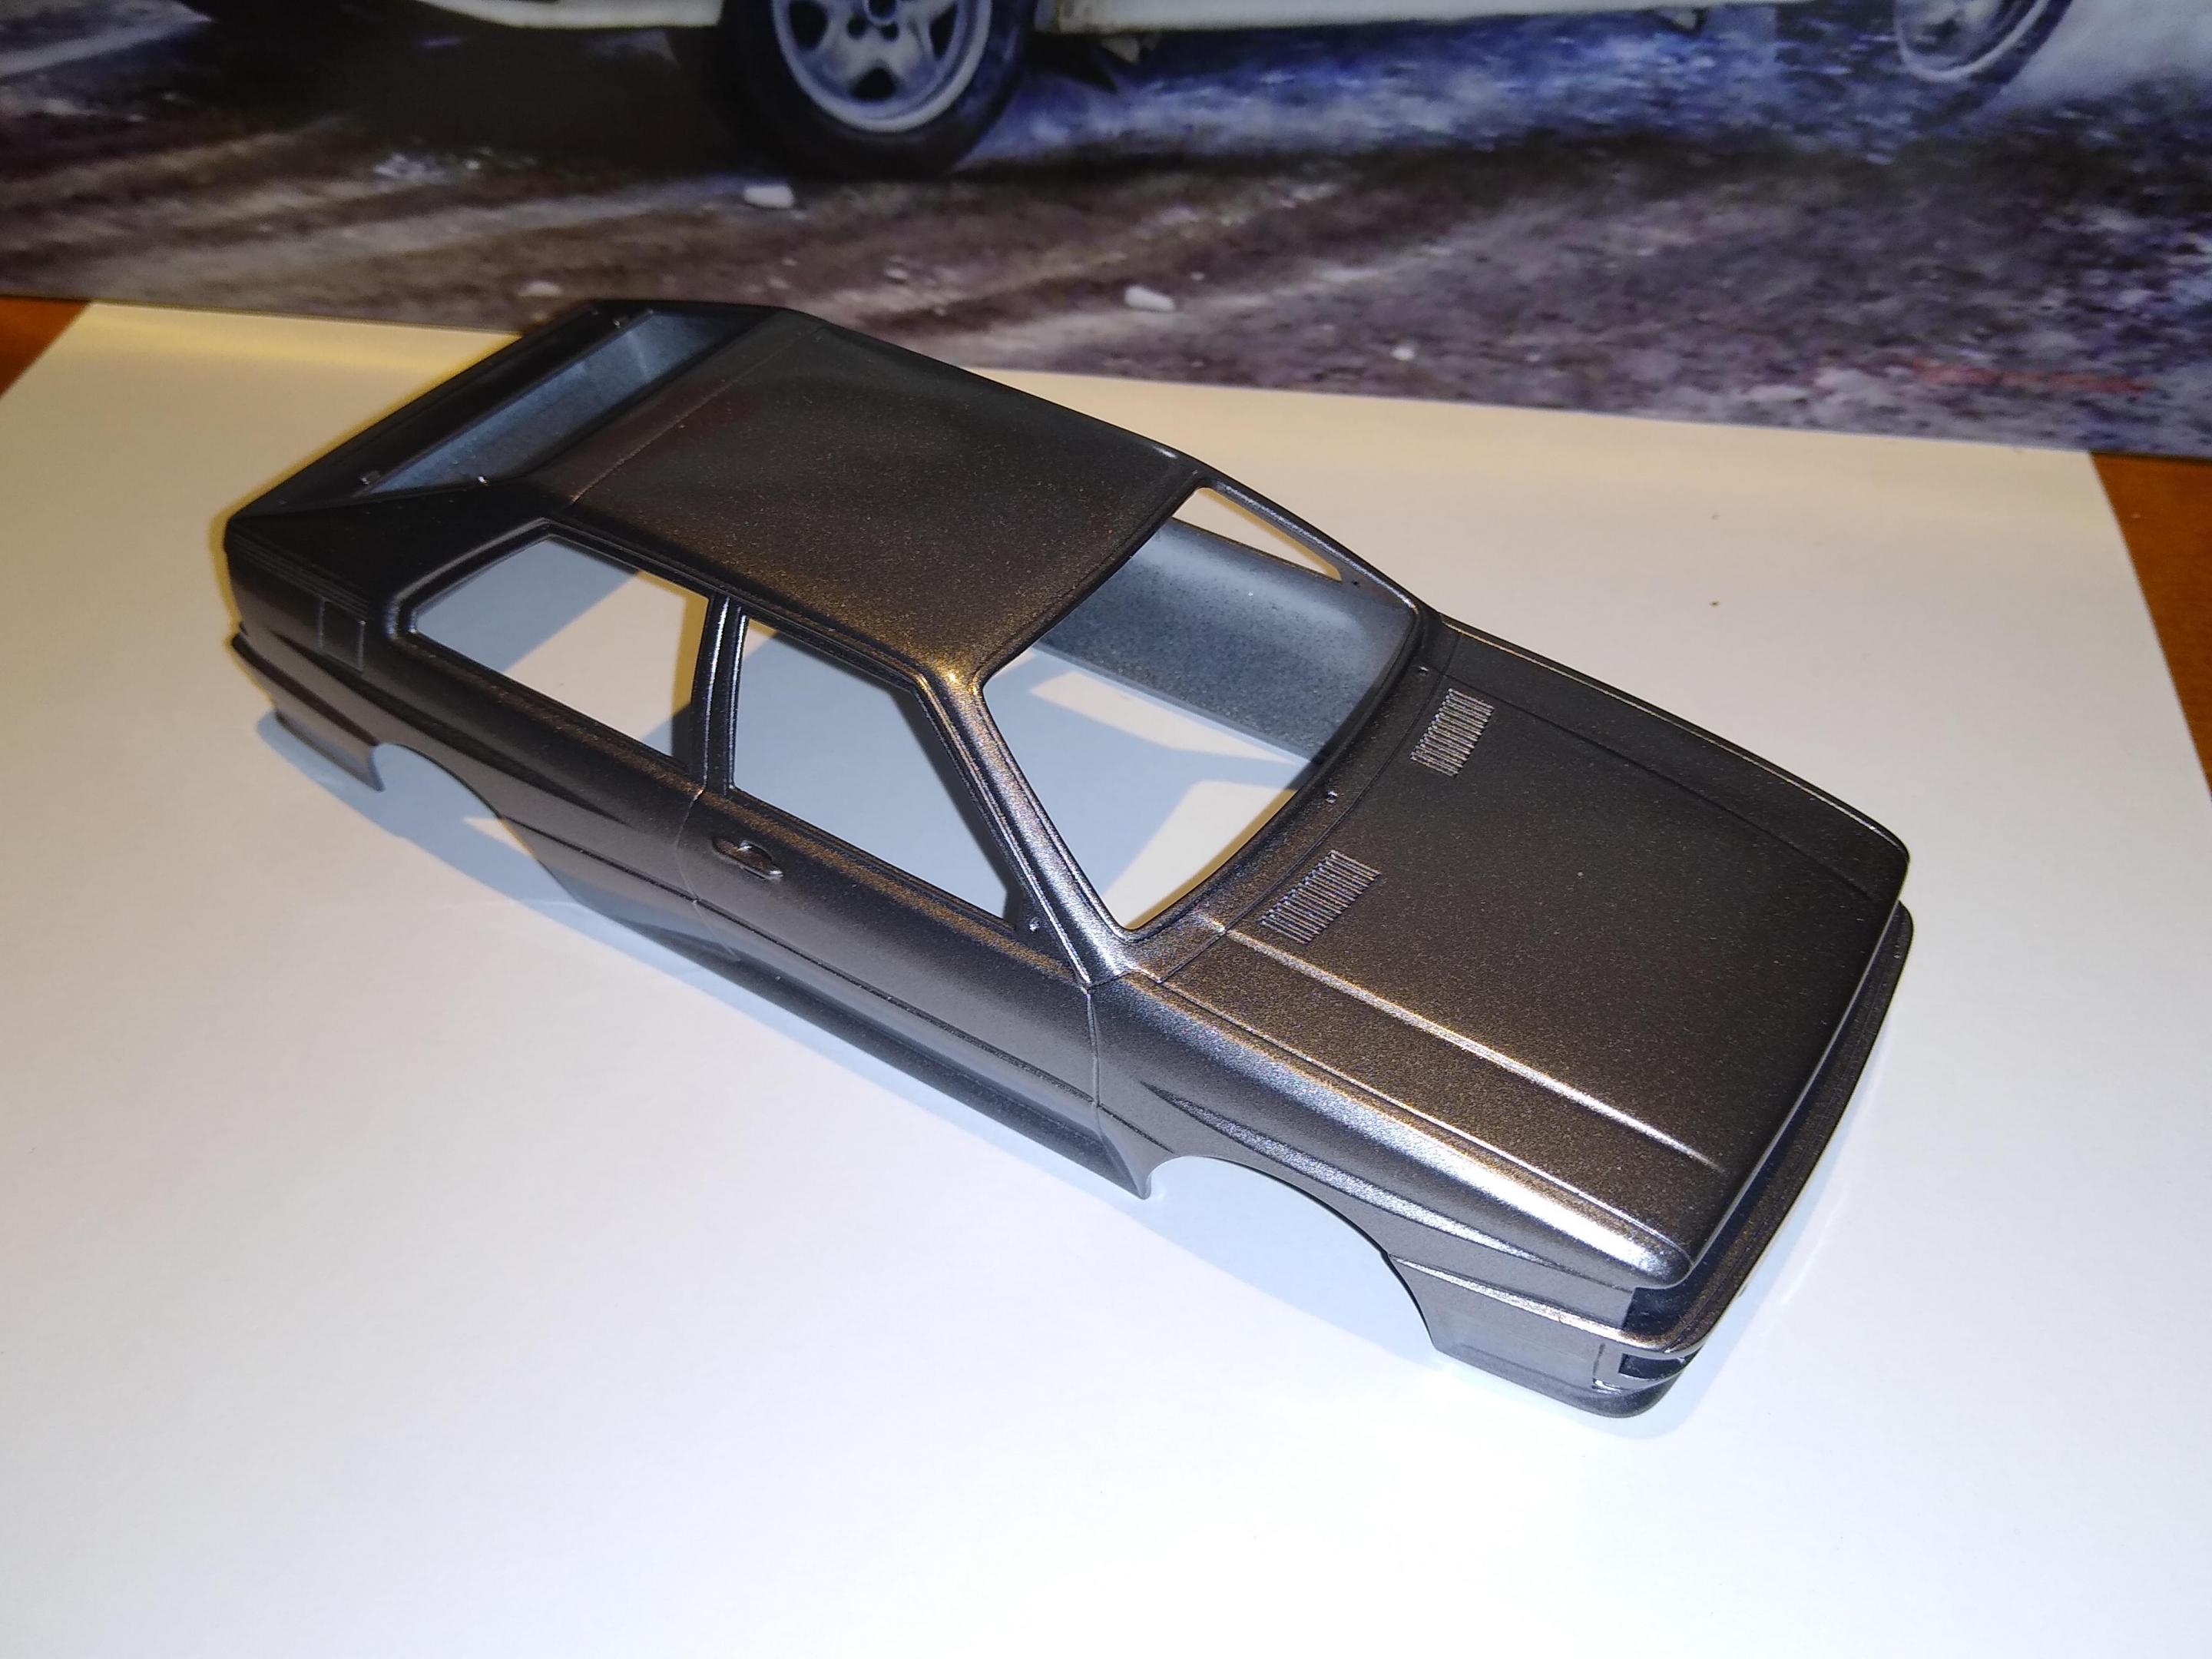
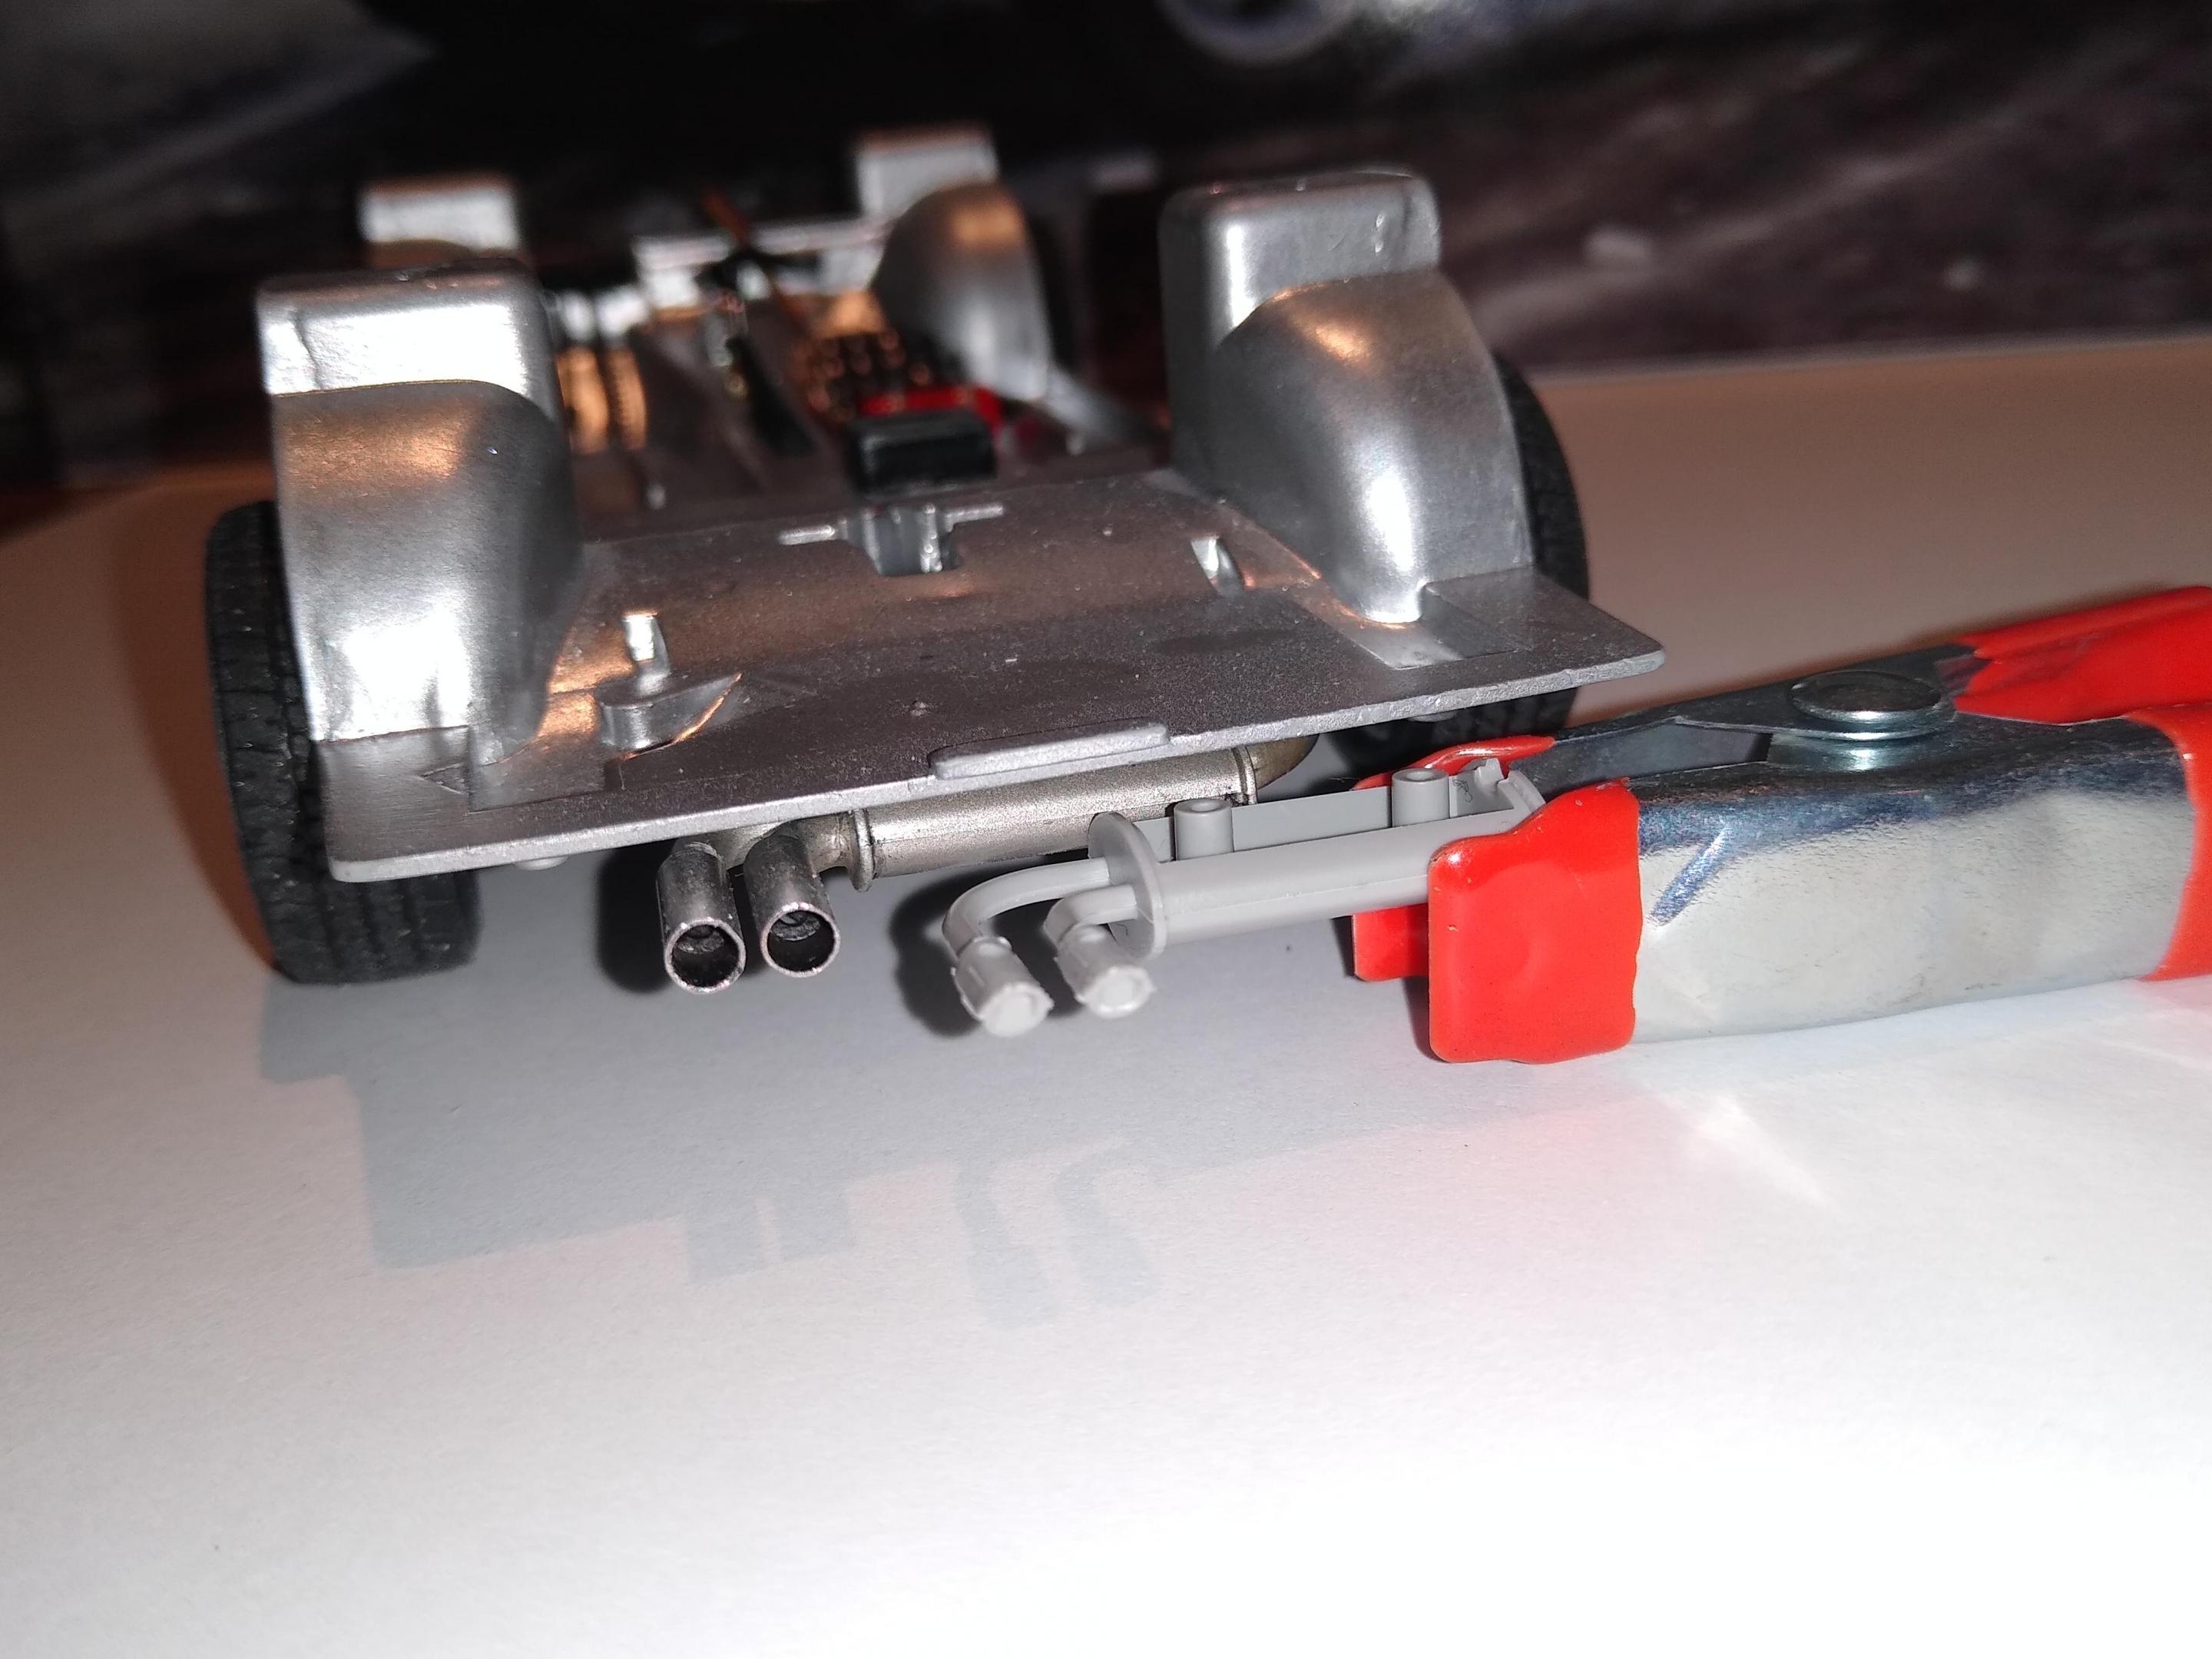
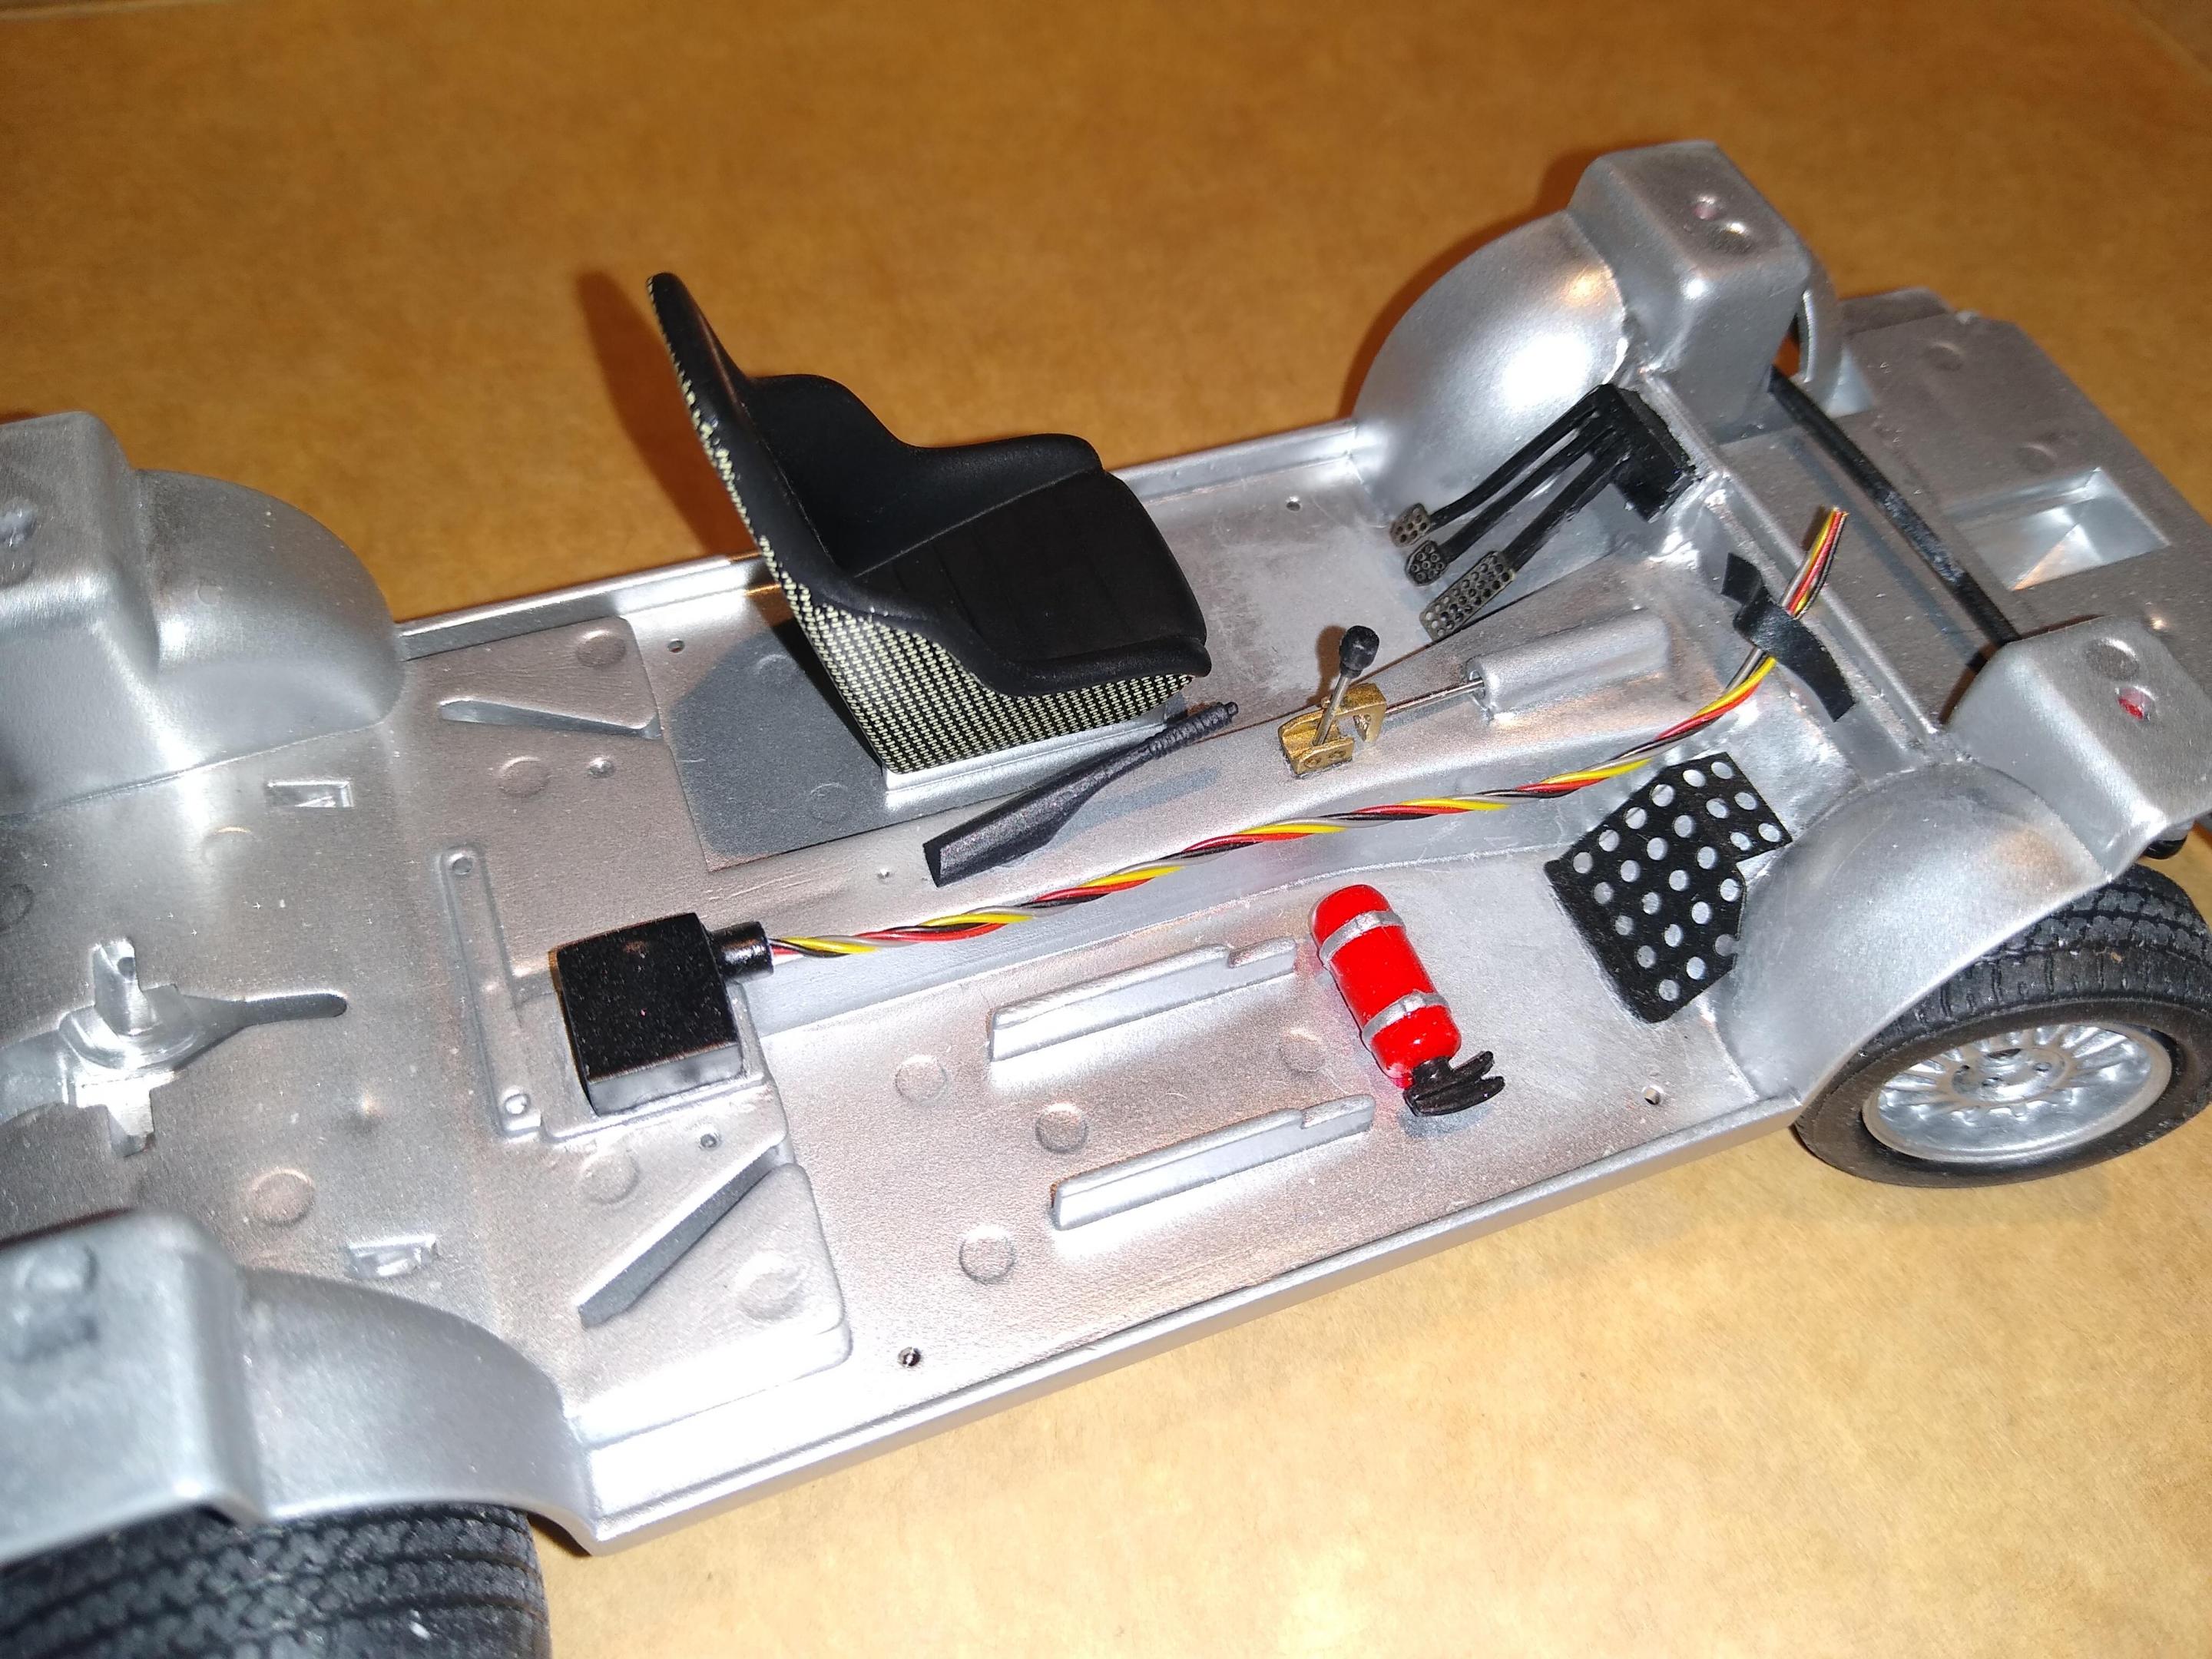
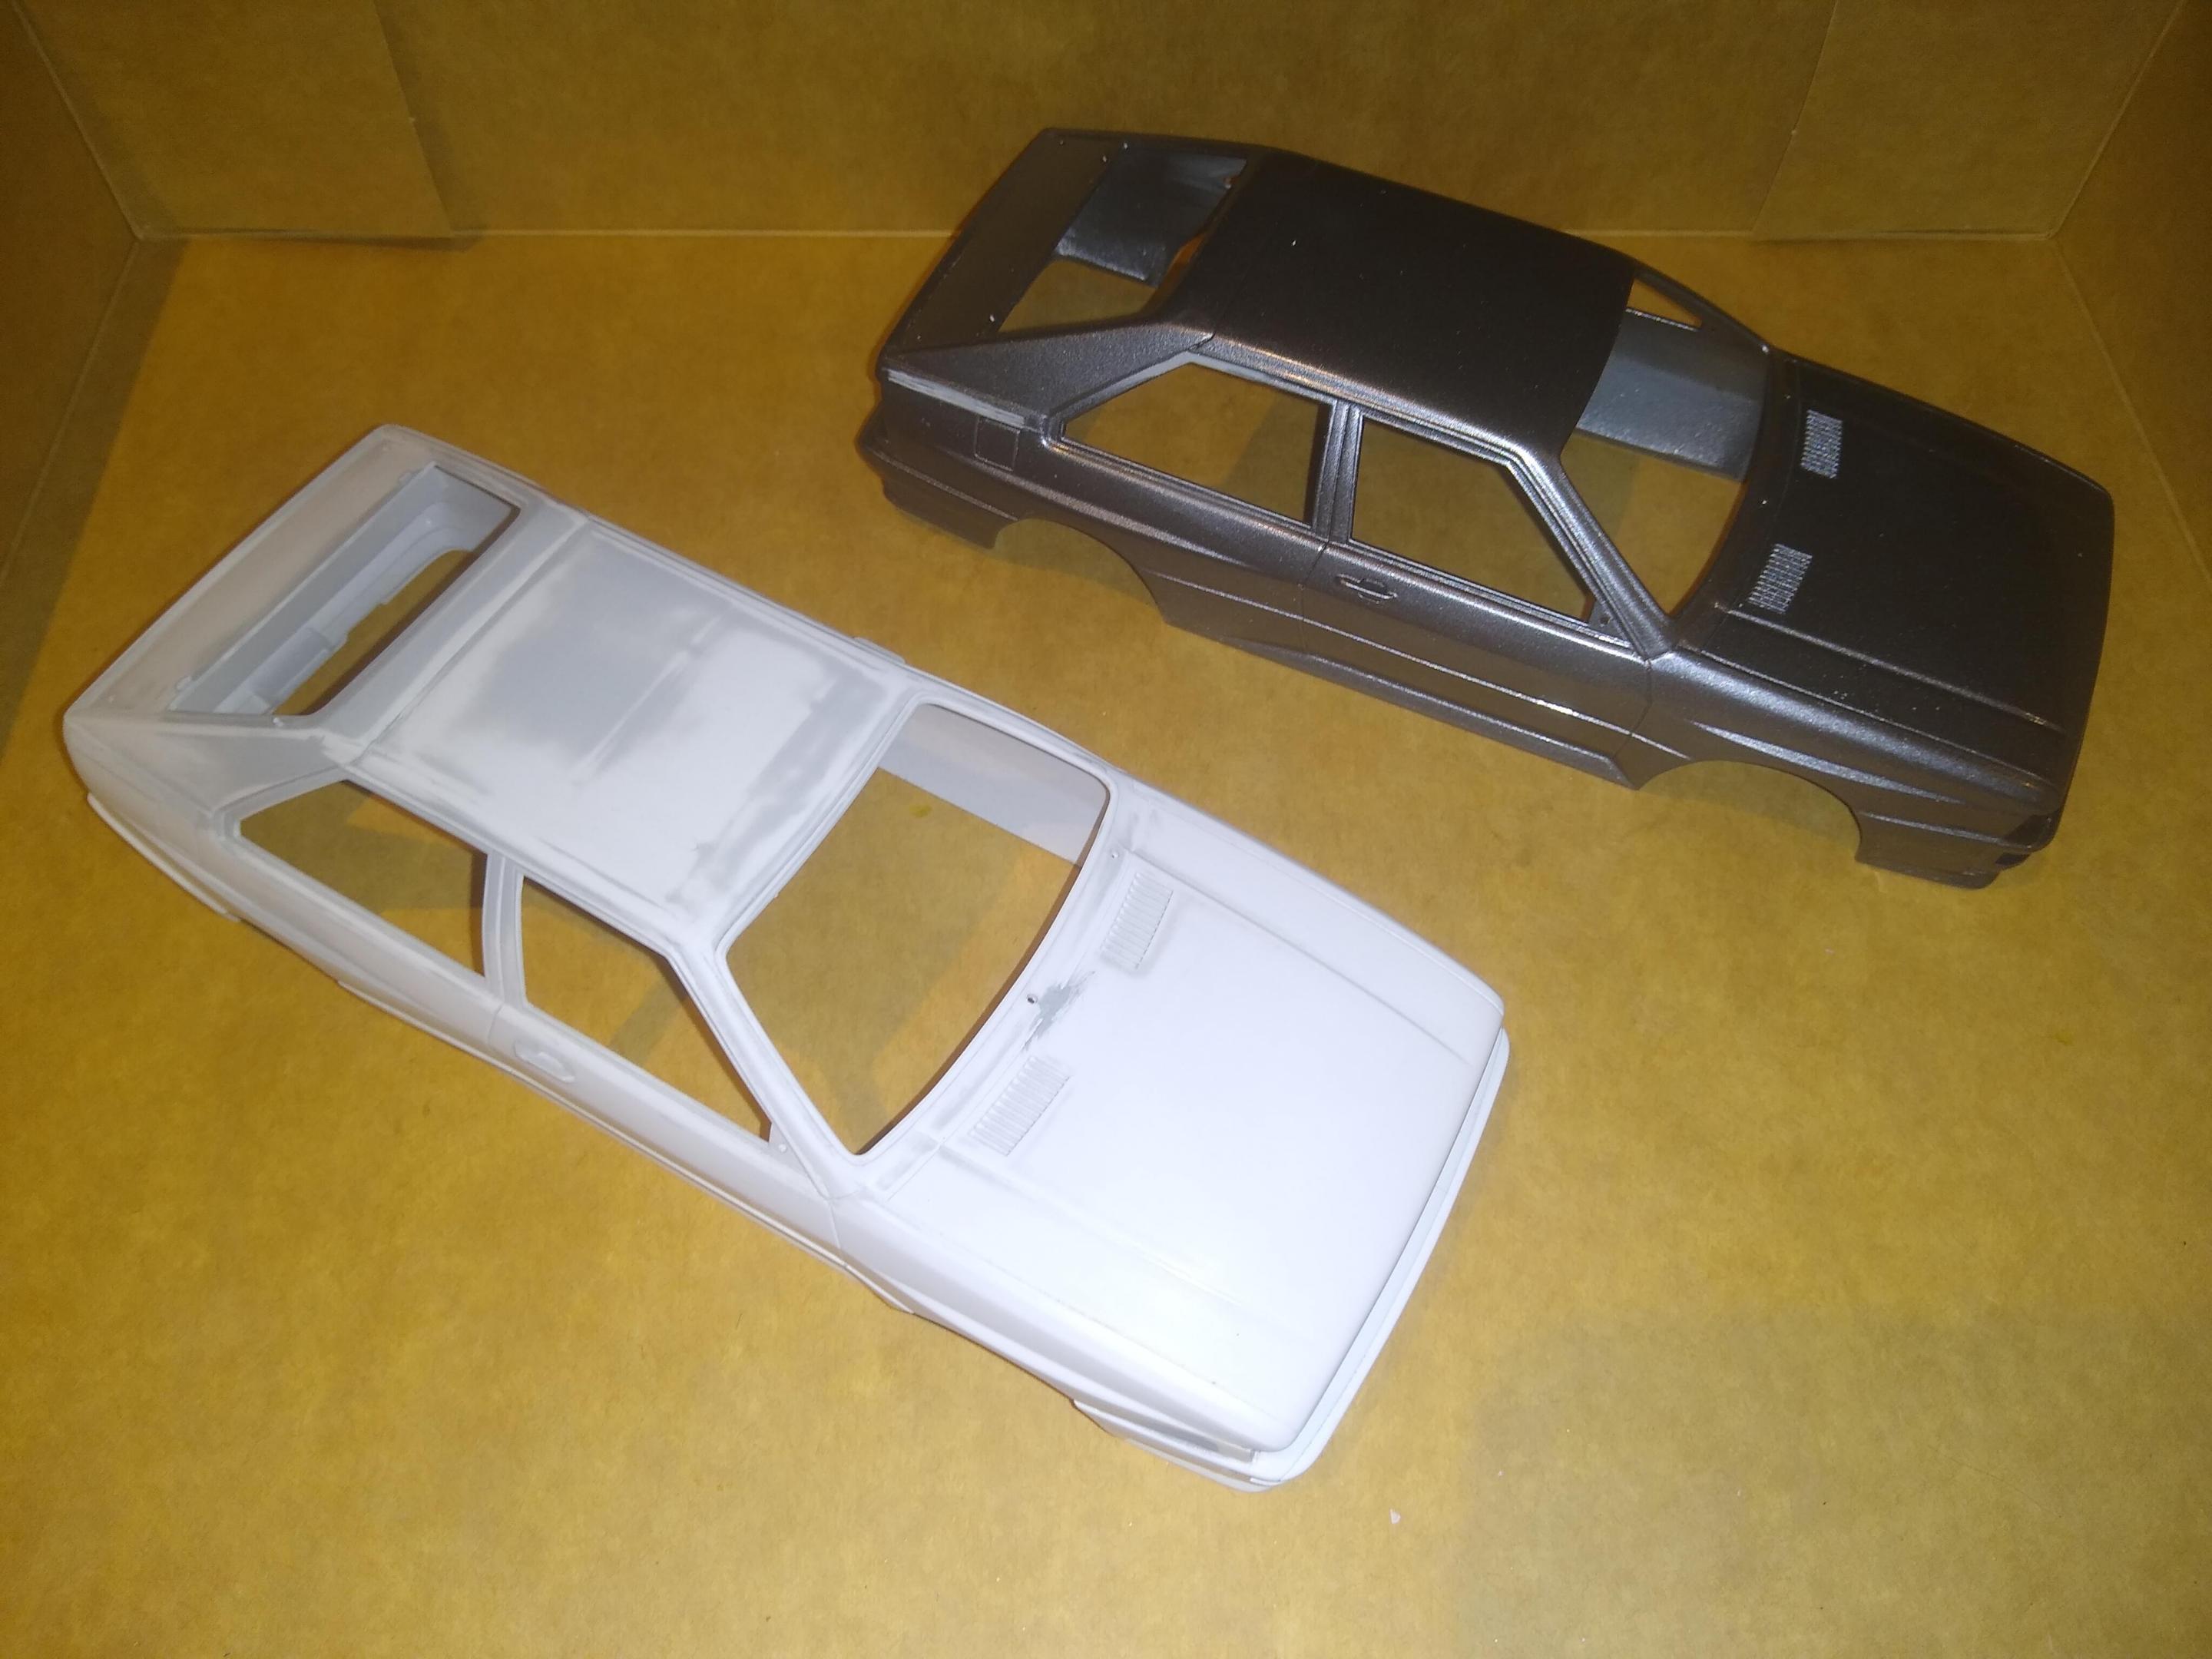
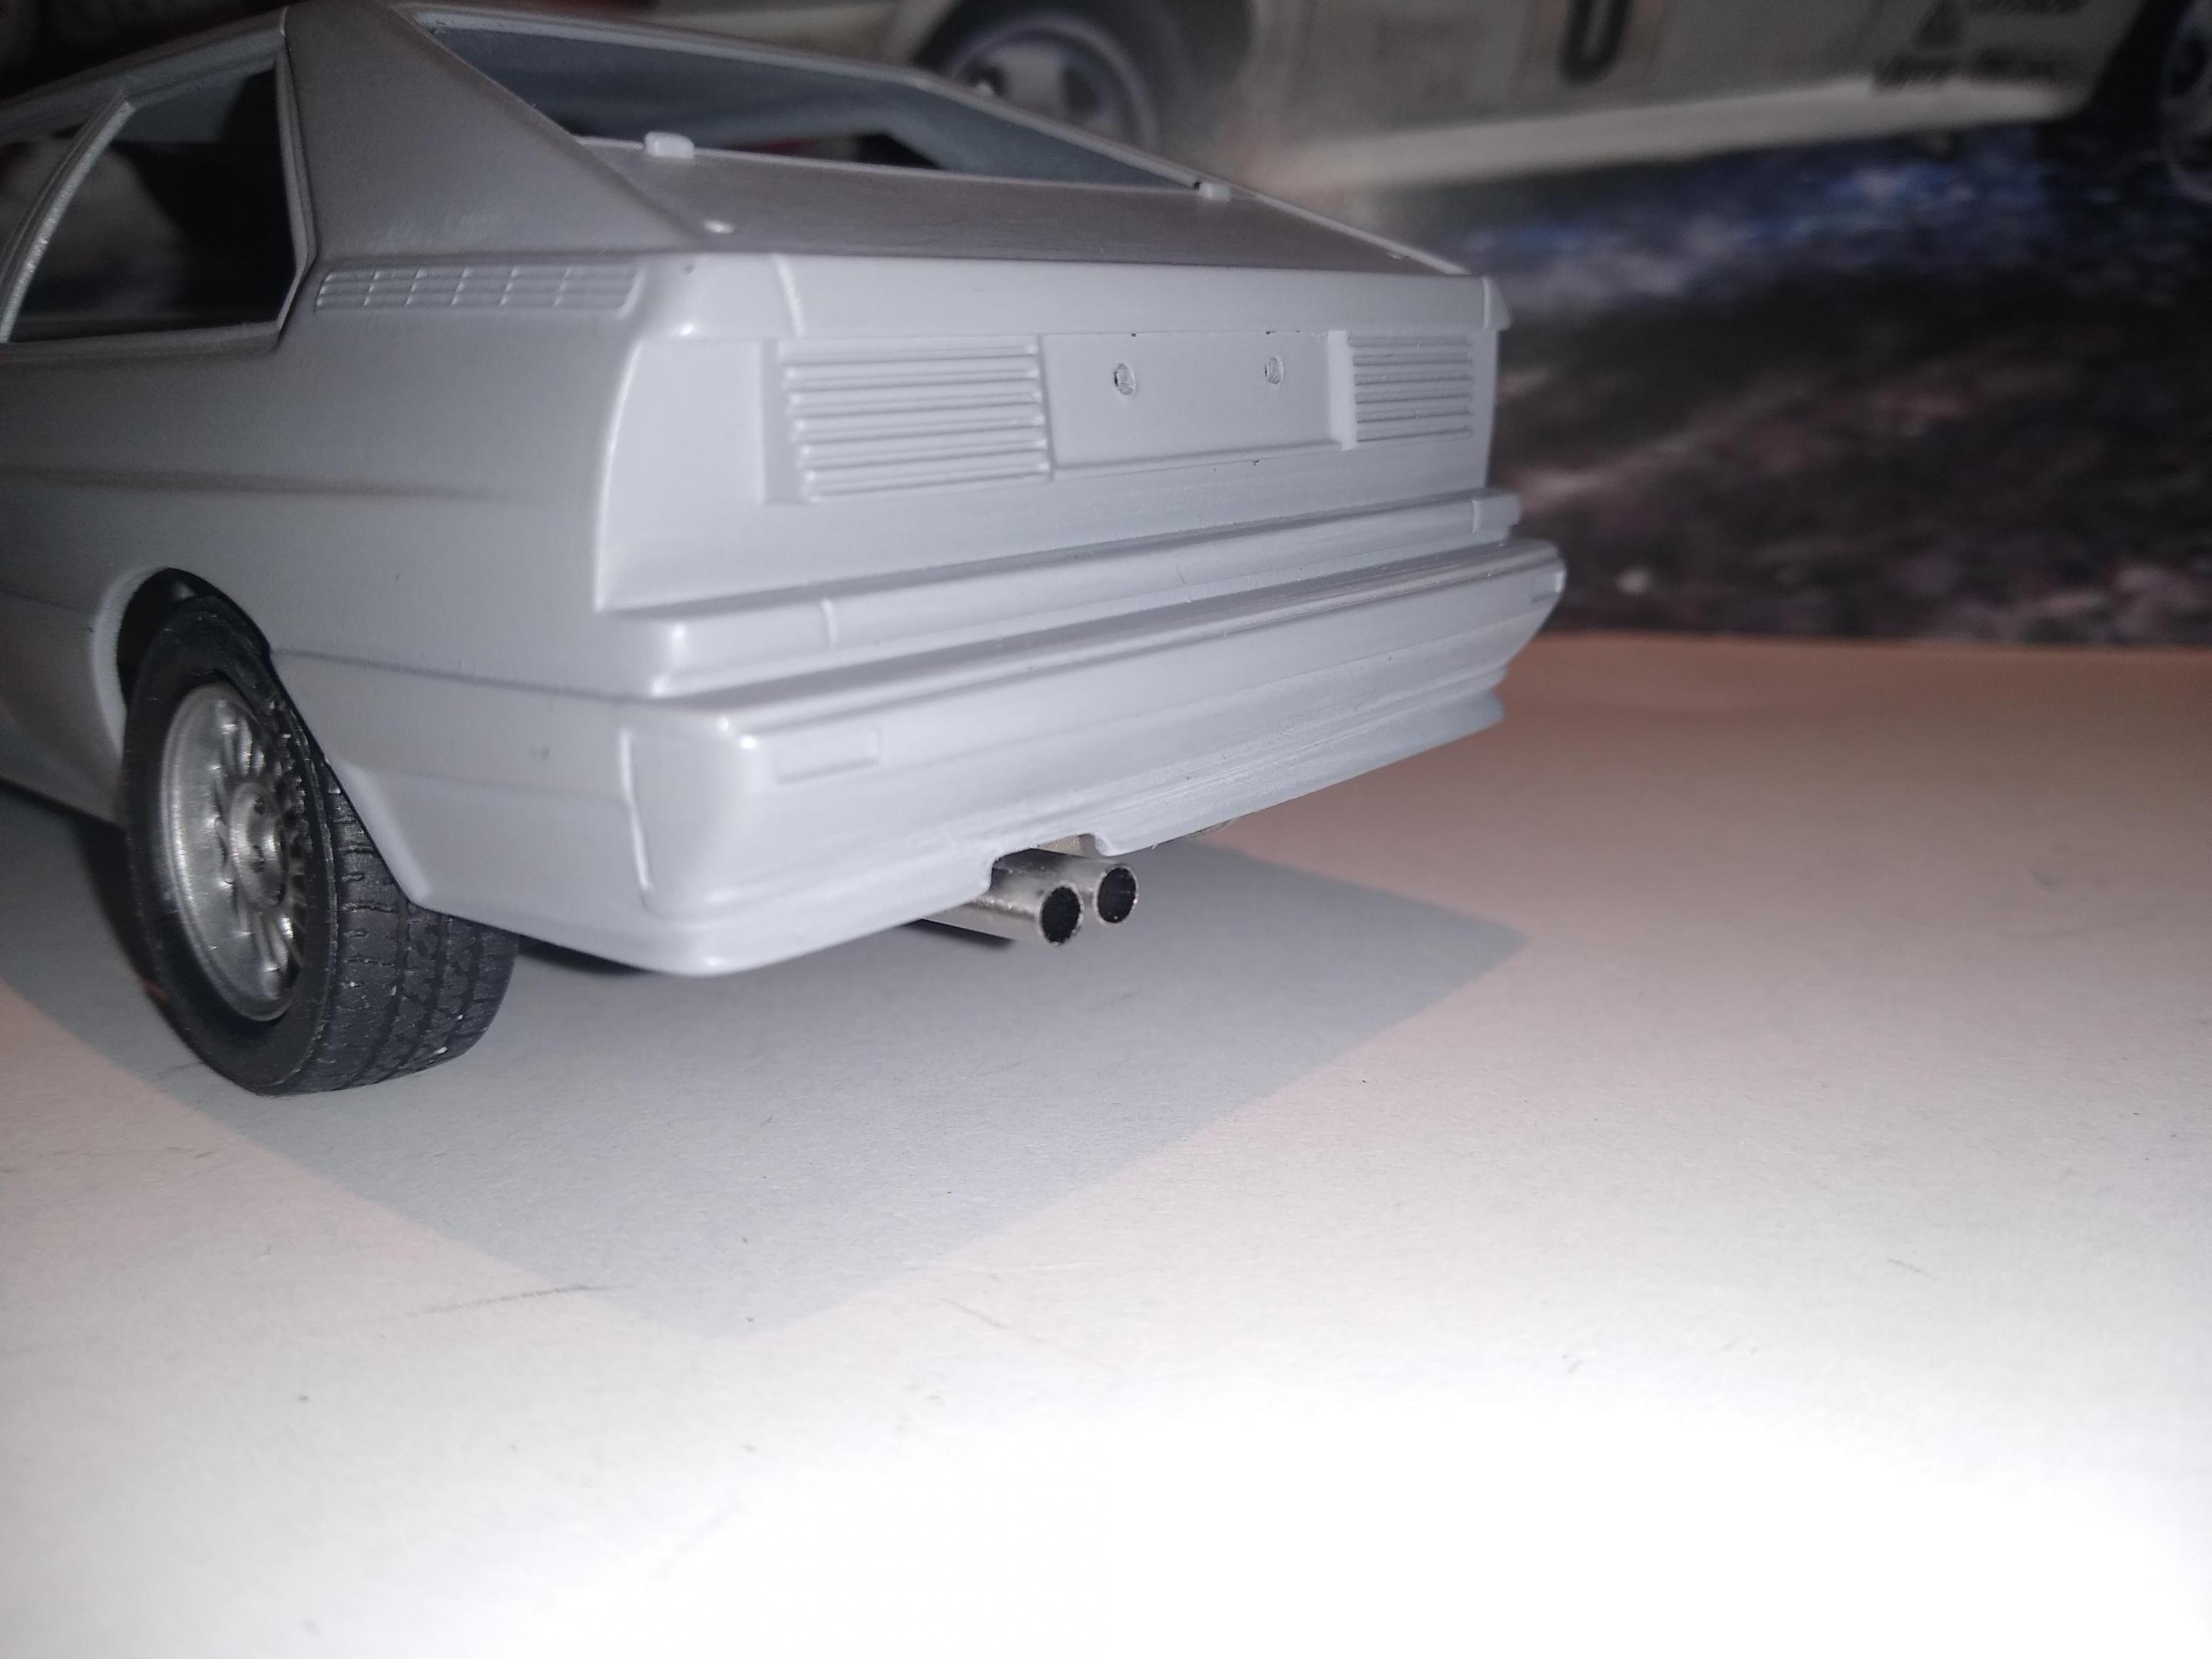
Bit of progress made, plus a whole lot of ground re-traced. The short story is that I had to buy a second kit and redo the body from scratch...? If anyone reading ever does this kit, my advice is to treat the side vents with maximum care!! Anyway, shell #2 is now ready for a clear coat: The colour is Tamiya light gunmetal, which I am a new fan of, and while #2 is an improvement over the first one, MANY hours have disappeared in the process! Still, second kits always bring small luxuries so I can now show a side by side comparison of the upgraded exhaust tips (badass) next to the kit ones (lame): I think all the interior components are complete now so I've started assembling: The co-driver footplate was in the PE kit. I made a junction box to terminate the wiring harness so I don't have to think about where it all goes afterwards! The last interior element has been the door cards: (Before & after courtesy of the new kit again!) Because the plan is to have open front windows, I thought I'd add some extra rally detail & have carbon fibre door cards. I didn't fancy laying decals over the existing door furniture so I stripped & filled them to leave a flat surface. I scratch built oversized "brushed aluminium" levers, plus some "nylon" racing door pulls using the seatbelt material supplied in separate Hasegawa rally car kit. Thanks for looking ?
-
Thanks for the sympathy guys! @camaro69 that's a really neat job on that trunk - looks like it came out of the box like it. Great entire rollcage too! @Misha some serious detailing going on with a lot of thought behind it - very impressive. Loving the gold! Oh, and @disconovaman no apologies required, you're great group leader! Good luck with your fitness regime - I keep looking at my bicycles and use the weather as an excuse not to get out, but it was bright sunshine today so that won't work much longer!
-
If anyone is feeling a bit left on the starting line then I can cheer you up a bit: I had to get a replacement body from a second kit and start over... ? The tale is too long & painful to recount in detail. I've lost track of the number of hours spent this week redoing the front bumper mods, cleaning up & prepping - and I still haven't got any undercoat on! I'm sure others know the feeling when you spend longer on a project than you thought, or that you wanted to, and you get progressively slower because you feel the end result needs to justify all the previous hassle? Not very healthy...?
-
Relentless progress! I'm sure your toggle switch installation technique is more efficient than mine - I ended up losing most of the packet and turned the air blue ? That steering wheel is awesome and the pin shift lever looks better than the ones I bought!
-
Cheers Tom. Much appreciated ?
-
Thank you friend! ?
-
Thanks Anders! Only just saw your post ? Cheers Carl, you're very kind! ?
-
Great job!?
-
Thanks very much, Nigel. That's a well looked after example with nice wax job! @Mattilacken posted a picture of one he lives near in Sweden on my WIP thread the day. It seems the majority of surviving examples have the smoked rear lights & it's my intention to do this too. It may not be the most discreet look, but I've decided it's a must have!?
-
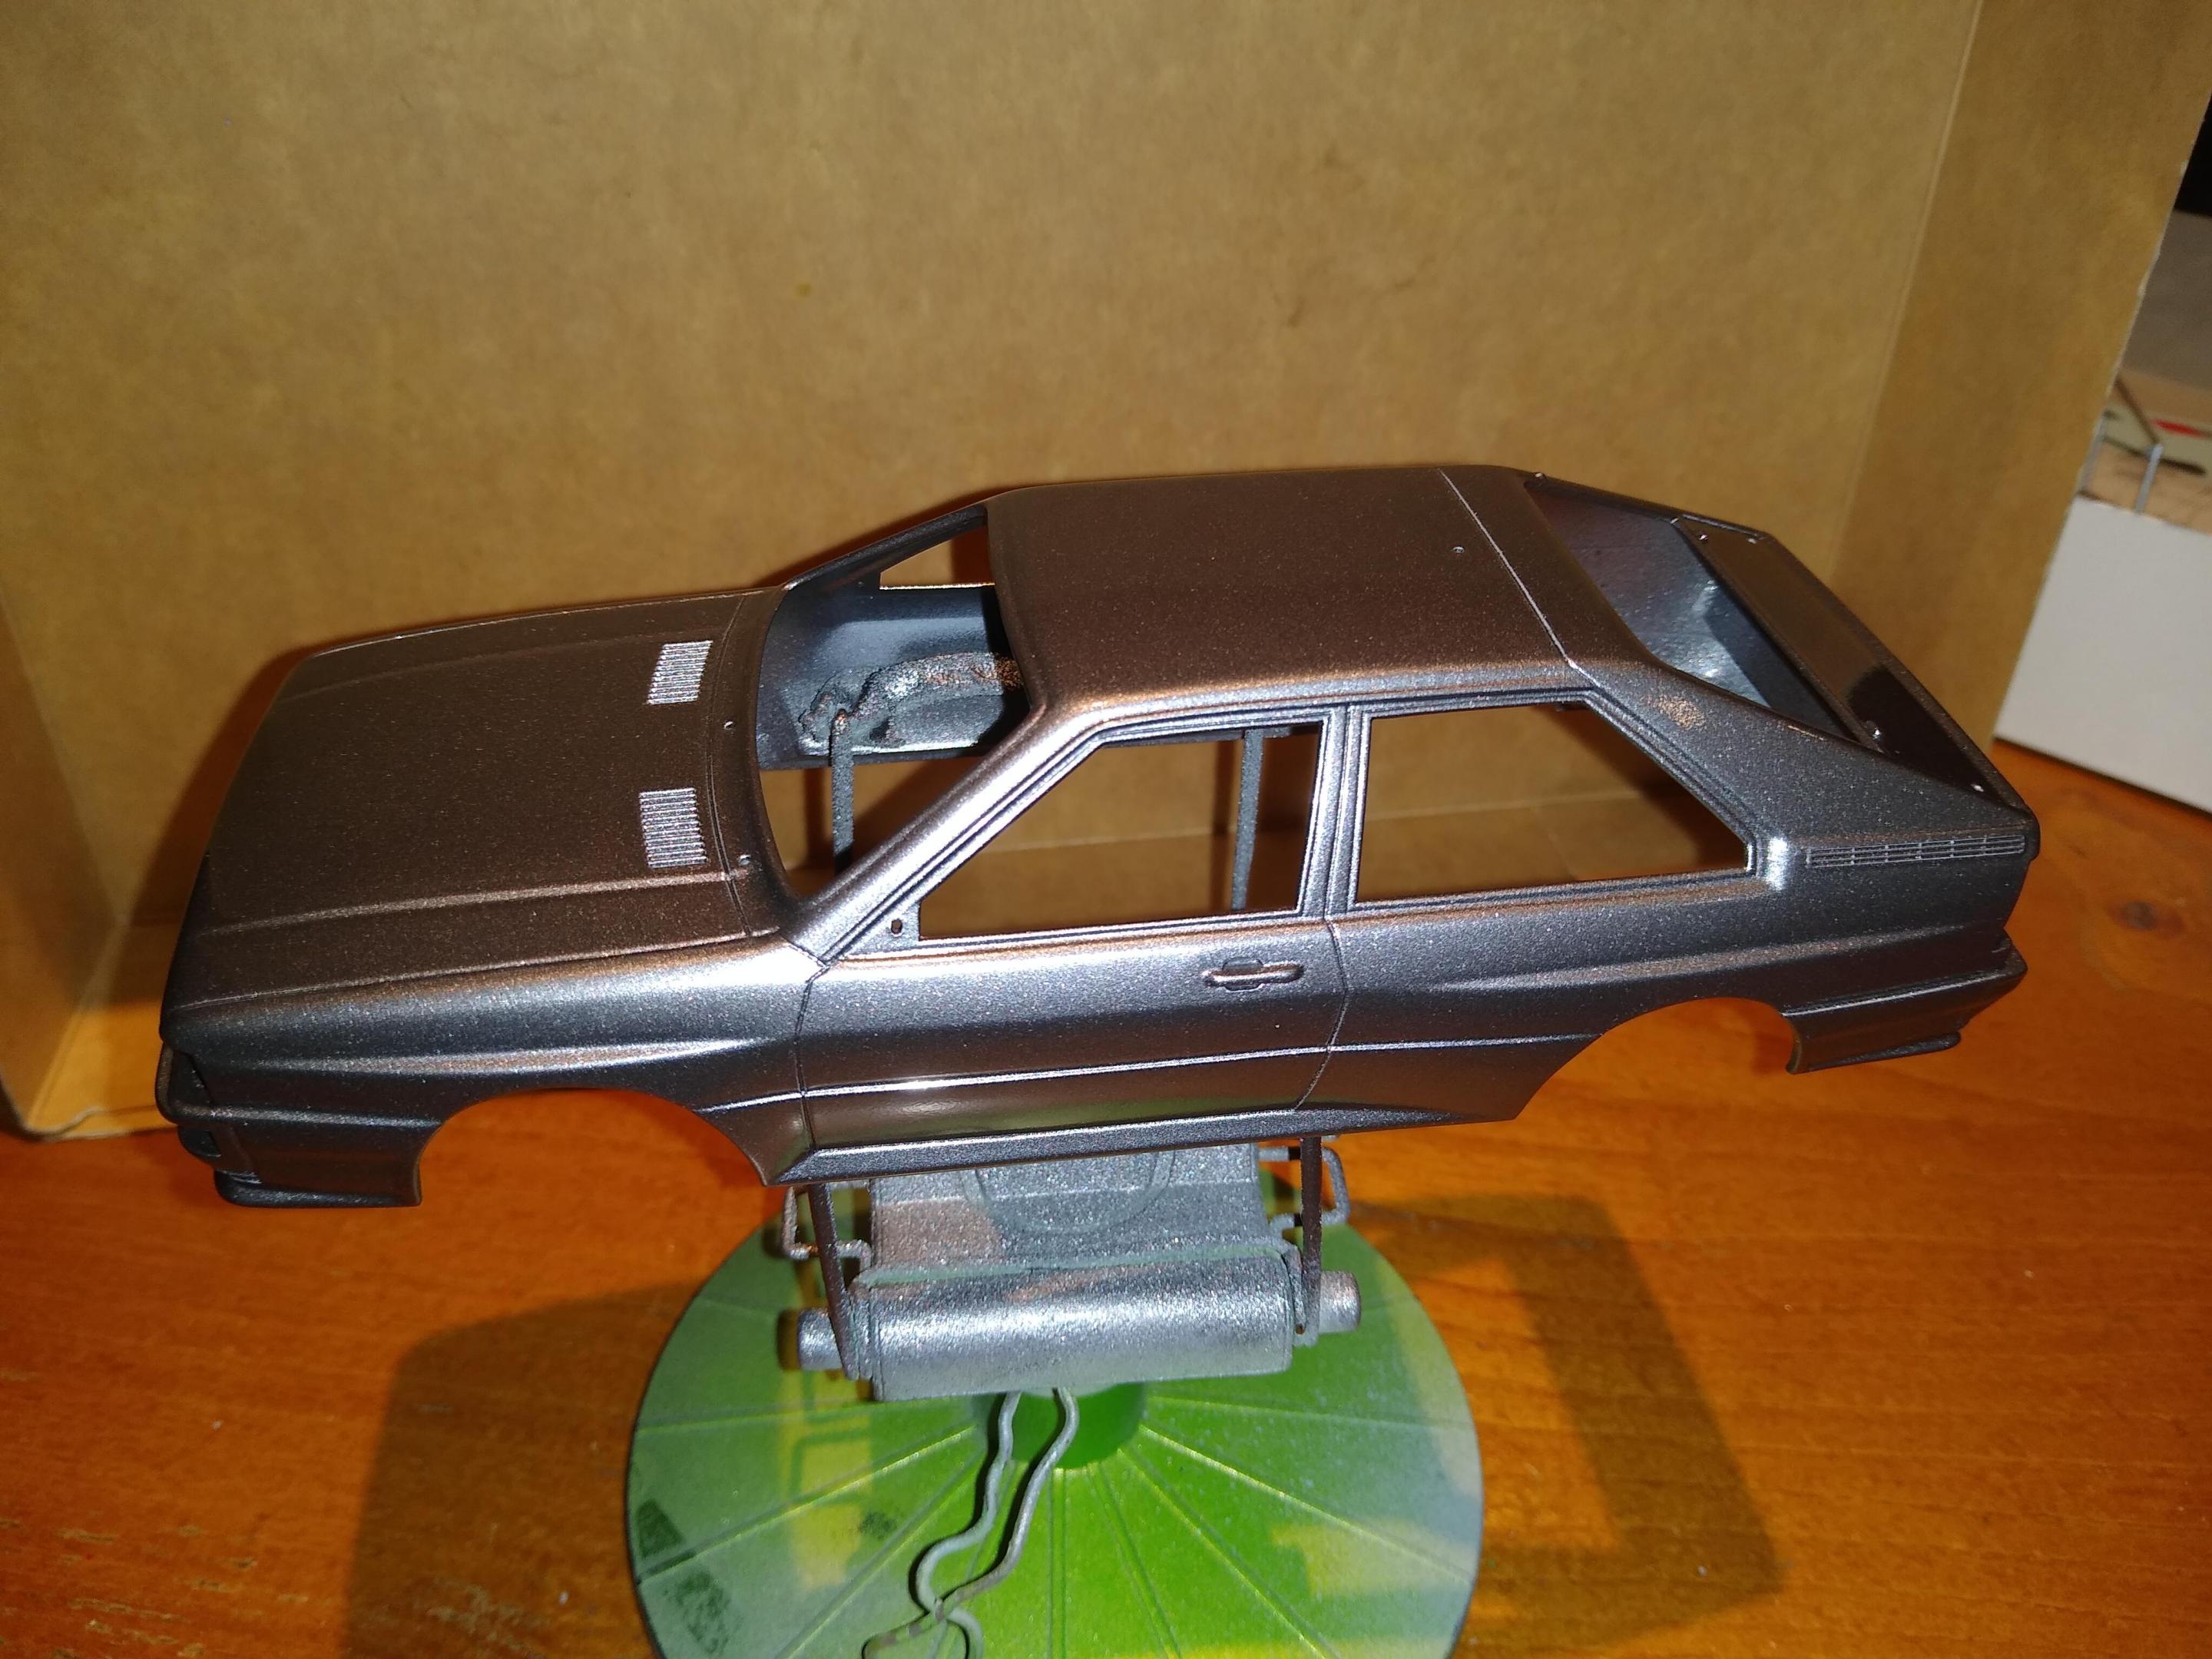
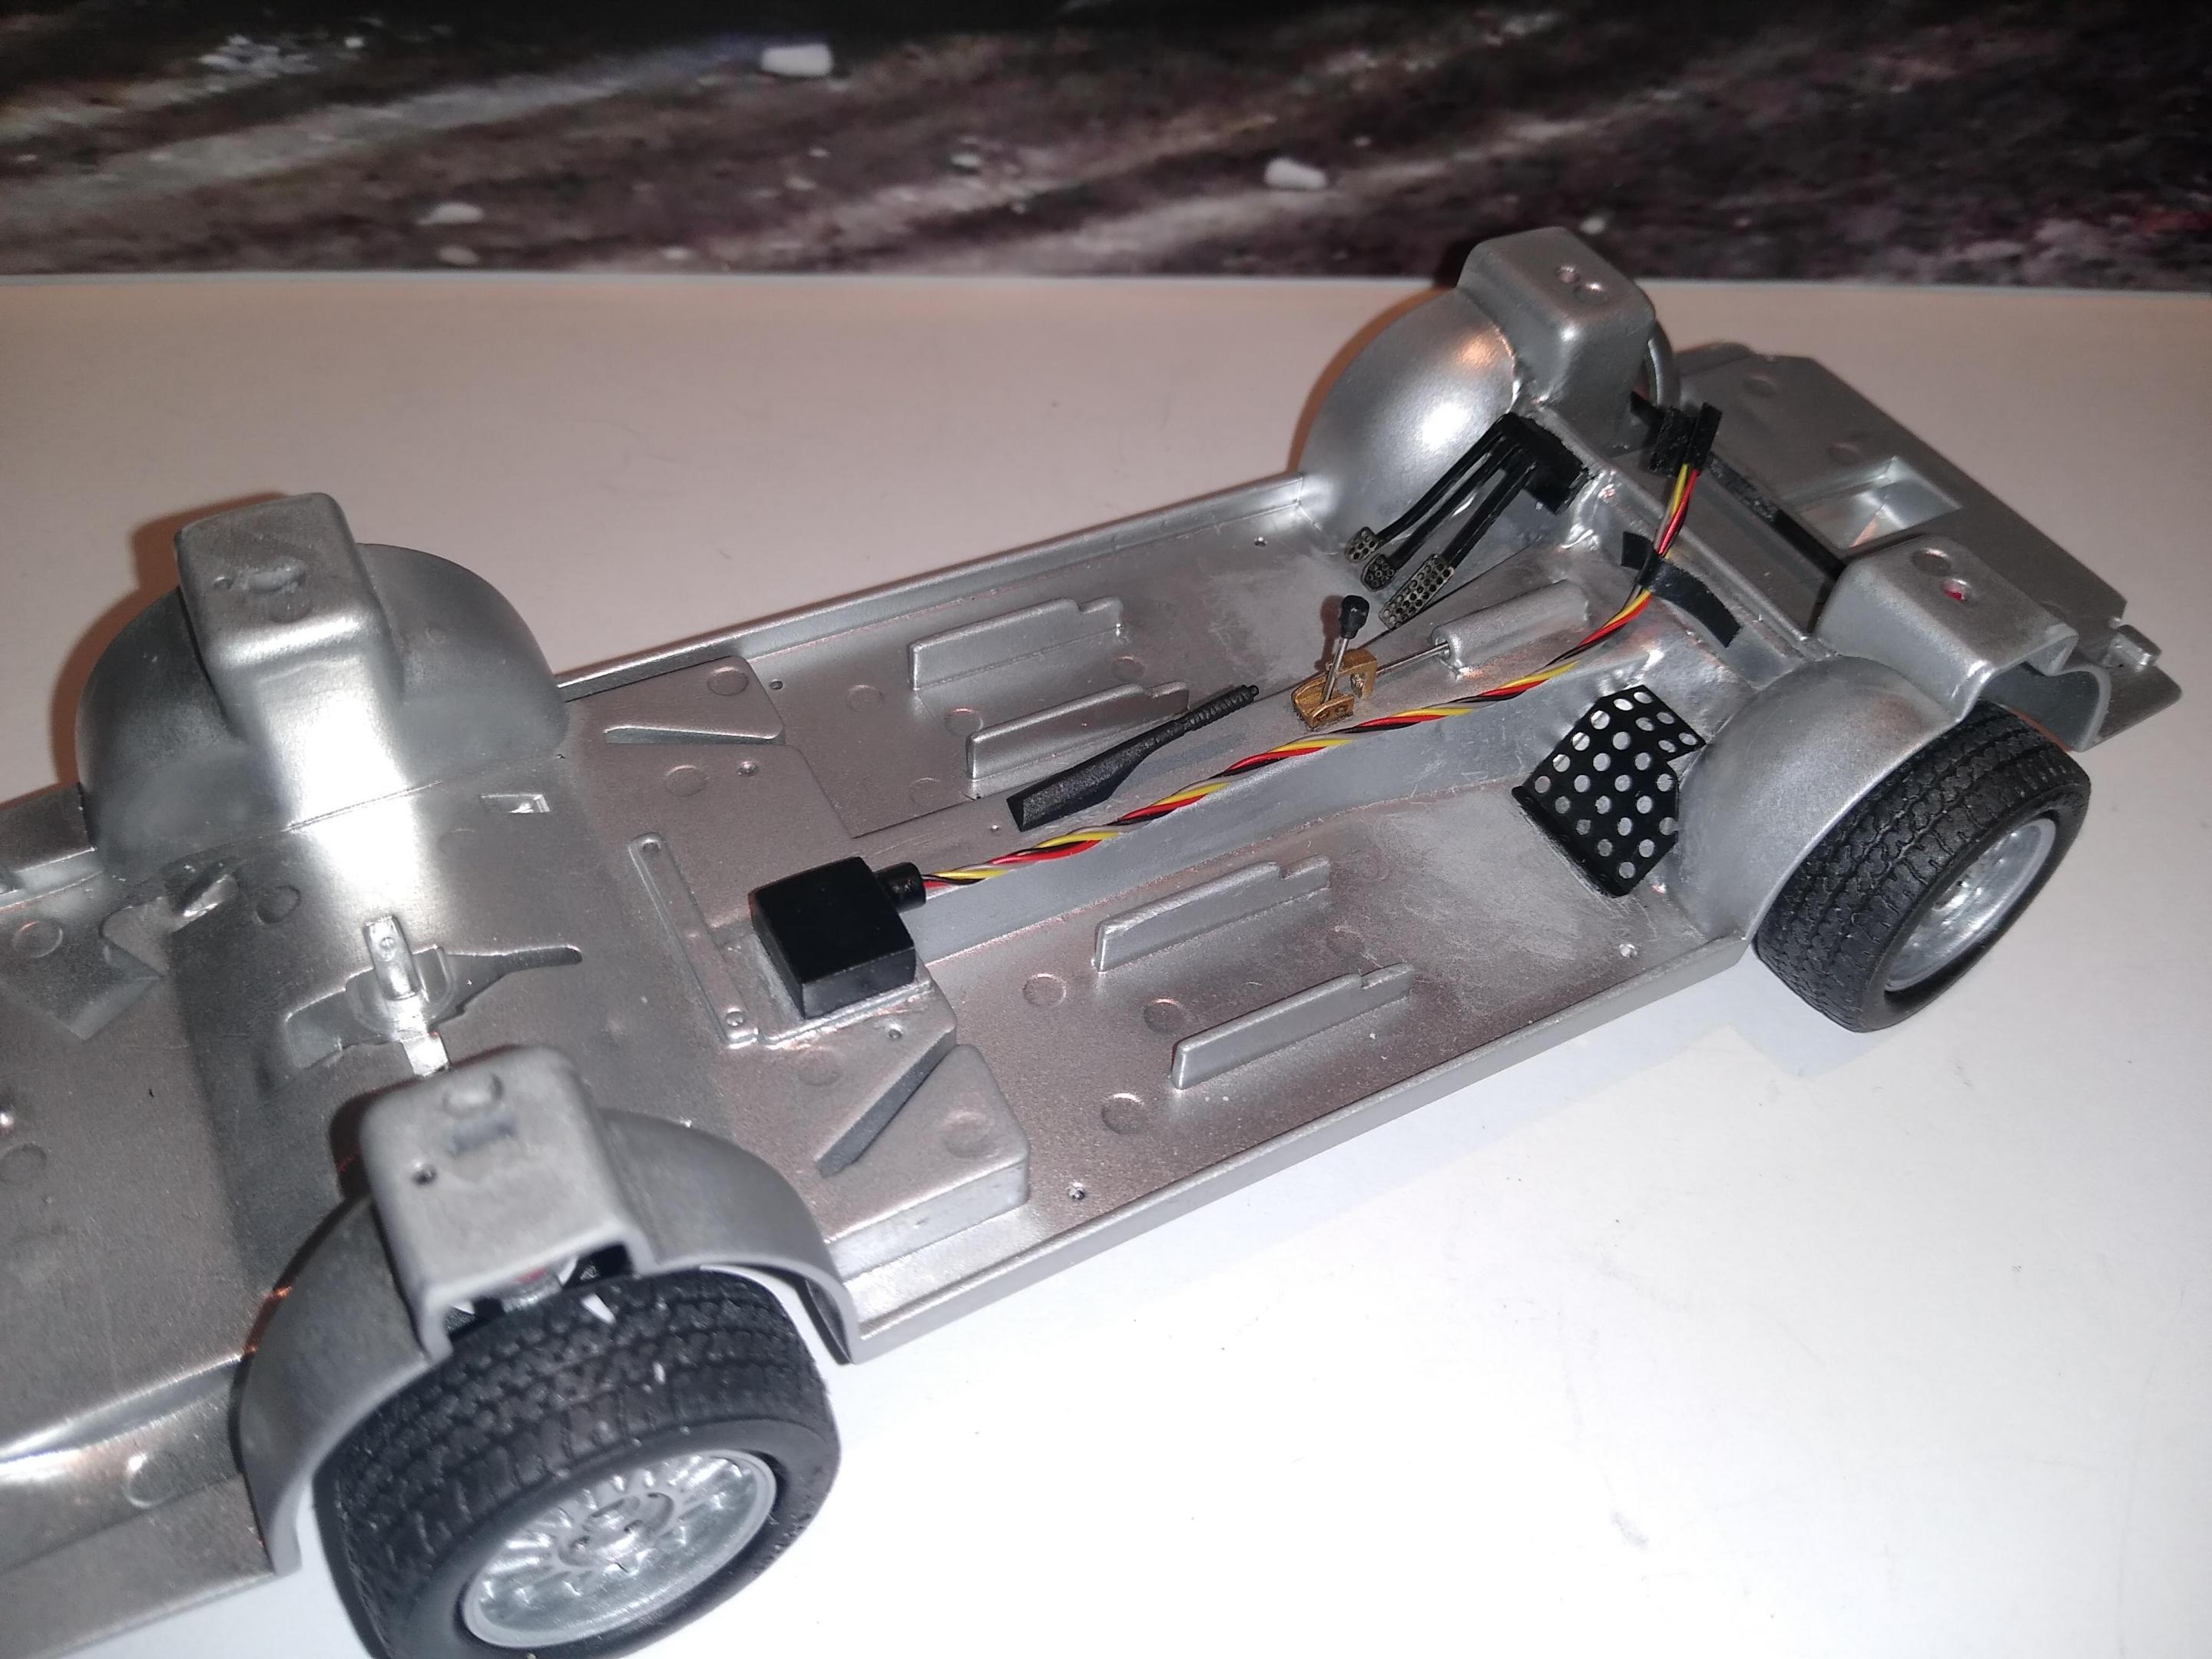
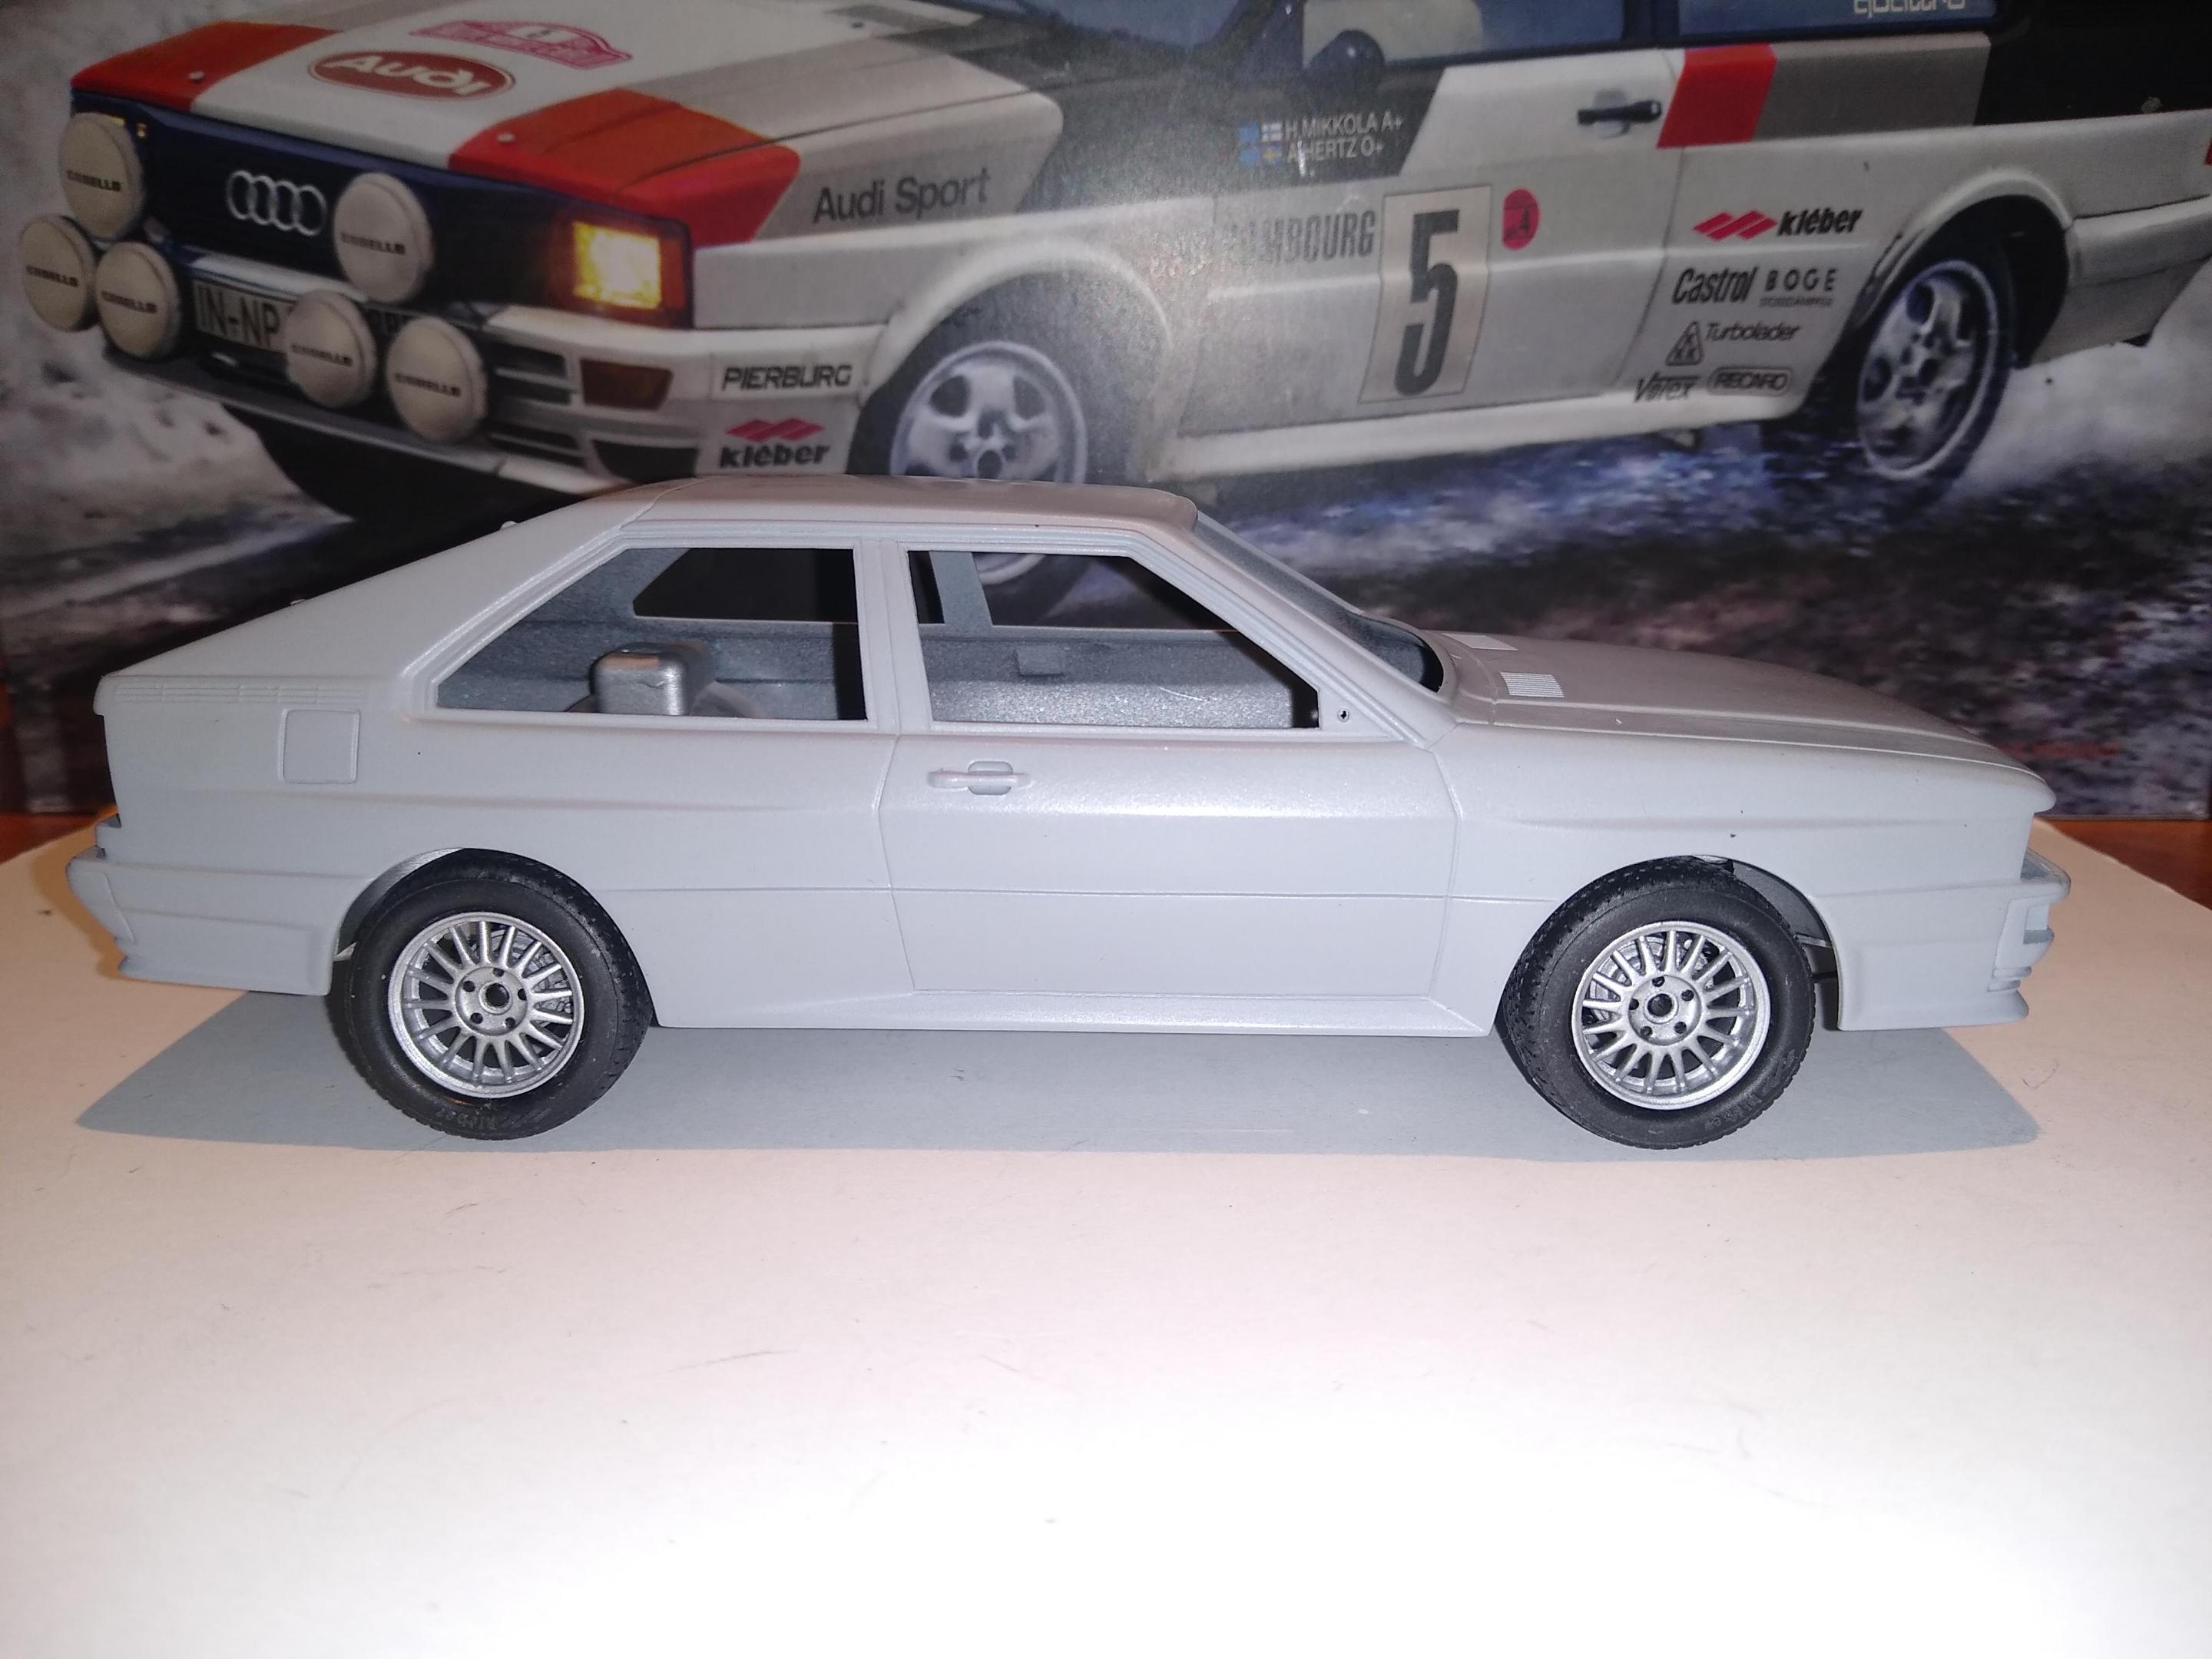
#5 Audi Quattro Gone quiet here - nothing but the sound of Anthony screwing down his hobby room floor! ? Got the body painted & clear coated the other day: Really pleased with the colour, which is Tamiya light gunmetal. Not so pleased that I didn't put enough undercoat on the roof after re-scribing the panel line & now have the dreaded "white line" that reveals itself after you finish the clear coar and take a flash photo! ☹️ Not the first time it's happened & I've developed a hack where I mask it off & touch up with a brush before the panel wash. Also started assembling the interior: Installed the scratch built gear shifter, plus the PE pedals & co-driver footplate together with some foot scuff marks. Decided to run the wiring loom into a SB junction box so I don't have to think about where it all goes after that! Thanks for looking & get Cannonballing, y'all! ?
-
I've done it a couple of times using Micro Set (the blue one) and either a lolly stick or toothpick, bevelled to make a "soft blade". It takes a LONG time & you needn't expect the Micro Set to magically lift the decal, but with patience & care it can be done... eventually! Once done I refinished the acrylic laquer surface with fine sanding & polishing compound. Good luck!?
-
Hi Gary & welcome! ?
-
Very interesting, thanks for sharing that. Any thoughts on paint colour yet?
-
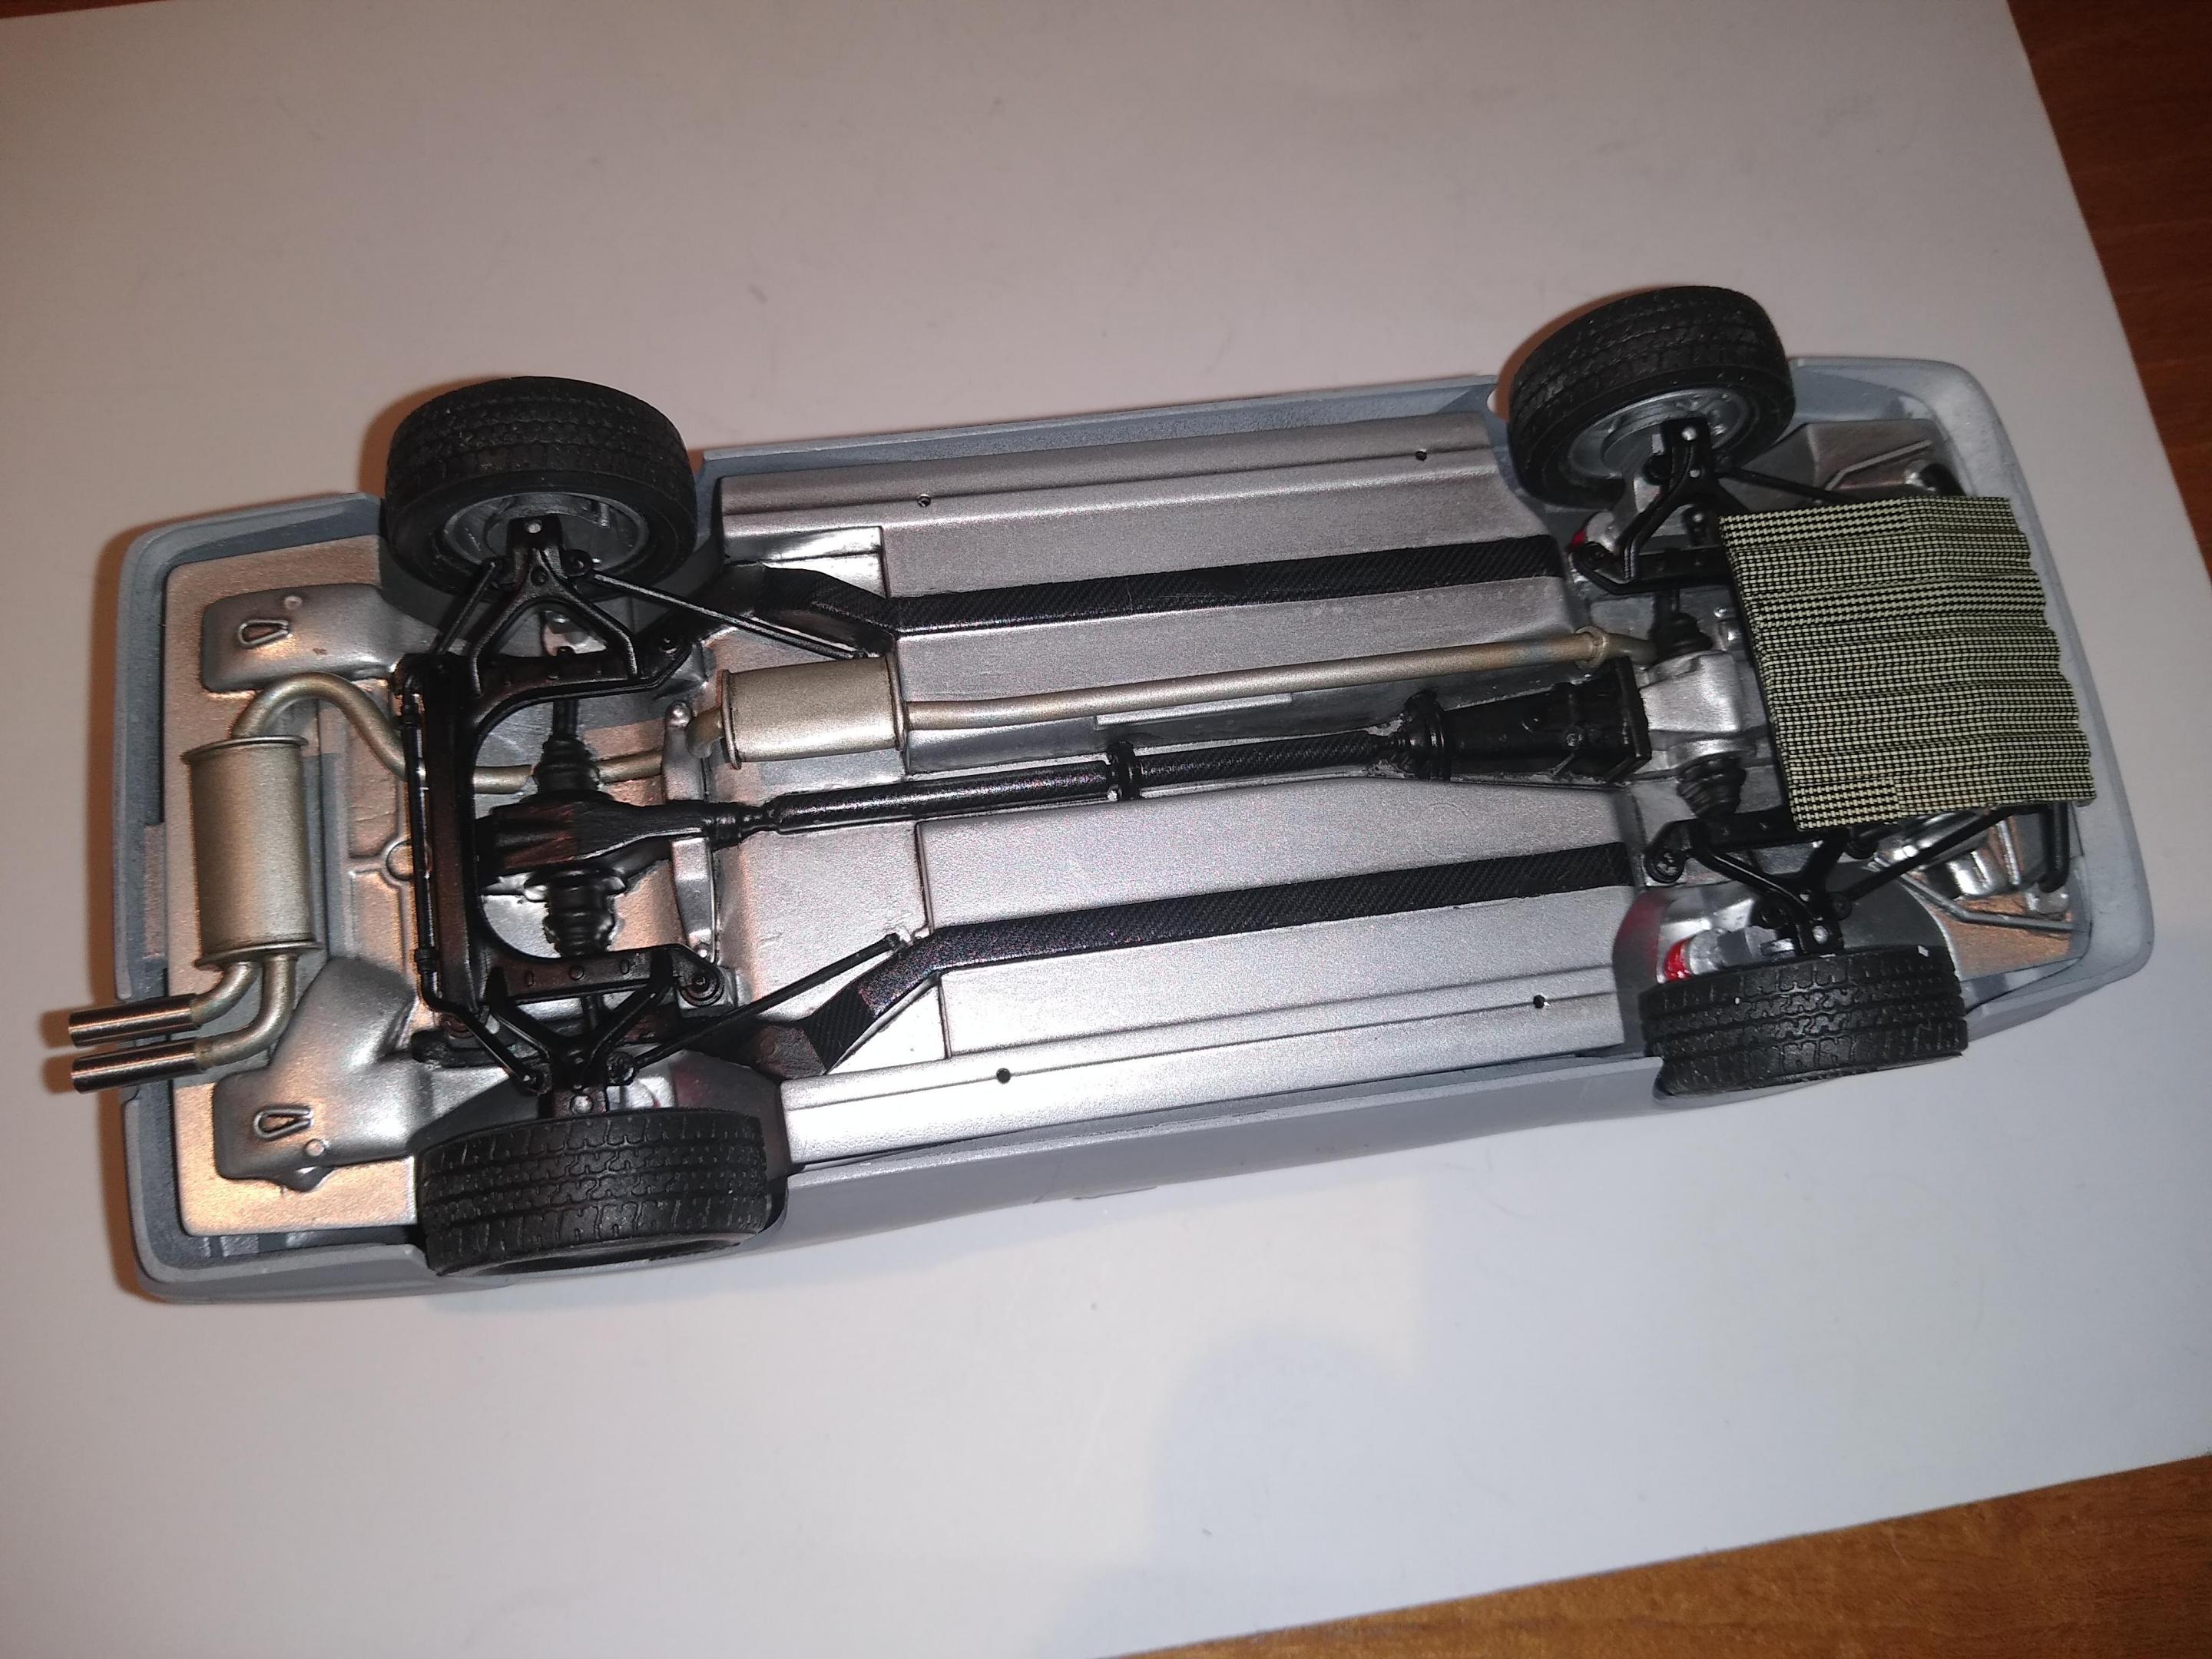
#5 Audi Quattro Got the running gear assembled. Had a bit of an unexpected battle to get everything sitting right in the body but I think I won in the end. Quite pleased with my first attempt at a custom exhaust system ?

