Mattilacken
-
Posts
3,679 -
Joined
-
Last visited
Content Type
Profiles
Forums
Events
Gallery
Everything posted by Mattilacken
-
Those are nice! Btw what primer do you use?
- 766 replies
-
- 1
-

-
- stalled builds
- quick builds
- (and 2 more)
-
Jeep CJ Howe Fire Truck
Mattilacken replied to Oldmopars's topic in WIP: Model Trucks: Pickups, Vans, SUVs, Light Commercial
Sweet! -
Nice progress there! Keep it up!
-
Blazer Crew Chief
Mattilacken replied to NOBLNG's topic in WIP: Model Trucks: Pickups, Vans, SUVs, Light Commercial
Thats a realy nice build! Like it allot! I would need a bunch of those tires for the ideas in my head ;D -
Nice! have seen these in the hobby shop a couple of times and like the idea of building one, and they are usaly dirt cheep in comparisson to a F40,F50 or Enzo. I have also been looking at them to just steal the tires since i am a sucker for wide tires
-
It’s allot more work and som of the fun goes out of the door for me at least when a kit is bad. But hey! The skill you possess will make you push through it!
-
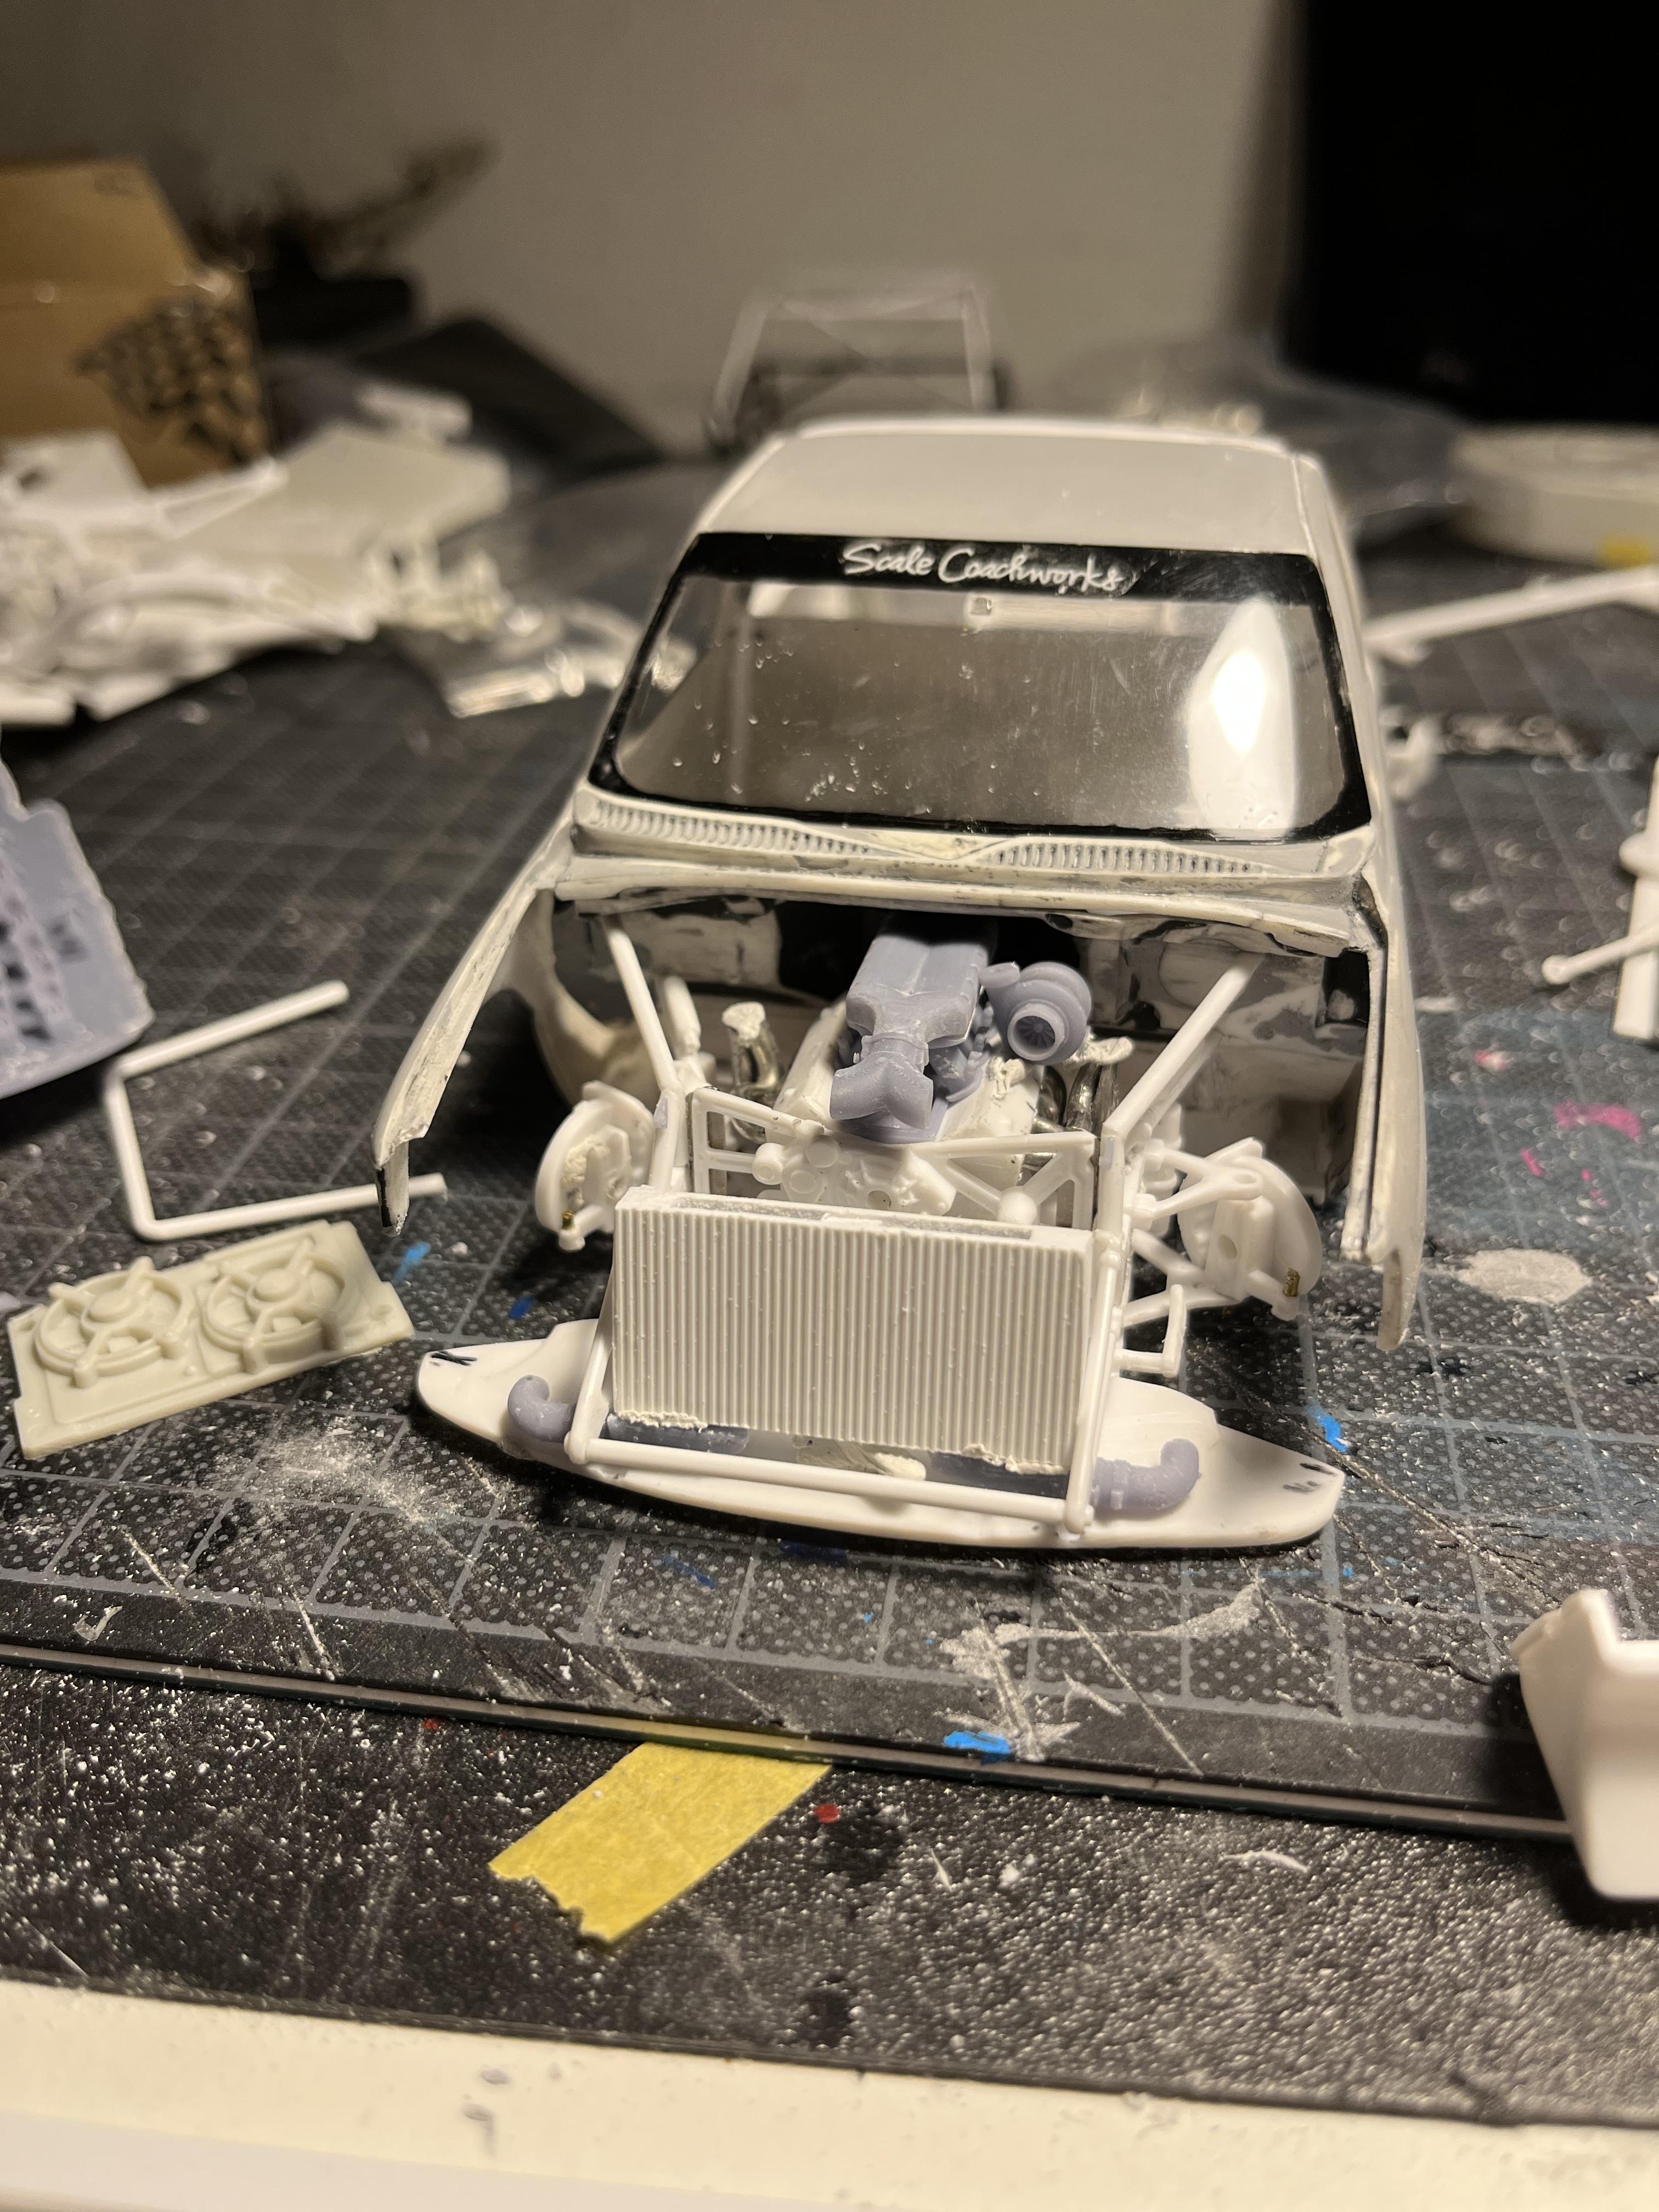
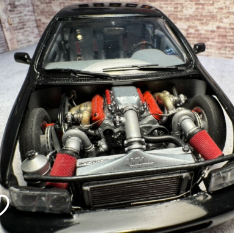
Made some minor progress and allot of planing went on to night. I wanted to finish the front tubular section but I needed to craft a intercooler to work in conjunction with the rest. and since I have more or less decided to have the radiator in the back of the truck tit can use a big part of the available space, might be a bit large but it fills the grill. At least a set of brackets was glued to the tubular bracing. The inspiration for that huge IC, but mine is even bigger.. : I was also reading up on airflow in truck beds and it is as I remember airflow is limited so I might need to try to pull air from the wheels to the radiators.. as it would matter on a static plastic thingy but I kind of like the idea of mailing it plausible. What’s your thoughts on placement on radiators? One in the middle or two on each side?

-
Thanks! I appreciate you looking in and leaving a comment! It takes allot of time to try to reuse as much as possible of the original kit.
-
M-B 450 SLC Safarirally 1979 1/12
Mattilacken replied to maysula's topic in Other Racing: Road Racing, Salt Flat Racers
Beautifull work! -
Airfix Bentley Blower in 1/12
Mattilacken replied to maysula's topic in Other Racing: Road Racing, Salt Flat Racers
Beautifull work as your other builds that i have seen! -
Talbot Lago t26c Silverstone 1949 1/12
Mattilacken replied to maysula's topic in Other Racing: Road Racing, Salt Flat Racers
Beautifull build m8! The details are awesome and execution is flawless! -
Hallå! Han kan även skriva ut dem åt dig om du ger han måtten, han säljer även på tradera under Ghostman 3D parts eller nått sånt.
-
A Black Chevelle, what can go wrong ?
- 766 replies
-
- 1
-
-
- stalled builds
- quick builds
- (and 2 more)
-
Nice work there! super detailed! I know its "easier" in big scale but it also needs more detail than a 1/24 scale. Do you have a set of studed rallye tires made for it? I belive Ghost_33 might have a 3D file for a good set if not.
-
Lumina..
Mattilacken replied to Lowlife ! !'s topic in WIP: Stock Cars (NASCAR, Super Stock, Late Model, etc.)
beautifull work! will be following! -
Beautifull build! How does these build? I am thinking of building one for a friends anniversary next year.
-
2022: My year in styrene: 10 creations...
Mattilacken replied to Claude Thibodeau's topic in Model Cars
Beautiful lineup! -
1977 Olds Cutlass from 3D print from Too Many Projects
Mattilacken replied to carl63_99's topic in WIP: Model Cars
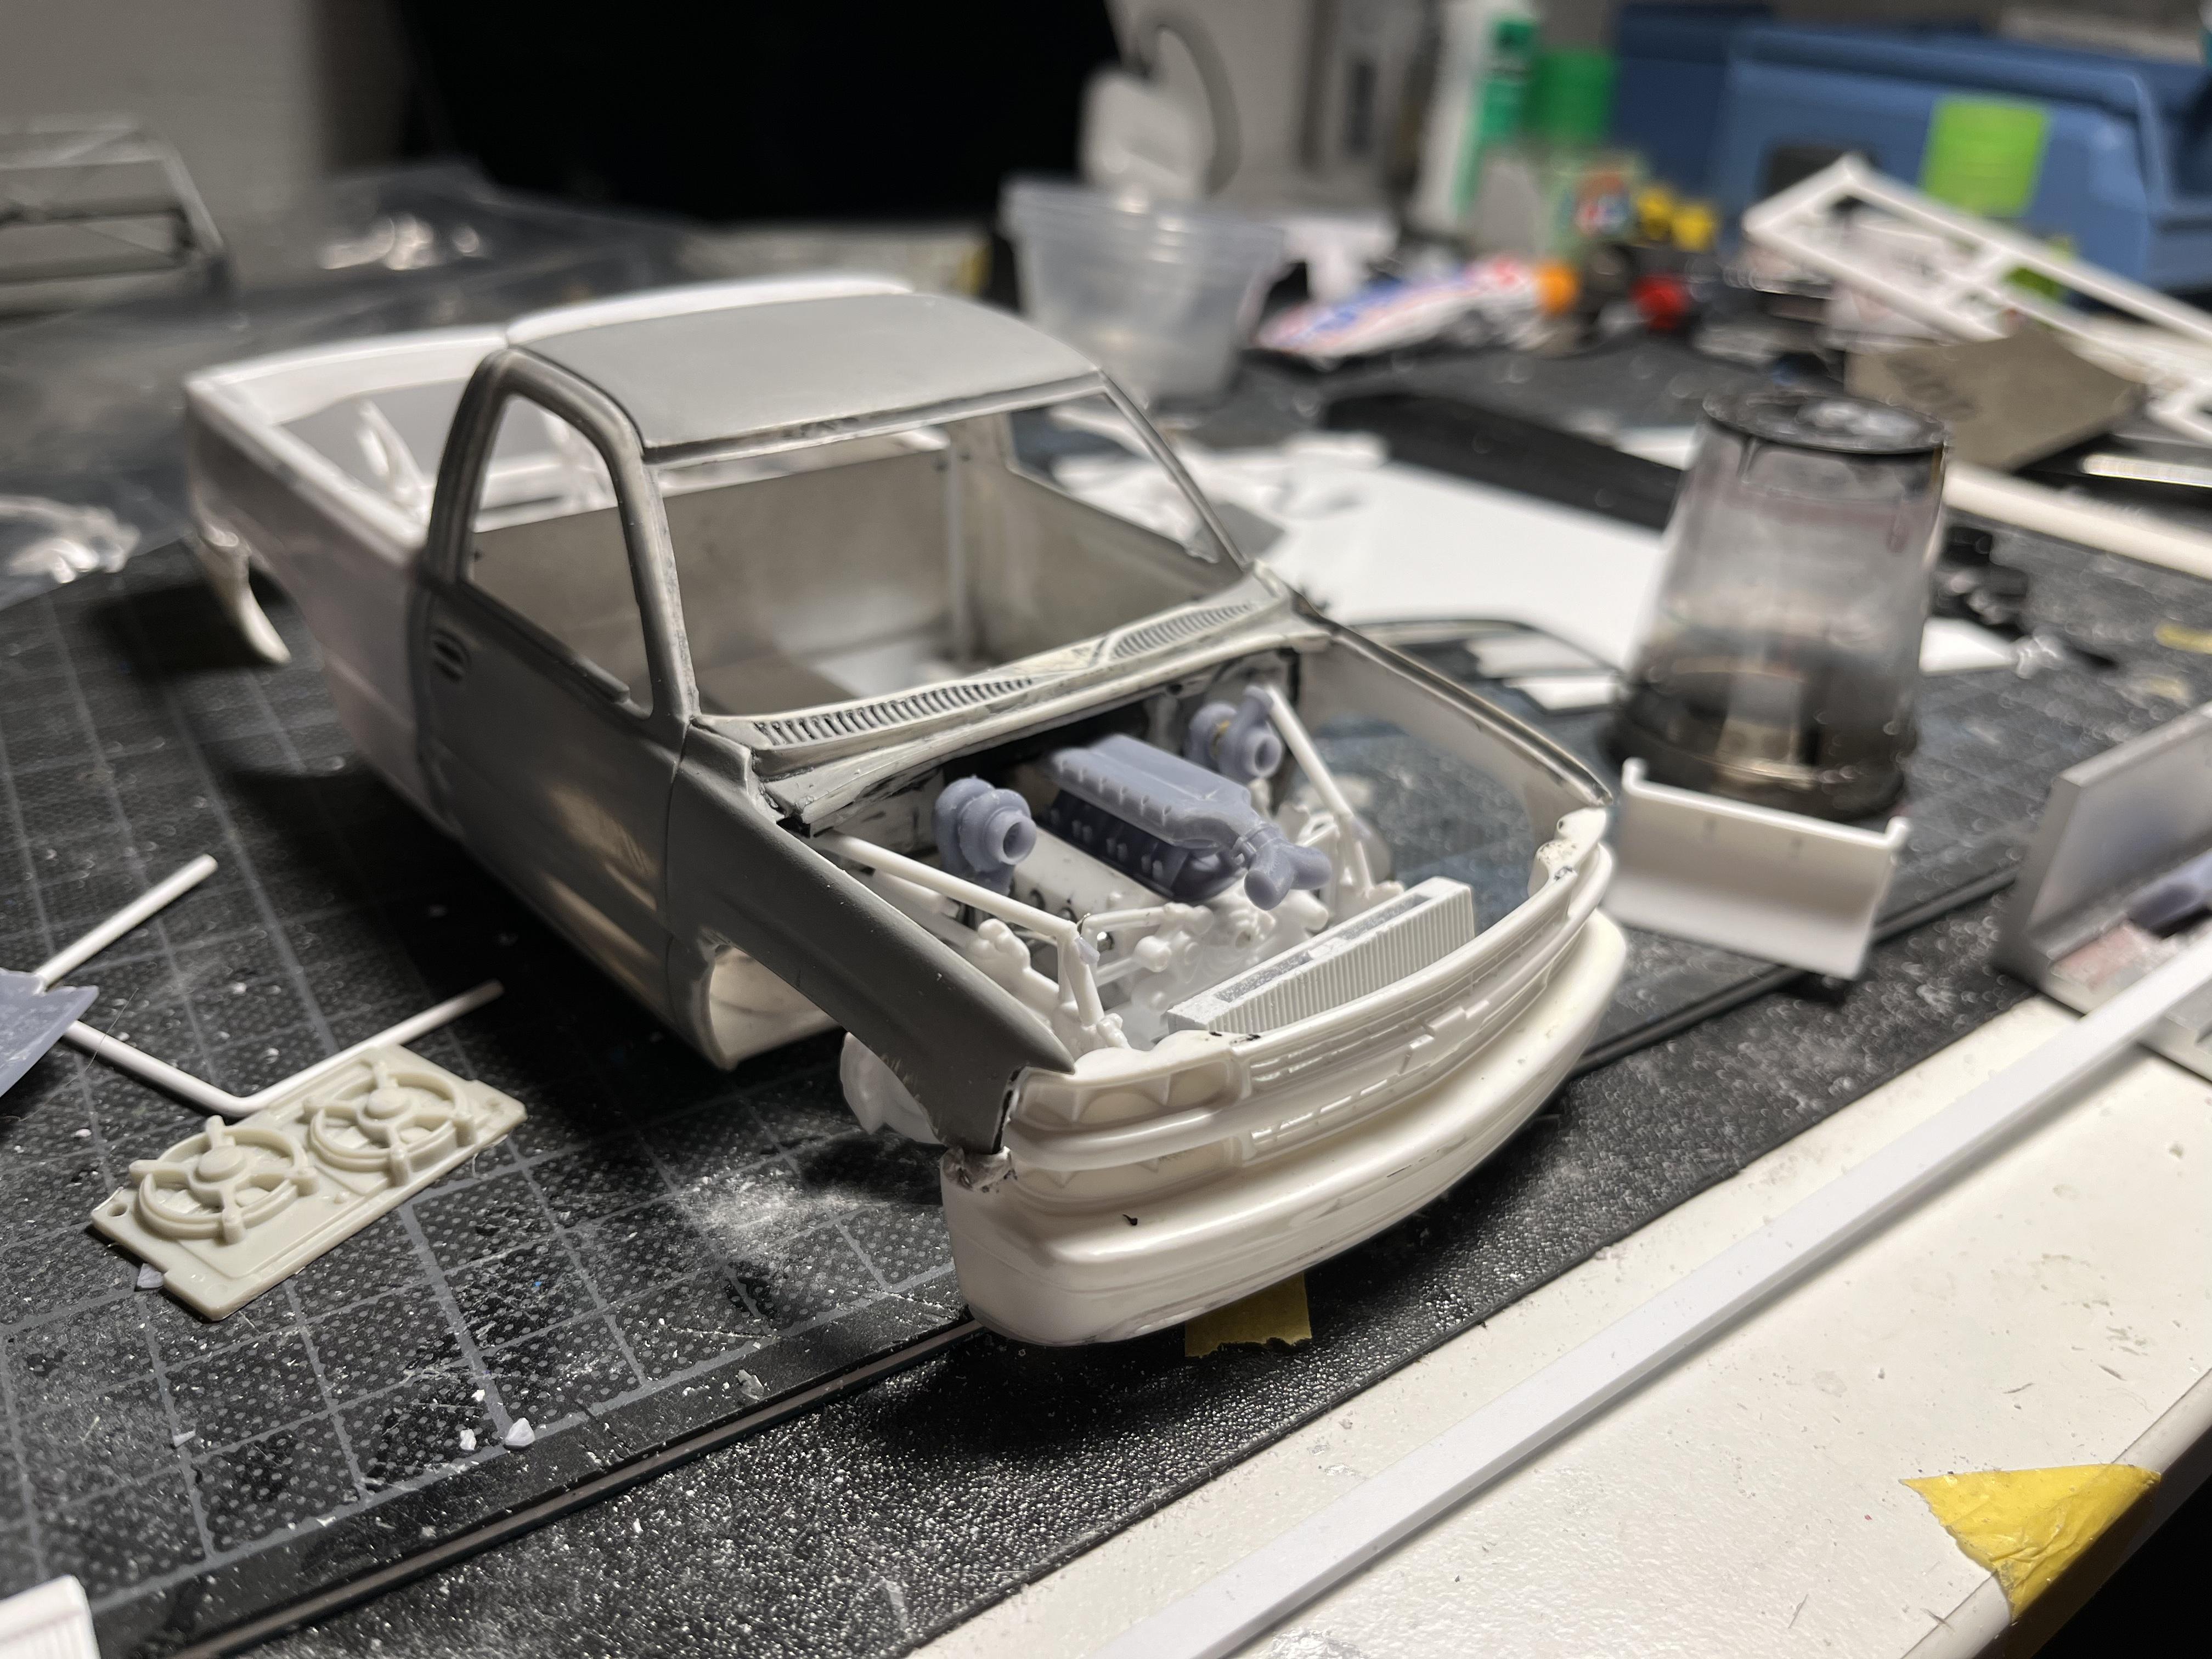
Nice to get them chromed! We all know that feeling when ther just isn’t time for the hobby . I have had the opposite for once and managed to get allot done on my Silverado race truck. -
That’s also a cool one!
- 766 replies
-
- 1
-
-
- stalled builds
- quick builds
- (and 2 more)
-
Blam! And I thought my ink was expensive! Used to be $90, now 200 for all the cartridges.
-
Sweet! What printer do you have to be able to print it? I have a photo printer but it’s not working well.
-
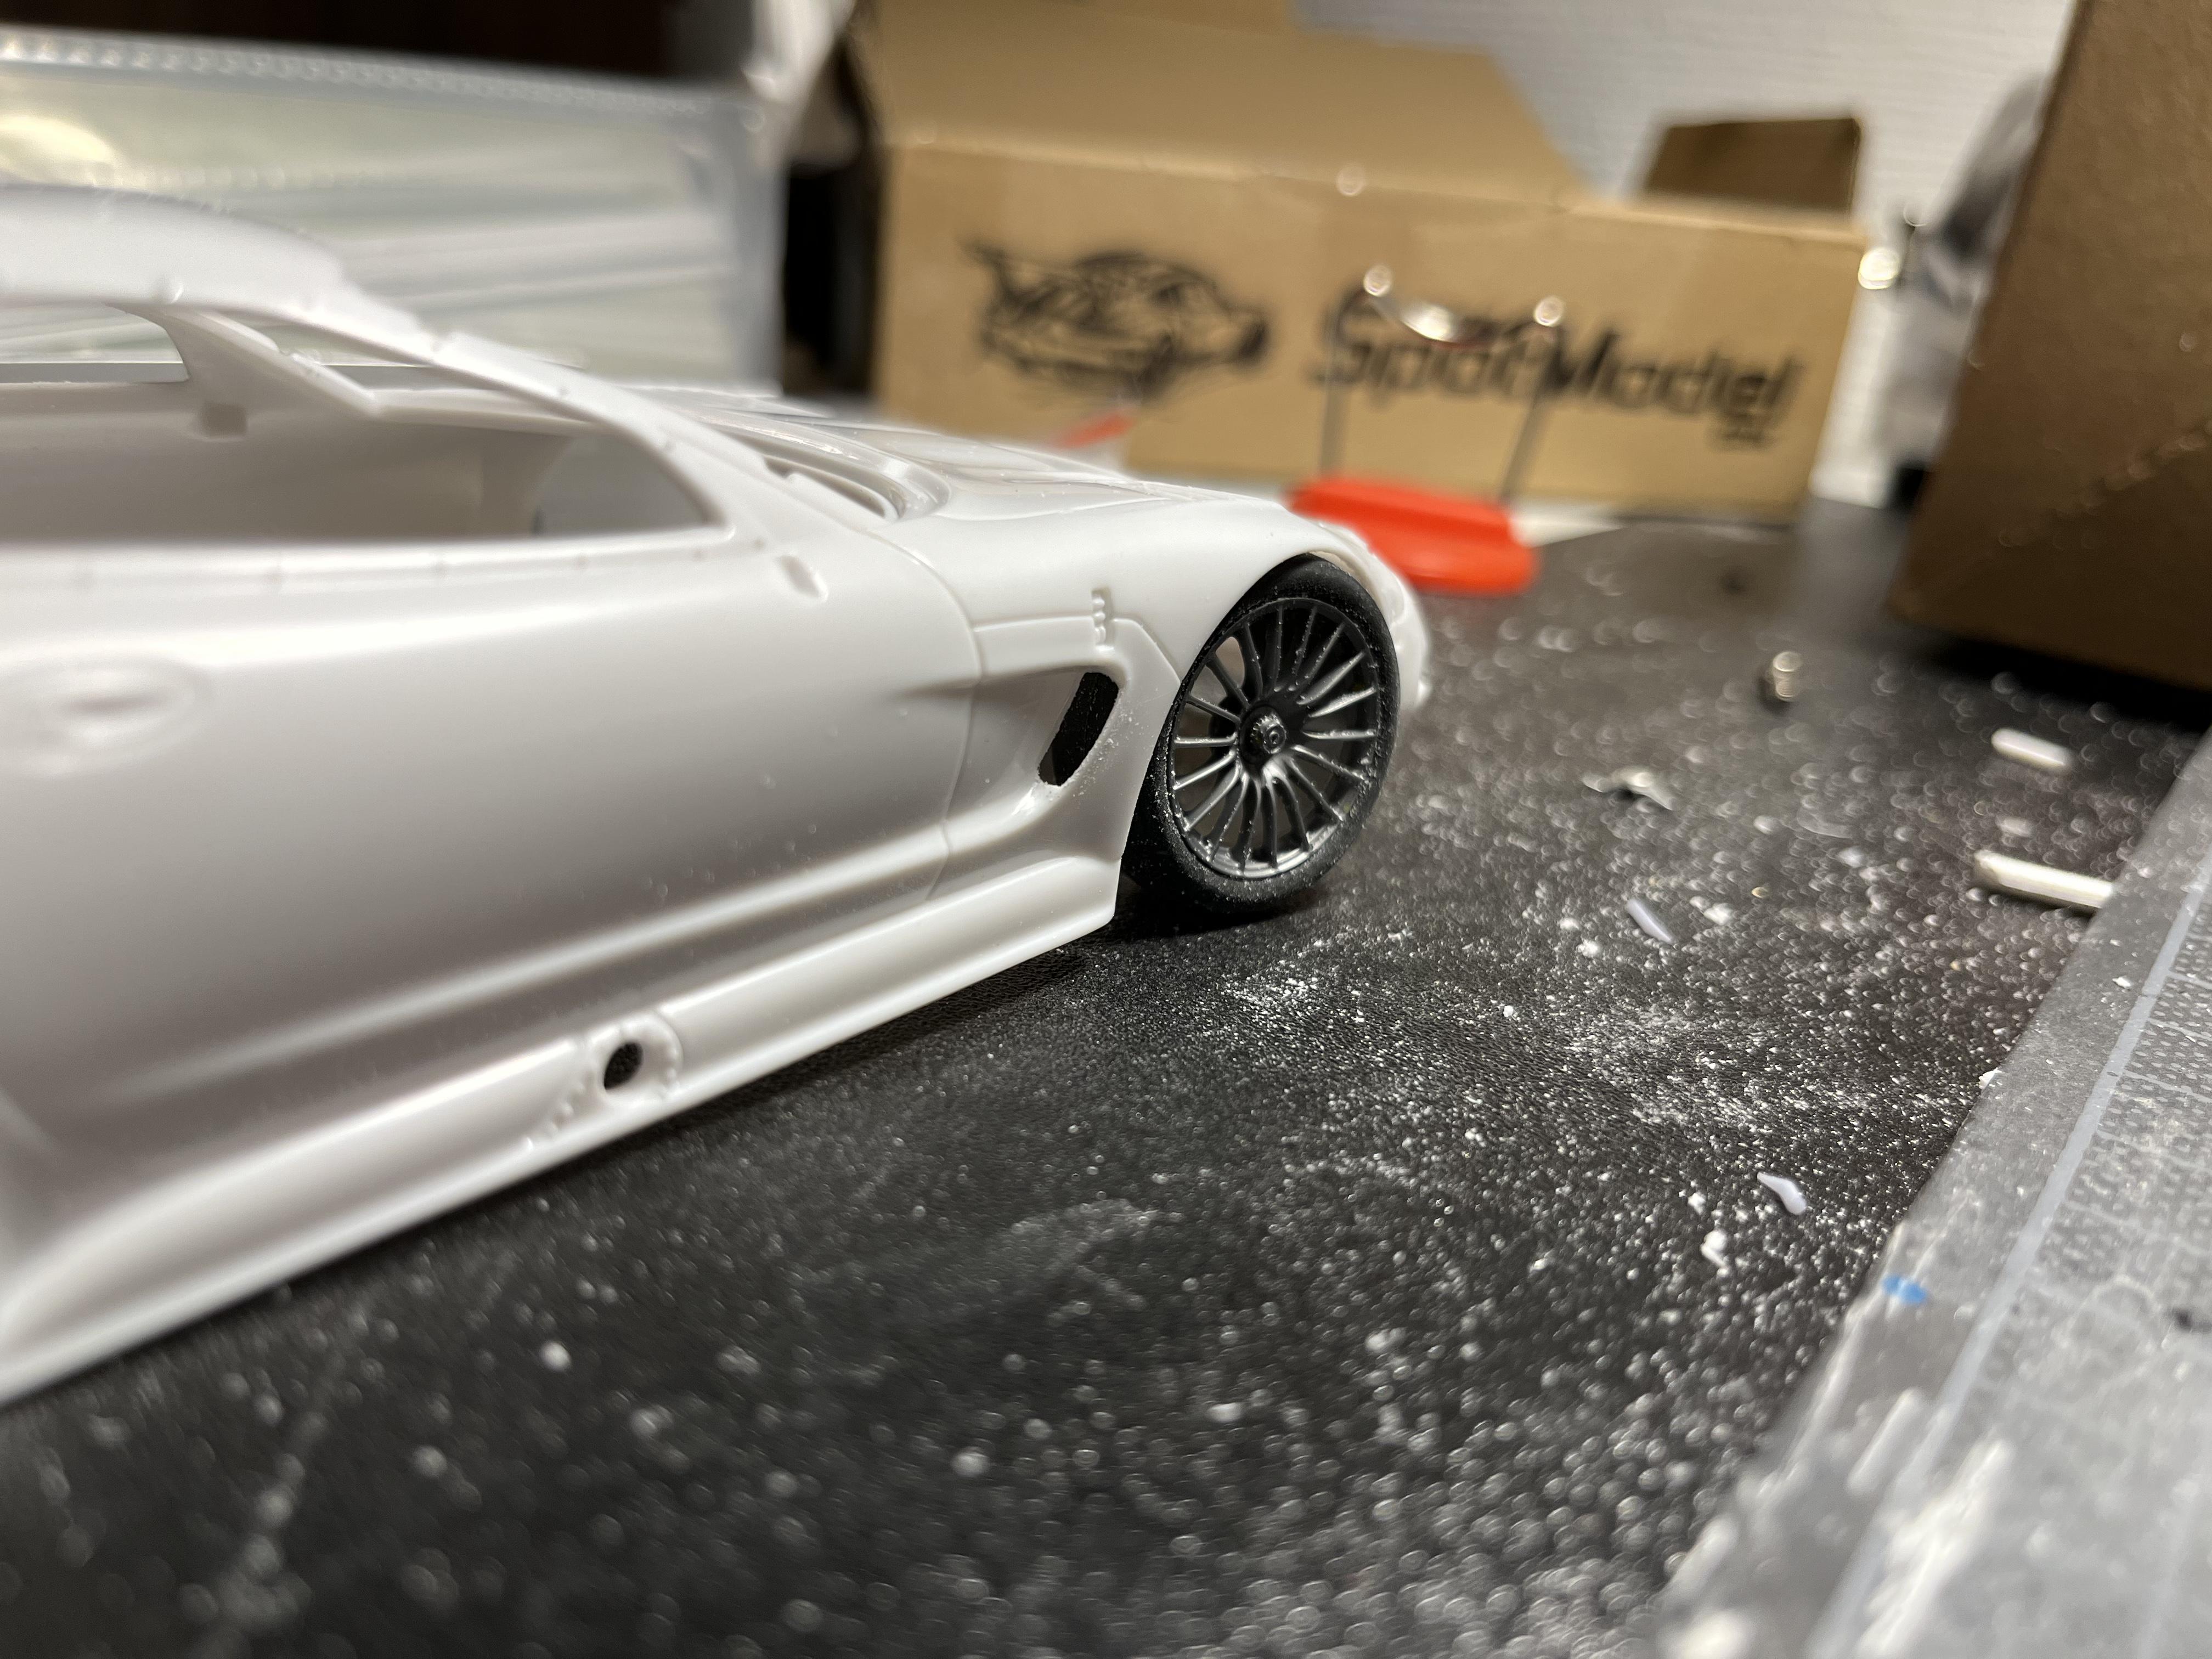
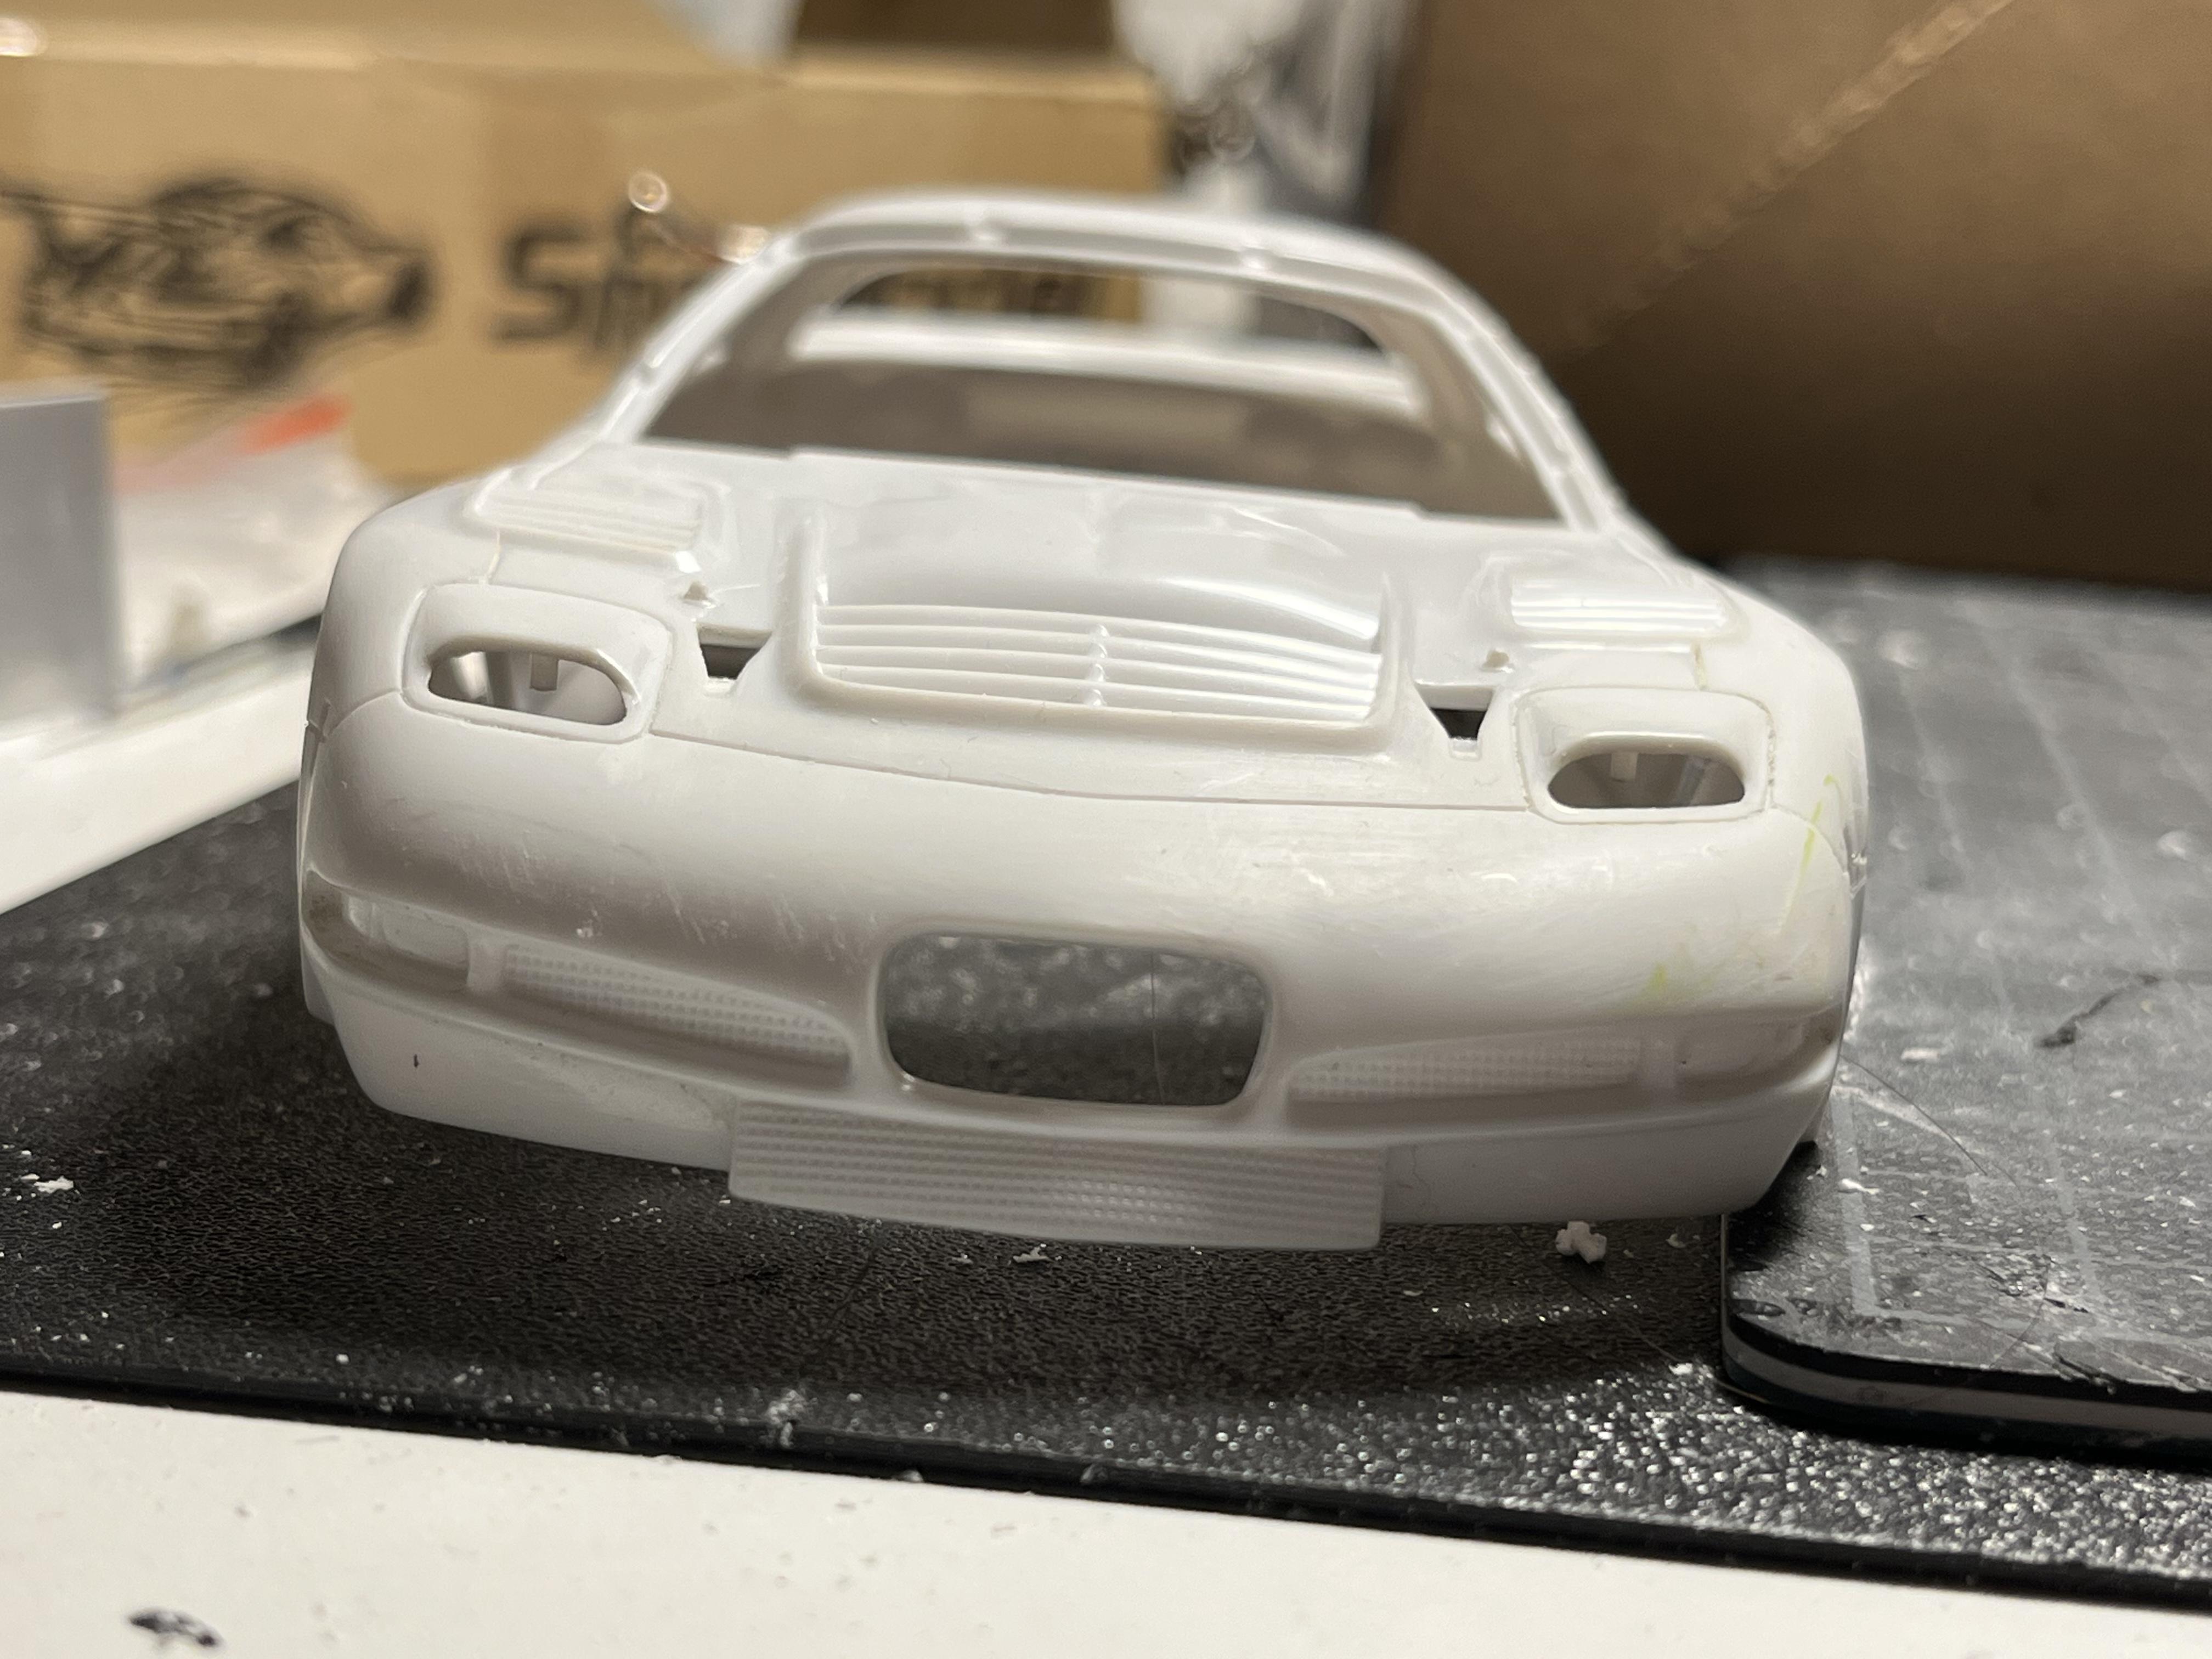
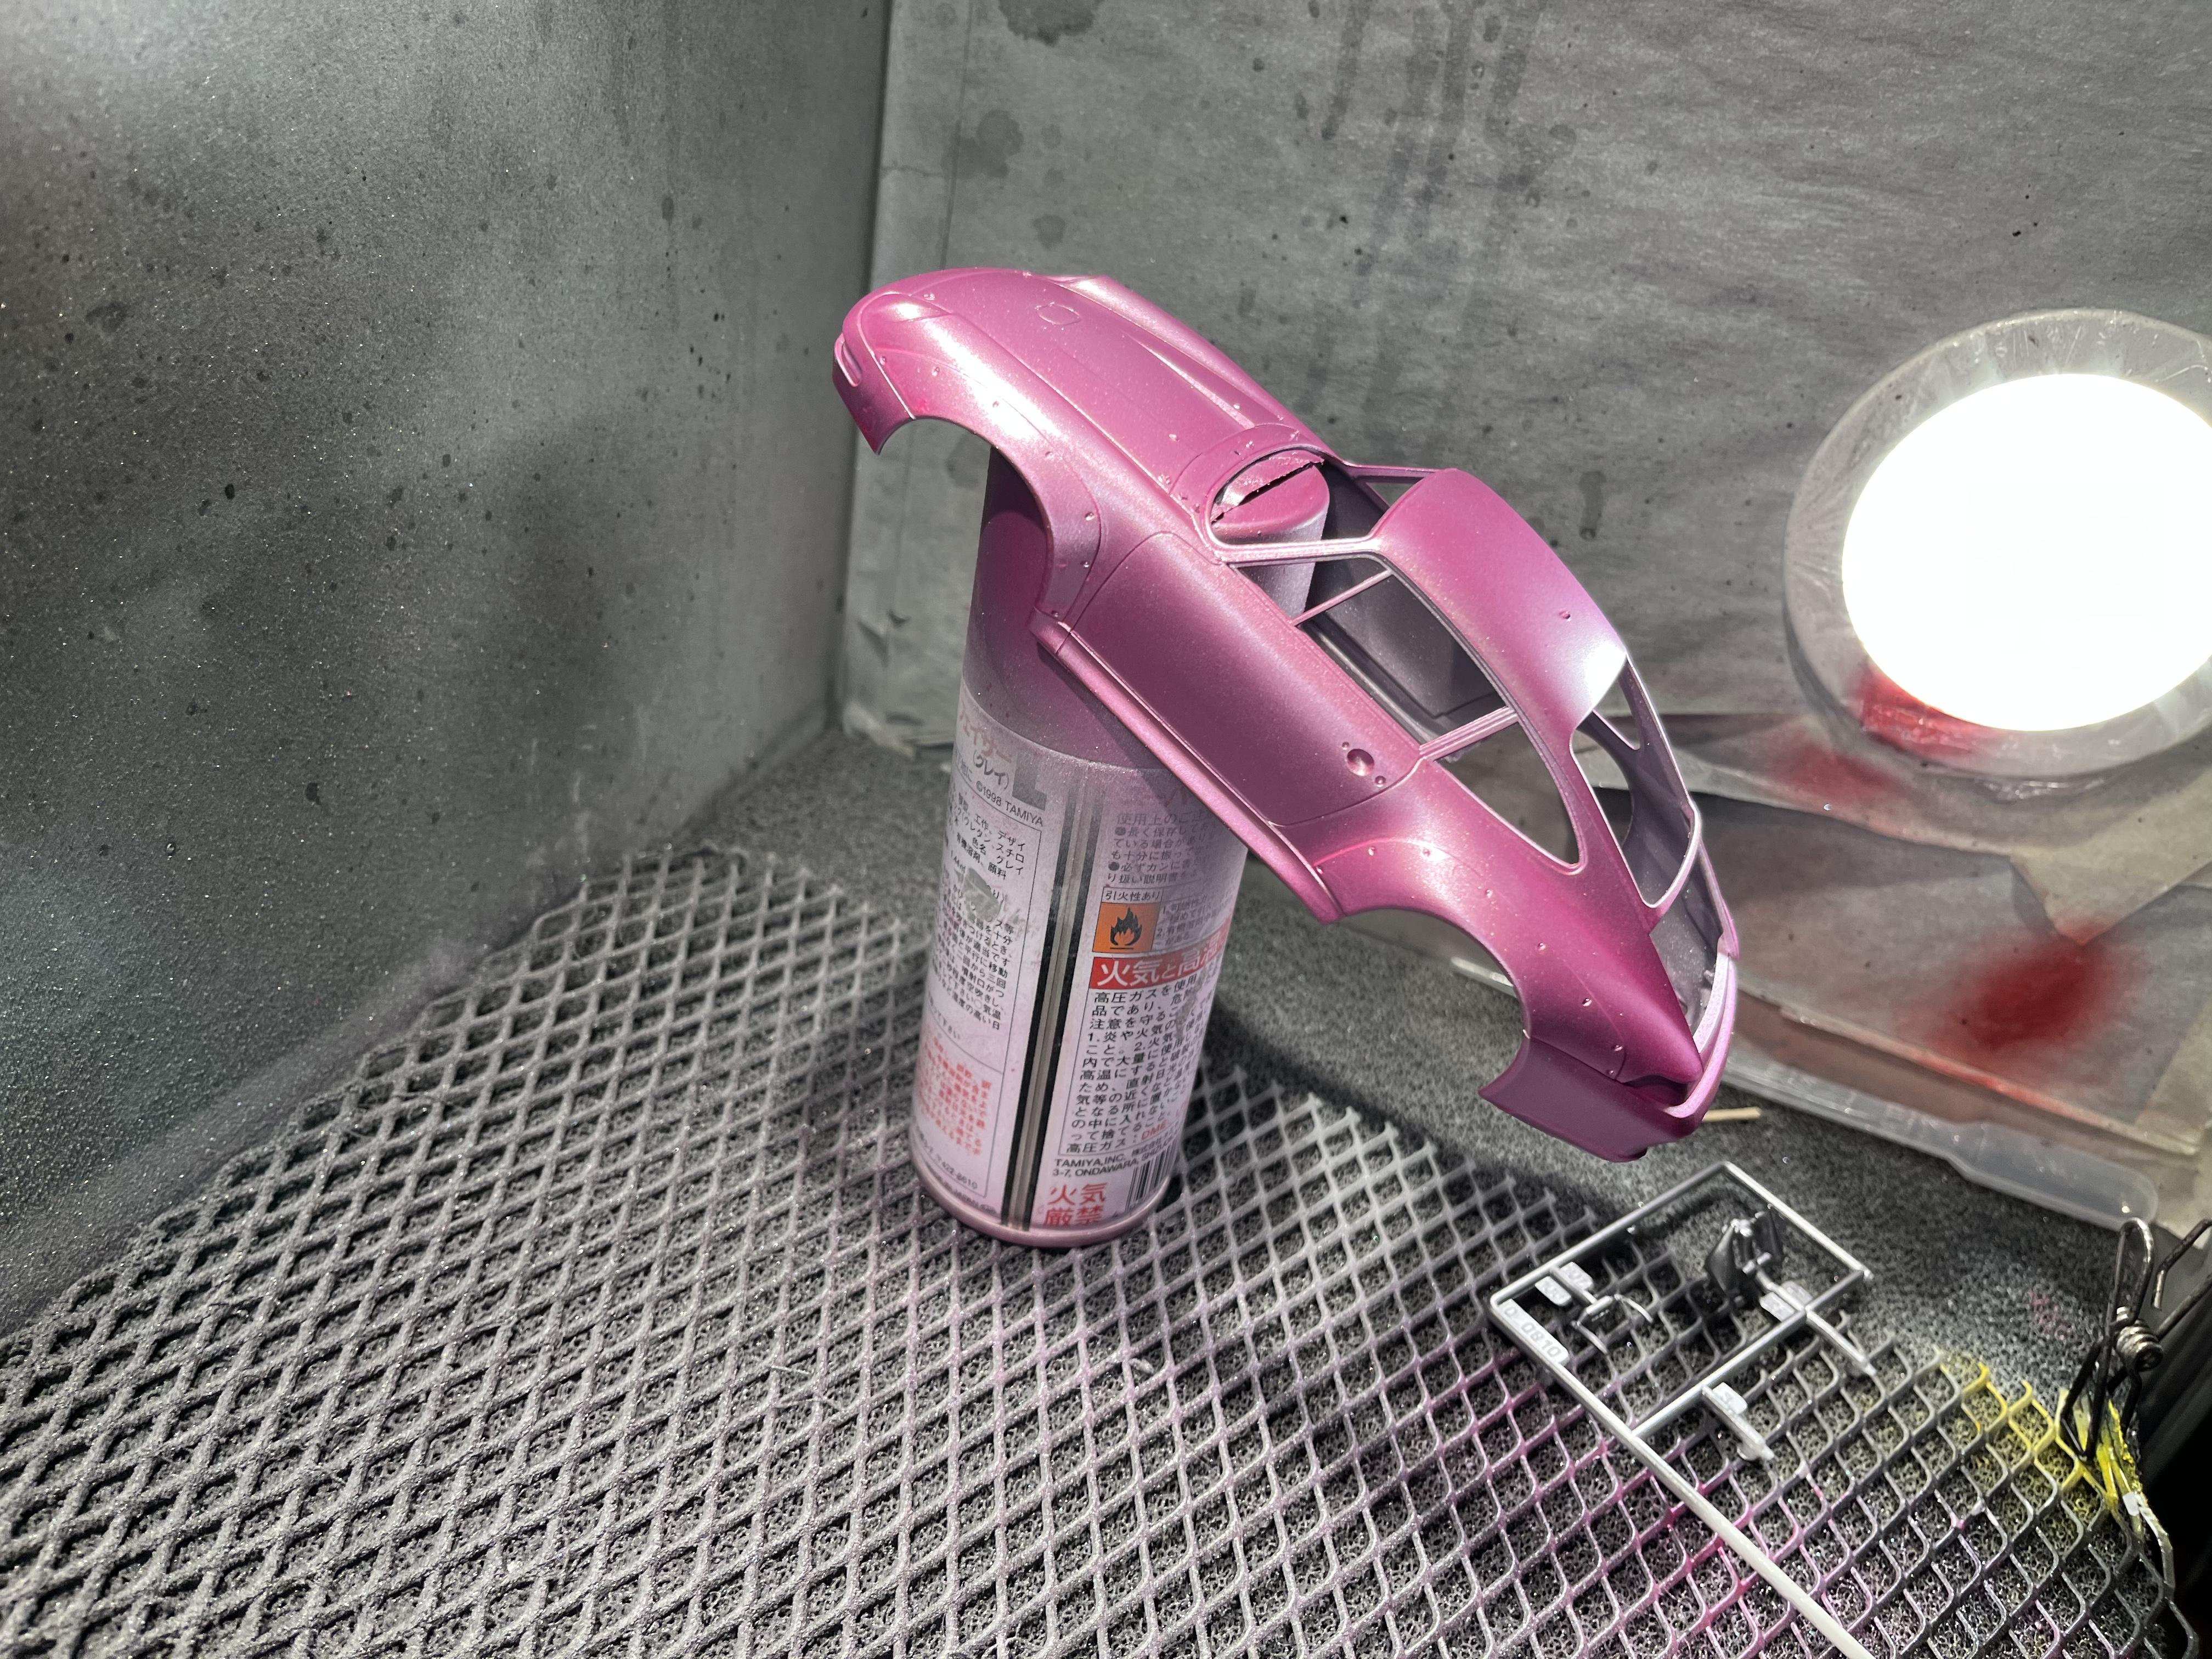
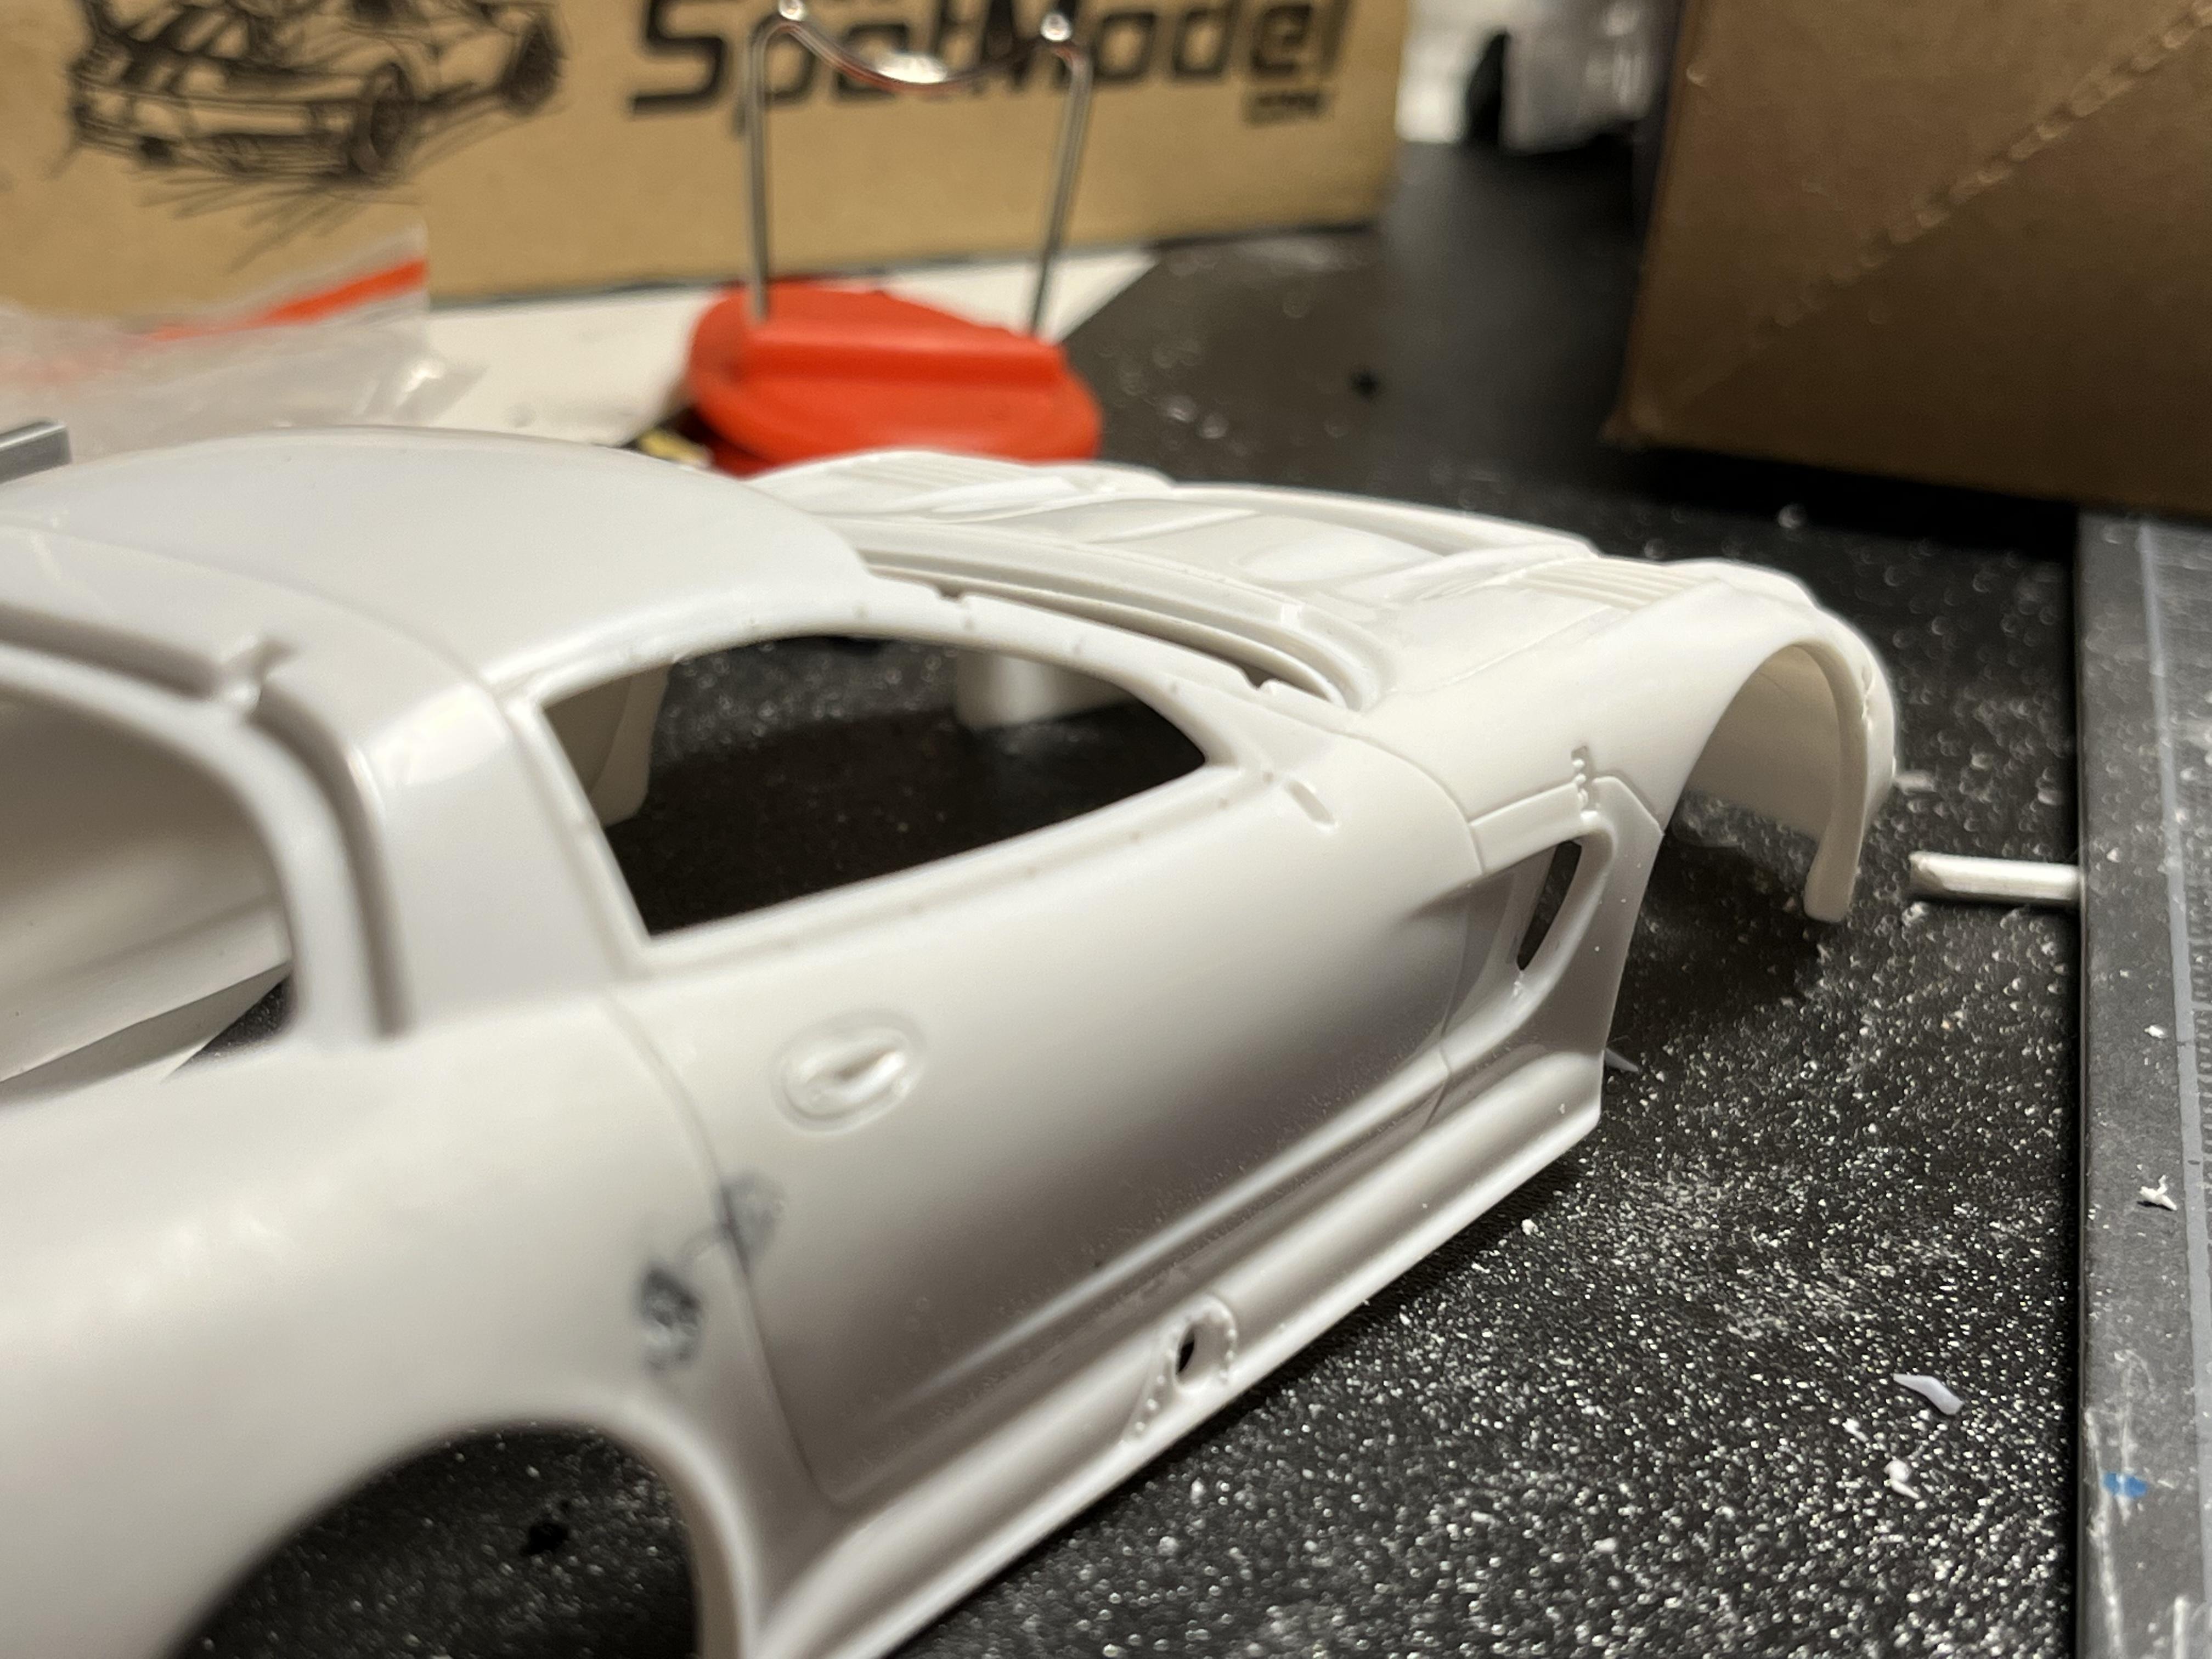
Painted model bodys and parts with the kids. And also managed to grind on a C5R and mock some wheels
-
All are sweet builds sir! Great work!
-
Sweet!
-
Beautiful