Mattilacken
-
Posts
3,670 -
Joined
-
Last visited
Content Type
Profiles
Forums
Events
Gallery
Everything posted by Mattilacken
-
Looking great! the chrome details in the interior is super nice!
-
Chopped, Sectioned and Bobbed…….’63 Corvette.
Mattilacken replied to NOBLNG's topic in WIP: Model Cars
Man that is looking sharp! Love the stance and how the body look! -
Sweet build! I do like the 1/8, I bought one for my friend that have a LS2 powered T56 shifted ‘88 1:1. nice work on both of them
-
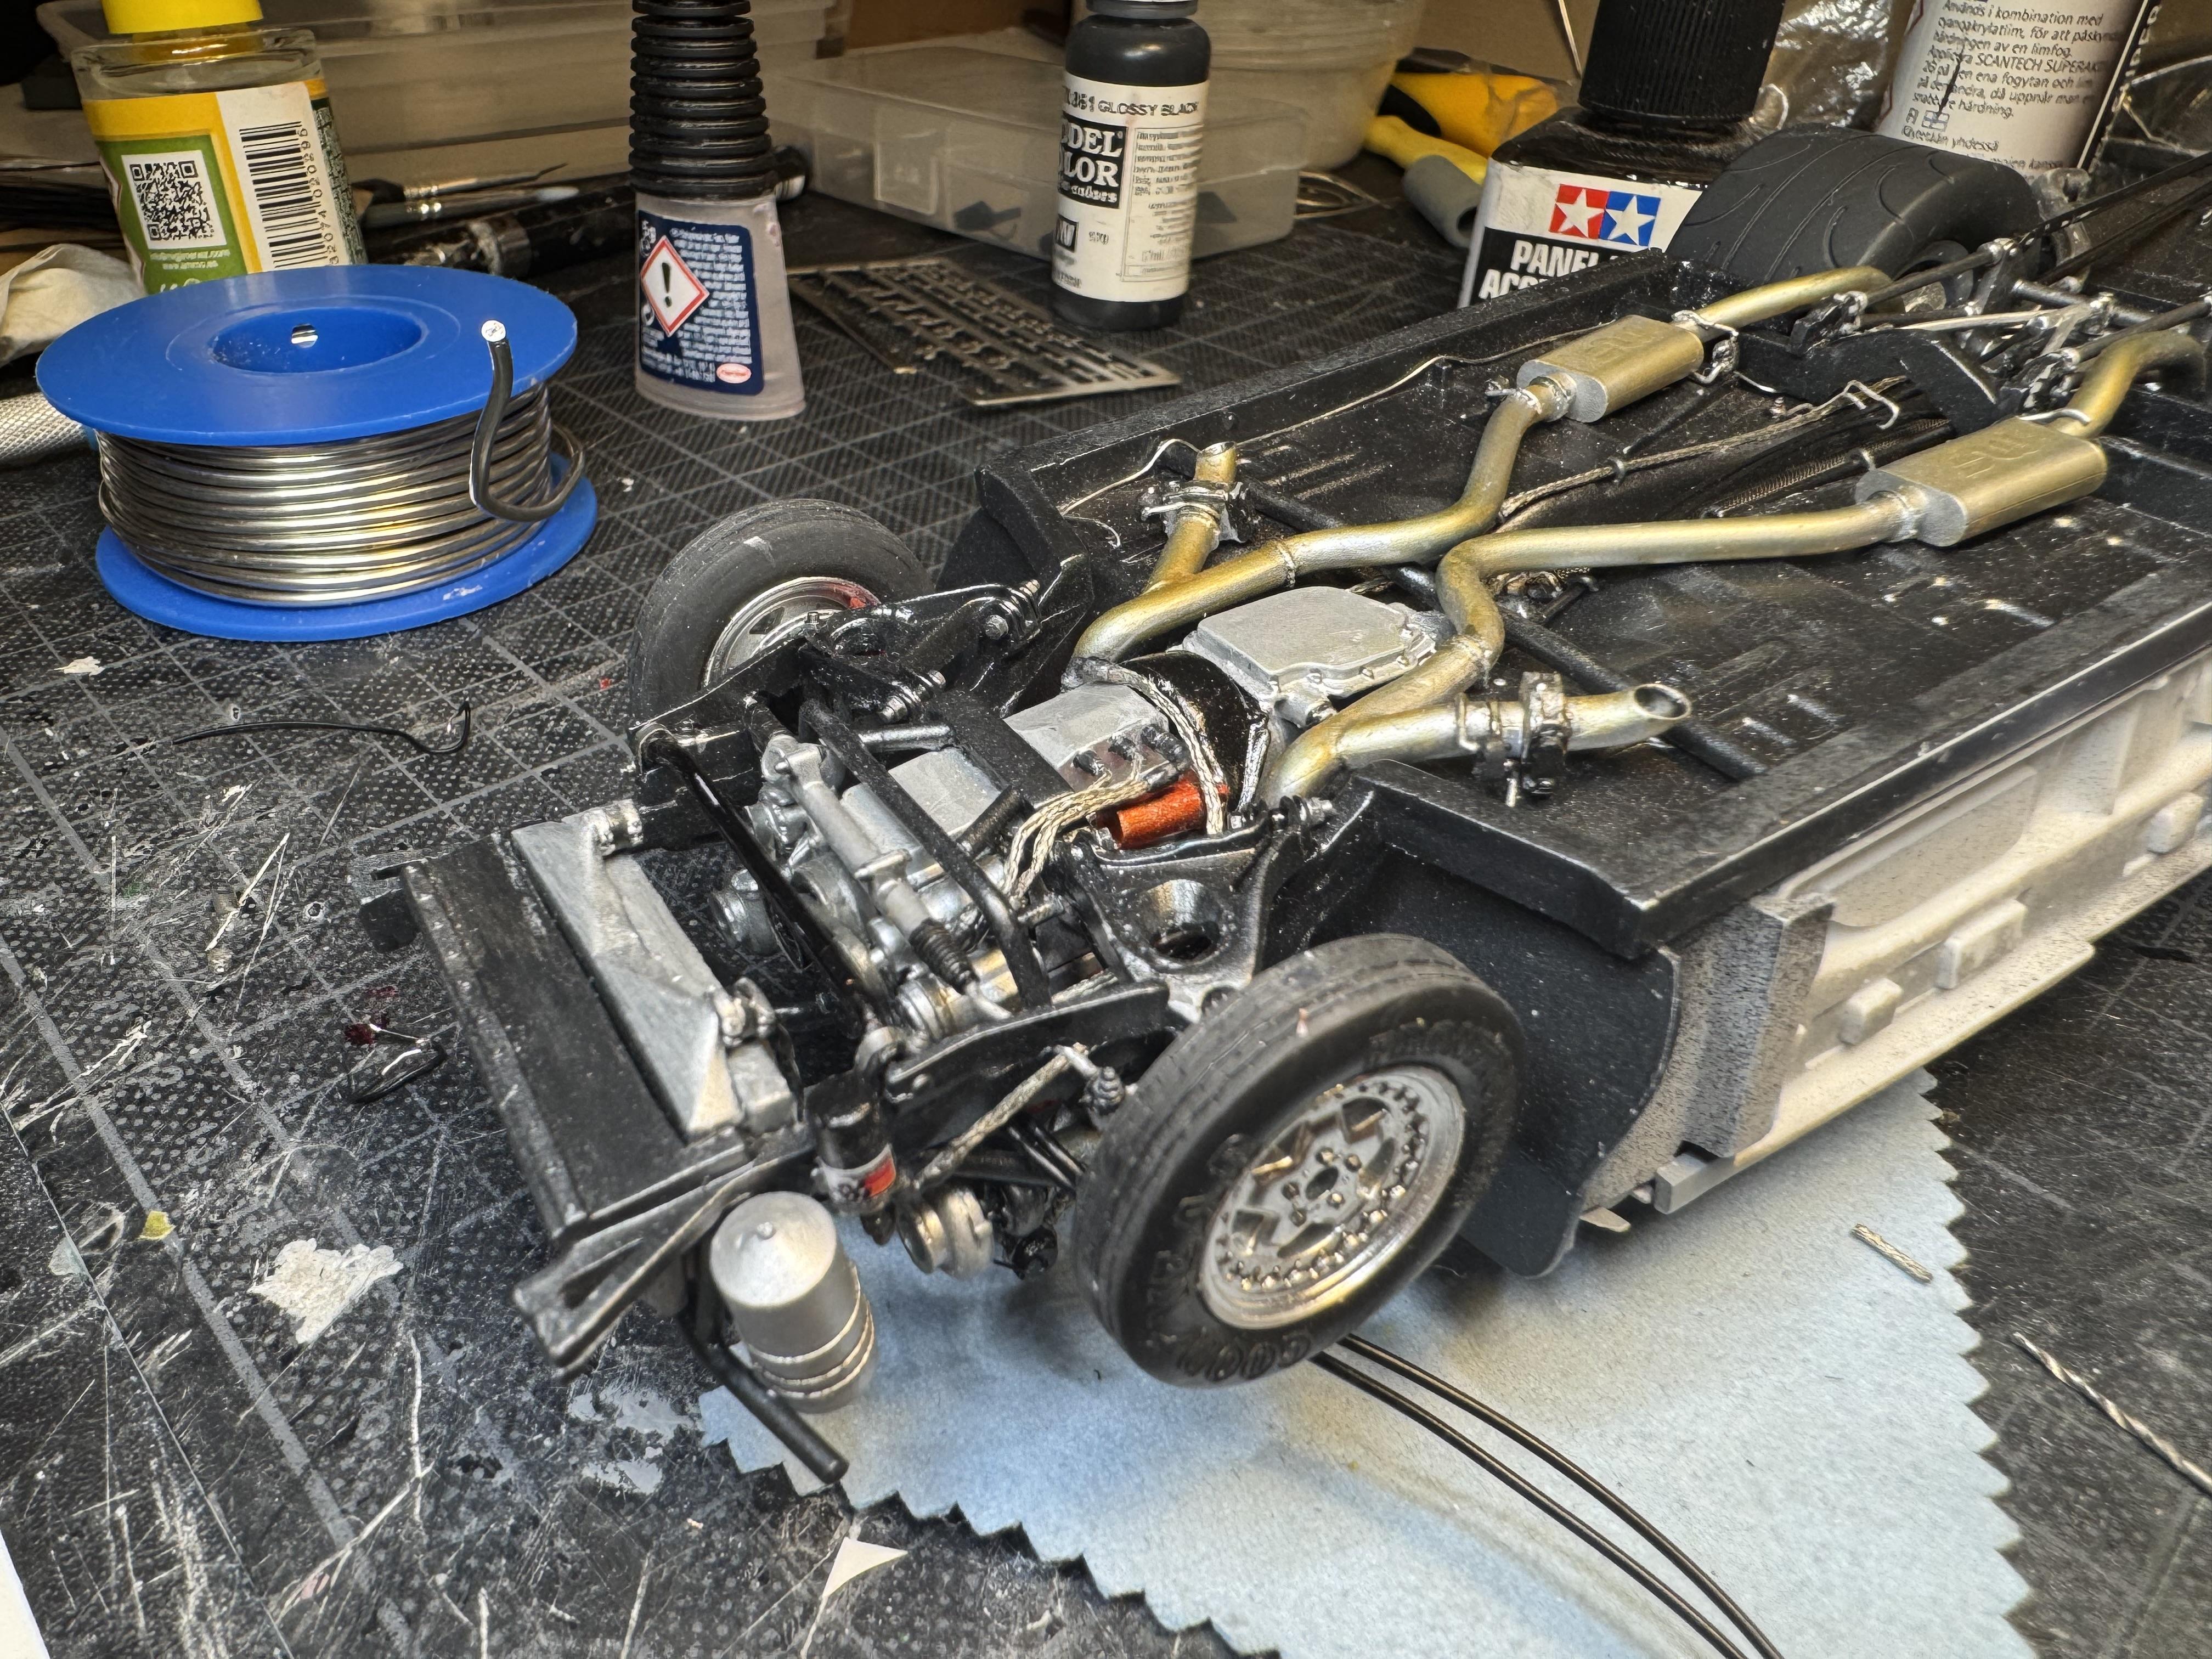
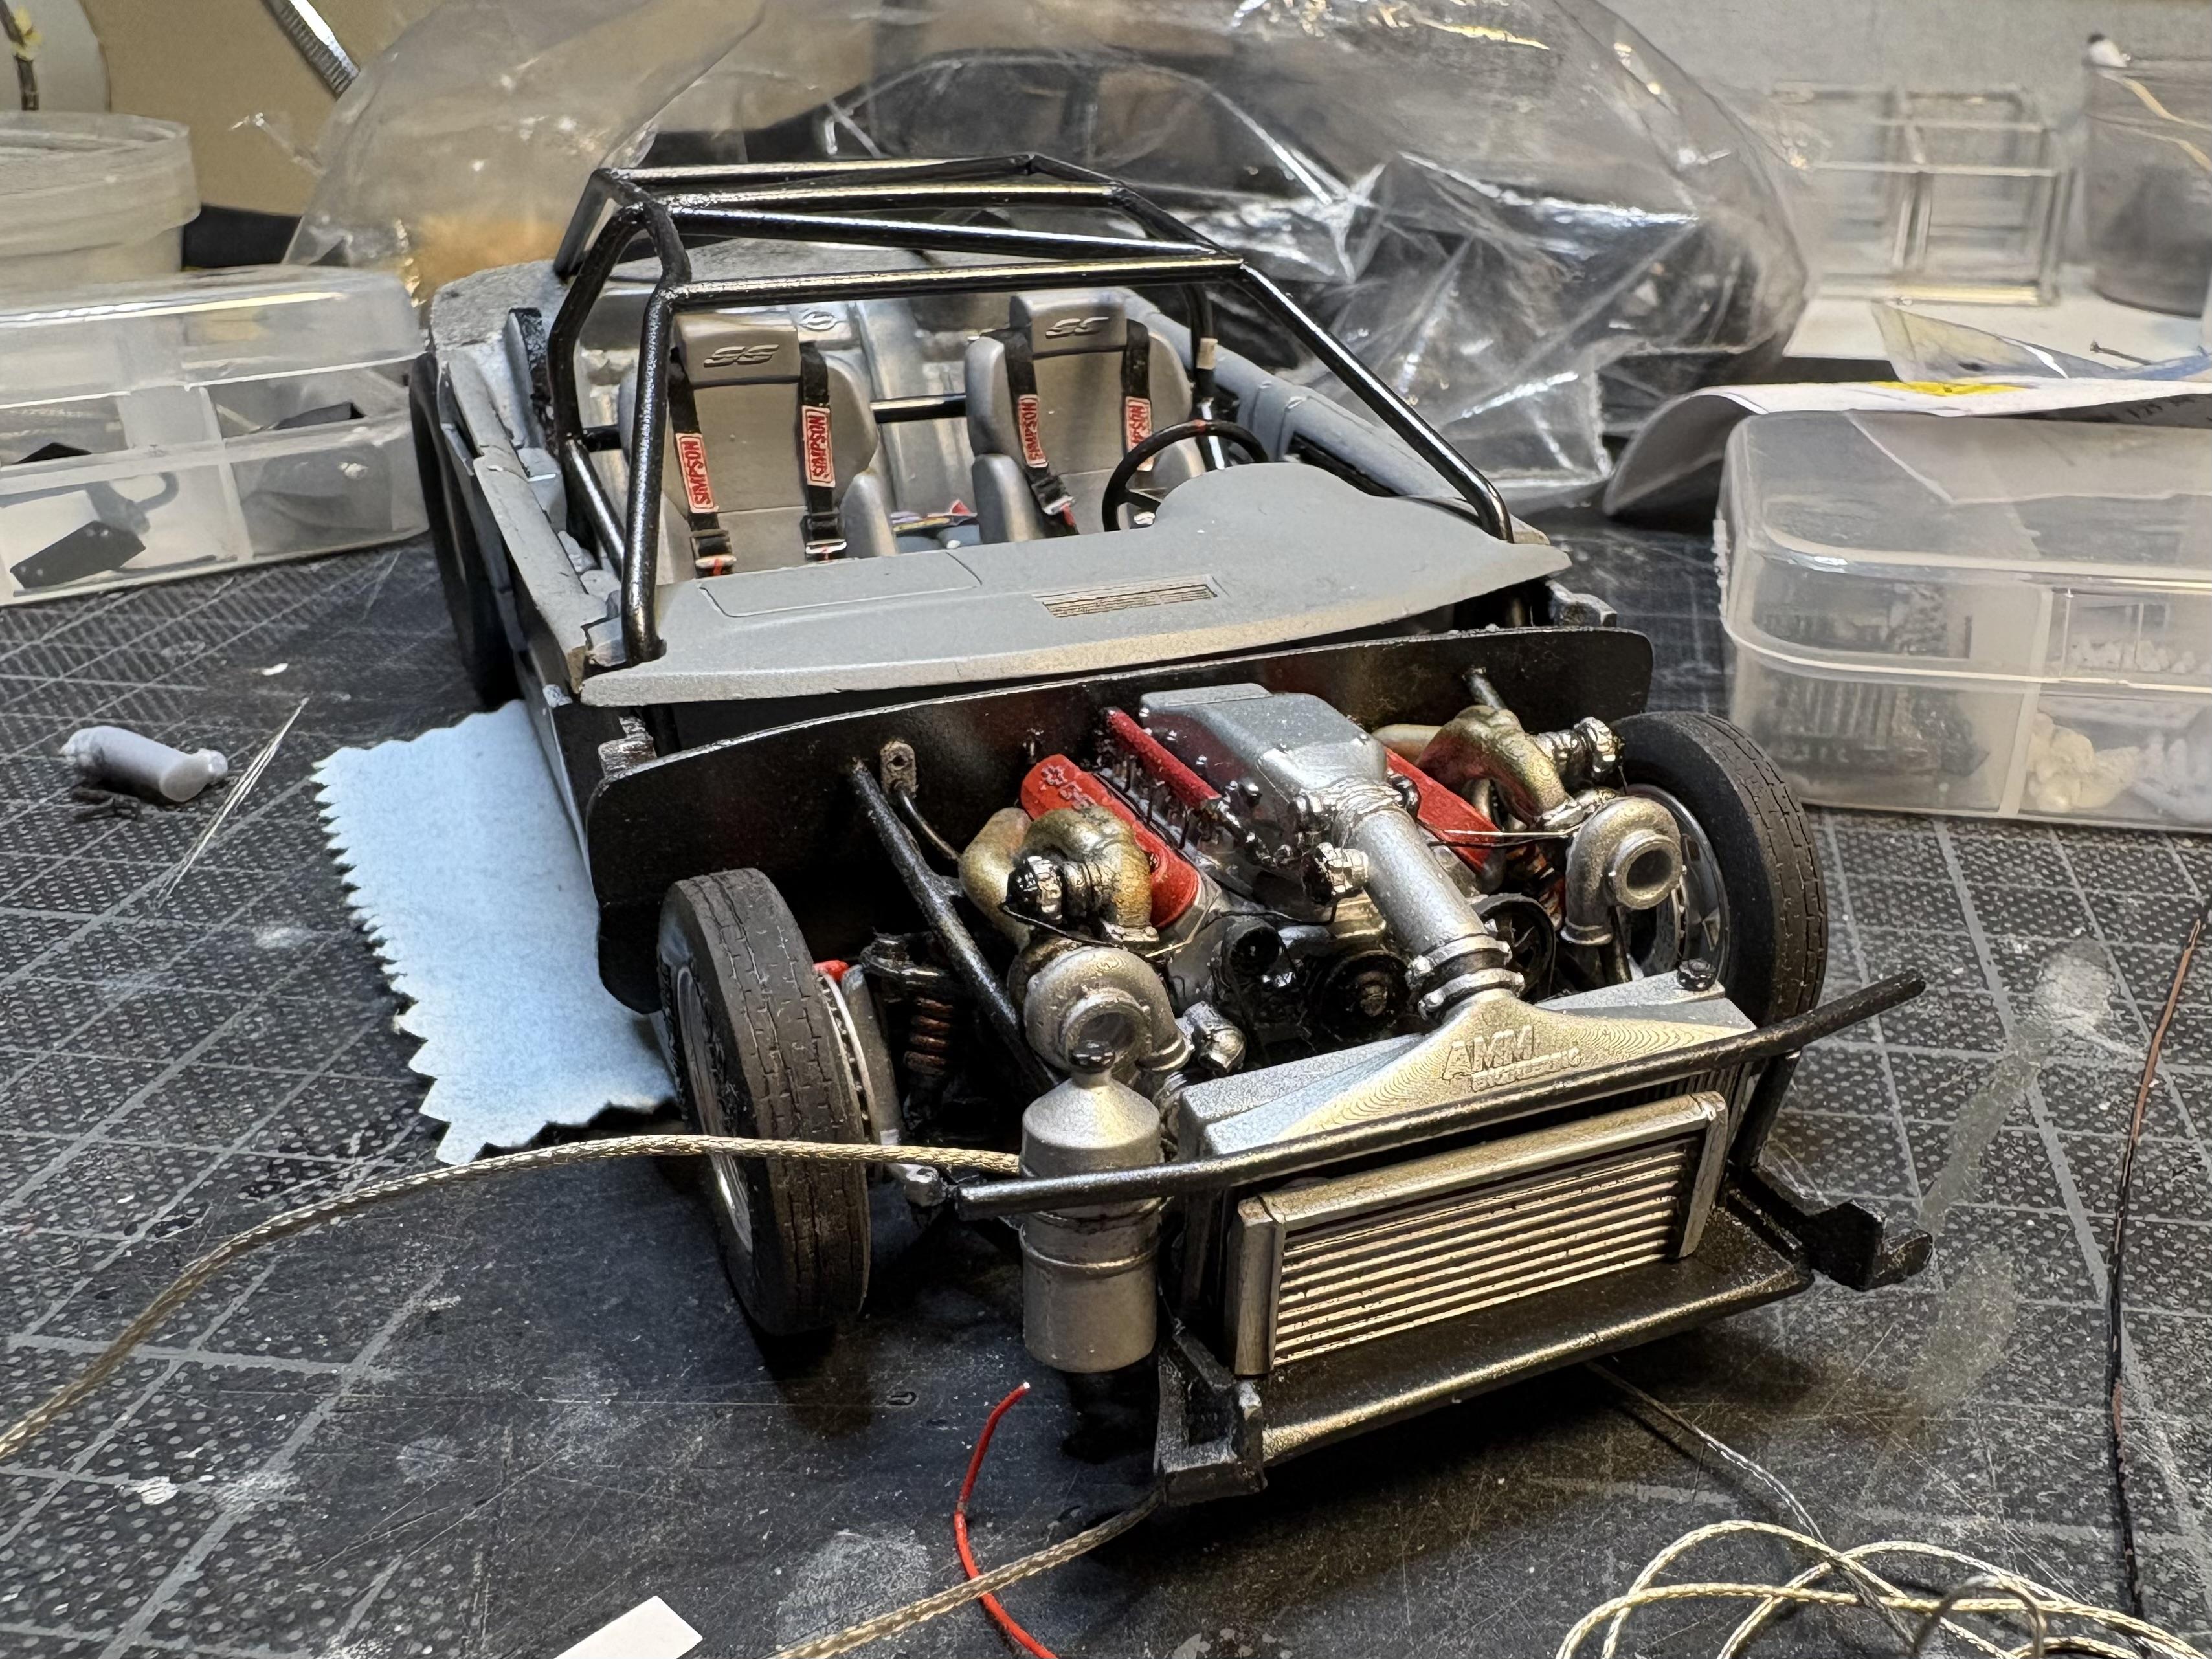
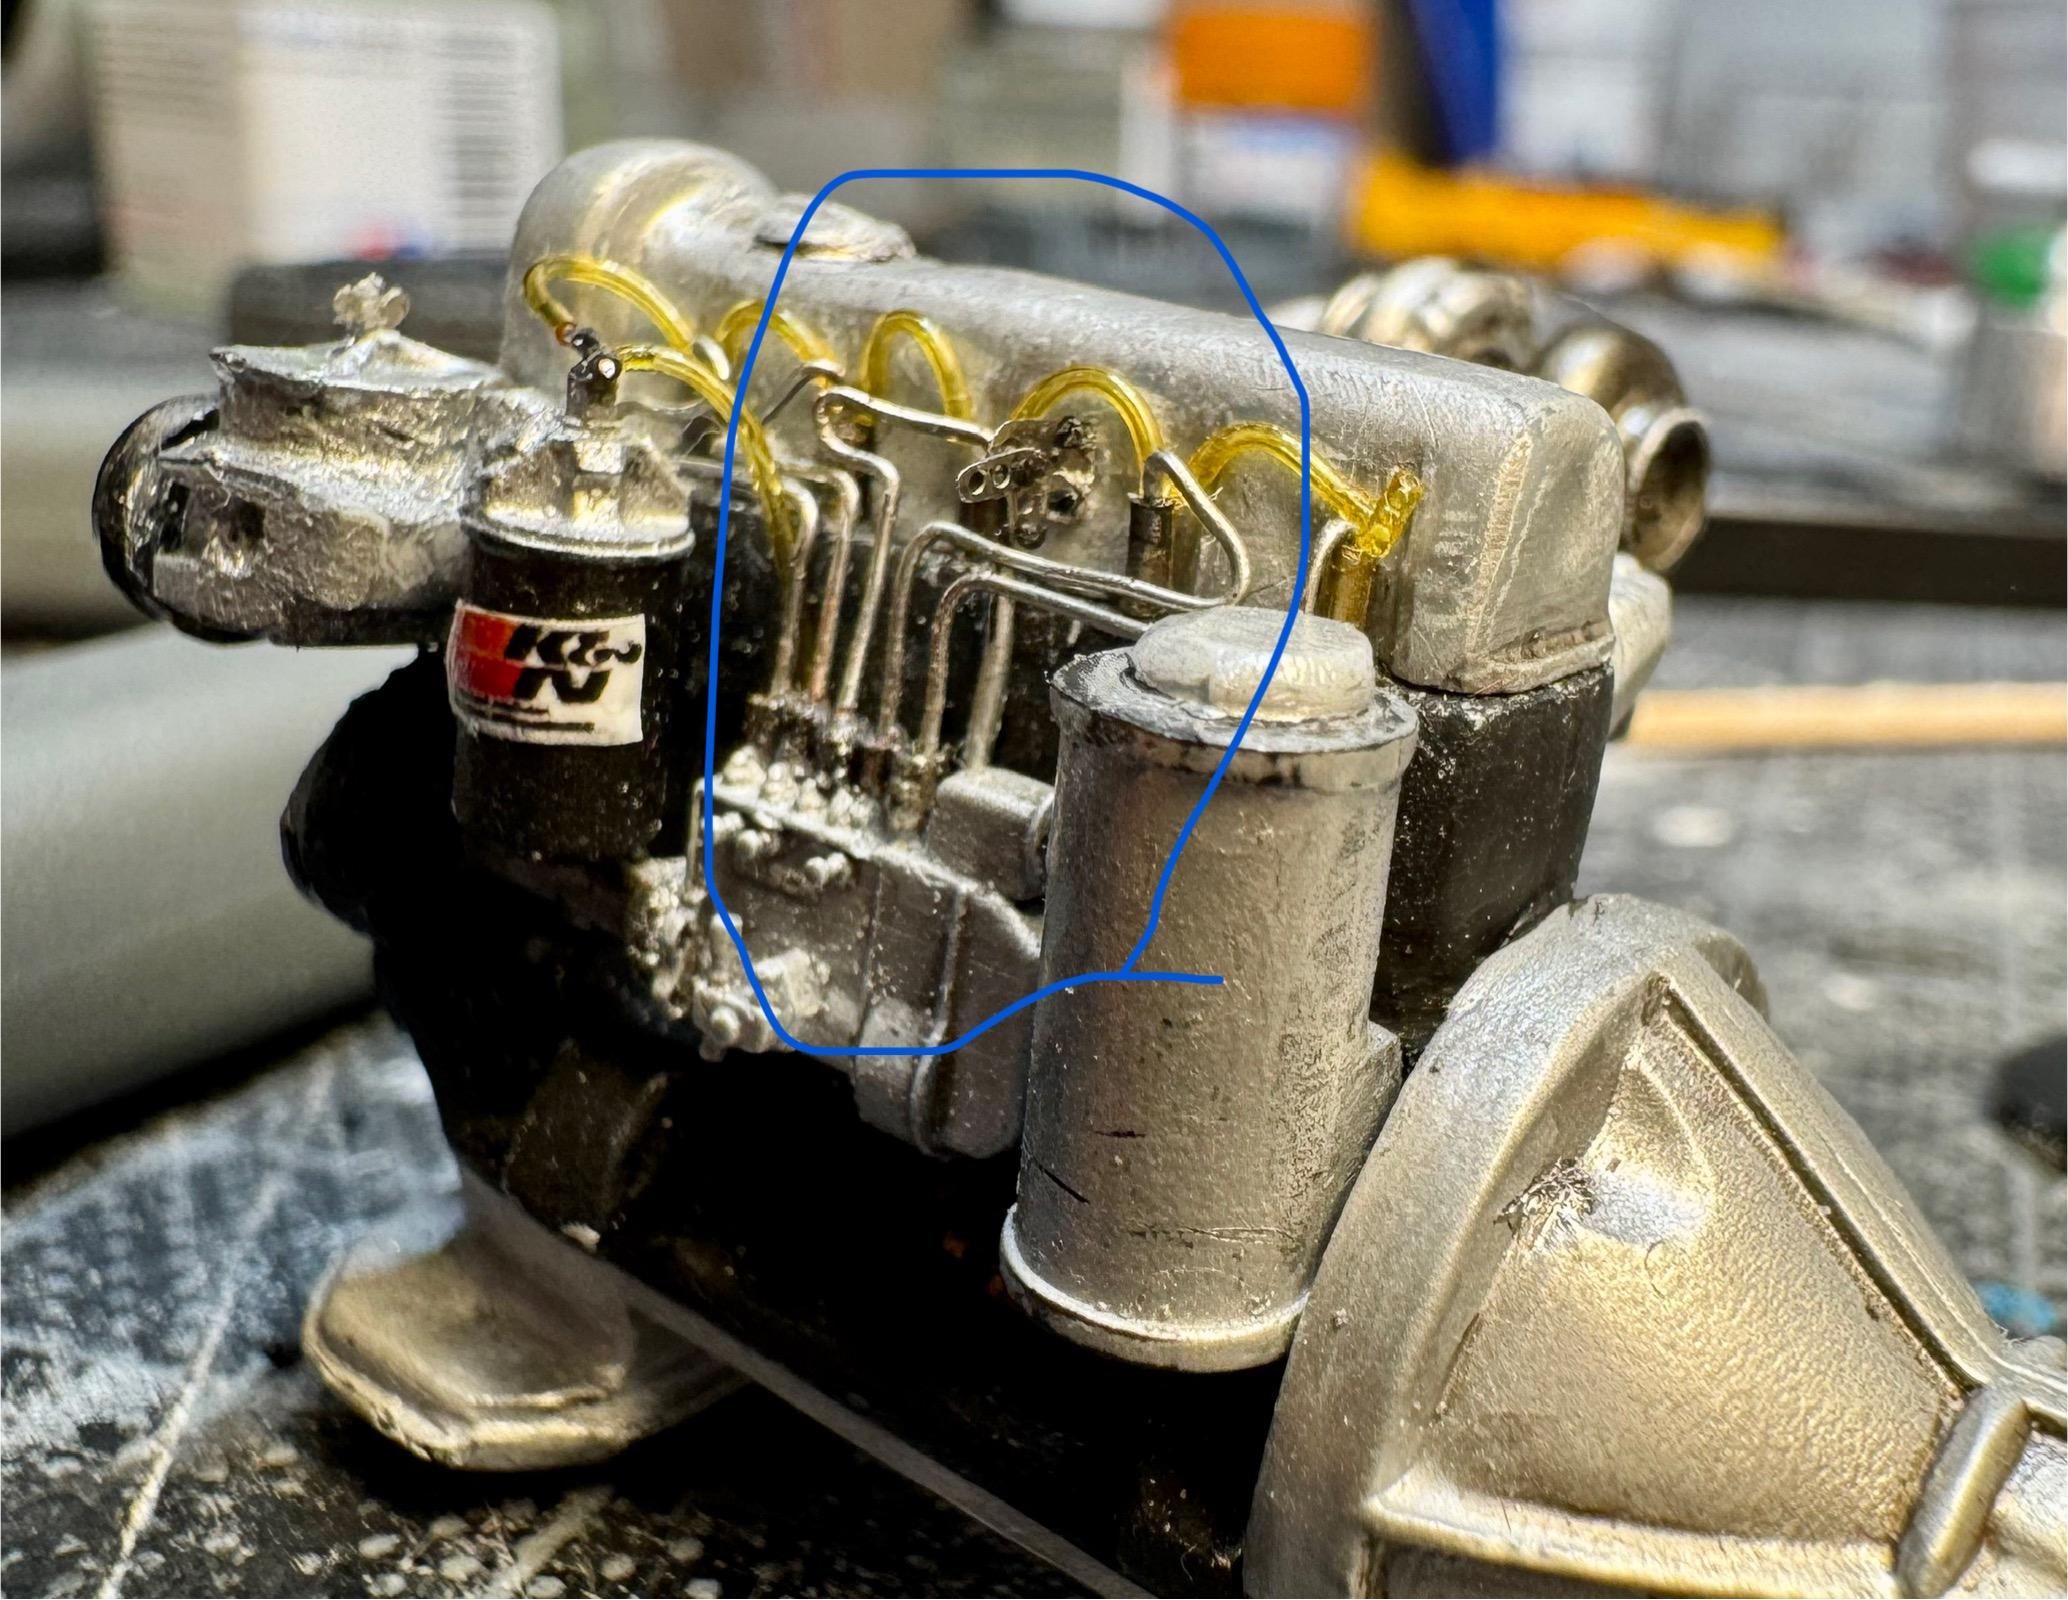
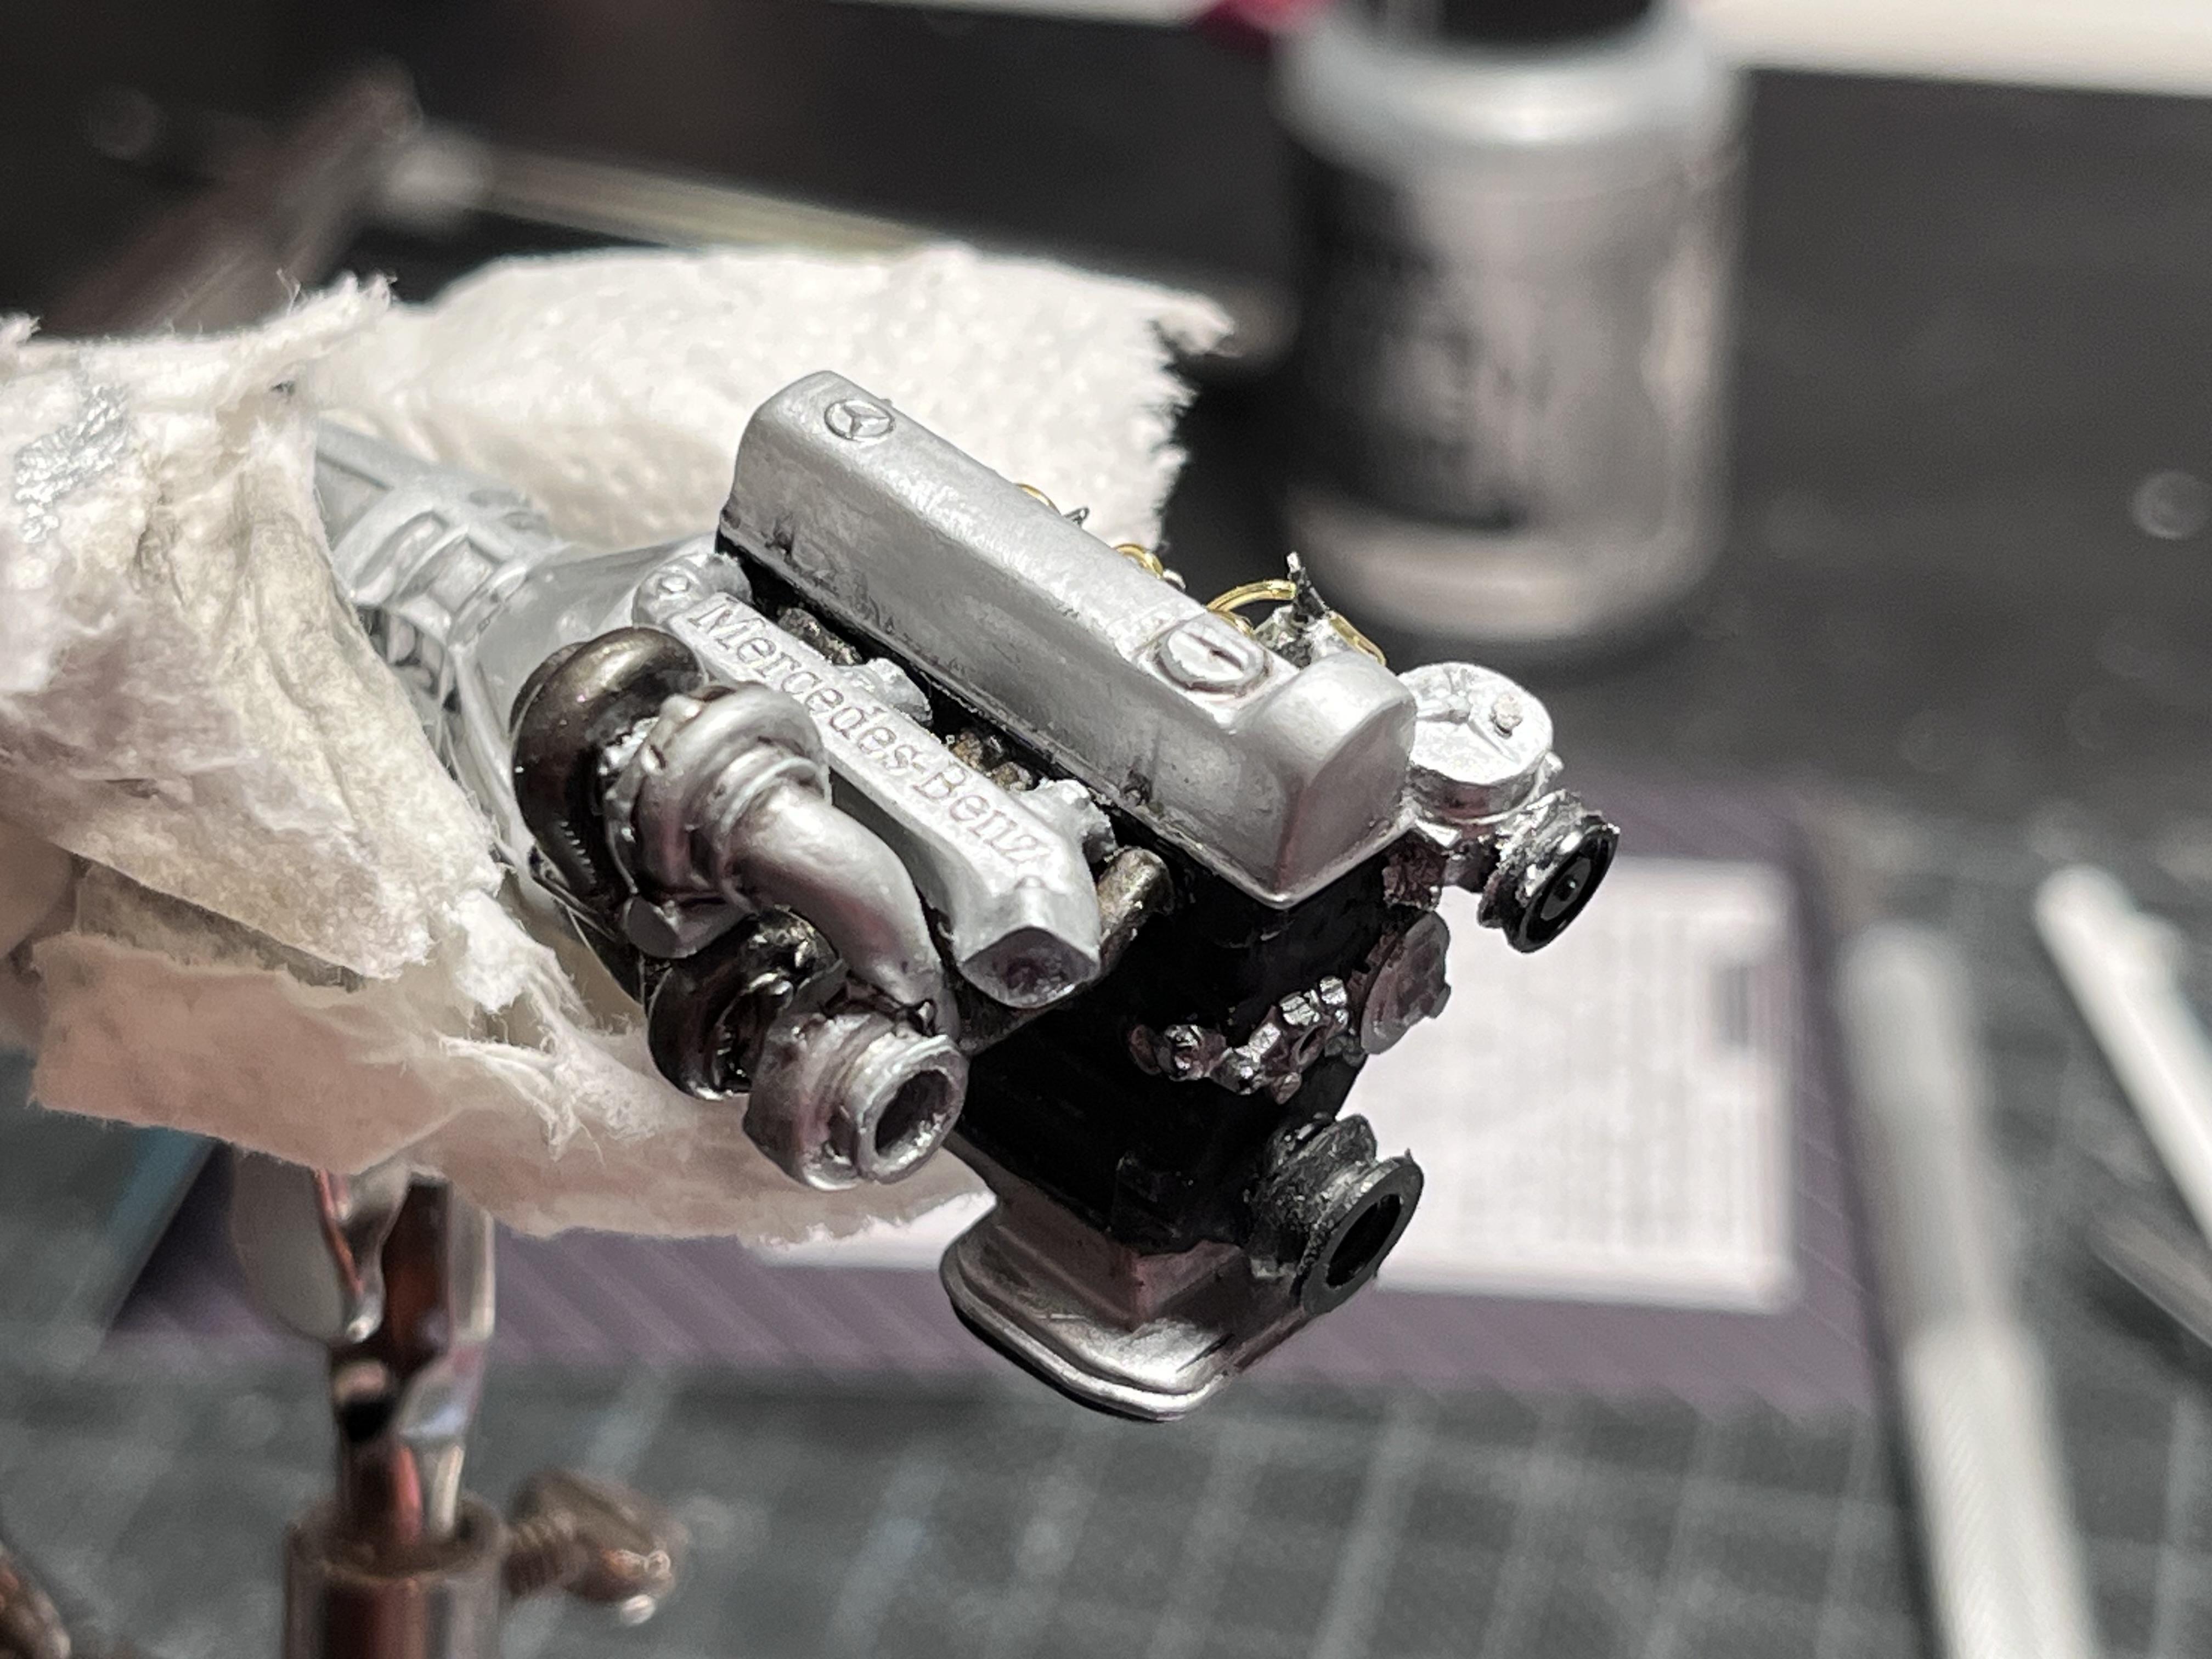
some more plumbing done. Preassure and suction side of the dry sump system is plumbed, only the tank left. Also got some more hoses on the engine. And I started front brake lines. Also replace the revell starter with a printed one that I modified To fit with my ignition placement.

-
Haha I am not surprised! Long time since my last update and even longer since I started! Haha
-
Super build! great looking details and the engine is spectacular.
-
T41 Bugatti sport coupe
Mattilacken replied to charlie libby's topic in WIP: Other Racing: Road Racing, Land Speed Racers
Wow what a build Charlie! Your skills and craftsmanship is mind blowing! It came out so good and all the details are so great! Epic is a good word for this one! -
formula 55 chevy
Mattilacken replied to charlie libby's topic in WIP: Other Racing: Road Racing, Land Speed Racers
Man that’s cool! Imagine that they would have though of the idea of just turning the cockpit 180deg annd steering to the what used to be rear wheels. and then later ad the AWD. The car would have had other results I believe. But it’s always easier with our knowledge today. great work on your build btw! Doesn’t the cage look a bit thick? A cage in 1/16 would be around 3mm I guess, that would be 48mm in 1:1 which is close to the 50mm used by manny. -
Great build! Nice trick on the red stripe! Will pick that one up!
-
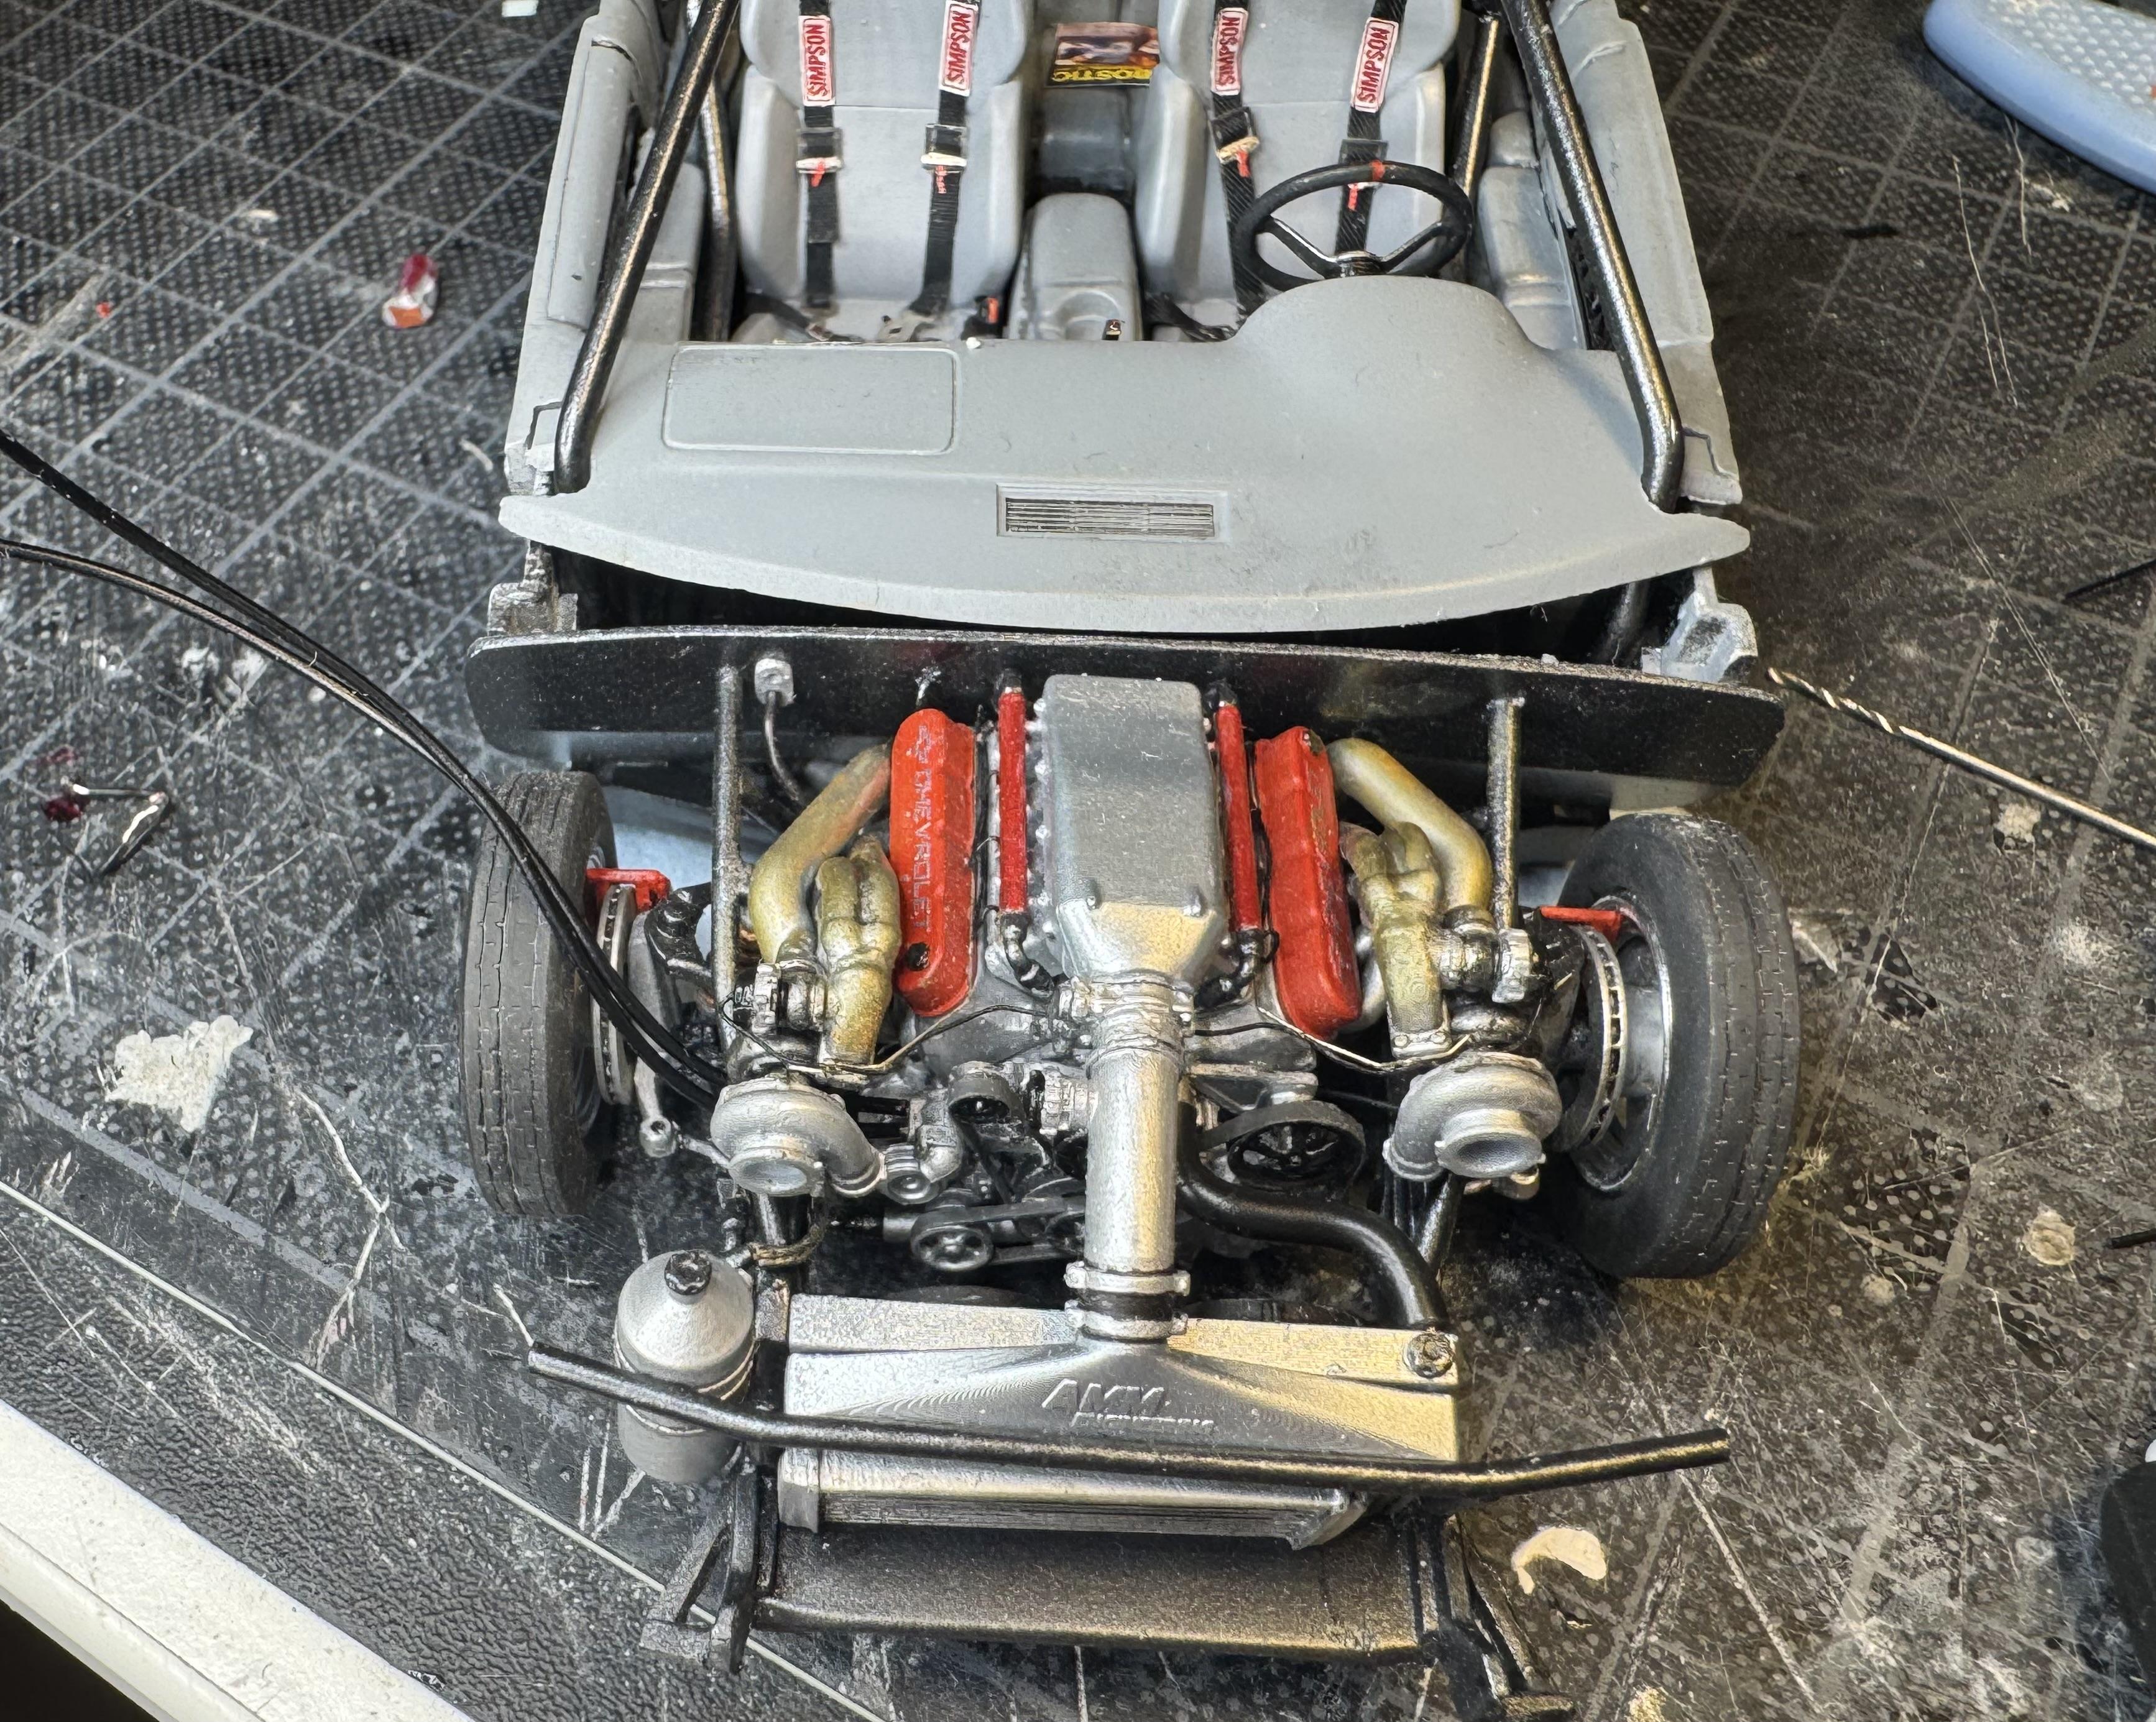
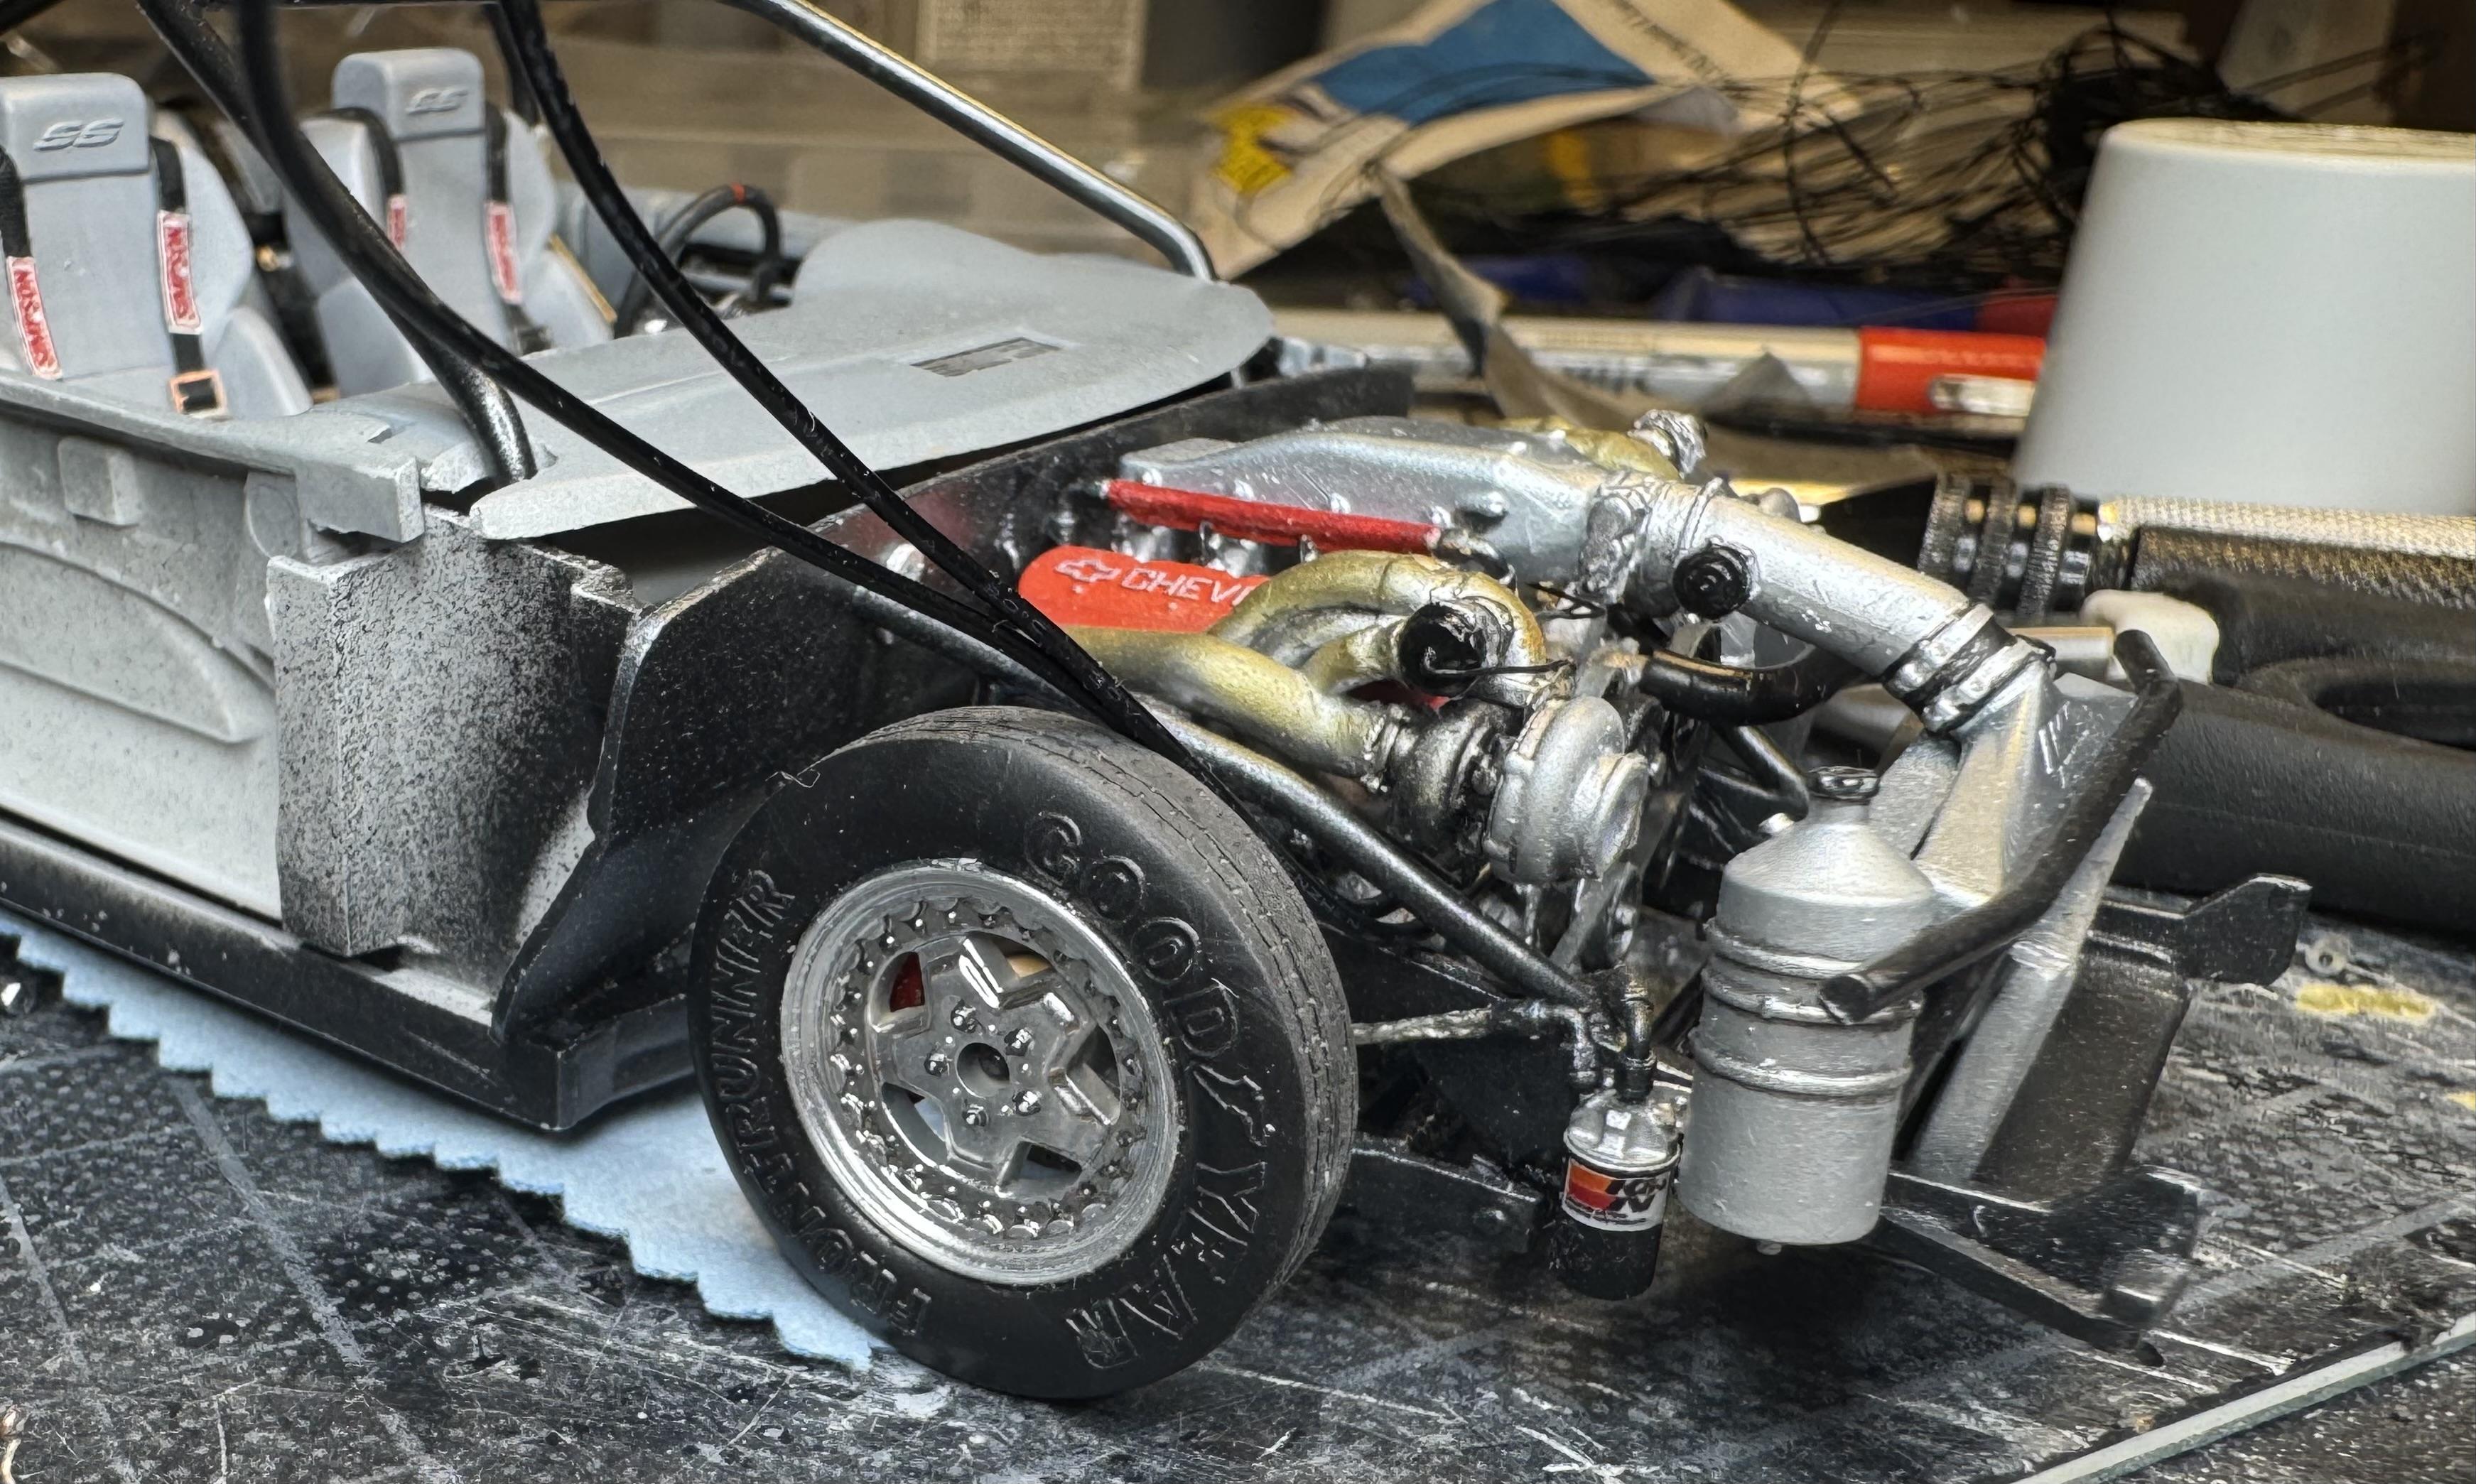
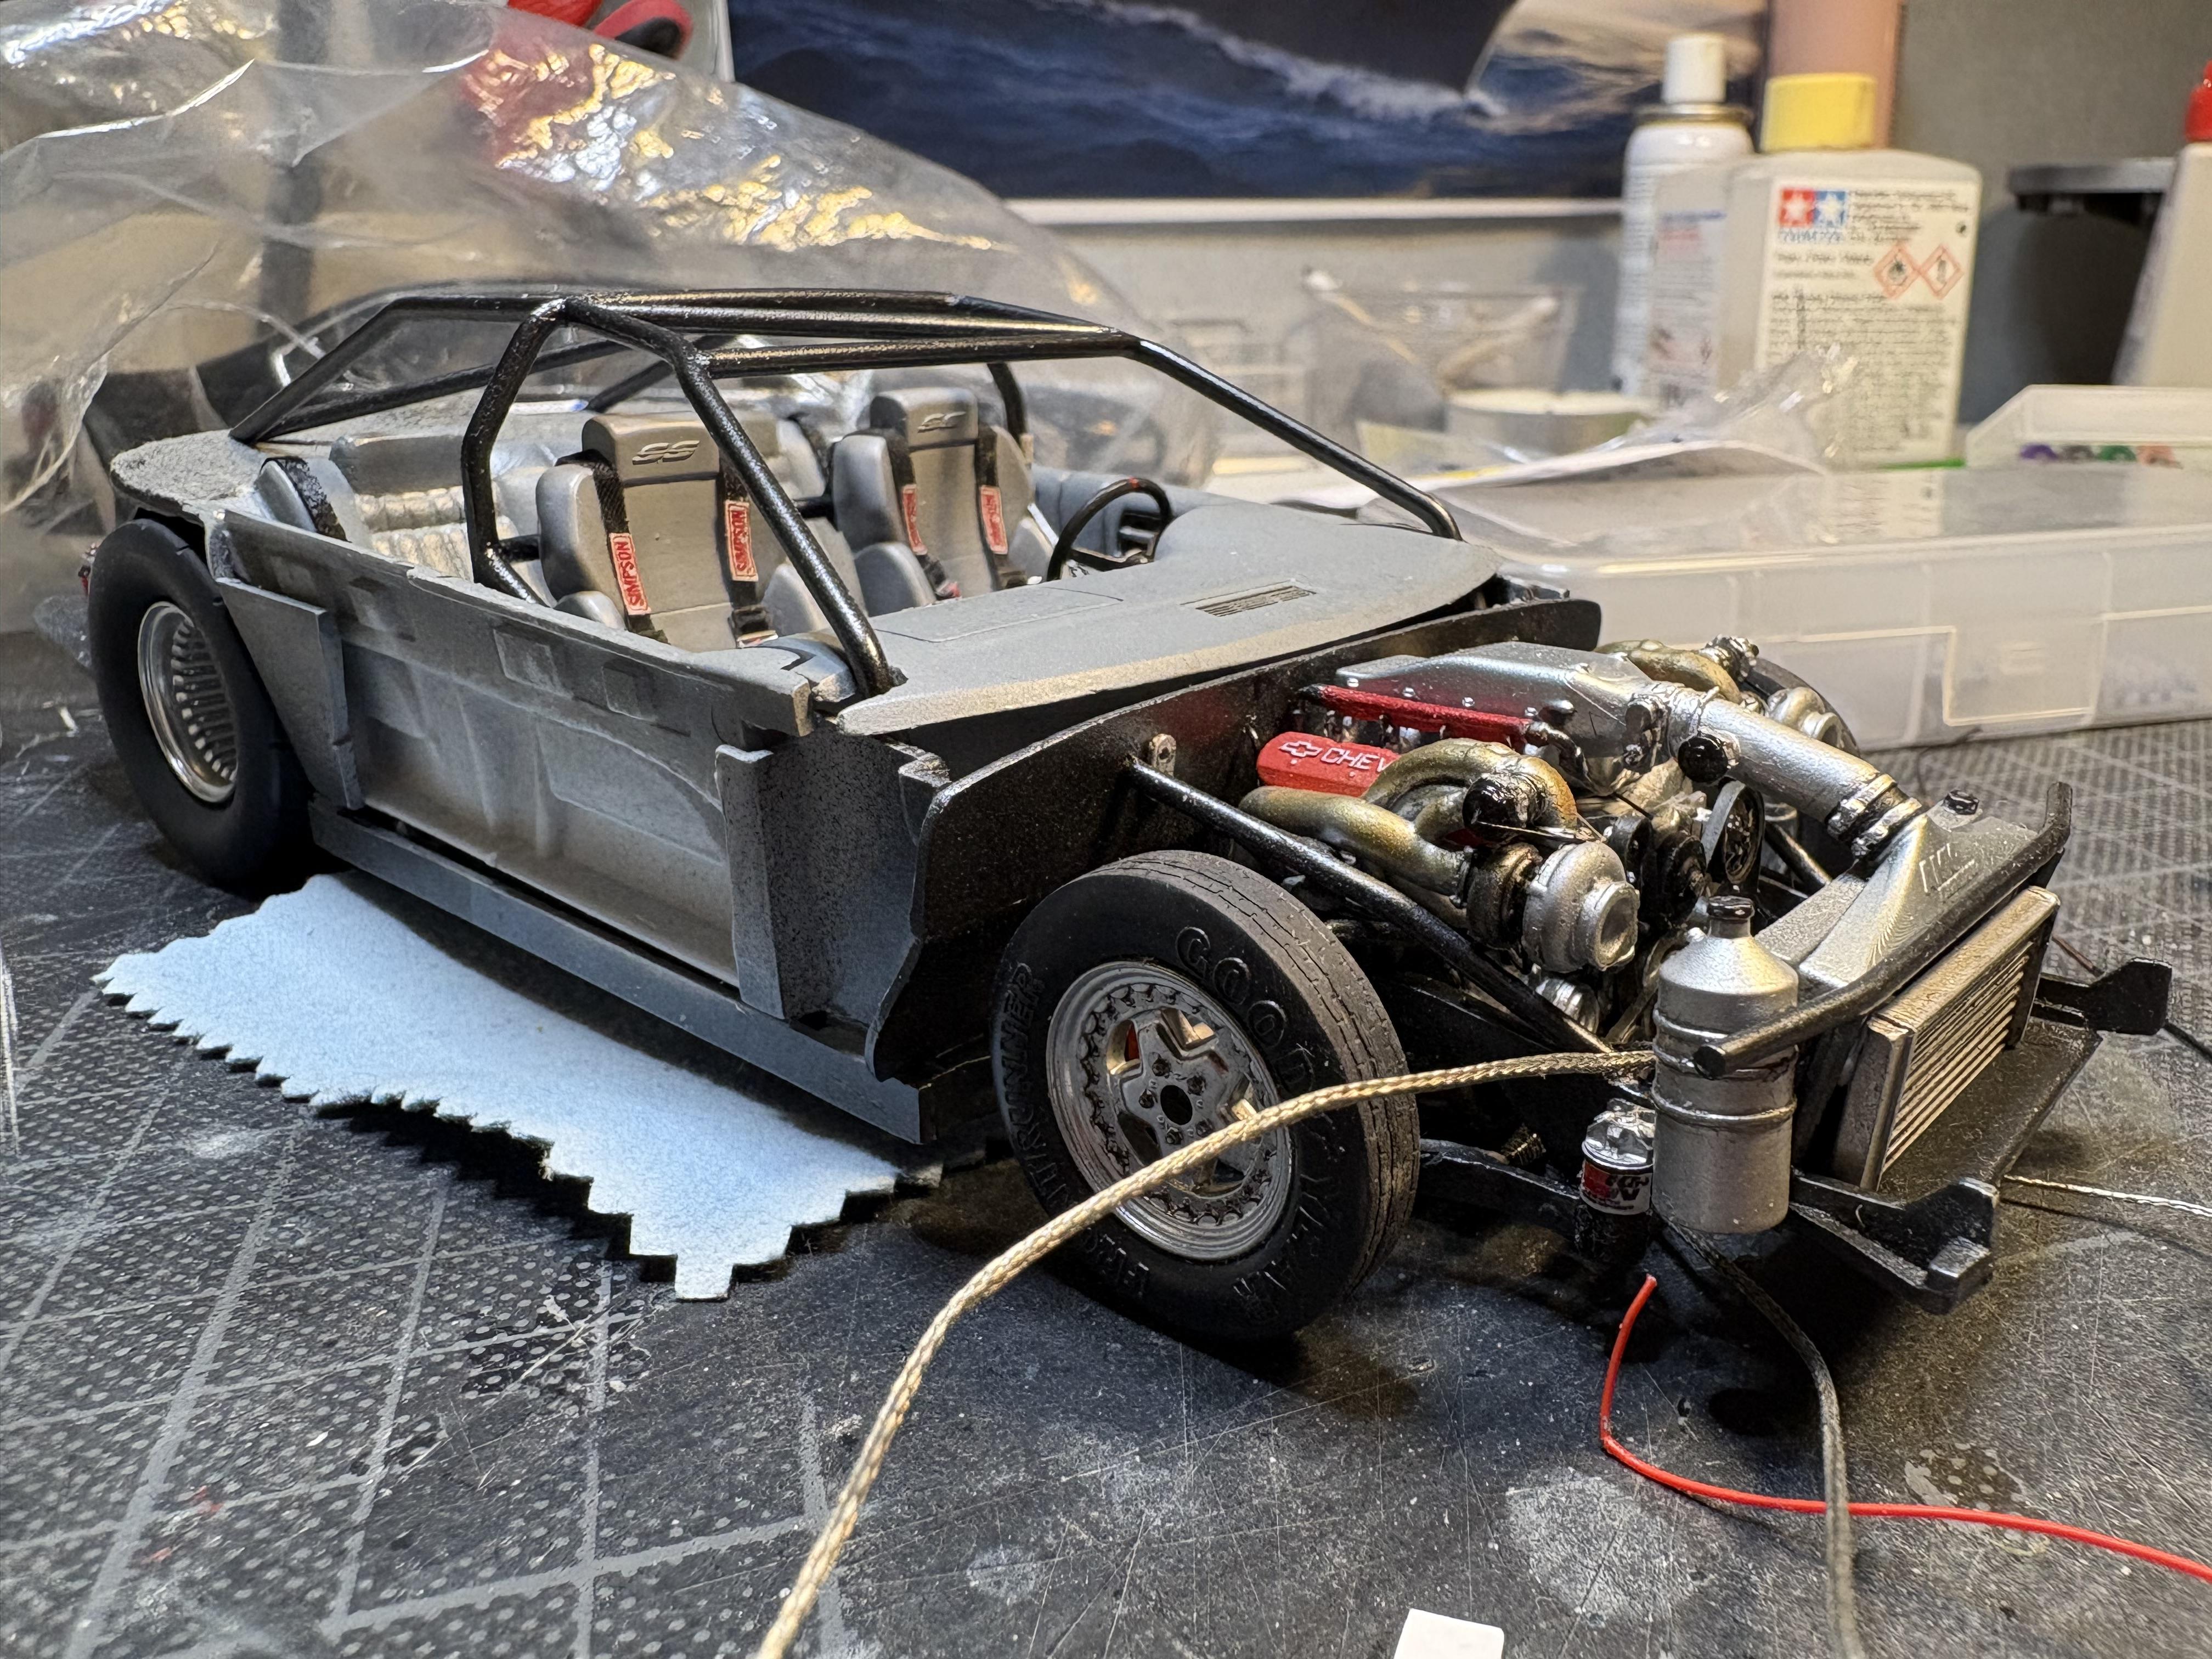
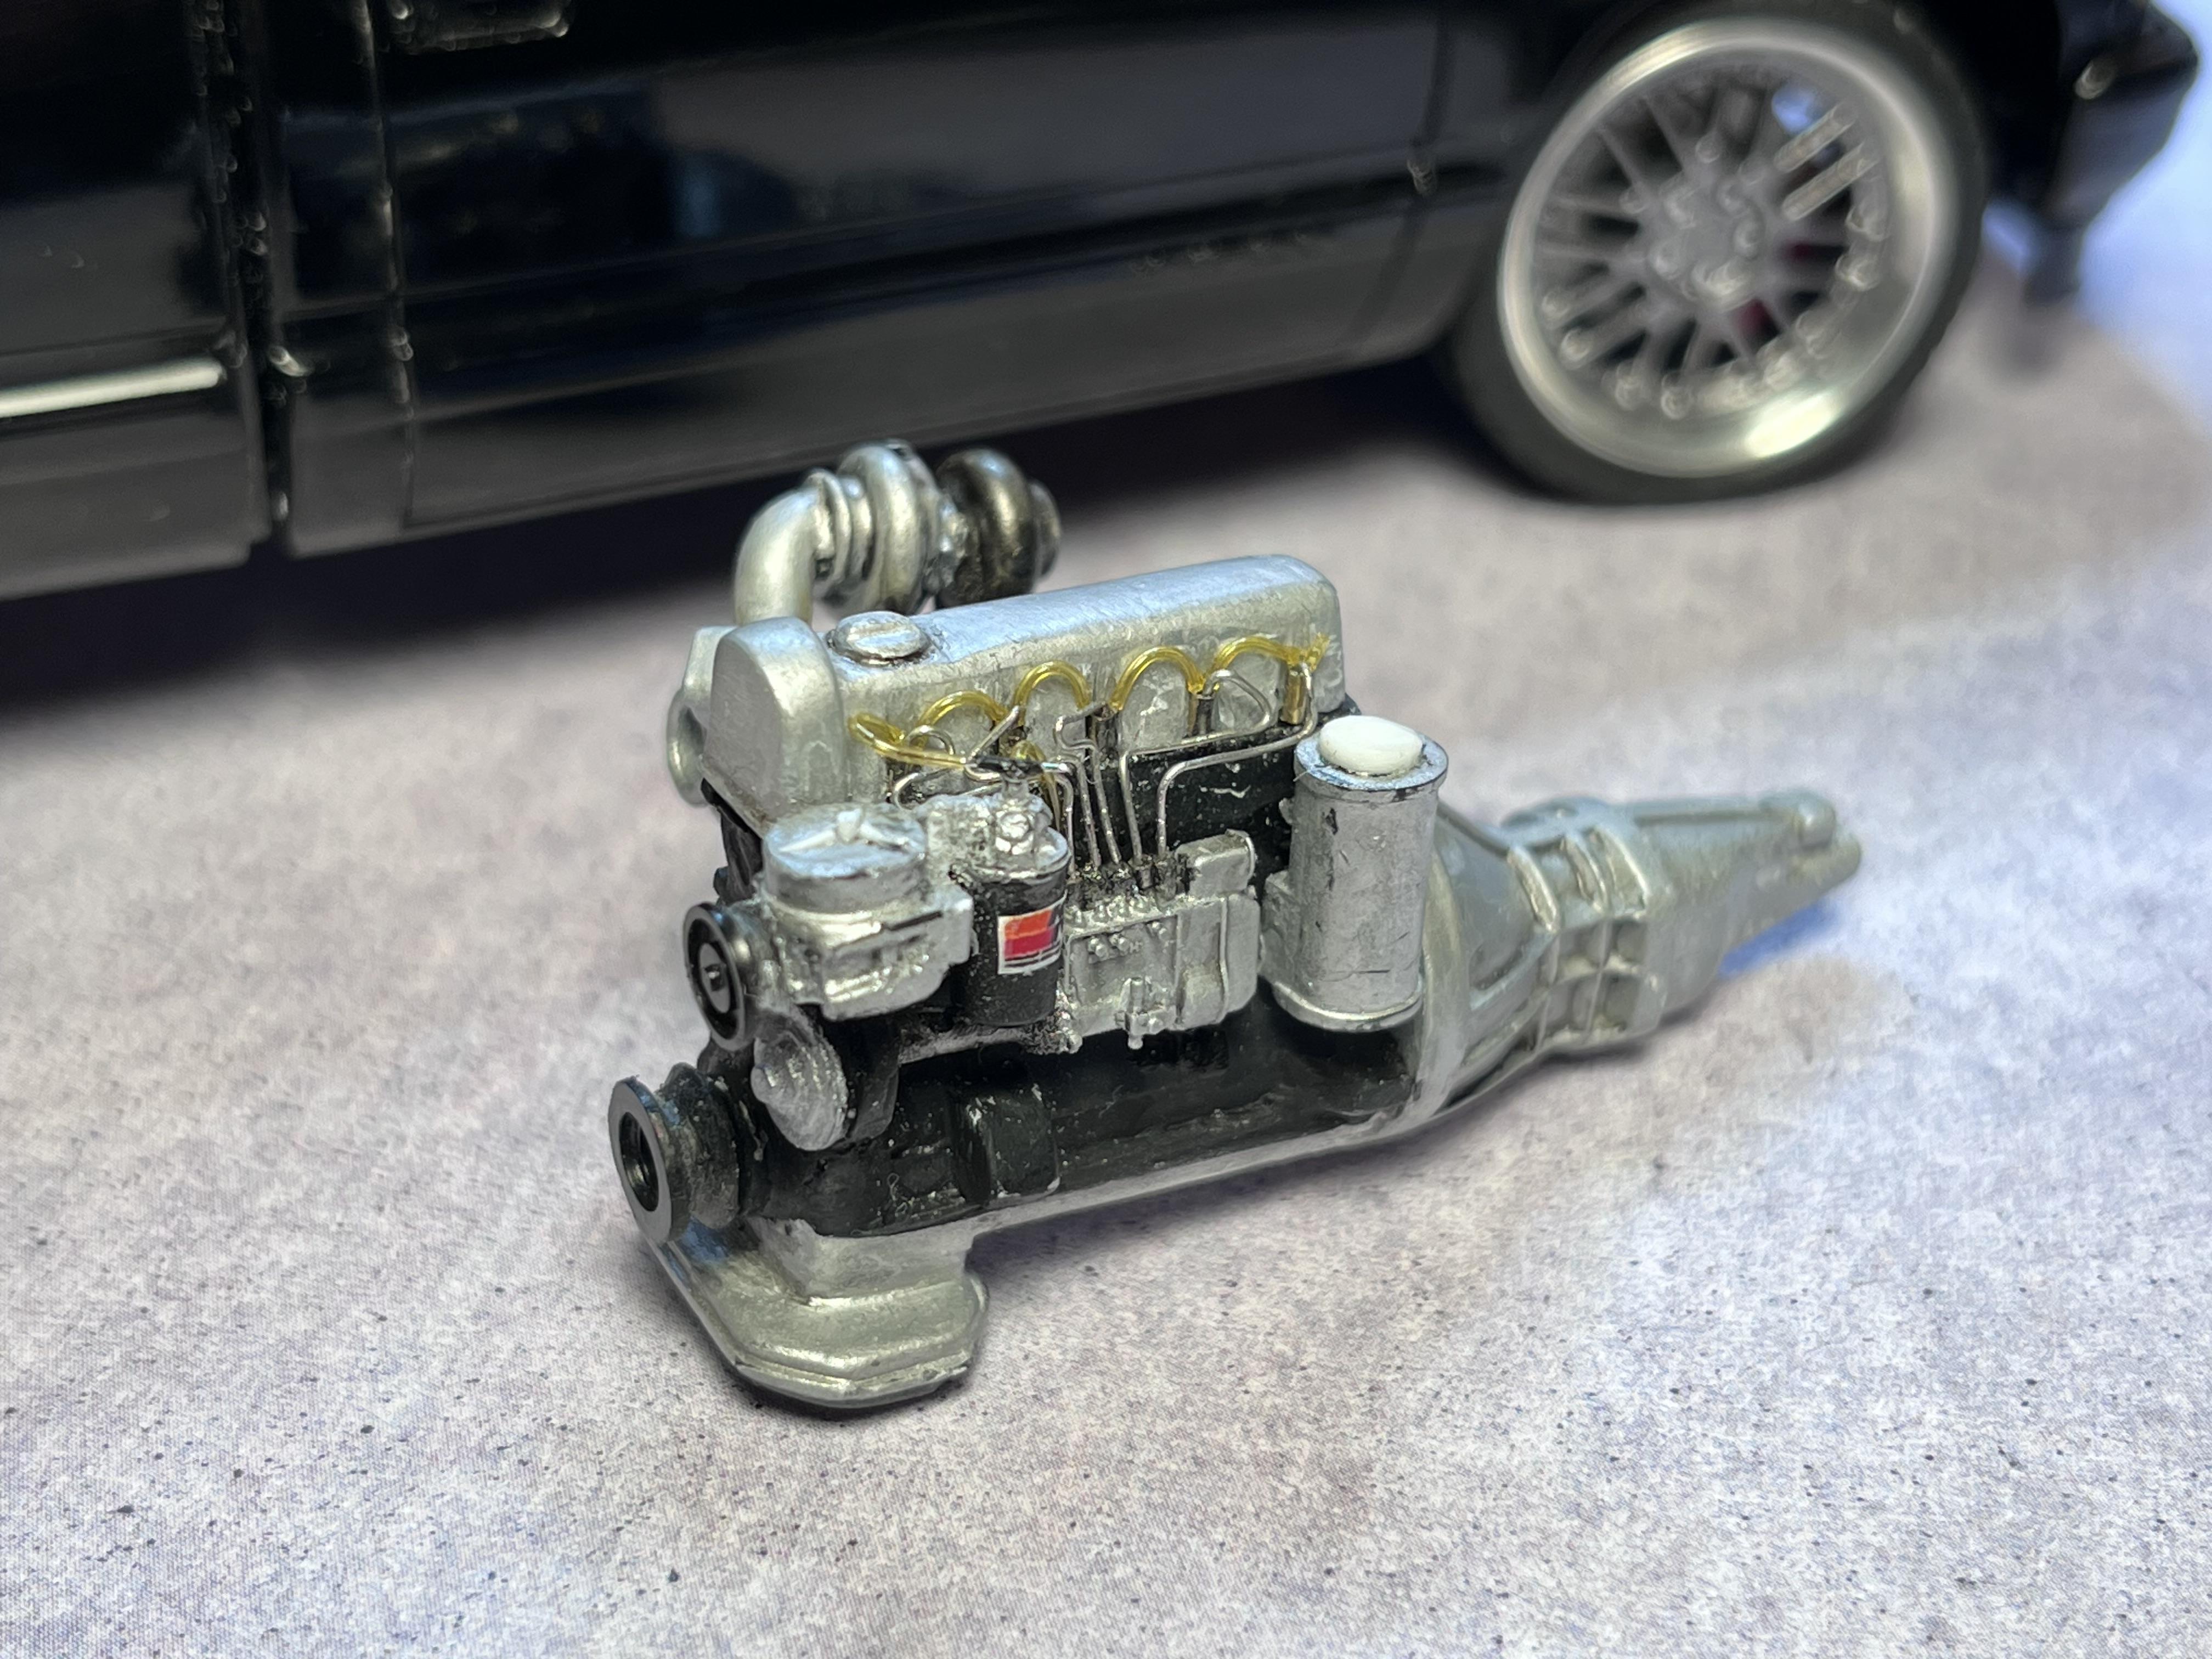
Finally some Impala progress! I have gotten forward with the plumbing, oil filter and catch tank are located. Next up is ac filter and condenser as well as radiator hoses.
-
2025 Cannonball Run - 50 years since the 1975 run.
Mattilacken replied to Mattilacken's topic in Community Builds
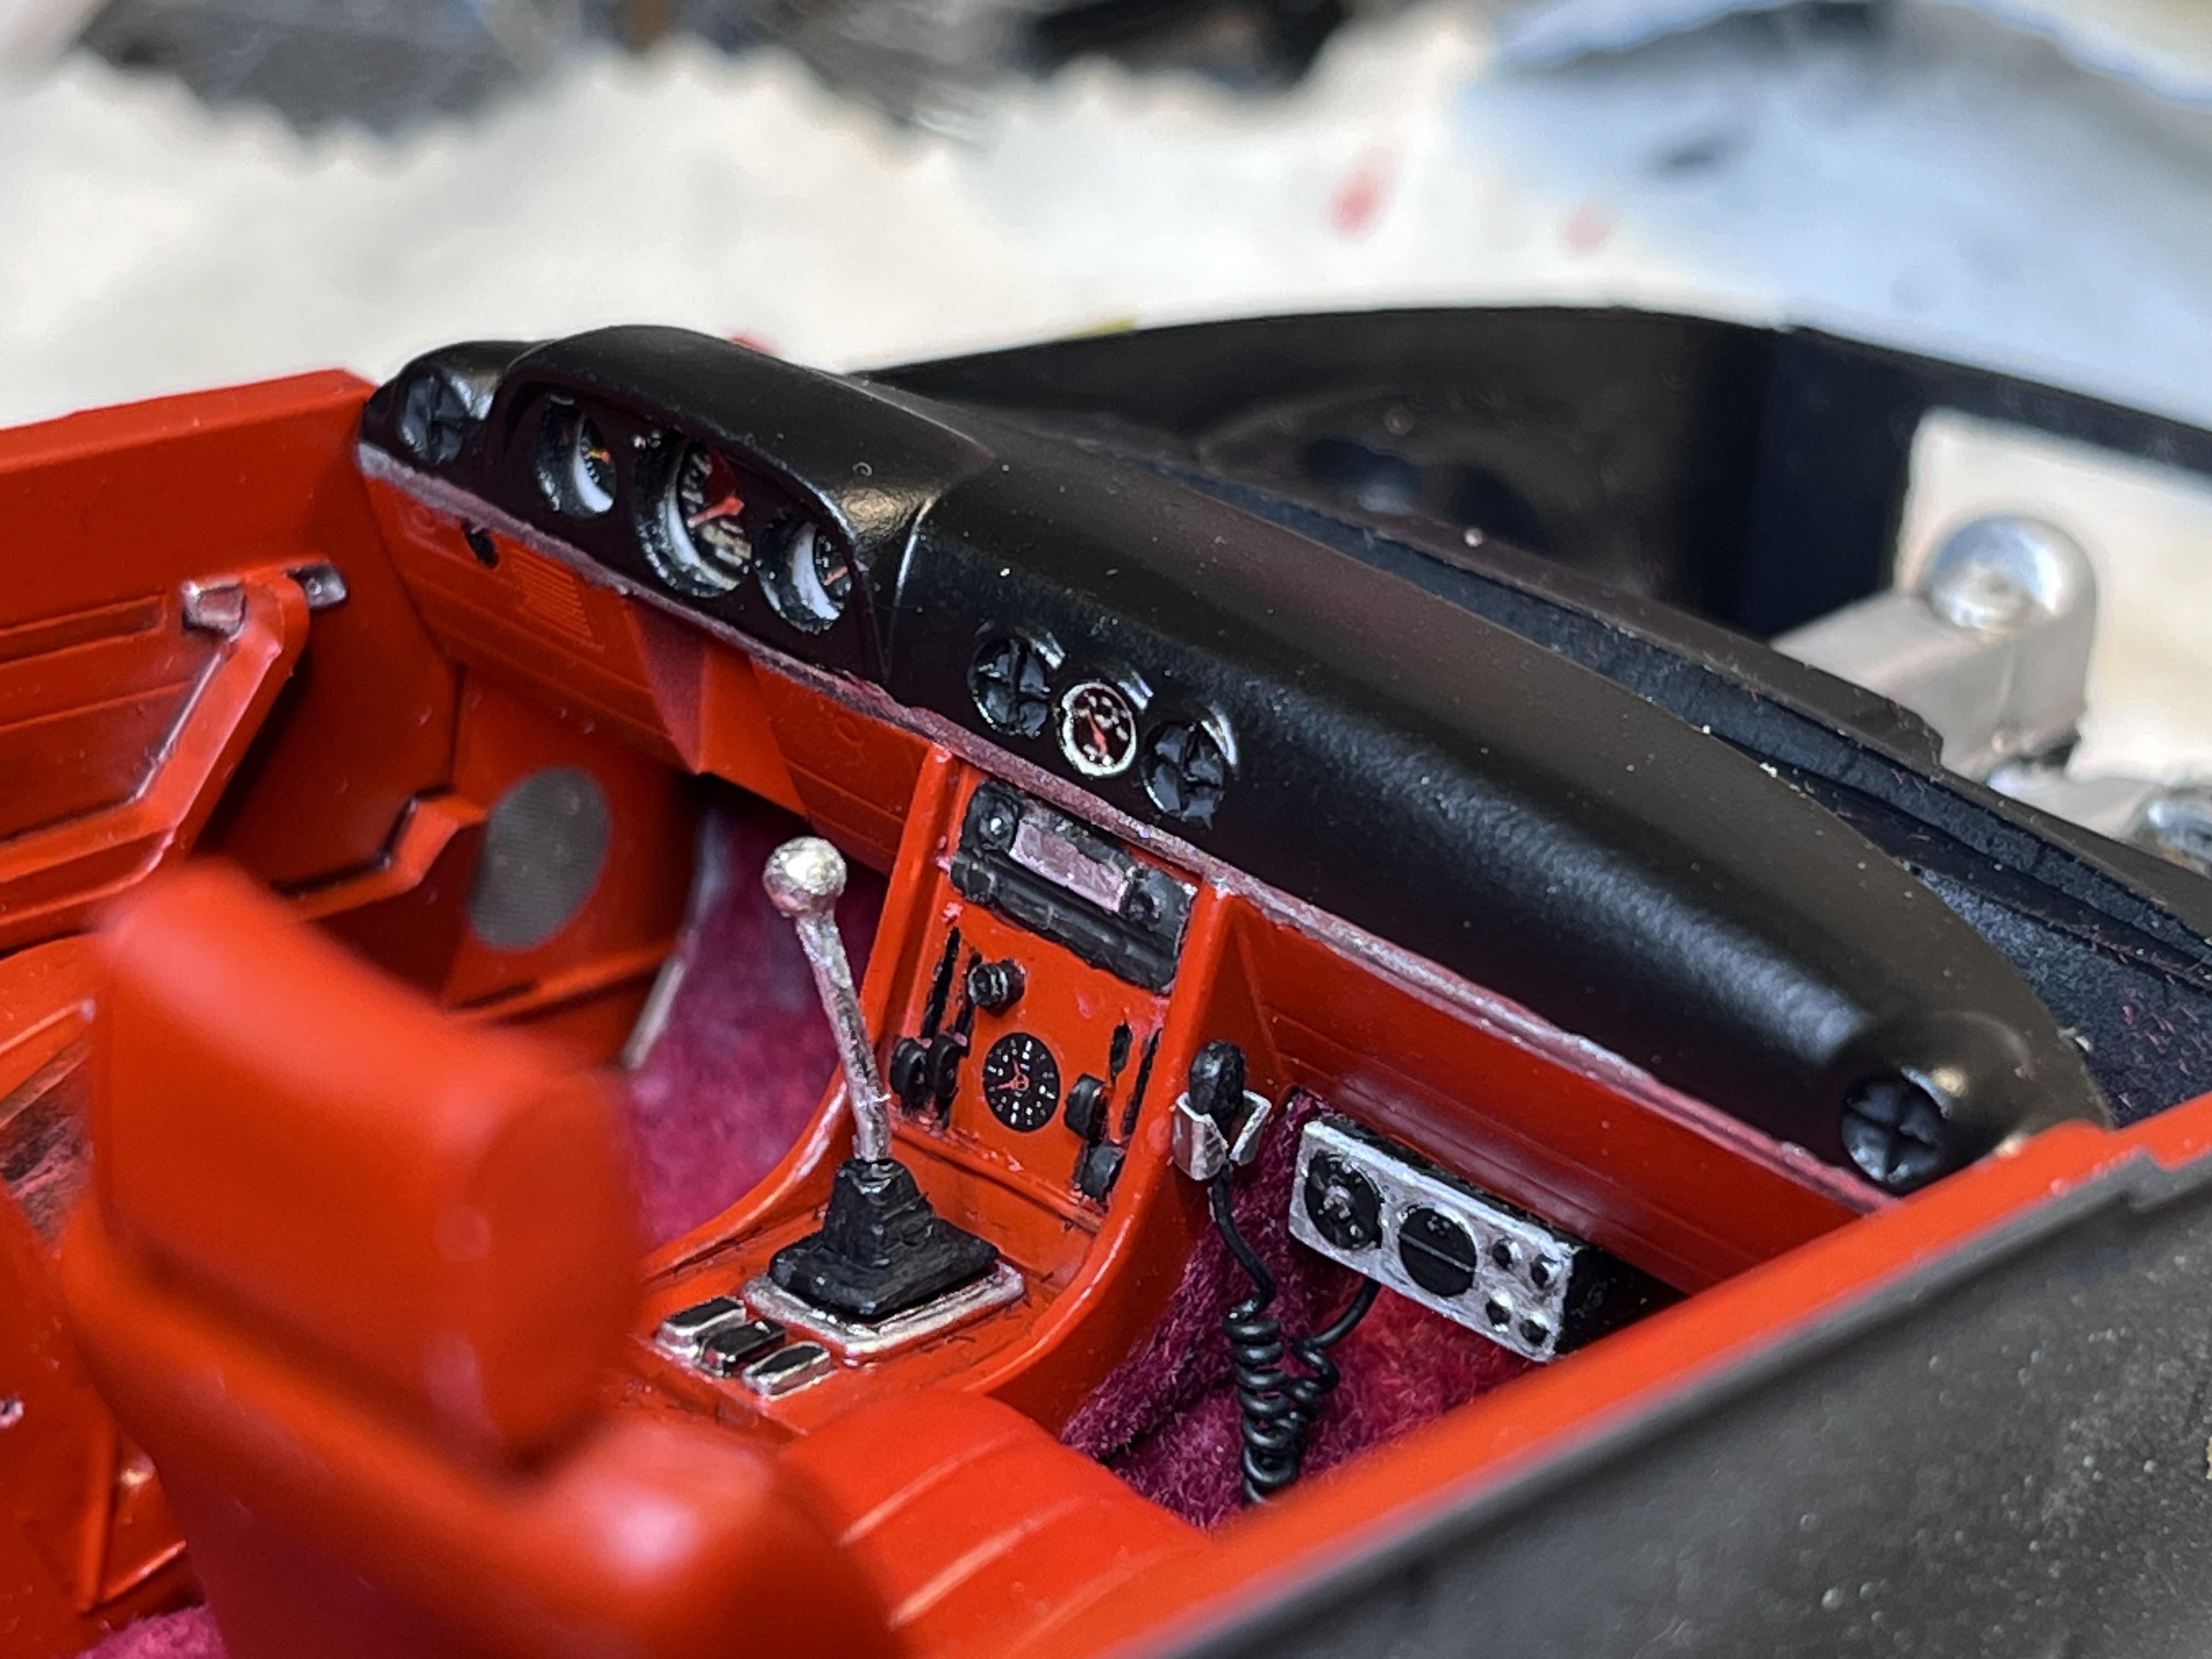
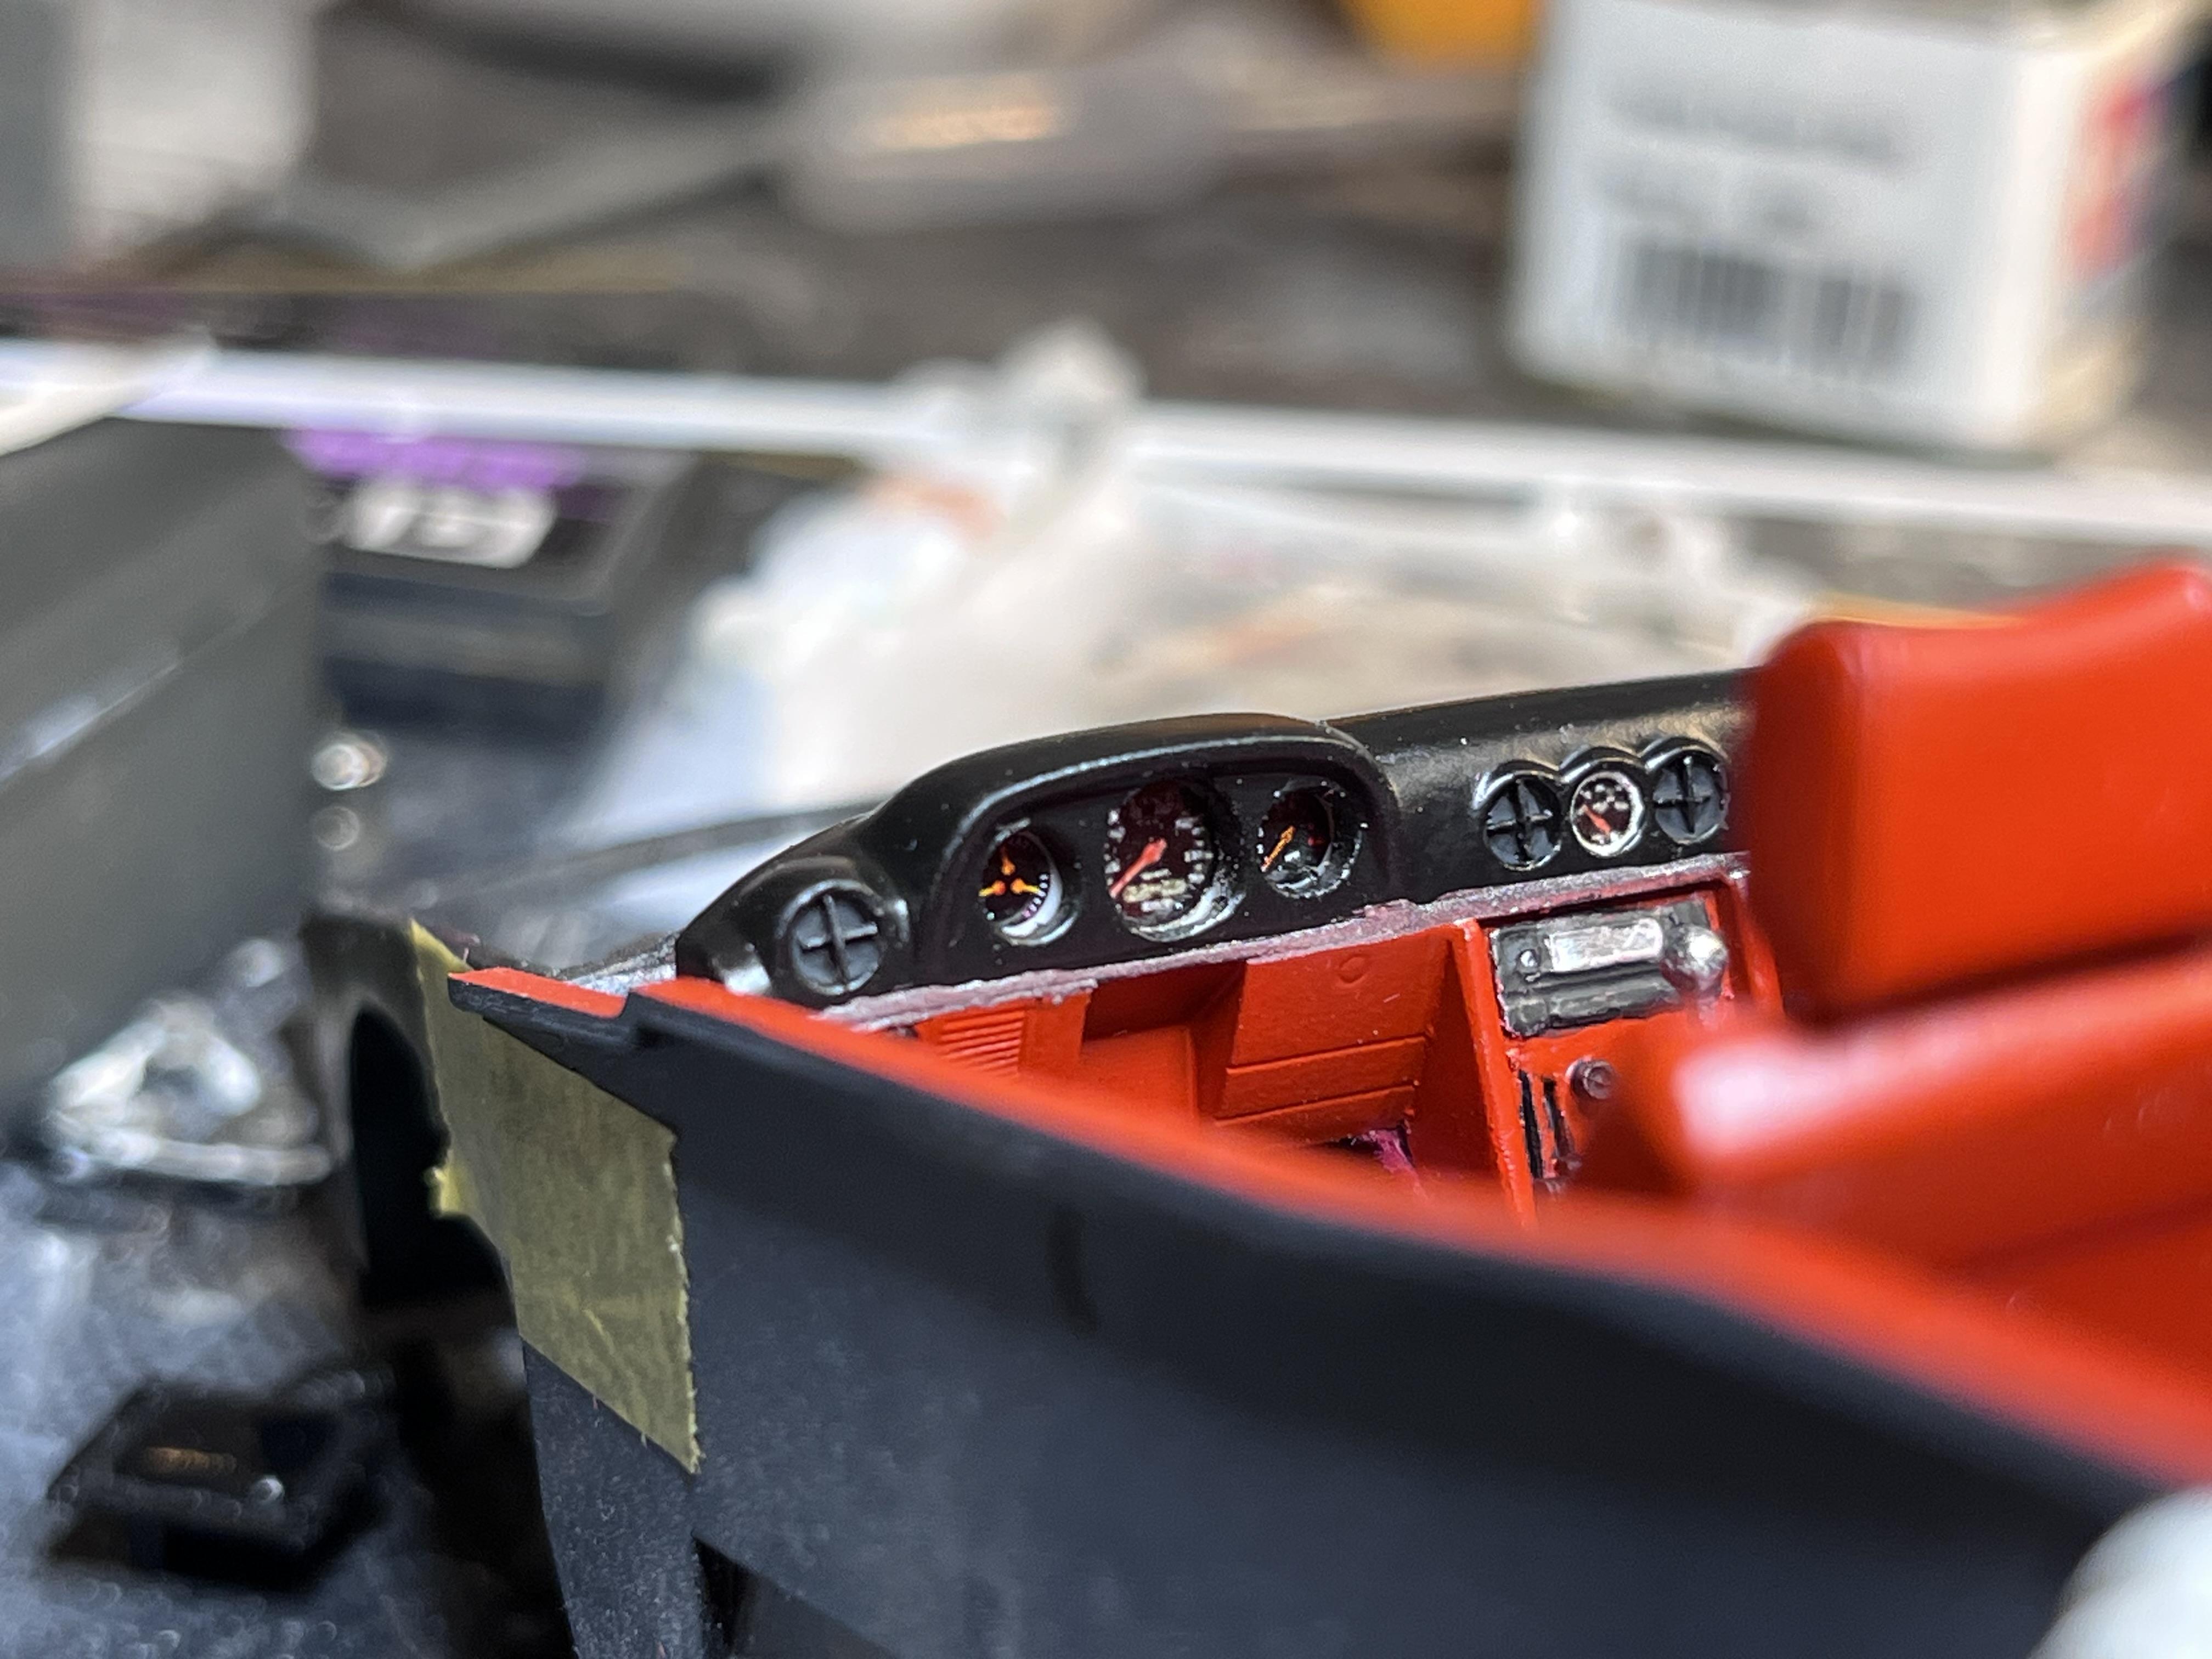
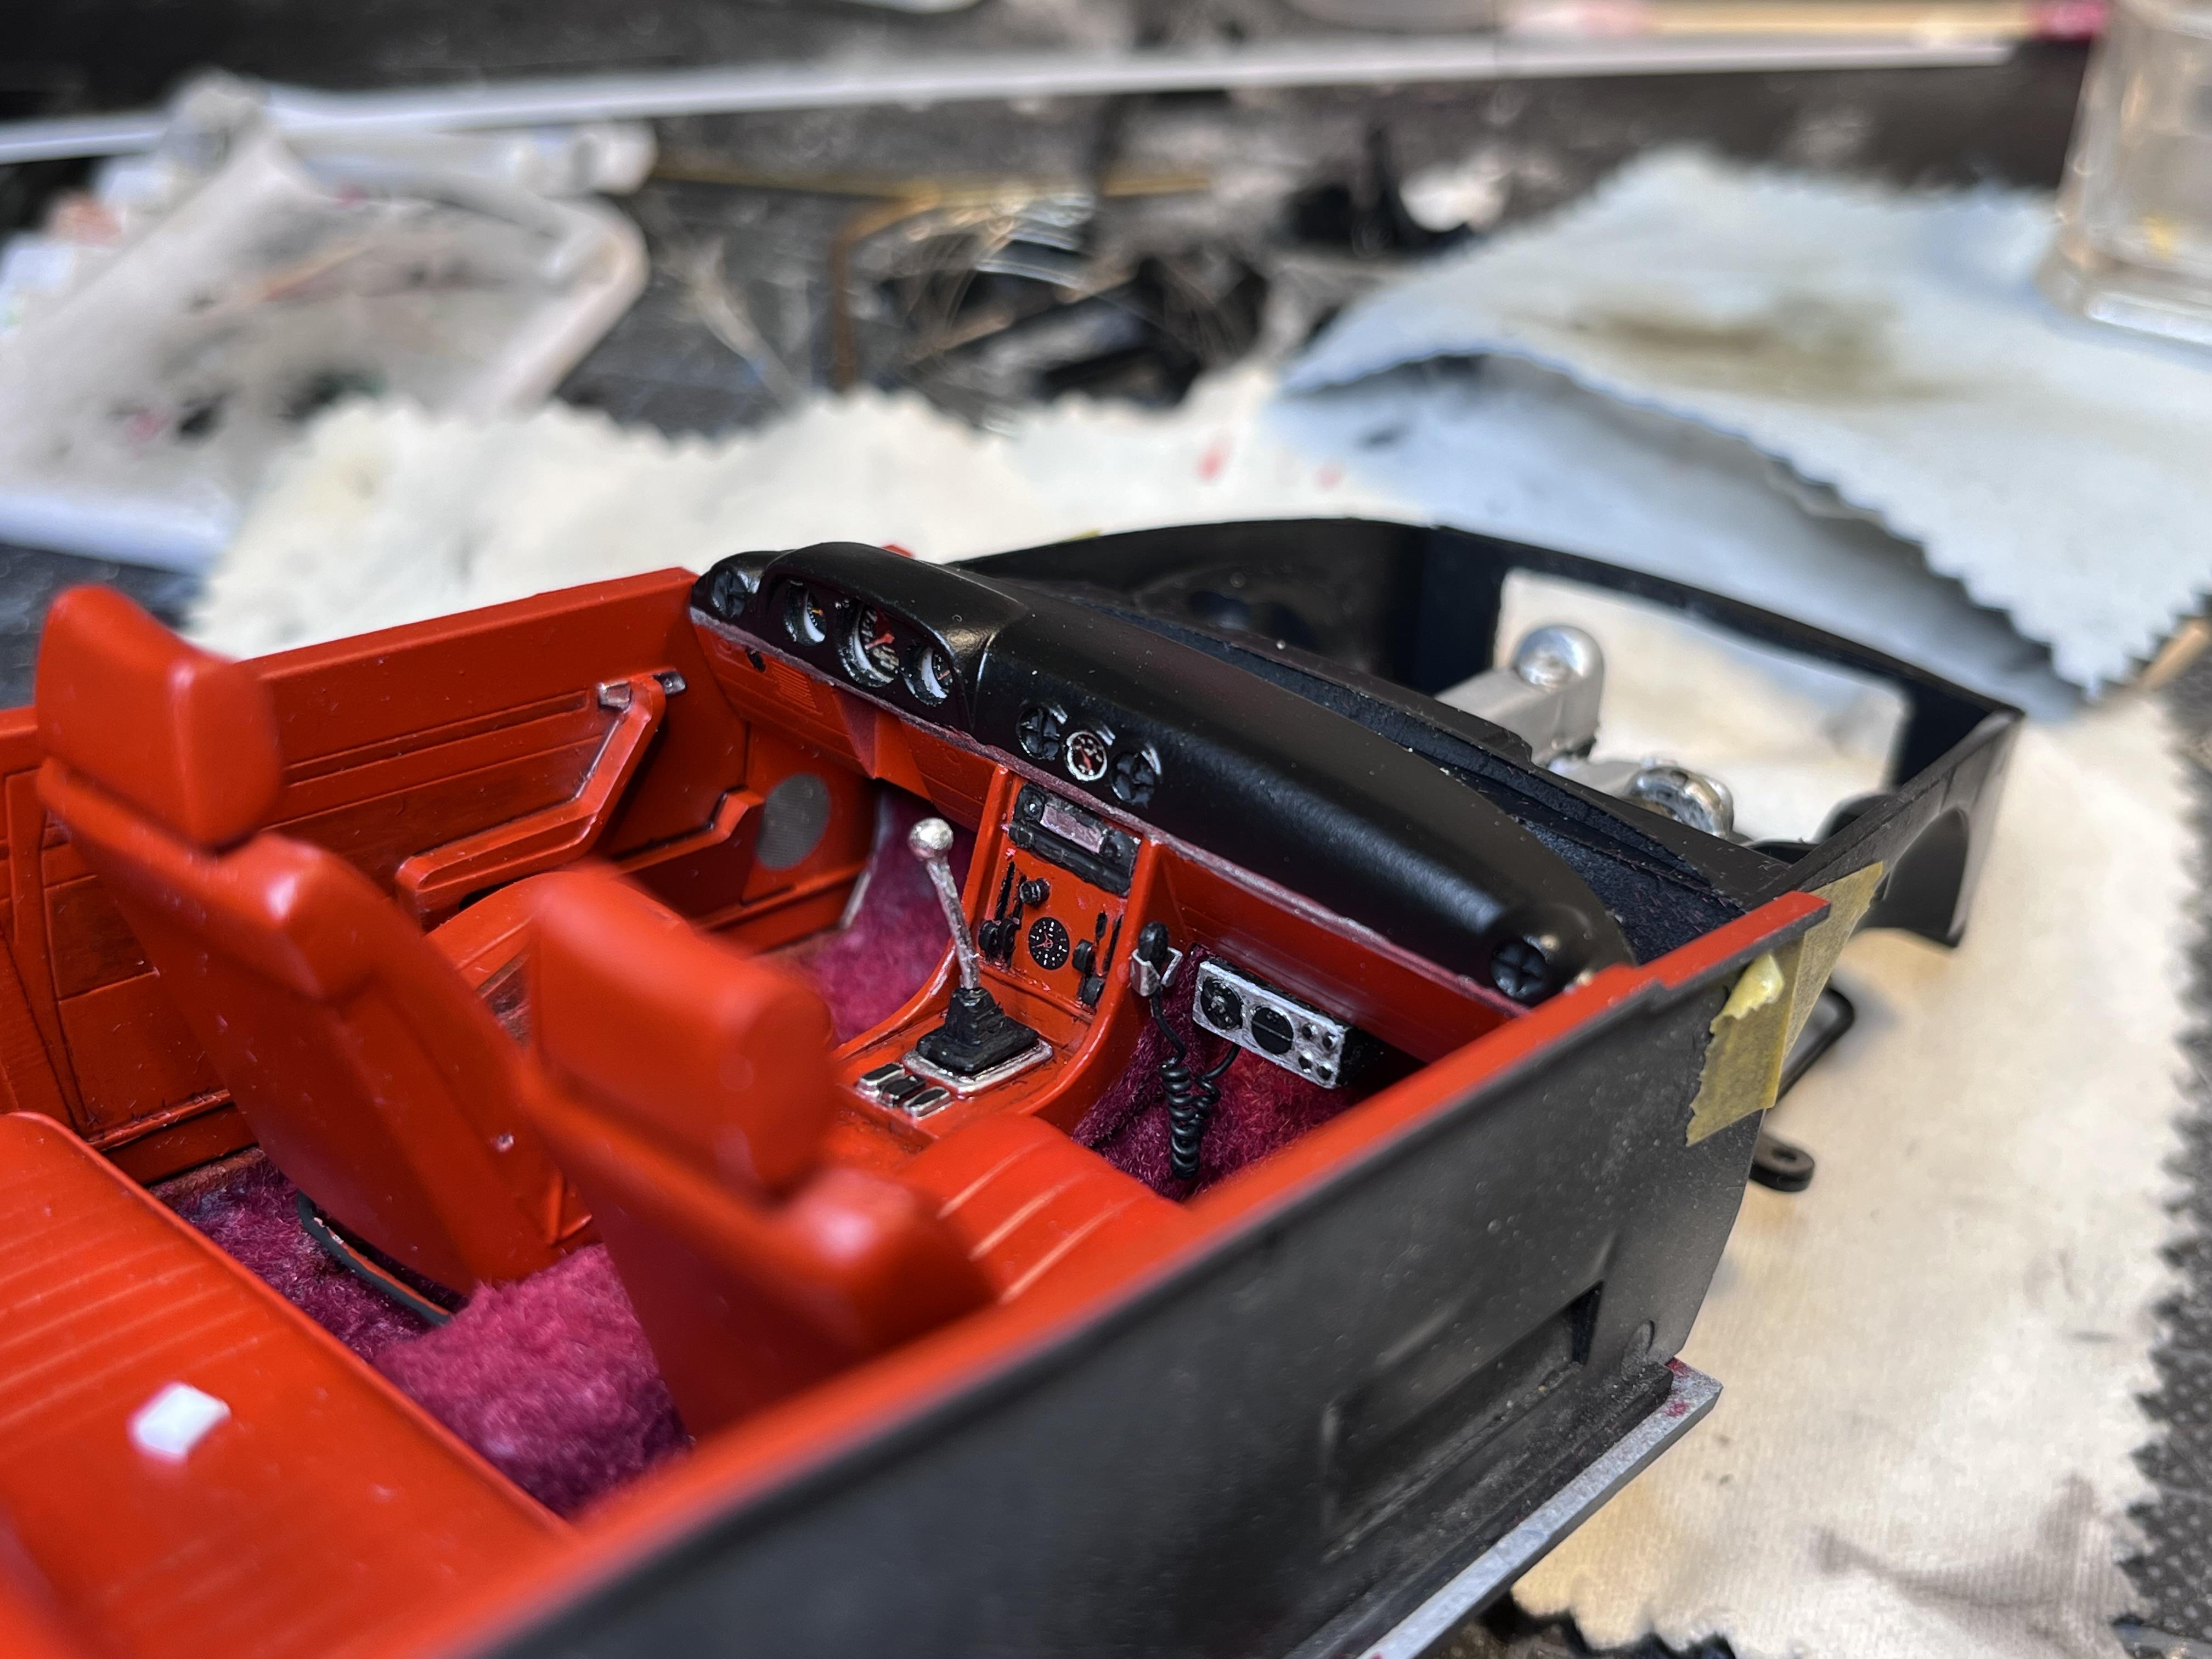
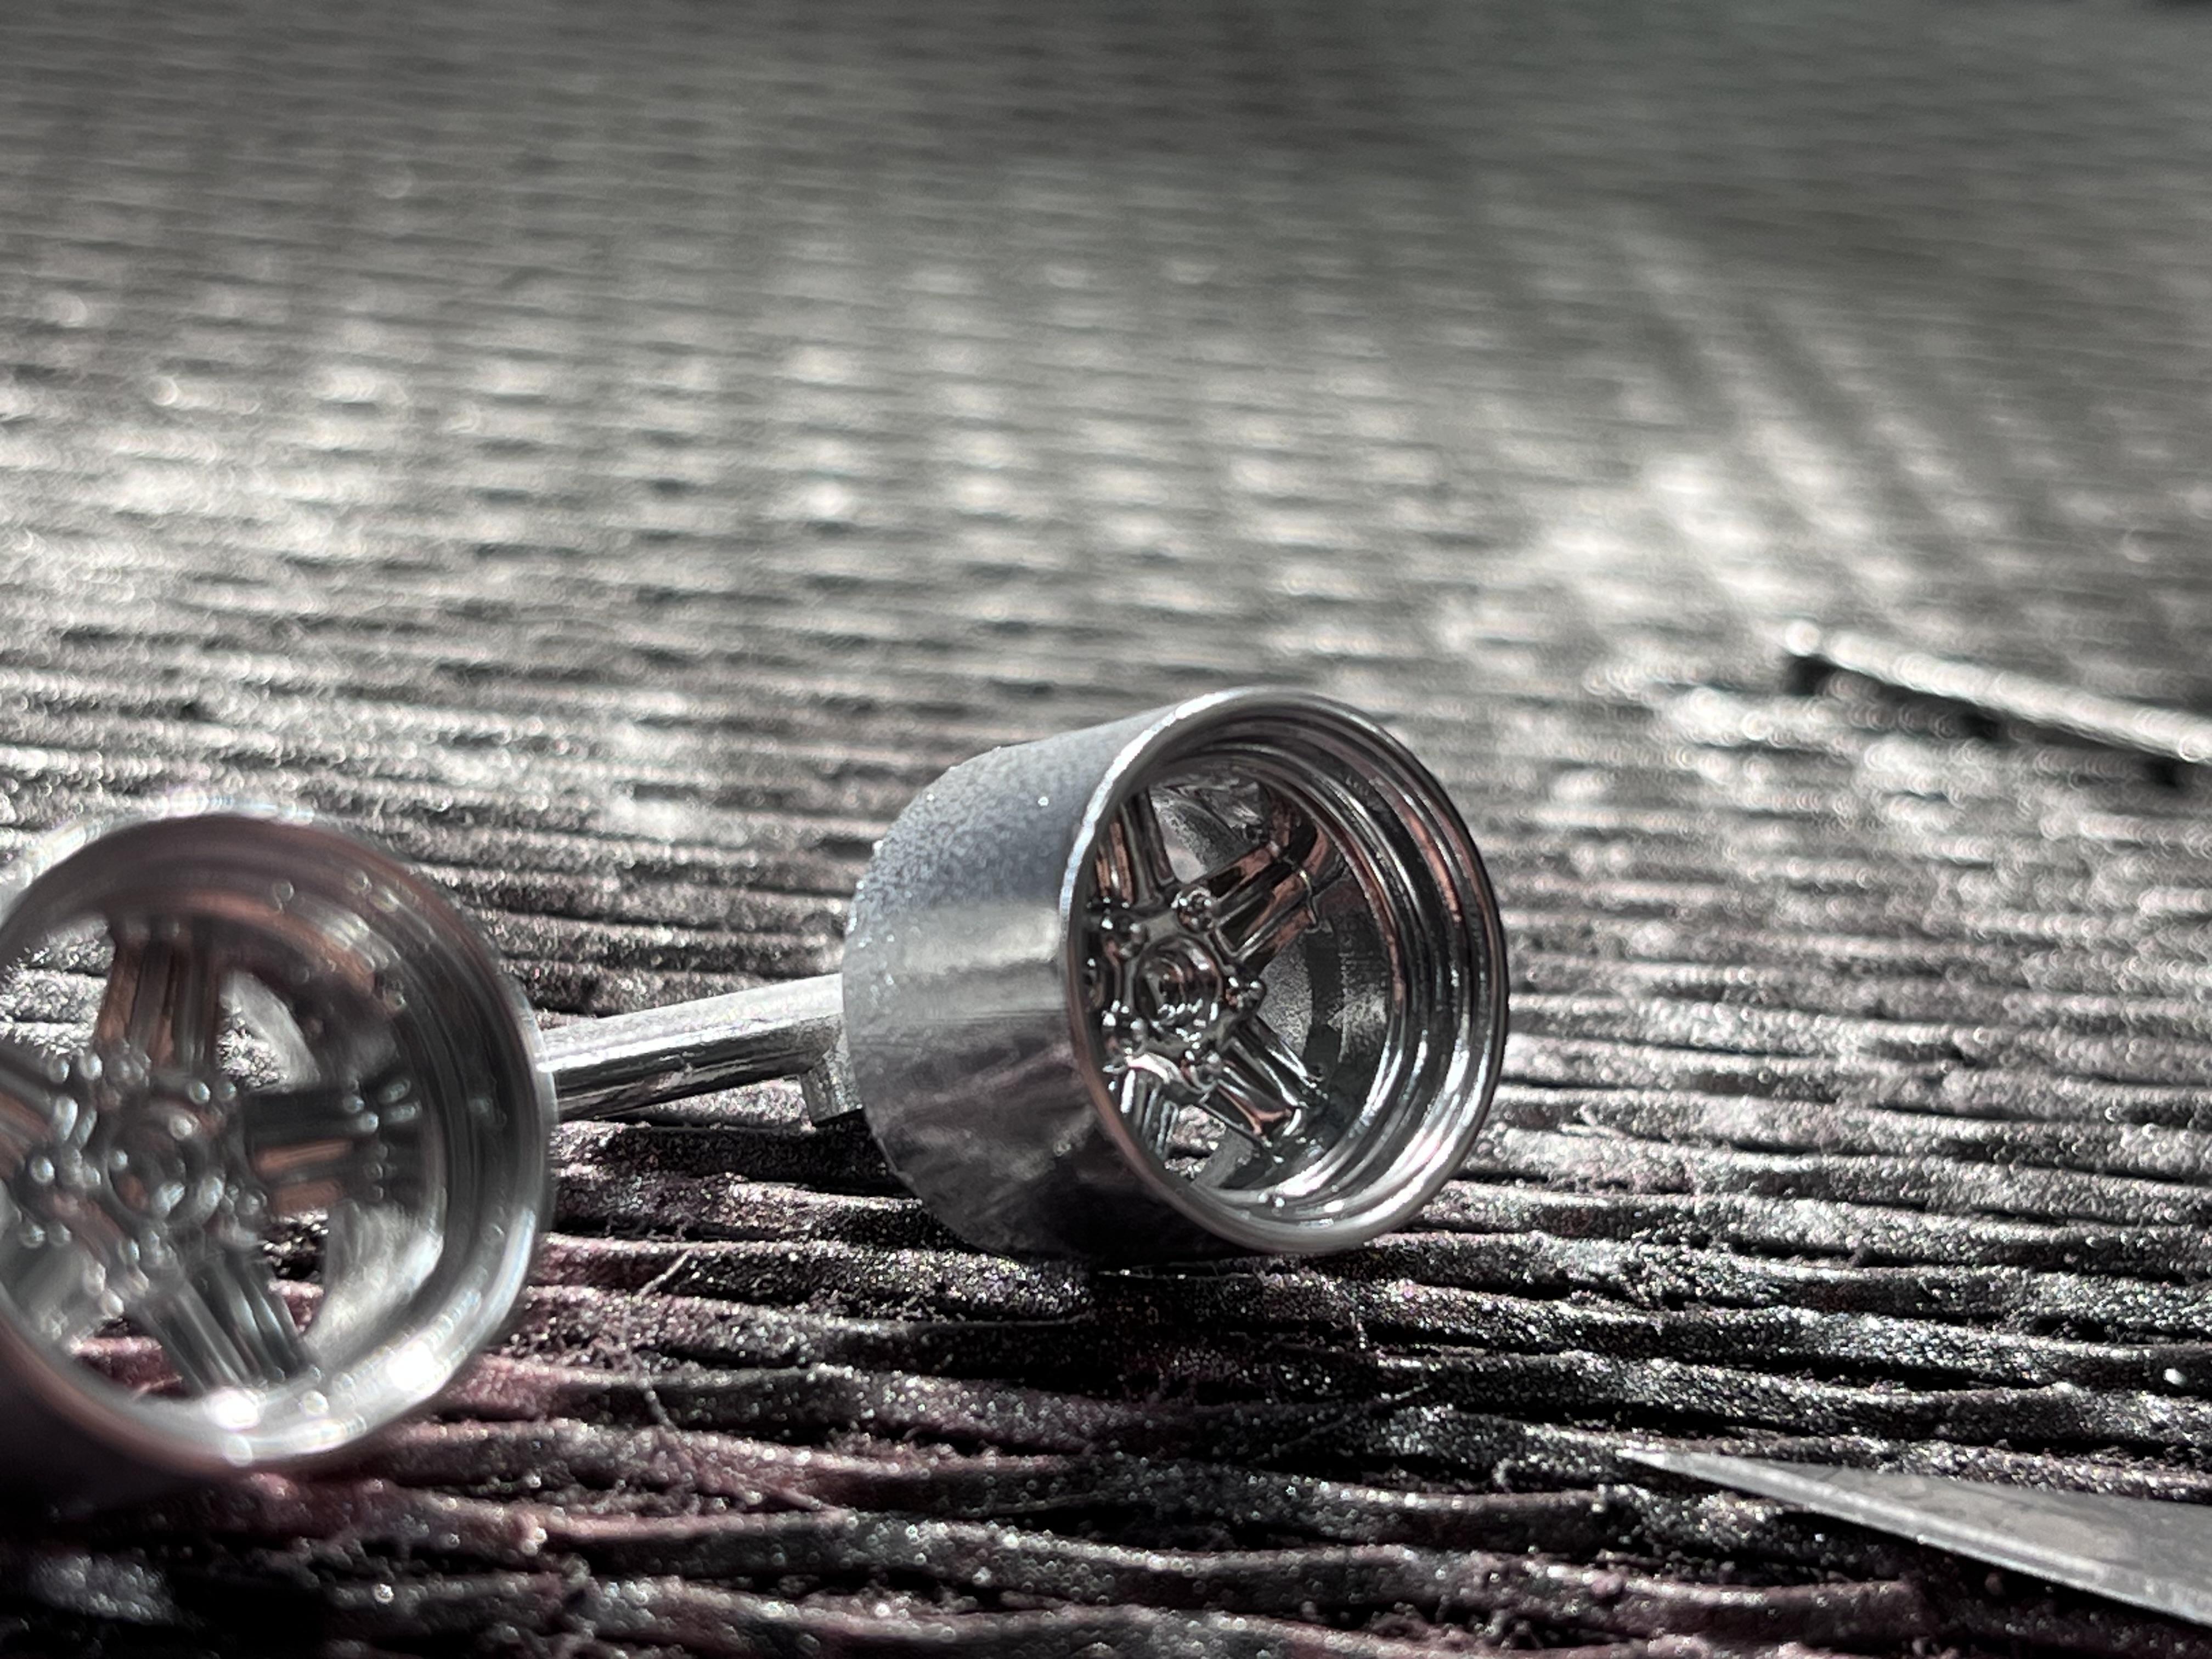
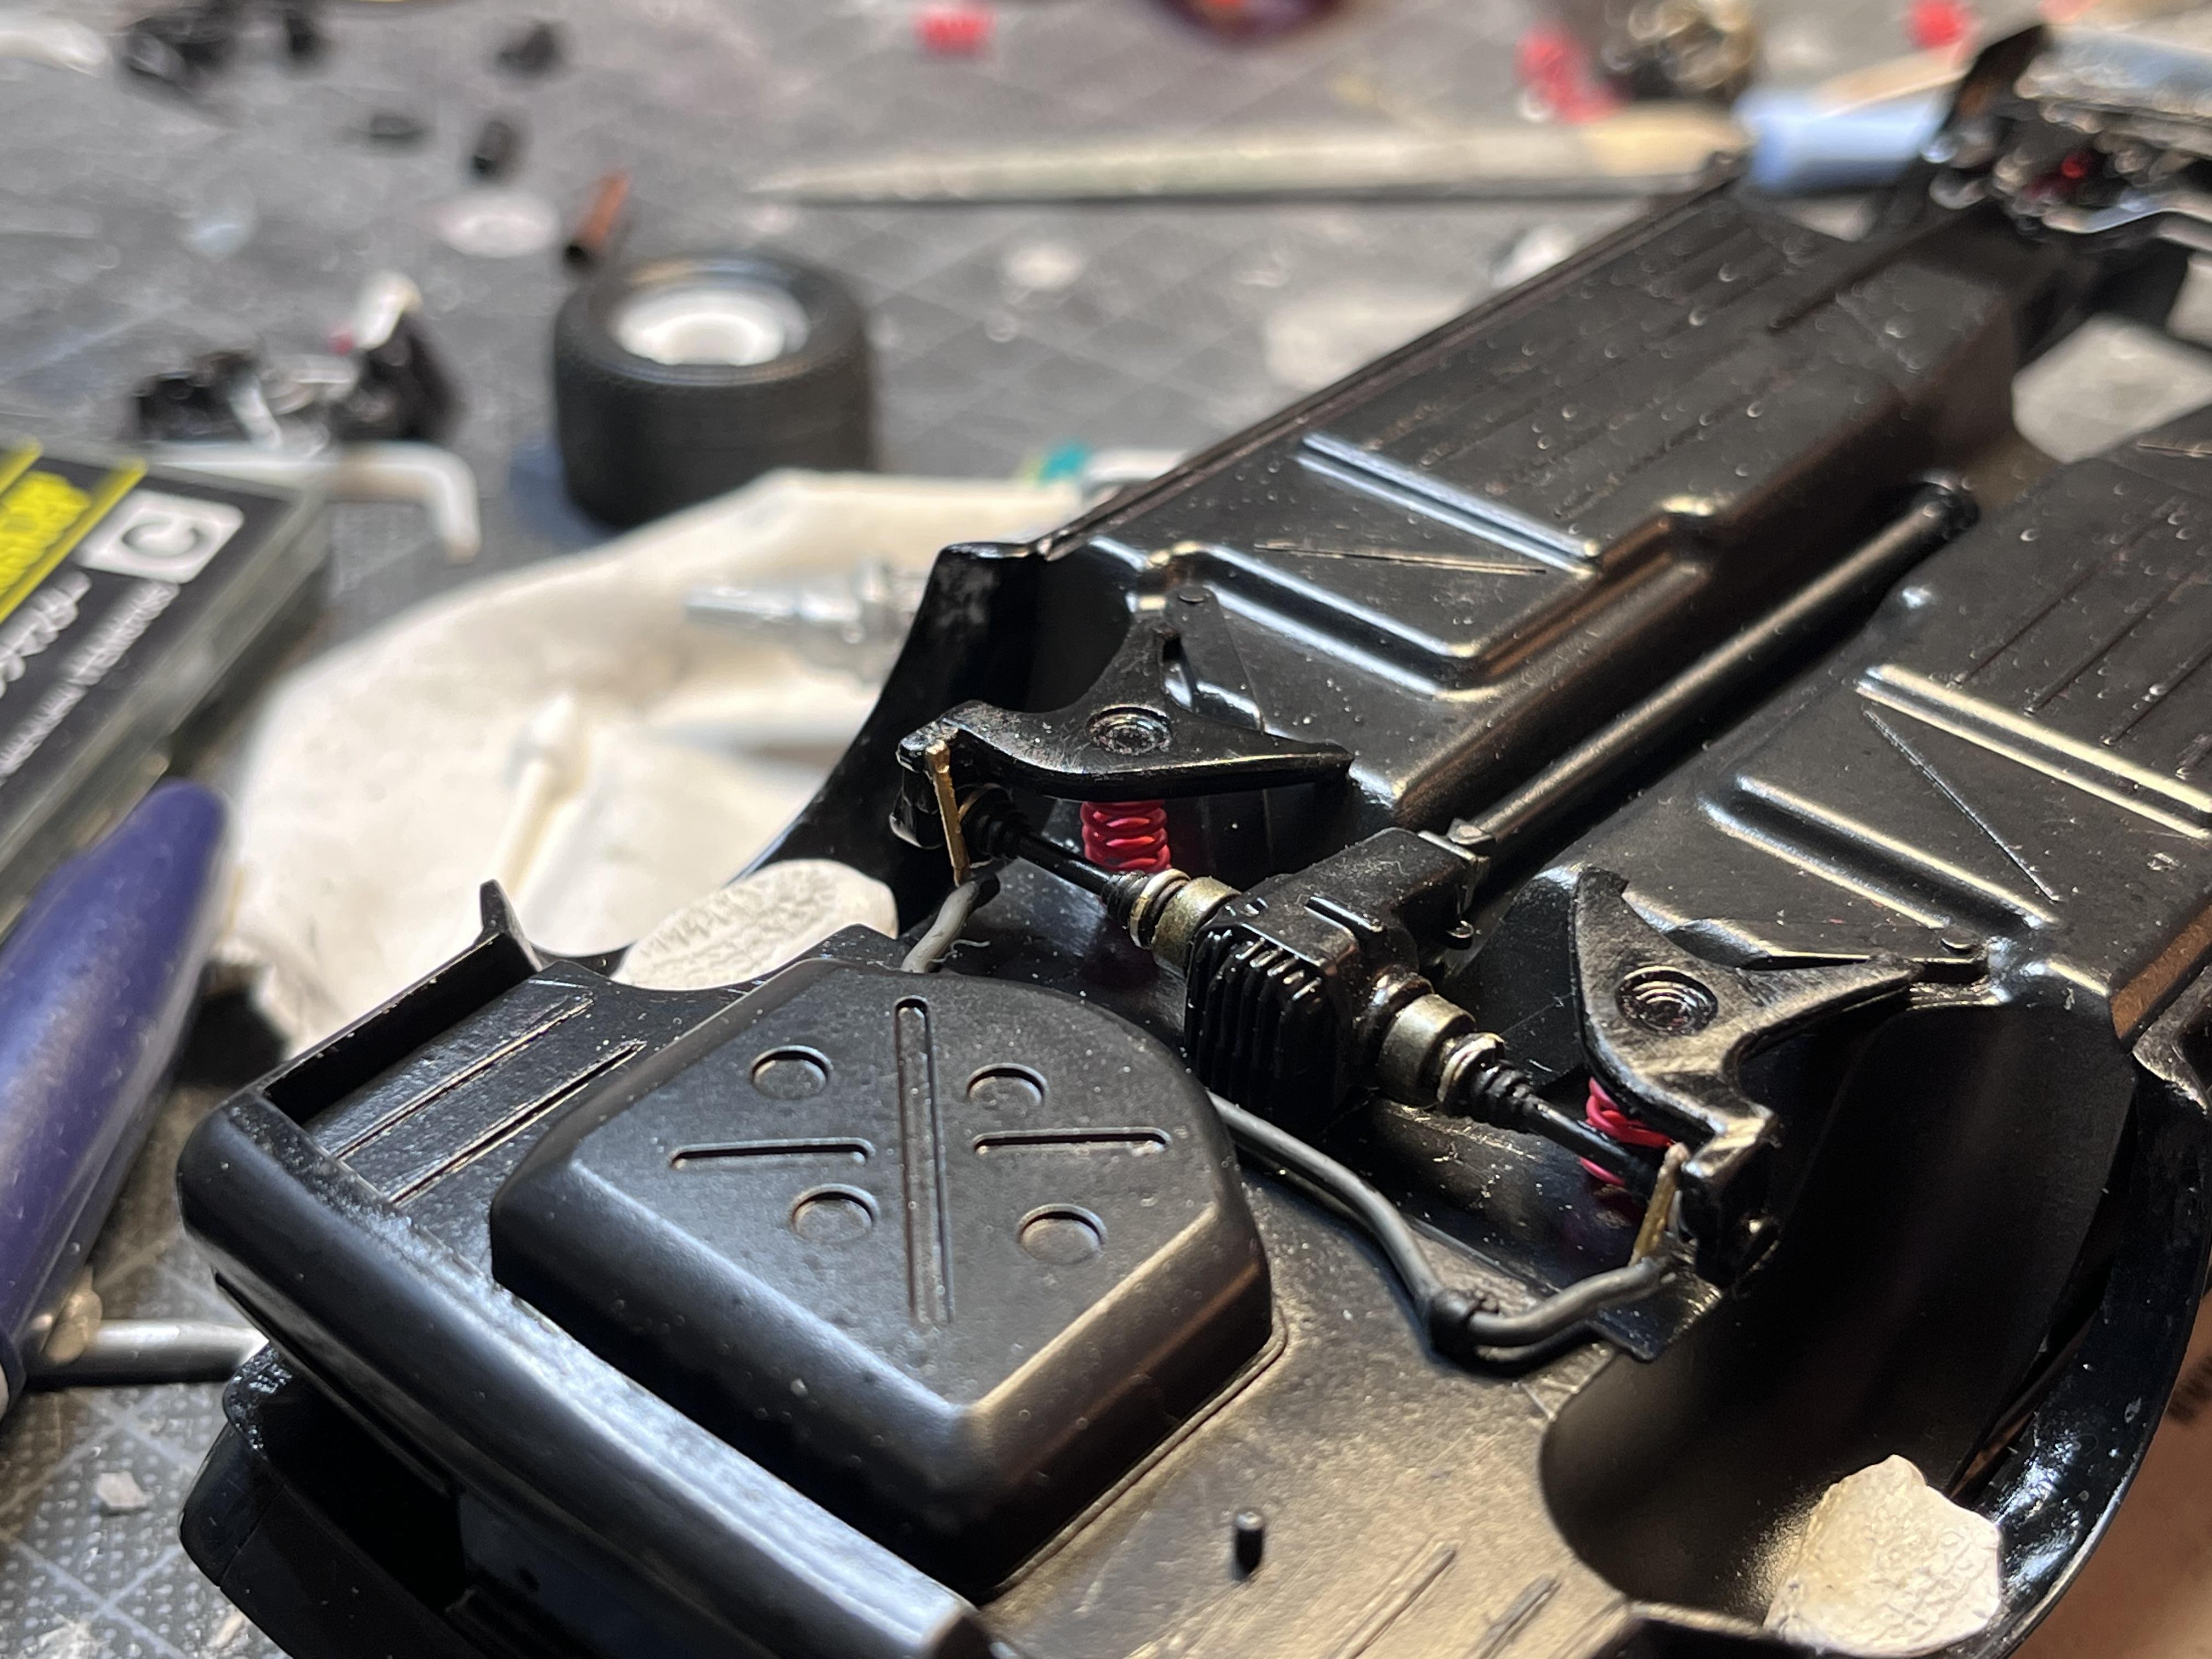
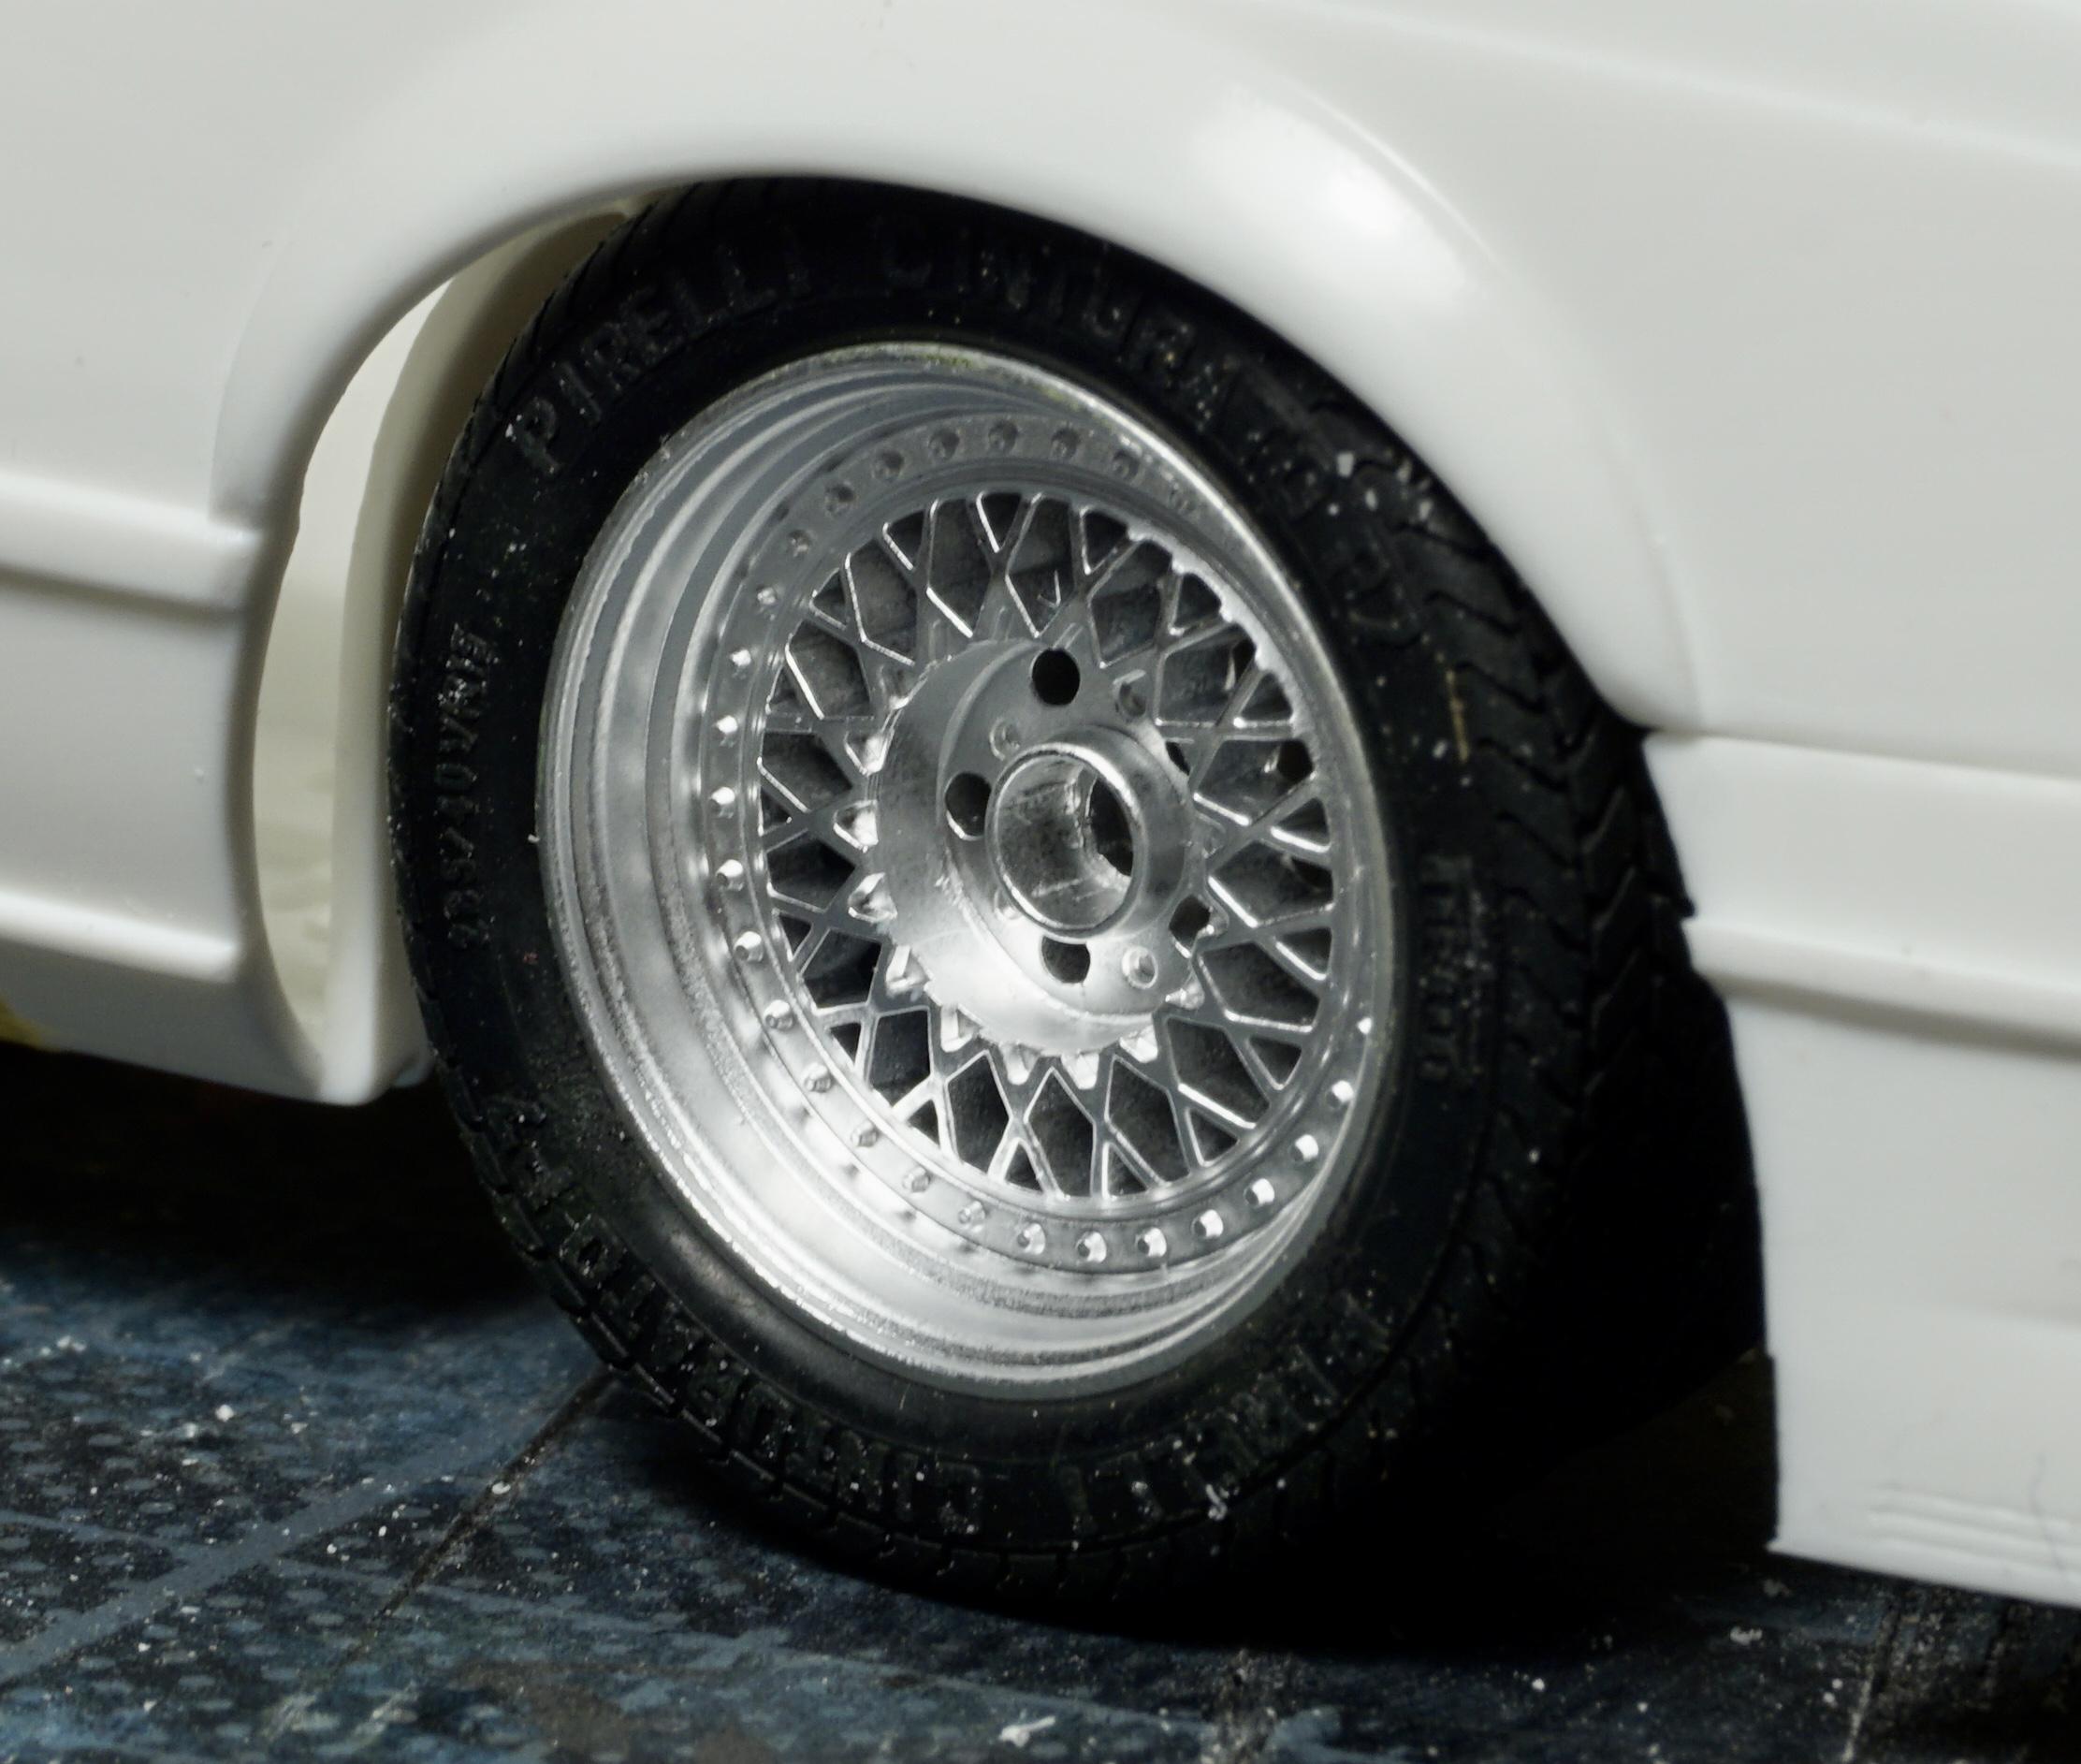
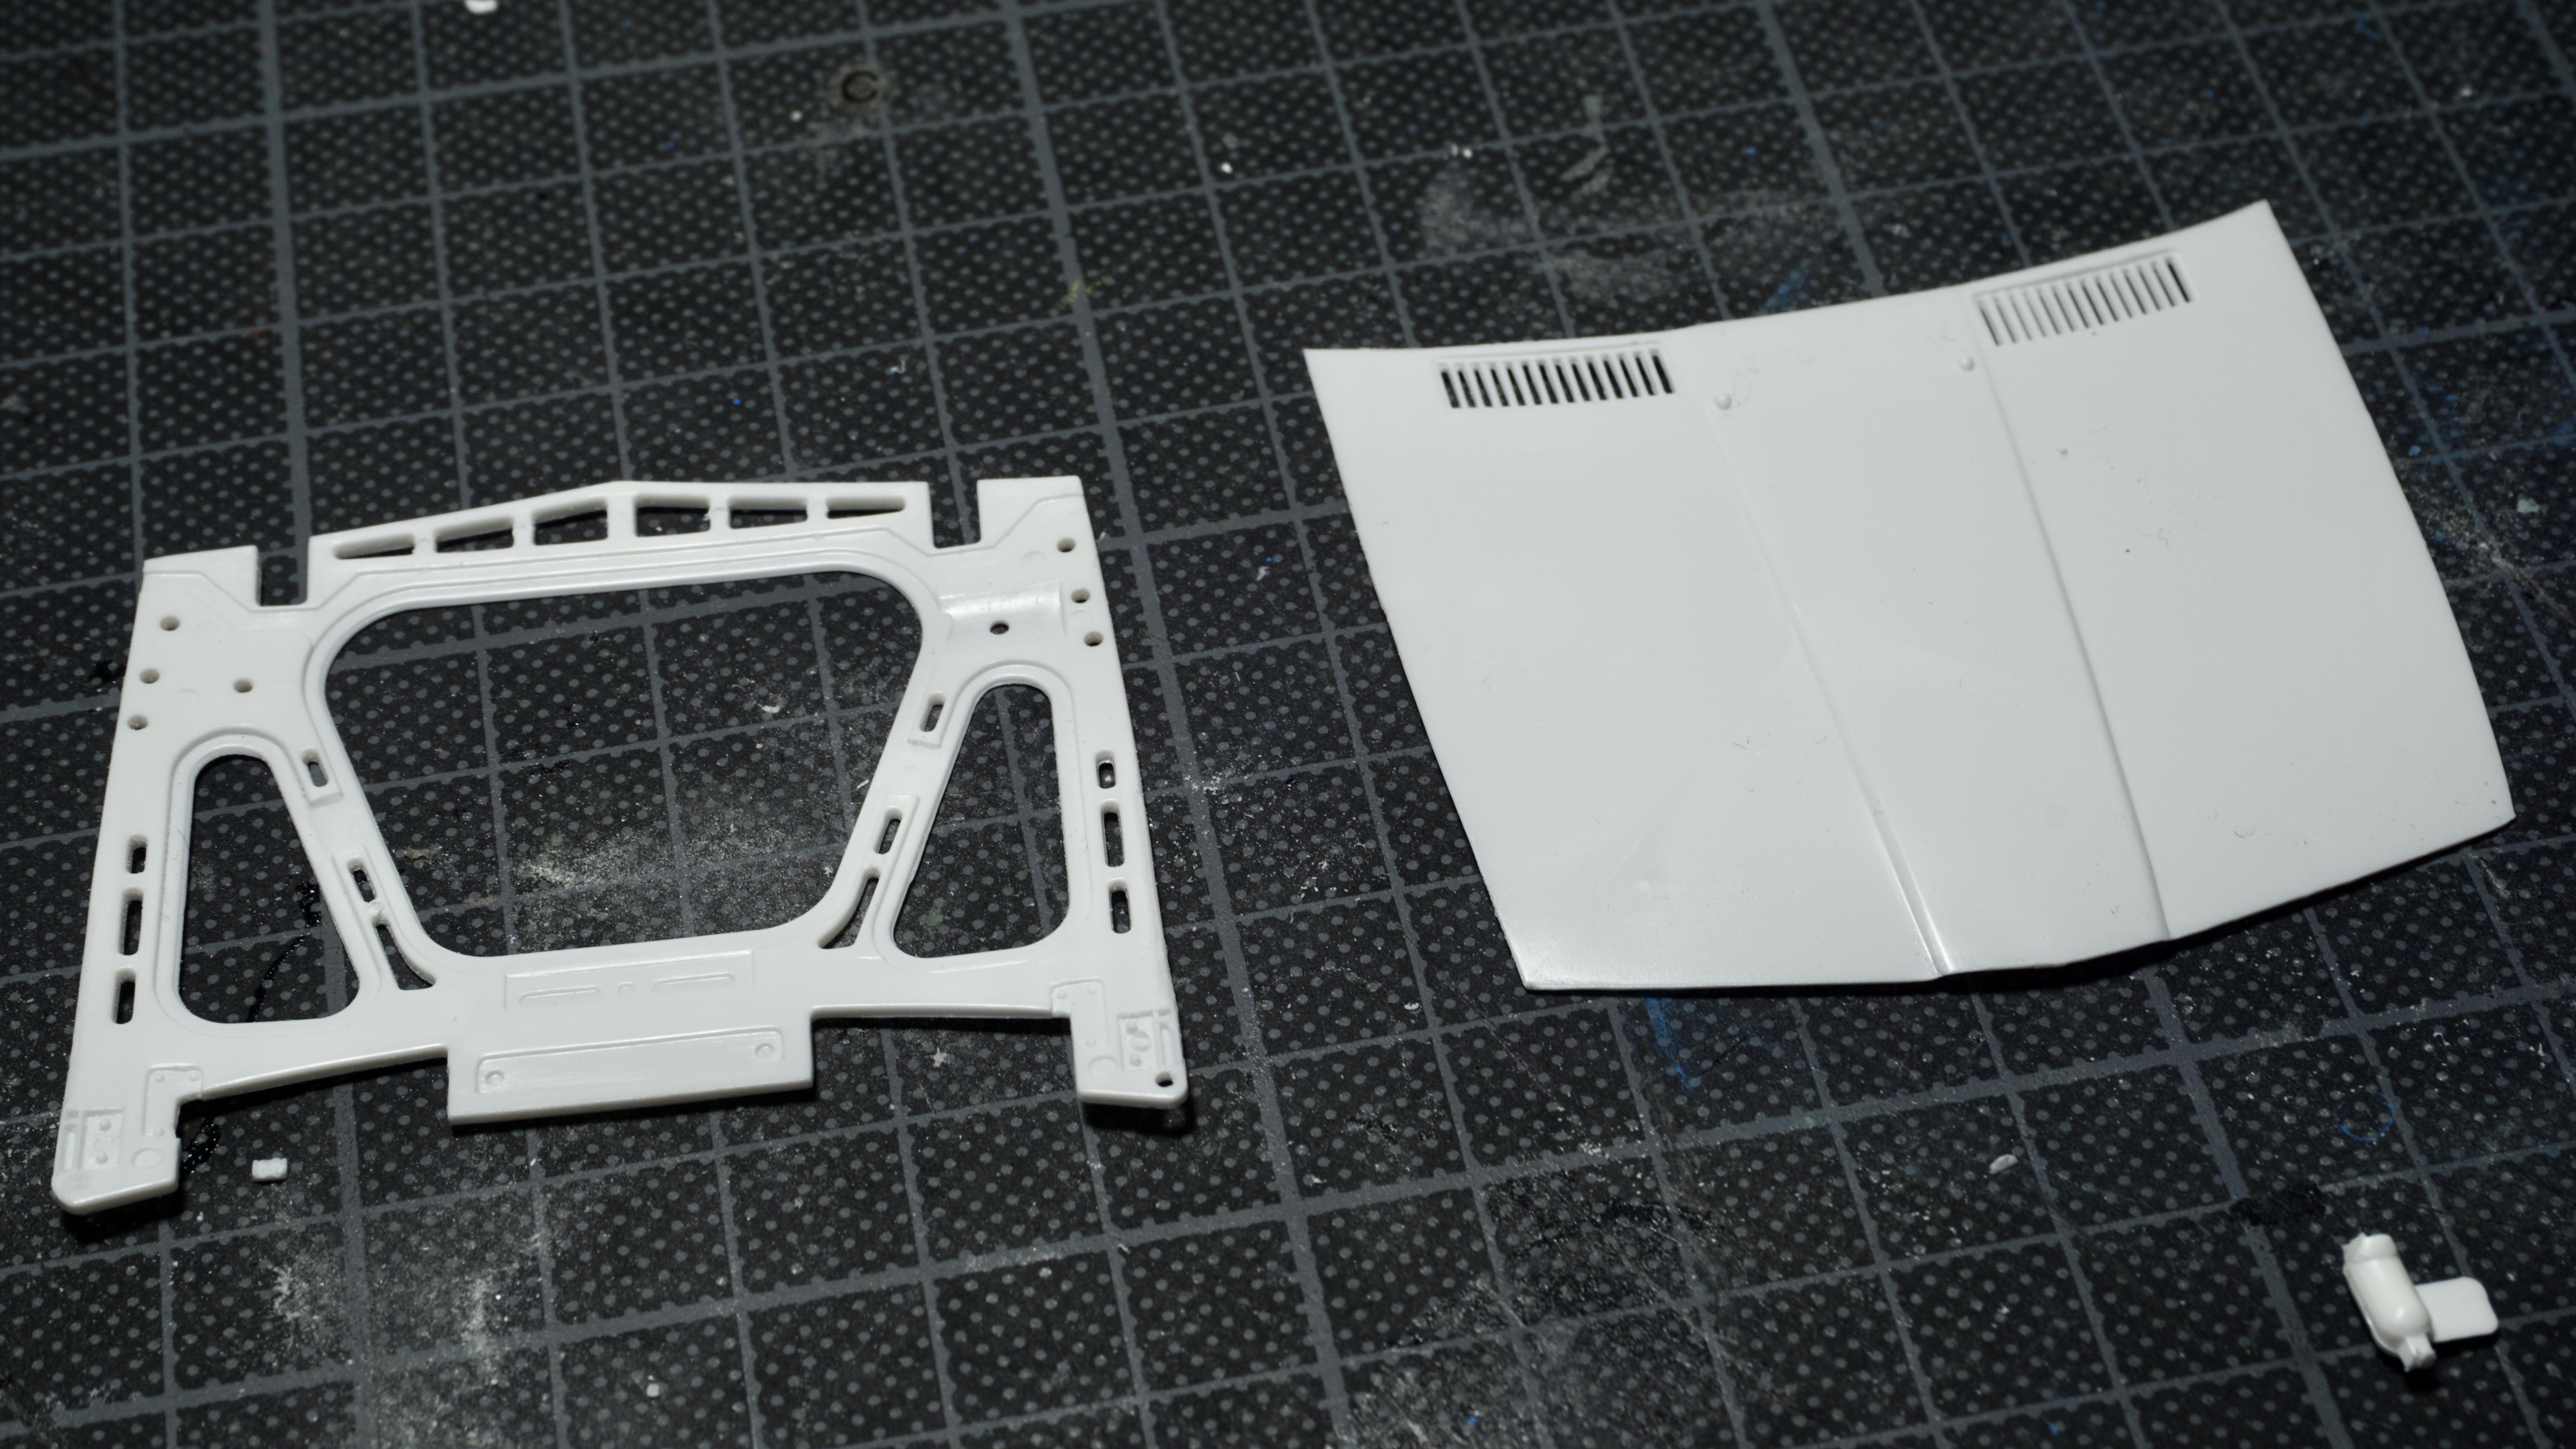
Great to see that you guys are attacking the build up of your racers! I have not done much on mine since i had to strip the paint, which also took al the tamiya filler. which annoys me to death. So it got to be a big jobb to re paint it but i at least got a new bottle of paint since i belive i had a issue with the last one, came out as dotts al the time. I did how ever come futher than what i pister here. I printed some new parts, no picture of them at the moment but it was among other things a new oilfilter for the engine. I do also have some issues with fitment on the body to the chassis with the door cards installed.. need to adress this. Here is at least a picture of some progress. Not sure i posted these interior mockups. I believe these look good in chrome. Or what does you say? Upgraded rear end, all original stuff was cut out and replaced with parts from a Tamiya BMW 635CSI, only A arms are stock. Fuel system taking shape, and the previous oil filter in picture to the right. And fuel control linkage is under way. Got launched and lost.. but found it yesterday in my resin parts assortment box. And final vissual update as for now is this picture of the installed star and intake text.
-
I don’t know the Revell kit, but the Fujifilm have most parts separate.. hub have studs and most parts are in small sub assembly’s. And are crisp and fits nice.
-
Great work on those mods! Will be following since I have a bunch of similar builds.
-
Yes but it was released again a couple of years ago so its not as rare today. Got the repop for a normal price through my LH. This one:
-
Chopped, Sectioned and Bobbed…….’63 Corvette.
Mattilacken replied to NOBLNG's topic in WIP: Model Cars
Epic build mate! Your skills really get to shine here! -
Sweet! Got to love those! Don’t you still have Al the versions of the 635 to build still from fujimi
-
It’s Boyd Month! Building the full-detail Coddington Alumacoupe
Mattilacken replied to OldNYJim's topic in WIP: Model Cars
That has always been a beautiful car. Definitely one of his best work according to me. Will follow your build. -
Came out great!!
-
Cushman Duster
Mattilacken replied to Dragline's topic in WIP: Other Racing: Road Racing, Land Speed Racers
Great looking car, that livery is good looking! -
Nice build! And nice progress!
-
Sweet looking build!
-
A REALLY REALLY BIG EXOTIC building the Pocher 1:8 Pagani Utopia my way
Mattilacken replied to mrm's topic in WIP: Model Cars
Nice project! I like where this is going! -
Rolls-Royce No Chemicals, No Paint, No Harmful Glues
Mattilacken replied to Anglia105E's topic in WIP: Model Cars
Sad to hear about your condition but glad to hear your spirit! I do also use Vallejo and Tamiya acrylics( tamiya are smelly) but the Vallejo cleans out nicely with water, sure over time I might get buildup of paint in the upper part of the brush. But soaking them and wipe them on paper works very good. Keep the build going! Will be following! -
Nice work! 🏳️⚧️
-
Audi S1 Pikes Peak
Mattilacken replied to MarcelT4's topic in WIP: Other Racing: Road Racing, Land Speed Racers
Those are some serious machines! Damn they had huge wings!