Mattilacken
-
Posts
3,670 -
Joined
-
Last visited
Content Type
Profiles
Forums
Events
Gallery
Everything posted by Mattilacken
-
 Looking super! Nice cammo work mate!
 -
Corvairs Through the Darien Gap
Mattilacken replied to Falcon Ranchero's topic in General Automotive Talk (Trucks and Cars)
Cool expedition! I believe no one would try some thing similar in that type of car today. I wonder what the equivalent car would be today? -
Tamiya Toyota GT One
Mattilacken replied to Mike C's topic in WIP: Other Racing: Road Racing, Land Speed Racers
Superb modeling! -
Peugeot 205 WRC Crate Diorama
Mattilacken replied to Technics's topic in WIP: Other Racing: Road Racing, Land Speed Racers
Nice little build! And congratulations on the second place! -
Great work on that body! Looks super
-
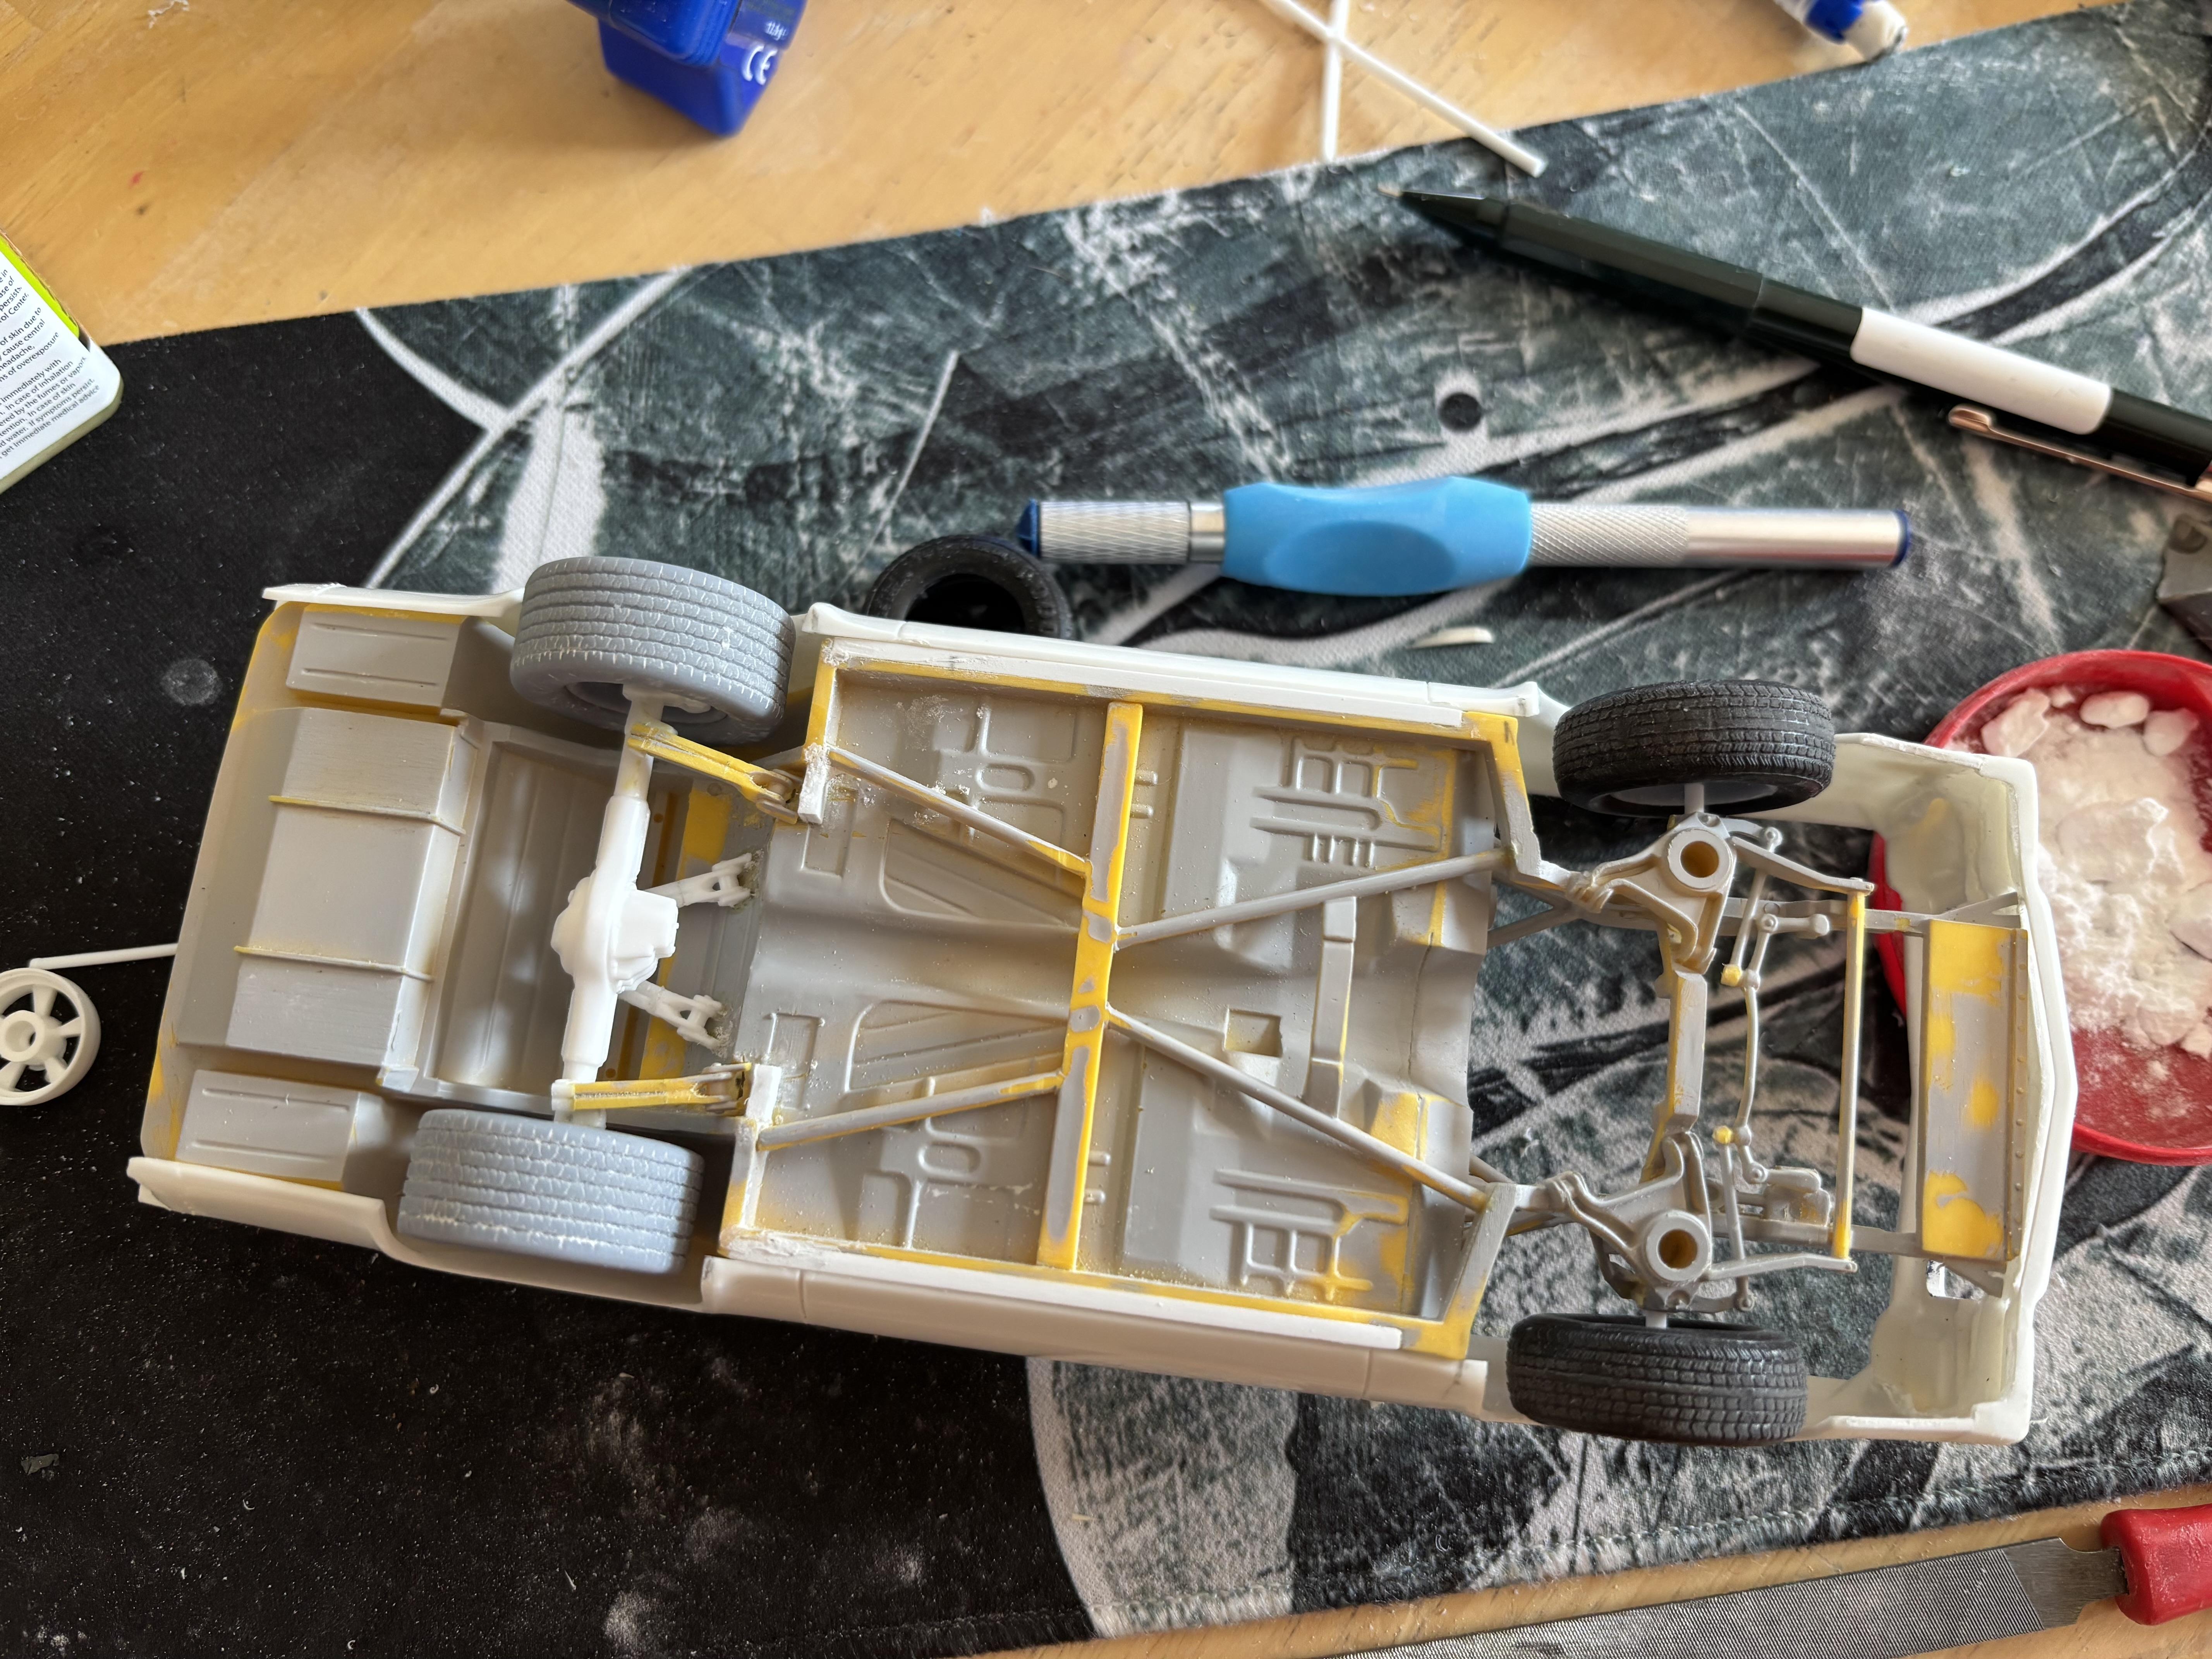
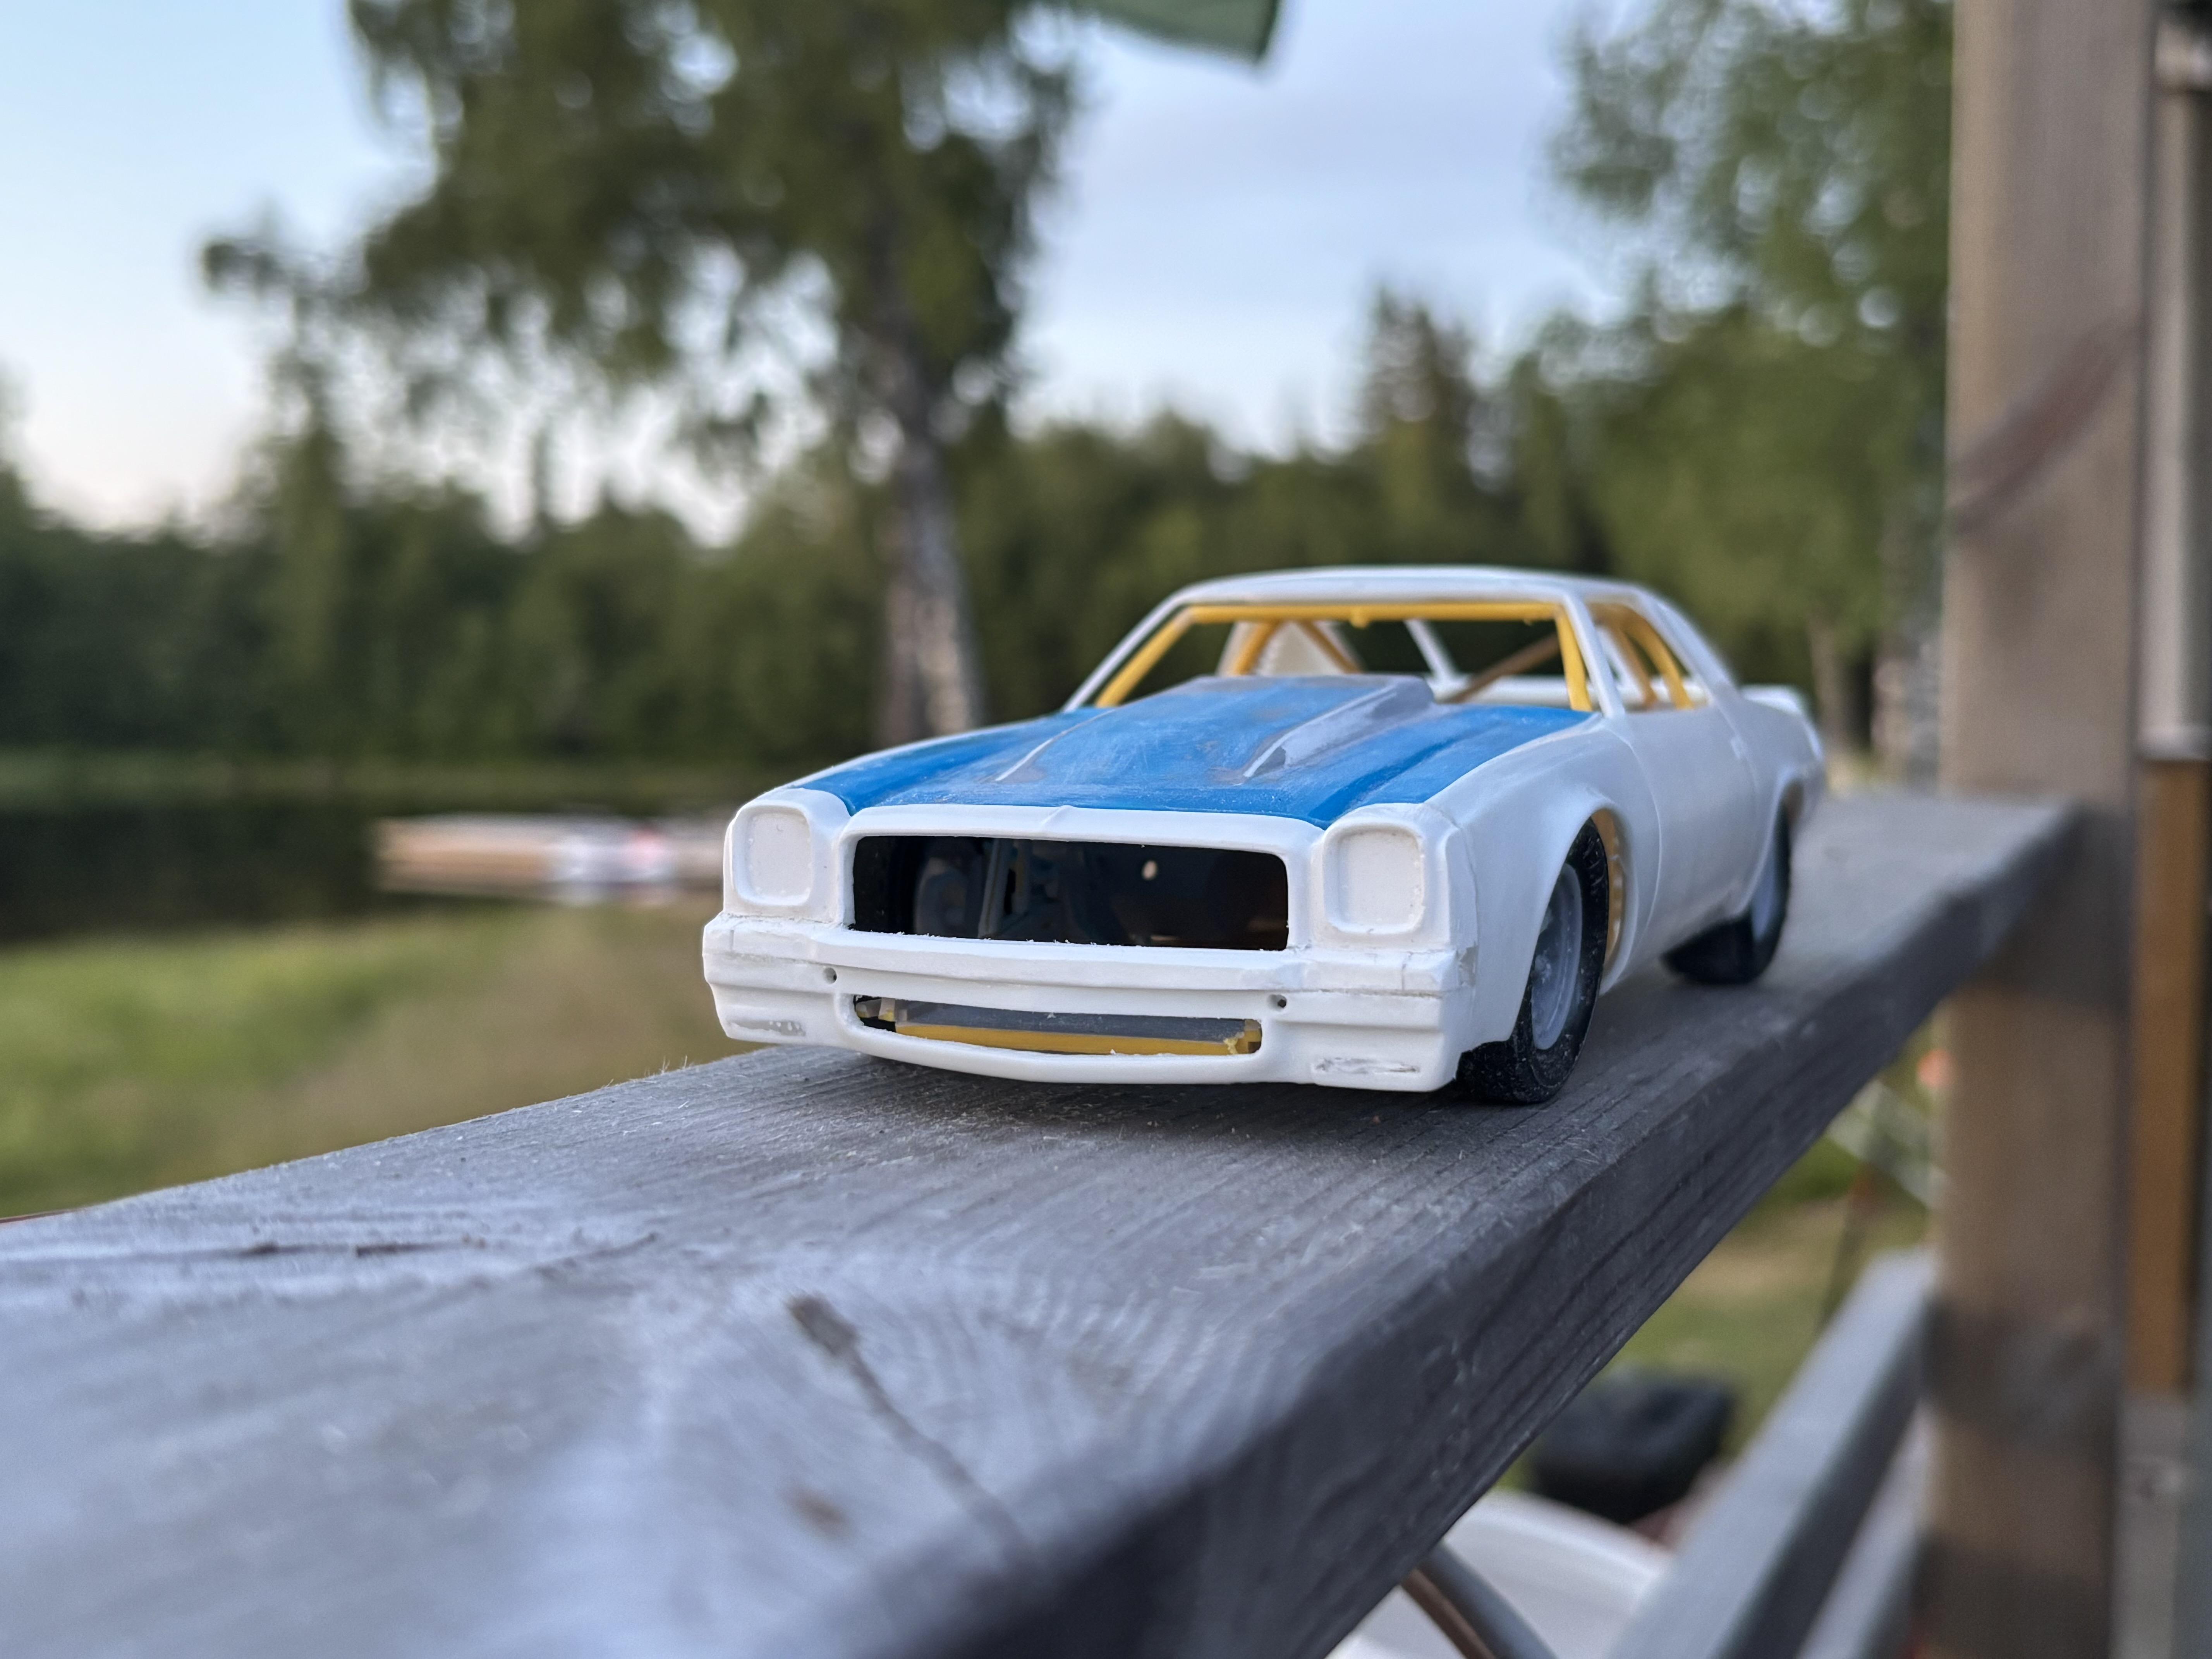
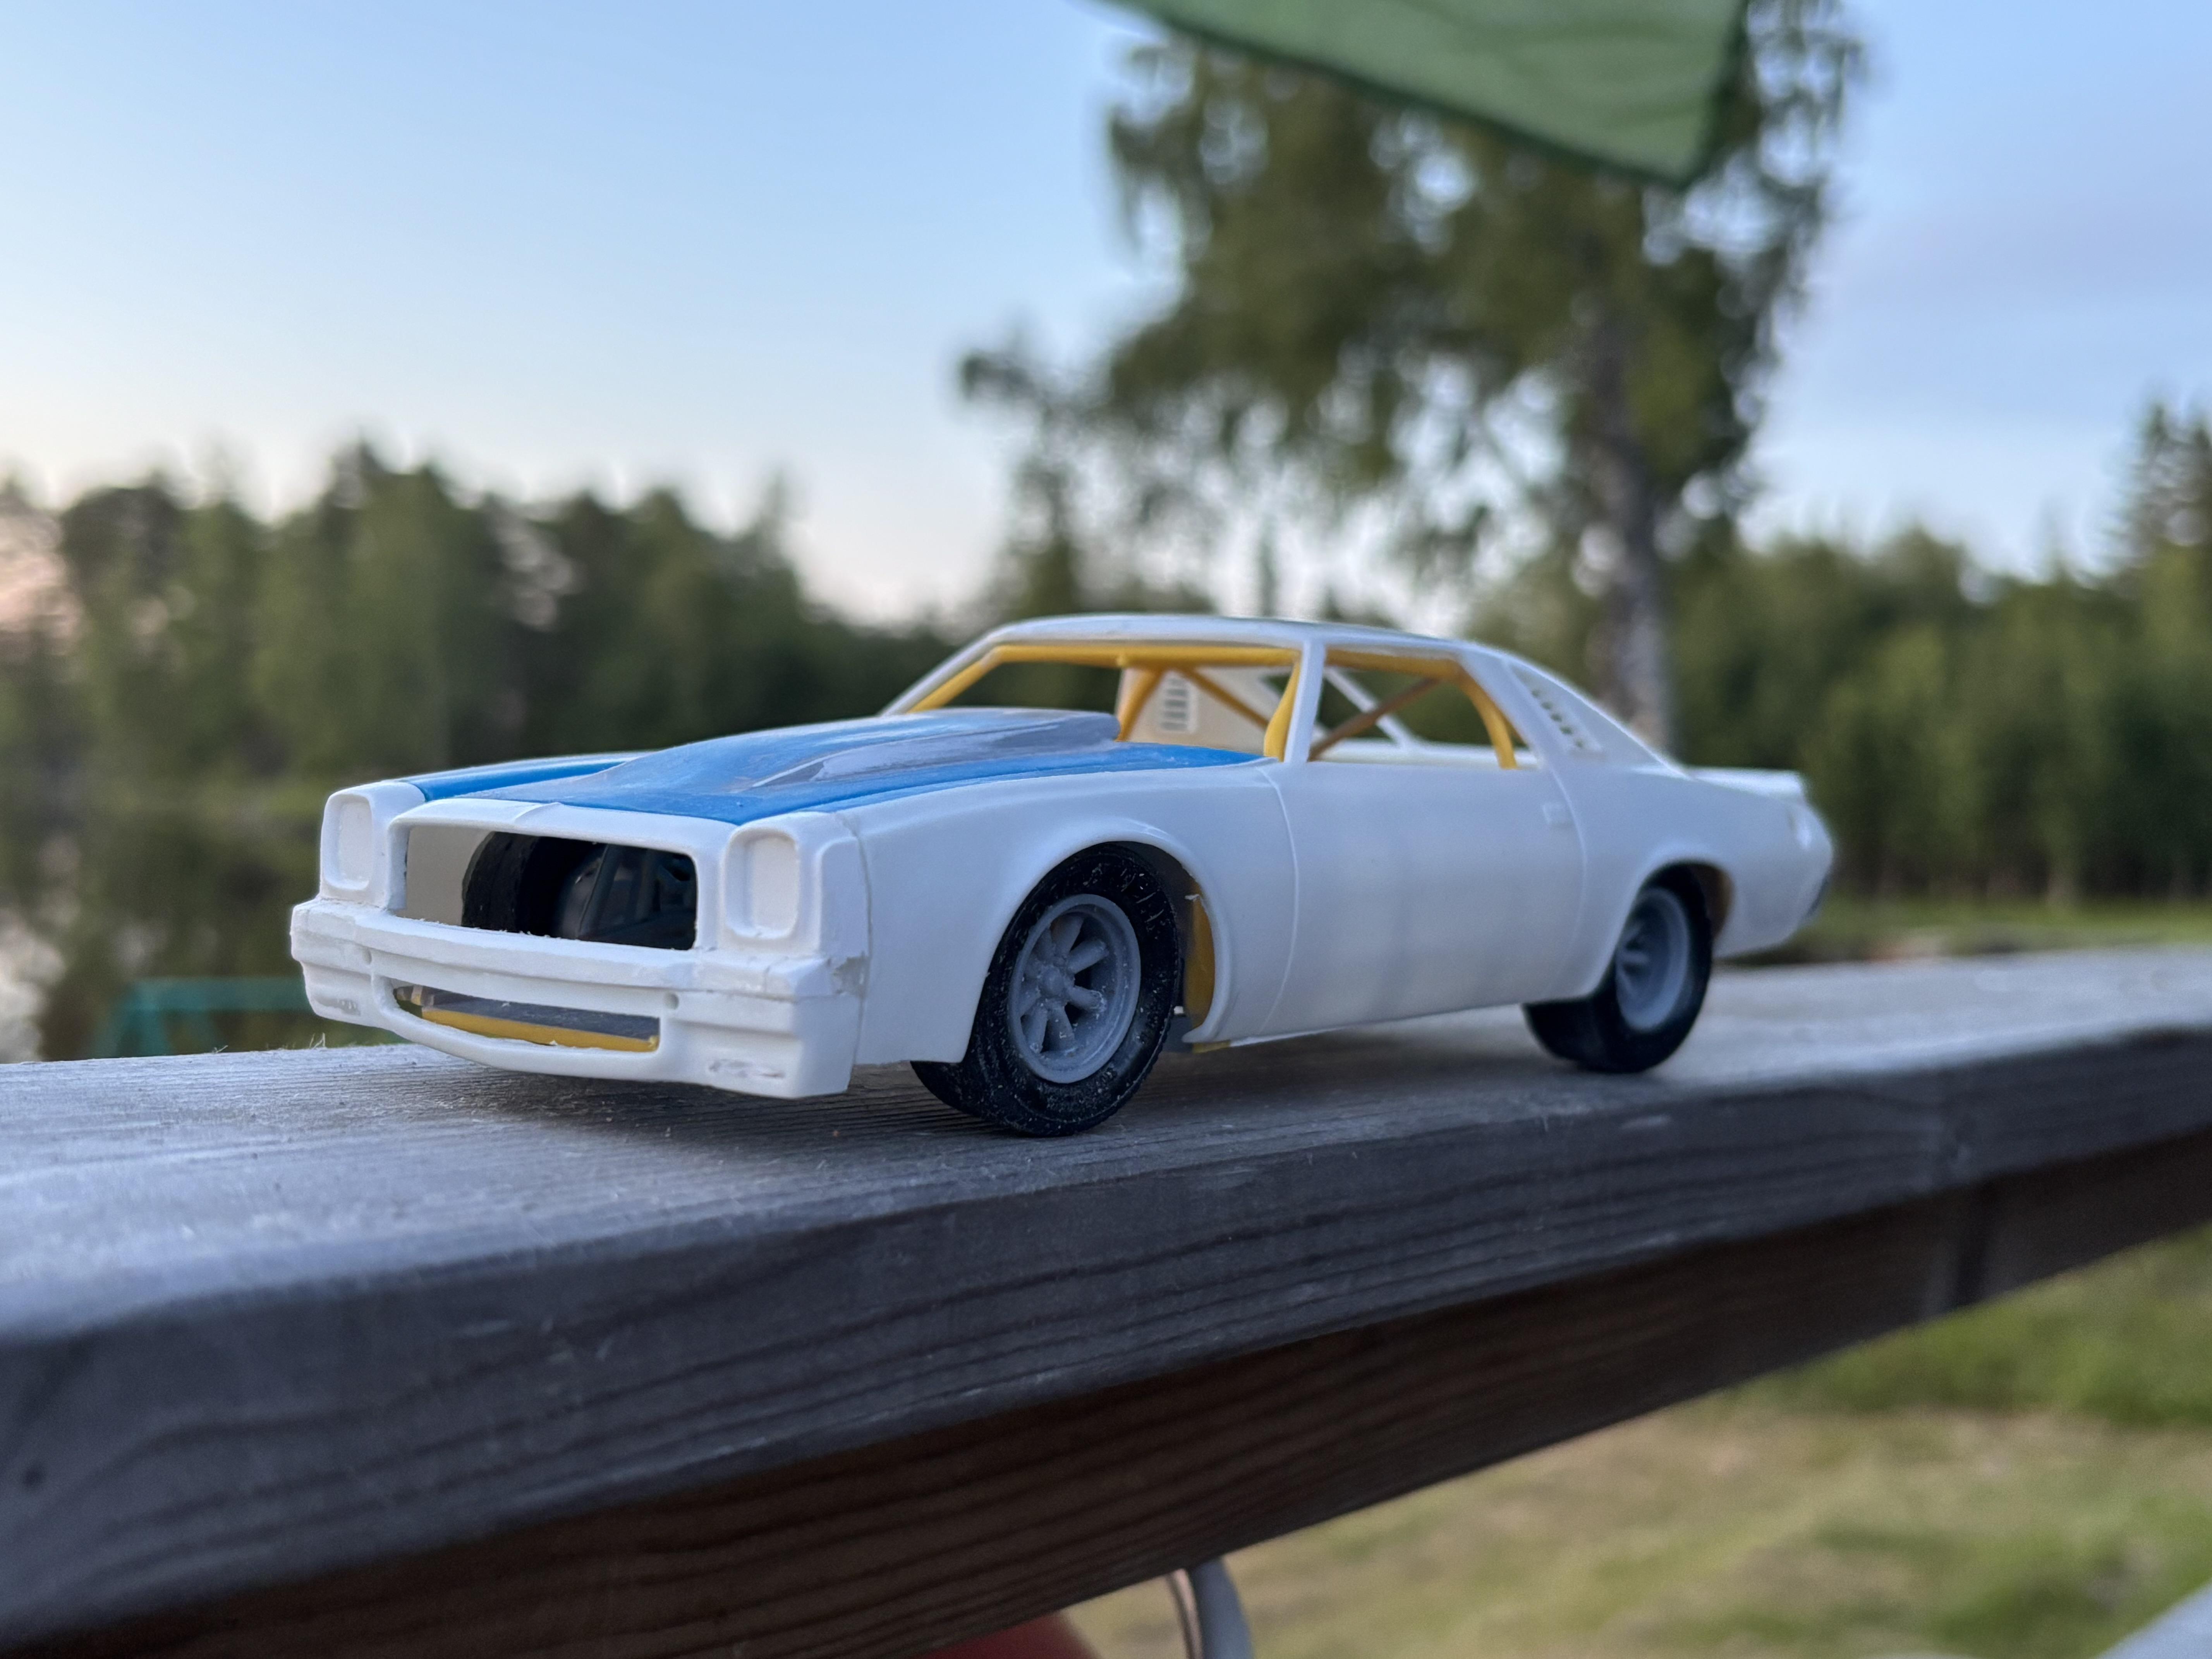
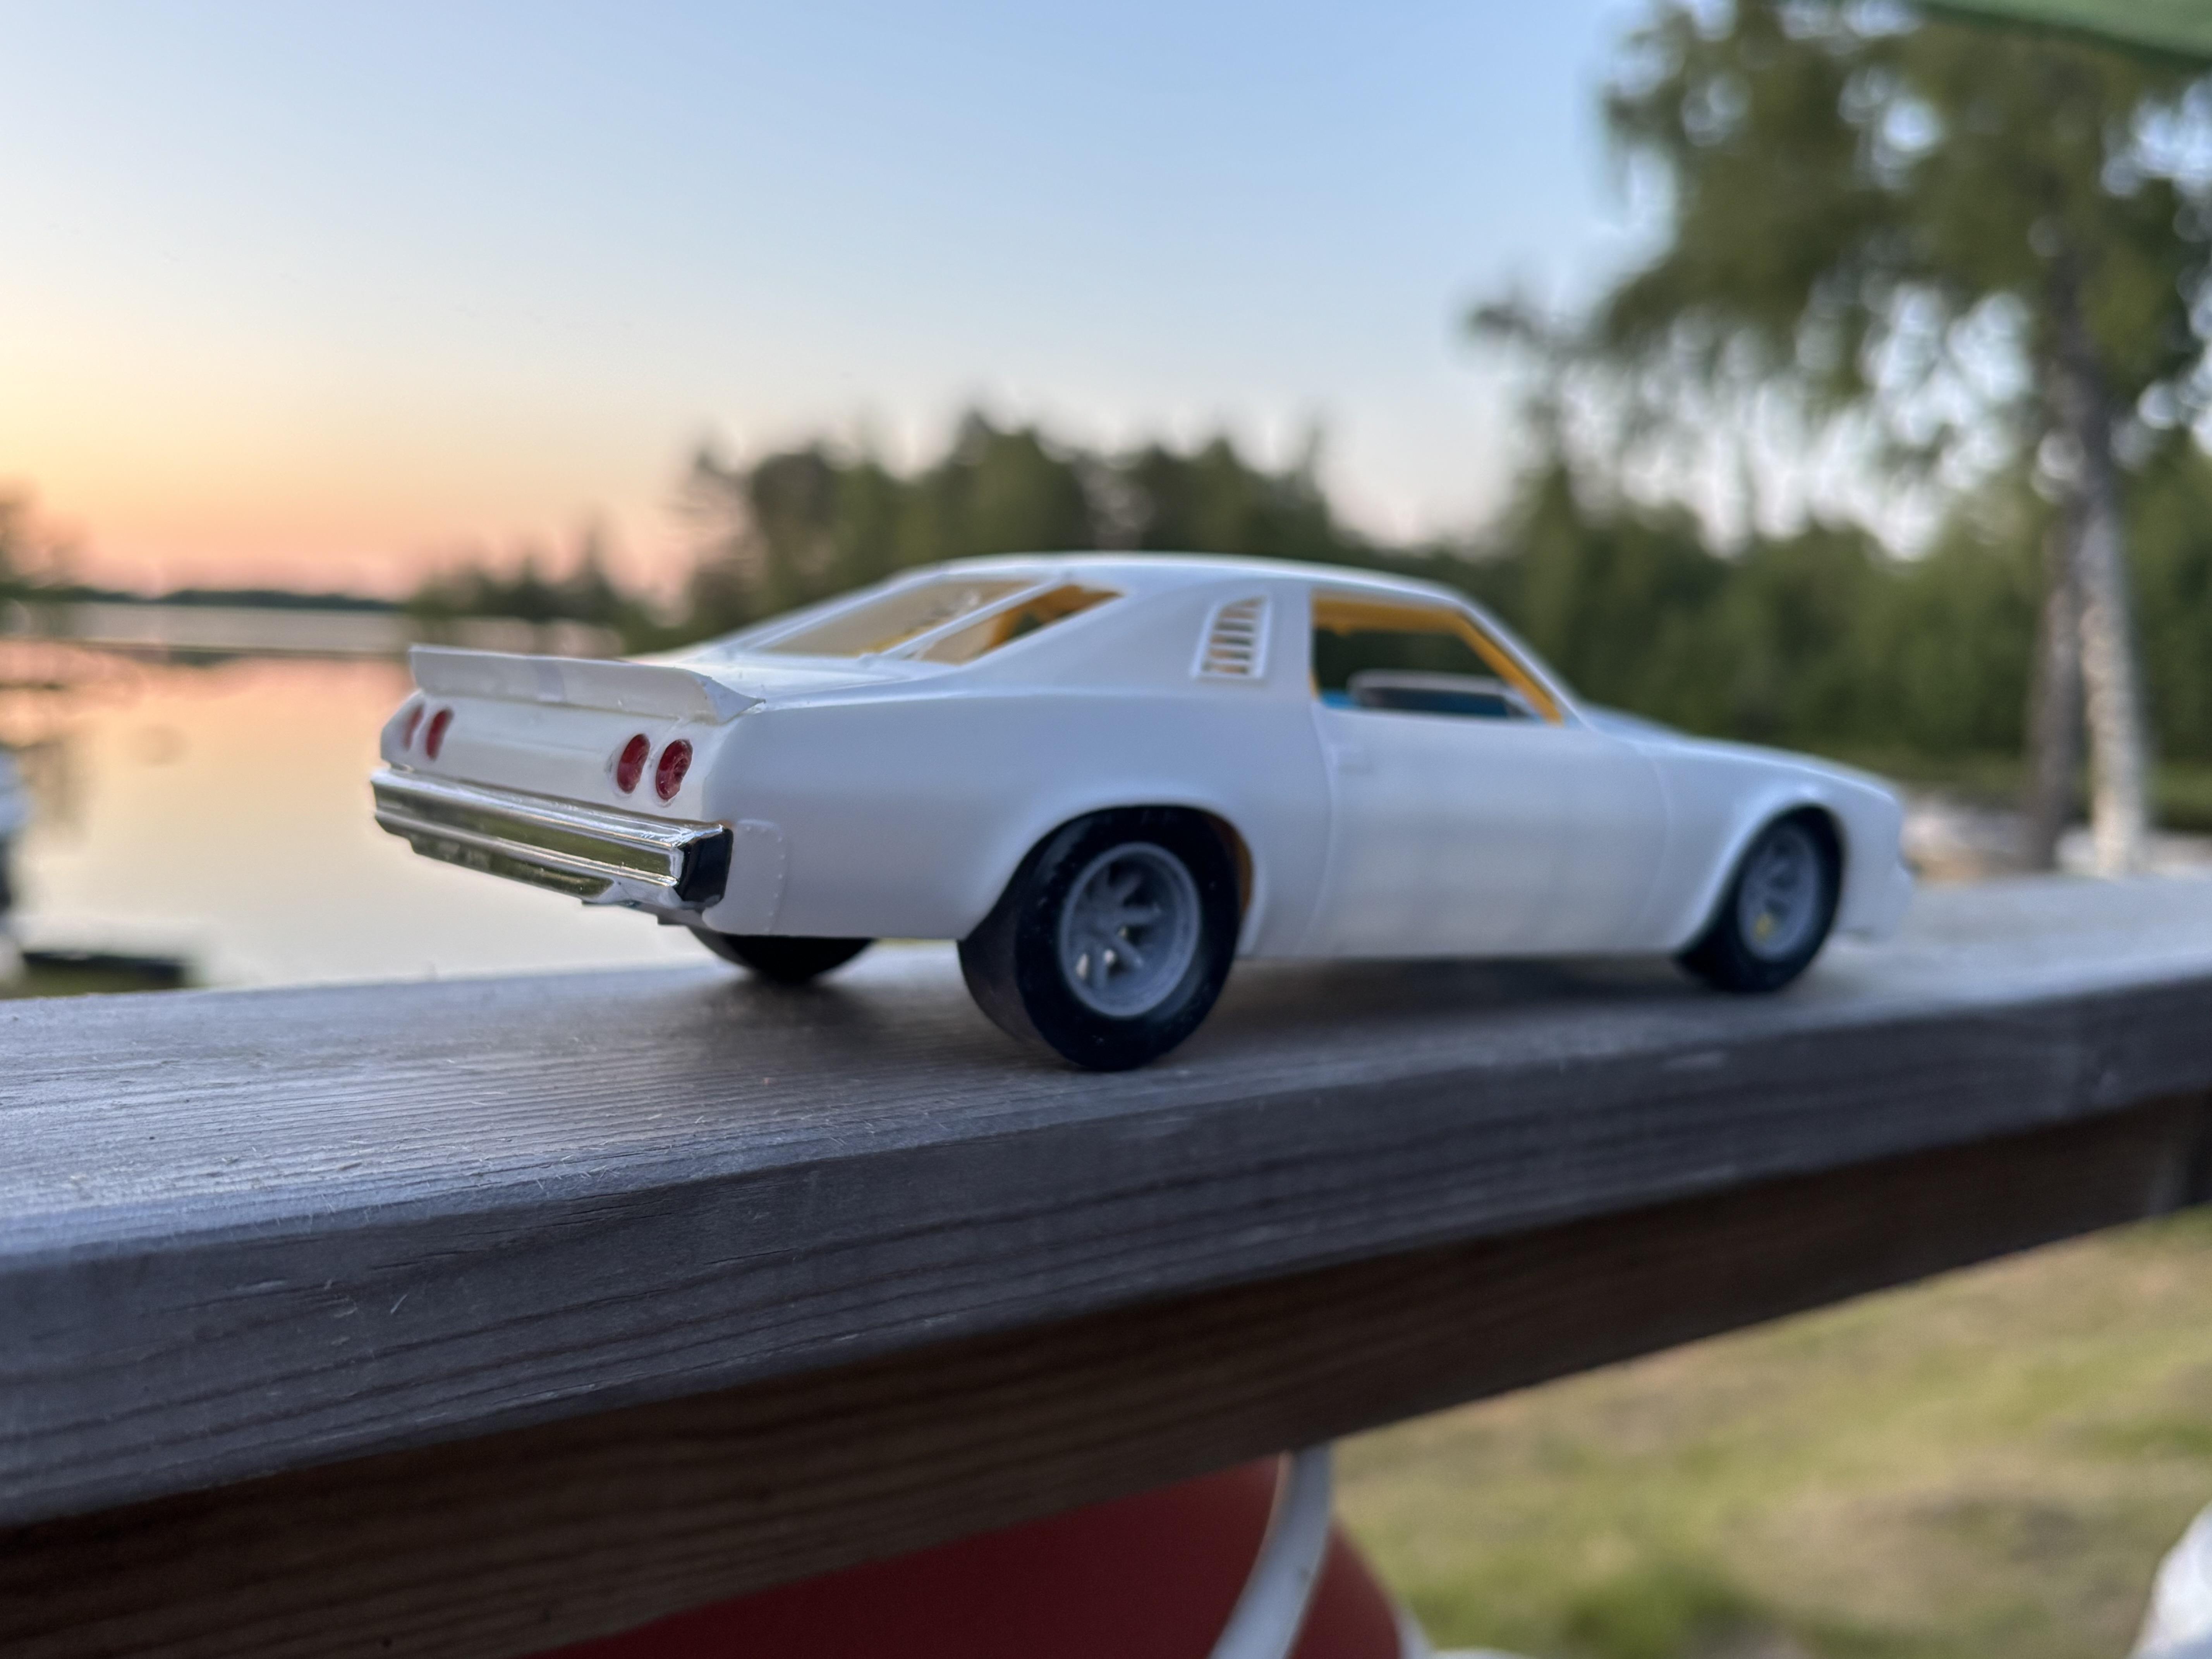
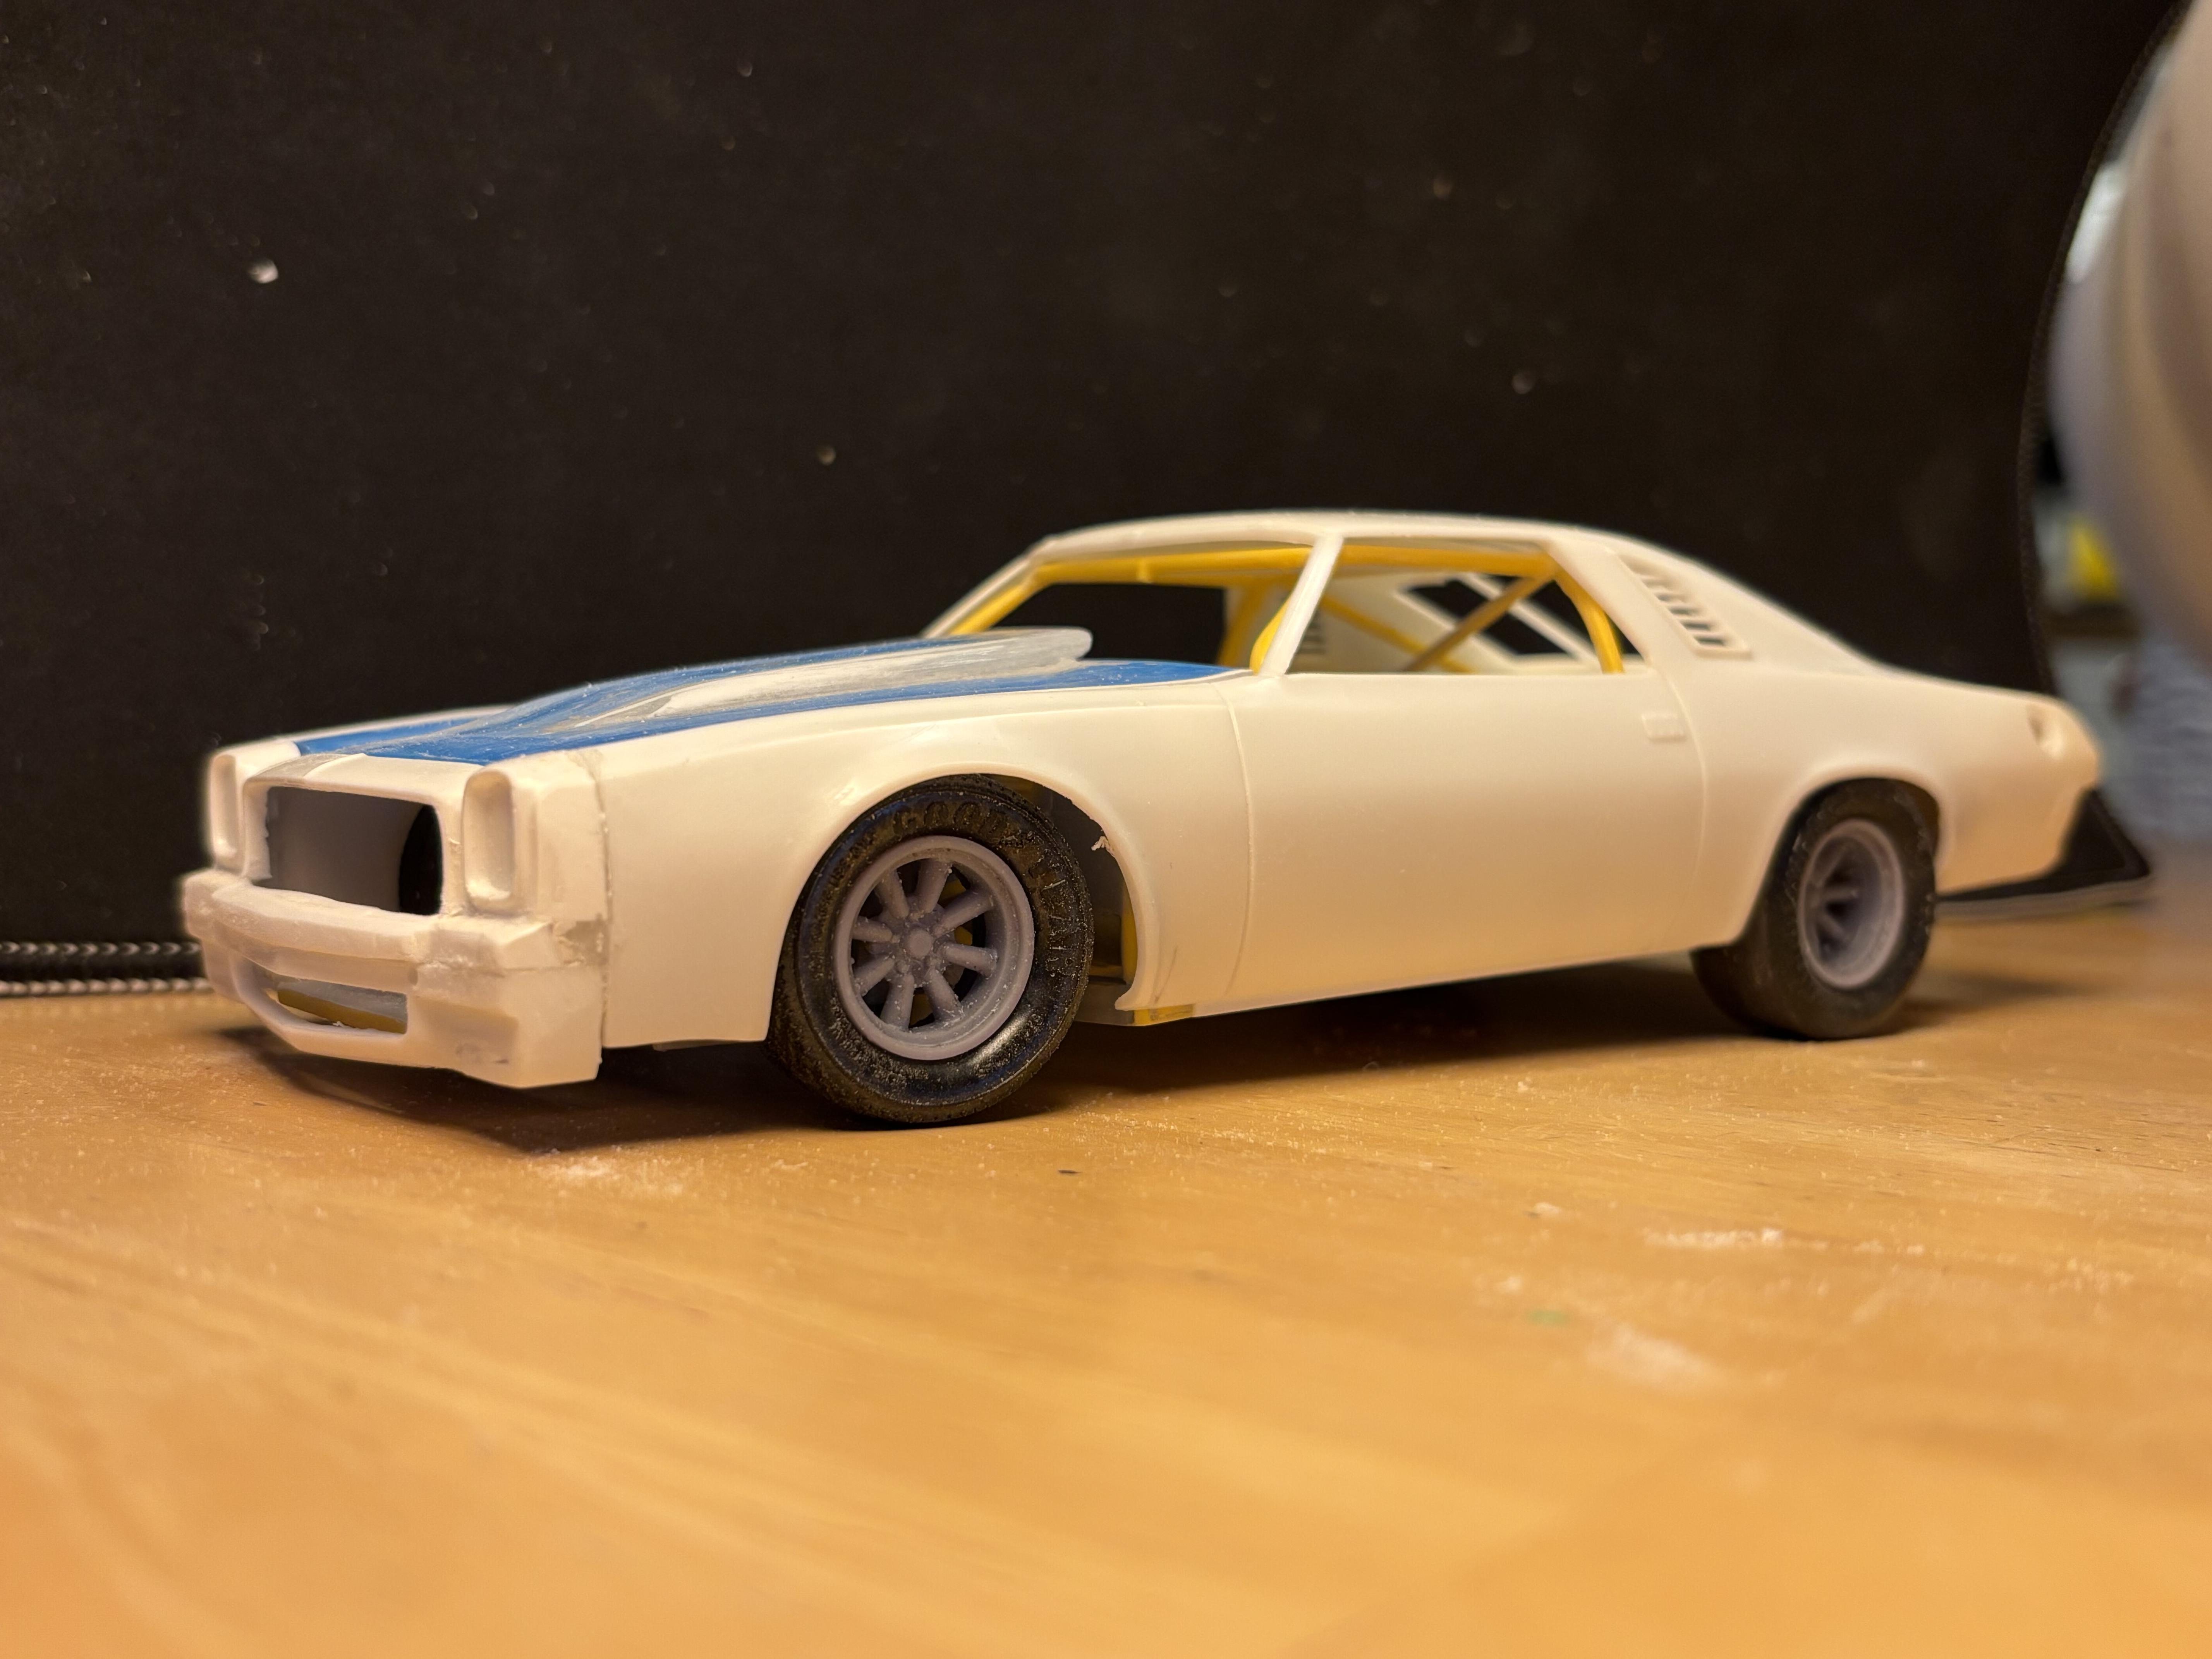
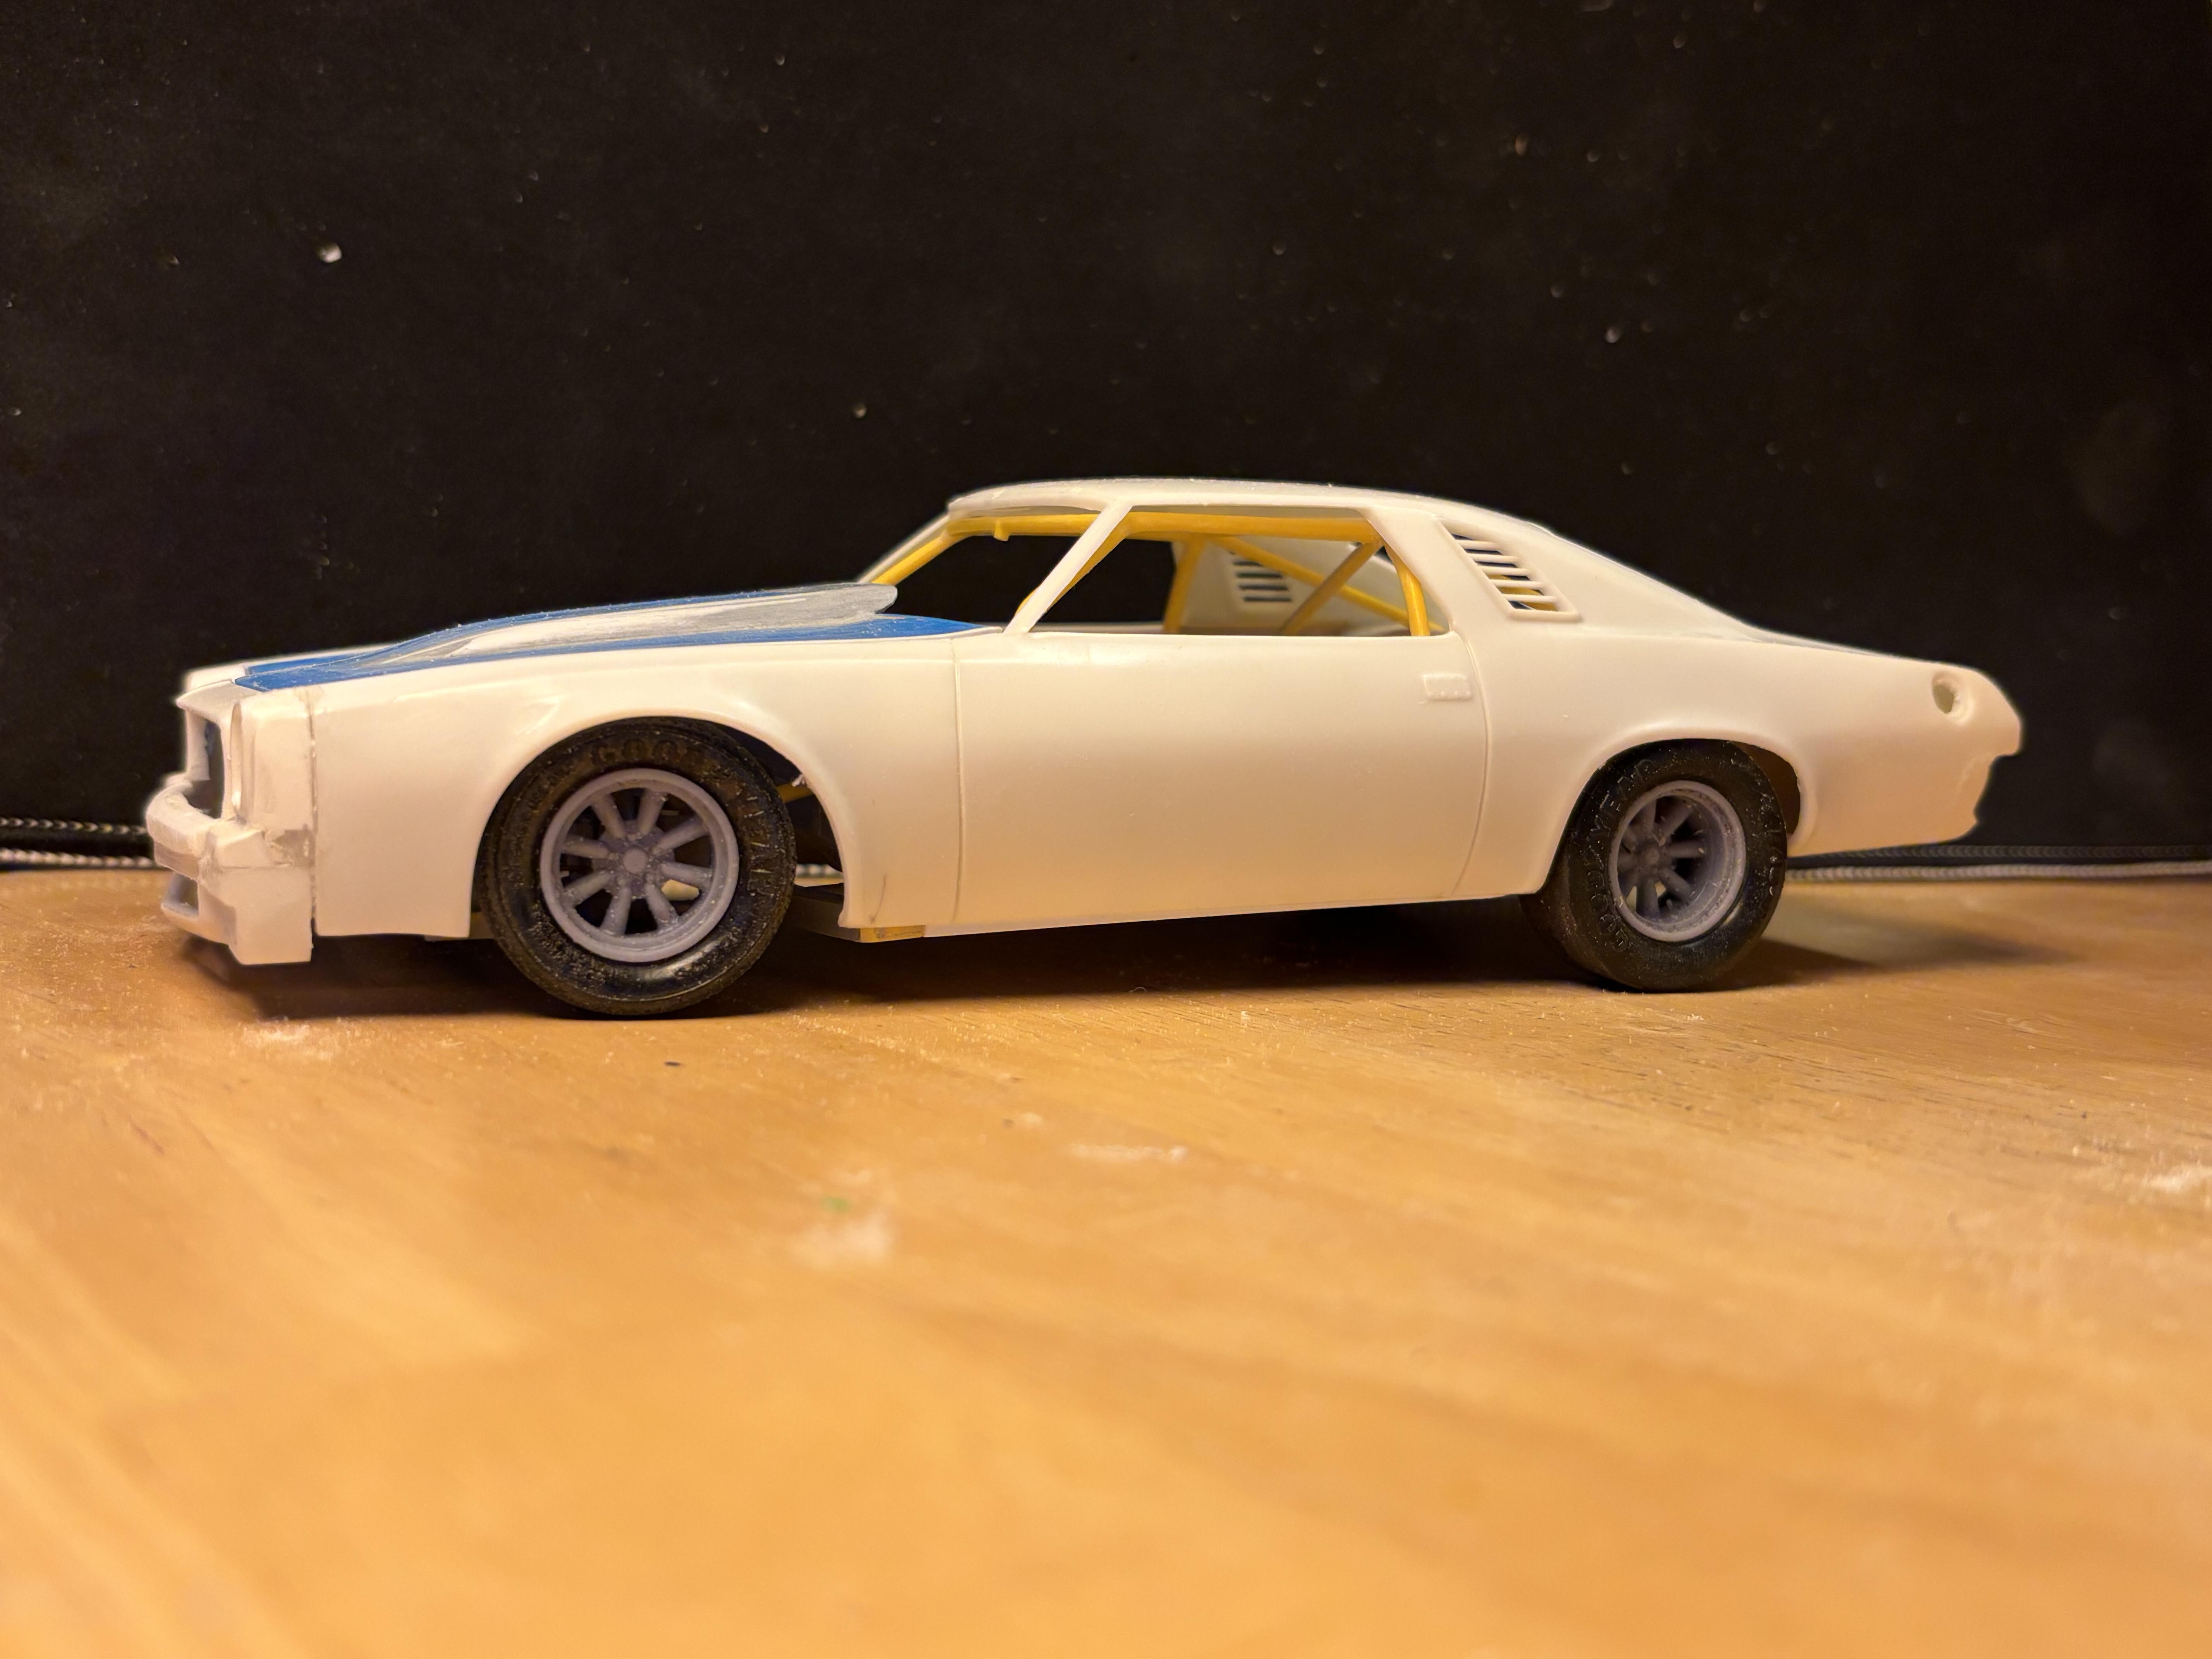
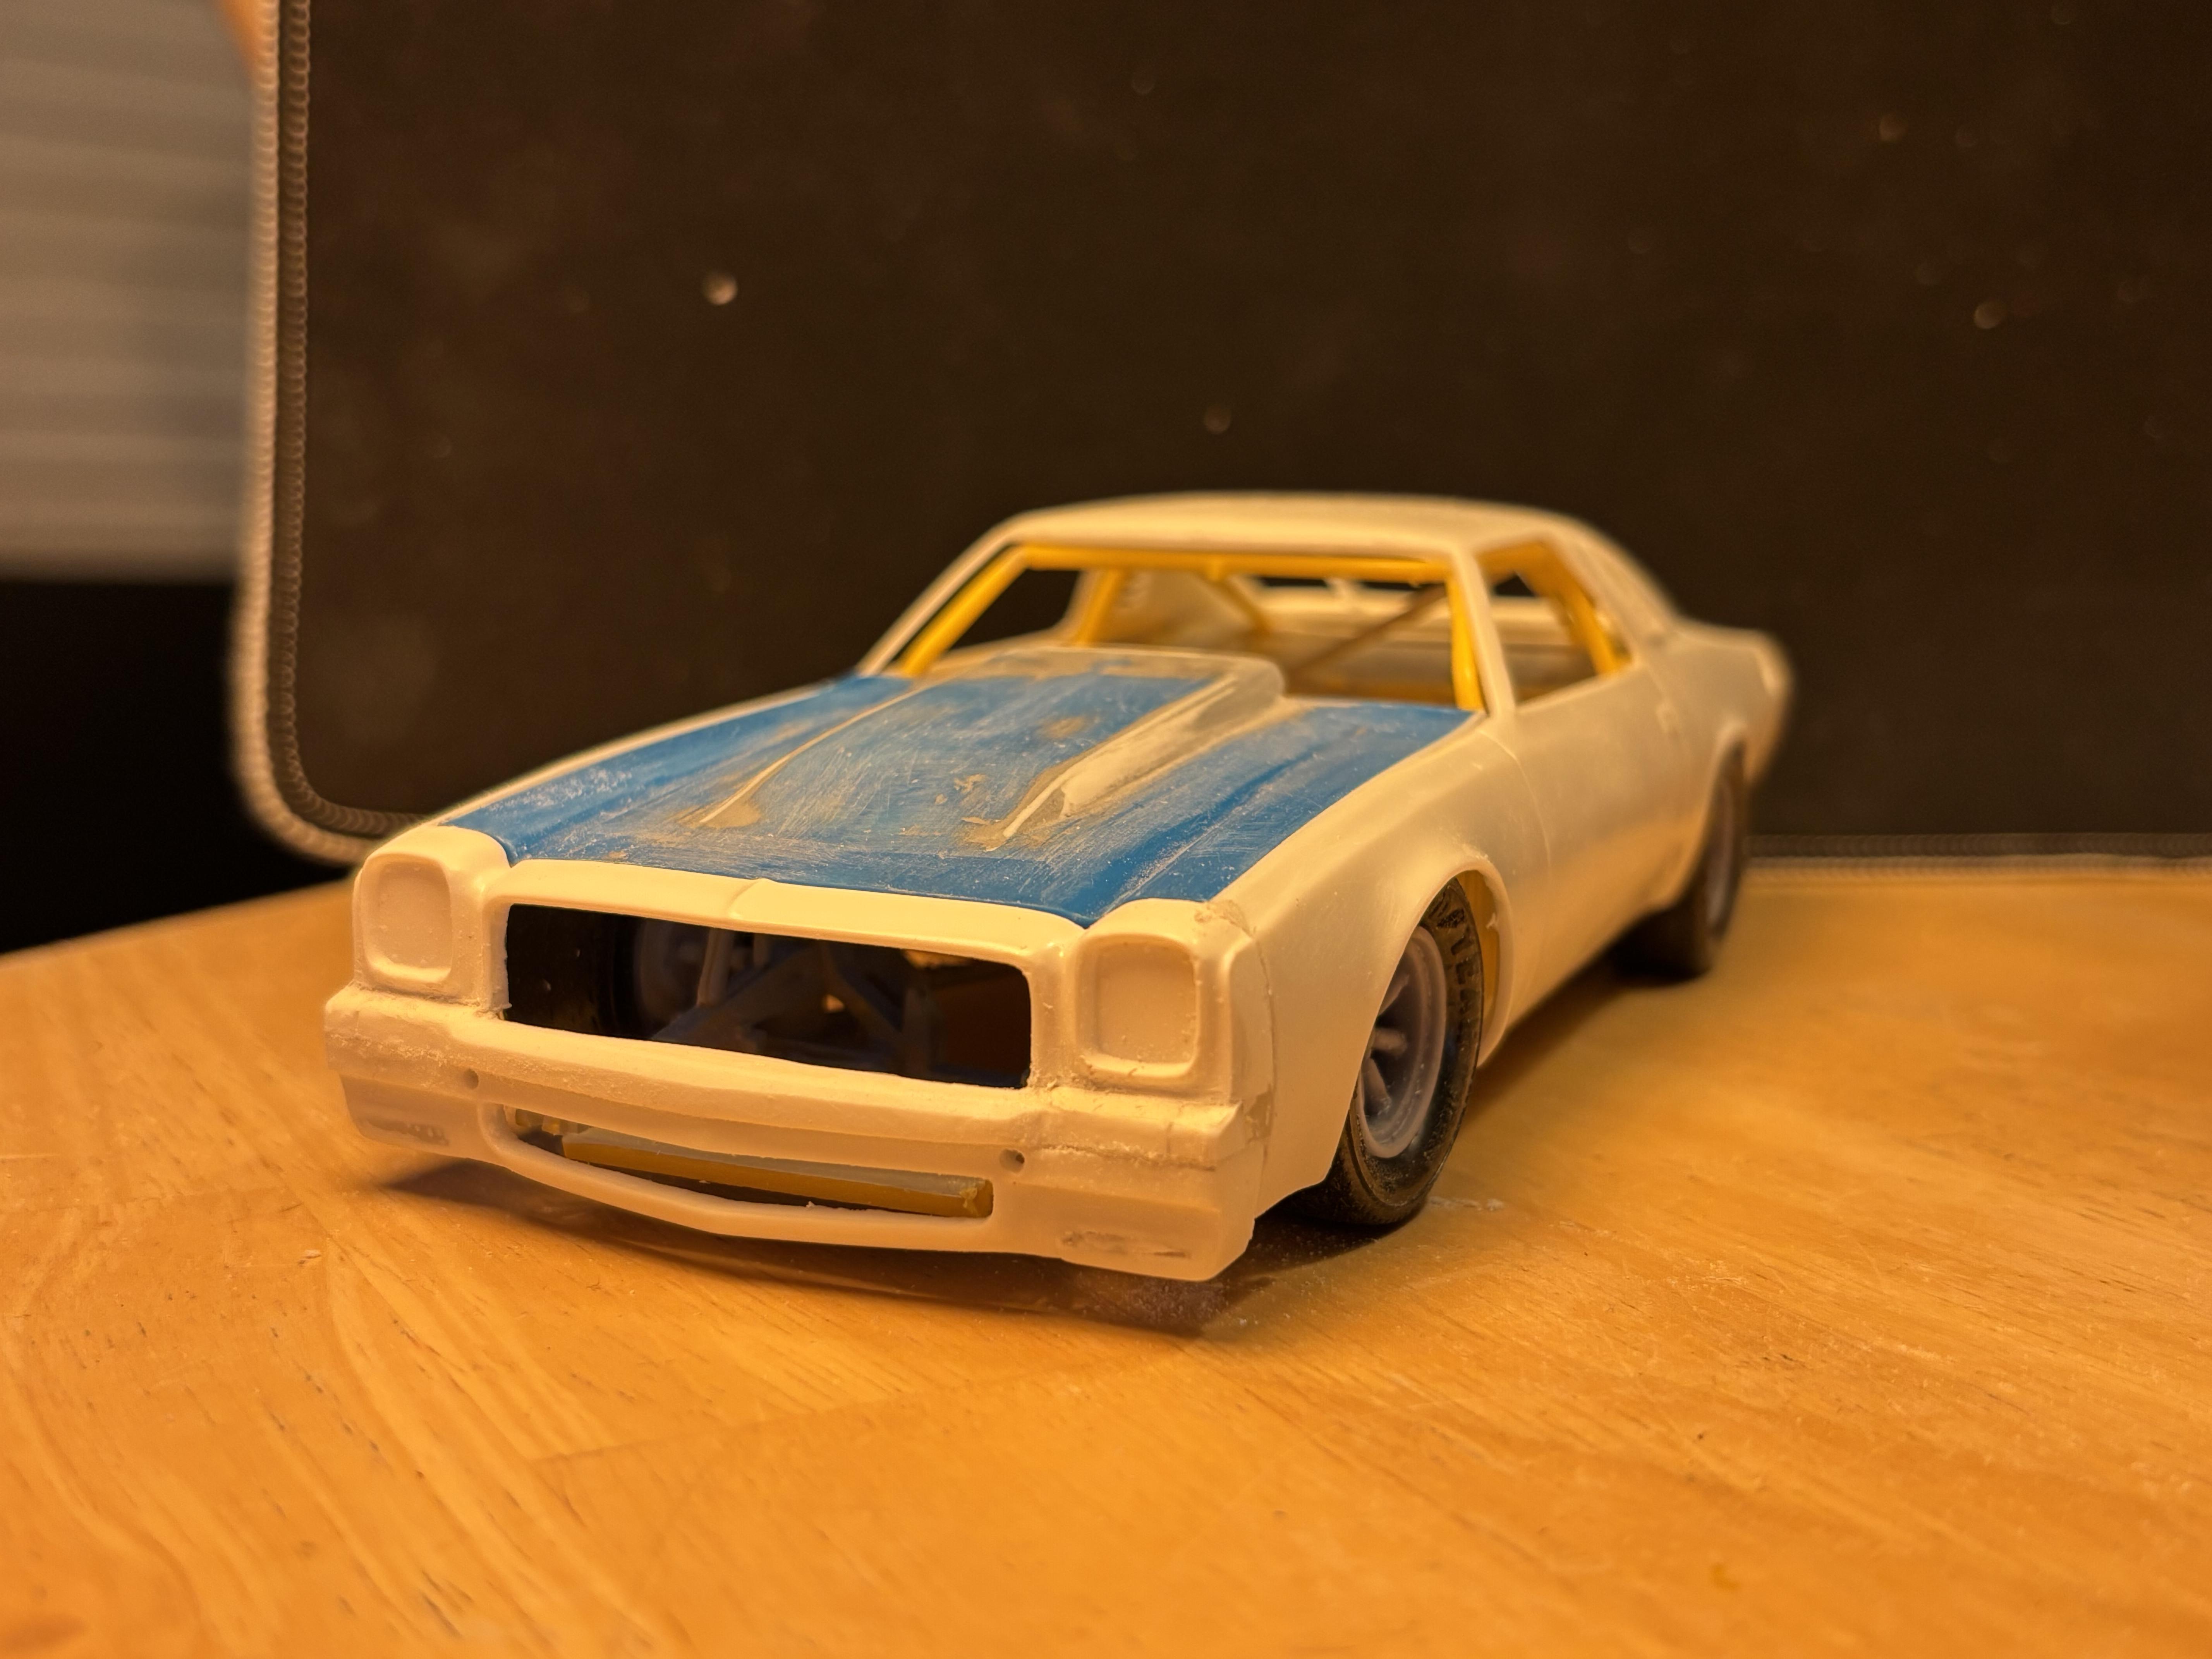
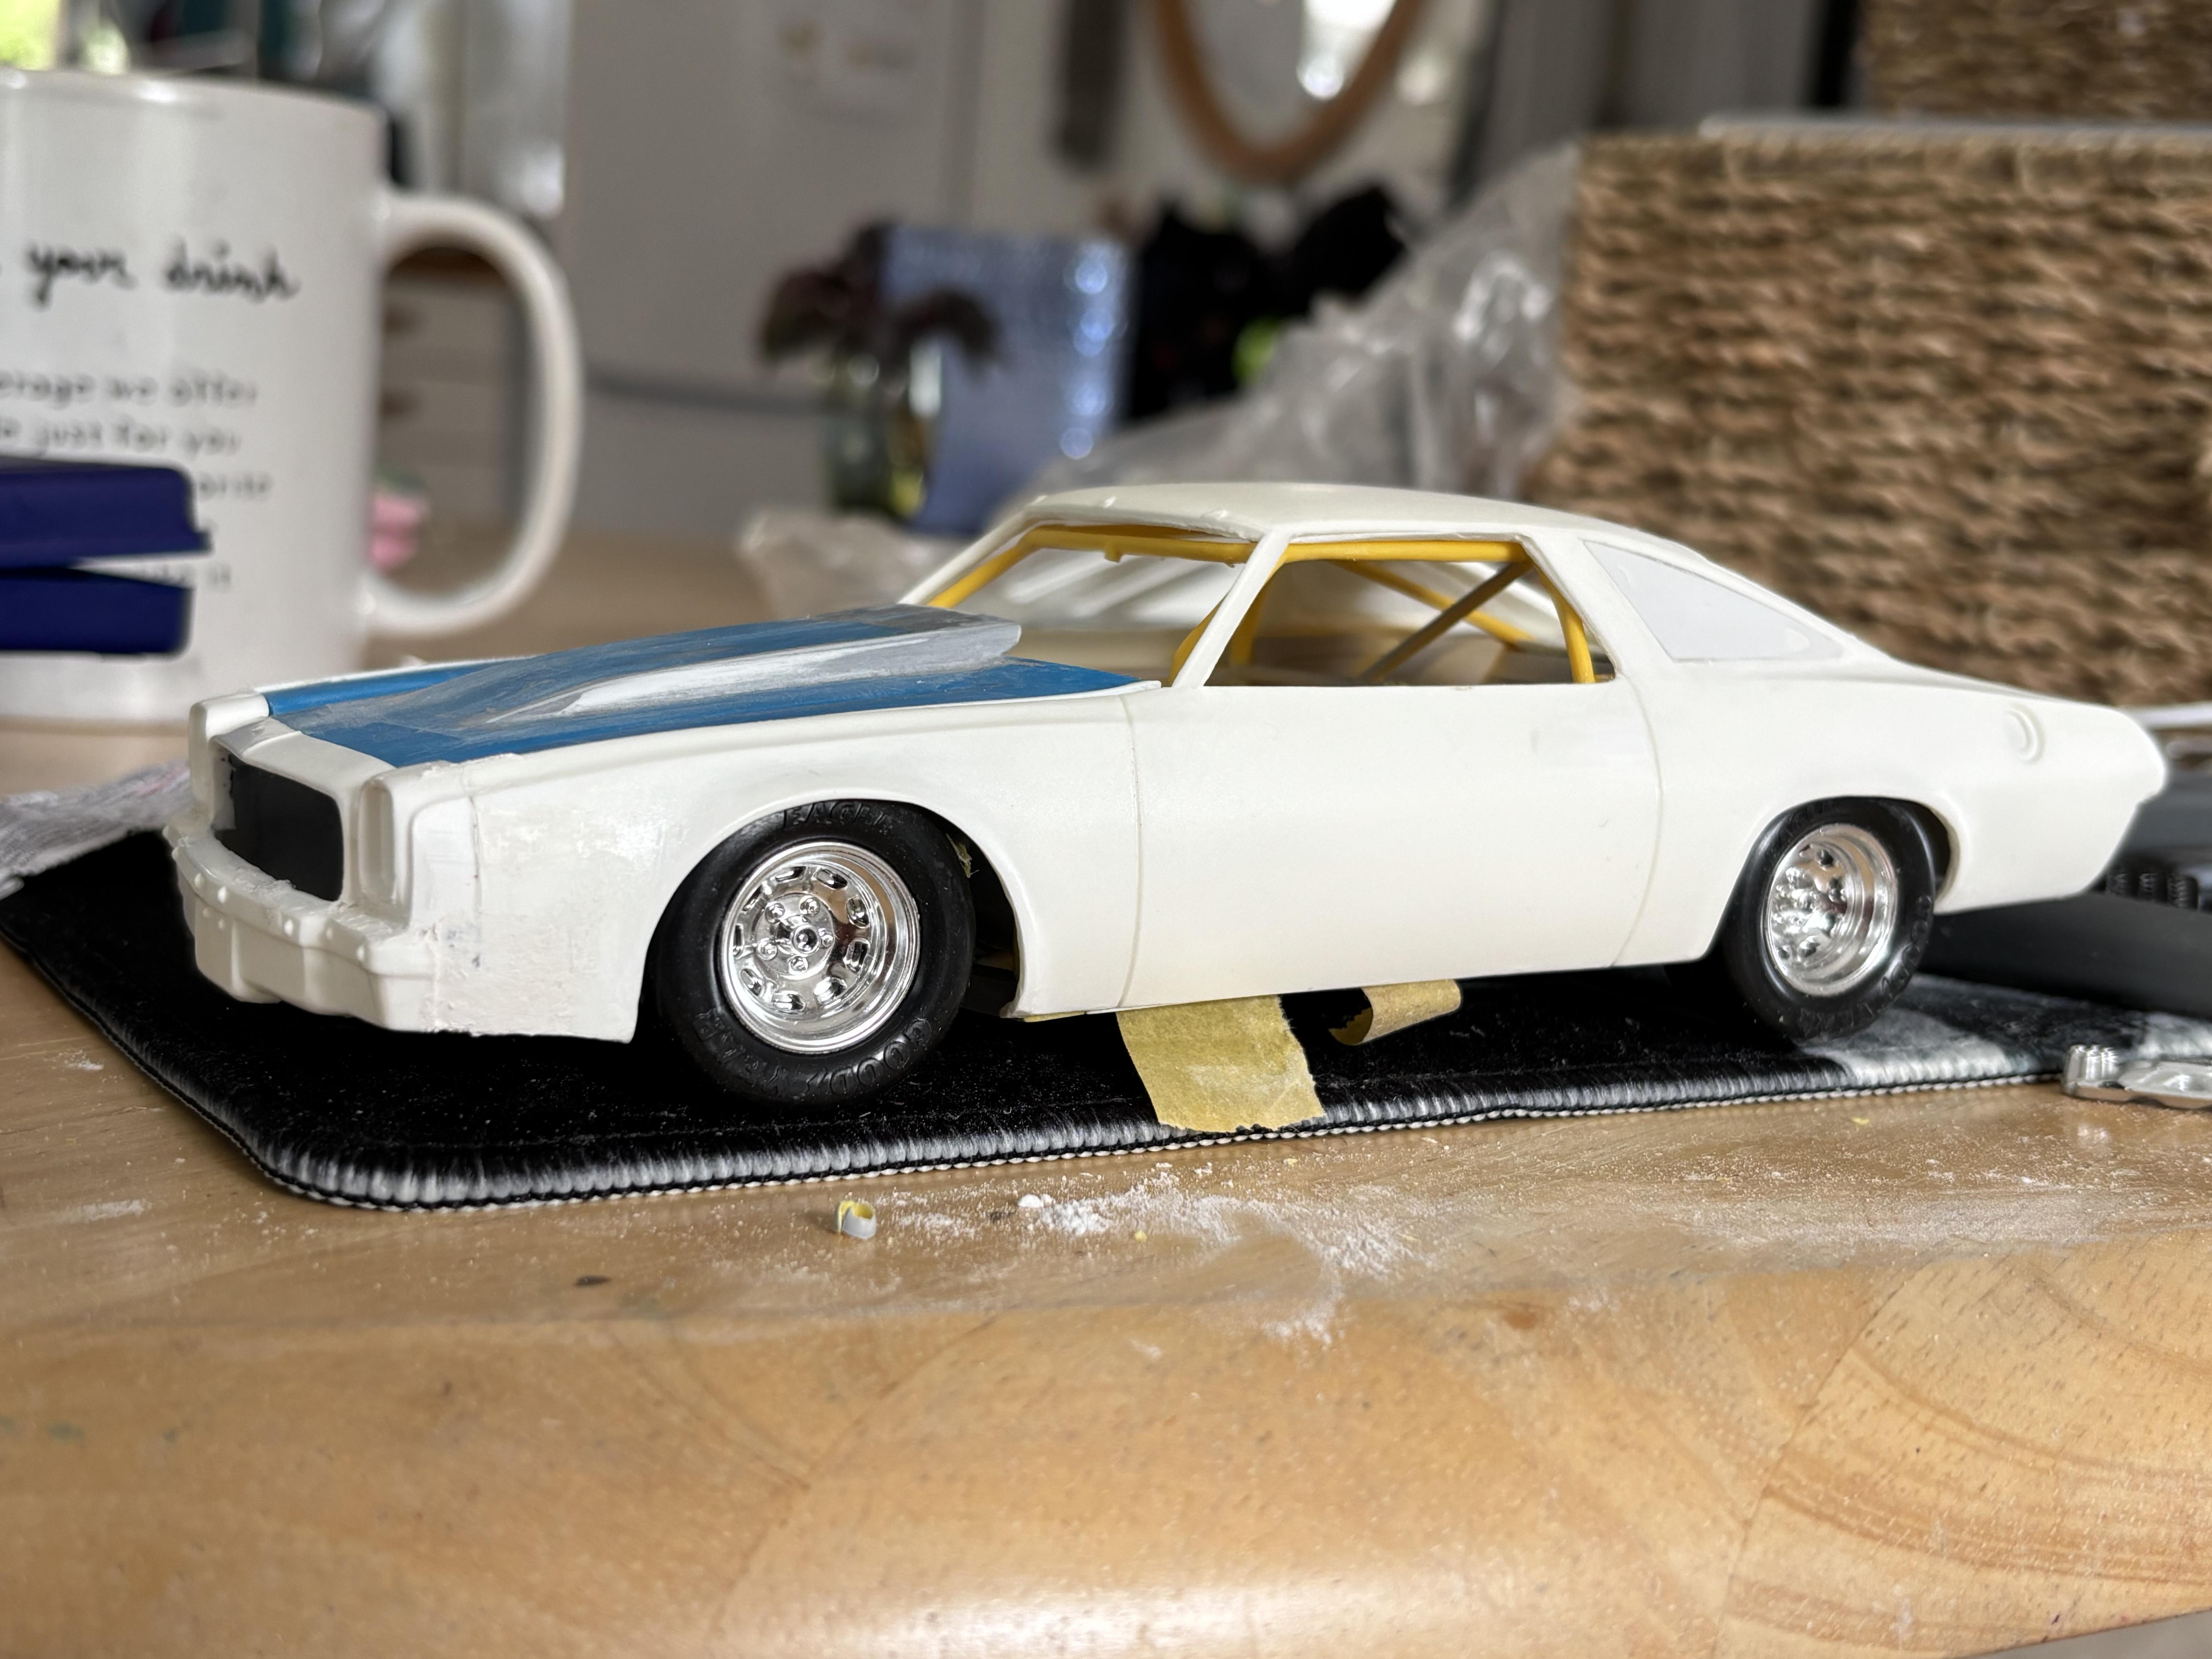
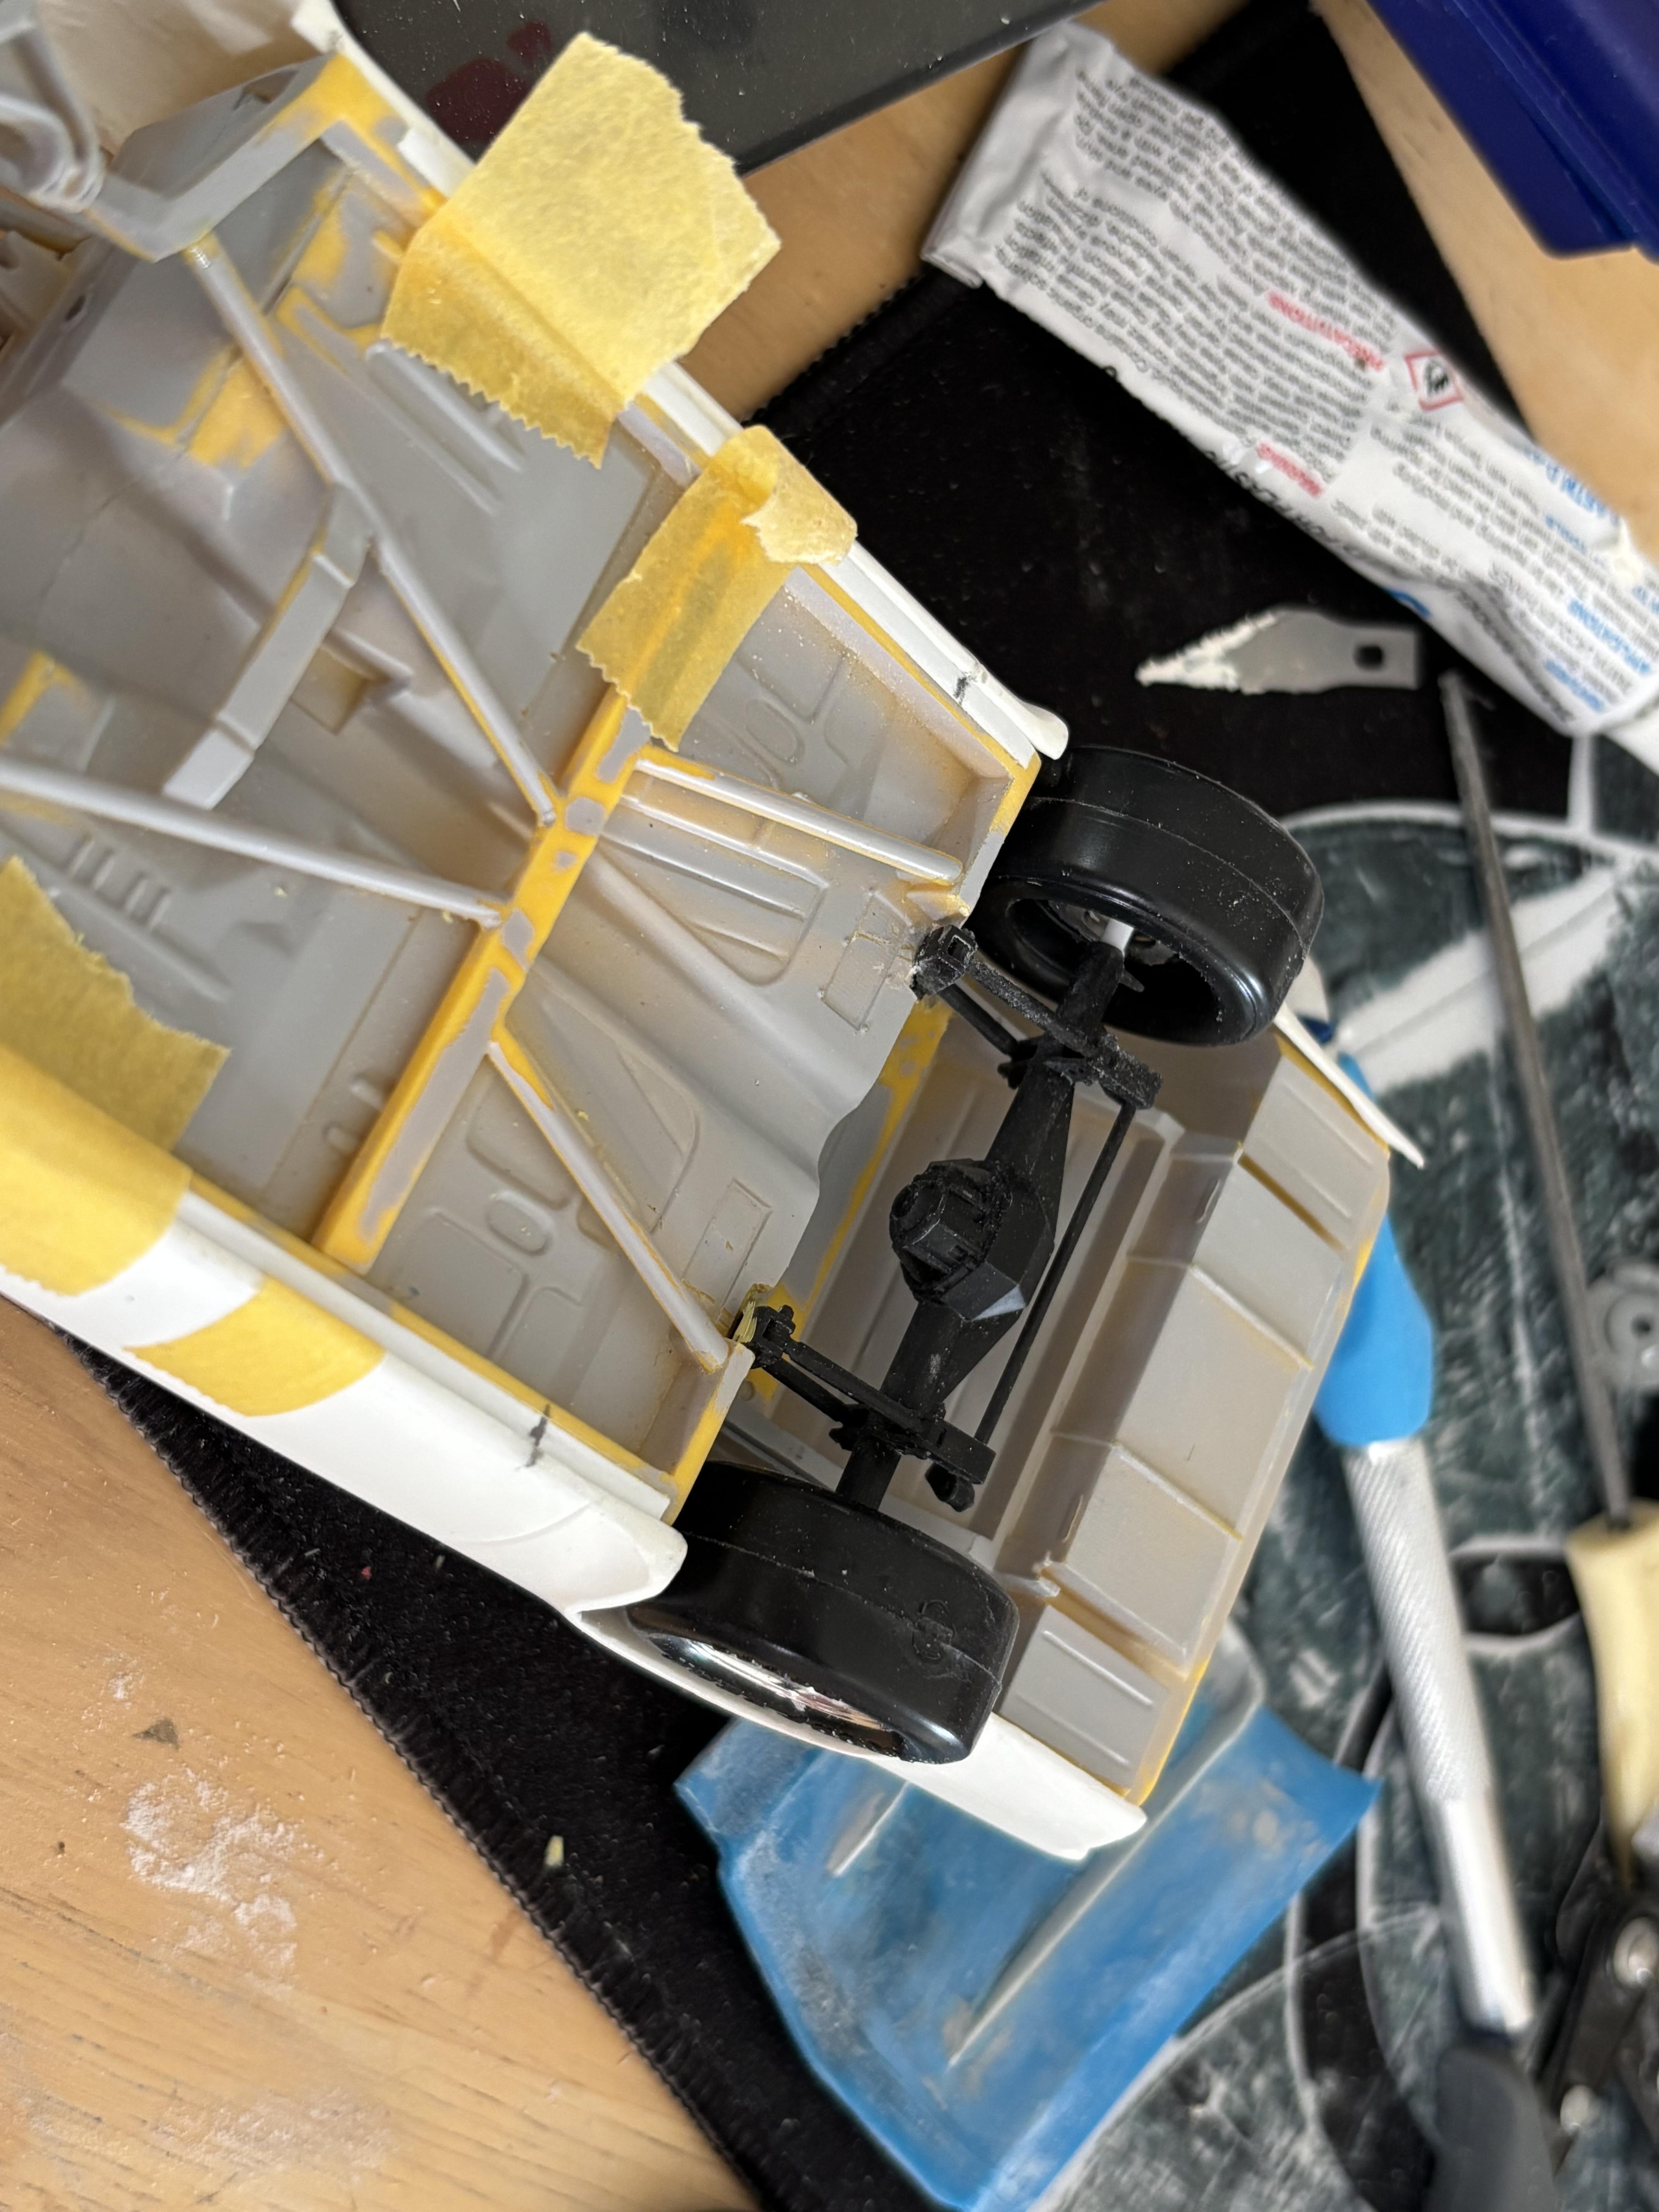
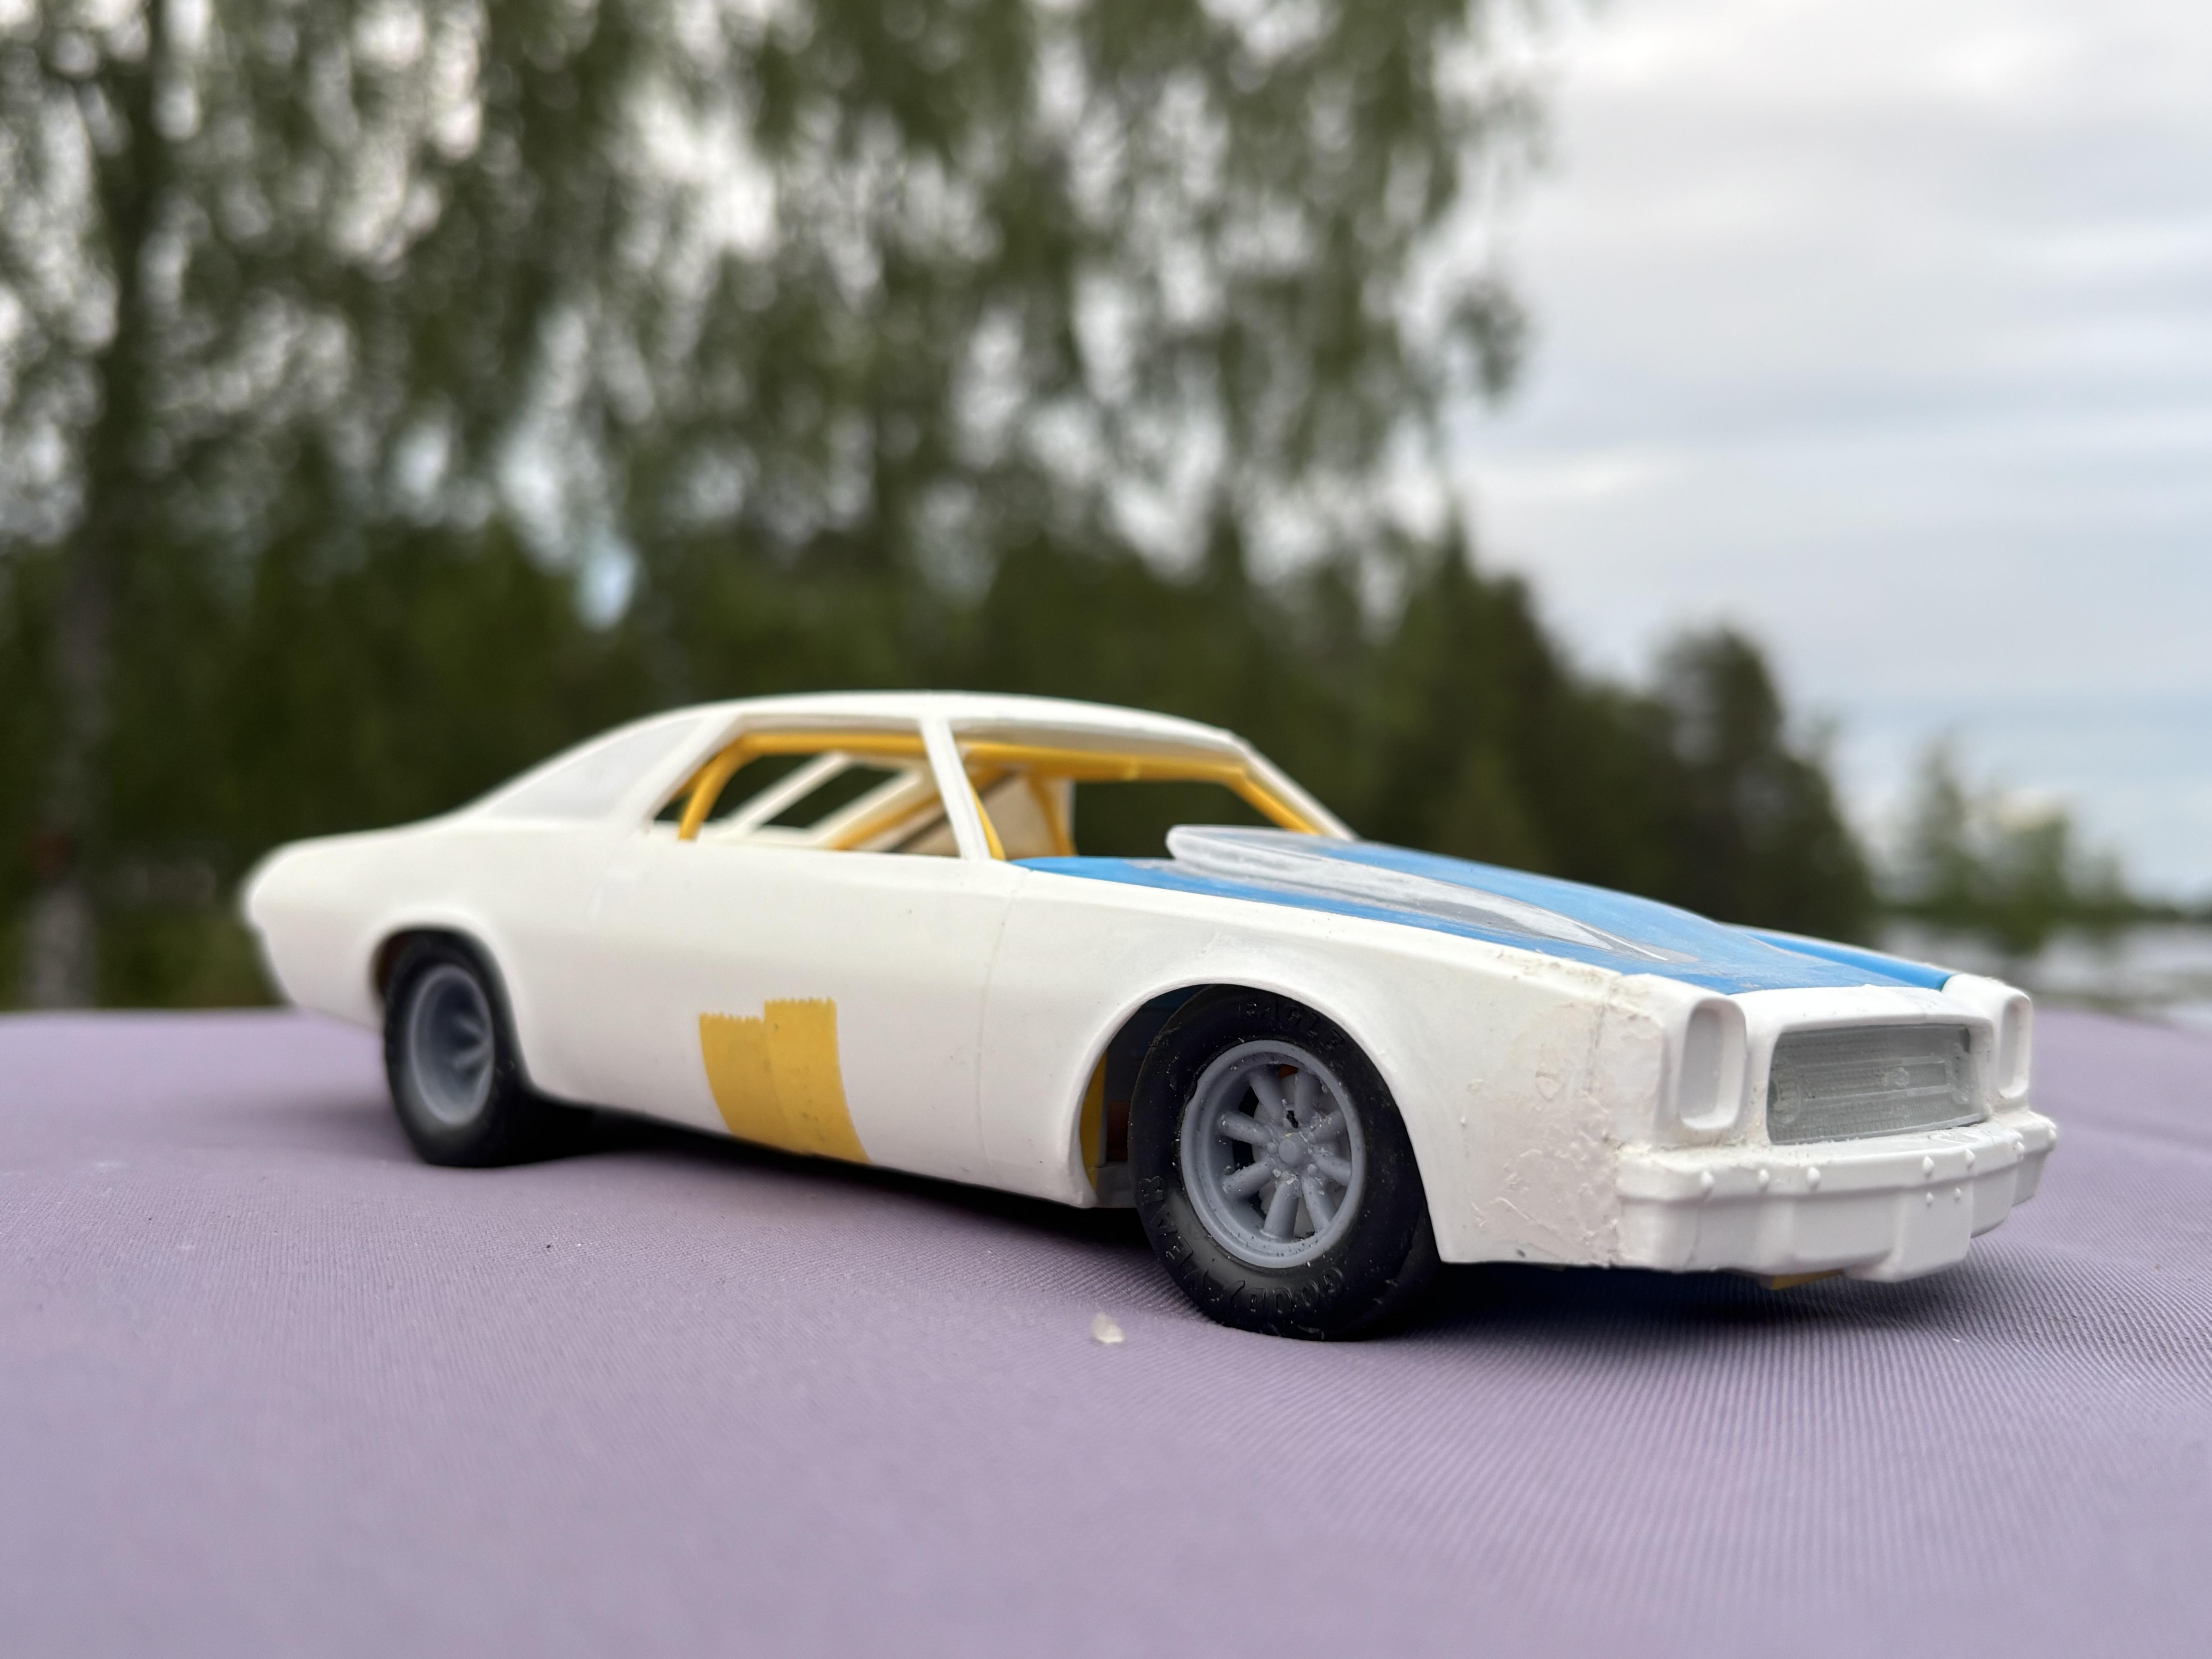
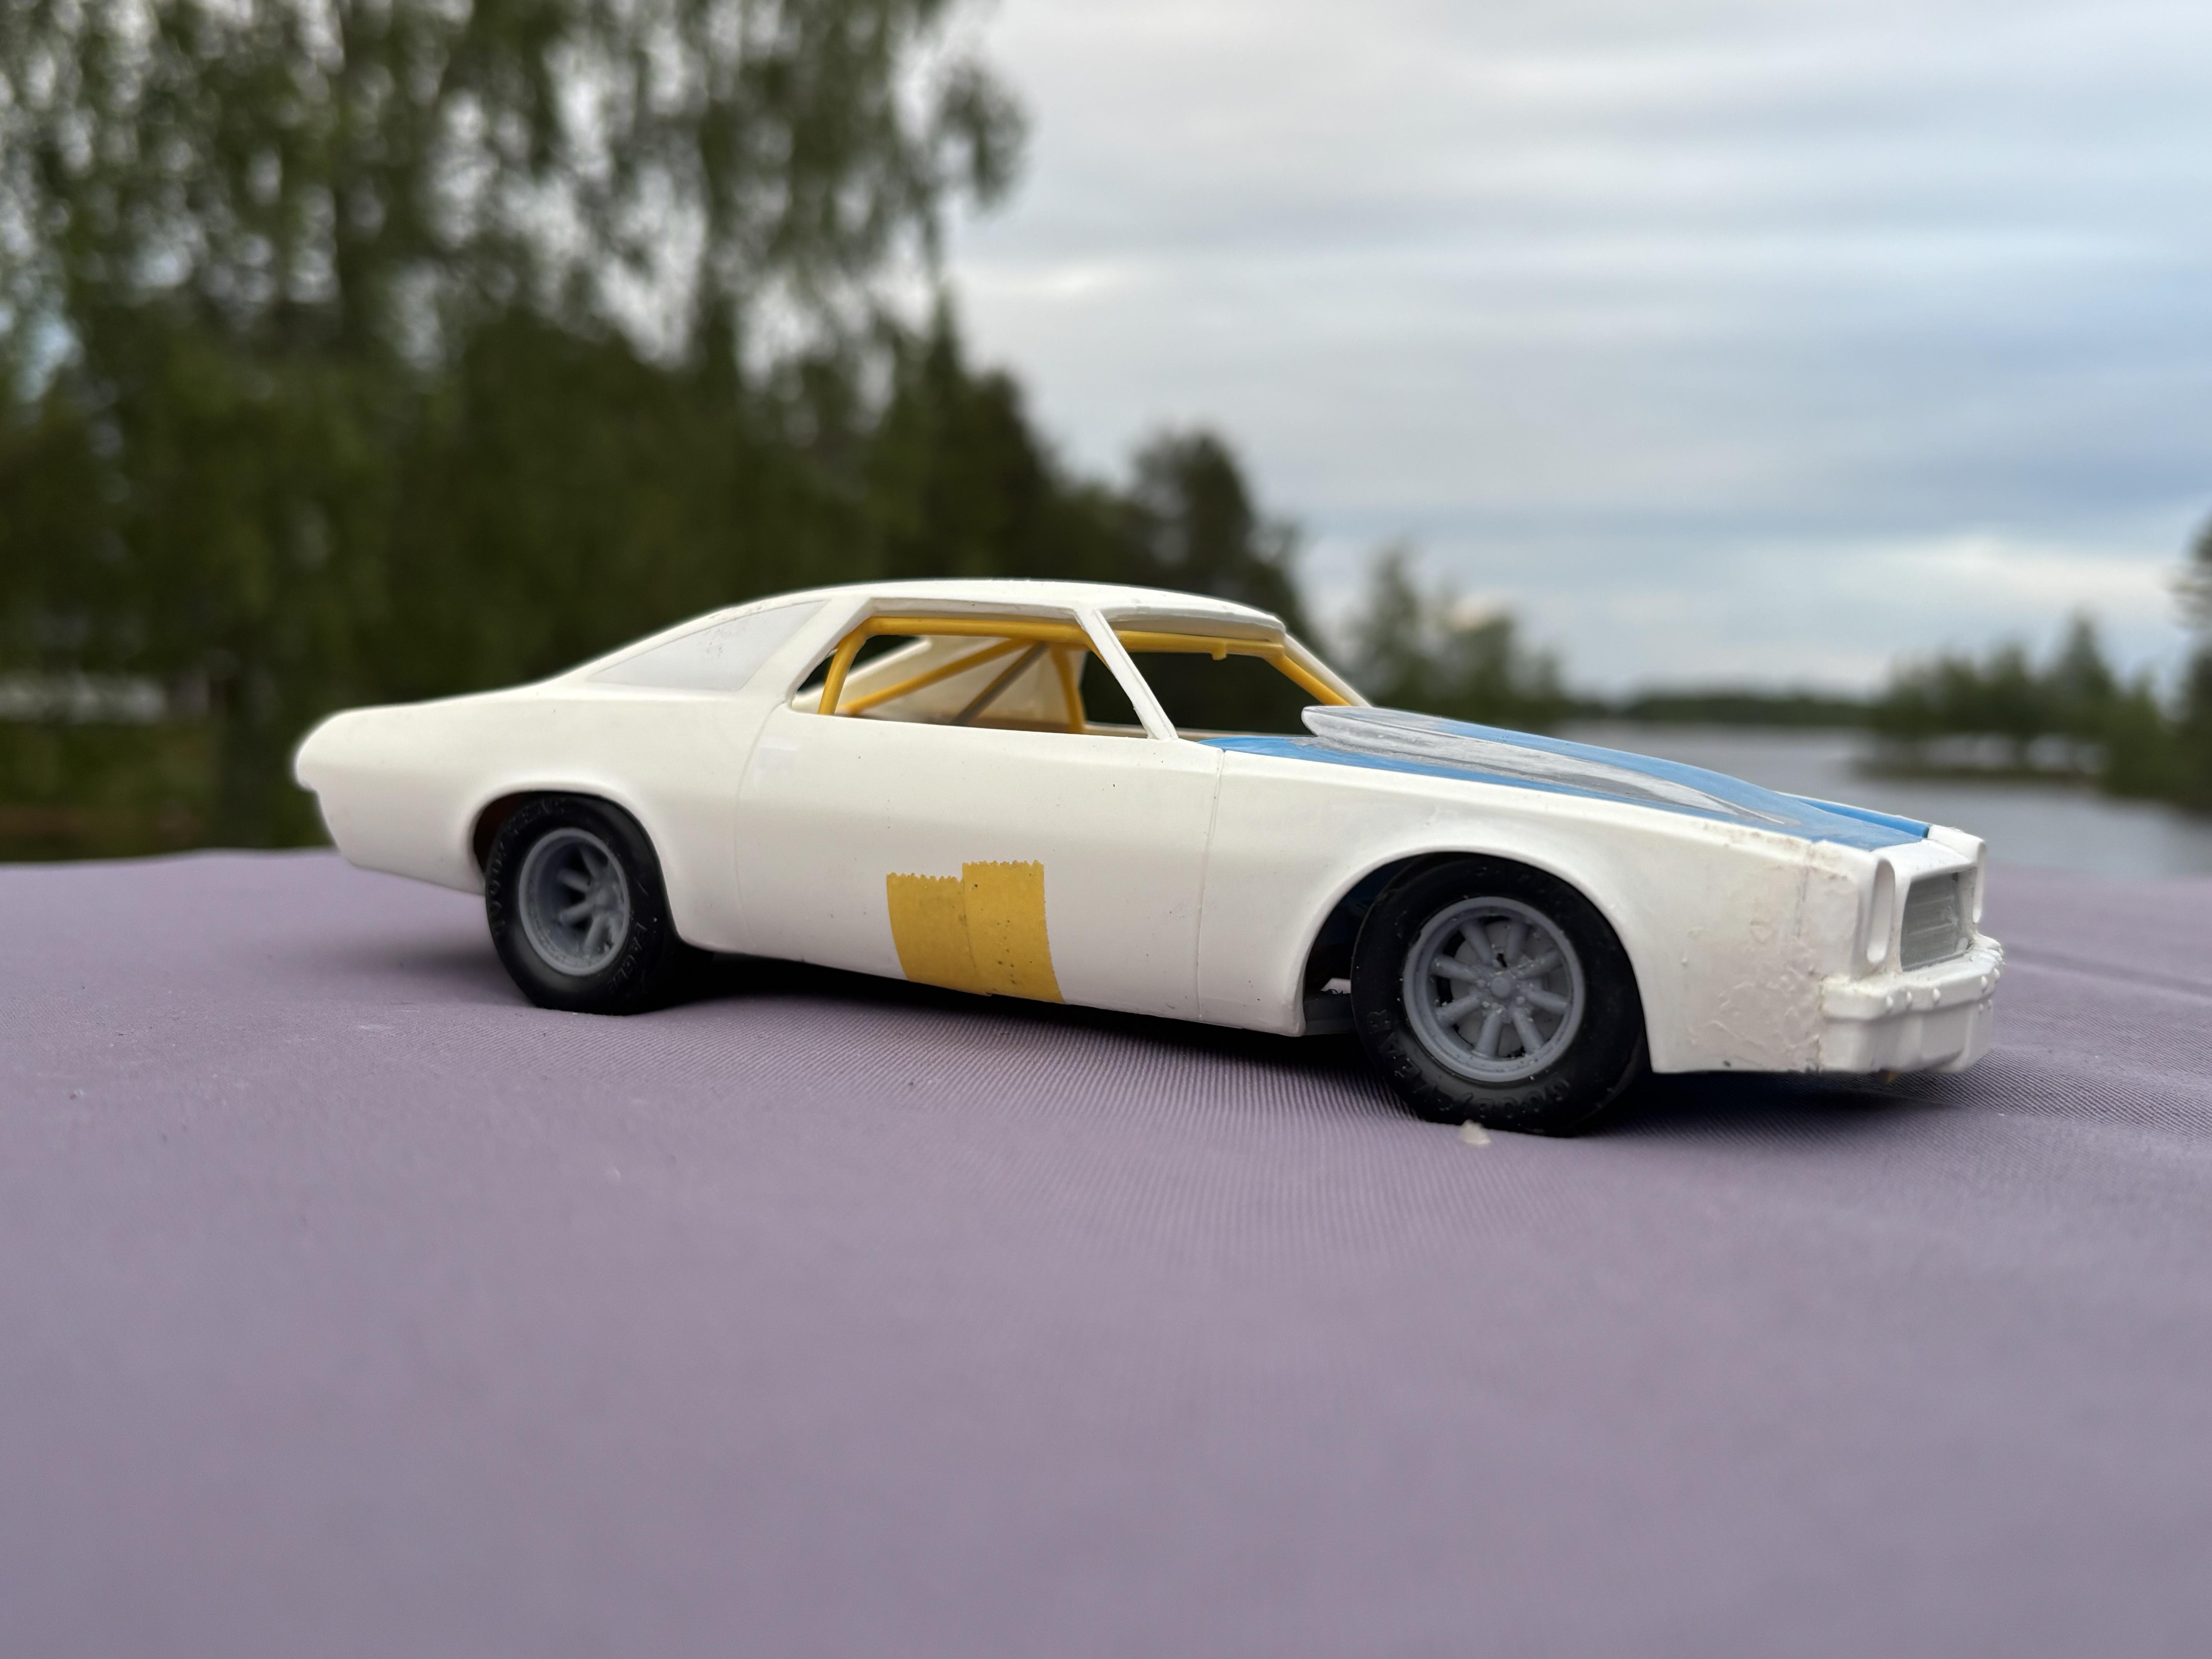
Had to redo the rear end since it just broke al the time and the printed tubes had also been curved so wheels was wonky. Trying to make some thing that looks like more like a normal k link setup as these had but with the “9 housing. I was thinking that this one does actually fit this years cannonball run except for the hood maybe and valve covers. We will see how it turns out.

-
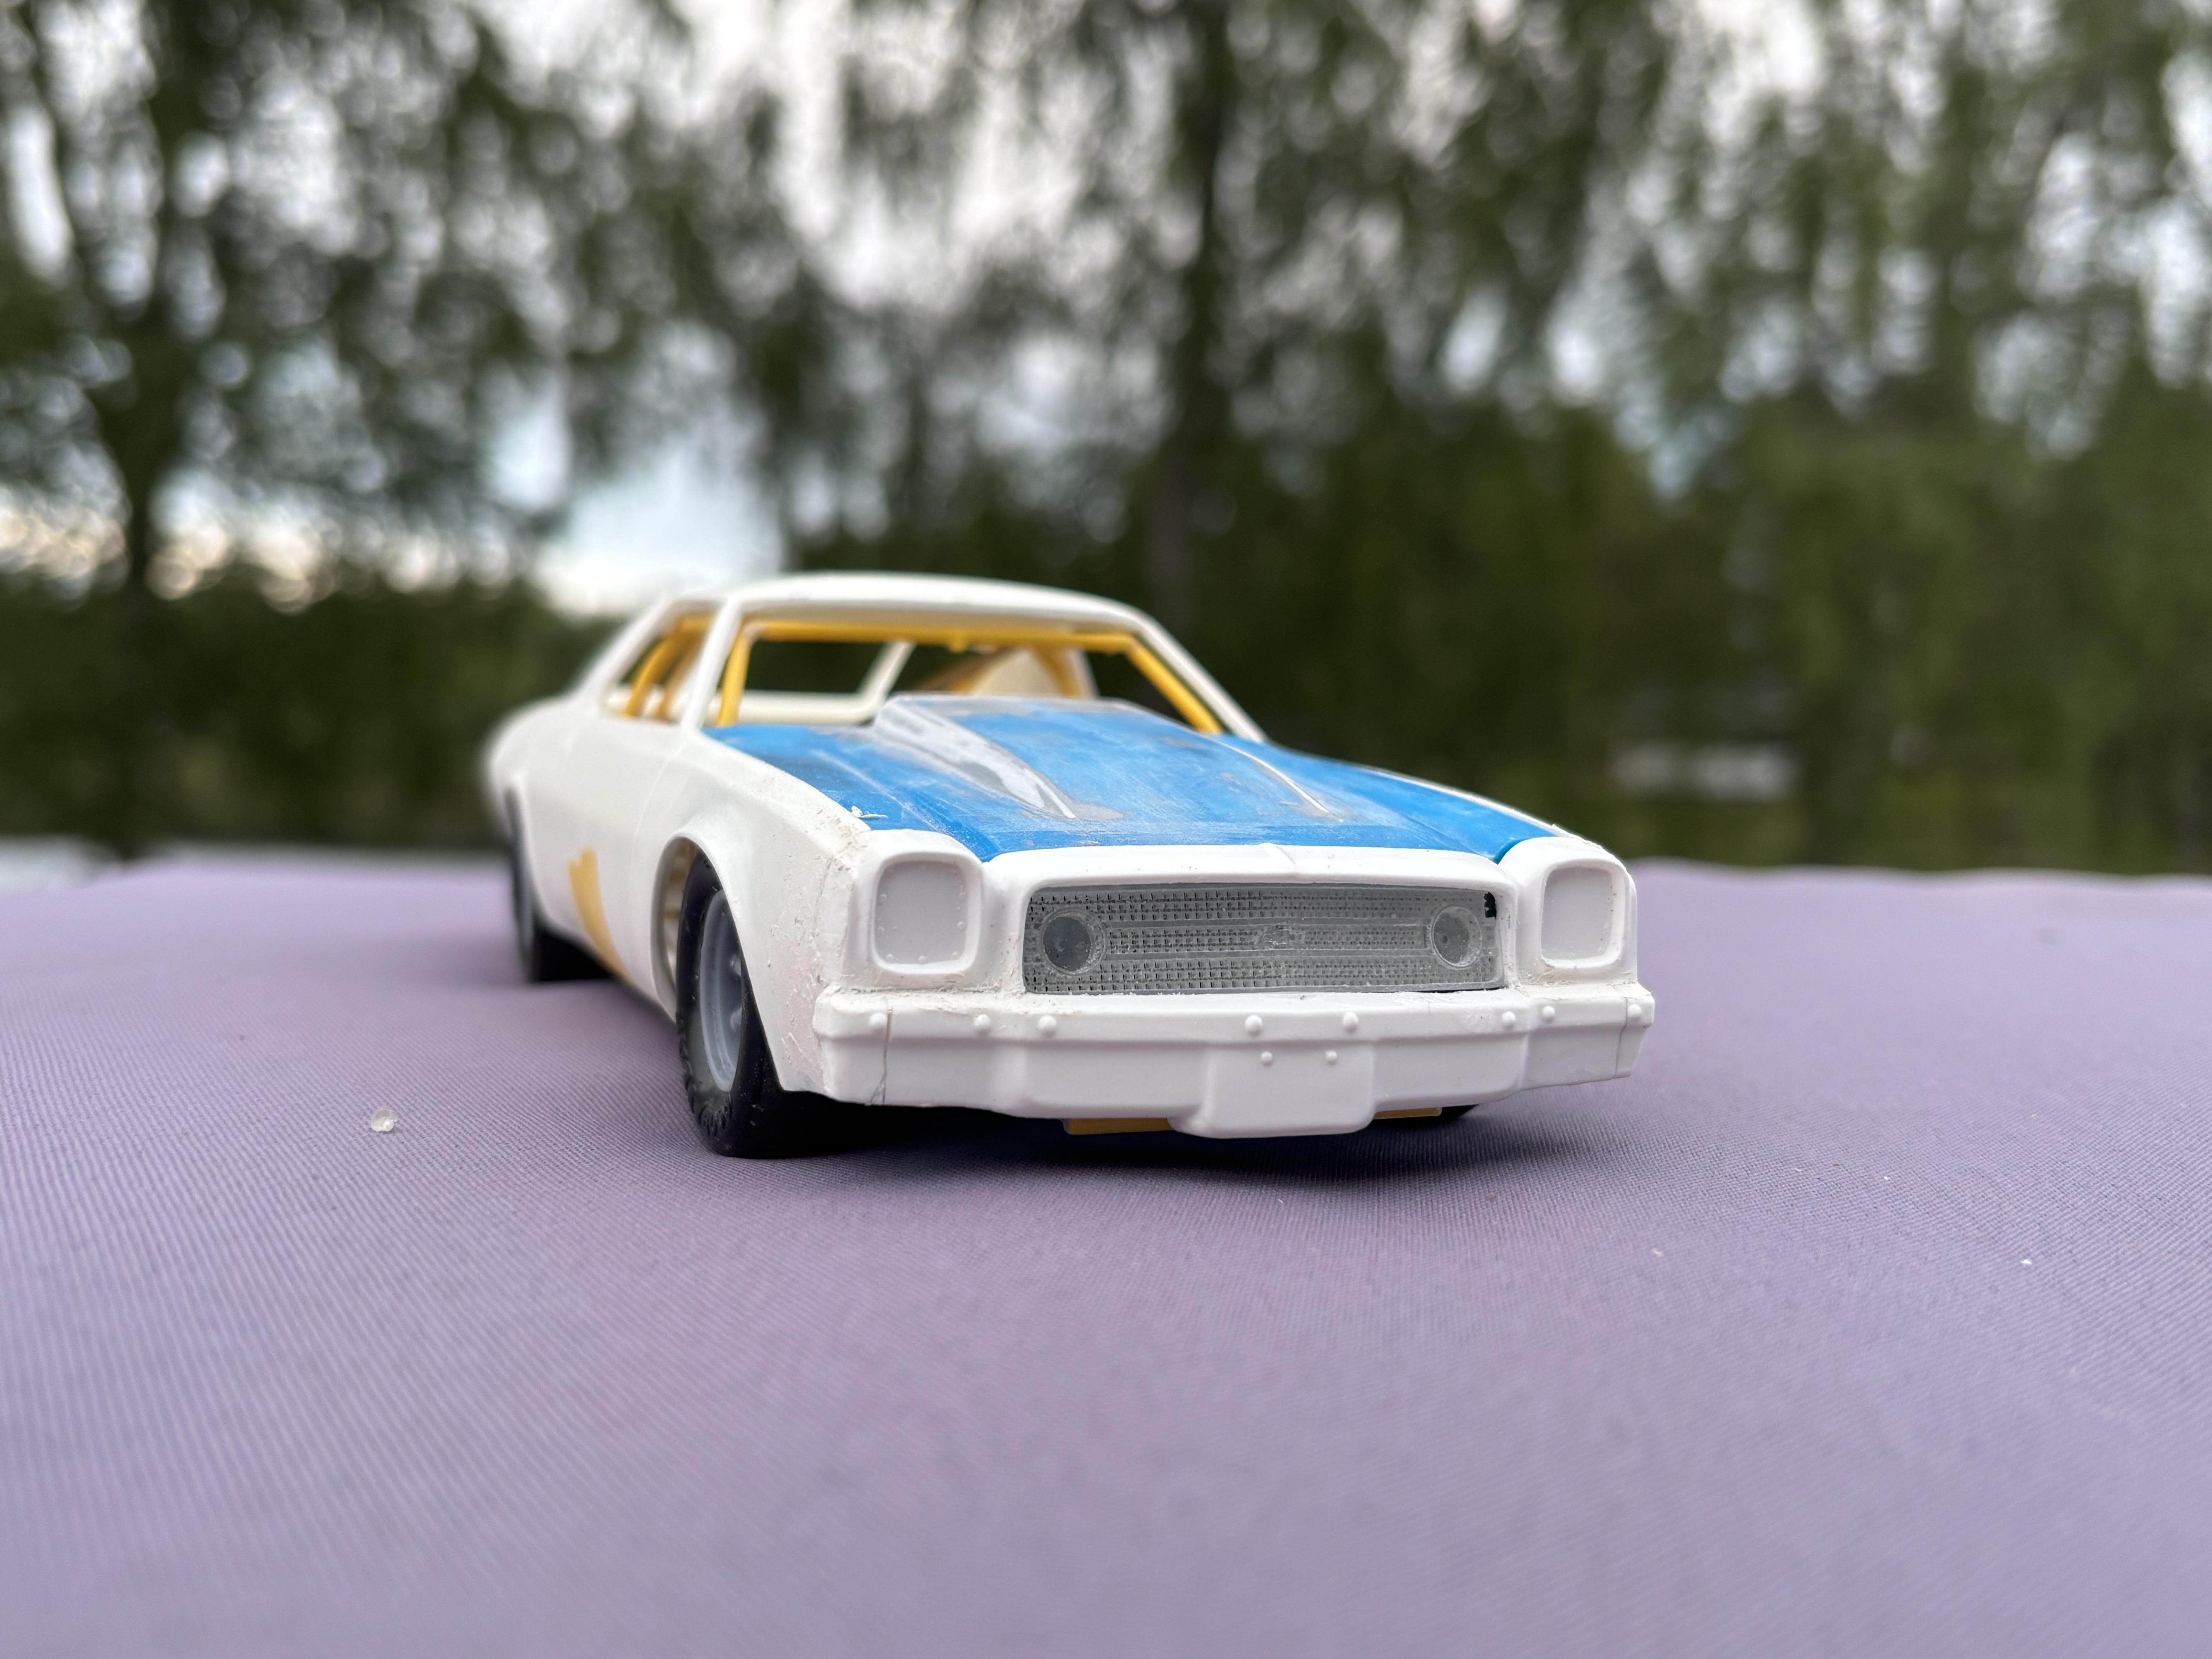
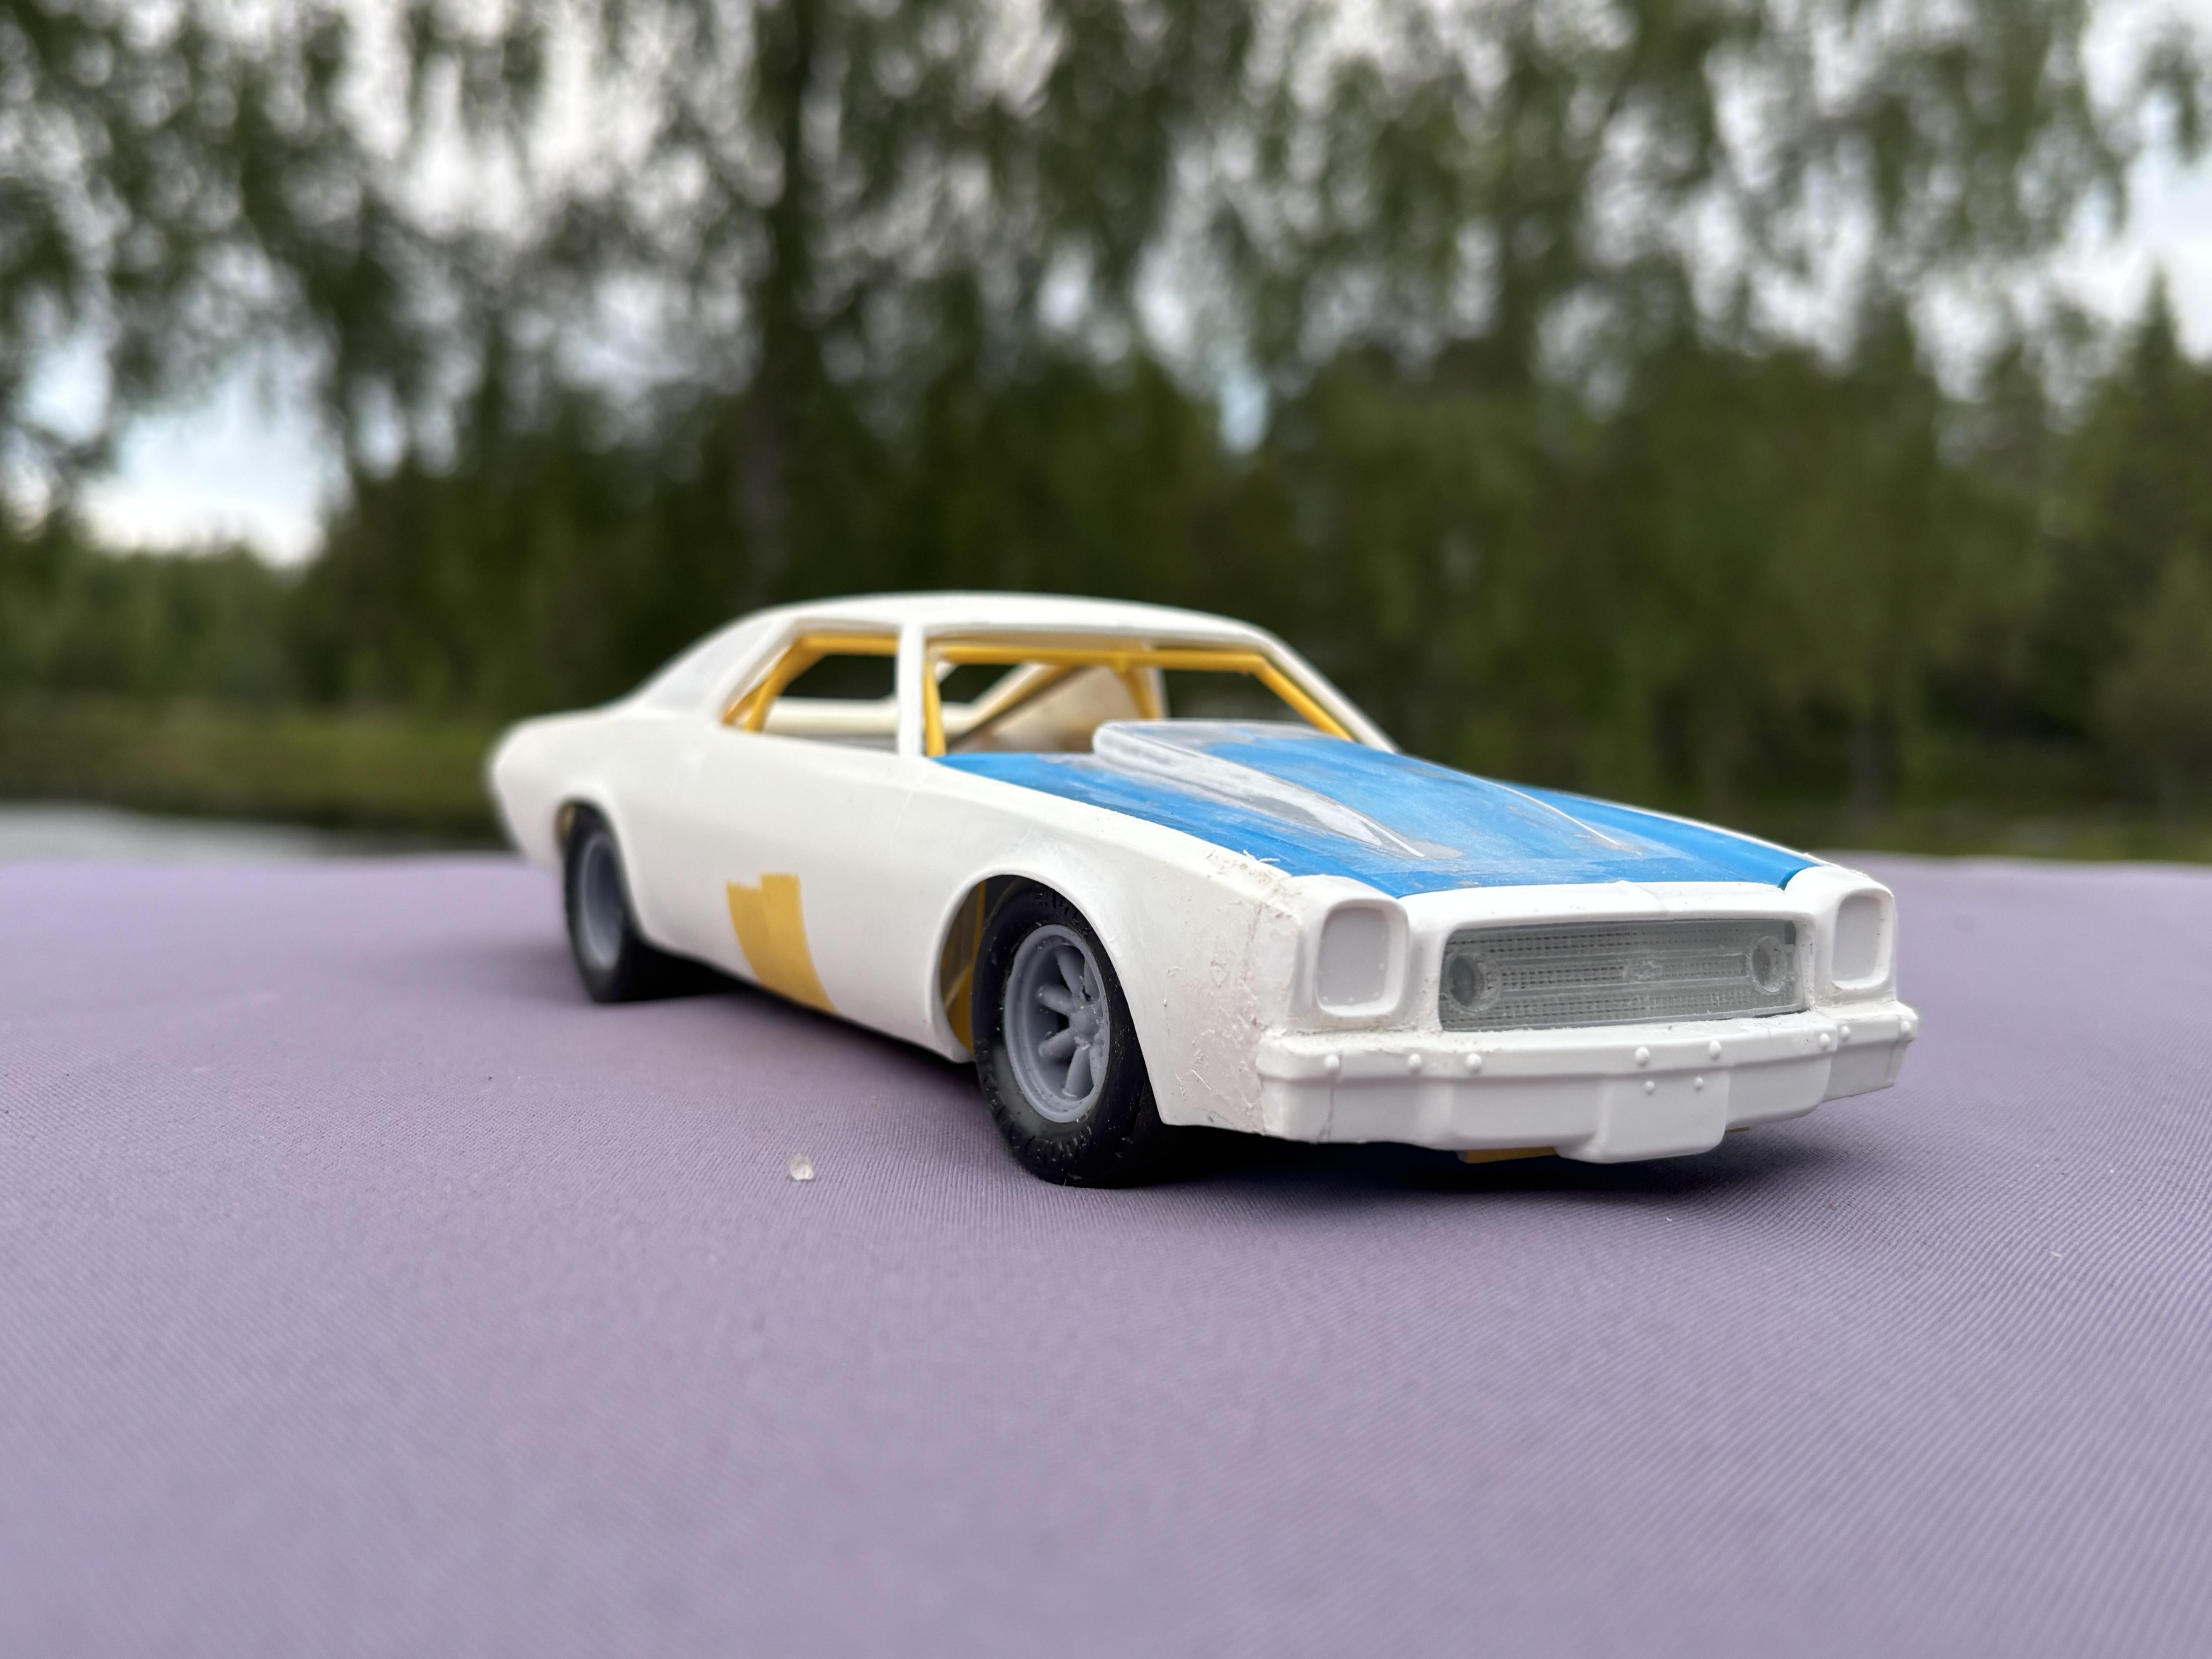
1973 Chevelle Race Car
Mattilacken replied to Technics's topic in WIP: Stock Cars (NASCAR, Super Stock, Late Model, etc.)
Nice work there! Weathering looks cool!- 30 replies
-
- 1
-

-
- patina
- weathering
- (and 1 more)
-
Great progress on a classic Chevy! Have wanted to make one as well but I have not gotten around to it yet. I am building an other one right now but with the earlier style bumper. Btw, if you want a Monogram NASCAR chassis to go underneath it ( more correct than what the kit gives) I know a place in EU that carry NOS kits. Otherwise any amt/ revell Chevrolet or olds cutlass will suit the bill chassis wise.
-
Nice work there!
-
Do you also have 1:1 project cars?
Mattilacken replied to ctruss53's topic in General Automotive Talk (Trucks and Cars)
Sweet! Looking great! -
Will work just fine with some adjustments 🙂 worse have been done great mockup!
-
yes, as far north you can get in the Baltic sea.
-
Do you also have 1:1 project cars?
Mattilacken replied to ctruss53's topic in General Automotive Talk (Trucks and Cars)
Nice looking Elco! I have a complete ‘74 front laying around exept doe lights and surrounds. But the cast corners for the round headlights. Was planing to put it on the ‘77 which had its front converter to 1973. But I never bought the car. -
Cool looking Mercedes
Mattilacken replied to Mr mopar's topic in General Automotive Talk (Trucks and Cars)
I believe Fujimi or aoshima also made these. Super simple kit though. -
Made some tailpanel work. Pictures were taken at mid night.
-
Beautiful build! Great work
-
Thanks! Have not tried but I don’t have te time to try at the moment. I did however make a custom front out of my custom 74 and 75. A bit lower and more aero friendly.
-
Any intrest in a large scale community build?
Mattilacken replied to Sam I Am's topic in Community Builds
Would be interesting I have two 1/16 kits started that I don’t get around doing so a new build off might do it. It was actually a build of that made me buy a 1/16 kit to begin with. But on Hiroboy forum. -
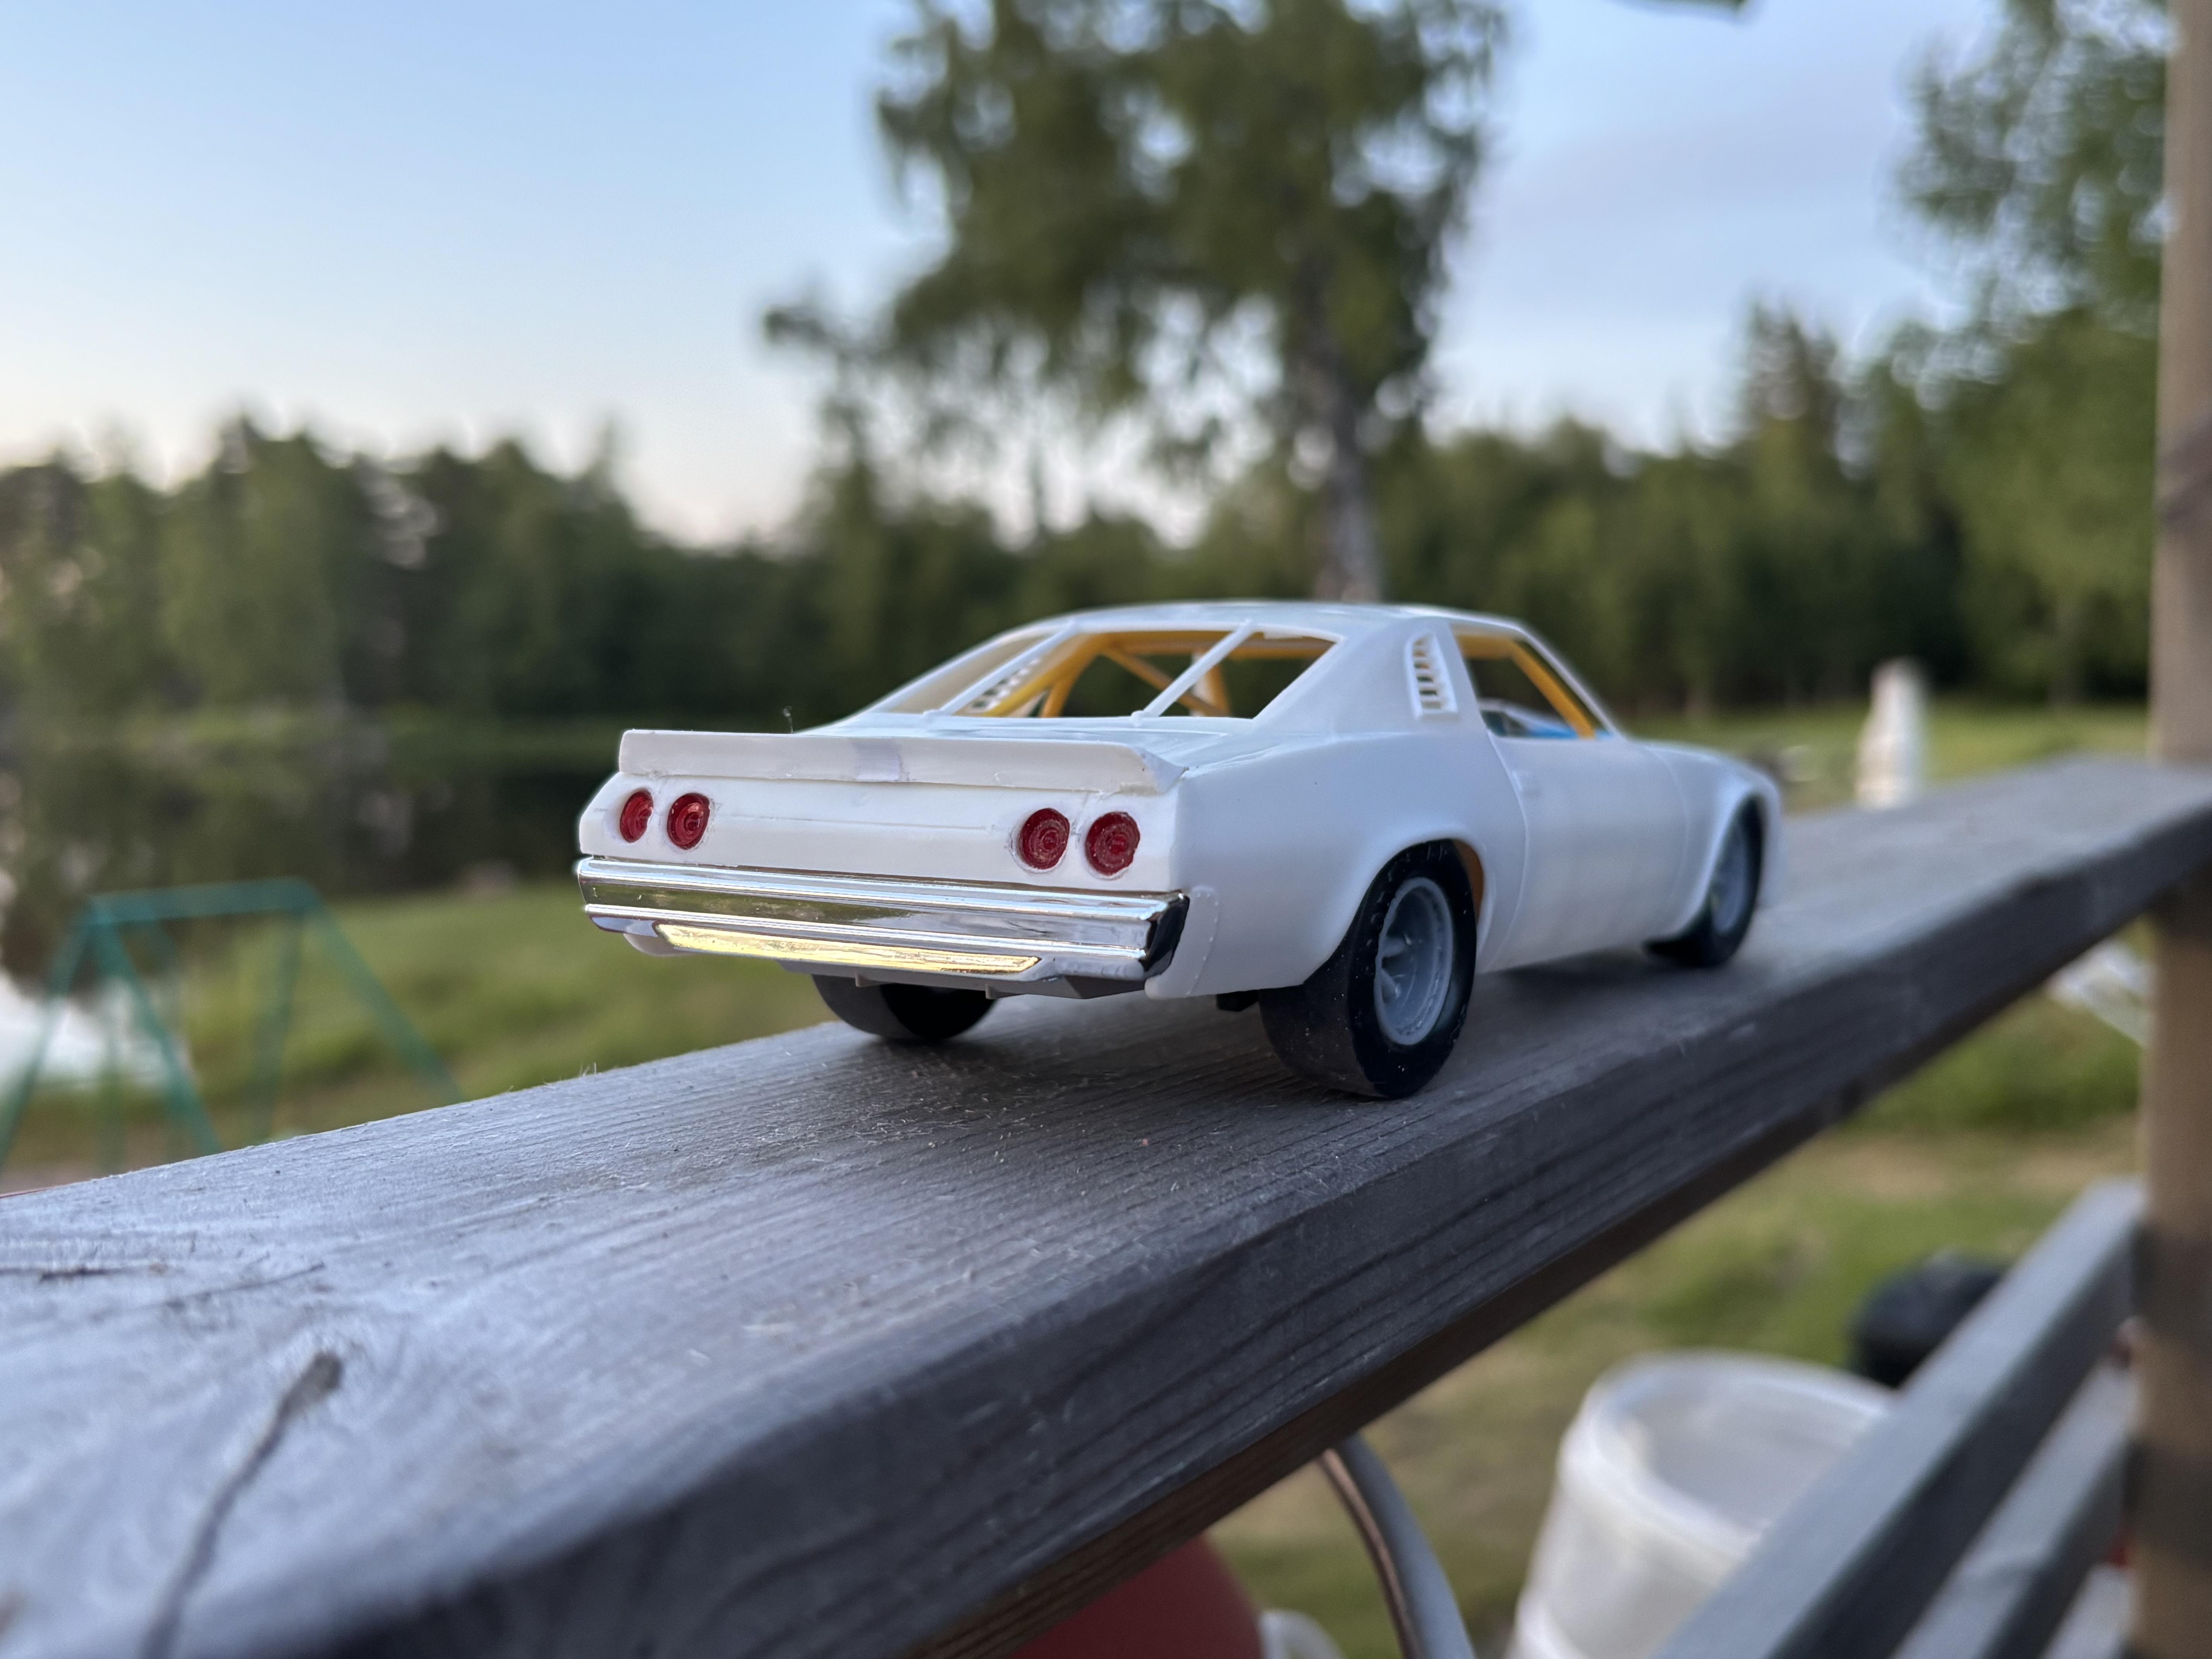
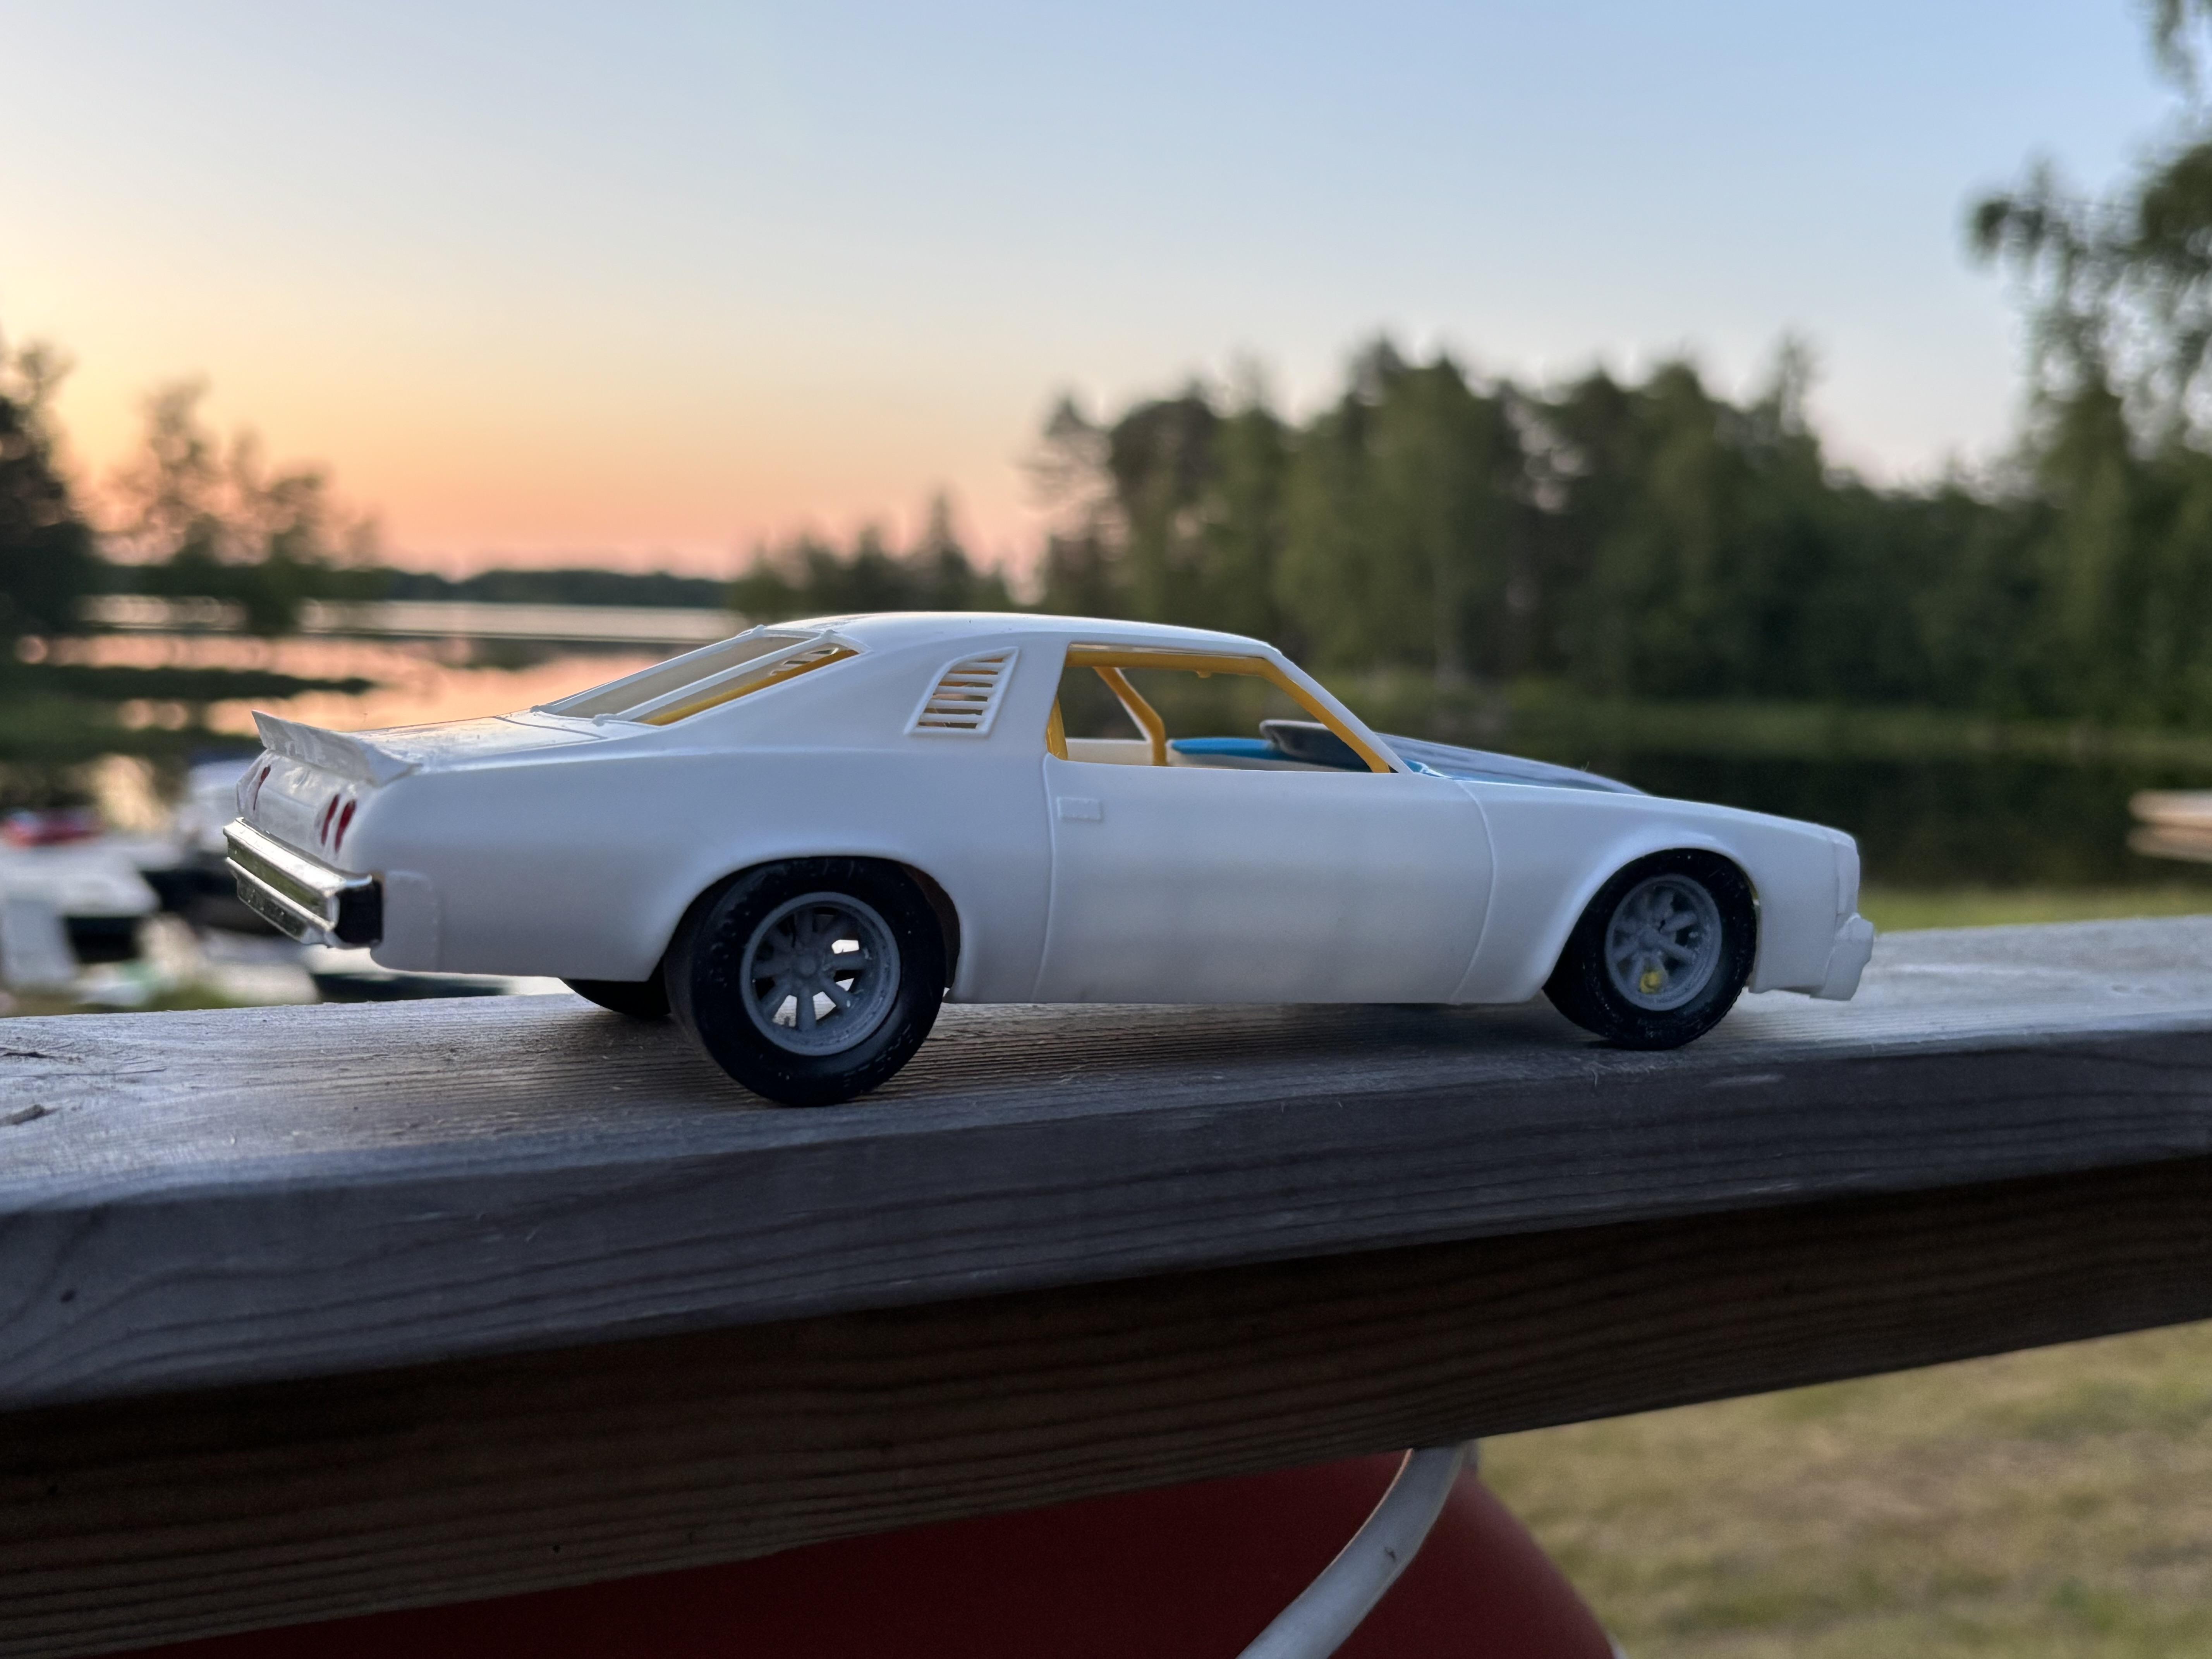
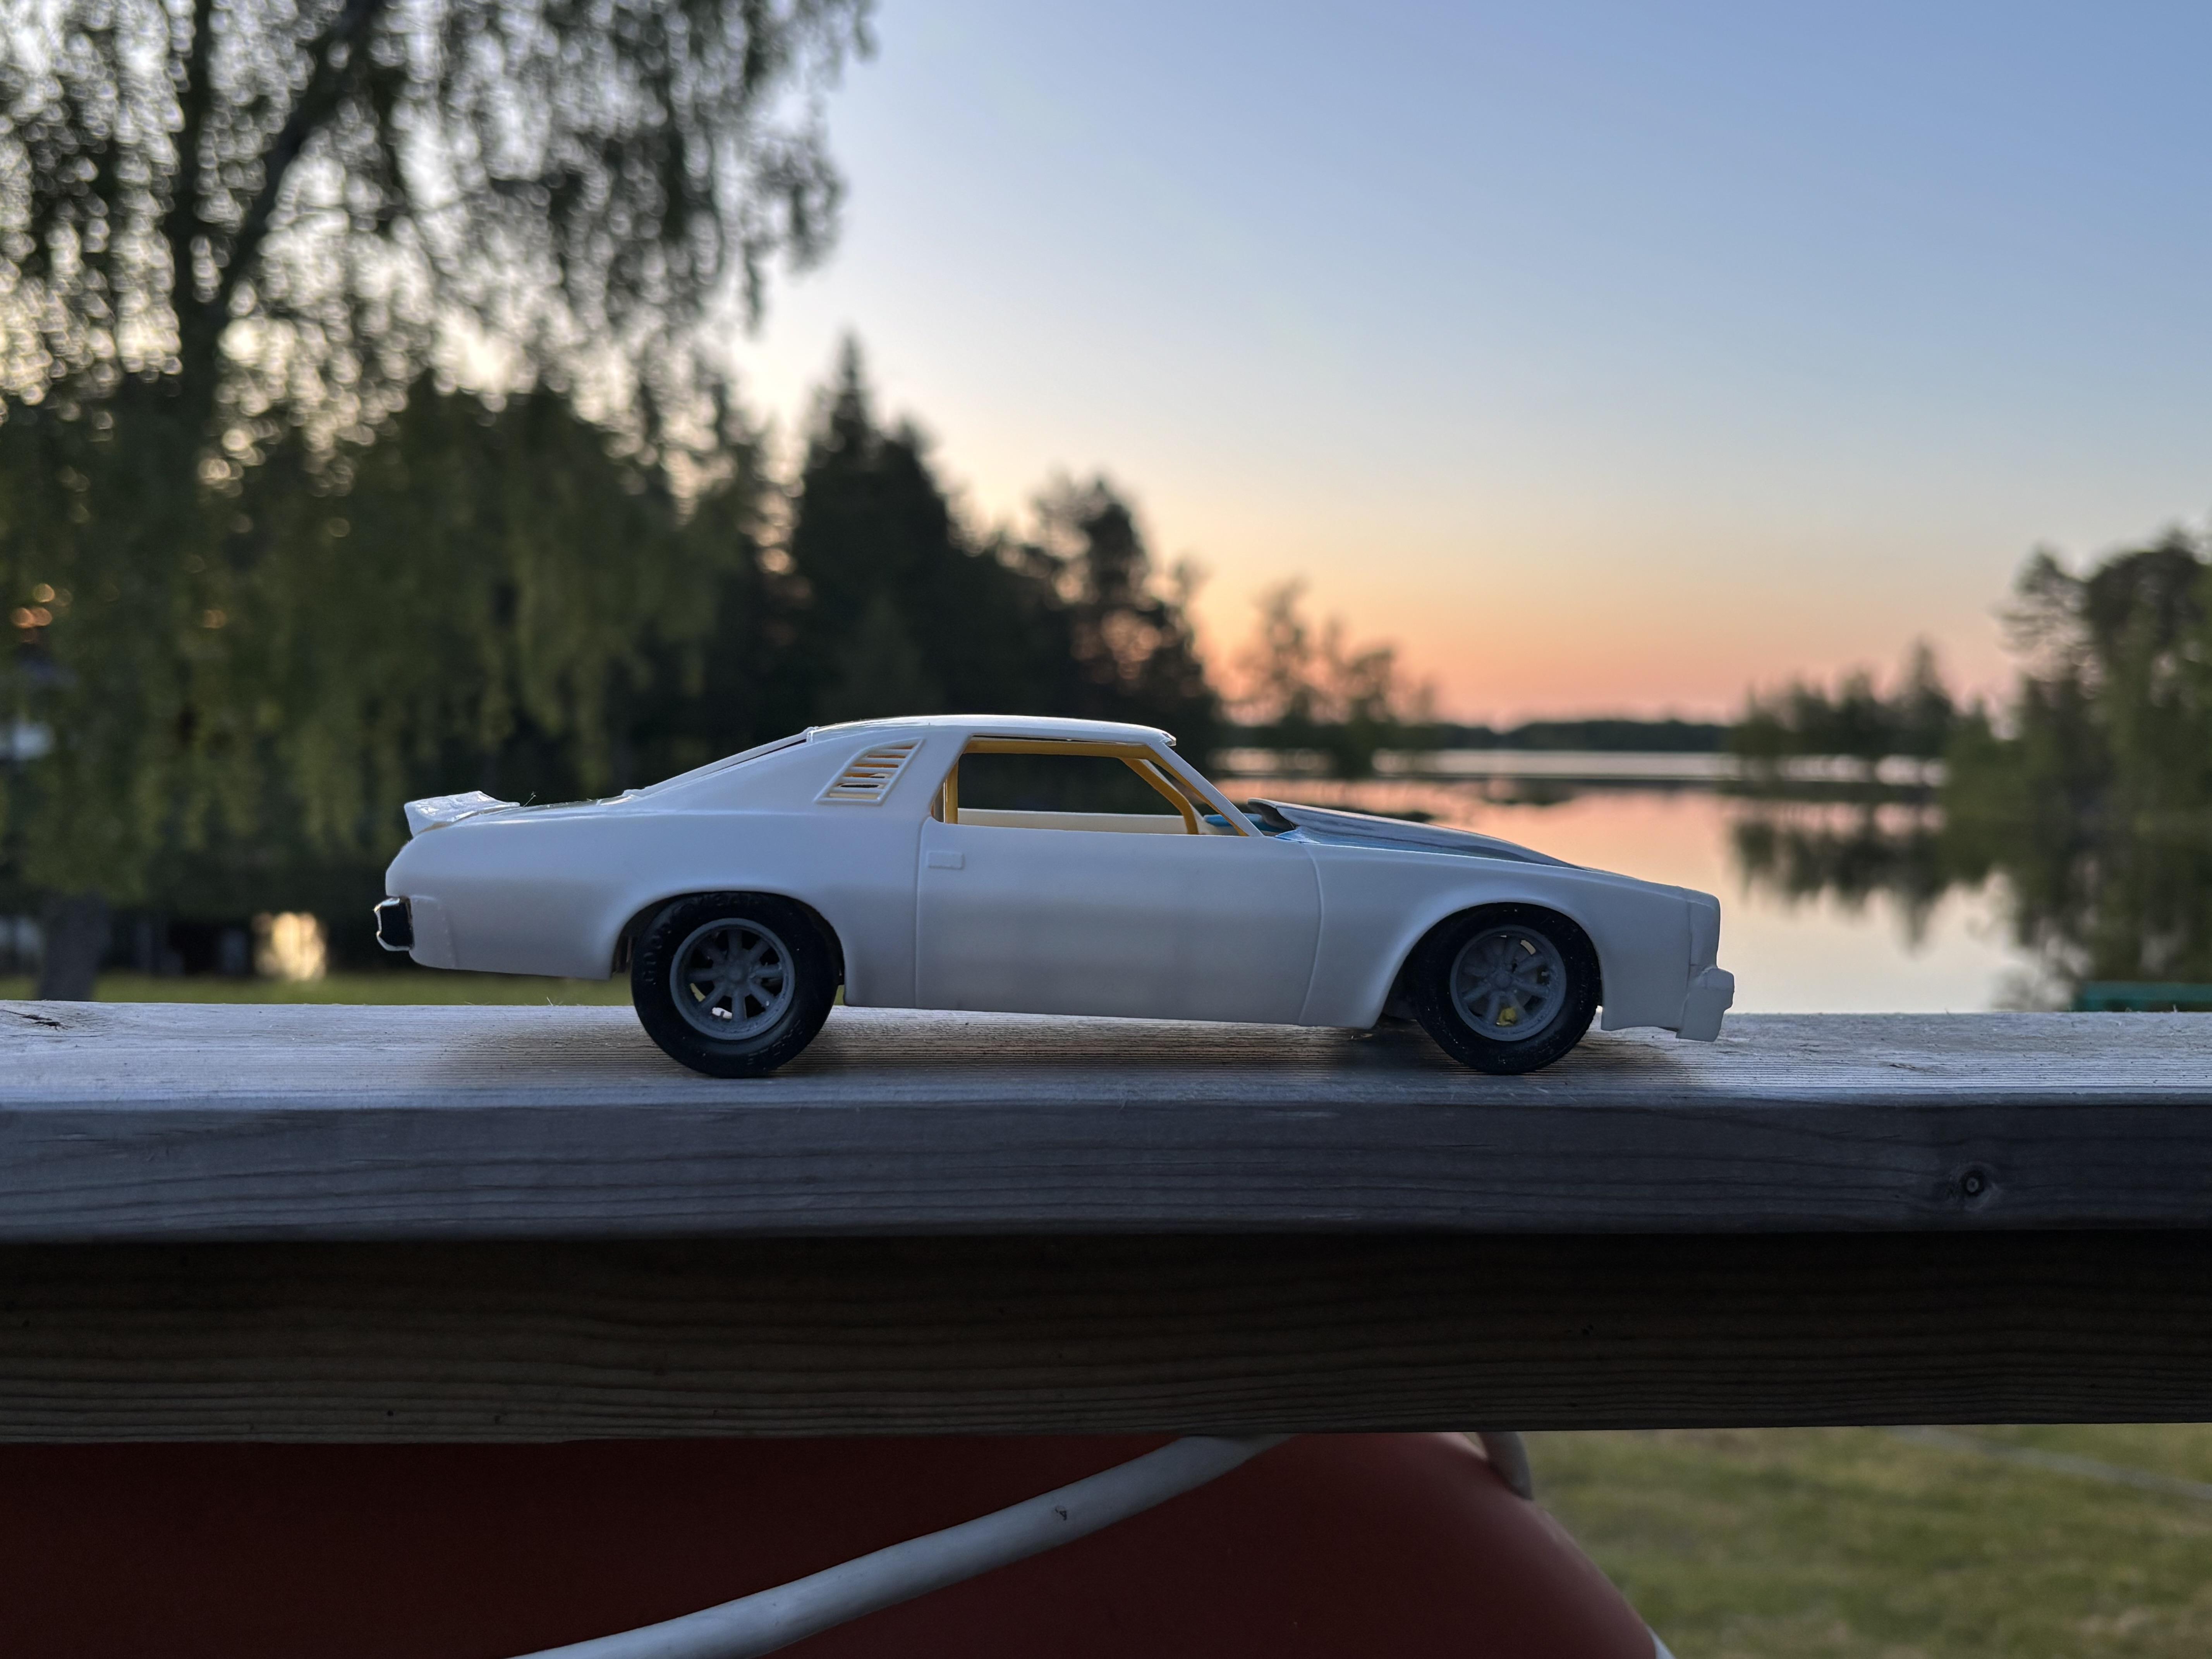
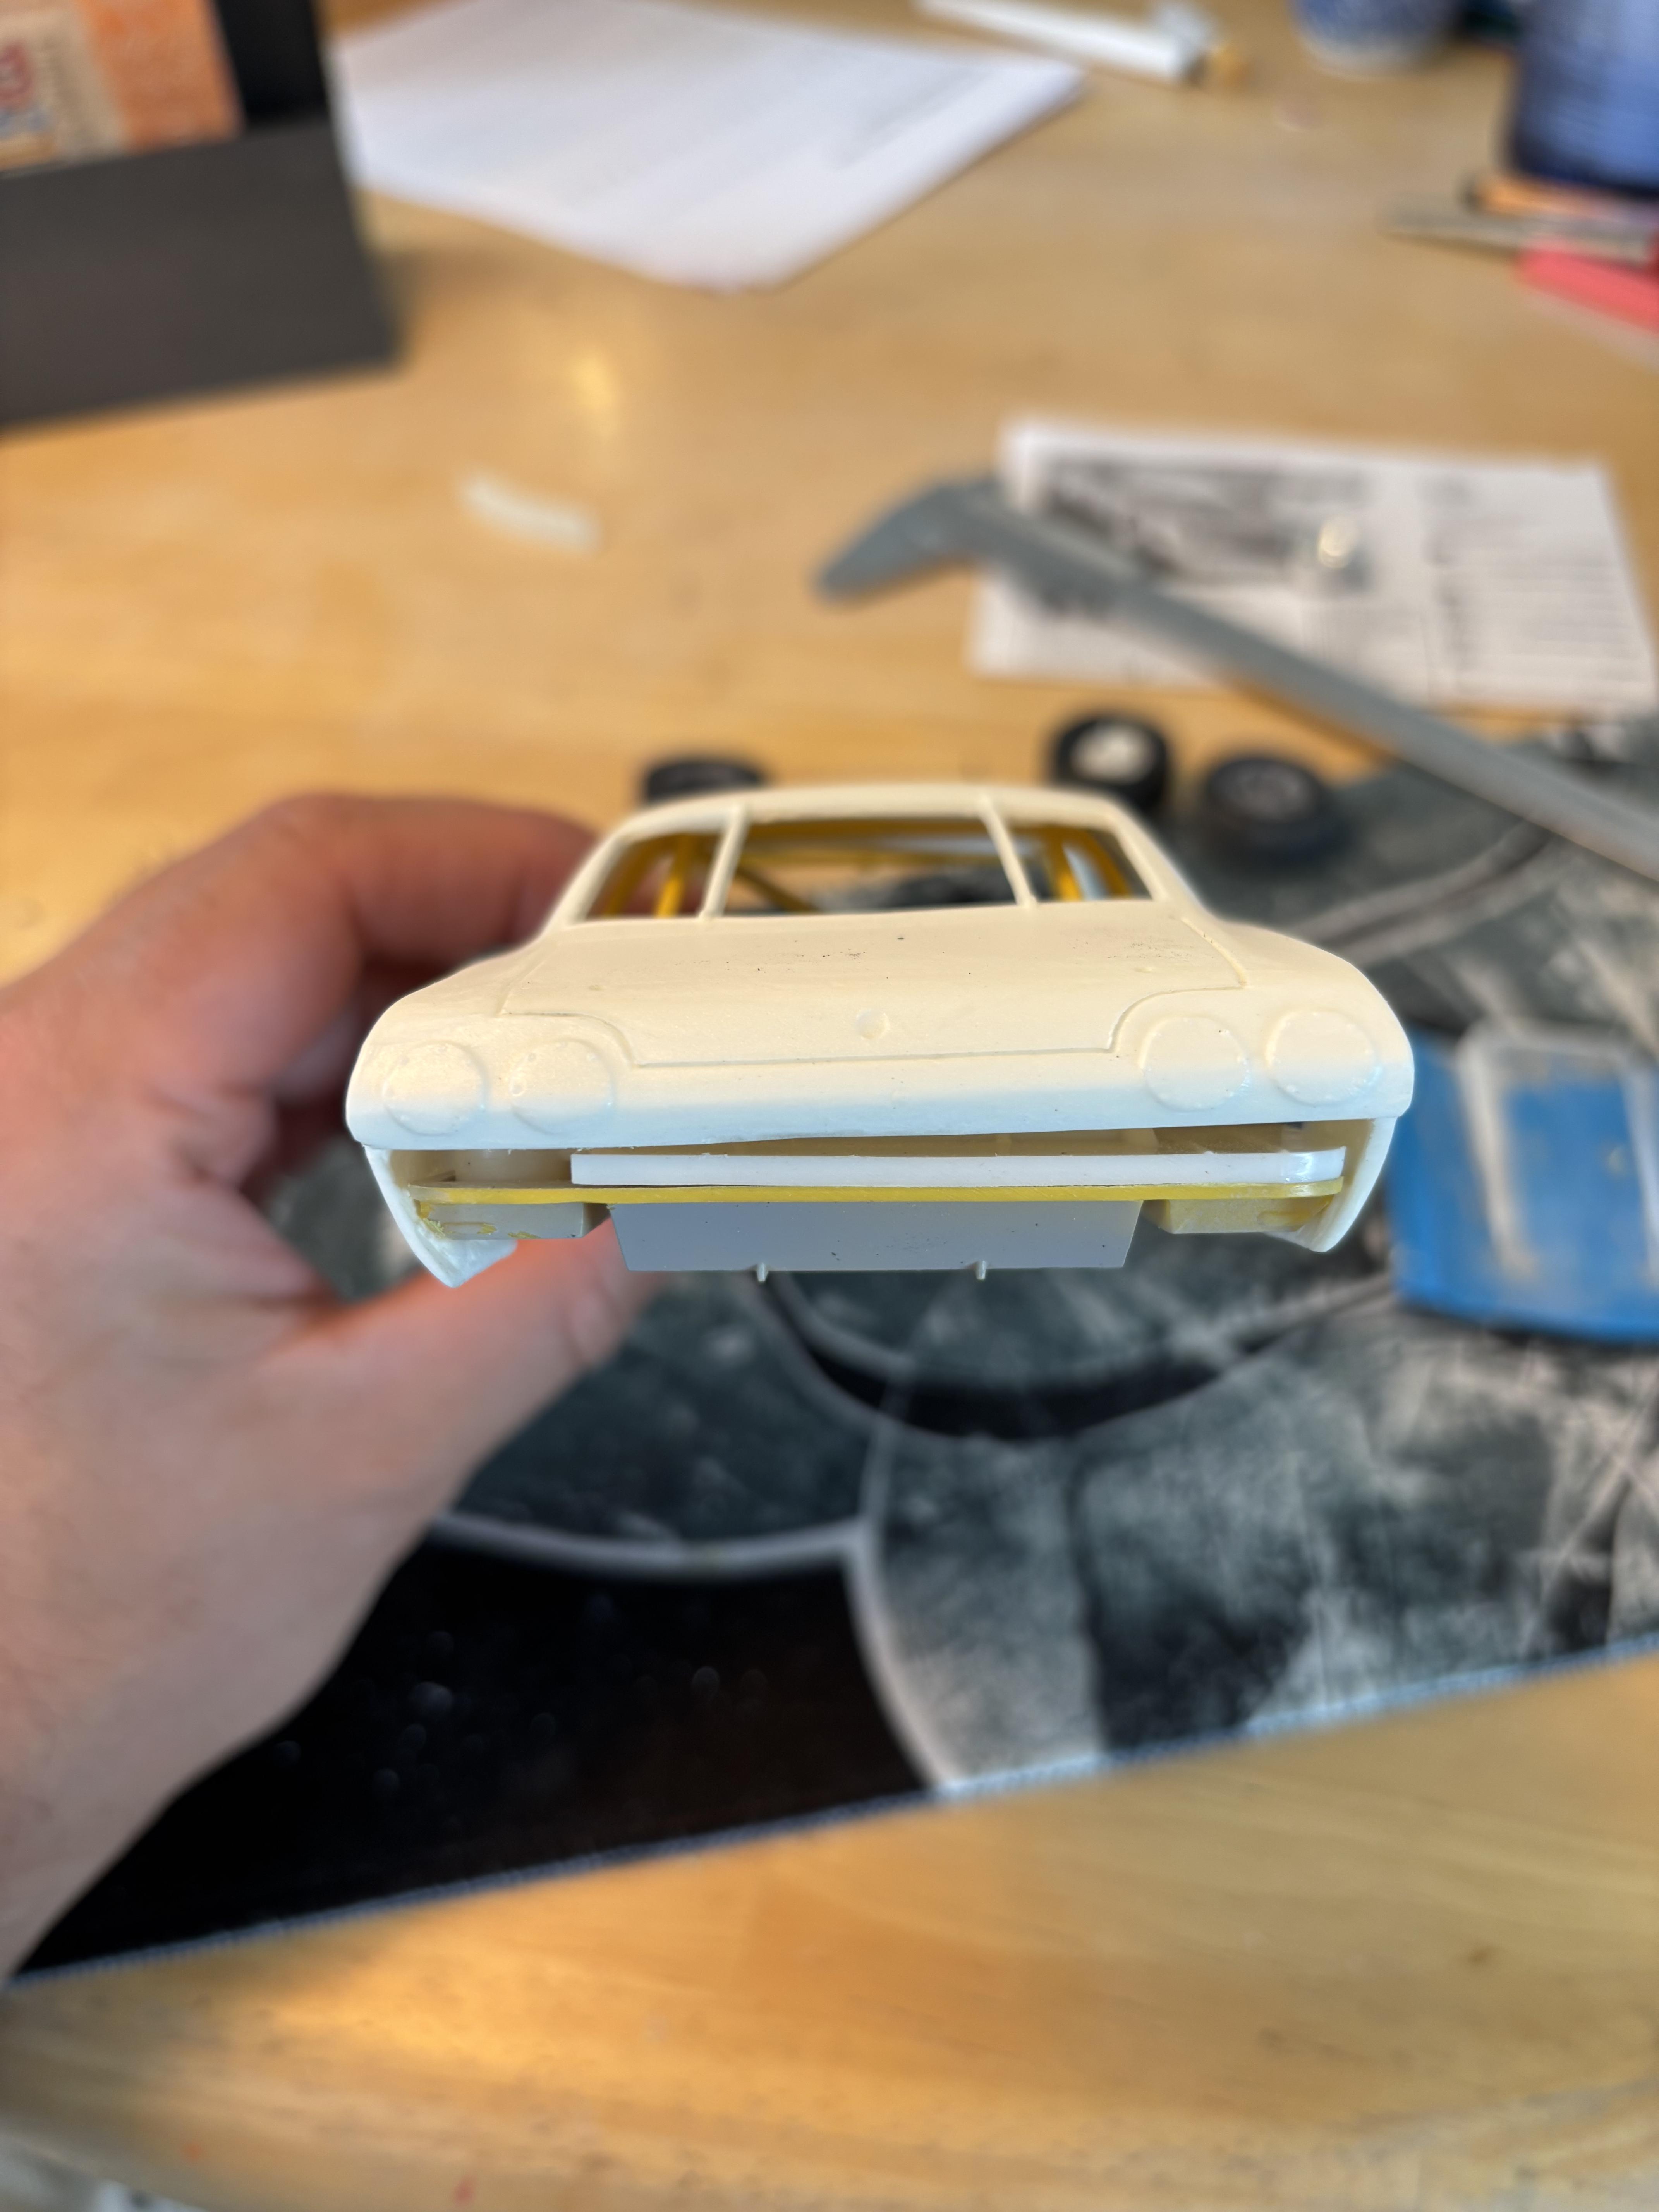
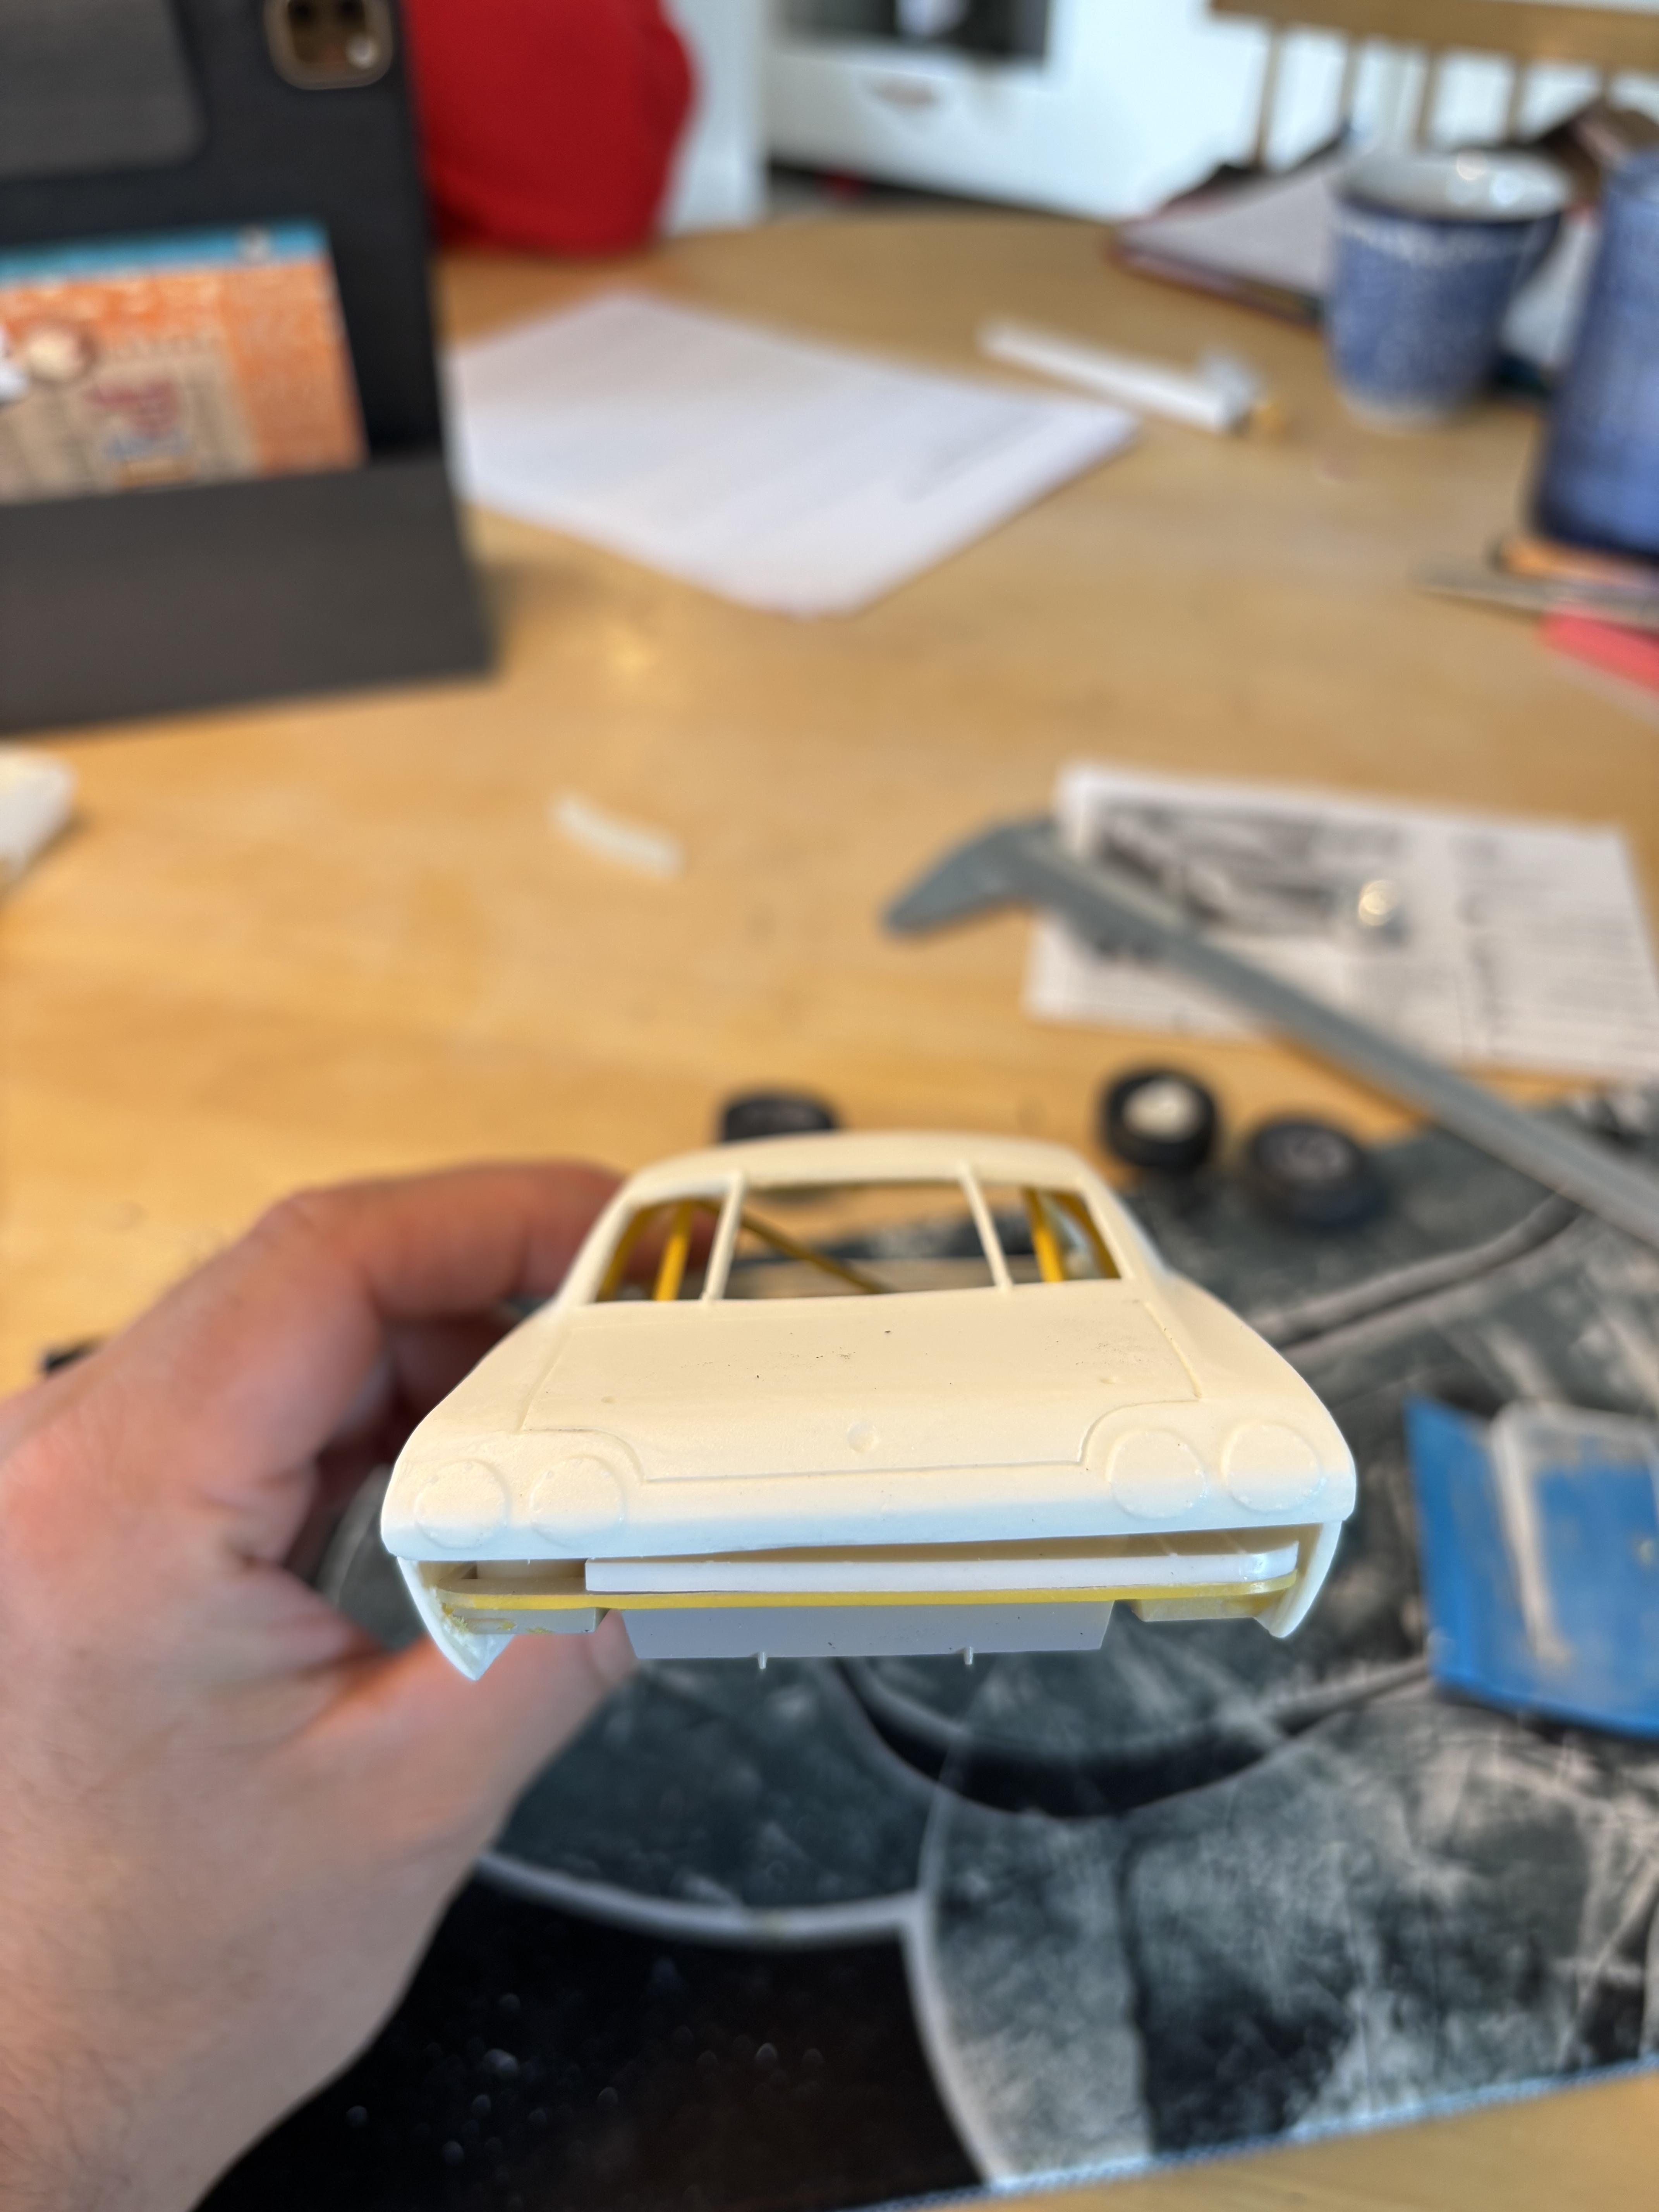
So after trying to fitting the body I noticed that some thing was off. I think the rear portion of the body must have gotten twisted. So I will need to go with the other body I believe. I don’t see how I can fix that with the resin body, at least not here. If I put the other body on the chassis does look straight.
-
We have left for the summer cottage and I just grabbed a kit to build with a limited amount of parts and spares. So allot of compromises will be made. I have so far installed the rear end in the right position. Made a set of brakes. And sanded the wheels among other things.
-
Now, this is scary...
Mattilacken replied to Matt Bacon's topic in General Automotive Talk (Trucks and Cars)
It’s interesting how the AI states that ” I steered with” and sow on. And it have absolutely never even touched a plastic kit. This will be the end of reviews and such I am ready have a hard time with manny reviews that they are just rubbish and does not answer any thing. -
Marvel's Hydra coupe 1/12 scale full scratch build
Mattilacken replied to François's topic in WIP: Model Cars
Epic display it turned in to!! -
2025 Cannonball Run - 50 years since the 1975 run.
Mattilacken replied to Mattilacken's topic in Community Builds
2025 Cannonball Run Entry list: 1. '62 Chevrolet Bel Air (W-409) 2. Ford Escort MK2 ( stitchdup) 3. ‘74 Mercedes 300TD SLC (Mattilacken) 4. ‘69 Chevrolet Camaro (atomicholliday) 5. WV type 1 Van (Fat Brian) 6. ‘69 Dodge Dart (Tim08) 7. ‘67 Ford Mustang (JimmyRiggins) 8. '70 Plymouth Superbird (Keef) 9. ’71 Renault Alpine A110( White Rabbit) 10. ‘75 Chevrolet Monza 2+2 (MeatMan) 11. Dodge Super Bee (Slusher) 12. ’70 Dodge Super Bee (Sam I Am) 13. Lamborghini Espada (Tooltime-fan) 14. ‘70 Chevrolet Malibu (KWT) 15. ‘75 Volkswagen Golf (oldcarfan)🏁 16. ’60 Ford Starliner (blue303) 17. Shelby G.T. 350R (xbazzarex) 18. ‘73 Mercury Cougar (bill_67) 19. ‘64 Corvette Grand Sport (beans) 20. ’71 Porsche 911 T (Misha) 21. ’73 Dodge Charger (Pat Minarick) 22. ’71 Ford Maverick (bobthehobbyguy) 23. ’70 Ford Torino (kromolly) 24. ‘63 Renault Estafette (camaro69) 25. ‘73 Dodge d300 (53gmc)🏁 26. ‘71 Ford Interceptor (spencer1984) 27. ‘74 Ford Gran Torino wagon (iamsuperdan) 28. ‘58 Plymouth sports fury (Rescued Customs) 29. ‘66 Chevrolet Malibu (Chasten) 30. ’66 Fairline GT/GTA (geras24) 31. '69 Ford Galaxie (Stavanzer) 32. 73 Nissan Skyline GT-R (Badge73) 33. ’75 Chevrolet Laguna (RockinRoler) -
Sweet!
-
Do you also have 1:1 project cars?
Mattilacken replied to ctruss53's topic in General Automotive Talk (Trucks and Cars)
Sweet! Be glad that you have junkyards close by with a lot of cars in it and that you are allowed to take stuff by yourself. Here the yards usually charge you half the price of a new part. Some times you can get parts for a decent price.