Spottedlaurel
-
Posts
1,980 -
Joined
-
Last visited
Content Type
Profiles
Forums
Events
Gallery
Everything posted by Spottedlaurel
-
A 41 Willys Roadster mash up... made of leftover parts!
Spottedlaurel replied to Claude Thibodeau's topic in Model Cars
You certainly do know how to cook with those leftovers! Has a very 'together' look, really nicely done. -
Got the Datsun 280Z across the line today, so since late July I've finished all of this lot: July/August kit completions by Spottedlaurel, on Flickr Ferrari, Maserati and Corvette kits by Spottedlaurel, on Flickr 1:24 Datsuns 280Z and Fairlady Roadster kits by Spottedlaurel, on Flickr Nearly 80 years' worth of WIP now in the cabinet at last.
-
suburban and camper
Spottedlaurel replied to cheyenne93's topic in Model Trucks: Pickups, Vans, SUVs, Light Commercial
What a great combination, they look excellent together. Sorry if I missed it, is the trailer a kit or something scratch-built? -
Thanks Tim. Good job there was a decent line to work to, due to an issue I had..... 1:24 Aoshima Toyota Ipsum (Picnic) kit by Spottedlaurel, on Flickr Basically I polished through some green paintwork on the front end. I tried to respray just the wings and bonnet, but even using the same can the match wasn't great so I masked-off the gold bottom half and redid the whole bodyshell. Good job I'd deepened the panel lines. Above shot is with it mocked-up on the modified suspension. No issues with how that fitted together, but the interior tub sides seemed too sit above the window line. 1:24 Aoshima Toyota Ipsum (Picnic) kit by Spottedlaurel, on Flickr 1:24 Aoshima Toyota Ipsum (Picnic) kit by Spottedlaurel, on Flickr I took these shots before rectification, it can be seen that the sides don't seem to sit down and create a flush line with the fixed panel at the back end. 1:24 Aoshima Toyota Ipsum (Picnic) kit by Spottedlaurel, on Flickr So yet more disassembly and trimming, about 2mm in this case. I also removed a similar amount off the bottom of the dashboard moulding, where it sits down onto the transmission tunnel. I'd rather it be a touch low than have the body and interior not fit together tightly when the glass is installed. 1:24 Aoshima Toyota Ipsum (Picnic) kit by Spottedlaurel, on Flickr Lowered suspension successully installed. A sea of semi-gloss black I'm afraid, I wasn't feeling any inspiration to pick out much detail. 4wd running gear evident here, not a version we got. Only thing I have left to do is attach some brake discs, they're in progress with larger drilled items from an accessory set and the original fronts moved to the rear to replace the drum set-up. Let's assume it has Celica 4wd running gear so needed an upgrade. 1:24 Aoshima Toyota Ipsum (Picnic) kit by Spottedlaurel, on Flickr 1:24 Aoshima Toyota Ipsum (Picnic) kit by Spottedlaurel, on Flickr 1:24 Aoshima Toyota Ipsum (Picnic) kit by Spottedlaurel, on Flickr Another trial-fit with the suspension fully installed and modified interior, works better now. Before I get any further I should check it with the glass. Wheel location might not be quite right until the brake discs are in place, they've just been loosely fitted for now. I see that the open back on the 3rd row of seats is rather evident, I'll get that filled. Since the above photos it's had a careful session with the Micromesh sheets and a resin polish, the paint remaining intact this time! Quite a lot of detail painting to do now, all that tedious dark paint around the window frames and on the back of the glass.
-
Monogram Datsun 280Z holiday project
Spottedlaurel replied to Spottedlaurel's topic in WIP: Model Cars
Did I say this was meant to be a quick and simple project? I should finish it today, but it certainly wasn't done during my two weeks of holiday as I'd planned...... I got incredibly close the other evening: 1:24 Monogram Datsun 280Z kit by Spottedlaurel, on Flickr 1:24 Monogram Datsun 280Z kit by Spottedlaurel, on Flickr 1:24 Monogram Datsun 280Z kit by Spottedlaurel, on Flickr But two issues arose. The first was that rear wheel location, which wouldn't do at all. Next was this one: 1:24 Monogram Datsun 280Z kit by Spottedlaurel, on Flickr I lost some paint on top of the wing after I'd used a thin sliver of masking tape to secure the nosecone in place. I'd already had an issue on this corner before, I should have remembered. I attempted a brush pianted repair but that was never going to work, and more paint came off when I removed the arch. 1:24 Monogram Datsun 280Z kit by Spottedlaurel, on Flickr So back out with the masking tape, again. I used BMF for the immediately adjacent edges, as I didn't want any risk of it creeping under the edges. 1:24 Monogram Datsun 280Z kit by Spottedlaurel, on Flickr Jumping back a step, the wheel location was an easy fix. I'd replaced the original tree trunk plastic axles with metal rods that suited these Fujimi/Aoshima wheels, so I just had to glue in another plate and redrill the holes. 1:24 Monogram Datsun 280Z kit by Spottedlaurel, on Flickr 1:24 Monogram Datsun 280Z kit by Spottedlaurel, on Flickr After more painting yesterday (on a less-than-ideal damp day) and a night in the airing cupboard I'm back to this stage. My masking appears to have done the job and I didn't lose any other paint, so I can breathe a sigh of relief and get it back together today. Fingers crossed this will be it's last appearance as a WIP..... -
It's really good, with a very effective and 'right' look to it.
-
Look forward to seeing it progress. Sounds like you have a clear plan and there's a good start there.
-
A work of art, it's fantastic. Building it to that standard, and to do it justice, means the engine bay has to be very nicely detailed too I imagine?
-
"Bring Out Your Dead" Completion Build--ROUND 2 Is On!
Spottedlaurel replied to Snake45's topic in WIP: Model Cars
That colour's going to look great on there. -
Another 62 Ford
Spottedlaurel replied to dragcarz's topic in WIP: Model Trucks: Pickups, Vans, SUVs, Light Commercial
Looks good so far. If it was me, I'd be going for something that represented the era of when the original builder would've constructed it, the garage truck with some period signage sounds good. -
Great to see this amazing piece of work finished, well done!
-
More excellent progress. I have now knowledge whatsoever on this kind of stuff, but it looks 'right' to me. And a lot of fun!
-
Having completed a few kits in the last month I can start some new ones. I picked up this Courier in 2015 and I haven't built an AMT kit for a while, so I thought I'd give it a go..... 1:25 AMT Ford Courier kit by Spottedlaurel, on Flickr The idea is it'll be fitted with the Thunderbird's supercharged 3.8-litre V6. The stepside bodystyle might be a bit dated for a minitruck built in the early '90s, but let's say the owner was giving a refresh to something they'd first built in the 1980s. 1:25 AMT Ford Courier kit by Spottedlaurel, on Flickr A shame there aren't many optional parts in this issue. I don't intend to use either of the wheel sets, so they'll be added to the parts box. 1:25 AMT Ford Courier kit by Spottedlaurel, on Flickr My current planned colour. 1:25 AMT Ford Courier kit by Spottedlaurel, on Flickr Briefly toyed with these wheels, but they have more of the early '80s look that I'm moving away from (and I have plans for them on another build). 1:25 AMT Ford Courier kit by Spottedlaurel, on Flickr 1:25 AMT Ford Courier kit by Spottedlaurel, on Flickr Spent a lot of time this afternoon mocking it up. A lot of separate pieces! These wheels and tyres are from the Monogram '87 Thunderbird. 1:25 AMT Ford Courier kit by Spottedlaurel, on Flickr 1:25 AMT Ford Courier kit by Spottedlaurel, on Flickr 1:25 AMT Ford Courier kit by Spottedlaurel, on Flickr The V6 had already been assembled, it seems to fit well enough. Looks like less trimming required than with the LT5 into C2 Corvette I've just finished. Issues to resolve: 1:25 AMT Ford Courier kit by Spottedlaurel, on Flickr The stepside body seems to sit a bit high, this image and photos I've seen in old Truckin' magazines show that it should line through with the side window. 1:25 AMT Ford Courier kit by Spottedlaurel, on Flickr Bonnet seems to project too far, maybe shorten the back edge a little 1:25 AMT Ford Courier kit by Spottedlaurel, on Flickr Loadbay cover seems to be too long. 1:25 AMT Ford Courier kit by Spottedlaurel, on Flickr It's a bit better when the step is installed, but this area still looks a bit untidy and a bit of infill/tidying on the back of the cab would improve things. I'm not planning to rush this one, I've just finished some kits which have been on the go for up to 25-30 years so I have room for a longer-term project or two.
-
AMT Ford Courier Pickup. Any good?
Spottedlaurel replied to pharoah's topic in Truck Kit News & Reviews
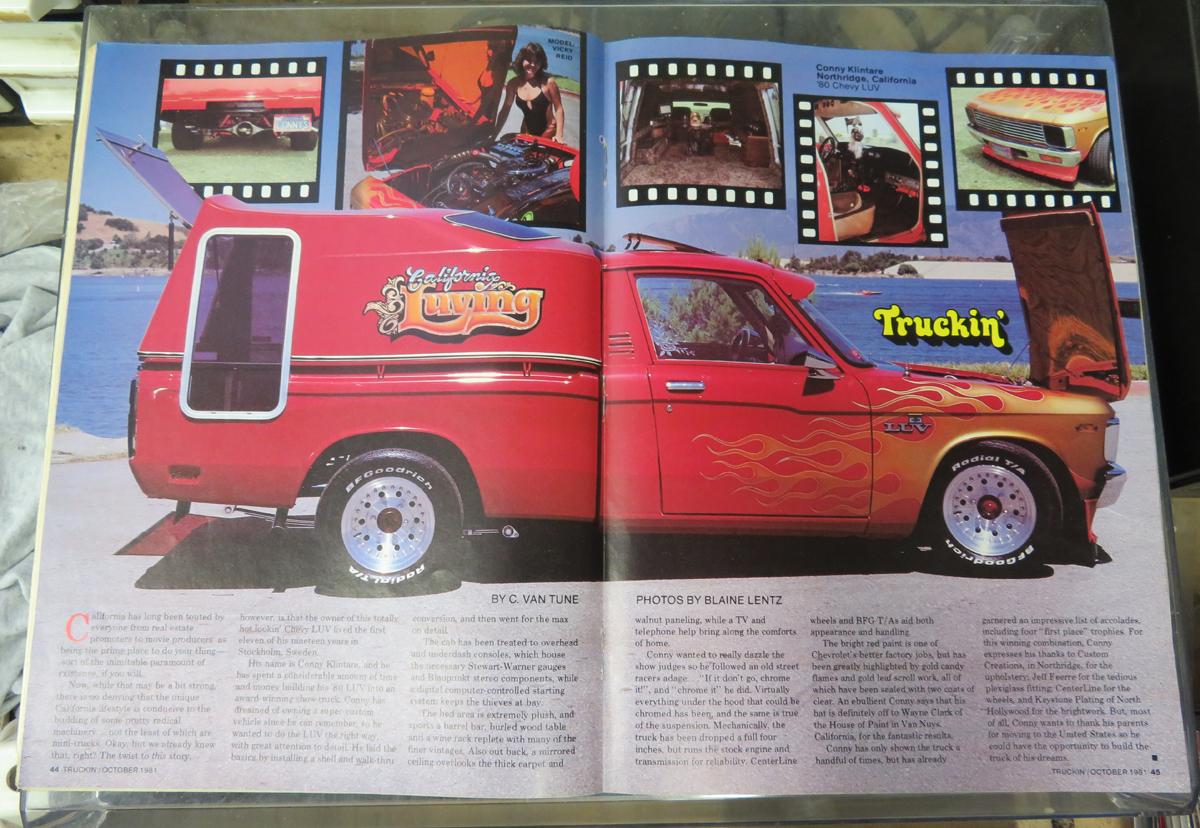
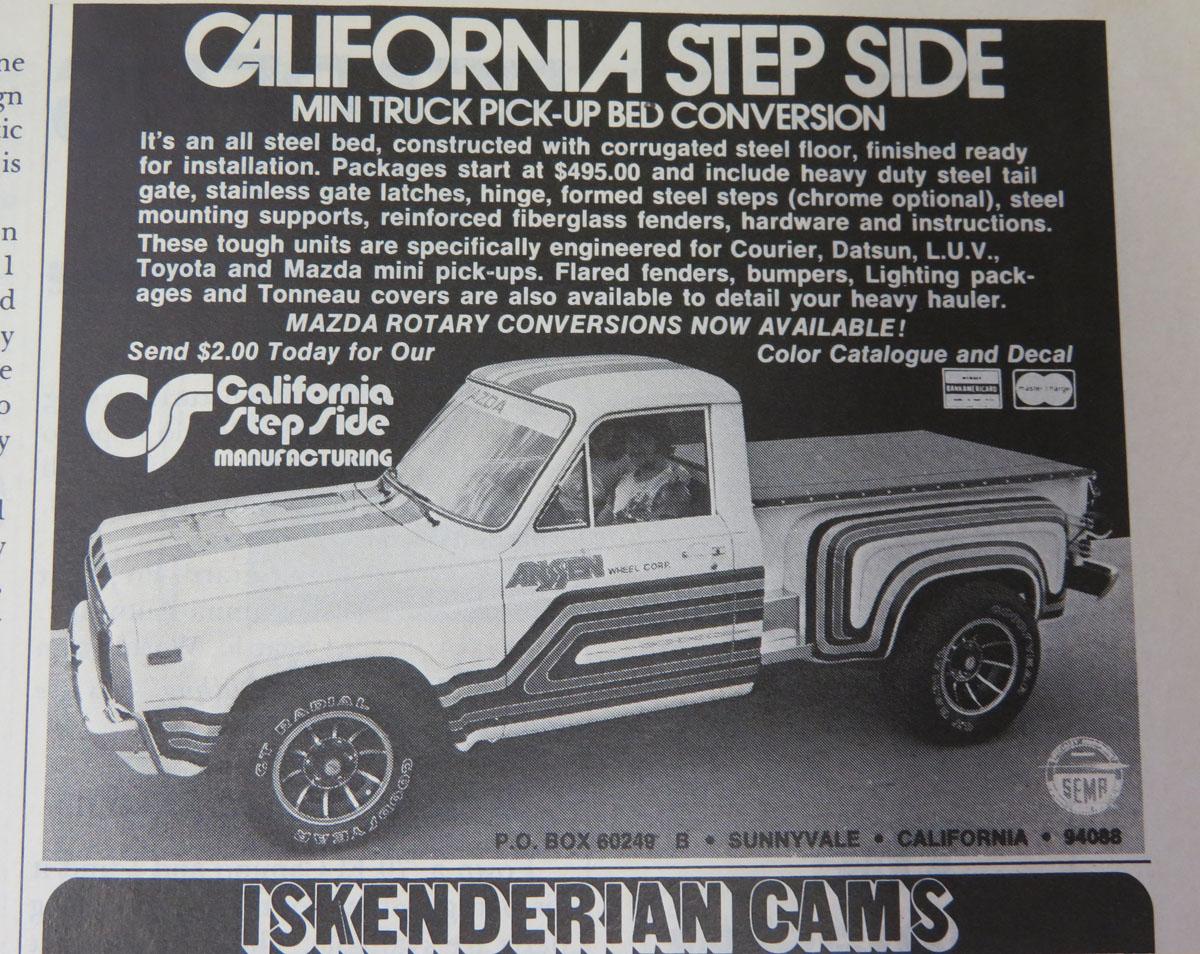
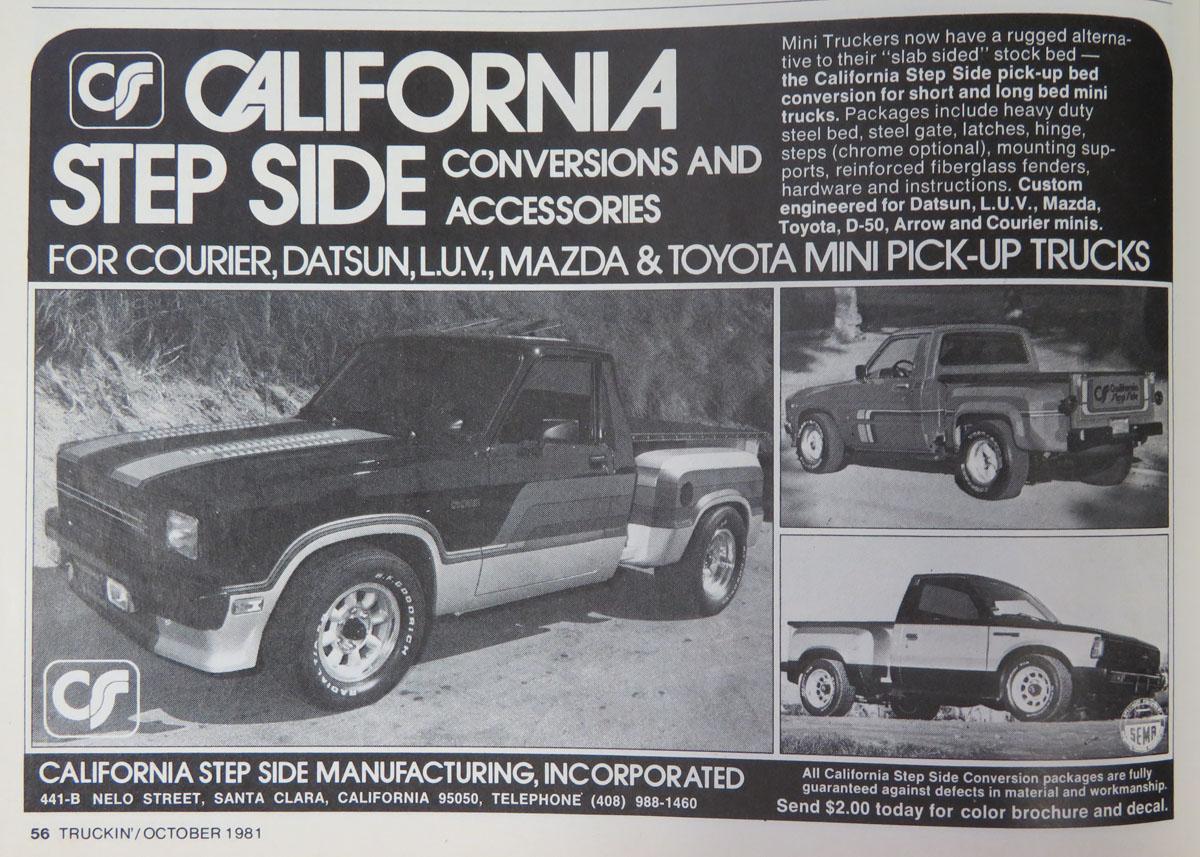
I have several of the Tamiya RX7s and I toyed with doing the same thing, but that '92 Thunderbird (edit: 1990) was bought as a donor and it looks like it should fit nicely. I'll start a WIP thread on it in a bit, when I've edited a few photos. For inspiration I was digging through some of my old Truckin' magazines, I found one or two things of relevance to this topic: I was interested to see the LUV above after reading your comments, the arrangement looks very similar to the kit. A couple of California Step Side ad's: The AMT kit's stepside body seems to sit a bit too high looking at those photos, I'm going to try and drop it down on mine.
-
Looks excellent. Plenty of BMF to keep you busy there....
-
Yes, they did a 1:25 version as a road car and BRE racer. Monogram did a basic 1:24 280Z in road and race versions, same bodyshell as the 240/260Z - I'm building one at present and it's a decent little kit. Fujimi, Hasegawa and Aoshima all offer various versions, but strangely despite doing it at 1:12 Tamiya never made one at 1:24. The rust element is true of many of the 1:1 Datsuns I've owned (approaching 40 saloons, coupes and estates, but no Z/ZX), breaking down much less so which is a major reason why I like them. I can own an interesting and unusual old car and use it with a reasonable degree of confidence. My current 1980 Laurel is pretty solid, although my '73 1200 has had a lot of repair work in the past (and will need a lot more one day) and my '88 Sunny is starting to go in a few places. At least the small plastic ones don't have that issue...... Good luck with getting it finished Johnny.
-
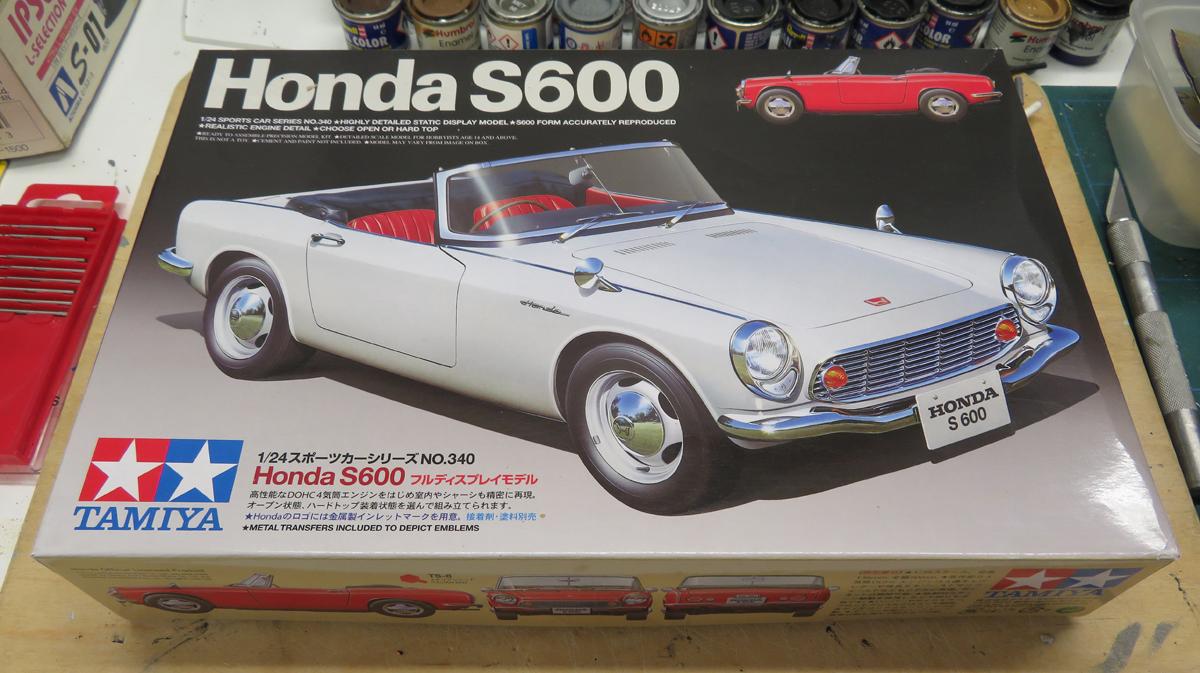
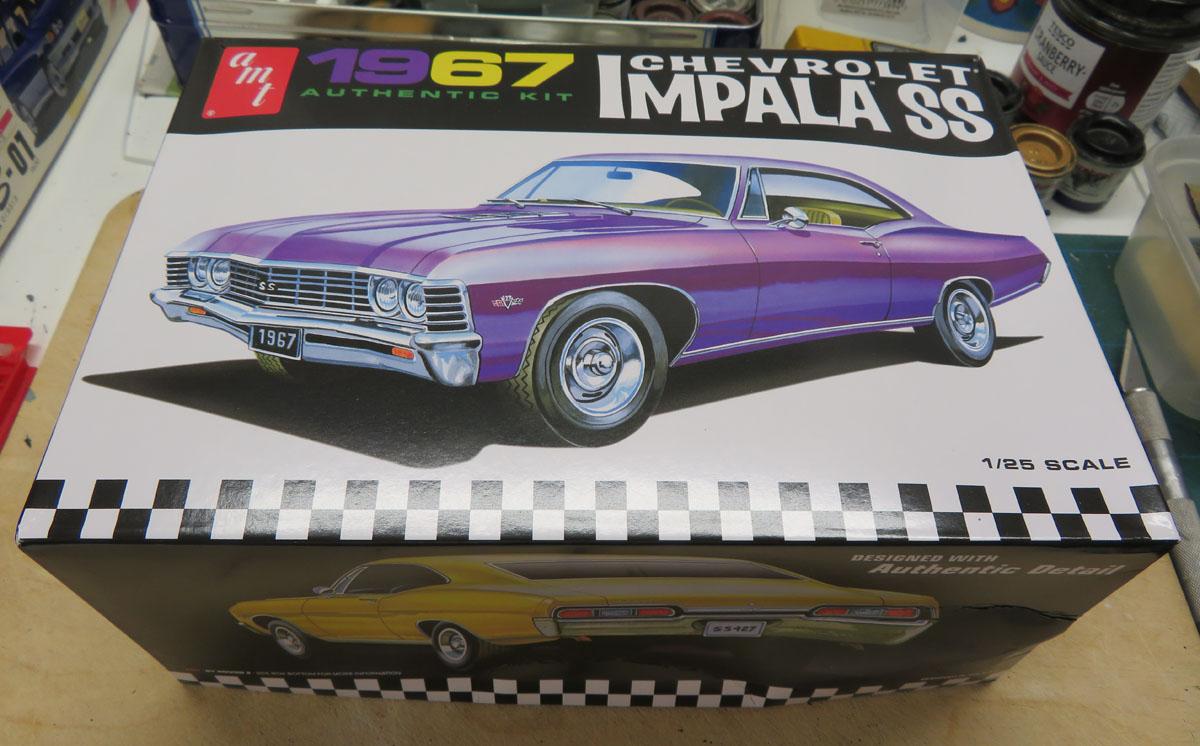
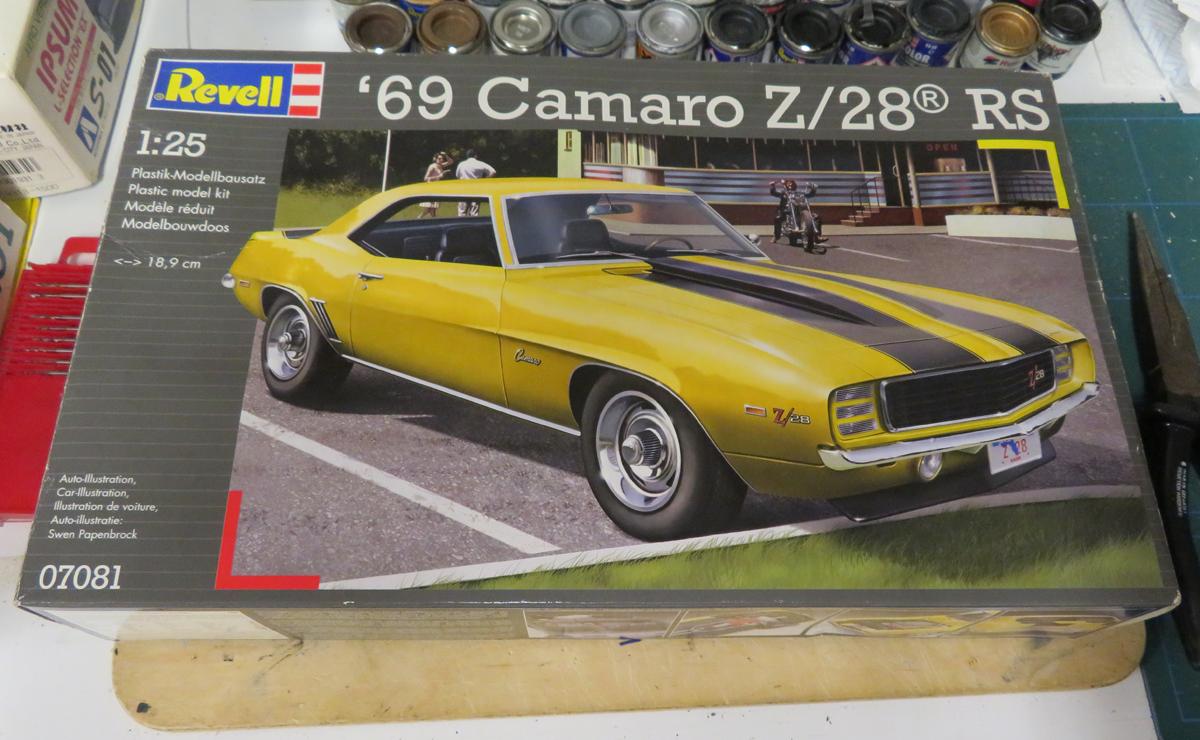
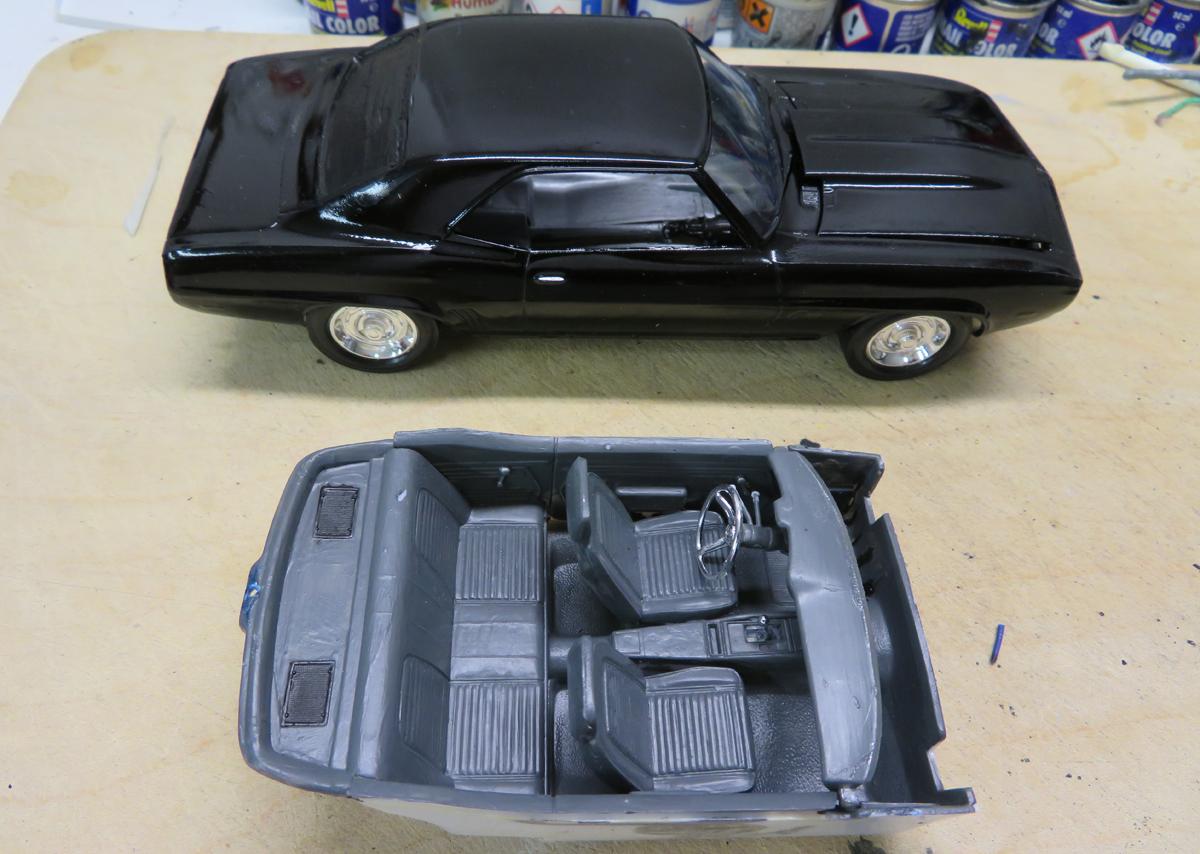
The results of spending too much time on eBay when I was on holiday last week have continued to arrive: Lovely little thing, such delicate mouldings. I love the look of these things. Glad to get some decent-sized Rally wheels as well. Thinking about an '80s Street Machine look for this one. The three wheel sets will be useful for other projects. Cheap, I don't have too much interest in it beyond being an engine donor. Wheels might be alright if given some semi-flat clearcoat or painted a dark shade? Answering my own question, this is the same basic kit as the Revell '69 Yenko I got the other day. Another cheap one, because..... Started, missing one or two pieces and for some reason the back window appears to have been painted with something very thick. It might donate some bits to the other one, then get built as an old dirt track racer or similar (perhaps even a Super Rod, as we had racing on the short ovals here back in the 1980s). The unpleasant Revell Europe box has already gone in the recycling bin.
-
That's excellent. The straight bodywork looks great, and it's really nicely put-together.
-
Back to basics Modelling - spray paint
Spottedlaurel replied to bluenote's topic in General Automotive Talk (Trucks and Cars)
I'm another rattle can user. I wouldn't be disciplined enough to look after an airbrush, and I can achieve acceptable results with a mix of Tamiya TS and automotive sprays. -
That's excellent, great details and weathering.
-
AMT Ford Courier Pickup. Any good?
Spottedlaurel replied to pharoah's topic in Truck Kit News & Reviews
A useful and interesting thread here, as I'm just about to make a start on building the '95 reissue above. Before I get too far with it I plan to do a lot of trial fitting, a bit challenging when there are lots of separate components but I don't want to get caught out at the final assembly stage and have it look like it's broken its back.... Current thoughts are low and fitted with the supercharged 3.8 V6 from the Revell '92 Thunderbird SC - a stepside might not be the obvious choice for this treatment, but I think with the backstory I have it will make sense (and sadly I don't have the fleetside loadbay as an option!). Other than alternative wheels I am surprised it doesn't have many/any optional parts included. I'll be doing a bit of parts box raiding for bucket seats, appropriate wheels etc. This truck is more familiar to me as the Mazda B1800, popular with builders and other tradesmen back in the day. If AMT had given the option of building it as a Mazda I'd have been tempted to drop in a rotary engine, to create an update of the original REPU, but they didn't and I have a thing about trying to keep engine swaps 'in the family'. -
Nice bundle there. The recent Aoshima reissues of older kits often have extra detail with them.
-
He's certainly got the knack hasn't he?! Looks excellent. My 14yo son has started doing some kits alongside me this year, for now I'm doing the spray painting but leaving him to everything else. Good to have some company and see what each other are up to.
-
Thanks everyone ?
-
Mine you mean?! I did wonder..... Interesting to know that you think it might have some value. As far as I'm concerned it was a just a fairly cheap eBay purchase that I was slightly surprised to win, and is going to be built when I get inspiration. I also have this one on the way to me, maybe the same basic kit?