Big John
-
Posts
856 -
Joined
-
Last visited
Content Type
Profiles
Forums
Events
Gallery
Everything posted by Big John
-

1/25 '63 Spirit of America
Big John replied to Terry Jessee's topic in General Automotive Talk (Trucks and Cars)
Coming to this discussion Way Late but thanks for sharing. Even a ragged mold would be good to have in hand... Hint hint. I am toying with an old Wen Mac Spirit, the worse part is the jet intakes need severe make overs. And of course need a source for decals. Thanks again for sharing! -
In my experience the Tamiya will crackle over time even on their own paint base.
-
Post your RVs here
Big John replied to Oldcarfan27's topic in Model Trucks: Pickups, Vans, SUVs, Light Commercial
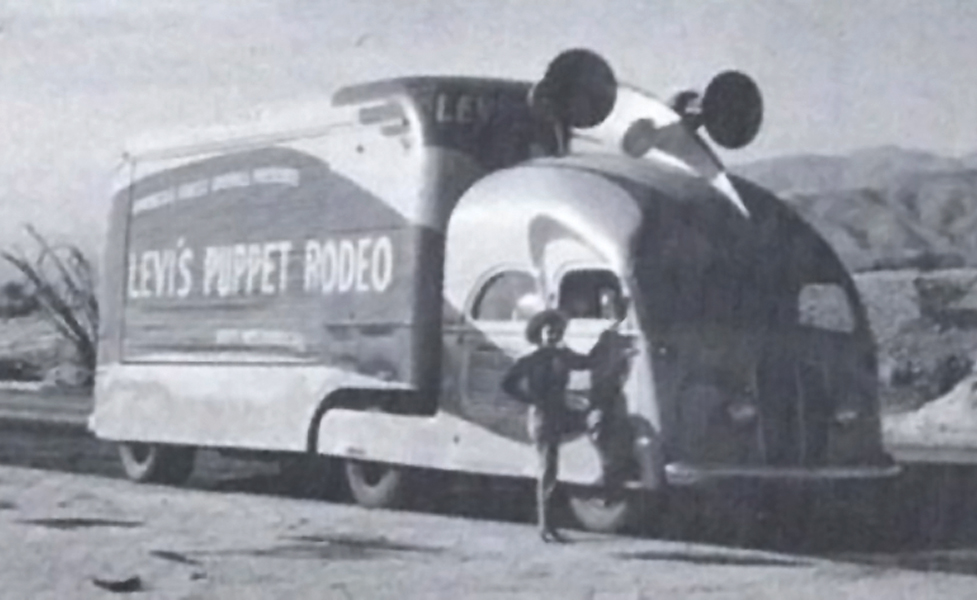
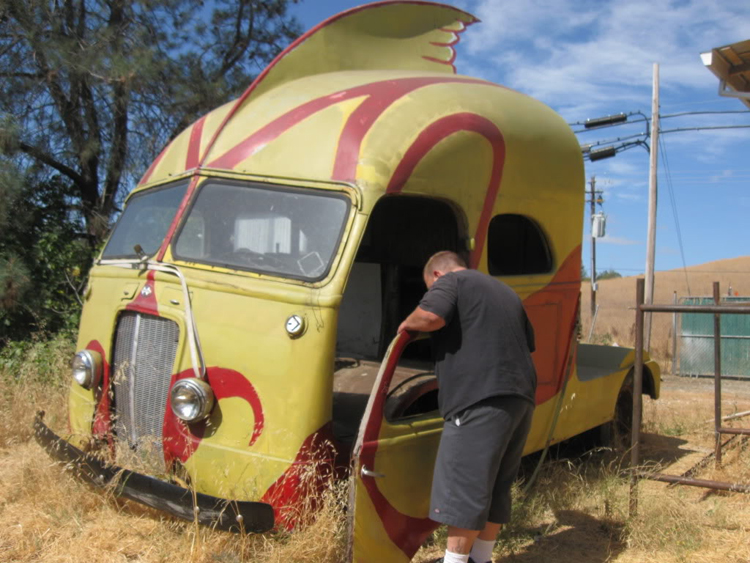
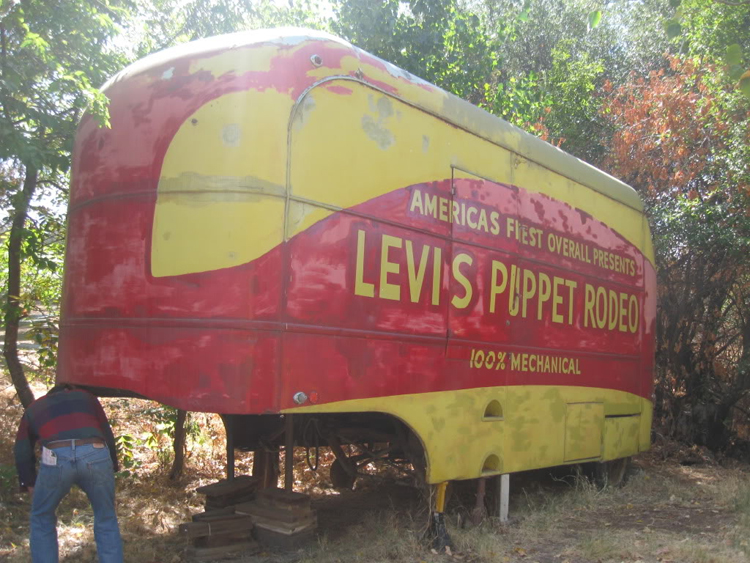
This second I just chanced upon while surfing the net. This guy found the original and is or was restoring it. What I want to know is what is involved in the Puppet Rodeo!
-
Post your RVs here
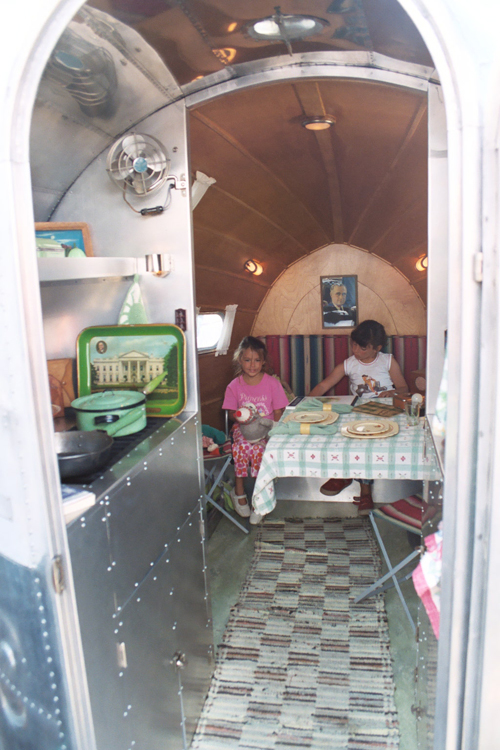
Big John replied to Oldcarfan27's topic in Model Trucks: Pickups, Vans, SUVs, Light Commercial
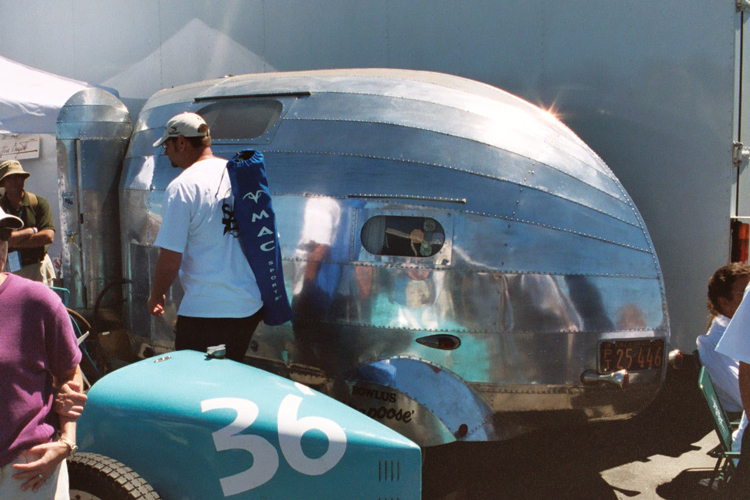
What Fun! I've always had a fascination with metal trailers, and Deco Liners though they aren't in my line of builds. Thanks for all the shares. Here are a couple of inspirational subjects that have caught my fancy. First is a trailer I saw at the LGS Historic races. I don't really think it is a Bugatti buy who knows?
-
Thanks for sharing your fantastic collection CL. Some real gems. I love the little blue Alpha coupe by QR and the Spirit of America! I am attempting to repurpose an old Wen Mac Spirit that come close to 1/24th but would really wish there were one available done properly. Your photo has some good reference potential. Pardon my silly question but for us uninitiated what is the QR brand? Thanks again.
-
From where I sit the engine turned decals look pretty good. This is one of those things that I wish BMF (Bare Metal Foil) would put out is a good 1/25/25th da machine finish. The movie is definitely worth watching.
-
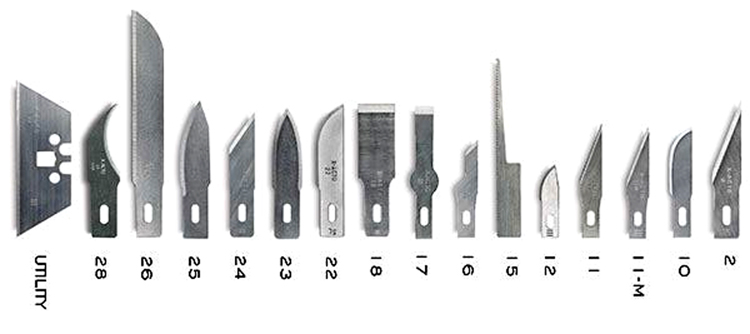
I have found that using the arch typical Exacto #11 blade will often wander off line because of the thin blade tip, especially if too much pressure is applied. They are great for curves and inside radius clean up however for straight lines I prefer a # 16 which gives you much more control.
-
'Mad Mike' Hughes killed in homemade rocket crash
Big John replied to Mike C's topic in The Off-Topic Lounge
You's all to much! If the earth were falt we wouldn't have to worry about rising sea levels because the water would all just run off the edge. Dam! -
Belly Tank kit in styrene
Big John replied to Greg Myers's topic in General Automotive Talk (Trucks and Cars)
Really nice job on the Vesco - Nish streamliner, beautiful lines. -
Today I saw a 1:1 one of these Weber intakes for a small block Chevy up for sale on ebay. Coming along nicely, Webers are looking good. Thanks for the notice!
-
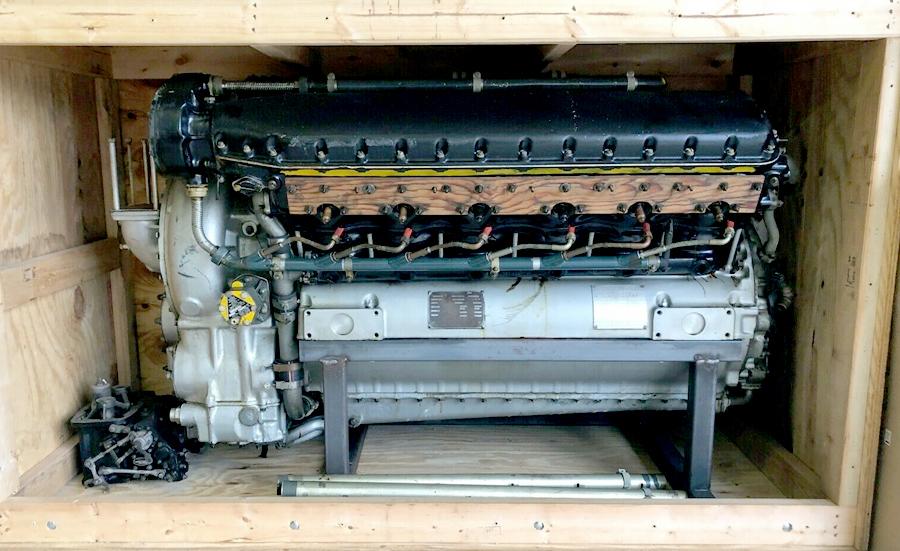
The Ultimate crate motor...
-
Cool! At first glance the intake looked like a cross ram plemun job like the old Edelbrock Smokey cross ram intake but it really does have individual runners.
-
you would have to ask the Mad Man that. I would guess because there are many existing Ferrari's available in many scales and types, resin and production kits.
-
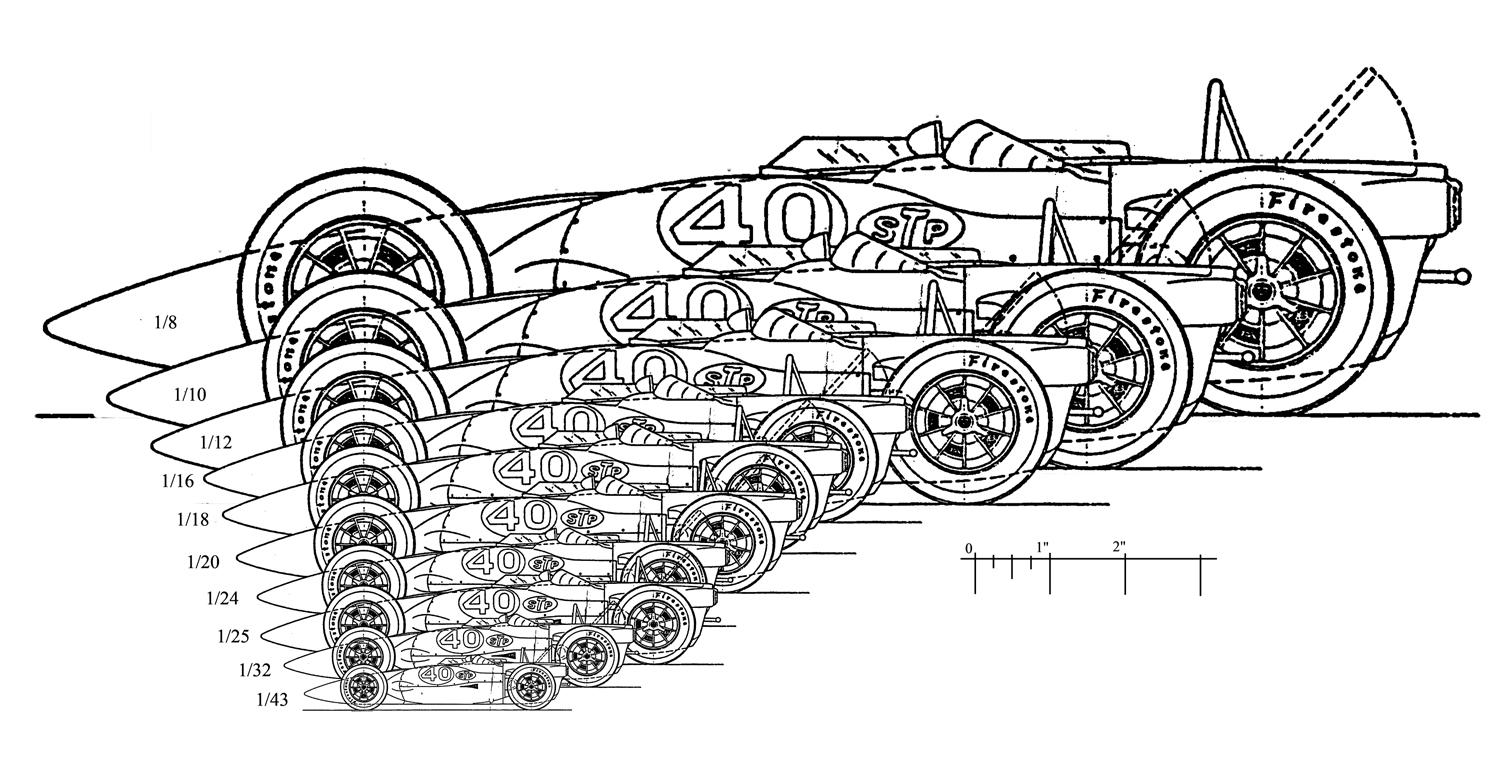
How do various scales compare to each other? I, like many others never really considered what that one little extra point between 1/24th and 1/25th scale really meant to my customizing project. Heck they are almost the same... I can just swap that Monogram Sizzler Dragster mill into my Revel Tony Nancy rail! ? One year I did a model making display for a VFW car show and decided that I would like to show the difference in most all the popular model car scales. Below is the results using one of my favorite cars as reference. I took the overall size from the 1/20 Turbine and used a drawing from the Bill Jorgensen kit plans, thank you Bill. Then did some math and this is the results. I was surprised by how much as difference there really was between the 1/24 and 1/25.
-
Indycals did a 1/25th Marmon but the release was short lived.
-
In the back.
-
Yes, Mad Mikes Webers and Holleys are pretty amazing!
-
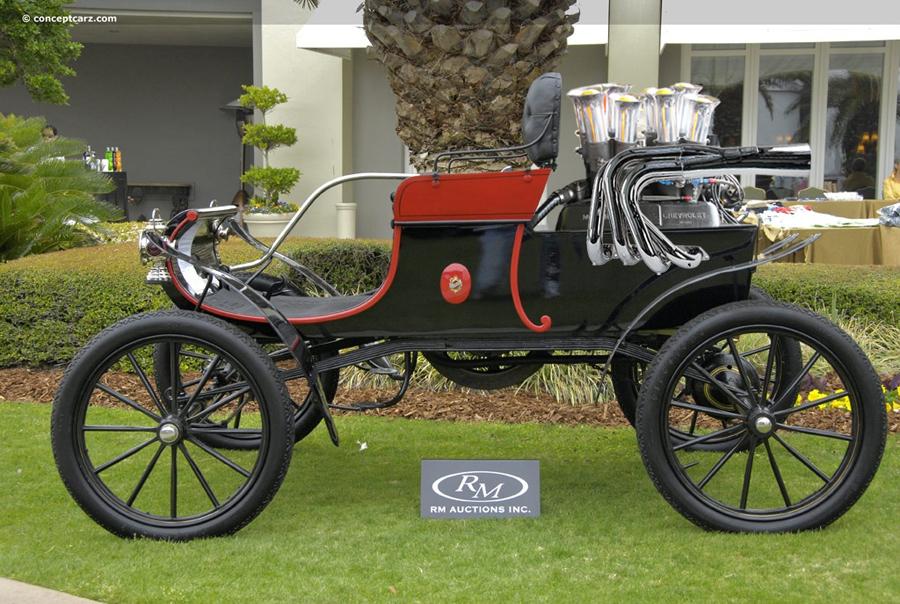
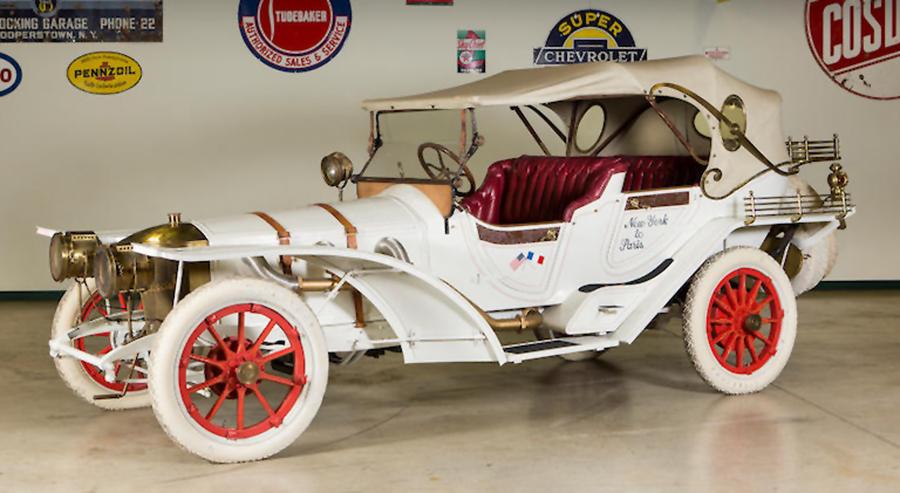
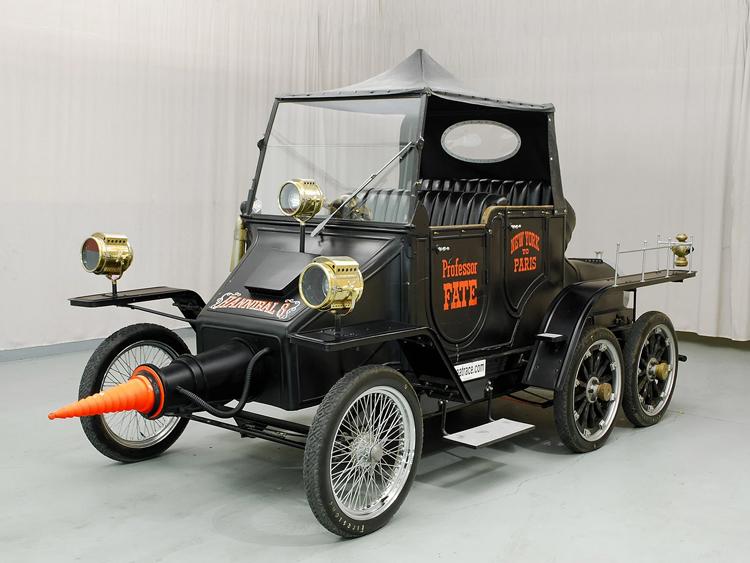
Oooo, Oooo What about the cars from the movie The Great Race? I don't know why they weren't picked up by the model companies when the movie was released. The Lesley Special is totally Classic, and who wouldn't want a model of Professor Fate's 'Hannibal Twin-8?
-
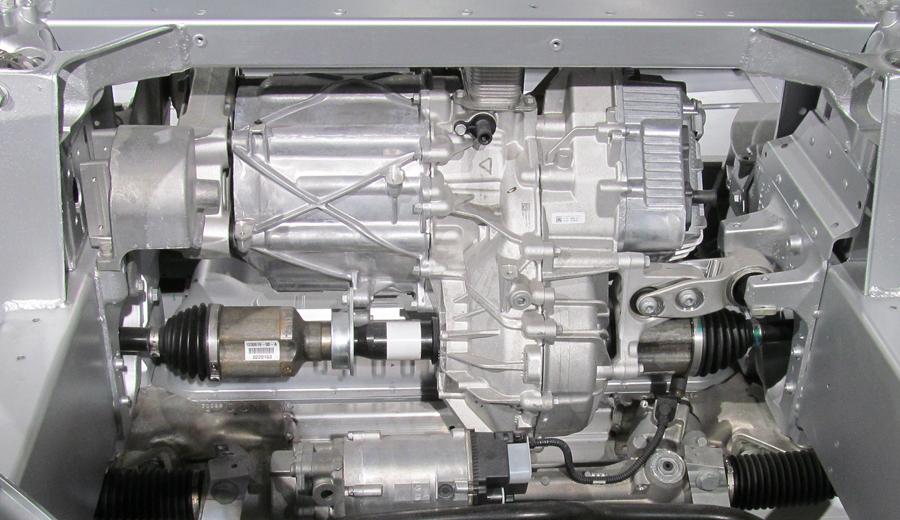
Yes, this was at the Peterson museum in LA. the future of engines? But you will need to put playing cards on the wheels to get the 'Real sound of power" affect.
-
Hear Hear! Lost track of my model making MoJo for nearly 20 years, and still regret not doing what ever I needed to to keep my parts box and old kits. The two or three kits and partial builds that survived are still a treasure. For us detail freaks the larger scales often open the door to more and finer details. As stated by the wise minds above, take a break from the hobby but keep your collection of stuff, chances are they will be discontinued overpriced and from used molds when come time to rev back up. And while away you will find that that cool car you saw at the local Roding show will get the juices flowing again!
-
I like the work in white styrene and the brass carbs. Looking good! So, if "Hope is eternal - the combustion engine is ... not ....? You'll be wanting to build one of these next?
-
don't know your take on South Eastern Finecast, but would they be an option lotus 25,33, and 38,
-
'Blue Bird' 1935 1:18 scale
Big John replied to FURBALL's topic in WIP: Other Racing: Road Racing, Land Speed Racers
Awesome! Love early tech. -
'Blue Bird' 1935 1:18 scale
Big John replied to FURBALL's topic in WIP: Other Racing: Road Racing, Land Speed Racers
There are two cars that have been referred to by that name I love them both, so sensual. BTW, I have a larger size layout for the SSC, none are what you would call high resolution but usable as a rough template.
-
'Blue Bird' 1935 1:18 scale
Big John replied to FURBALL's topic in WIP: Other Racing: Road Racing, Land Speed Racers
Fernando of FFP (crazycar19) has offered both 1/24th models of the 1933 Bluebird and Bluebird CN7 as well as the Thrust 2 from time to time on ebay. both bluebirds are listed at this time. He does nice work.