70 Sting
-
Posts
1,369 -
Joined
-
Last visited
Content Type
Profiles
Forums
Events
Gallery
Everything posted by 70 Sting
-

1965 Chevy II Street Gasser (Sox and Martin inspired)
70 Sting replied to DanL's topic in Model Cars
That's cool. Great engine. -
Beautifully done. Looks great with the body off as well!
-
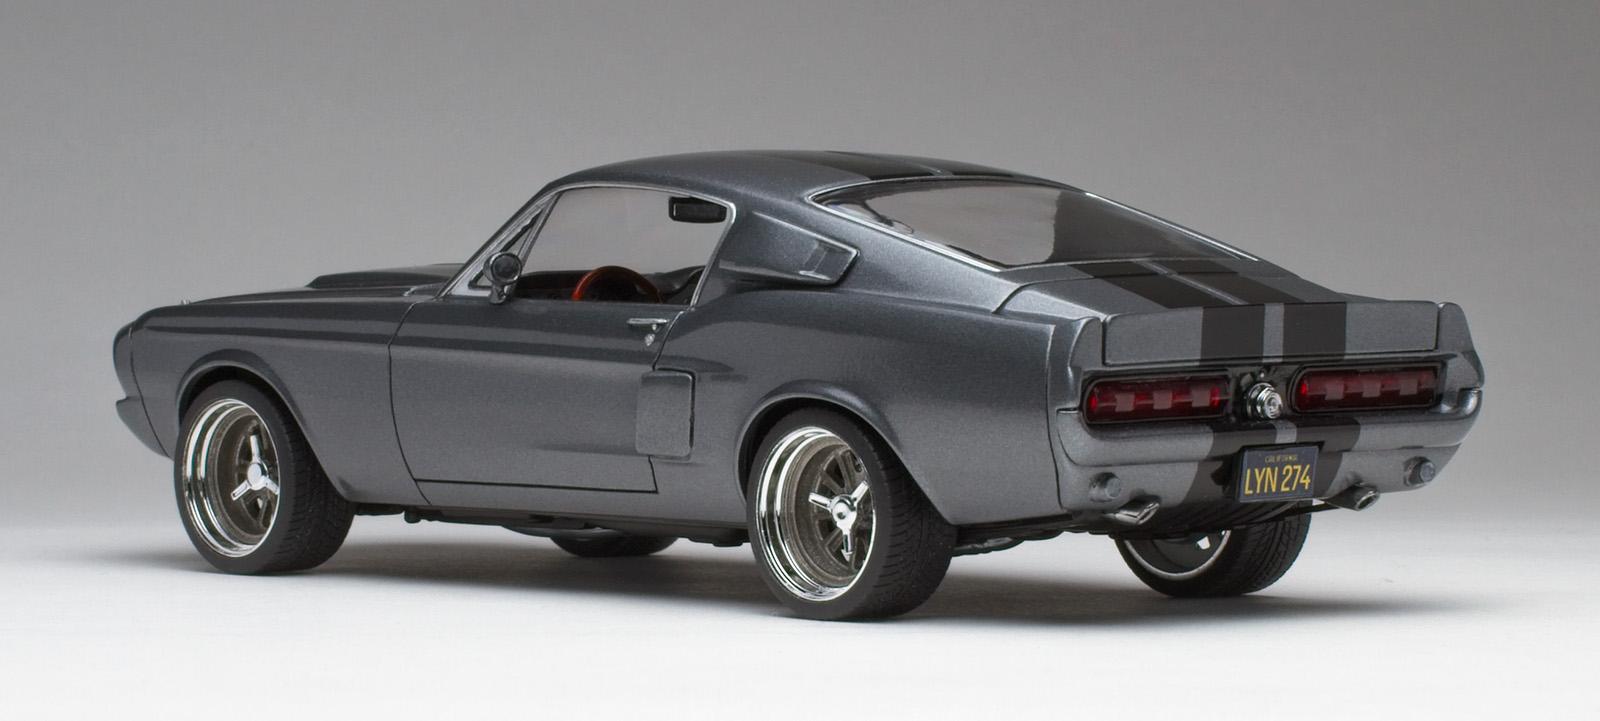
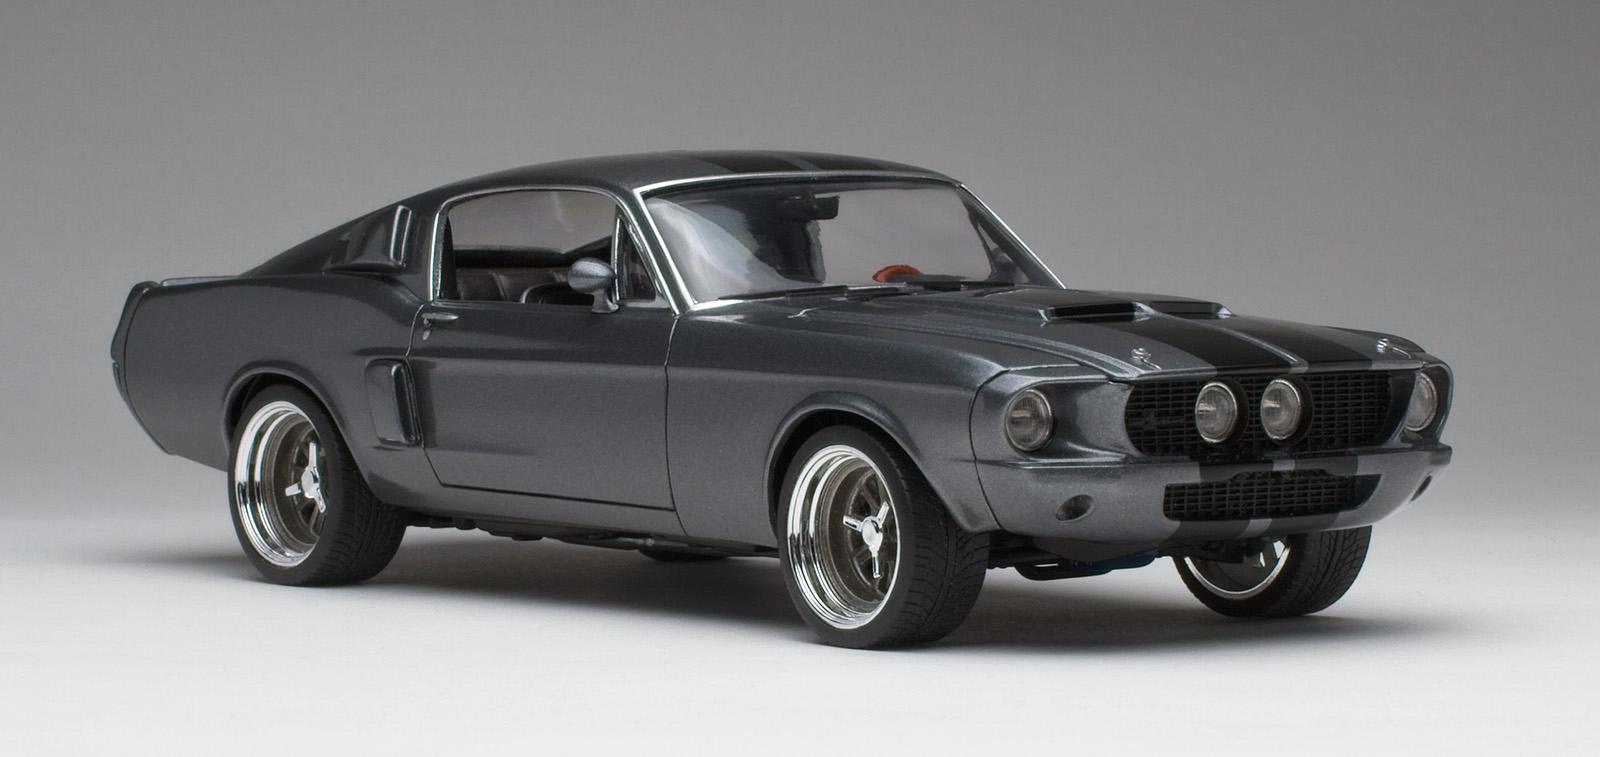
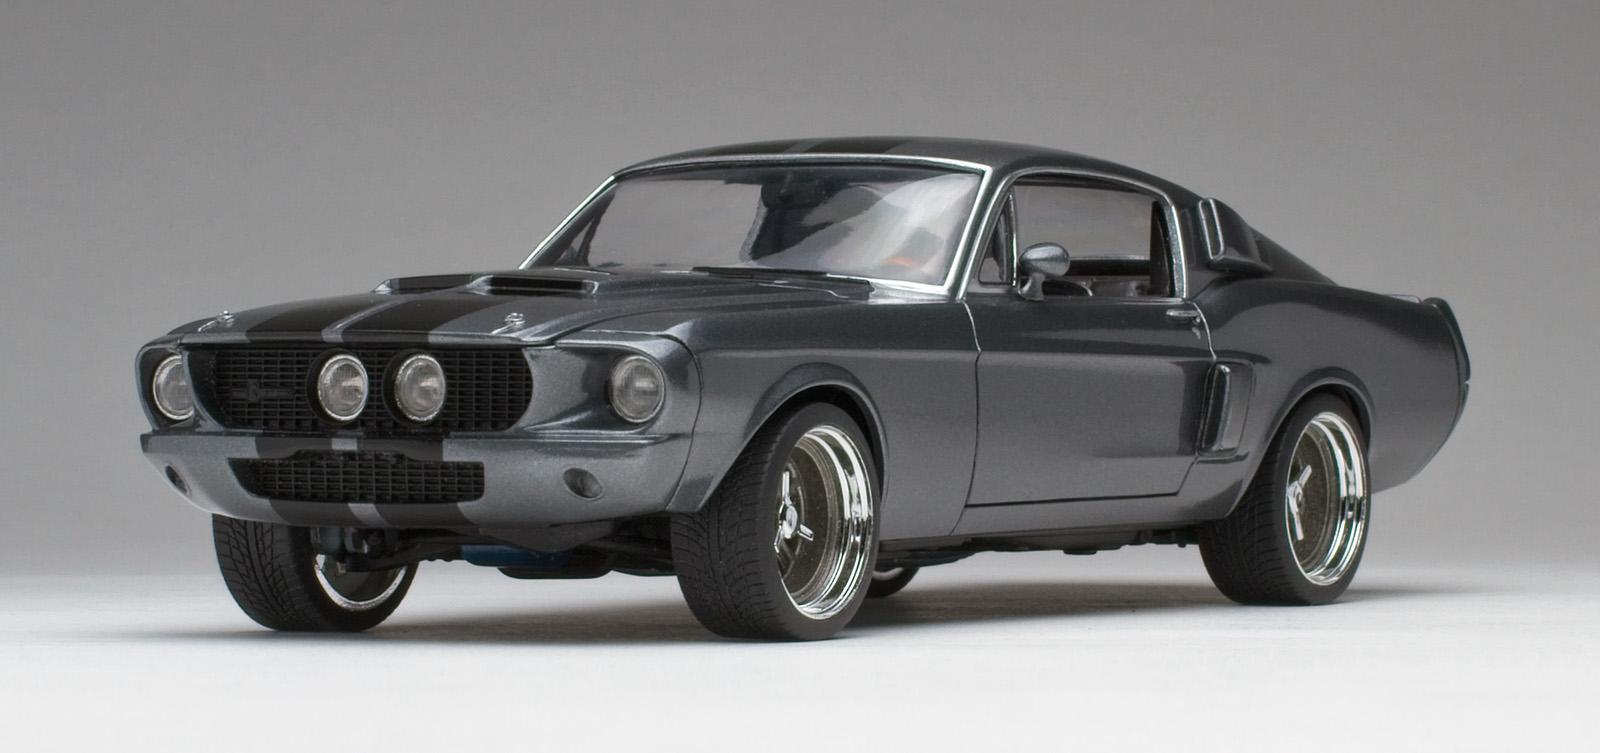
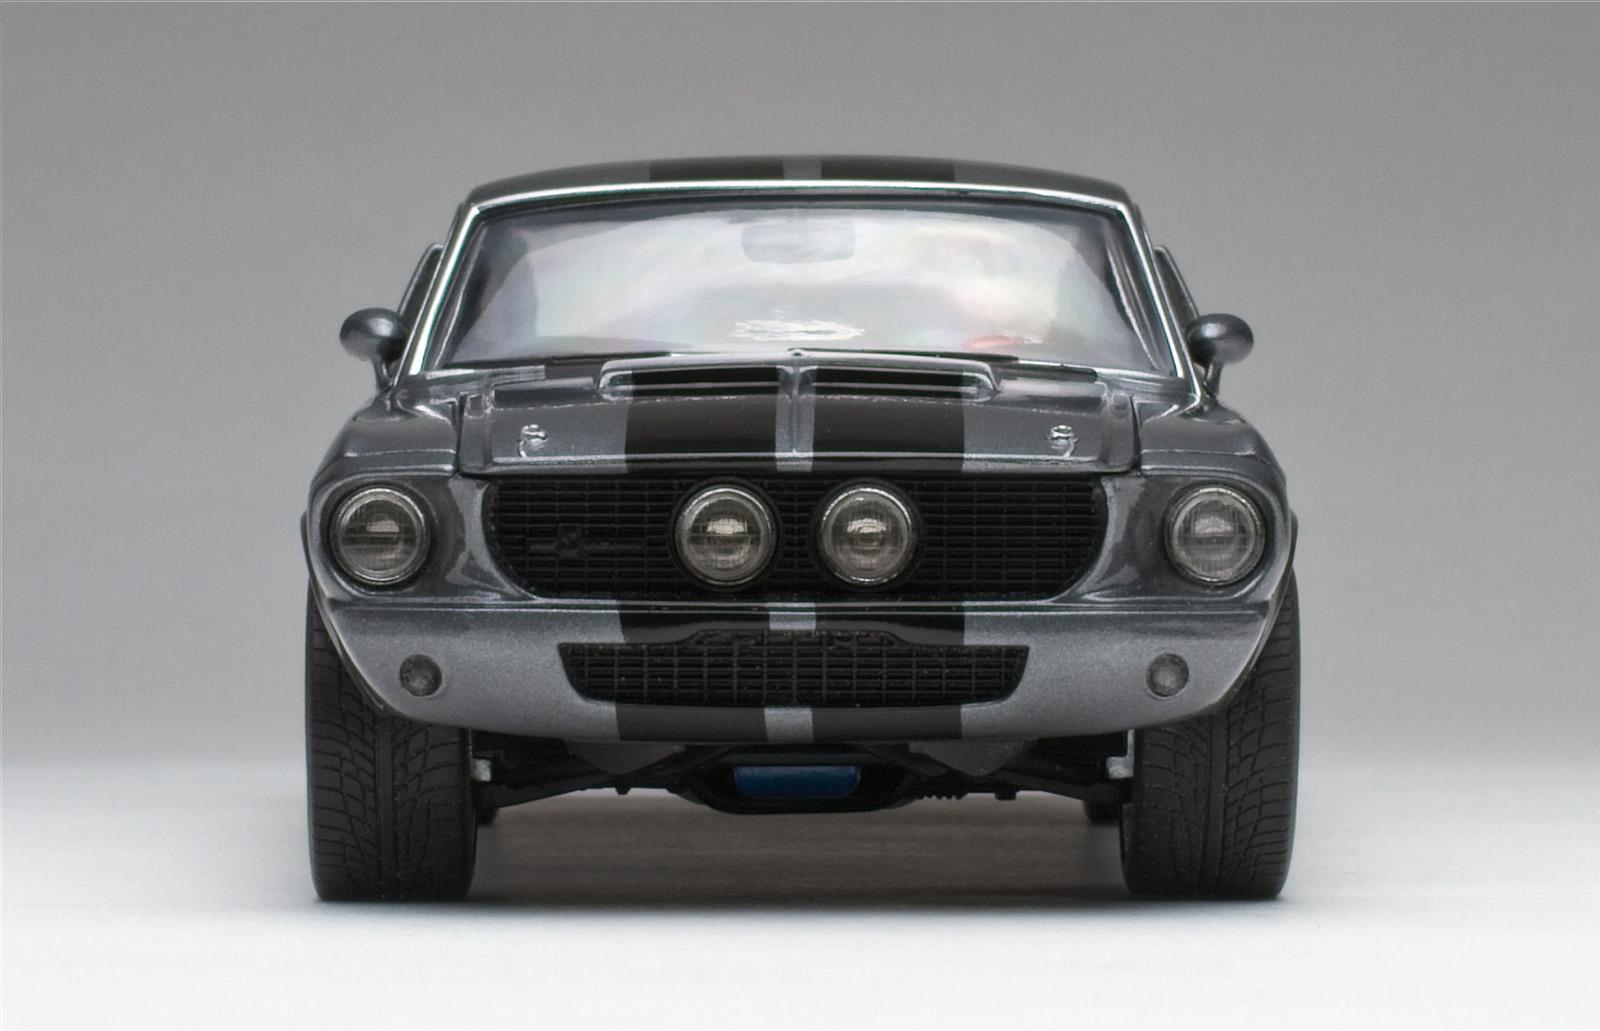
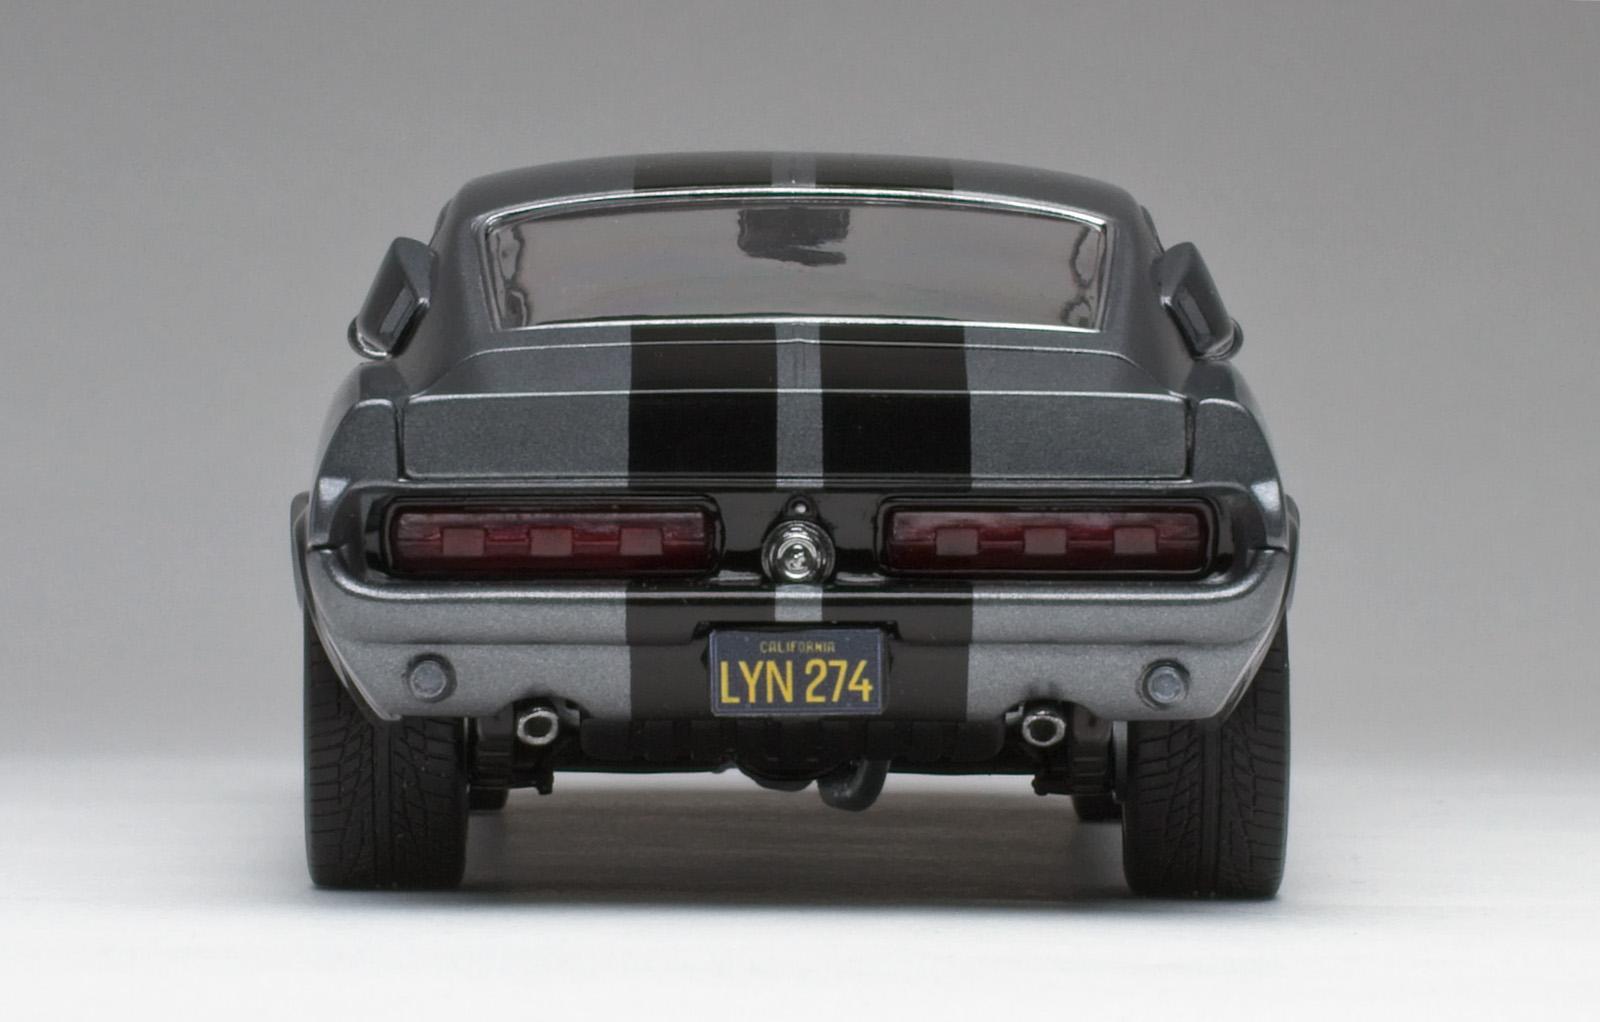
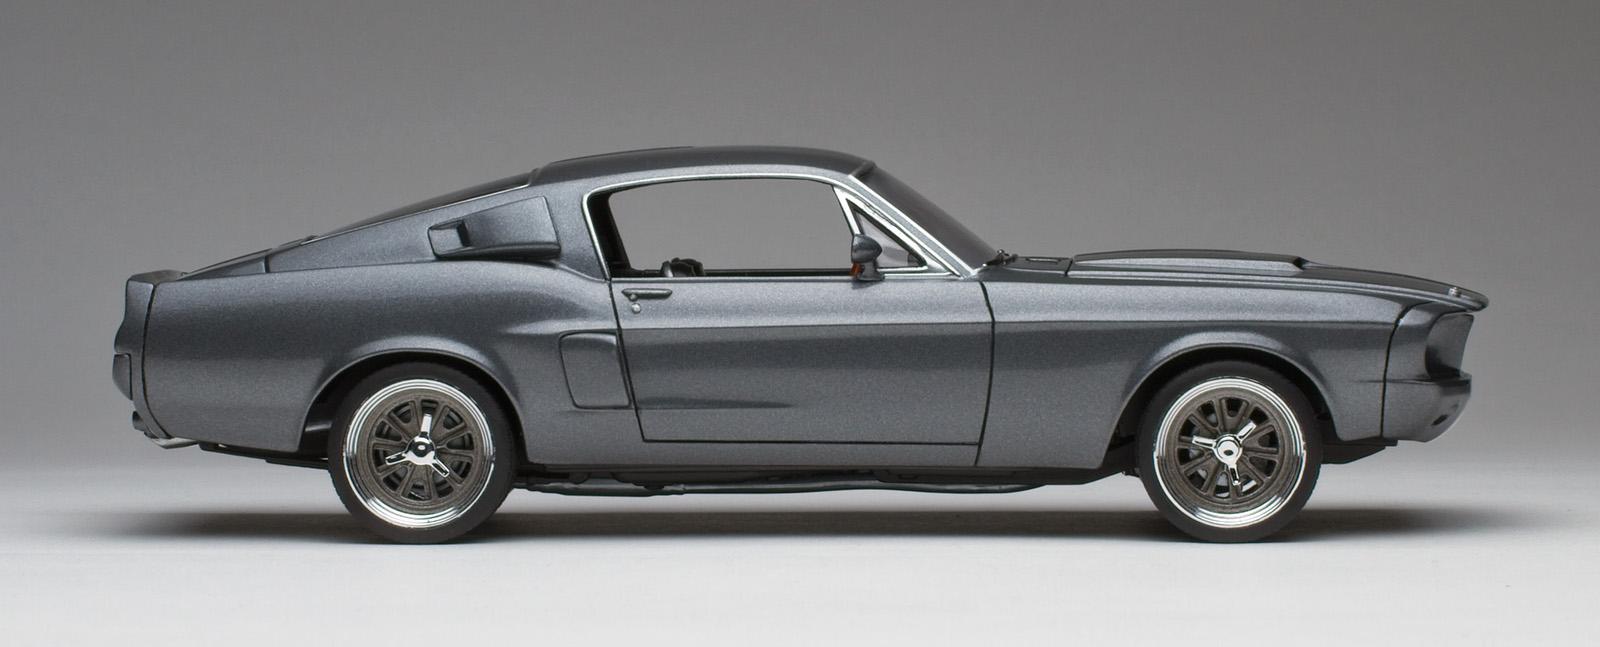
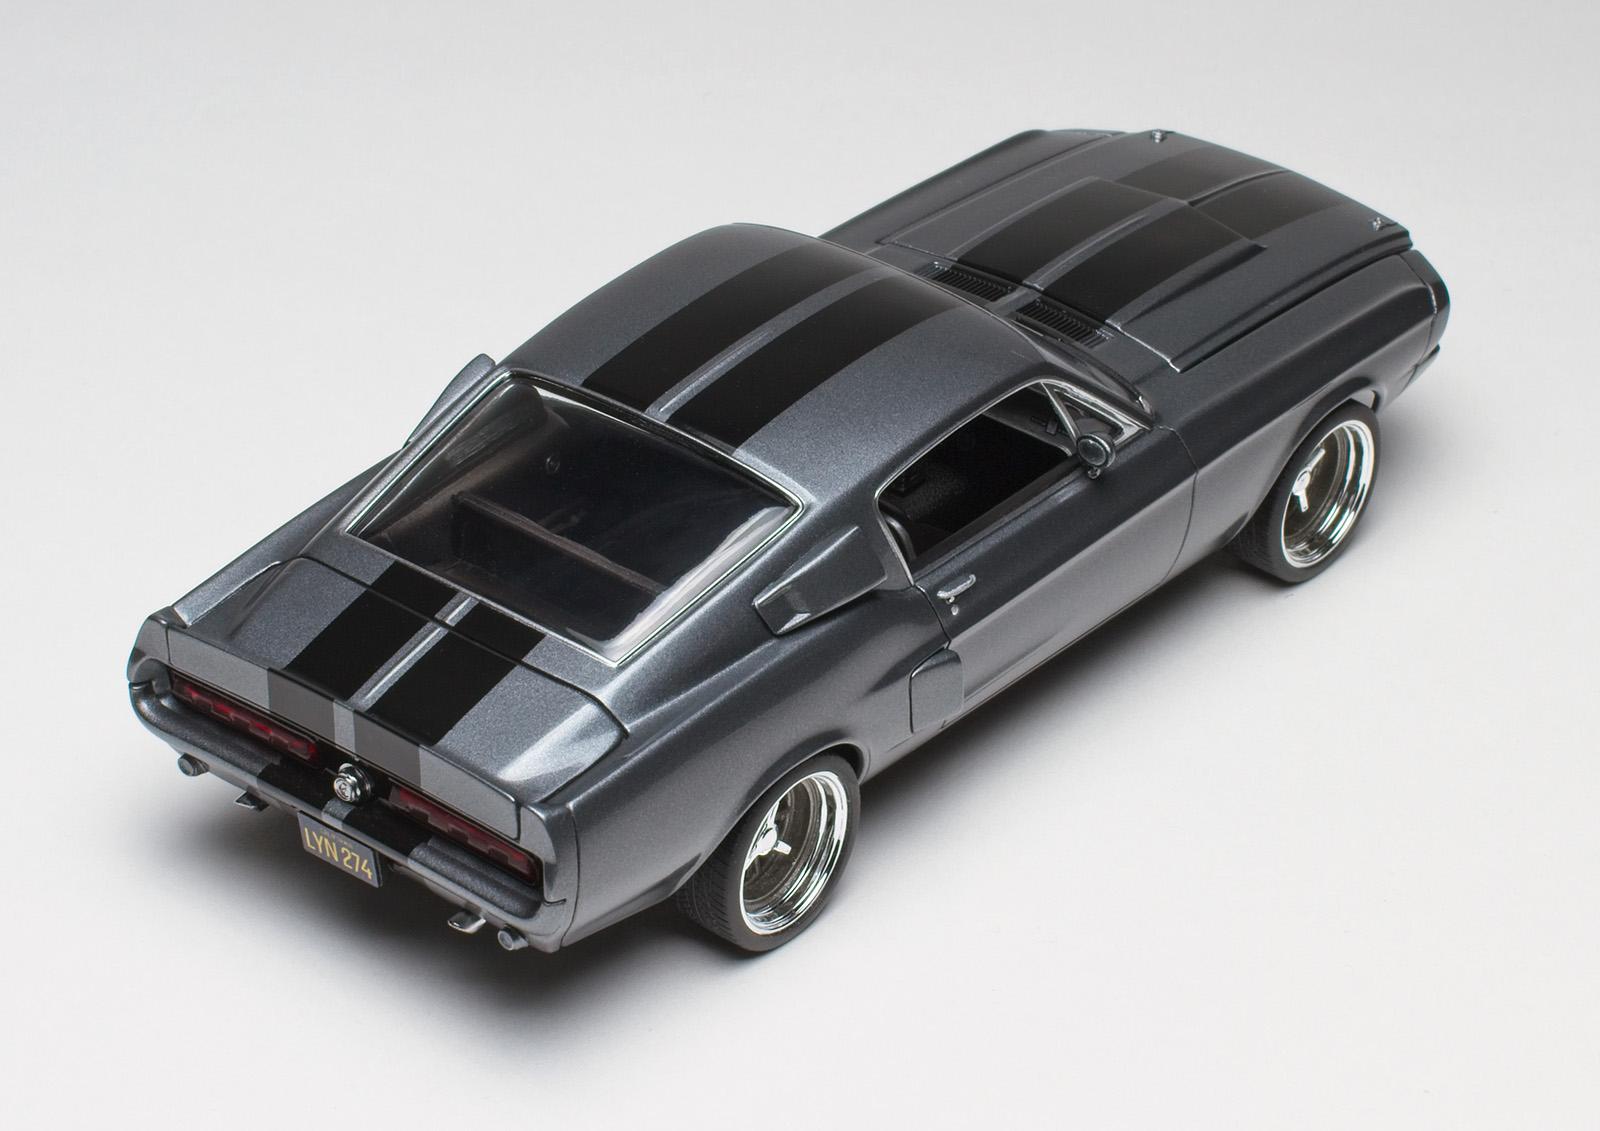
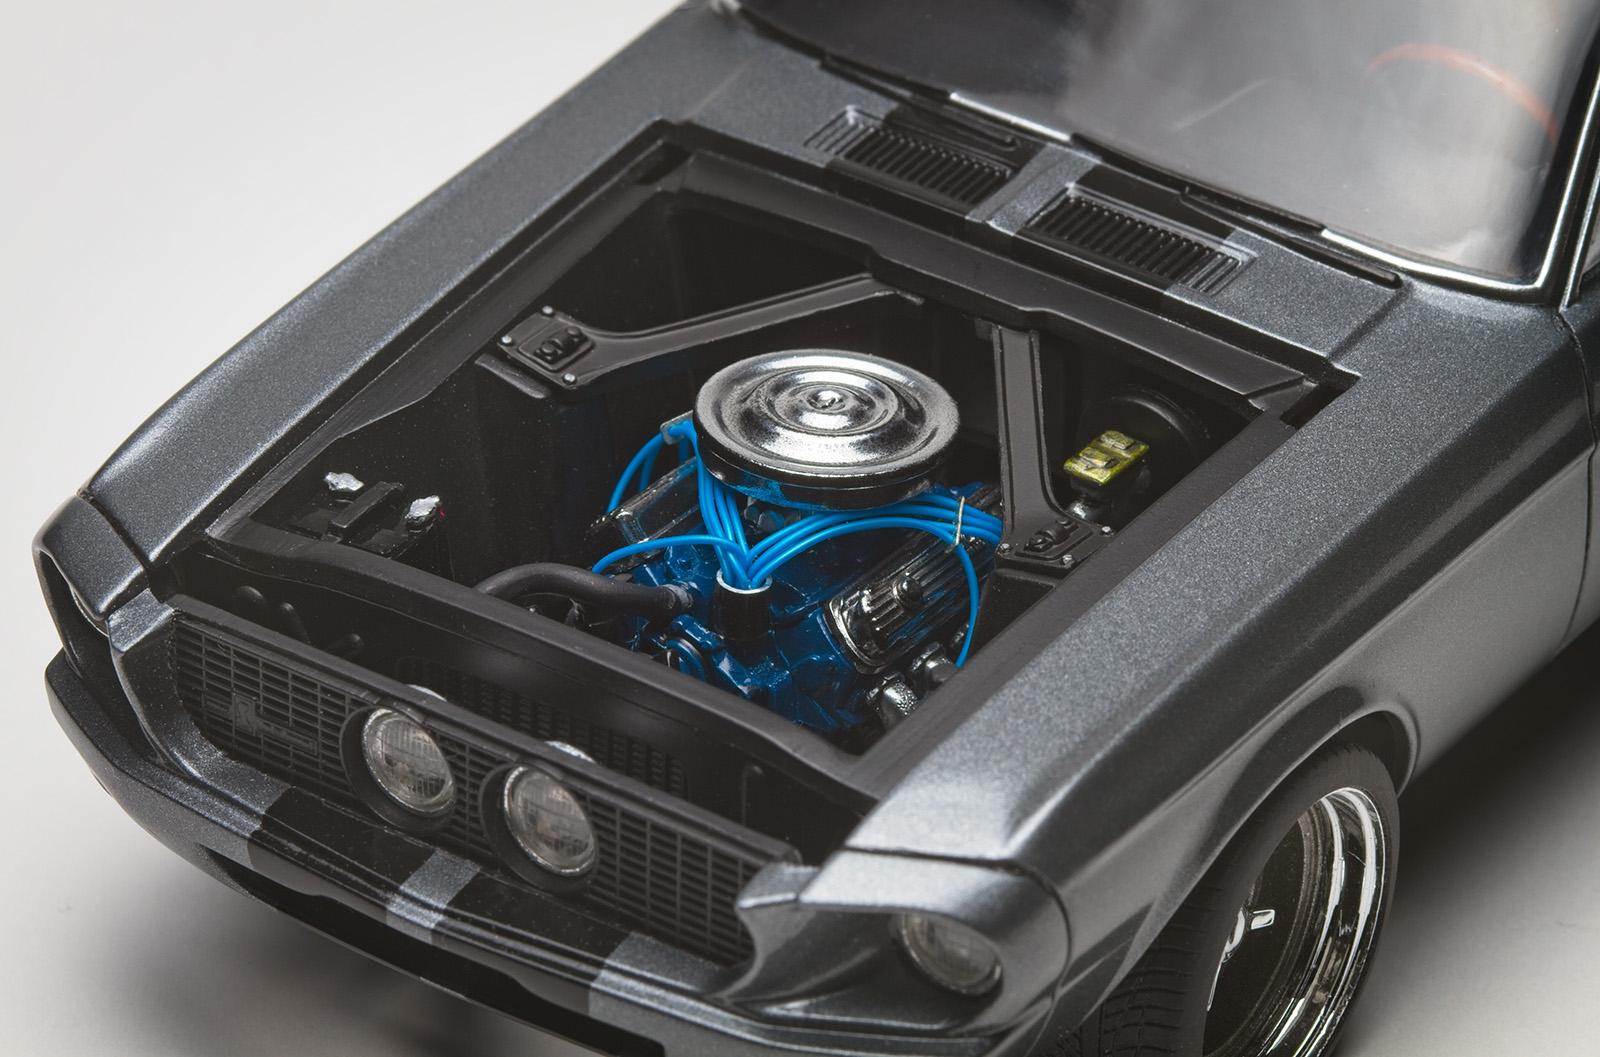
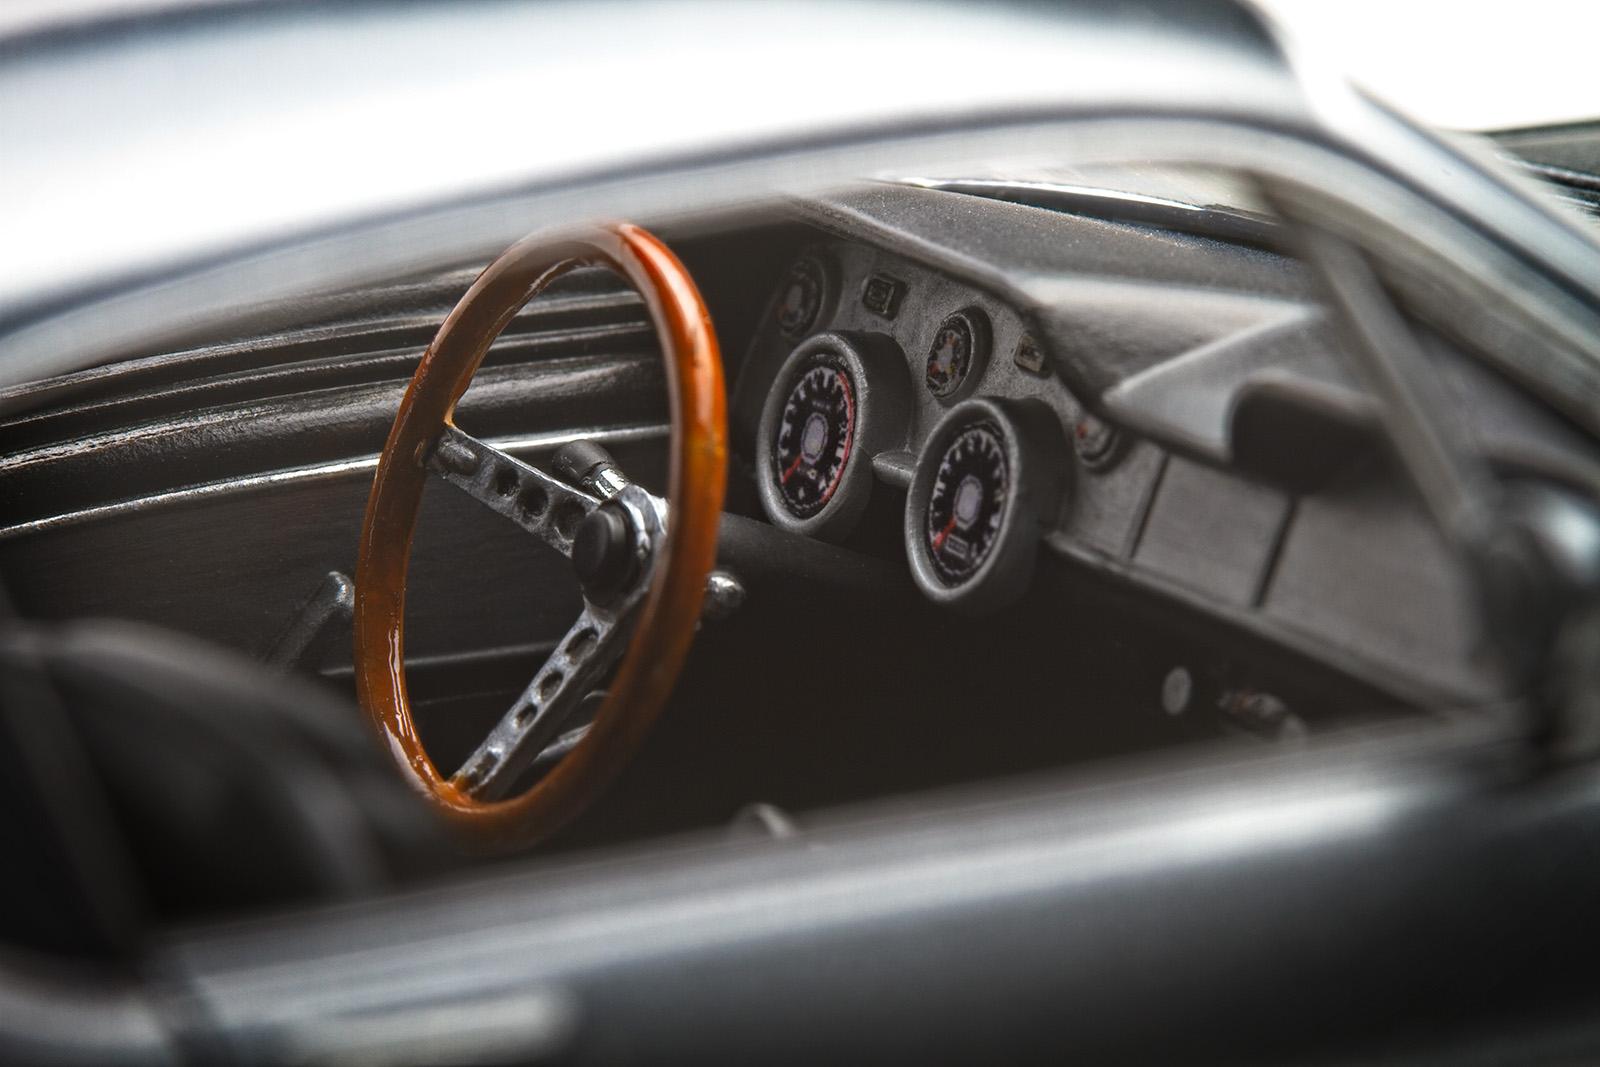
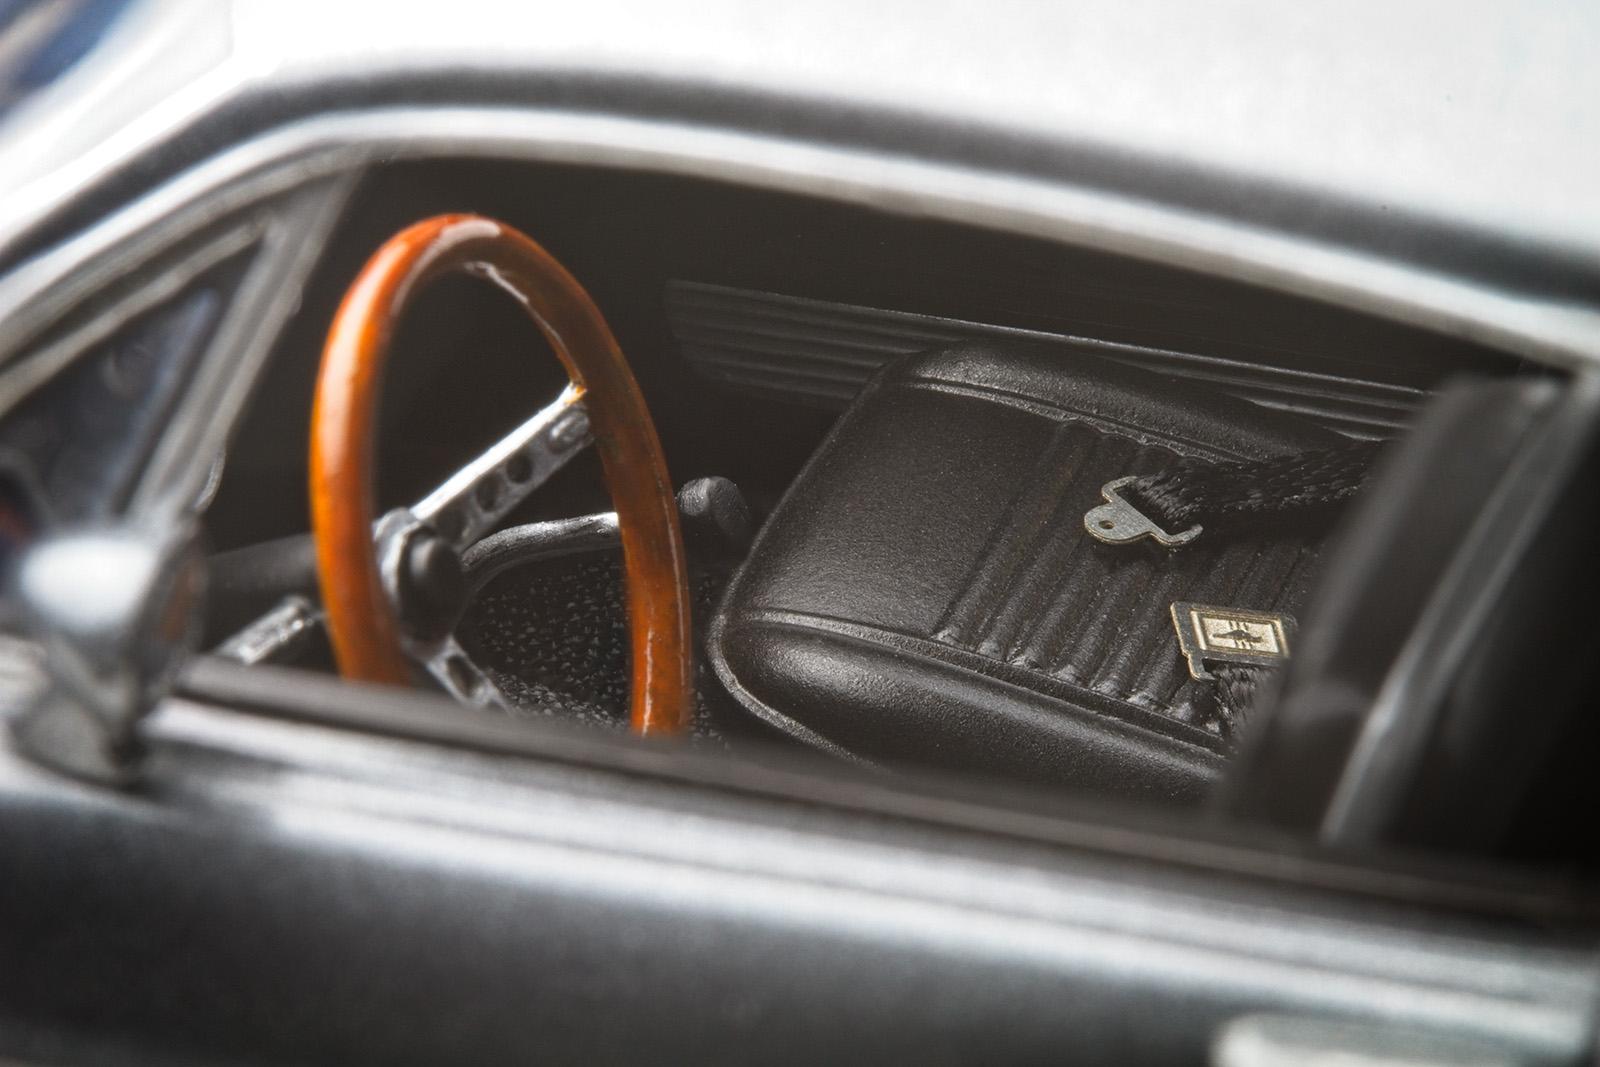
Just completed and photographed this kit from AMT. I realize the Eleanor car from the movie is the GT-500, however I was more enamoured with the paint and wheel combination and the GT-350 is similar enough for my liking. I did not add the side exhausts (because I have no idea how to do it). I stuck with the kit engine and just added a little wiring. The wheels are from Steve Zimmerman, the dashboard gauges are from BestModelCarParts and the paint is Pepper Grey and Gloss from Zero Paints. I used a set of side mirrors from a '70 Cuda which sit a little close to the windows as a tradeoff for fitting flush along the top of the door panels. What I learned from this build: 1. The exhaust had multiple twists and bends which I was able to straighten (as best I could) with a heat gun set to 260F. A little riskier than hot water but much quicker. 2. The front and rear fascia didn't fit well and required some clamping and sanding. The rear trunk (mostly the sides) didn't sit flush against the body and required some sanding. 3. First time painting a full car body with Zero Paints. The Pepper Grey comes in a small, plastic bottle and I was a little concerned that it wouldn't cover the entire body, however, being a metallic (I guess) it went on very well with plenty left over. The gloss comes in a larger glass bottle and covers well too. Both dry very fast. 4. This was my first time painting stripes. I painted the entire body Tamiya LP-5 Semi Gloss Black, then applied 2 strips of 10mm tape followed by the Pepper Grey. I probably have the stripes a little too far apart and perhaps not quite parallel in a couple places, however I'm happy enough with the results. 5. CA glue debonder will ruin clear parts. I noticed a couple little drops of CA glue on the windshield - thought I was being smart by applying some debonder to loosen it up - nope, it ate into the glass ?. 6. First time I've ever been able to salvage glass parts (see #5). The key this time was to start with the finest grit sandpaper I could get away with and sand the poop out of it, followed by multiple applications of the Tamiya Polishing Compounds. It's not perfect, but the best I've done to date. That's it for now. Thanks for looking.

- 52 replies
-
- 16
-

-
This is a beautiful piece of art. ?
-
Good looking car. Nice mods.
-
That’s quite the kit and yours turned out beautifully. ?
-
Great looking car and nice photography too. ?
-
Glad you brought this post back from the dead... great job on all the hinges - in particular that funky hood. ? I haven't worked up the nerve to try hinging doors and trunks myself.
-
Beautiful build with nice attention to detail. Great job with the doors as well.
-
I don’t think it can be built any better than that. Paint, engine, chrome, wheels.?
-
Looks great from both sides.
-
That’s quite a looker. ?
-
The last photo… ?
-
Beautiful build. ?
-
Great looking build with a very nice colour scheme.
-
I picked one up at a model car show/flea market in Toronto earlier this year. Even the guy I bought it from said “These are getting hard to find.” Good luck with your search.
-
Looks nice Grumpy. Makes me want to start that kit next. ?
-
Beautifully built. Great colour and photography. ? I built one in white a number of months back. Was my first Tamiya kit… practically builds itself.
-
That looks fantastic. Great weathering, love the license plates inside.
-
Skills are diminishing, eh? Can only imagine how nice your older builds look.
-
Great looking Vette. The extra care and detail paid off.
-
Saw your post on Instagram and it looks even better here. Don’t think the kit can be built any better than this. ?
-
1966 C10 “ truck “
70 Sting replied to Immortal Chips's topic in Model Trucks: Pickups, Vans, SUVs, Light Commercial
Super clean, show quality build. ? -
'66 Ford Mustang Hardtop in "Medium Chestnut Metallic" w/ black vinyl top
70 Sting replied to Tommy124's topic in Model Cars
Great looking car and the colour suits it very well. -
Good call… totally works on that car. ?