Smoke Wagon
-
Posts
955 -
Joined
-
Last visited
Content Type
Profiles
Forums
Events
Gallery
Everything posted by Smoke Wagon
-

Design Pitch: MPC Retro "Forever 80s" collection
Smoke Wagon replied to Stef's topic in Car Kit News & Reviews
I think the 2002 AMT/Ertl release was the most recent... it’s due for another reissue after 19 years.
-
From my experience it takes a long time to cure, unless they changed the formula from when I got a can a year ago. A week after painting a part I got a fingerprint embedded on it with light handling. It is a little duller than chrome but probably the closest you can get with a rattle can.
-
Thank you.
-
x2
-
Revell Ford Expedition
Smoke Wagon replied to Smoke Wagon's topic in WIP: Model Trucks: Pickups, Vans, SUVs, Light Commercial
Thanks Anton. I think I’ll like it in red better. Plus more practice with detailing. -
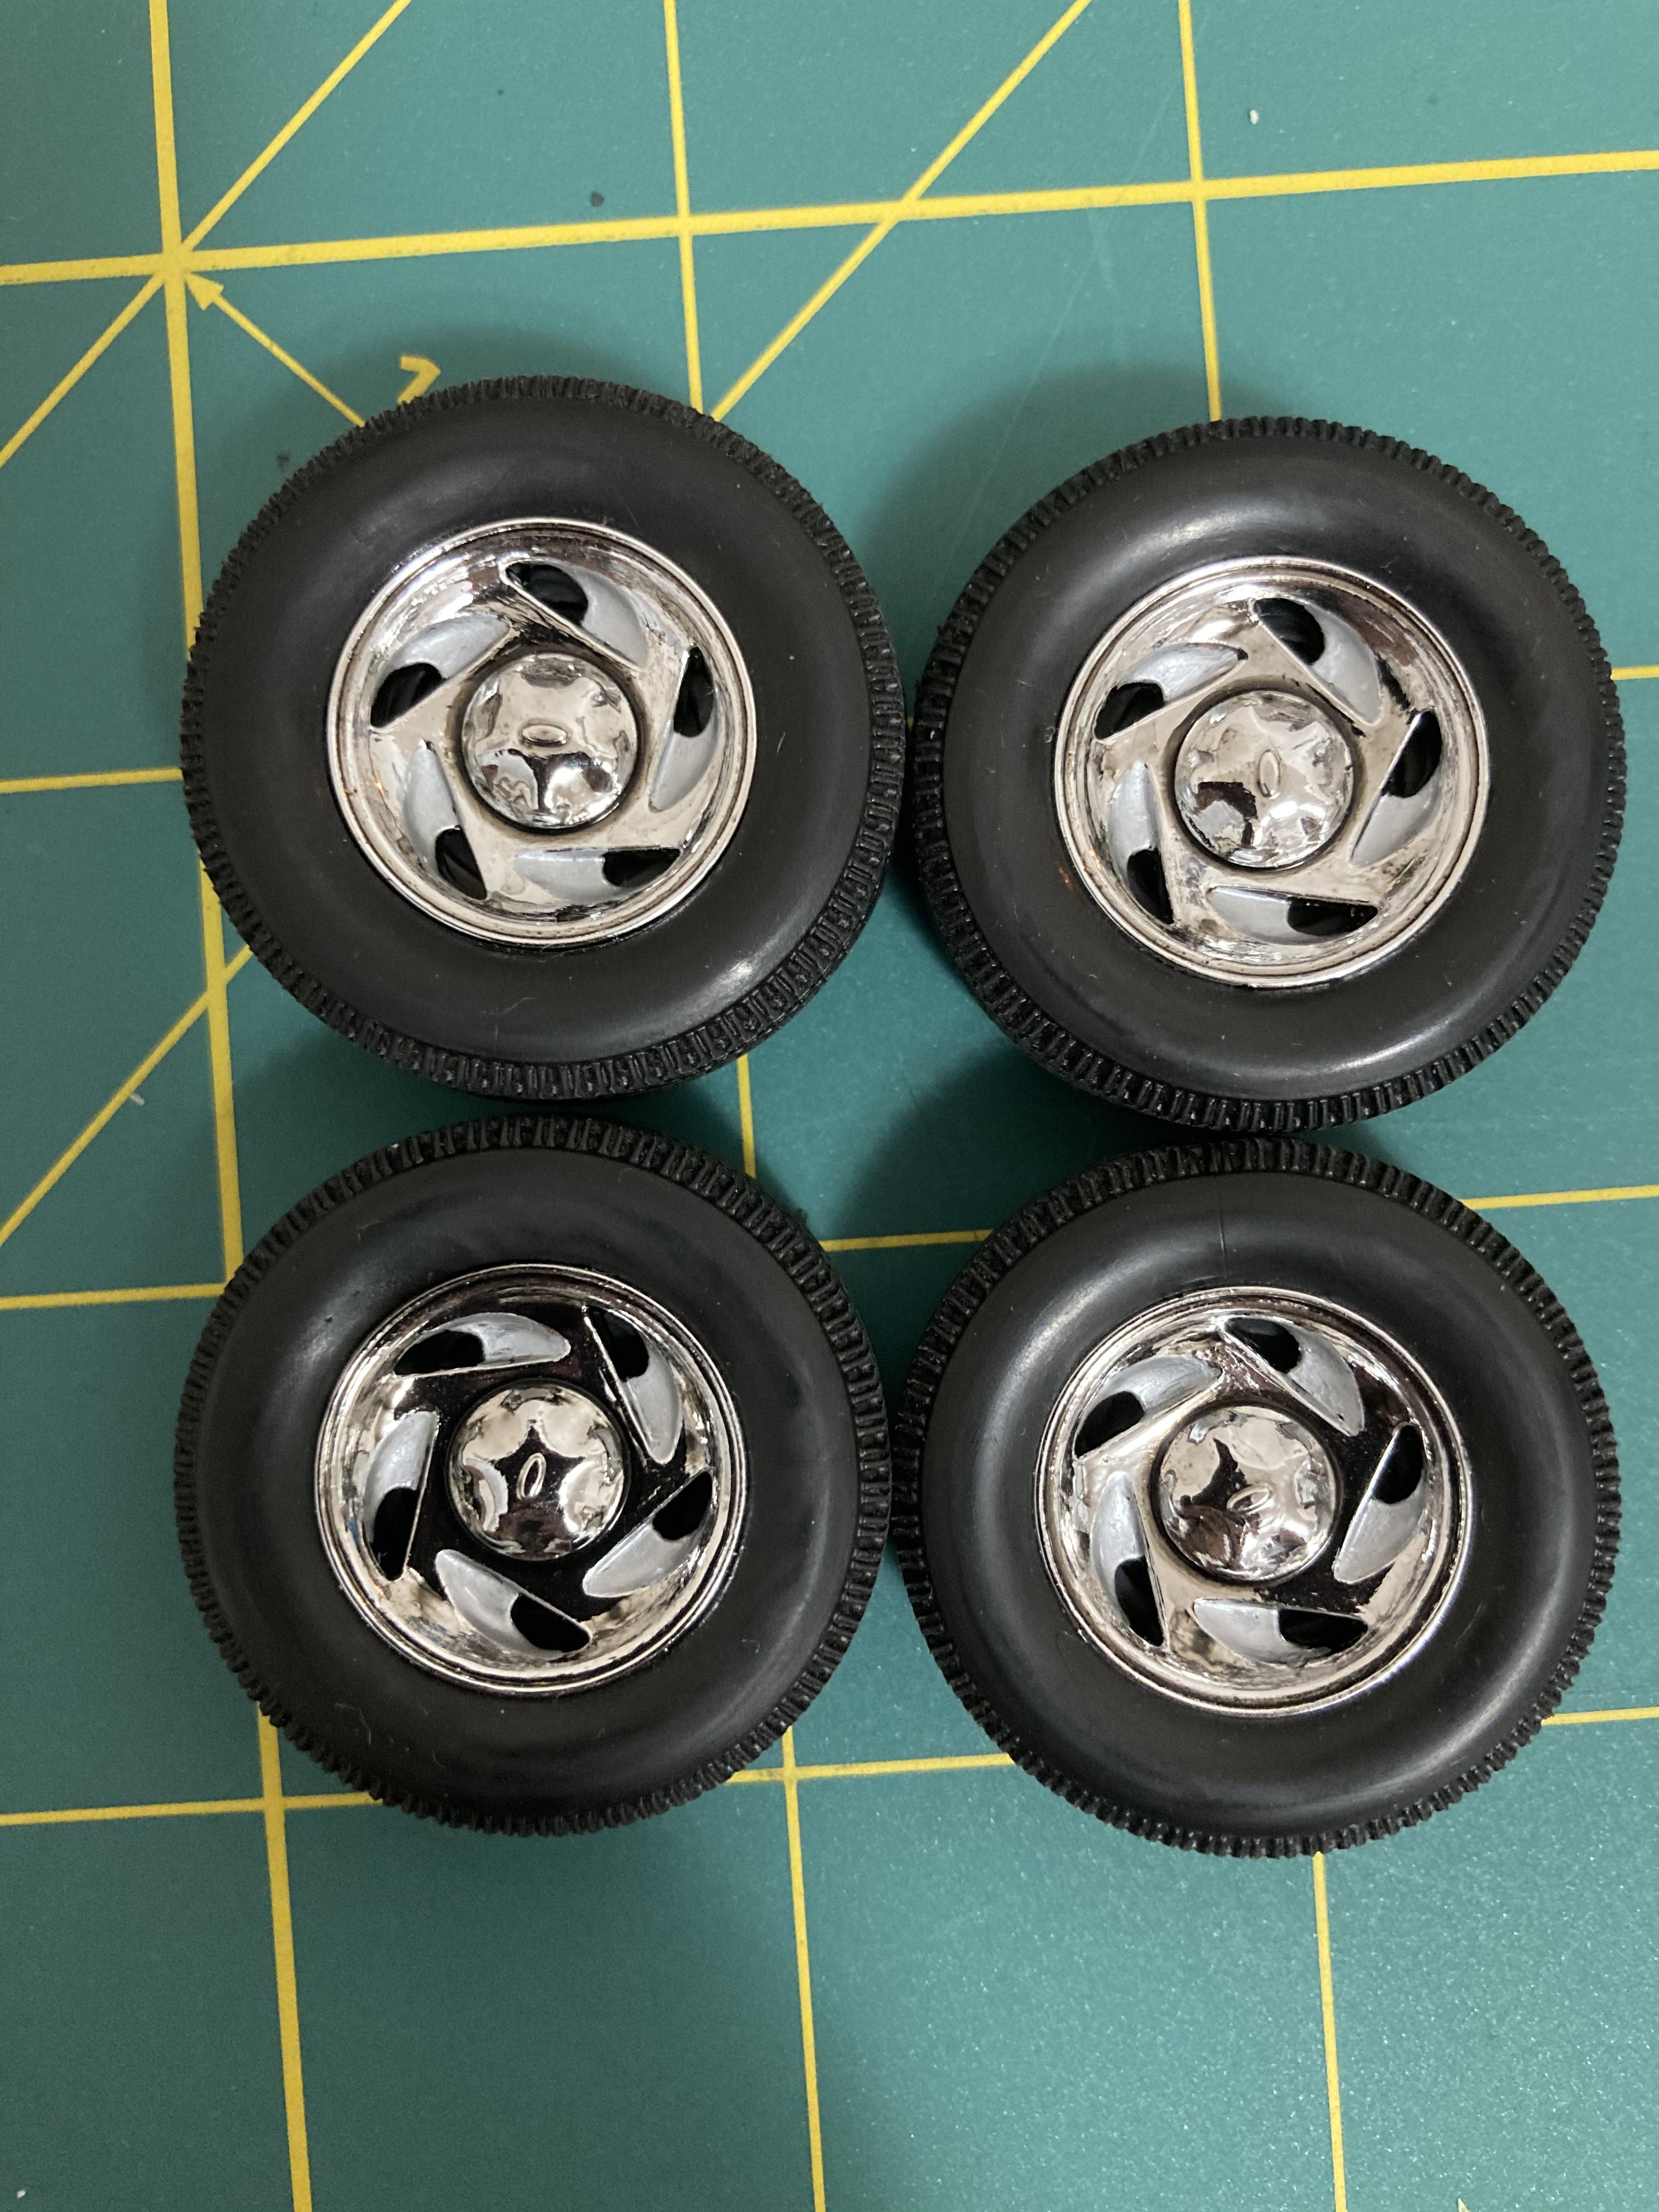
If the truck is going to have minimal chrome then perhaps gloss black wheels (with or without chrome lip) would look good as well.
-
Round 2 October 2021 Product Spotlight
Smoke Wagon replied to GMP440's topic in Car Kit News & Reviews
I think so too. The fairing behind the cab looks to be the same as Bigfoot 10, the truck itself was built in 1992. I think AMT/Ertl kitted it a year later. -
Revell Ford Expedition
Smoke Wagon replied to Smoke Wagon's topic in WIP: Model Trucks: Pickups, Vans, SUVs, Light Commercial
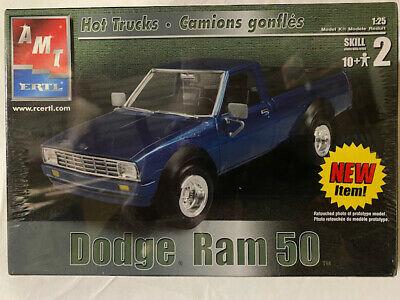
Well, guess I wasn’t careful enough with the super glue.... hahaha ? I couldn’t leave it like that and wasn’t a fan of the blue anyway; it was a little too light to pass as Ford Moonlight Blue. Not to mention I could still see sink marks in the hood, so into the purple pond the body went. That’s how the body sits now, ready for primer. I think I’ll go dark red this time around, that should go well with the gray interior.
-
Round 2 October 2021 Product Spotlight
Smoke Wagon replied to GMP440's topic in Car Kit News & Reviews
I’m a big fan of the monster truck, I wonder if anybody still prints Bigfoot 10 decals for the kit. -
You bring up a good point Casey. I guess we’ll know for sure after the kit has been out for a while.
-
Interesting that they’re bringing the ‘94-‘98 Mustang snap kit back out instead of the glue kit. That, given with the subject matter, I don’t think it’ll be a real winner. Anyone old enough to have developed any feelings for the ‘94-‘98 Mustang will likely just get the glue kit from ebay, due to the fact that the glue kit is miles ahead in detail and even sealed original issues can be found cheap. Younger kids (who snap kits are primarily marketed towards) will most likely be turned off to the subject matter, given that the car is far from contemporary, but not old enough to be considered a classic.
-
41" long Lonestar chopped custom.
Smoke Wagon replied to carbuilder1950's topic in Model Trucks: Big Rigs and Heavy Equipment
I really like the roof chop, it gives the truck a lot of attitude, not to mention that party going on behind the sleeper! Amazing build -
Revell Ford Expedition
Smoke Wagon replied to Smoke Wagon's topic in WIP: Model Trucks: Pickups, Vans, SUVs, Light Commercial
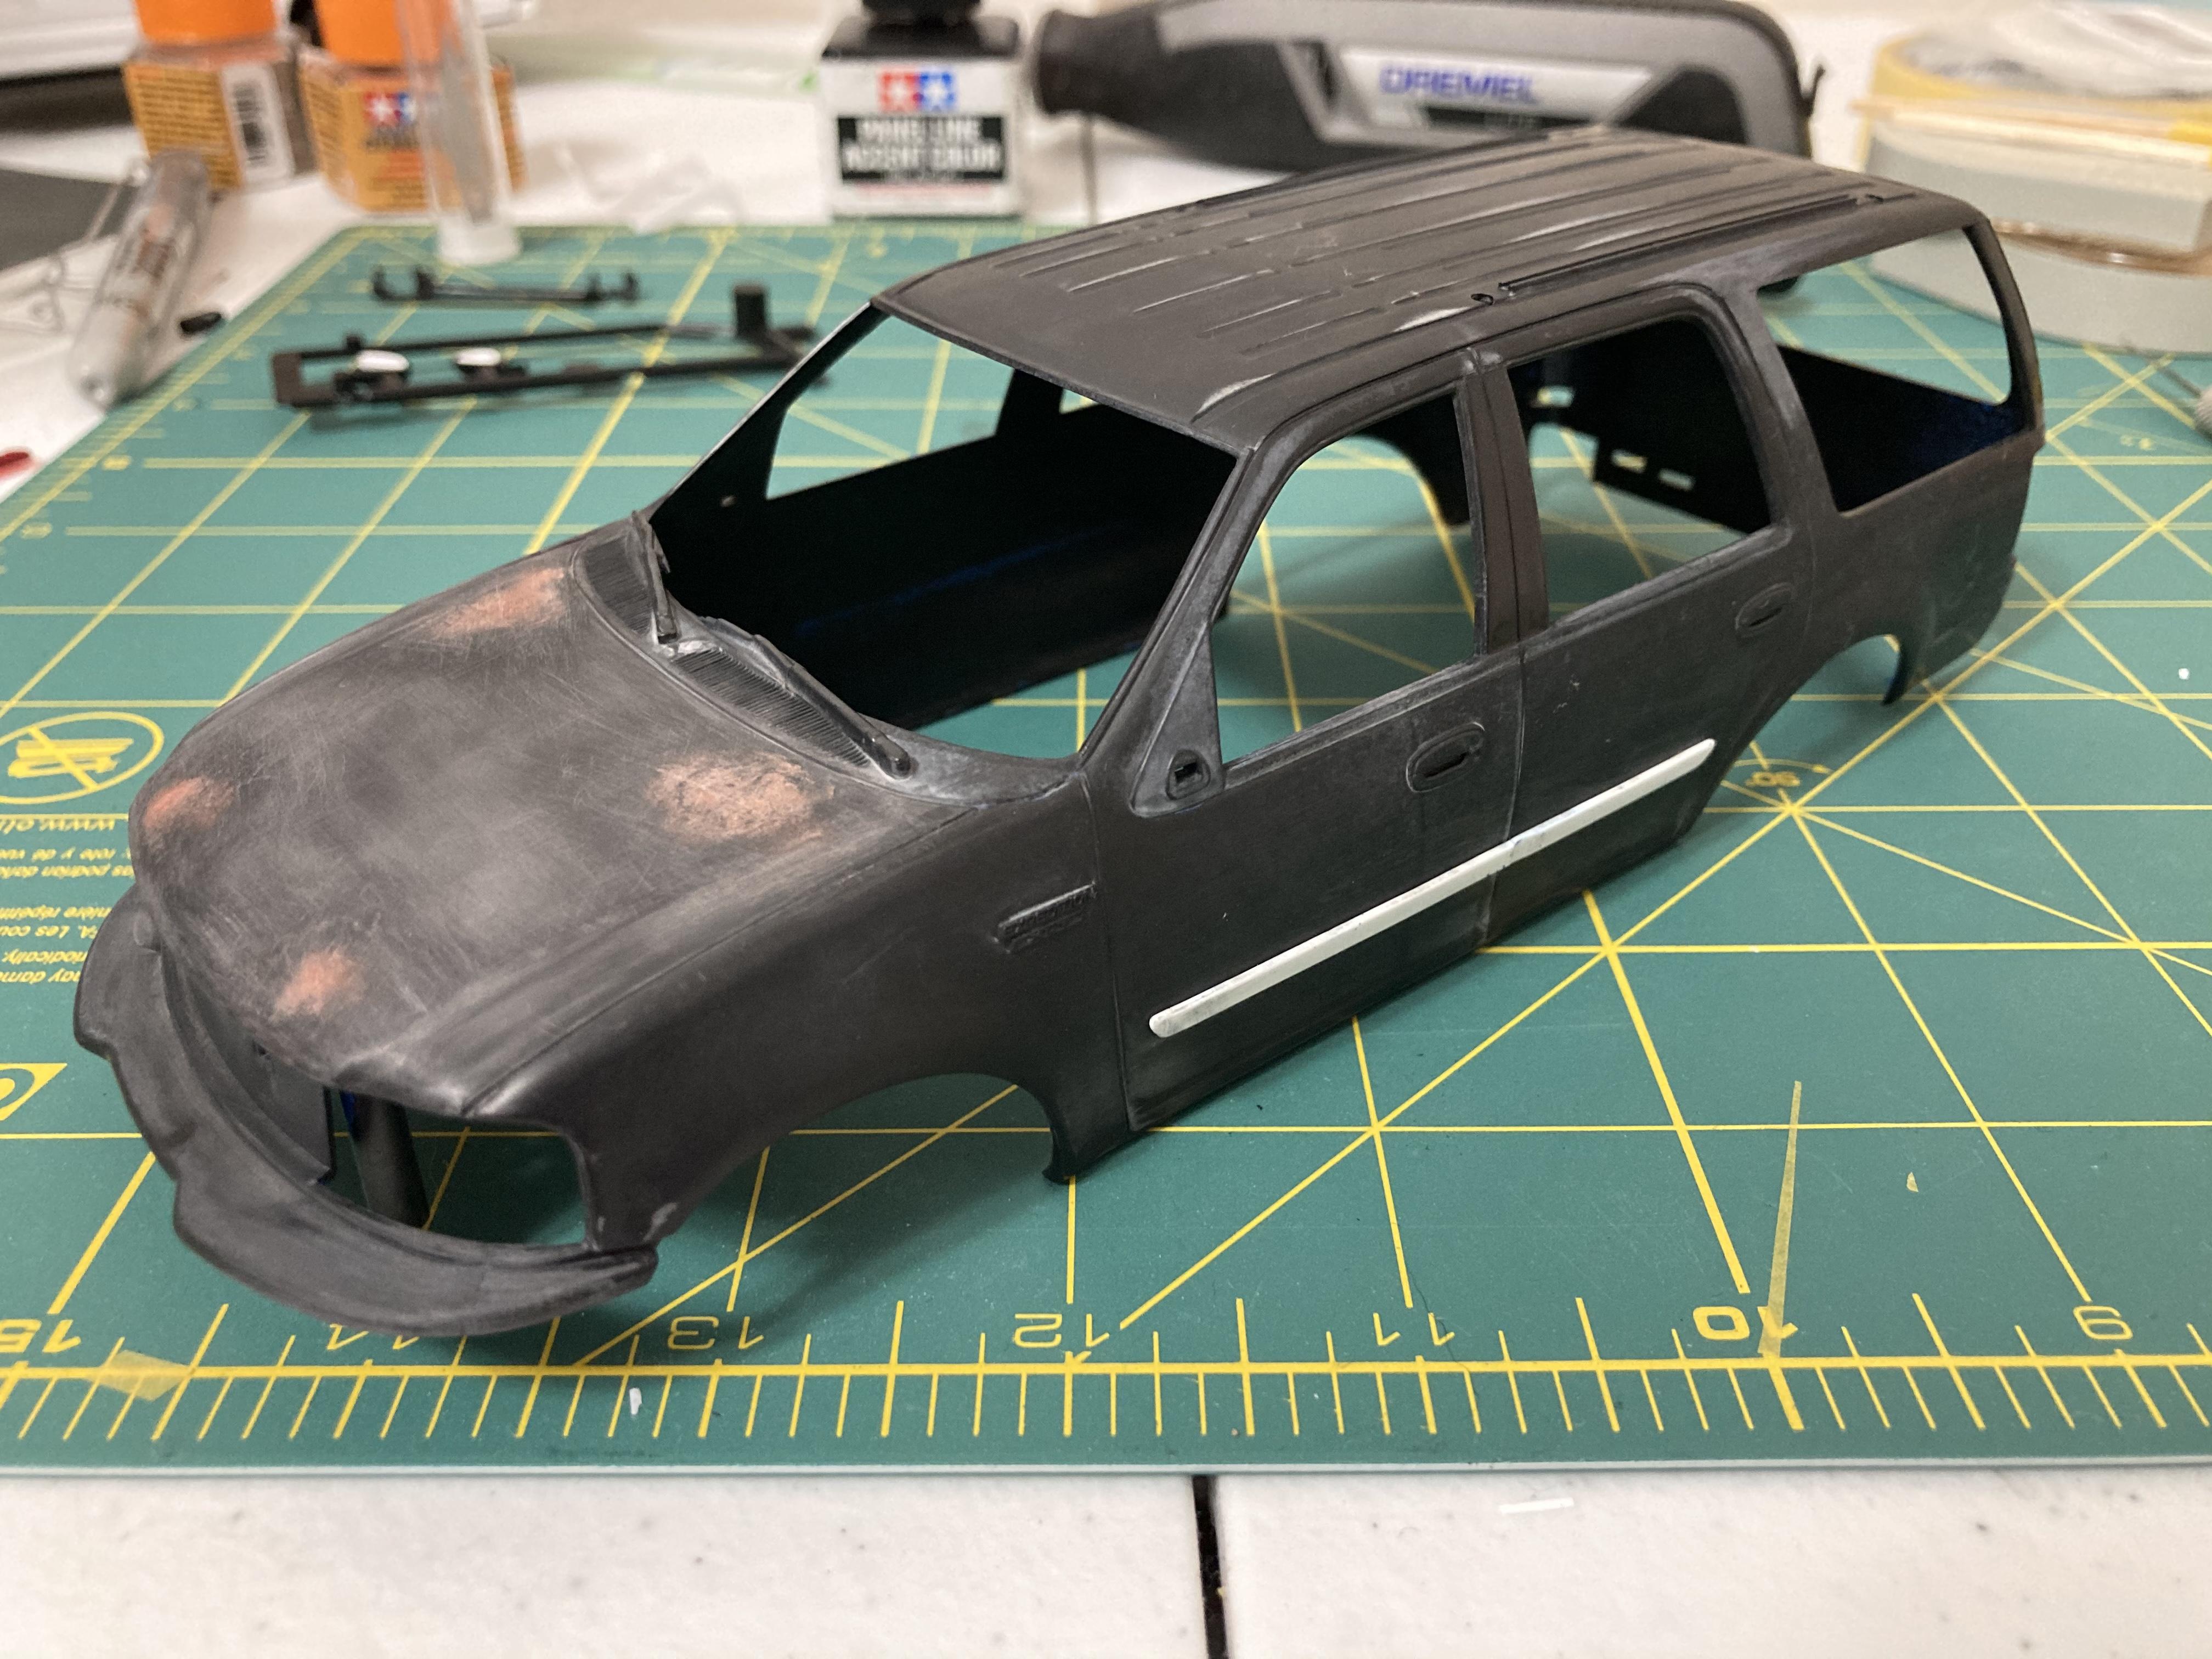
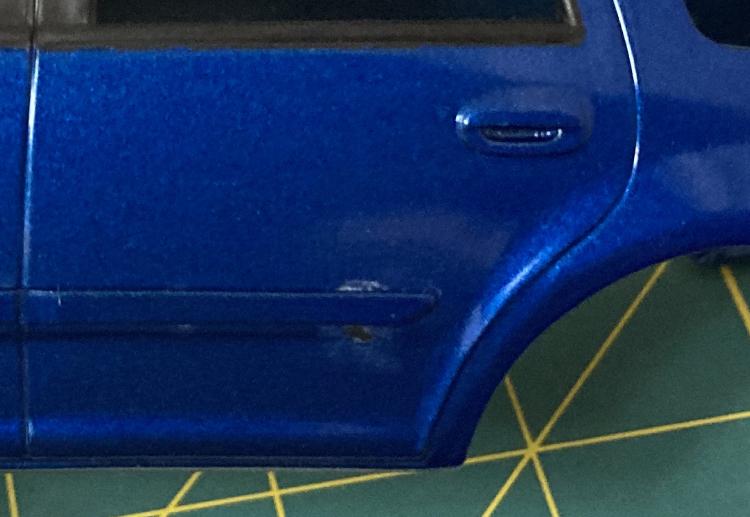
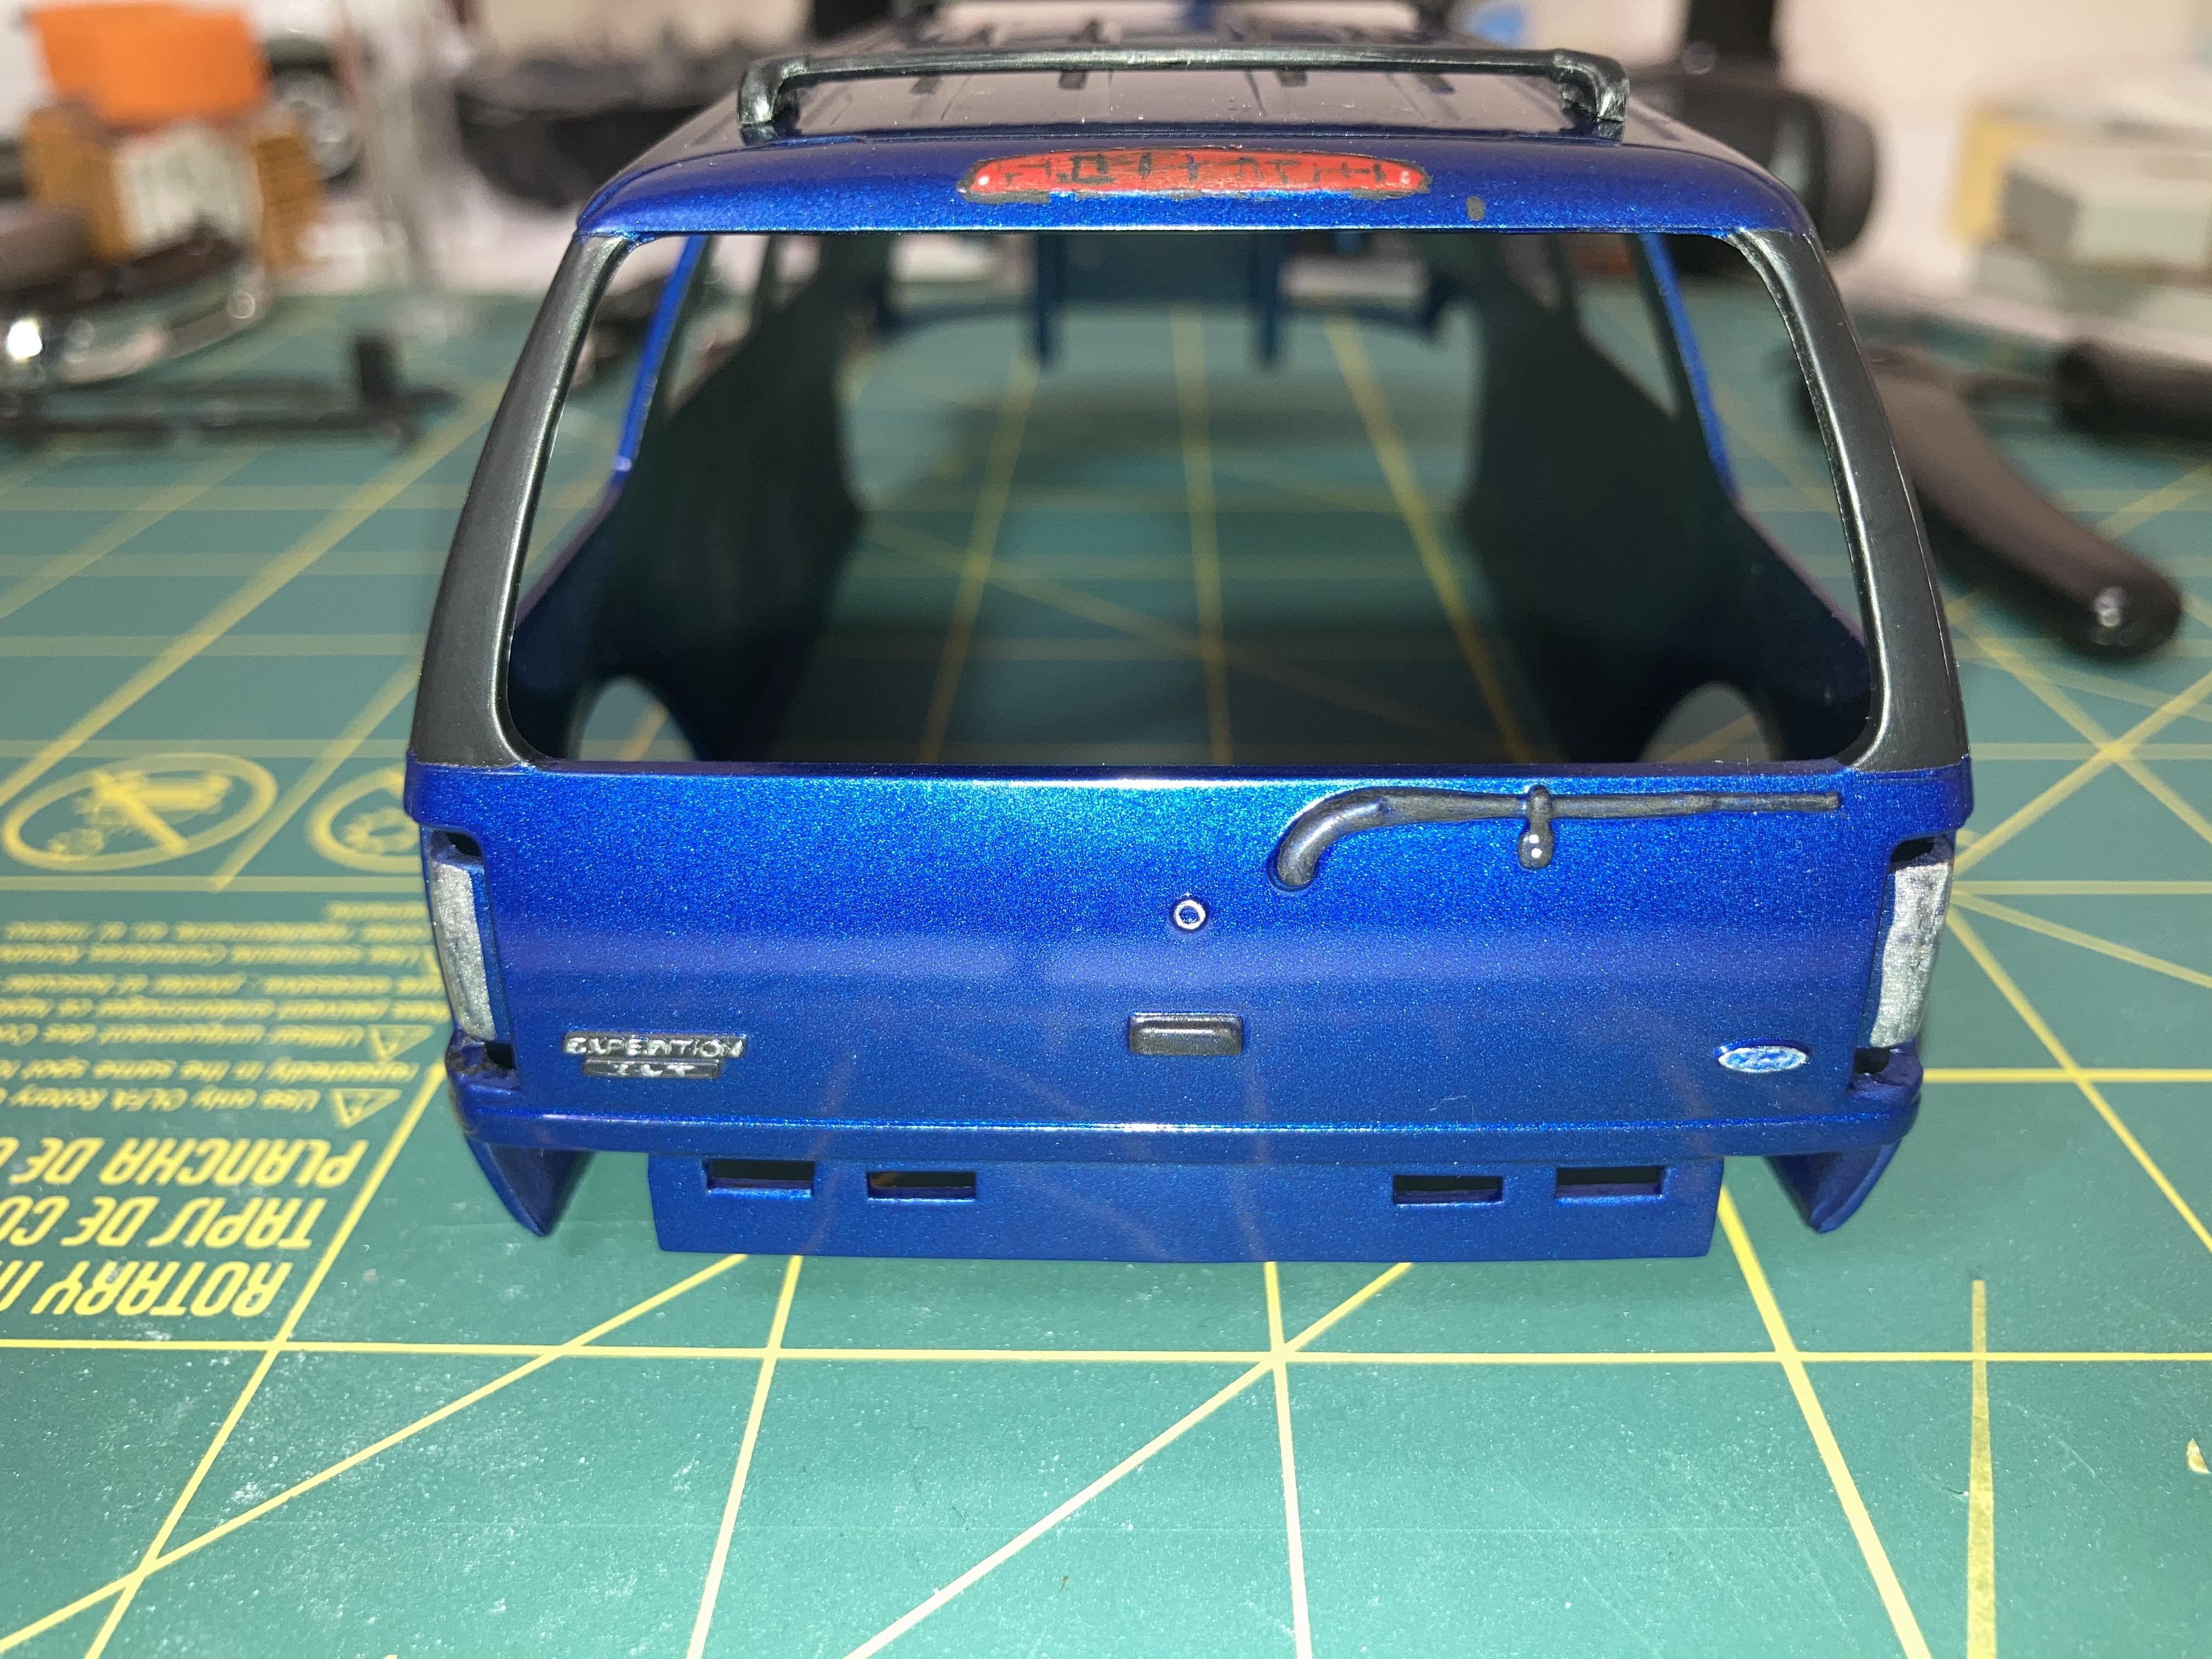
Thanks Carl. There’s a lot of detail molded into some of these parts as far as snap kits go. I made the side trim out of Evergreen sheet and painted it tonight. It really should have been glued onto the body before any paint, but if I’m careful then it should go fine. Other than that, other trim detail and badges have been painted onto the body.
-
Revell Ford Expedition
Smoke Wagon replied to Smoke Wagon's topic in WIP: Model Trucks: Pickups, Vans, SUVs, Light Commercial
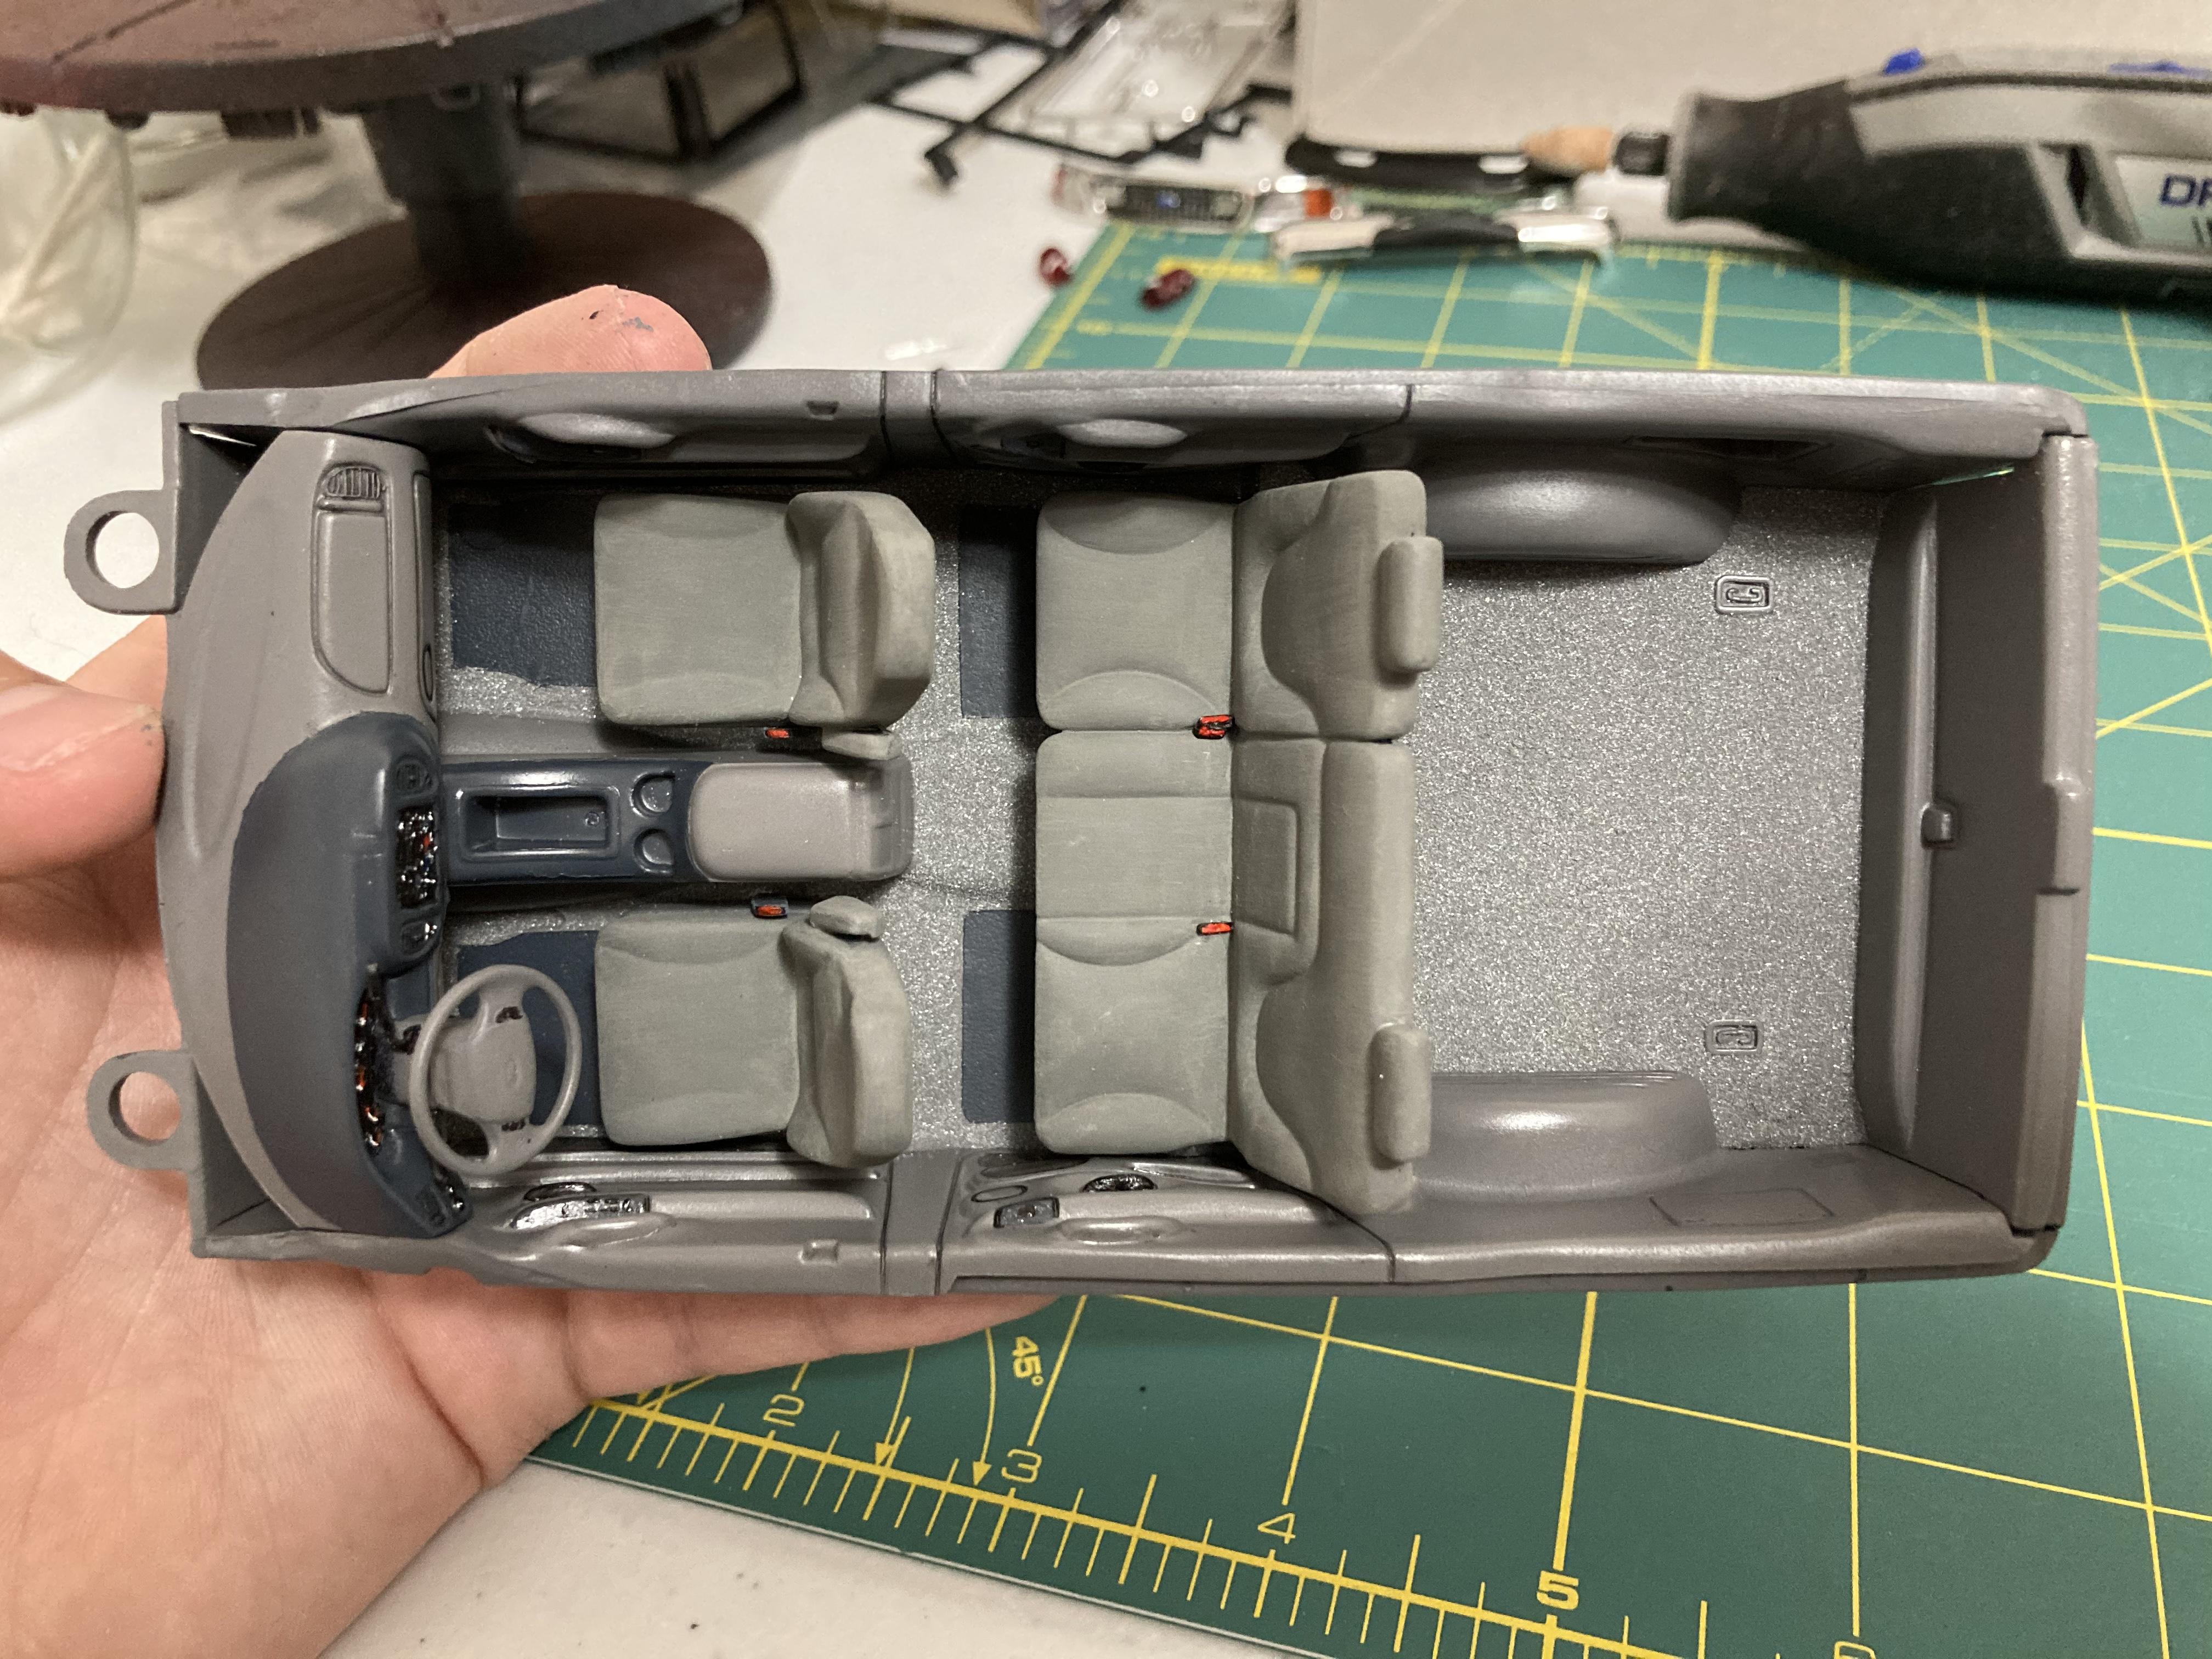
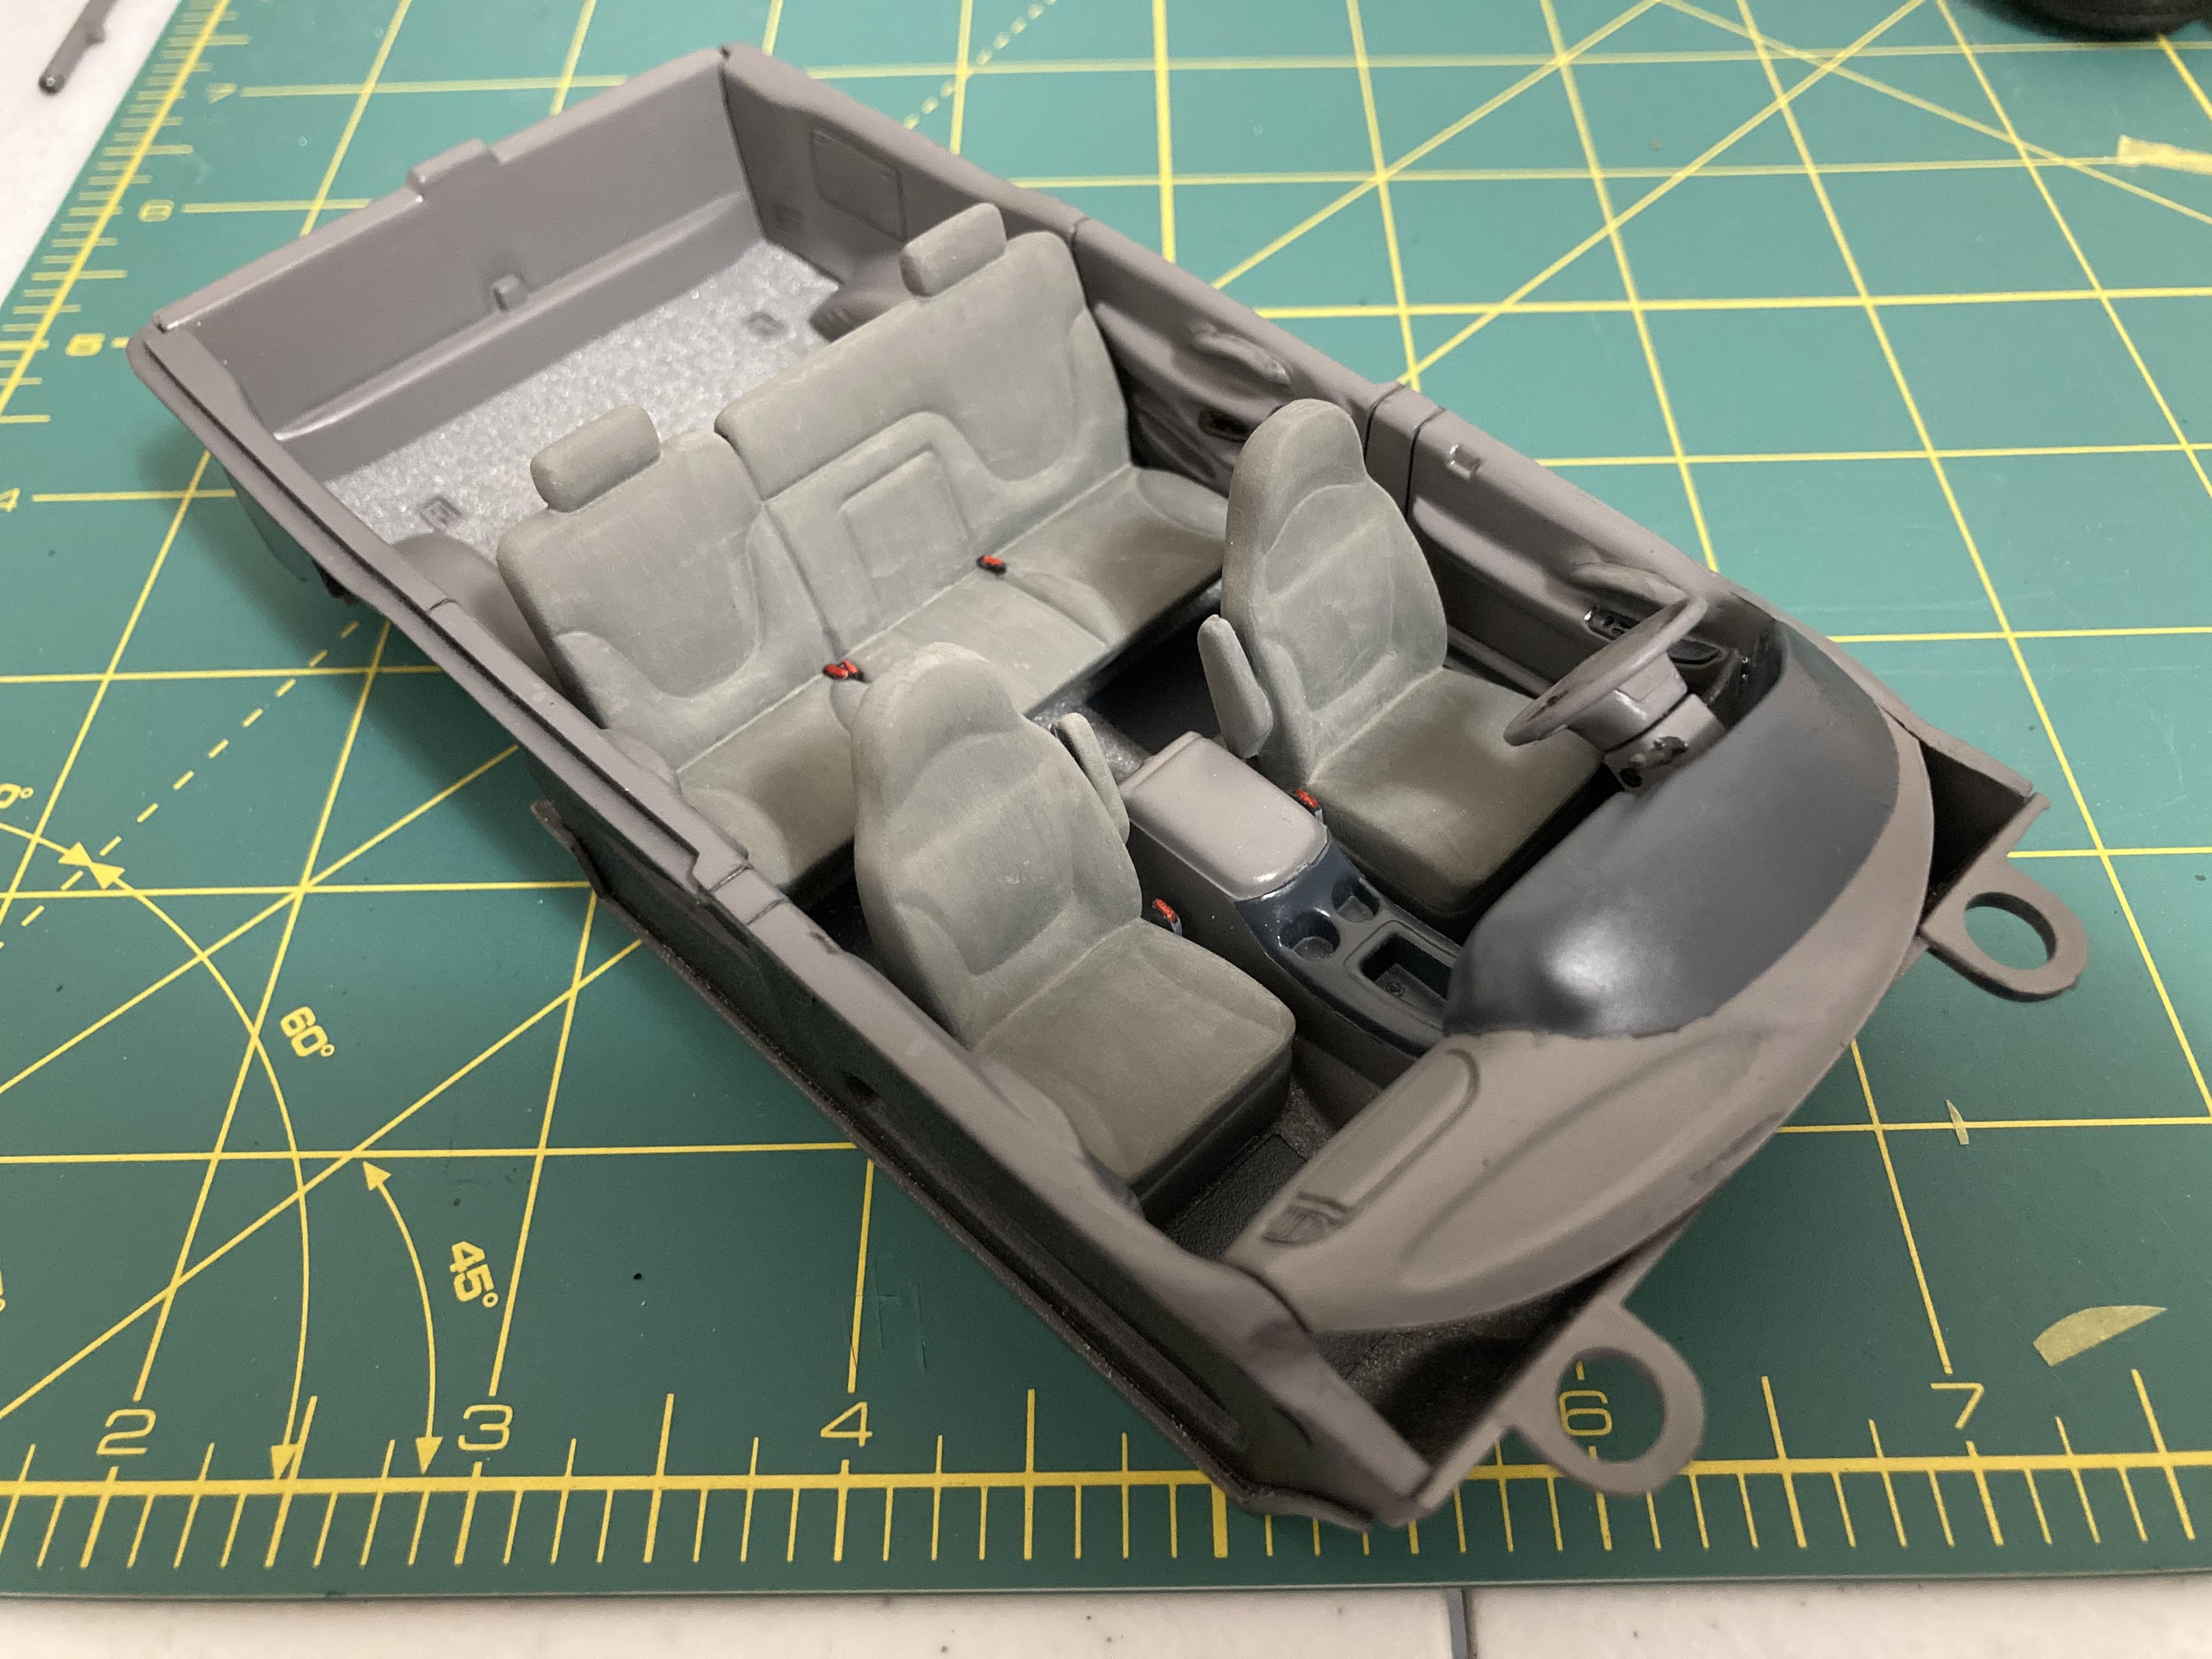
Thank you Bob. For the seats I started by spraying them with rustoleum satin “granite” gray, then I brushed on two layers of matte acrylic paint. For the wheel pockets I ended up taking your advice and used a silver sharpie and a steady hand.
-
Revell Ford Expedition
Smoke Wagon replied to Smoke Wagon's topic in WIP: Model Trucks: Pickups, Vans, SUVs, Light Commercial
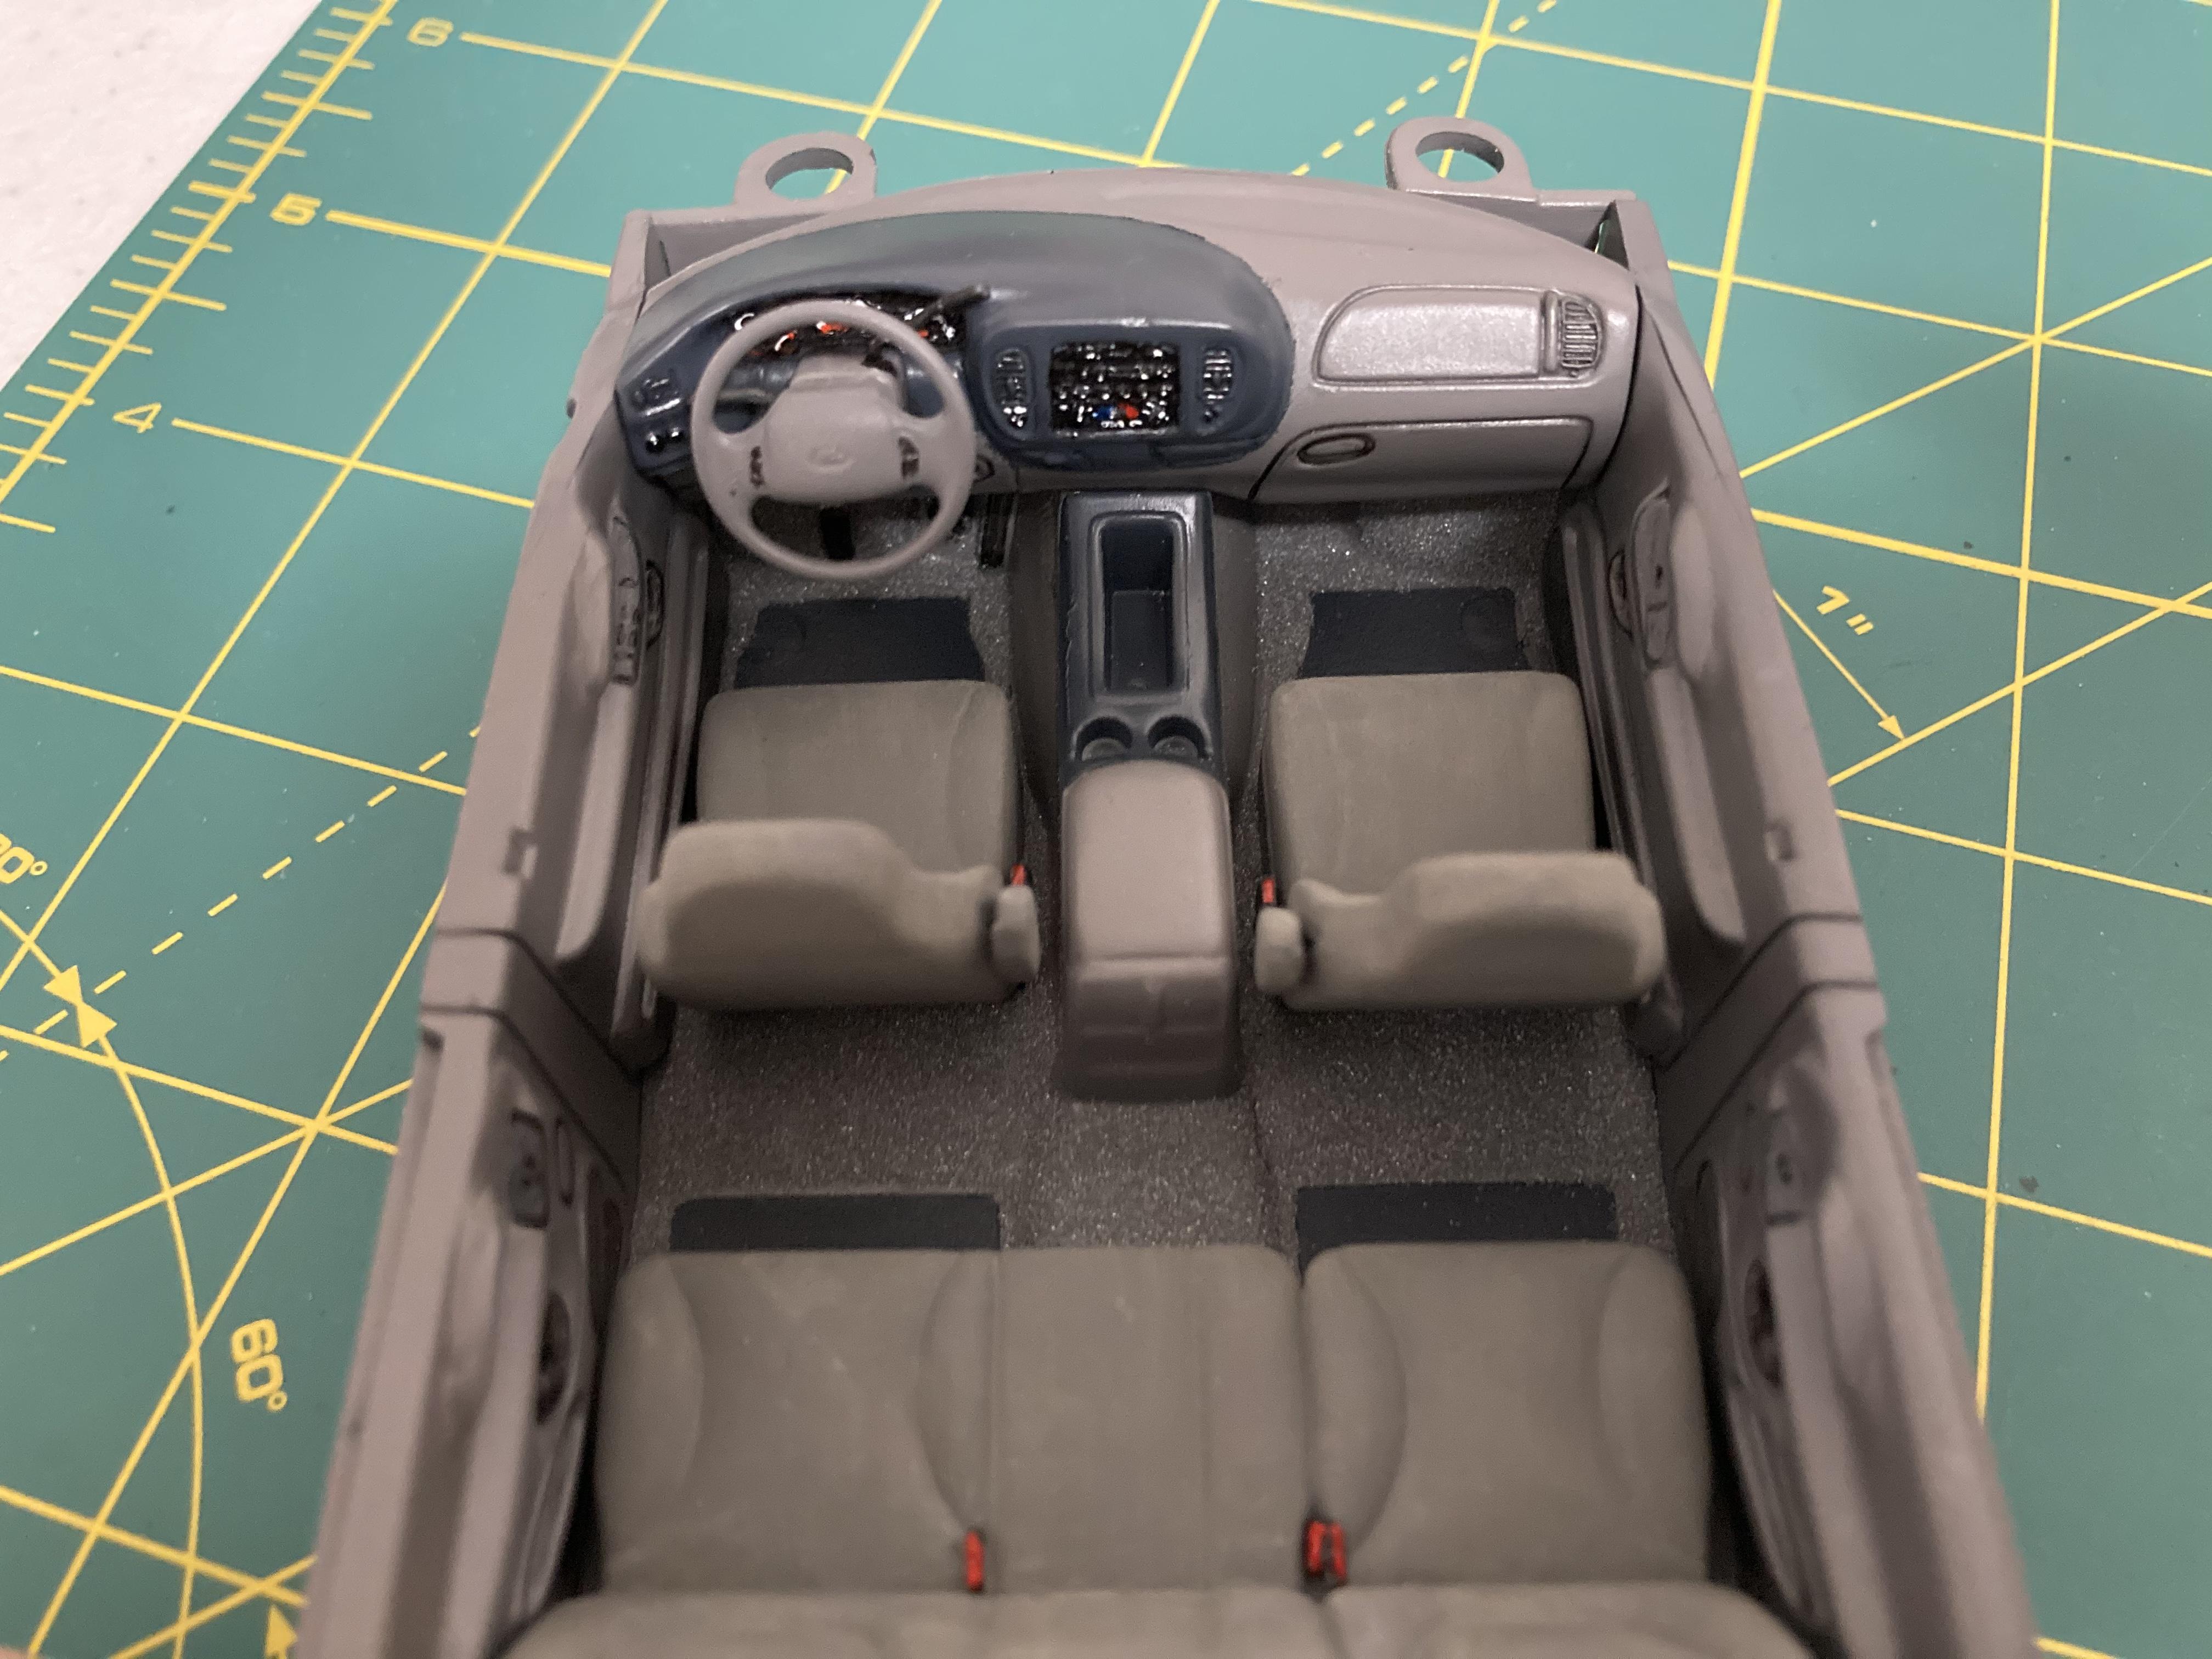
Got the interior all done.
-
ford cabover blue mule
Smoke Wagon replied to Bronzekeg's topic in WIP: Model Trucks: Big Rigs and Heavy Equipment
Great work so far. I’d make sure to keep it away from any glass sculptures though... -
It’s lookin’ pretty great so far Anton.
-
Revell Ford Expedition
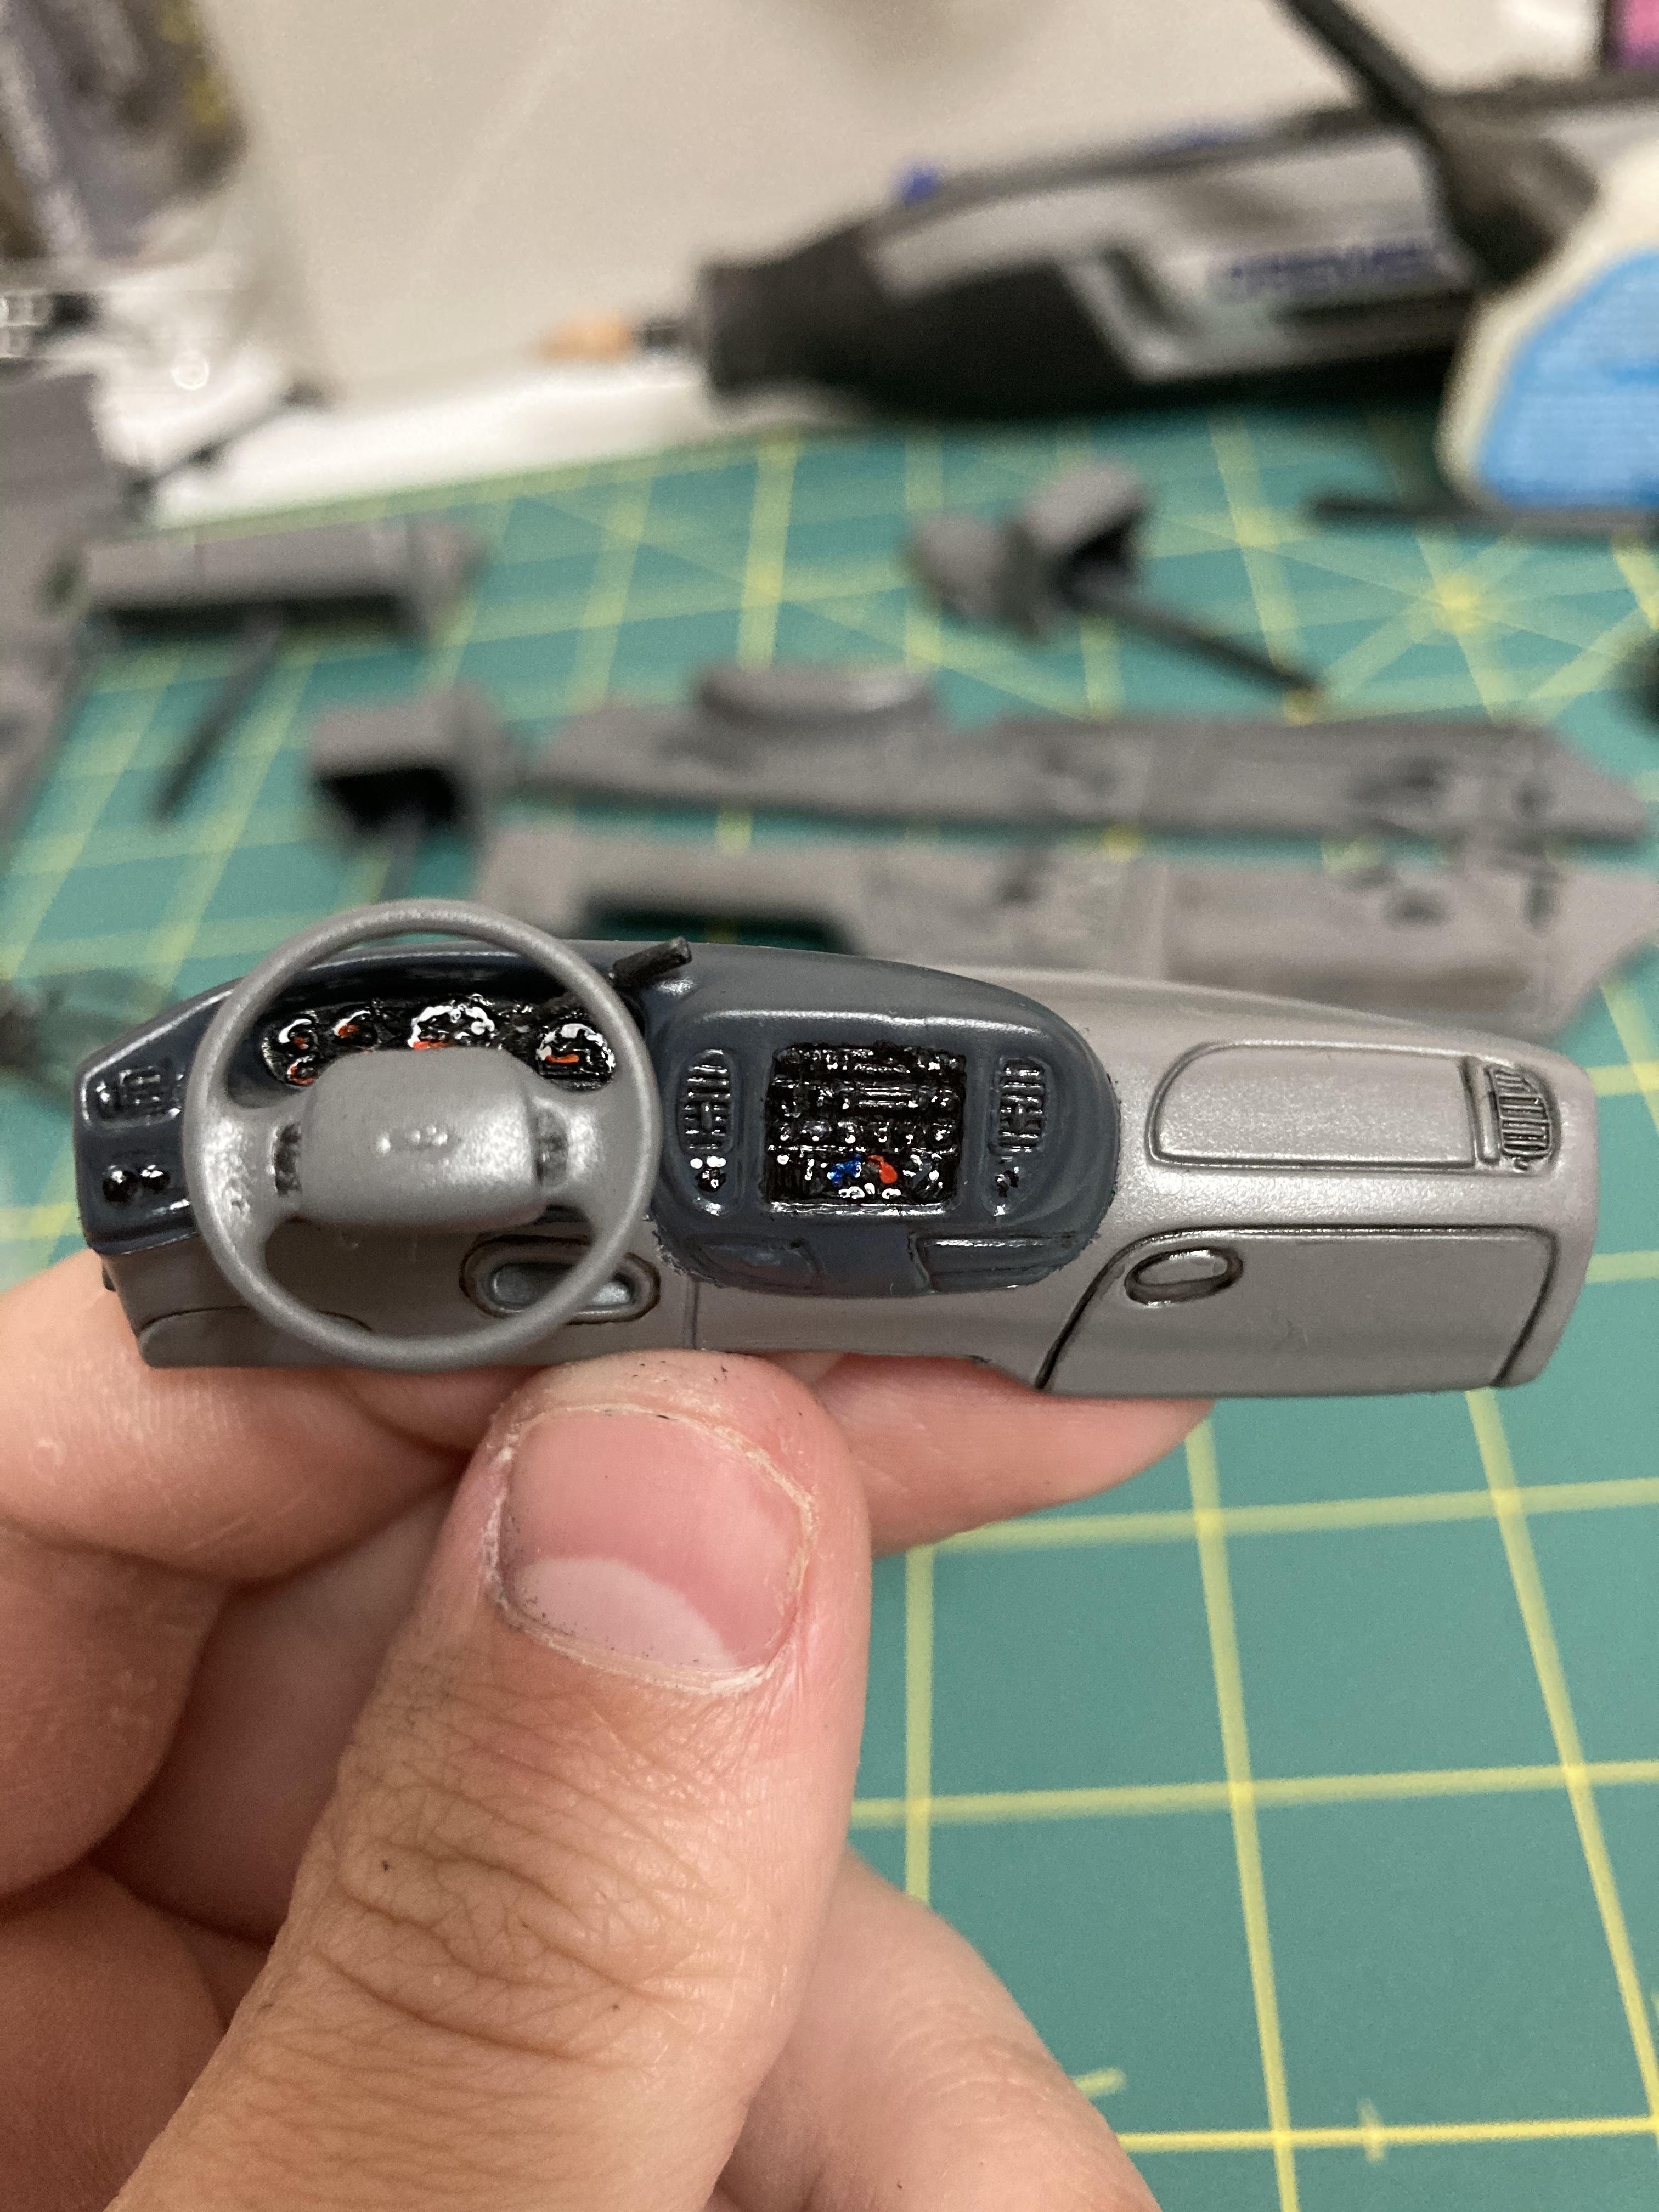
Smoke Wagon replied to Smoke Wagon's topic in WIP: Model Trucks: Pickups, Vans, SUVs, Light Commercial
Not too much to report, got the dashboard done and made a column shifter and turn signal stalk for it, I definitely didn’t want to use the kit supplied sticker, so I tried my hand at painting the detail in.
-
Making lenses for plated headlights
Smoke Wagon replied to Smoke Wagon's topic in Tips, Tricks, and Tutorials
I’ll be sure to update if they start to yellow, crack, or anything else. -
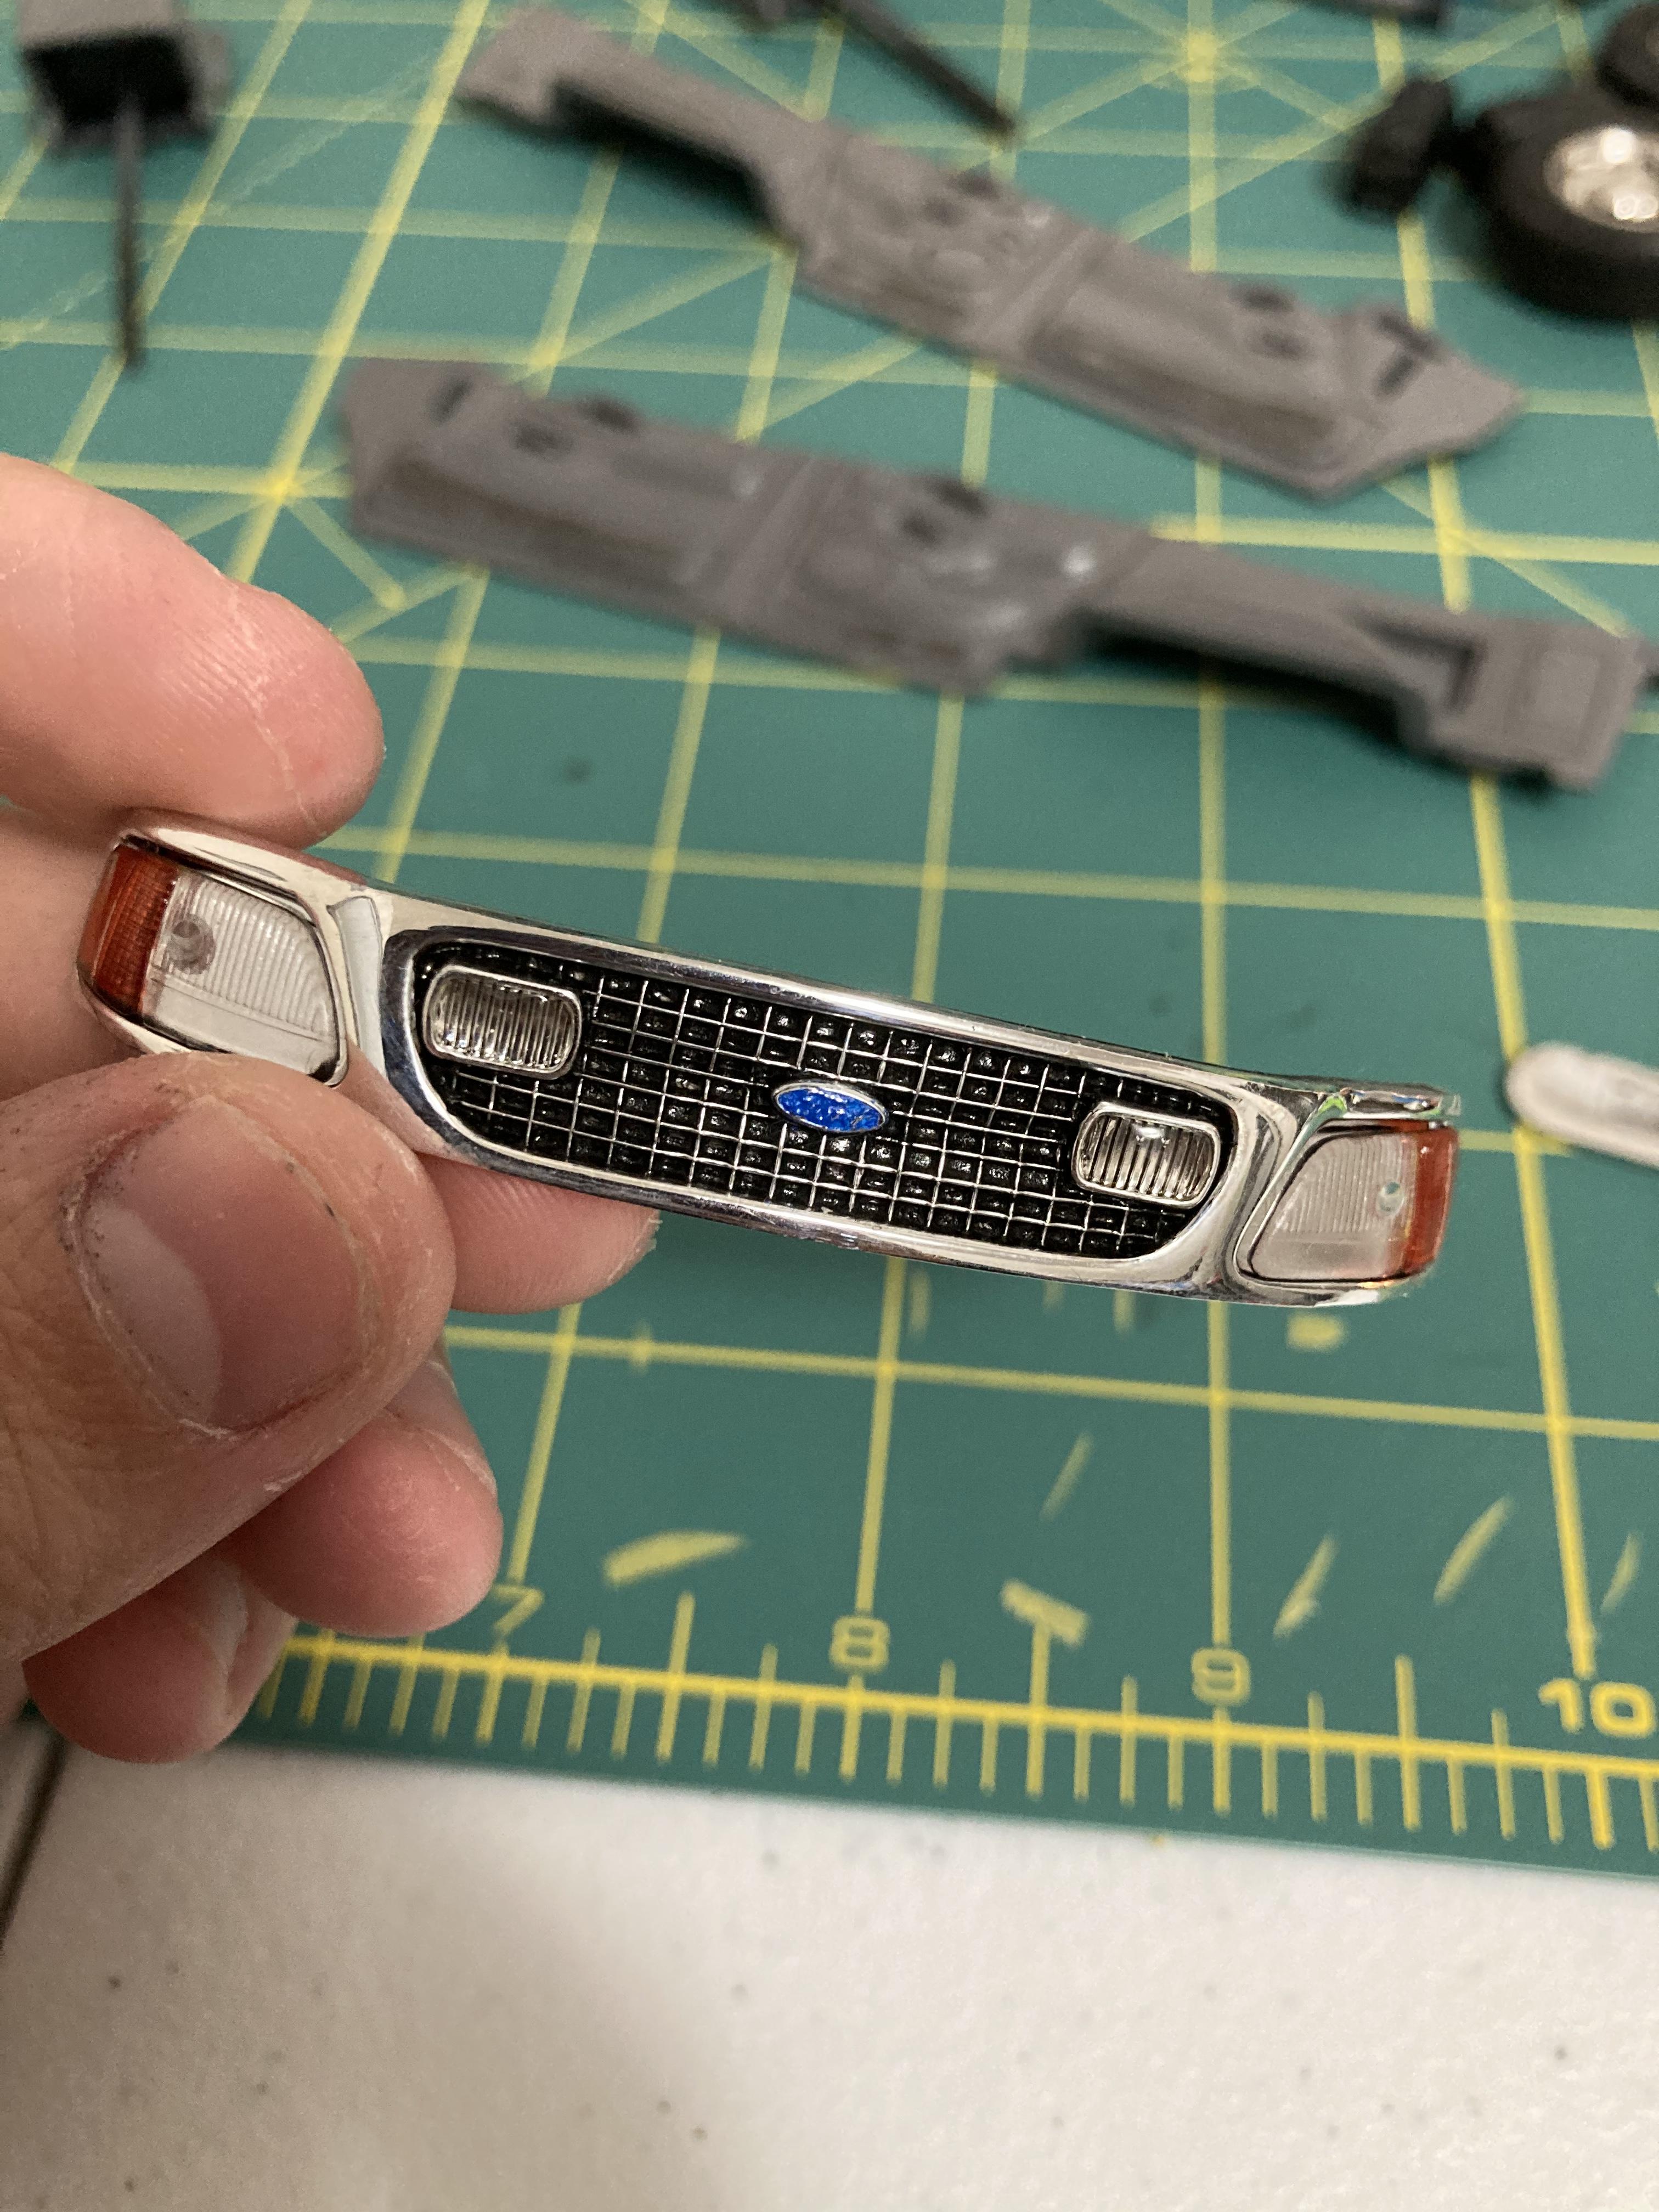
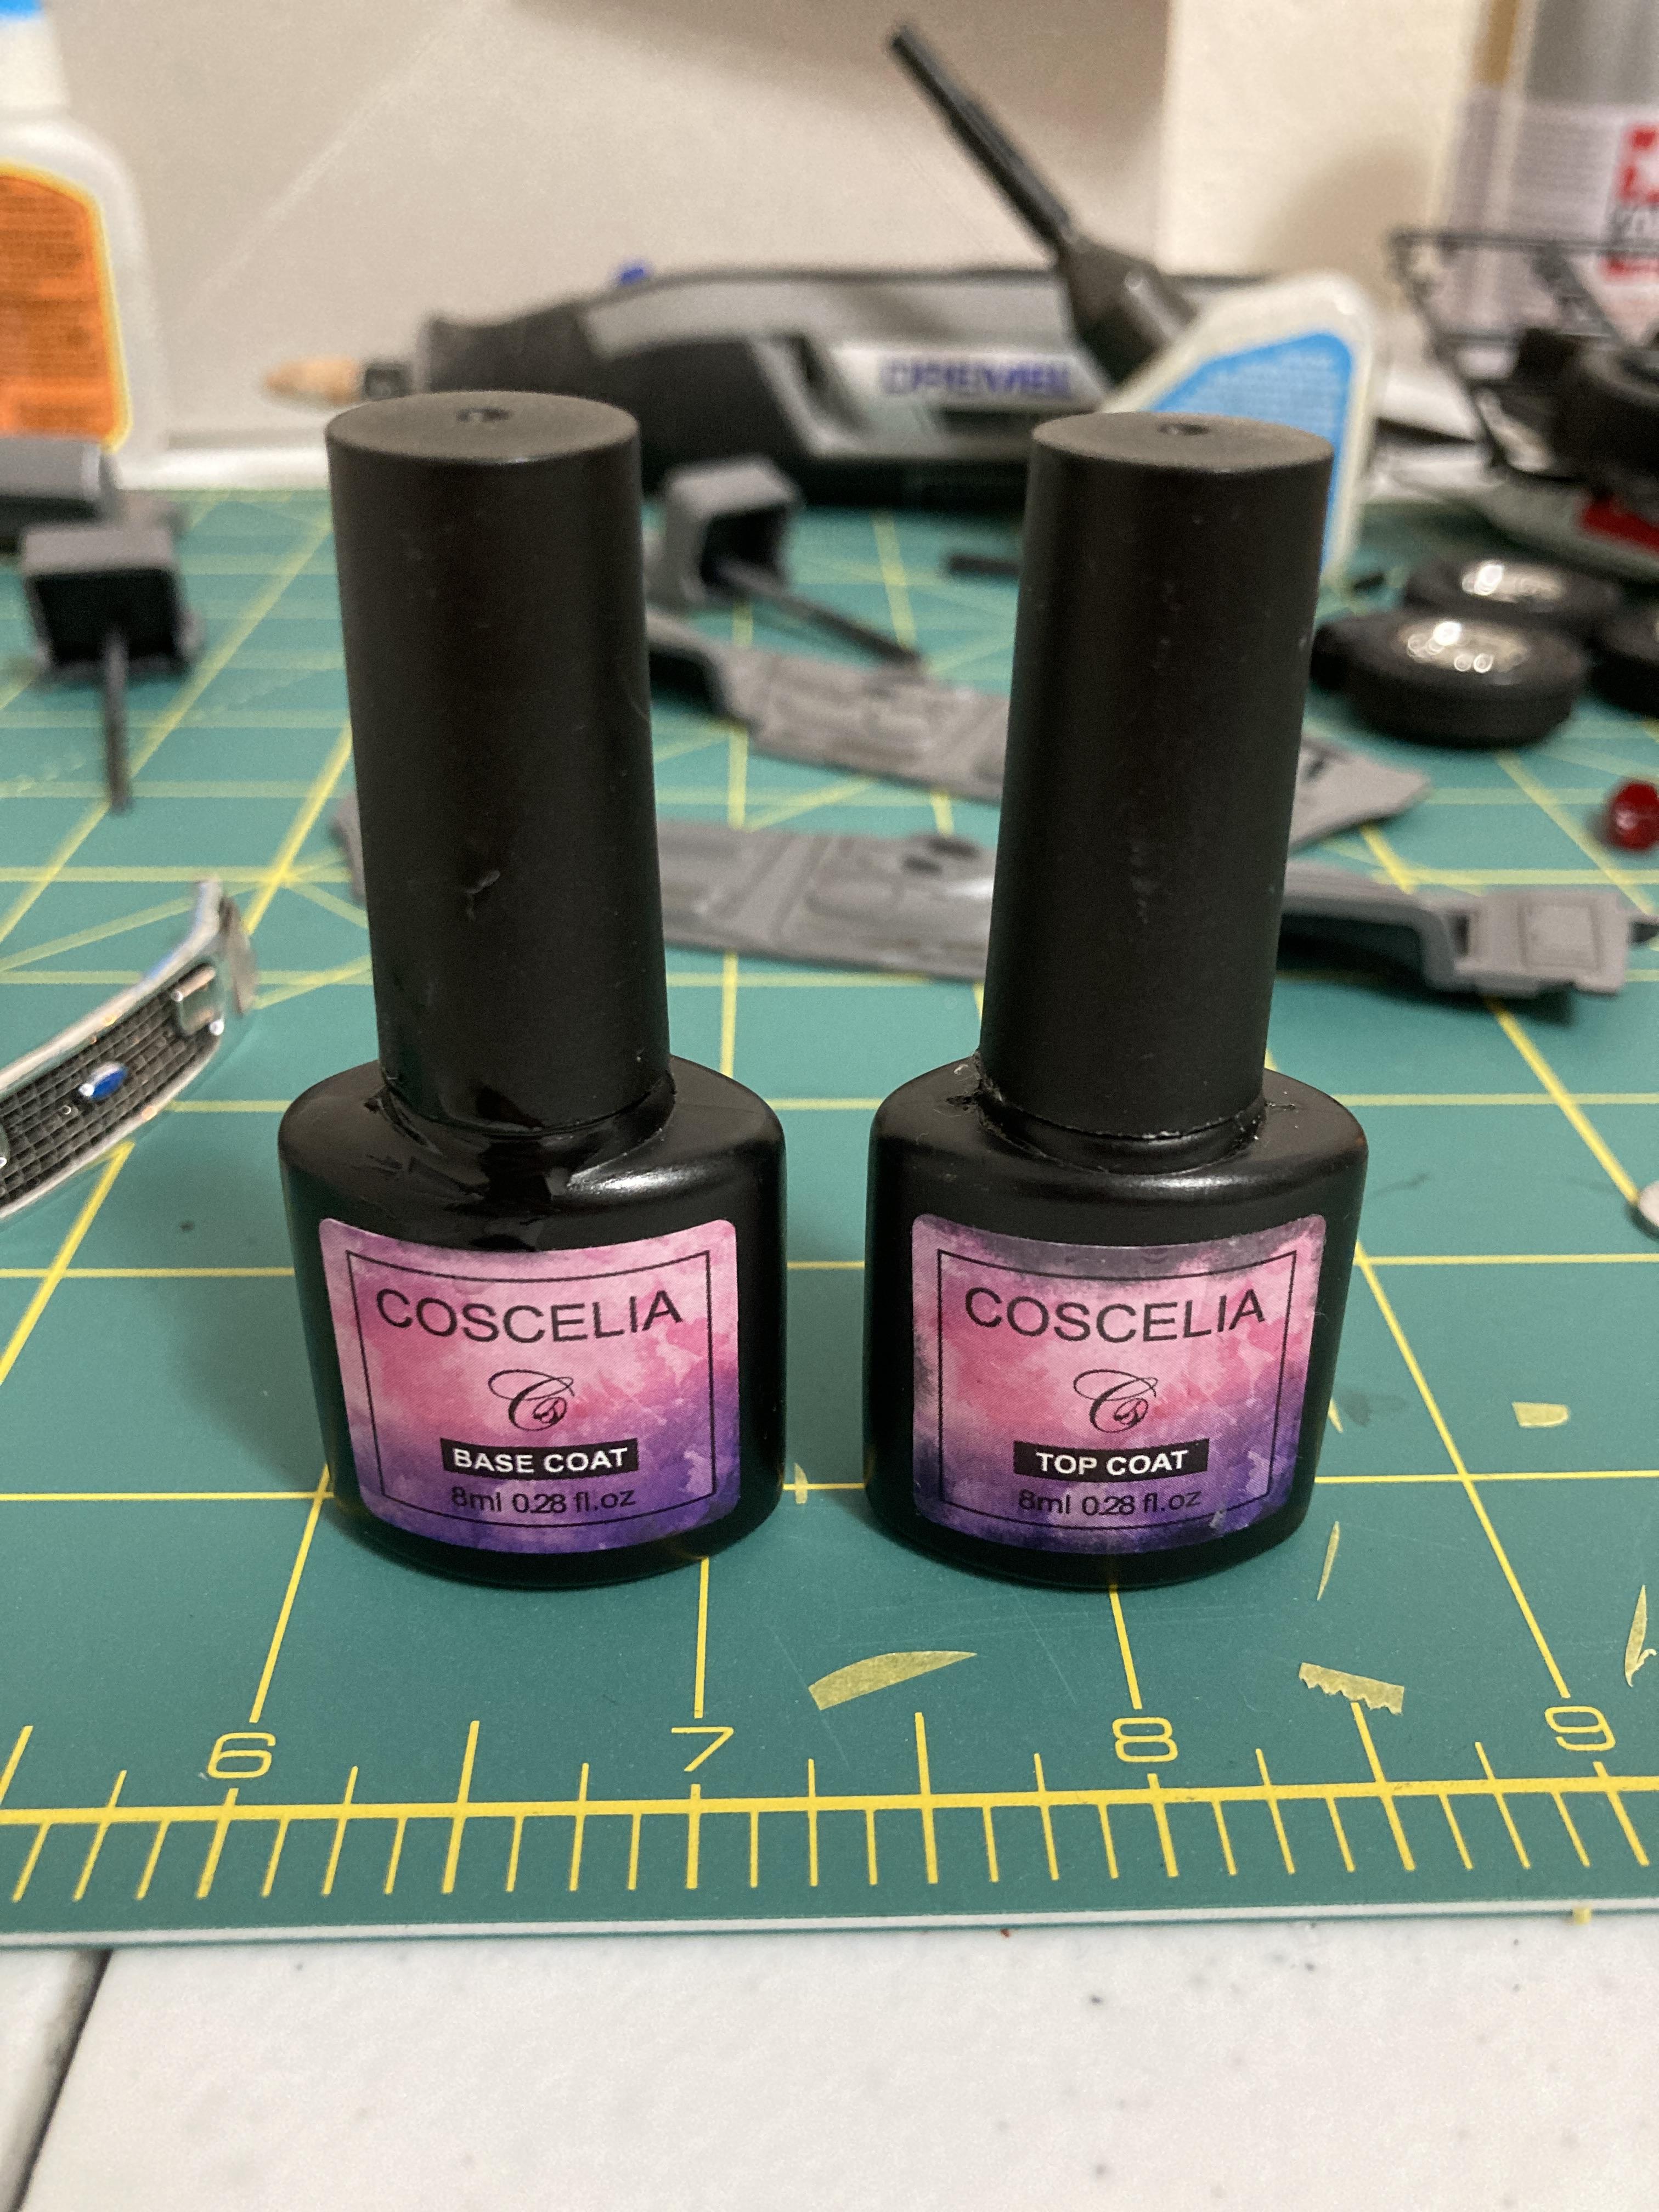
Howdy. As the title states, I’ve found an easy way to make molded in and plated headlights look more realistic. After a suggestion from my girlfriend, I decided to try putting her UV clear gel coat nail polish over the plated emergency/fog lights in the grille of my ‘97 Expedition WIP. It has to be the type of gel coat that cures in UV light though. I’ll let the photos say the rest. Before: After: The nail polish used:
-
I sure can lol
-
Thanks Jerry. There’s never a dull moment, that’s for sure. She digs lots of holes and likes to nap right in the front entryway. Yesterday evening she went and stole a cracker right out of my girlfriend’s hand as she was putting it in her mouth.
-
Looking good so far. Will you be making windows for the sides and/or rear door of the canopy?
-
Revell Ford Expedition
Smoke Wagon replied to Smoke Wagon's topic in WIP: Model Trucks: Pickups, Vans, SUVs, Light Commercial
Thanks guys. I mixed some phthalo blue and white gloss acrylics (same brand and type as the black used on the grille), put those on, let it sit for 15 minutes and everything wiped off. My guess is the recesses in the grille aren’t deep enough to use the q tip. I then took a fine point brush and painted in the oval. I may try your suggestion of using thinner now that it’s dry. Isopropyl alcohol might do the trick, but being a snap kit with easily seen pegs on the headlights on either side of the oval, I’m not too worried. I’m for sure going to experiment and use windshield glue to fill in the fog lights, so they’ll look like they have lenses in them. Thank you. You’re correct, from what I’ve seen, the wheel pockets are a dull satin finish. When building a stock part of a model that I’m not too familiar with, I like to consult auto-brochures.com. Original sales brochures come in handy. I didn’t detail the wheel pockets yet, procrastinating that part... along with painting all of the black surrounds for the glass canopy. My method might be painting the pockets, letting them tack up, then rimming a q tip along the raised surface of the wheel. -
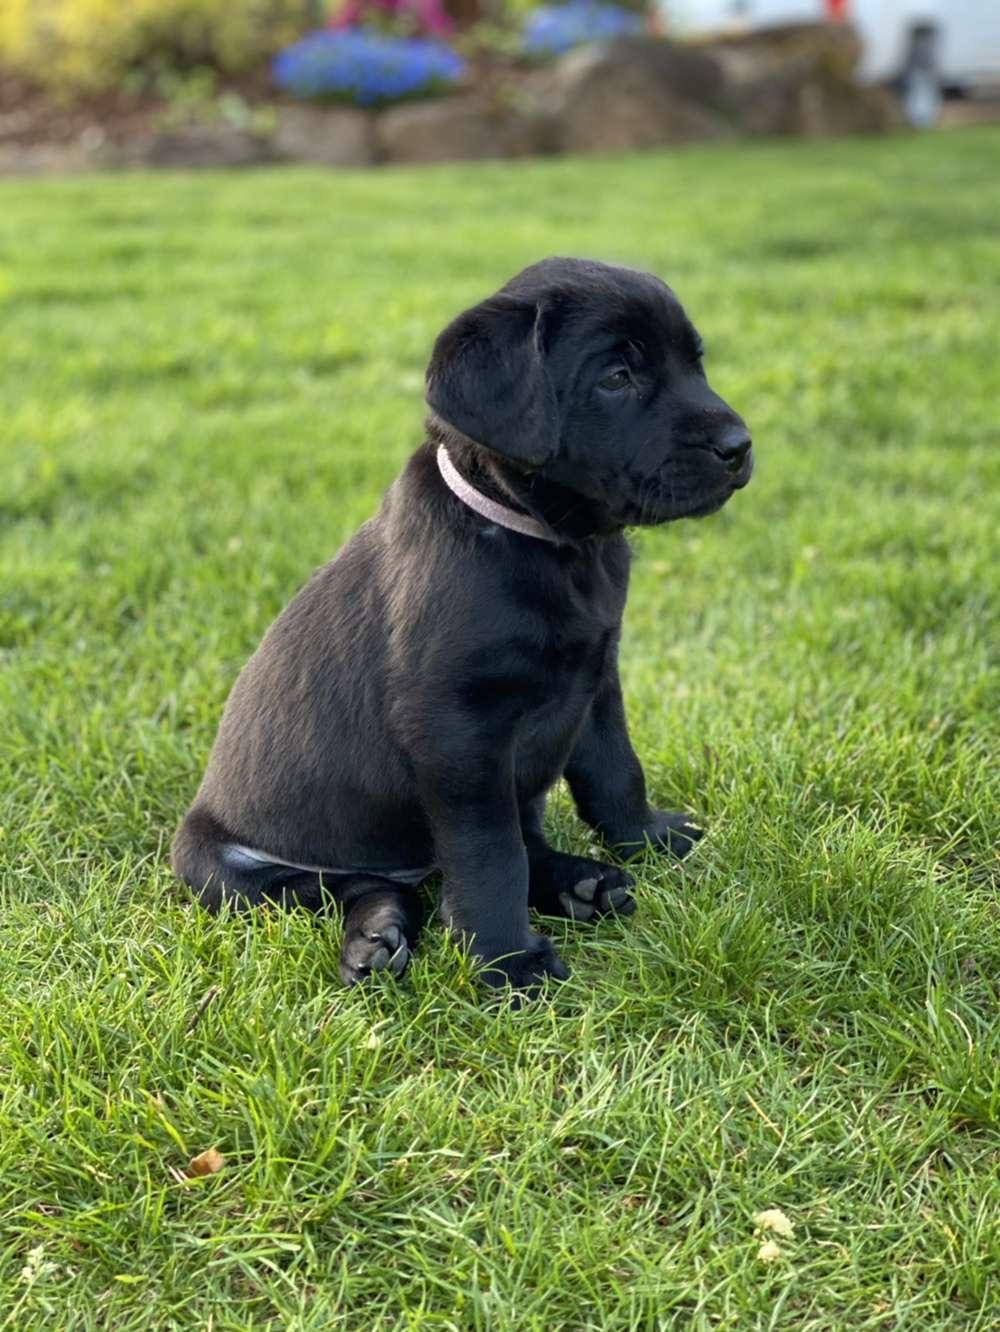
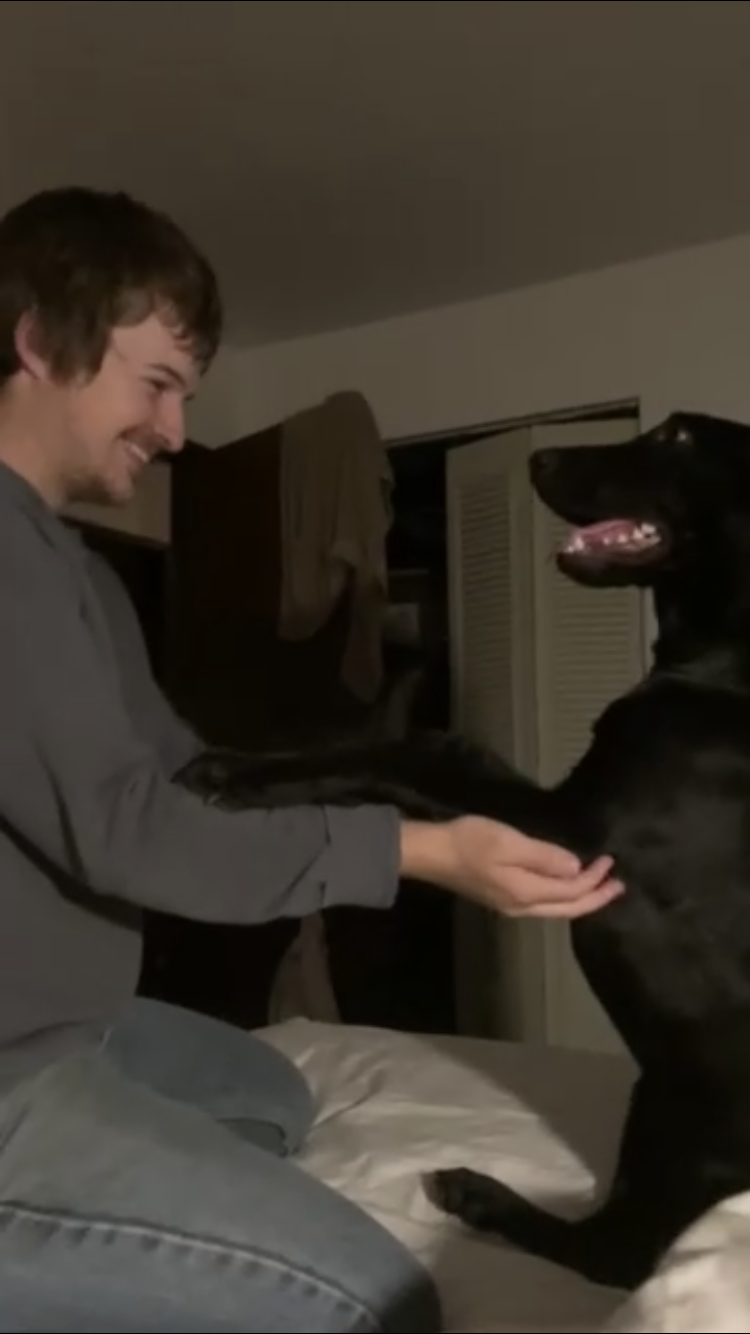
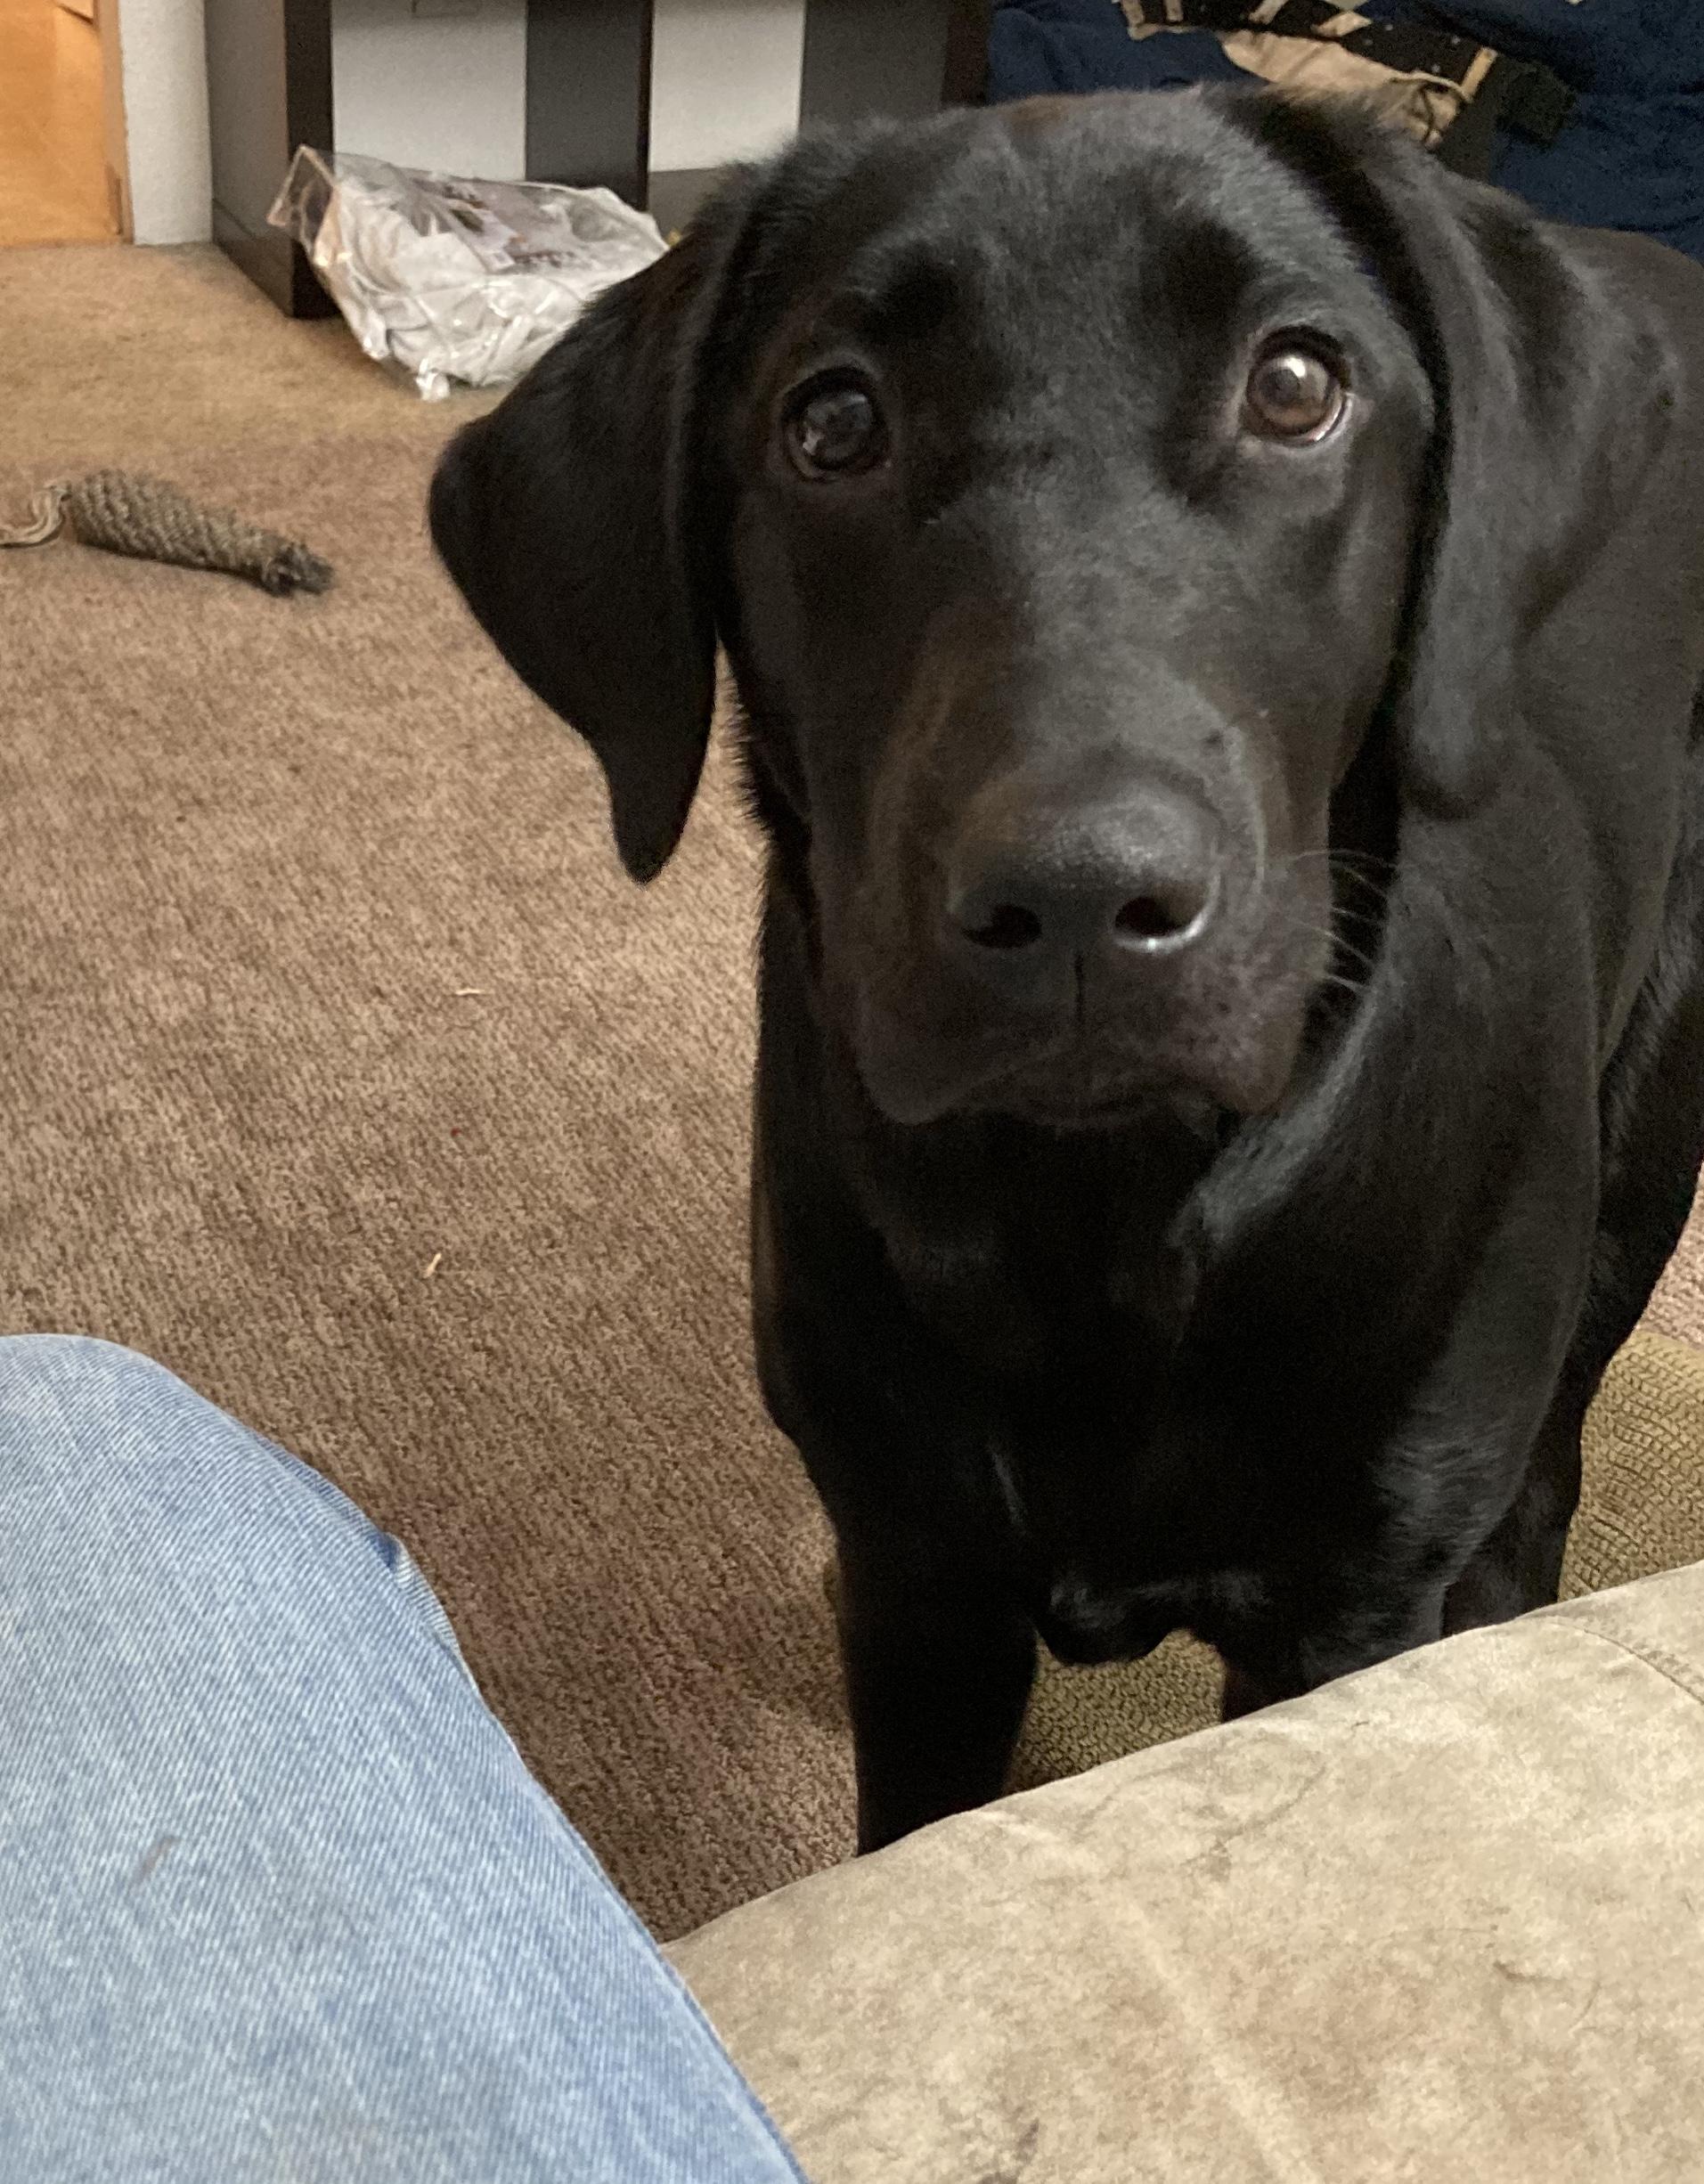
Here’s my puppy, Dixie. She’s a black lab, born in March of this year. I brought her home on the first of June. She’s kinda docile and reserved as far as lab pups go. This was her on May 4th: And here she is now: Here she is goofin’ around with me before bedtime.