hct728(Bob)
-
Posts
586 -
Joined
-
Last visited
Content Type
Profiles
Forums
Events
Gallery
Everything posted by hct728(Bob)
-
 Great progress, love that working rear suspension! Nice detail on the wheels, saw your tip on the Spotlight Hobbies Board, about cutting off the lug nuts, then drilling a hole for a wire to center micro hex beads onto, very clever! Brasswork is too nice to paint though, and olive drab at that, at least it could be bright red, LOL!
 -
Lots of creativity there! Nice patina on that too! Very realistic and then again, maybe not so…LOL!
-
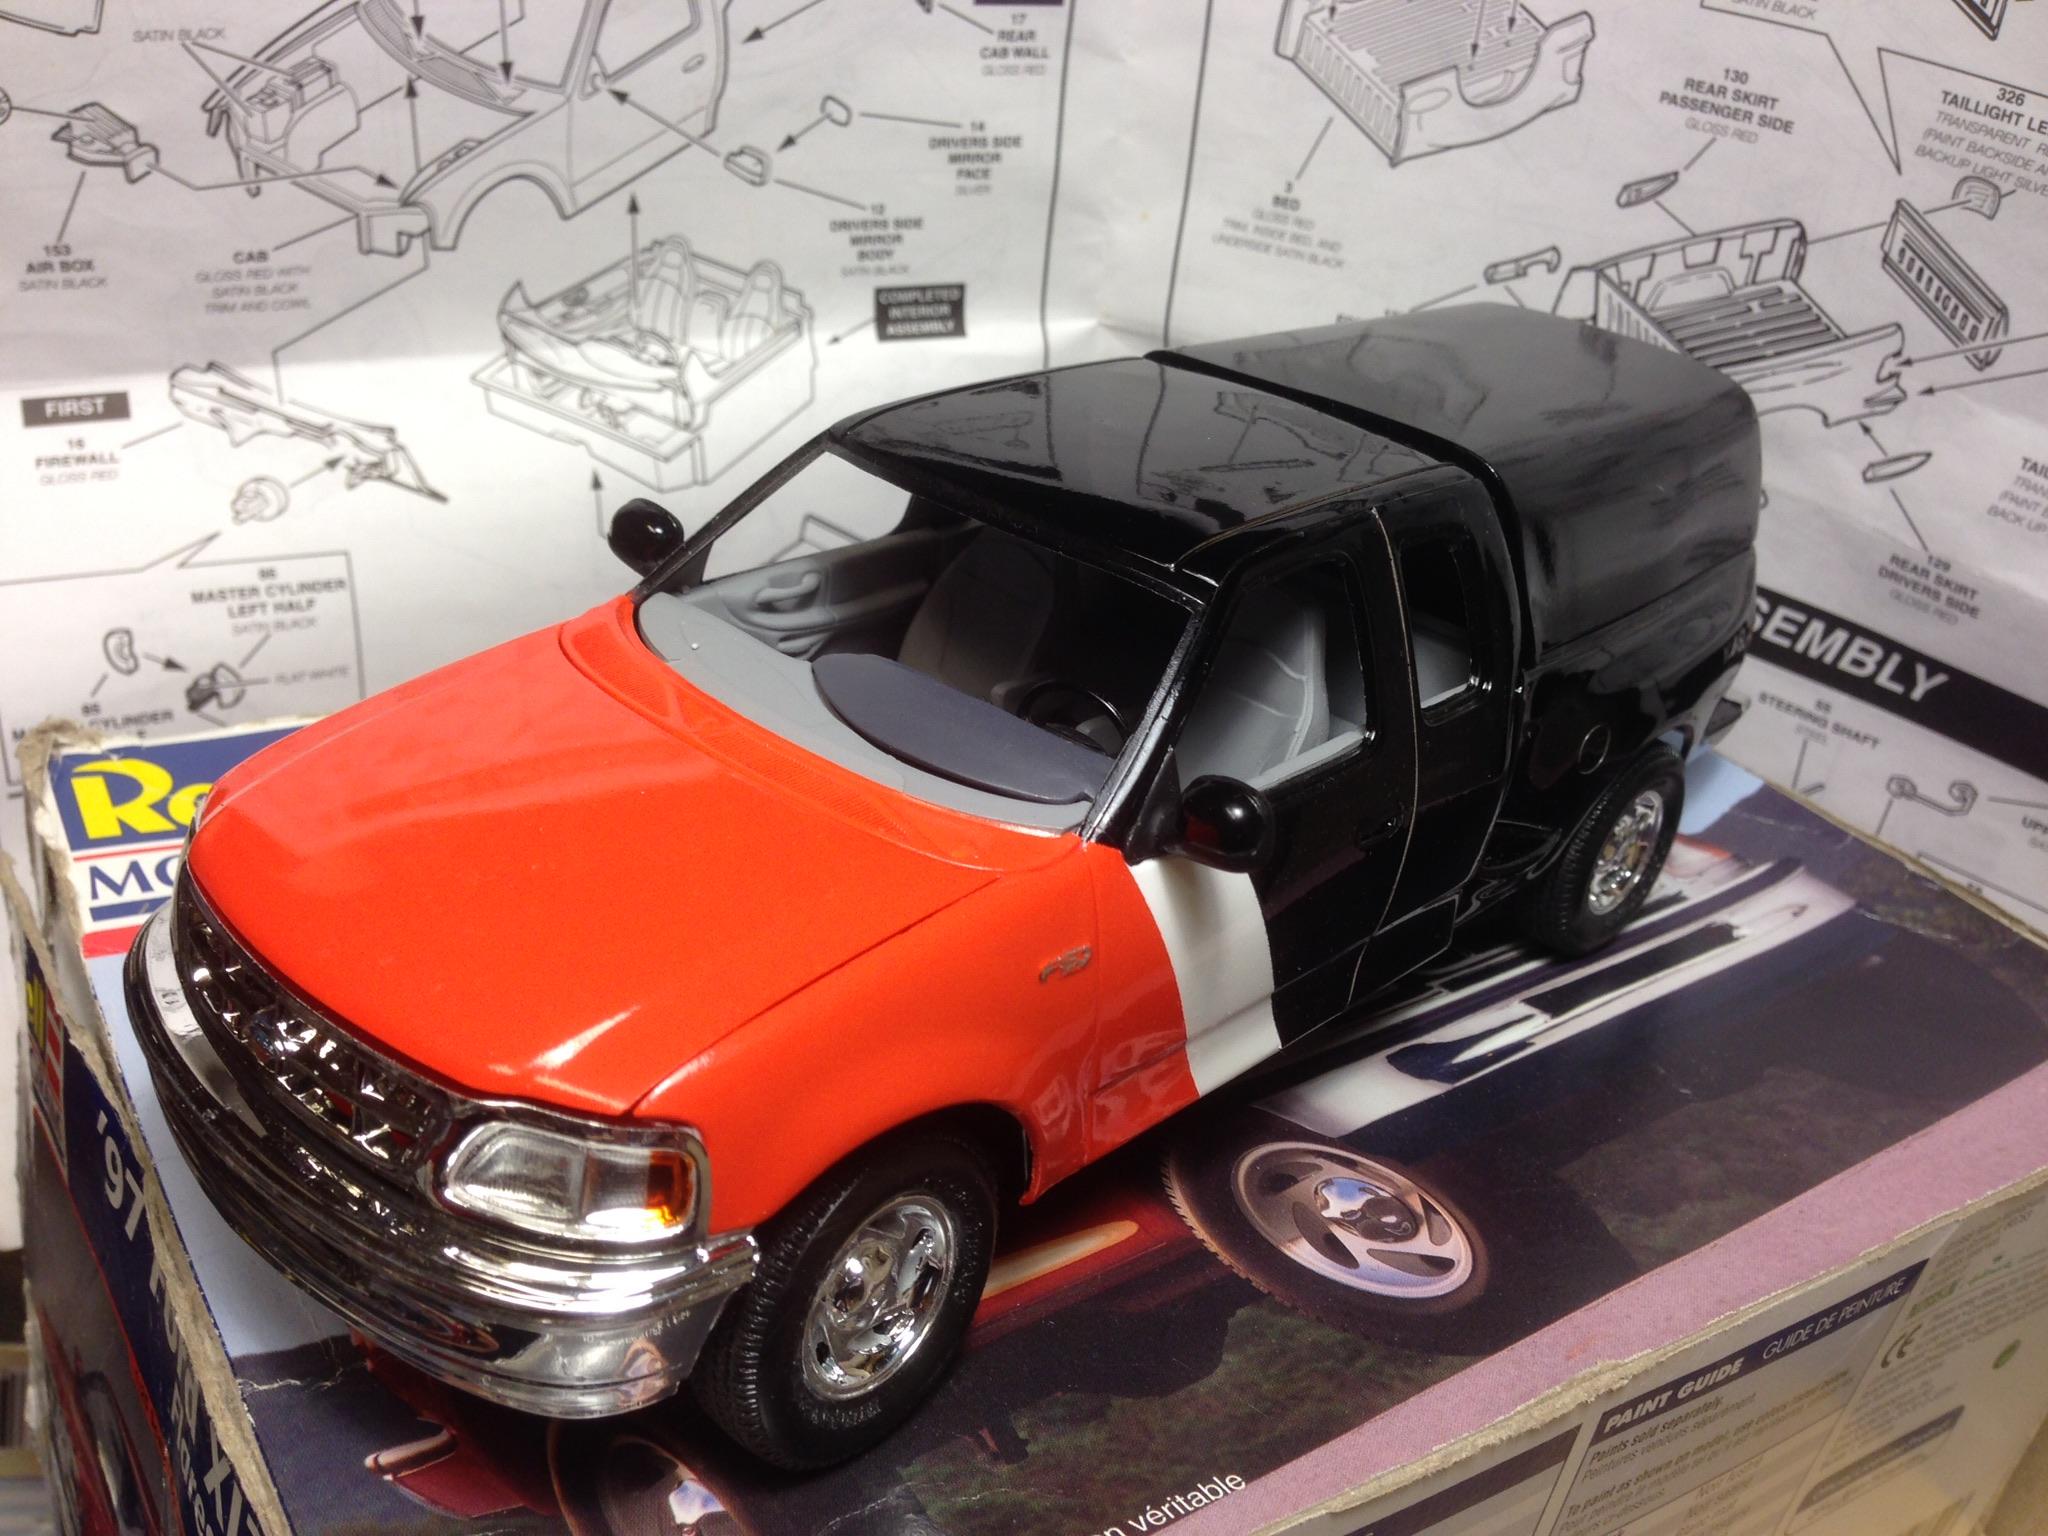
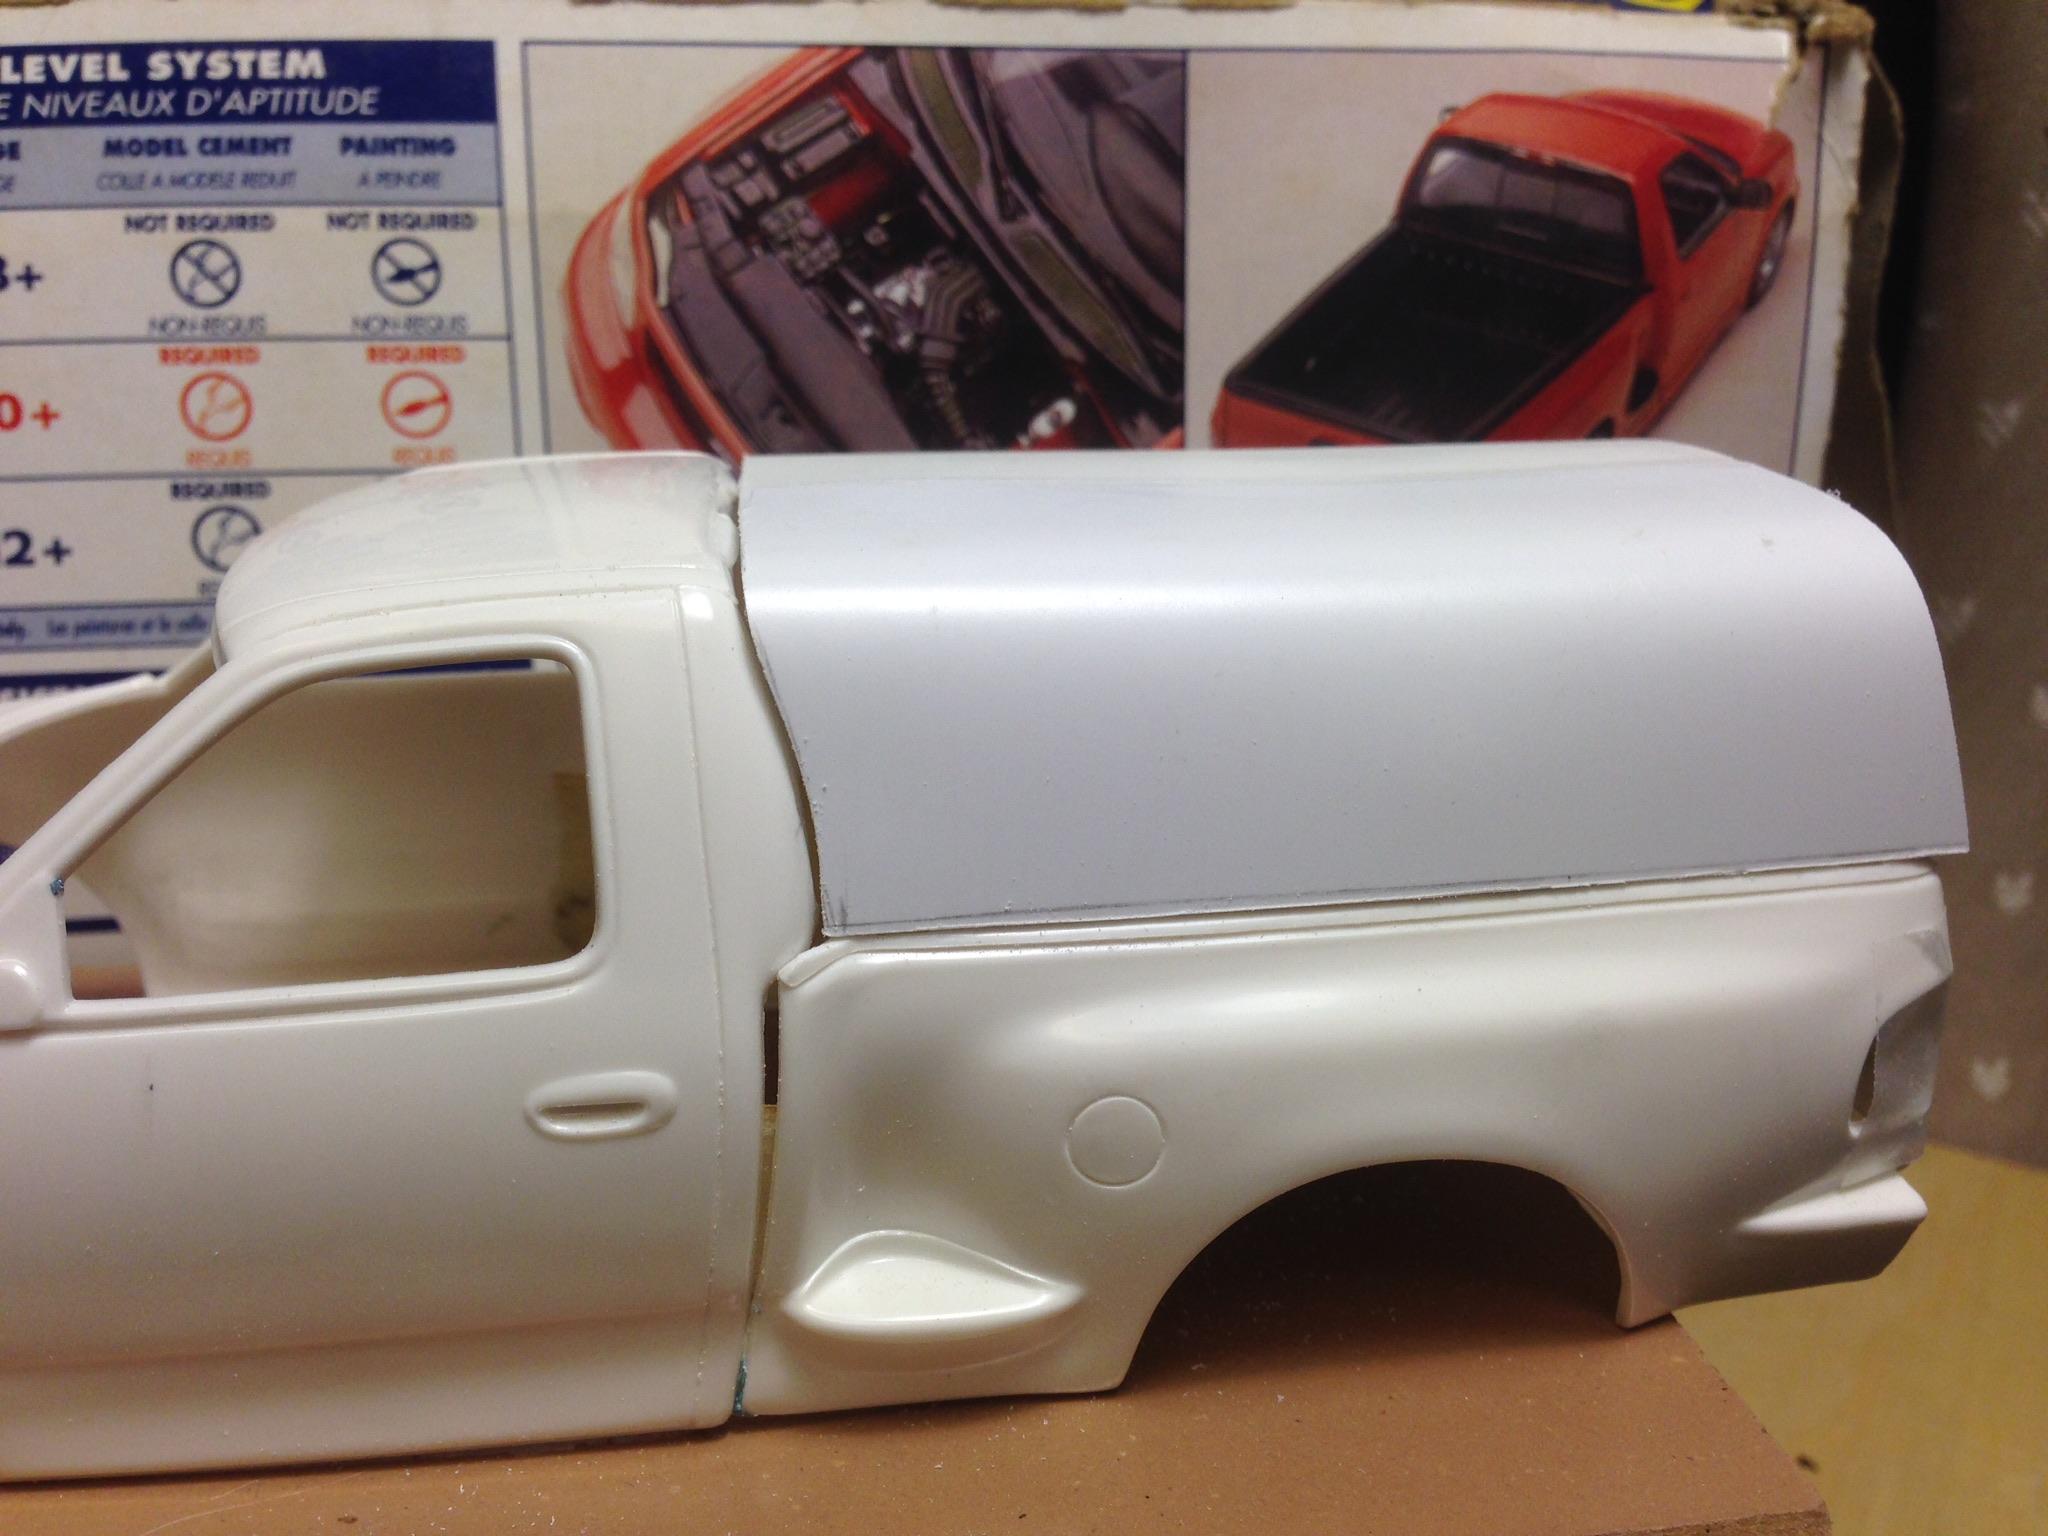
1998 F-150 with Topper/Cap
hct728(Bob) replied to hct728(Bob)'s topic in Model Trucks: Pickups, Vans, SUVs, Light Commercial
Weird, just noticed the orange in the image is messed up, pixelated maybe, I thought the Tamiya paintwork came out better than that! A bigger image, taken earlier under different lighting…
-
Just finished, needs plates though, gotta get down to the DMV tomorrow! Intended to match a previous heavy truck build, as I love this livery and see these Volvos often on the highway around here
-
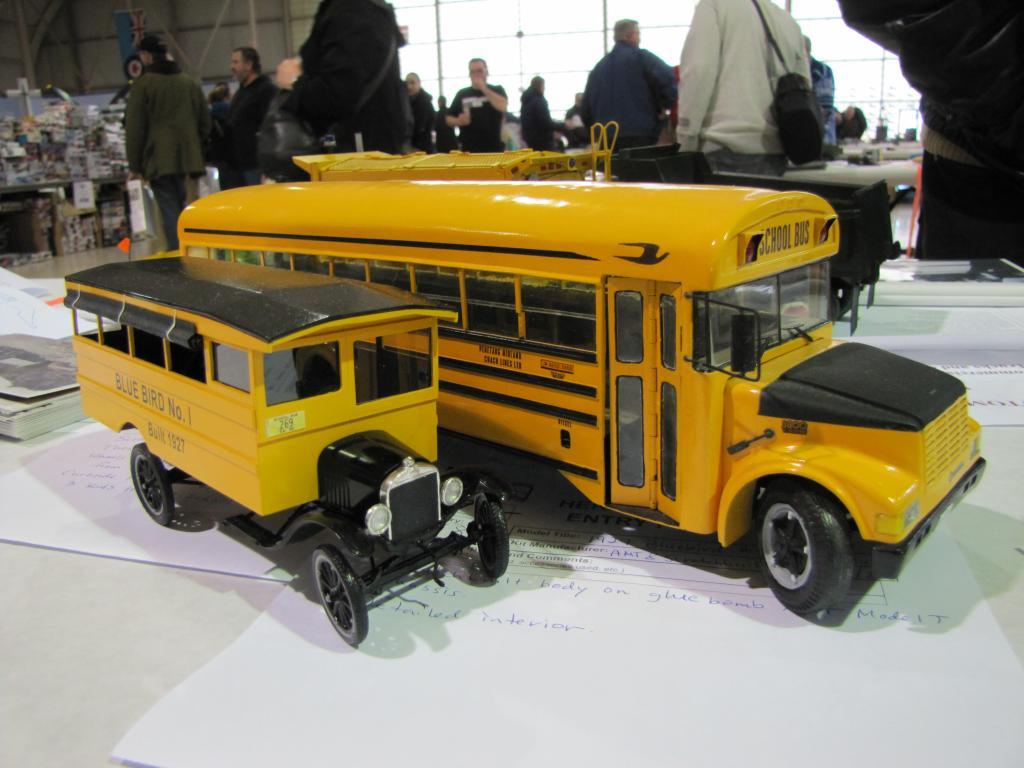
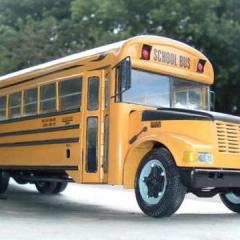
I have a soft spot for school buses myself! Both 1/25 scale but the big one doesn’t have an interior, lots of fun making them though
-
Thanks! Kept it simple for the first one but it had to have a back window
-
Great start! I like the bed rails
-
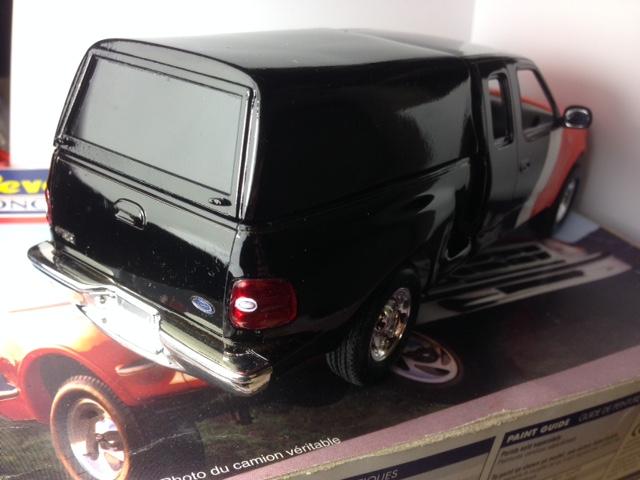
Well, I pretty much finished it up. Thanks for the tips and suggestions, I expect I'll be using them in the future, as I'm sure I'll be trying this again, and one of those flat bed covers too, you don't really see to many pickups without them around here
-
*1934 Ford Pickup*
hct728(Bob) replied to Zippi's topic in WIP: Model Trucks: Pickups, Vans, SUVs, Light Commercial
Nice detail work on the engine! Very inspirational, seeing it all coming together -
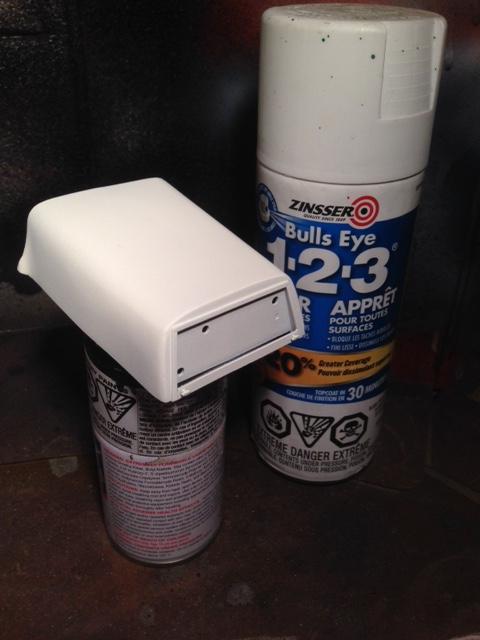
Body filler was still showing through multiple coats of Duplicolor sandable primer, so I gave it a coat of BIN sealer/primer, as recommended by truck modeller Tim Ahlborn. Seems to go on thick, but light sanding Is usually needed before colour anyway. Also tried tinting the rear window yesterday with Testors black window tint, but it came out splotchy (it never really worked out every time I tried it in the past), so I guess I’ll use Tamiya smoke. This truck will be mostly blacked out behind the doors, just assembling the painted pieces now
-
Revell chevy pick up 1941
hct728(Bob) replied to happy grumpy's topic in Model Trucks: Pickups, Vans, SUVs, Light Commercial
Nice job on the grille and weathering, love the look of this truck to start with and you made it better! -
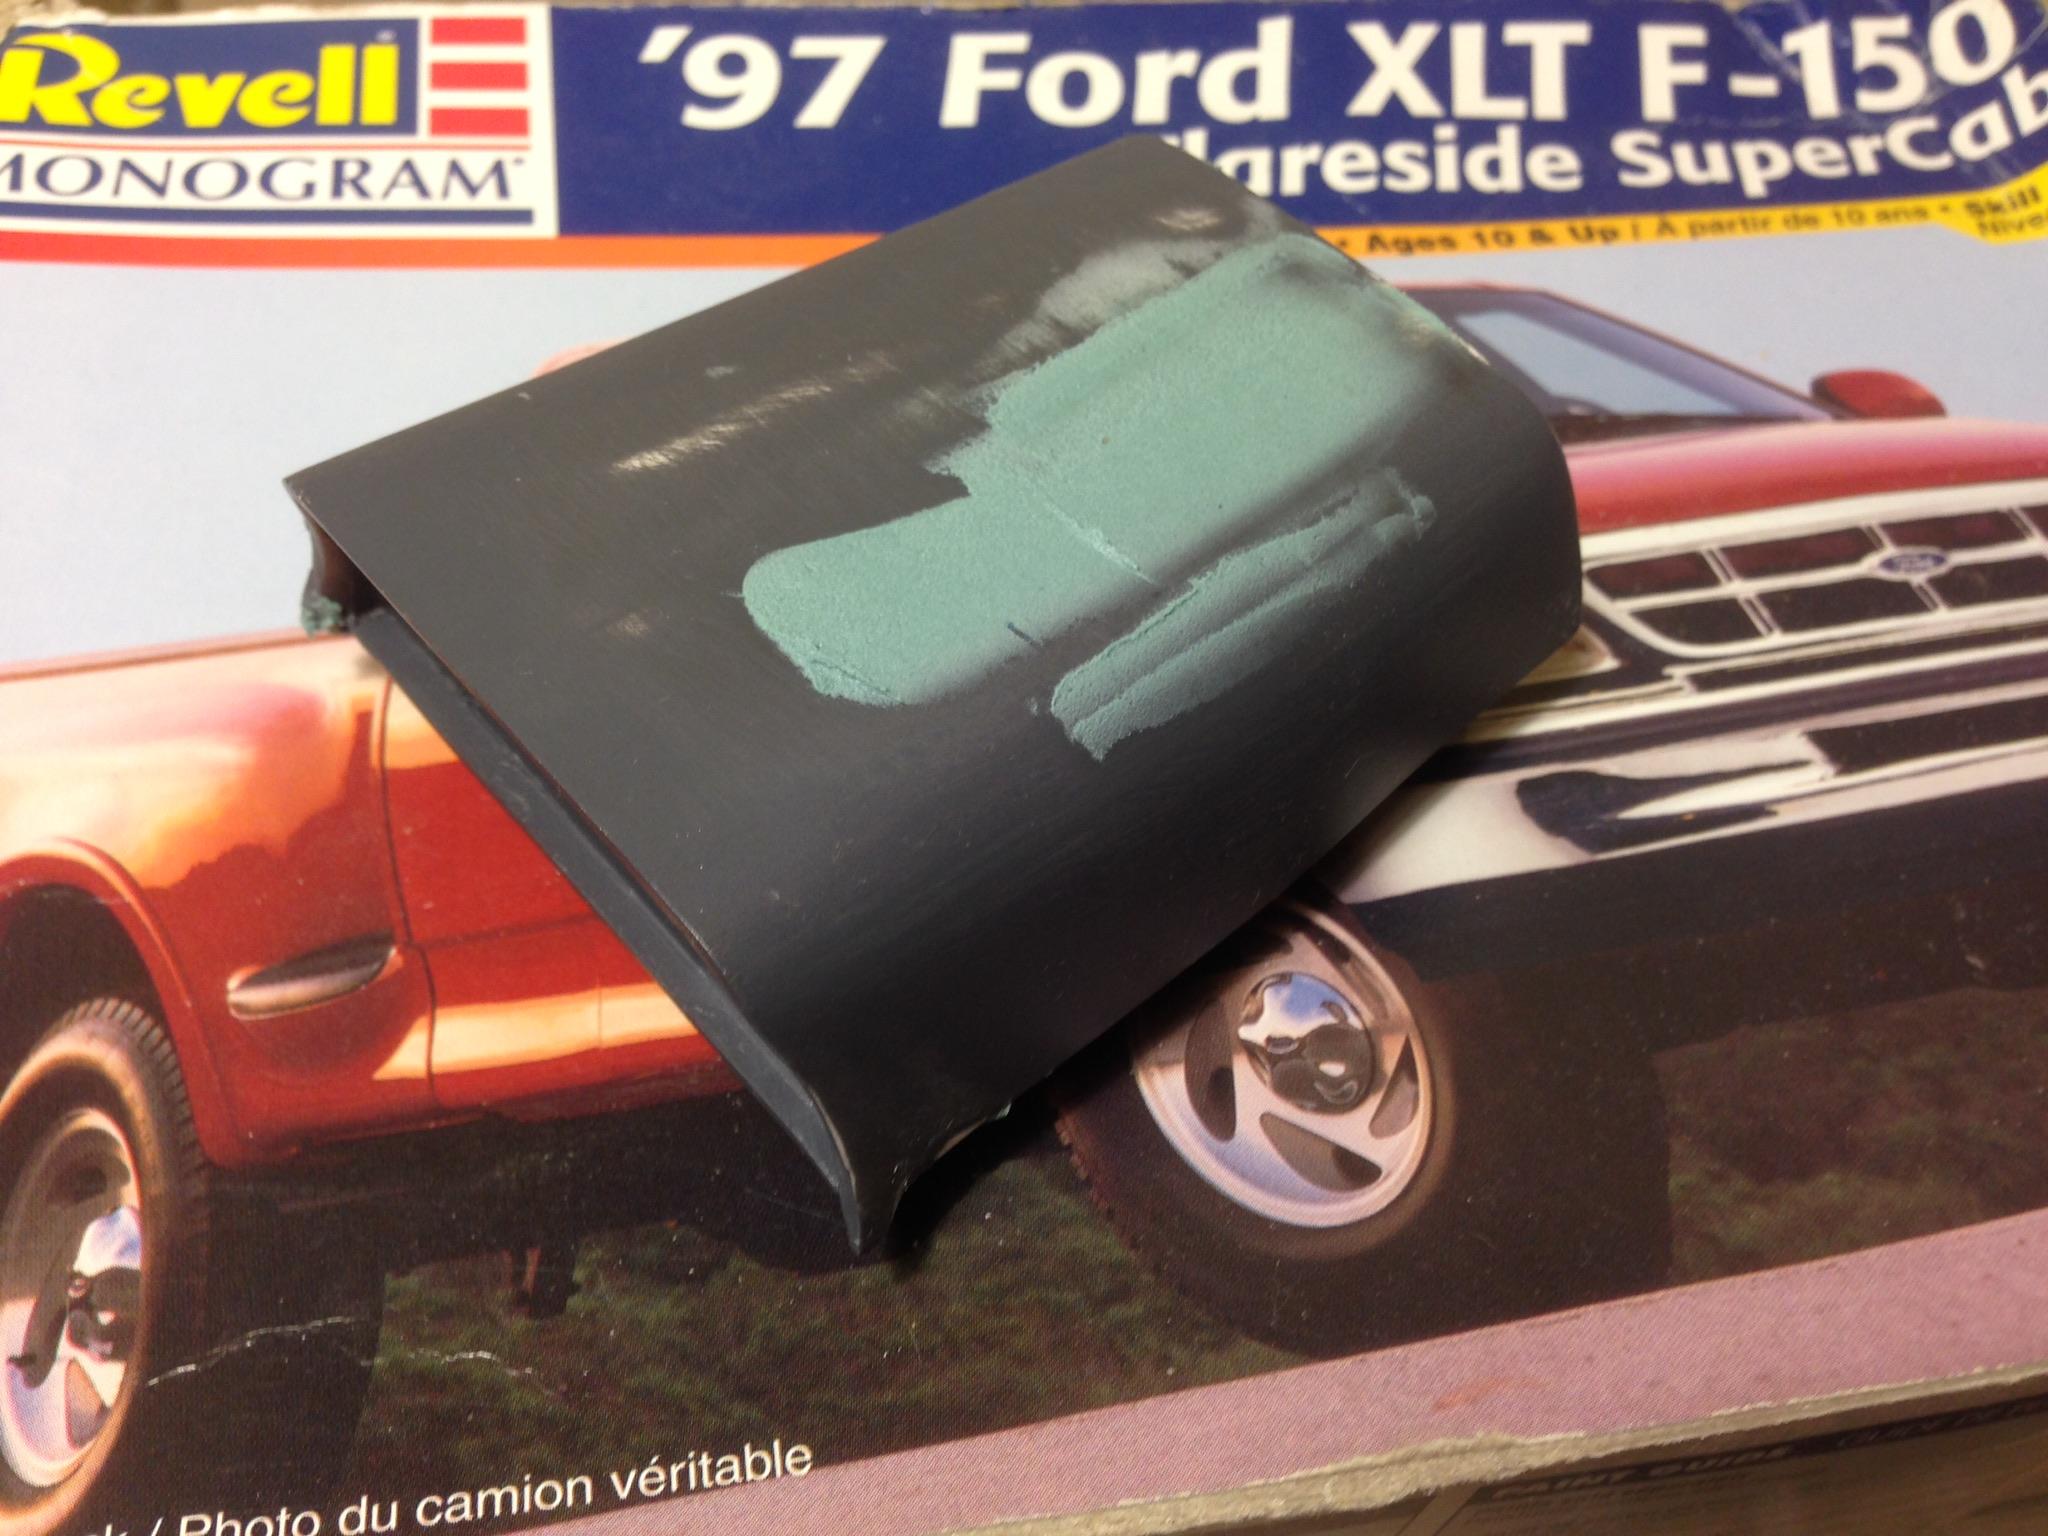
Progress made on front and rear windows, but still refining the shape. Always thought of body filler kinda like cheating, you know, like adding bacon to a recipe. I was hoping to avoid it with my original bulkhead idea, but the sheet styrene wrap didn’t work out so here we are…prime, putty, sand, repeat, yawn…
-
I've made a kit suspension loose enough to flex a bit so the wheels sit flush on the table, but you've taken it to a whole new level! So cool to see what can be done going all the way with the factory drawings, very inspiring! Looking forward to more surprises, you keep pushing the envelope! Thanks for sharing your work
-
Snap Fit Ford Raptor
hct728(Bob) replied to ewetwo's topic in Model Trucks: Pickups, Vans, SUVs, Light Commercial
Beautiful blue shade with just the right amount of chrome highlights! Nice shop truck, are you hiring, LOL! -
1992 Ford F150 Nite
hct728(Bob) replied to Chuck Most's topic in Model Trucks: Pickups, Vans, SUVs, Light Commercial
Looks great in that unique stripe, a perfect fit too! Wheels and stance are just right, neat job fitting it all. What paint are you using, gotta do a glossy black myself very soon, the last part of a three-tone job and I don’t want to mess it up (again)! -
ford f100 4x4
hct728(Bob) replied to happy grumpy's topic in Model Trucks: Pickups, Vans, SUVs, Light Commercial
Neatly done! I see what you mean about the stance, not quite the 4x4 look I expected from this kit. I have plans to add some blocks to the suspension mounts on mine to raise it up. Putting the 4x4 parts on the short frame Flareside. Great photography too, love the dealership background, I can see activity in the windows! -
1977 Ford Motor Home
hct728(Bob) replied to Oldmopars's topic in WIP: Model Trucks: Pickups, Vans, SUVs, Light Commercial
So great to draw it up on the computer! Always wanted to do a proper drawing of my scratchbuilts but wound up using fuzzy screenshots or measured photos. You’re off to a great start, doing the hard planning now. There are some sites with camper brochures, got some photos myself for the Hess GMC Training Van -
1977 Ford Motor Home
hct728(Bob) replied to Oldmopars's topic in WIP: Model Trucks: Pickups, Vans, SUVs, Light Commercial
Nice work, Tom! You integrated the parts from the Open Road Camper kit so neatly and then added quite a few of your own in the same style, perfectly! Love the dual rear wheels too, you don't miss a thing! Thanks for sharing! -
Revell Ford Expedition
hct728(Bob) replied to Smoke Wagon's topic in WIP: Model Trucks: Pickups, Vans, SUVs, Light Commercial
Wow, what a thing to happen! I liked the blue, too! I'm sure it'll come out great in any colour you choose though! -
Nice job on the paint and wood! A whole lotta precision cutting of the veneer but it paid off nicely. I assume the wood panel inside the trim is painted like the interior trim, got that down pat too!
-
Revell Ford Expedition
hct728(Bob) replied to Smoke Wagon's topic in WIP: Model Trucks: Pickups, Vans, SUVs, Light Commercial
Nice job on the dash (I think I need to give mine a black wash) and the interior, neatly done carpeting and mats. and I like the 'fuzzy' look to the seats, very realistic! -
No windows except for the rear, which will be tinted though. It’s intended to be a fleet service truck, and was supposed to be a ‘quick build’ if you can believe that
-
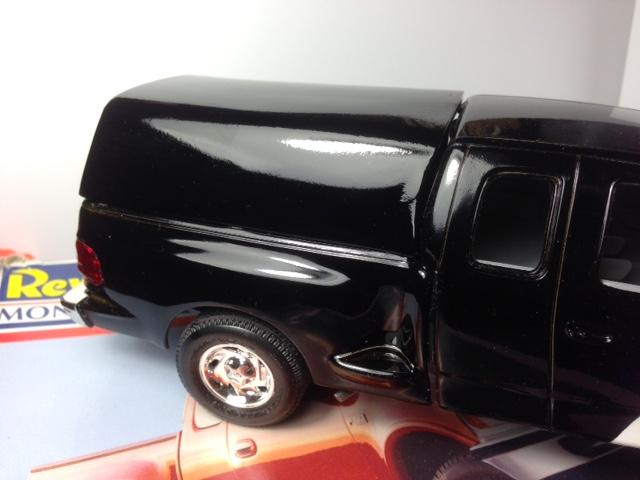
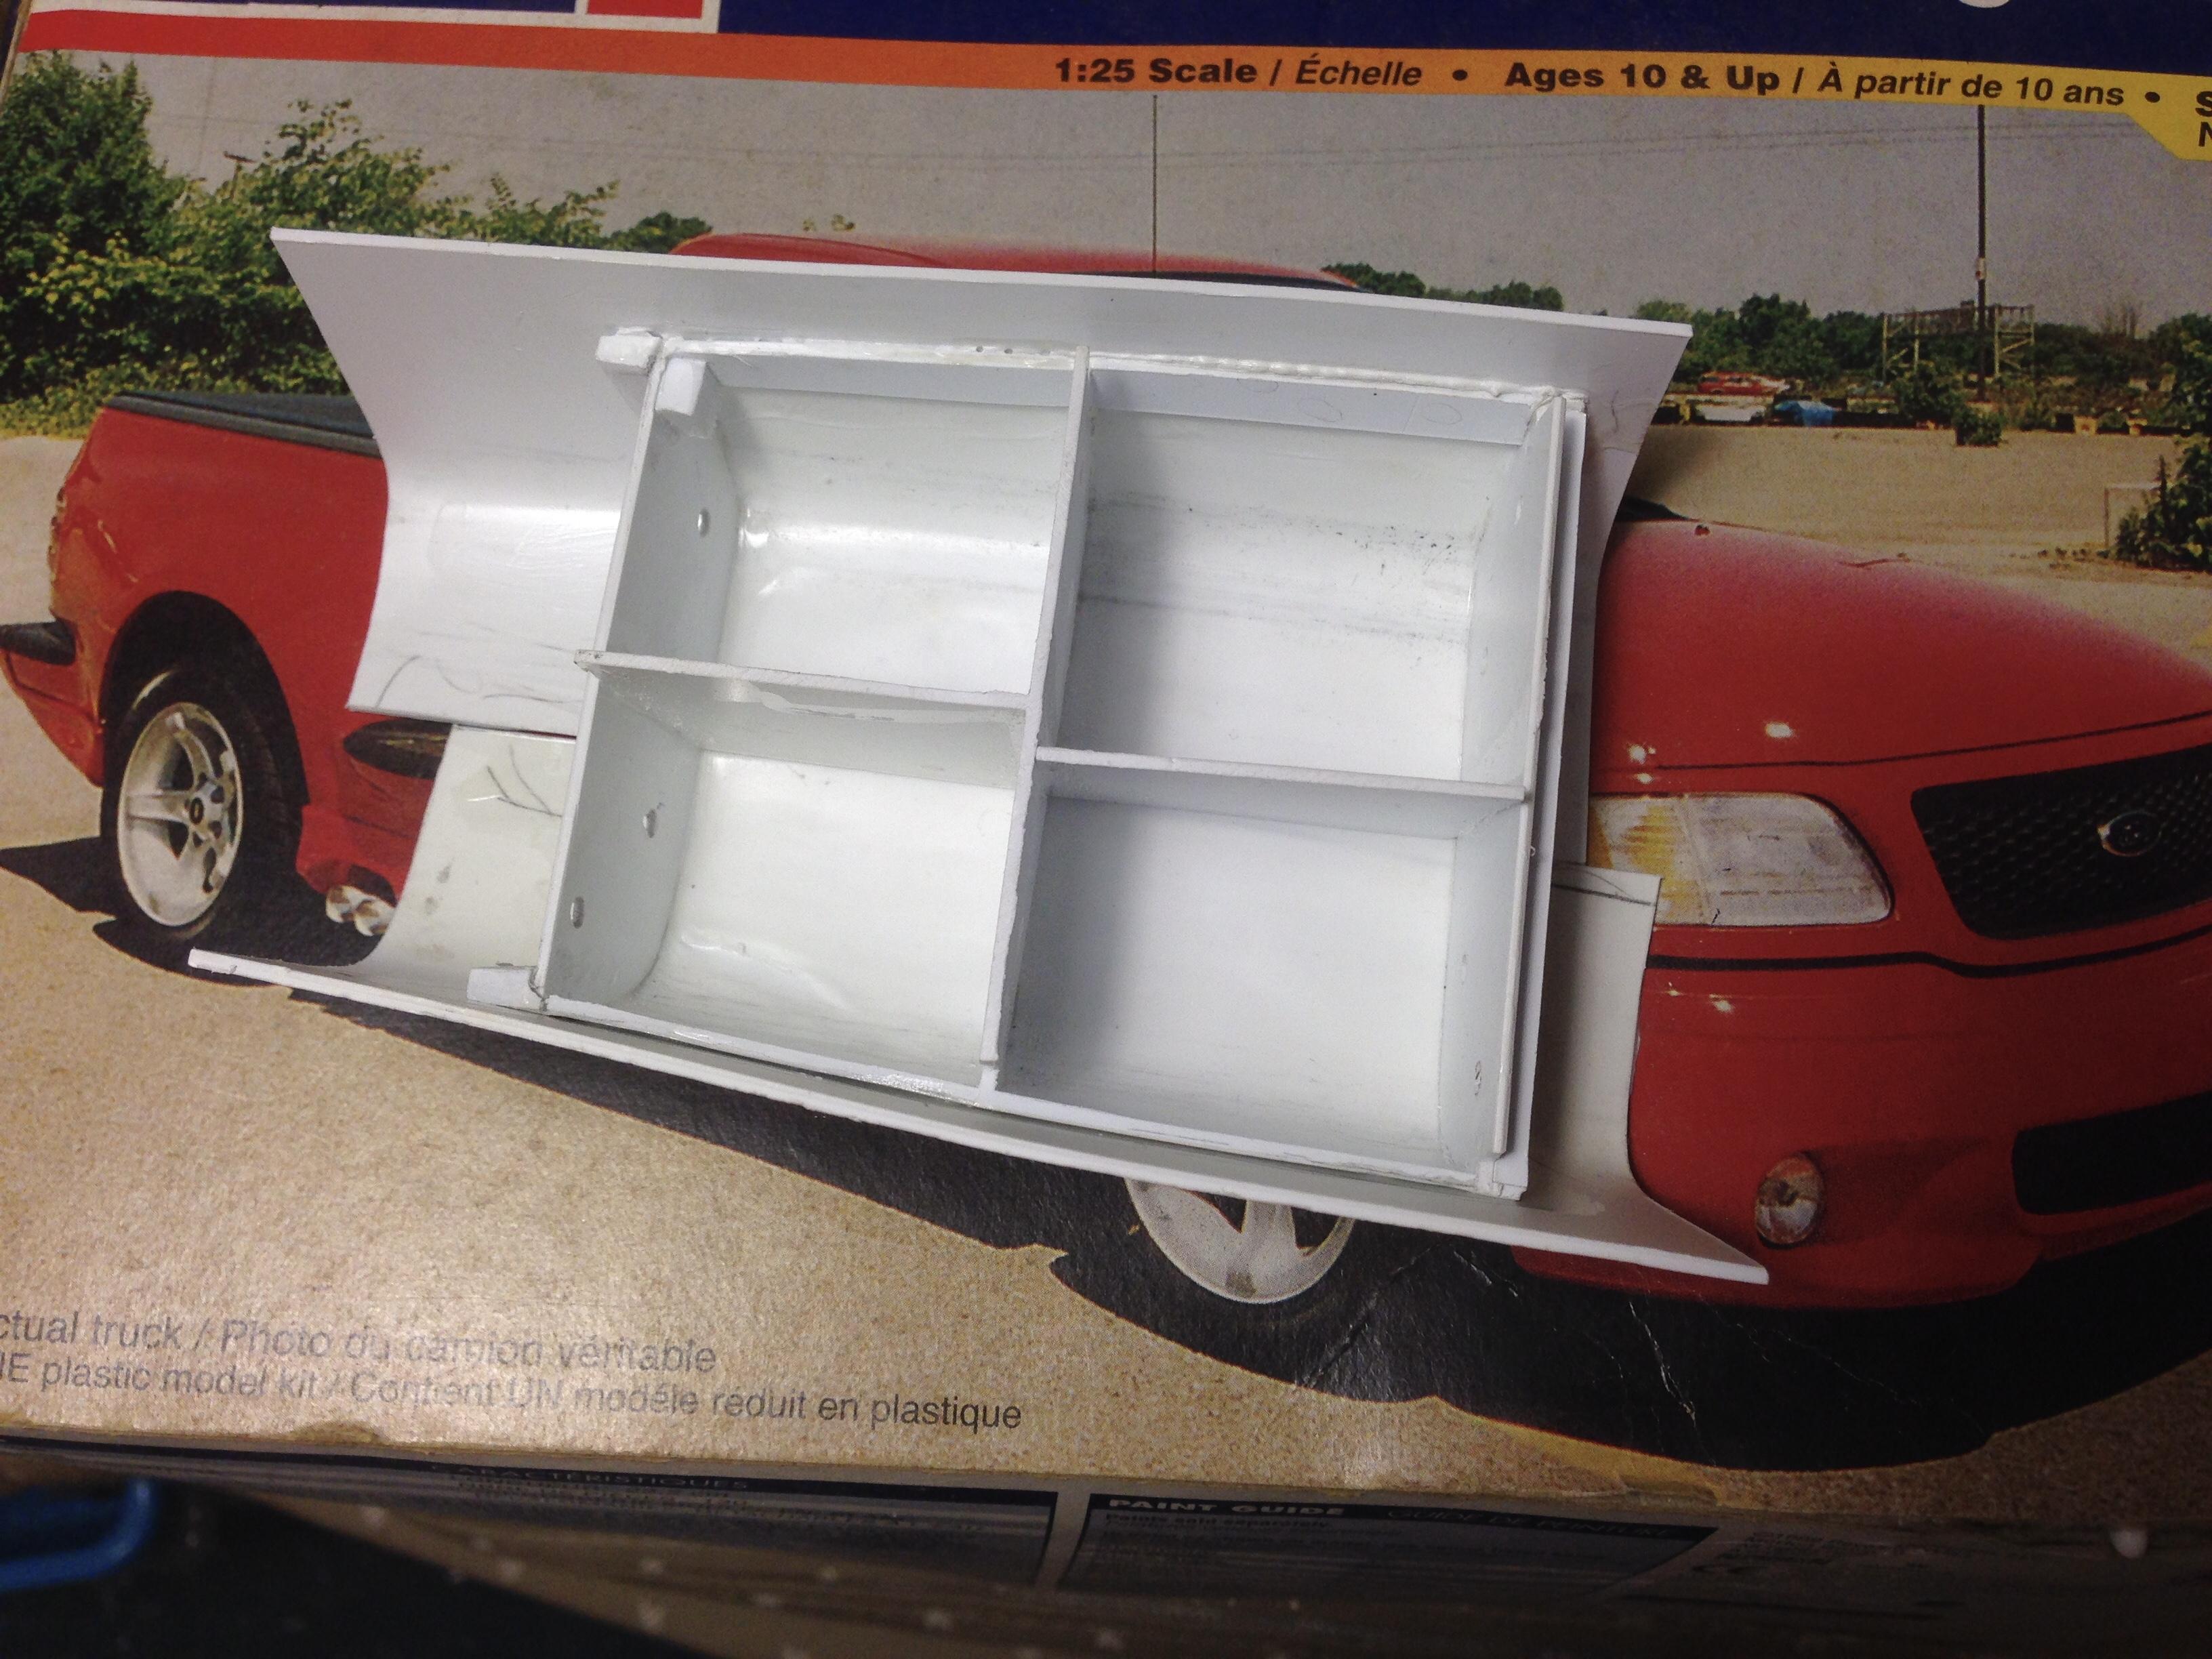
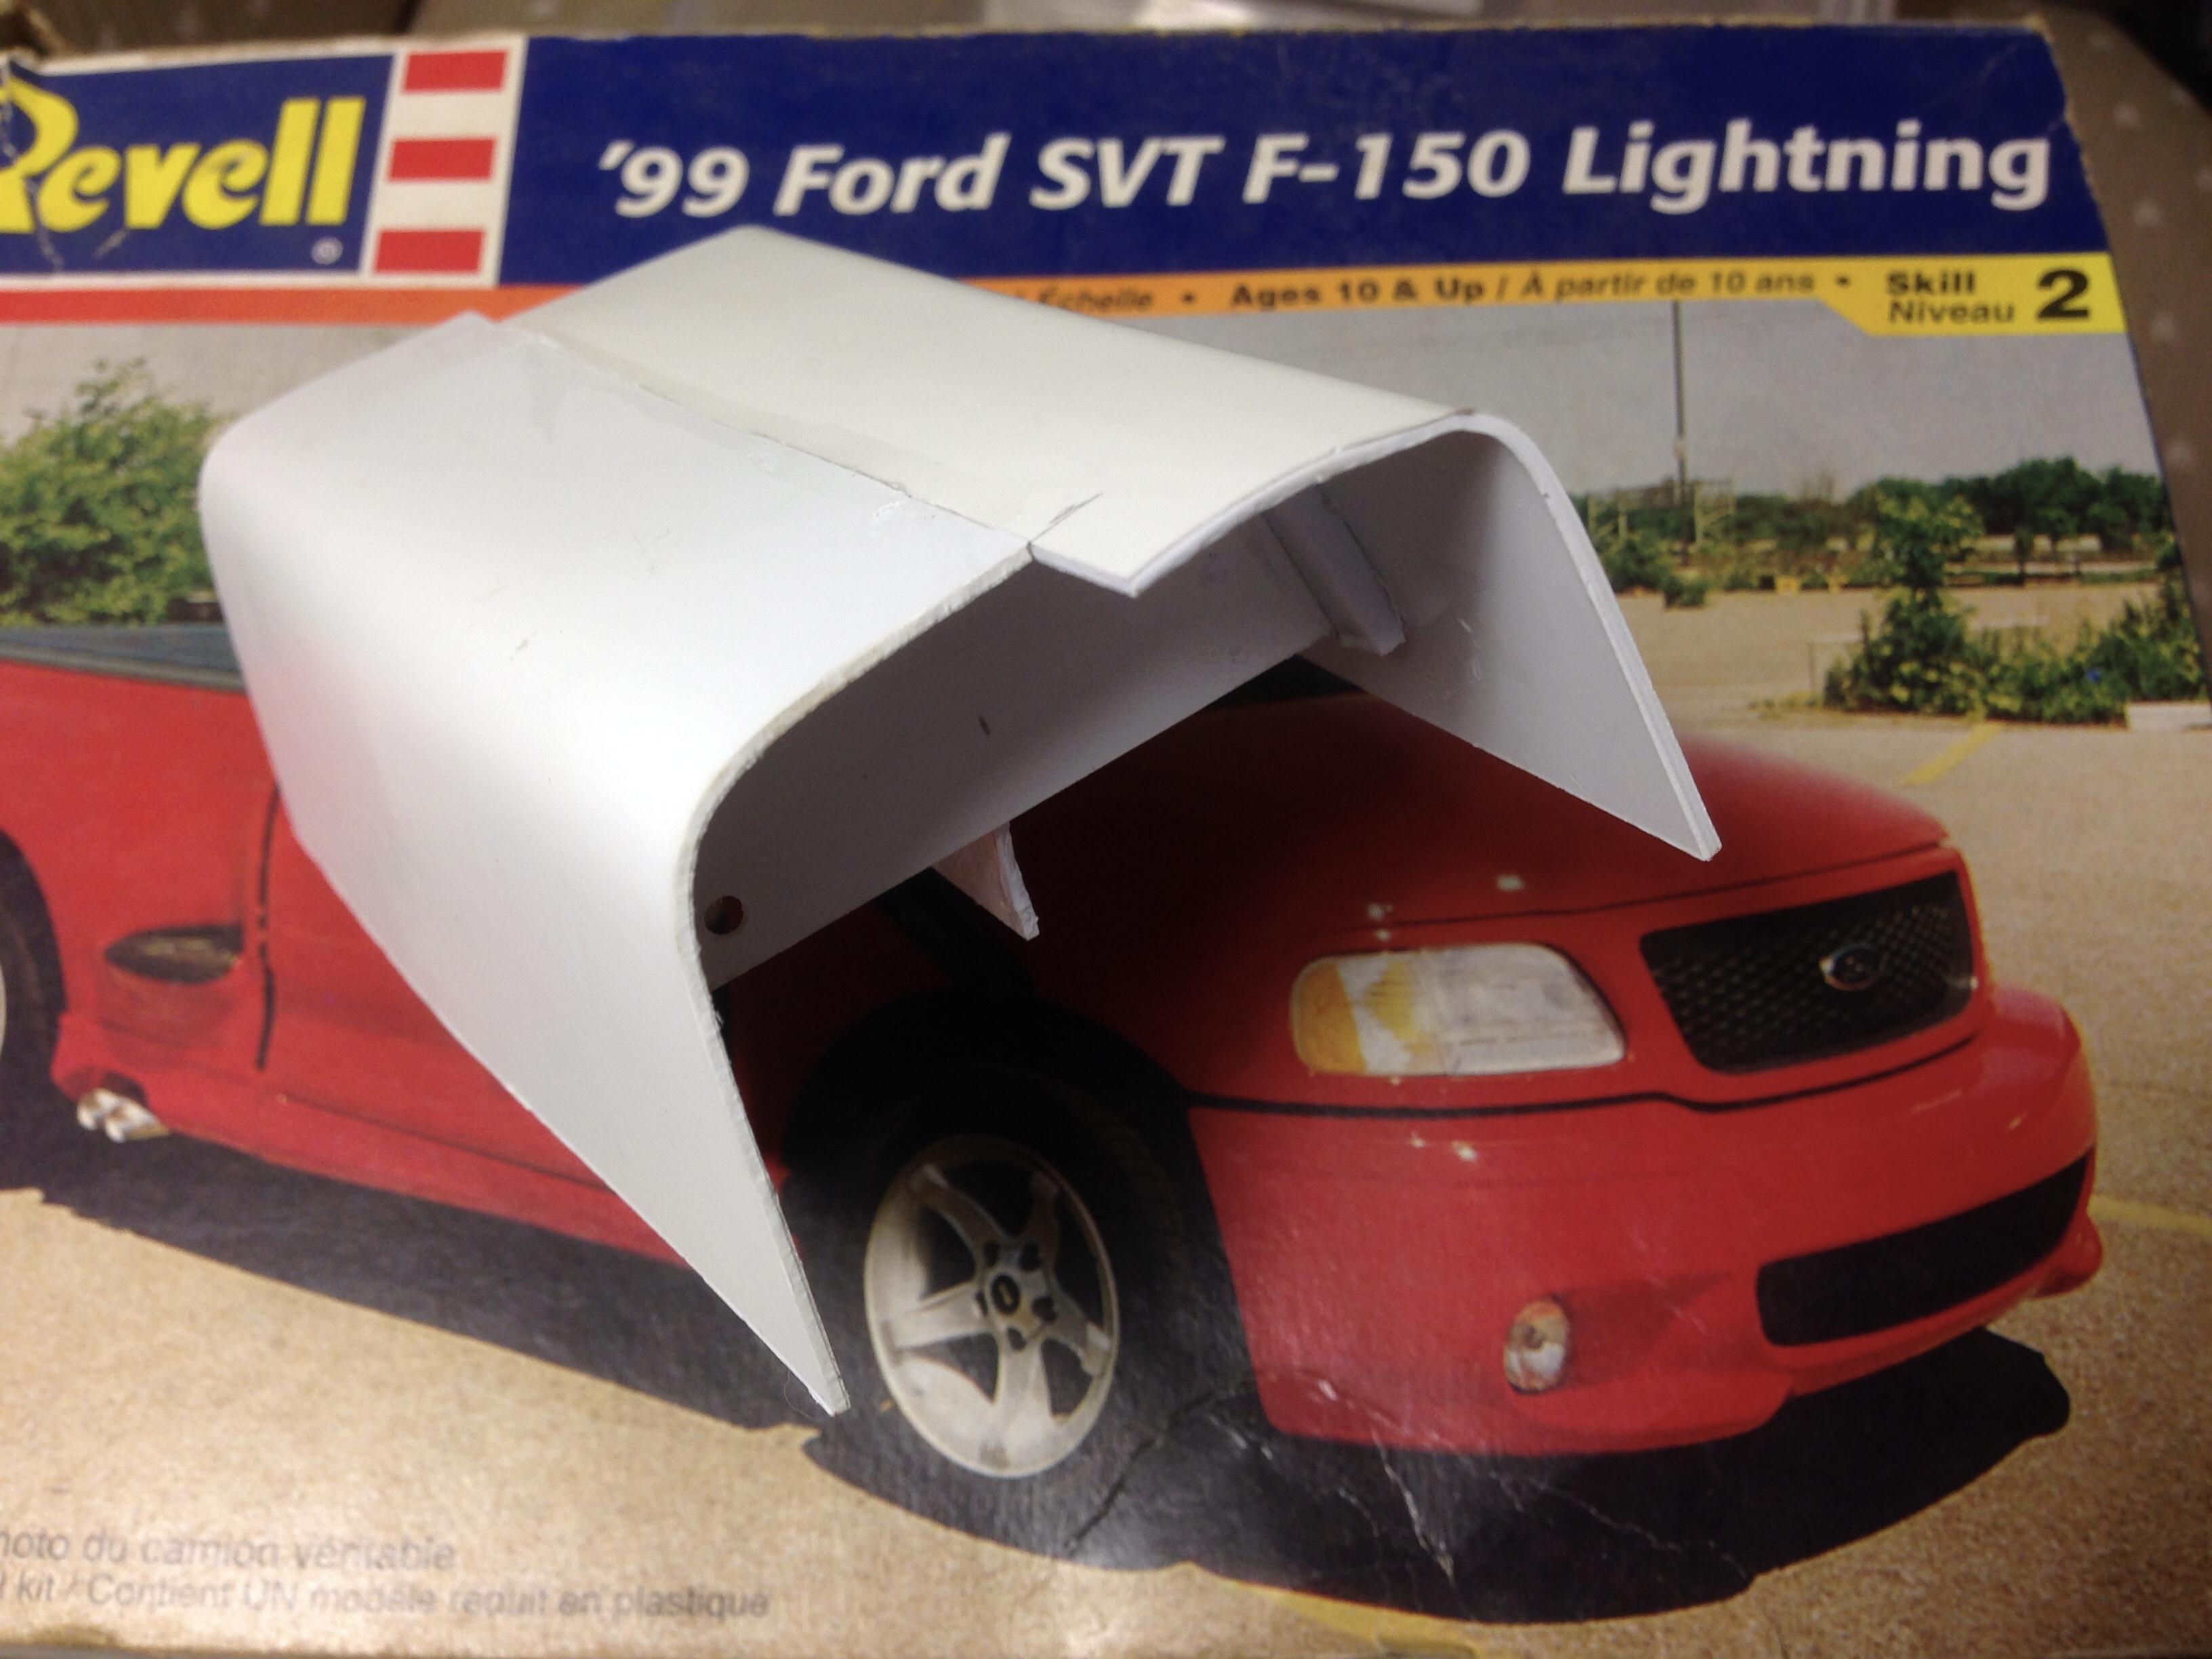
Some of the 1:1 caps have a flare at the front, some don’t, and of course I have to try adding the flare don’t I? No pics yet, thank goodness, it’s an ugly process, LOL
-
Well my flexible styrene wrap idea didn’t pan out, so I went with some .040” styrene that I had heated and bent almost 90 degrees, cut and joined at the middle. The thickness will tolerate some final sanding to shape. I have the Lightning version of the kit to try a second attempt using this ‘bulkhead’ approach, the idea being to keep it simple. Next time…