OldNYJim
-
Posts
252 -
Joined
-
Last visited
Content Type
Profiles
Forums
Events
Gallery
Everything posted by OldNYJim
-
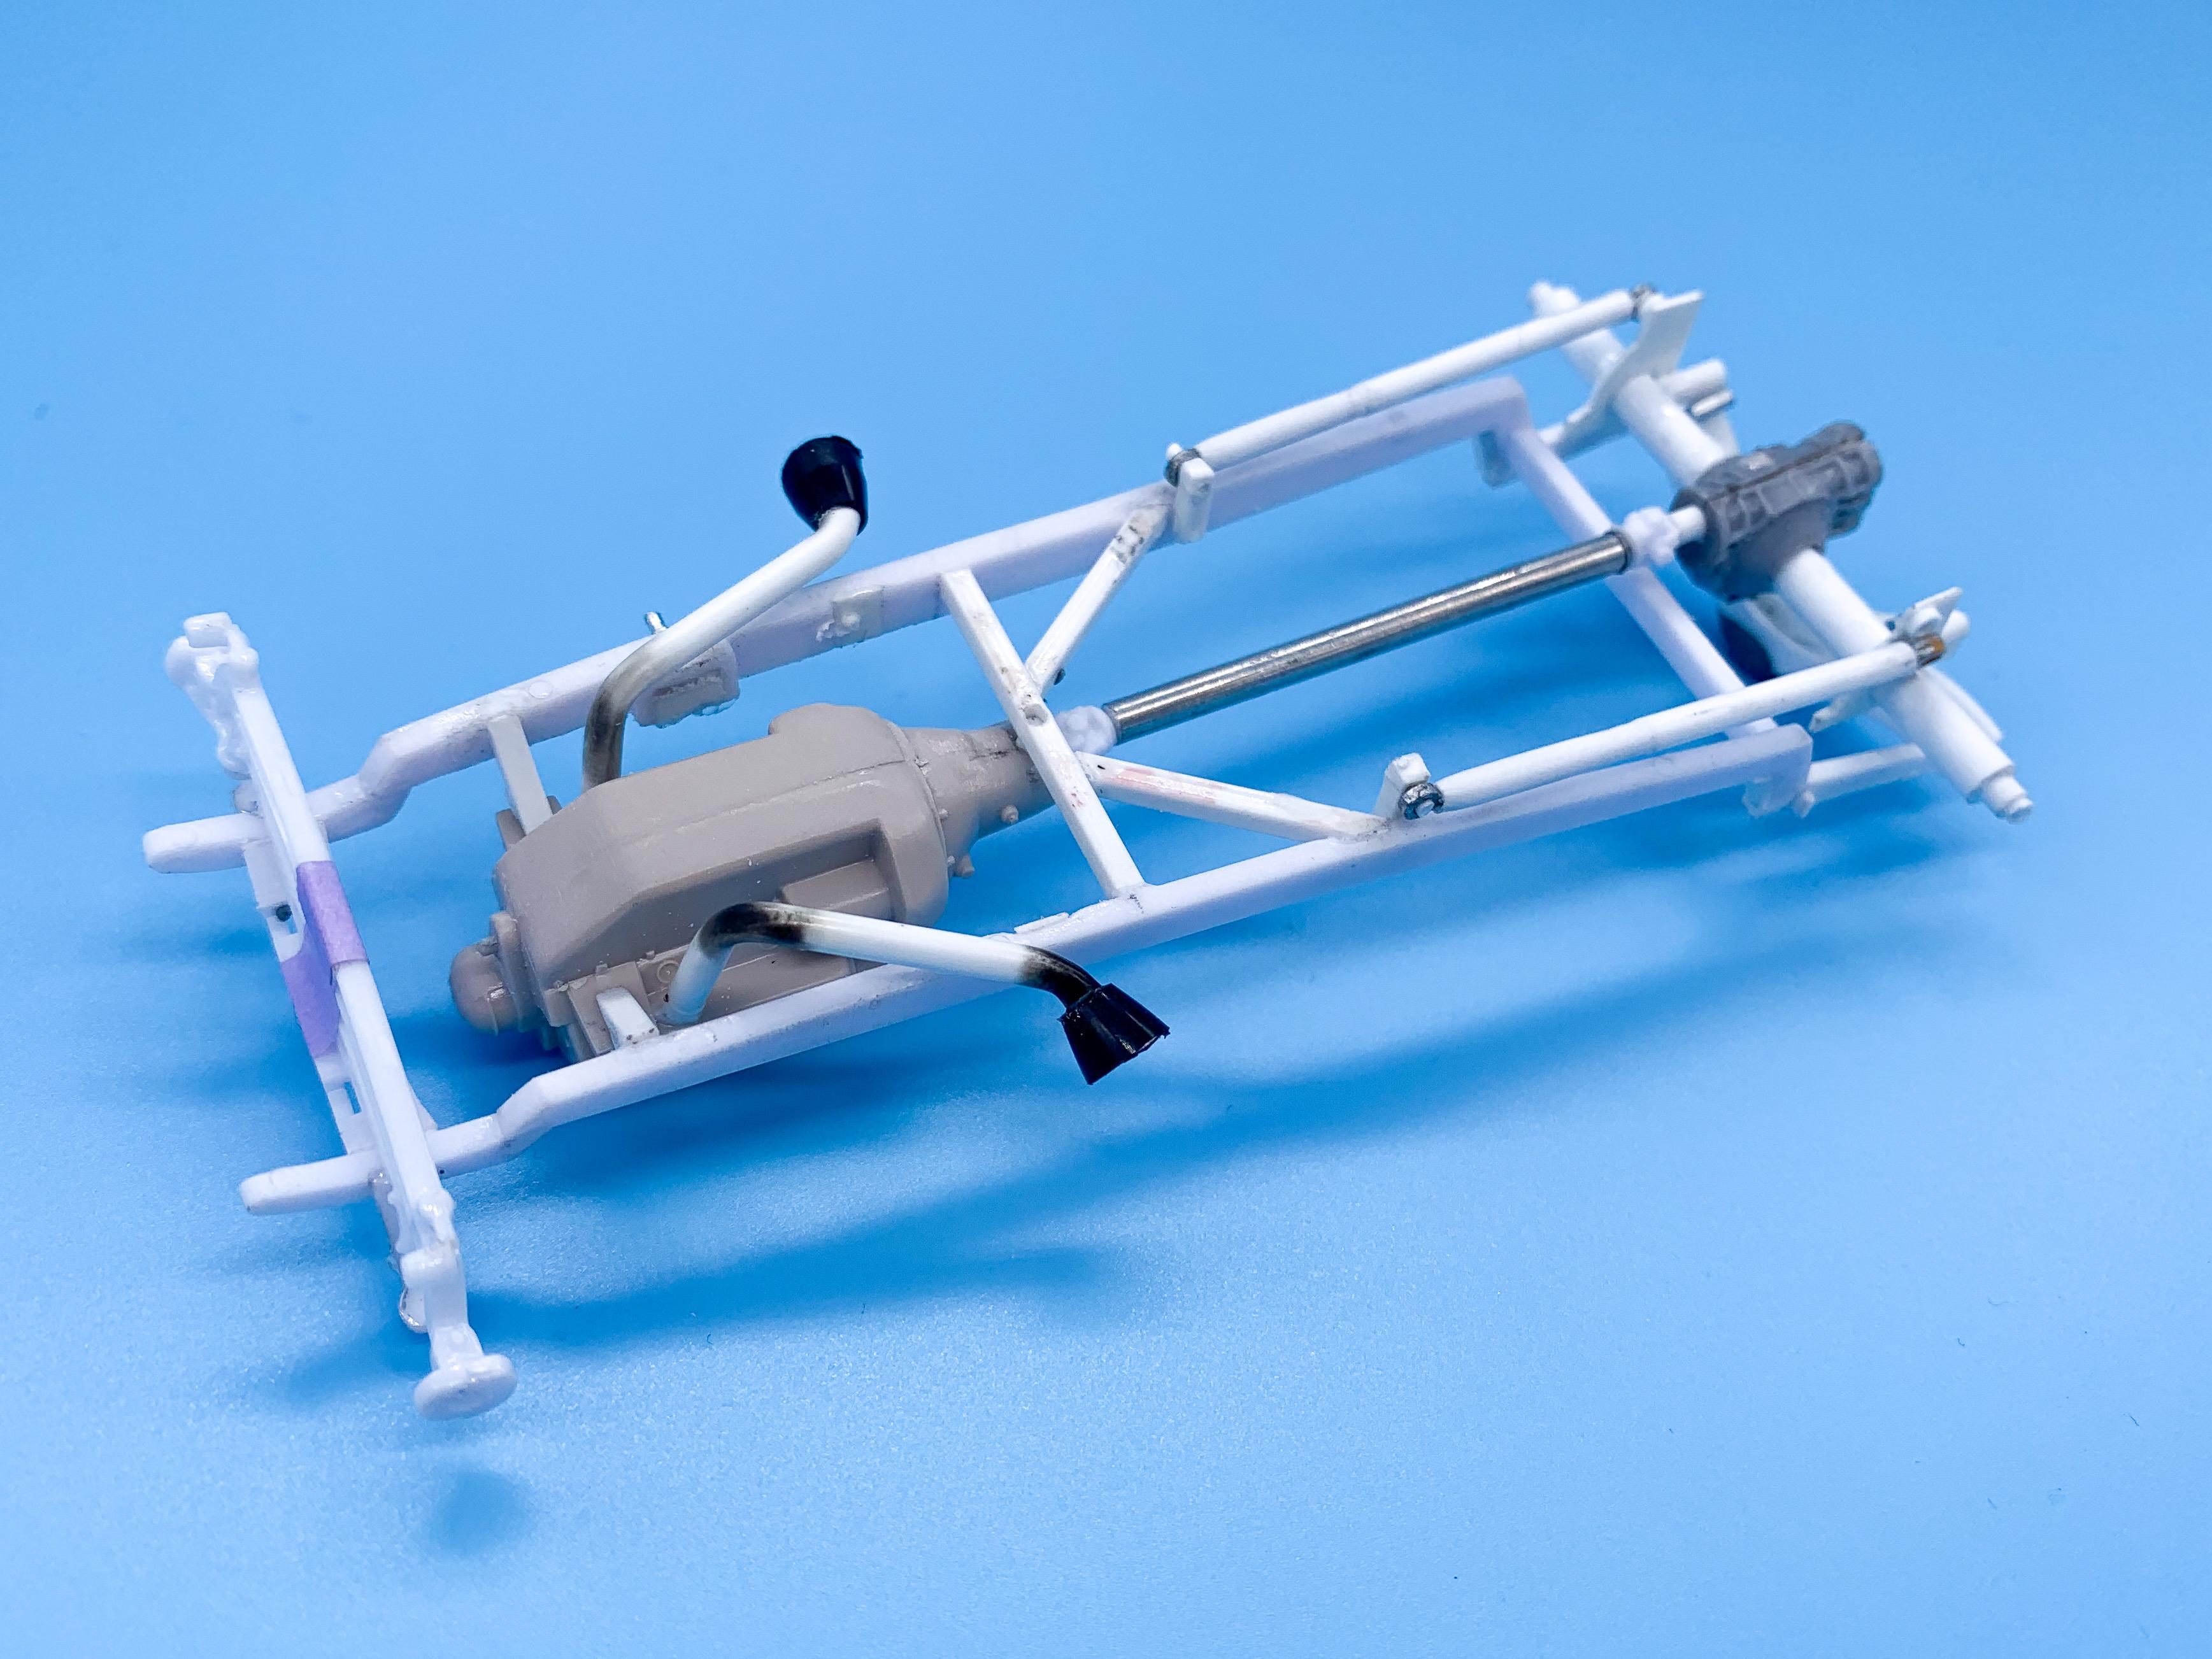
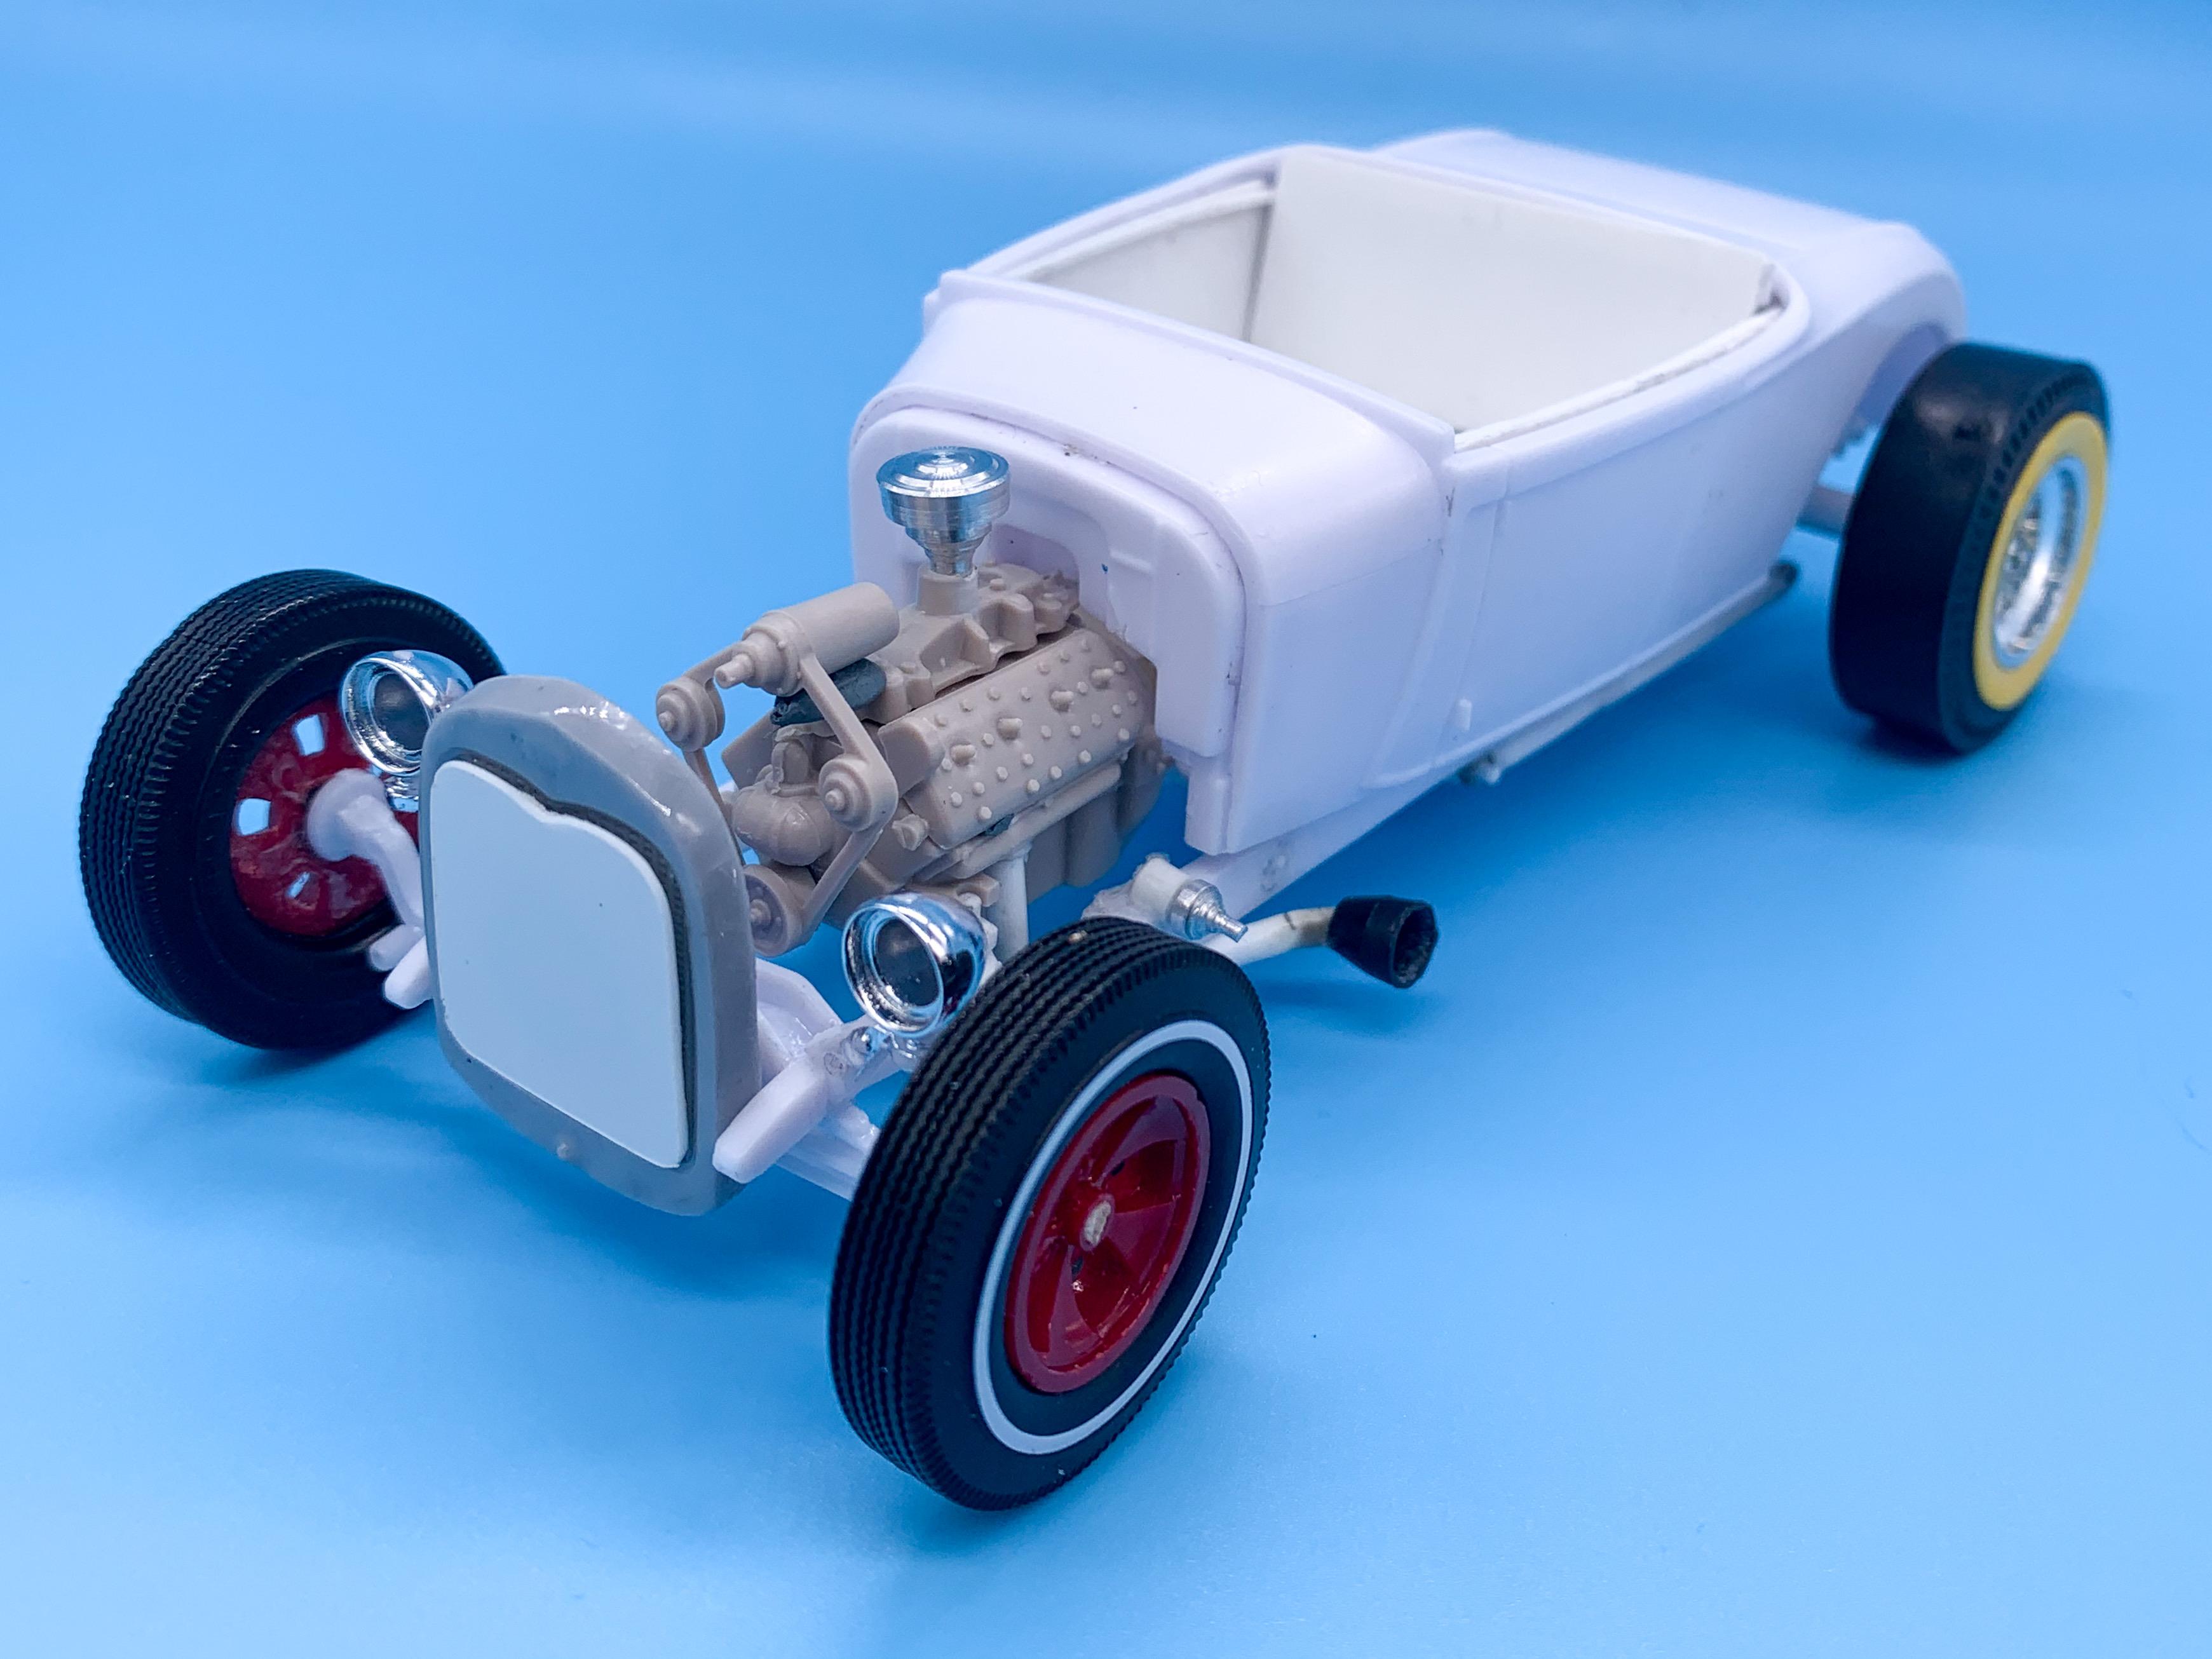
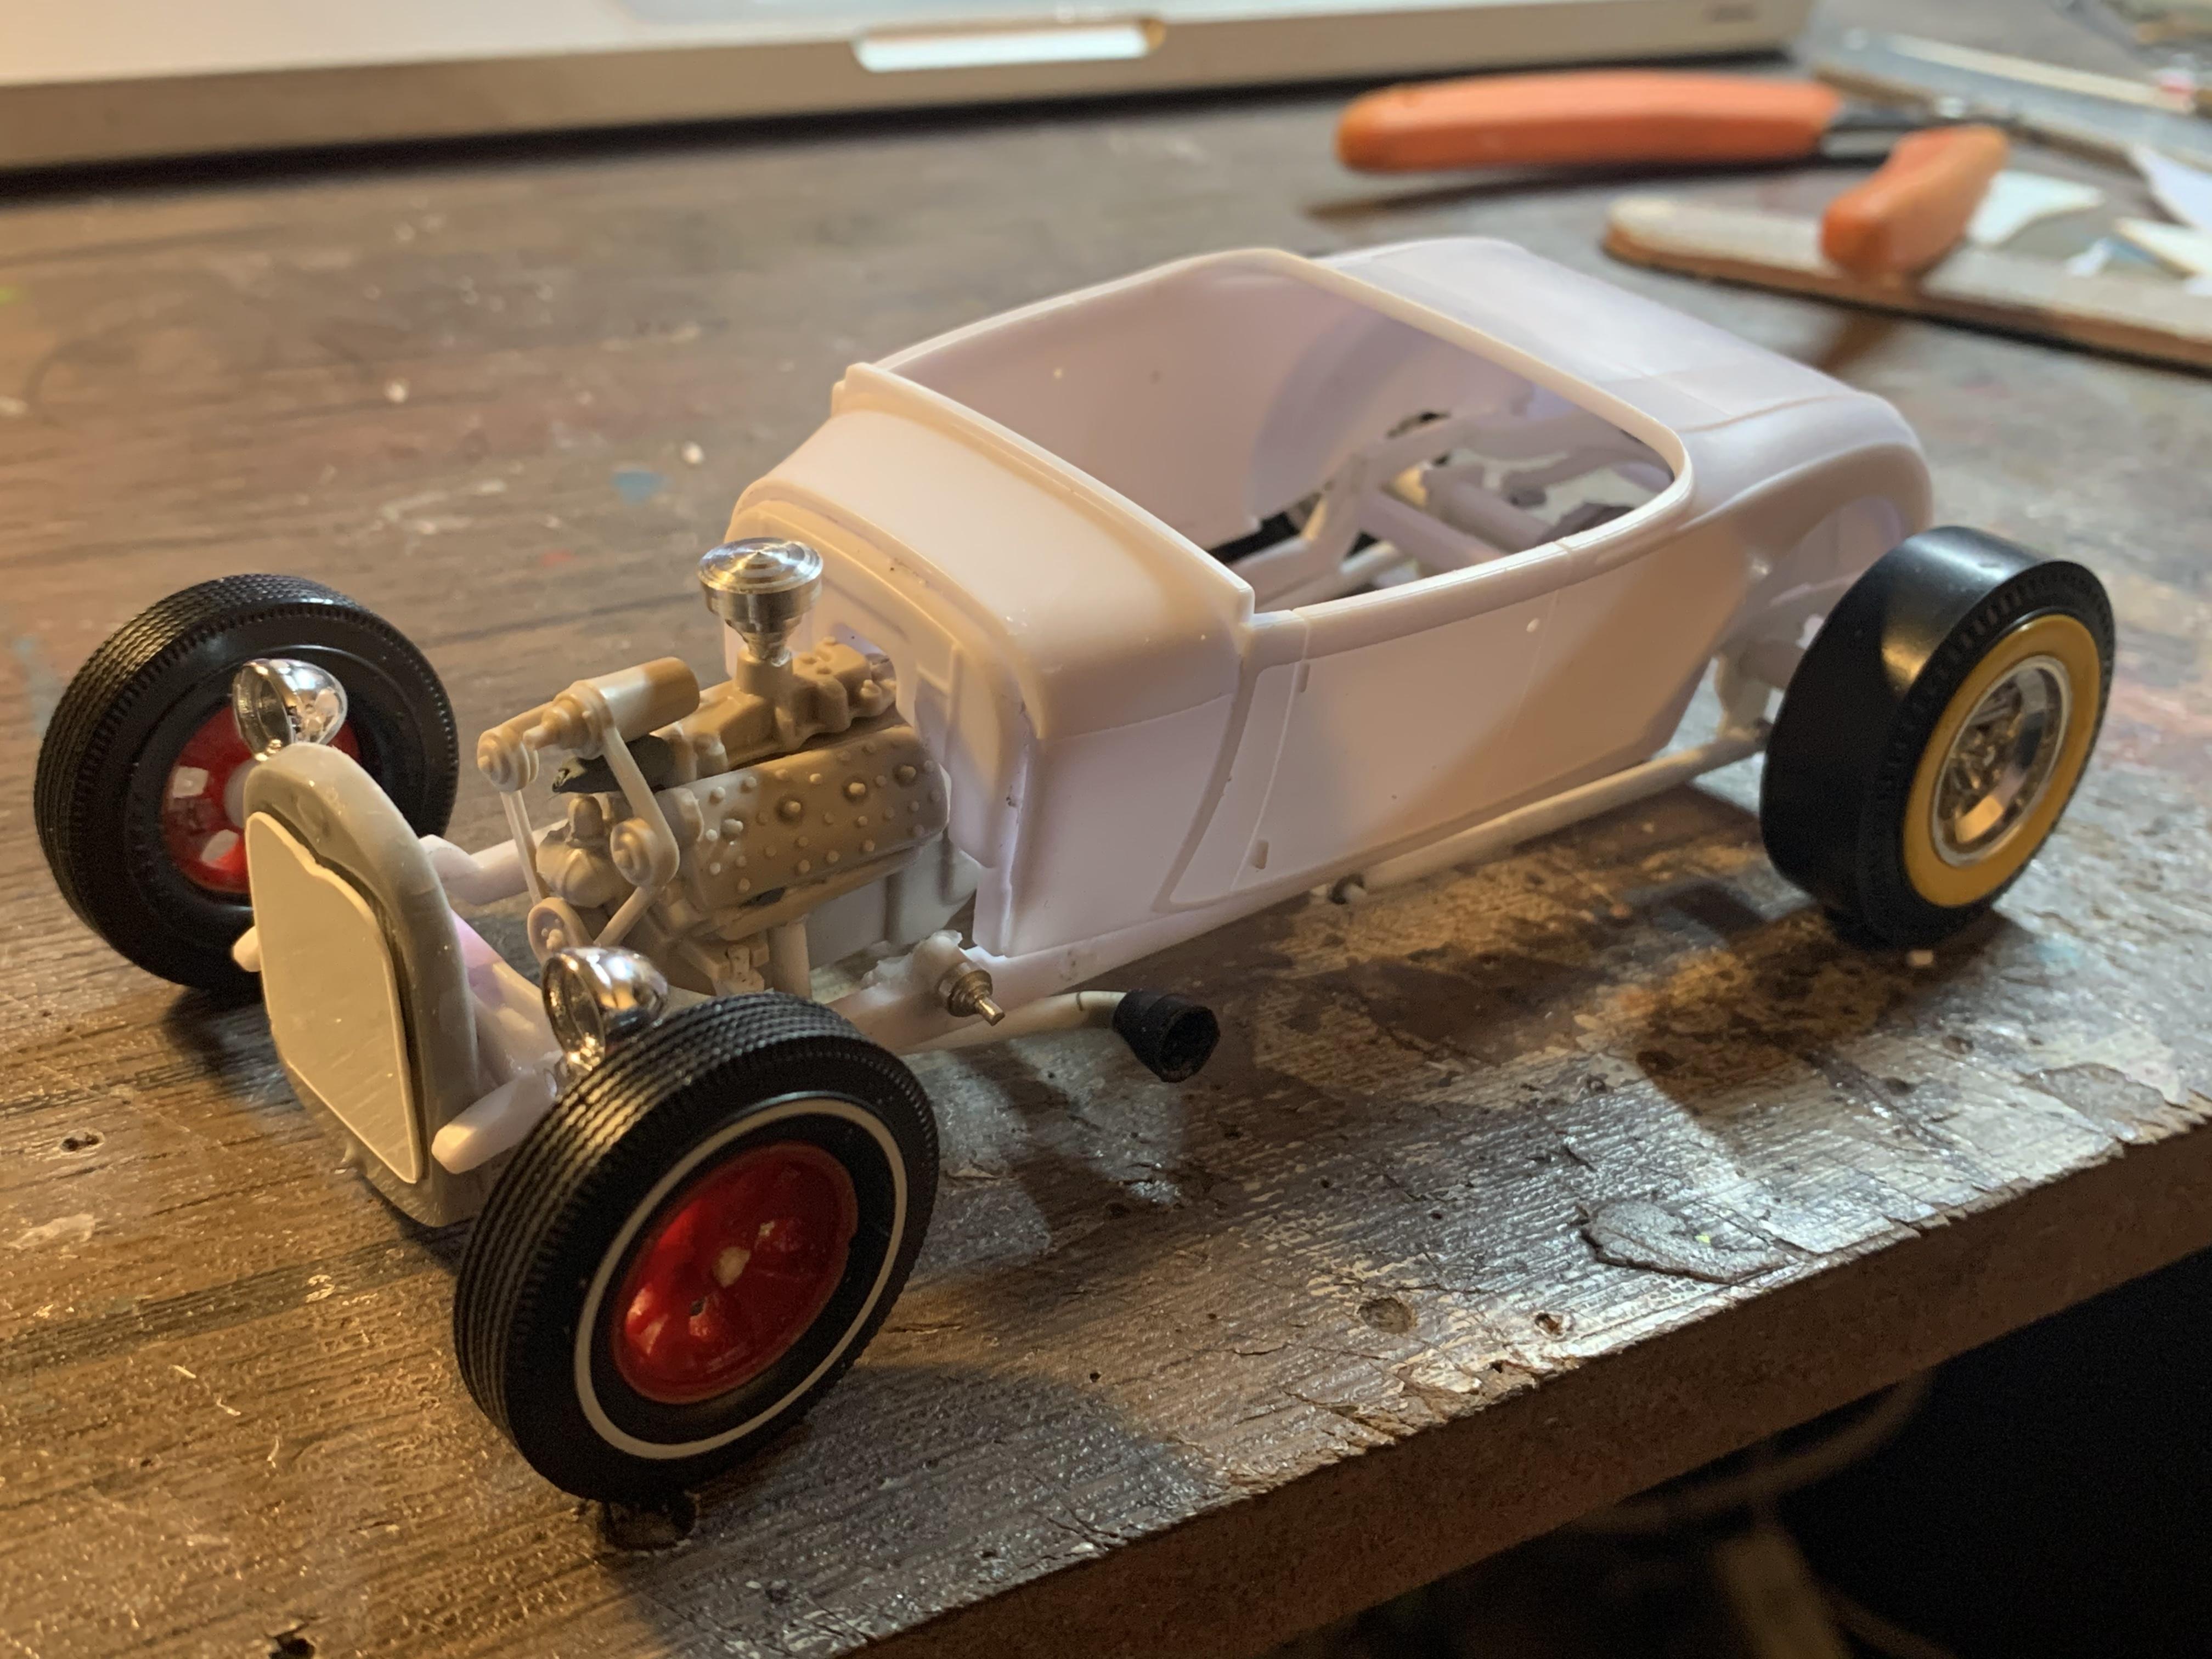
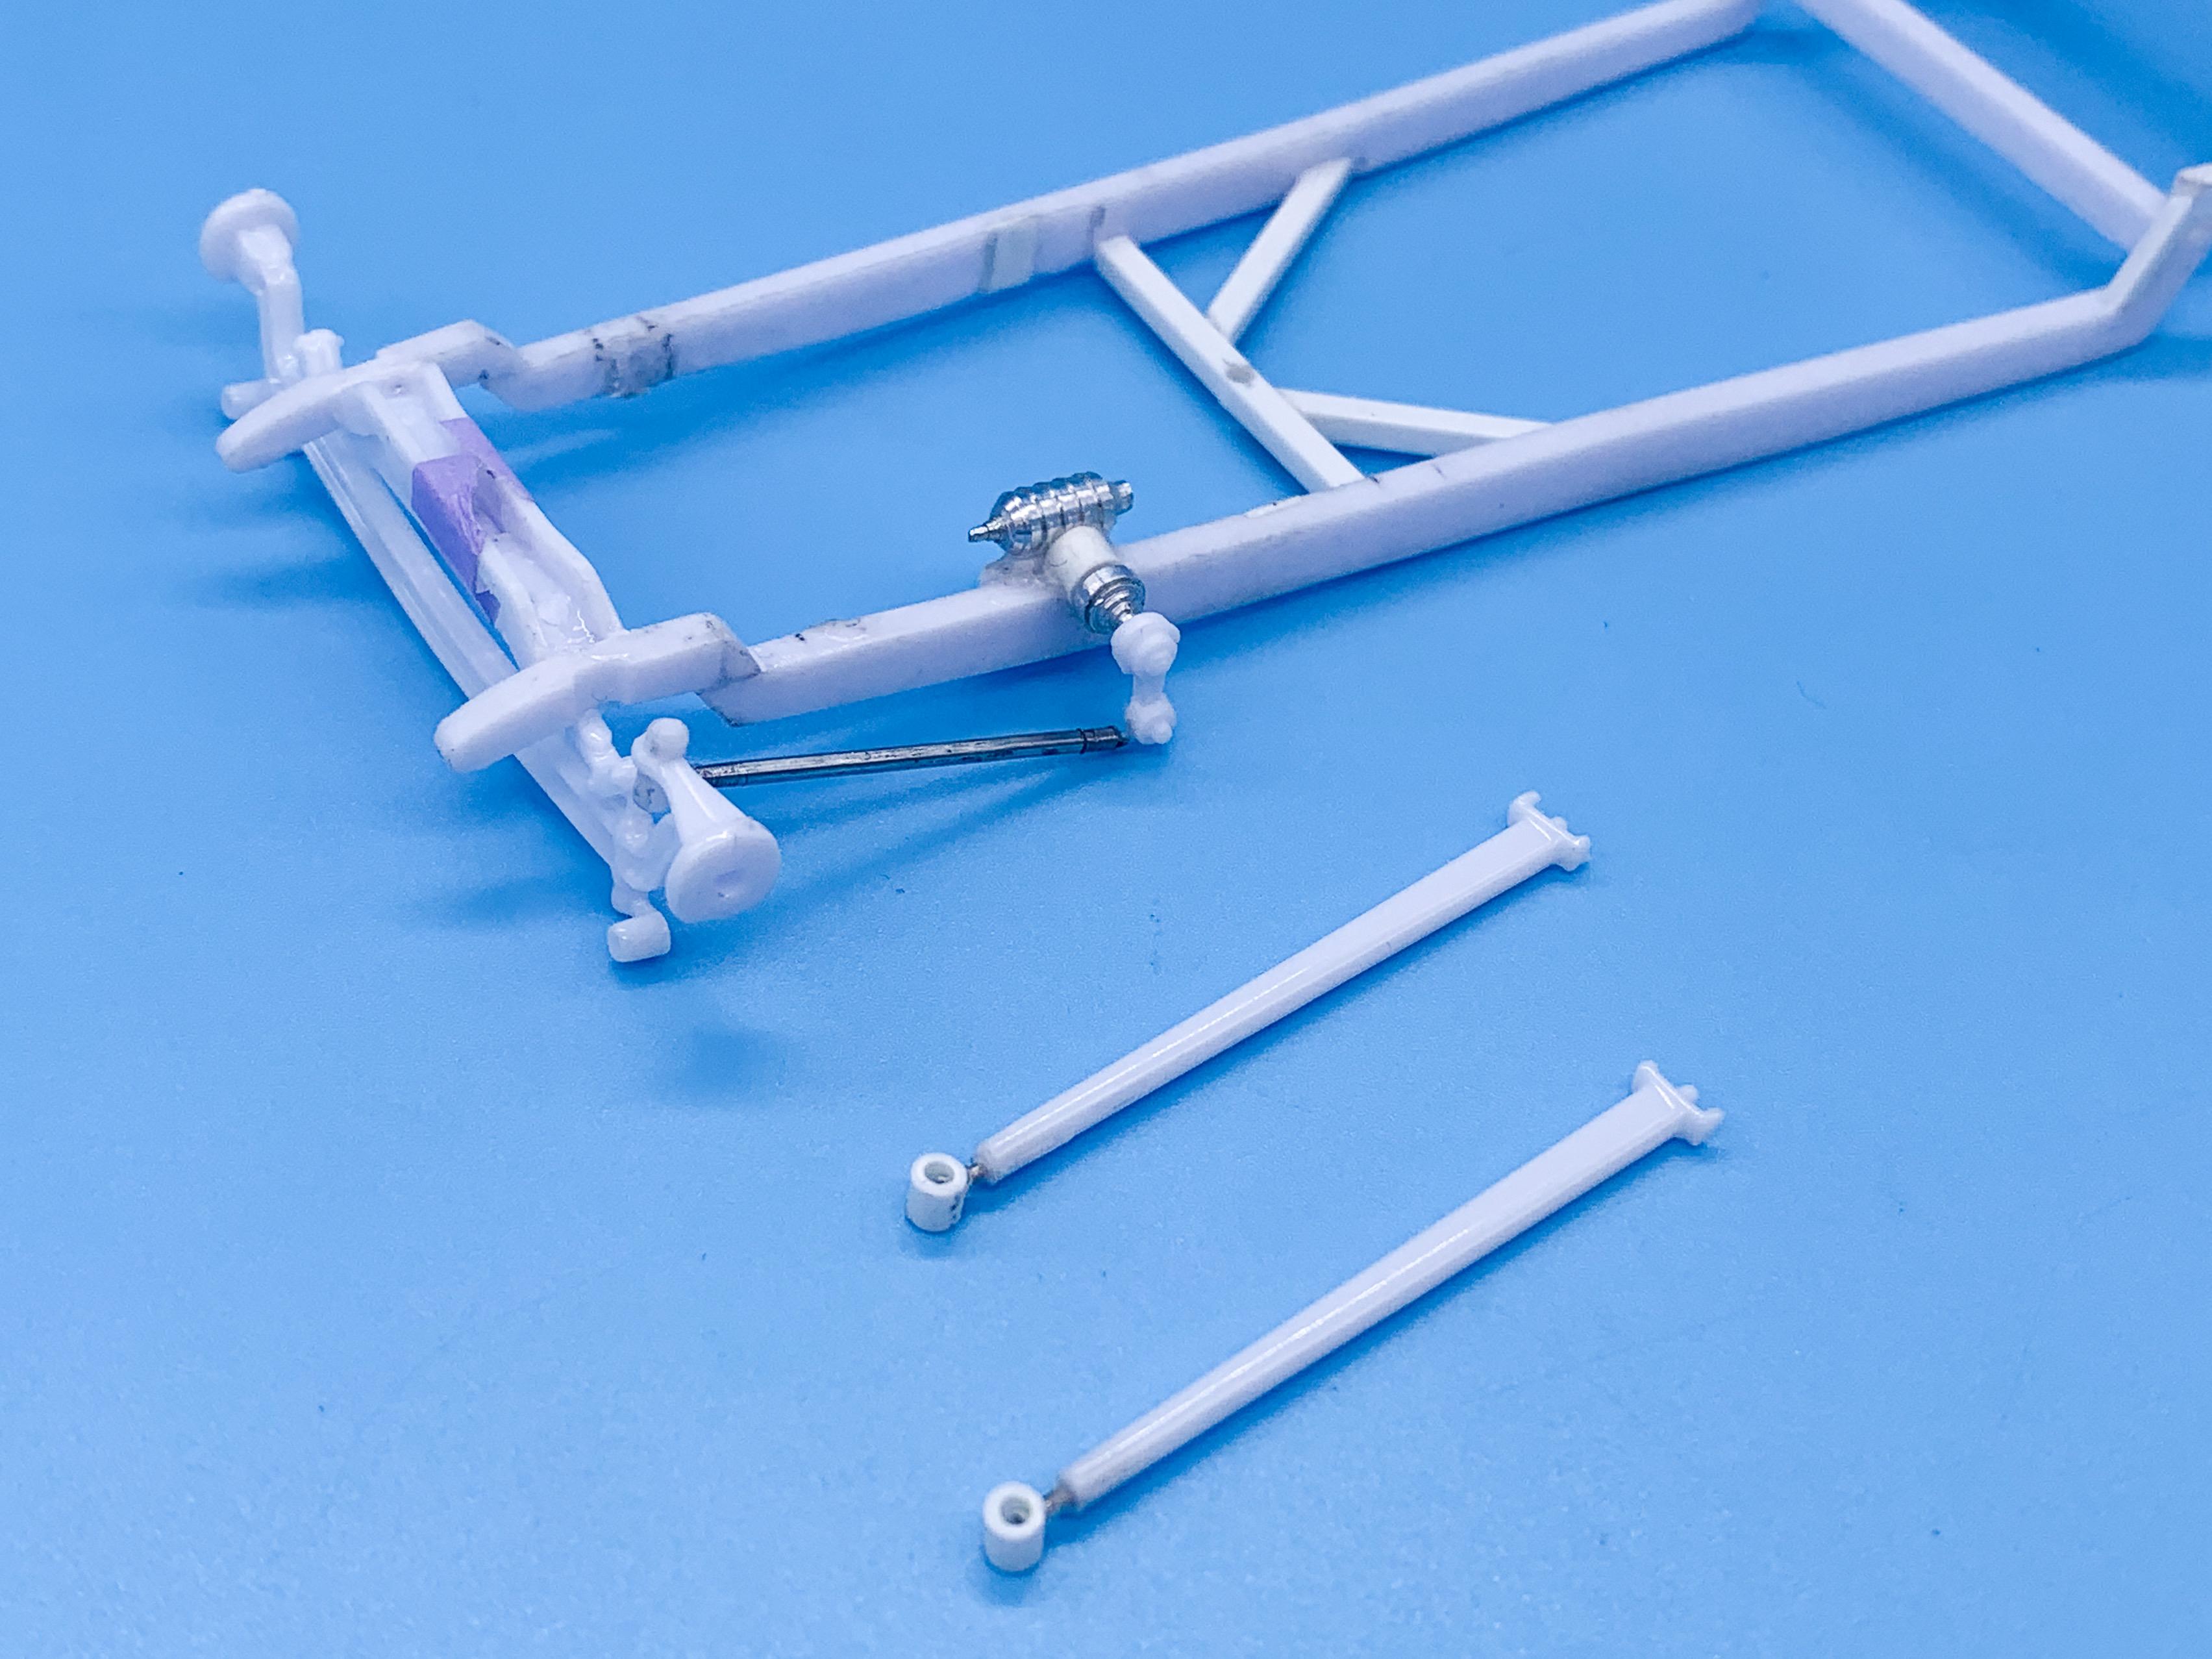
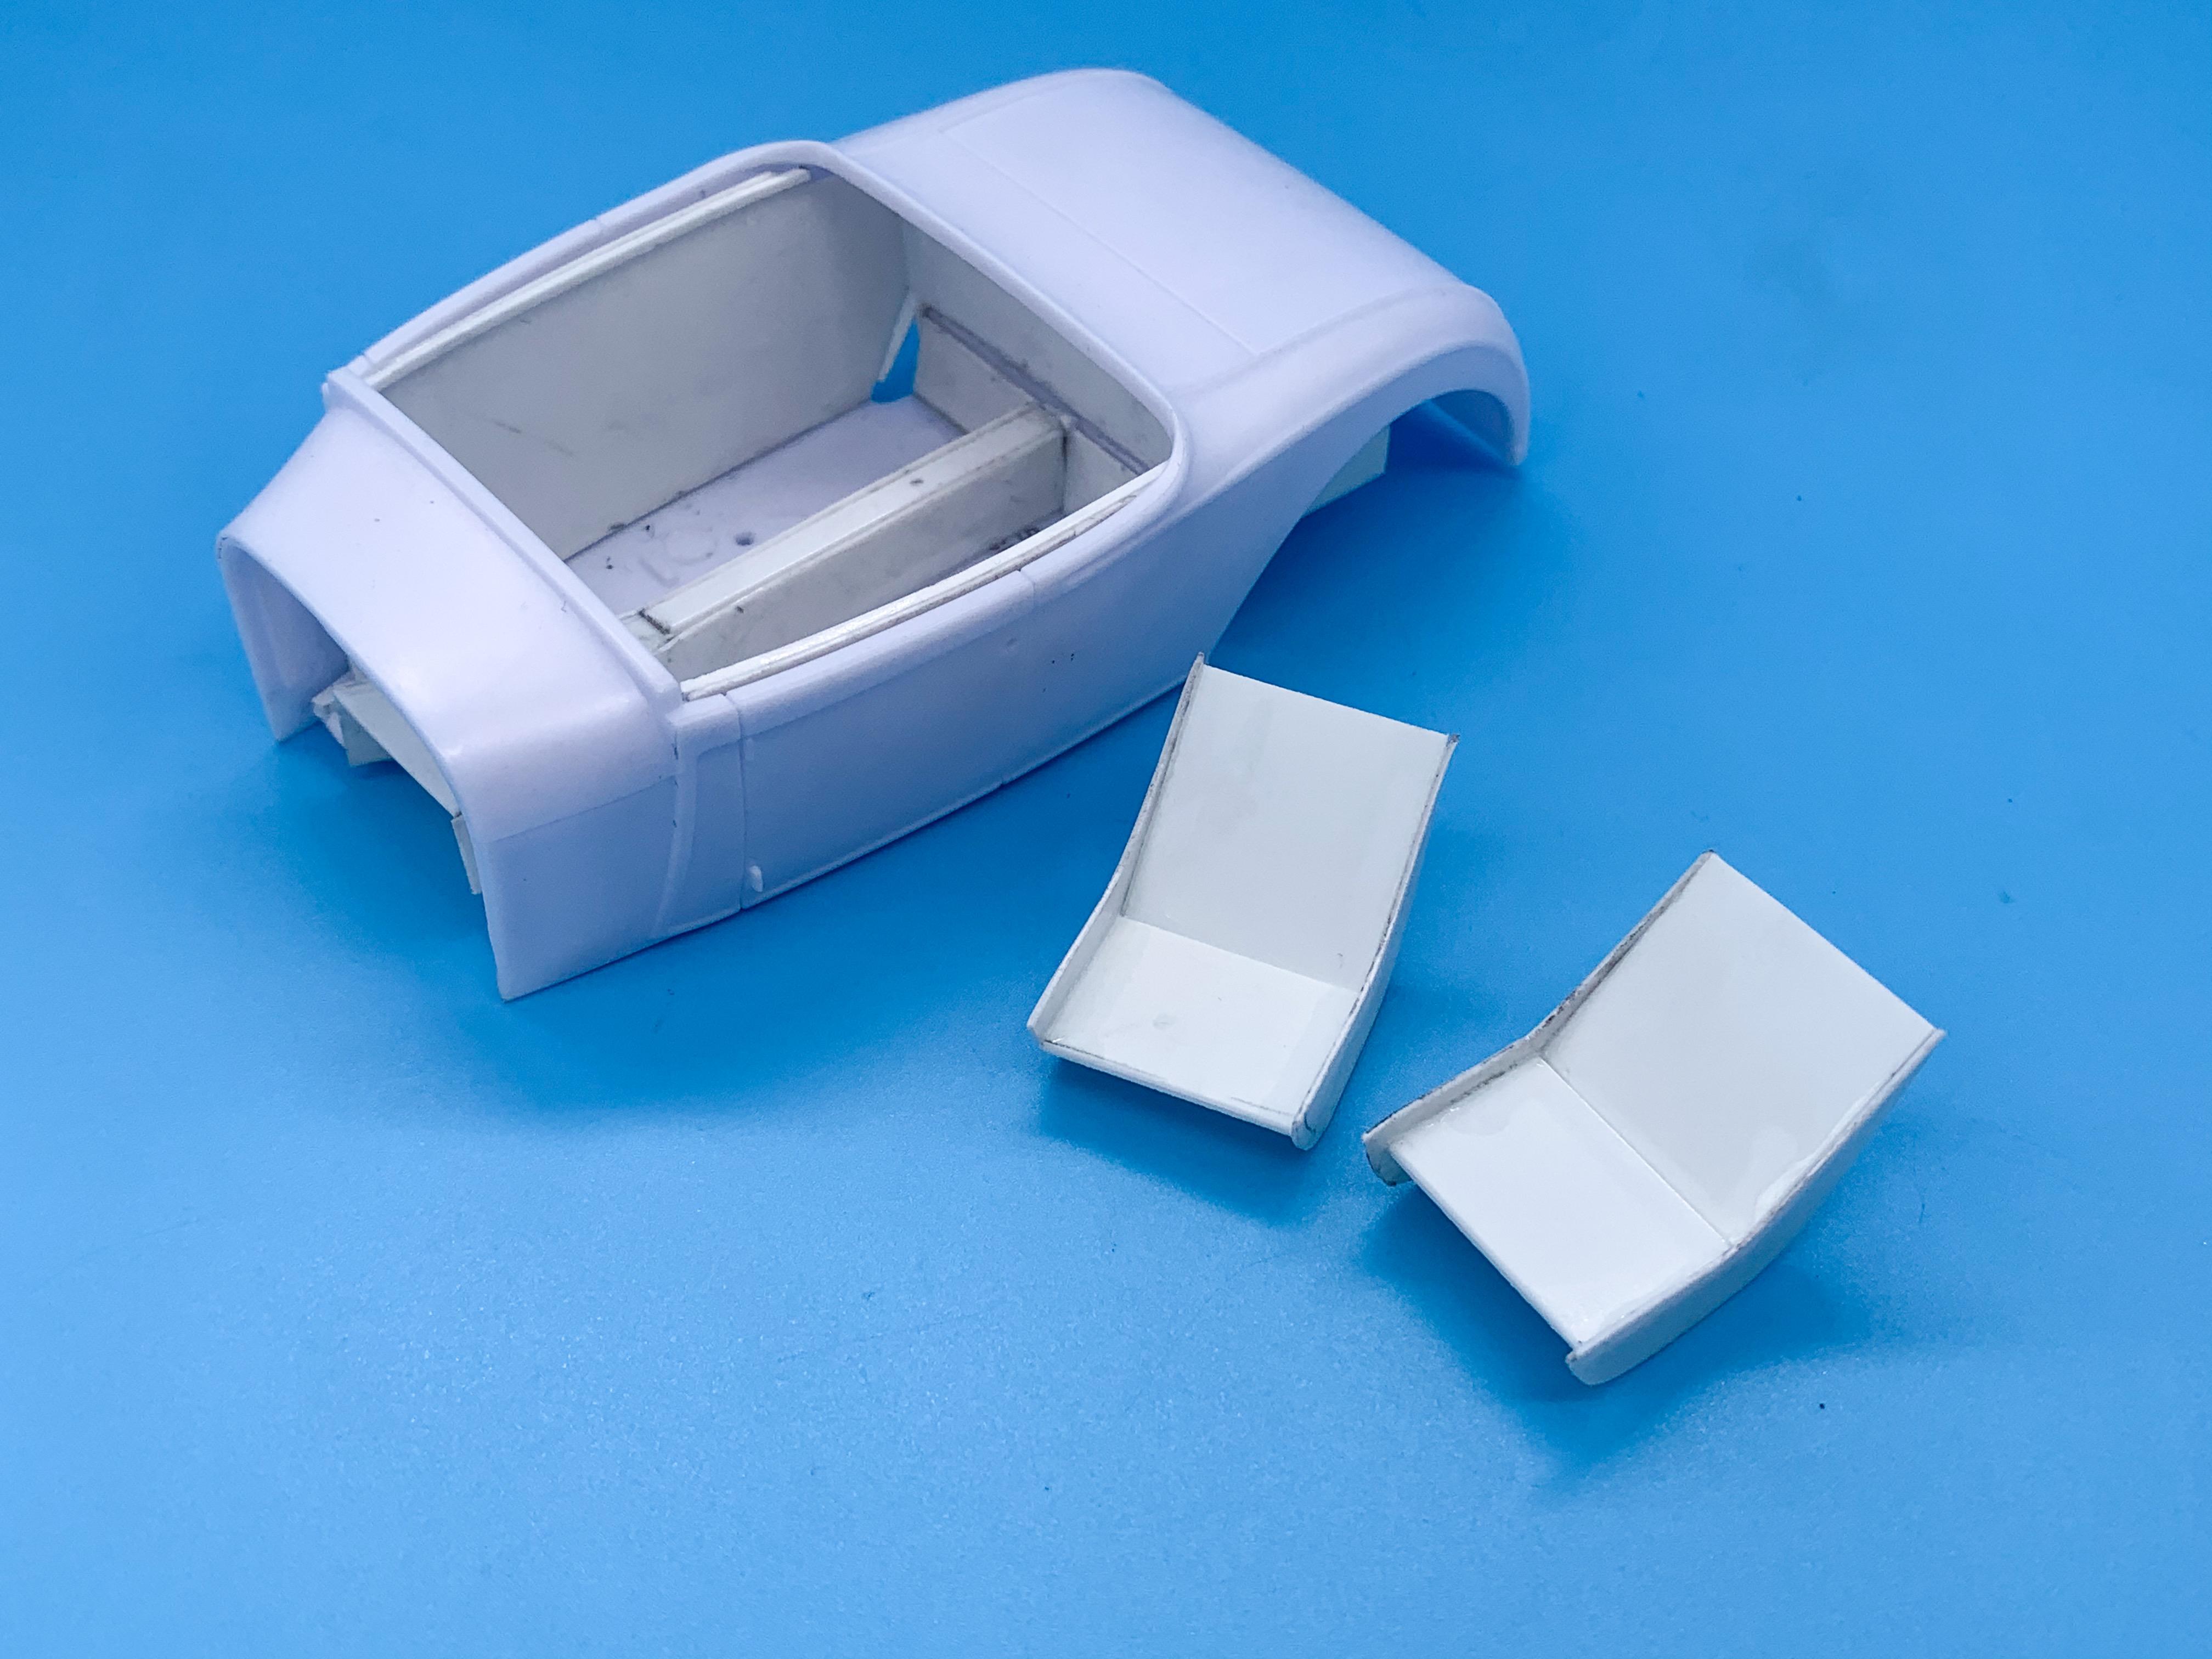
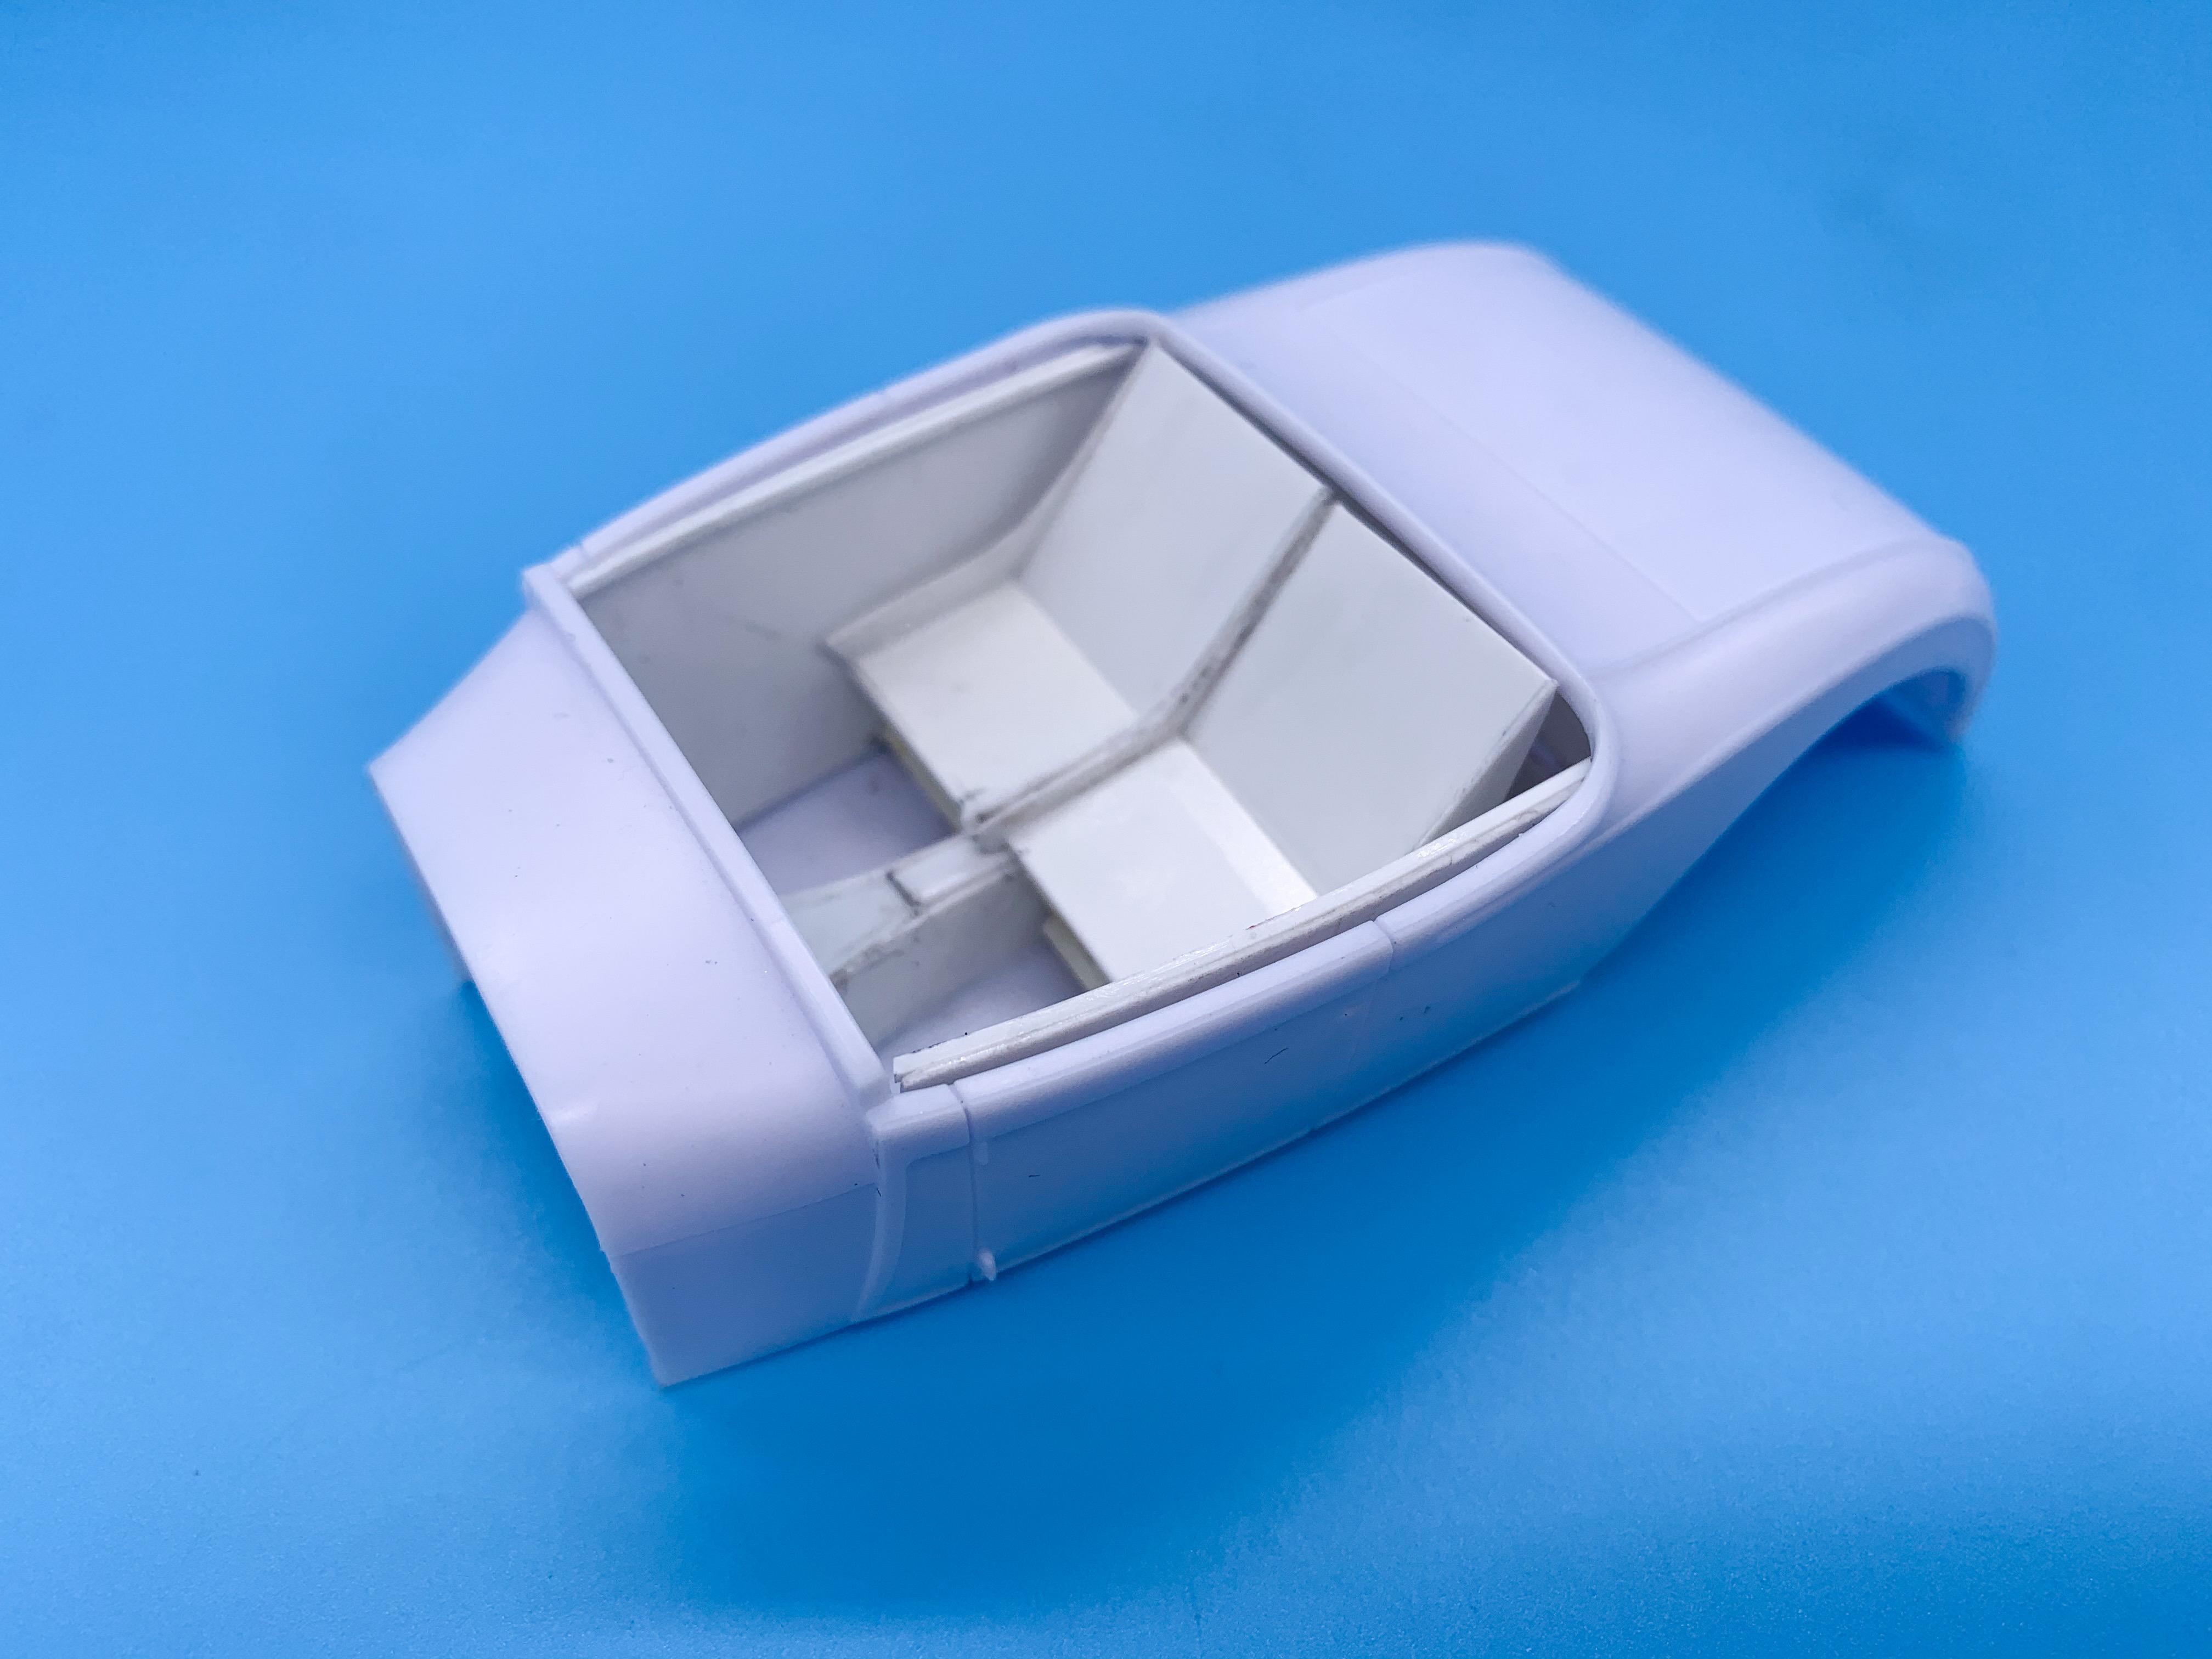
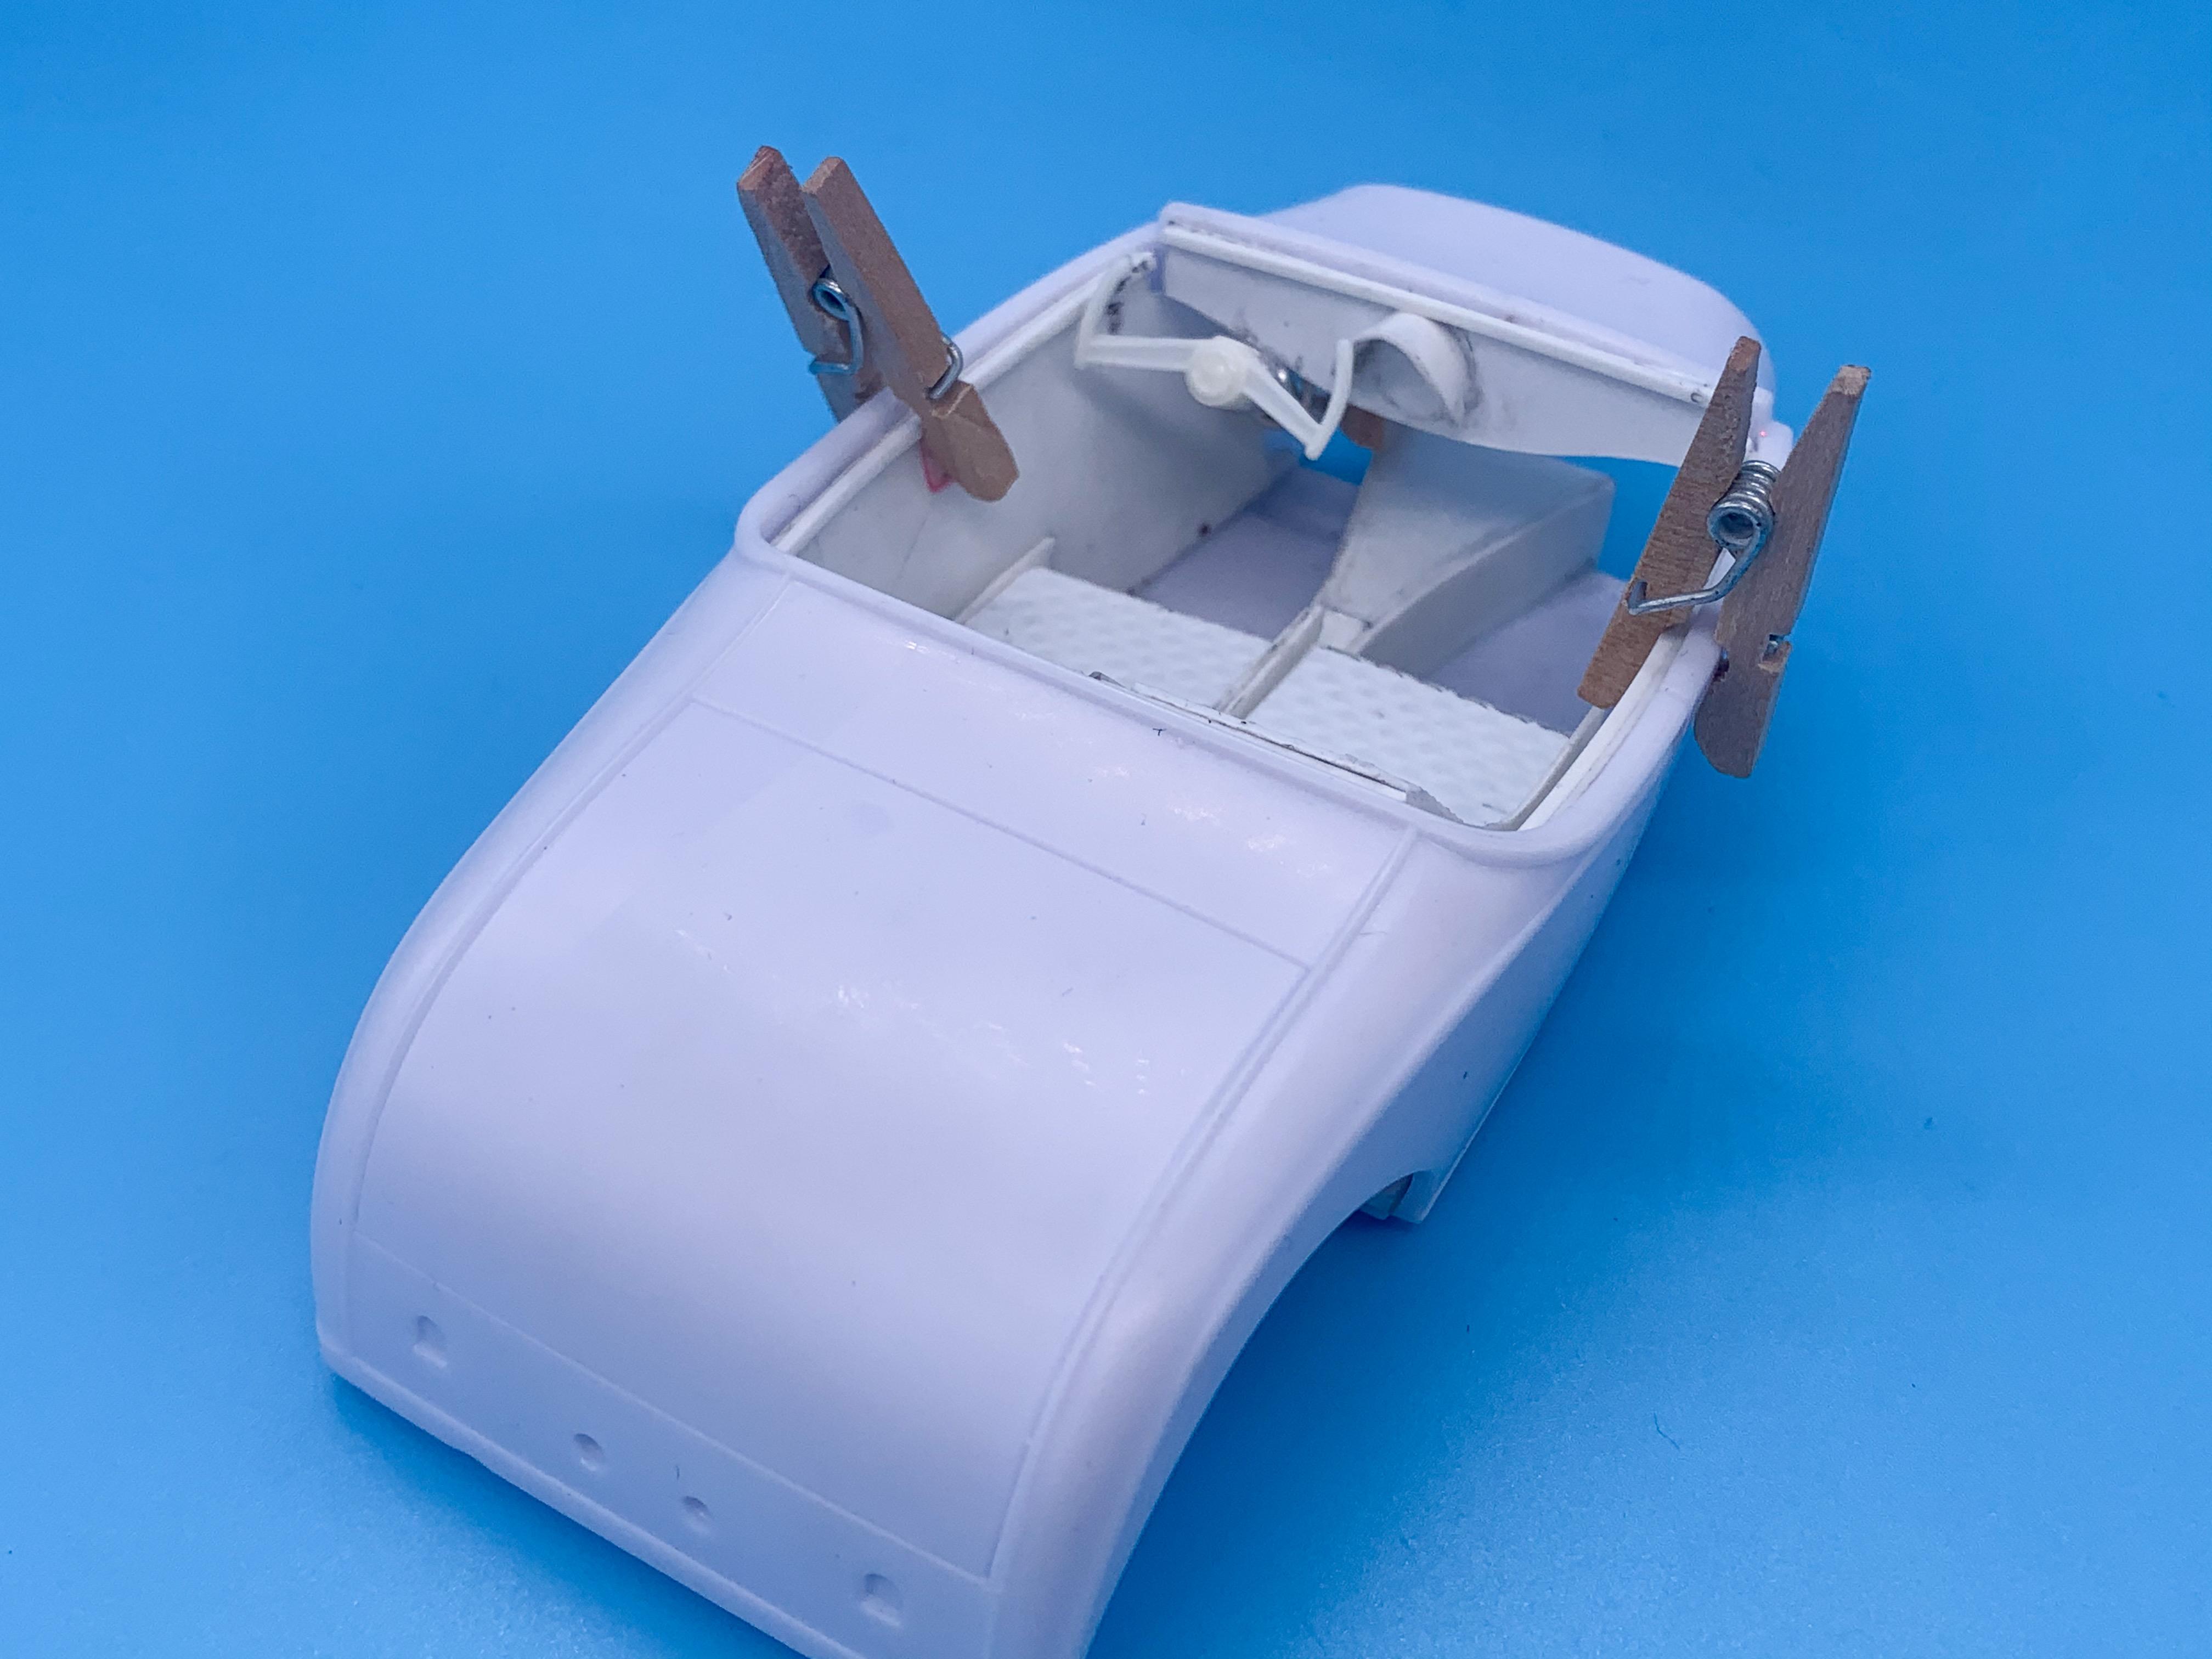
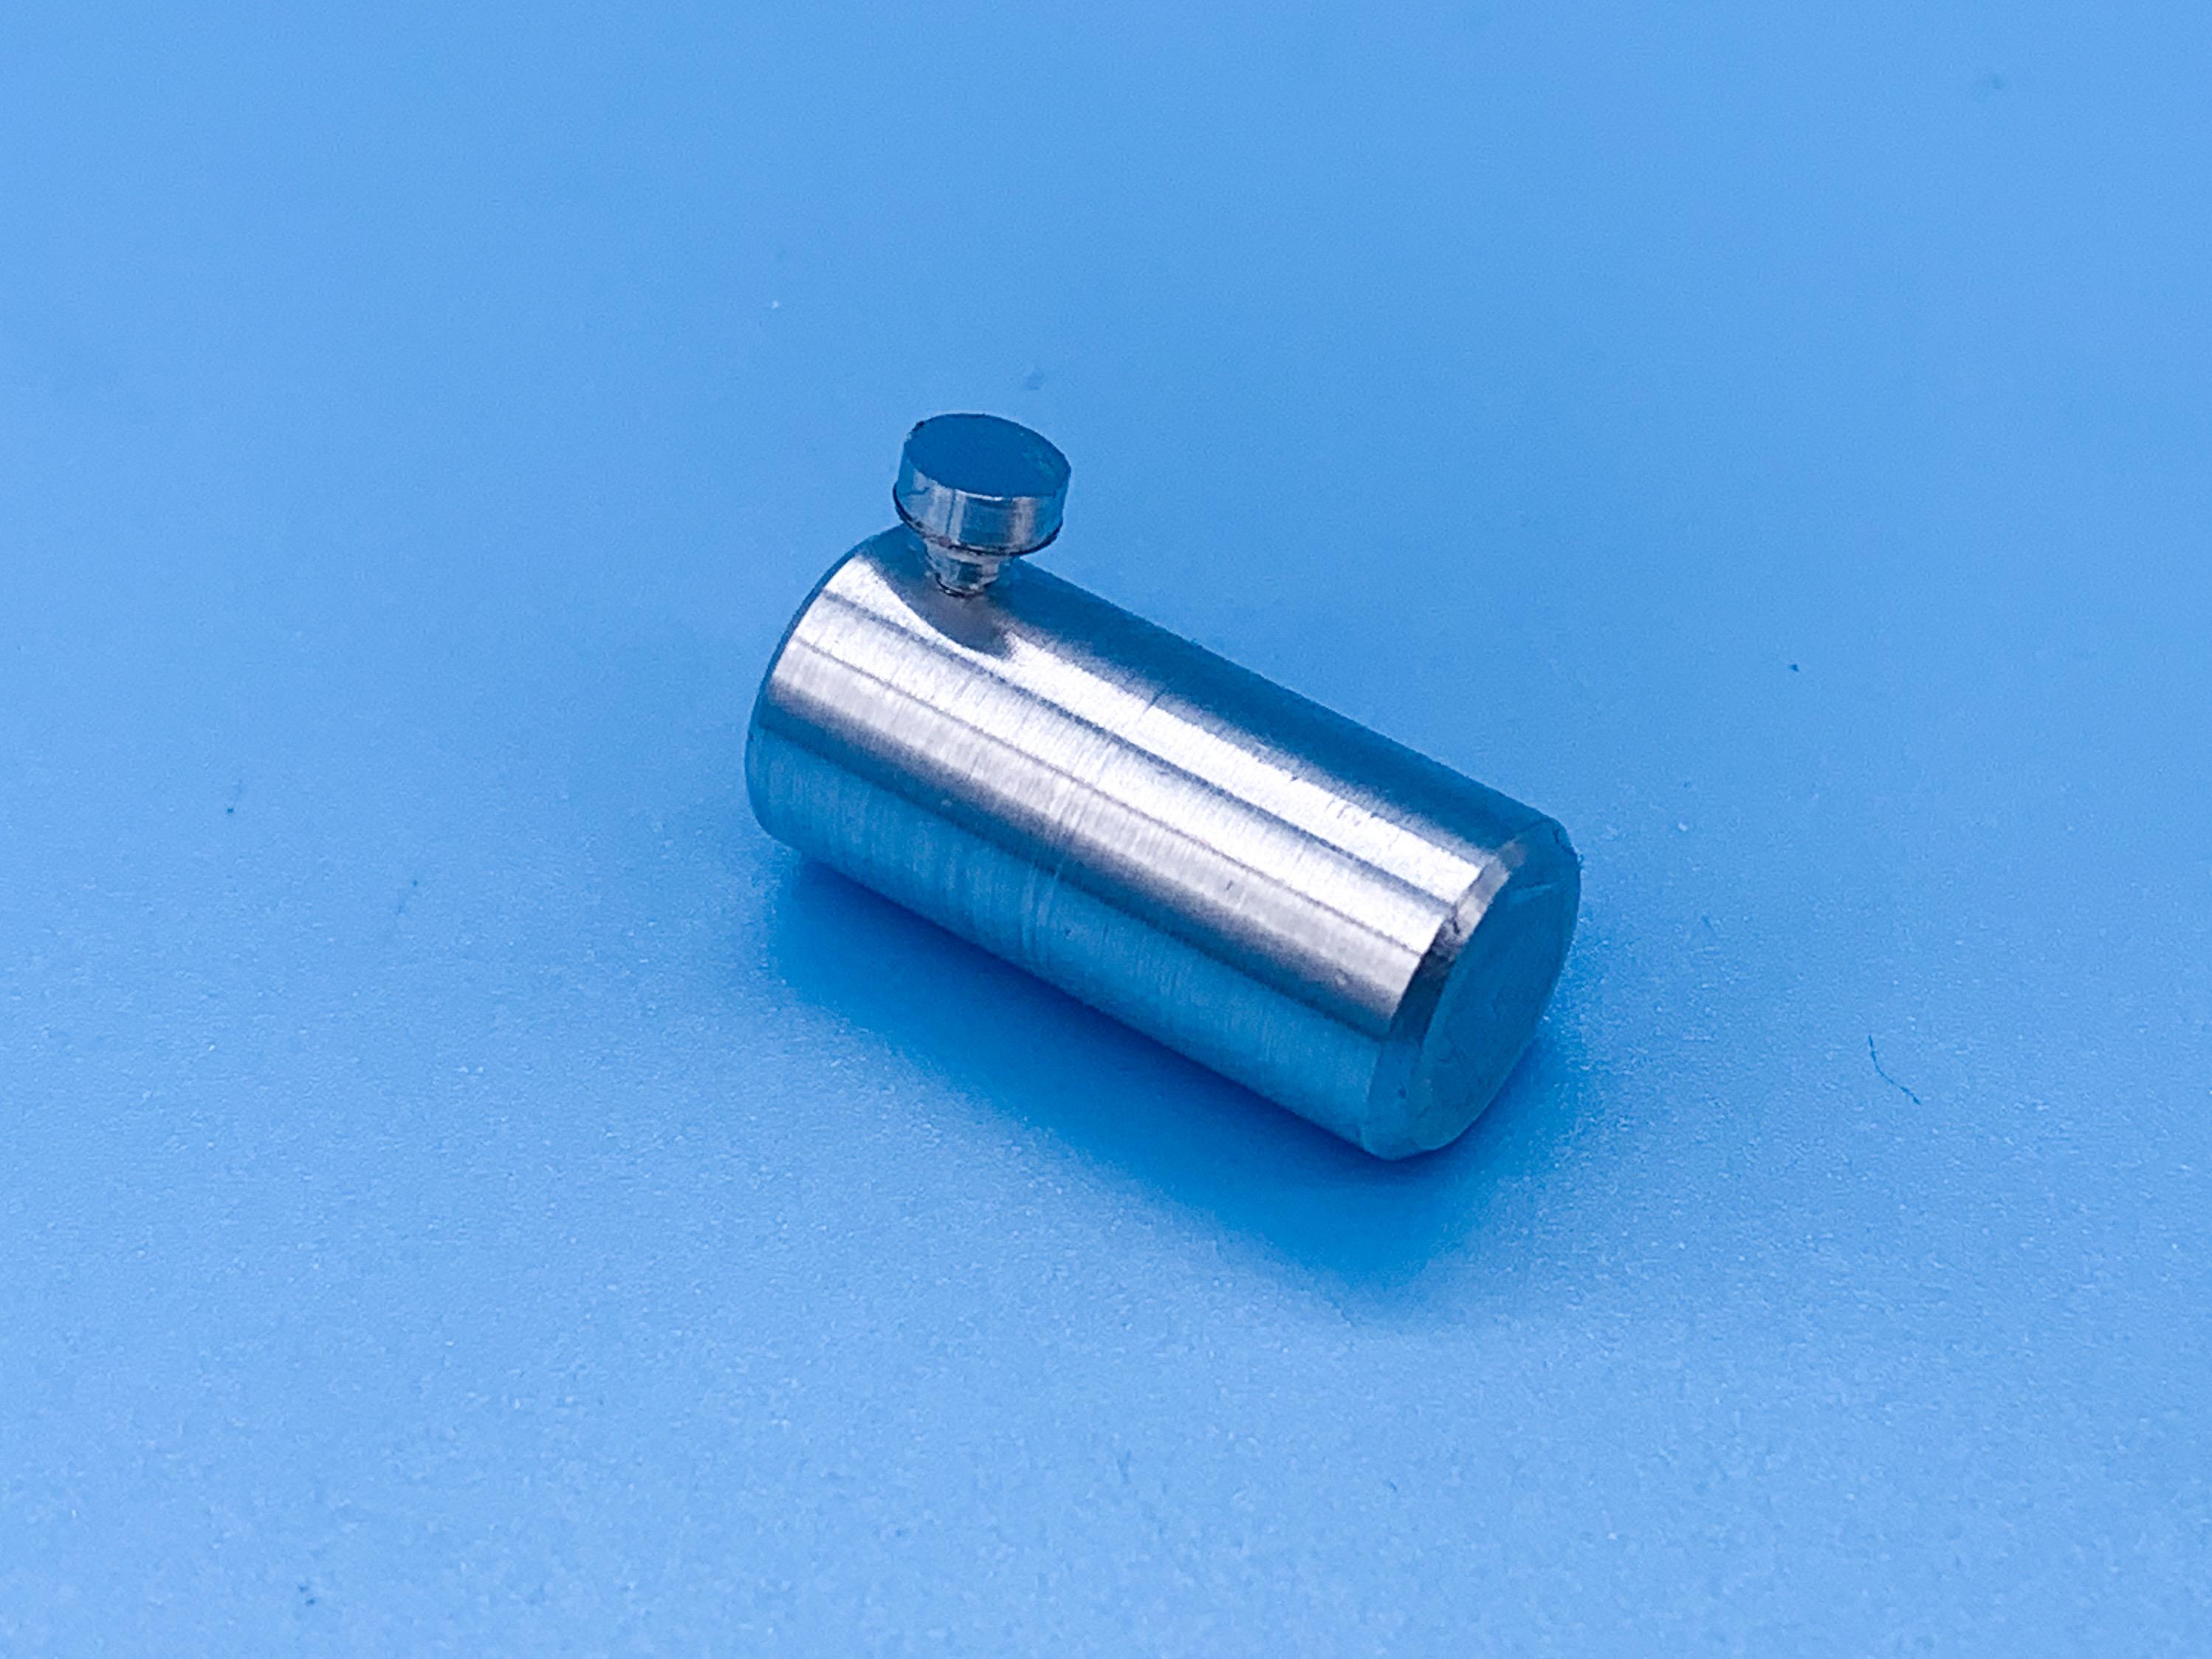
@Kit Karson - thank you so much! PM sent! @Dennis Lacy - car people are the BEST! Actually, I’ll happily buy a set if Kit will let me know where to order from, but car people are awesome ?? A little more of the boring mechanical stuff today - first up, figuring out a driveshaft (used the Revell 29 ends and machined a center section) and linkages for the rear end: Im always nervous doing this kind of work, even for what would primarily be a showcar - I can’t see why the geometry here WOULDN’T work, but I’ve not fabricated anything in 1:1 like this either so maybe it wouldn’t. I figure if I got the front linkages level with the front of the driveshaft the geometry would be better - but I didn’t like them there ??. The stock Flathead from this year had a 3 port into 1 manifold, the manifold portion of which is moulded into the block on this AMT engine so I fabricated some headers to match what I had in mind - kinda spindly and vintage looking: I turned those little trumpets on the lathe too - they need some more cleanup before they’re acceptable but they matched what I imagined in my head pretty close. Not based on any real part (I don’t think?) - I just liked the idea of them. Onto the body - I wanted the engine to disappear into the firewall a little rather than having a big gap, and I figured I’d need to modify the kit part some to get it to work, but actually it fit pretty good right off the bat! Who knew that measuring stuff would work out! ?? Finally for today, I thinned down the kit inner-arches for the rear of the body and got them glued in place - I didn’t need them inset as much as Revell has them so removing some of that offset helped improve the look. Getting closer to the paint stage, after a little more bodywork and figuring out the windshield! More soon!

-
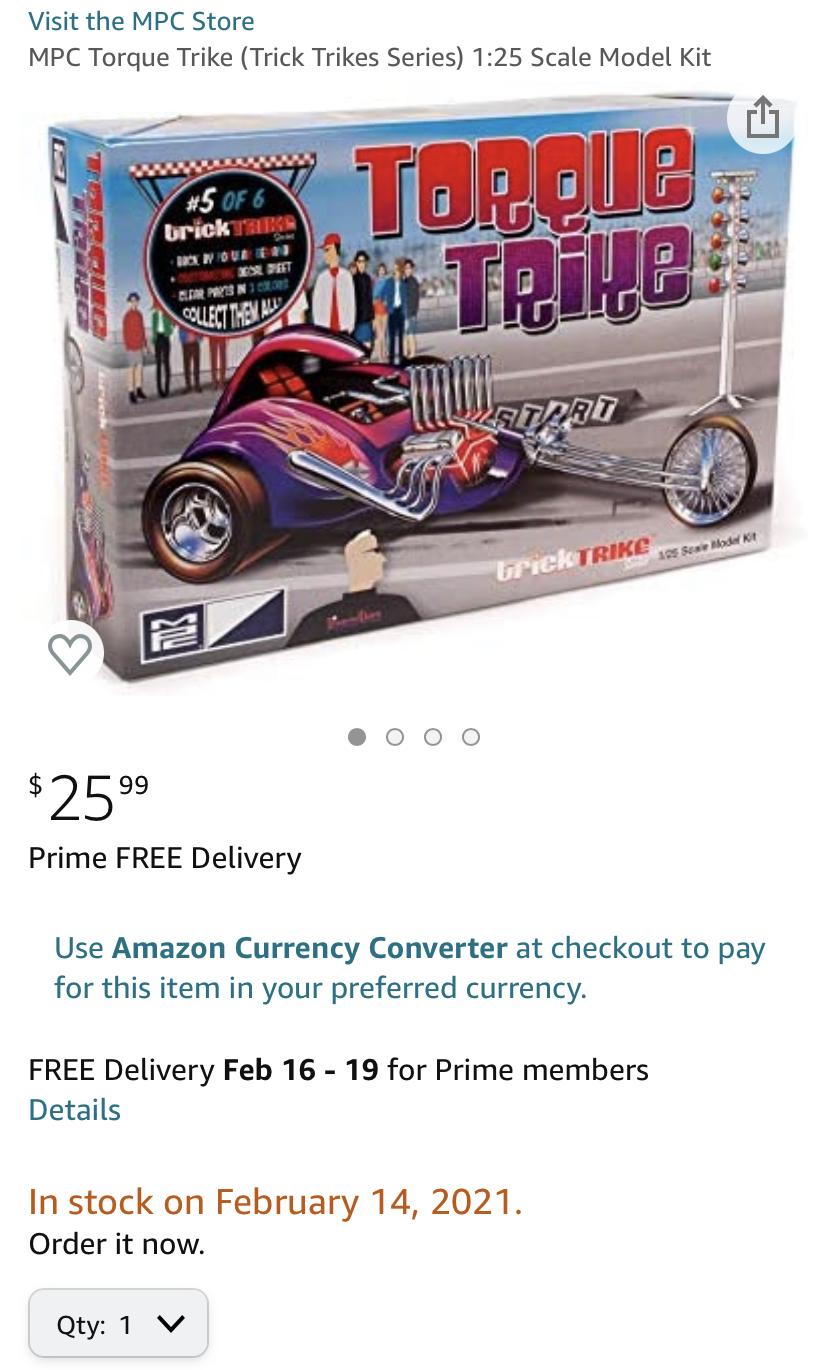
Out next week now, apparently:
-
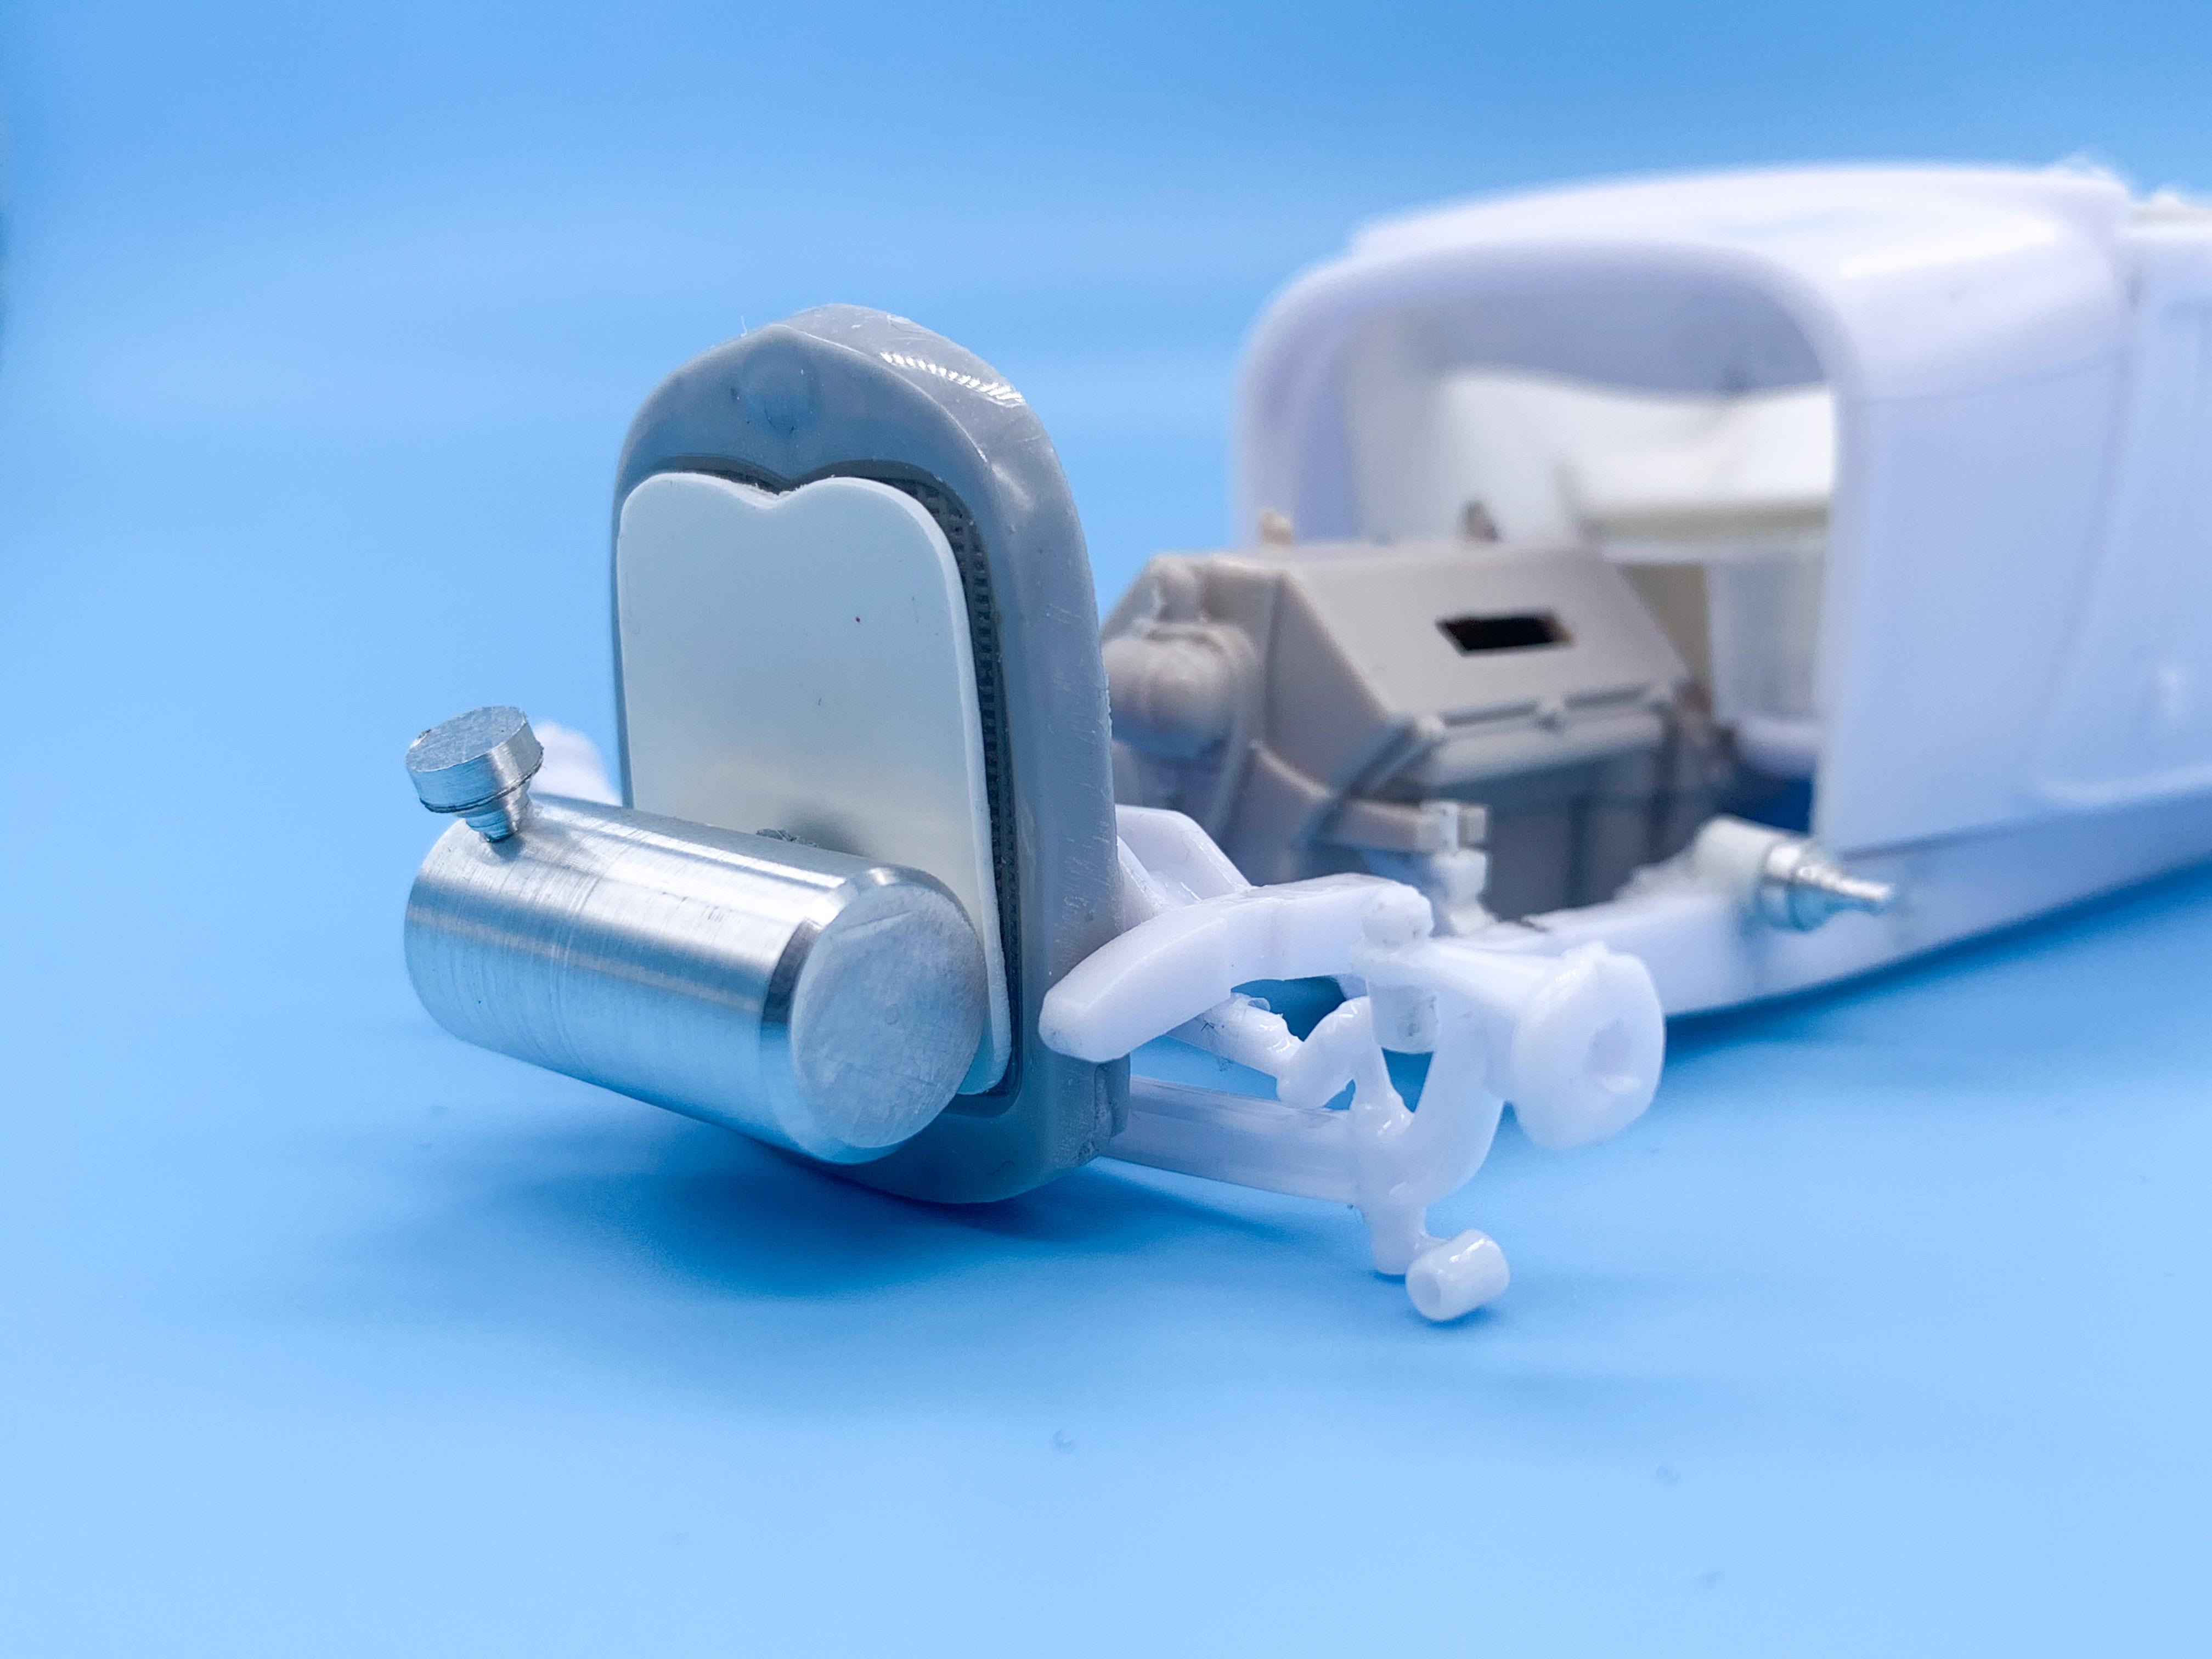
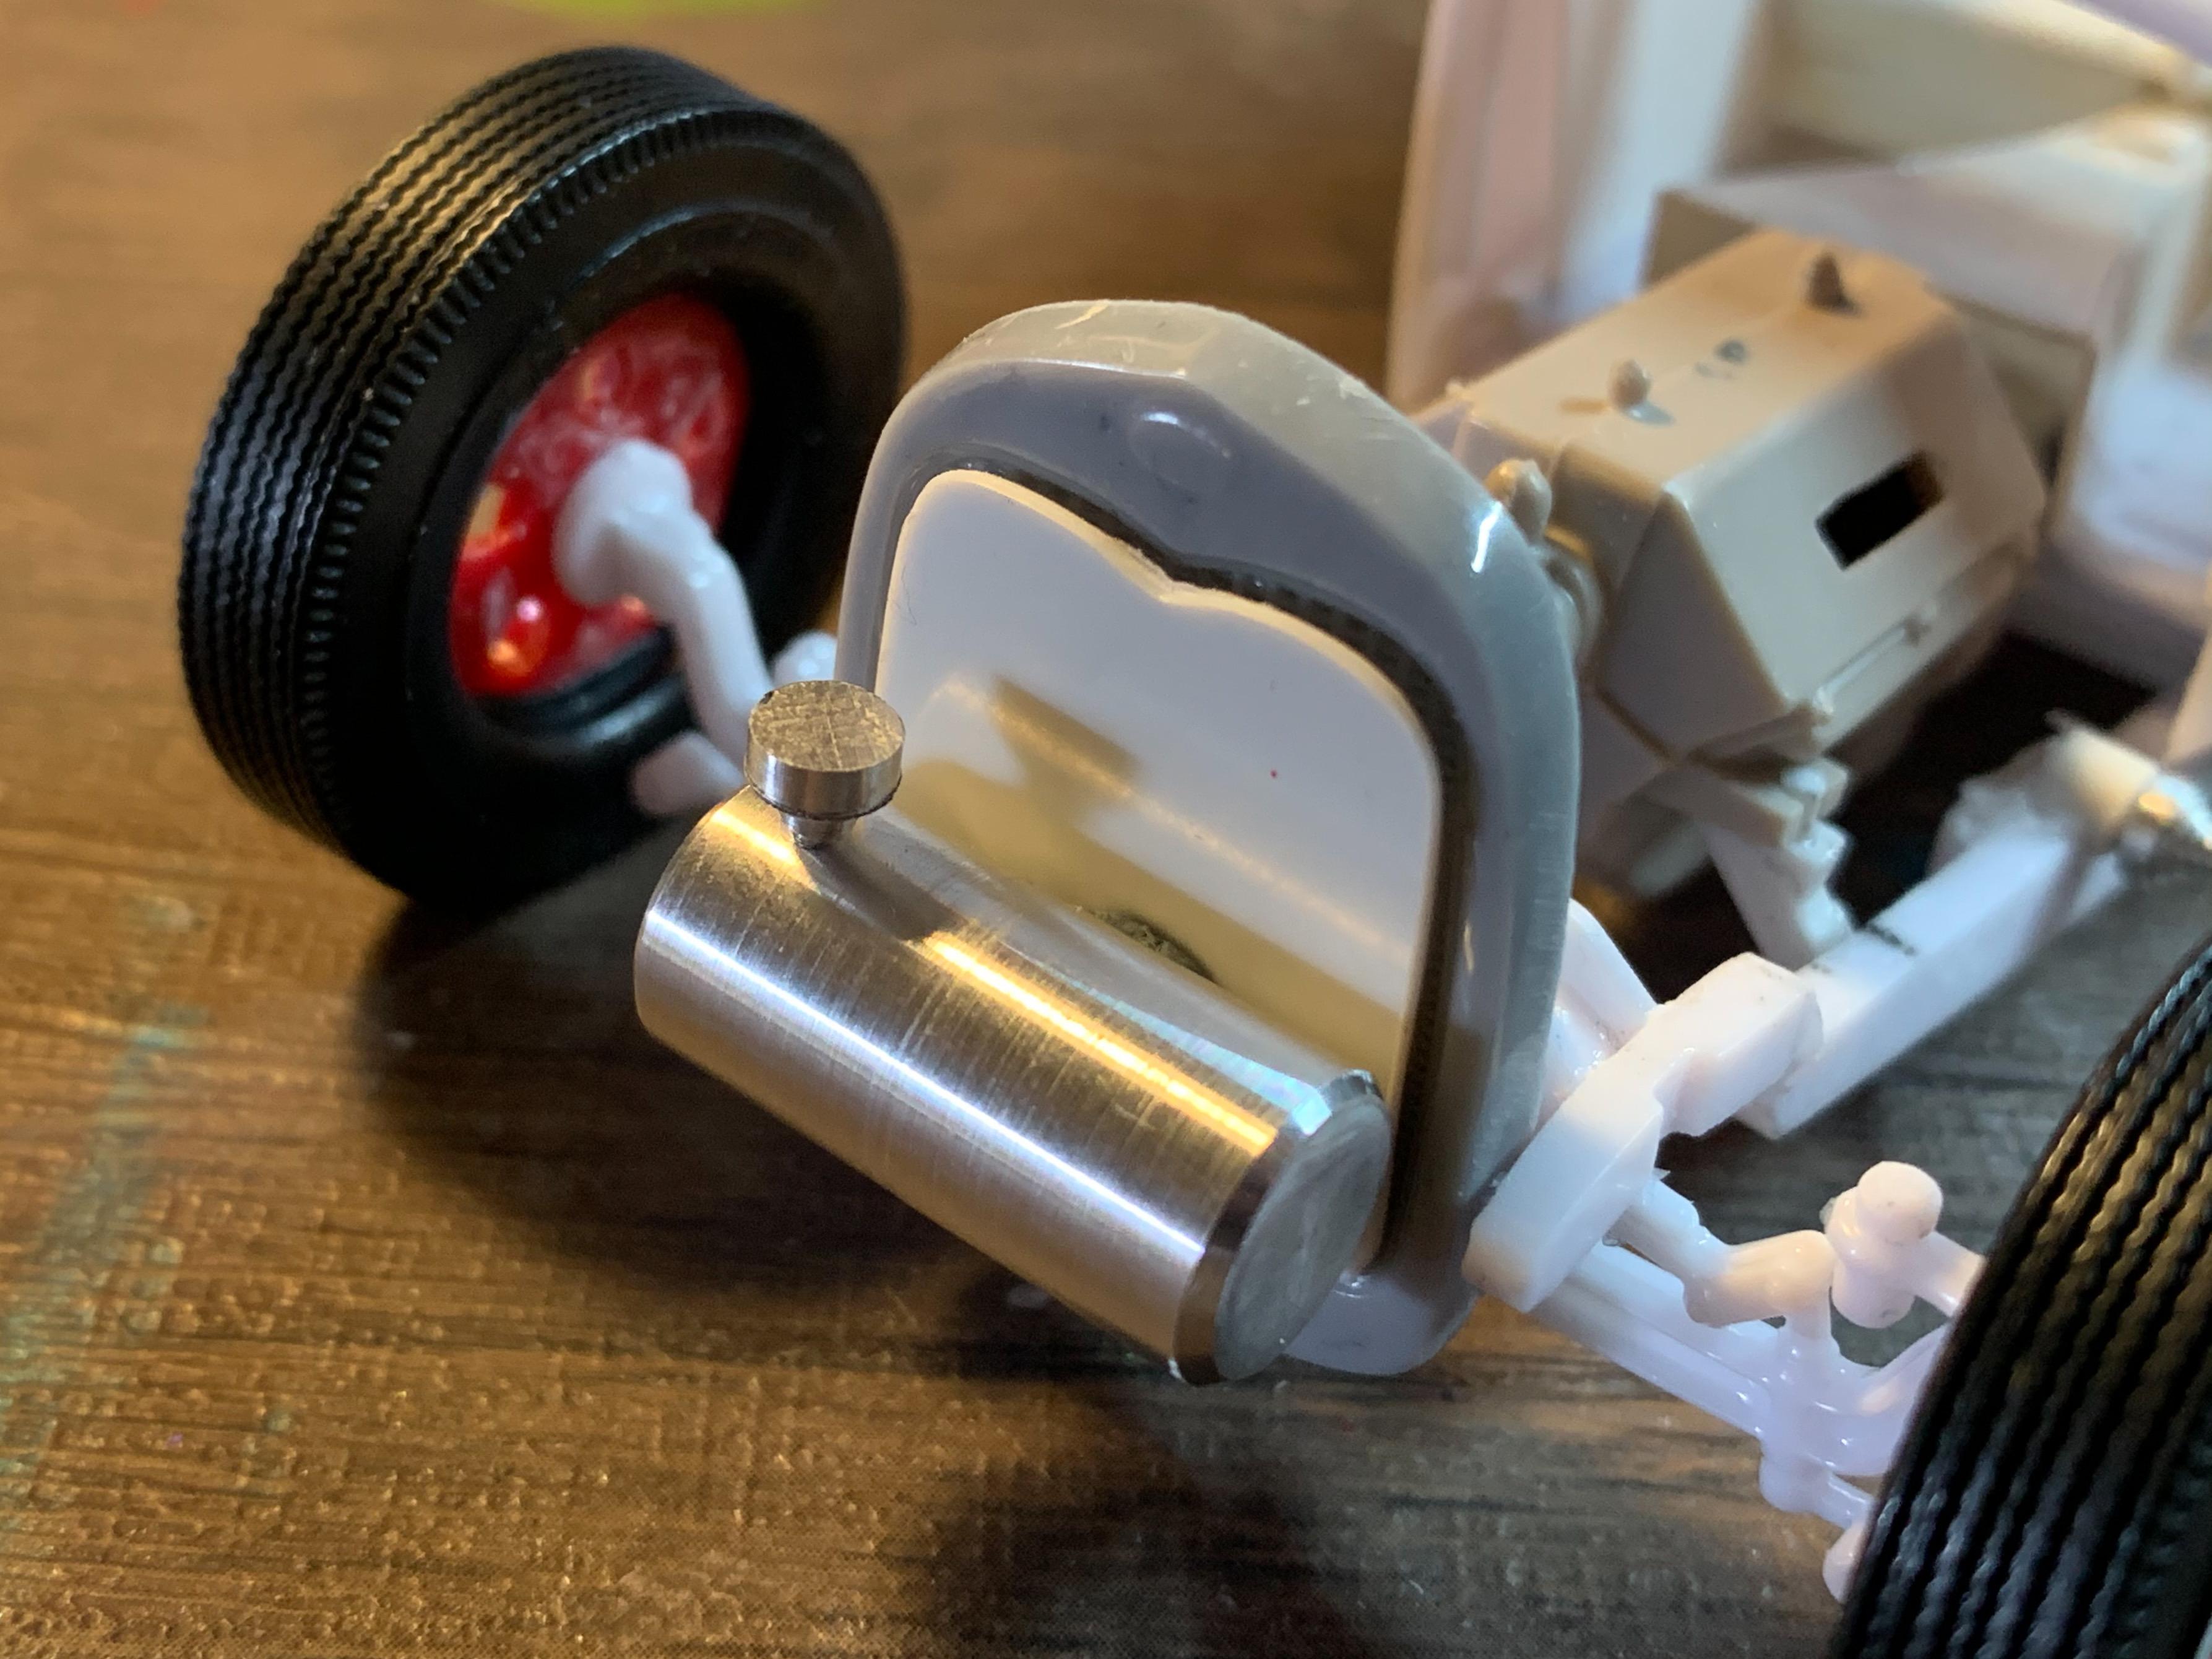
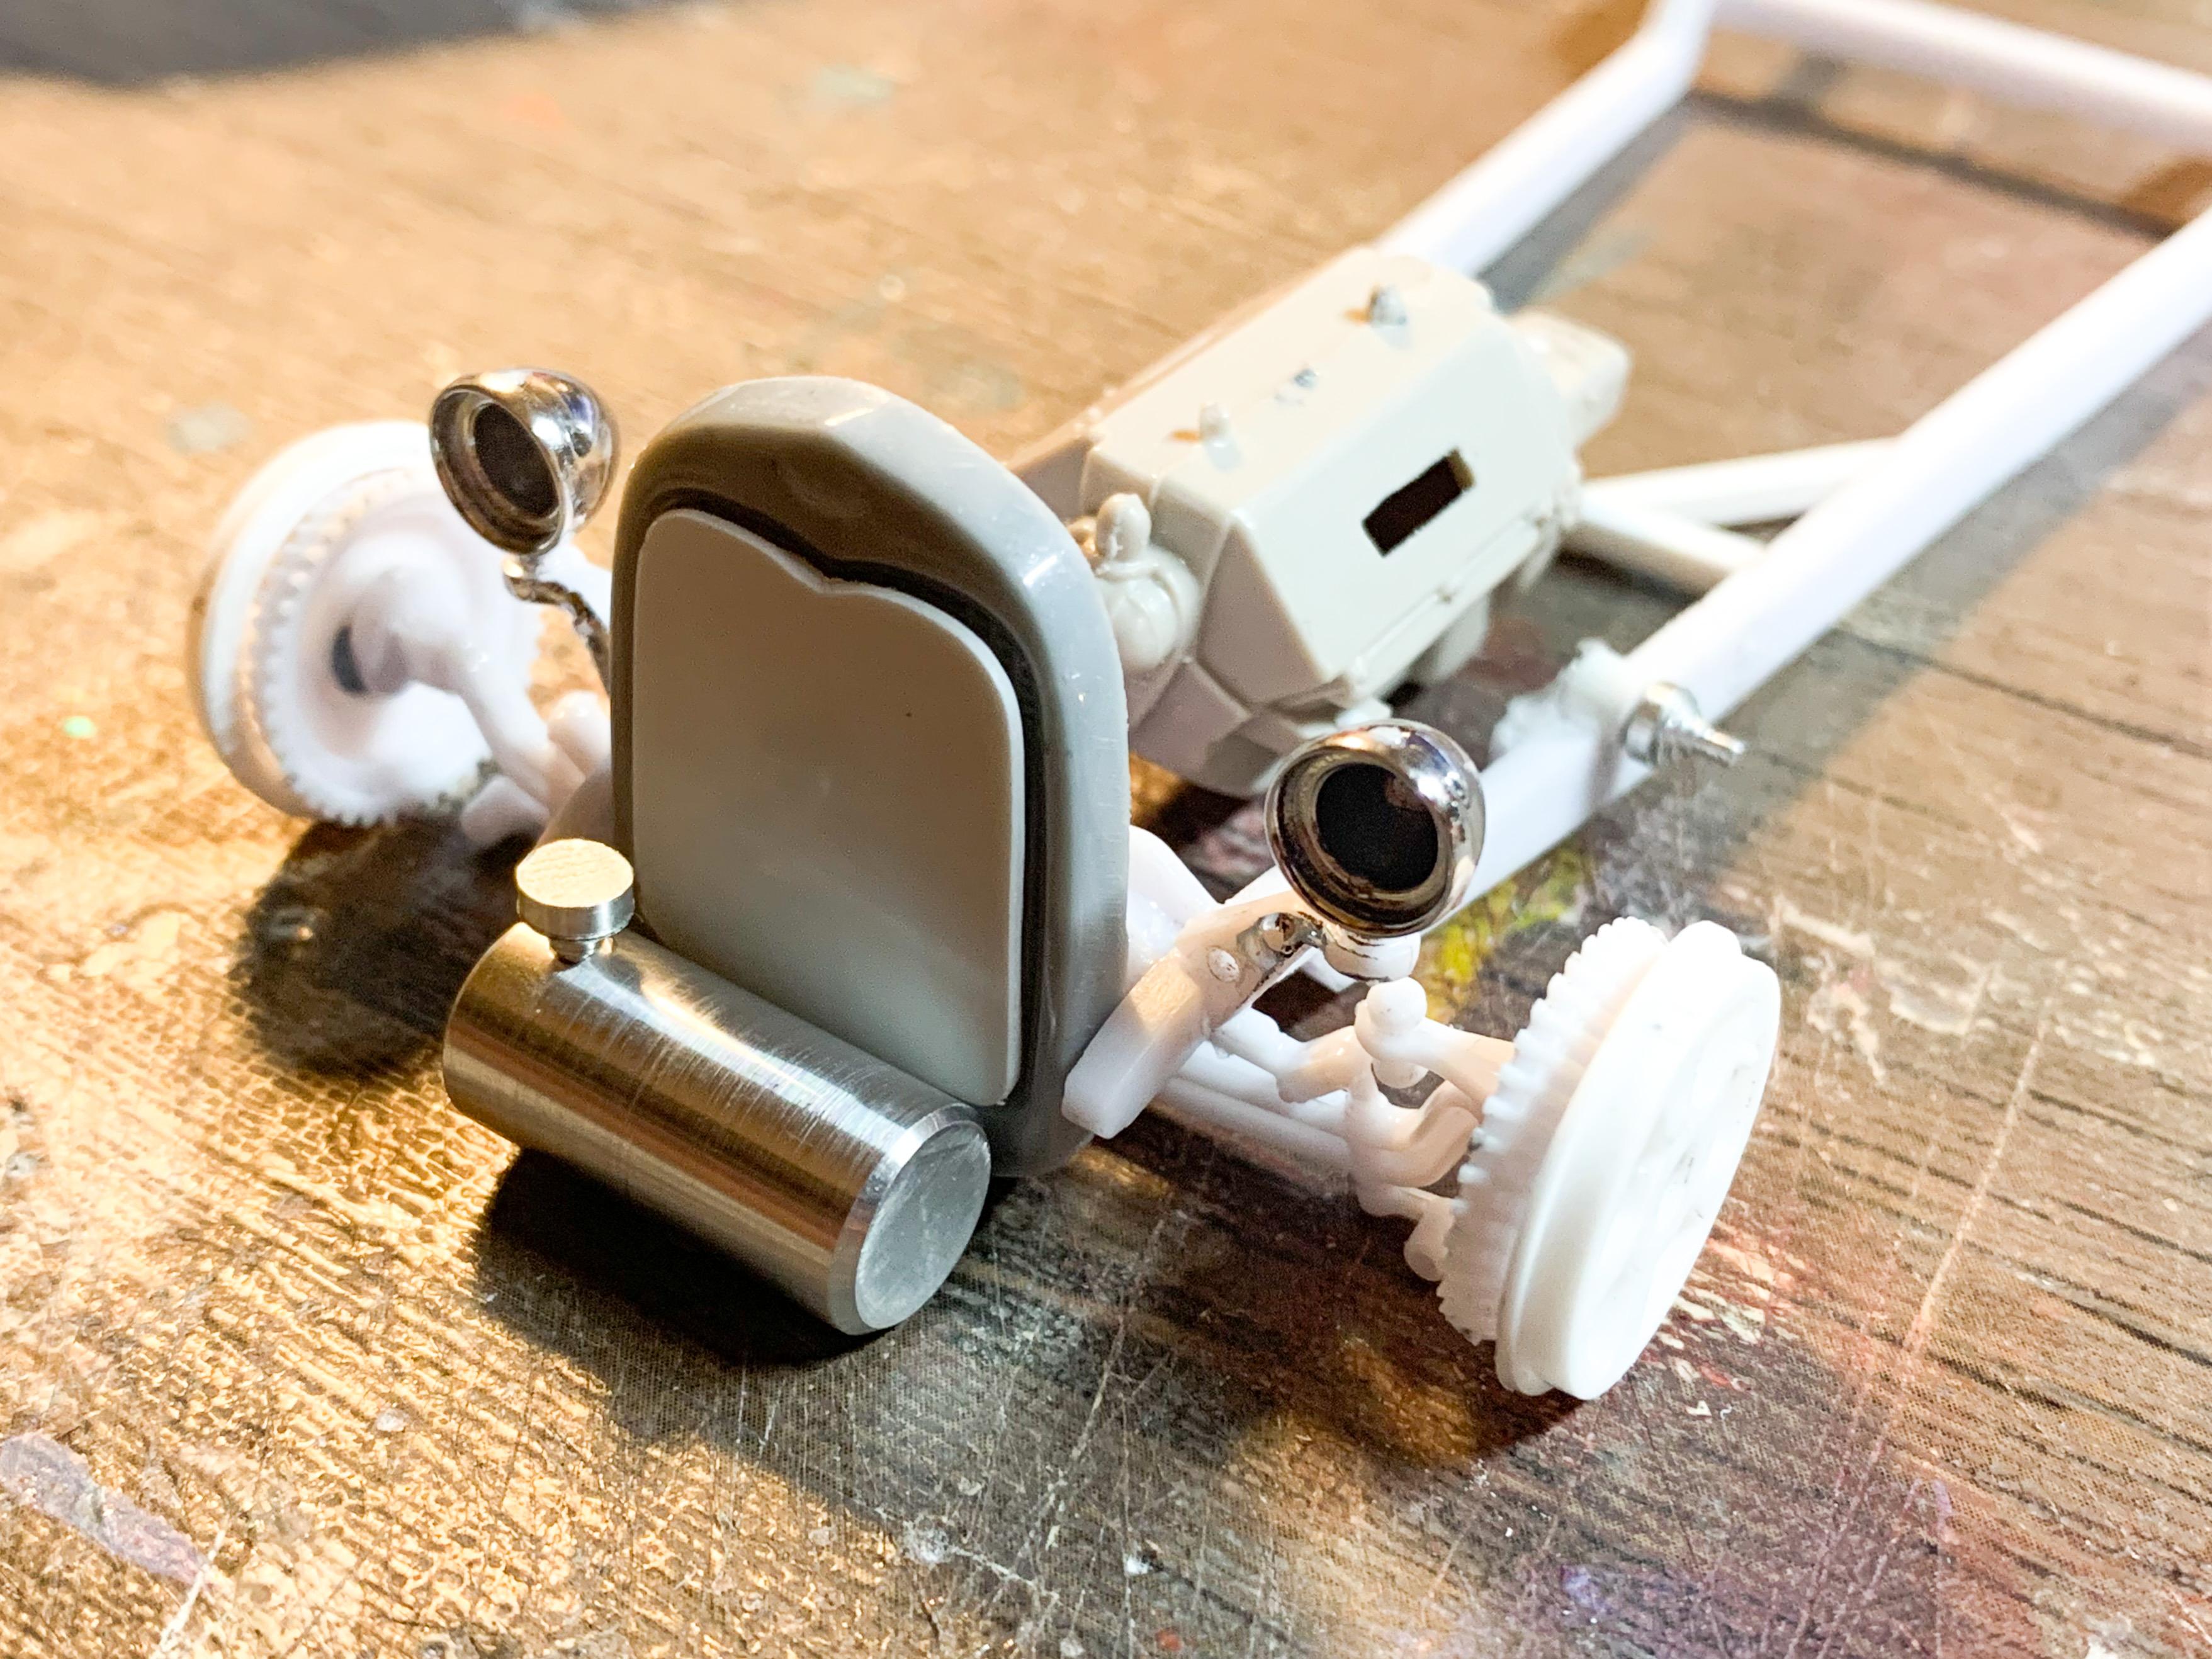
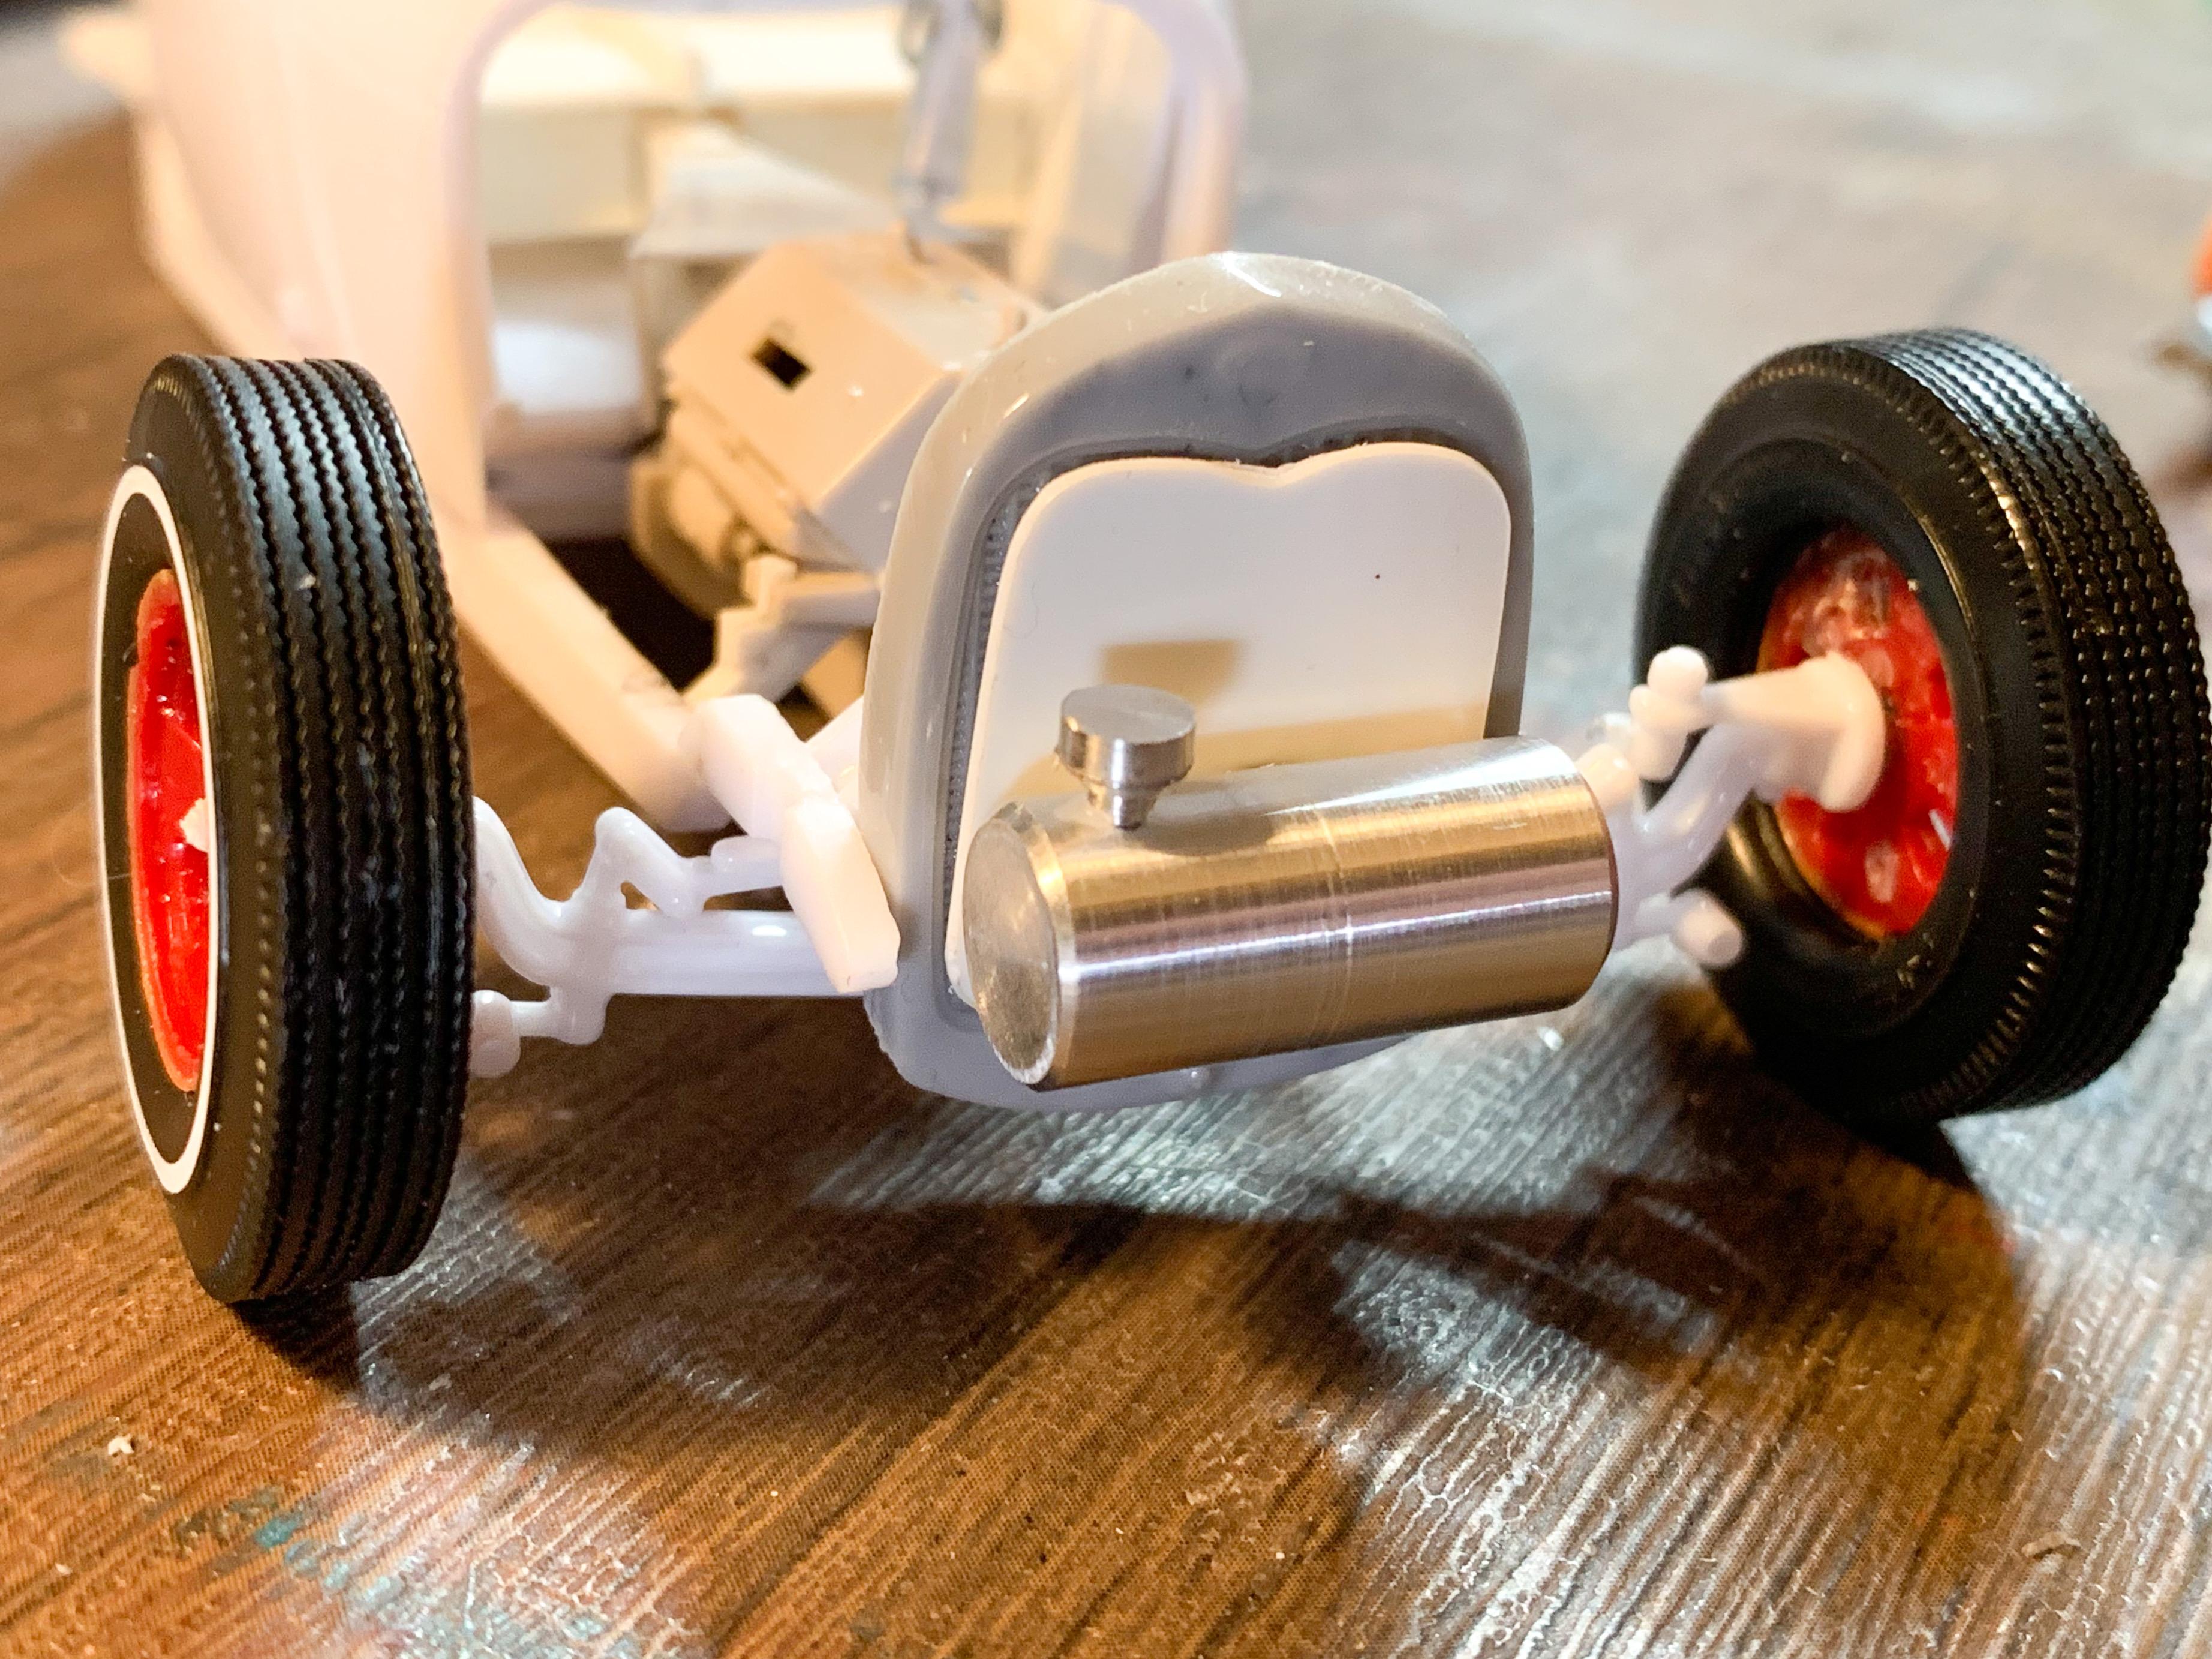
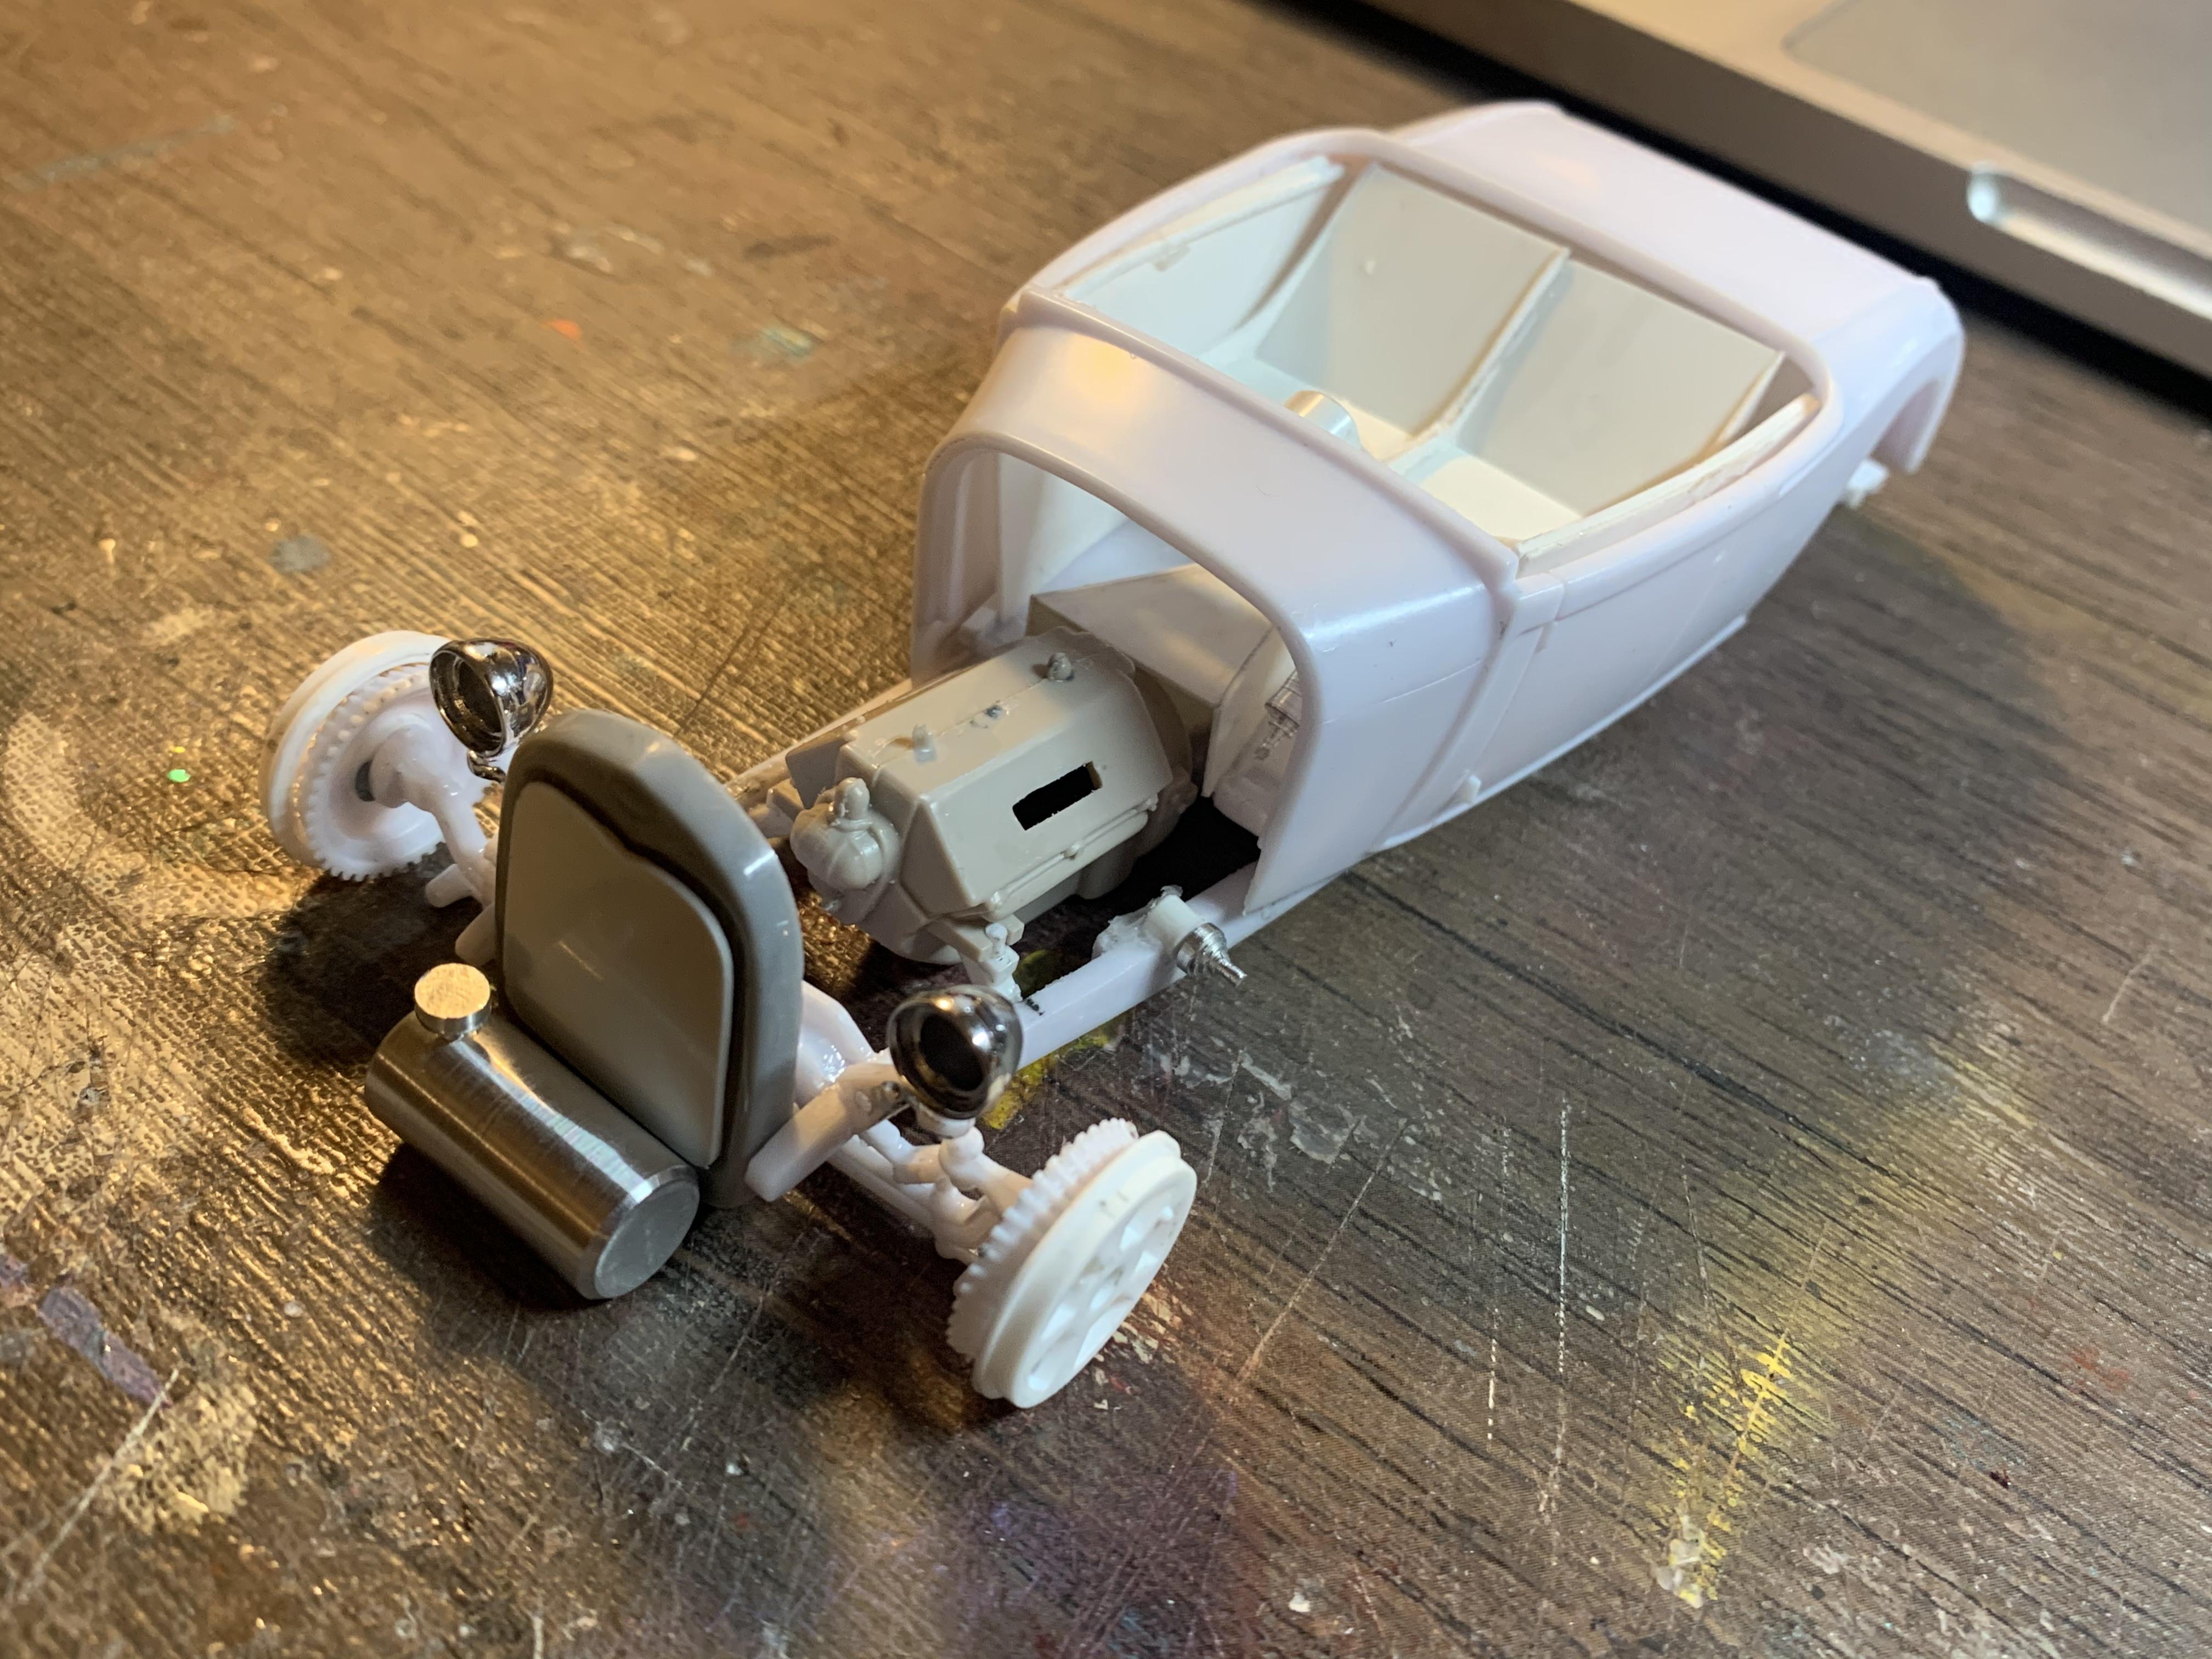
Have you seen the price of vintage hot rod parts nowadays tho?! Oh, of course you have ???. If I had any vintage speed parts for this engine I’d probably be tempted to include them, but I don’t - any cool stuff I could scratchbuilt to hot it up a little maybe? I’m open to ideas! A little more progress tonight (I’m trying to post every night so that I actually finish whatever the evening’s project is)...today’s attention was to getting the grill and lights figured out somewhat. Used a copy of the stock grill, but made a cover for the mesh - I’ll space it out just enough that you can see some of the mesh and air could get in there, but have it look somewhat like a vintage drag car where they’d do this: Haven’t left myself a tonne of options to mount that tank, but I’ll figure it out. I like the look tho! I usually like a big old pair of headlamps on a hot rod, so I went with the smallest ones I could find for this build, just to mix things up. Used the stock mounts, minus the shocks and reshaped so I can blend them into the frame: And that’s the sum total of my accomplishments for today - more soon!
-
 Makes sense to me! ??
 -
Oh, sorry - I meant the engine. I saw the engine in the pic, thought about it, posted about it and never told anyone what I was thinking about
-
A related question, in case anyone knows - I've found conflicting info on what color is correct for these. Some places say Chevy Red, some Chevy Orange, and elsewhere I read that there's variations of "Chevy Red" that put it in between the red and orange color. Anyone know for sure?
-
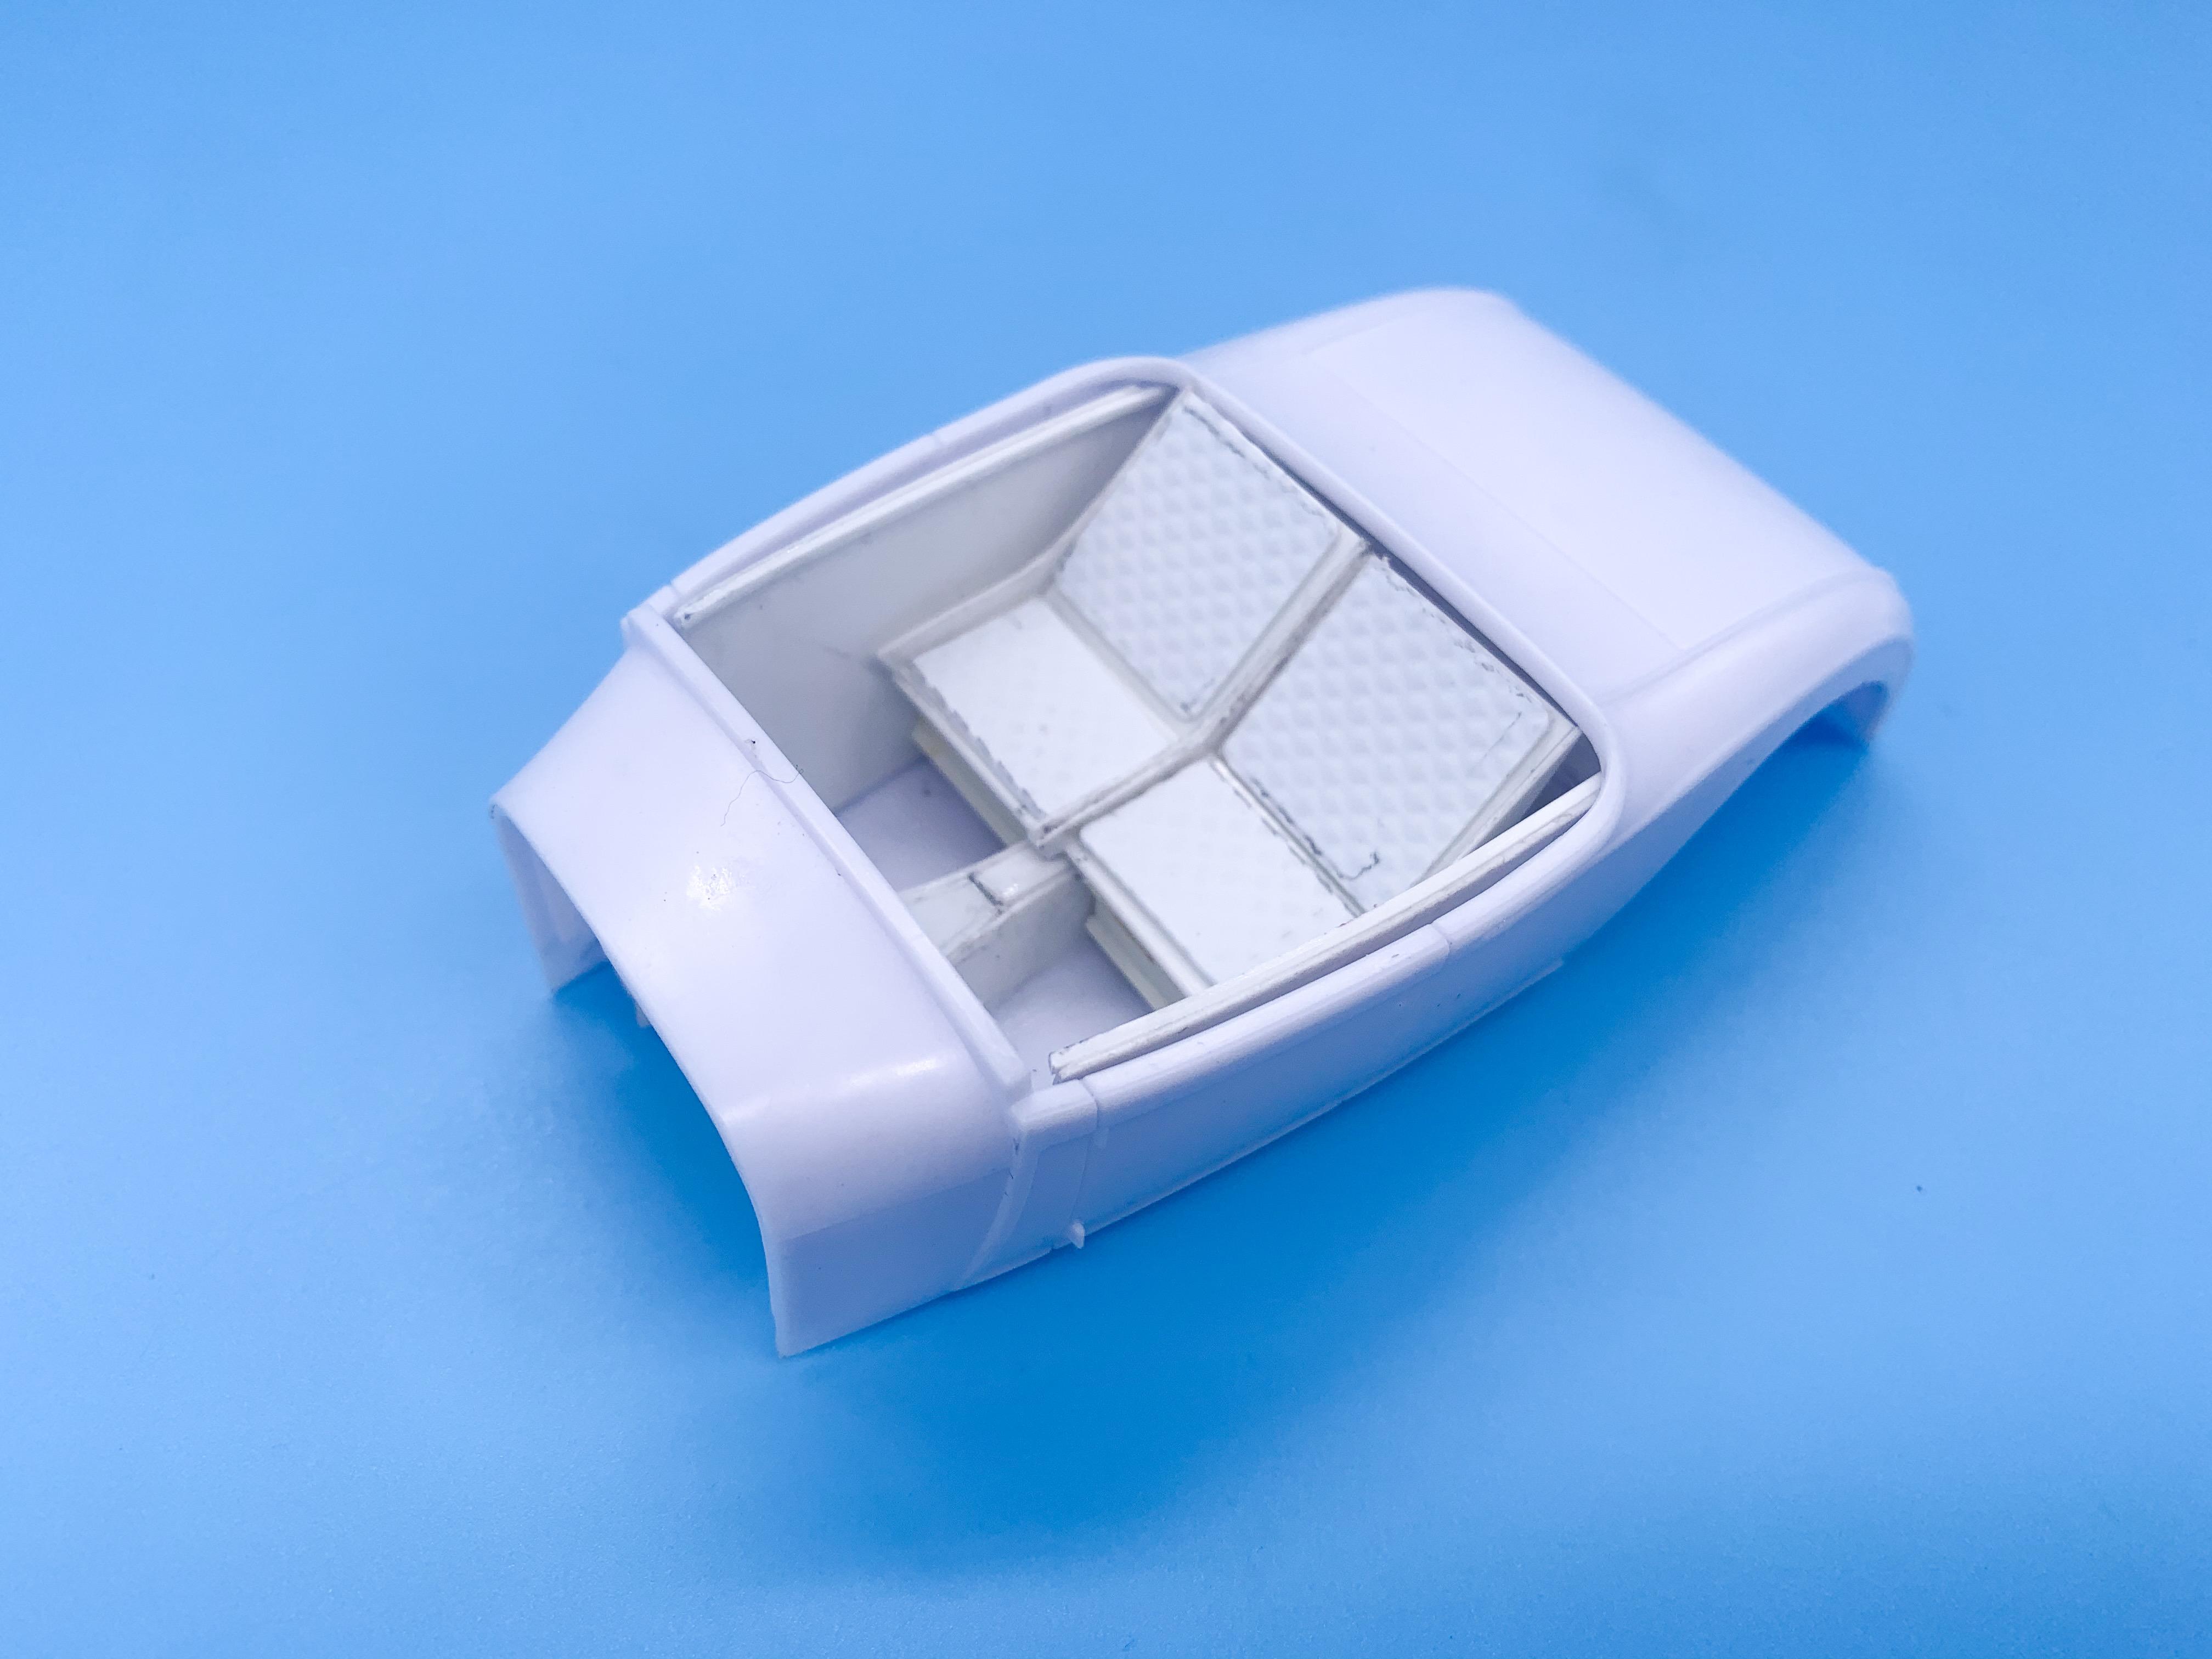
I really like that Burberry fabric on the seats - engine looks good too!
-
Hey Carl! Those are just the ones that come in the Revell 29 Roadster kit - they actually have really nice moulded-in bolt detail on the outer faces too, although that big new hole I put in them made that go bye-byes. There's a bunch of nice parts in this kit that are great for kitbashing!
-
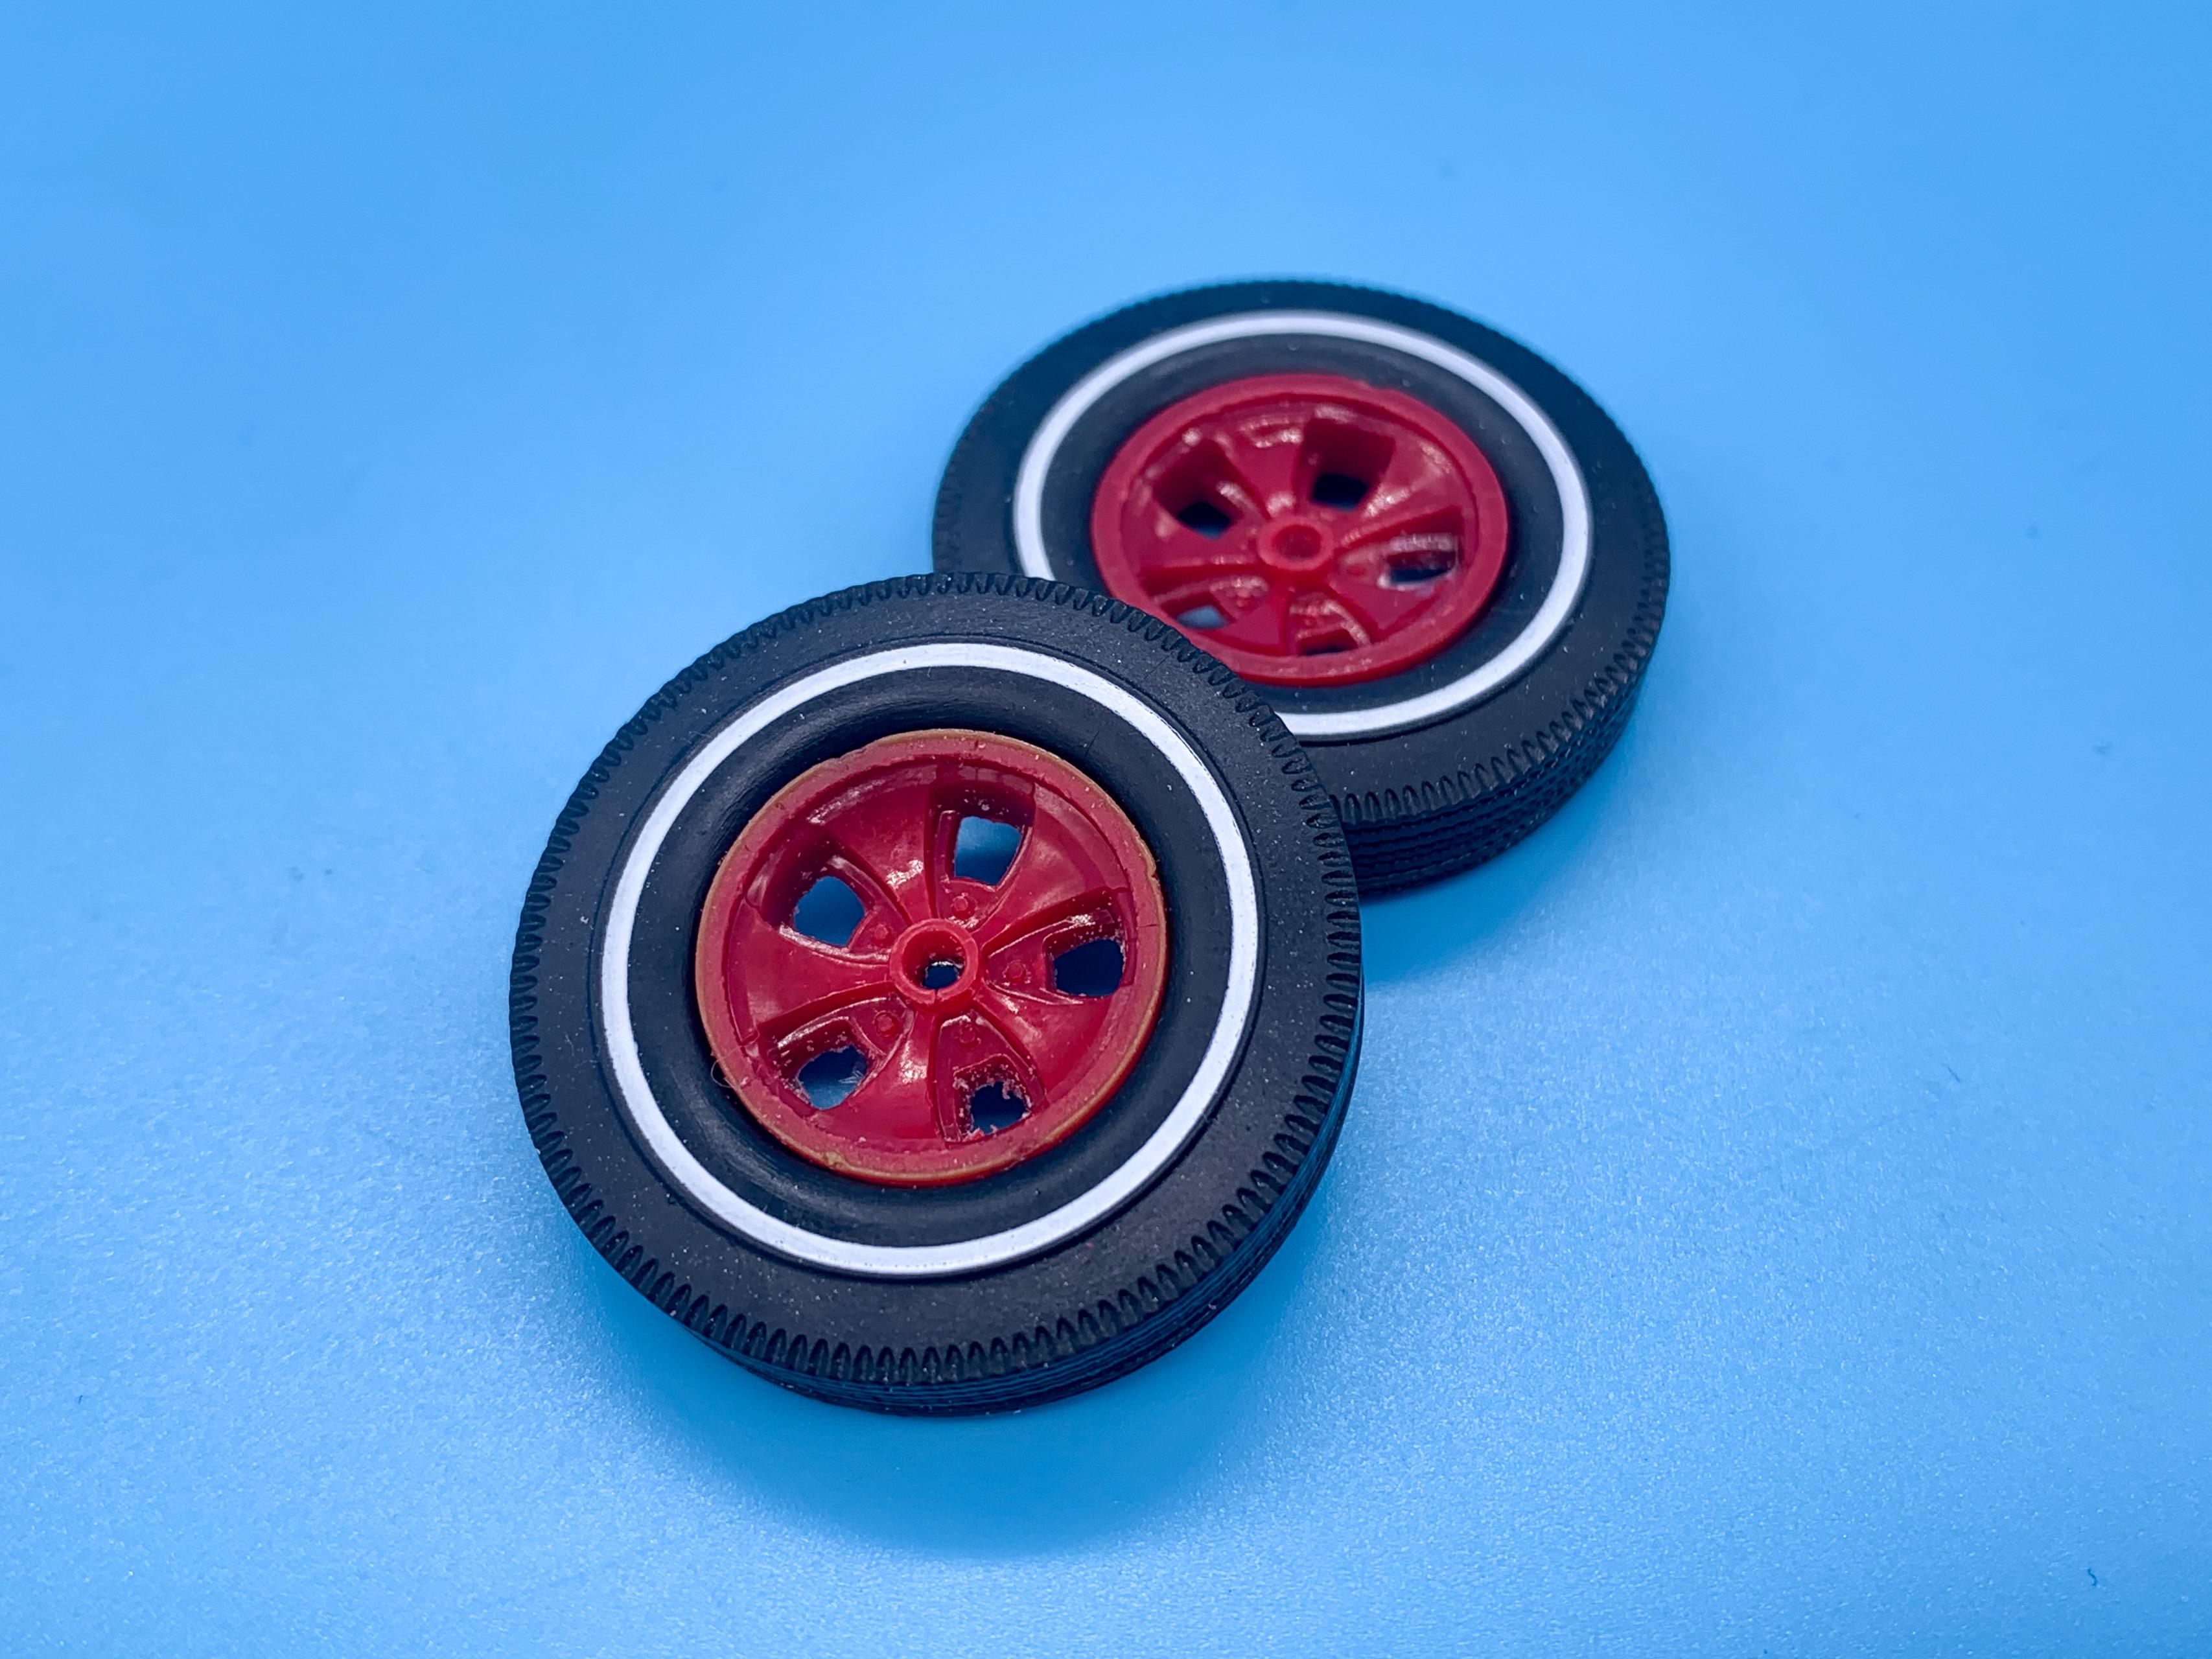
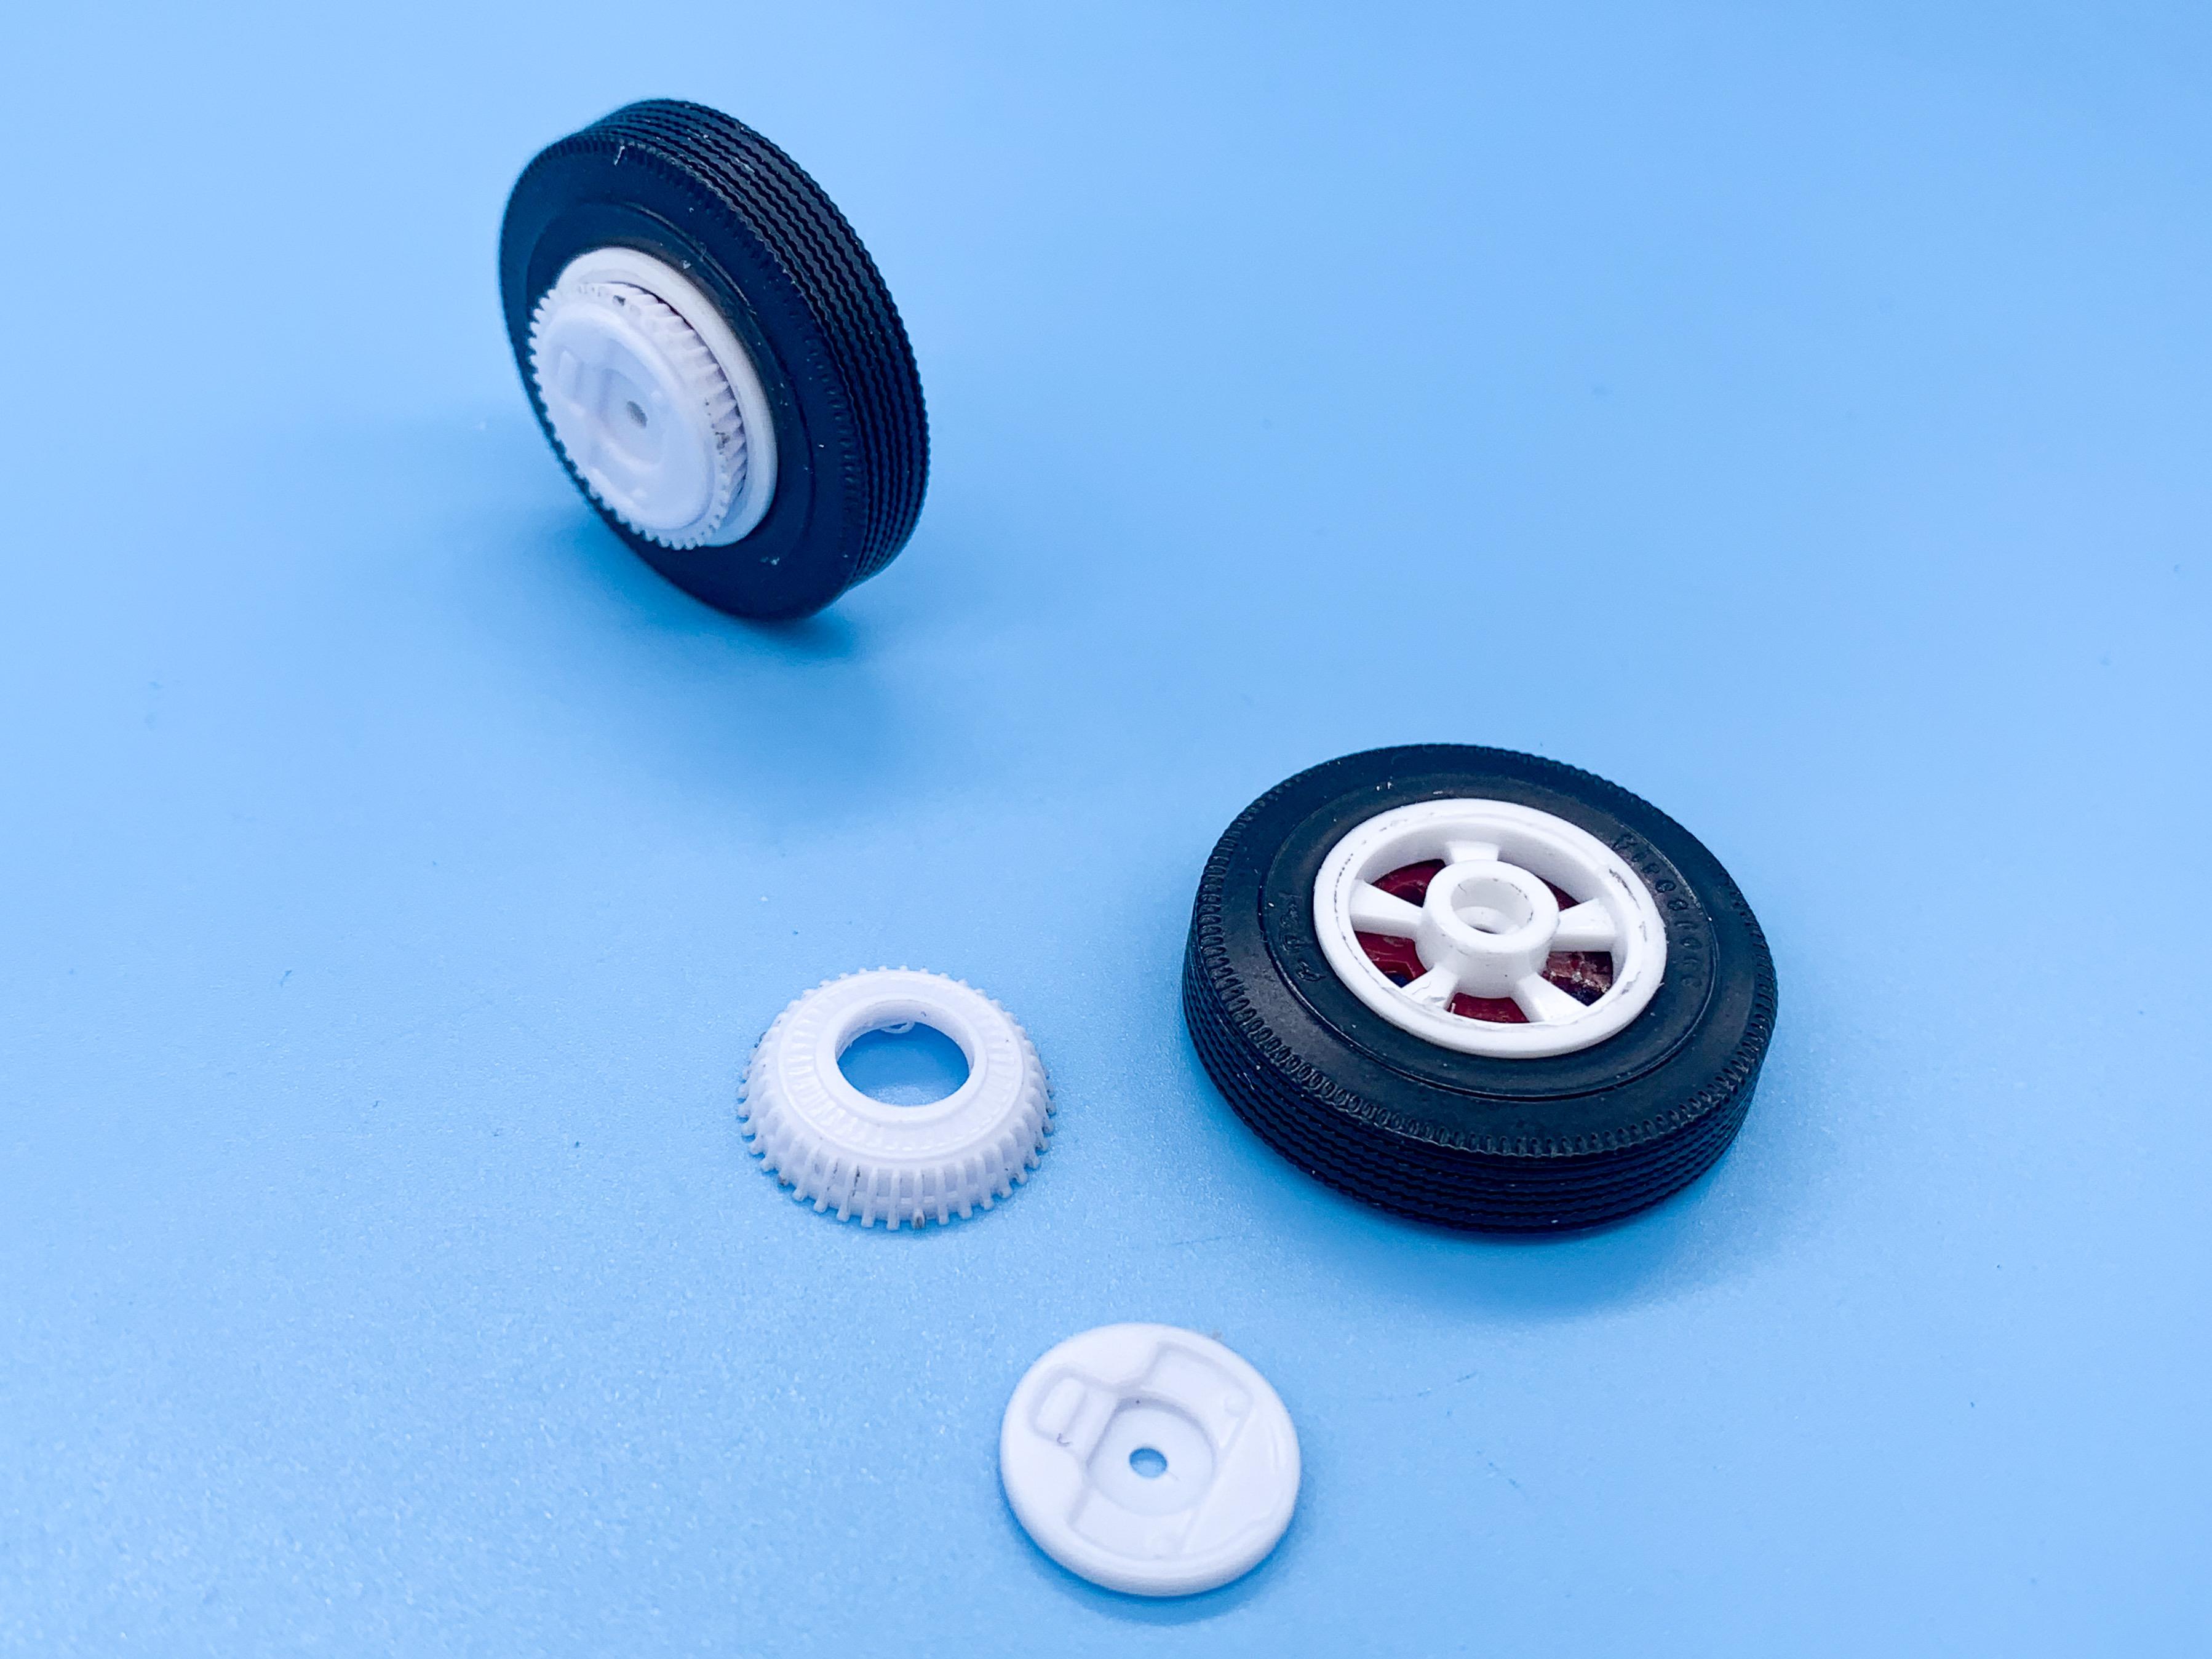
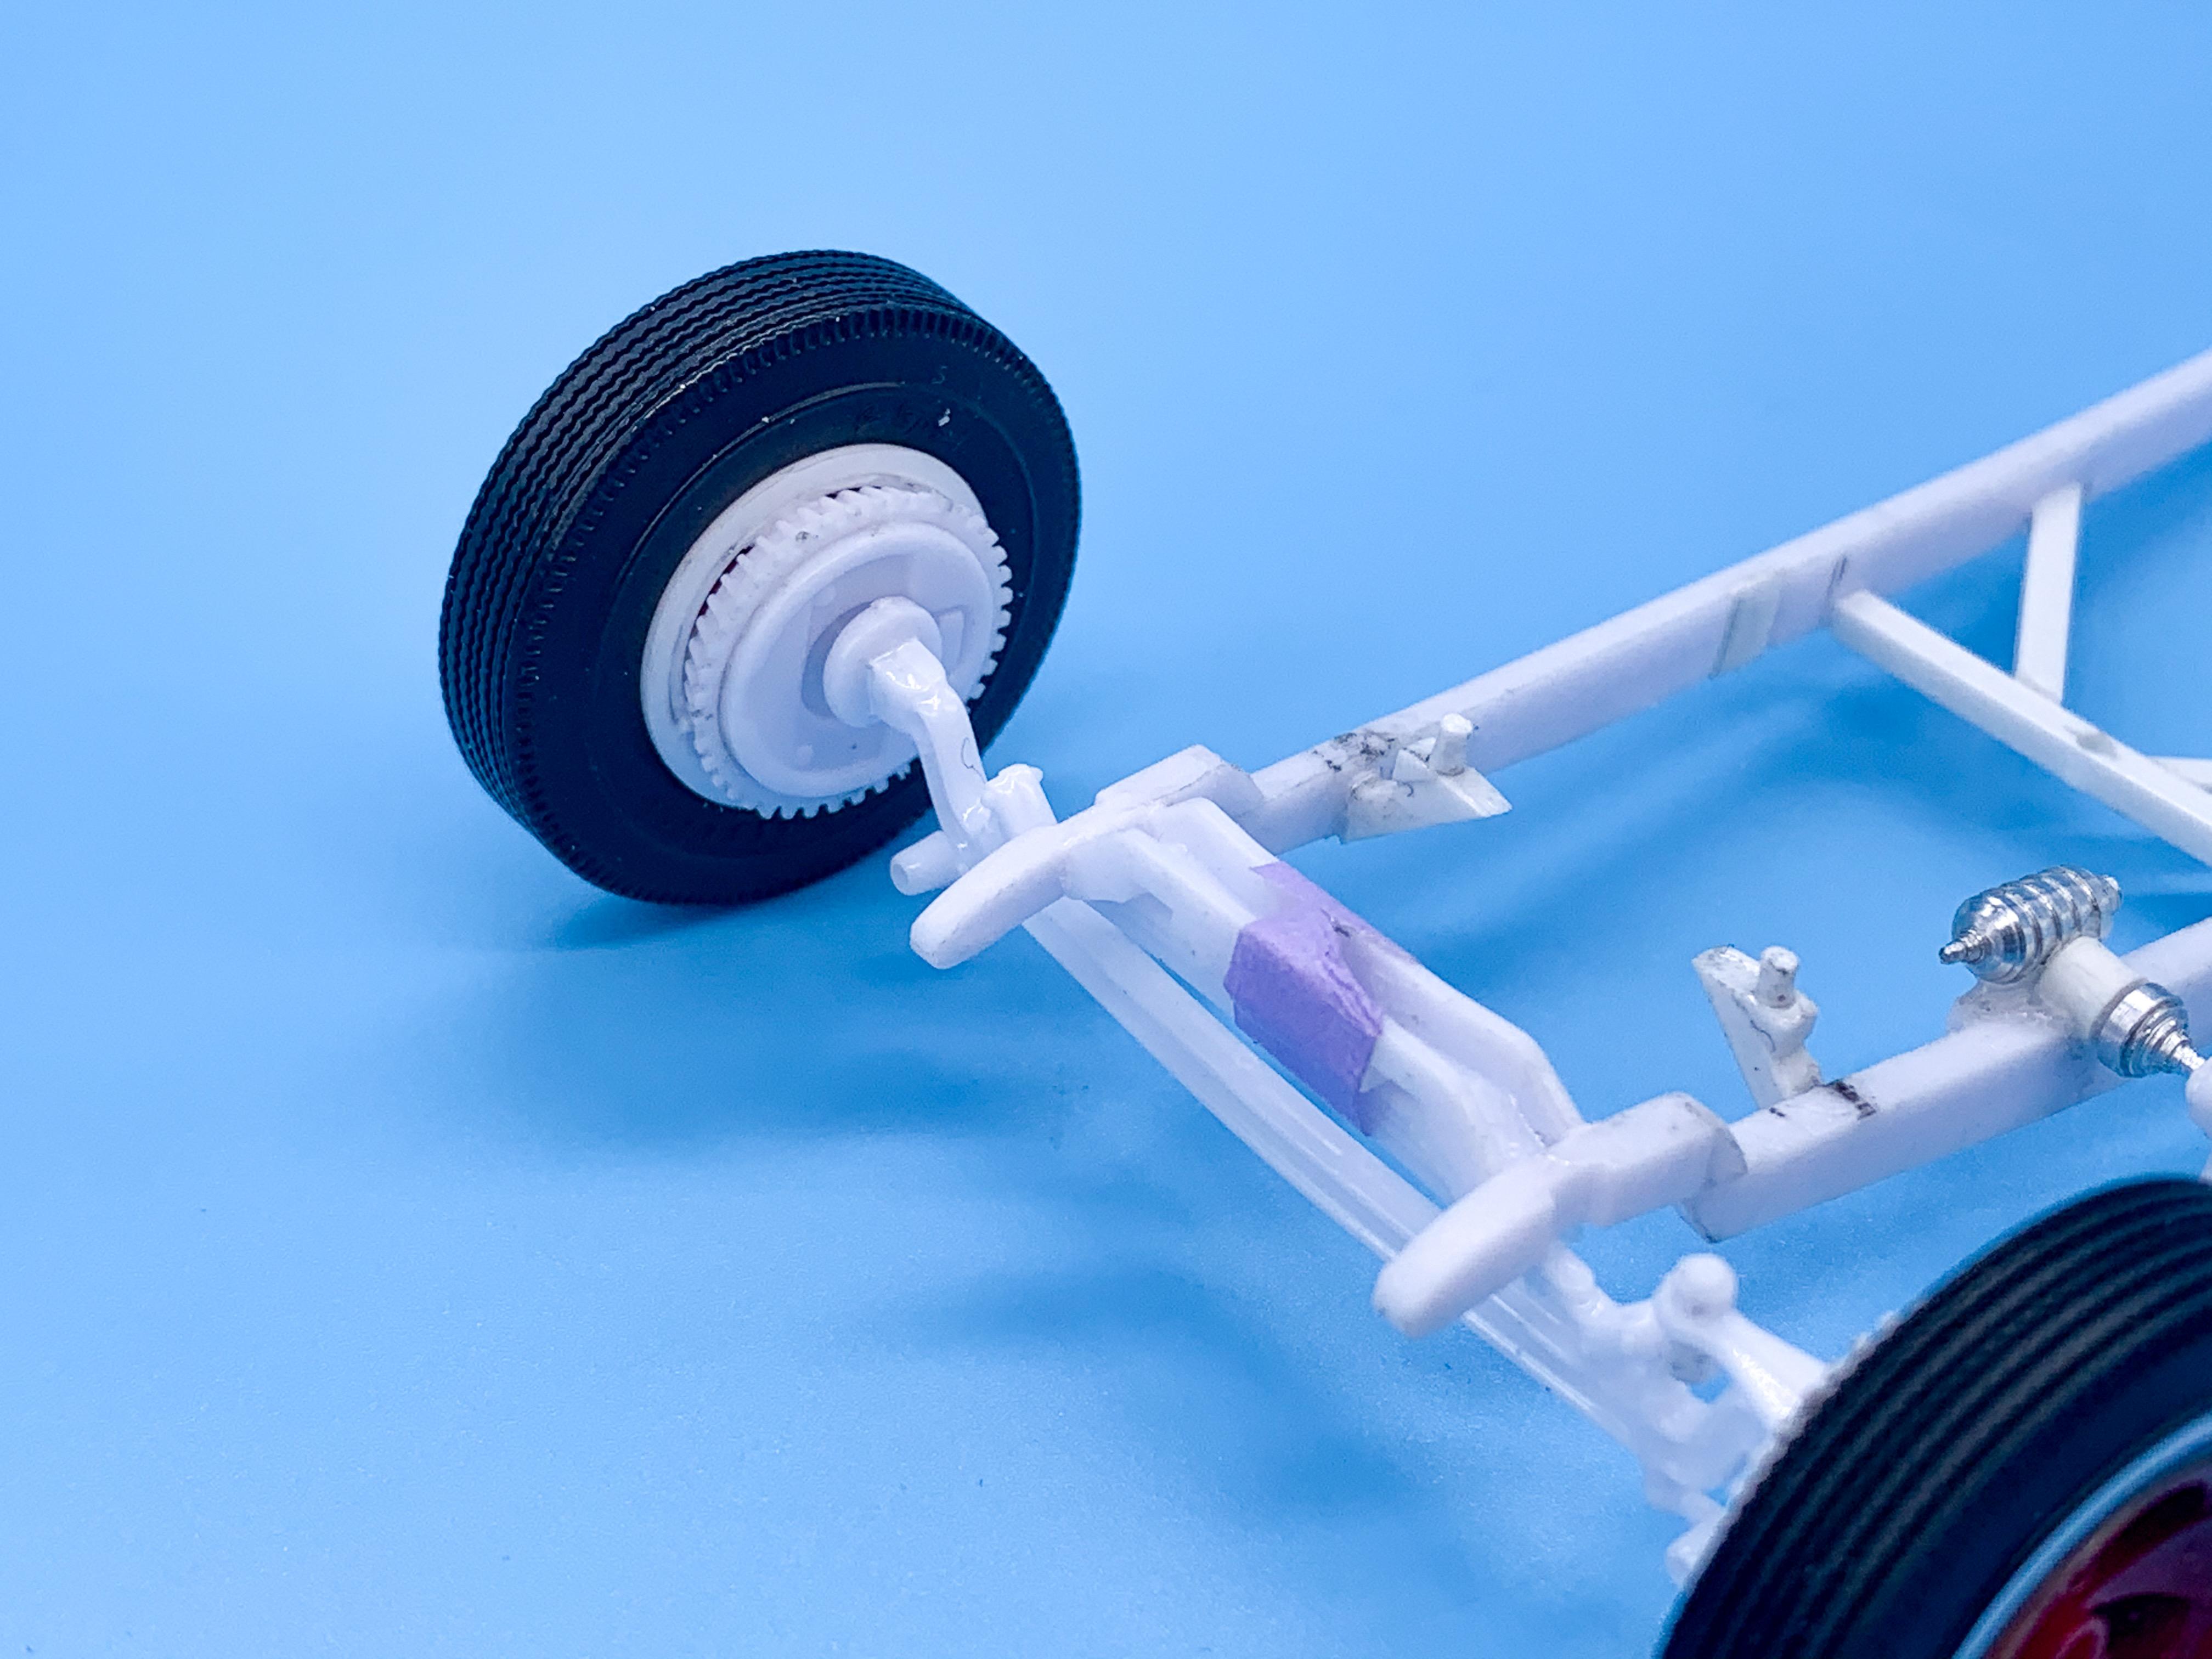
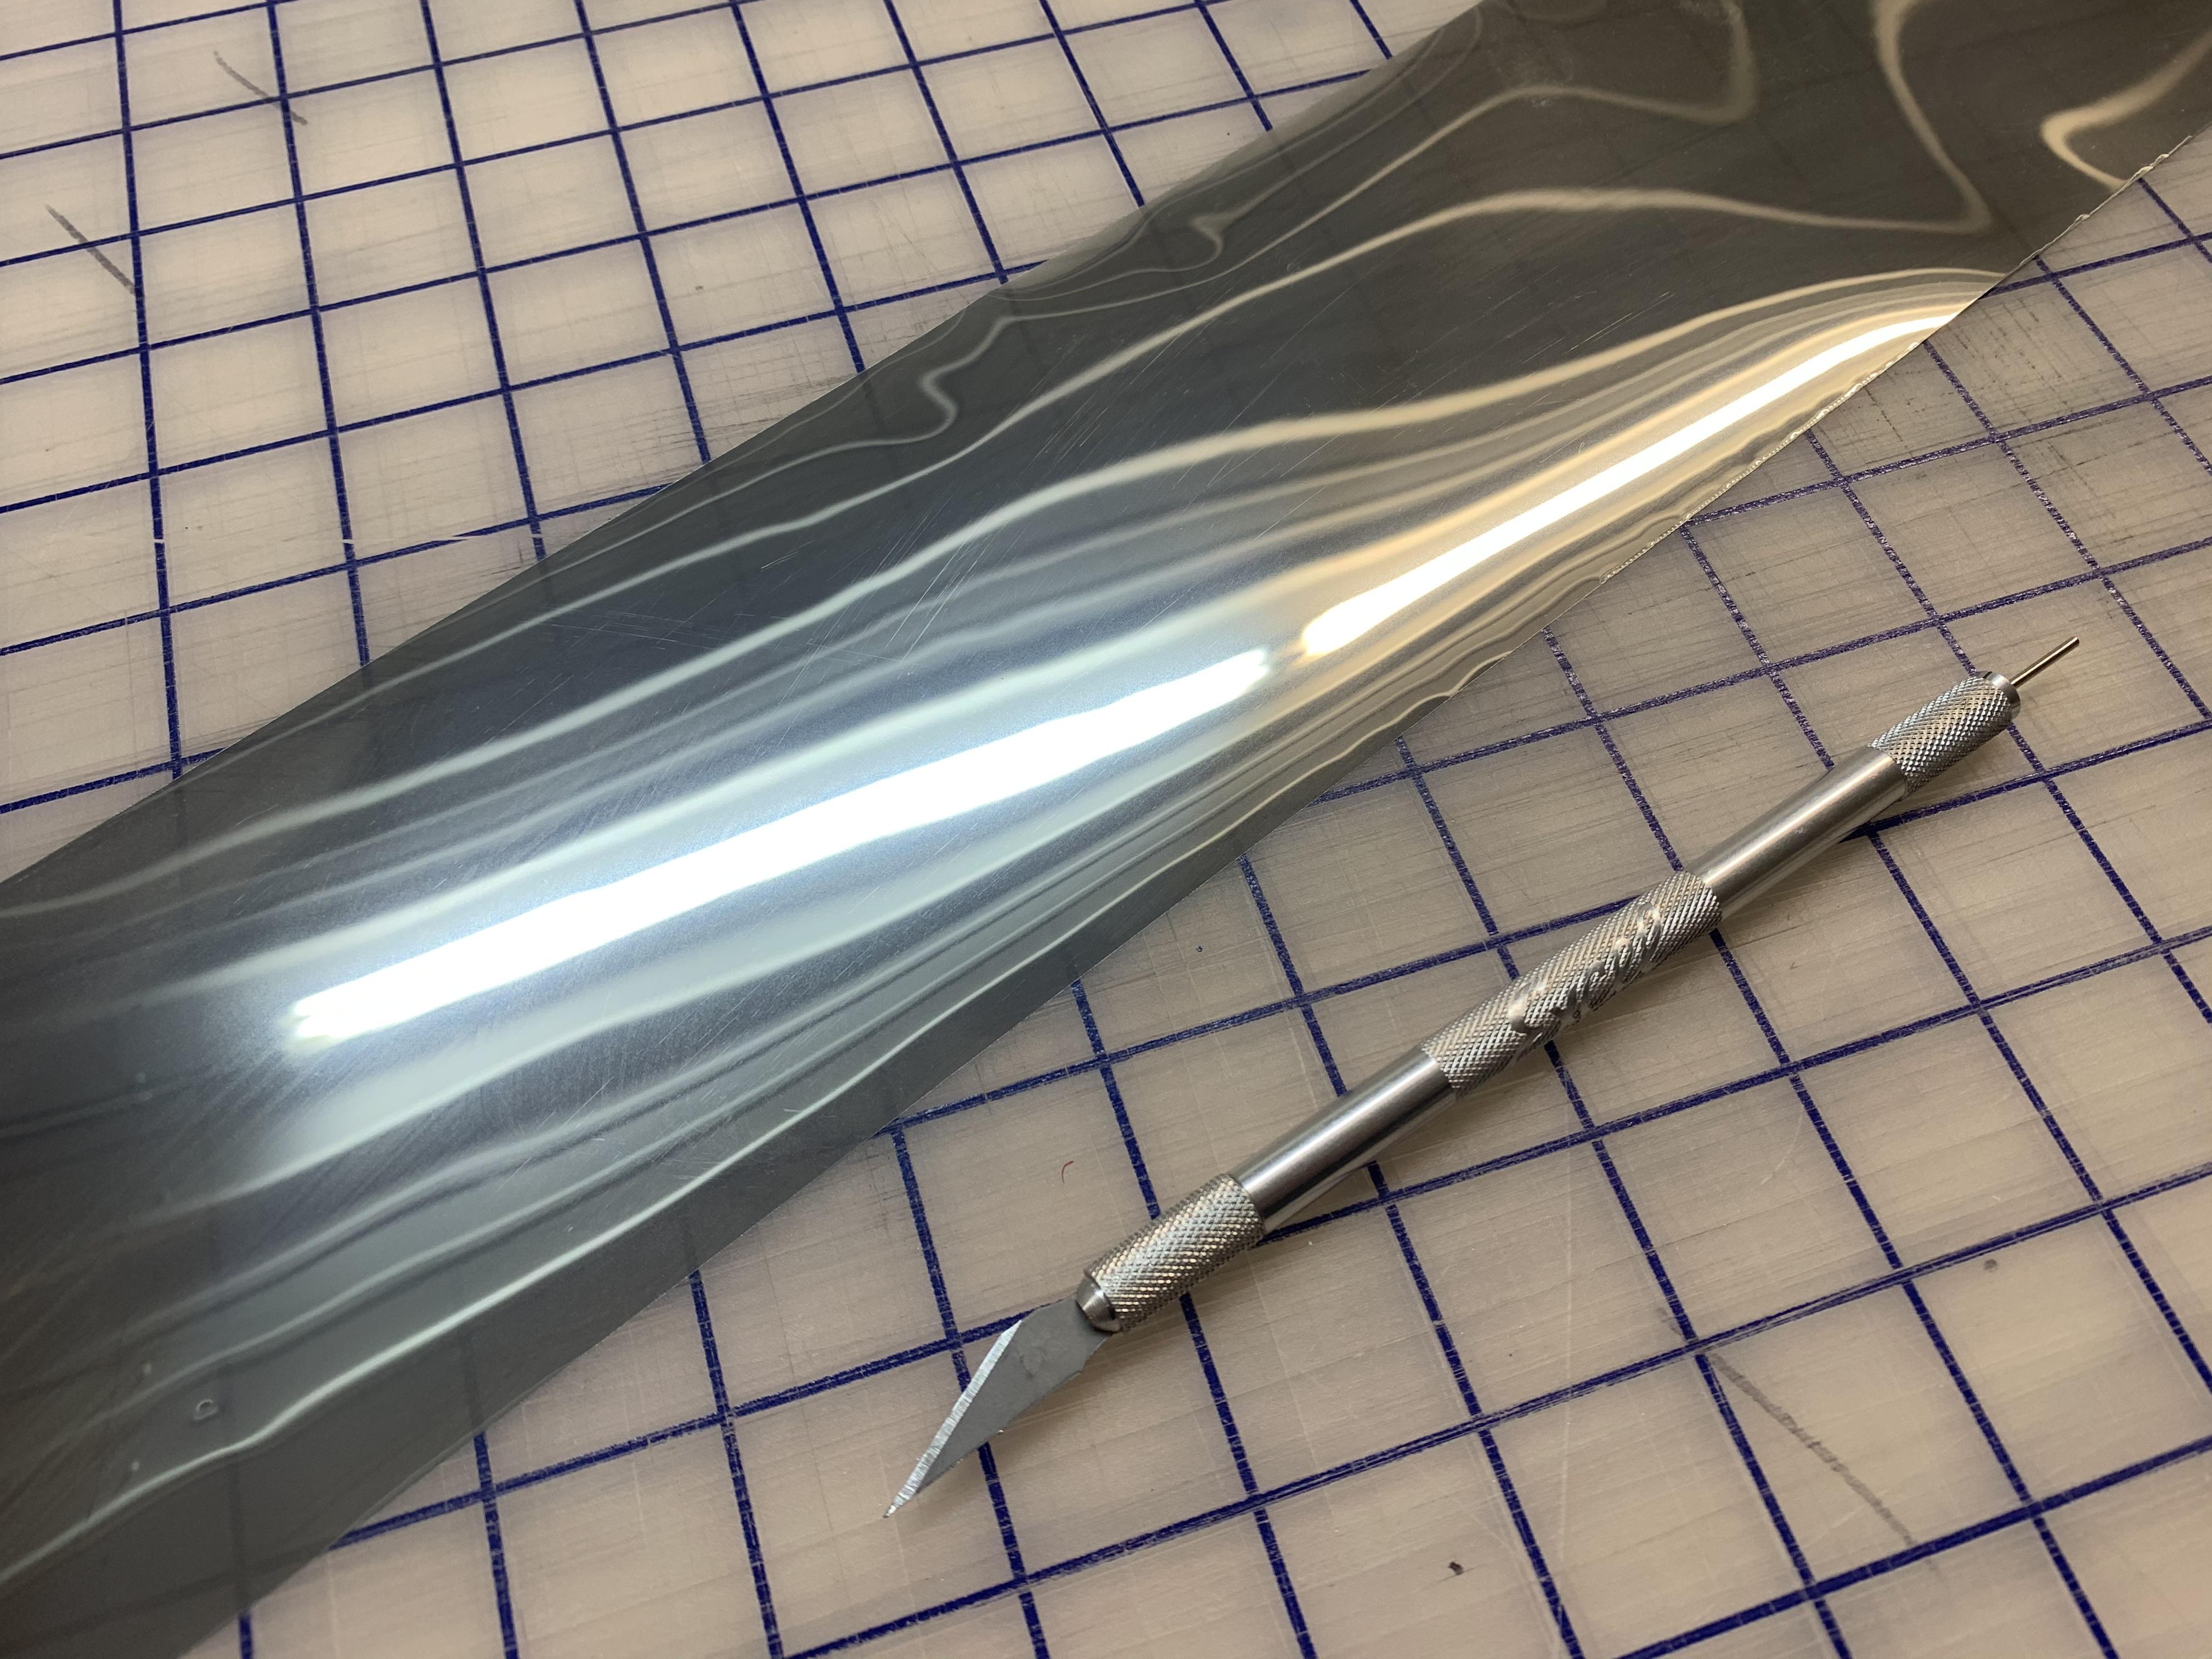
Thanks for looking guys! Appreciate all the nice comments! A little more progress today - you ever notice what seems to be the simple part of a build ends up taking forever? Spent 3 hours mounting front wheels tonight ??. I’d found these wheels that matched the rears that I’m using nicely - not 100% sure what they’re from: I needed some wheel backs for them, and after a BUNCH of digging for something that would work I found some from the Revell 32 kit. They had too much offset on the lip to work how I wanted, but otherwise they’d be perfect - so a couple of minutes each on the lathe and they’ll work great (before on the right, modified on the left): I wasn’t going to use the kit brake drums - I figured I’d change them out for something different but couldn’t find anything much that I liked better so I lathed the center hole out so they’d play nice with the new wheel backs: Need to mess with the kit’s metal pins to get them to mount nicely to the axle, but this’ll work! A bunch of effort and messing around to barely achieve anything - but it beats a snowball I guess! More soon!
-
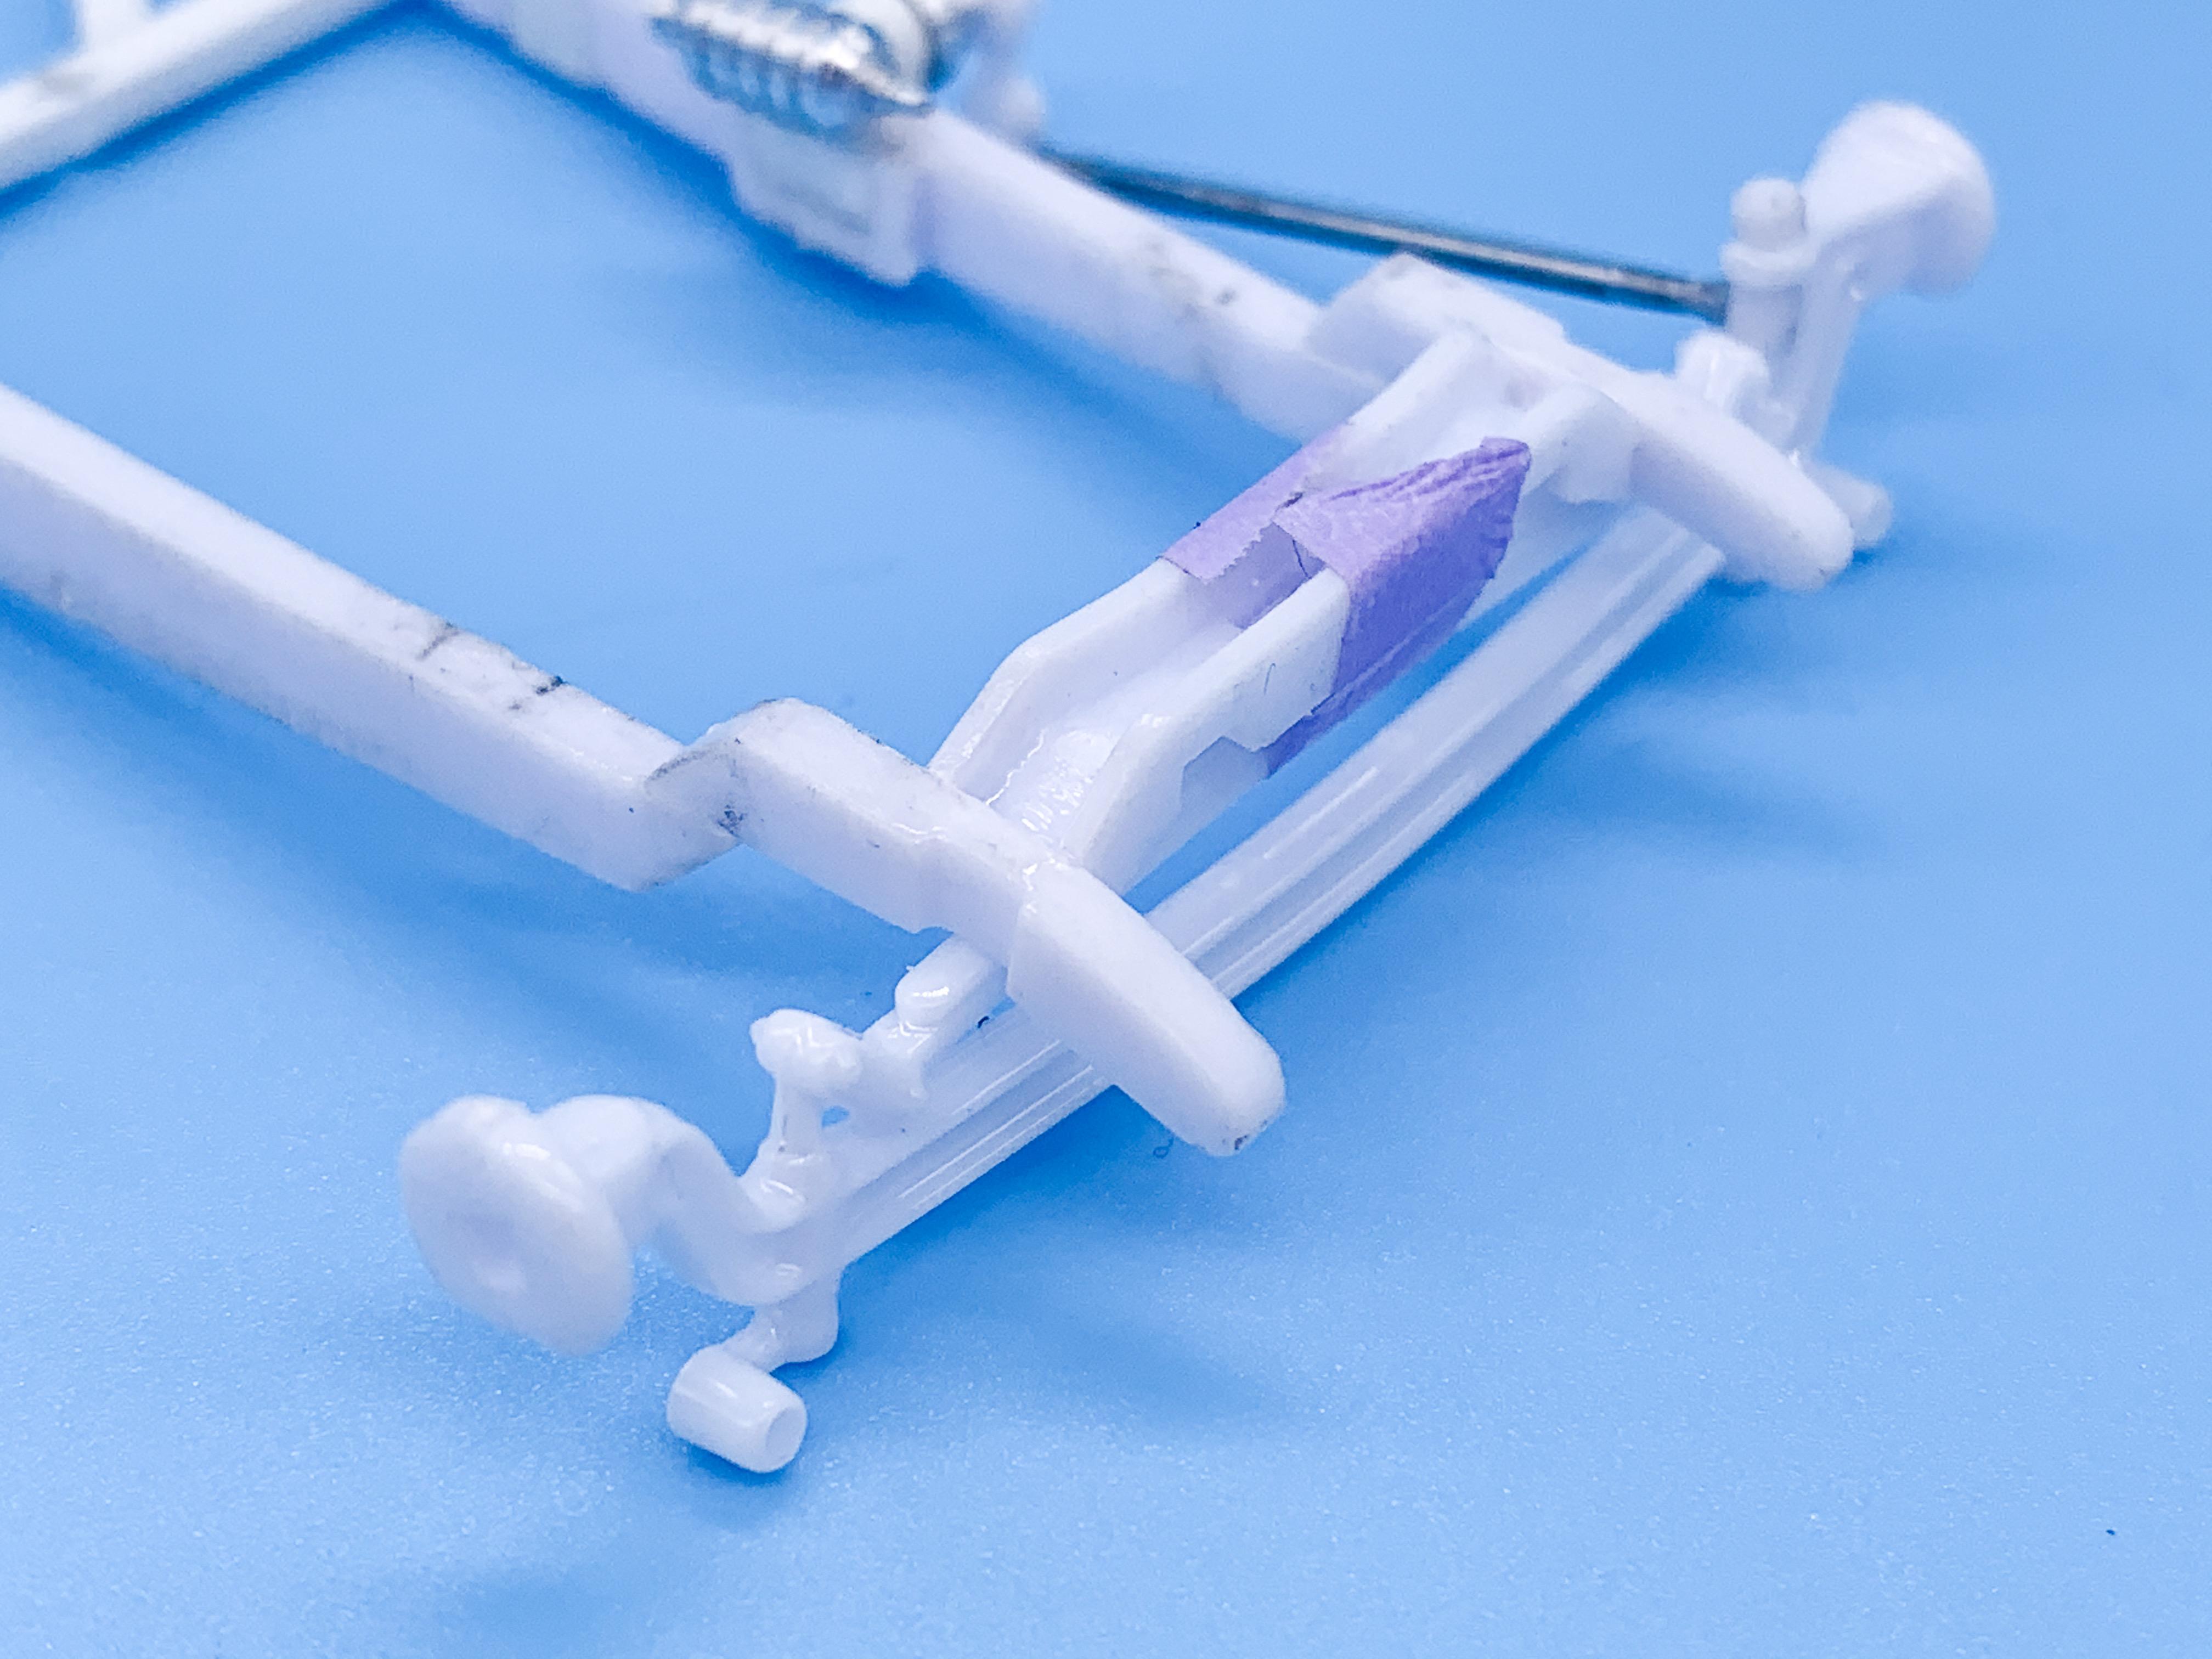
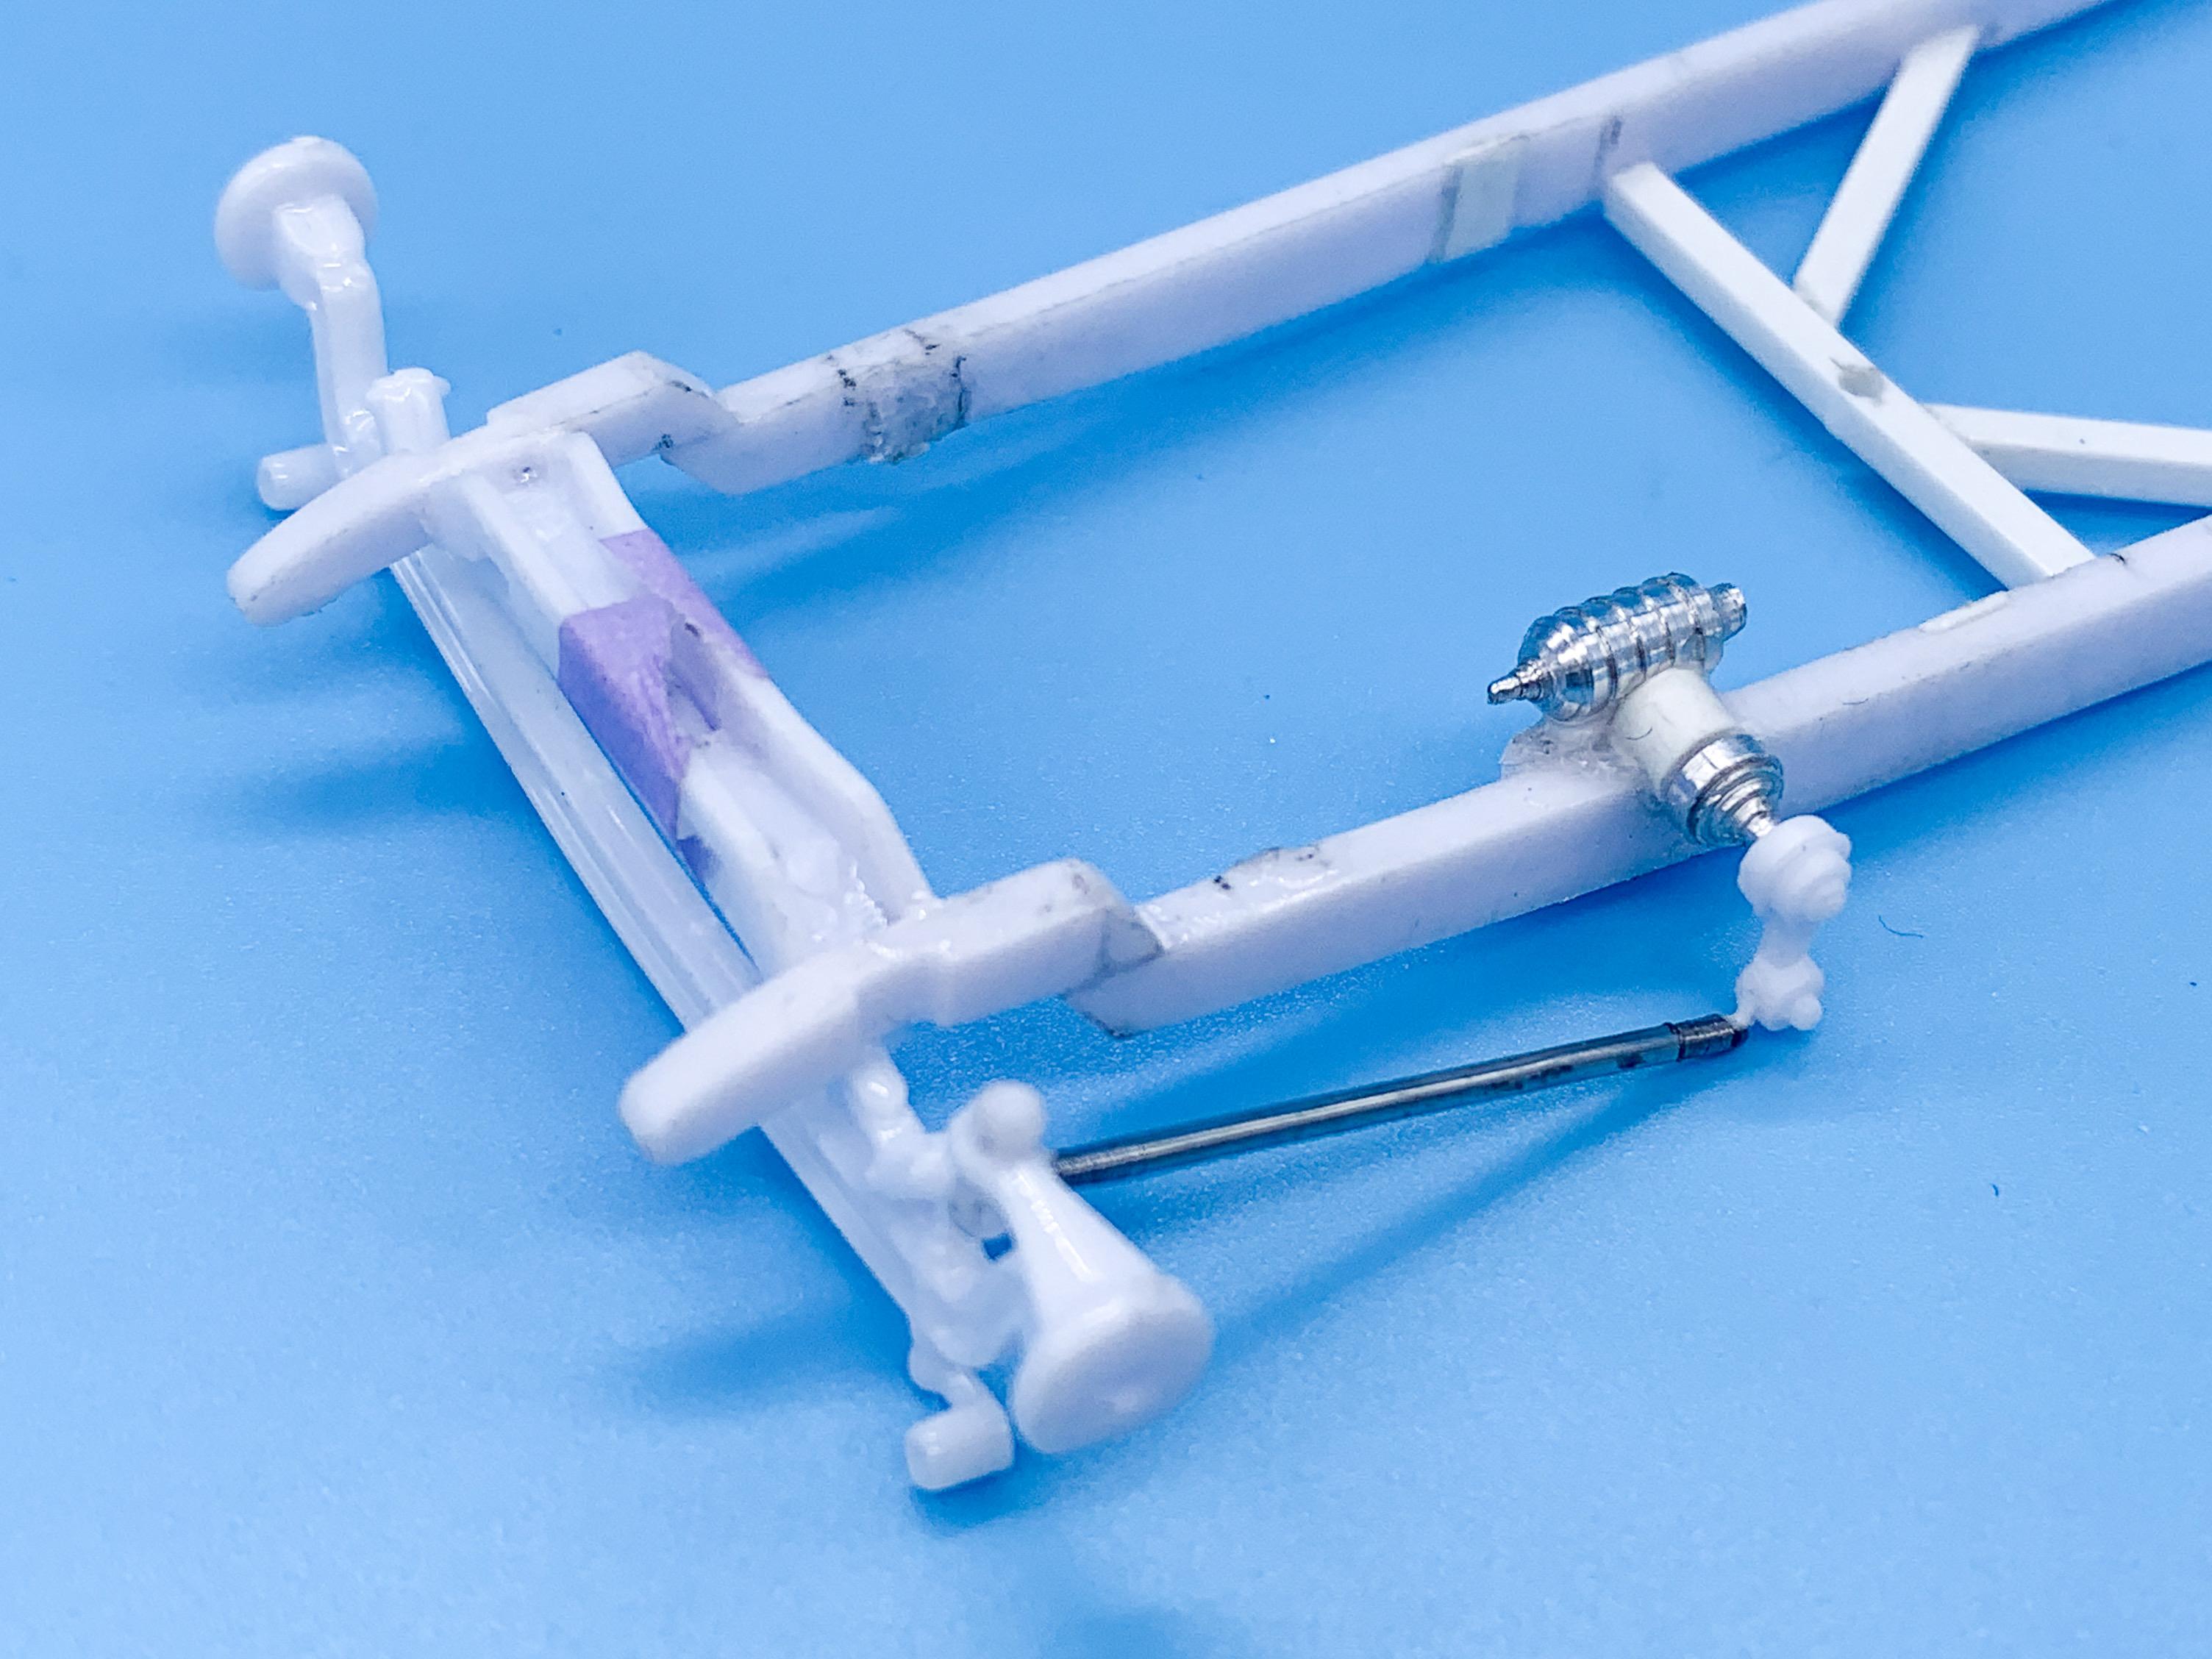
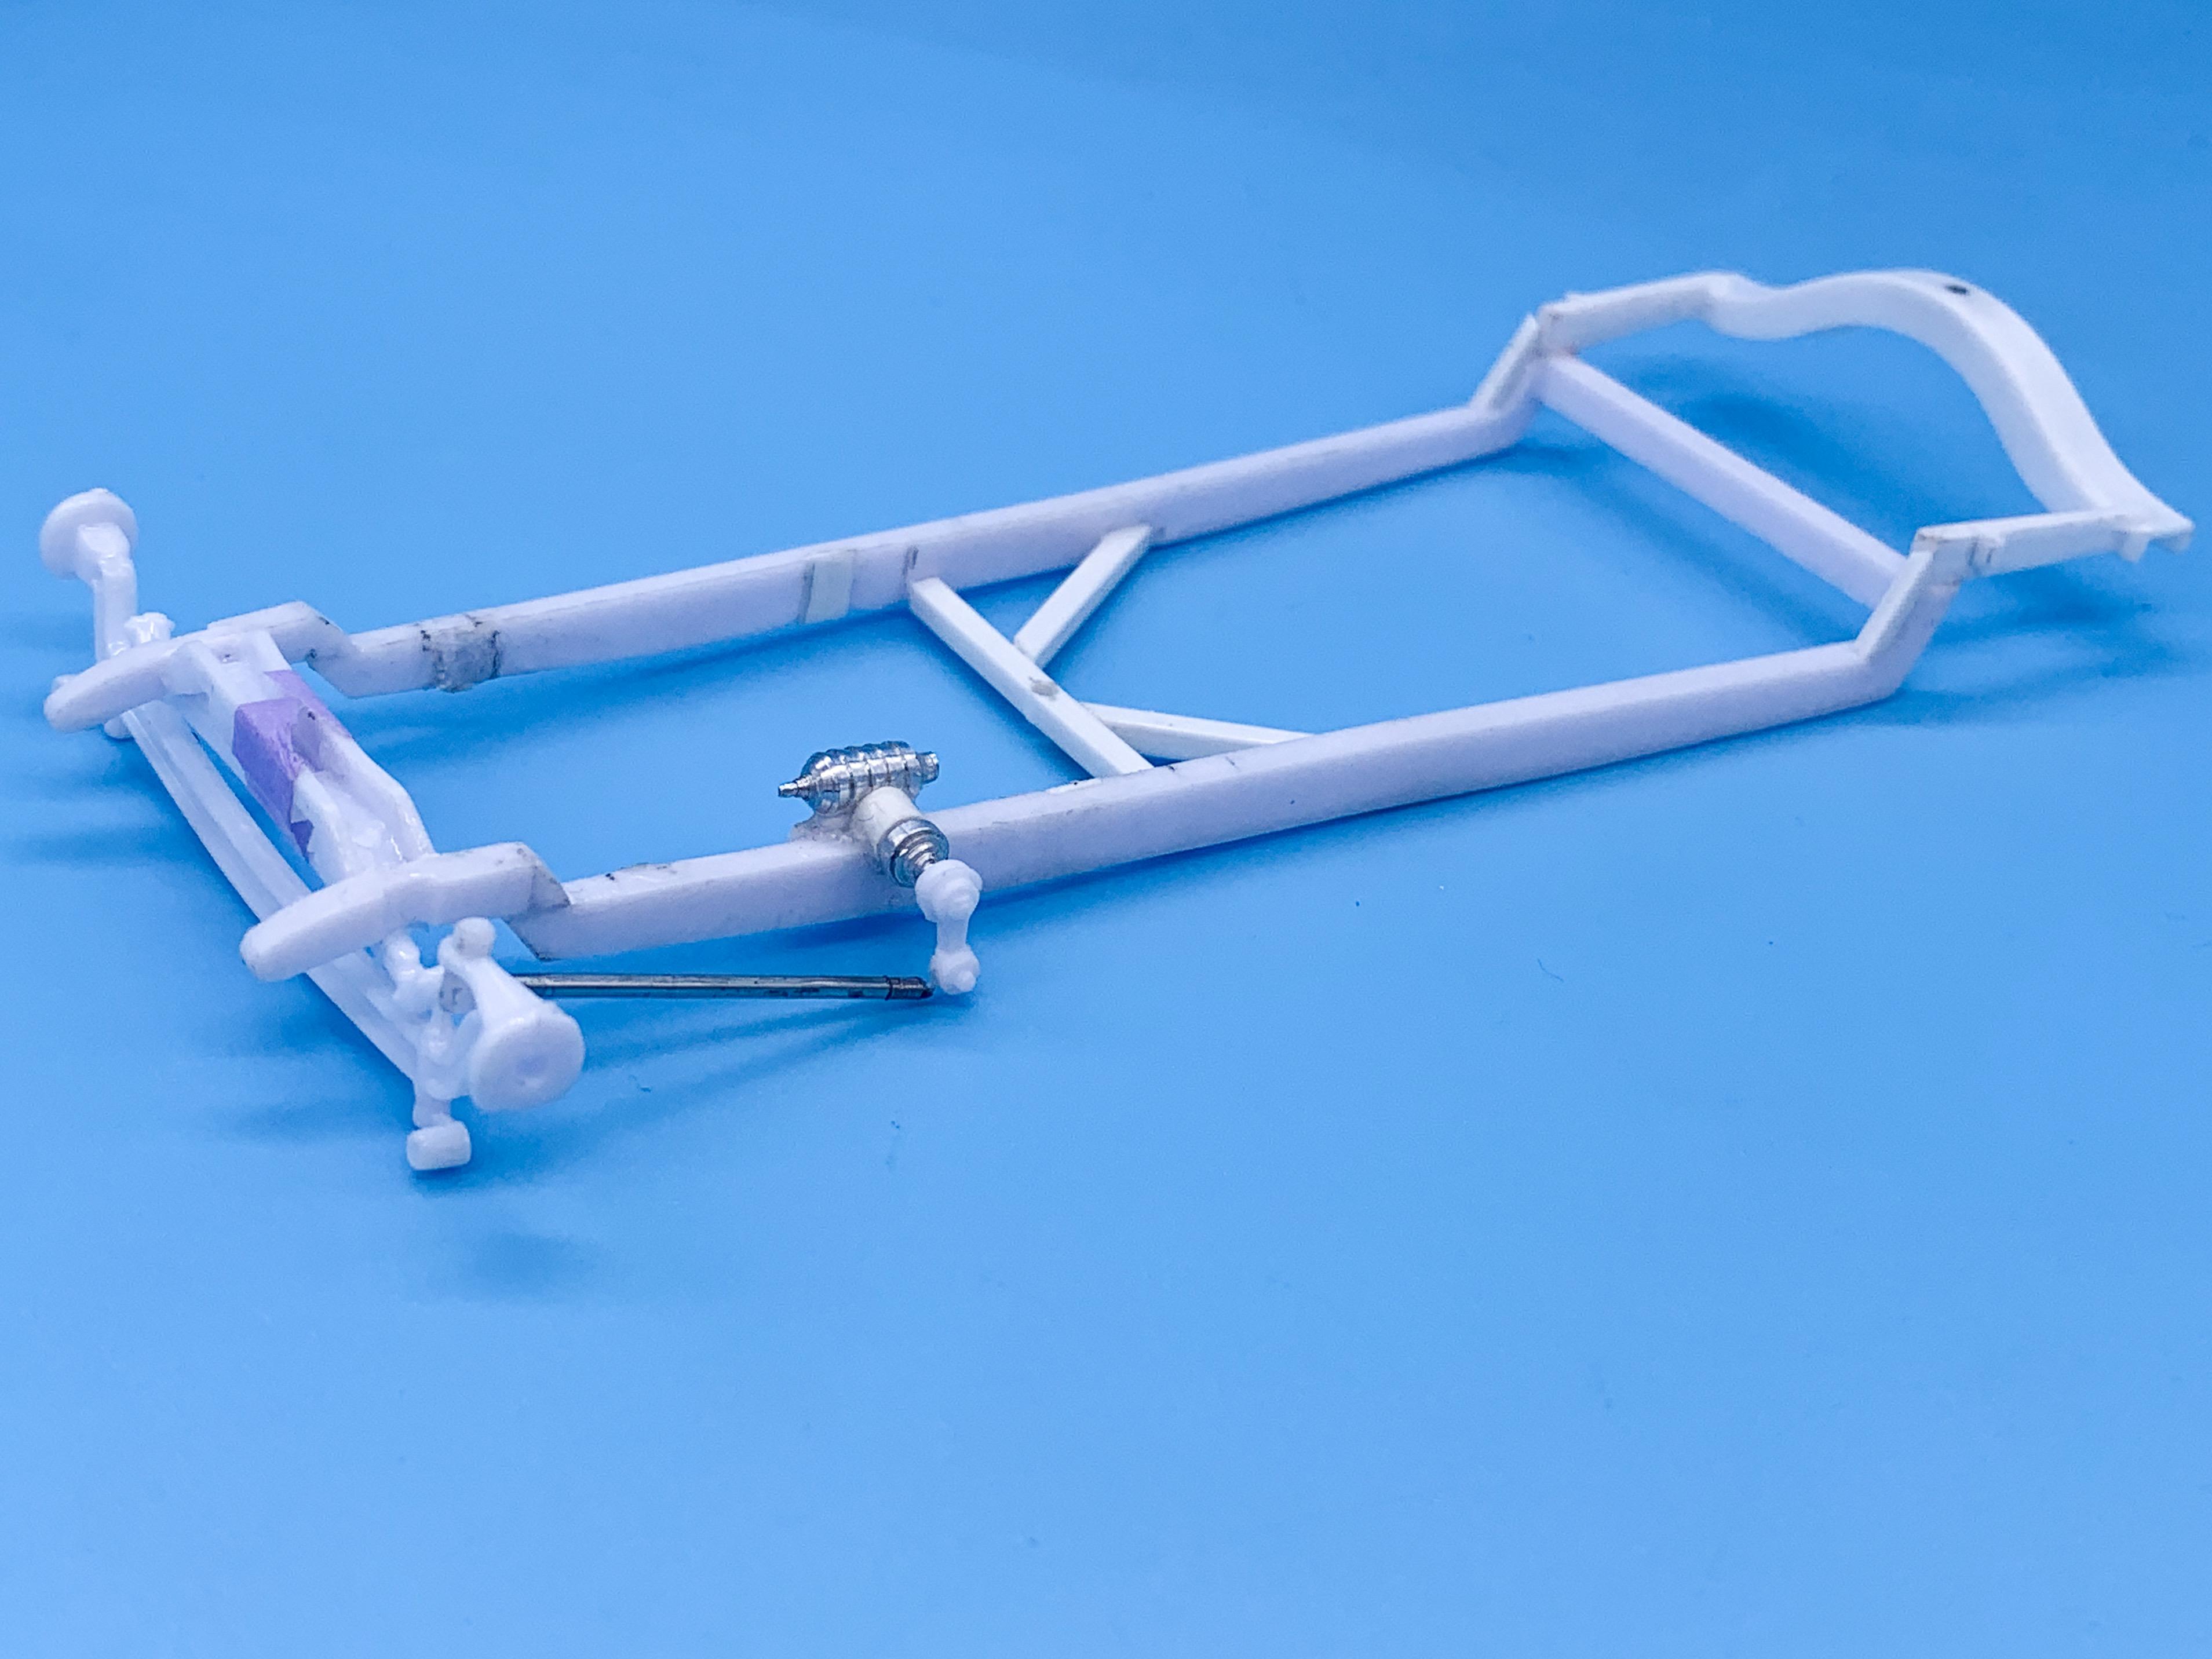
Thanks guys! A little more work on this one - trying to get the front down as low as I’d like it to be. Was trying not to mess with the kit frame TOO much, but I’ve already chopped the back off, zee’d the front and cut off the engine mounts and made a new center crossmember so I guess we’re past that point now ??. As such, sliced out the front crossmember too, and flipped it to get another 2 or 3 scale inches of ride height: I wanted to machine some kind of steering setup so I made a little ribbed ‘box’ with a matching output and then sliced up the kit linkage and made that metal too: Didn’t base the parts on anything in particular from real life - just what I had in my head. Here’s that poor hacked-up frame as it sits now: I don’t really care for how the front suspension linkages mount to the frame in the kit - they fit into a couple of slots in the inside of the frame which makes it pretty easy to assemble but doesn’t look great in my humble opinion. The arms themselves look good to me, but I wanted to mount them to the outside of the frame for this one so I sliced the tabs off, pinned them and added some little eyelets: I’ll figure out mounting them to the frame next and then redo the engine mounts that I HAD finished until I moved that front crossmember up and forwards a little which gave me some extra room for the engine. More soon!
-
That wiring job is incredible!
-
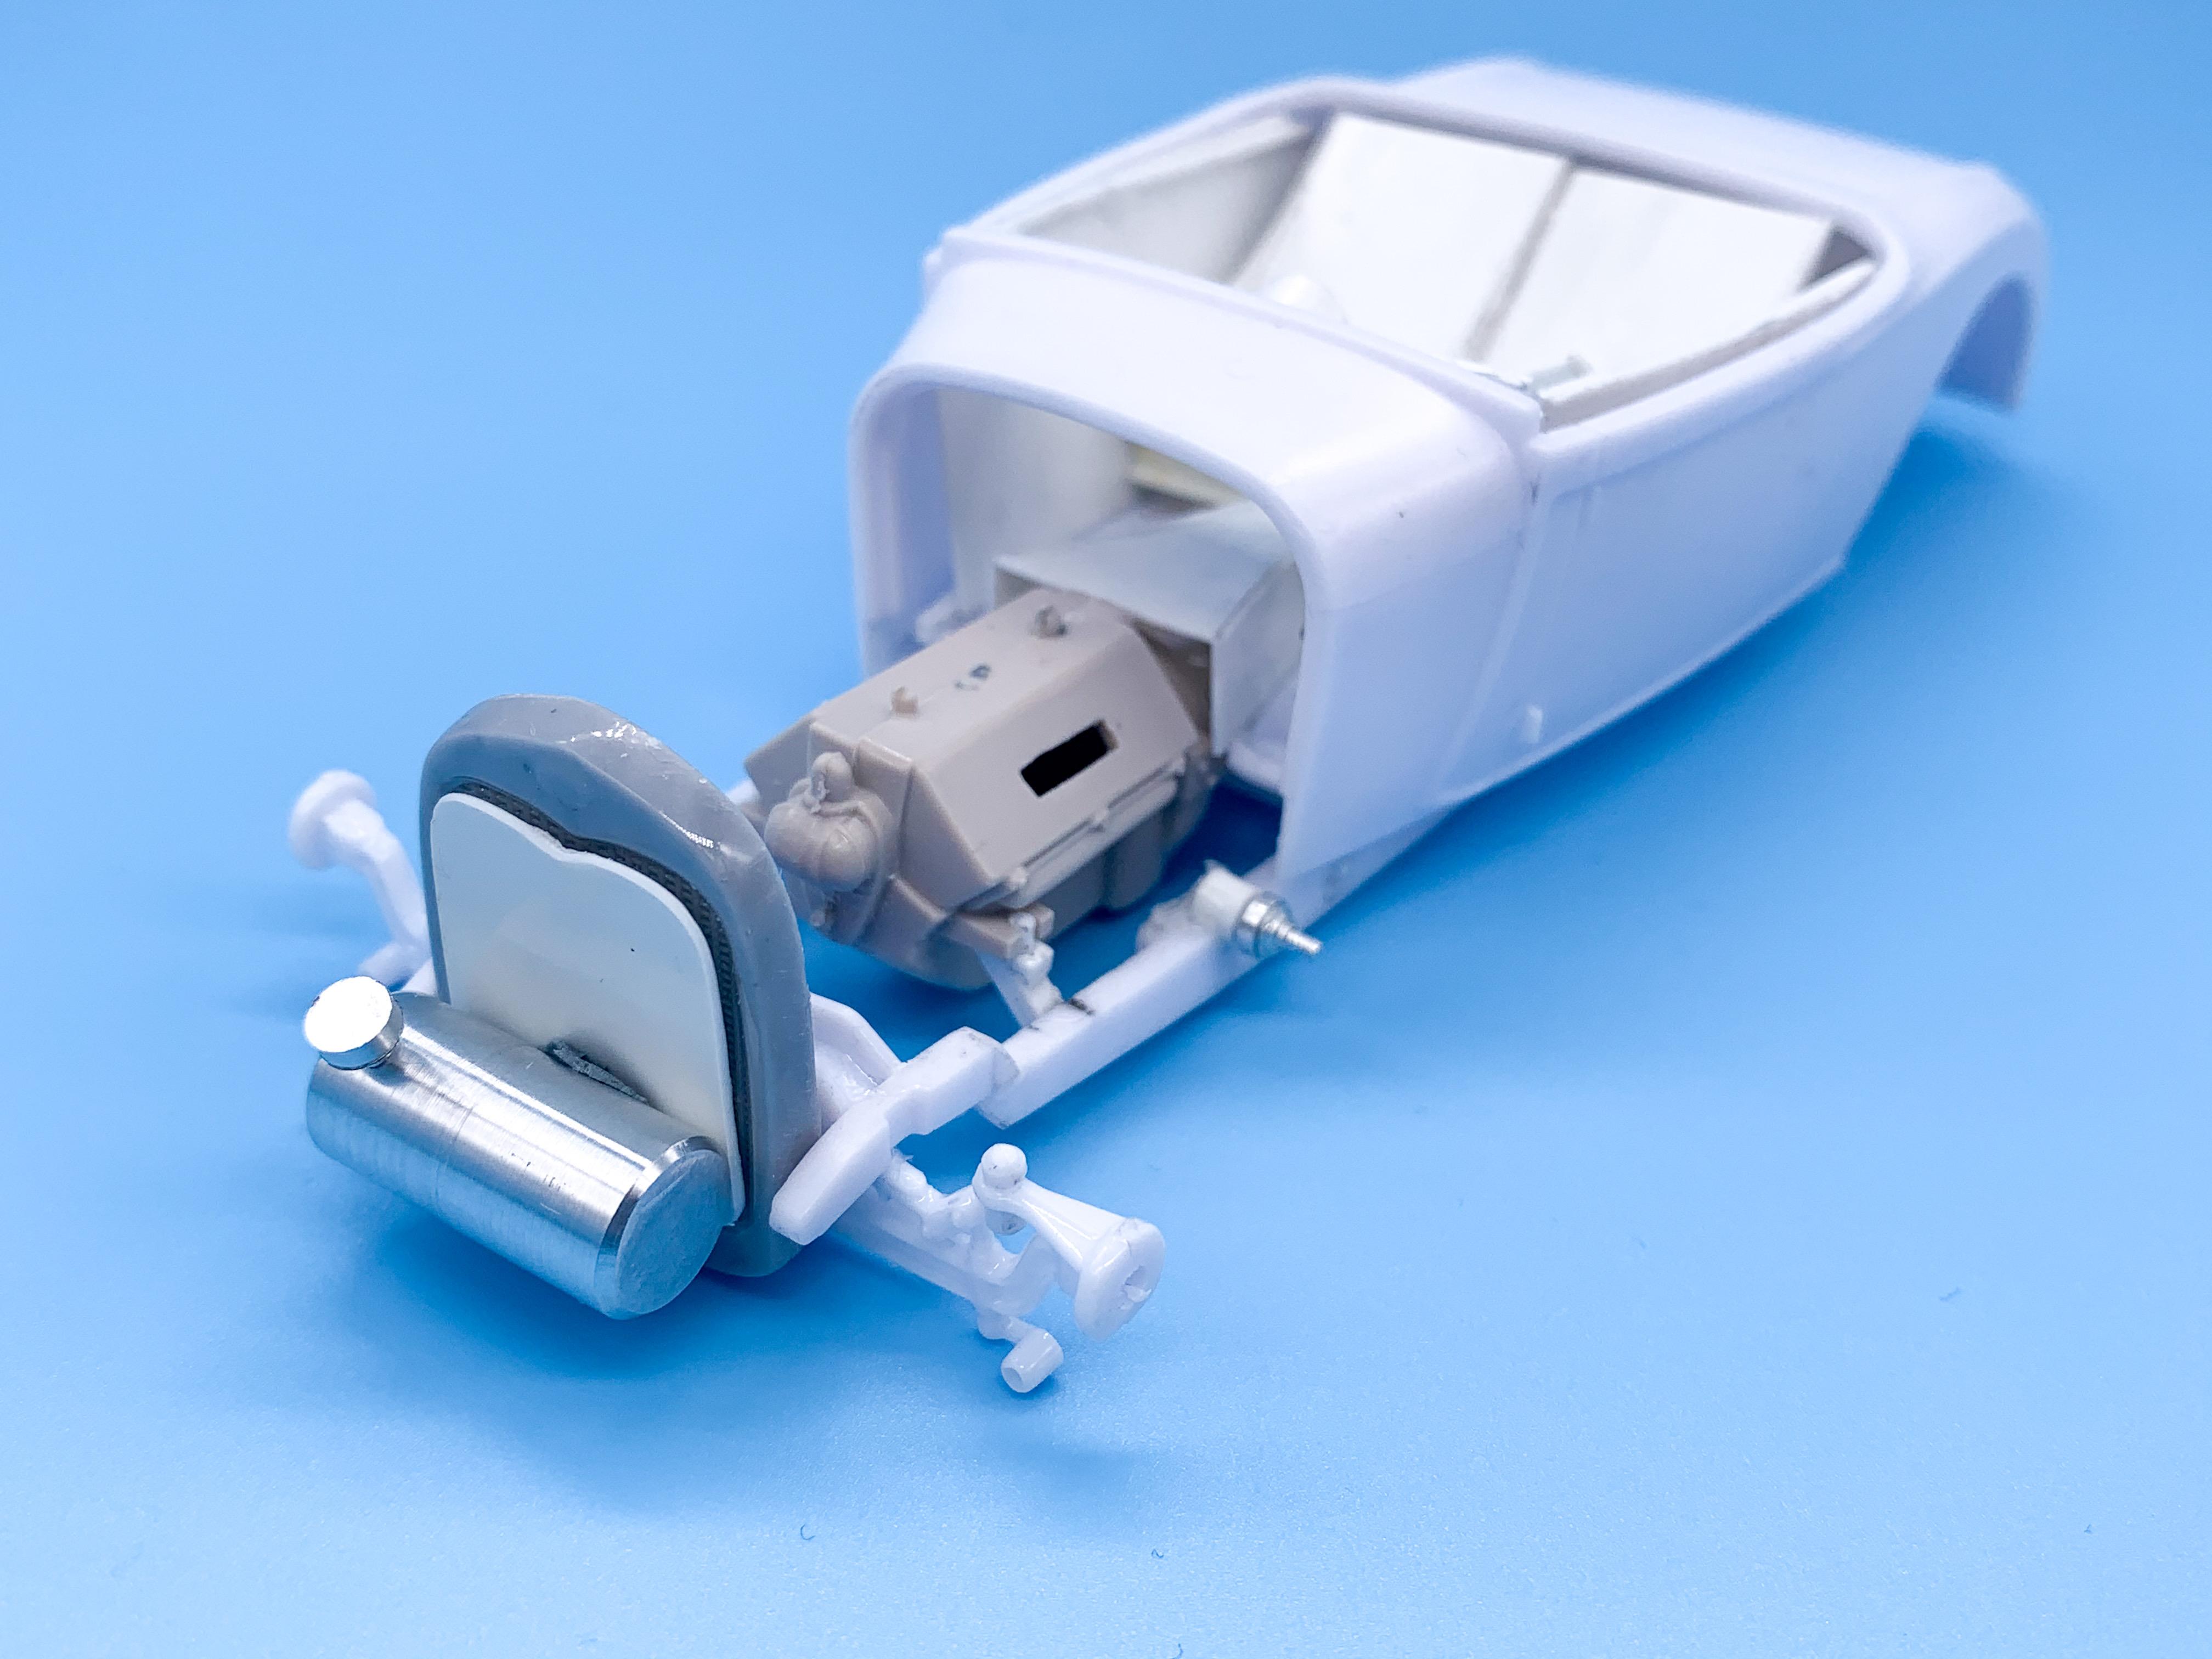
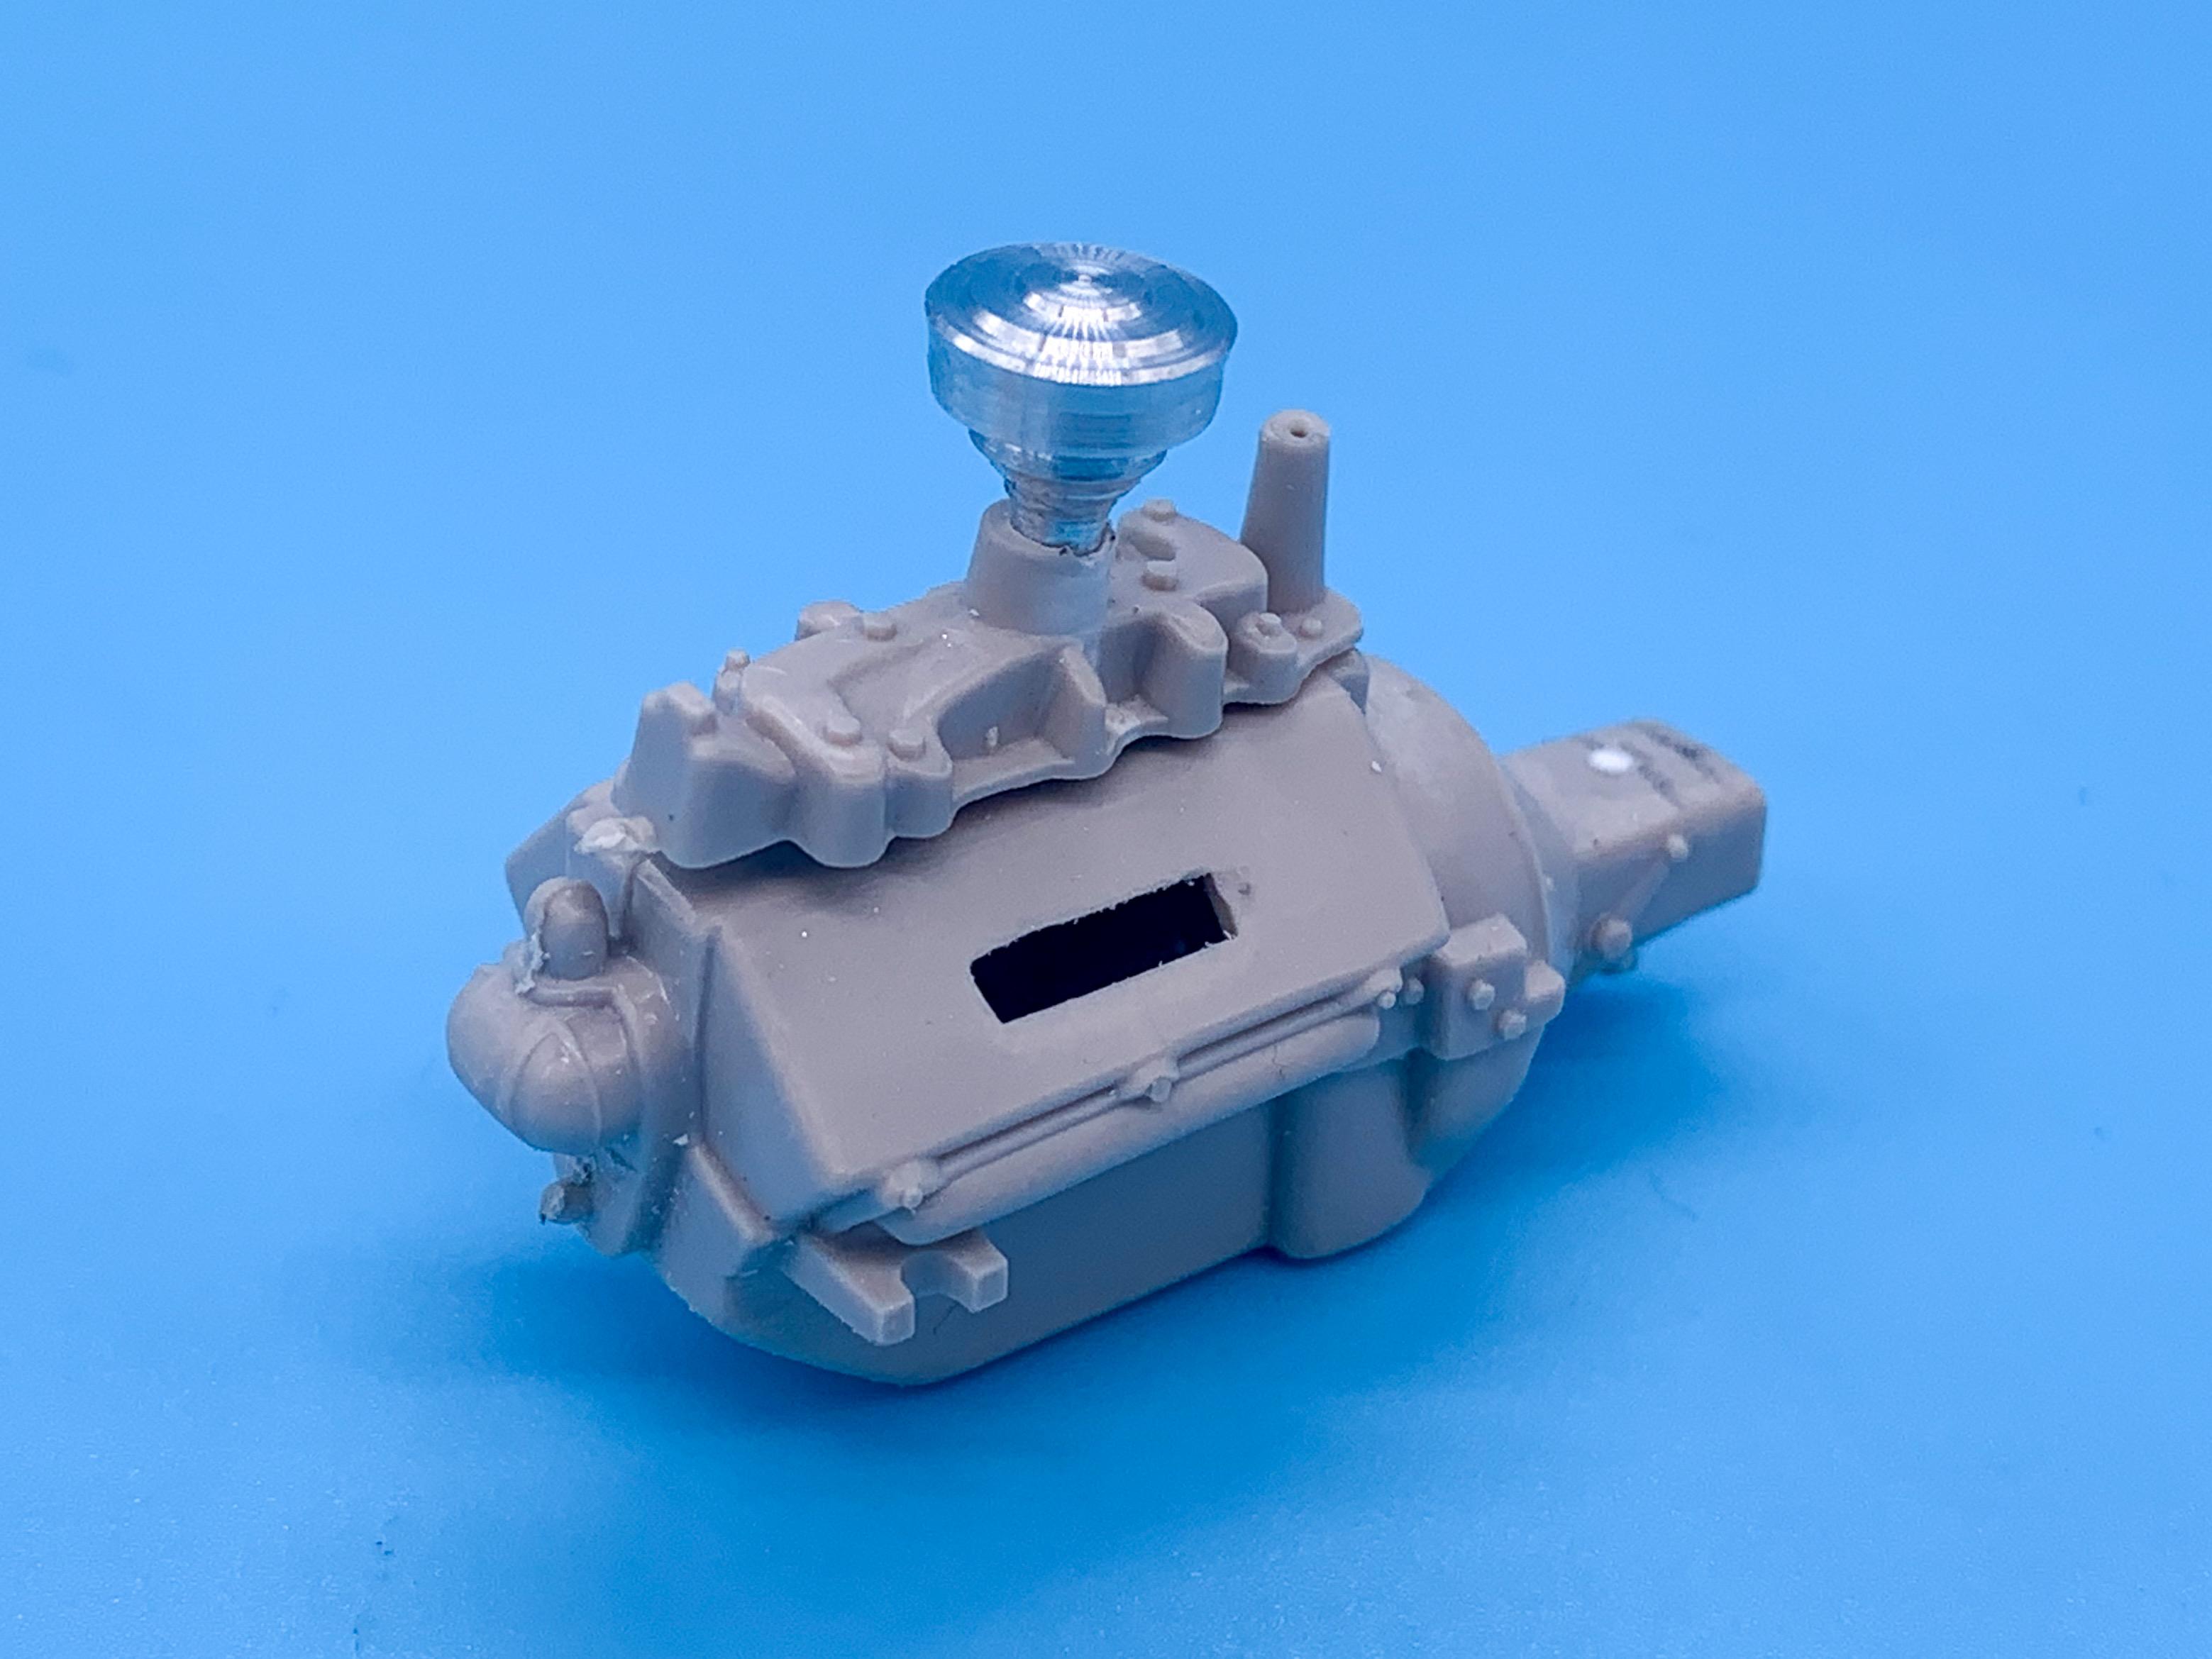
Thanks for all the replies fellas! Got some time to get back on this one this weekend...I’d been excited to make some progress! First up, I imagined this thing having a trans tunnel, or some kind of center console type deal so I made one of those, and a couple of bomber seats: Should look something like this when it’s done: I’ll add some fabric portions to those seats - haven’t found quite the right pattern just yet but I’ll find some Plastruct or styrene sheet to make some simple cushions like these: Next up, the beginnings of the dash I had in mind - I want a big center gauge kinda popping out of it like an eyeball ? - and whilst I was at it I pulled out these steering wheel that has been in my parts box waiting for a home and machined a simple column for it. Doesn’t need to be too fancy, you won’t really be able to see any of it anyway once it’s installed: It’s a start! Speaking of metal parts, turned a little gas tank that I’d like to mount up front somewhere if I can figure out a cool bracket or something for it that doesn’t look too bulky and ugly: I really want to use the Flathead motor in this build to practice machining some parts, so whilst I had a few minutes before bed I made an air cleaner too: I’m kinda flitting around from part to part a lot here - just trying to get far enough along with the major changes and then start working thru the details from there. Got a pretty wild paintjob in mind for this that I’m excited to get going on too...more soon!
-
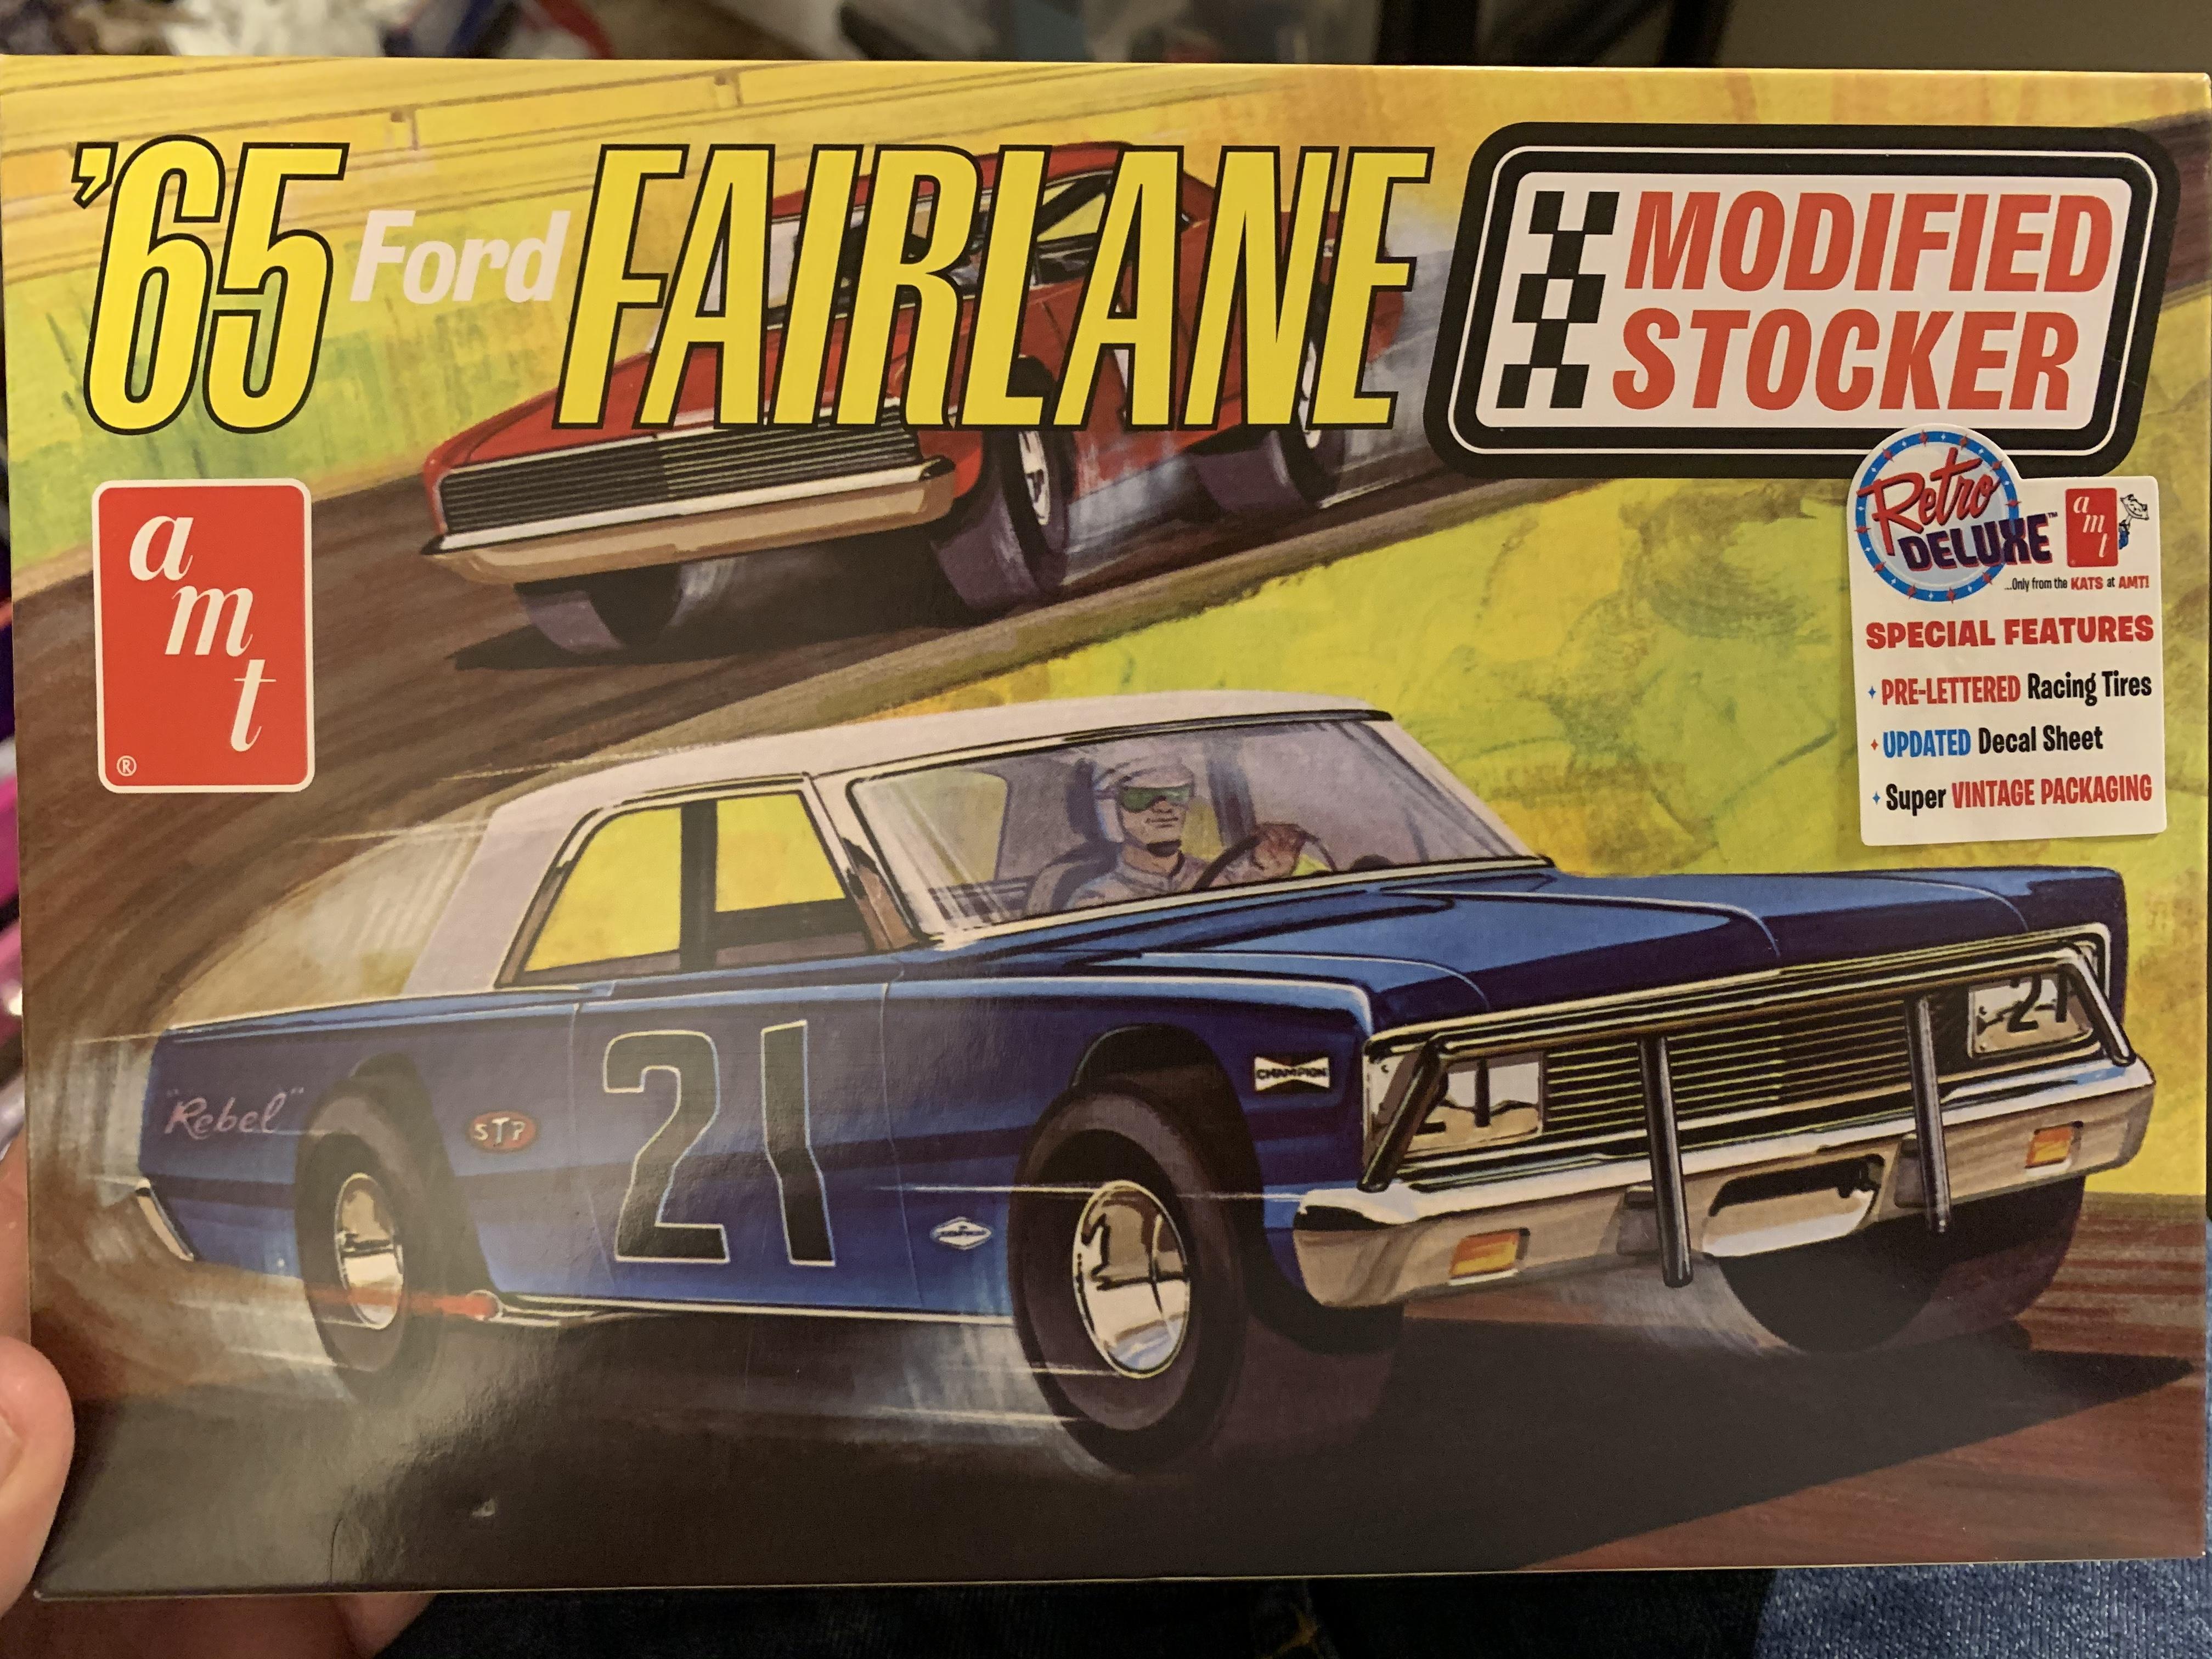
Making the most of the 40% off at Hobby Lobby before they end it - got a couple more Revell 29s and this - been wanting to build some oval cars!
-
Atlantis & T.D. Unreal roller box art !!
OldNYJim replied to Mr mopar's topic in Car Kit News & Reviews
It’s really happening!!! ??????❤️ VERY excited for this one to come back! -
New Molotow airbrush fanboy
OldNYJim replied to hedotwo's topic in General Automotive Talk (Trucks and Cars)
I’ve tried all three lately, and whilst I’m not an expert by any means I thought Molotow was the ‘brightest’ of the three and easiest to apply, whereas Alclad has the most realistic looking metal finish to the end result, and Spazstix was about as good as Alclad and slightly easier to apply, and more durable. Something I liked about the Spazstix in particular was that if you apply too much and it dulls (like Alclad can too) you can let it dry and buff it back to a perfect shine with a q-tip and it’ll give you a perfect shine. They all have their place, and everyone else’s mileage will no doubt vary but that’s how I would describe the differences - they all have their place. -
I LOVE the look of that Burger King - that photo would make a great little diorama
-
Moved to the Midwest from NY and I’ve never seen so much snow, so frequently, in my life. I see now why everyone here has something with four-wheel drive. (Everyone but us, seemingly ??)
-
Vintage Top Fuel FEDs, 1:16 brass chassis
OldNYJim replied to Mike Williams's topic in WIP: Drag Racing Models
I've used regular black gloss enamel paint a bunch of times with Alclad Chrome - you don't need to use their base coat if you're having difficulty finding it. About any black (or dark blue) enamel will work just fine - you just need to make sure it's as smooth and glossy as possible before shooting the Alclad Great progress so far - what an inspirational build! -
HAHA! That one's BRILLIANT! Did he bring any builds? ?
-
I’ve found something kind of similar but haven’t tried it yet...will report back when I’ve given it a shot!
-
Zero paints - gritty finish question
OldNYJim replied to Mcpesq817's topic in Model Building Questions and Answers
Sure - but they're marketed and packaged specifically for model cars...seems irresponsible to distribute a product that can so easily ruin the product that it's meant to be used on. Some people do get great results with them admittedly, taking the proper steps and being plenty cautious, but it would be cool if they'd actually mix the stuff so it wasn't quite so easy to ruin the parts you're spraying it on. -
Zero paints - gritty finish question
OldNYJim replied to Mcpesq817's topic in Model Building Questions and Answers
I don't understand why these companies, who are mixing up paint specifically for scale modellers, wouldn't mix it up with solvent that doesn't craze regular styrene. I get that there's ways around the problem, using particular primers, barrier coats, misting it on in dozens of coats - but why not make it in such a way that you don't have to do all this stuff? Other paint manufacturers can make product that is, for the most part, safe on styrene, why not these companies like Zero if they are indeed the ones actually mixing it themselves? -
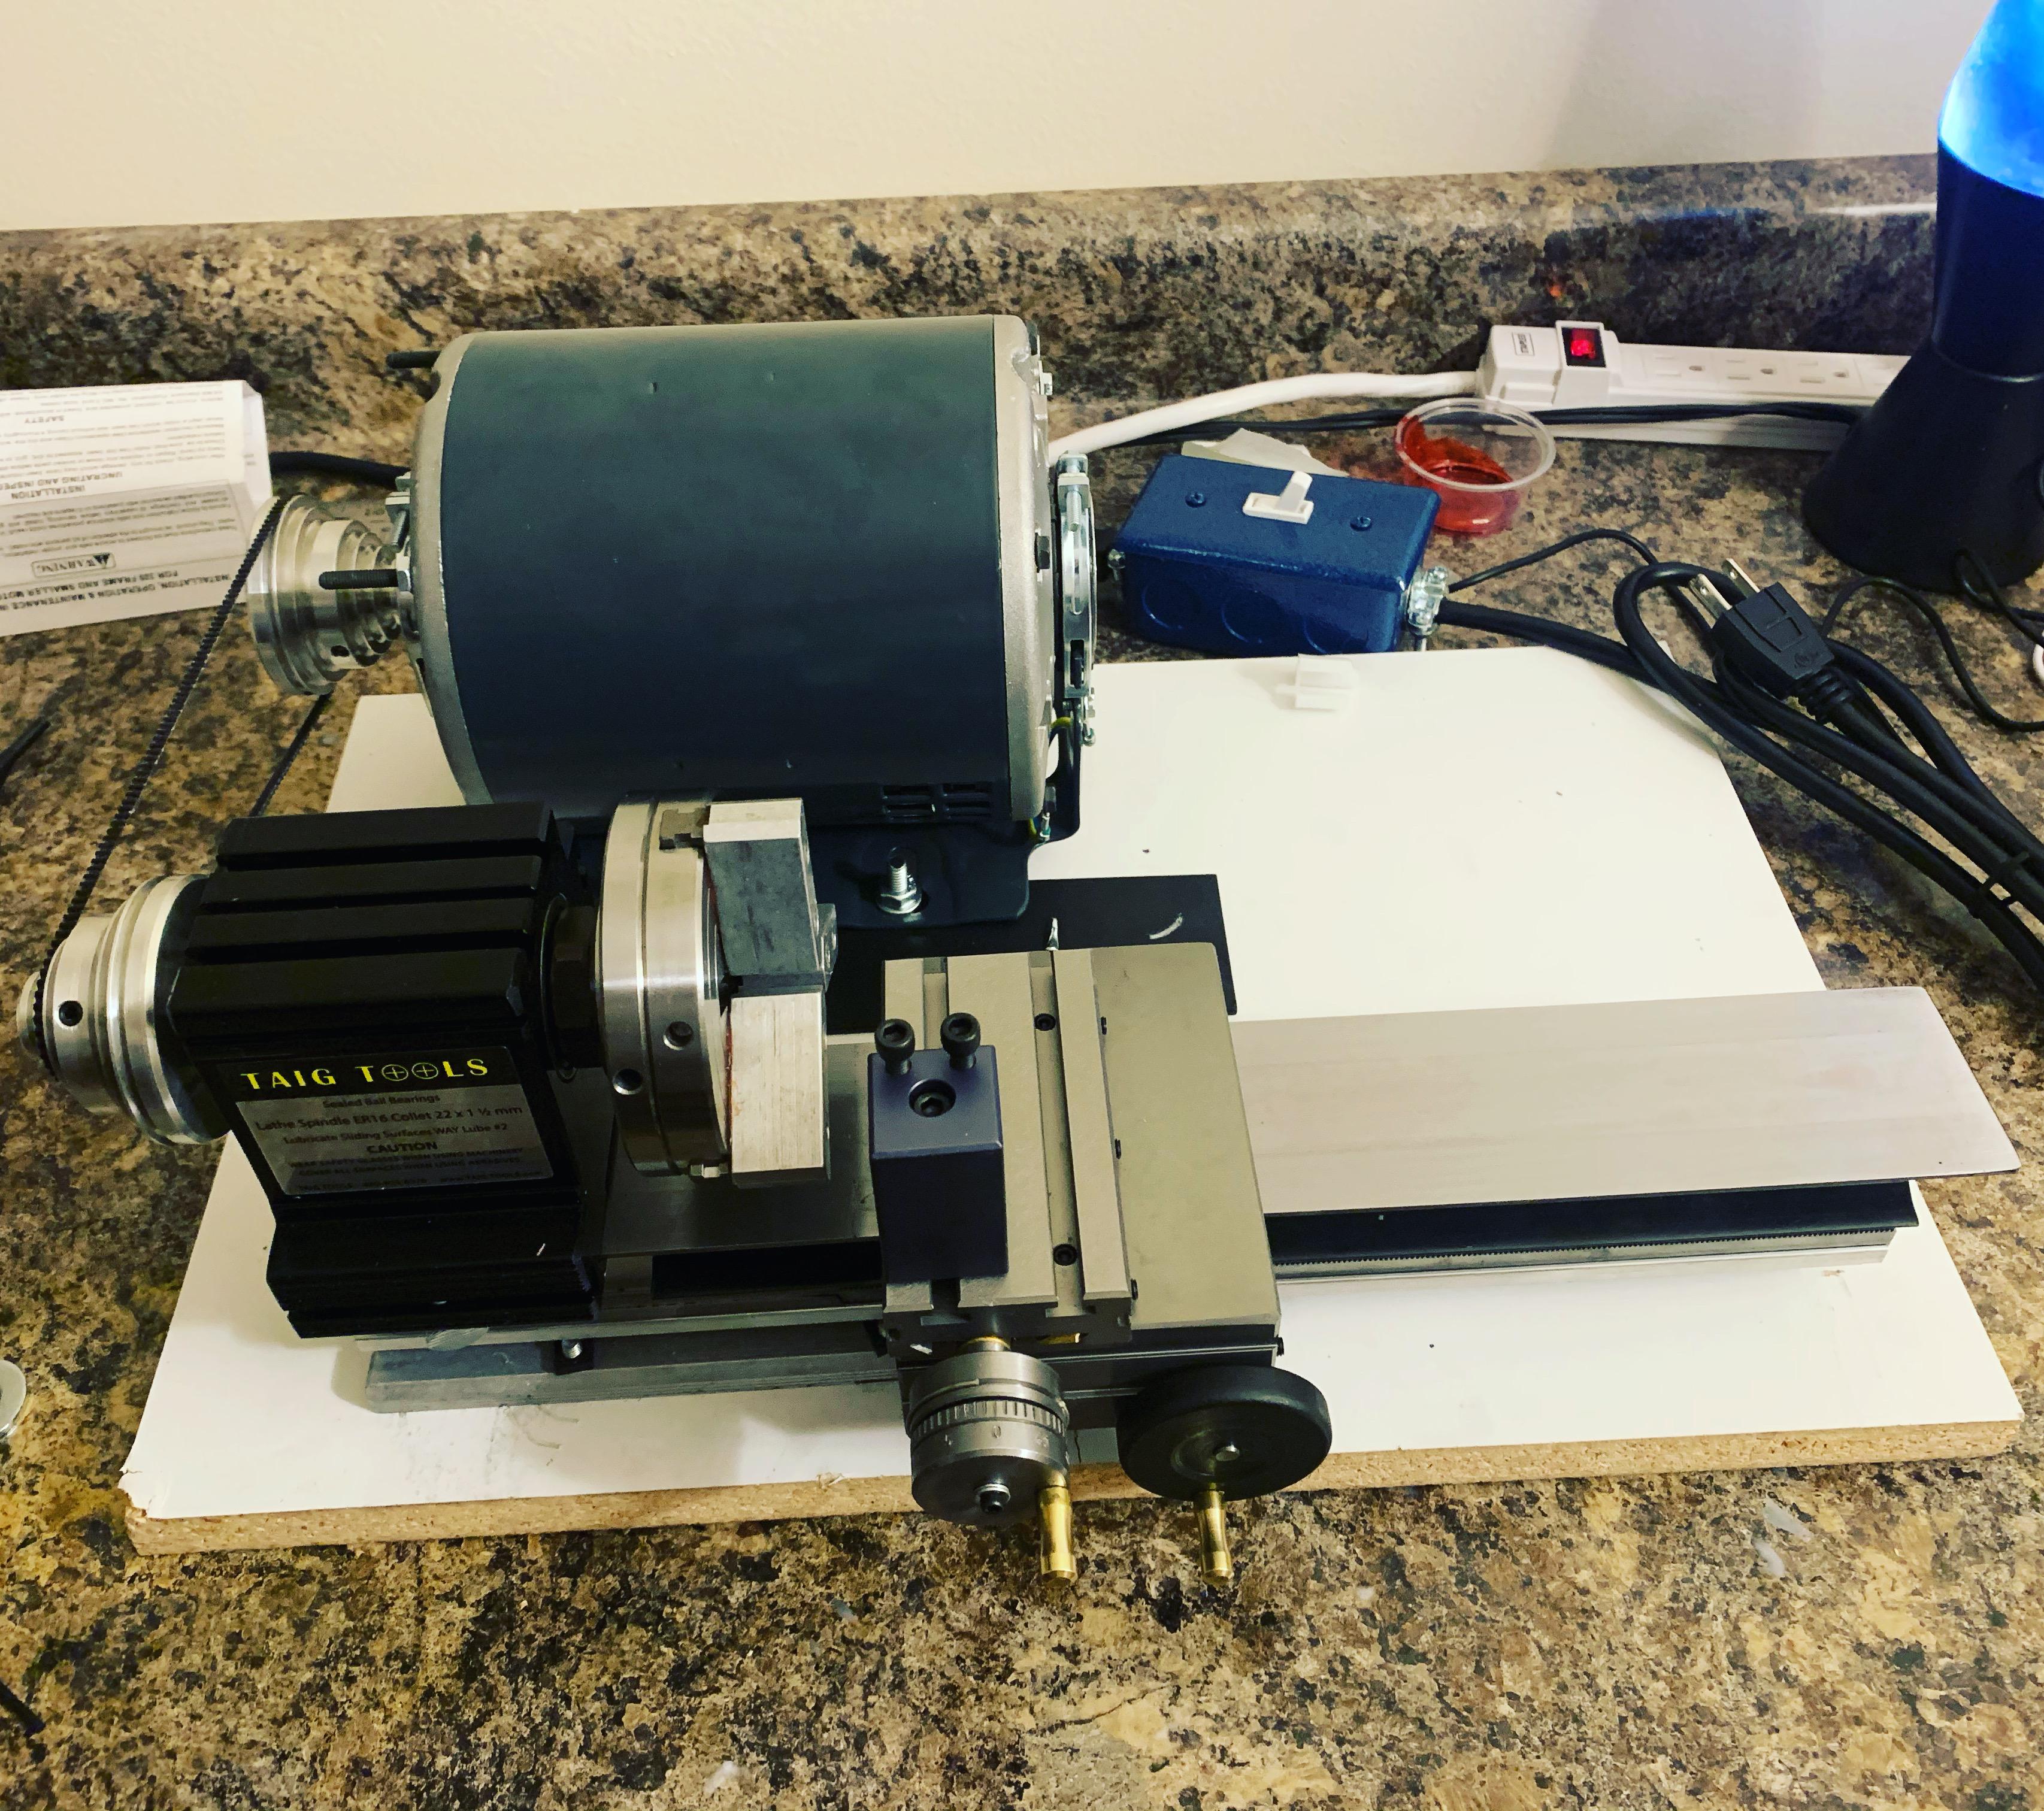
Any Taig Lathe owners here?
OldNYJim replied to OldNYJim's topic in Model Building Questions and Answers
Thanks for the continued comments guys - appreciate you taking the time! I just recently bit the bullet on the Taig Micro - I’ve only been messing with it for a couple of weeks but I’m really enjoying it so far. Too soon for me to properly review it, but it seems well made and is doing what I hoped it would!
-
I really like how that frame looks - super simple color combination but it looks great!
-
⬆️ You asked about this before, and asked about having these decals ALPs printed versus solvent ink printed. My answer in that previous thread about solvent printing being better based on your needs still stands. You even had already found a supplier who could do exactly what you needed, and I described exactly the process that they would need to do to get exactly what you were looking for. I tackle projects like this day-in, day-out for a living; provided that German supplier you found is provided with proper vector artwork and Pantone codes, and uses his machine properly, you’ll be all set. My identical Roland machine at work would handle this job in 2 minutes or less once I loaded the art up and dropped the ink cartridge in - nothing to it!