OldNYJim
-
Posts
251 -
Joined
-
Last visited
Content Type
Profiles
Forums
Events
Gallery
Everything posted by OldNYJim
-
There's no shortage of misc. sponsor decal sheets available out there - I don't blame Atlantis for not including 100 other logos that they'd have to license (and then EVERY kit would cost more, and everyone would be complaining that there's a bunch of licensed decals included that they wish they didn't have to pay for...like we already see with the Coke decals in the AMT kits)
-
 Same as here then - my local store is adding a bunch of gundam and Star Wars stuff but I’ve not seen a new car kit for a while now. Keep hoping they’ll get the Revell 30 Fords, but nothing yet…
 -
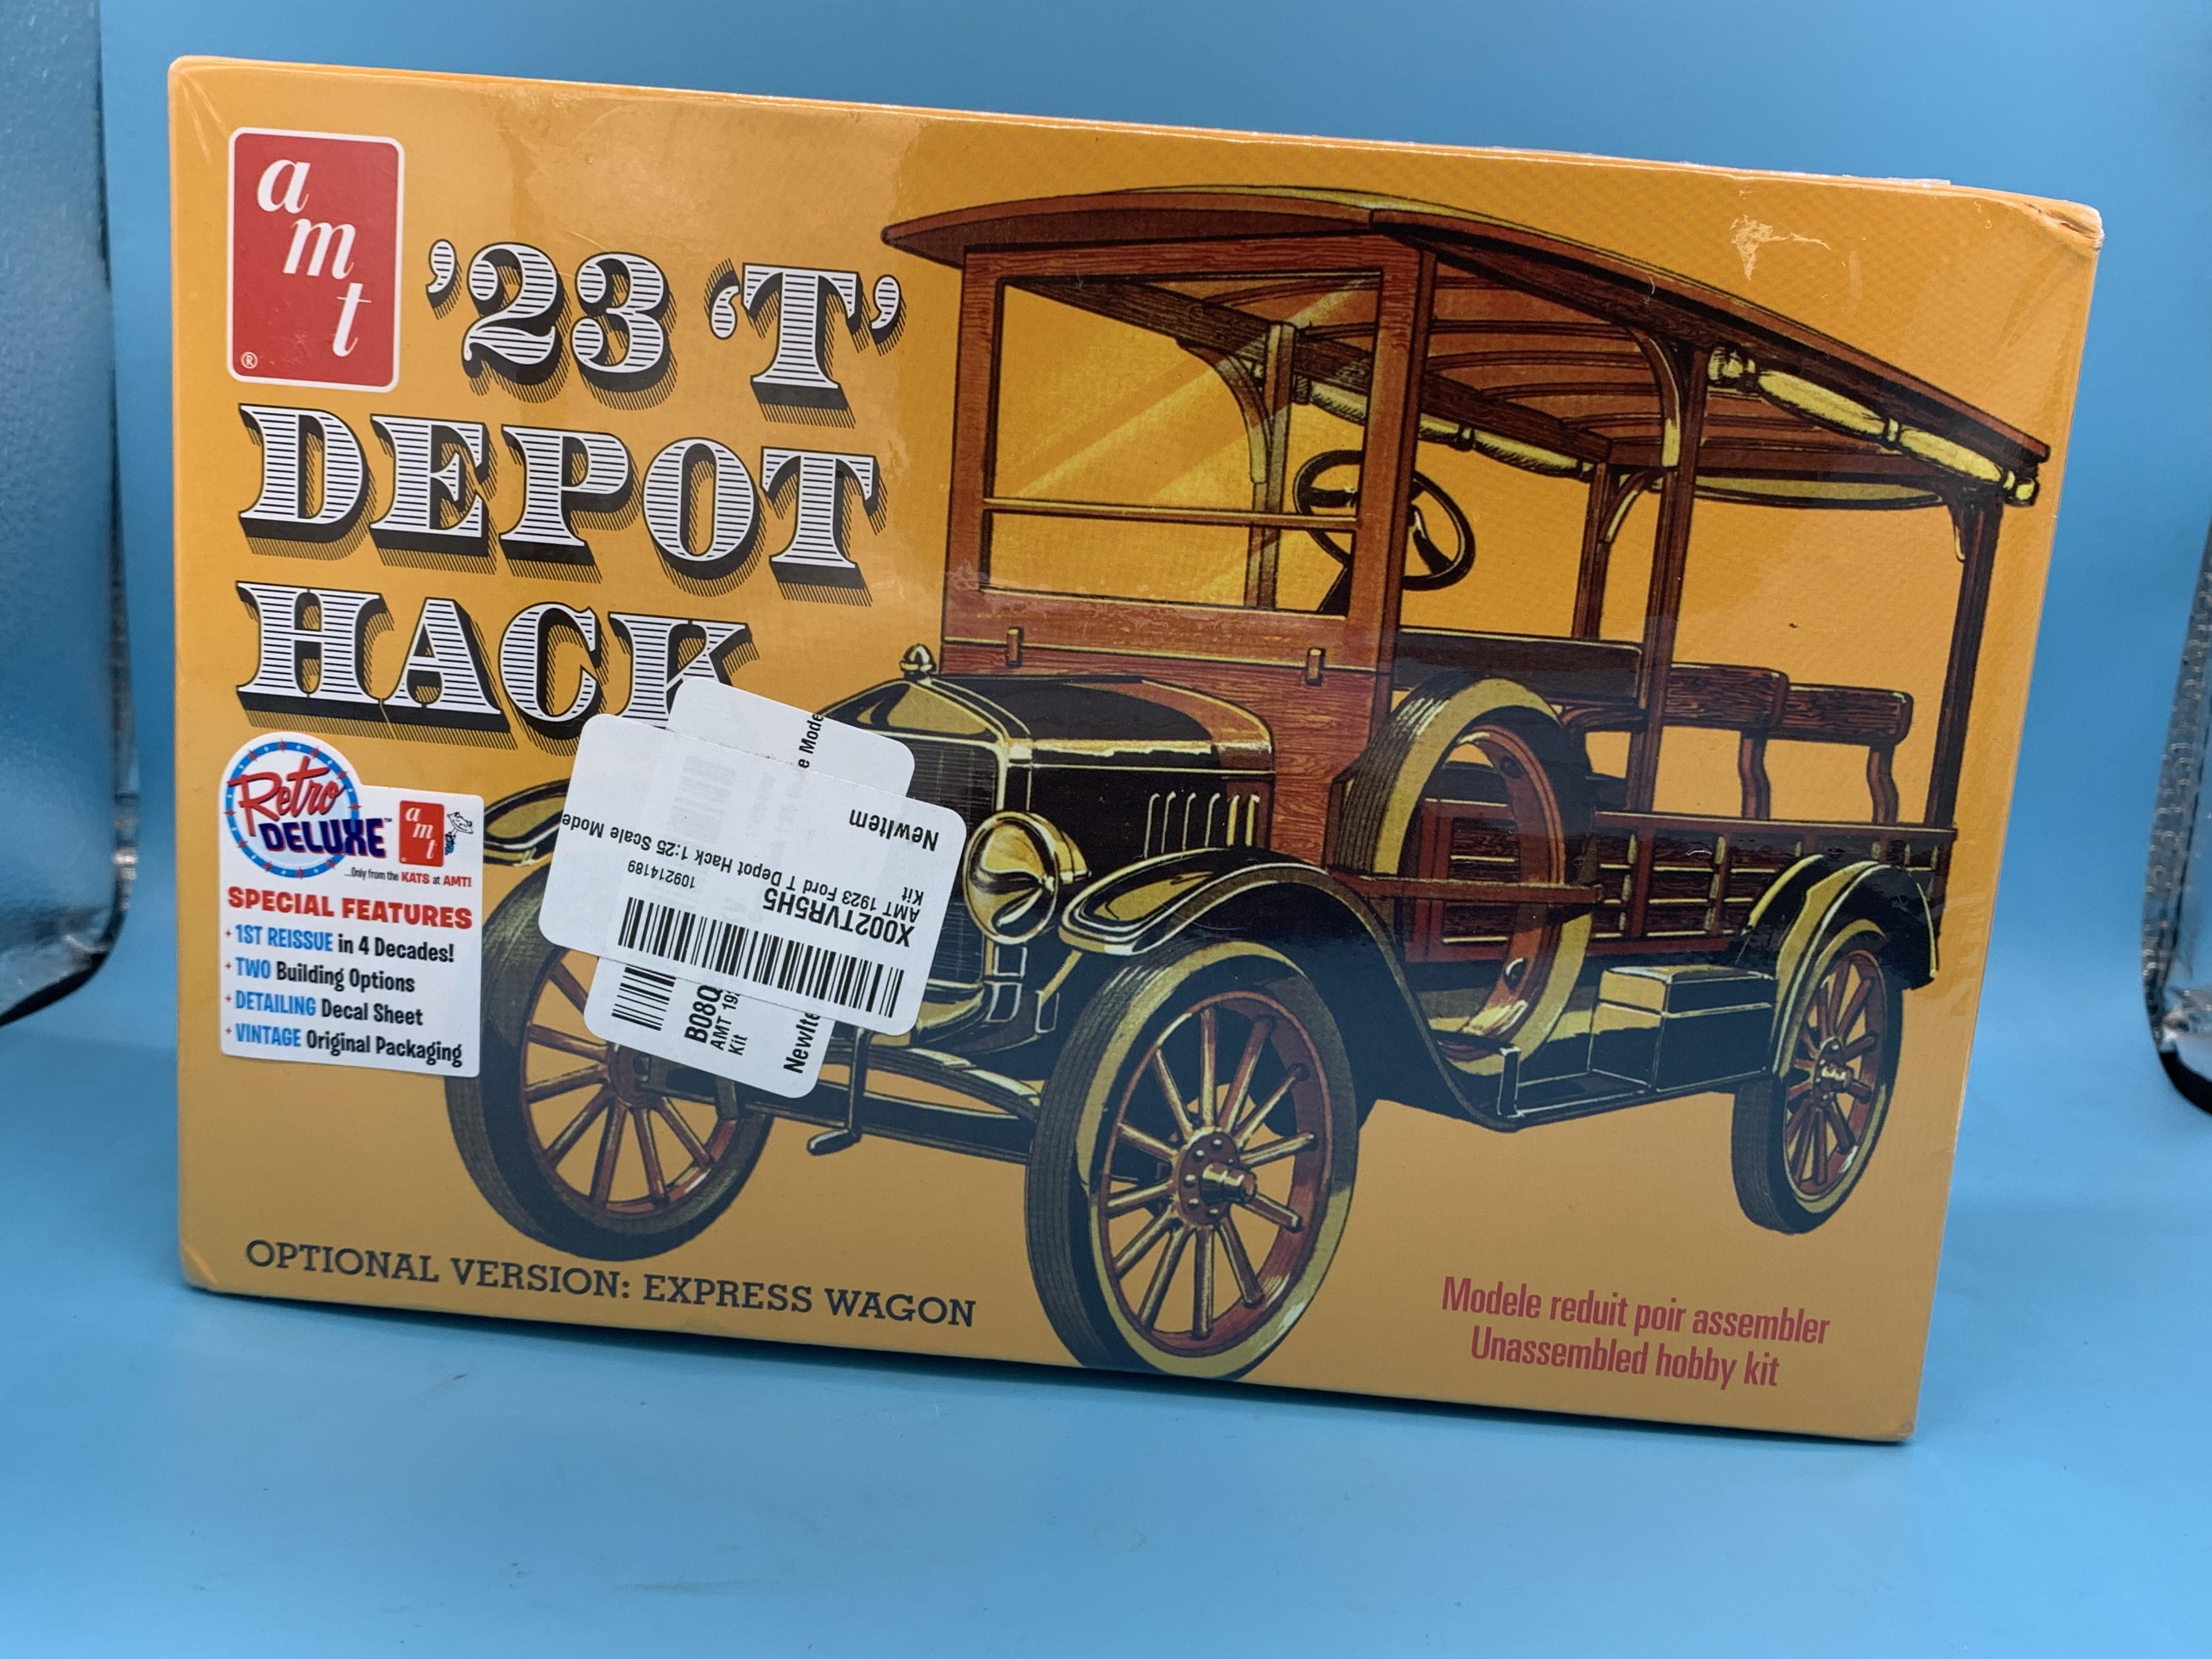
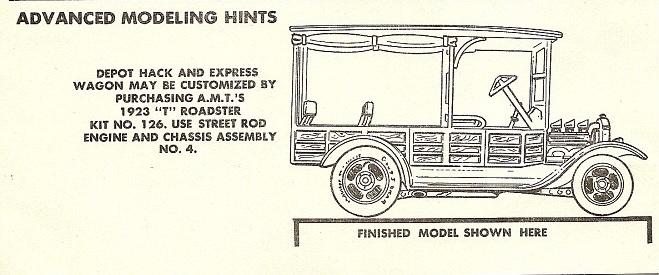
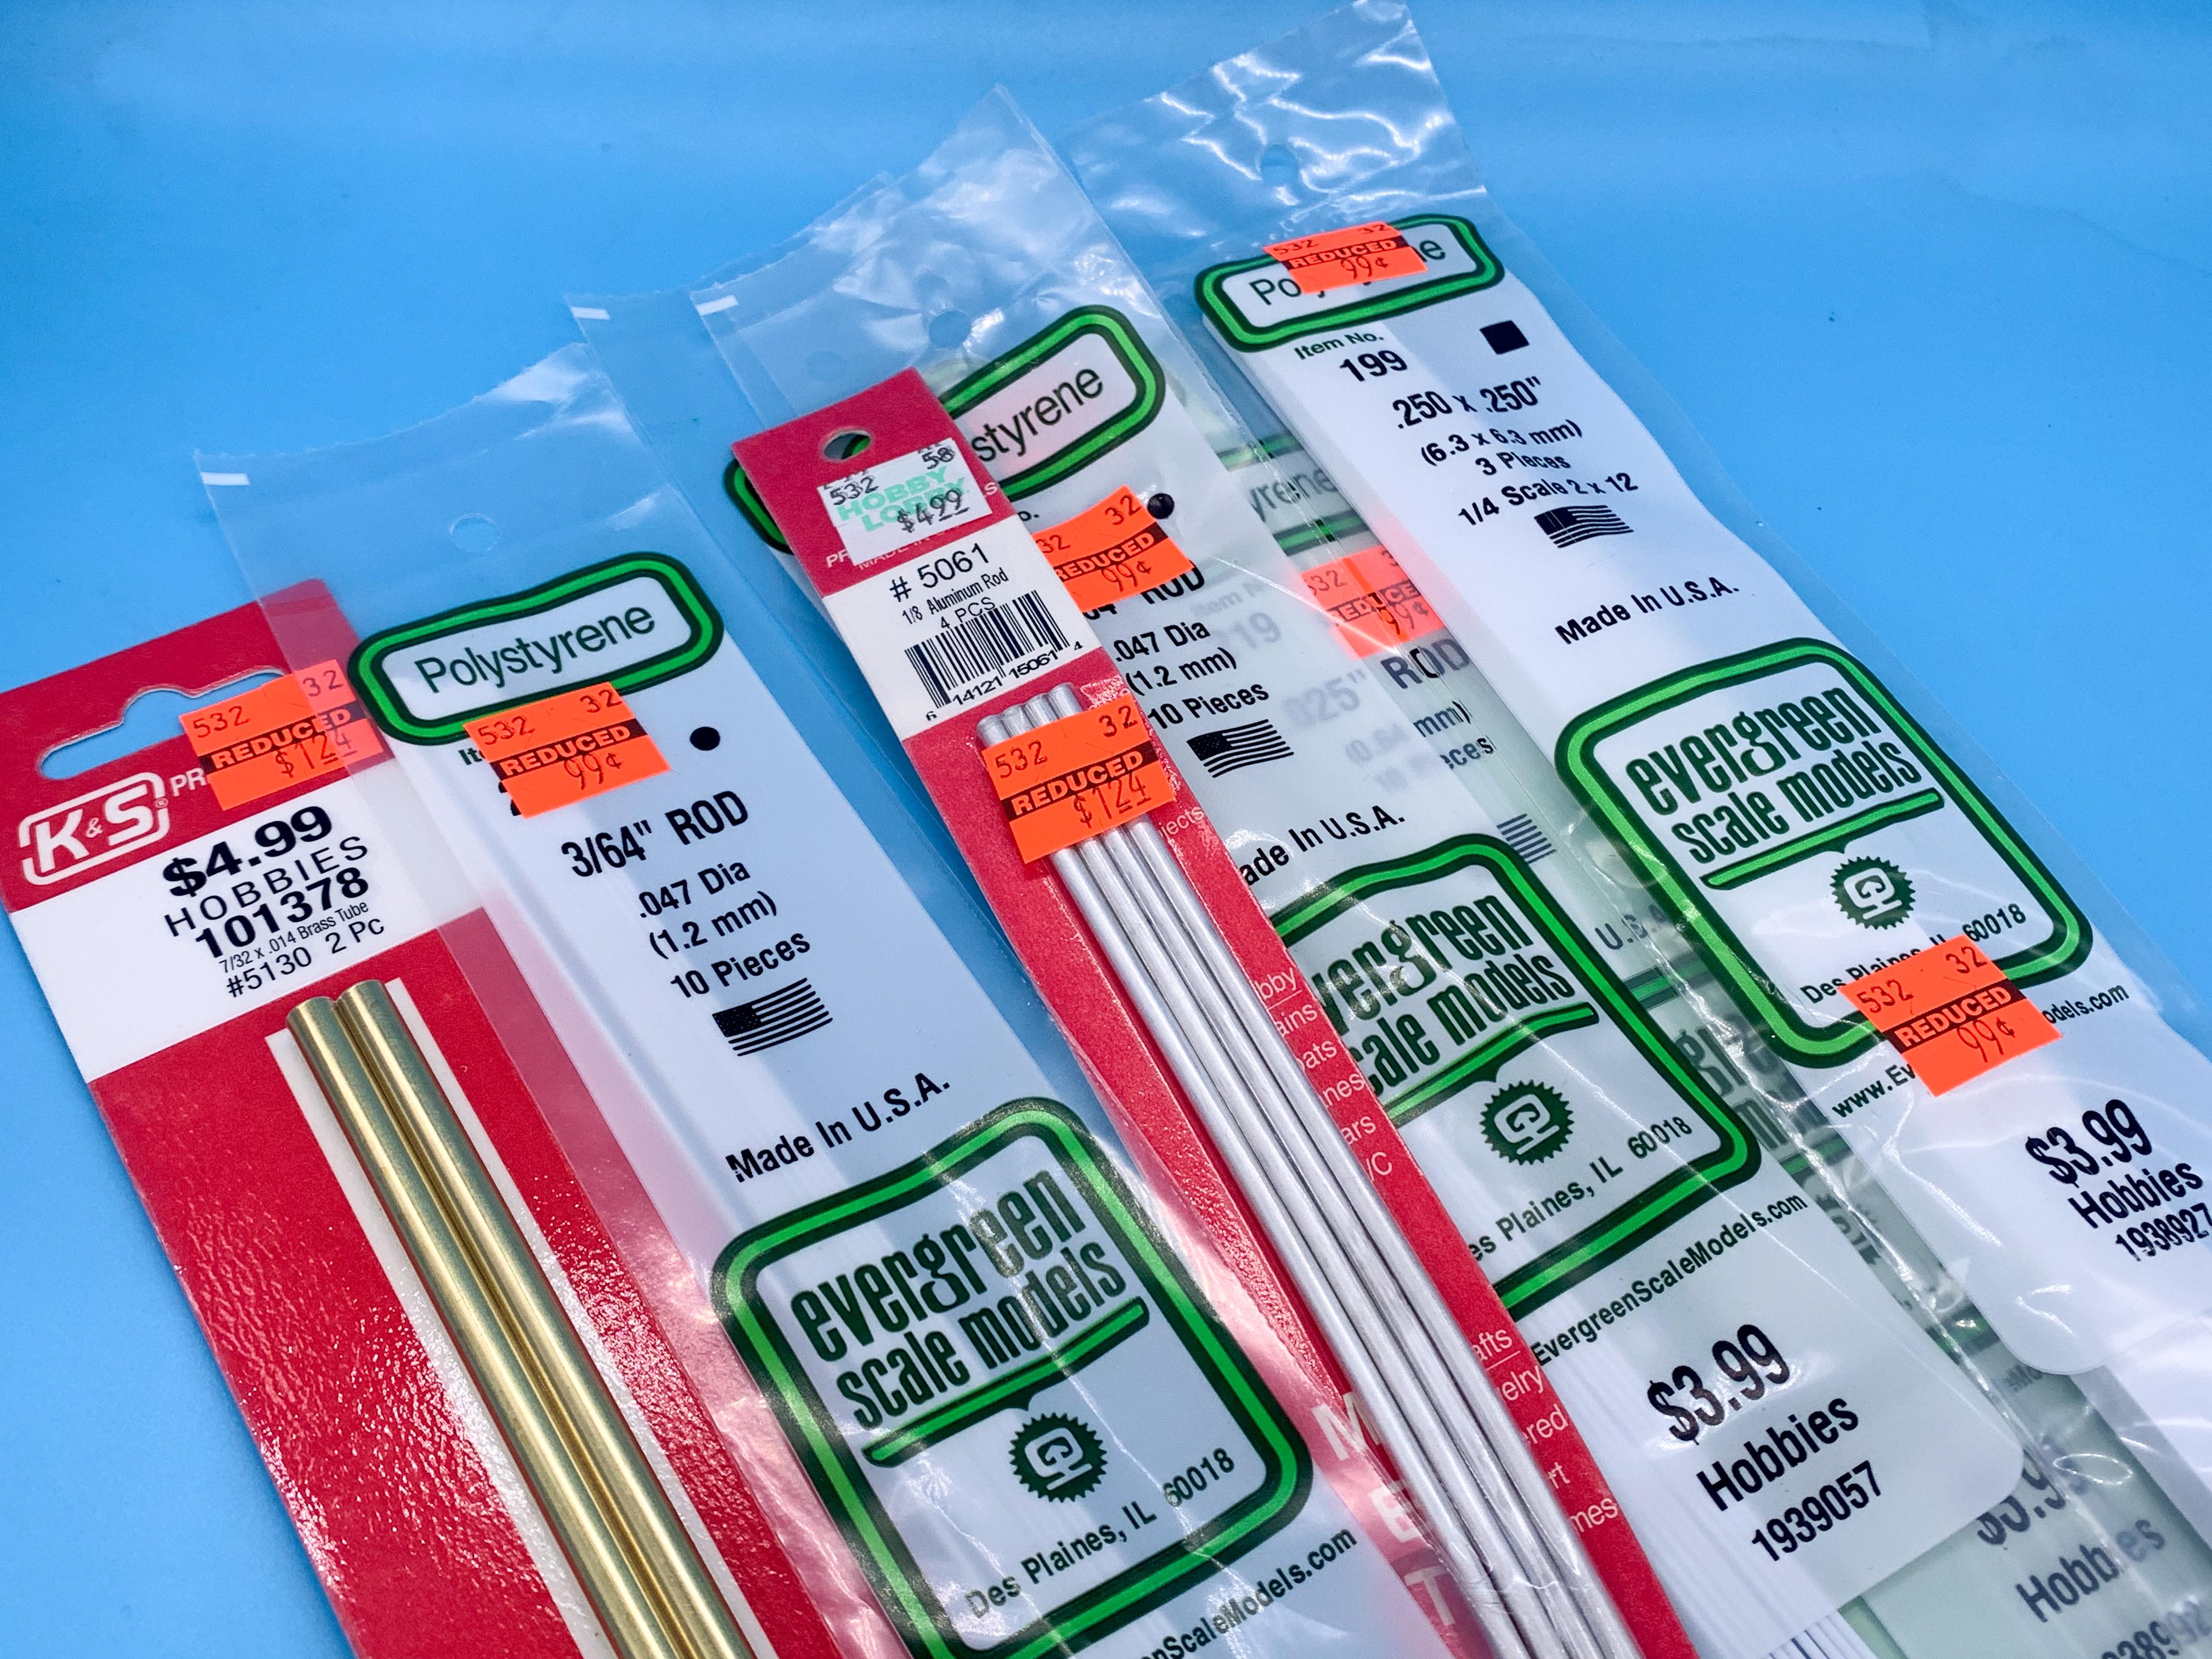
Was it ALL of the Evergreen and K&S on clearance or just certain lines? Interested to see if they DO drop those from their line-up… Today’s mail-call (excuse the big white sticker on the box) I want to build this thing, listed in the manual: I was wondering if the parts to build this were also in the recently-ish reissued two-in-one kit with the chopped T coupe on the box, but I think that’s an entirely different kit…pity, because I have 4 of those on my shelf already and none of the 23 T Roadster…

-
That’s my own creation! It was pretty easy to draw that flat panel so this was a good opportunity to test whether the theory worked! I’ll try something more complex next - some Deuce hood sides or an actual hood maybe… @Kit Karson - thank you sir! I had been following that build by Martin Aveyard on Instagram - he’s a really inspiring builder! Very very good at what he does! Havent posted an update on this in a few days - have been prepping and painting a bunch of stuff…but I’ll be starting some ‘real’ assembly soon! Thanks for all the nice comments so far!
-
Exactly! The printing is the slow part right now (definitely slower than a trip to the hobby shop, unless your shop is a few hours round trip) but it certainly beats ordering online and waiting a week… You’re absolutely right - angling the bodies gives better results. In this case though, I could JUST squeeze two bodies on one build plate if I didn’t angle them…so I took a shot and let the machine do two at once, seeing as it was going to take a few hours. I’ve got the little Anycubic 4k printer - largest print size is about 6” X 5.5” I think. This kit came from a seller on Instagram: https://instagram.com/blackboxstl?utm_medium=copy_link @Jhedir6 - good insight, thank you! I’m printing at 0.05mm layer height right now, which was the default in Lychee for my particular printer. Question - do you notice a large increase in printing times at that higher resolution? Although the layers LOOK really noticeable in that pic where I’d been sanding on the body, it’s really not bad at all - just a few minutes work to clean up. Thanks too for the links to those Cults3D sellers…some GREAT stuff in there! I think I found my next couple of projects ? Tiny bit of progress this evening…printed the interior pieces and the last couple of little parts that I needed: This kit is really well thought out - the parts almost just snap together! I had been trying to figure out the best way to print the bed, which was modeled as one piece and looked somewhat tricky to print. Challenges were that it had underhangs (rear fenders, primarily) various underside detail, and details on the outer sides and back that I didn’t want to ruin or obscure with supports. The most obvious solution would be to invert it and put all the supports on the inside with braces so it printed square and true, but that would make cleanup of the inside of the bed harder; and also printing something taller takes a lot longer than something flatter. So, I just split the part into five pieces and printed it like so…took 30 minutes to print this way rather than the 3 hours the bed would’ve taken as one piece. Just gotta glue those five parts together and we’re golden! (I know there’s only 4 pieces here…I’d already printed the other part on another layout I had done) And that’s about my progress for this evening…I would’ve done more but a 20 minute nap after work got out of control and I lost a couple of hours there. Quick mock-up of what we’ve got so far…more soon!
-
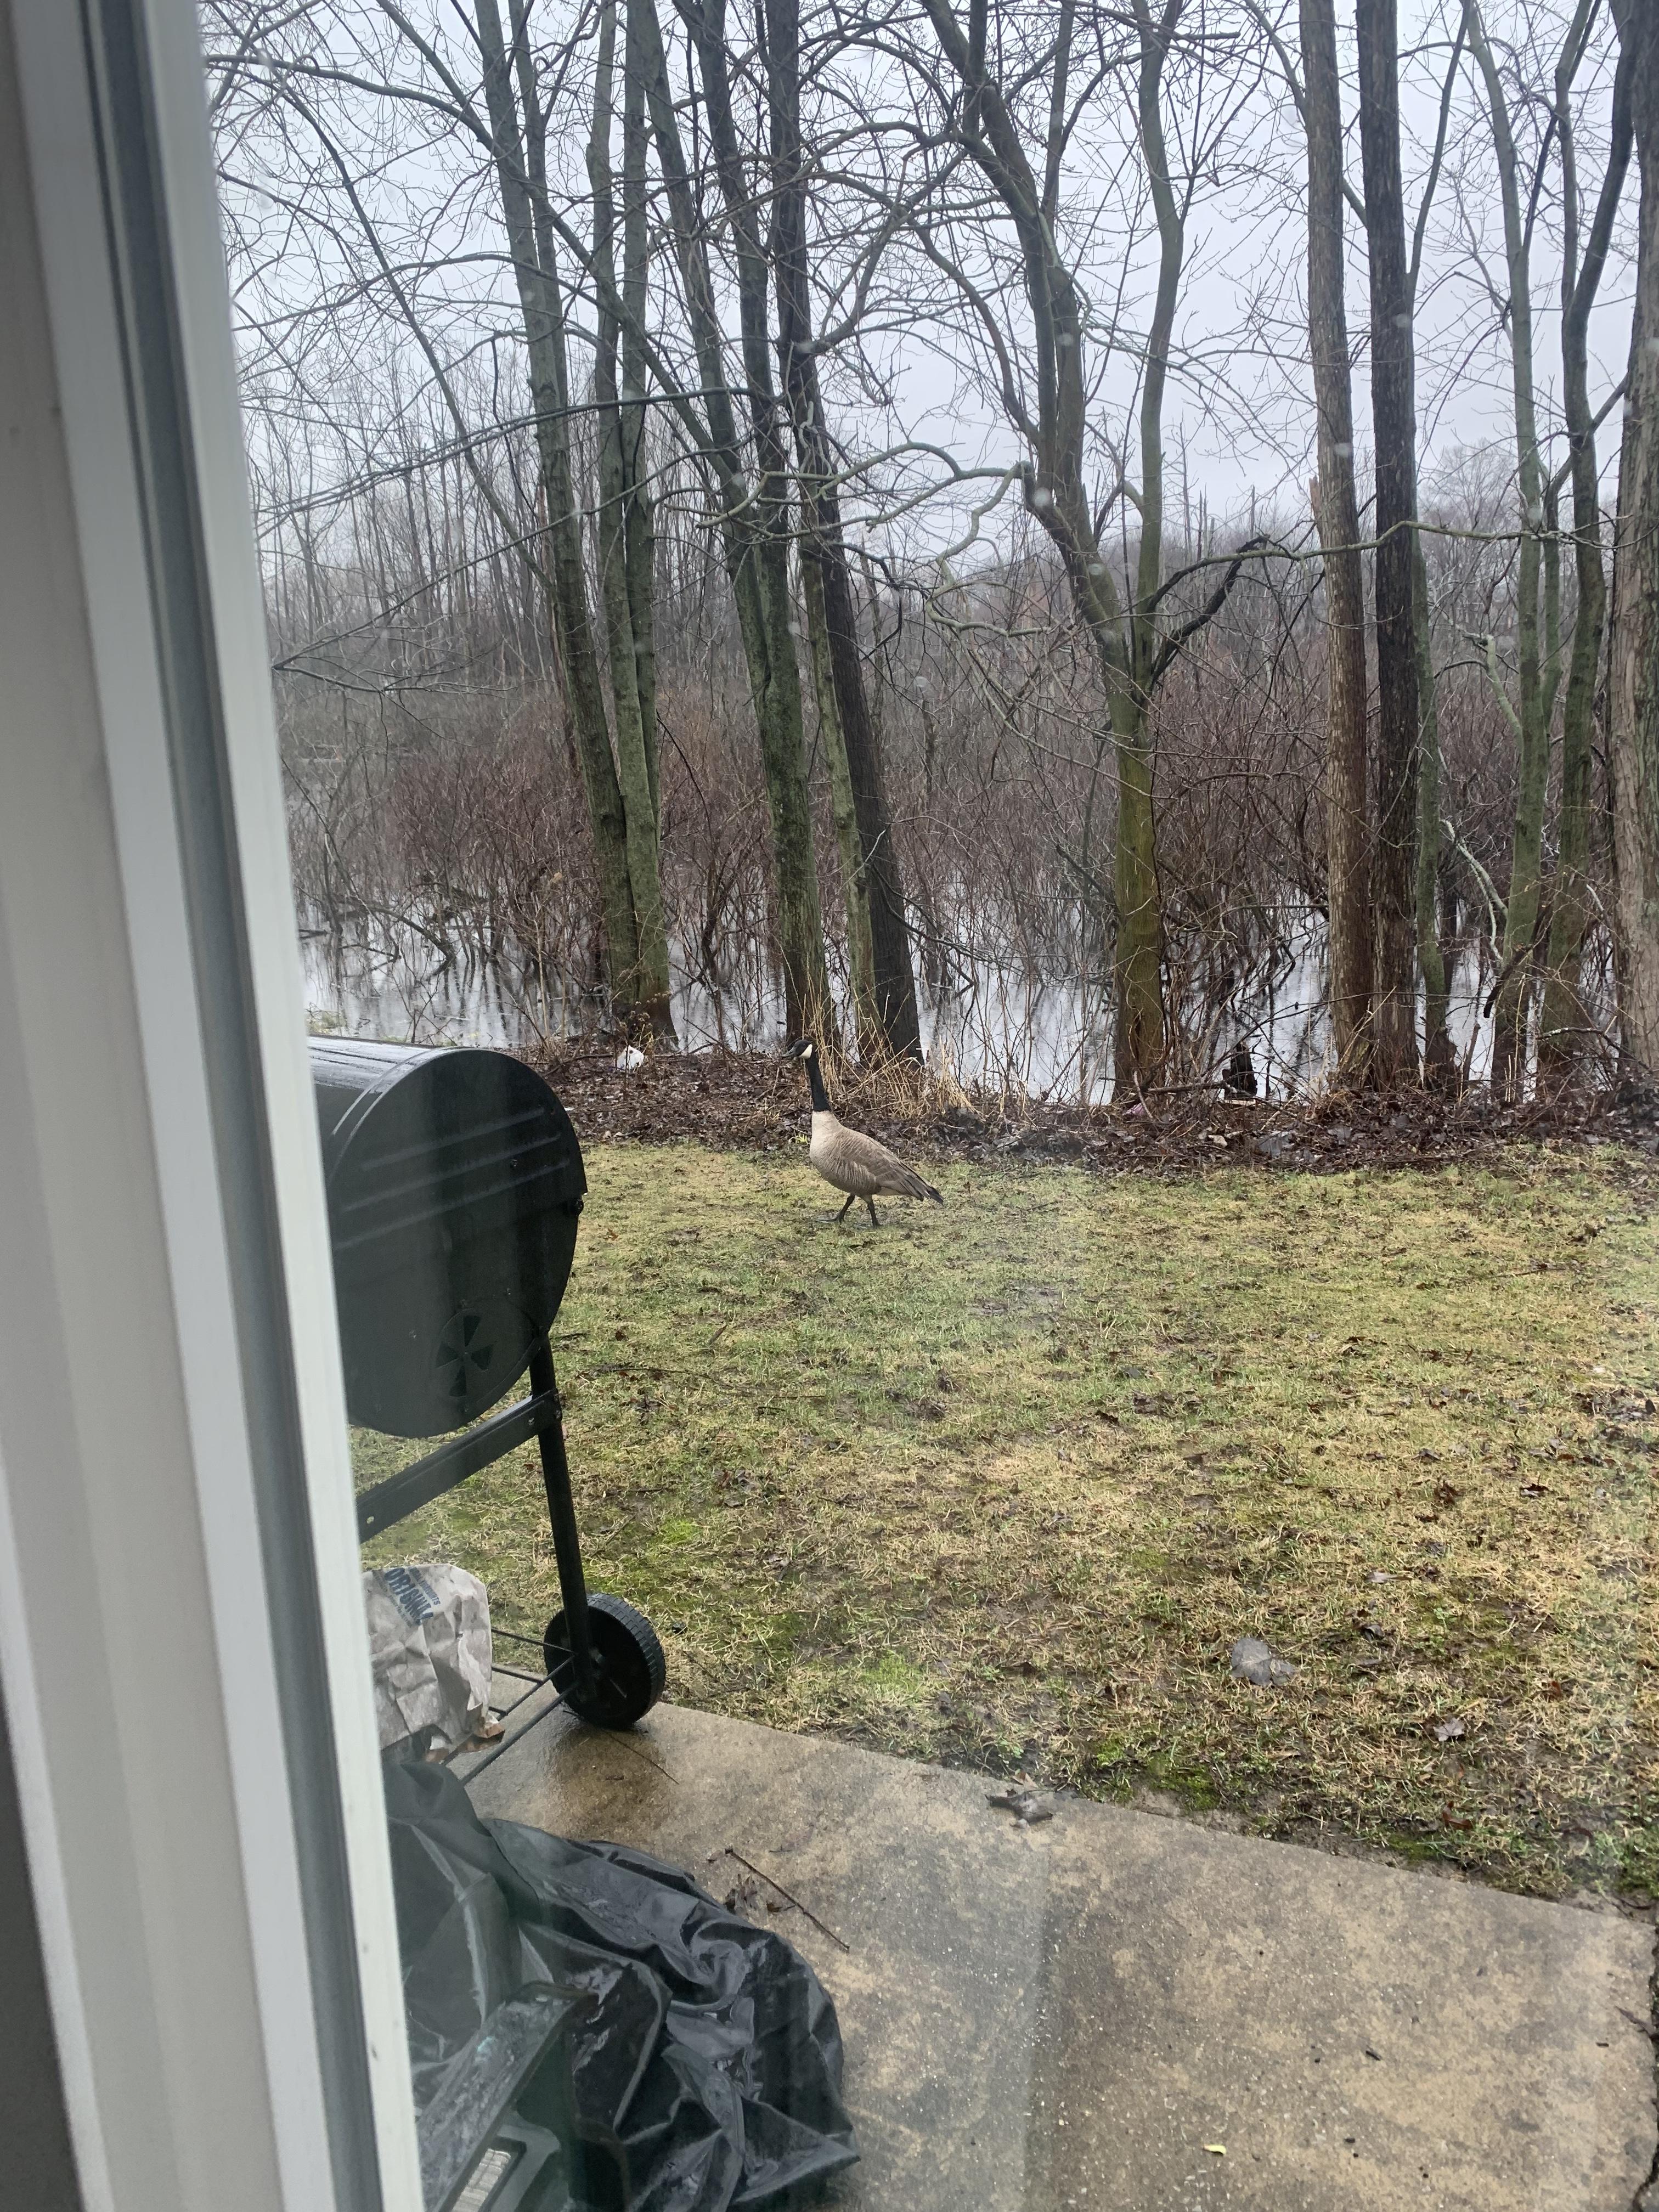
The geese arrived back in our yard this weekend…spring is springing!
-
Great start, and beautiful work so far! I’ll be following!
-
ROYAL CANADIAN 1/16 SCALE TOP FUEL DRAGSTER
OldNYJim replied to Ian McLaren's topic in WIP: Drag Racing Models
Stunning work, and admirable attention to detail! -
Great start! Love that flaky paint you chose. Question: what are the extra ‘goodies’ that come with this kit? I don’t recall seeing mention of option parts for this specific kit (and mine didn’t arrive yet…) Good start, I’ll be following!
-
Wasn’t aware of this kit…I want one just for that cool box art! I could presumably achieve a better actual BUILD of one of these if I used the Joker/Gotham City or whatever it was kit plus some aftermarket decals though. Still…that box ?
-
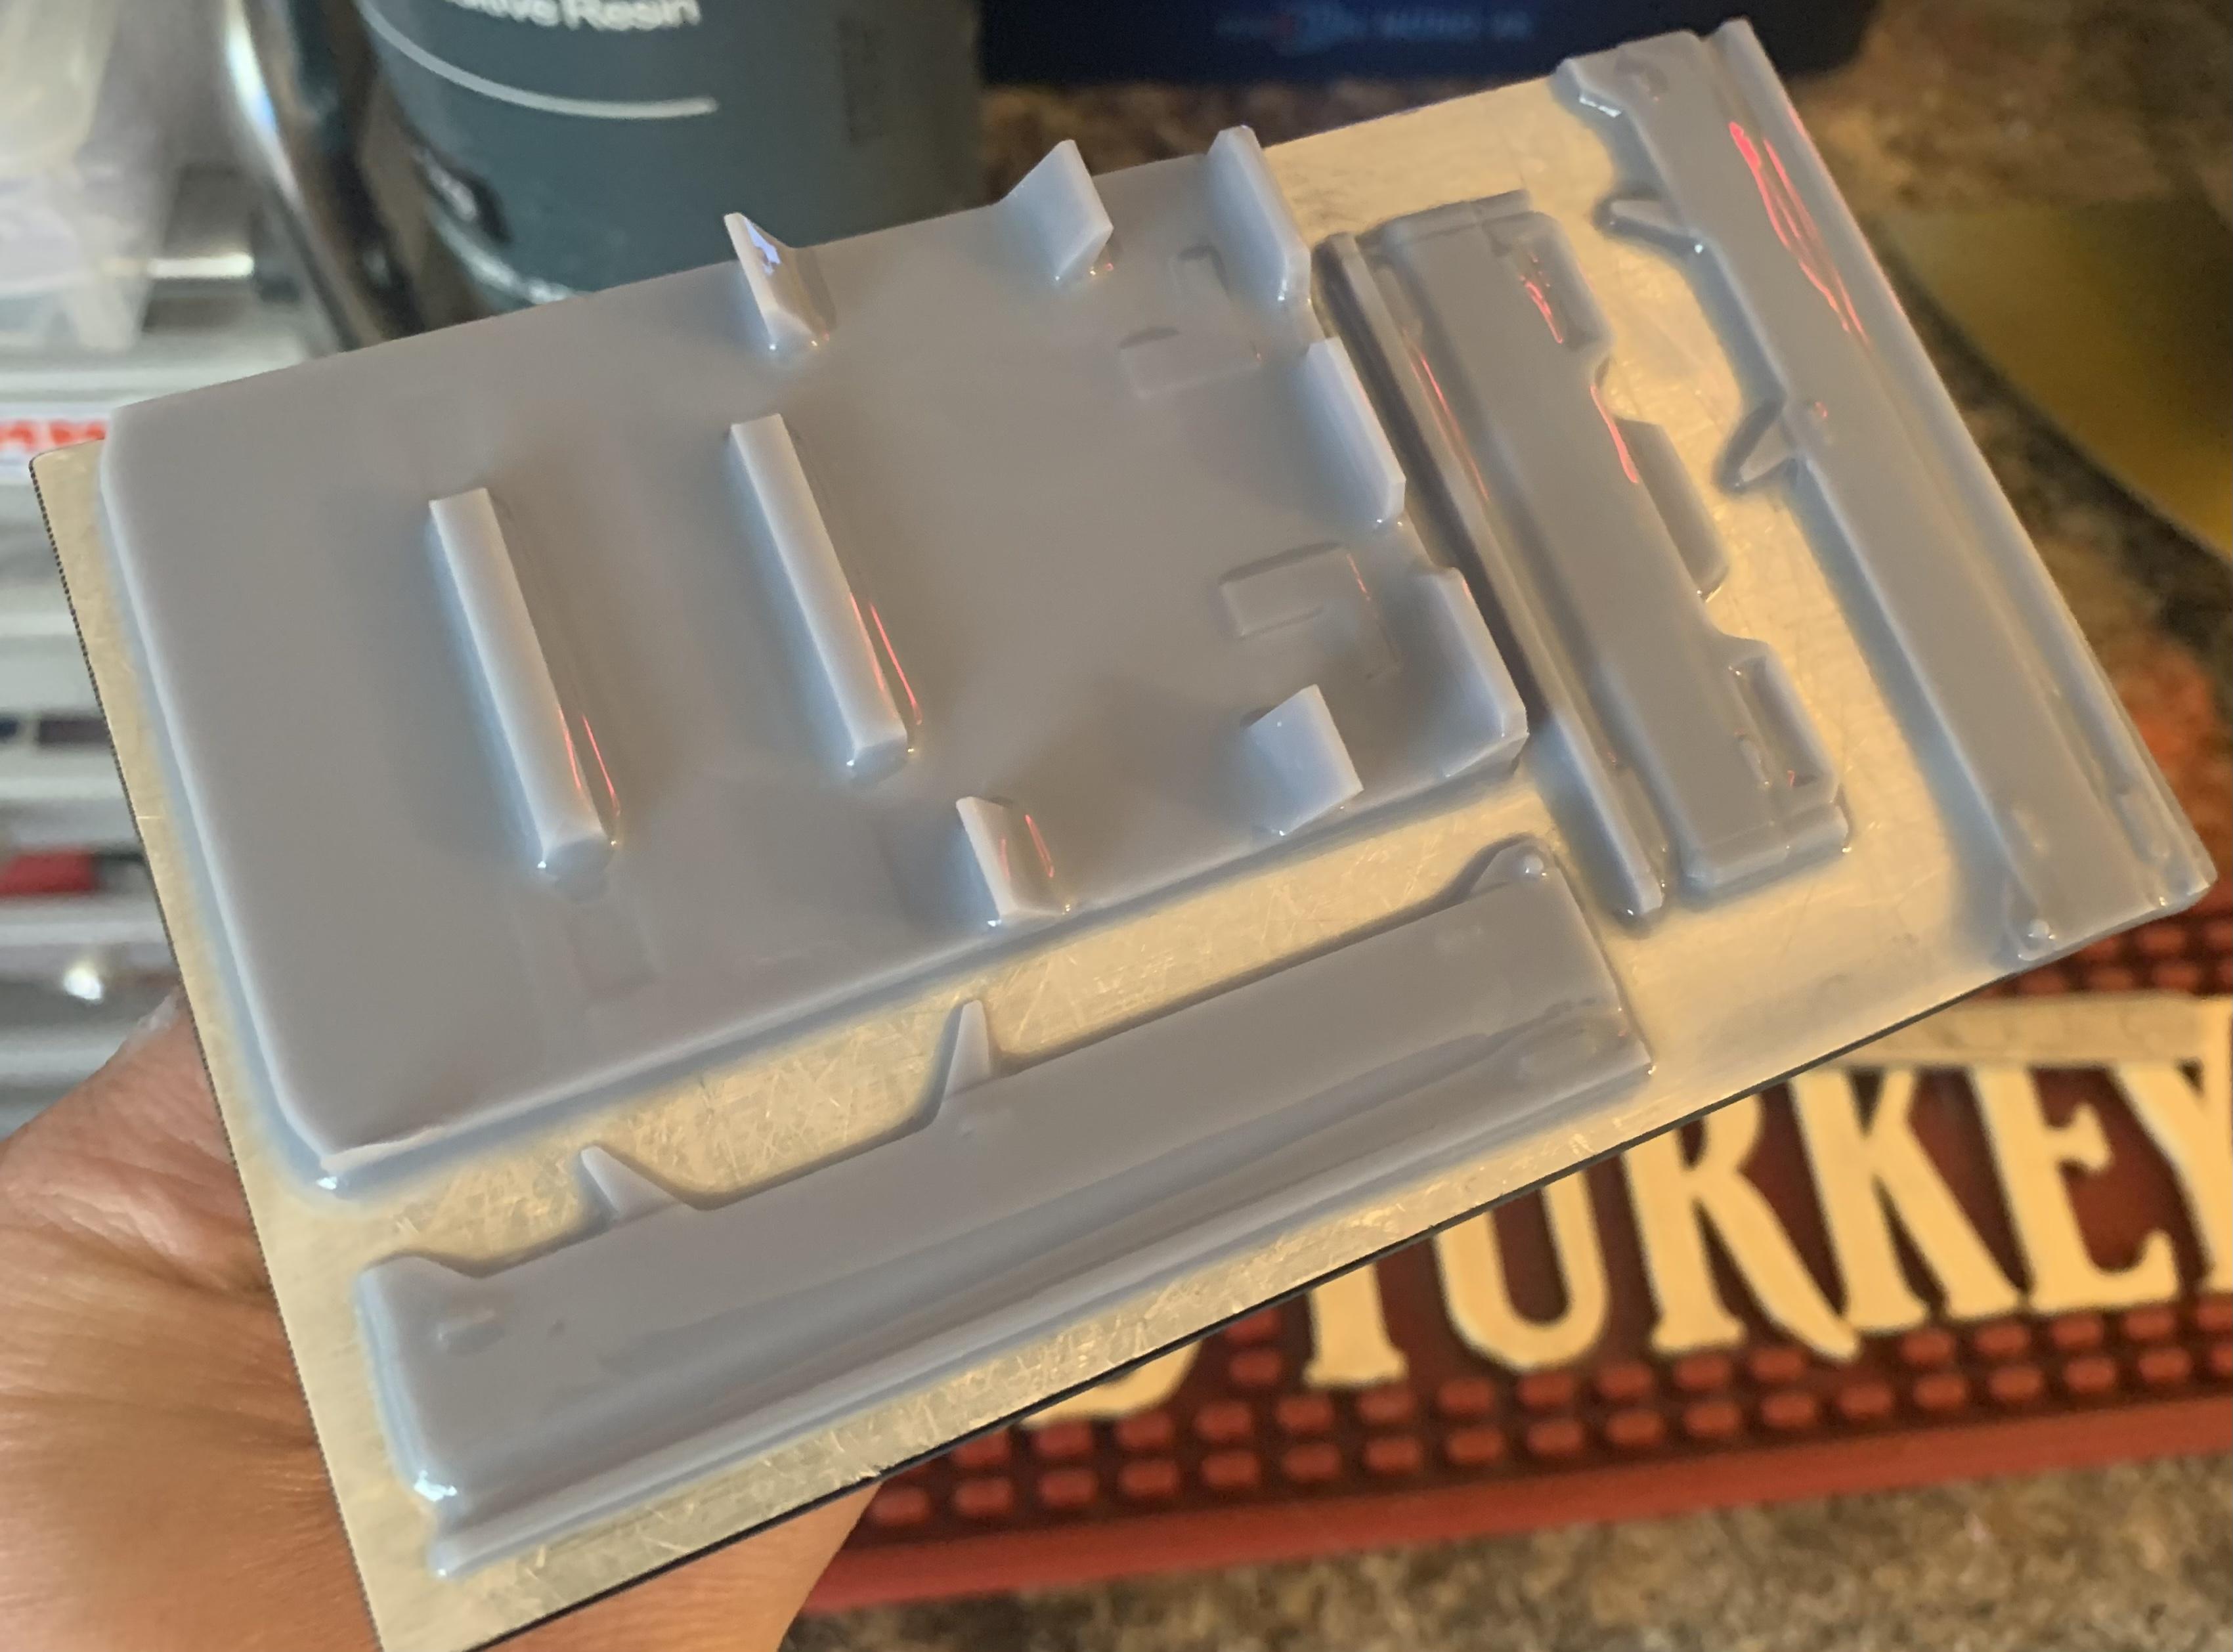
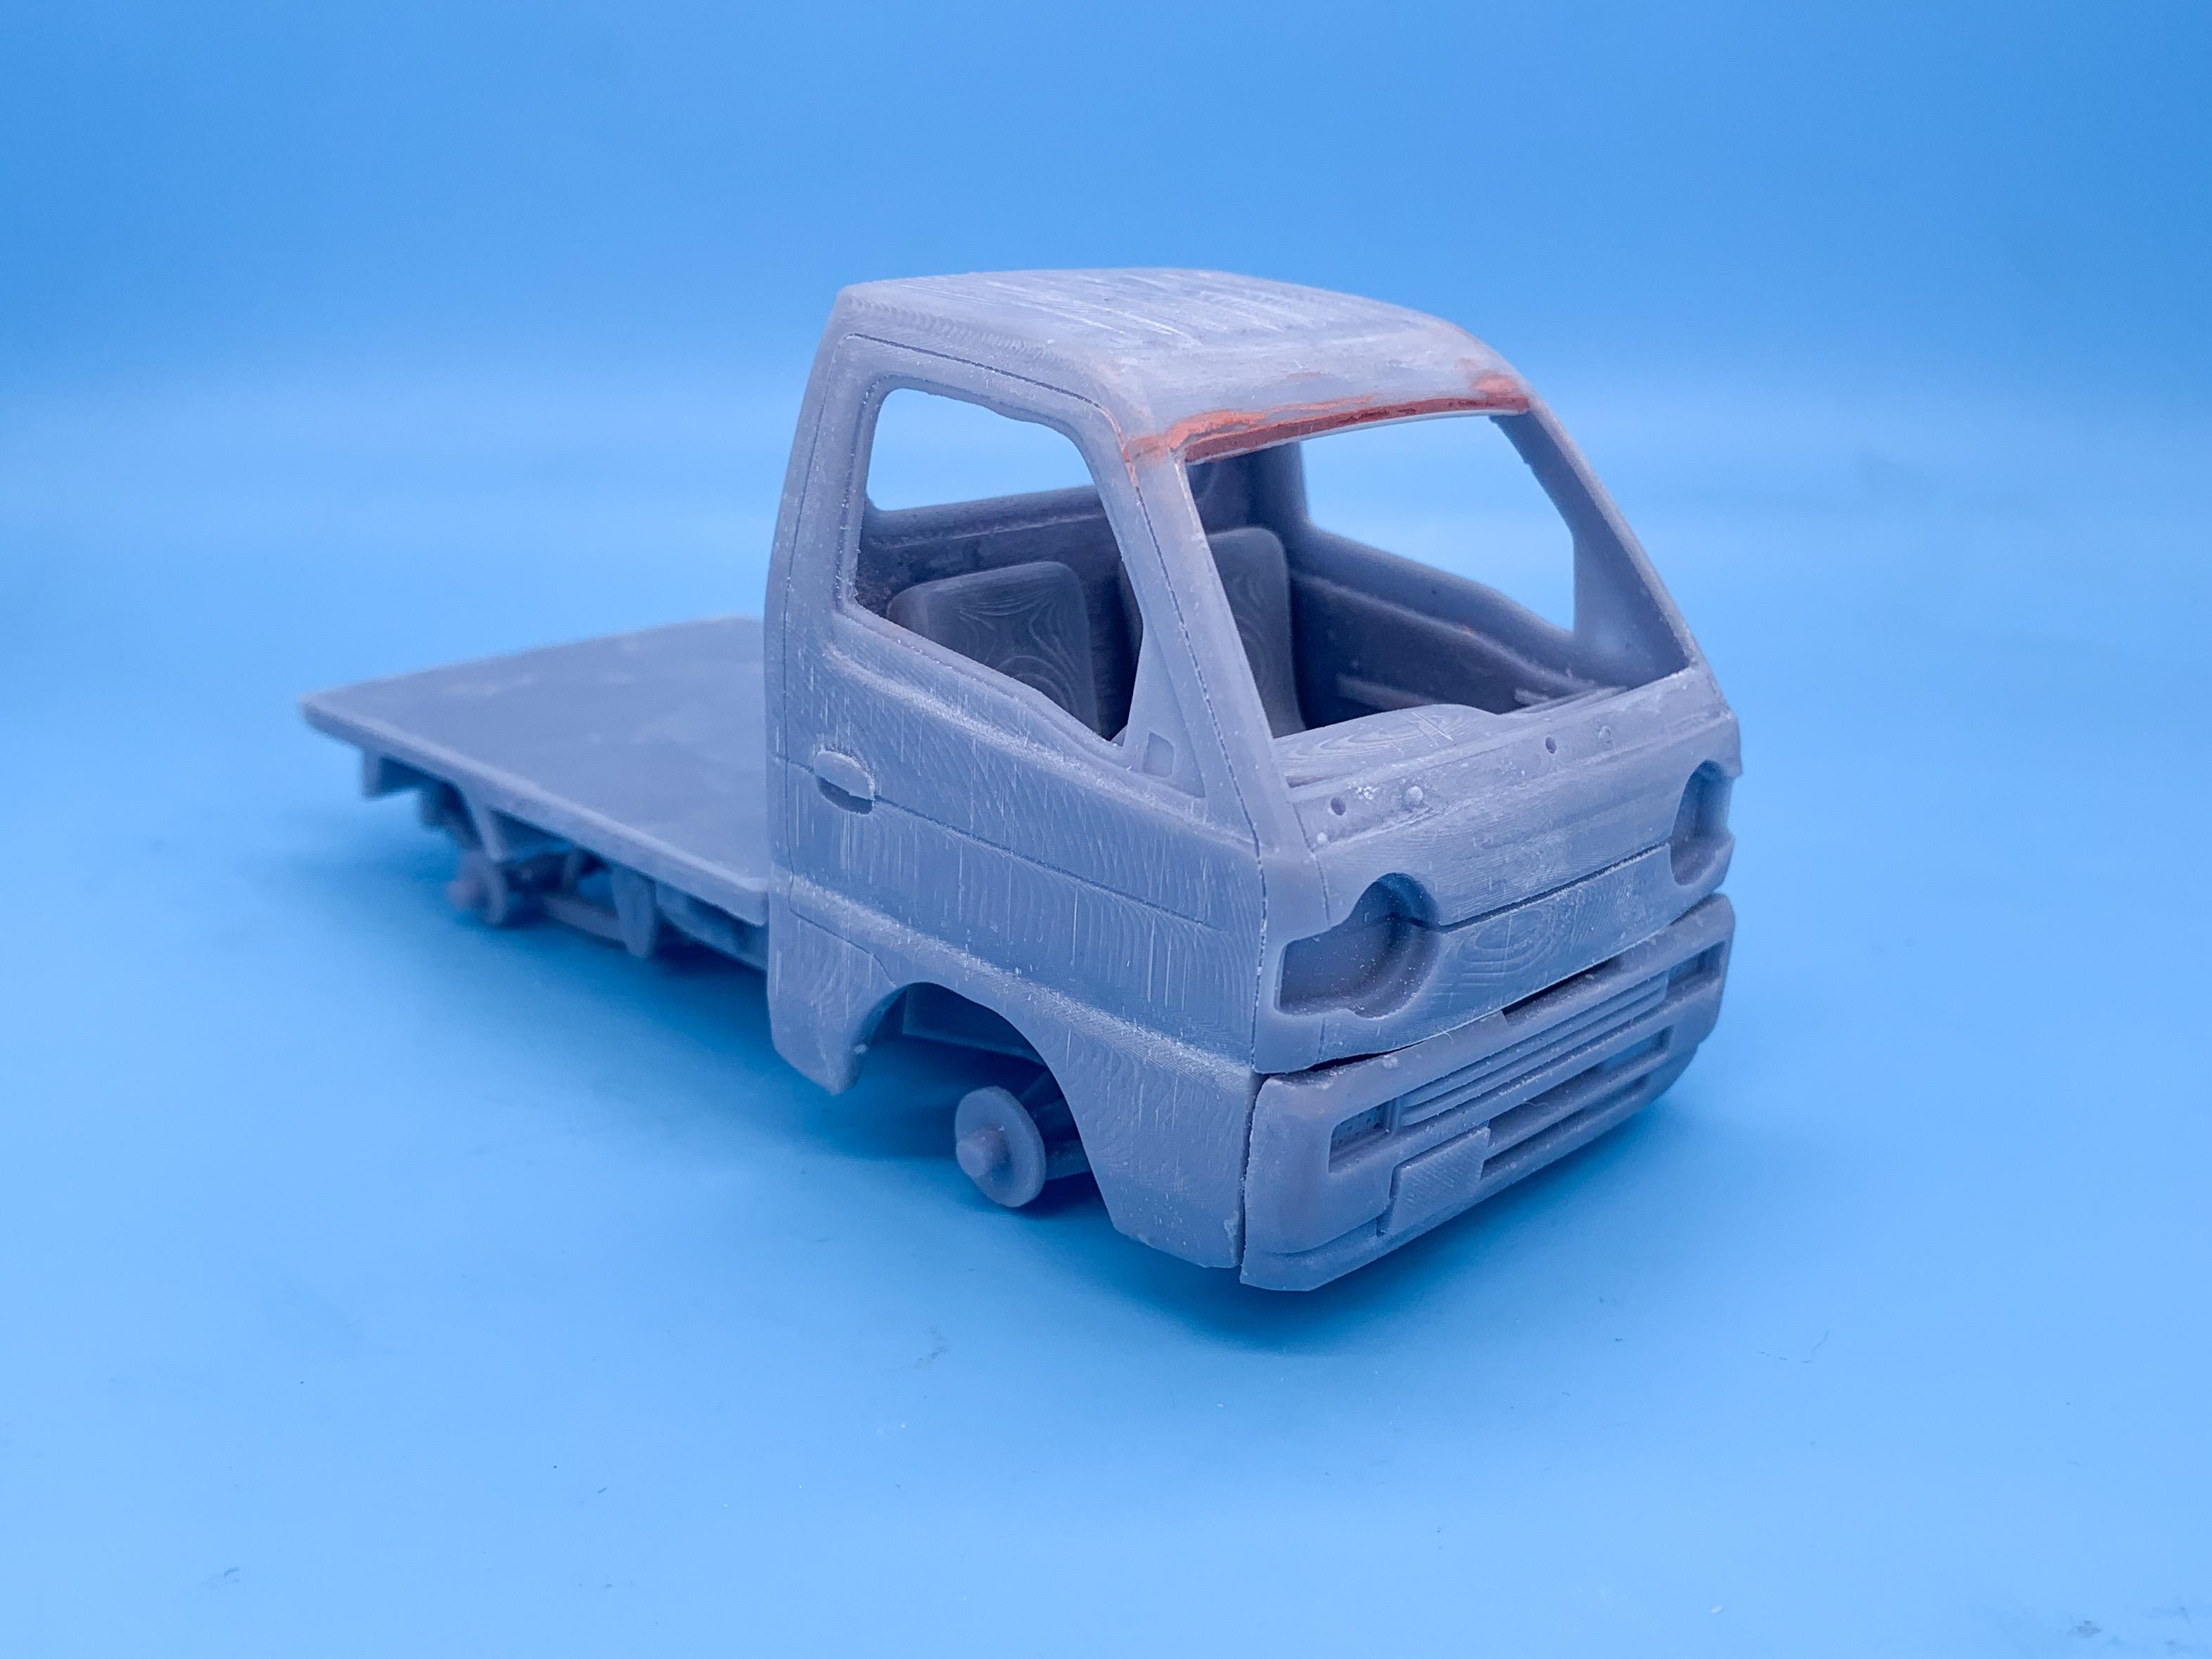
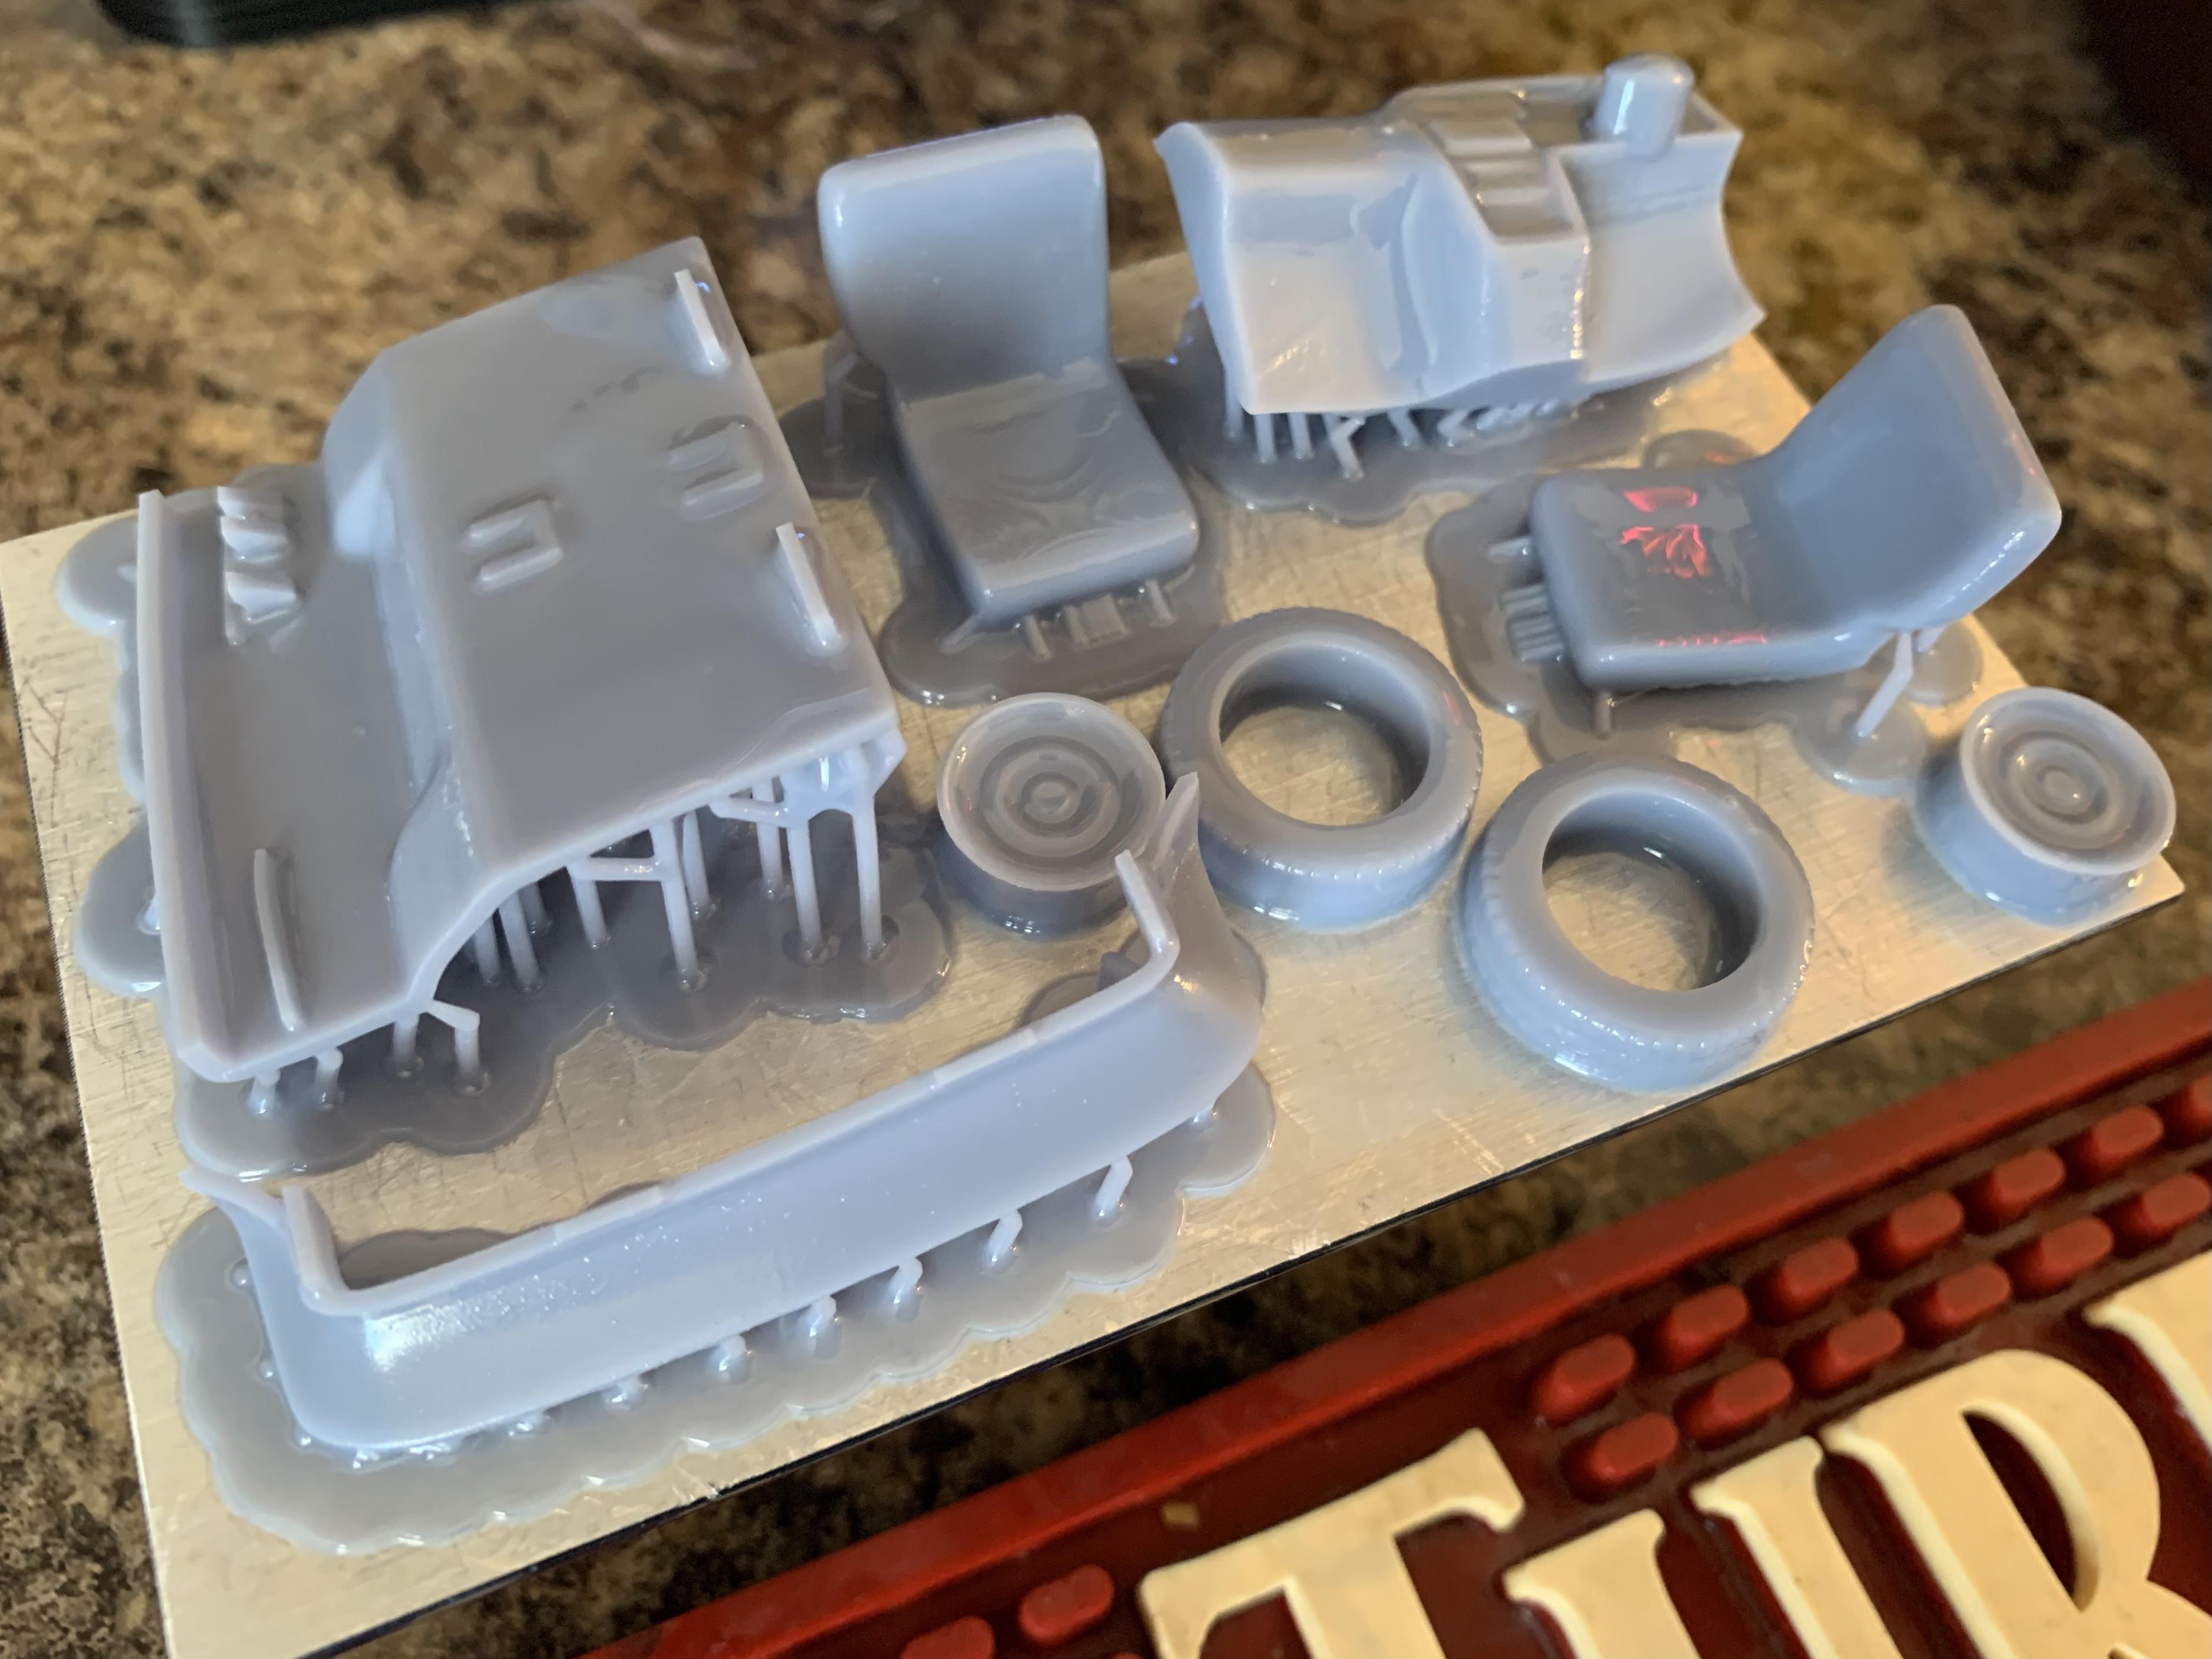
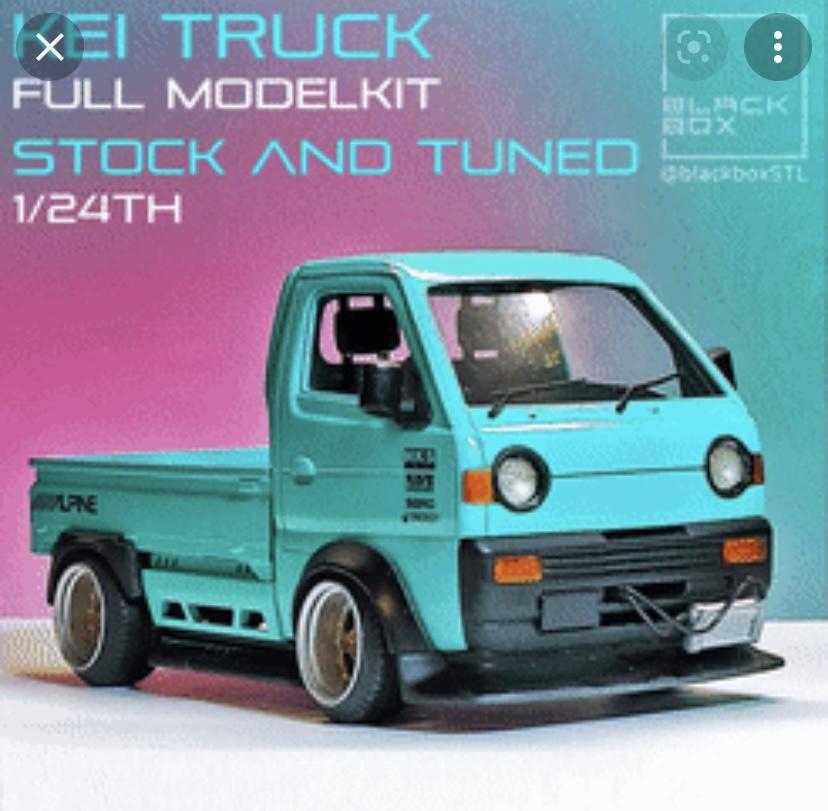
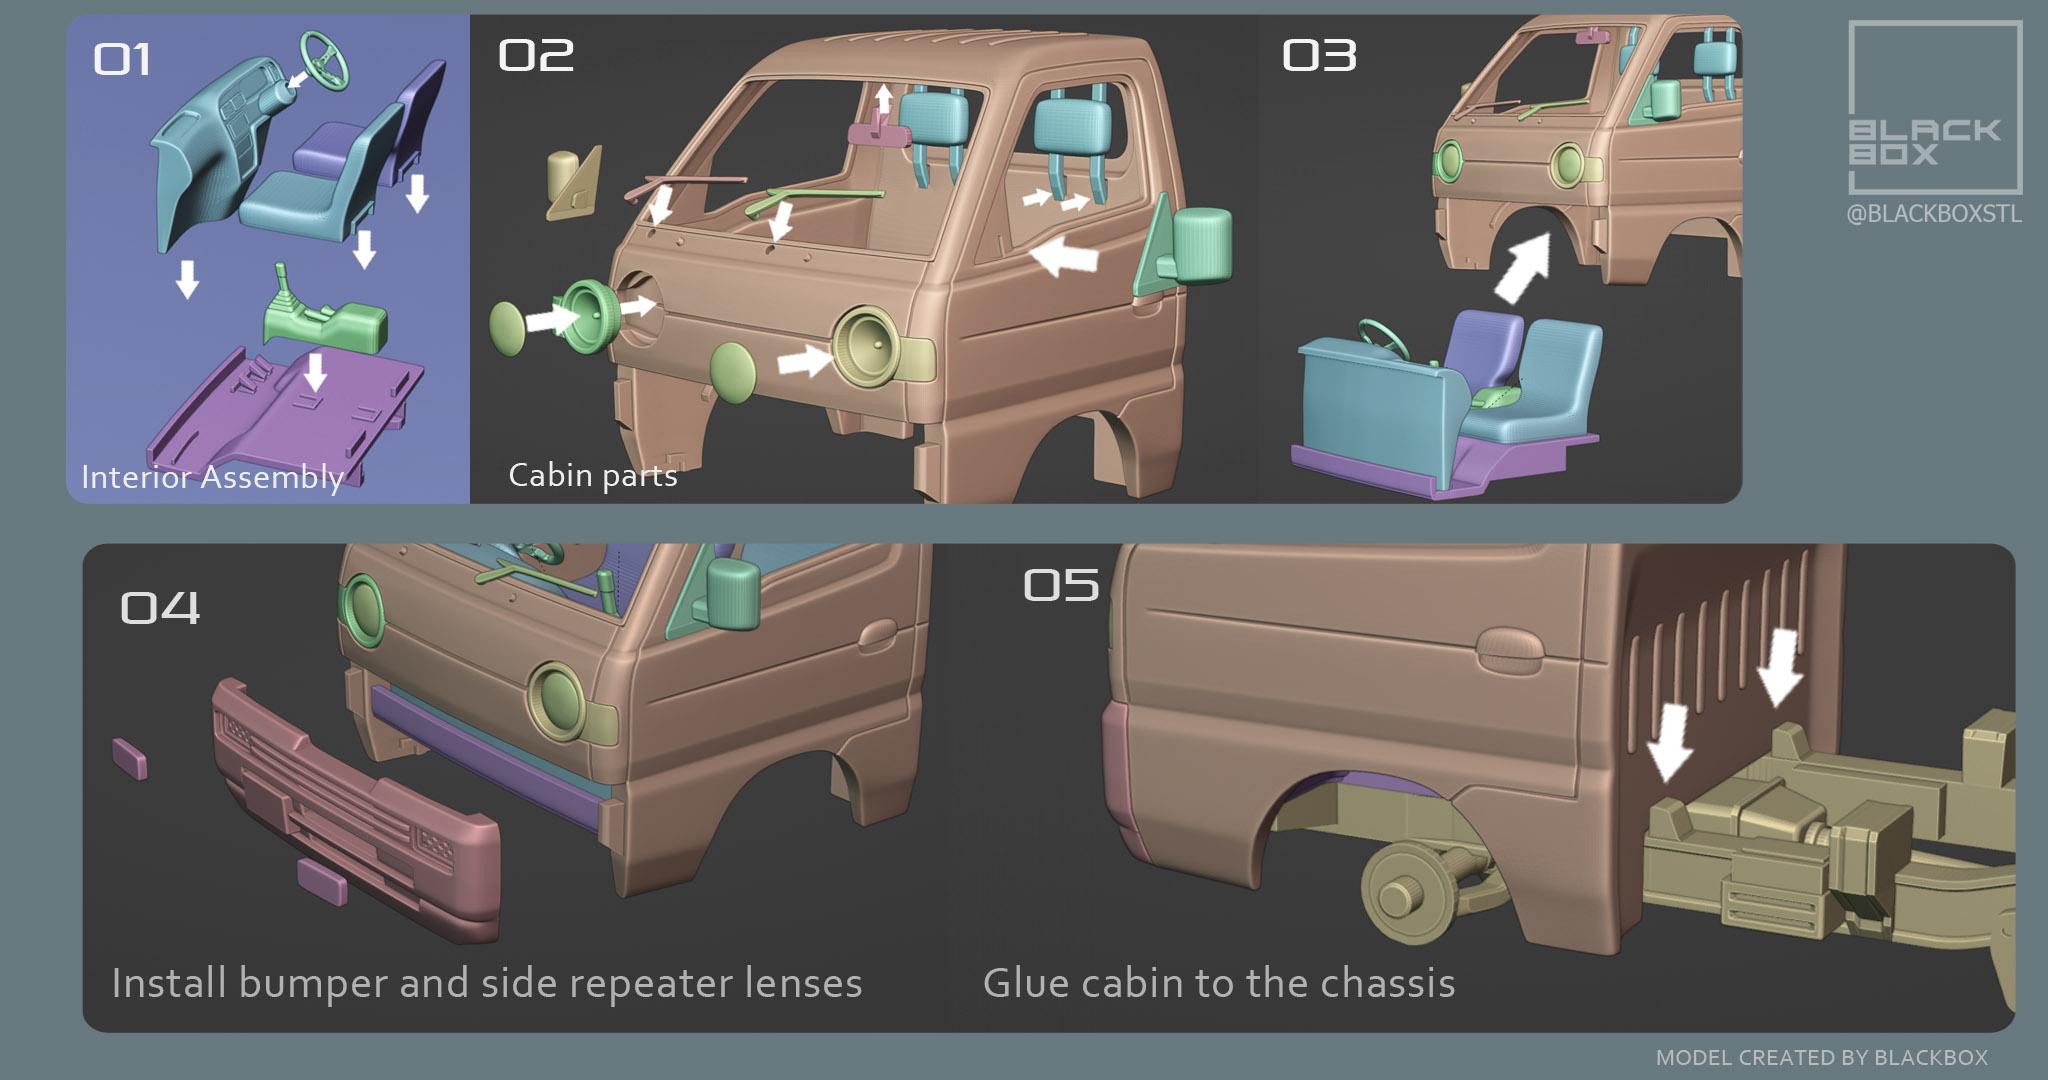
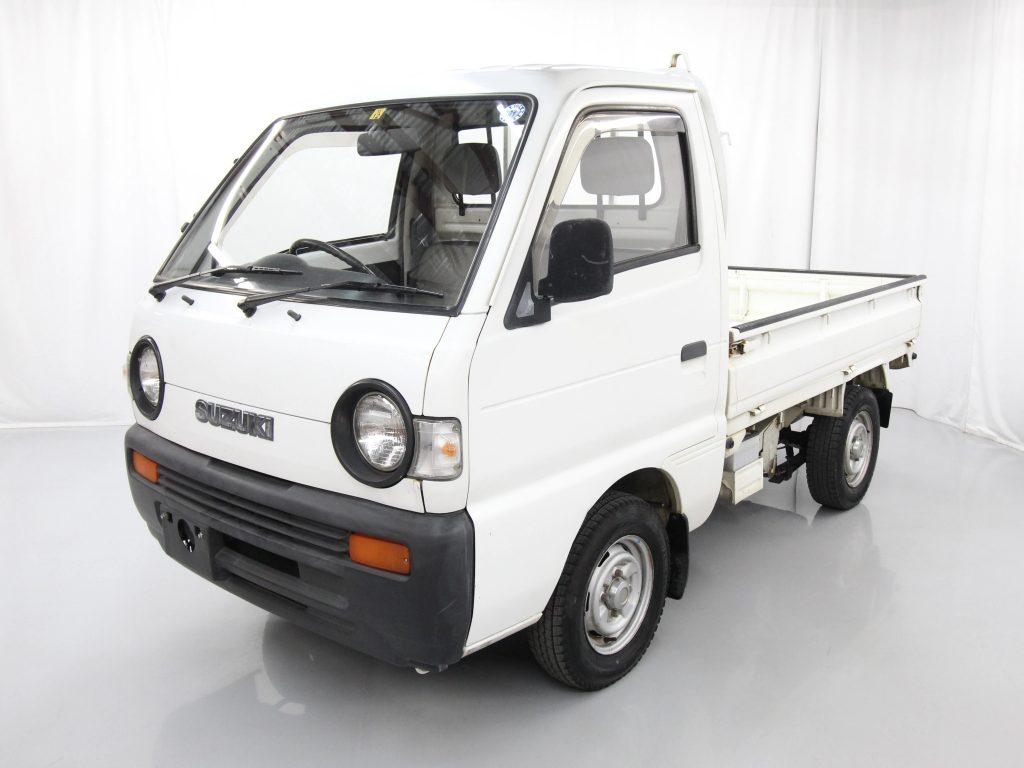
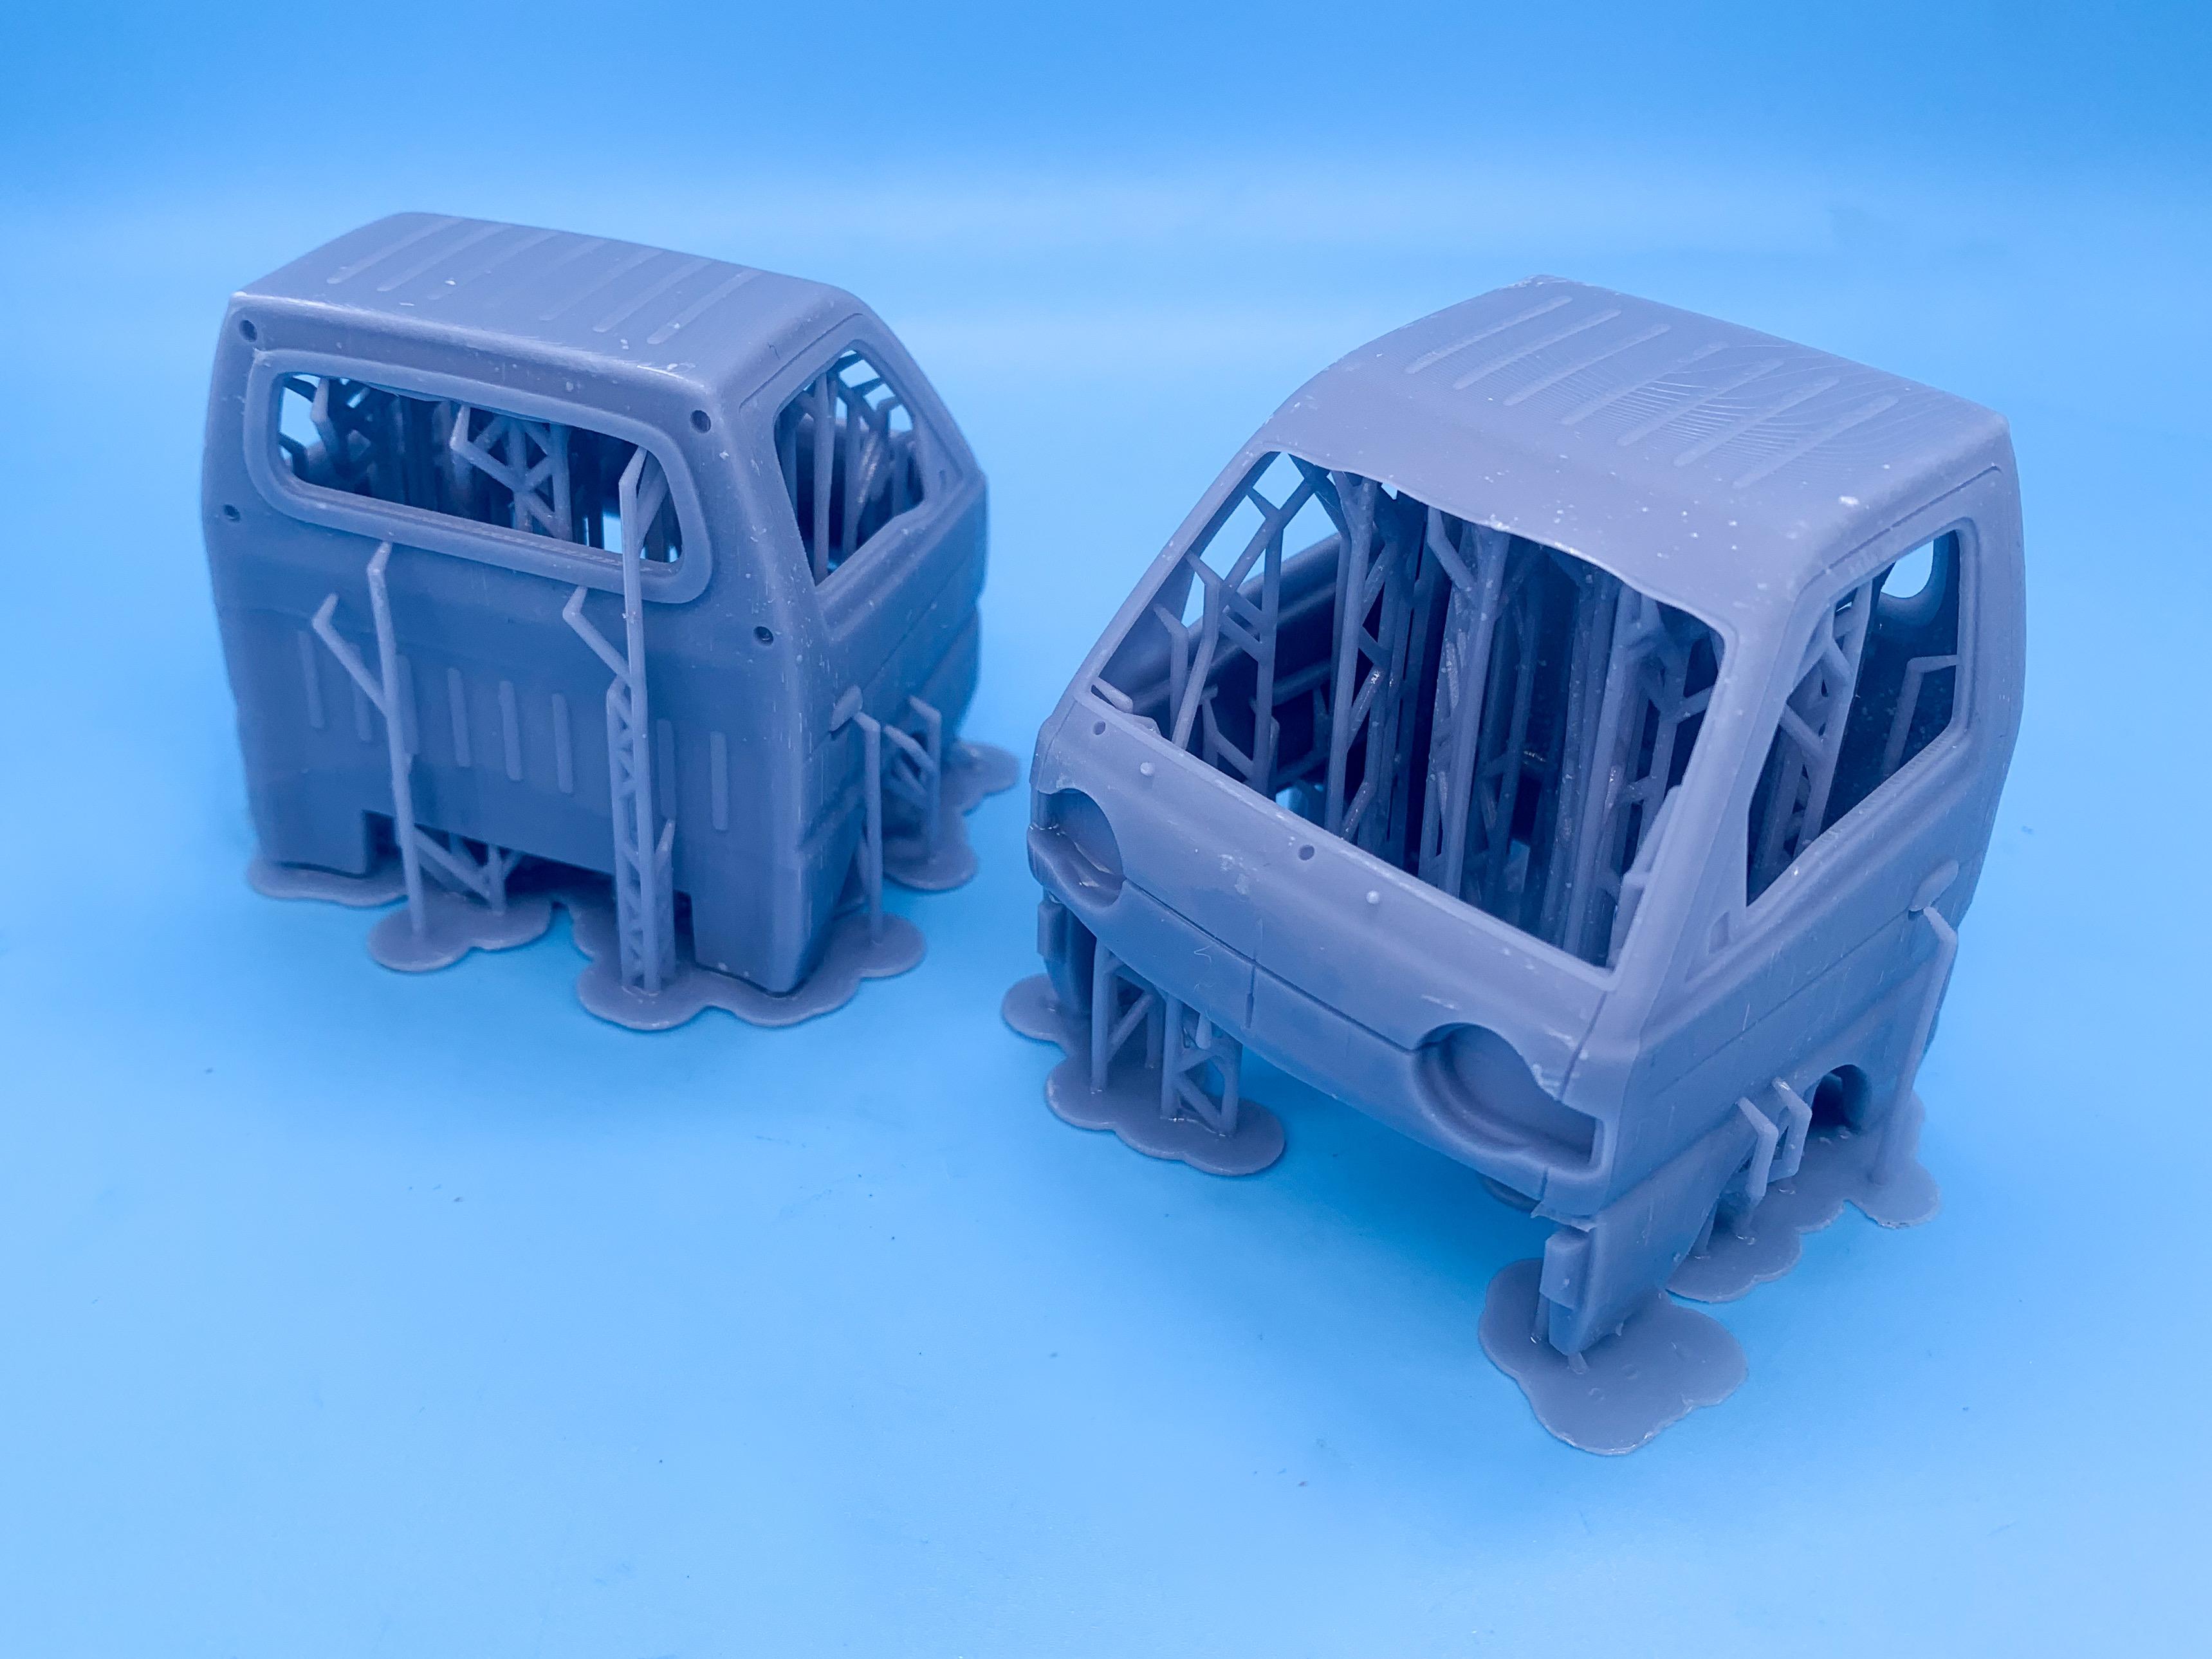
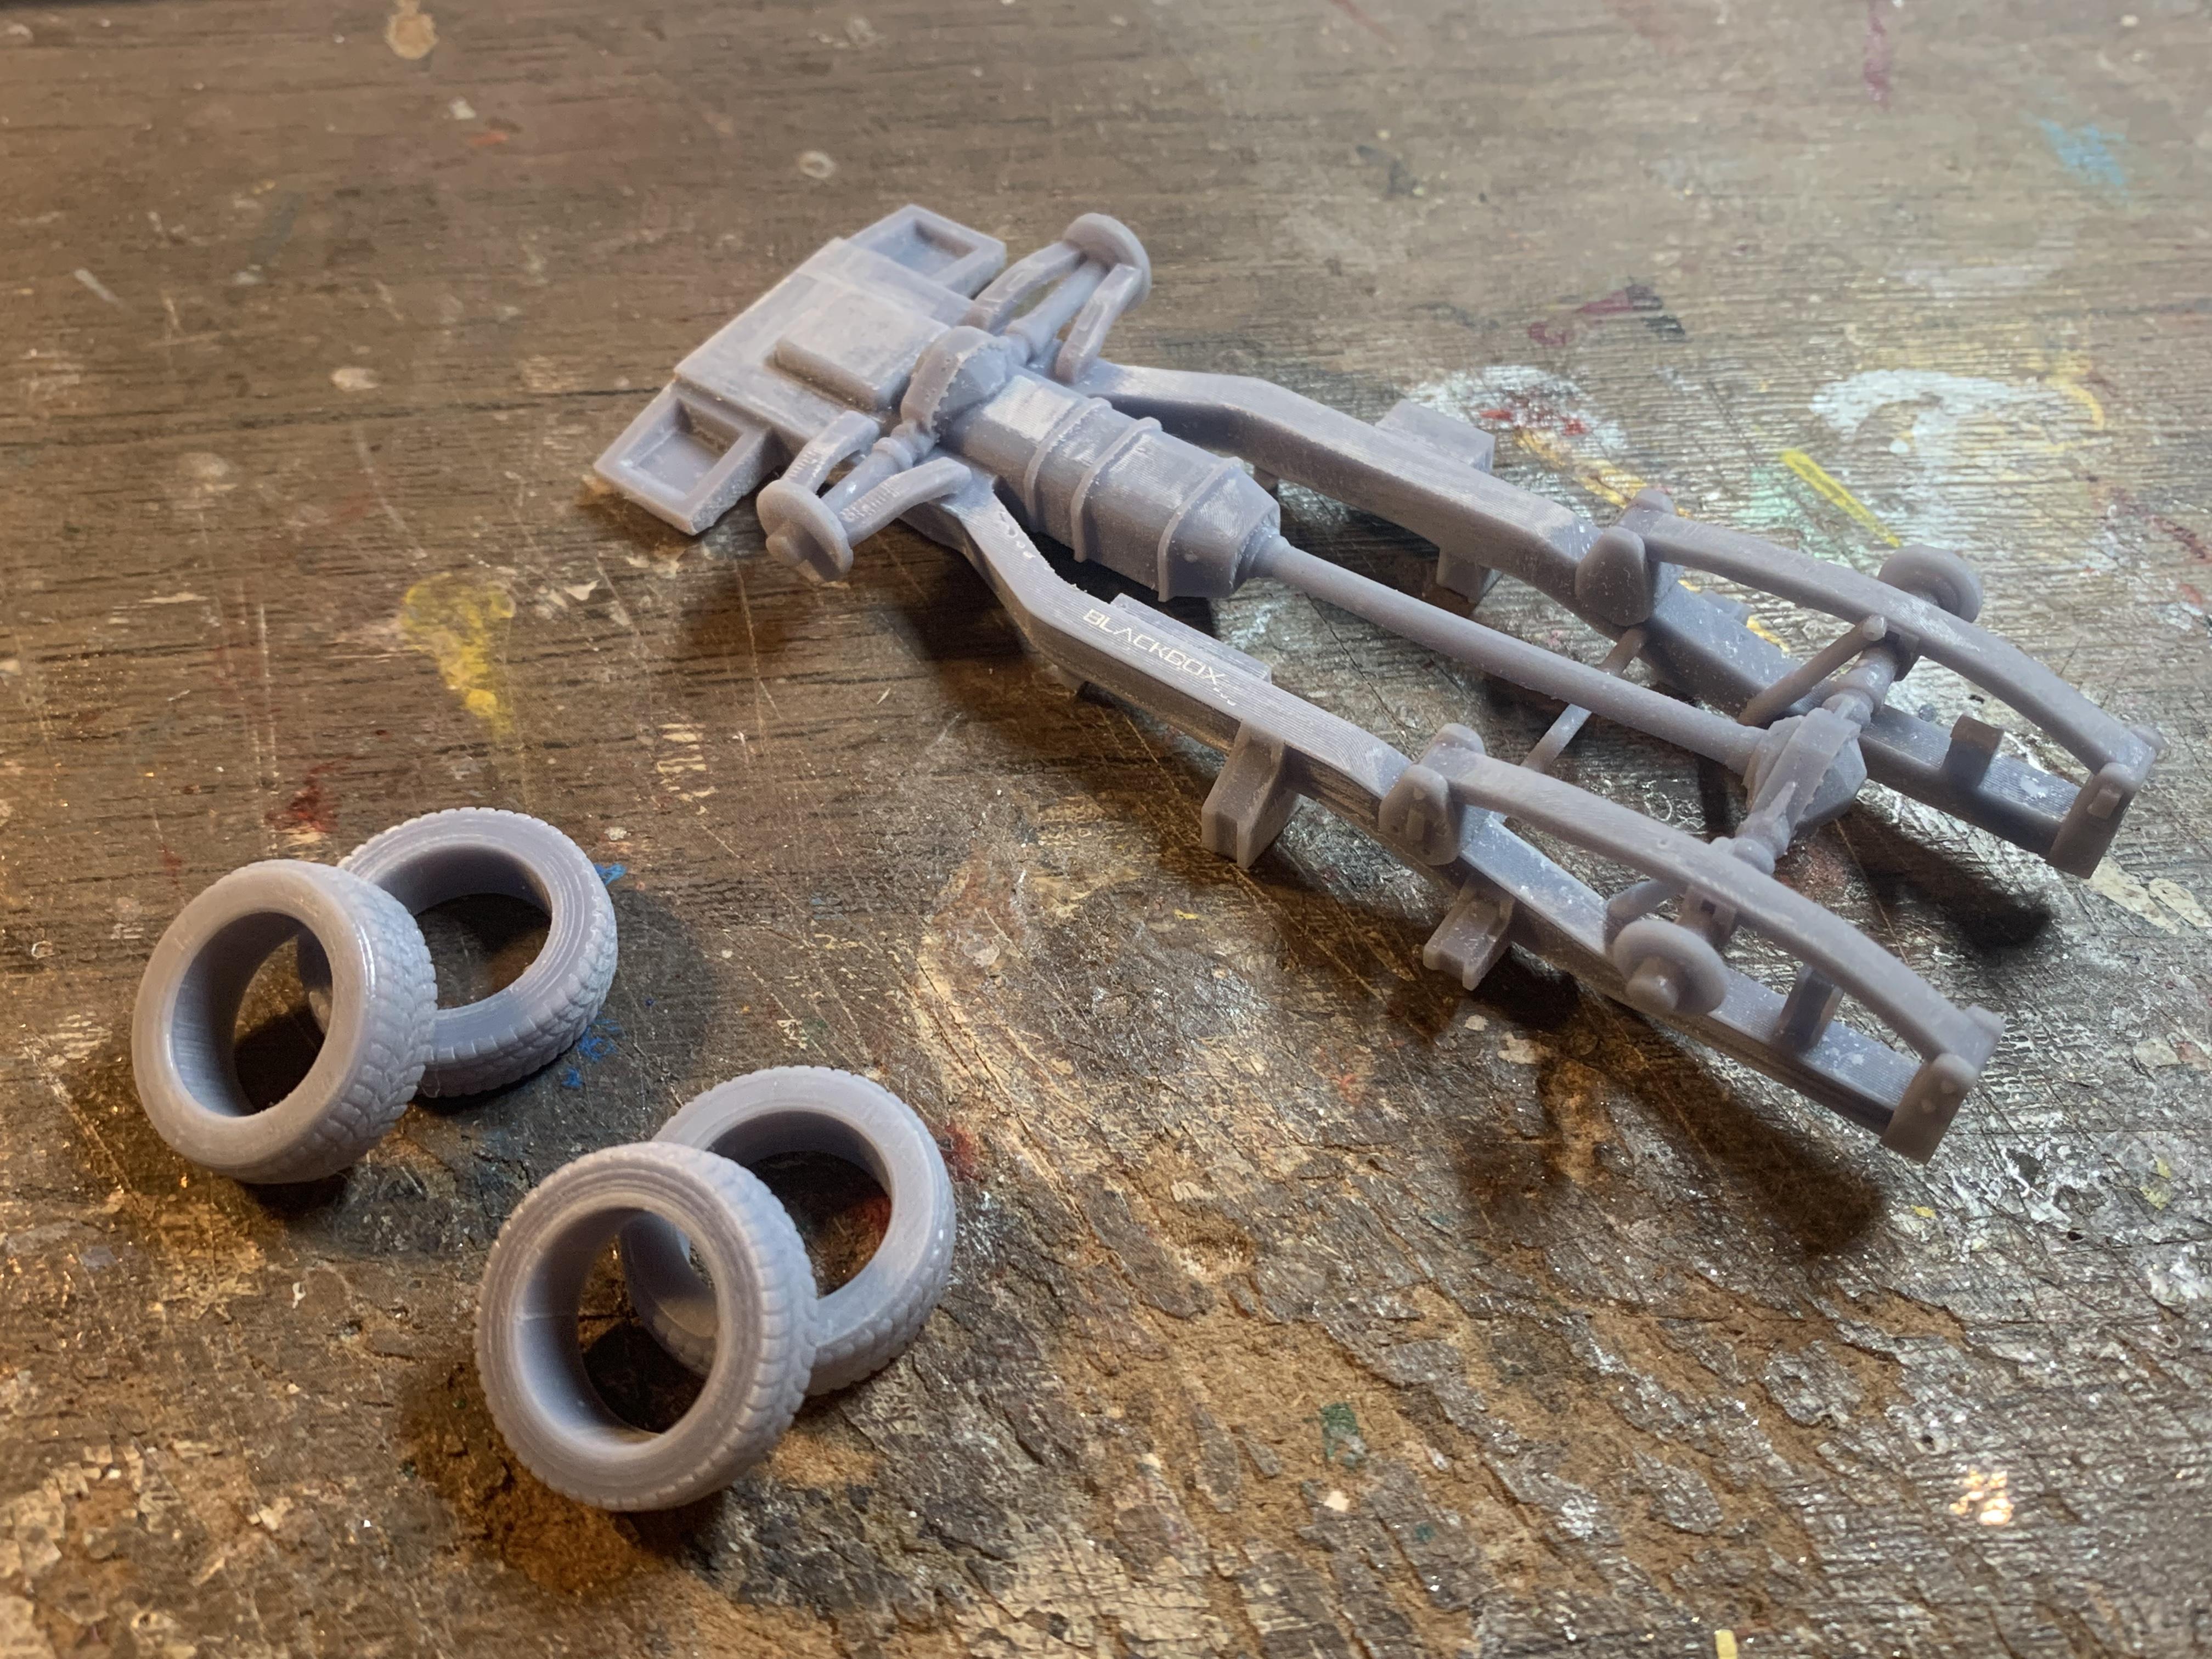
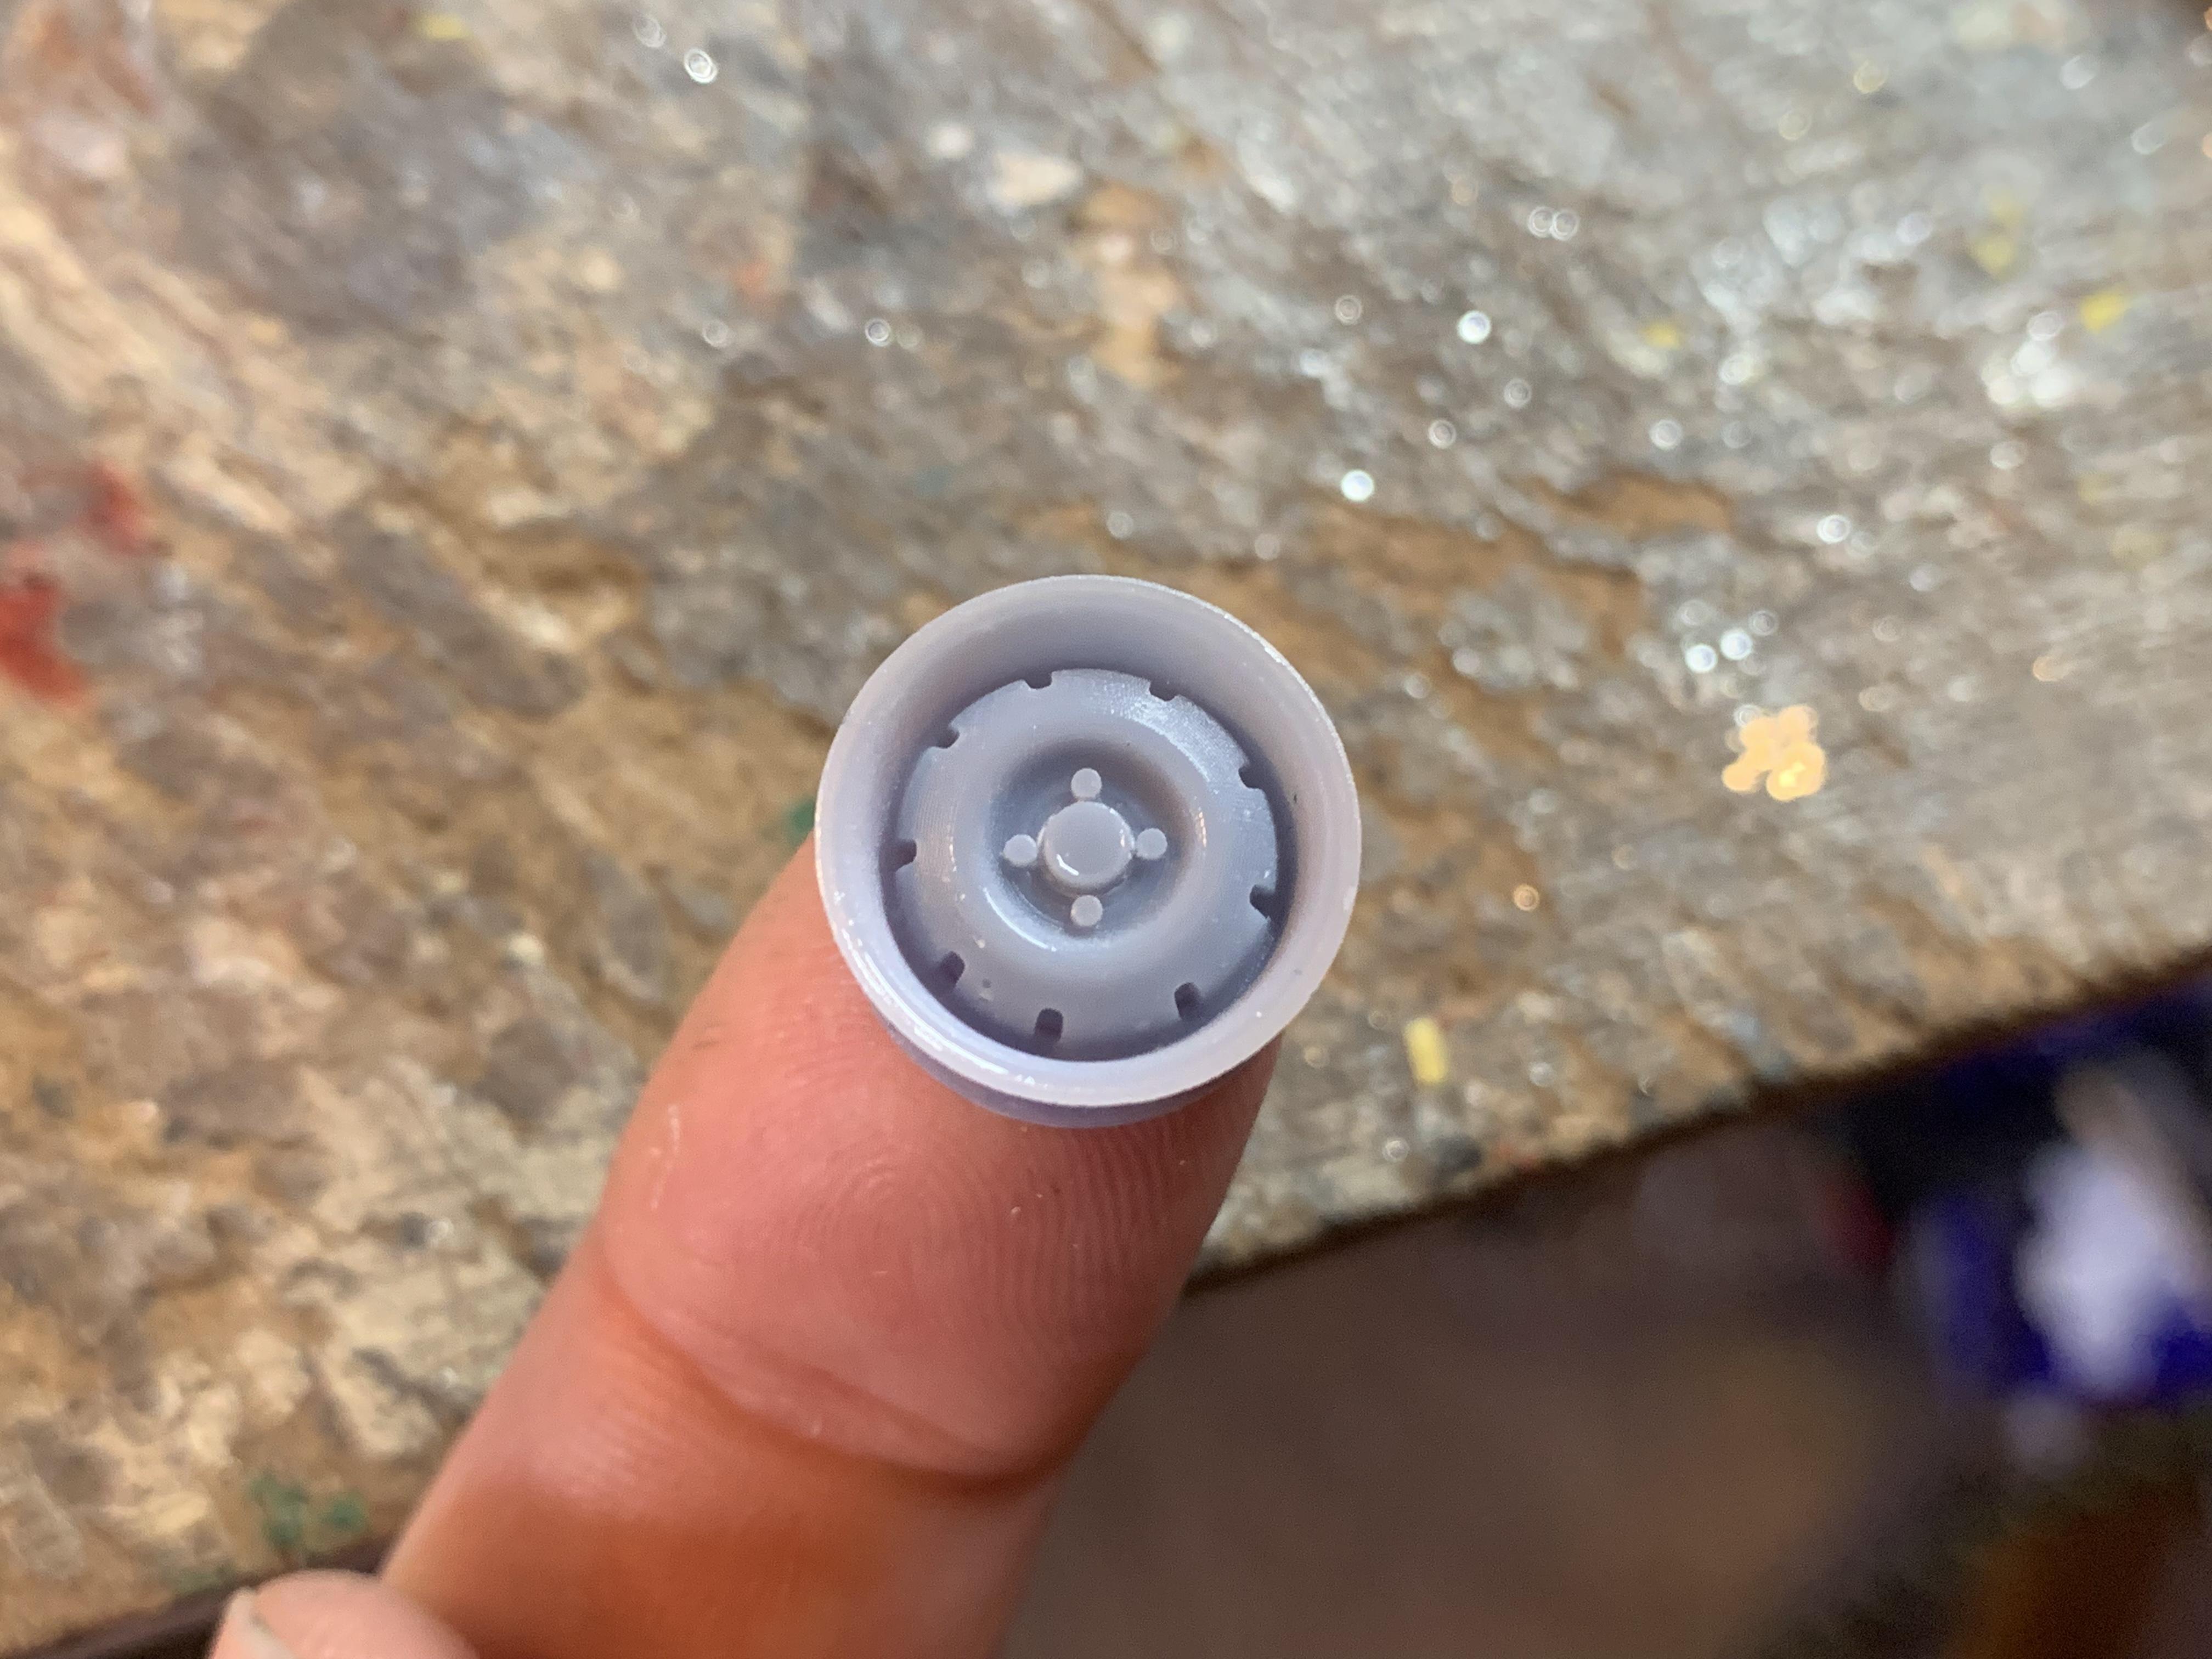
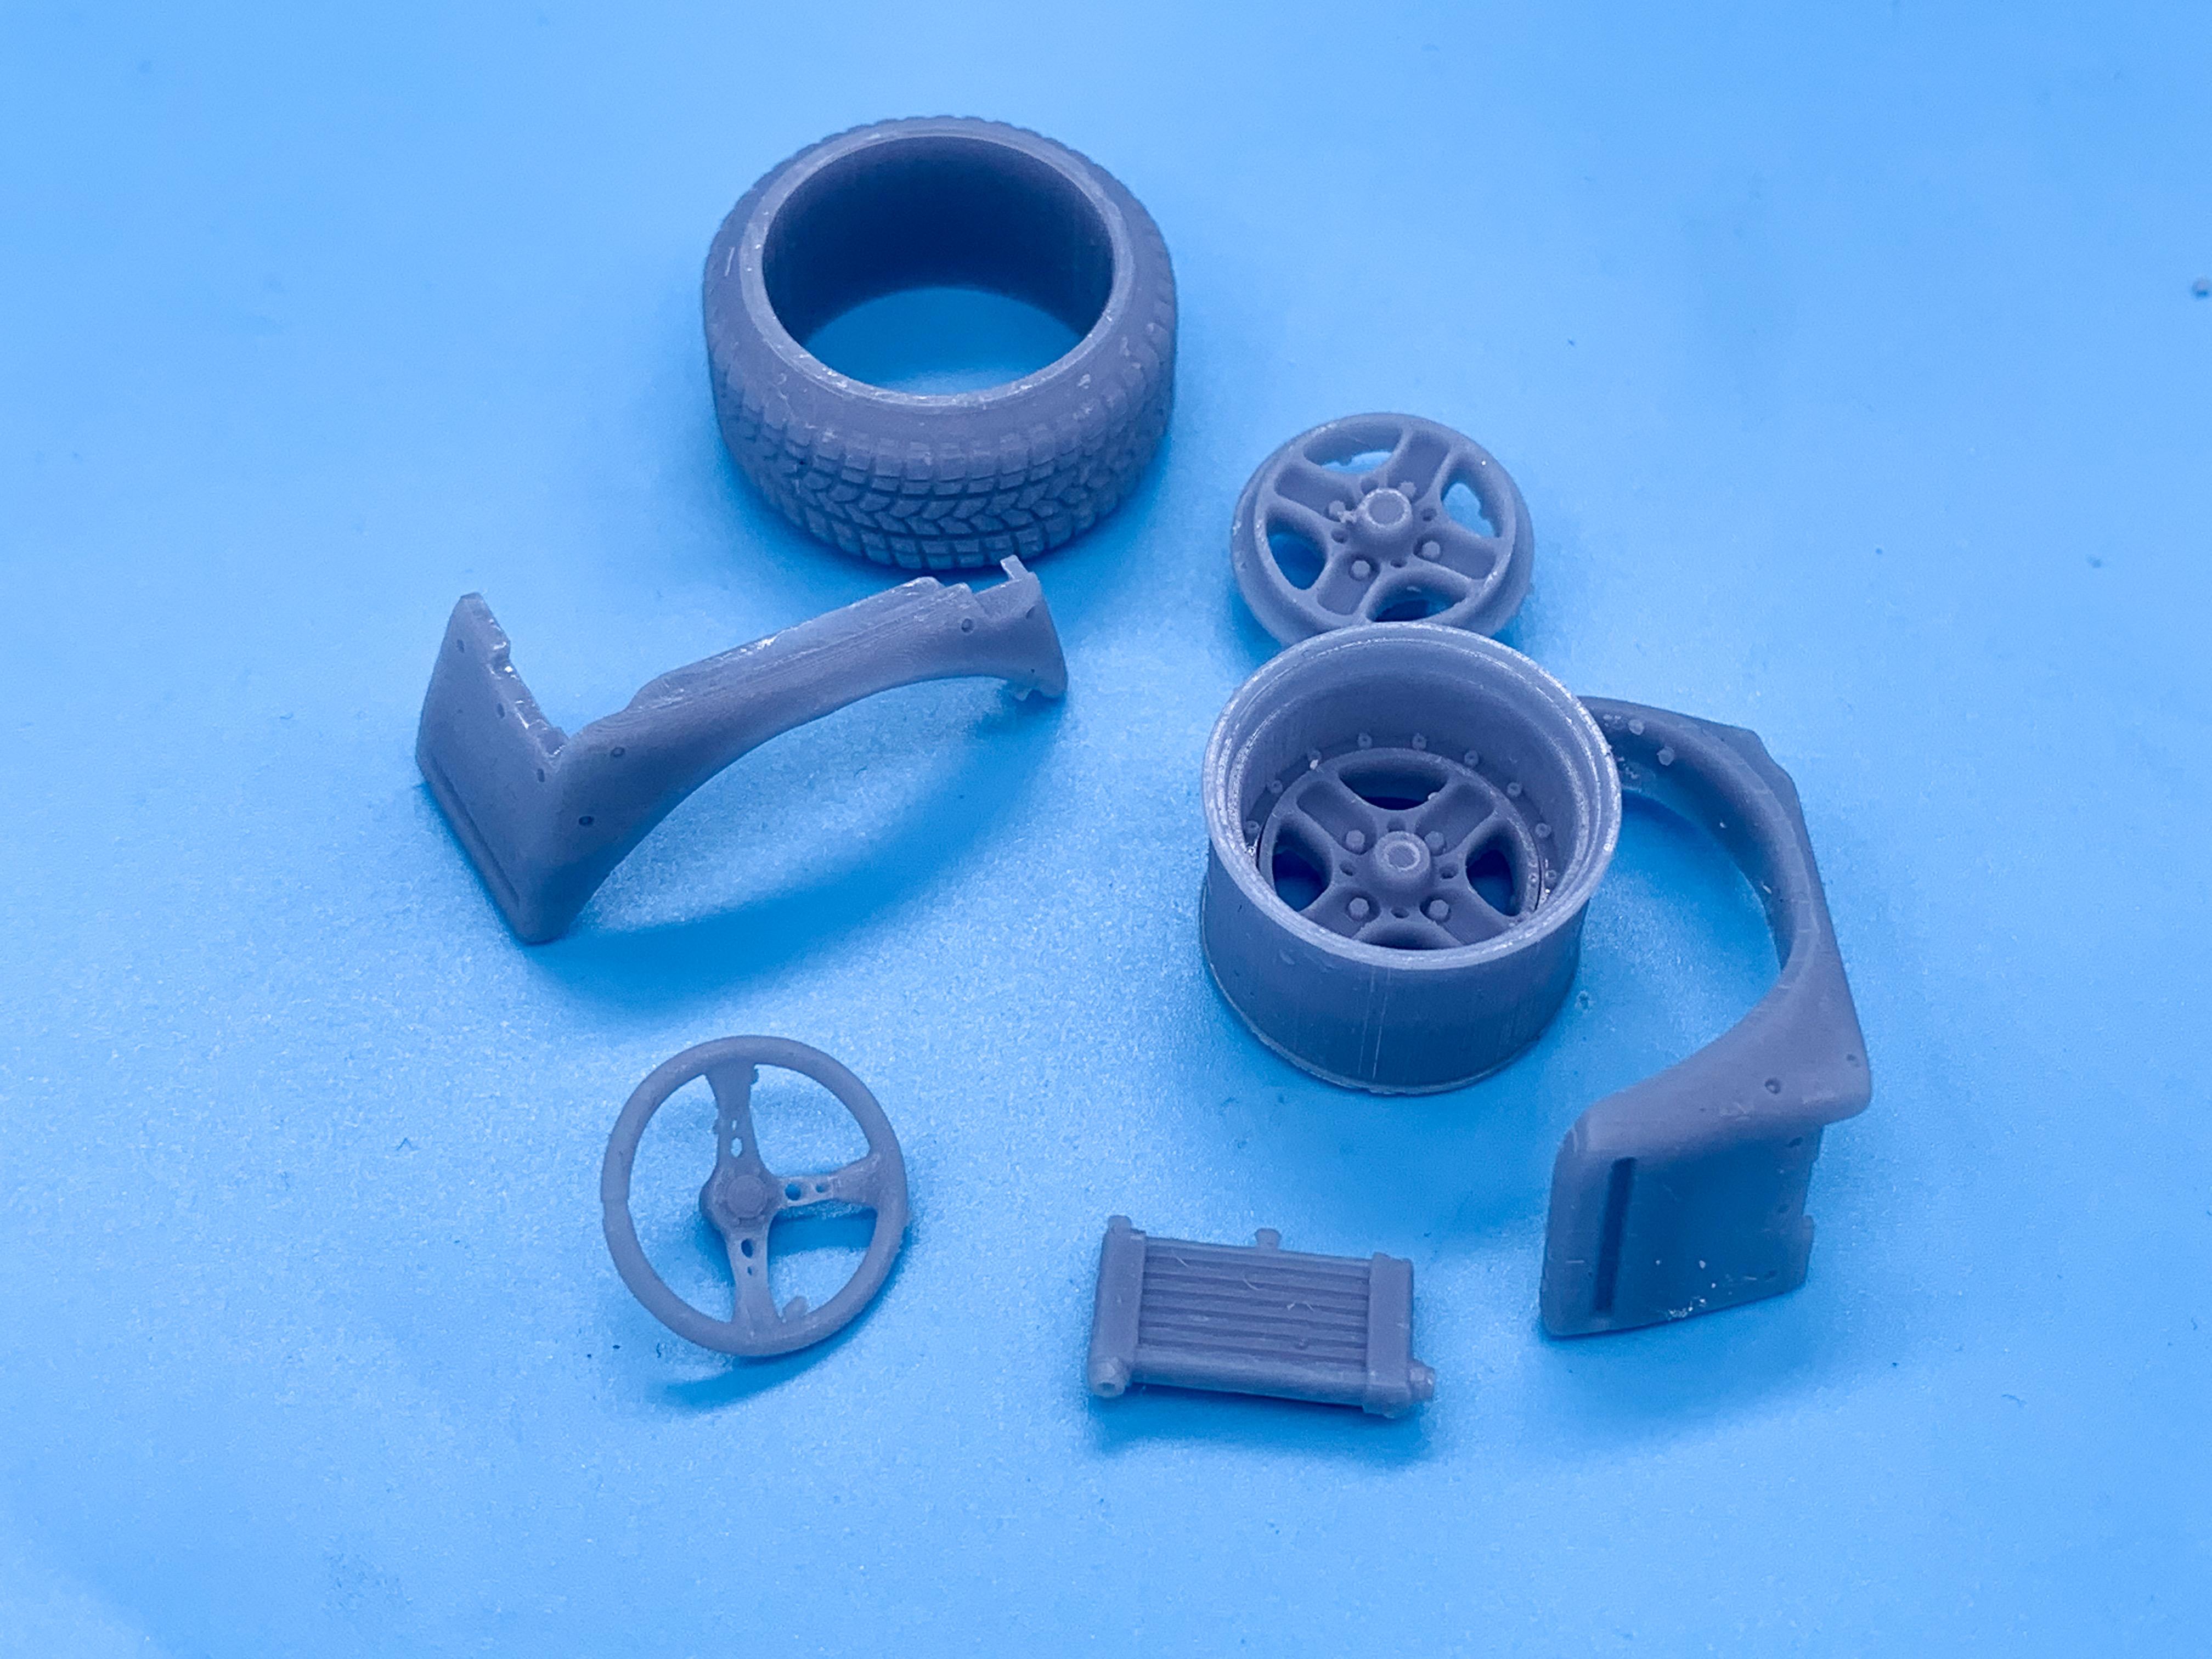
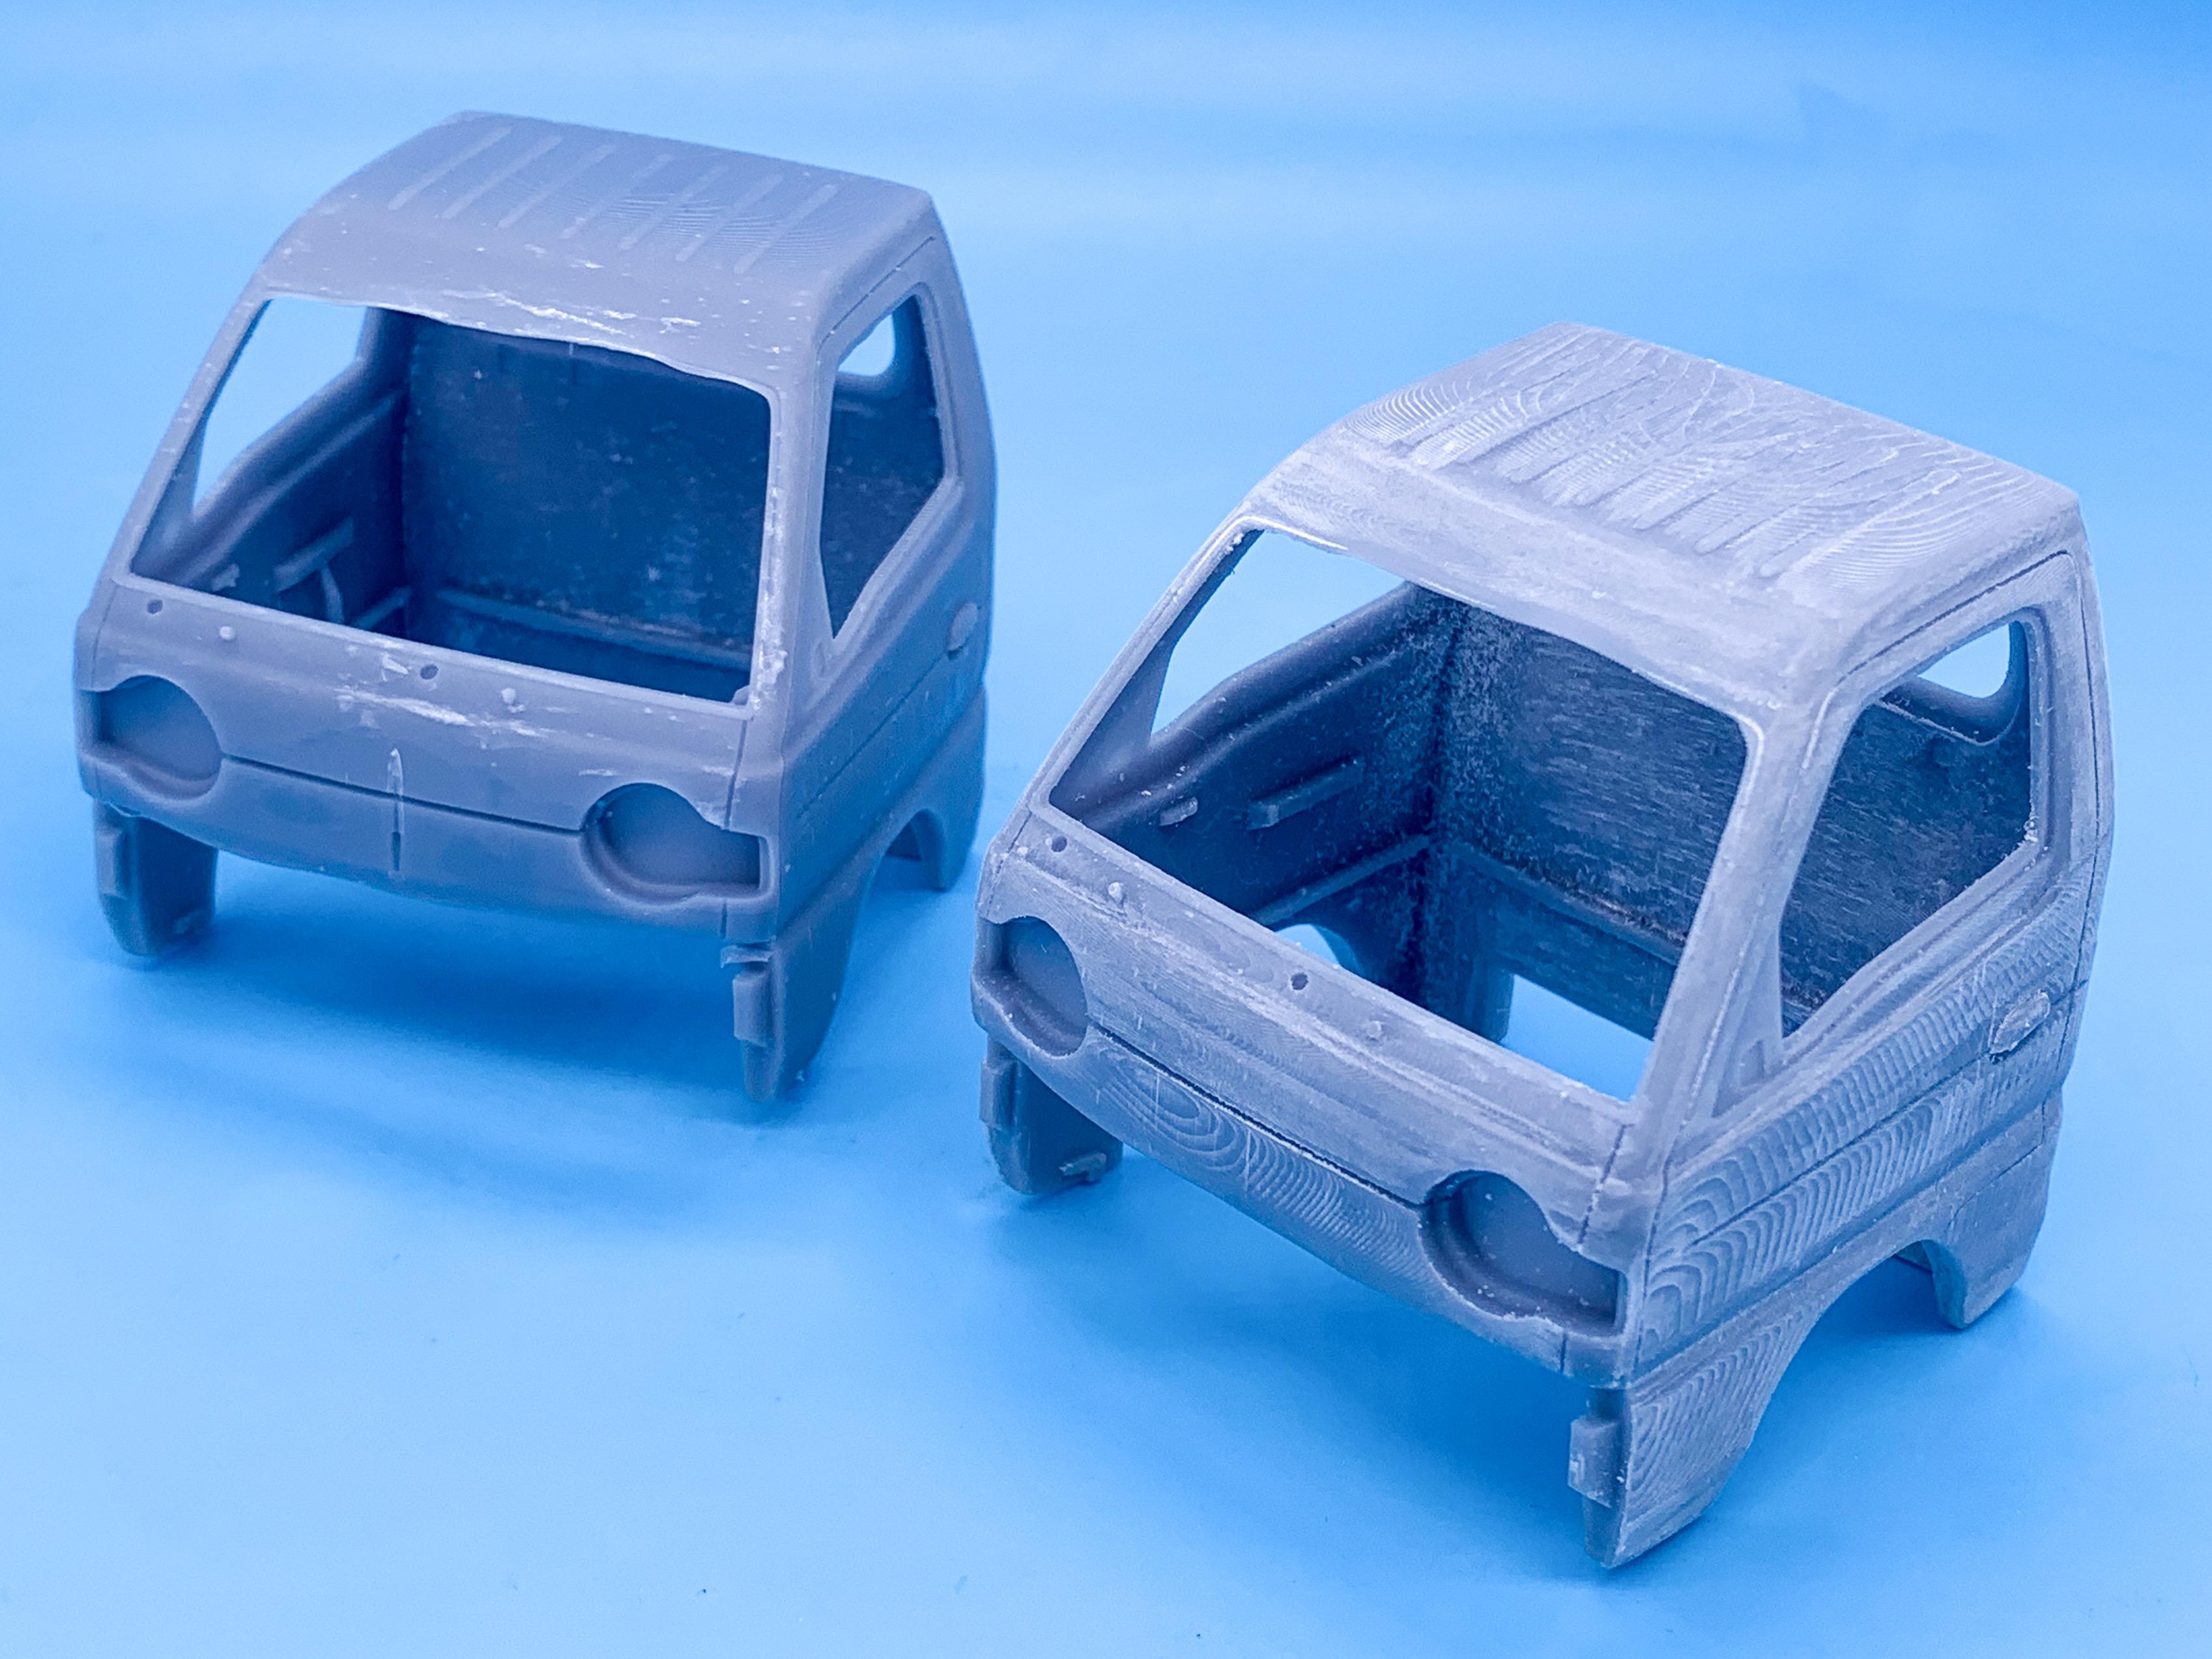
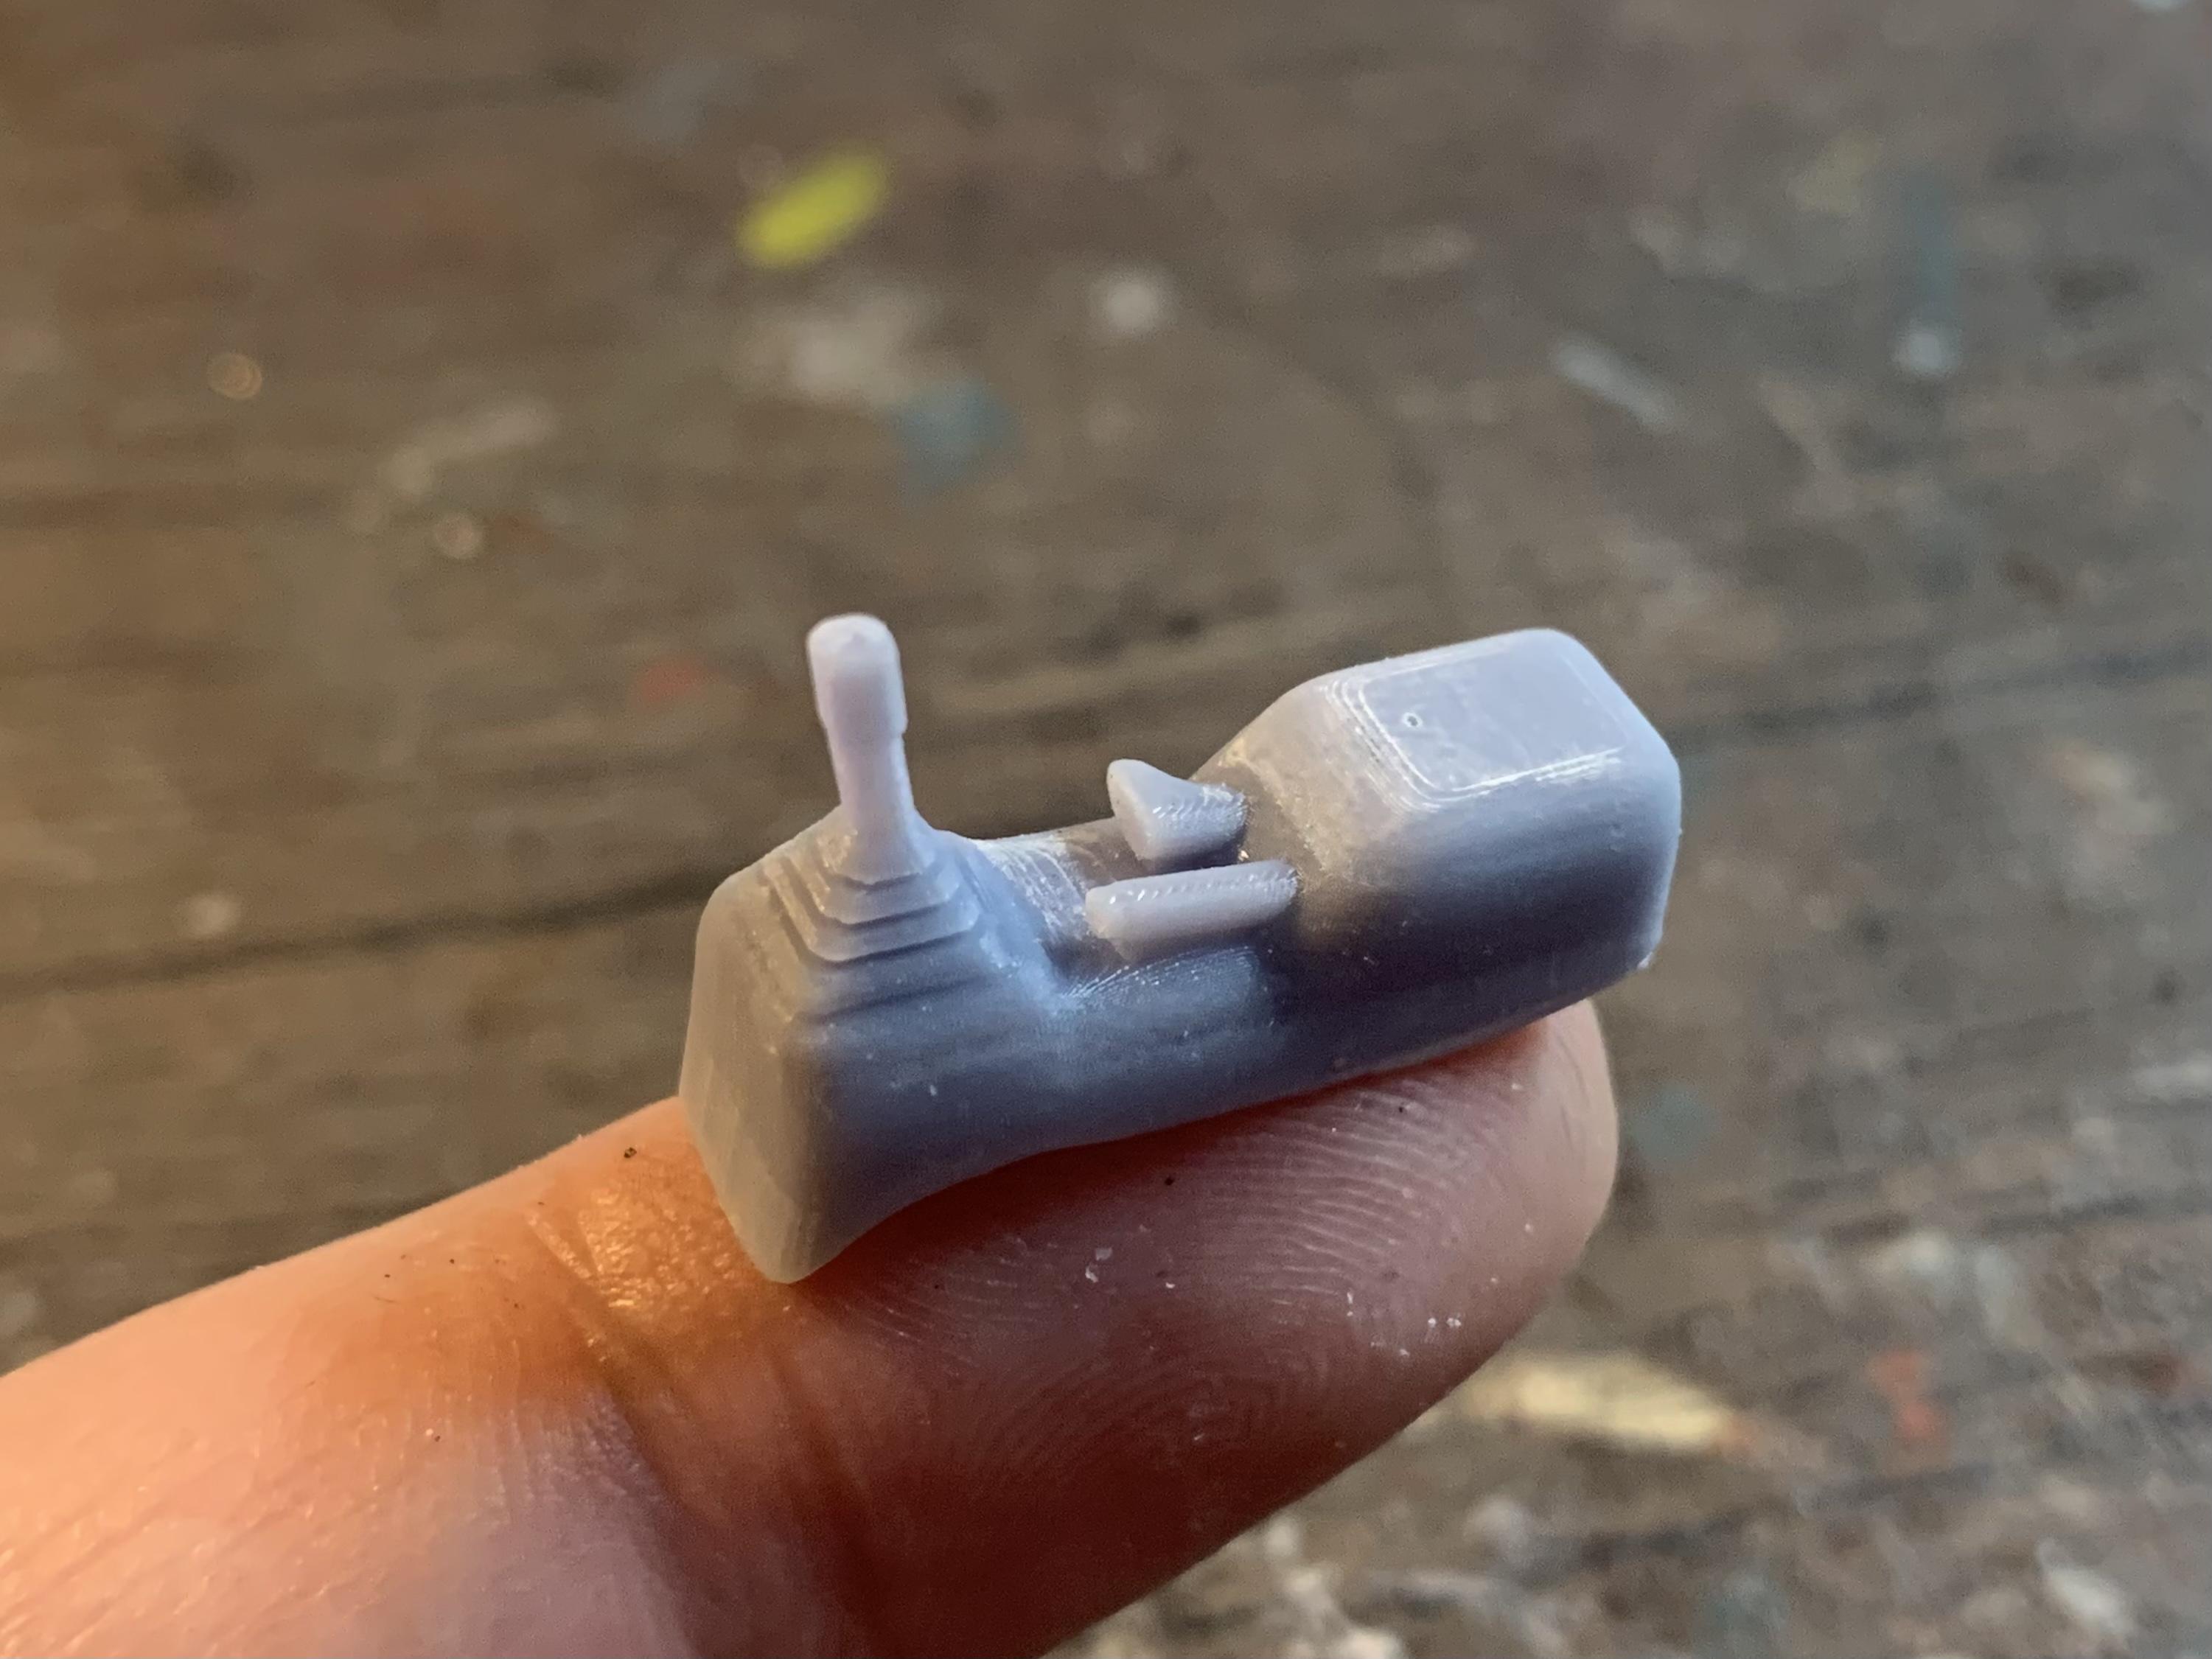
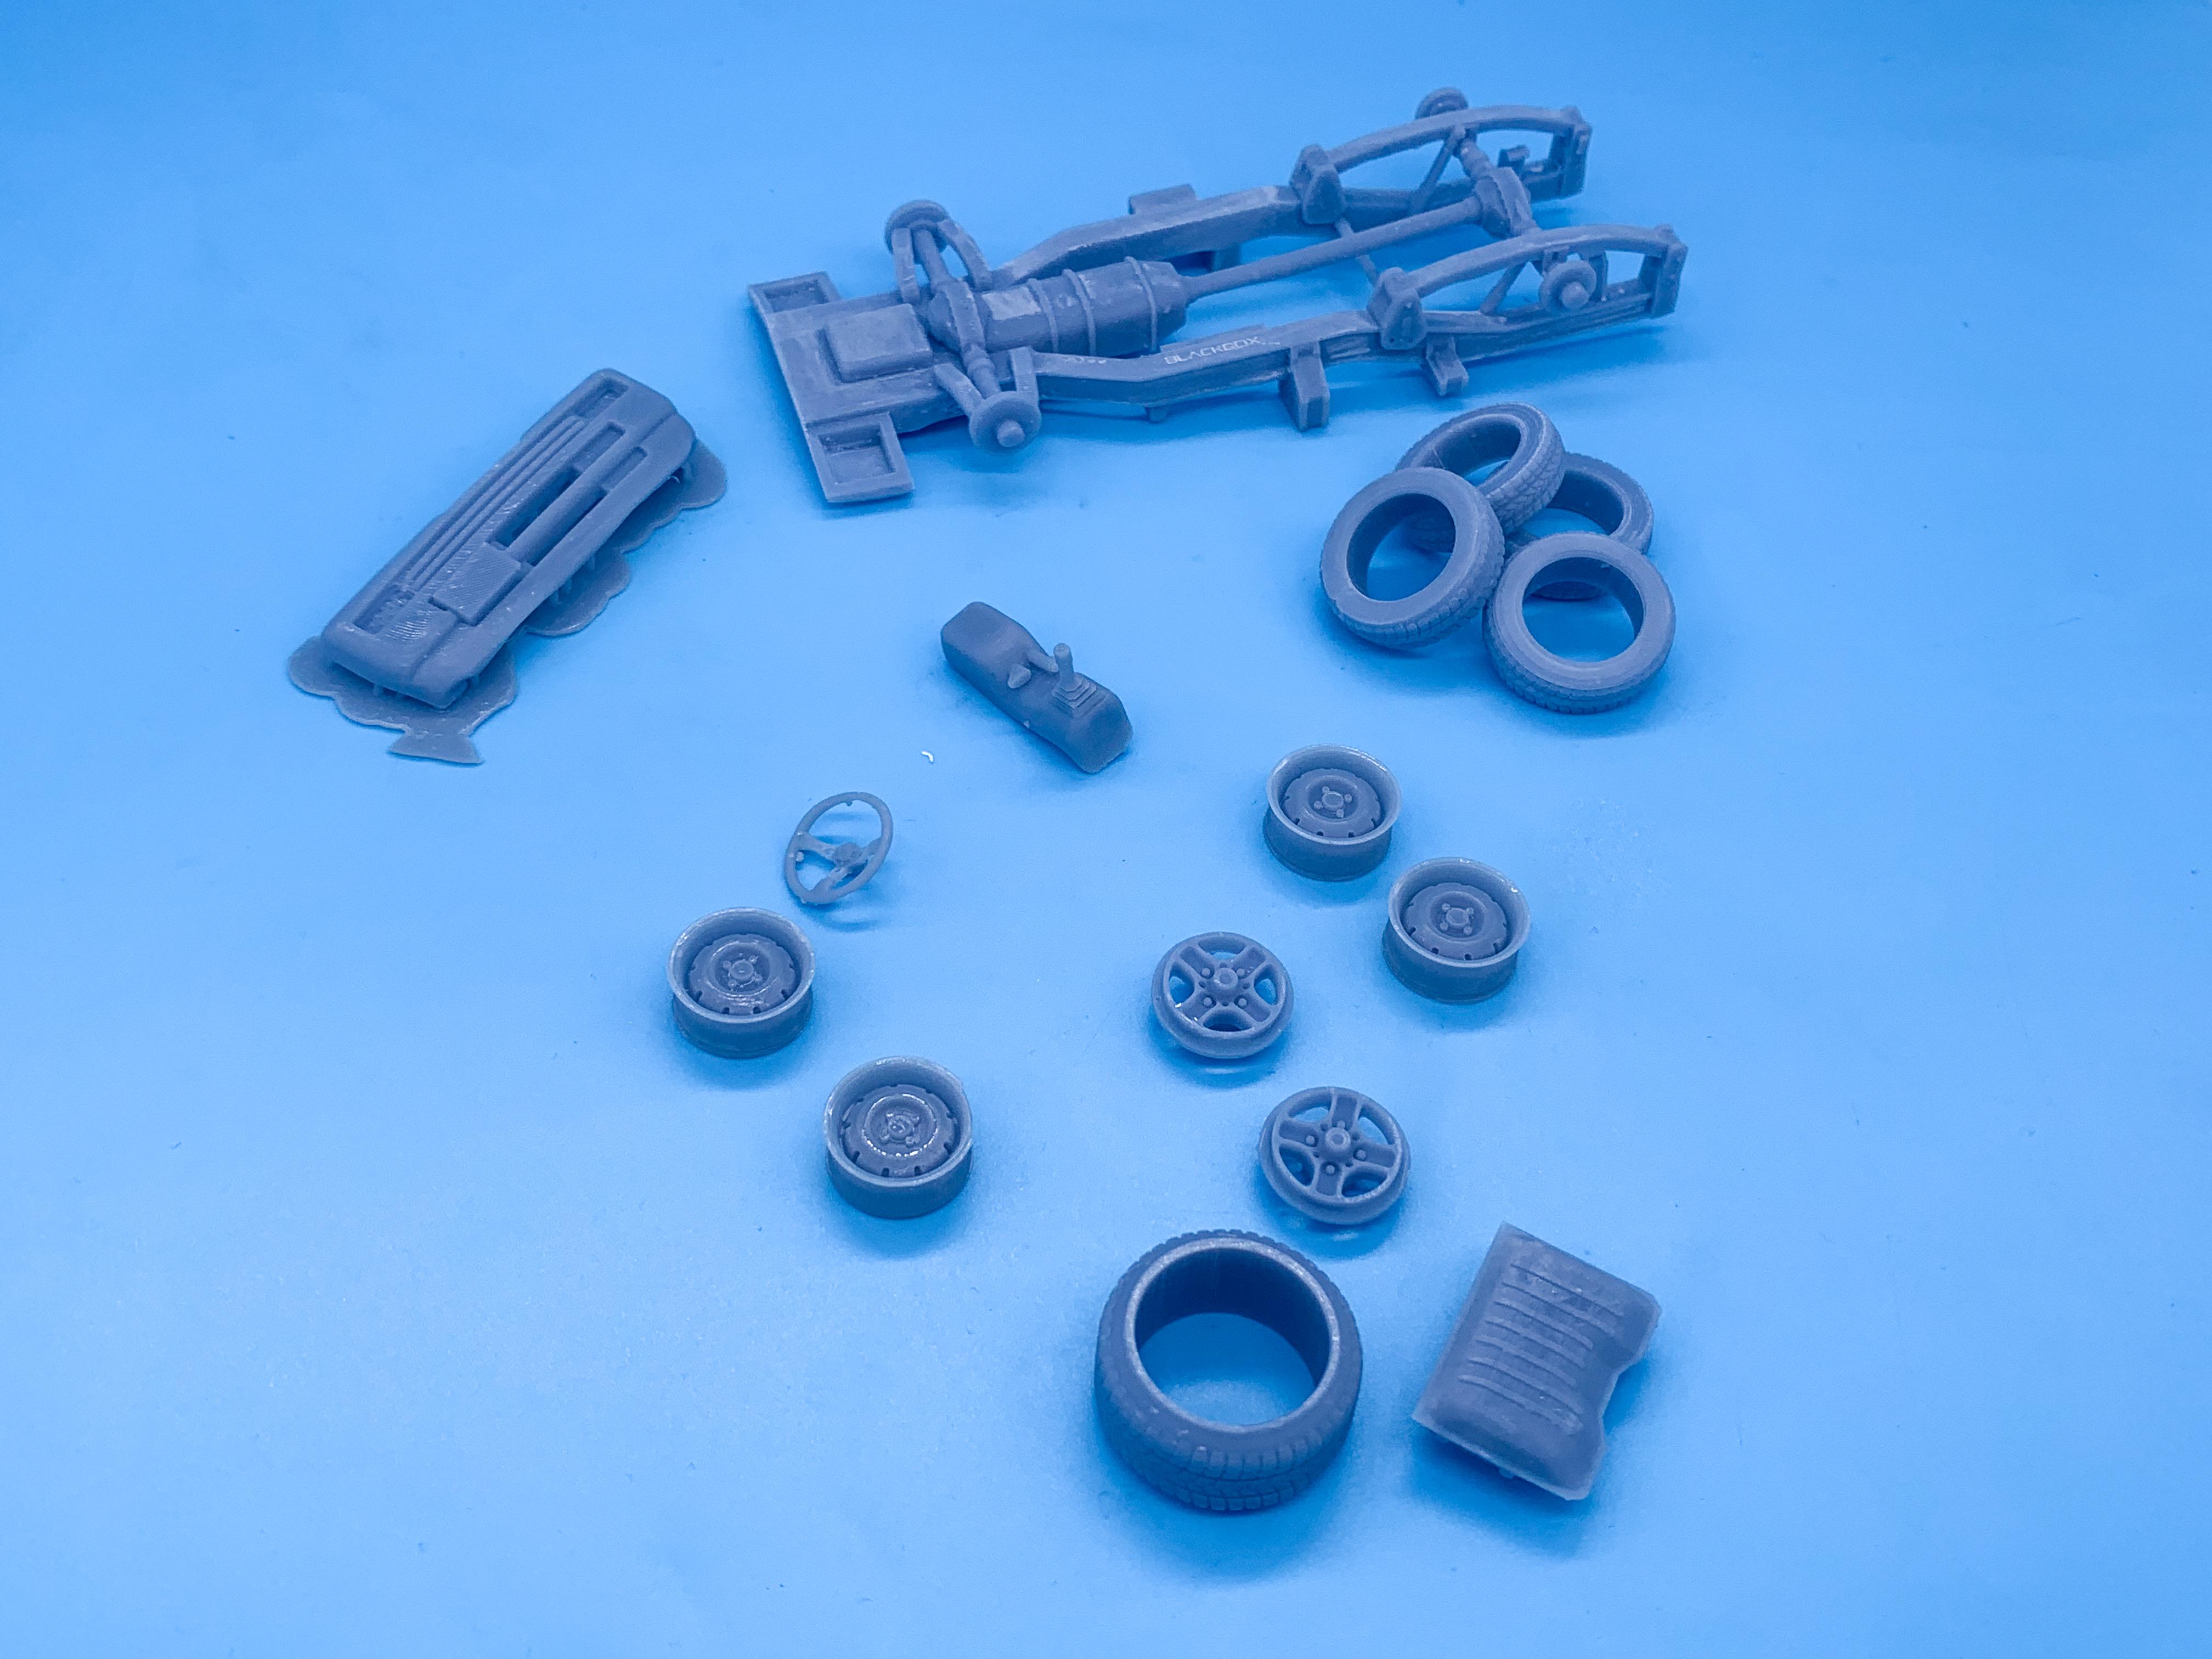
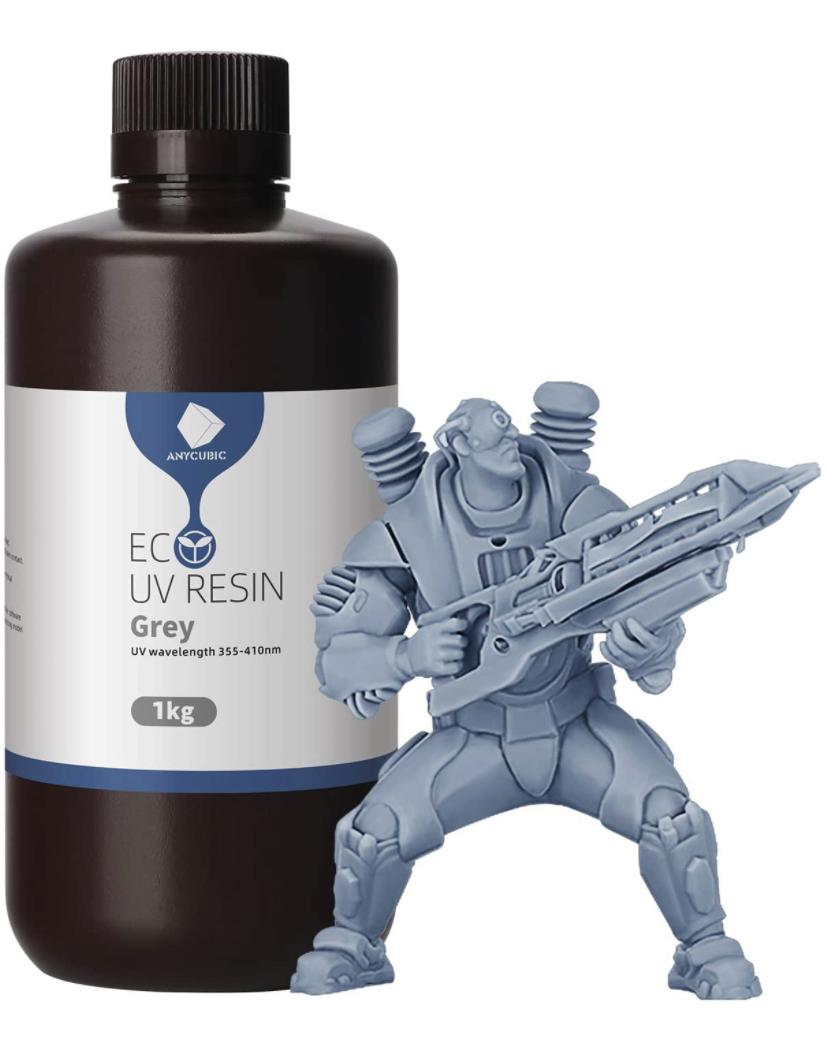
I’ve been 3D printing parts for a few weeks now and have KINDA got a handle on the basics, but I’ve been wanting to try one of the many 3D printable kits that are available online and see what challenges this new avenue of the hobby has in store. This cute little Japanese micro-truck (known as a ‘kei’ truck in their terminology) caught my eye, so I sent my order thru and had the files sent to my inbox like magic ? This is a curbside kit (the 1:1 is a cab-over with a tiny little 3 cylinder engine hidden under there) with probably 60-70 parts all in, allowing a couple of different building options. Everything’s nicely designed, has good attachment points for gluing just like a ‘real’ kit and it even came with an instruction manual (admittedly, only a couple of pages long, but that’s all AMT gave you with a lot of kits too ?) So, this project isn’t REALLY on my bench as such, but I’ve been printing parts over the last few evenings and started messing with them so I figured it was time for a WIP… I’m building a stock rendition of the Suzuki Carry, which looks like this: Toughest part of the printing process for this kit is the body, just because of the height and size, so I set the printer running this morning and let it roll for a few hours. I haven’t really printed much in the way of whole bodies yet, so this is a learning experience… A view of how it looks in the software, with the internal supports to hold it all together whilst the resin prints: And a couple of them fresh off the machine: As you can see, I needed some more supports in the very top of that windshield at the front there, but it’s so quick and easy to fix that I’ll make use of these couple of bodies and tweak my print file for future examples (I’ve got SO MANY ideas for these…) The frame, and the stock tires printed and ready for clean-up and primer: As you can see, there’s plenty of opportunity to replace some of the ‘moulded in’ detail, but I’m going to TRY and at least build one of these as the designer intended. Tiny steelie wheel! And some of the option parts, that will end up on a future build… One of the criticisms I see of 3D printed parts is the printing lines, which aren’t super visible on these little pieces, but become more visible on parts with larger gently-curved areas, like hoods and doors. What I’ve discovered though is that 3D printing resin, at least the AnyCubic stuff I use, responds to light sanding really nicely…it’s more like sanding a coat of filler primer than styrene, and you can clean up parts in a snap and get a nice ready-to-paint surface: Compare the prepped body on the right to the untouched one on the left and you’ll see that sanding revealed where those lines are pretty clearly, but all the surfaces are smooth to the touch now and ready for primer (once I’ve fixed that windshield, anyway…) Still finishing up printing all the parts, got a few more to do tomorrow, and I’d like to tweak the design of the bed a little to make it easier to print (it’s all one piece currently, which makes it more awkward than if it was a separate bed, sides and tailgate), but soon as I print the interior pieces I can start on step one of the build manual! Here’s a lil’ center console in the meantime… Thanks for looking, hope y’all find this interesting…more soon!
-
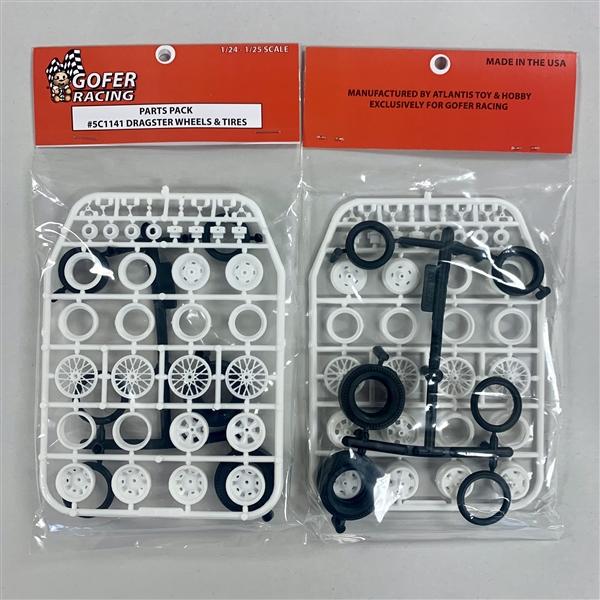
Yep - actually, I got a scratch ‘n’ dent special Mooneyes dragster from one of the sites for only a couple of bucks more. That said, I’ve been collecting these parts packs by Gopher just to have them, so I can see myself ending up with one anyway…
-
Just spotted these on Model Roundup - same parts as in the Mooneyes dragster that Atlantis just reissued:
-
That guy had taken a bunch of people’s money in the past and not fulfilled the orders…he’s still active on Instagram and making new stuff, it looks like, but buyer beware on that one…
-
60s studebaker zip van
OldNYJim replied to ridinframe's topic in WIP: Model Trucks: Pickups, Vans, SUVs, Light Commercial
Still got one of those patiently waiting it’s turn to get built ? -
Oh, and philosophical question for the contest modelers, that occurred to me today…if you download a kit and print it, and build it like any regular kit, would it be eligible for the box-stock class? ???
-
I downloaded my first entire 3D-printable kit this week - there’s a bunch of them out there, but one of these kept catching my eye: Not in my usual wheelhouse - I just think it’s cute! Started working through printing the files…body is the biggest part so I’ll do that this weekend, but been plugging away when I’ve had a spare couple of hours at getting the whole kit printed:
-
I really like this build Tim, and the write-up was great too (as usual). Thanks so much for sharing!
-
LLV “mail truck“
OldNYJim replied to ridinframe's topic in WIP: Model Trucks: Pickups, Vans, SUVs, Light Commercial
The only particularly fiddly part of building one of these from sheet will be those radiused edges where the sides meet - but nothing that some round tube can’t fix! -
Amazon had a deal on their AnyCubic soy-based resin a couple of days ago so I grabbed some of that. It’s NOT water washable (which I assumed it was) but is apparently lower odor. Has anyone used this one? I mainly grabbed it because it was $25 rather than the usual $35 (and I’ll definitely use it…) but I’m not sure what the benefit of this stuff actually is aside from being less stinky…guess we’ll see!
-
I’d be disappointed if they ARE going to stop stocking those lines - it’s useful to have somewhere close by to me that stocks that stuff…but on the flipside, I’ll stock up if they’re going to drop it all down to cost price I guess ? Good reason to visit the LHS a little more regularly!
-
That's absolutely stunning! Did you consider using some washes to bring out all that detail? Either way nice work - looks like a piece of jewelry!
-
Oh man, you were brave BMFing those ramps instead of just Alclading them…they look great tho!
-
My local HL was discounting all the Evergreen and K&N metals today…presumably they’re dropping those too…
-
LLV “mail truck“
OldNYJim replied to ridinframe's topic in WIP: Model Trucks: Pickups, Vans, SUVs, Light Commercial
Good start! It’s gonna be fun adding all those rivets ? I saw someone on Instagram build one of these from flat sheet too, in case you need some inspiration: https://www.instagram.com/p/B5JW7mSA6Qu/?utm_medium=copy_link