OldNYJim
-
Posts
251 -
Joined
-
Last visited
Content Type
Profiles
Forums
Events
Gallery
Everything posted by OldNYJim
-
 That looks really sharp - and I agree on the wheels, those are really nice! Looks super clean!
 -
What really stands out to me is those super-clean stepped joints where you altered the frame - nice work!
-
It looks like the challenge there is also going to be fixing/replacing those raised panel lines after sanding That said - are they meant to be panel GAPS? If so, I’d be inclined to scribe them now whilst they’re still there and then rescribe them when you’re done shaping that fuselage
-
How many helmets have you acquired
OldNYJim replied to randx0's topic in Model Building Questions and Answers
I’ve been looking for a 60’s-era helmet for a drag build I’m doing…any tips on which kits come with these? I have a bunch of Paddy Wagon police helmets, but that’s not quite the right look ? -
Shelby real or fake?
OldNYJim replied to Scott8950's topic in General Automotive Talk (Trucks and Cars)
Whoopsie -
If that's the worst thing we've got to worry about - life is good! ?
-
.
-
Smoke tint window material
OldNYJim replied to Mike C.'s topic in Model Building Questions and Answers
Yeah, you'll need the squeeqee to work out the water and air or those bubbles have no way of escaping... -
Although, I will say… …they spelled ‘Competition’ wrong on the box ?
-
I’m so glad Atlantis is bringing these old kits back - and I hope they keep doing it! I’ll be grabbing a few of these I wonder what those front tires represent in 1:1? I like the look of them - I can see those getting used on some of my hot rod builds
-
Smoke tint window material
OldNYJim replied to Mike C.'s topic in Model Building Questions and Answers
What Peteski said - and, to add to that, the piece must be IMPECCABLY clean and free of any dings or scratches before you lay the film down -
How do you prep for a flame mask job?
OldNYJim replied to customline's topic in Model Building Questions and Answers
Did you click into the thread I linked to in my post? That shows exactly how to do that, with pics... In short, shoot the flame color first, use the INSIDE part of the mask (not the part you would usually use) to mask, then spray the 'main' body color over top. Works best when the 'main' body color is darker than the color of the flames... -
How do you prep for a flame mask job?
OldNYJim replied to customline's topic in Model Building Questions and Answers
For light flames over a dark base (like your first example) I use this process - doing the darker color last means you don’t have all that paint build up trying to cover over it (so no raised edges to the flames and less chance of peeling paint) -
This is gonna be a cool build! Following!
-
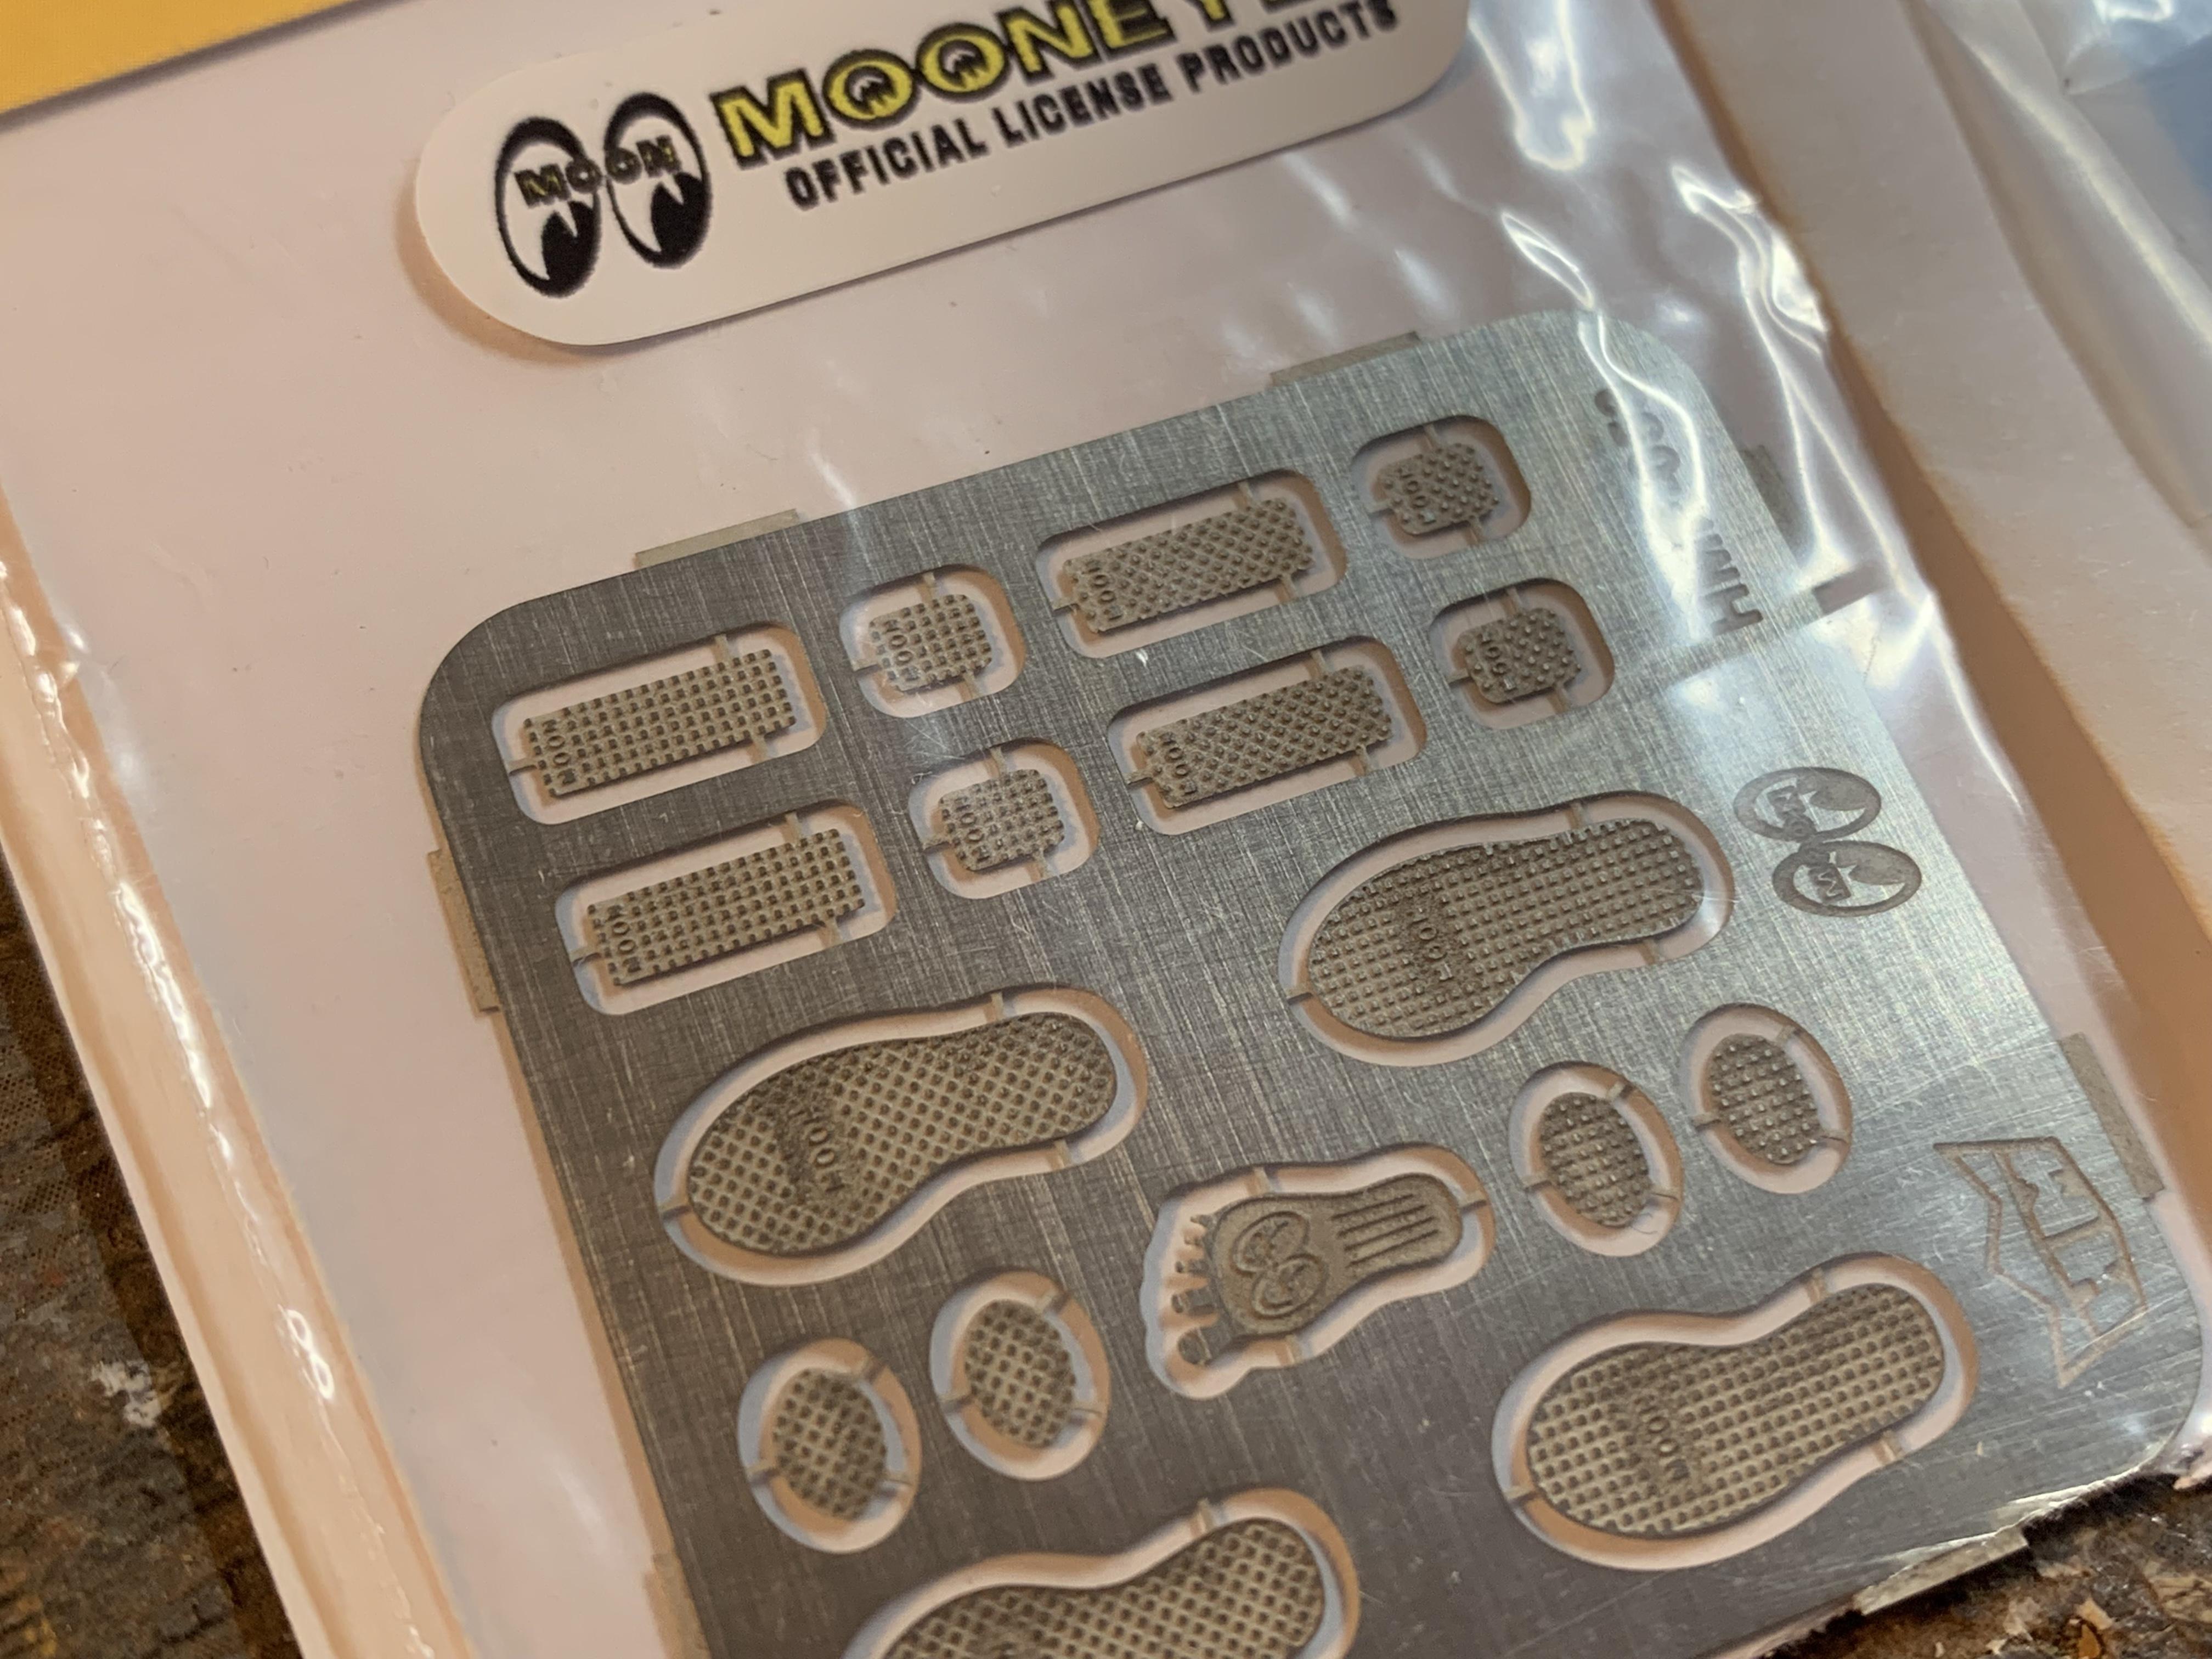
Highlight makes a bunch of really cool Mooneyes and VW photo etch stuff - I wanna do a Beetle just like this one (which features a lot of their photoetch)! @Eero does amazing work!
-
And, with the suppliers we use at work anyway, there’s apparently a paint toner shortage nationwide so even PAINT is hard to come by. Blue was first to go, then red a couple of weeks back…might have to go back to painting everything black like in ye oldy times
-
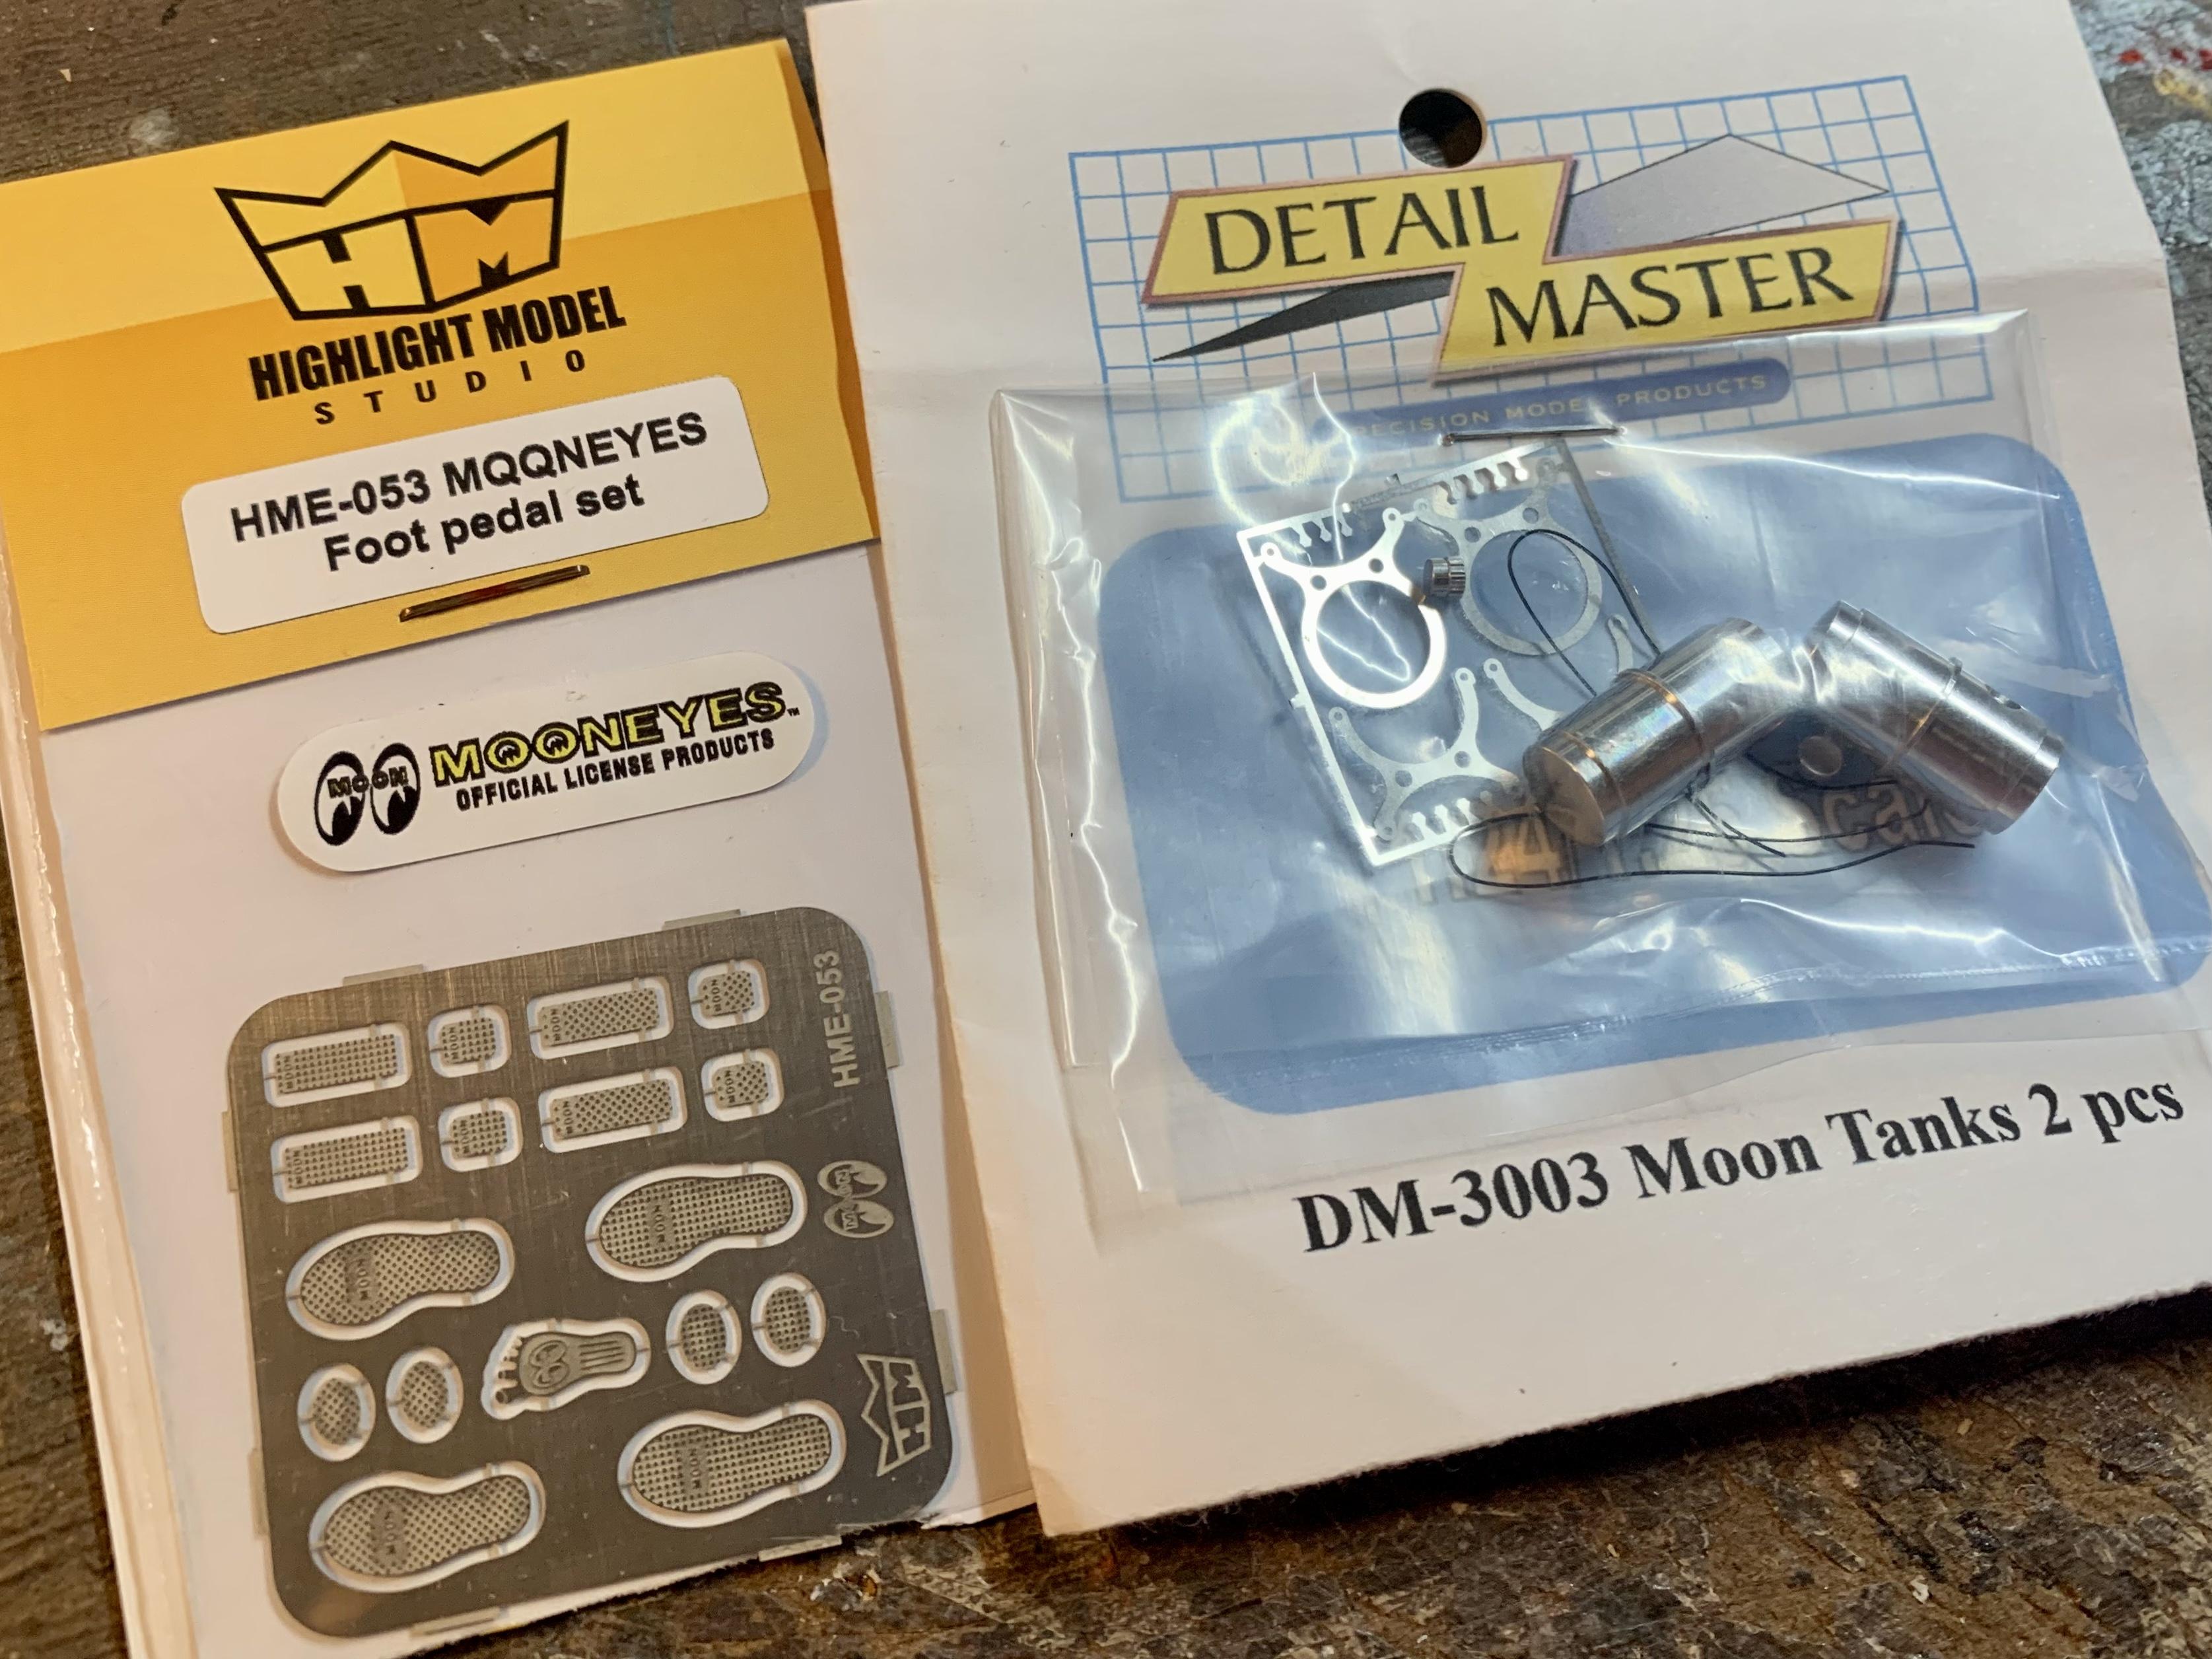
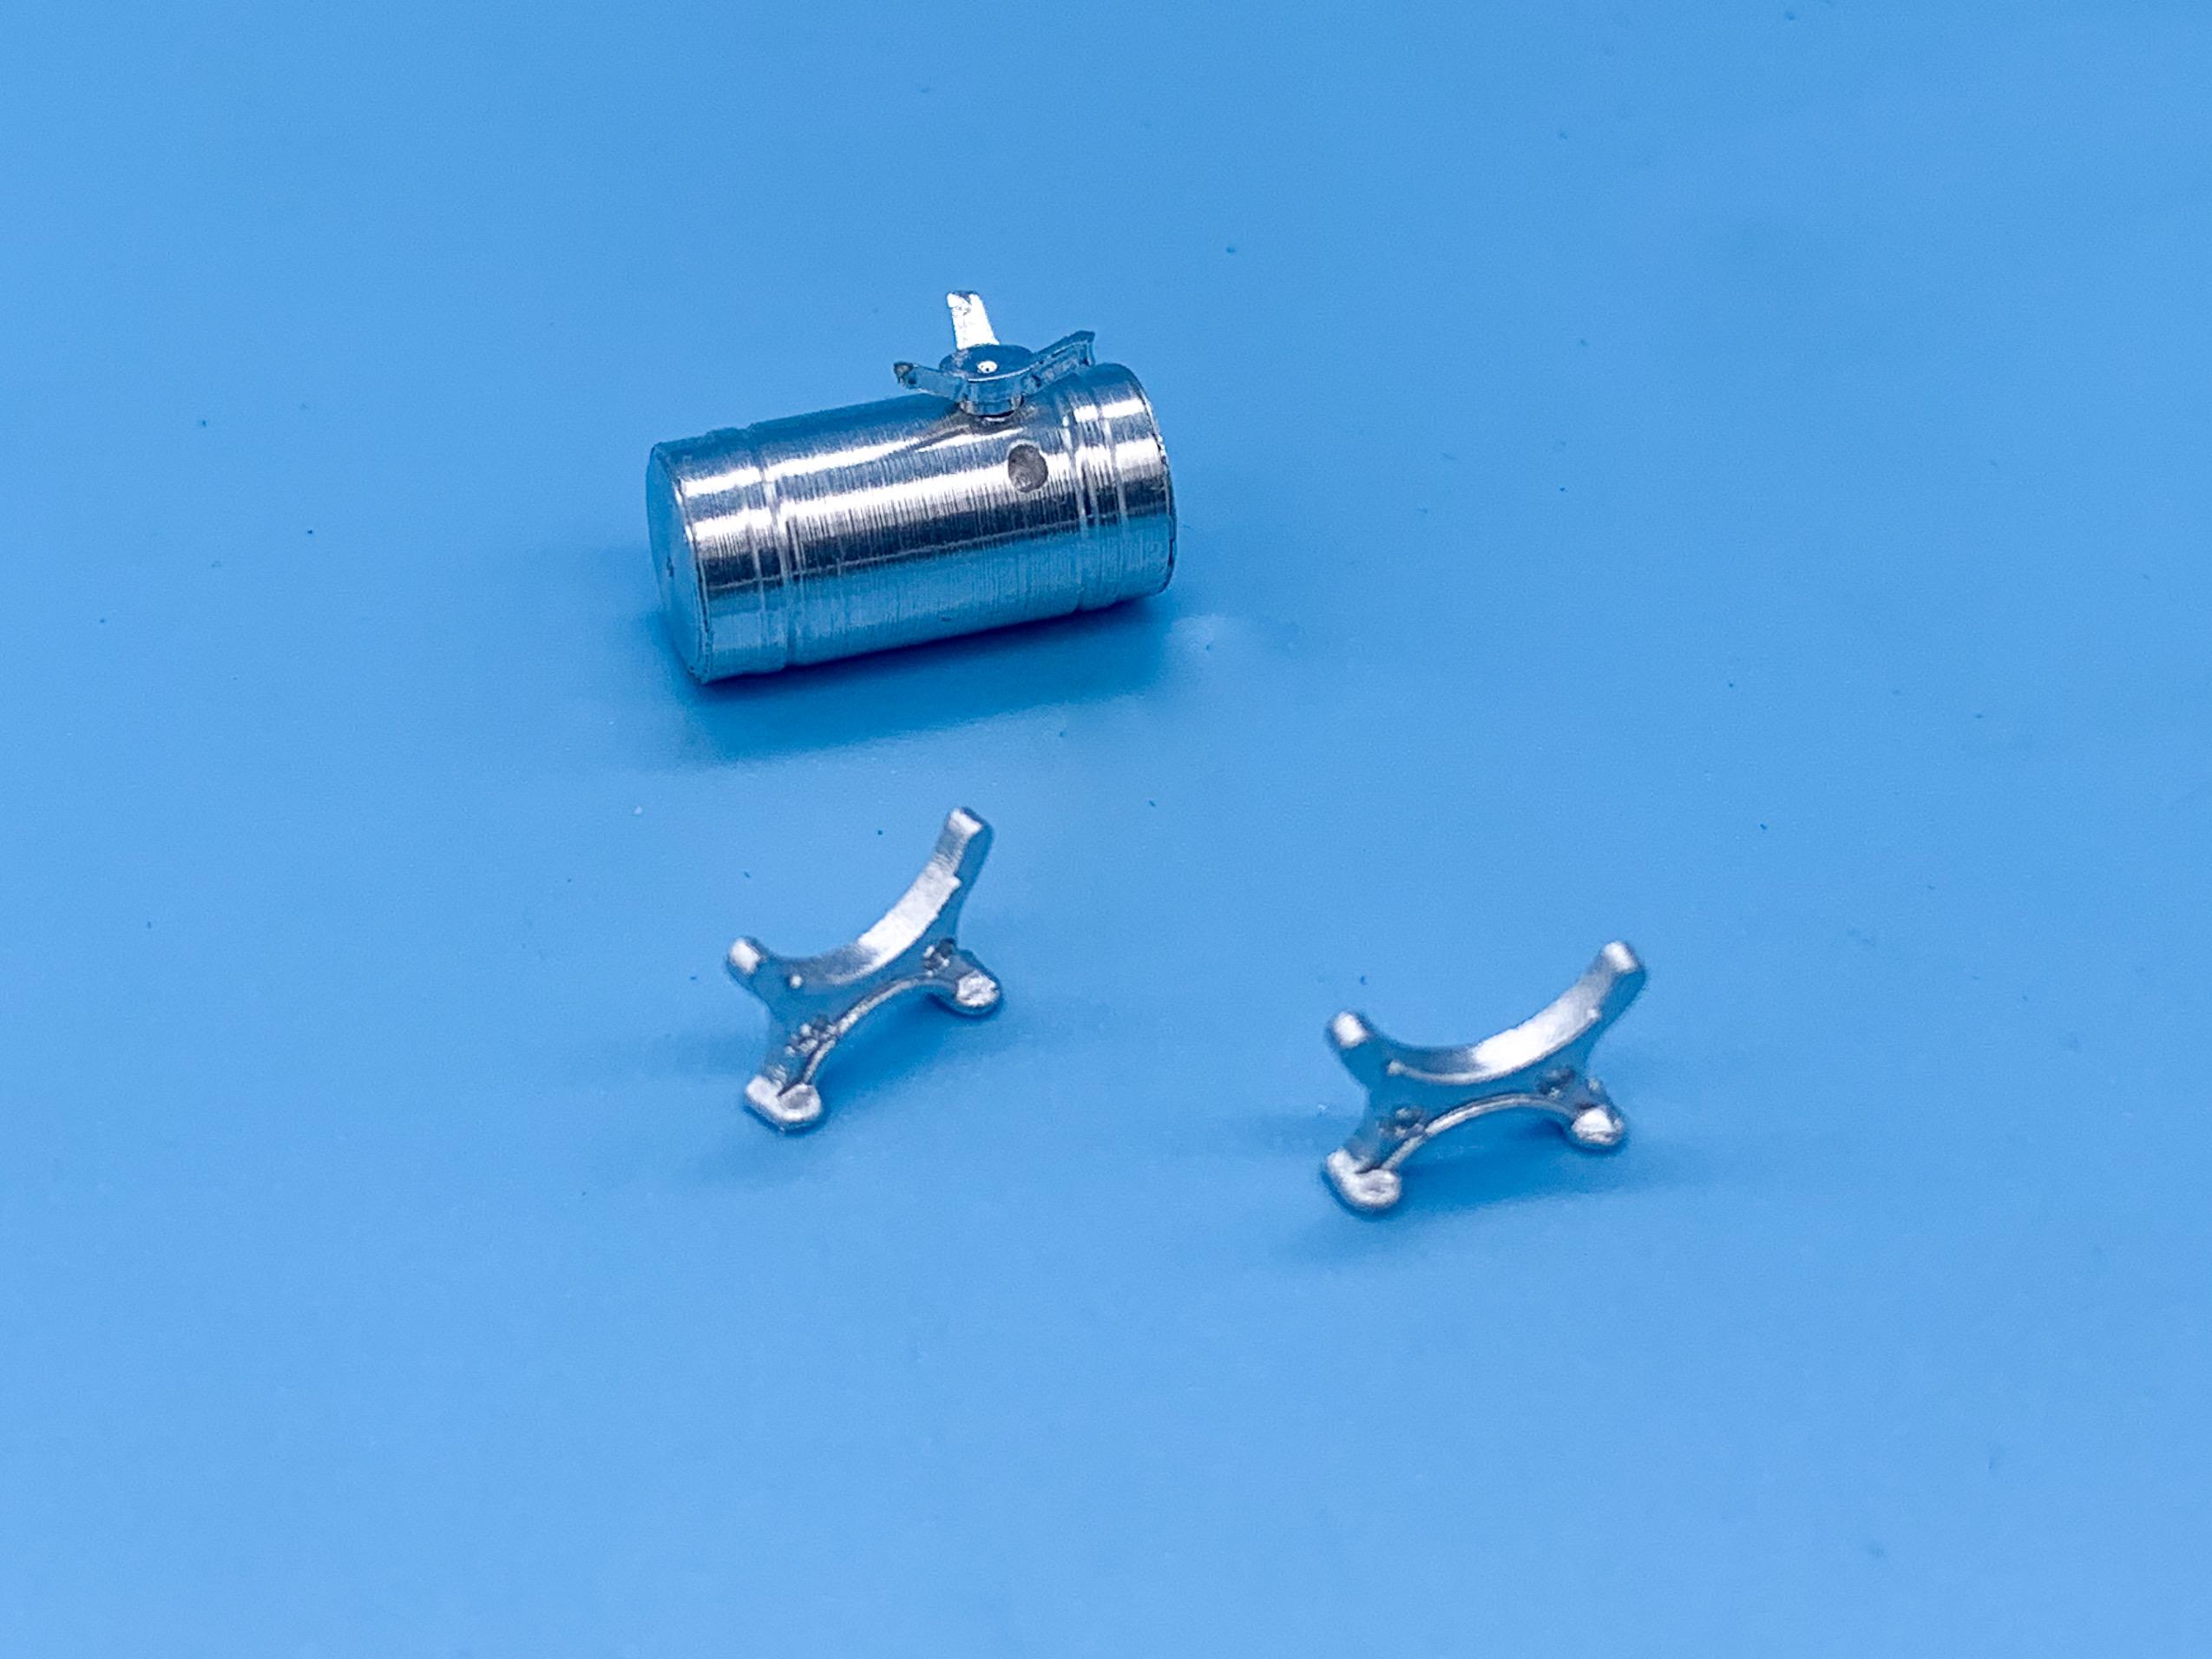
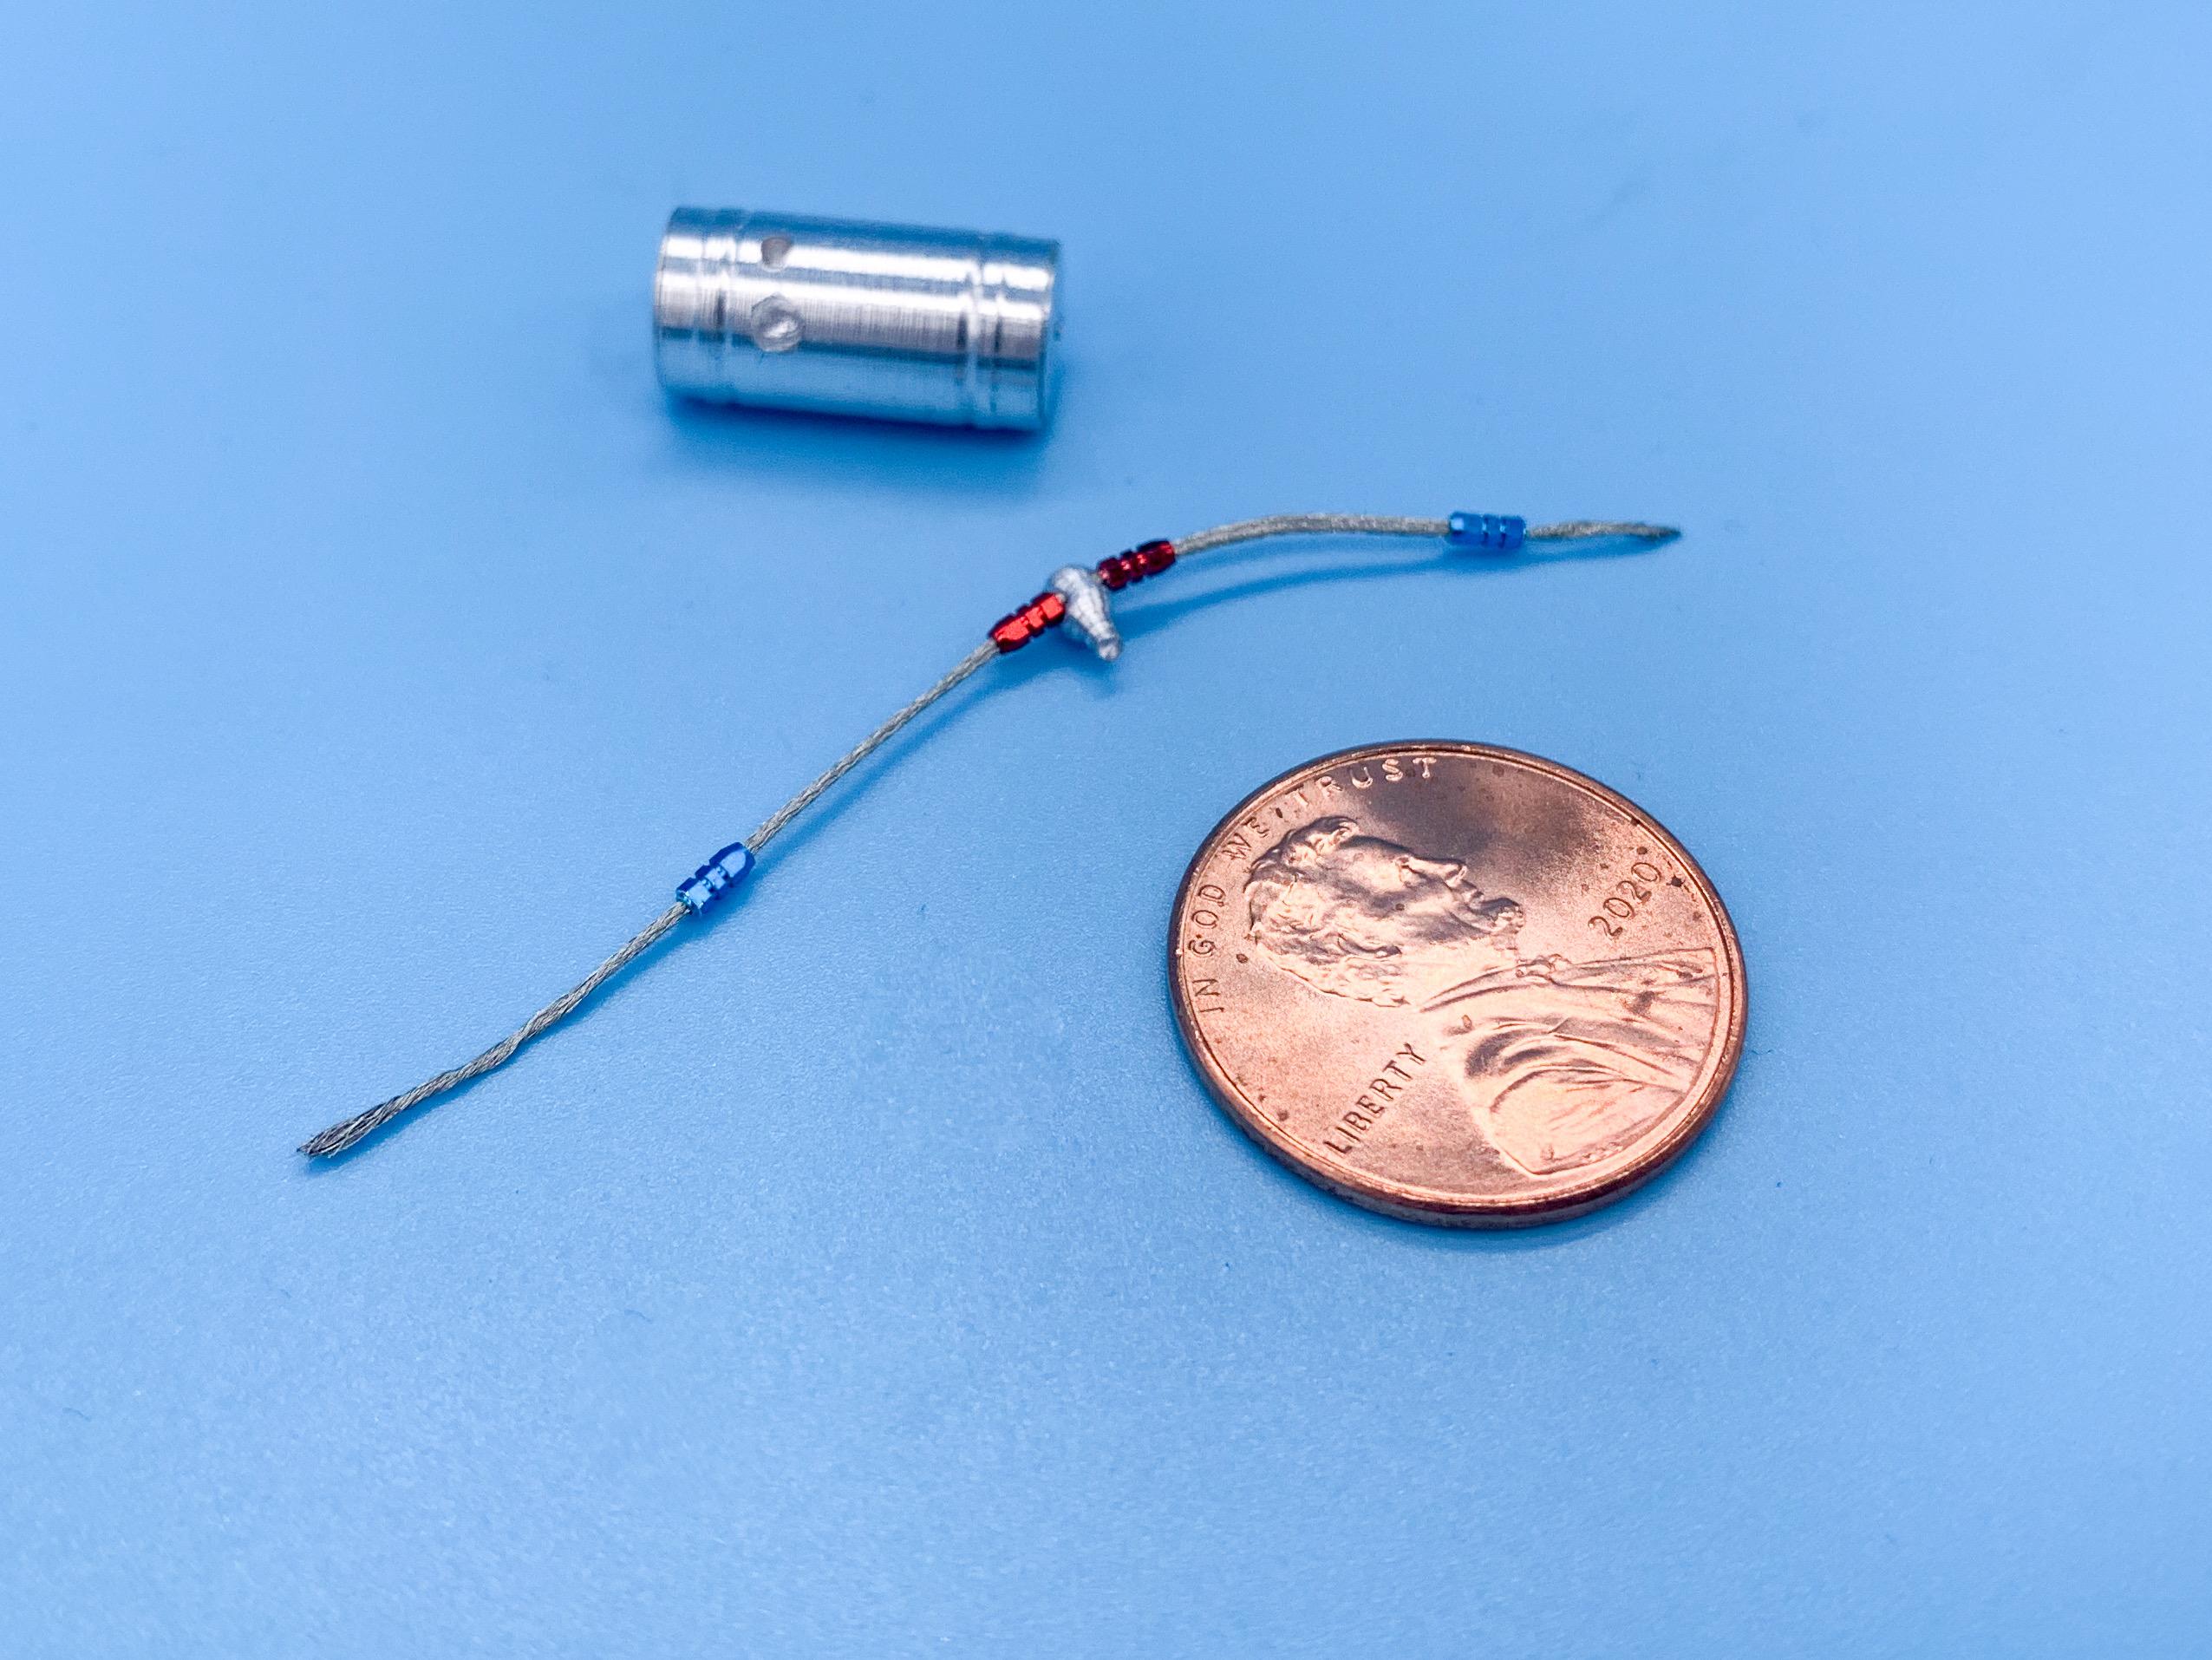
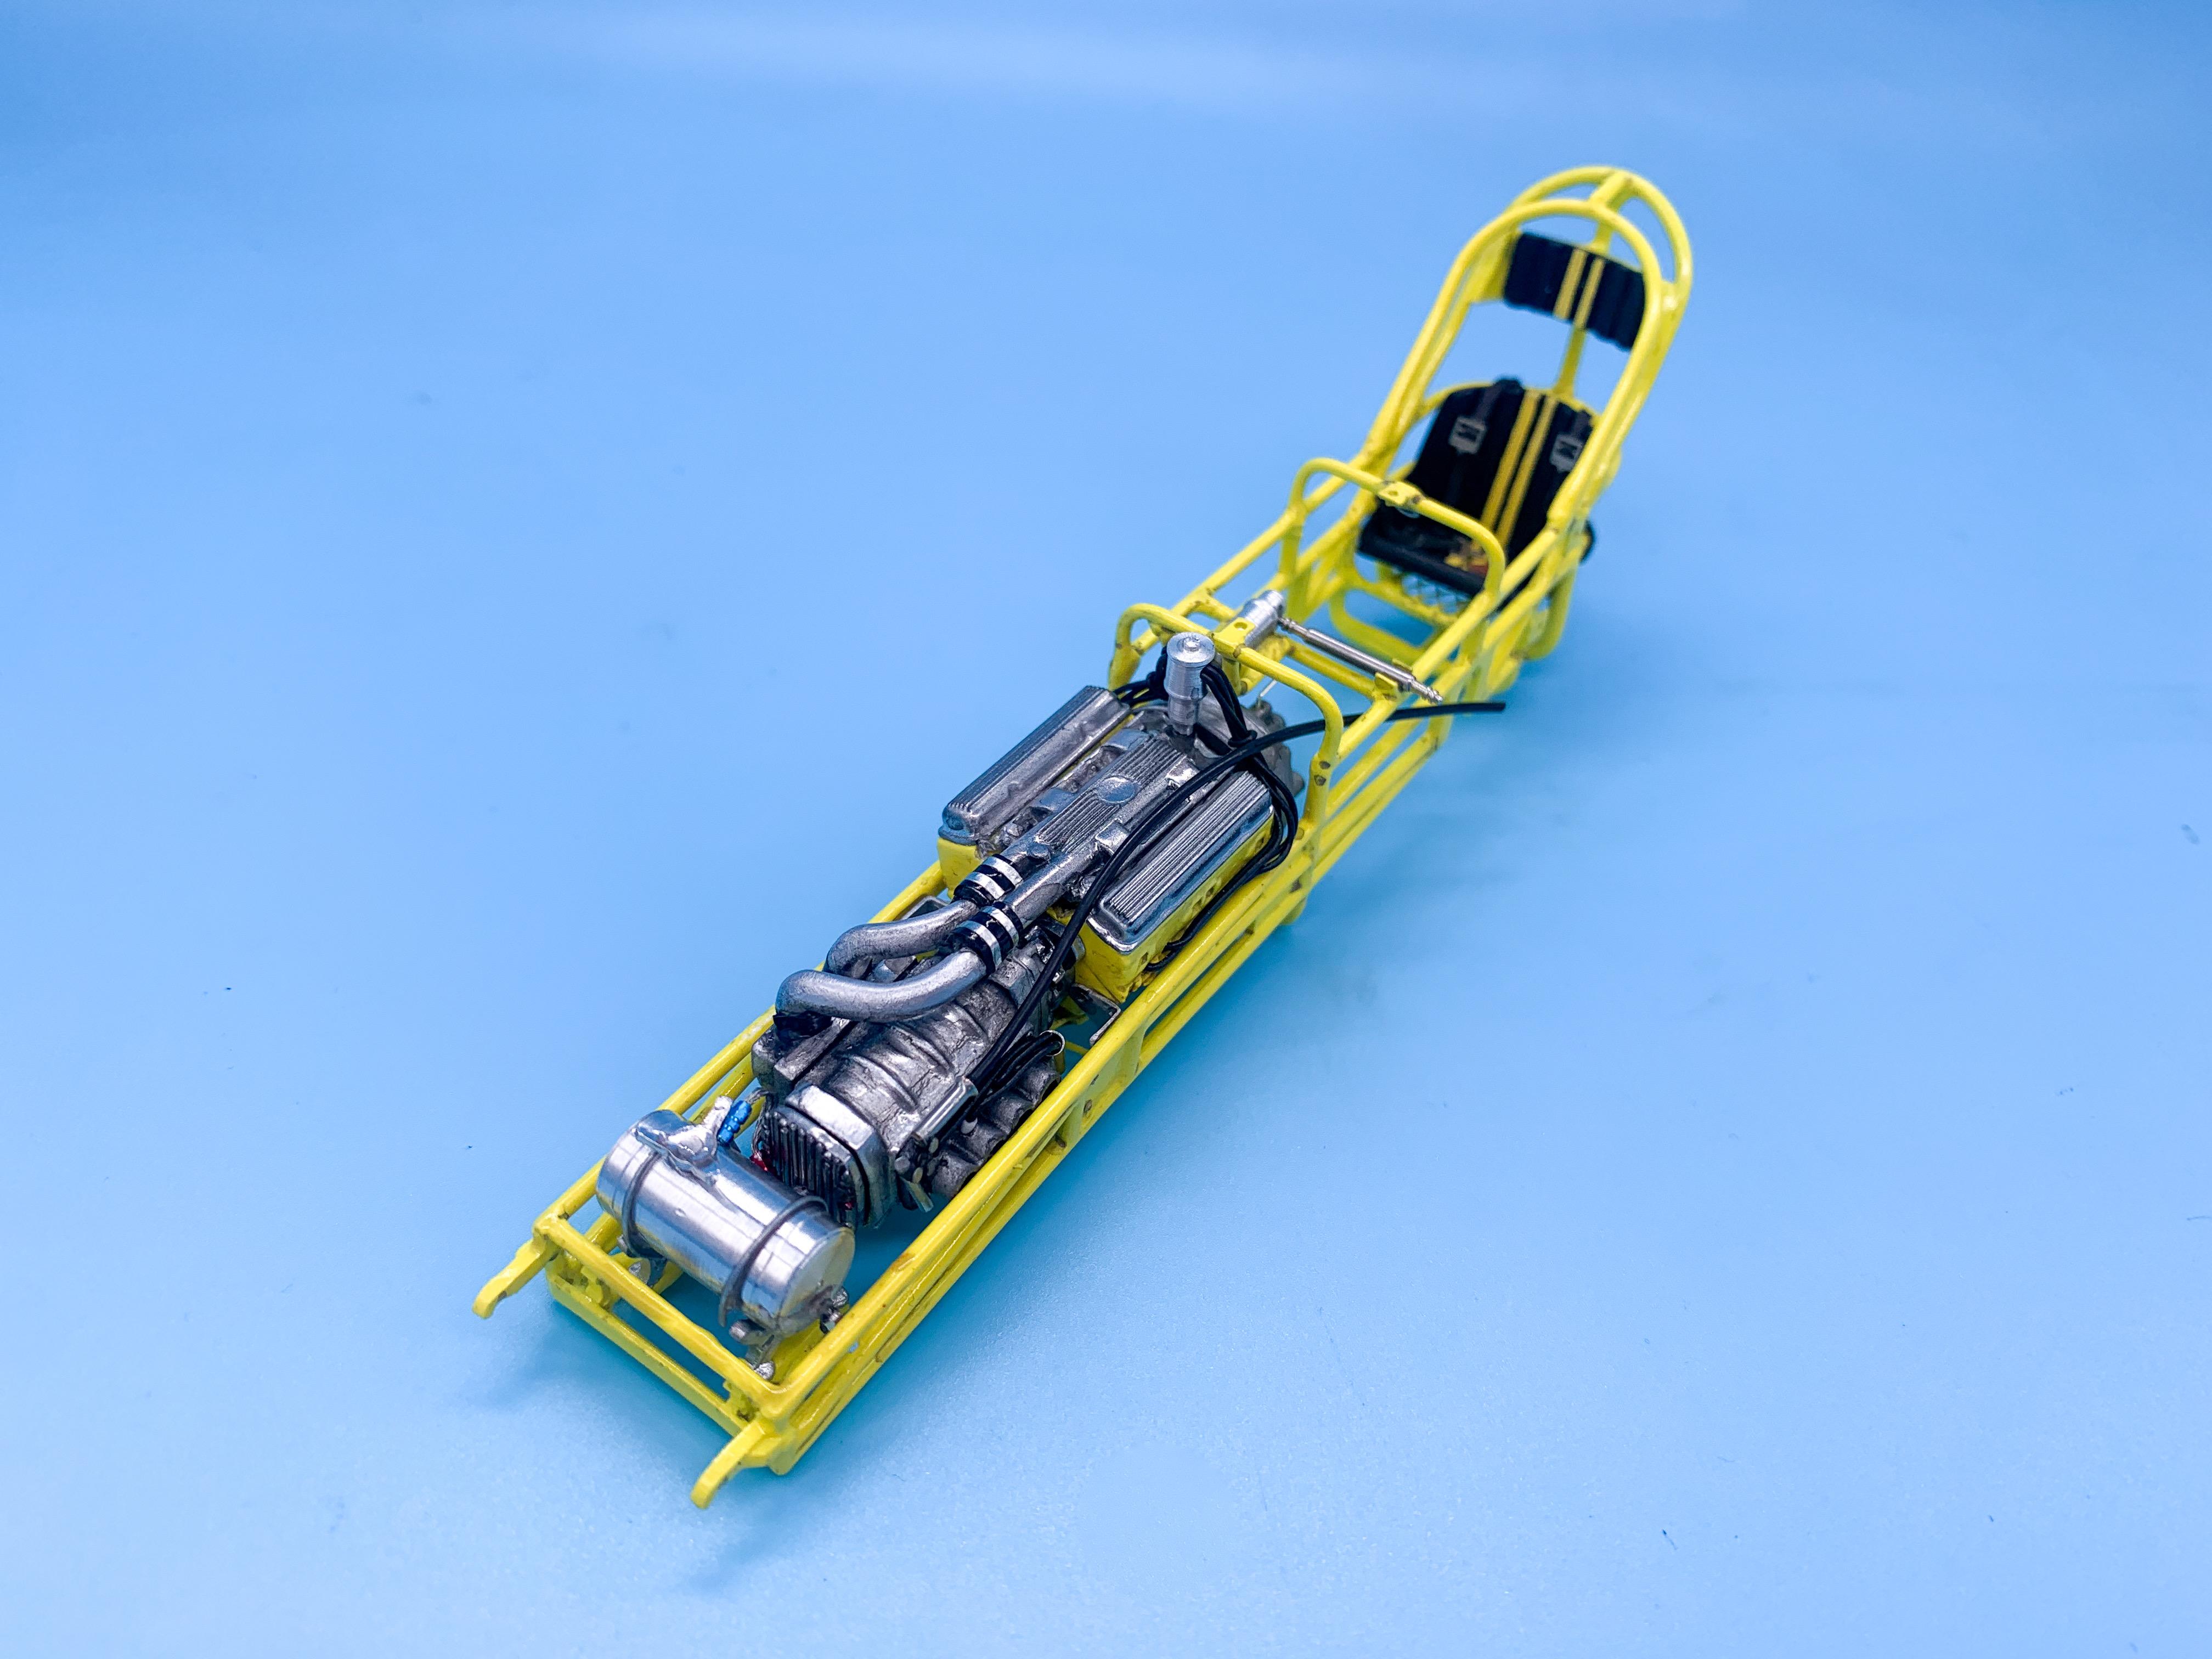
I picked this up in Hobby Lobby - it’s actually a little too large of a diamond pattern but it’s closest I could find to at least give the LOOK of what’s in the real car… Today’s little bits of progress…I ordered a pair of Detail Master Moon tanks (and some nice Moon photo etch pedals) to see how they’d work but they’re a little large for this particular build: So, I made as close of a facsimile as I could on my lathe instead: Picked up some Detail Master A/N fittings, painted them with Createx candy acrylic and made the fuel pump: Got the tank installed, and fitted a couple of wire hold-downs: I also ordered some RB Motion rod ends and stainless steel tube for the various linkages on the front end but they didn’t come yet - but managed to get the front axle on, and then airbrushed some heat-staining on the headers, made mounting pins and got them installed too: Next job will be figuring out the pedals so that I can get the floor in place - Highlight Model Studio’s photoetch set has the cool old rectangular Moon gas pedals that match the original car: Once the floor is in I can mount the rear axle for good and start finishing up all the little interior details! More soon!

-
I love seeing your work - looks great so far!
-
You’re braver than me - but it came out great! Super clean!
-
What Did You Get Today? (Not Model Related)
OldNYJim replied to LOBBS's topic in The Off-Topic Lounge
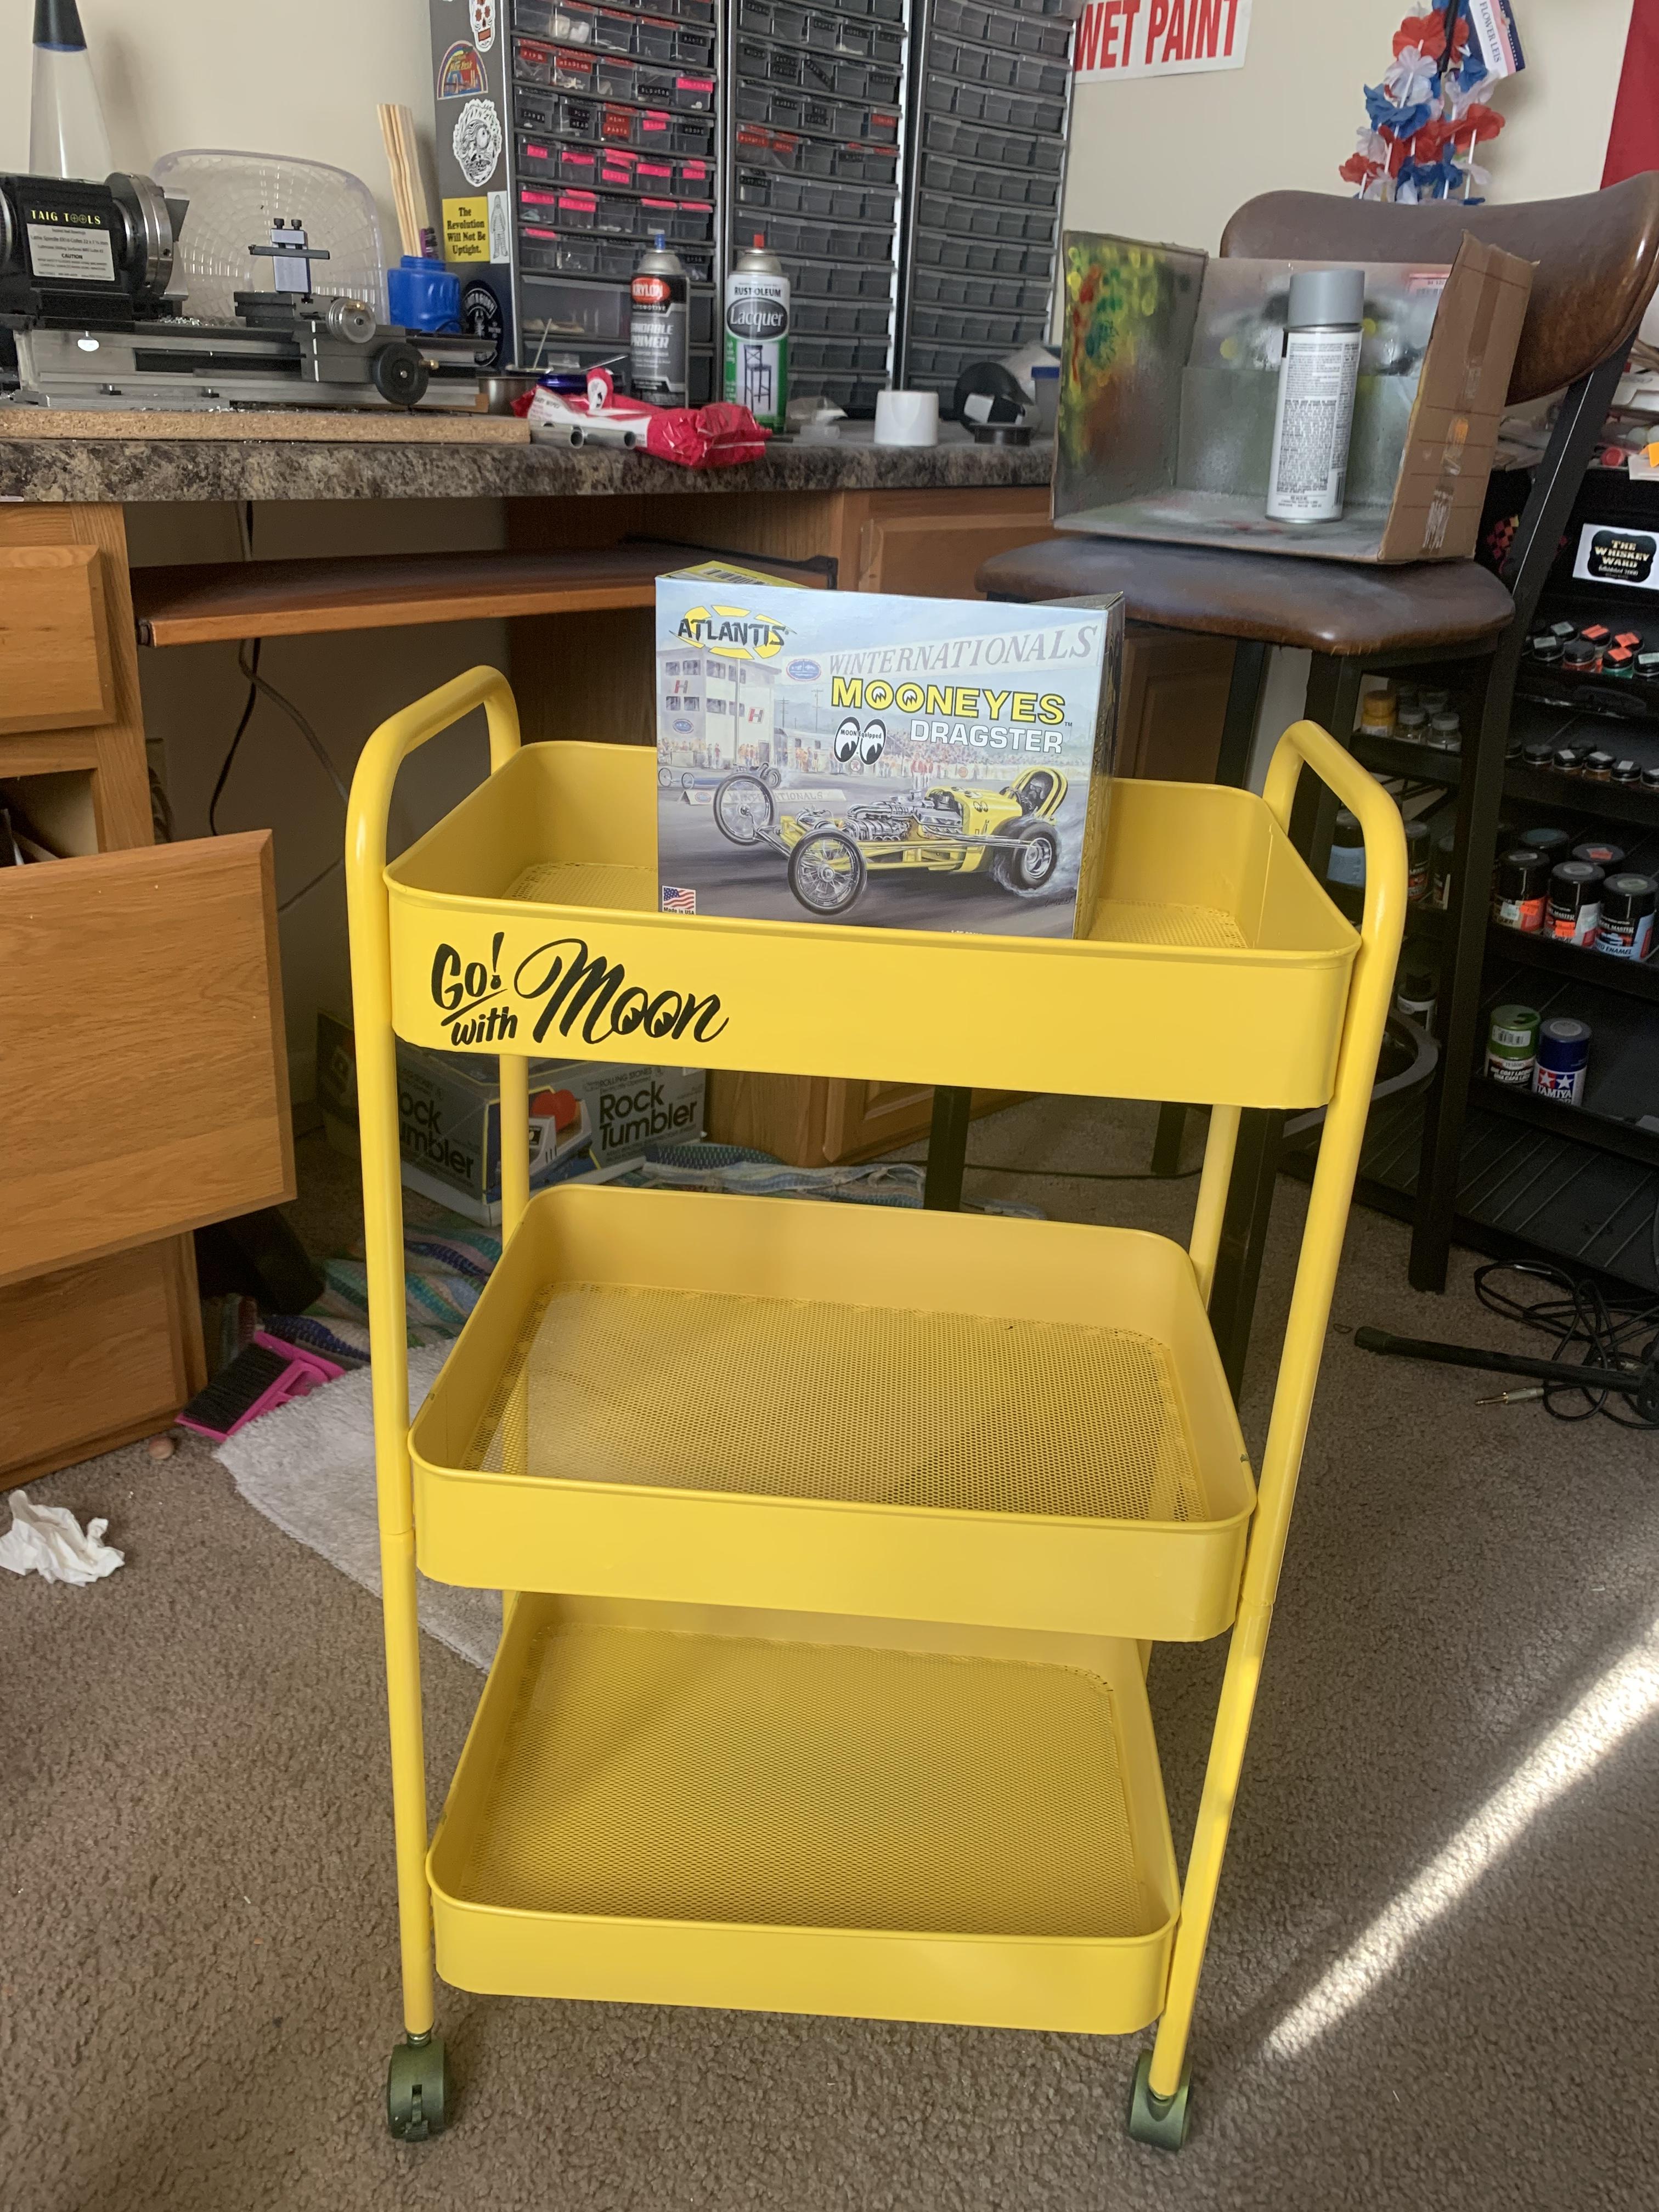
Picked up a little organizer cart for the shop - it was cheap because the paint was all jacked up and ruined….a couple of coats of Rusto and a Mooneyes decal later and I’m happy with my little Saturday-morning project!
-
That craft paint looks great! Are you laying down a barrier coat before masking, or just masking right over it?
-
Polishing base coat before clear?
OldNYJim replied to rightrudder's topic in Model Building Questions and Answers
I’d be more than happy with that finish you showed above as being ready for clearcoat - looks great! -
Nascar reference pics ?
OldNYJim replied to Lowlife ! !'s topic in General Automotive Talk (Trucks and Cars)
I too am interested in this question, and actually nearly posted something near identical myself this week...where do you NASCAR modellers go to find detail shots of particular cars? Is there some good resource for this stuff that you guys like? -
1963 Chevy Nova Wagon Street Rod FINISHED 3/20/22
OldNYJim replied to Dennis Lacy's topic in WIP: Model Cars
That color is gorgeous! I never used that color before - looks like it laid down nicely too! How cold is too-cold-to-paint in SoCal? Like, 65? ?❤️ I used to think NY got cold but it was, like, 15 here last week. Car got so cold the LCD display on the dash seemed like it was working slow - there was a lag! ? -
Polishing base coat before clear?
OldNYJim replied to rightrudder's topic in Model Building Questions and Answers
I tend to do the same - if the 'sins' in the color coat are pretty minor I'll use the clear to hide them as best I can. I definitely would try sanding any metallics before trying to clear-coat over some cat hair or dirt just because "you can't sand metallics"...in fact I HAVE and DO - just need to recoat to cover up any burn-thru and get it all nice and even again. There's very little that you CAN'T fix with paint with some careful sanding and touching-in where necessary, in my experience...