The Modeling Hermit
-
Posts
33 -
Joined
-
Last visited
Content Type
Profiles
Forums
Events
Gallery
Everything posted by The Modeling Hermit
-
Words elude me as to your amazing creation. Mr. Barris would be quite honored.
-
There is a possibility that you may have voided the new car warrantee, but you sure did it with style.
-
That is beautiful. I had a 60 4 door 6 window sedan when I was in the Army in the early 70s. I'd love to find a model of one.
-
That is immaculate!
-
More progress has been made. Furnishings and equipment have been constructed.

-
I love it!
-
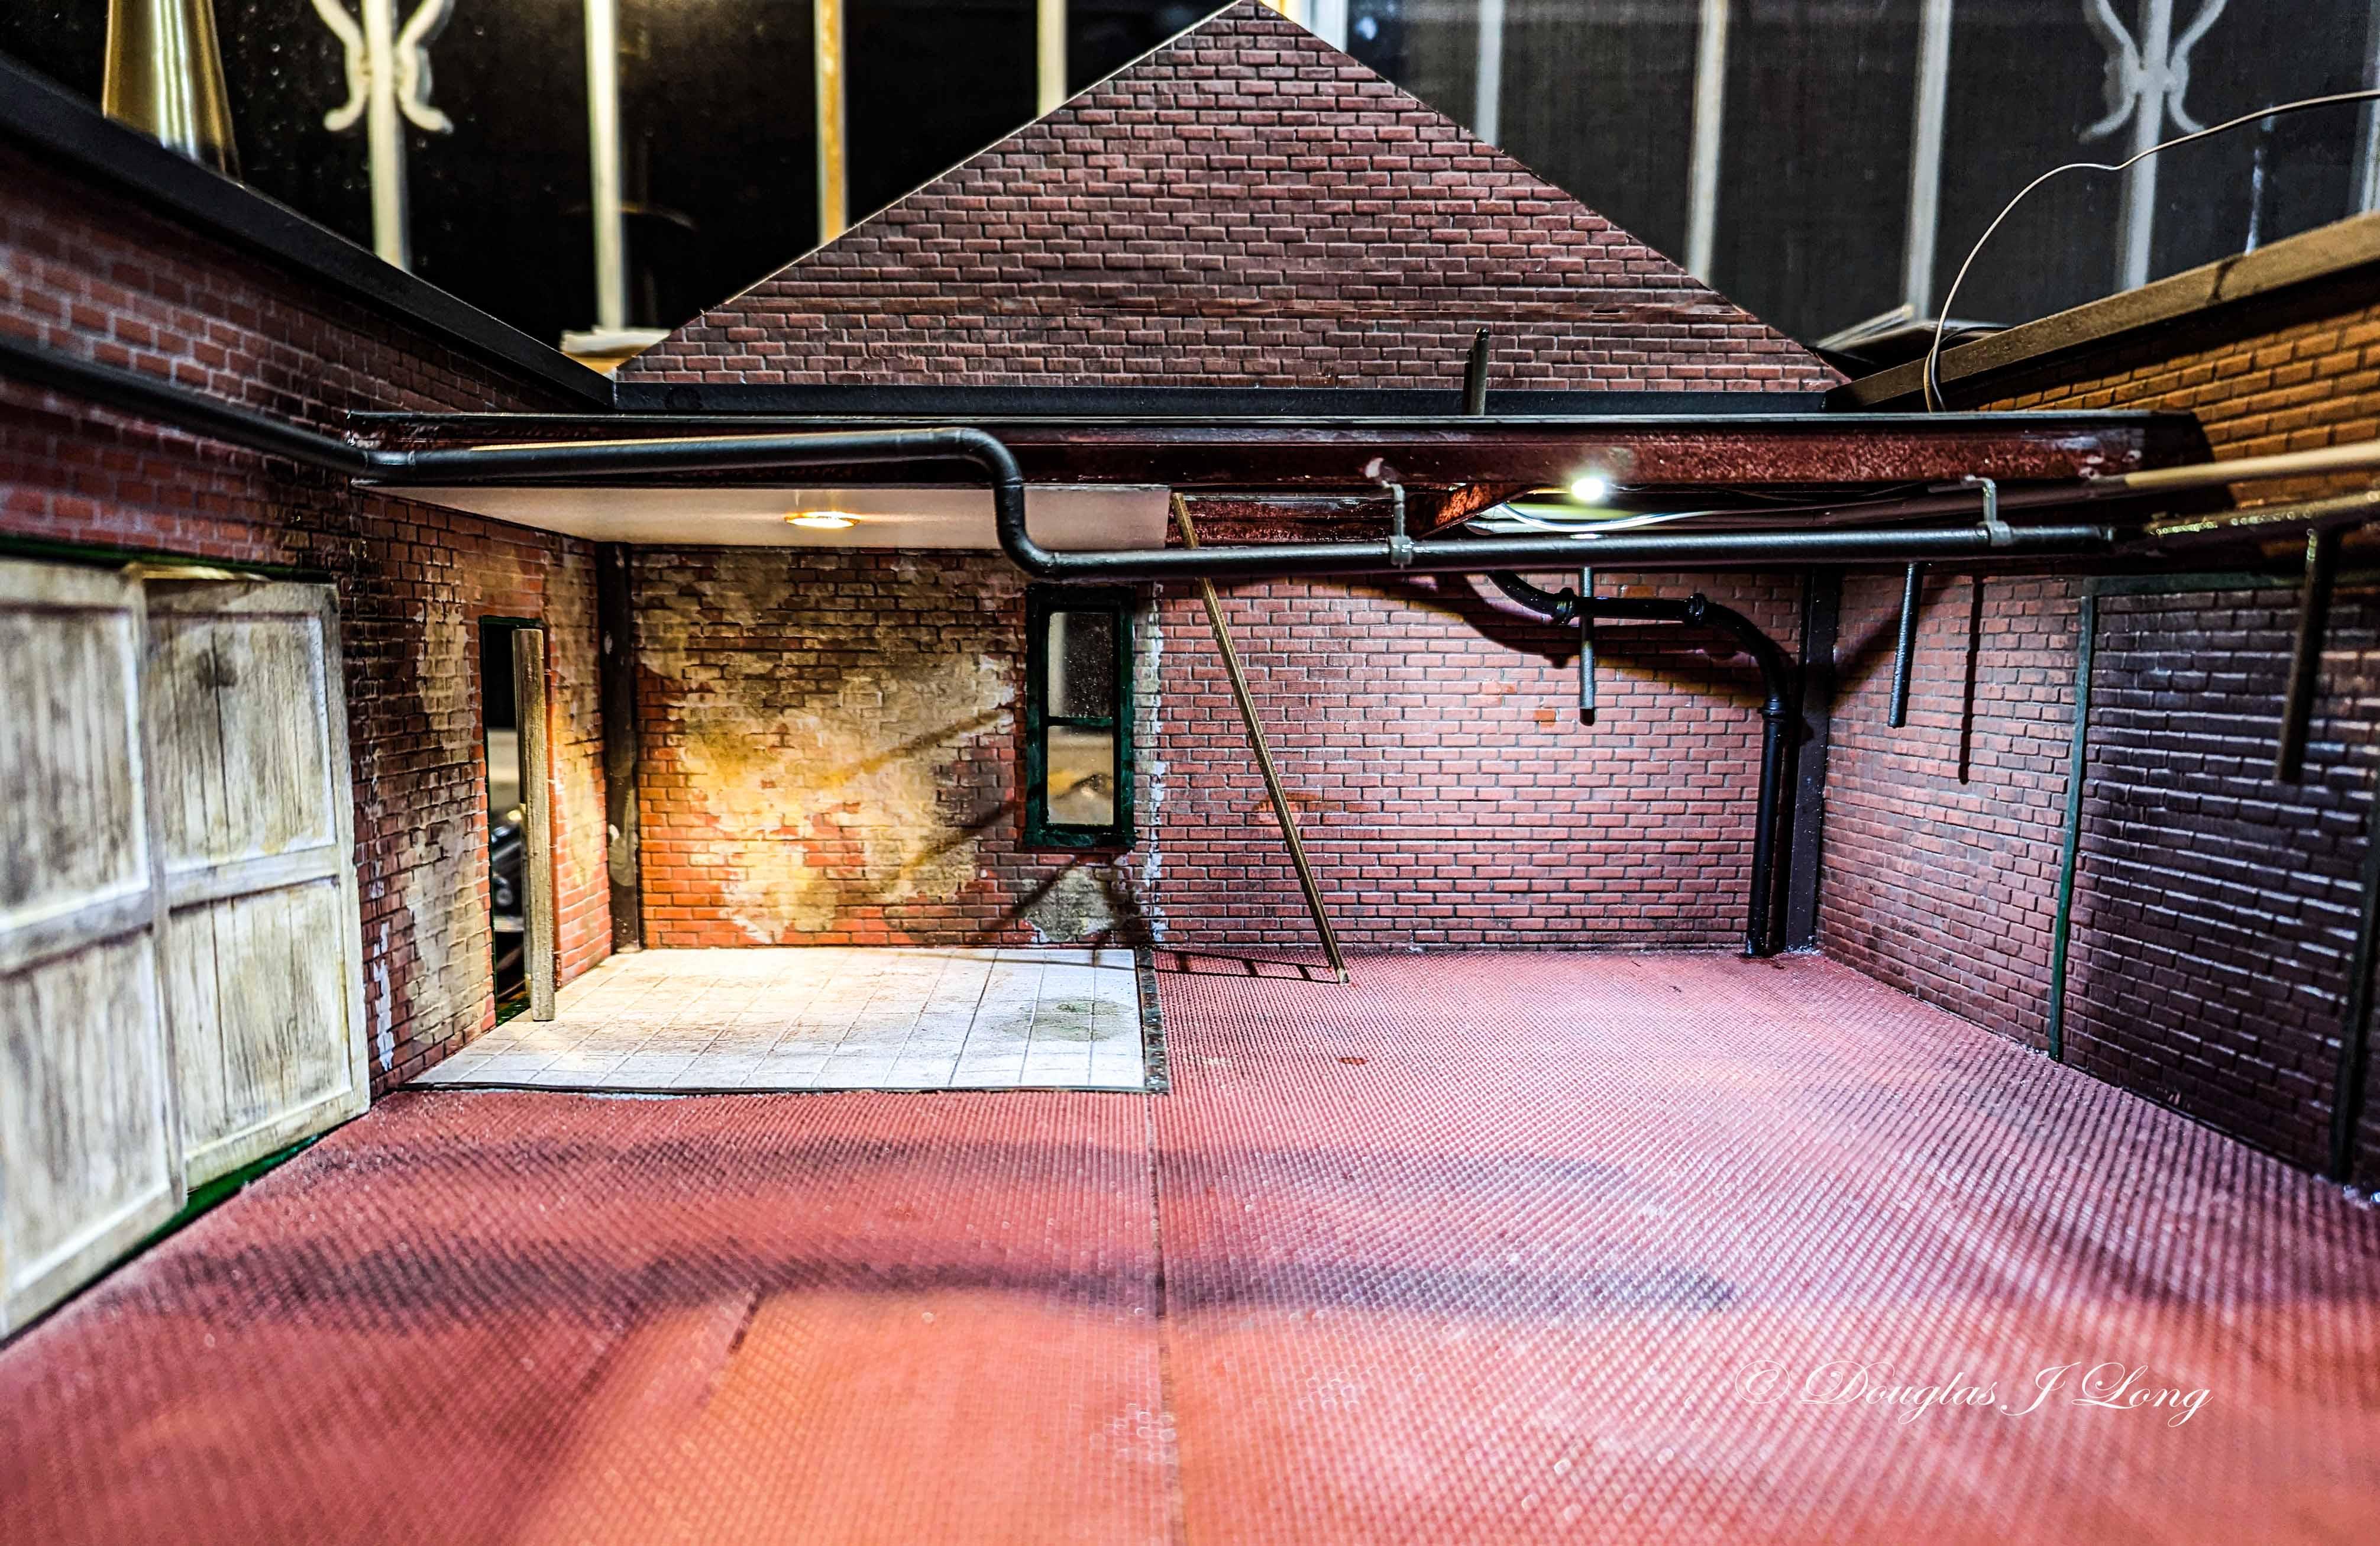
Work has continued, and I now am in the process of installing utilities. I want to elaborate on the next photo. Here we have an instance of the benefits of knowing the history of what you're modeling. In the early years of moving the 'necessities' from outdoors to indoors, it was quite often needful to improvise. Finding space for the little room was not always easy, and it could be shoved into odd areas. In this case it had been placed up in the loft. I'm displaying that over the years, it has been completely removed, and is probably now in the owner's house. Only the capped off plumbing remains.
-
I would love any pictures I can get. There is no such thing as too much reference material. If you can send them in the private message. Thanks.
-
Thank you very much for that information. I'm going off of 50+ year old memories of a building I saw as a youth. Your insights are very helpful.
-
This is a series of photos that are of the construction of the loft. I show some of the framework being test fitted, but not permanently installed. The last photos show the final stages, with the light being installed in what will be the ceiling of the office, and the floor completed and weathered. The parts for the plumbing and electrical arrived today, so I can now start installing them. After that I should be able to place the loft.
-
You are exactly right on with the abandoned rail and weeds. I might even have a ghost!
-
I love Edsels, and your model is an excellent representation.
-
That's really cool.
-
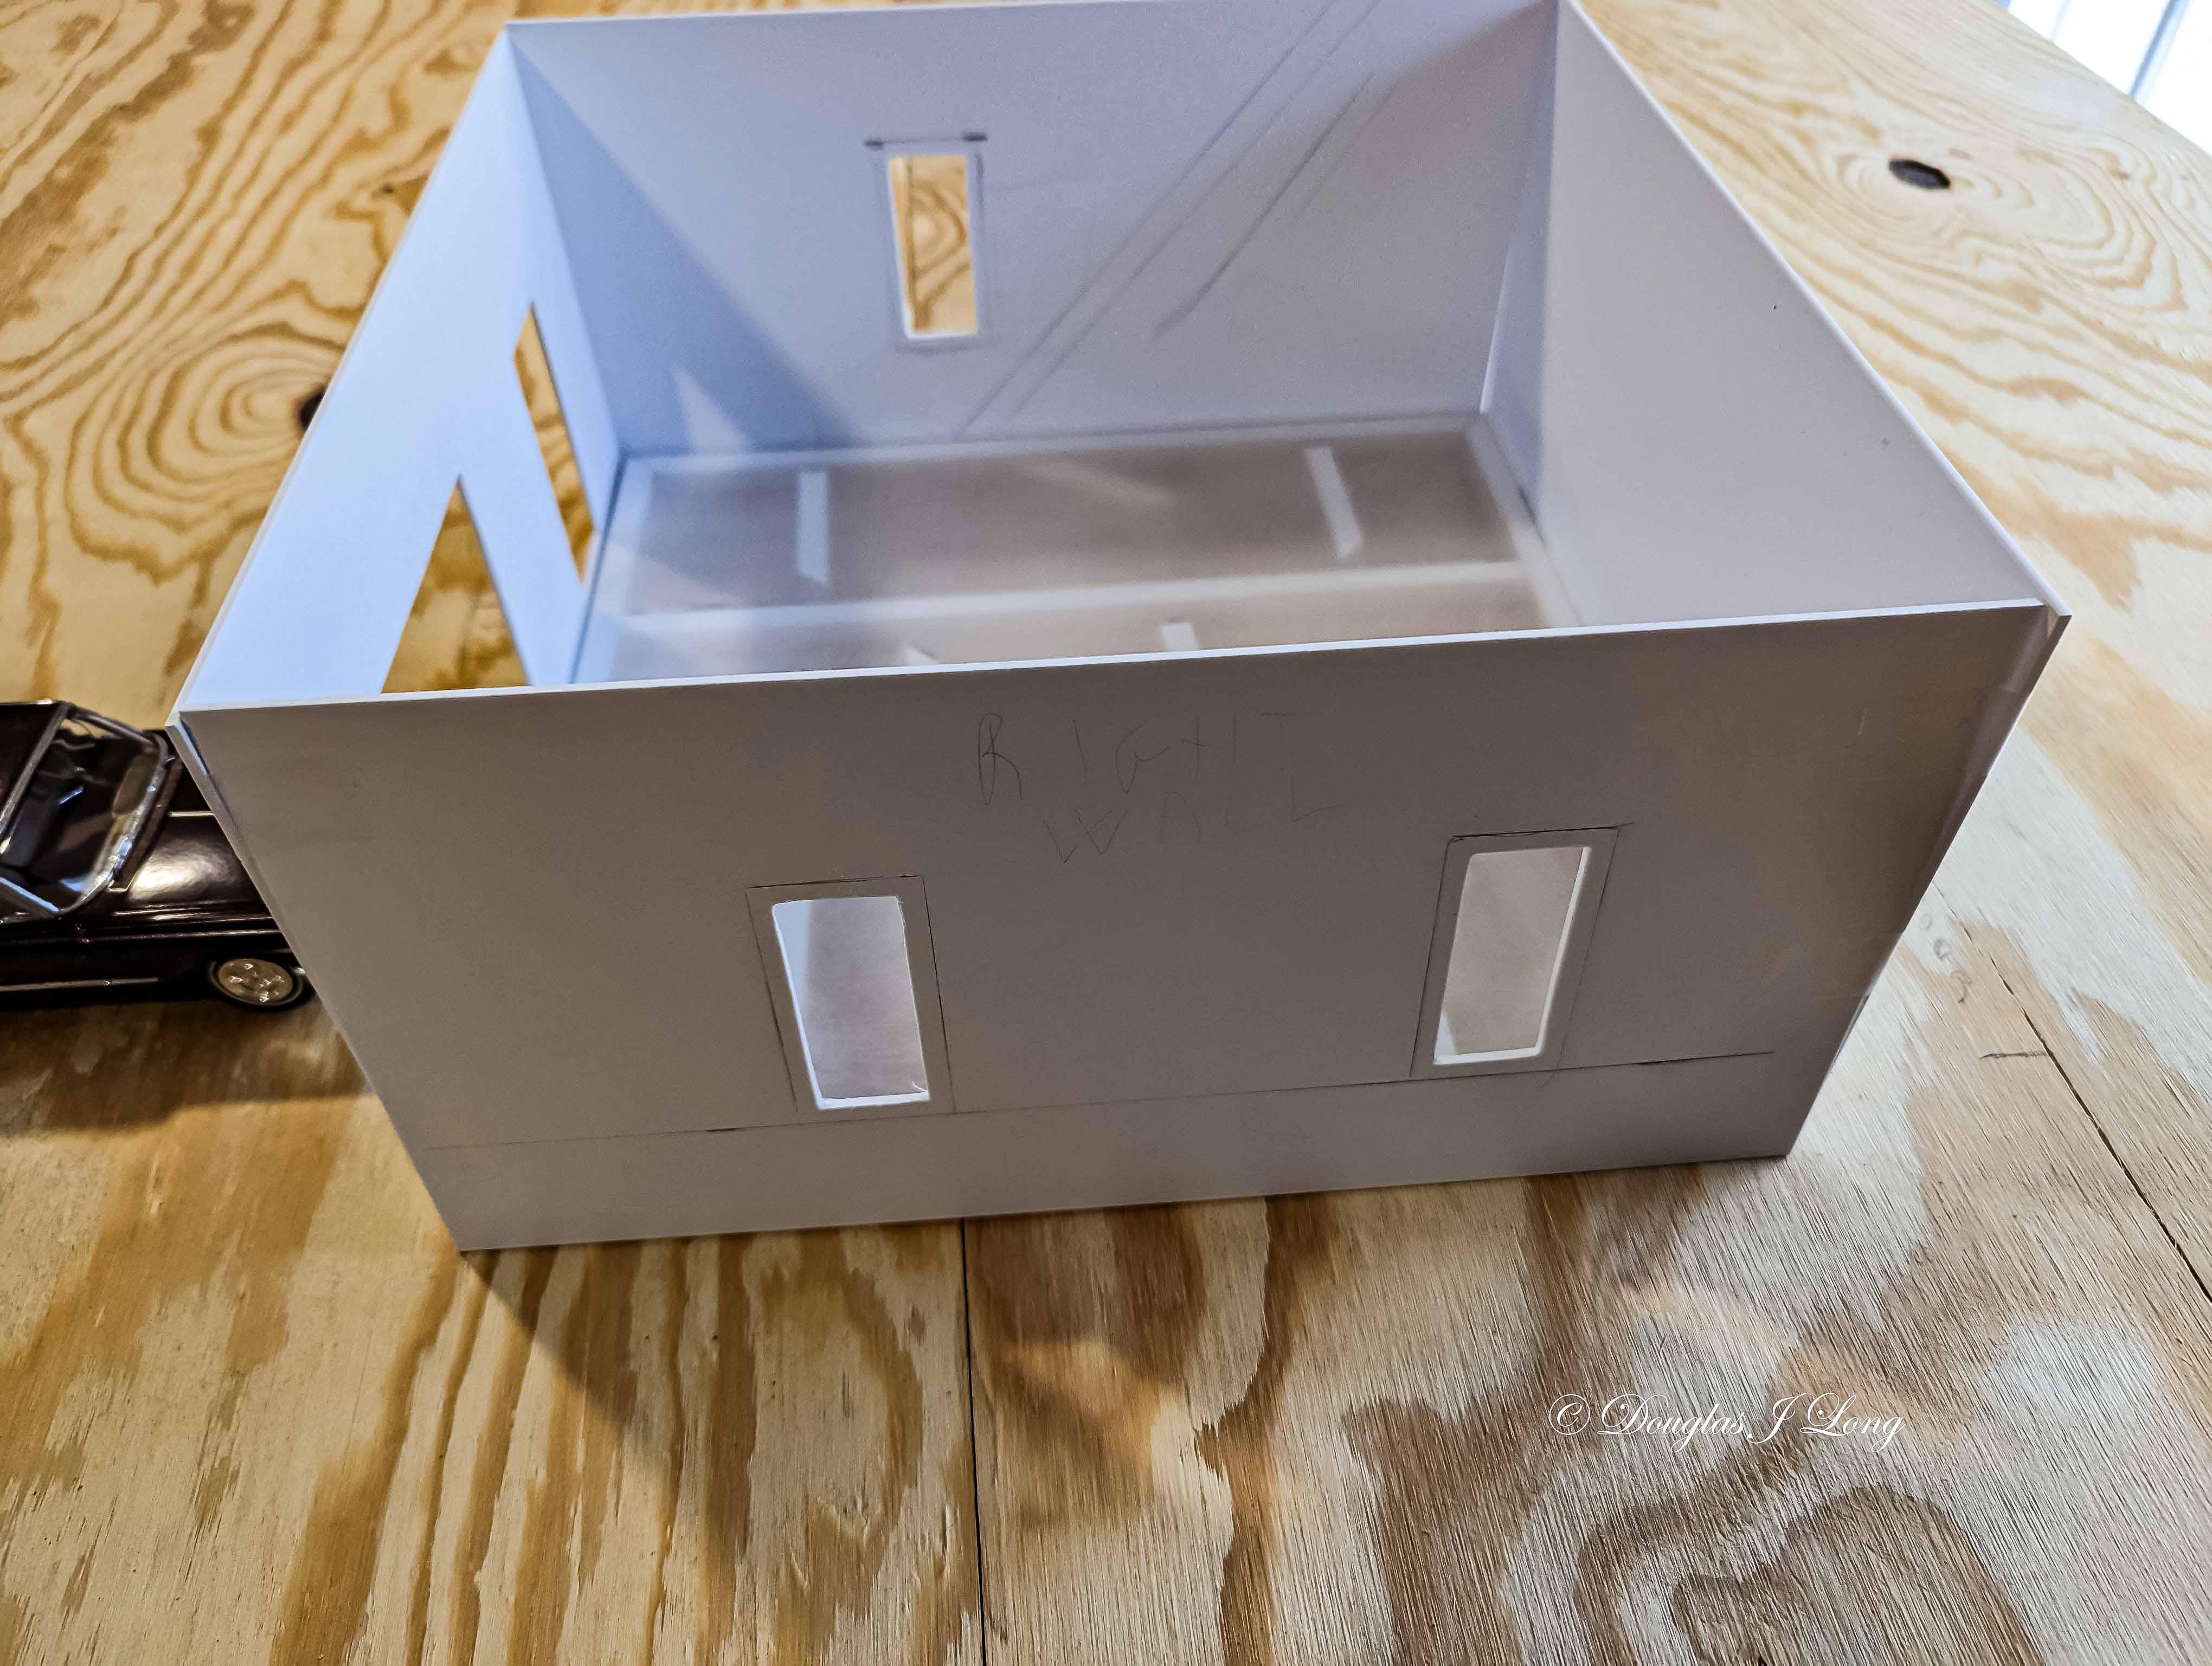
I've made noticeable progress with the garage building. Three walls are in place, and the office walls have detail weathering to show where covering material has been removed or fallen off. The doors are working as they should. I did build them thicker than would be prototypical, but I need the strength due to where they will be located in the final diorama, and access to them will be awkward.
-
The doors are my focus in these photos. Working doors are a pain to build, and not something I've ever been successful at, to be sure. This is the back wall. It displays a door that has been eliminated, and filed with brick. In its beginning, it would have received cargo from train cars on a railroad siding.
-
That is excellent.
-
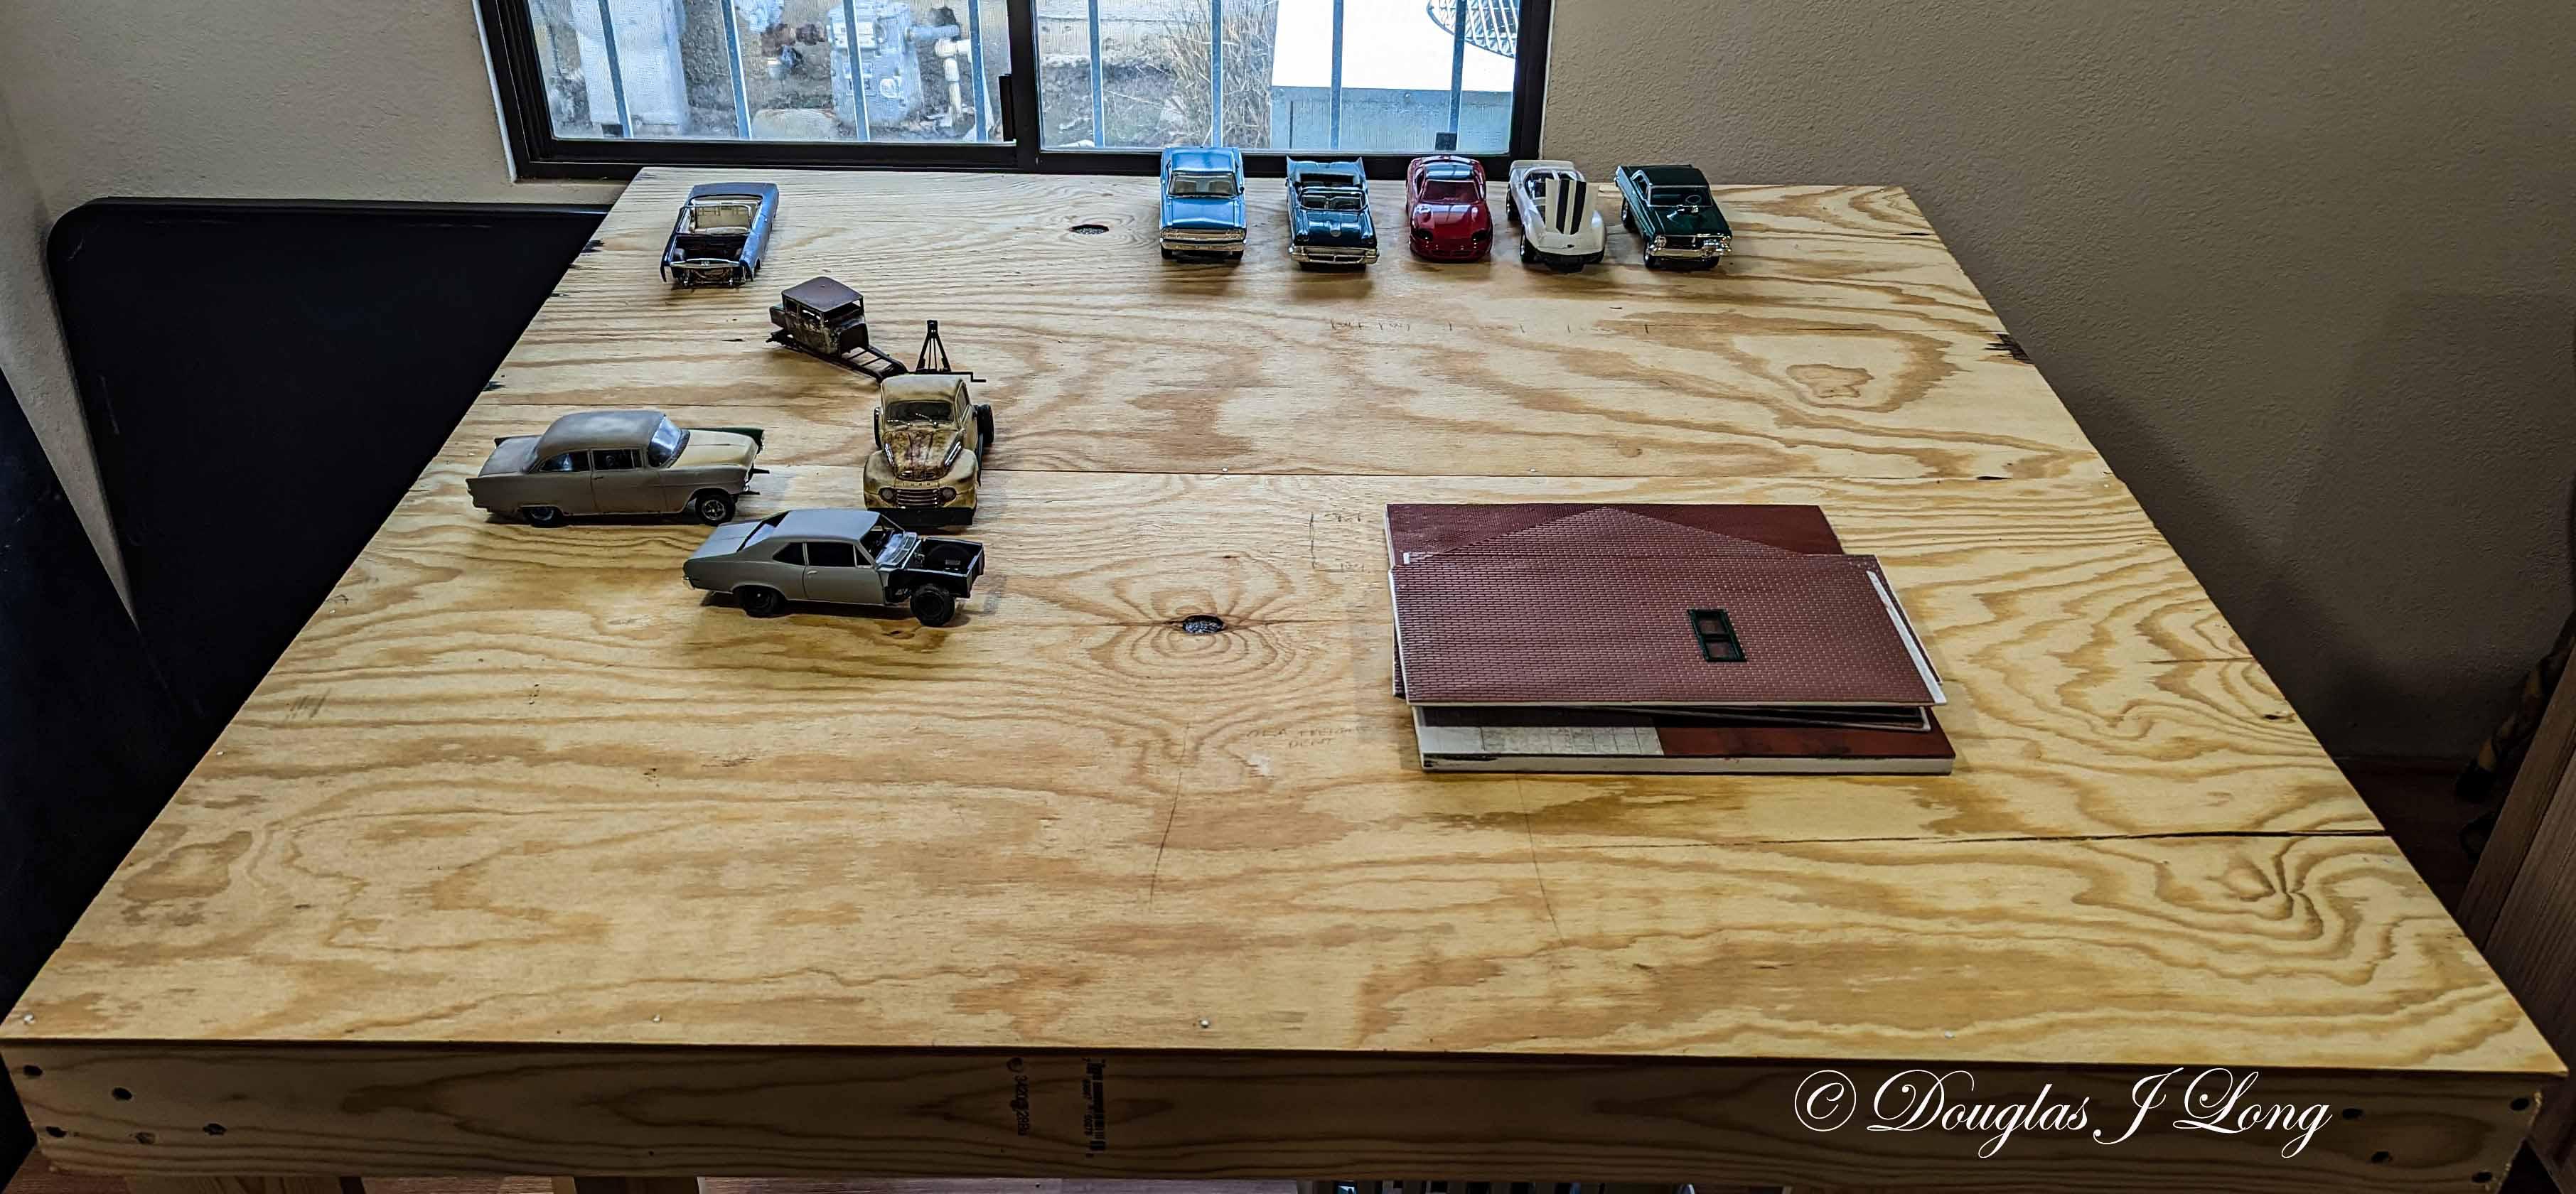
Work continues on the junk yard diorama. I set a few cars and the base on to get a feel for the final layout of the scene. The base displays an office area and main work area. More on the details of it will come later in construction. I used Plastruct brick for the siding on the walls. Here I'm displaying the window/door frames in early construction. I set the walls in place to give you an idea of what I'm envisioning this to look like someday.
-
This is very well done.
-
Your artistry is most extraordinary.
-
I am starting a new diorama; this one being a 4 foot by 4 foot offering. I have the base built, using old scrap wood that was lying around, in the way. The beginning will be the garage, which is given the history of an old, small railroad freight depot. It is constructed of plastic sheet and strip. The floor/foundation utilizes layered plexiglass for strength. It will represent being built around the 1880s as a small town freight depot, and thereafter having a multitude of uses, before finally becoming a garage for the junkyard. This is the base, which is built in modular sections of 2 feet by 4 feet, thus making it more easily transportable, should the need arise. The floor is designed to fit into the structure to add strength. The walls are .080 Plastruct sheet. All will be covered with appropriate flooring and siding material.
-
That is looking quite impressive.
-
The only way it could be more authentic, is if you used a shrink ray on a real car...or did you...?.
-
It's the small details that make the big difference. You are addressing them quite well.
-

Just finished my first diorama! Asbury, NJ streets!
The Modeling Hermit replied to GlueSniffer's topic in Dioramas
You are truly an artist.