dino246gt
-
Posts
2,244 -
Joined
-
Last visited
Content Type
Profiles
Forums
Events
Gallery
Everything posted by dino246gt
-
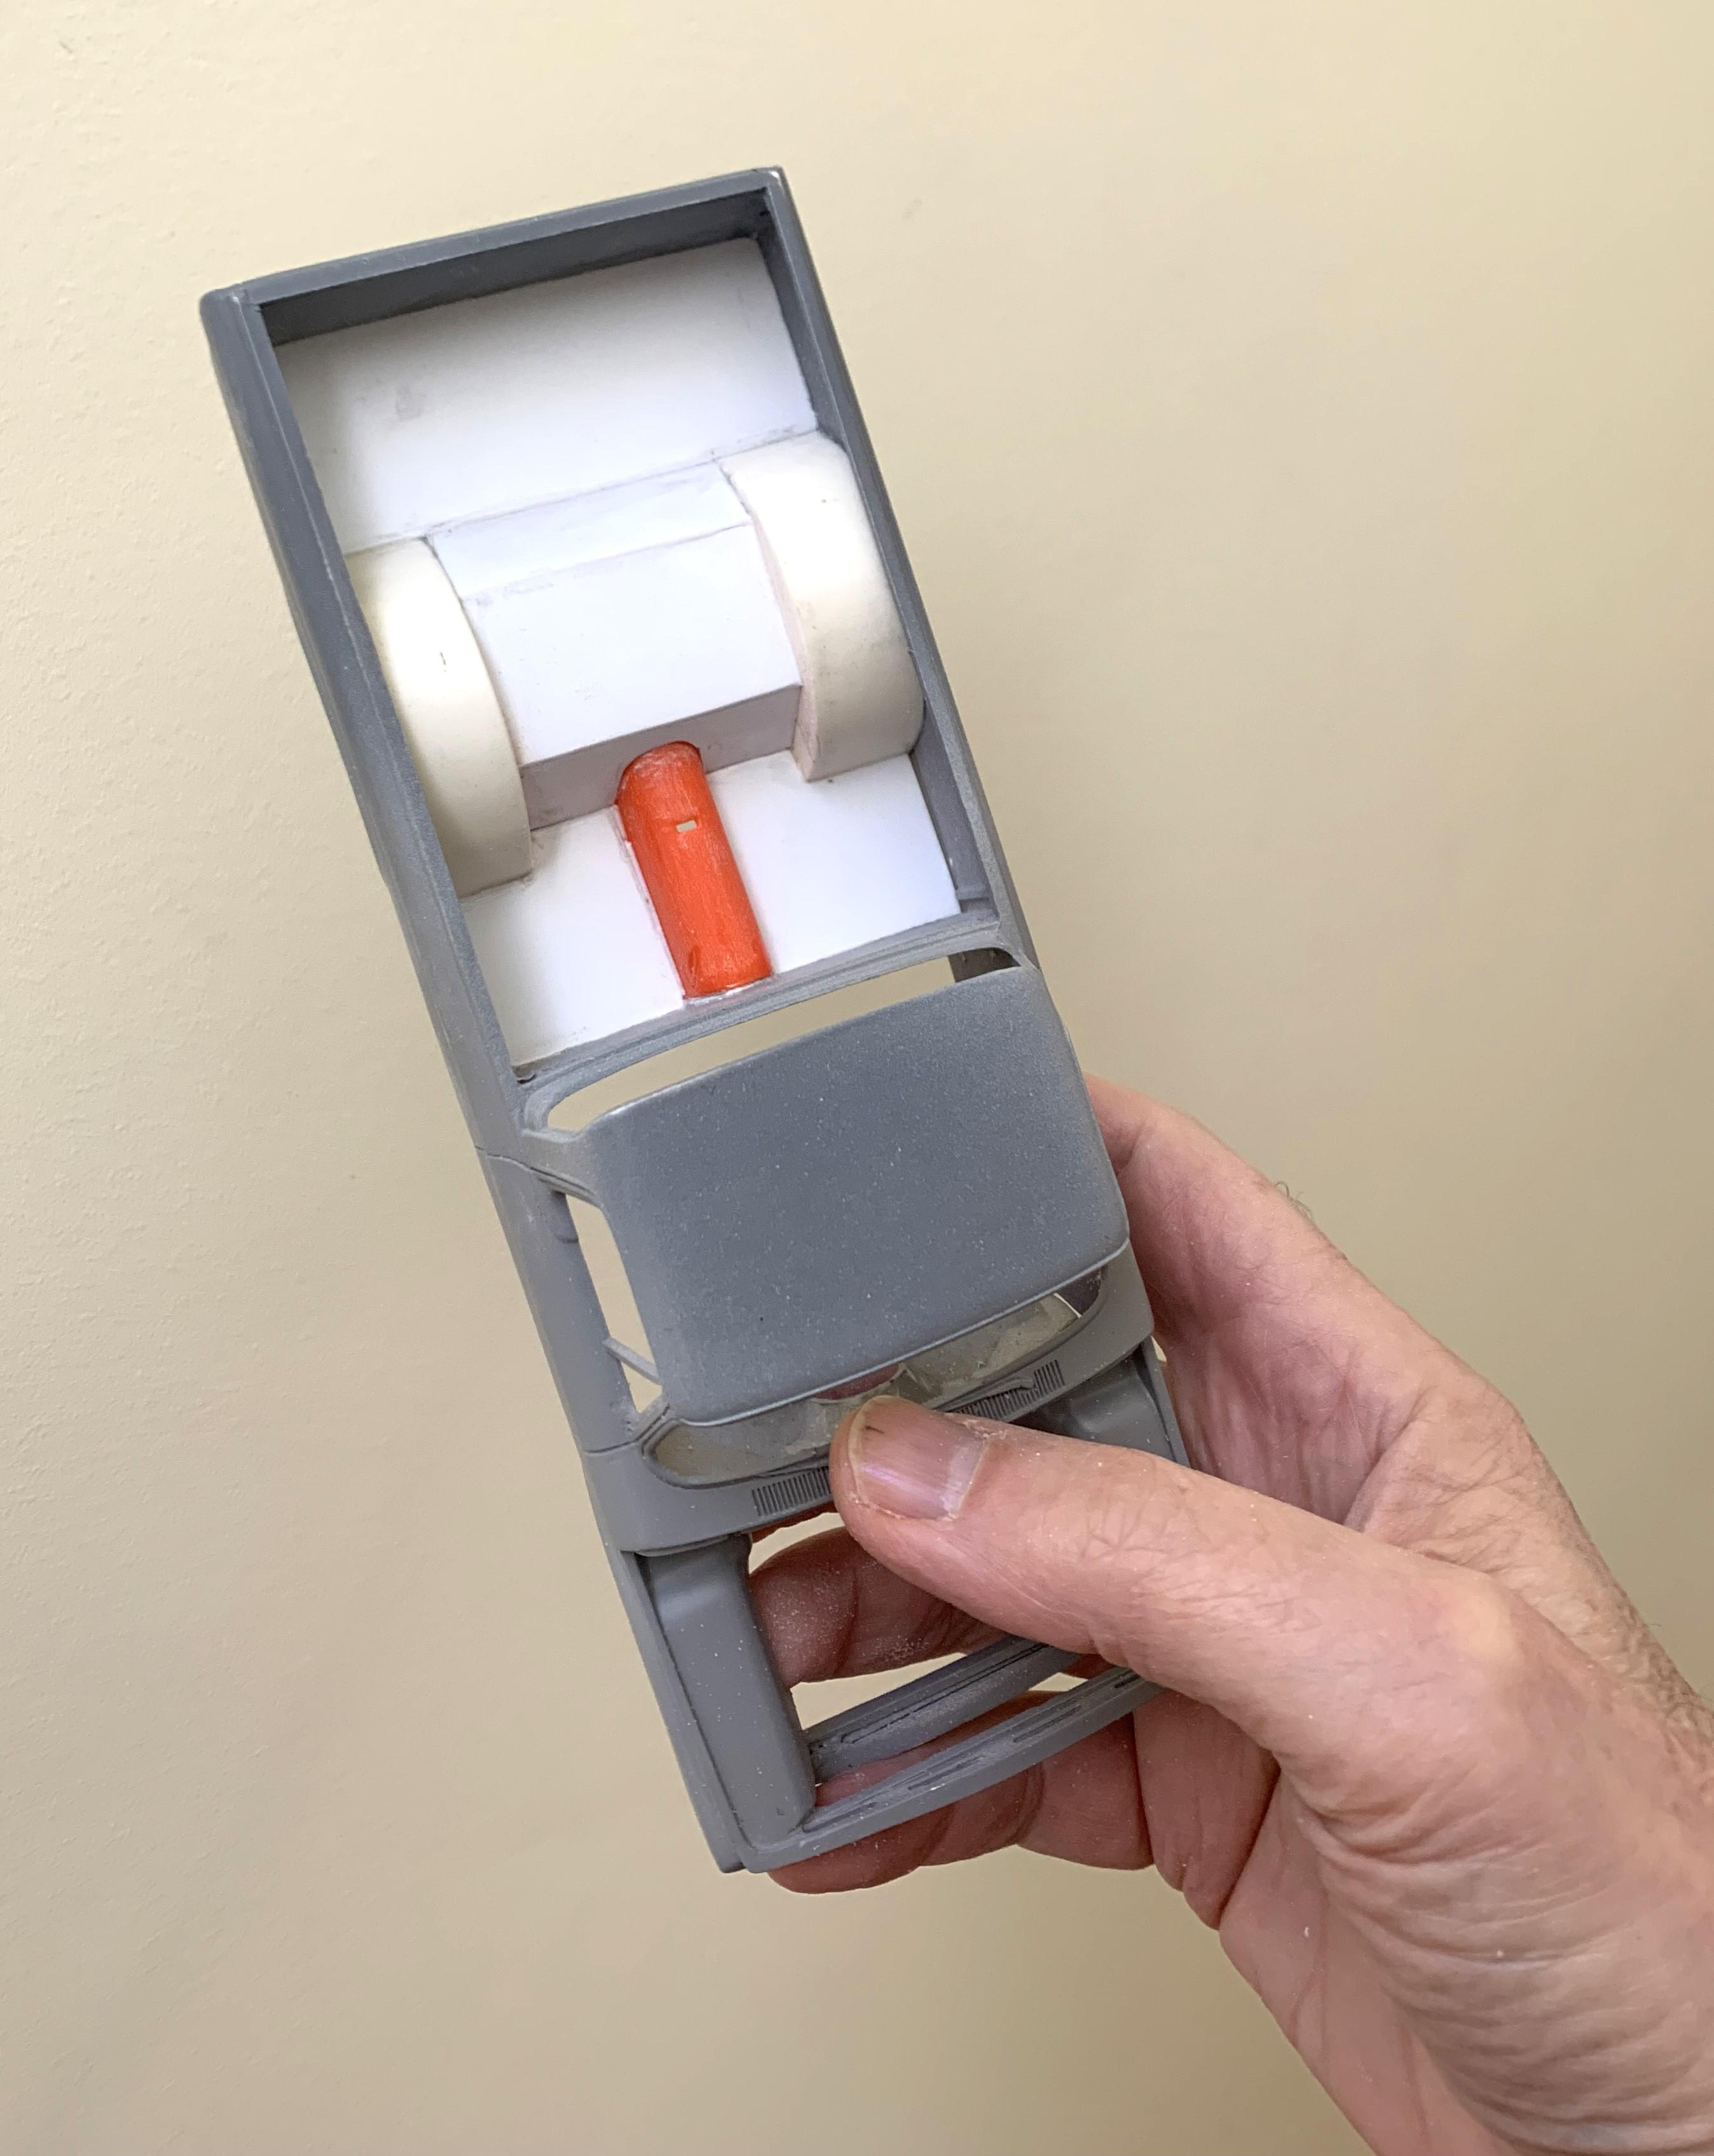
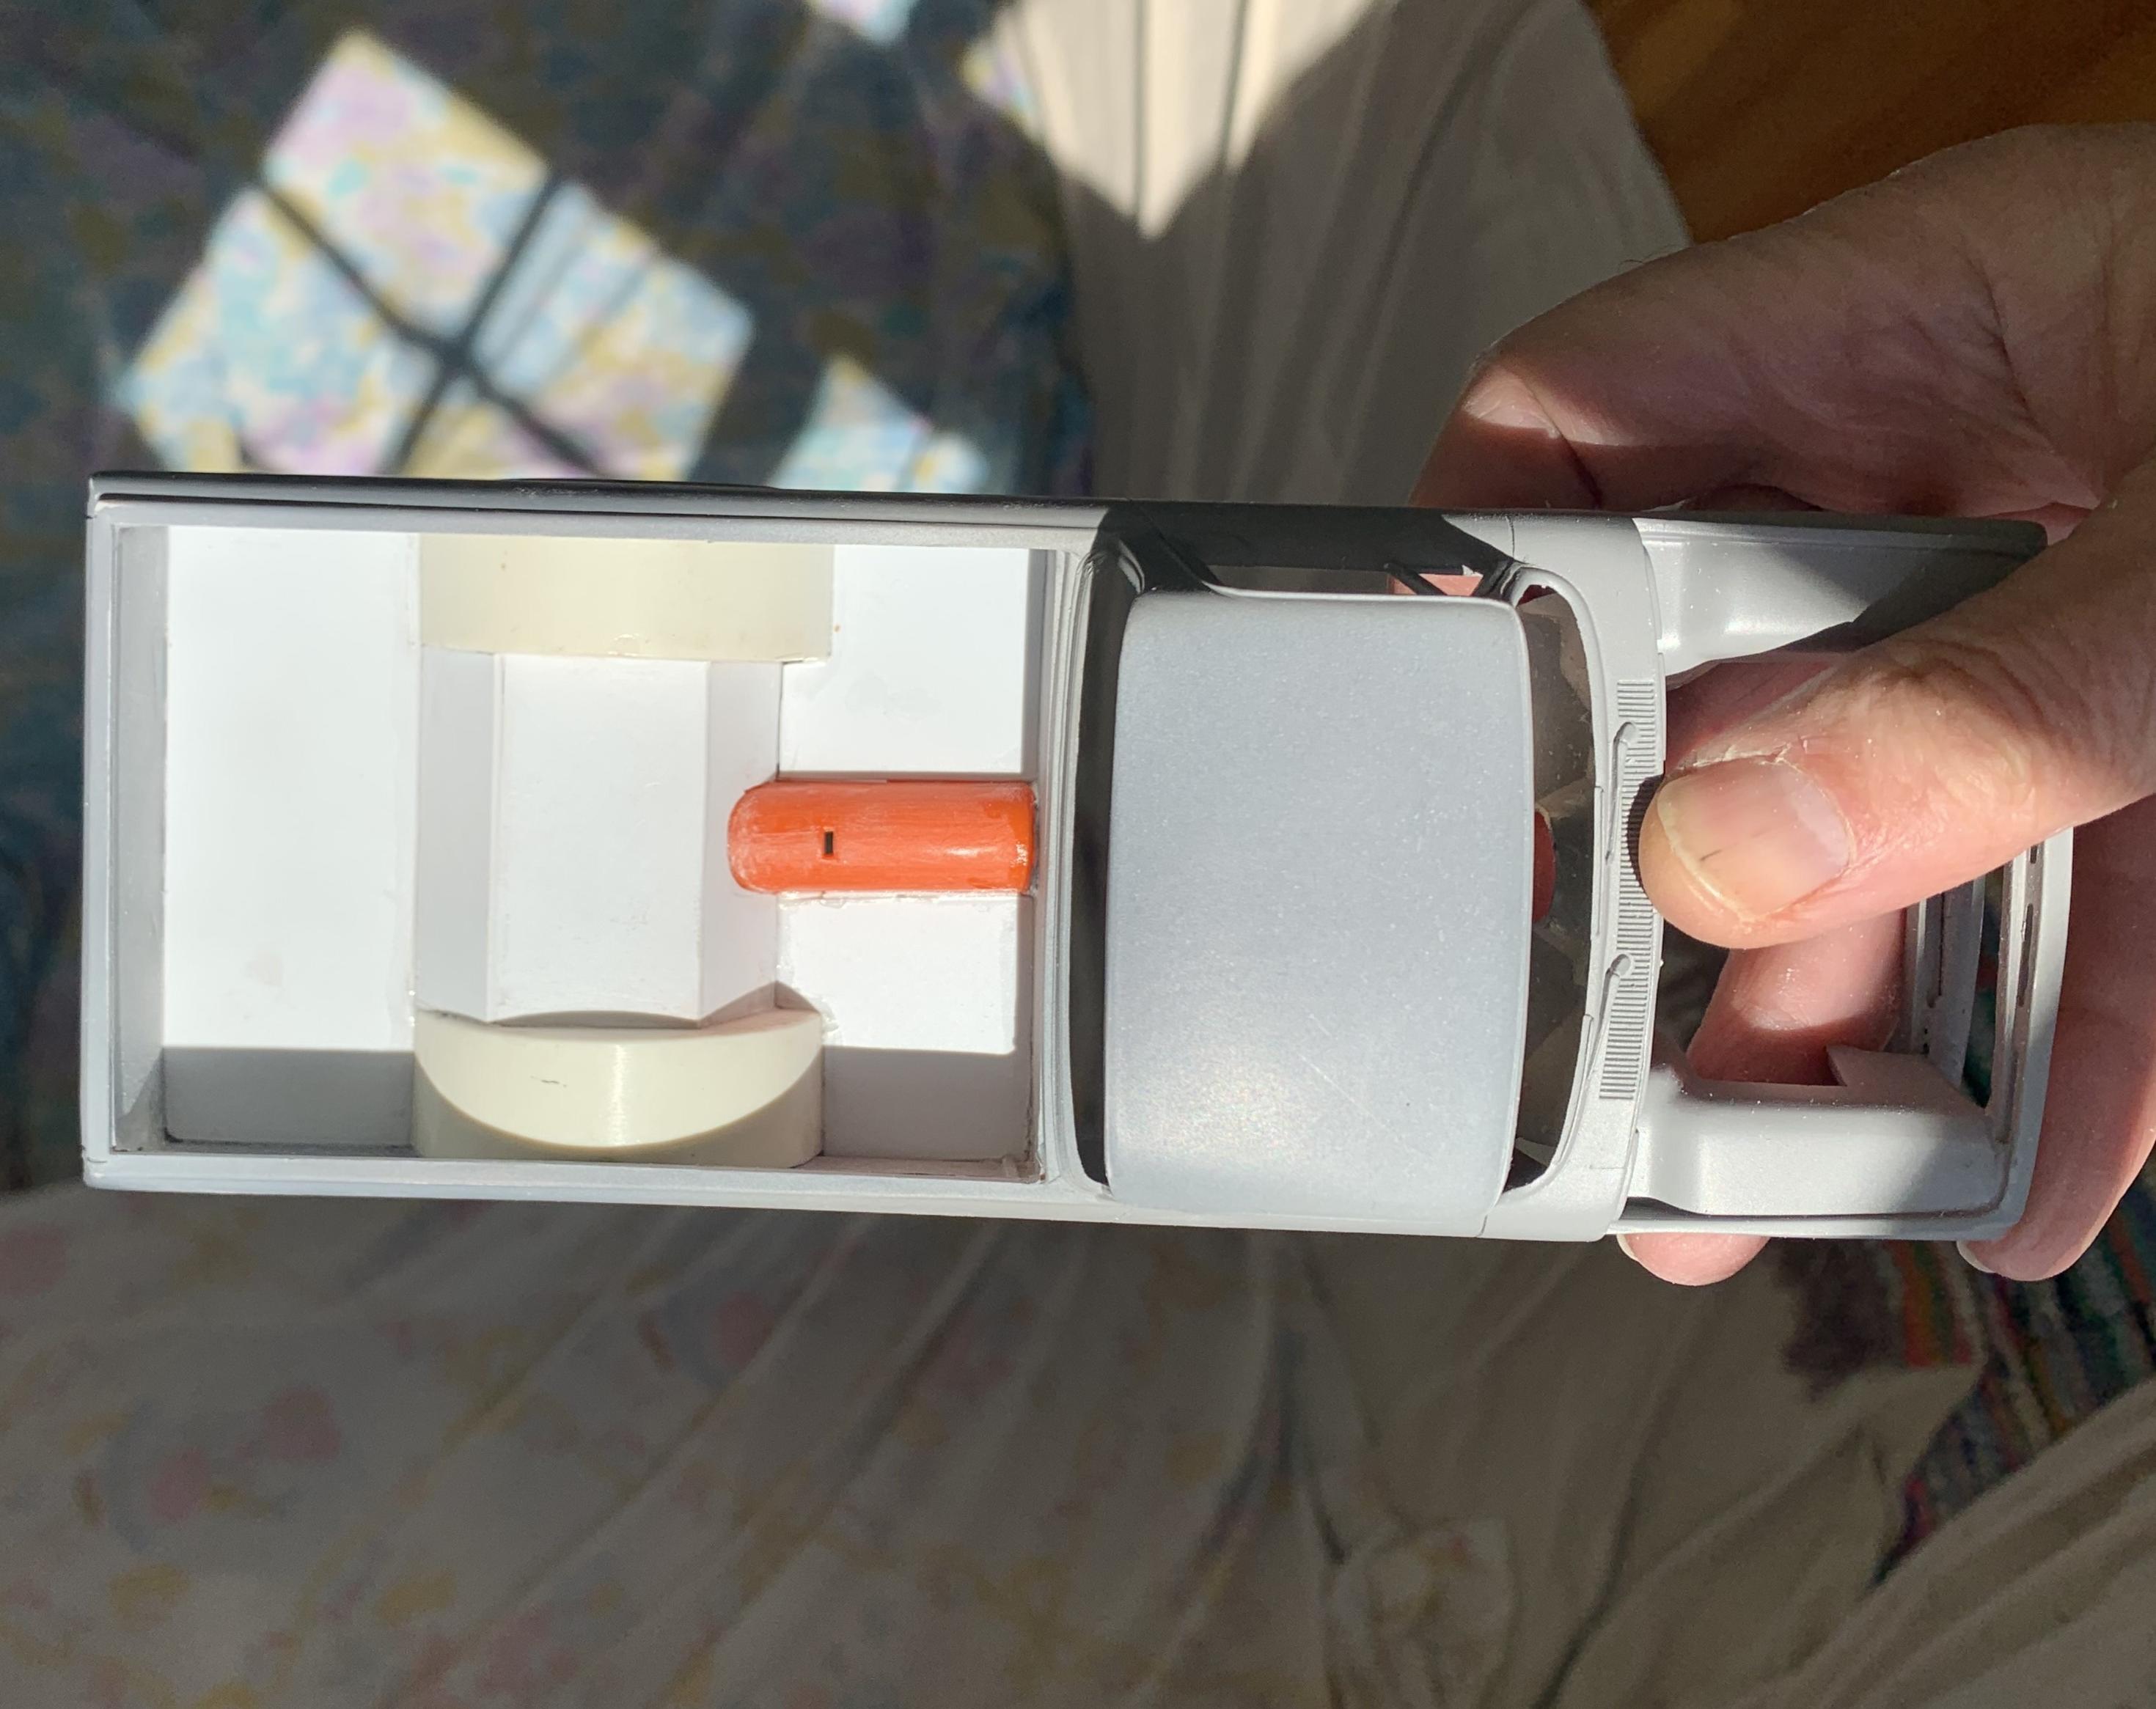
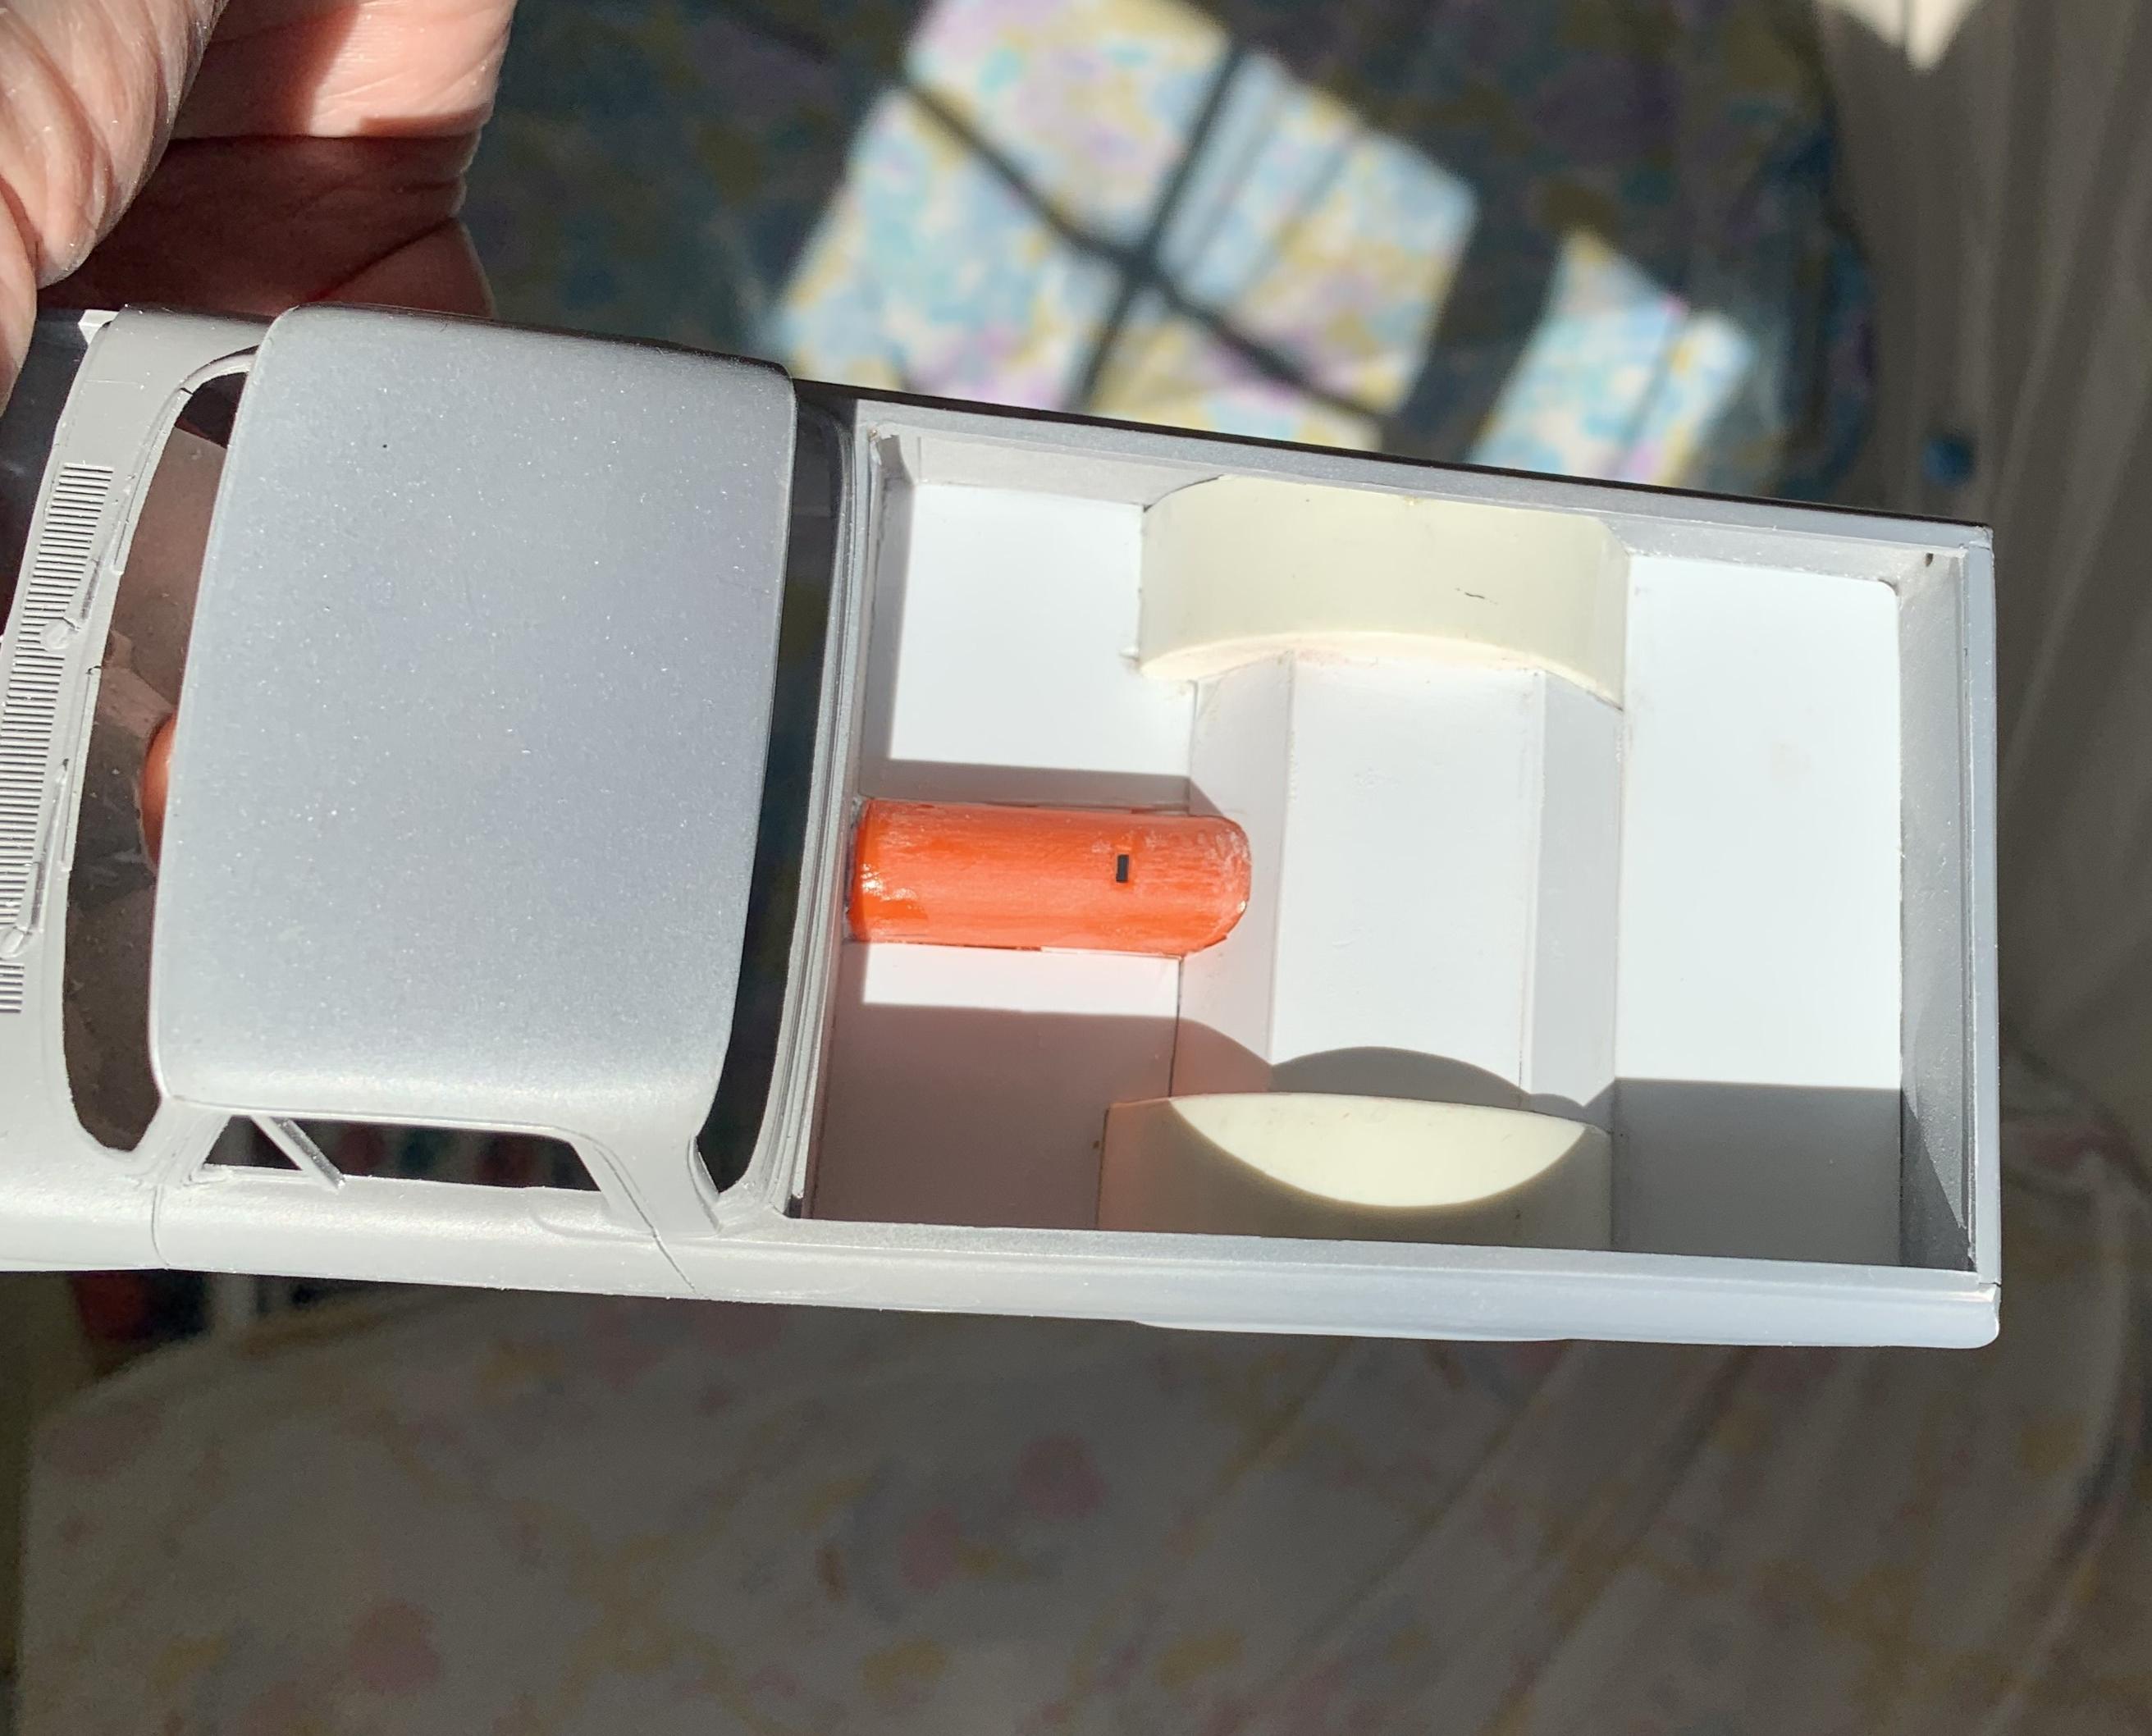
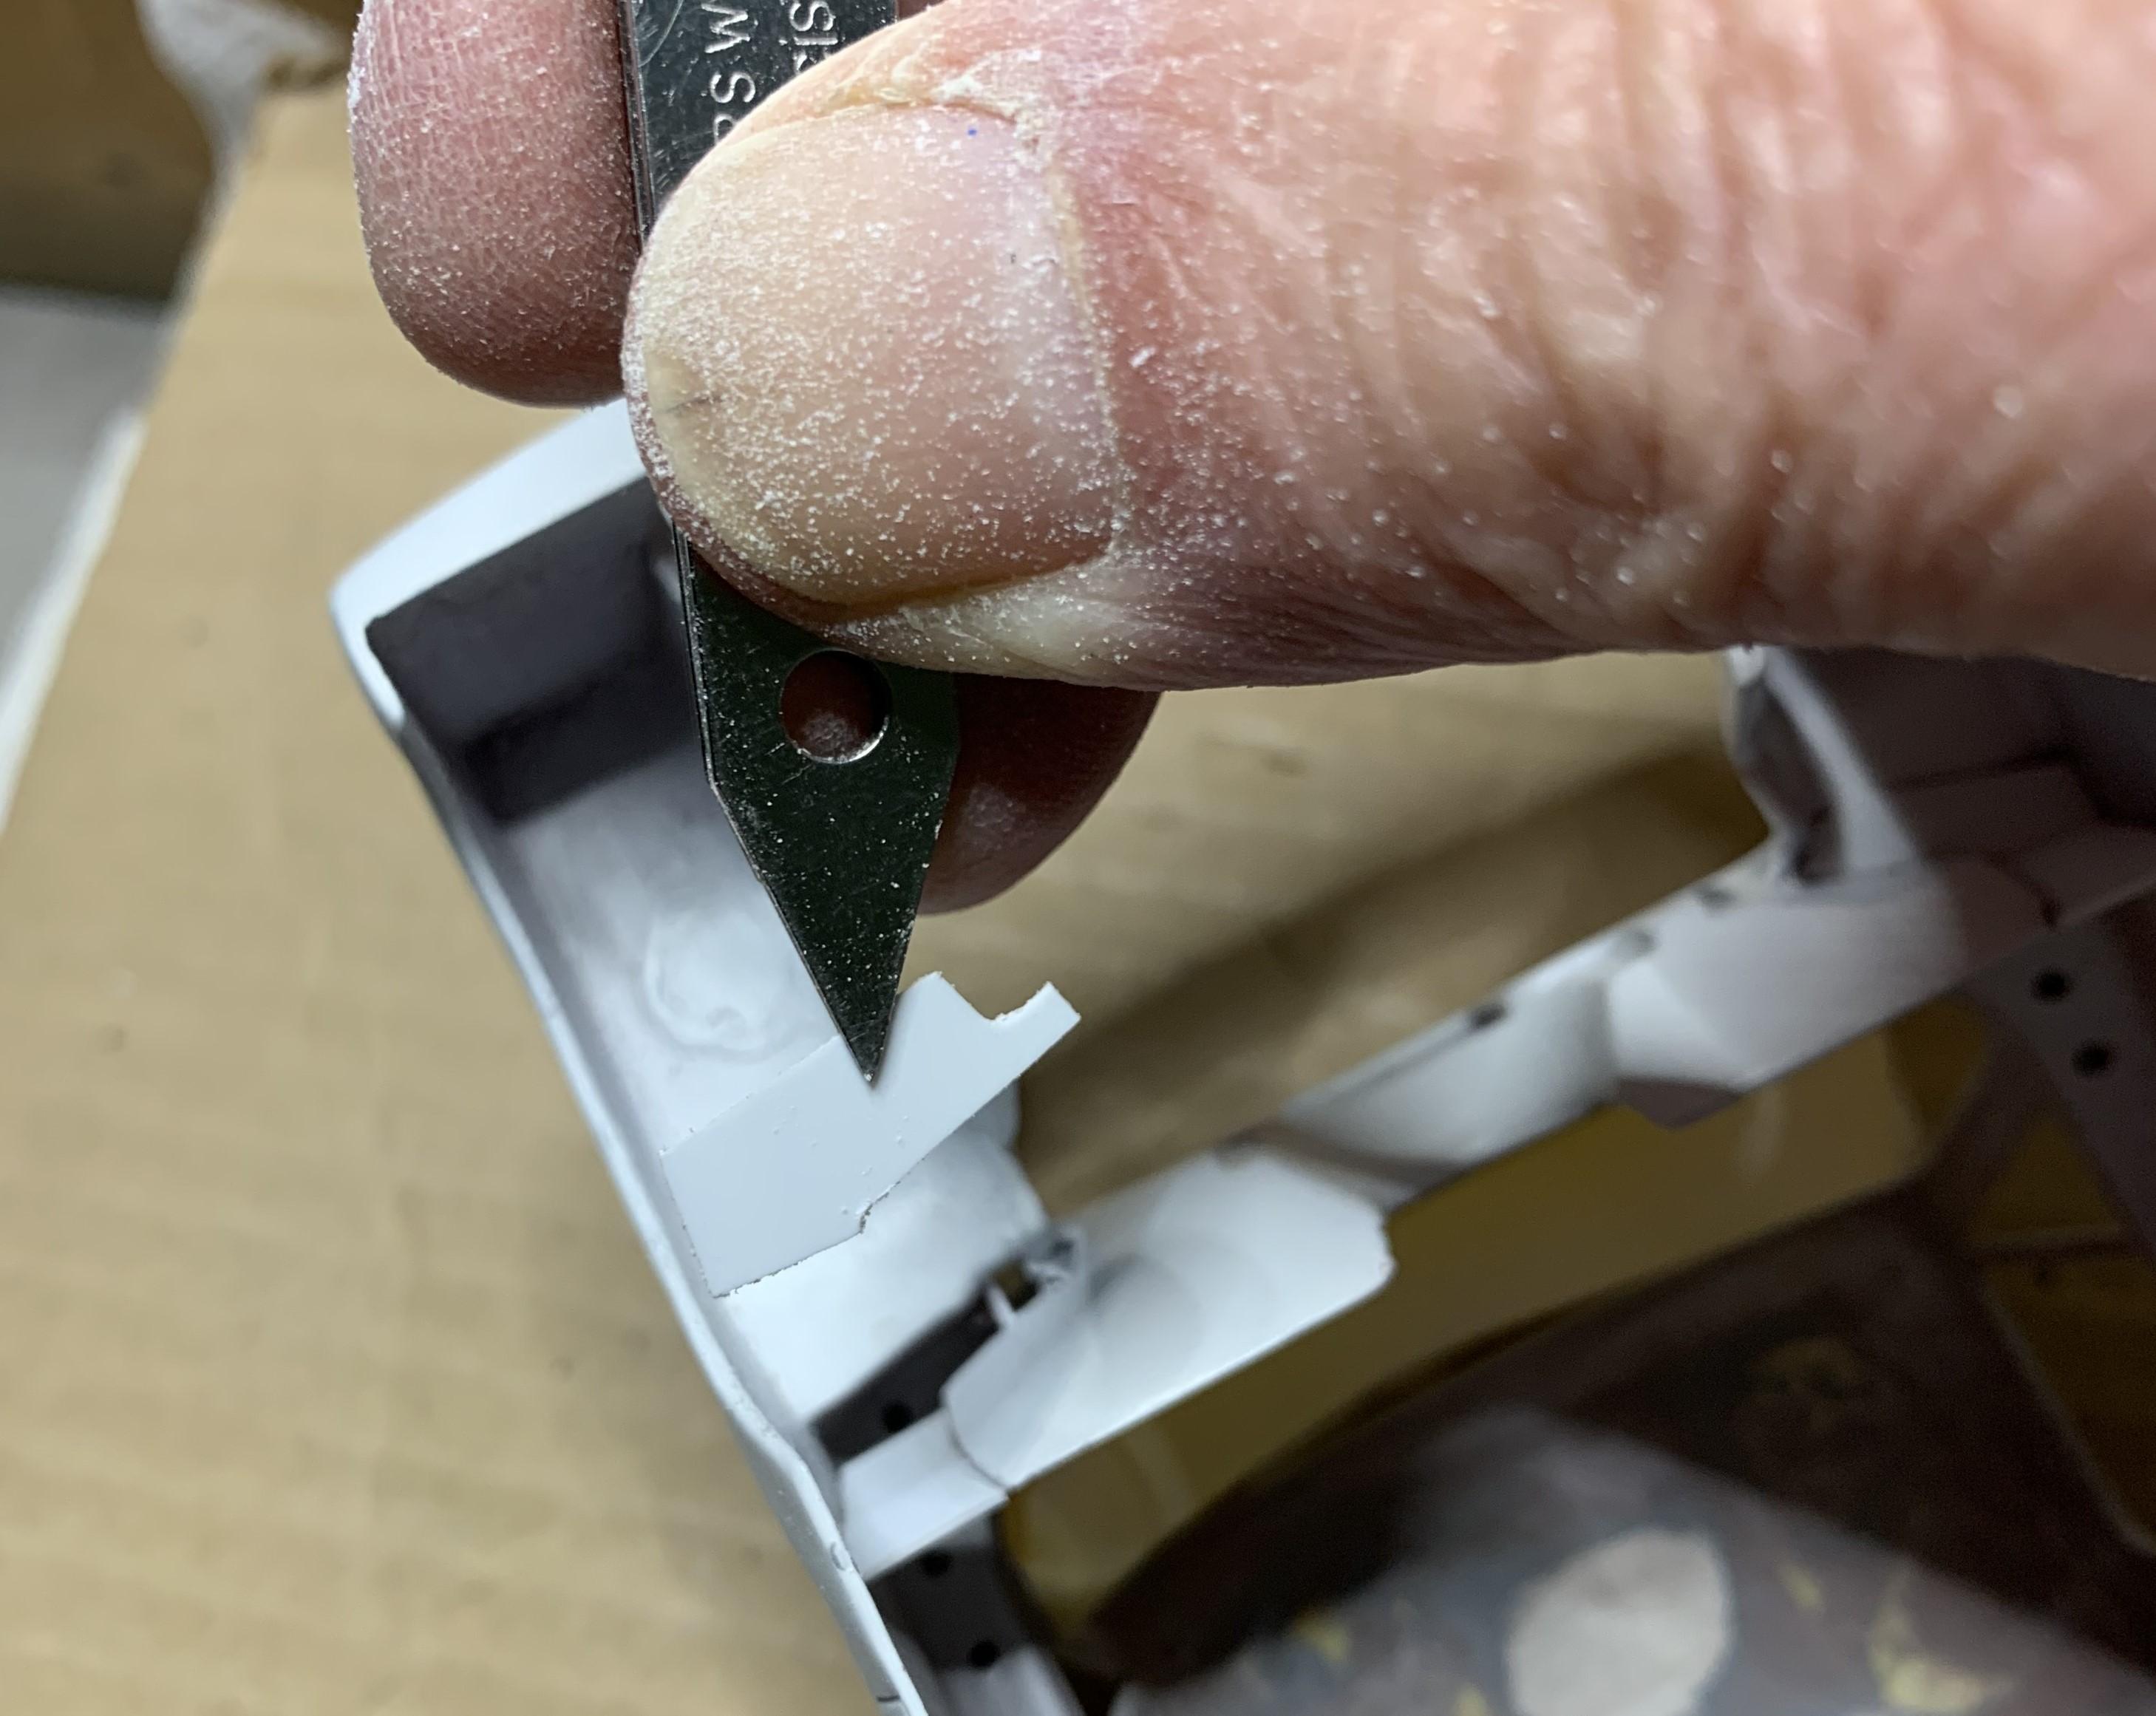
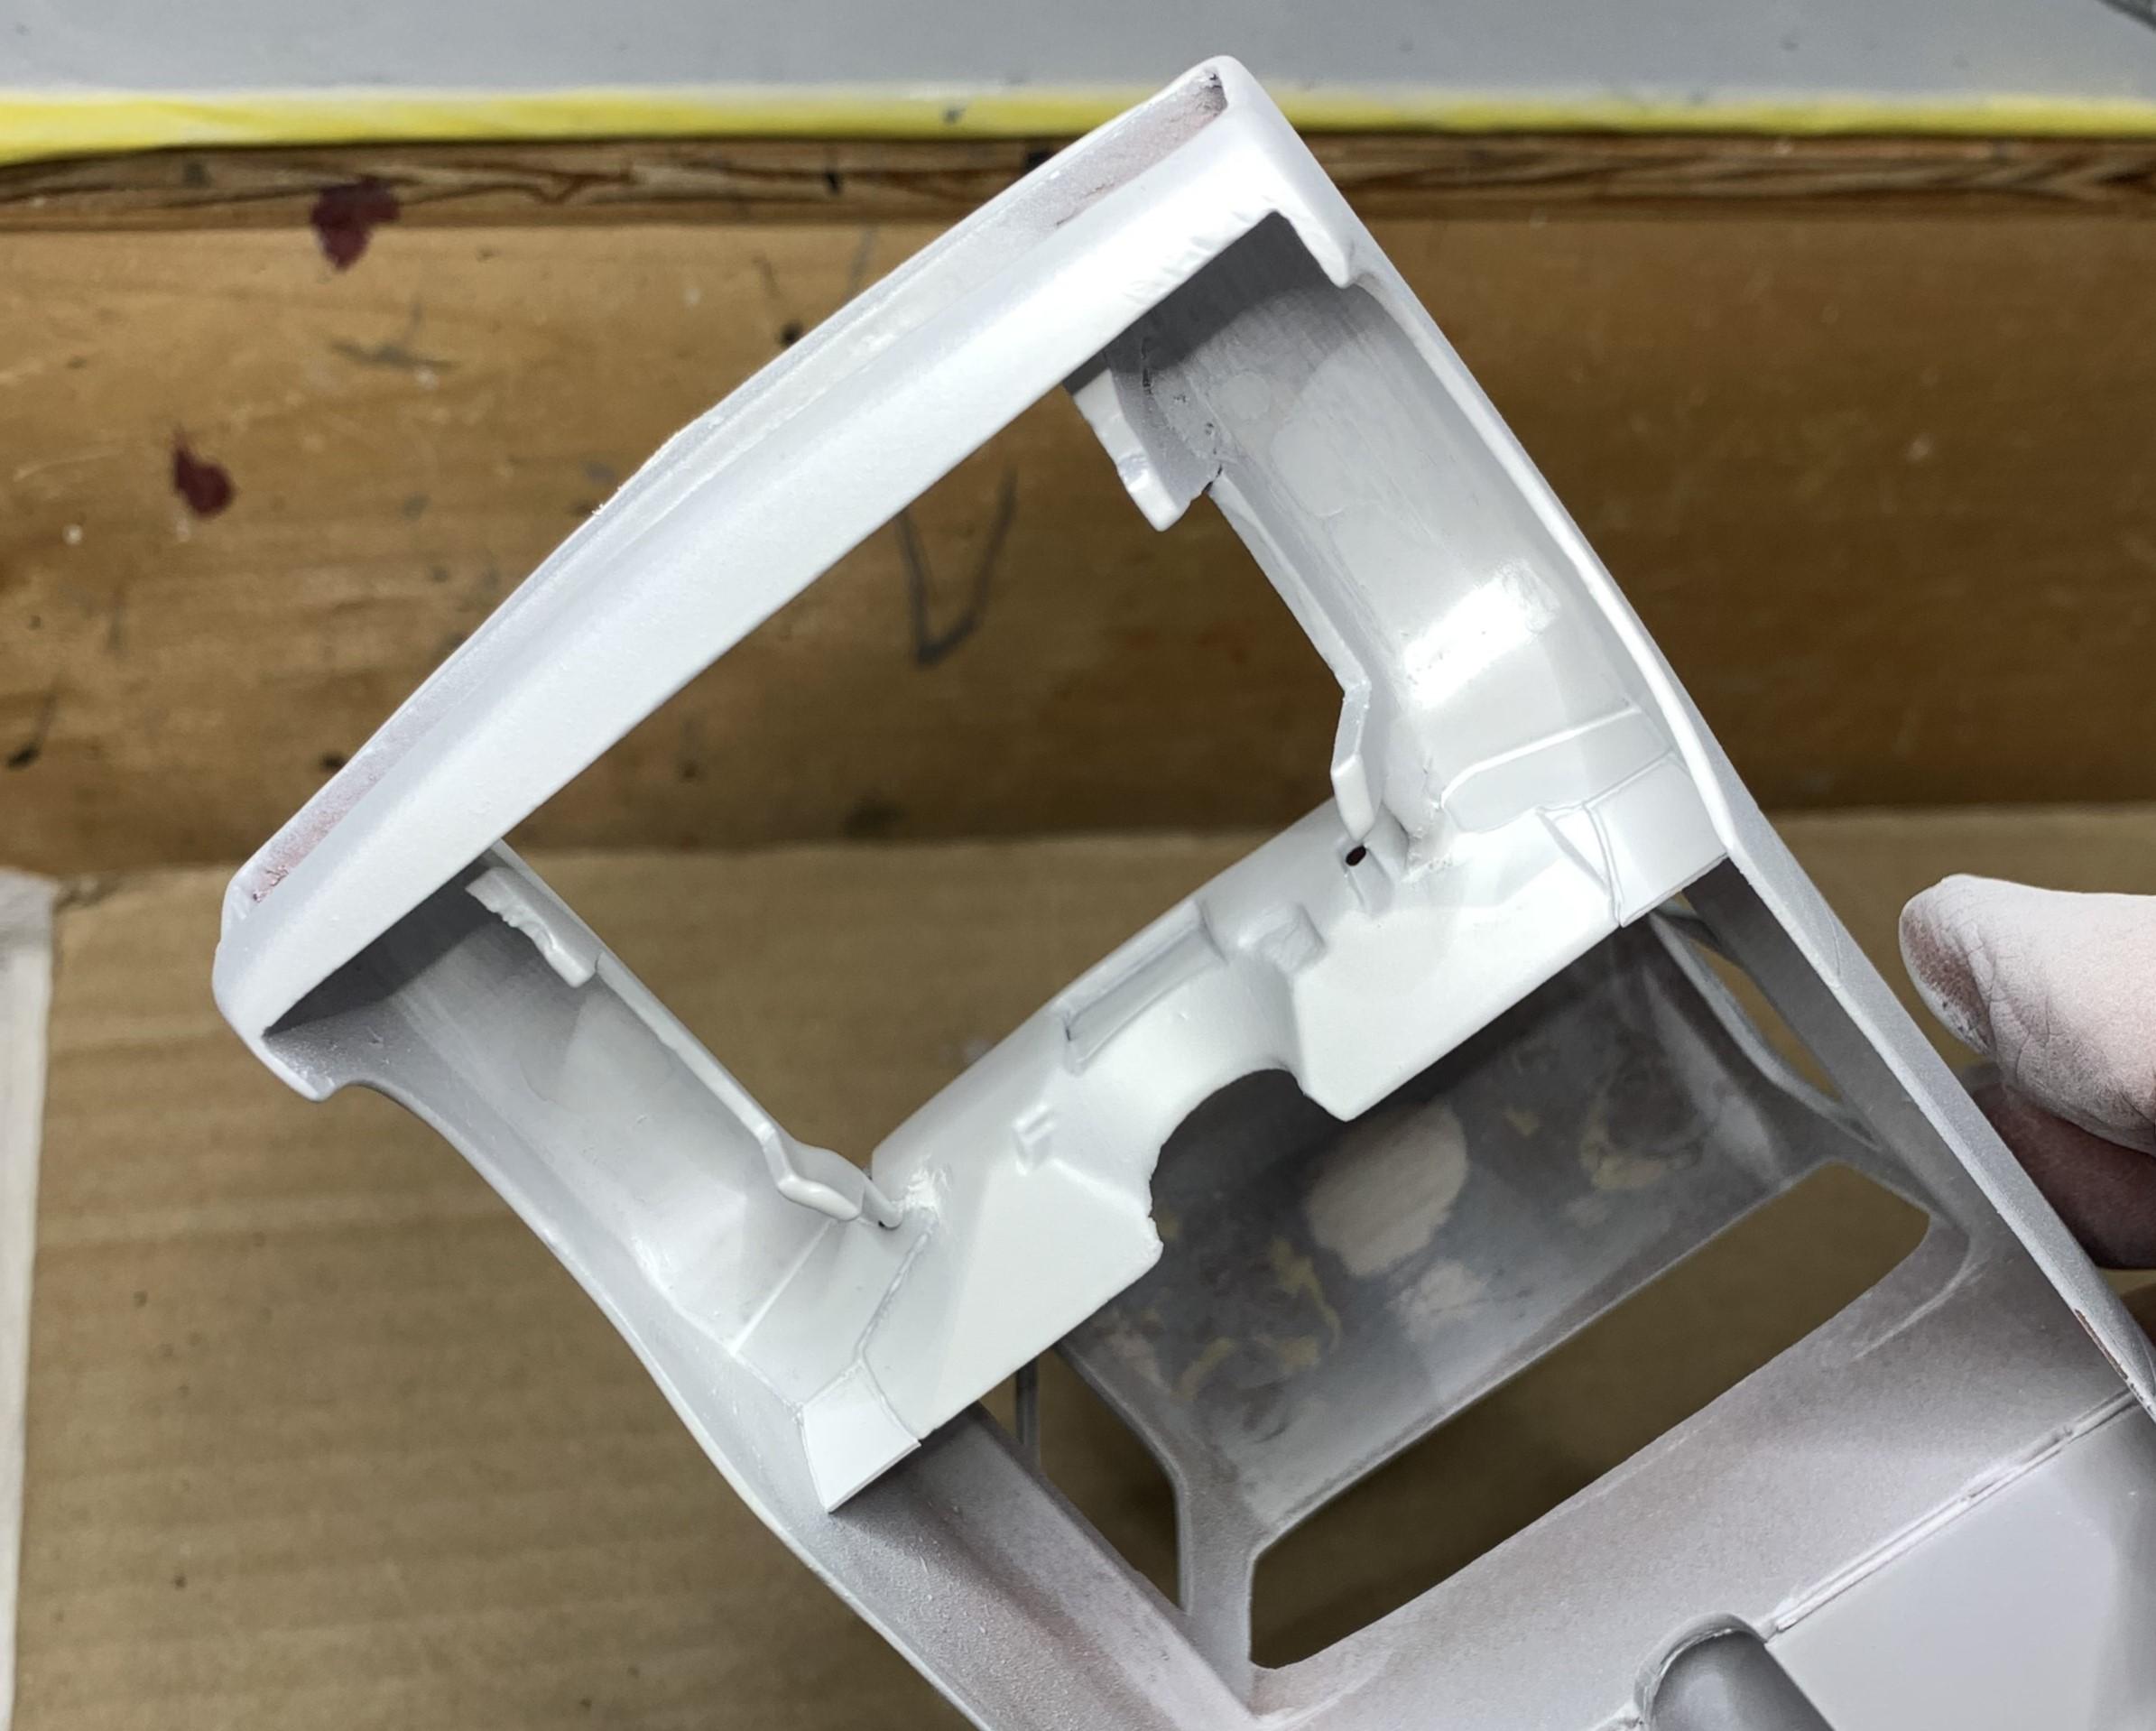
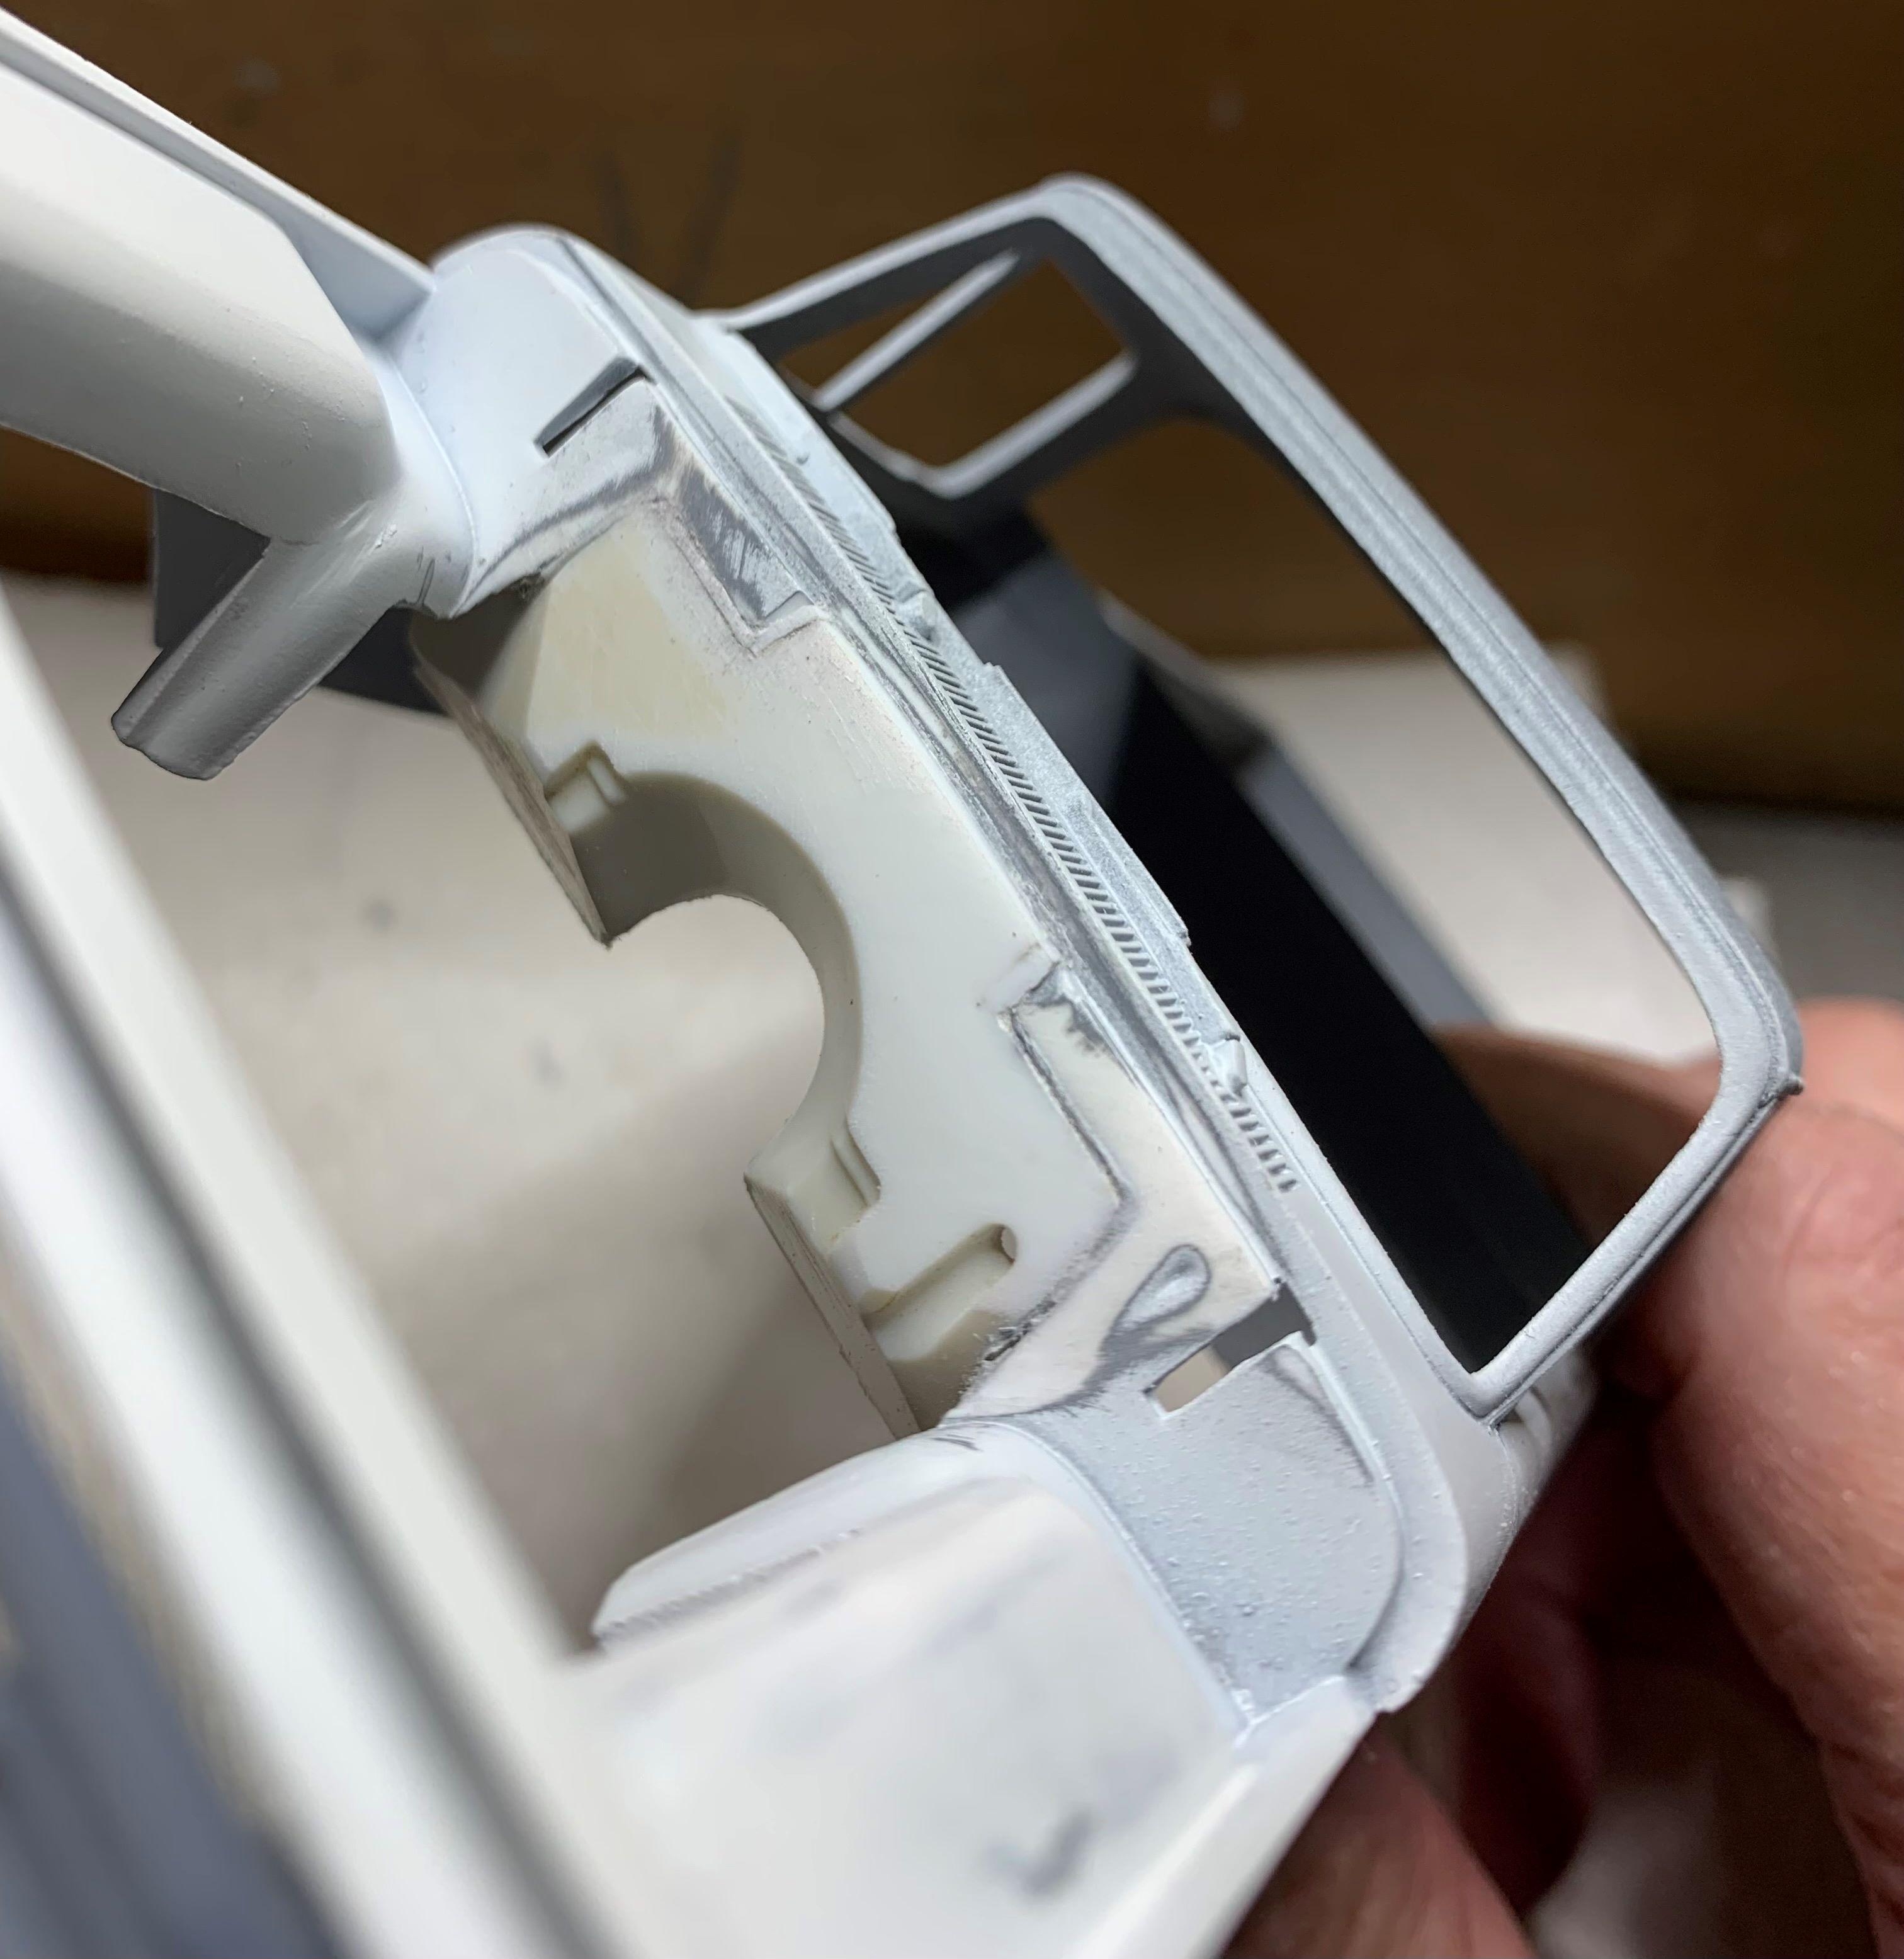
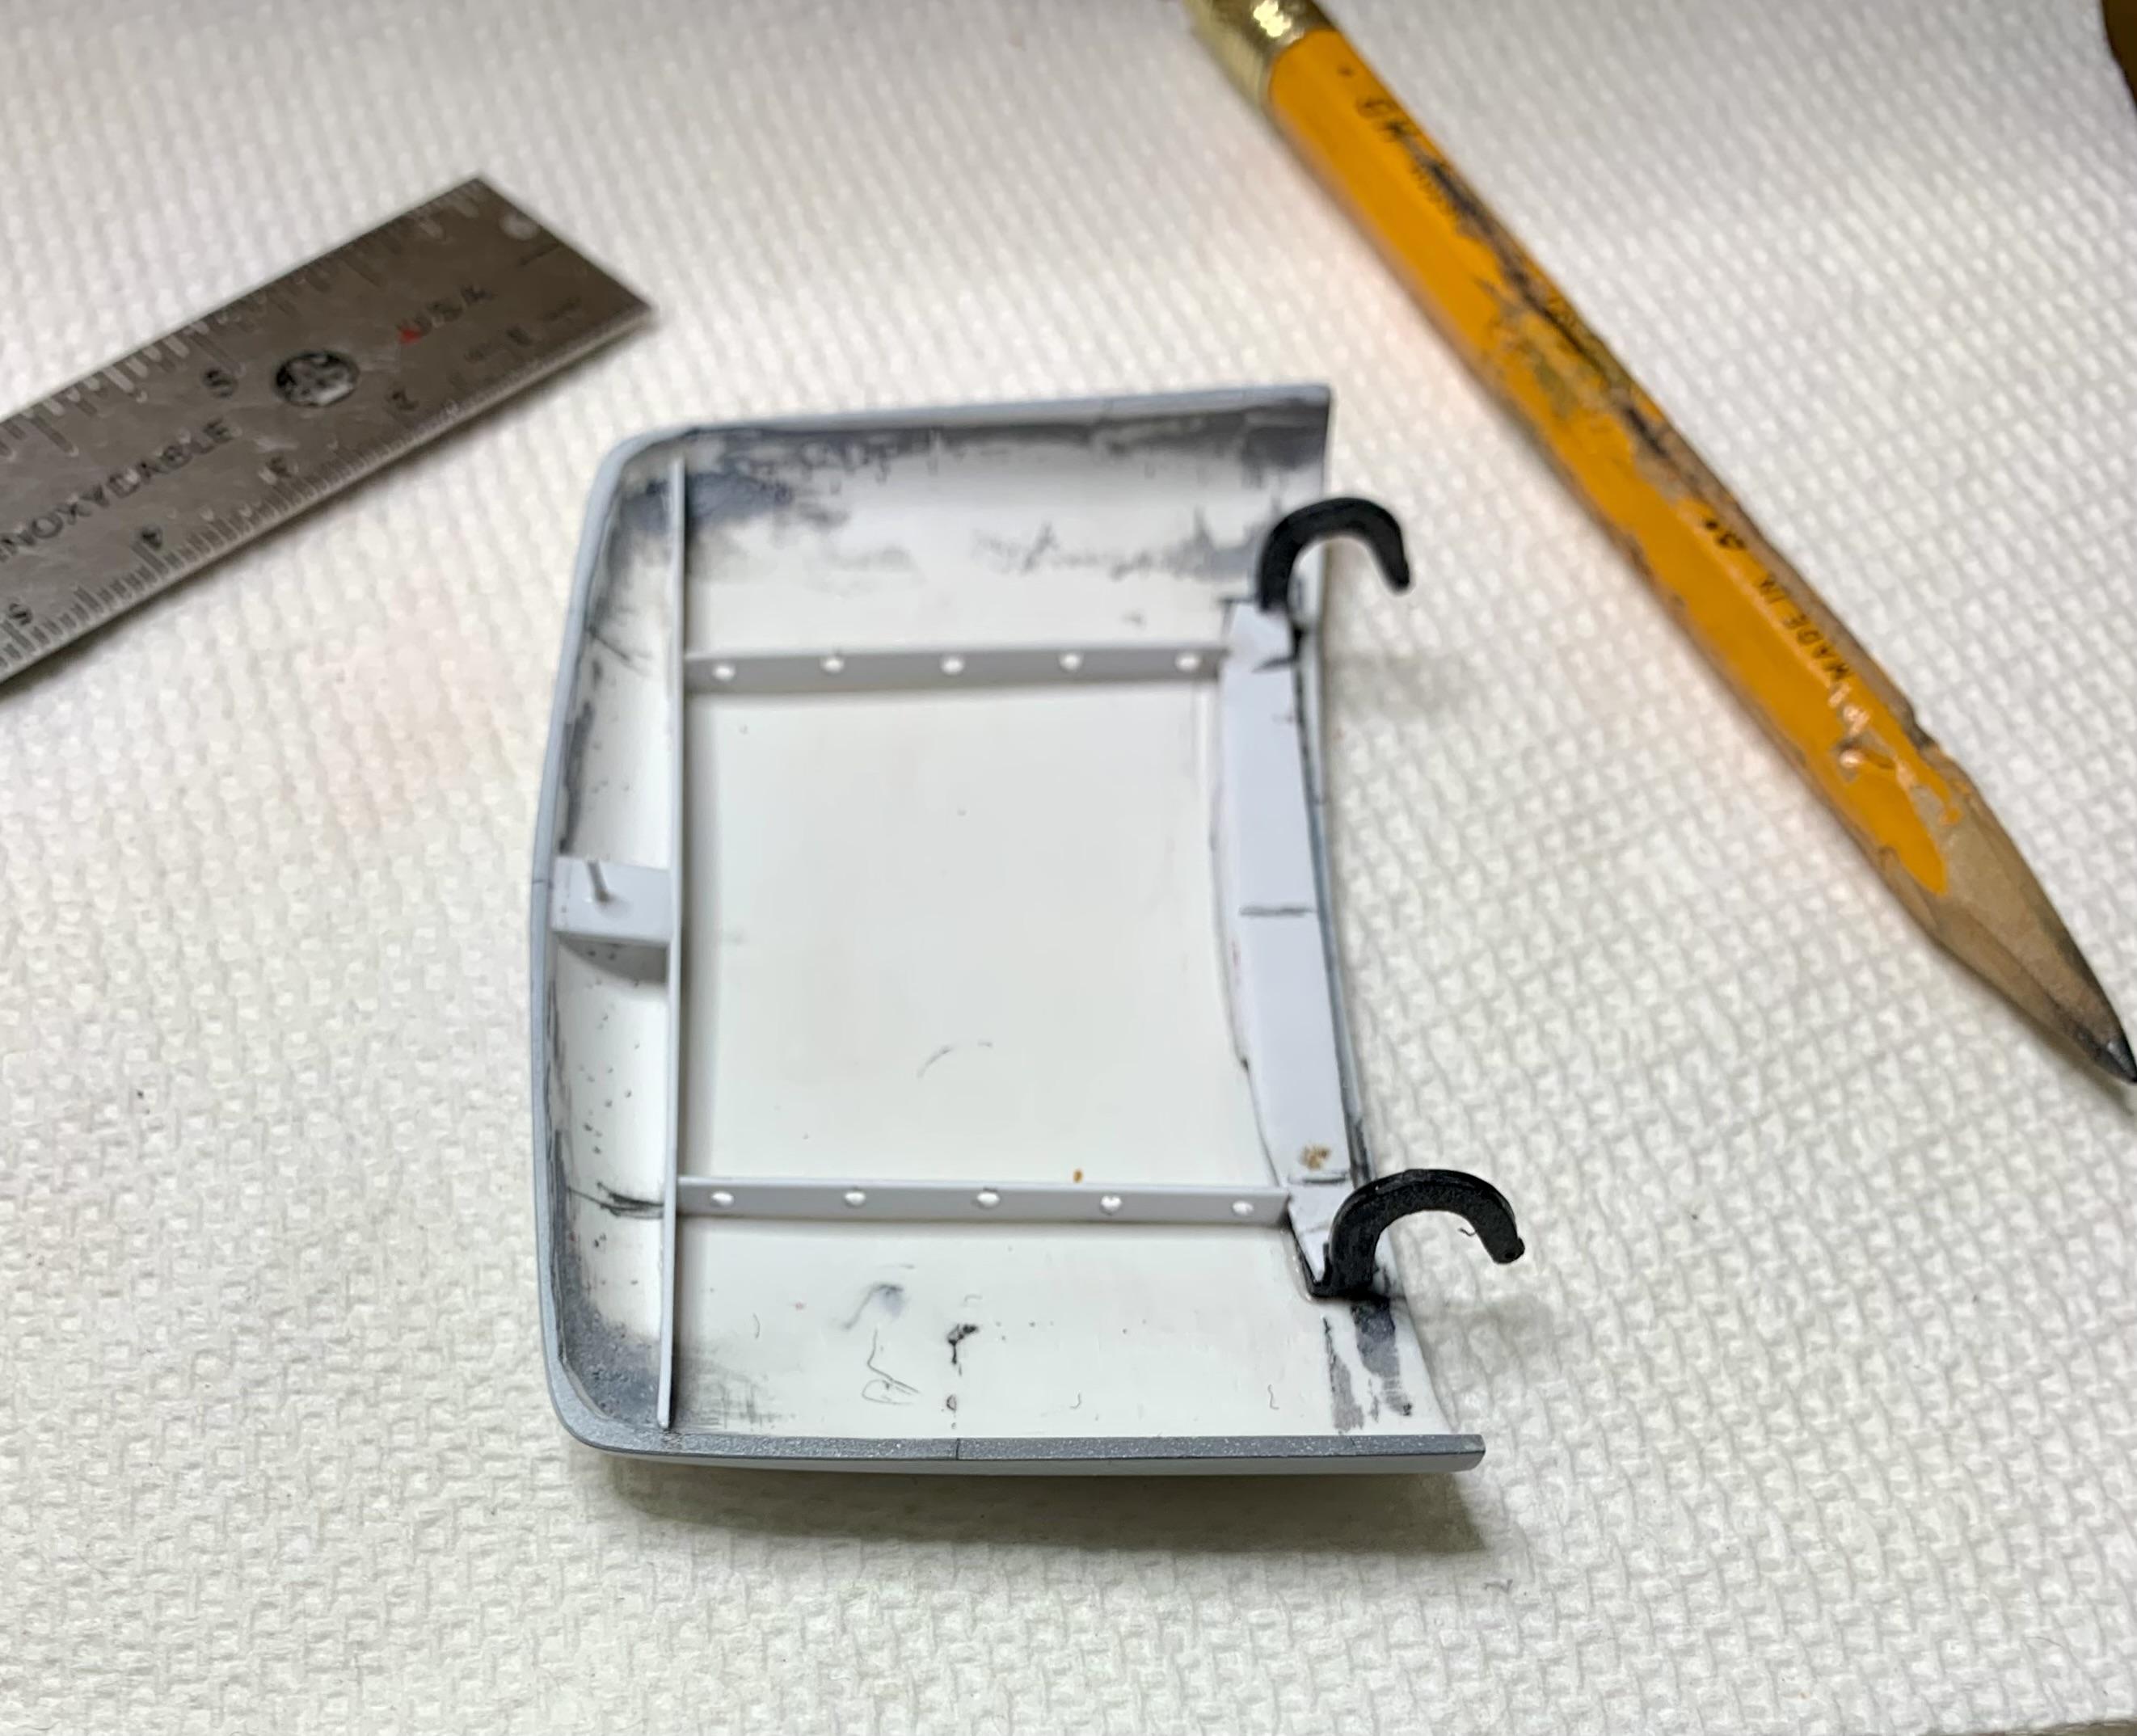
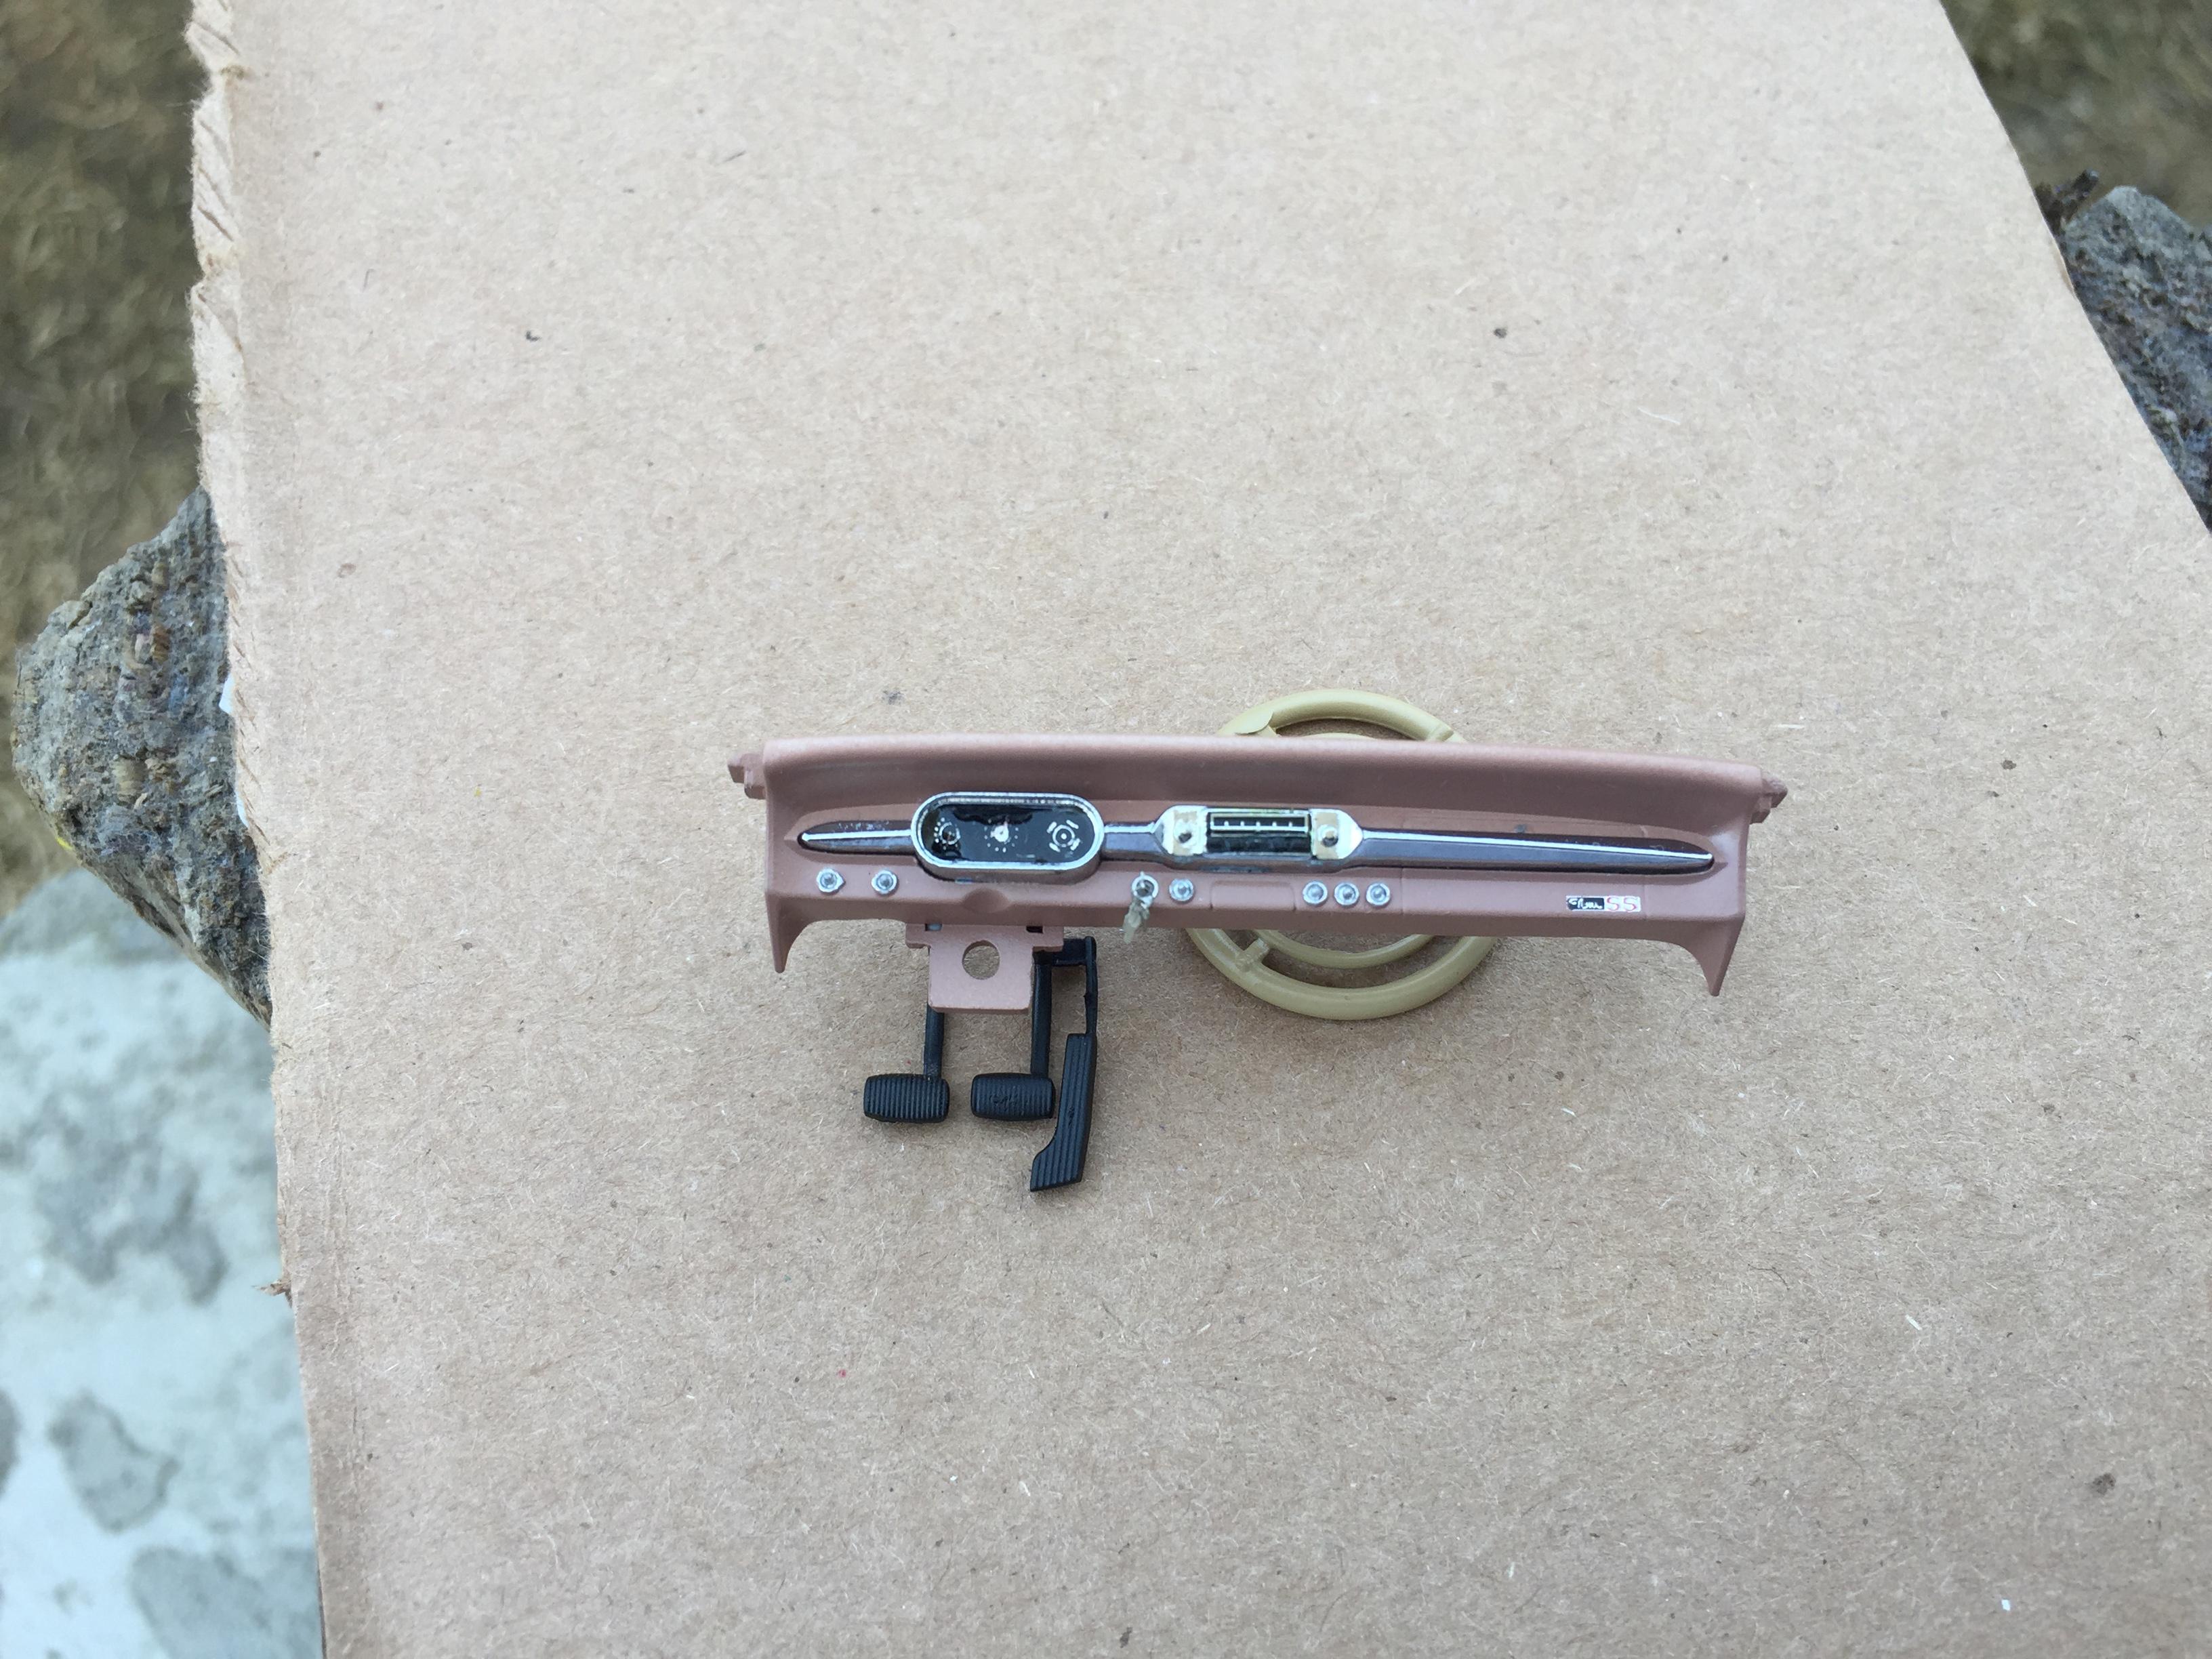
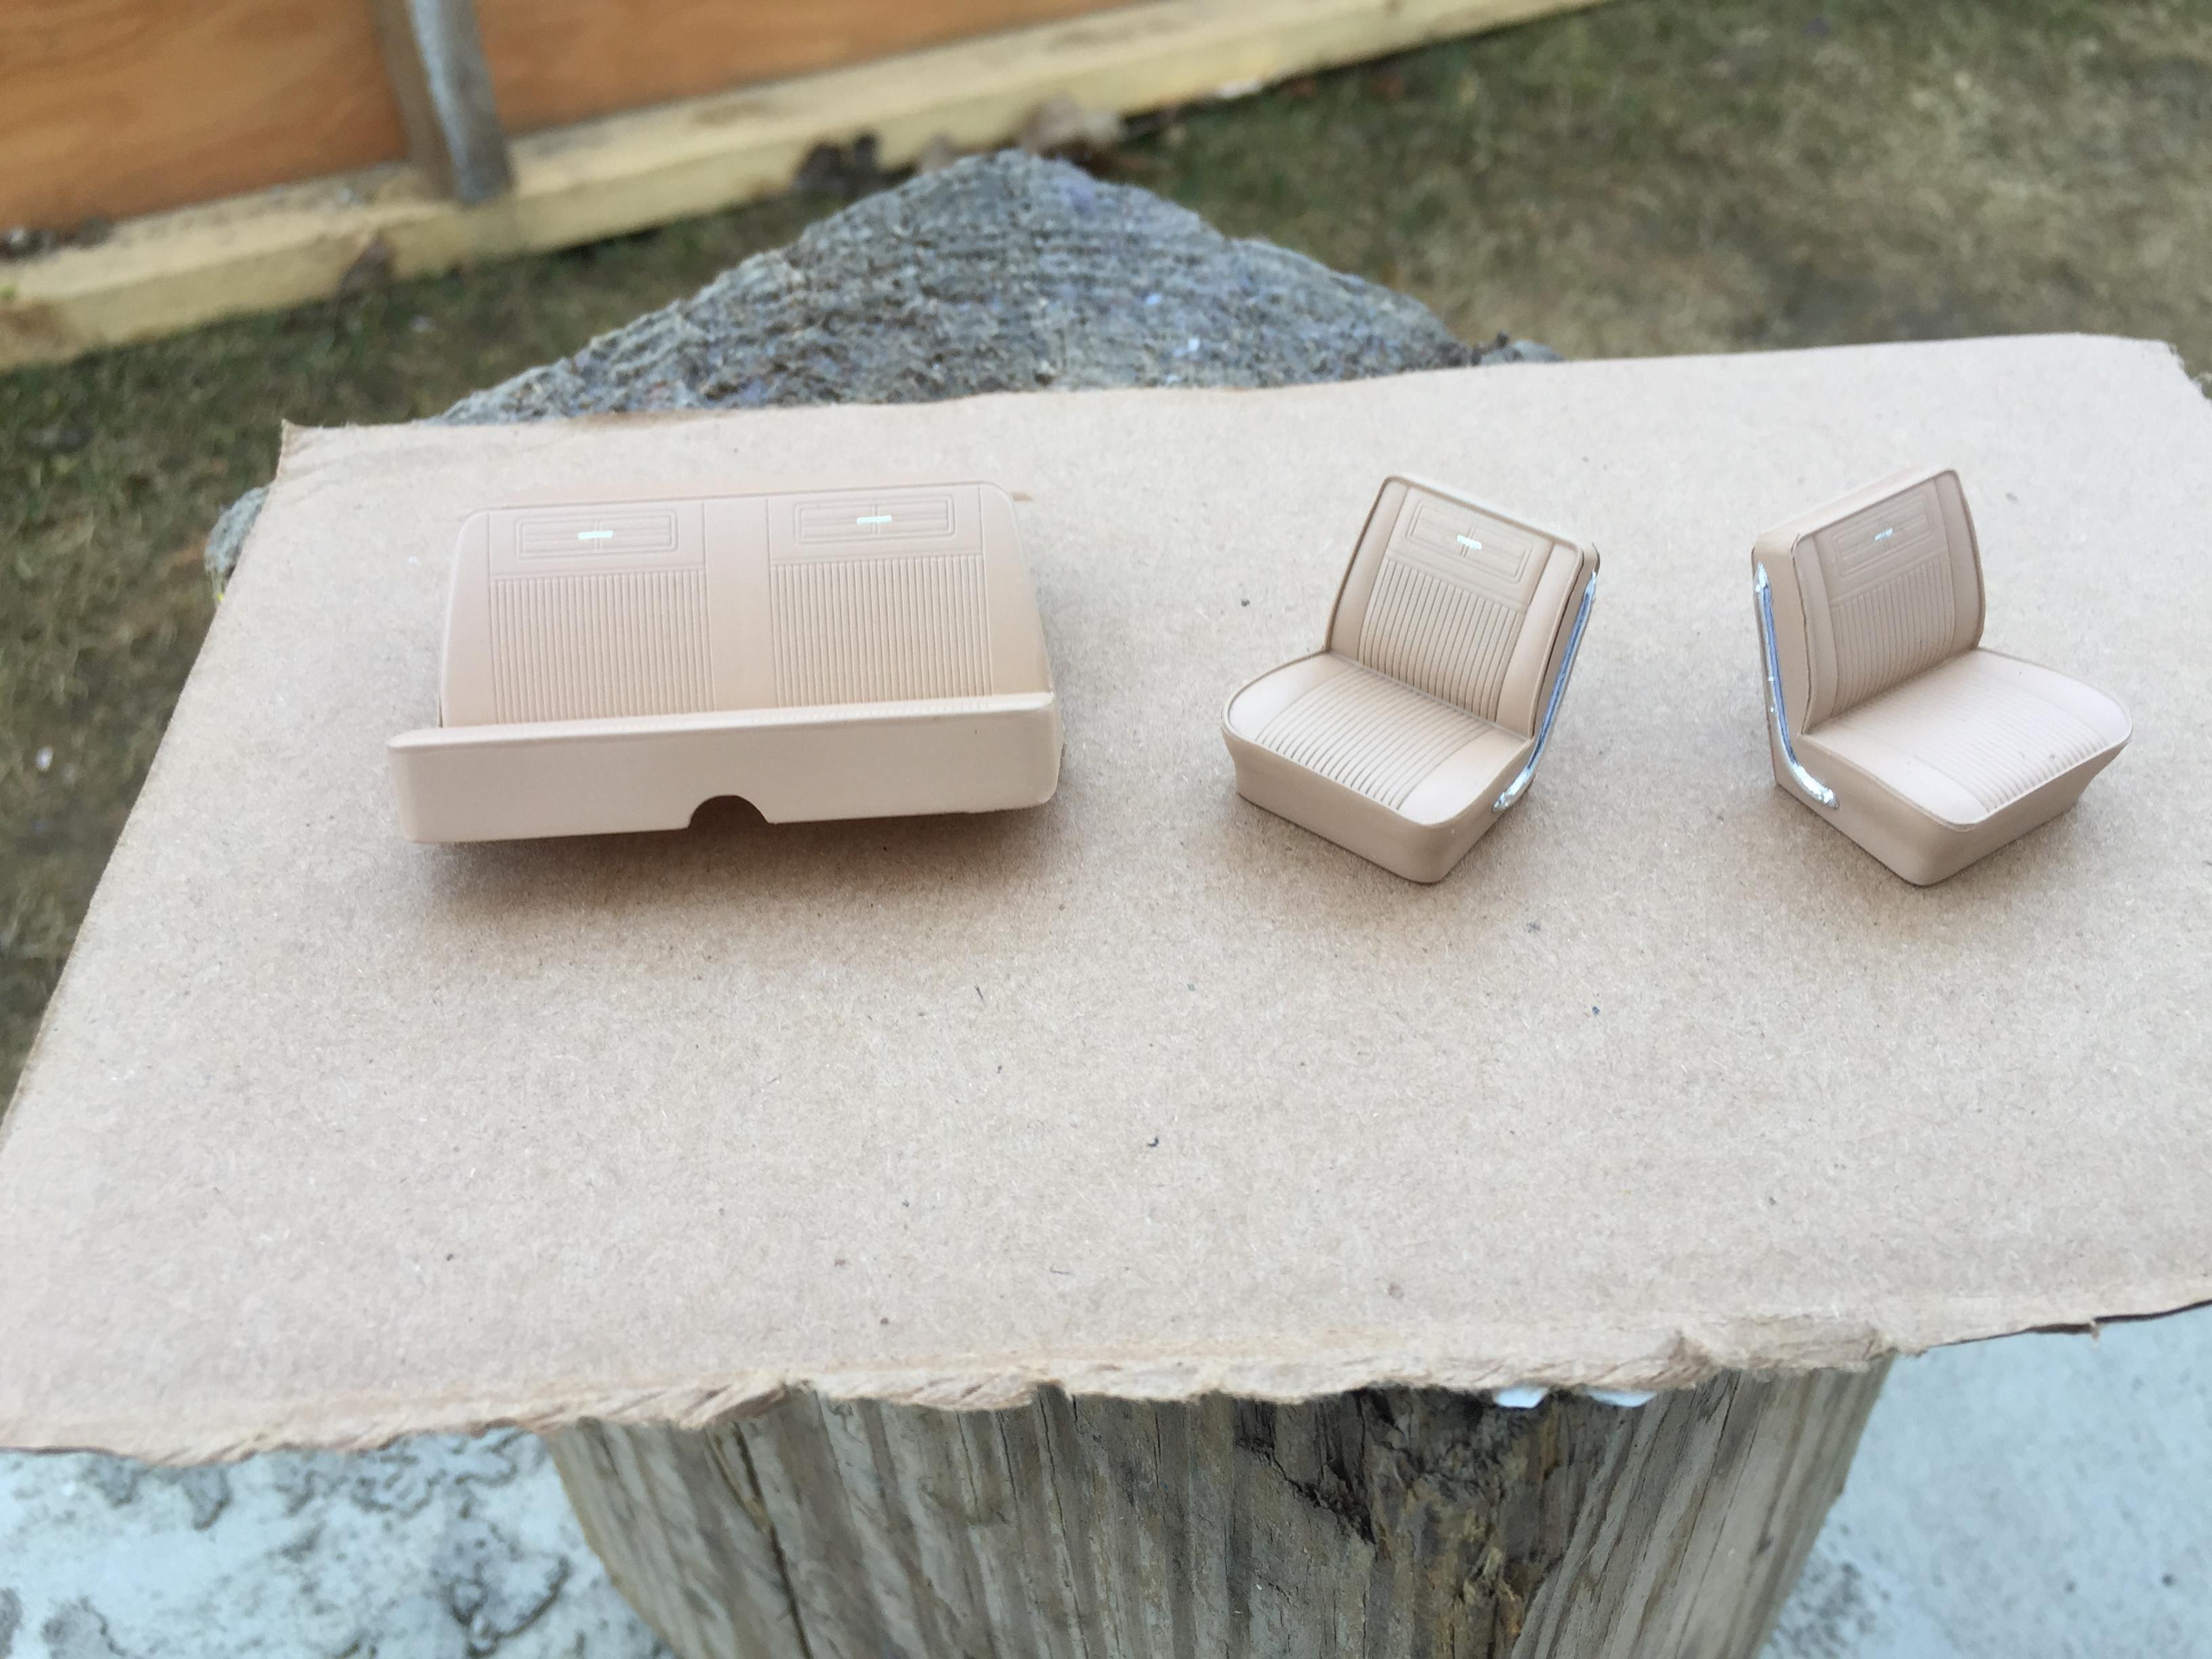
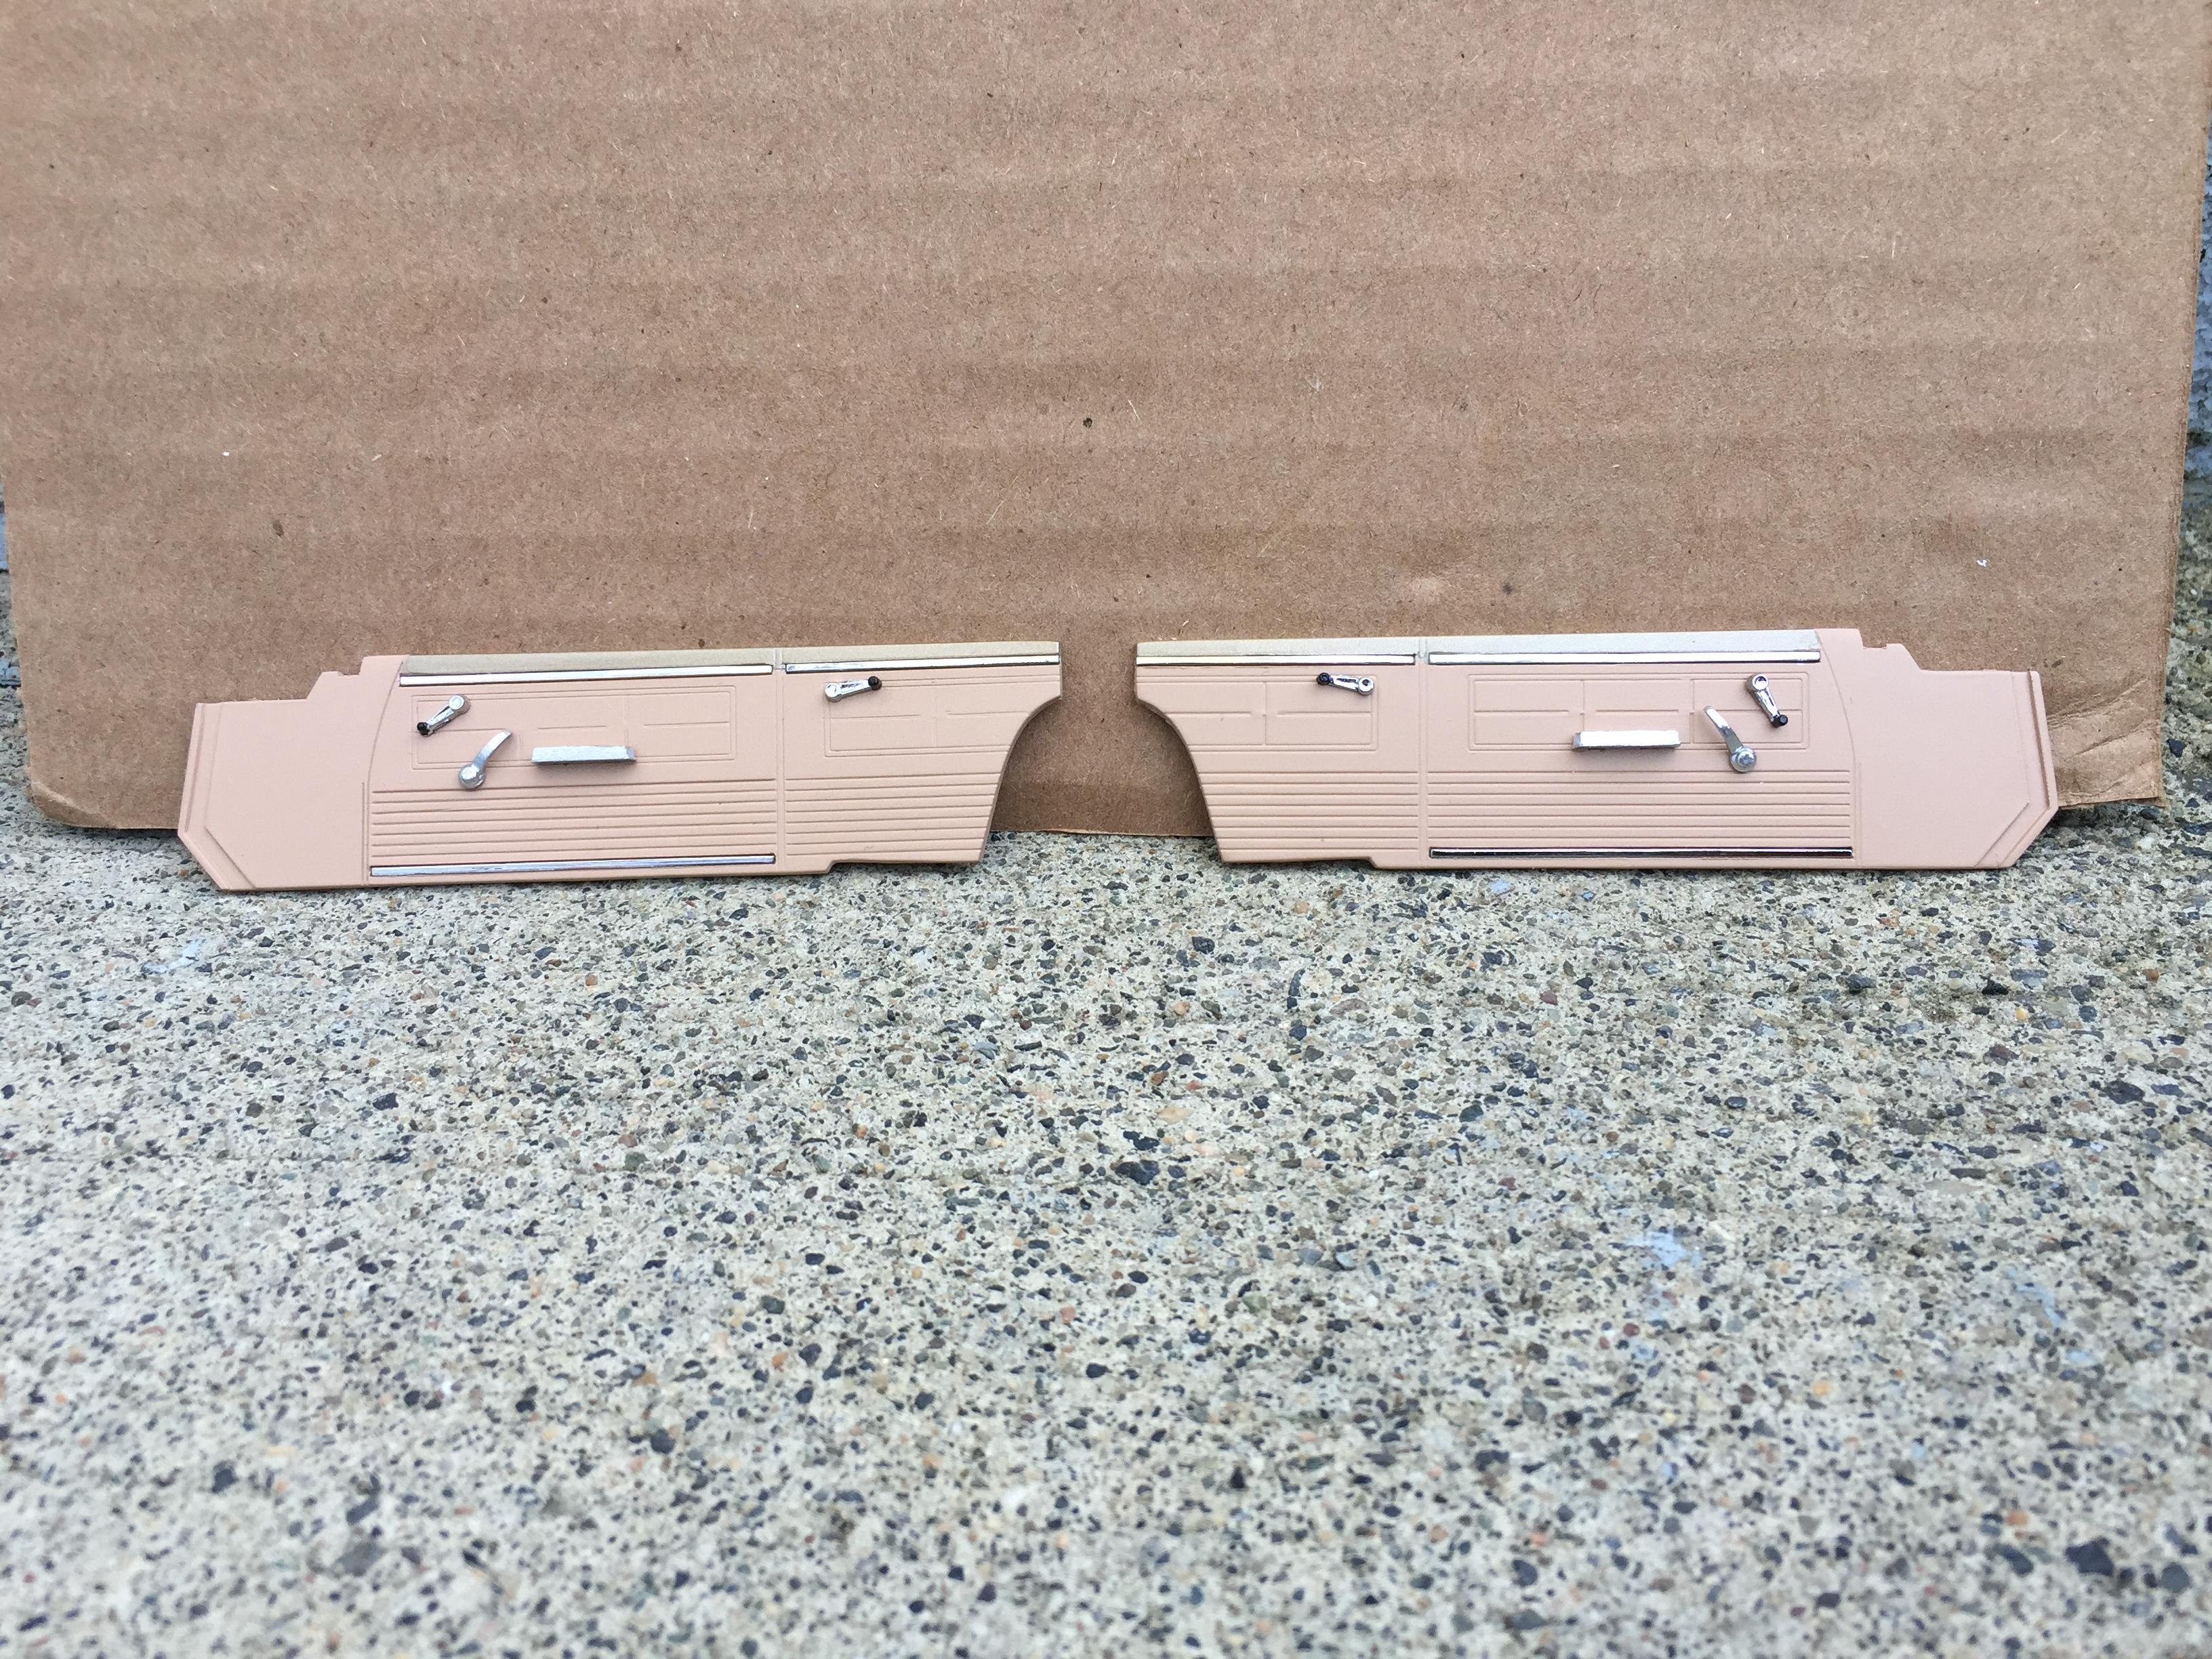
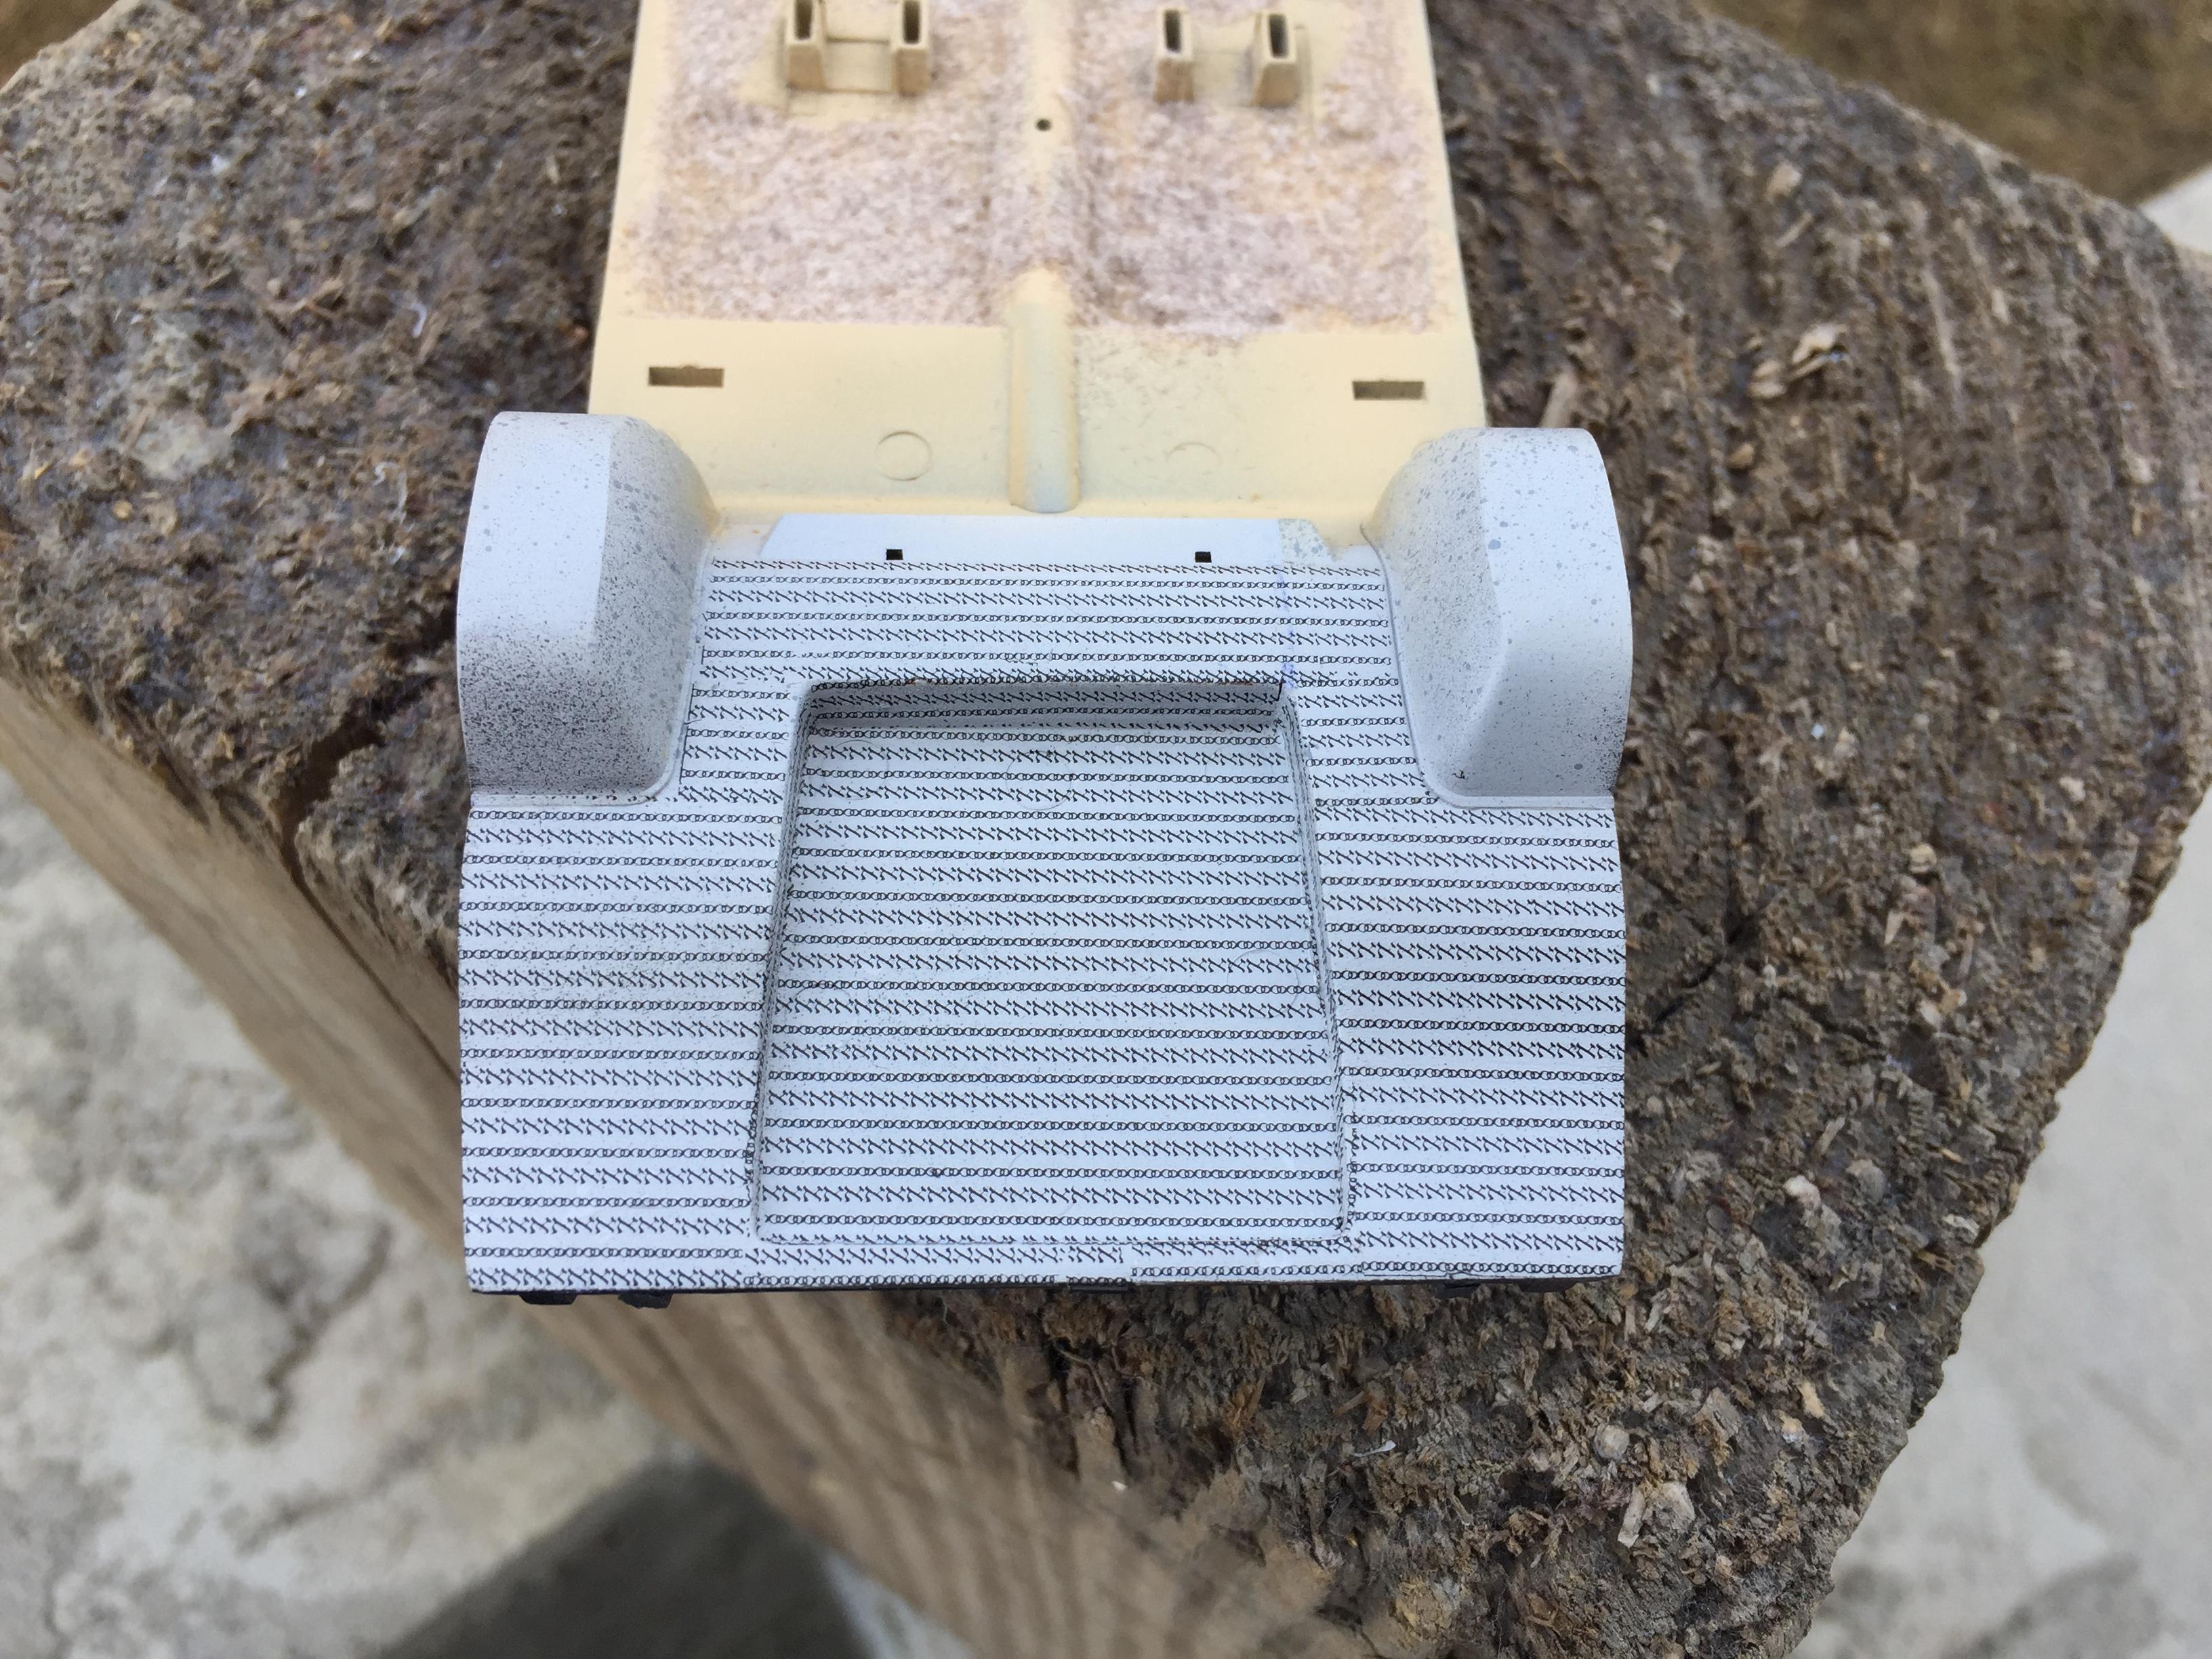
 So I started making an interior, with this tunnel, which needed a side "pod" to clear the shift linkage. Made up some interior doors, around the windows will be double thickness, upper cards triple, and the lower panel as is, single sheet. Opened up the dashboard and getting the "tub" figured out. Once I finish the floor, it has to drop straight in from below, there's no room to wiggle it in. Trying to fit the pieces together so that they fit the body and the chassis, with only 2 hands is challenging! That solid piece along the back is only temporary. Here's the pieces so far, seats are from the same Boss 302 kit that I stole the engine from.
-
Kustom pickup
dino246gt replied to Rocking Rodney Rat's topic in WIP: Model Trucks: Pickups, Vans, SUVs, Light Commercial
Man that thing is the coolest, love it! -
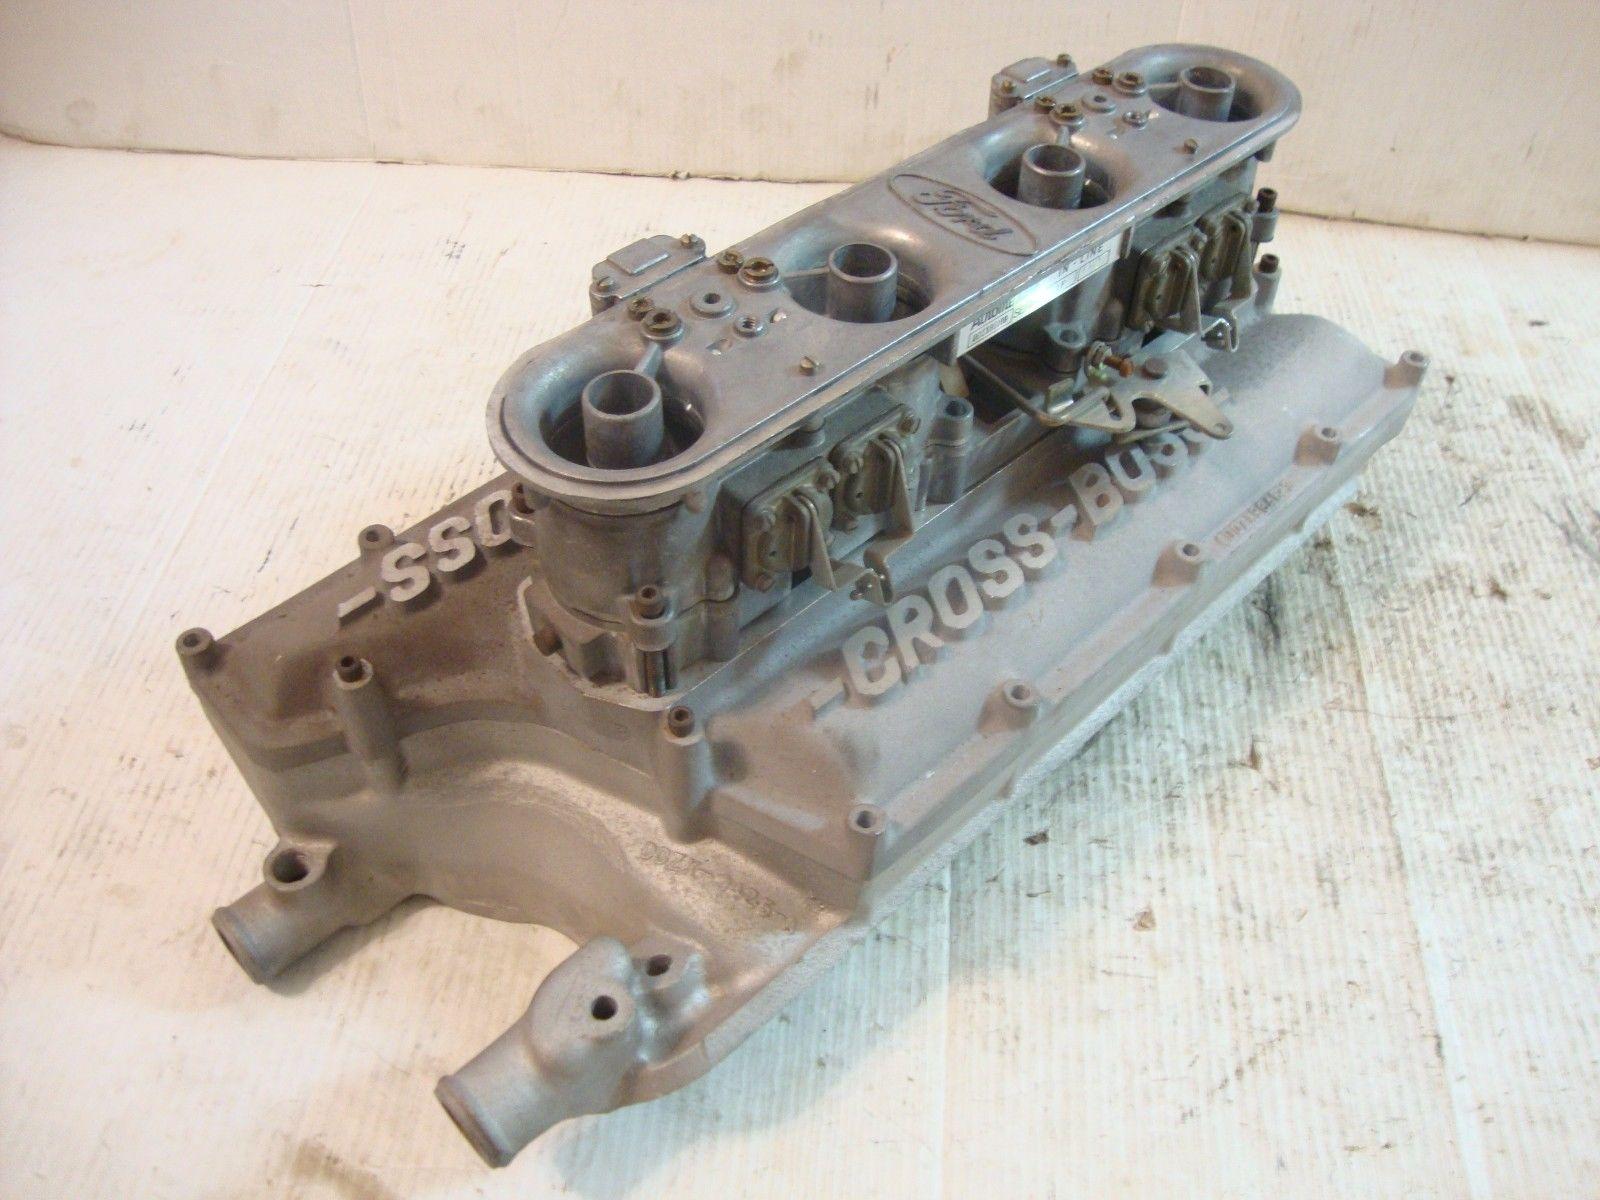
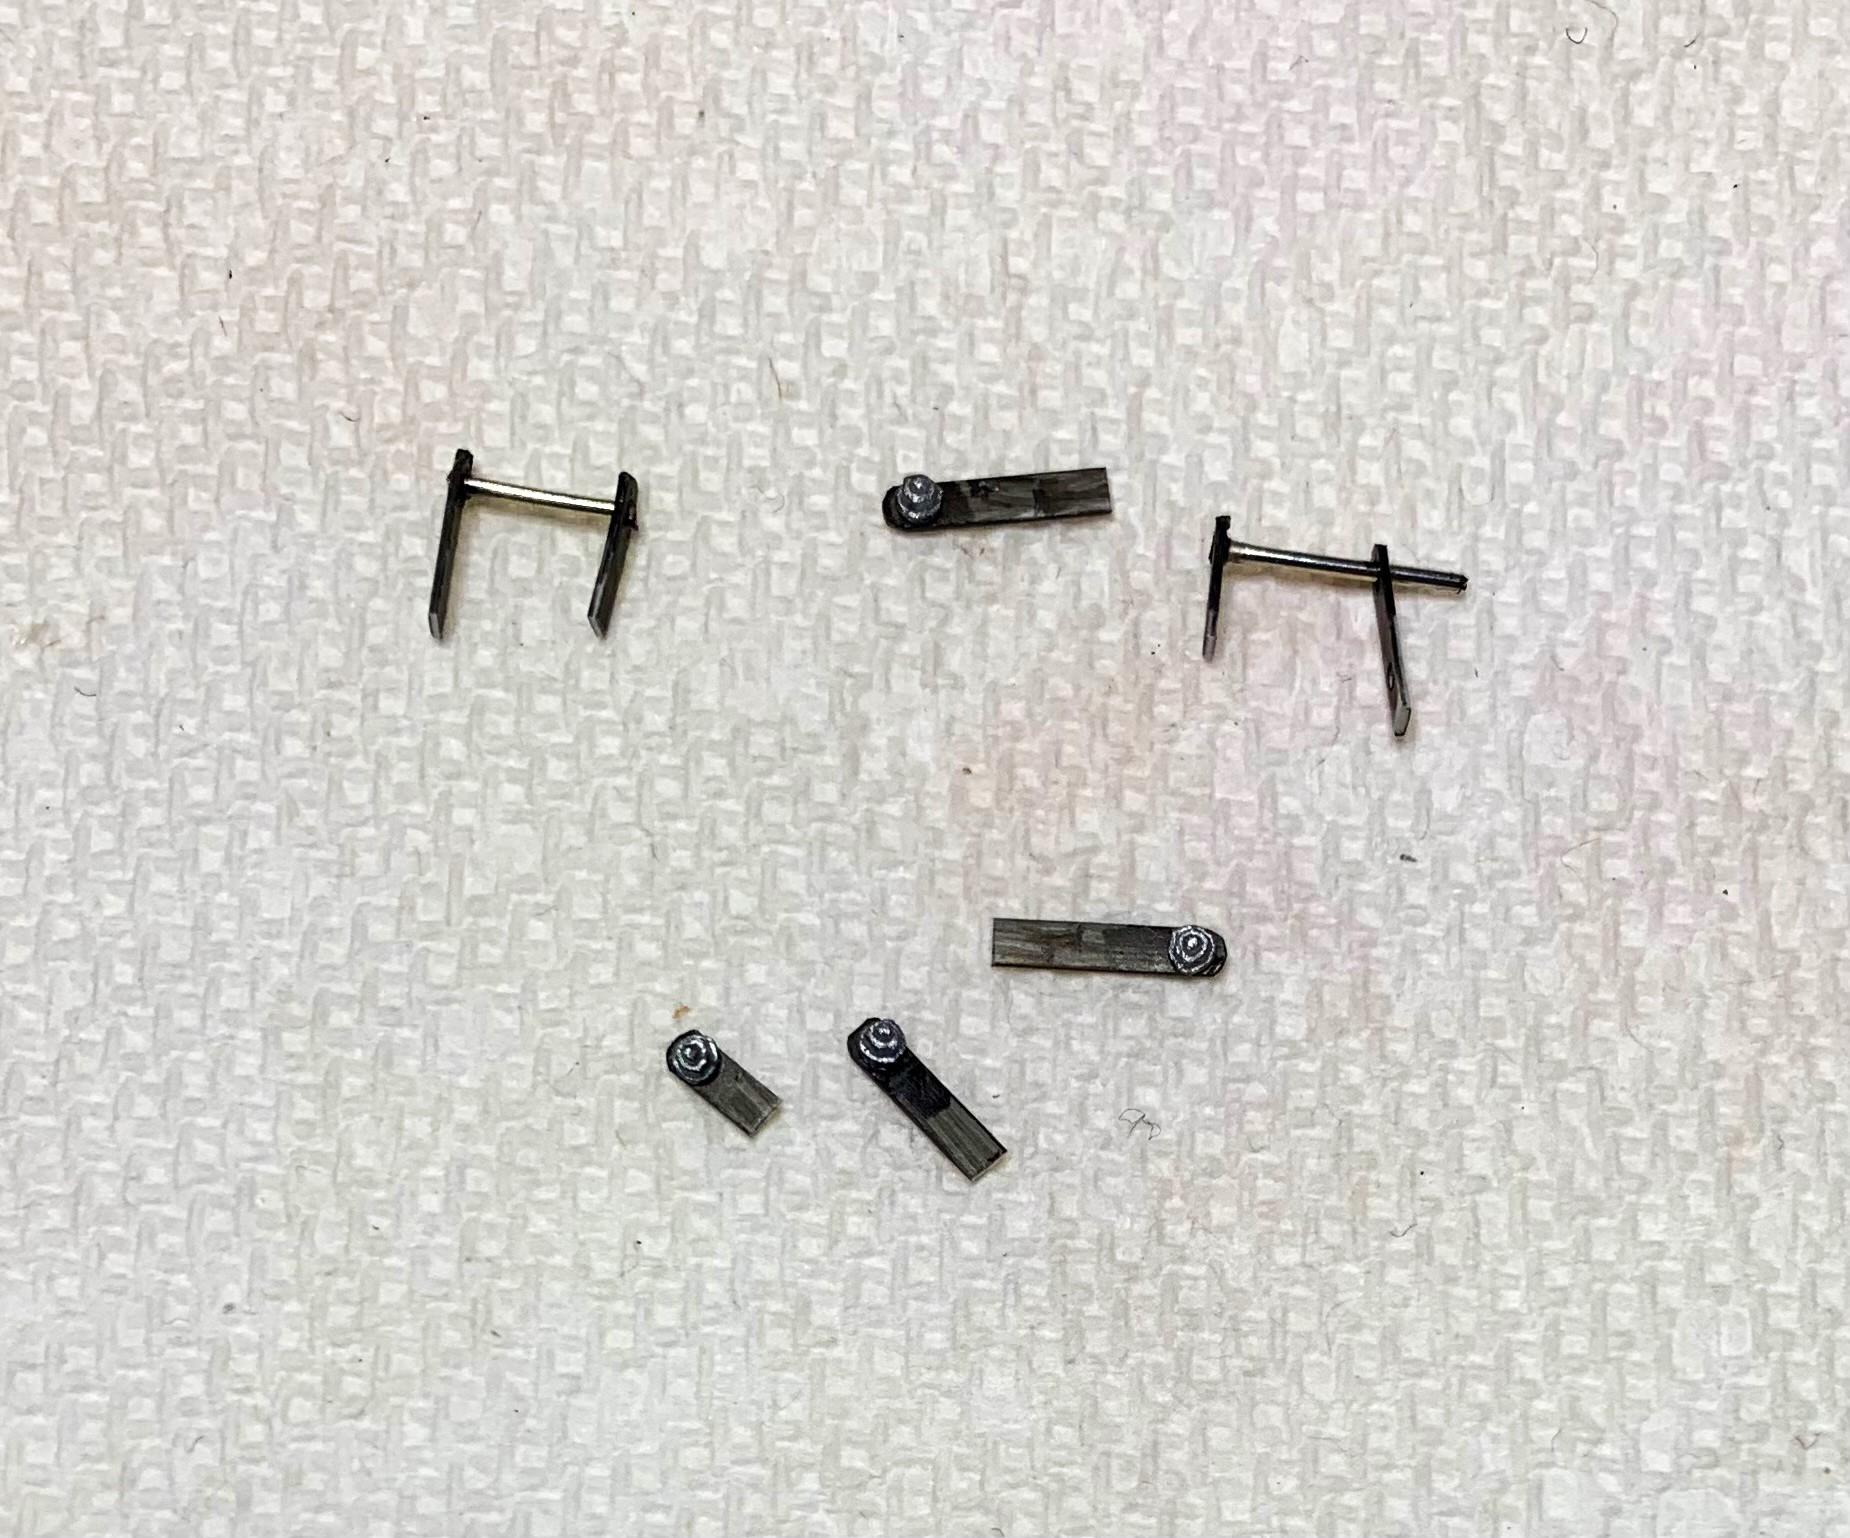
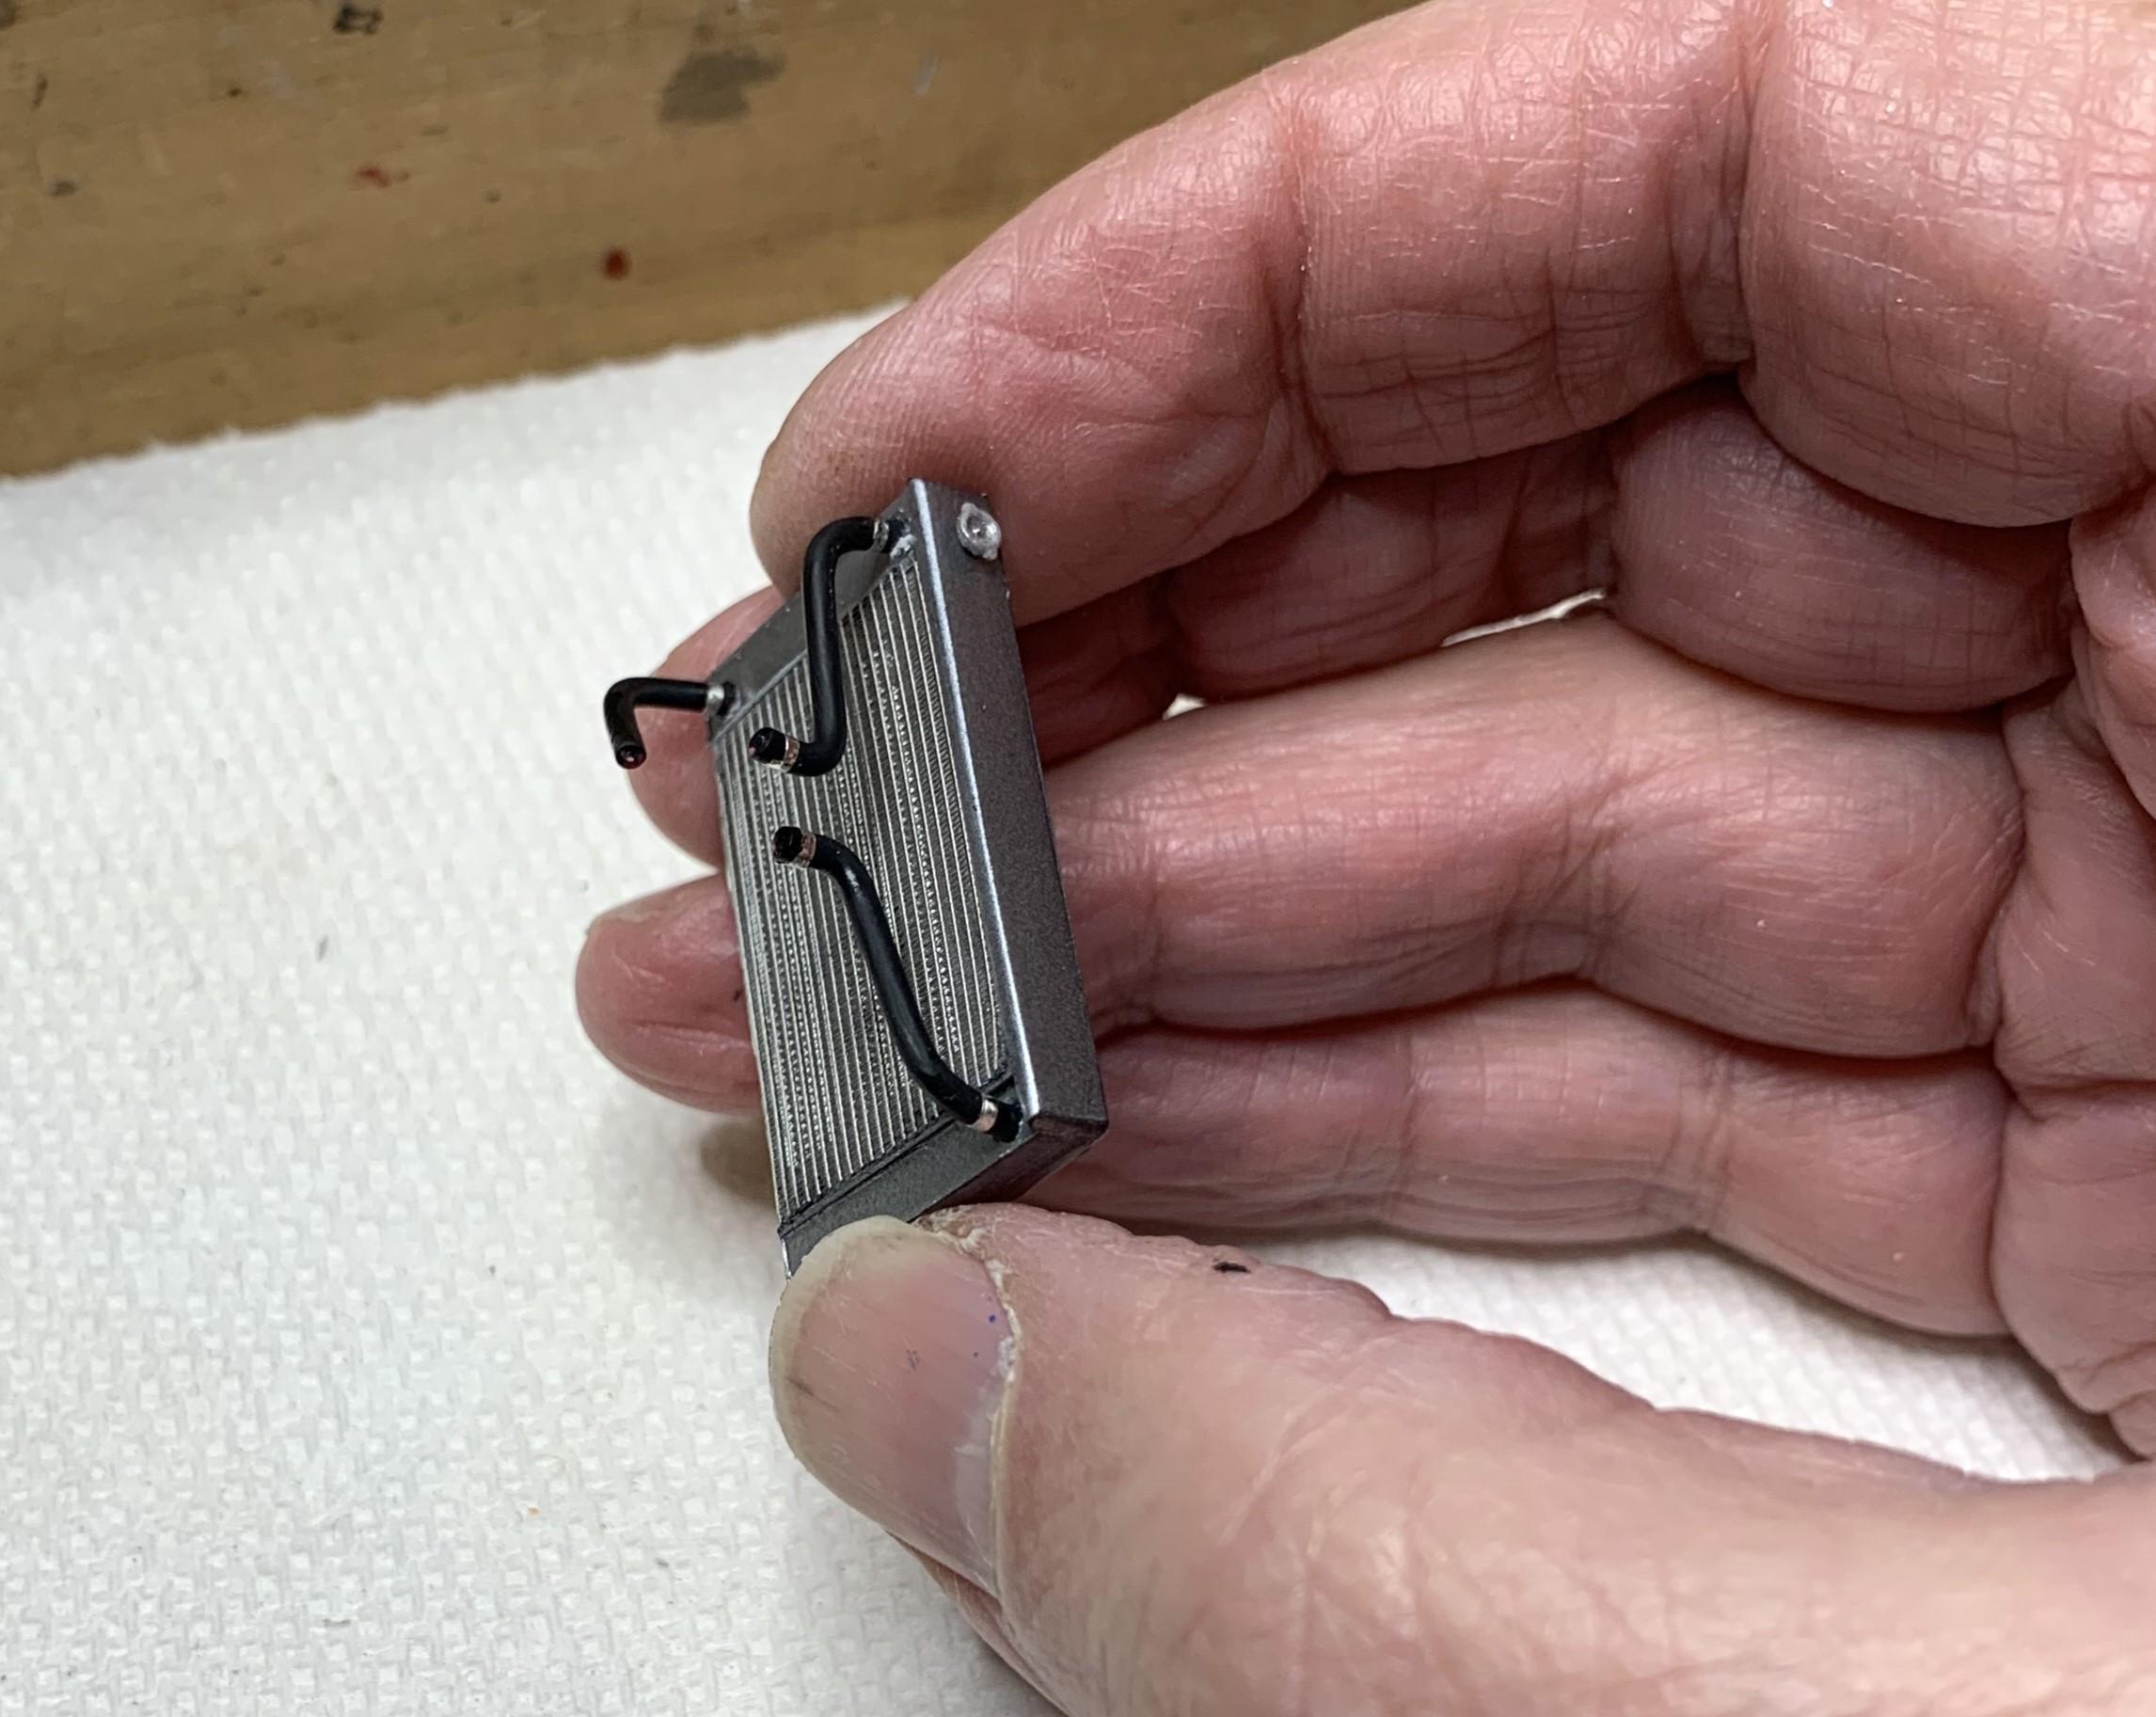
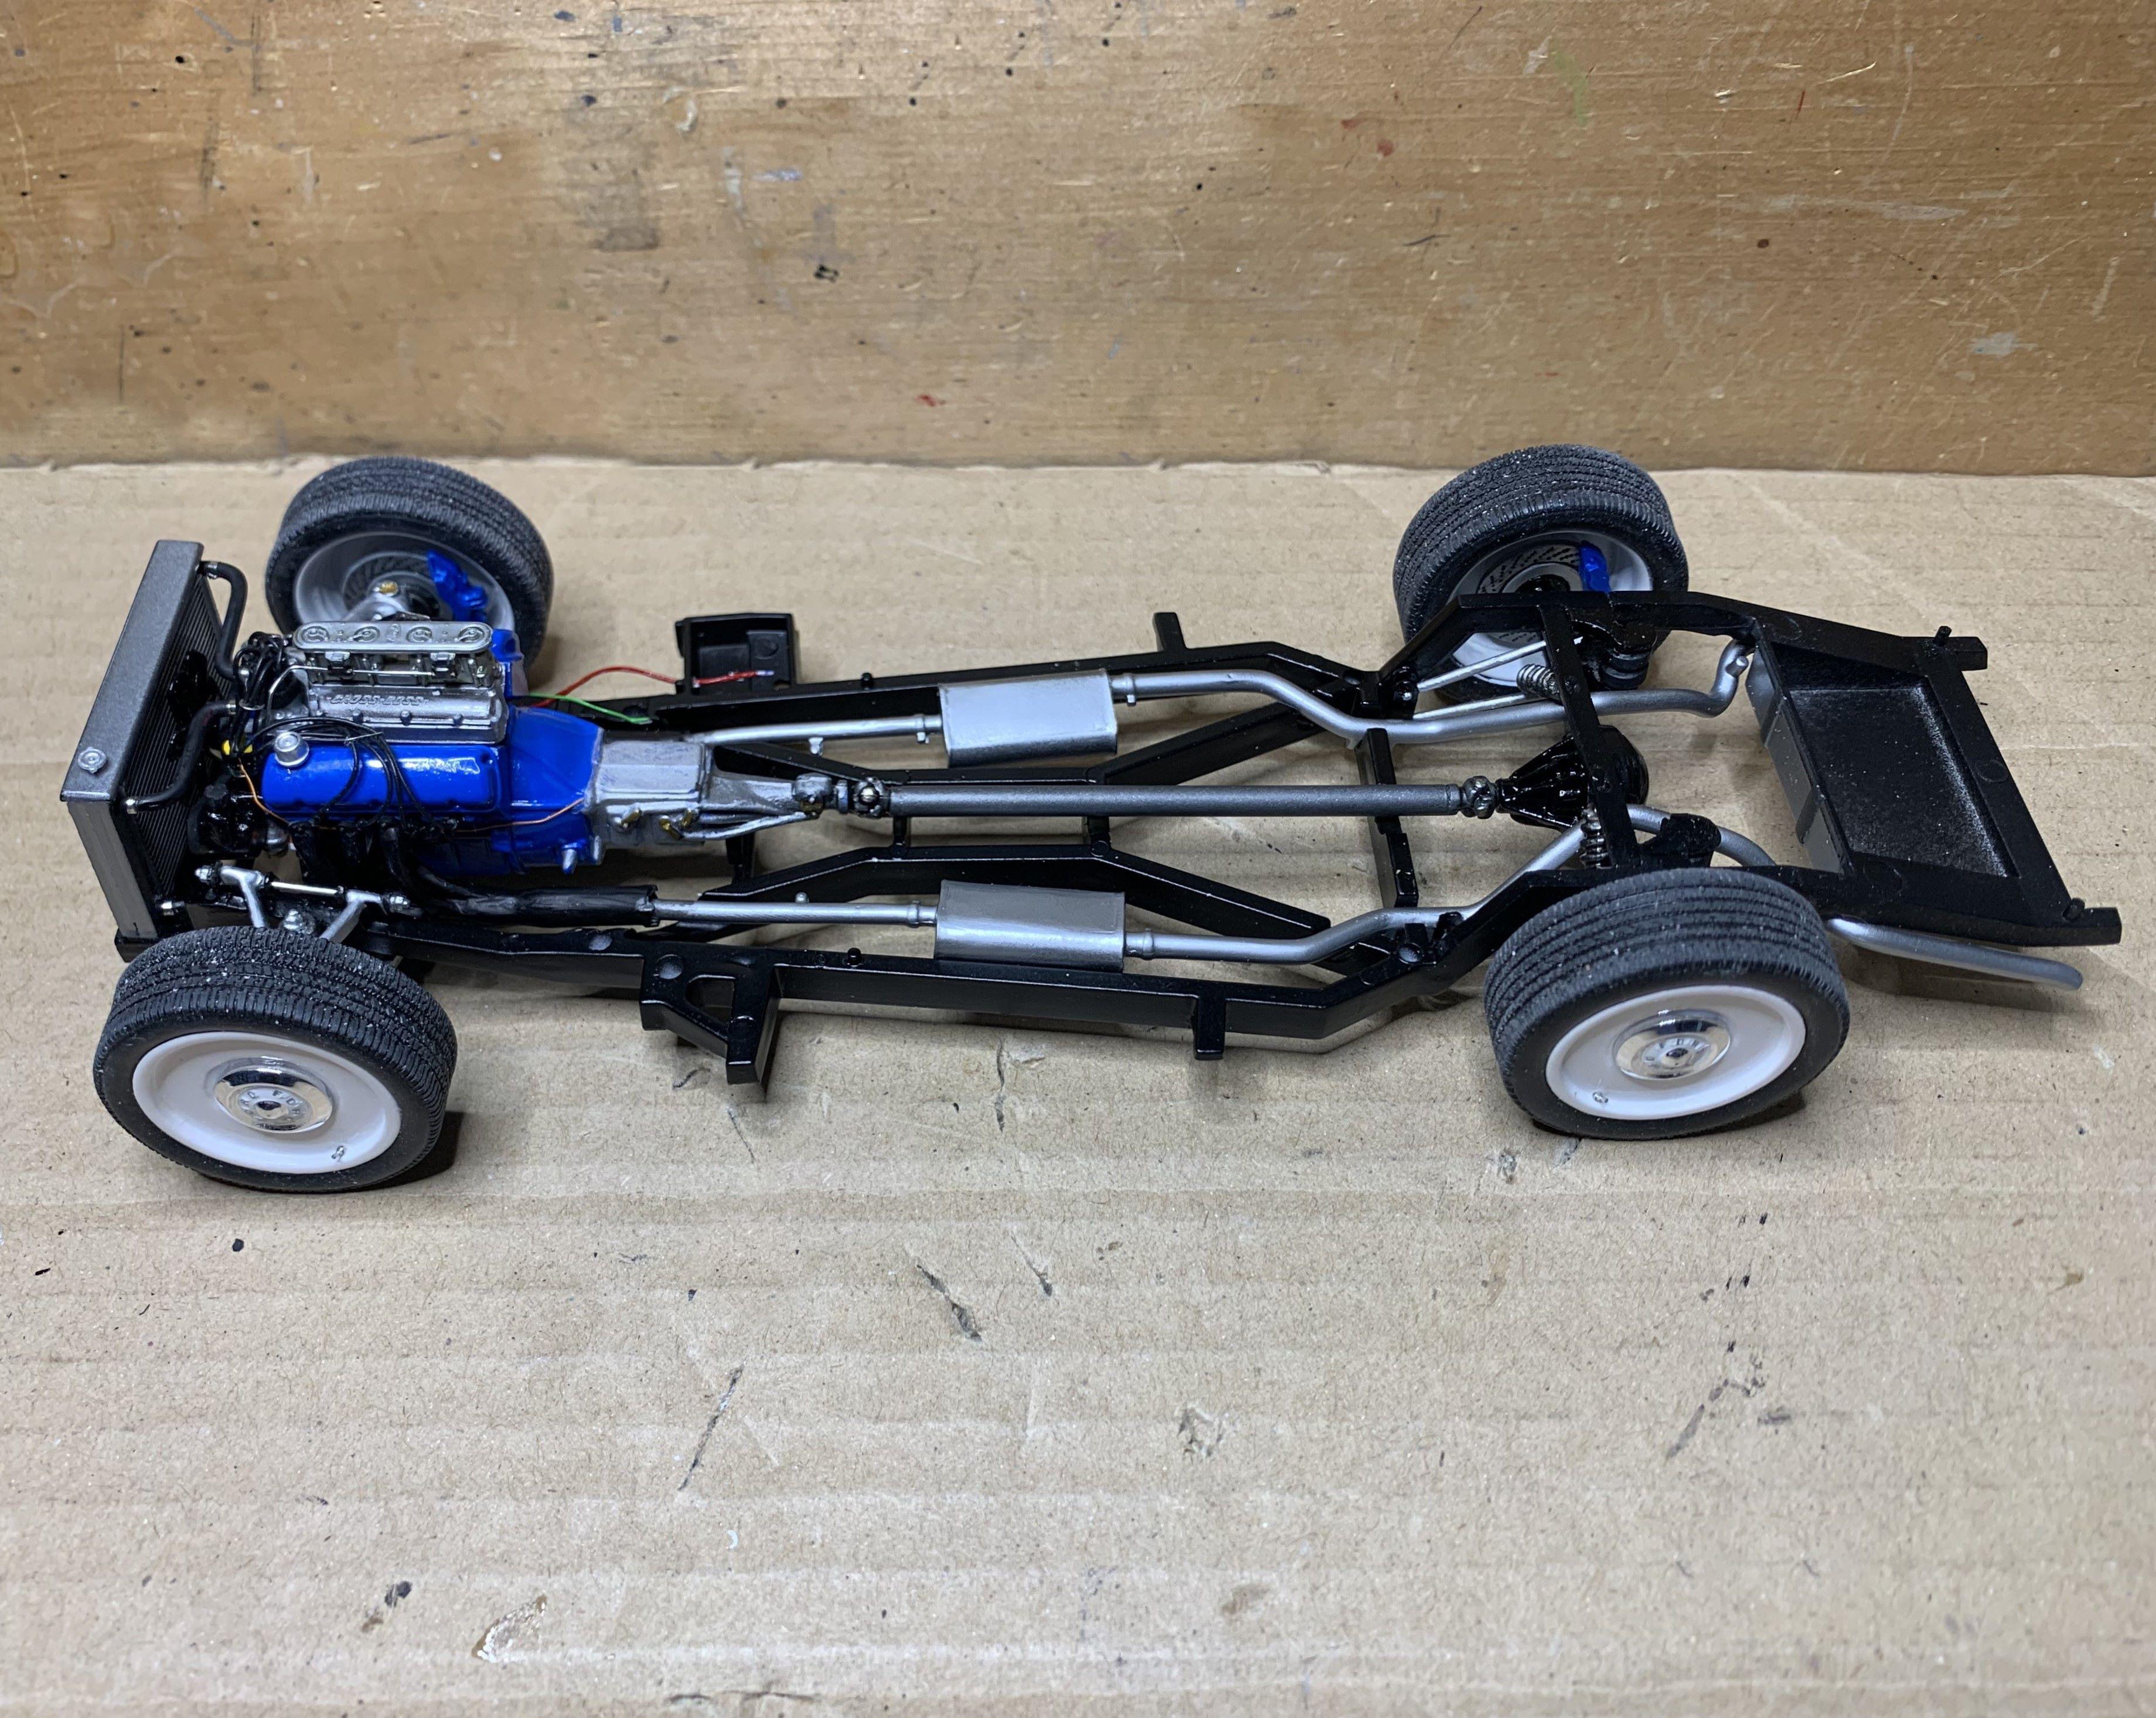
The rare "Cross Boss" intake does have two upper rad hose inlets. I guess I could've made something to bring those together and only have one upper hose, but since I was scratch building a rad anyway, I went with two. I still need to make that linkage piece.
-
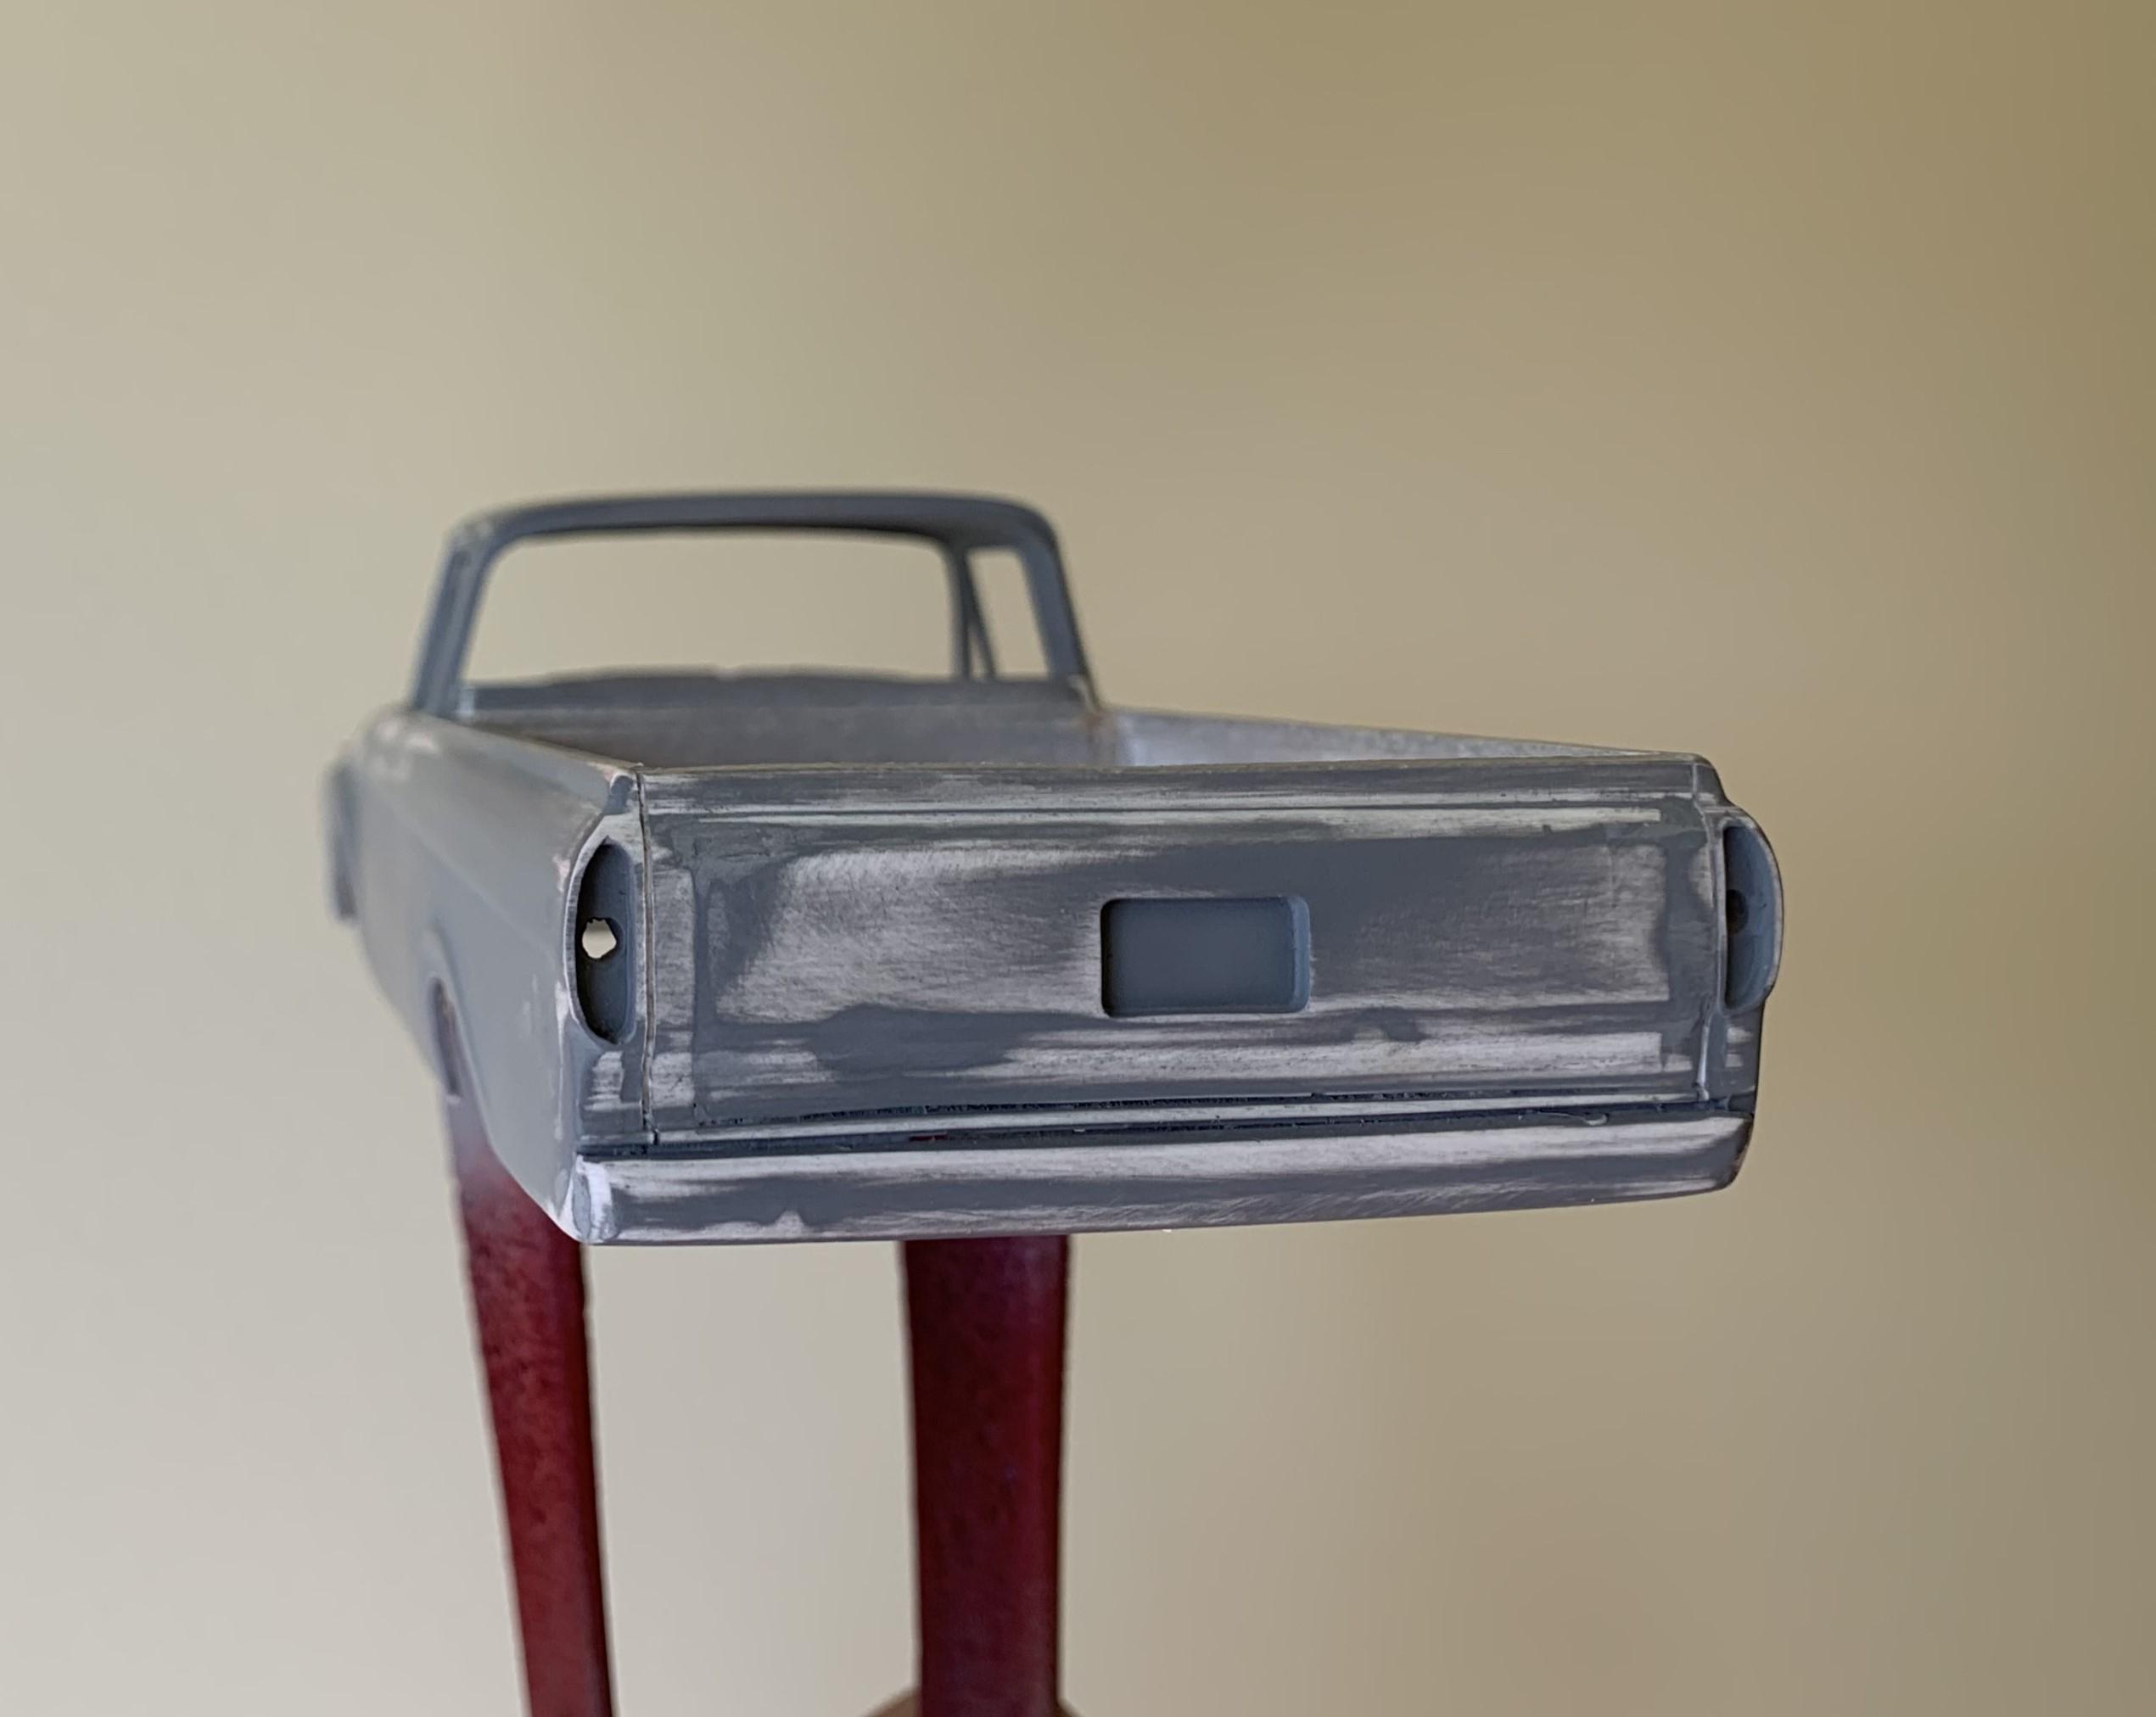
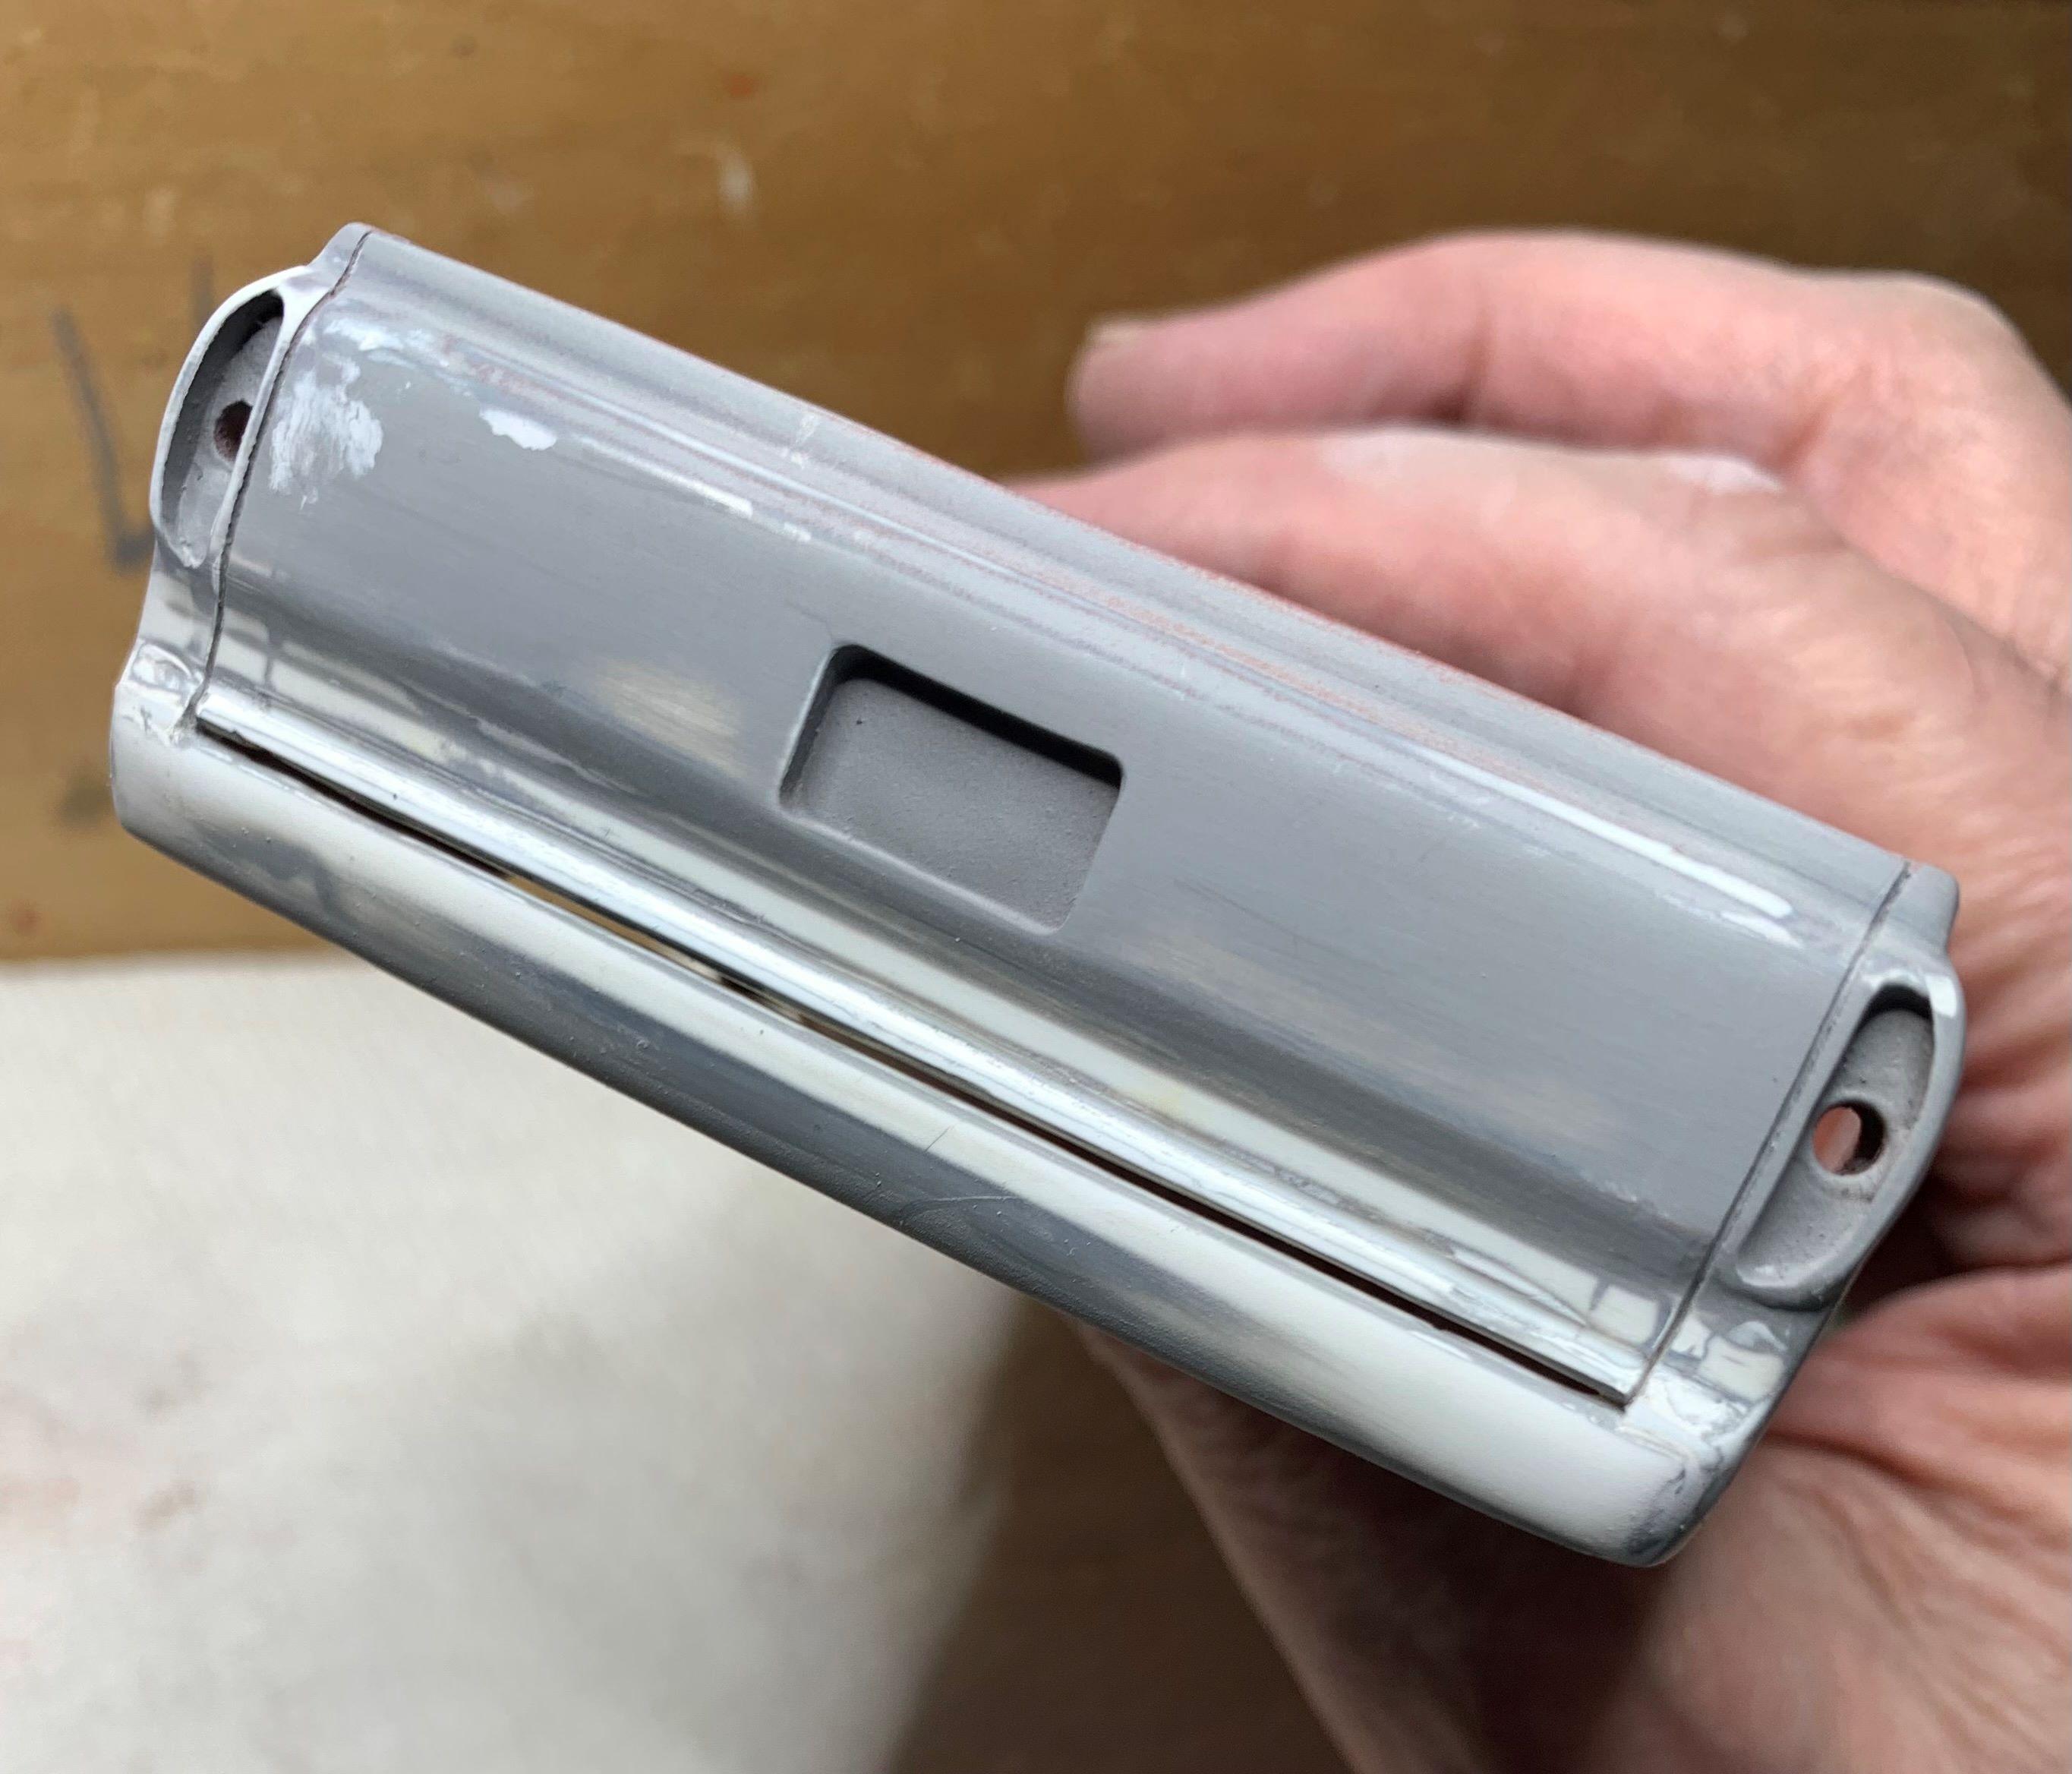
For the rear, I molded the sides of the roll pan to make it look more cohesive. Then I cut a slot at the bottom of the tailgate to also make the roll pan seem like a better fit. Overall, I'm okay with the rear styling, even though I would have preferred the stock rear tailgate and bumper.
-
Behind the grill is going to show so I cleaned up that lower bit by adding styrene. If you recall, the front custom piece as well as the rear custom parts were really glued on and puttied and actually not straight or square, so I worked with what I had.
-
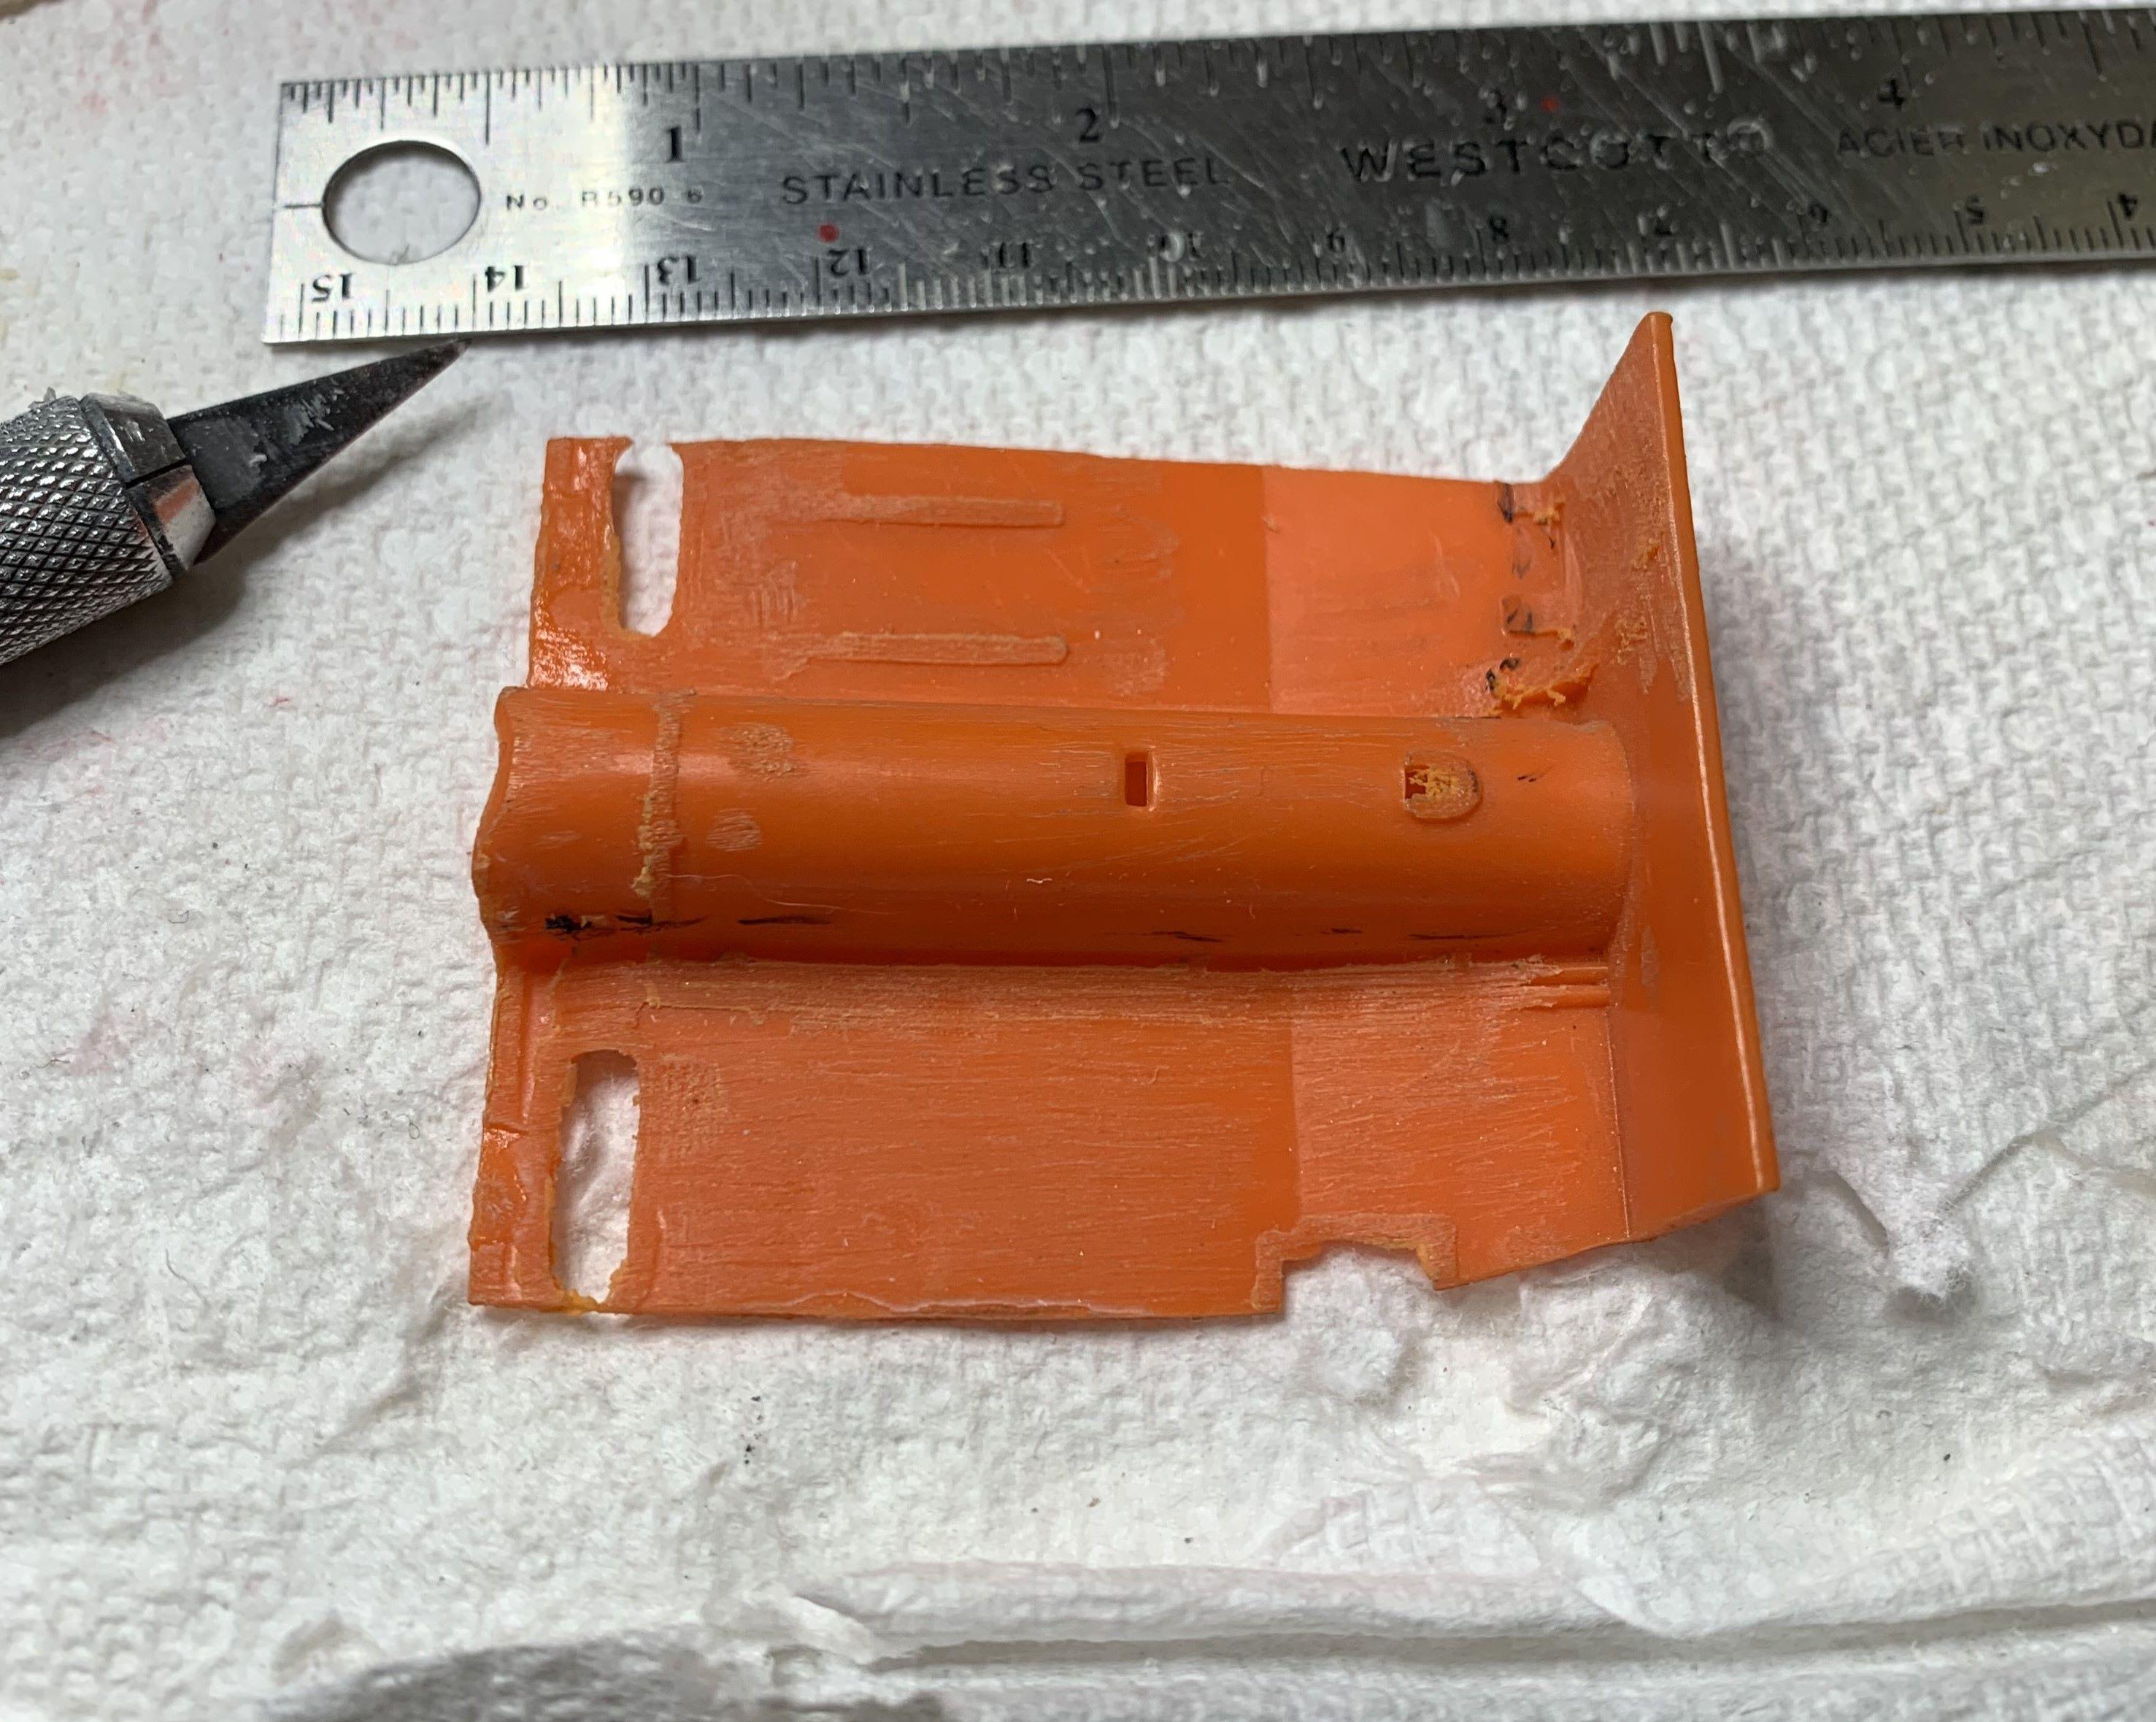
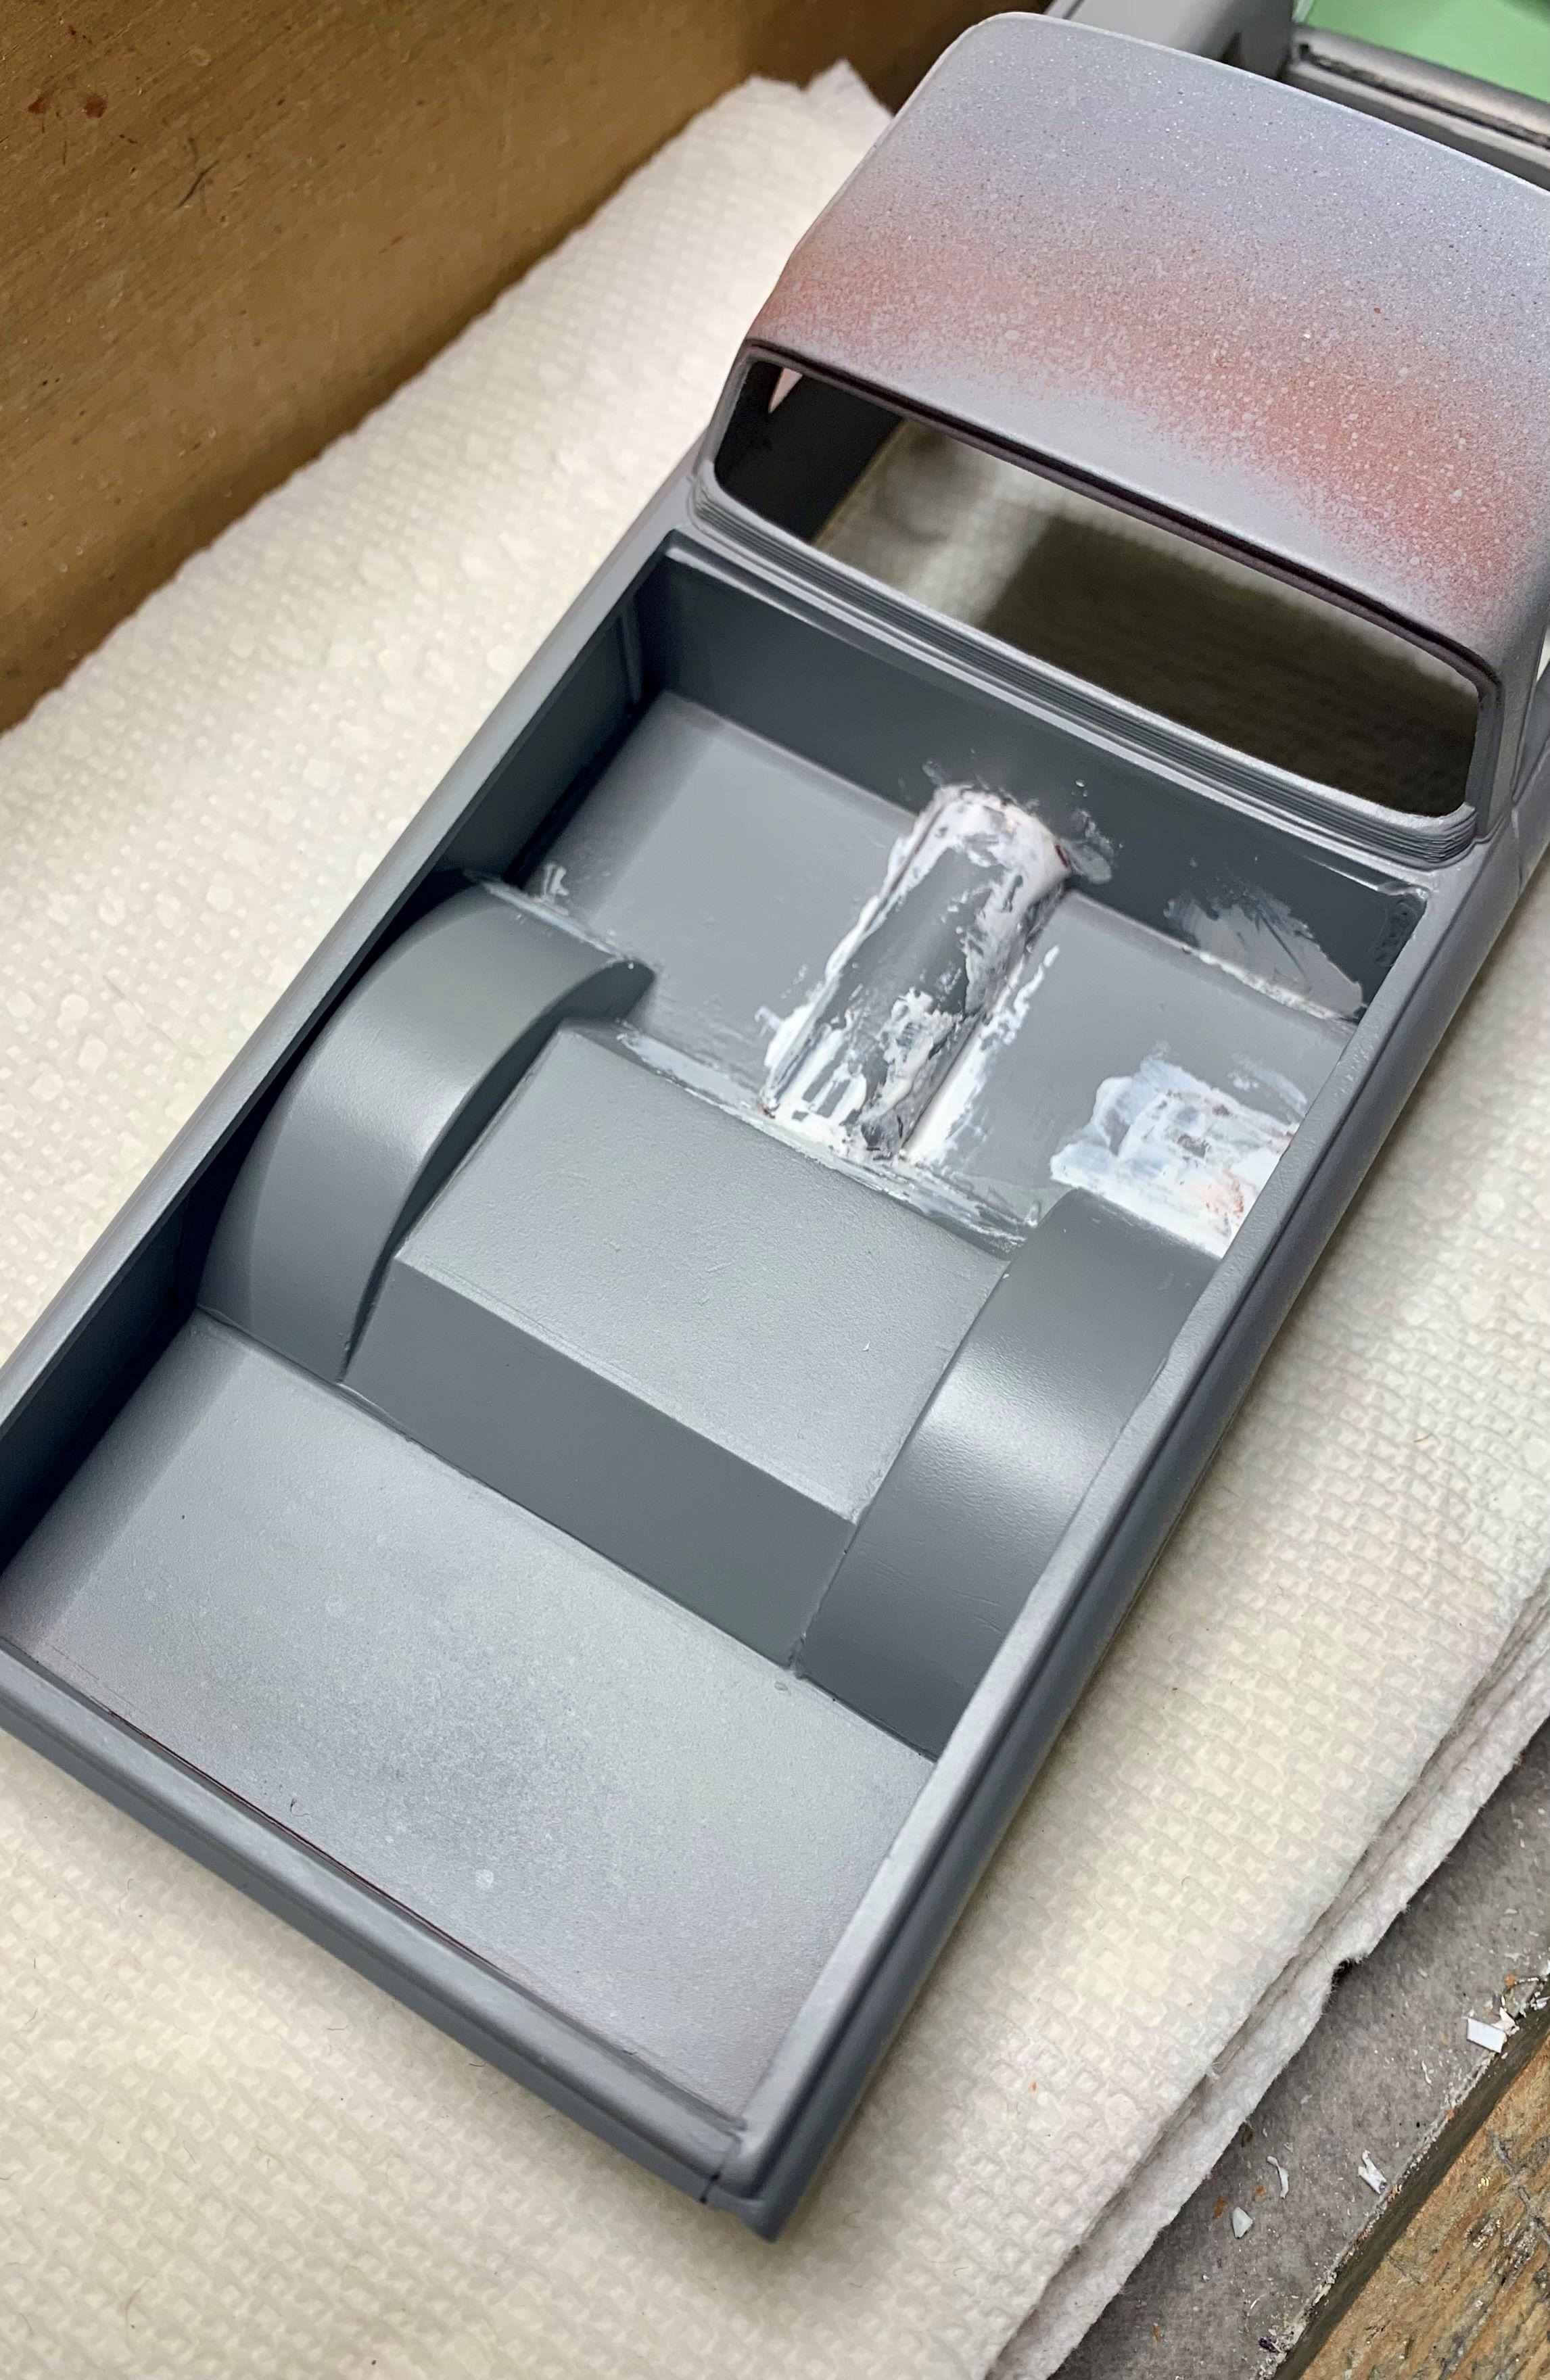
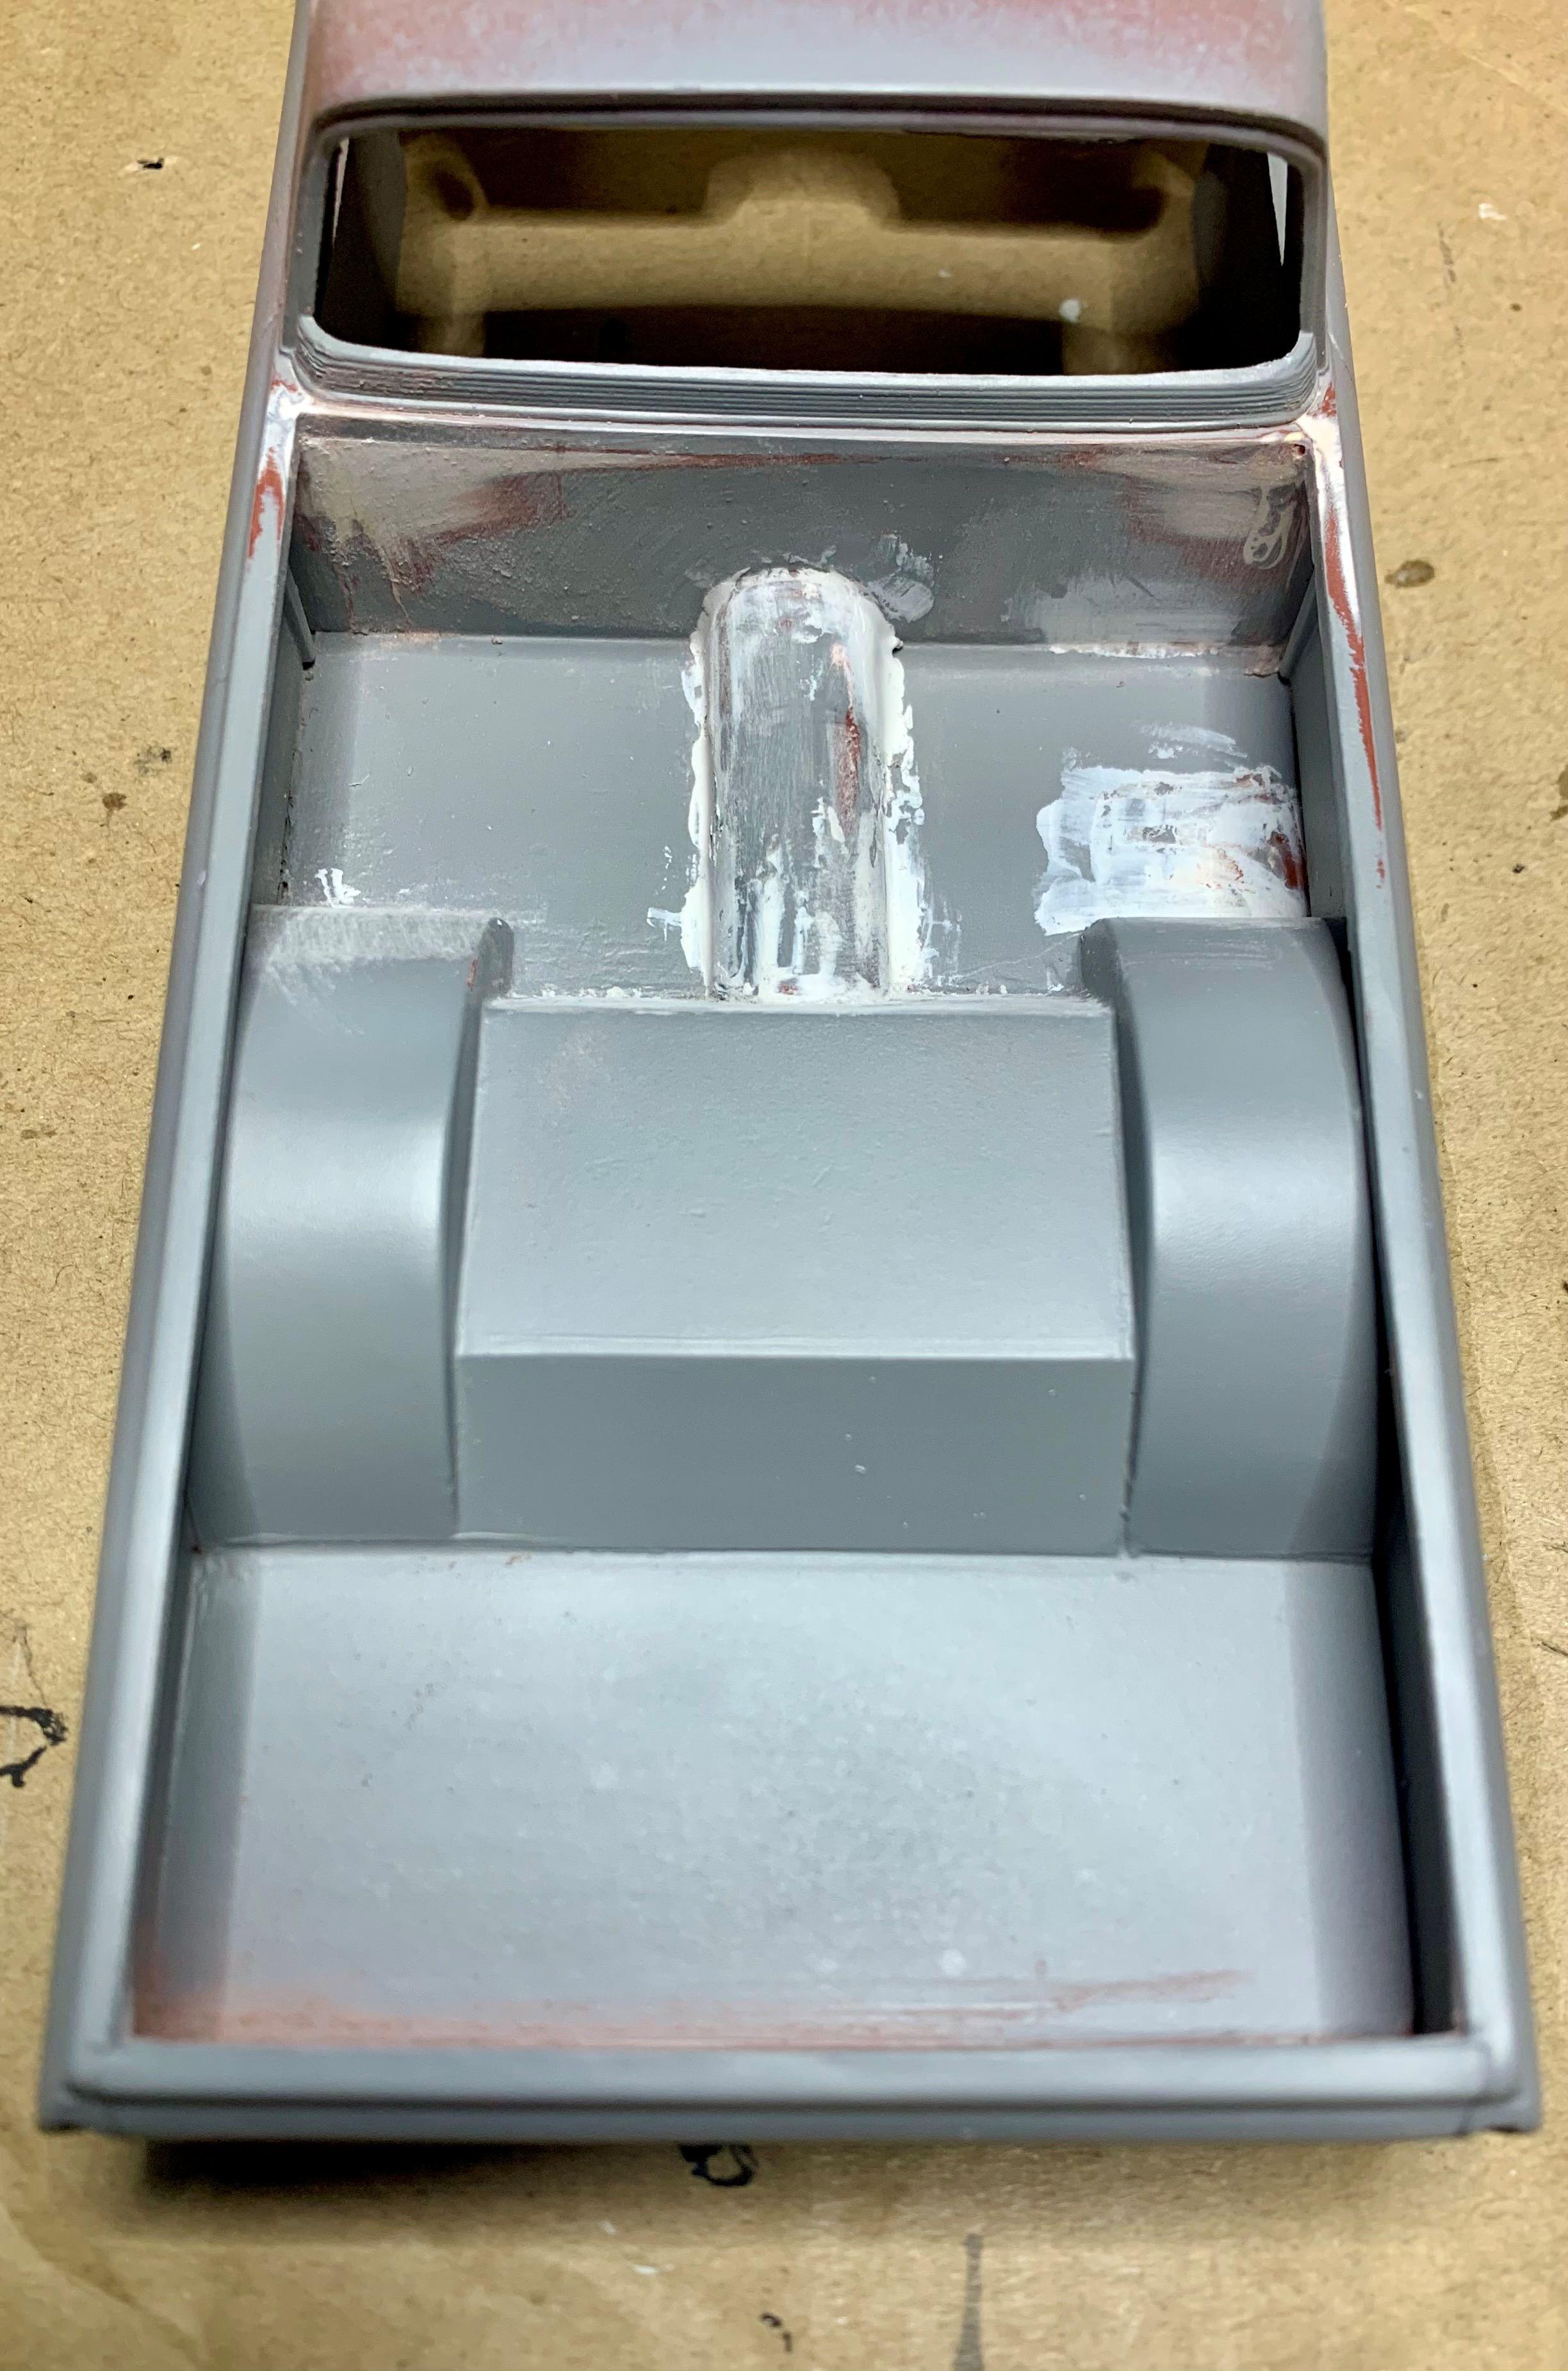
I cut a tunnel and some tubs from junkpile pieces, like this floor. Then I fitted styrene sheet to create a bed floor with clearance for the bags to drop it down. Getting my fingers in to putty and sand was a bit of a problem, but I persisted and got it good enough.
-
Wow, that's looking so much better now, great improvements!
-
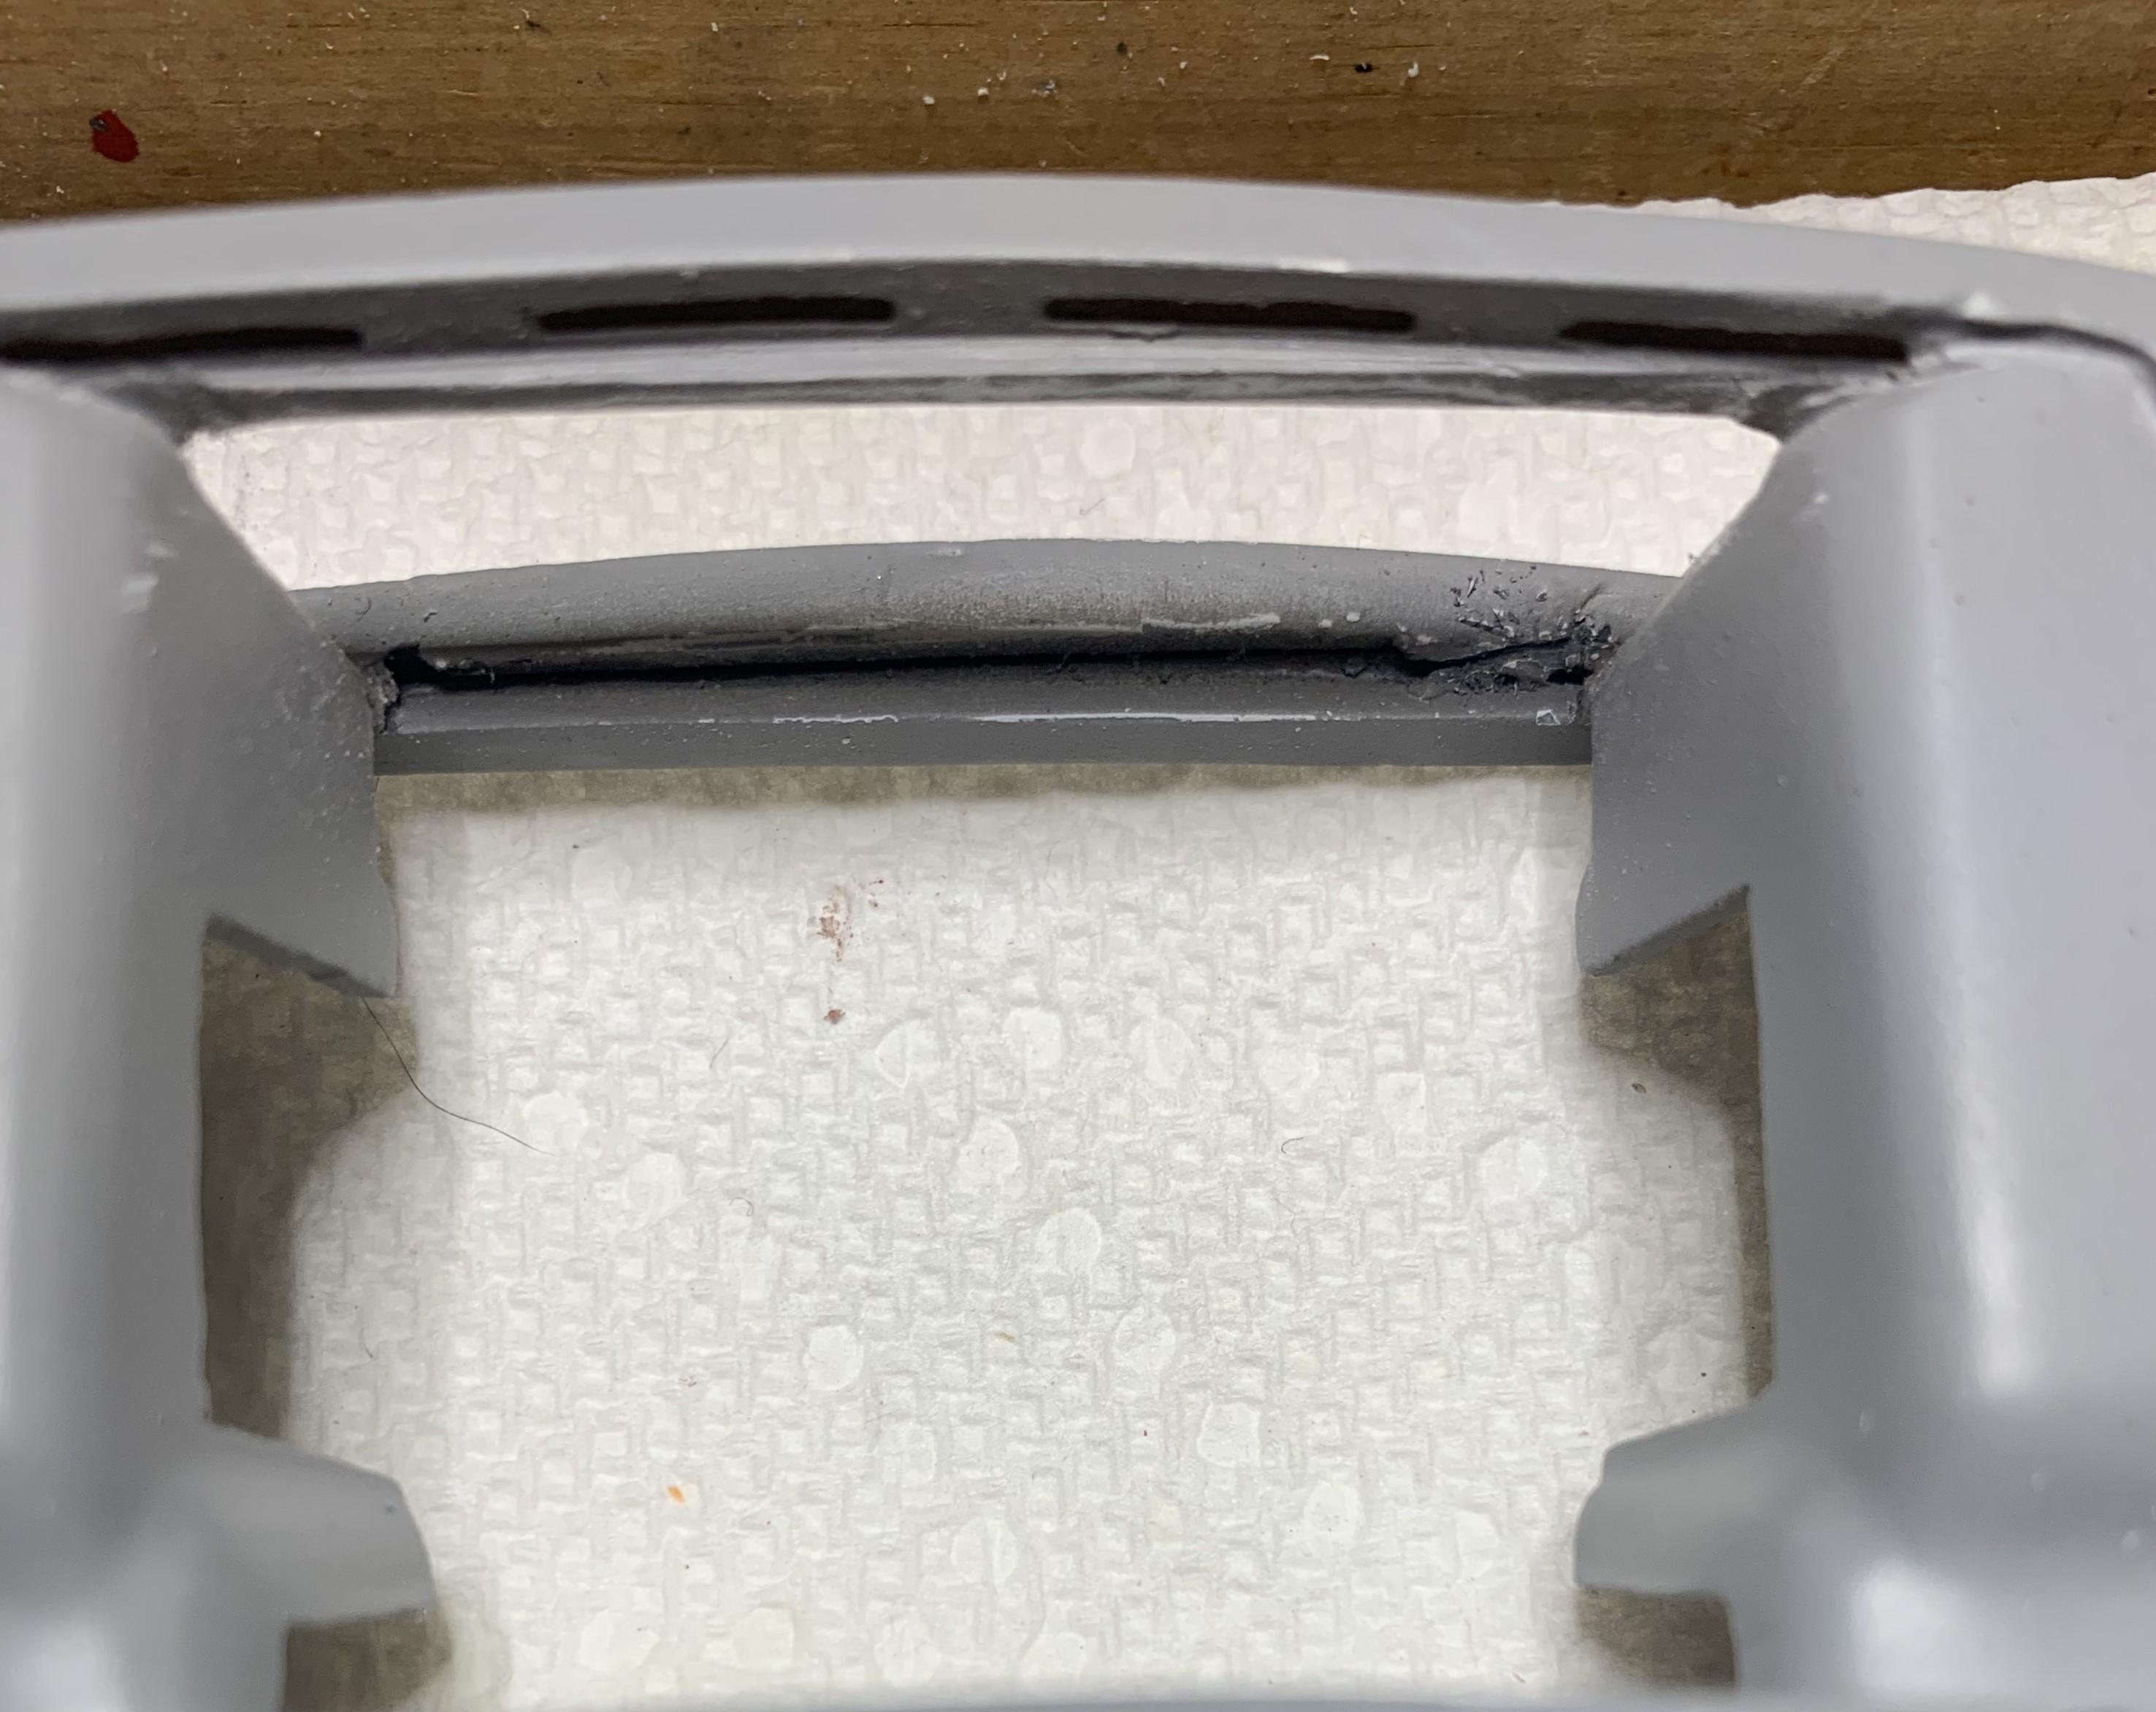
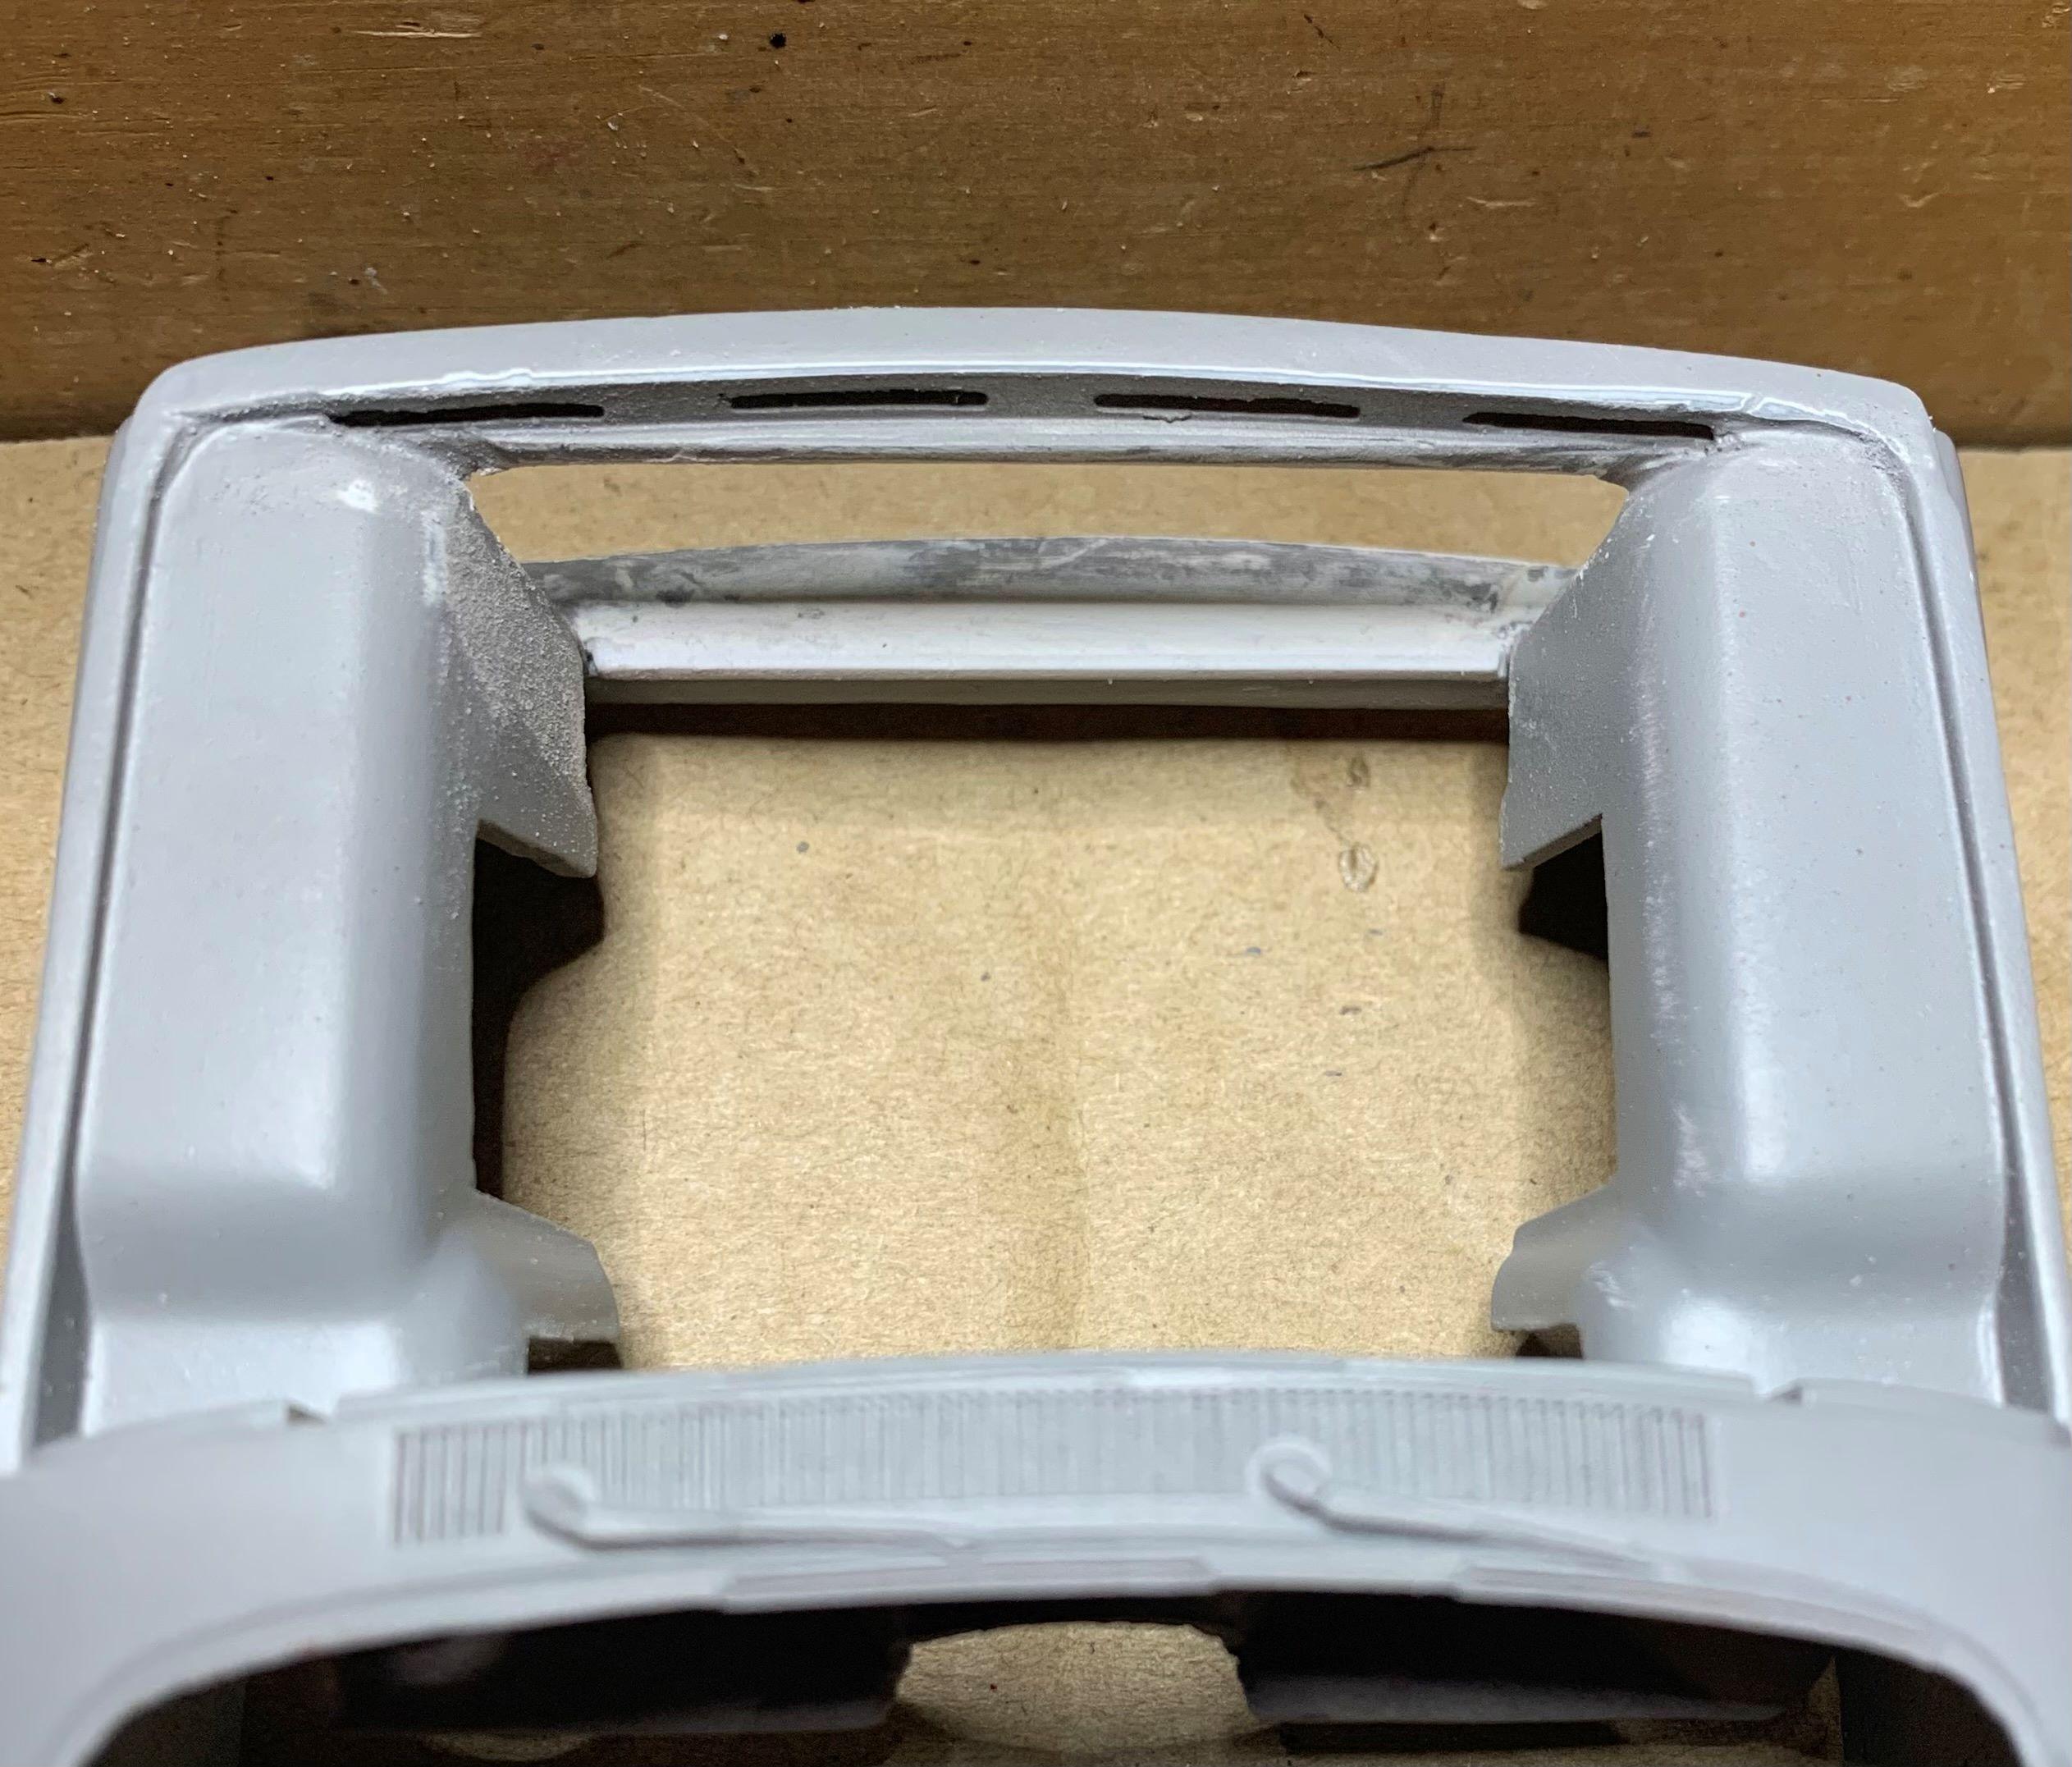
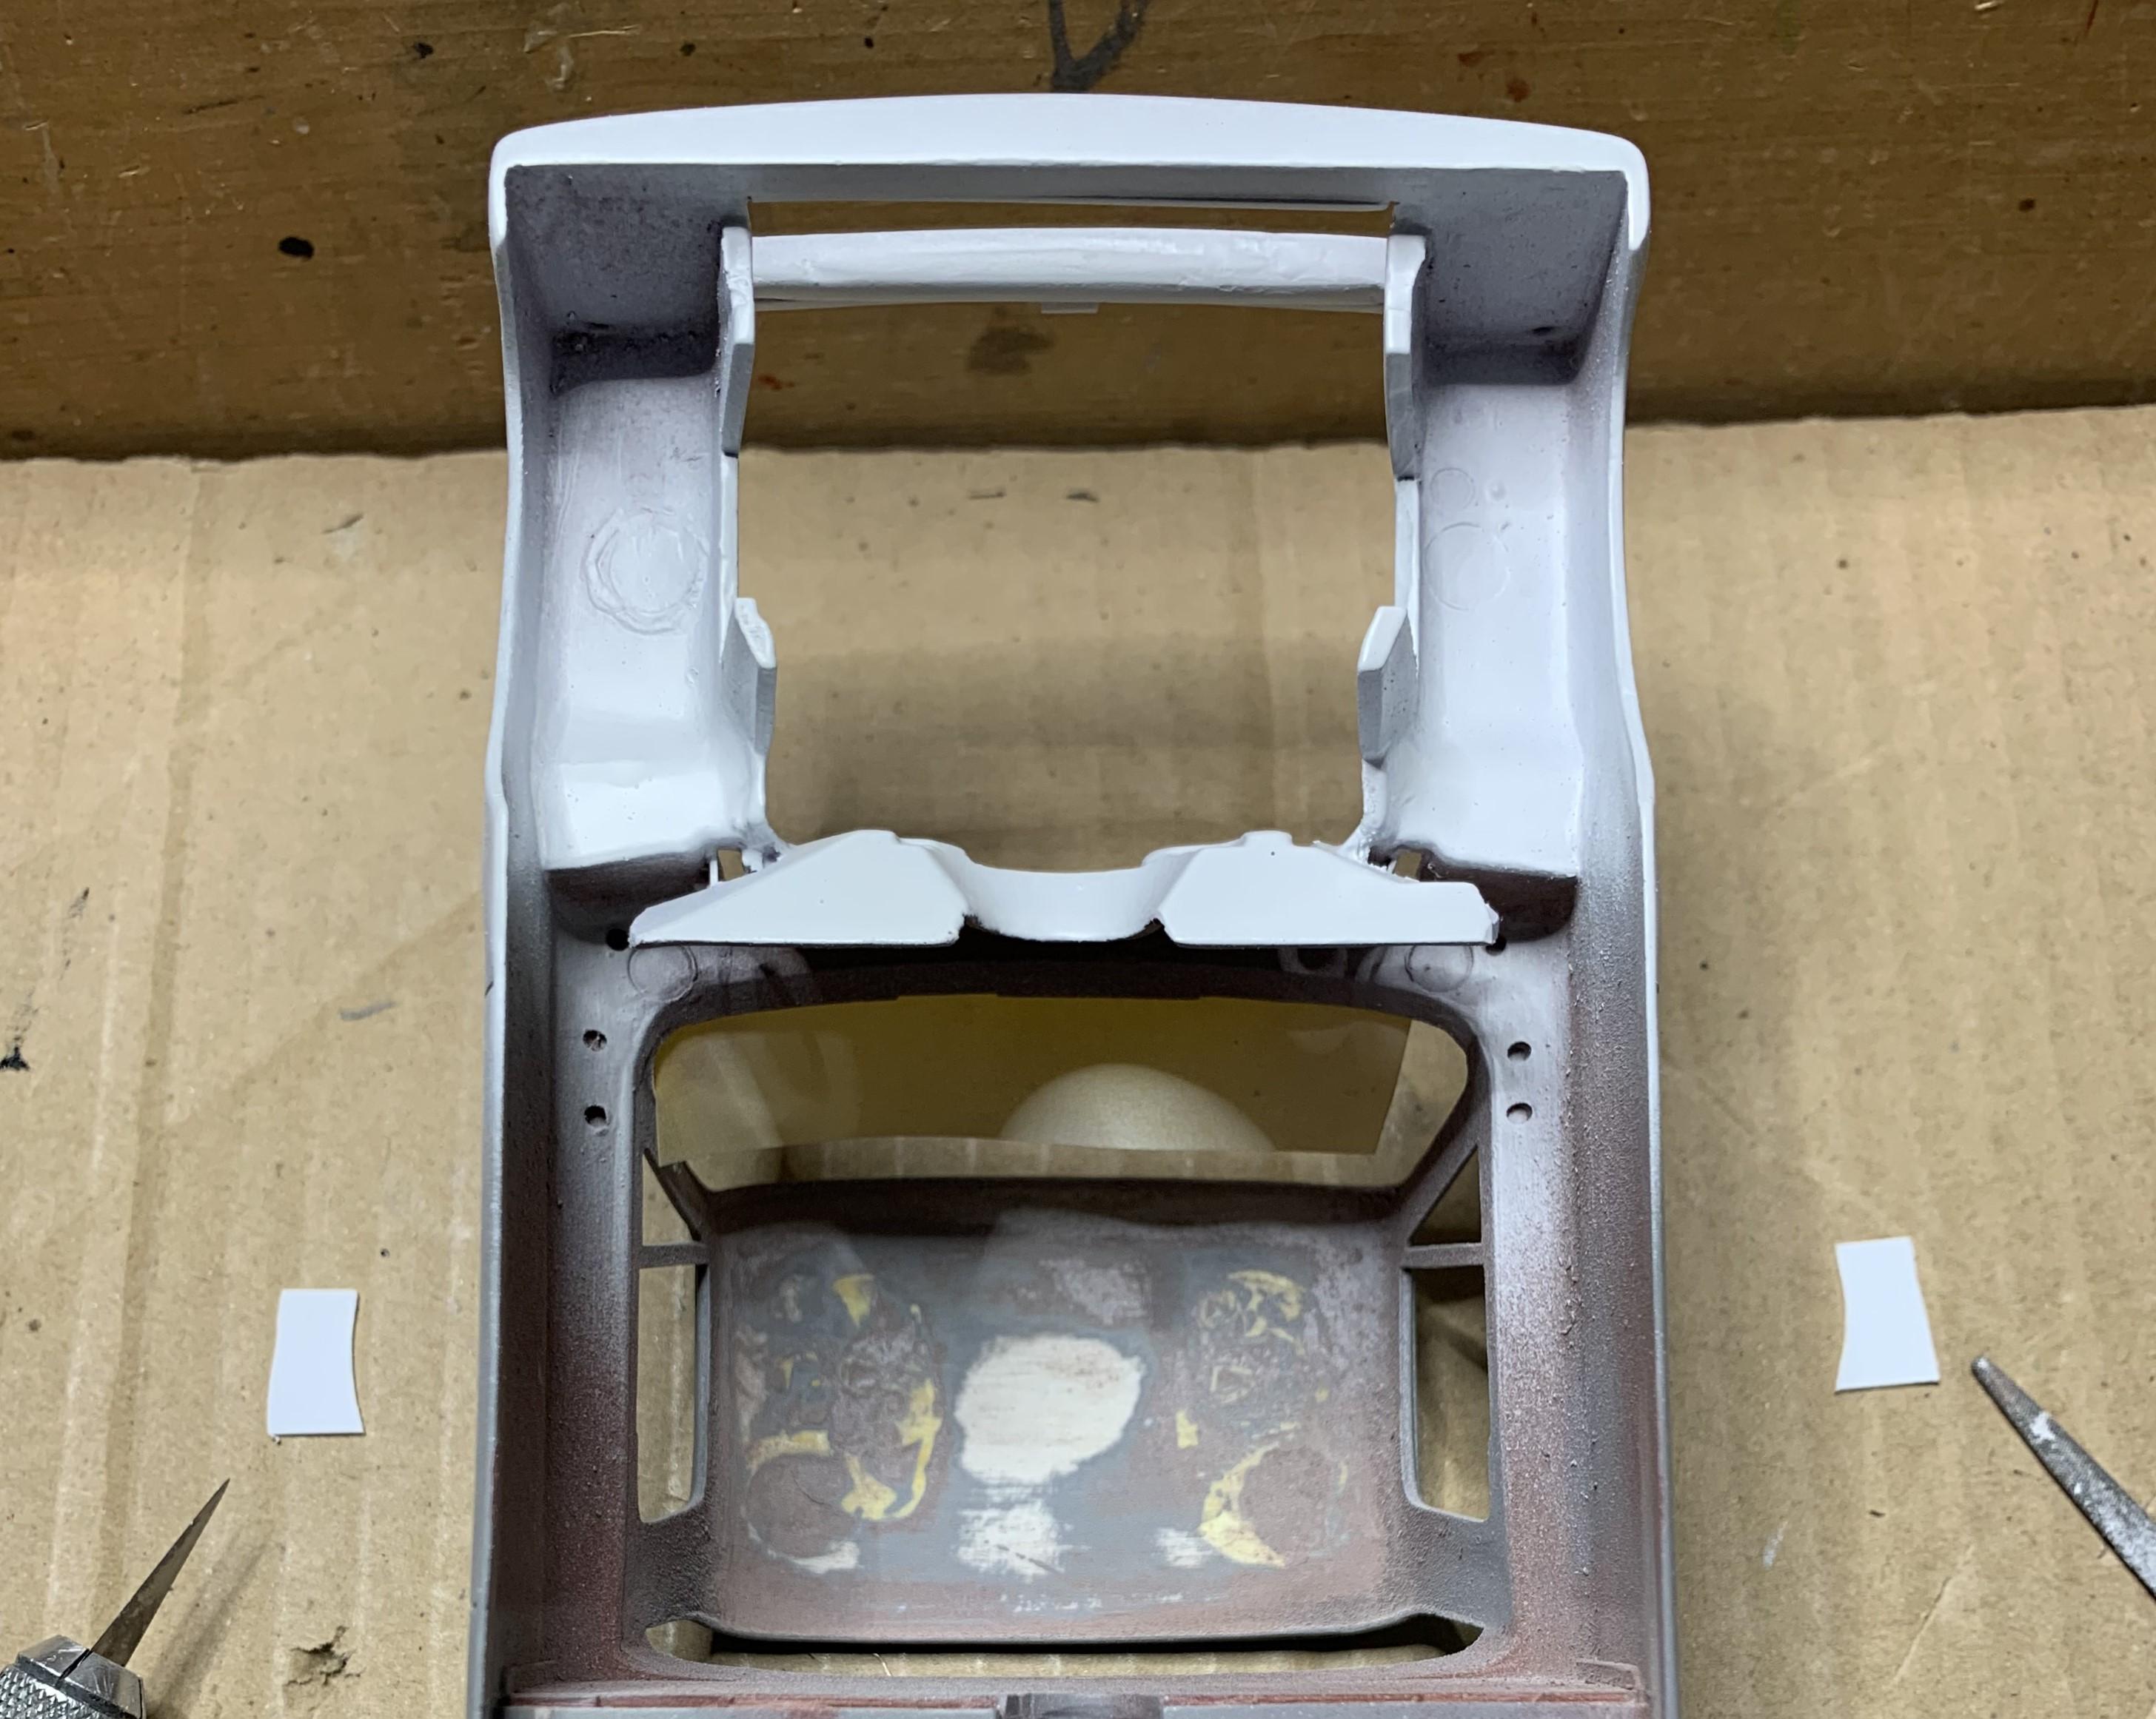
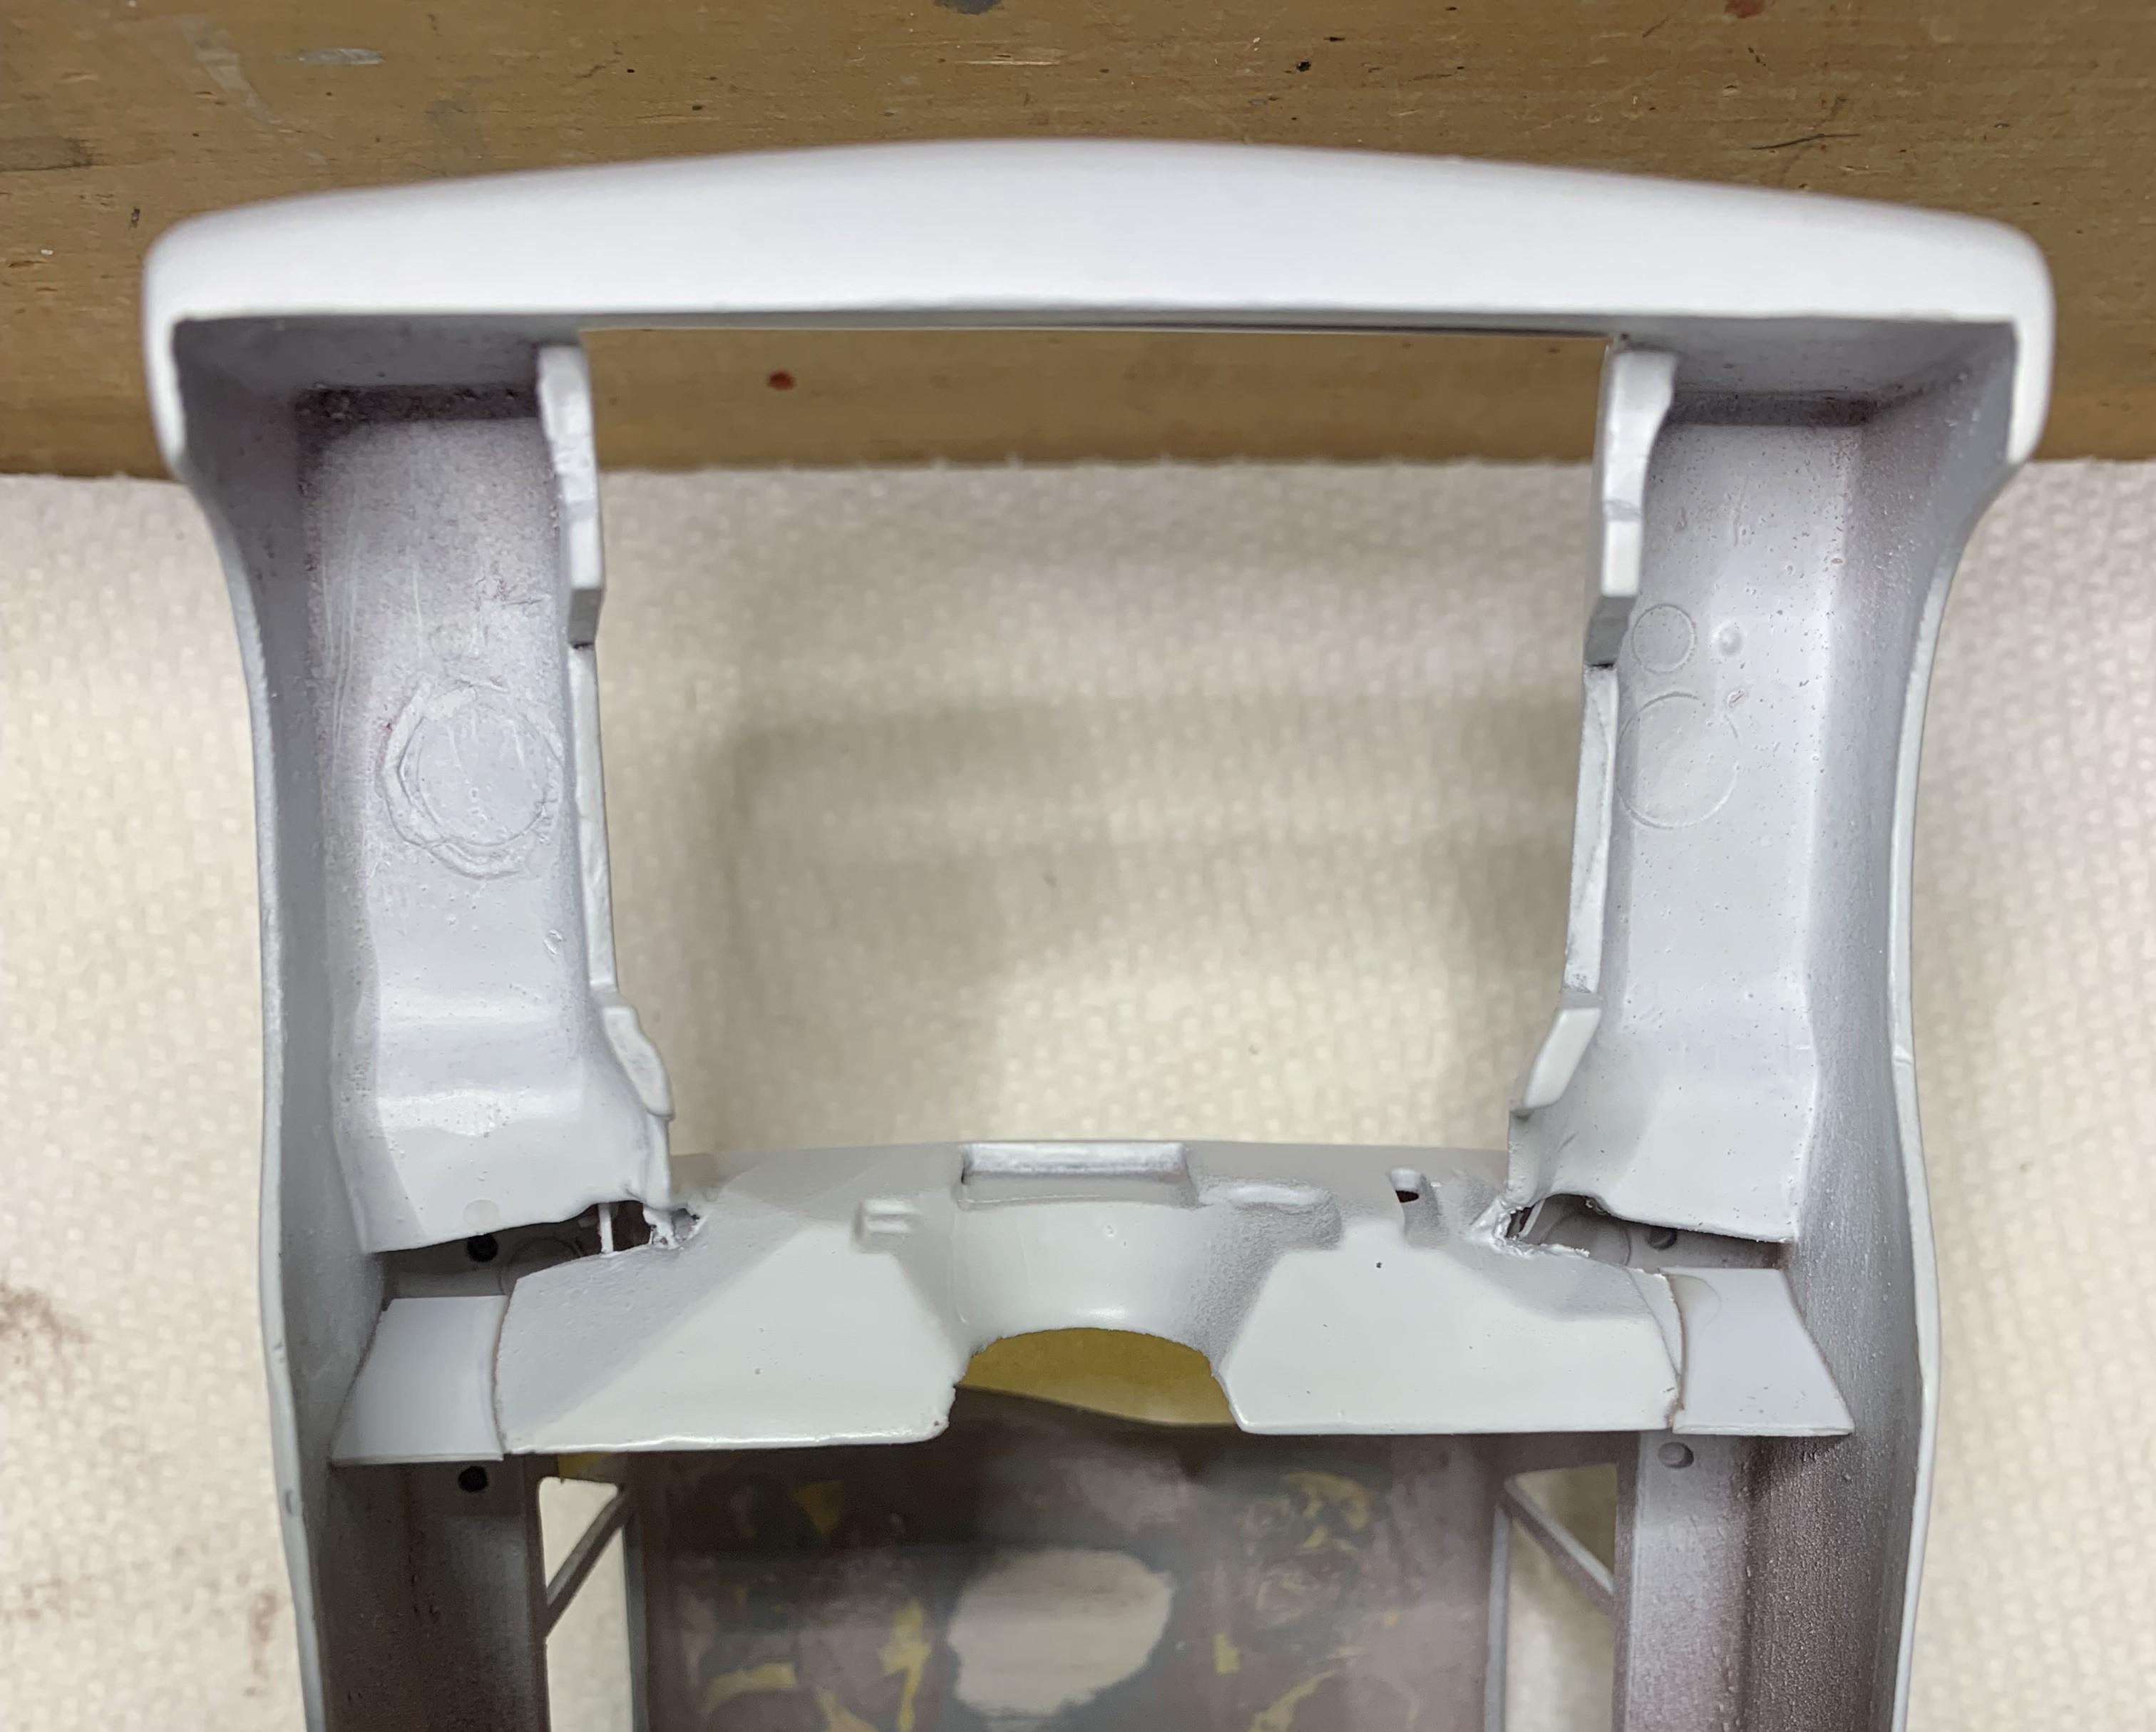
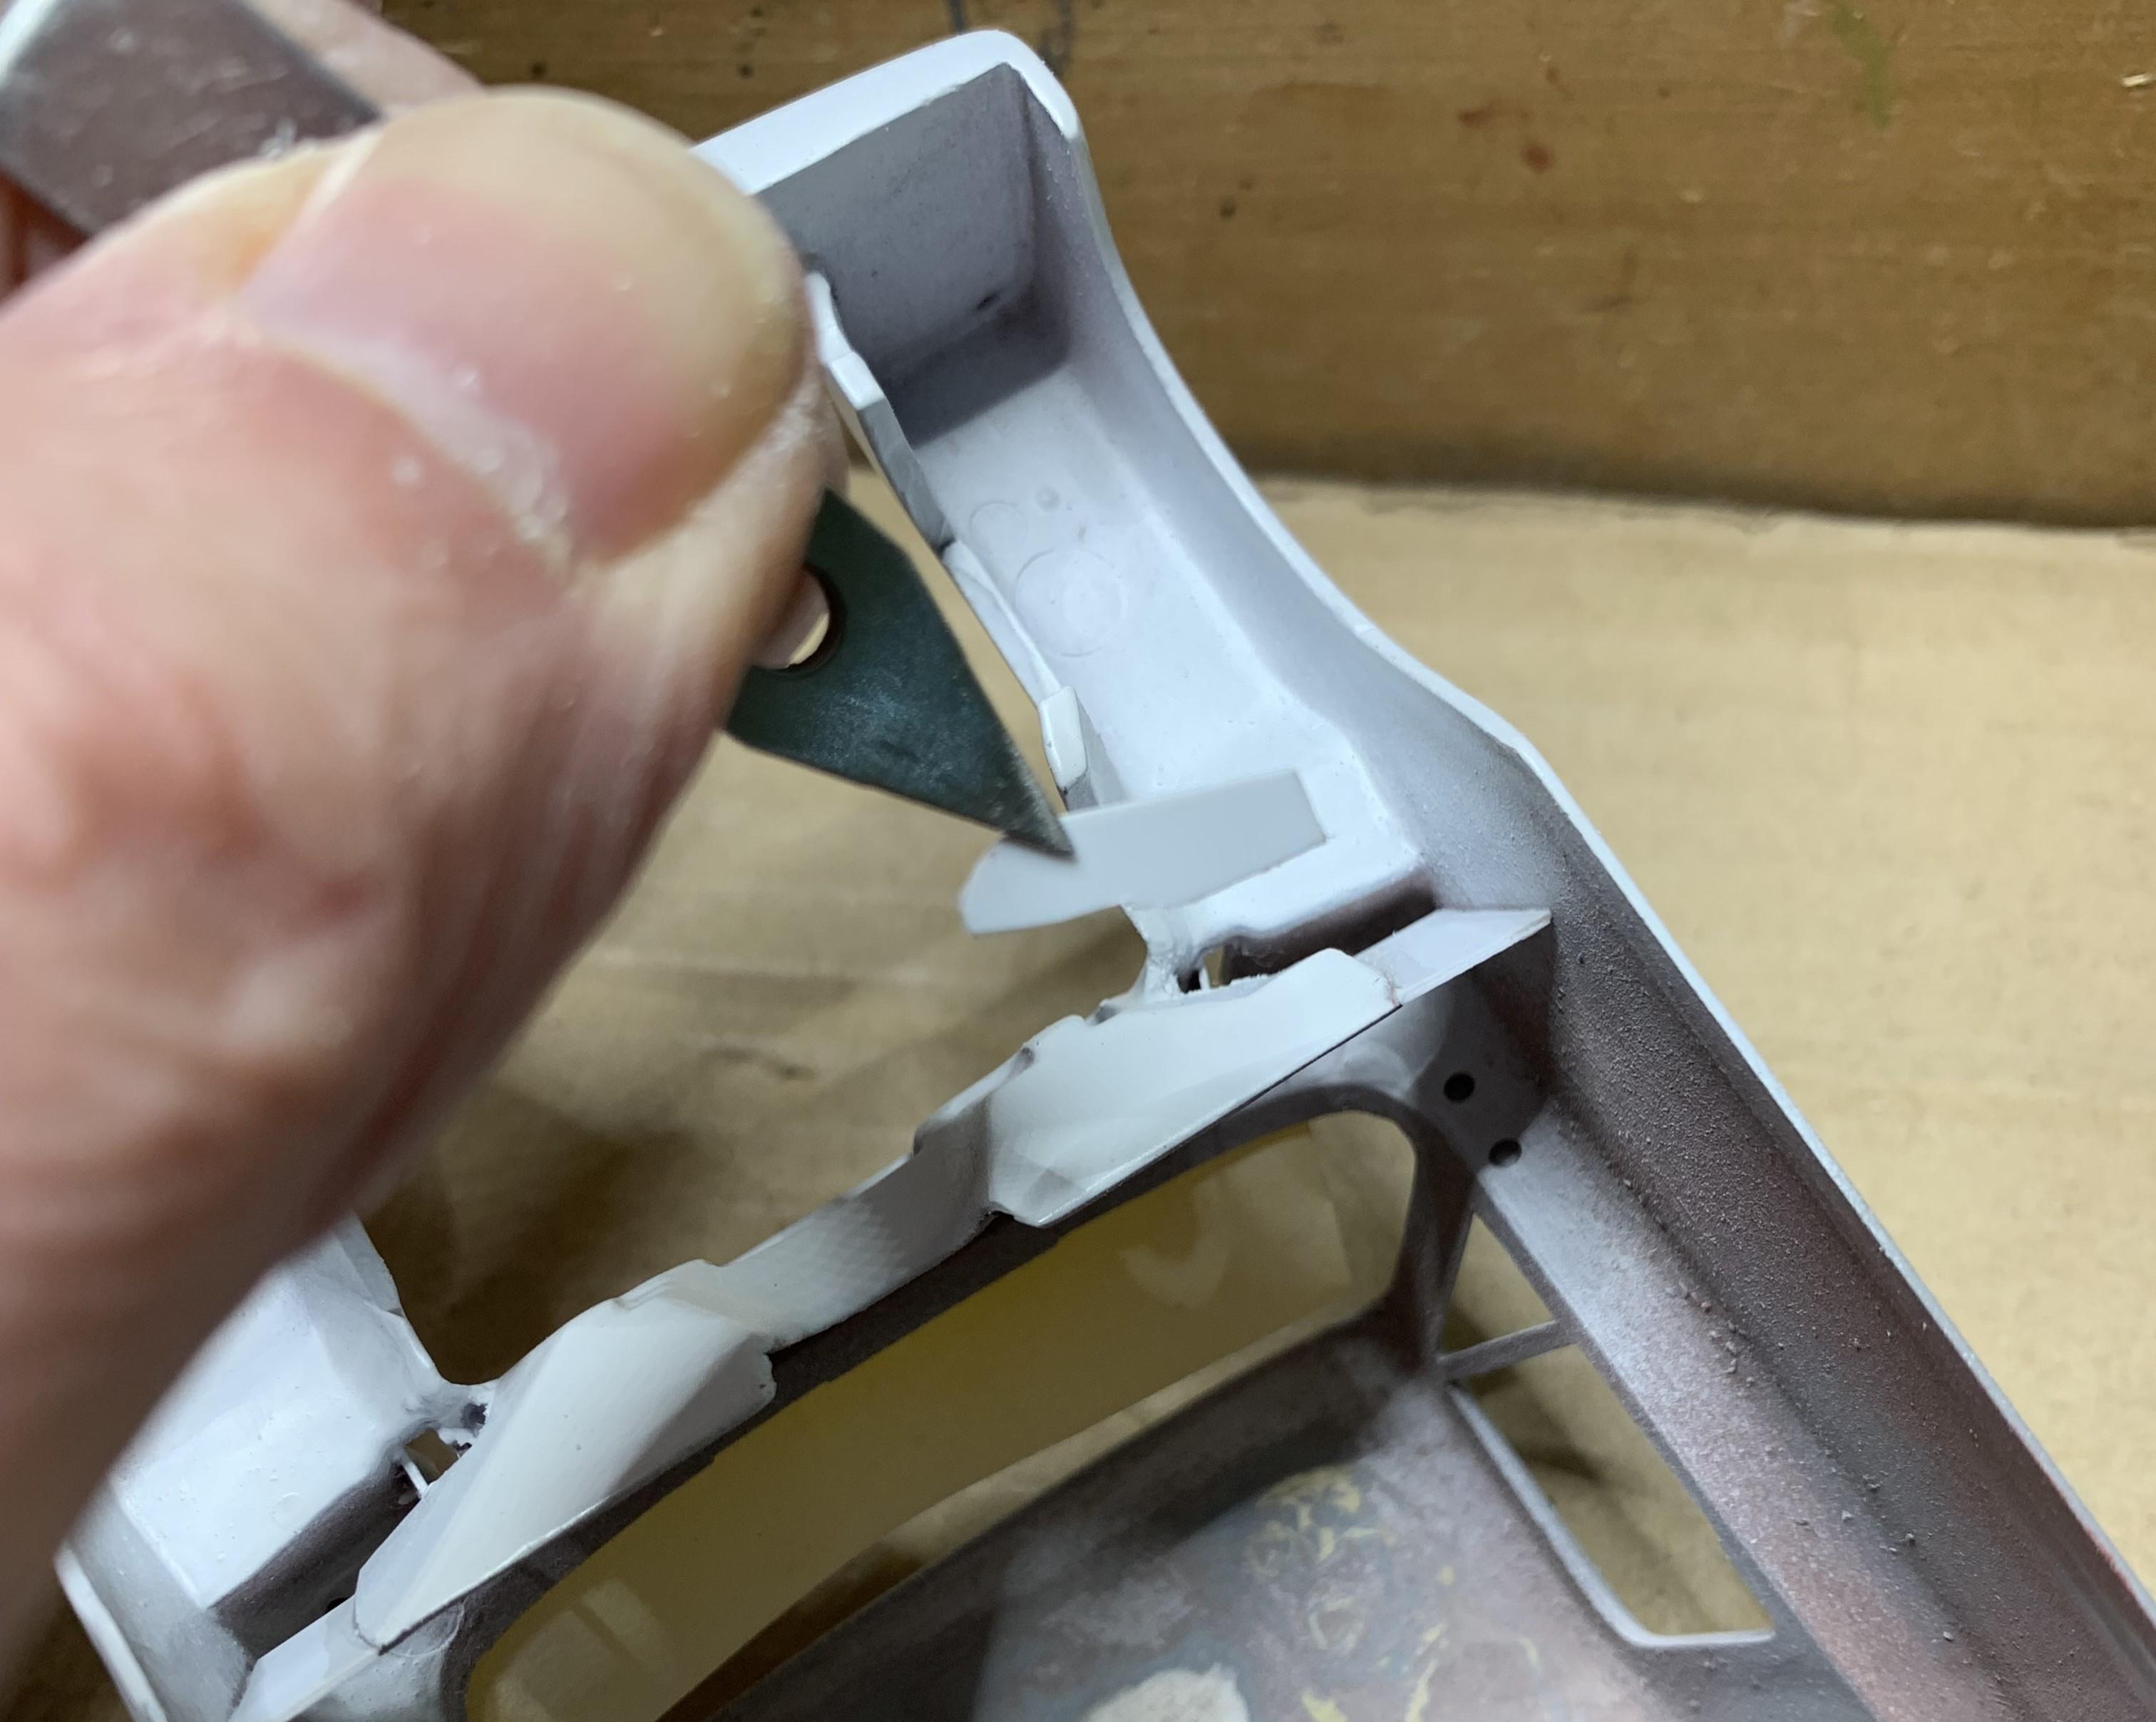
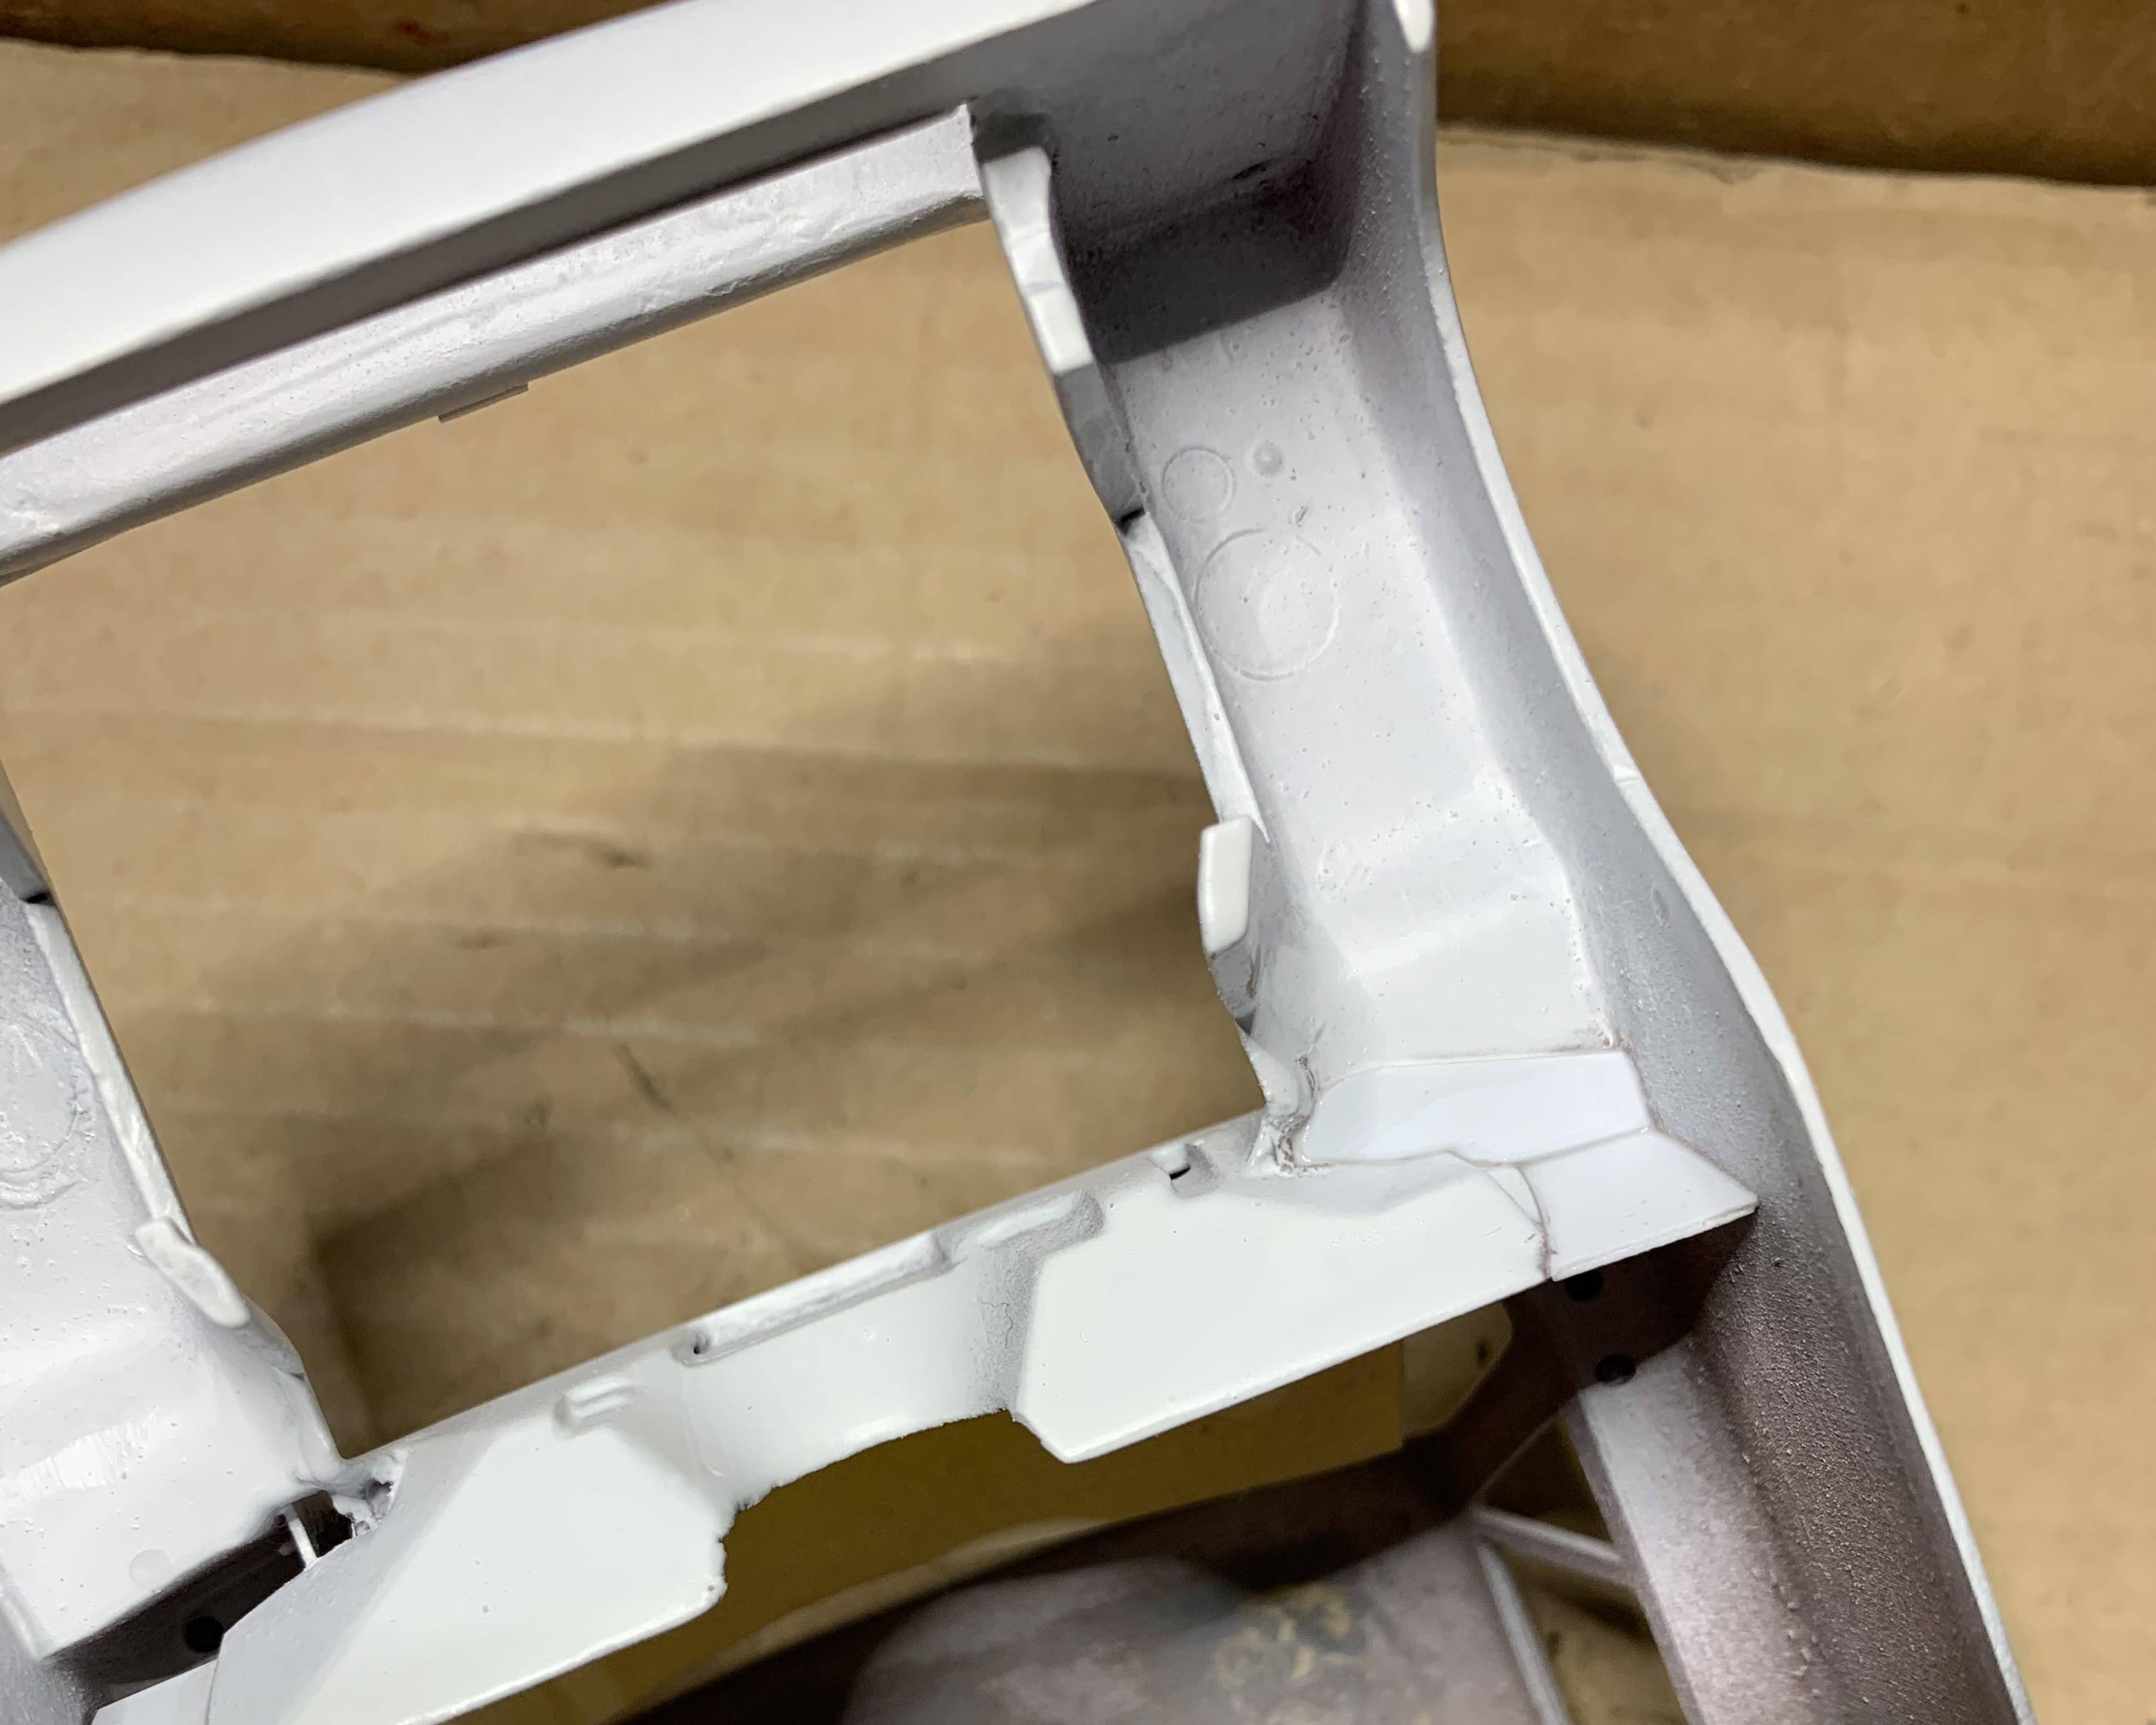
From the underside the firewall didn't meet the outer body panels. So I made up little pieces to fill that out. Fun stuff, probably not important but I like doing little things like this.
-
I modified a firewall from the scrap heap and fitted it. I made a hinge and some under hood structure. Test fit, should be good enough. Grille is 3D printed '62 with the top and bottom center sections removed. Still working on that.
-
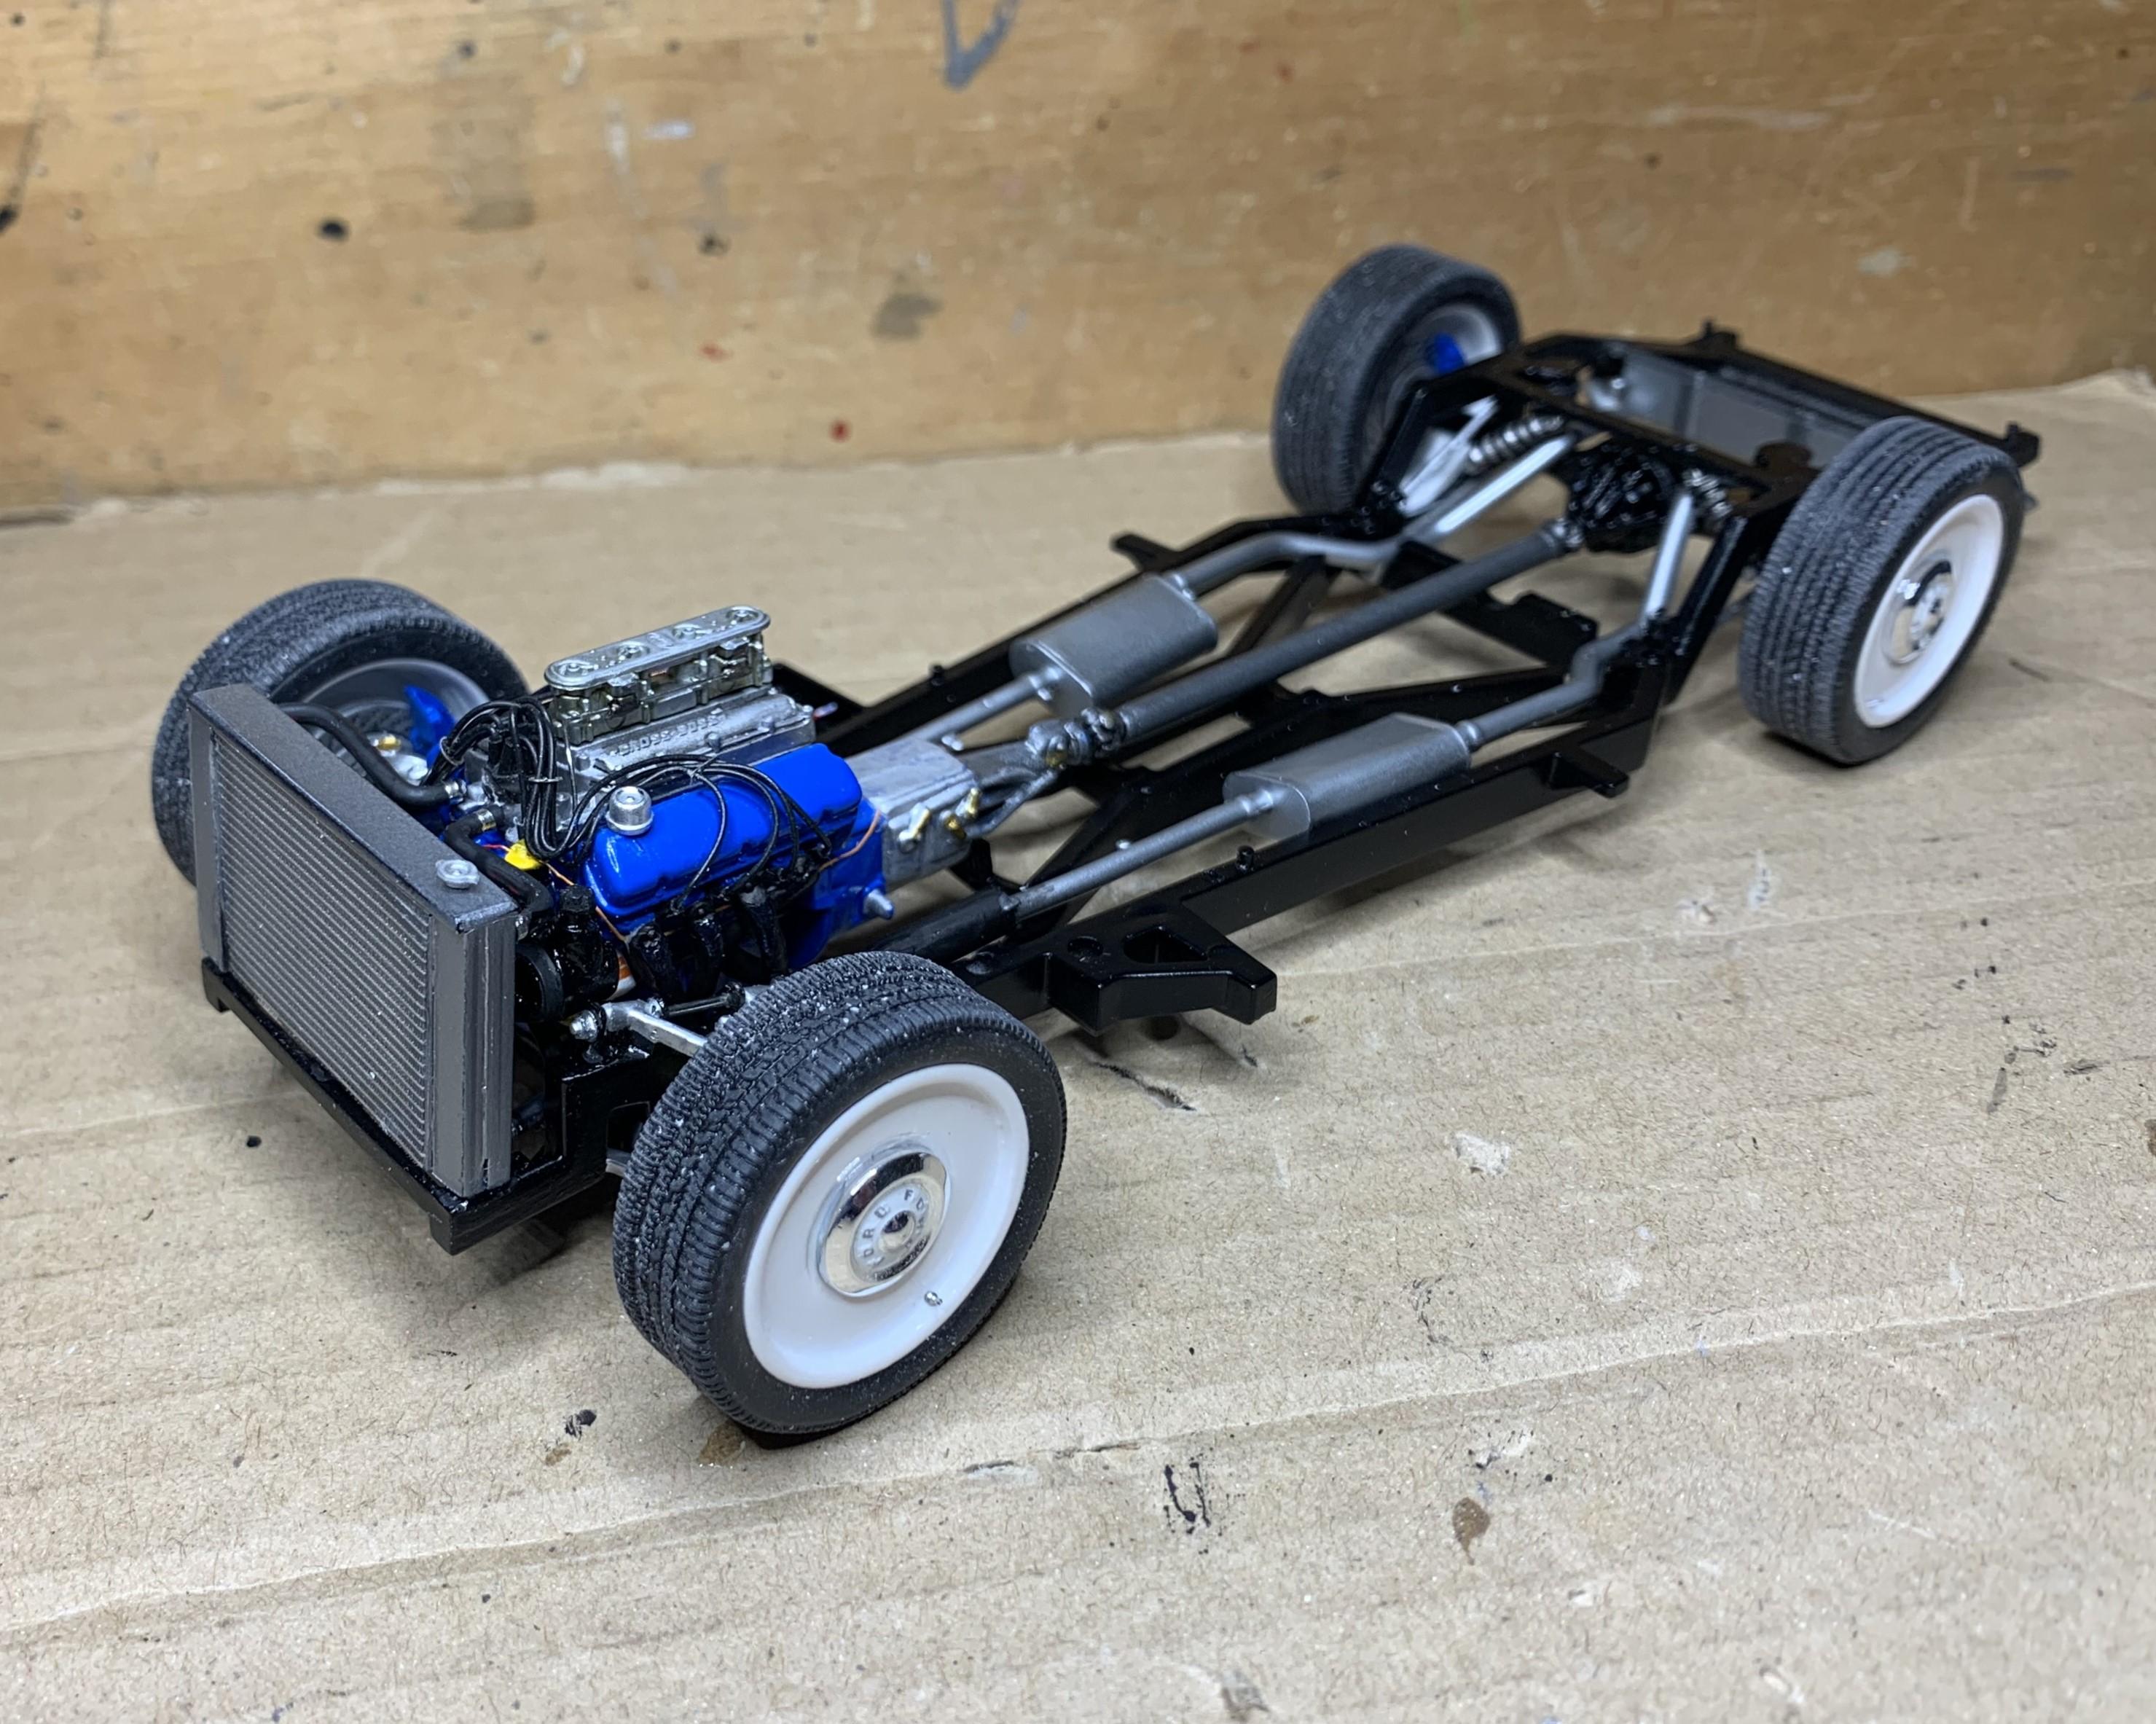
I made these "things" to dress up the upper A-arms as they show under the hood. I scratch built a big aluminum rad to keep things cool. So here's where I'm at with this build: Cheers!
-
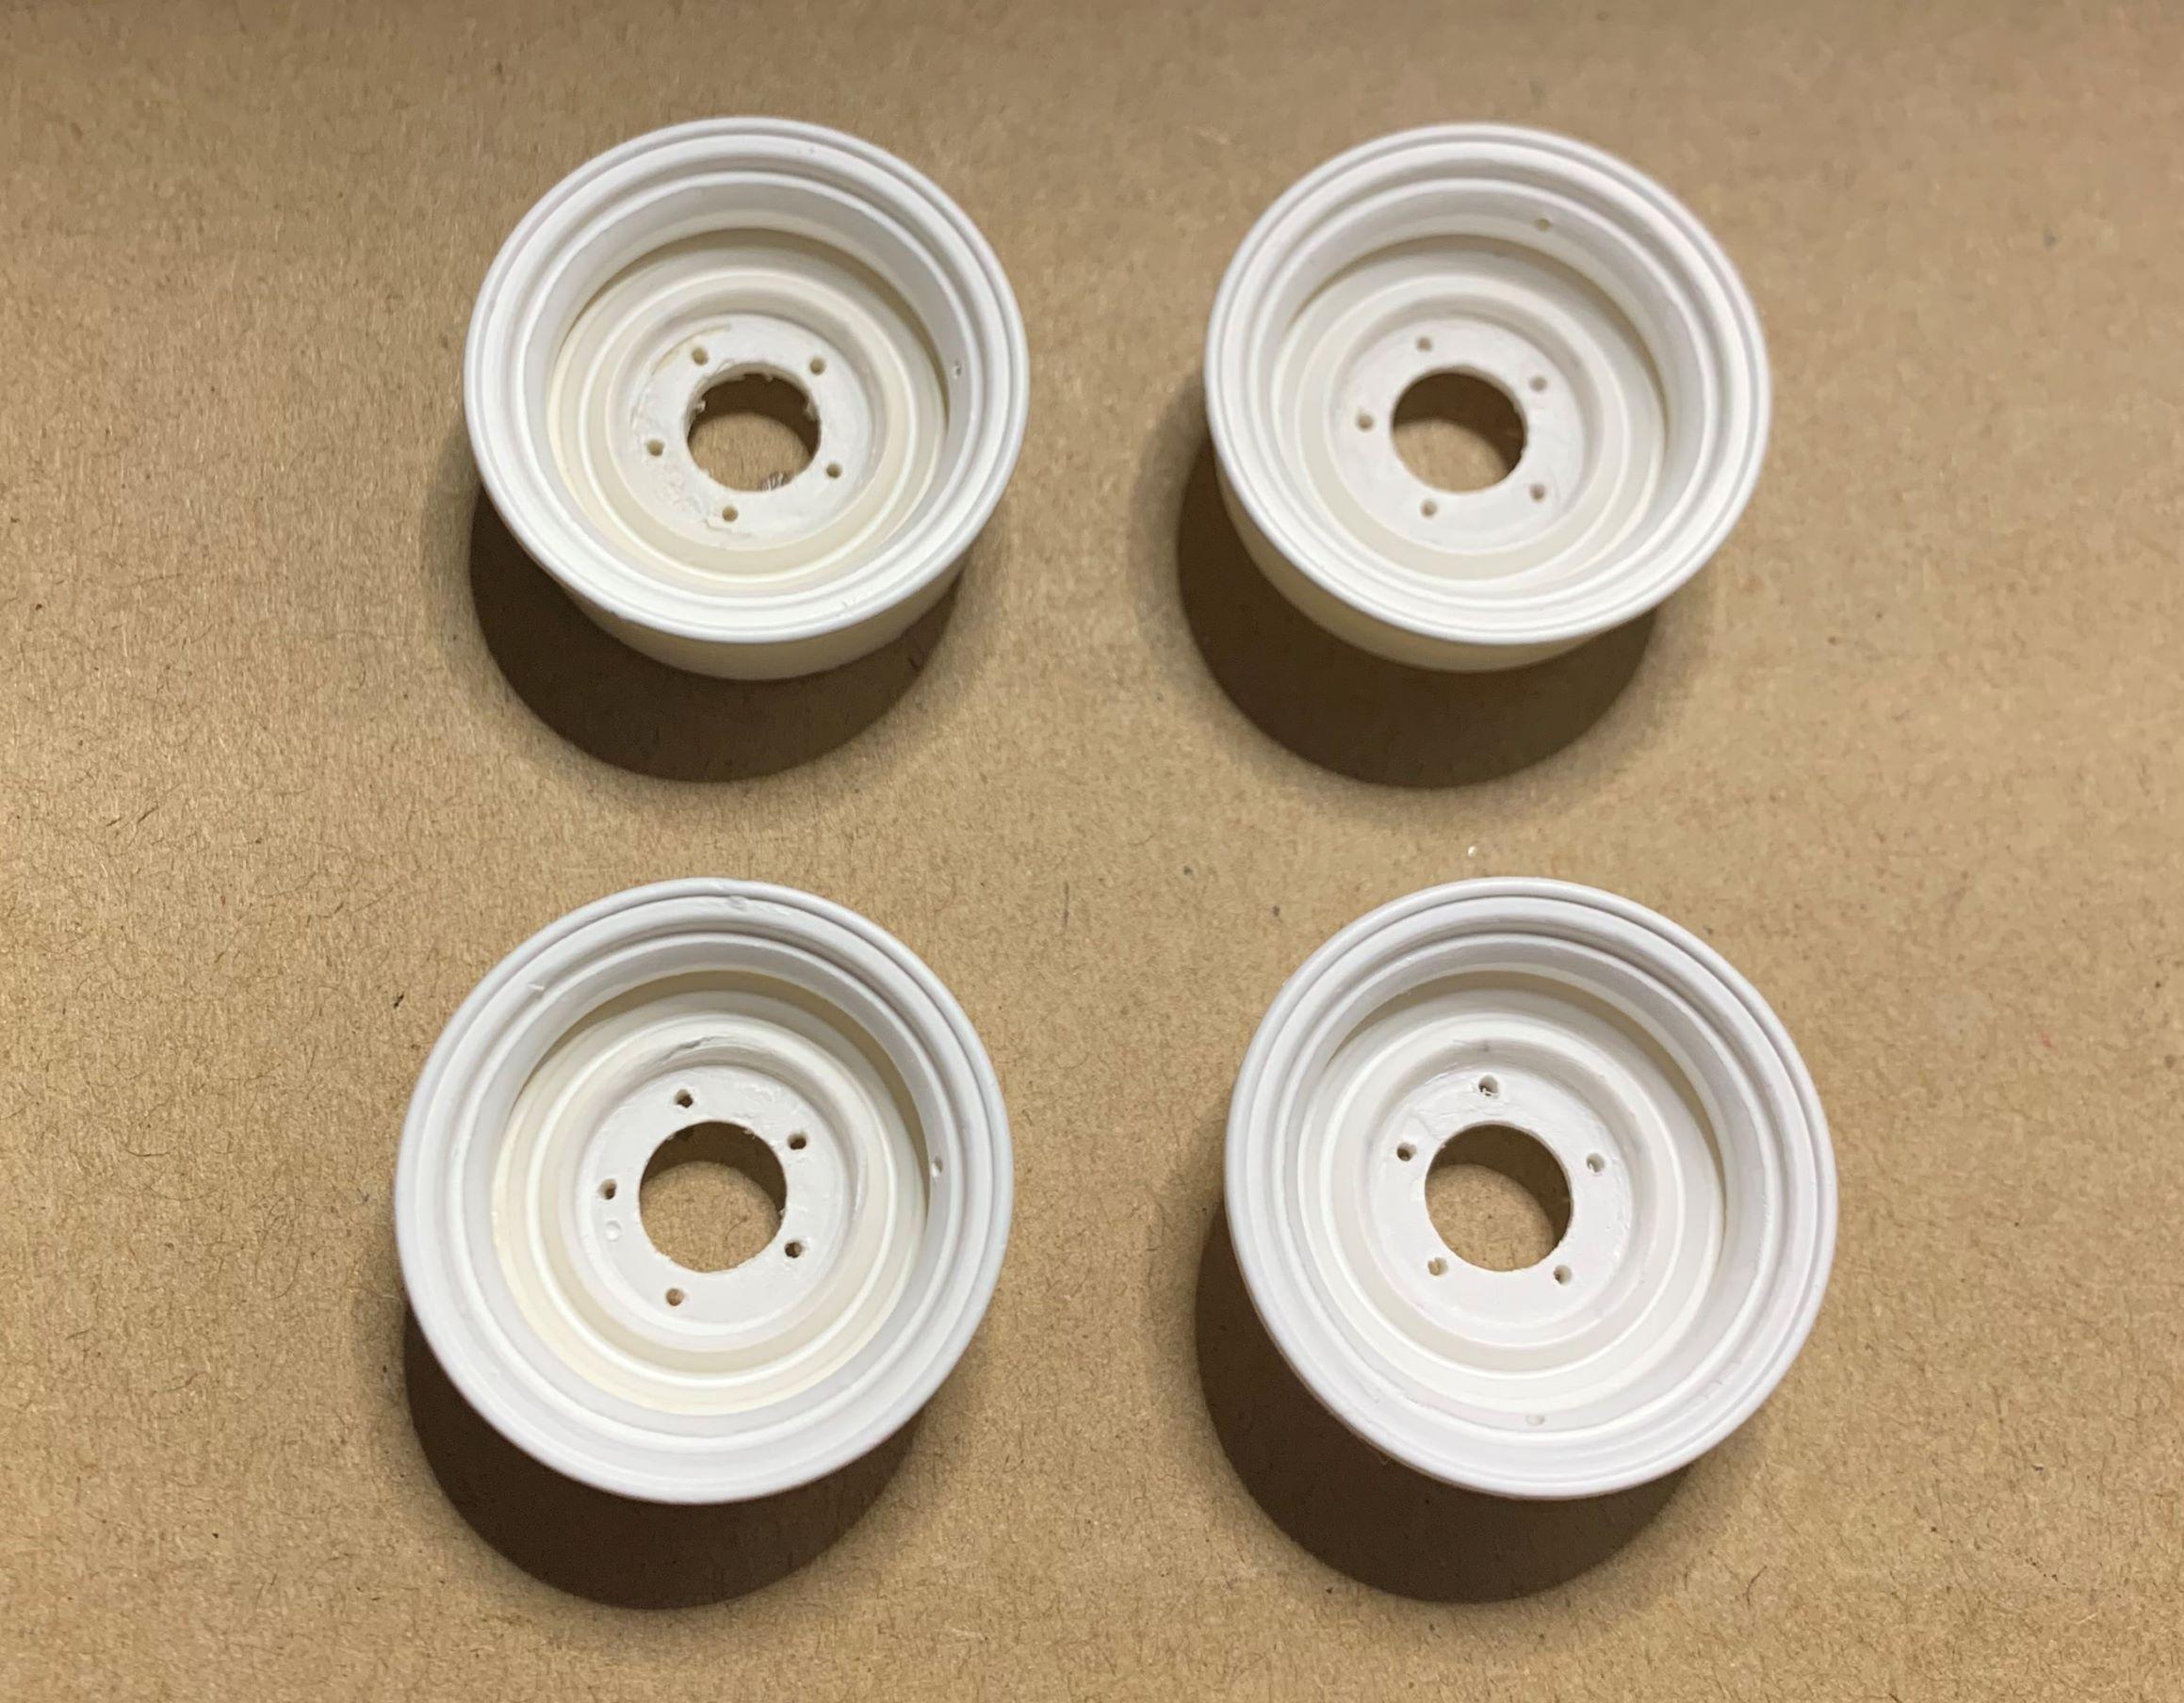
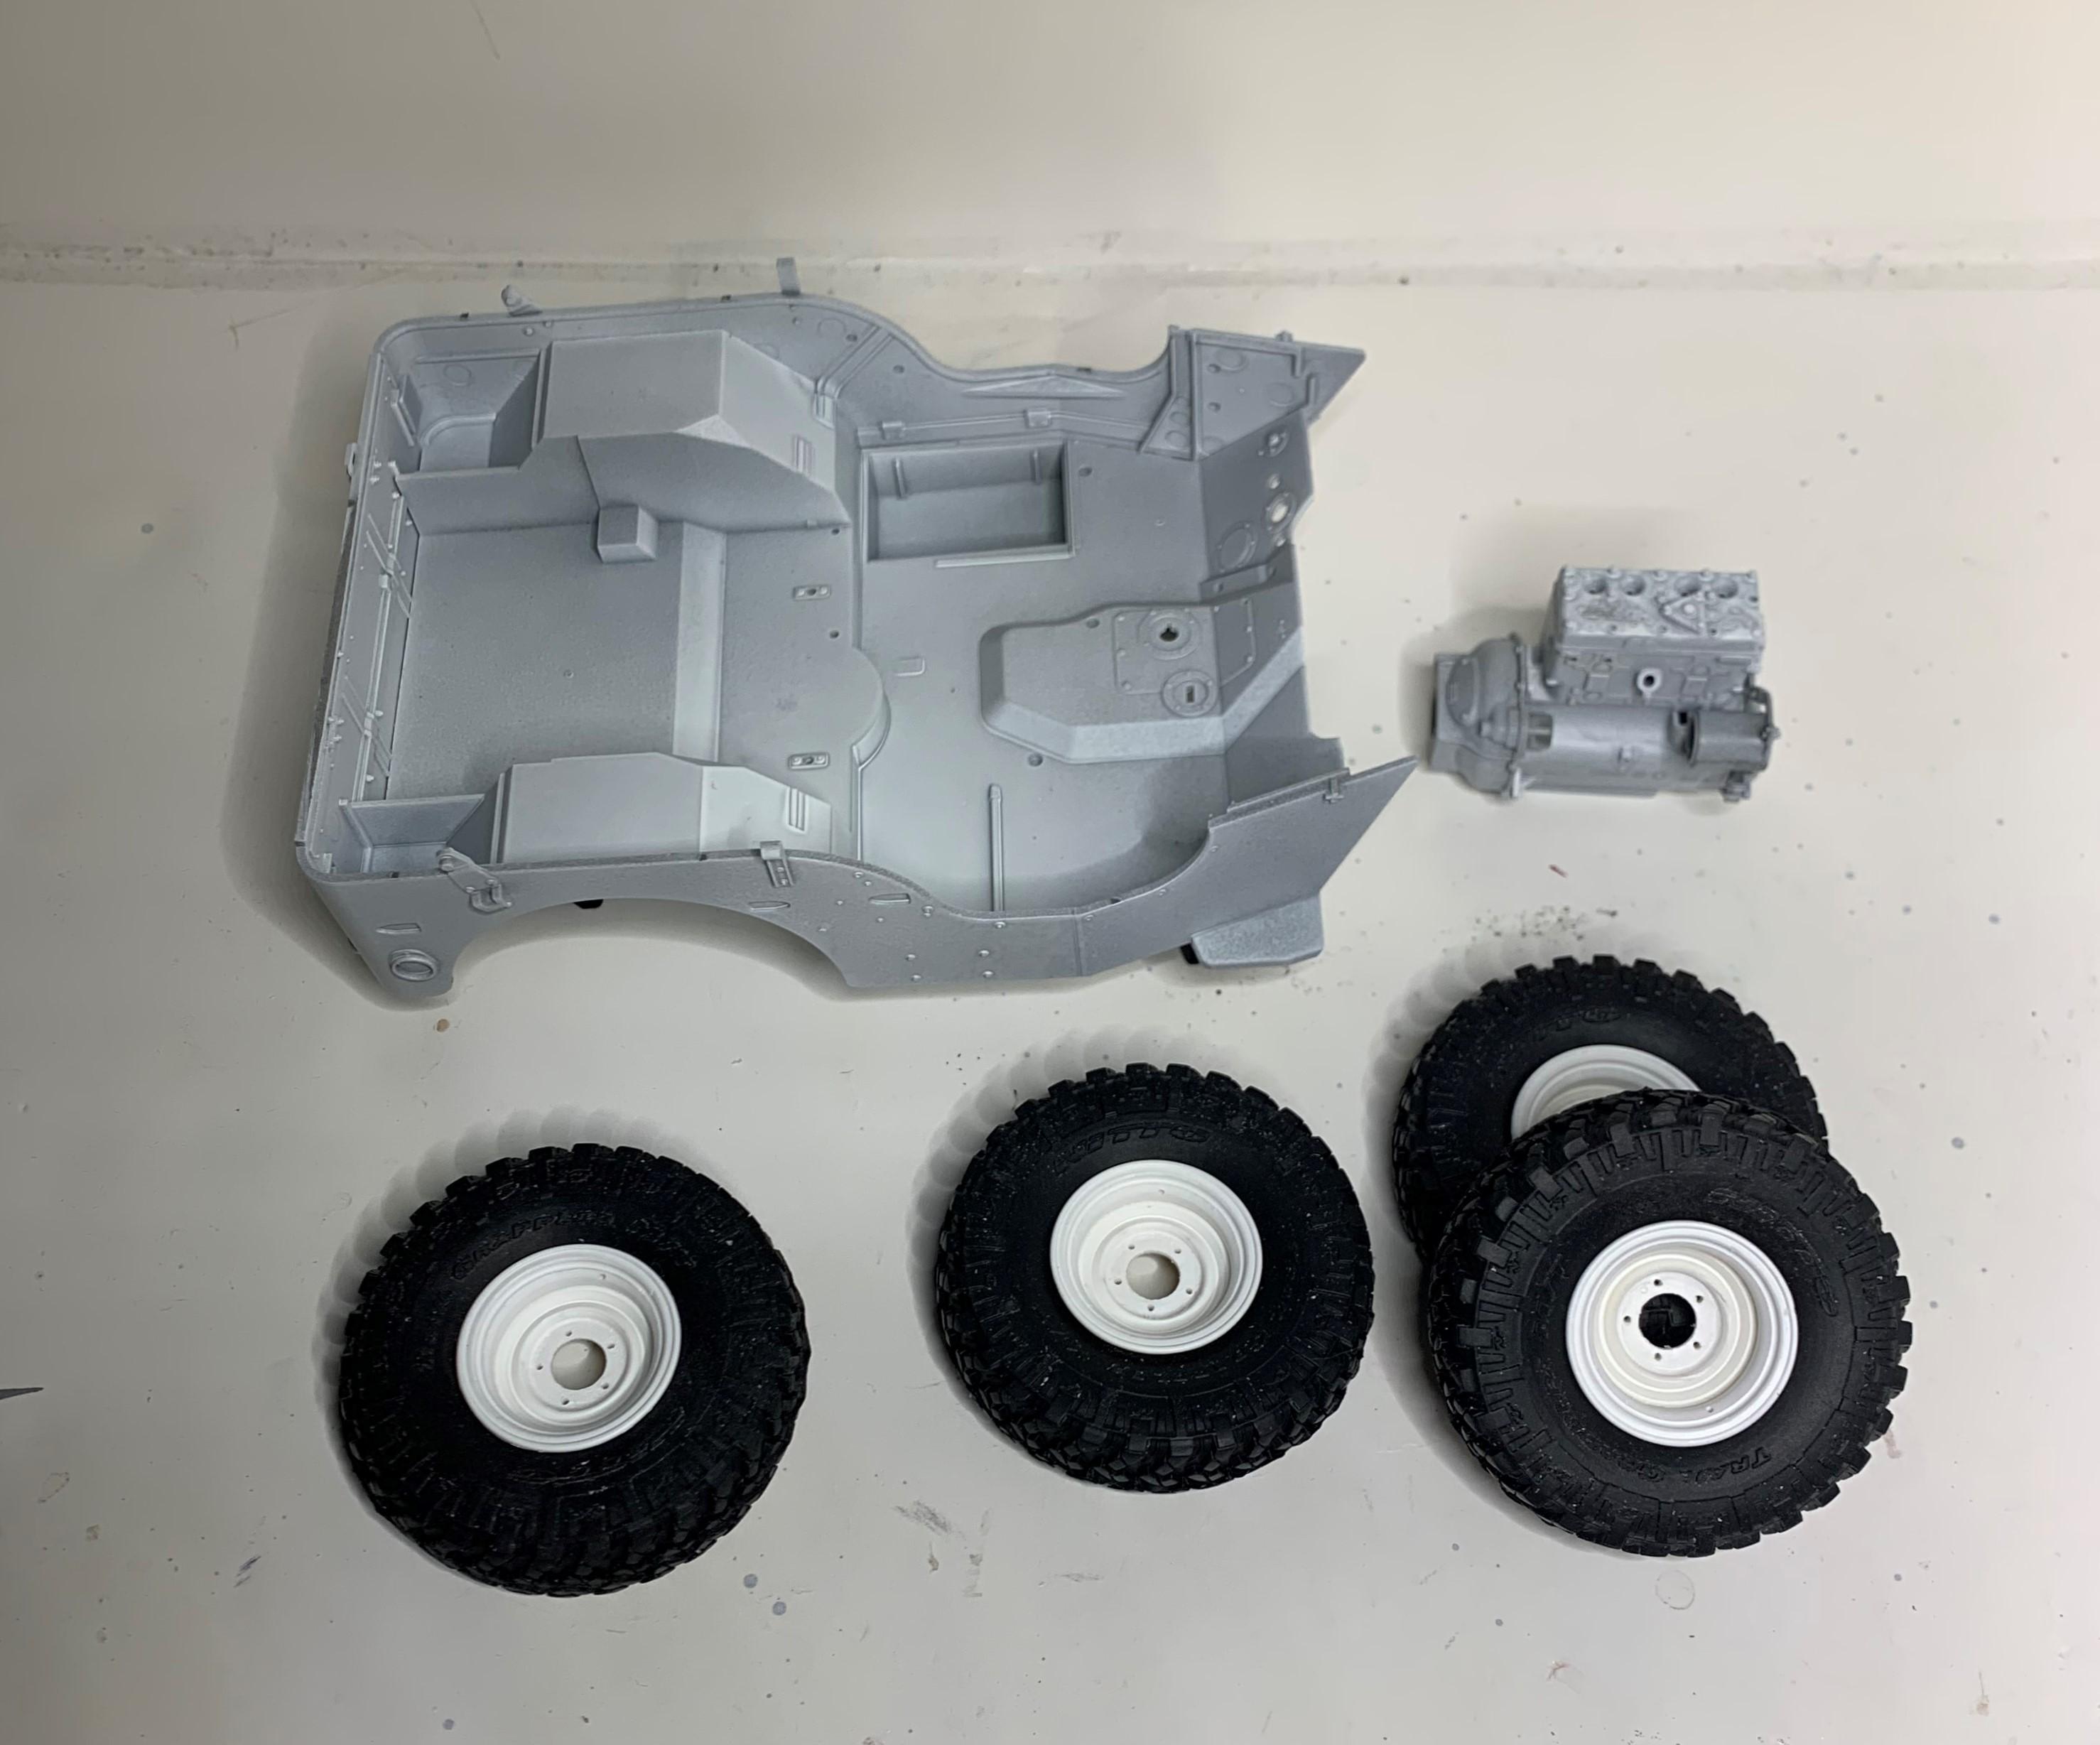
R/C wheels and tires in the one inch size are perfect for 1/16th. I widened the wheels from that Nomad kit and made Jeep bolt patterns. Here's how the one inch R/C tires fit those. I know these aren't for you but they do have a wide assortment of tires in one inch size.
- 30 replies
-
- 1
-

-
- 1955 nomad
- gasser
- (and 1 more)
-
I can't recall ever seeing that kit either, but man it looks like it'll be very cool built by you!
-
I love saving glue bombs, and a '63 Riv is one of my favs, so I can't wait to see it!
-
1:16 Gunze Sangyo 1937 Rolls-Royce Phantom III Sports Saloon
dino246gt replied to Anglia105E's topic in WIP: Model Cars
Oh that does impart luxury from that era, very nicely done! -
I have extra stock bumpers if you want for free.
-
WOW! That looks great, nice interior work! Mine was, shall we say, not quite as nice!
-
1:16 Gunze Sangyo 1937 Rolls-Royce Phantom III Sports Saloon
dino246gt replied to Anglia105E's topic in WIP: Model Cars
Looking so good, so sumptuous! I hope you'll have the picnic tables open with a jar of mustard? -
Those were remarkably accurate little models, and I see you adding "glass", nice!
-
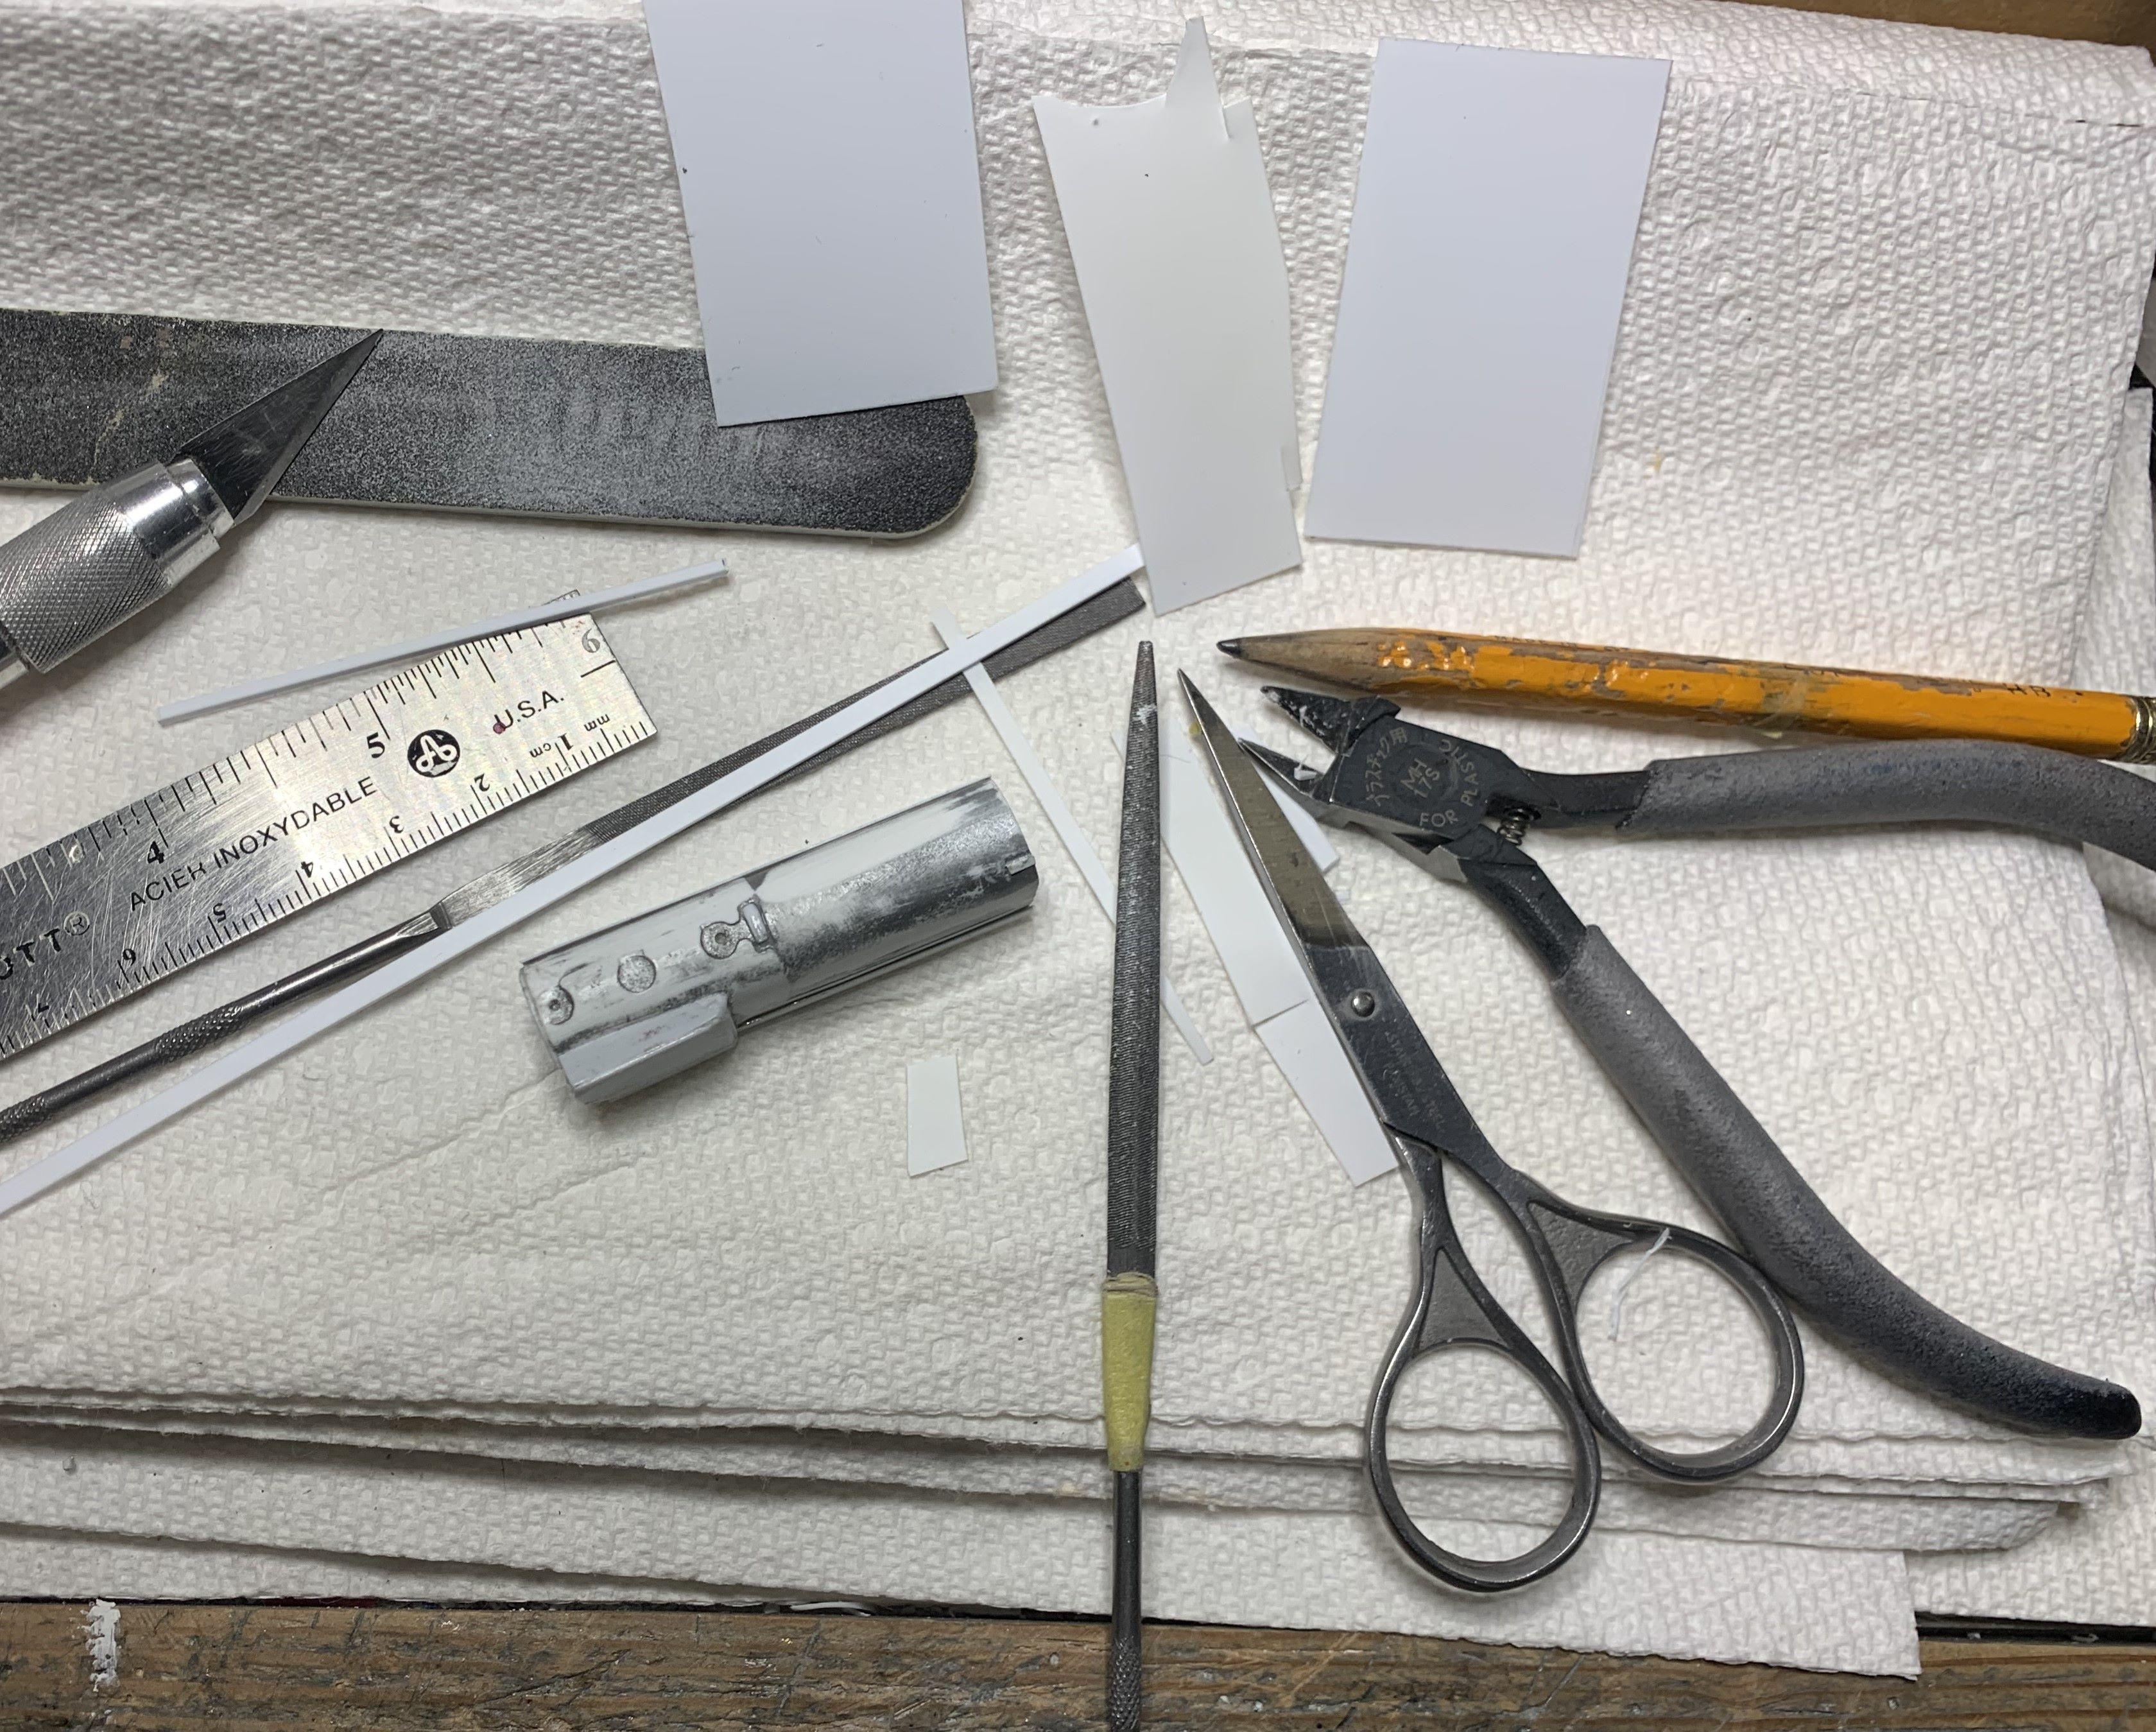
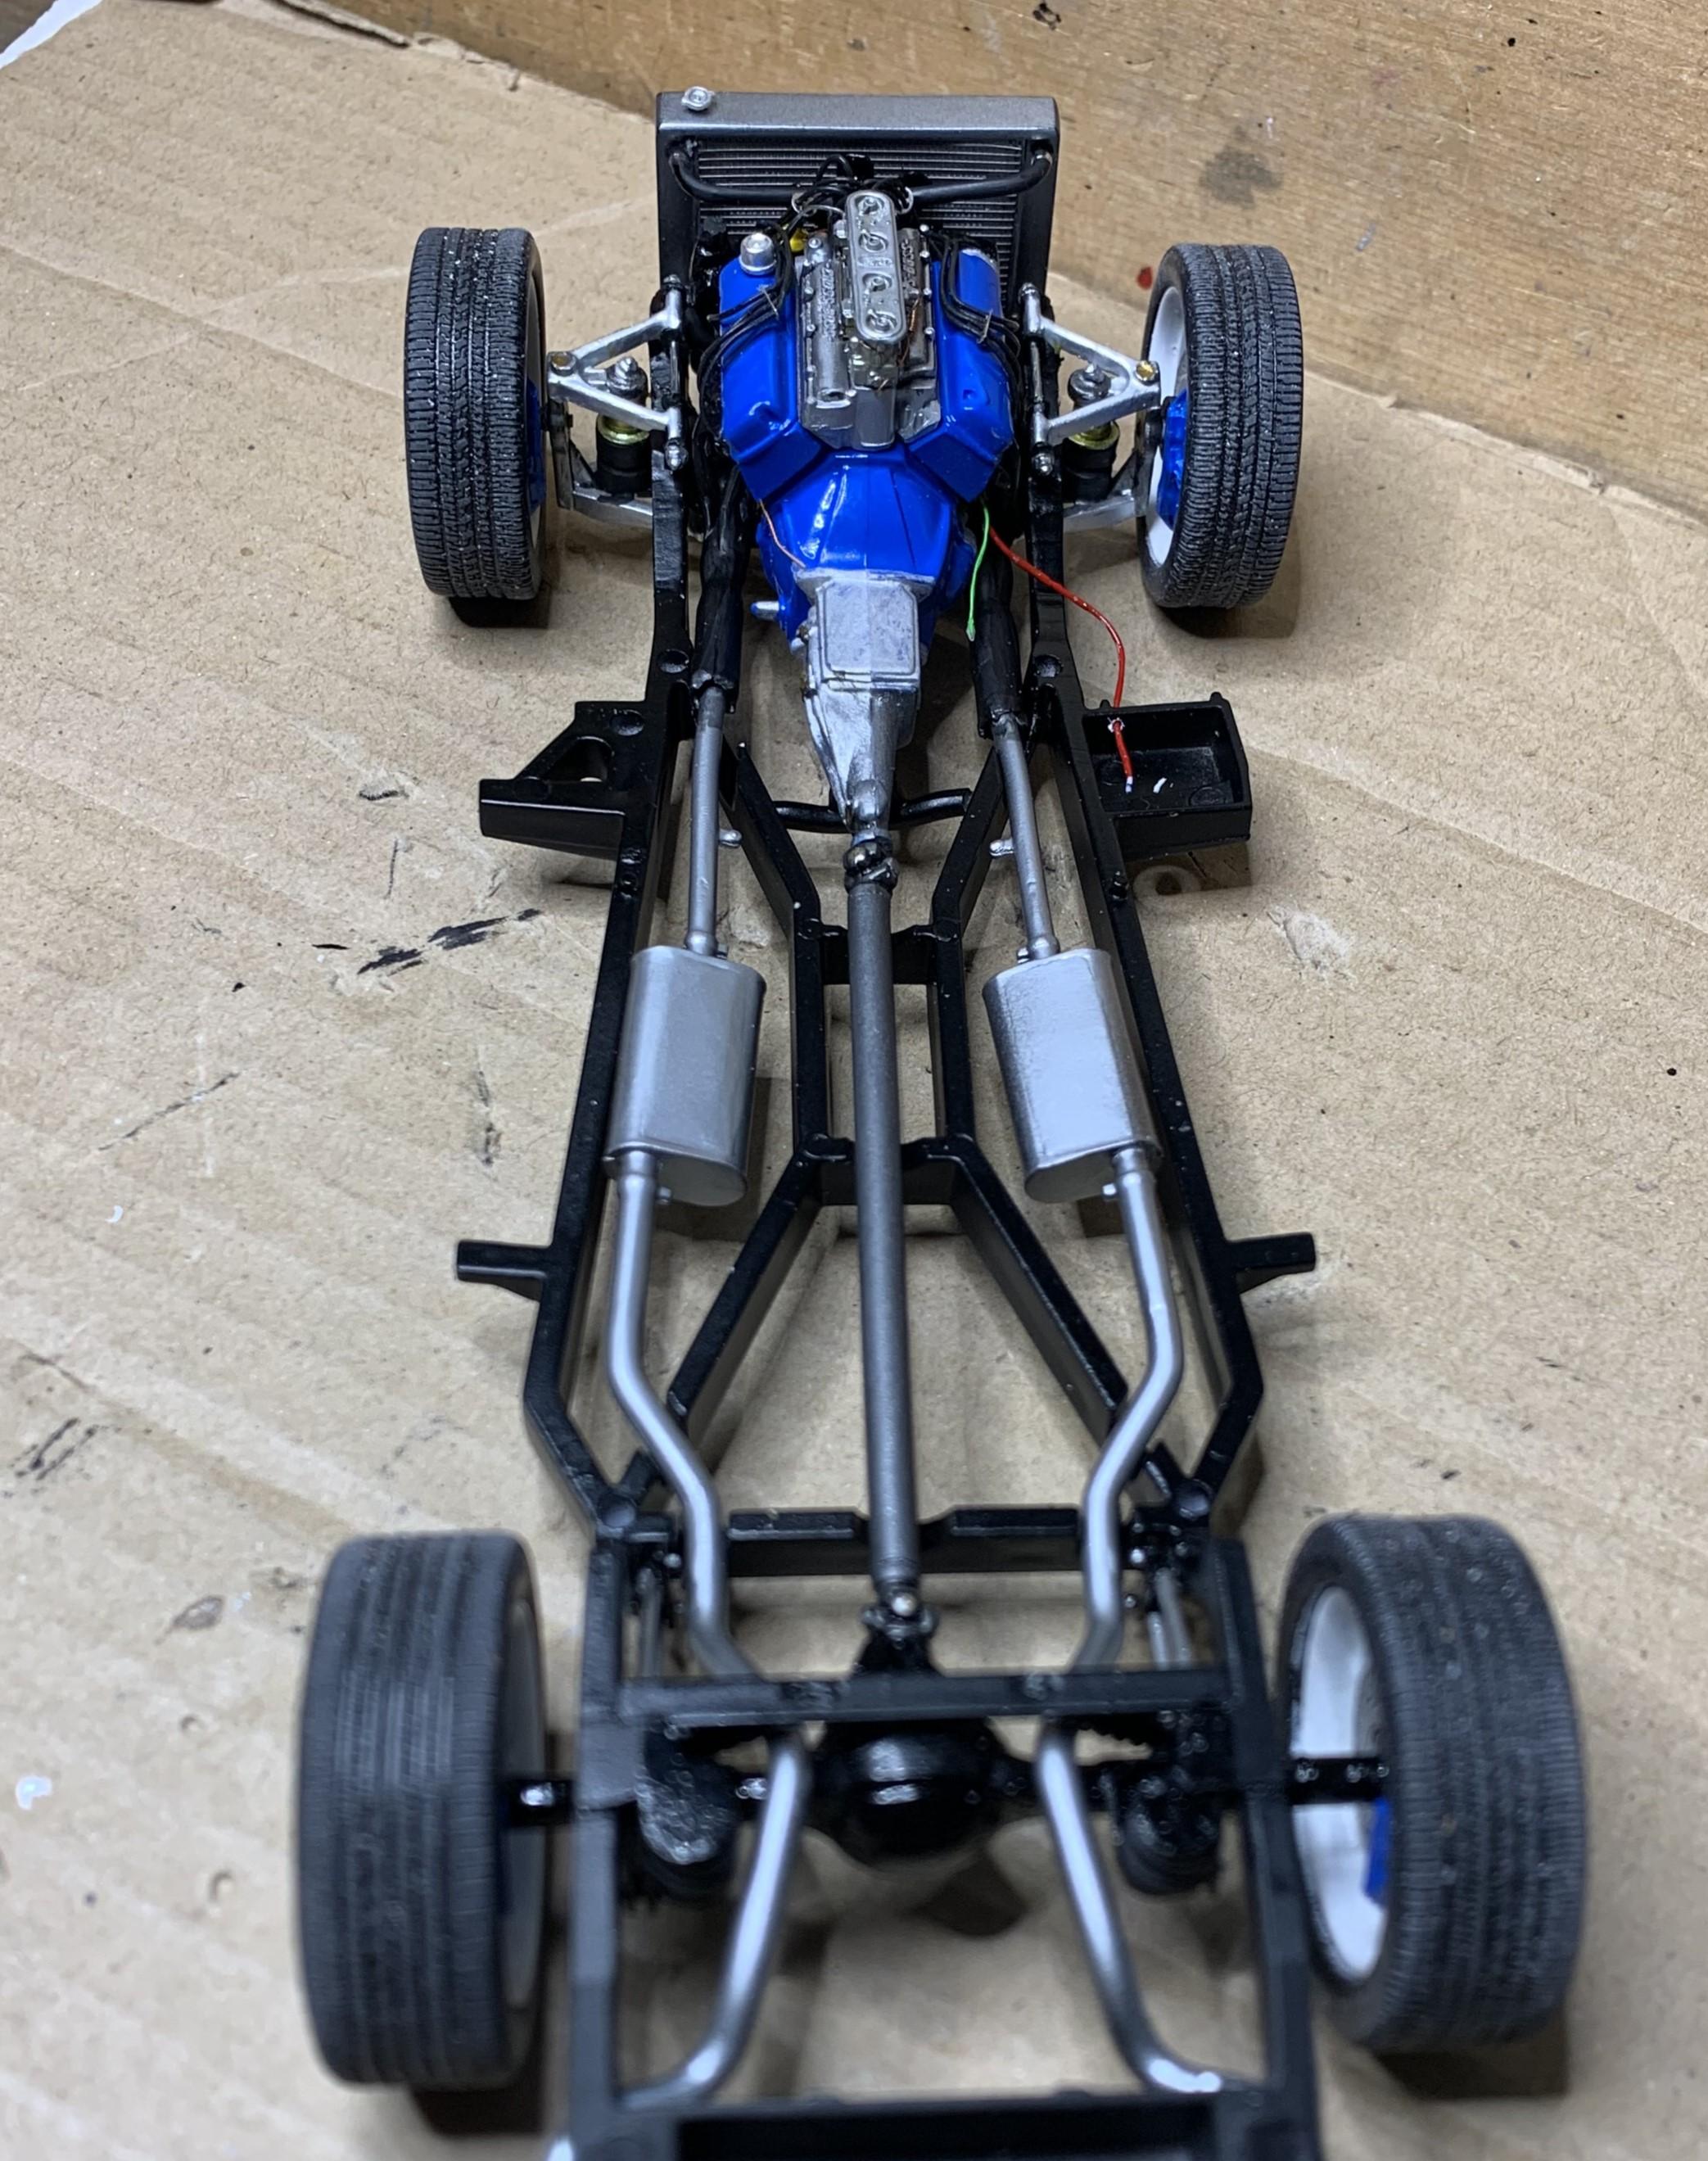
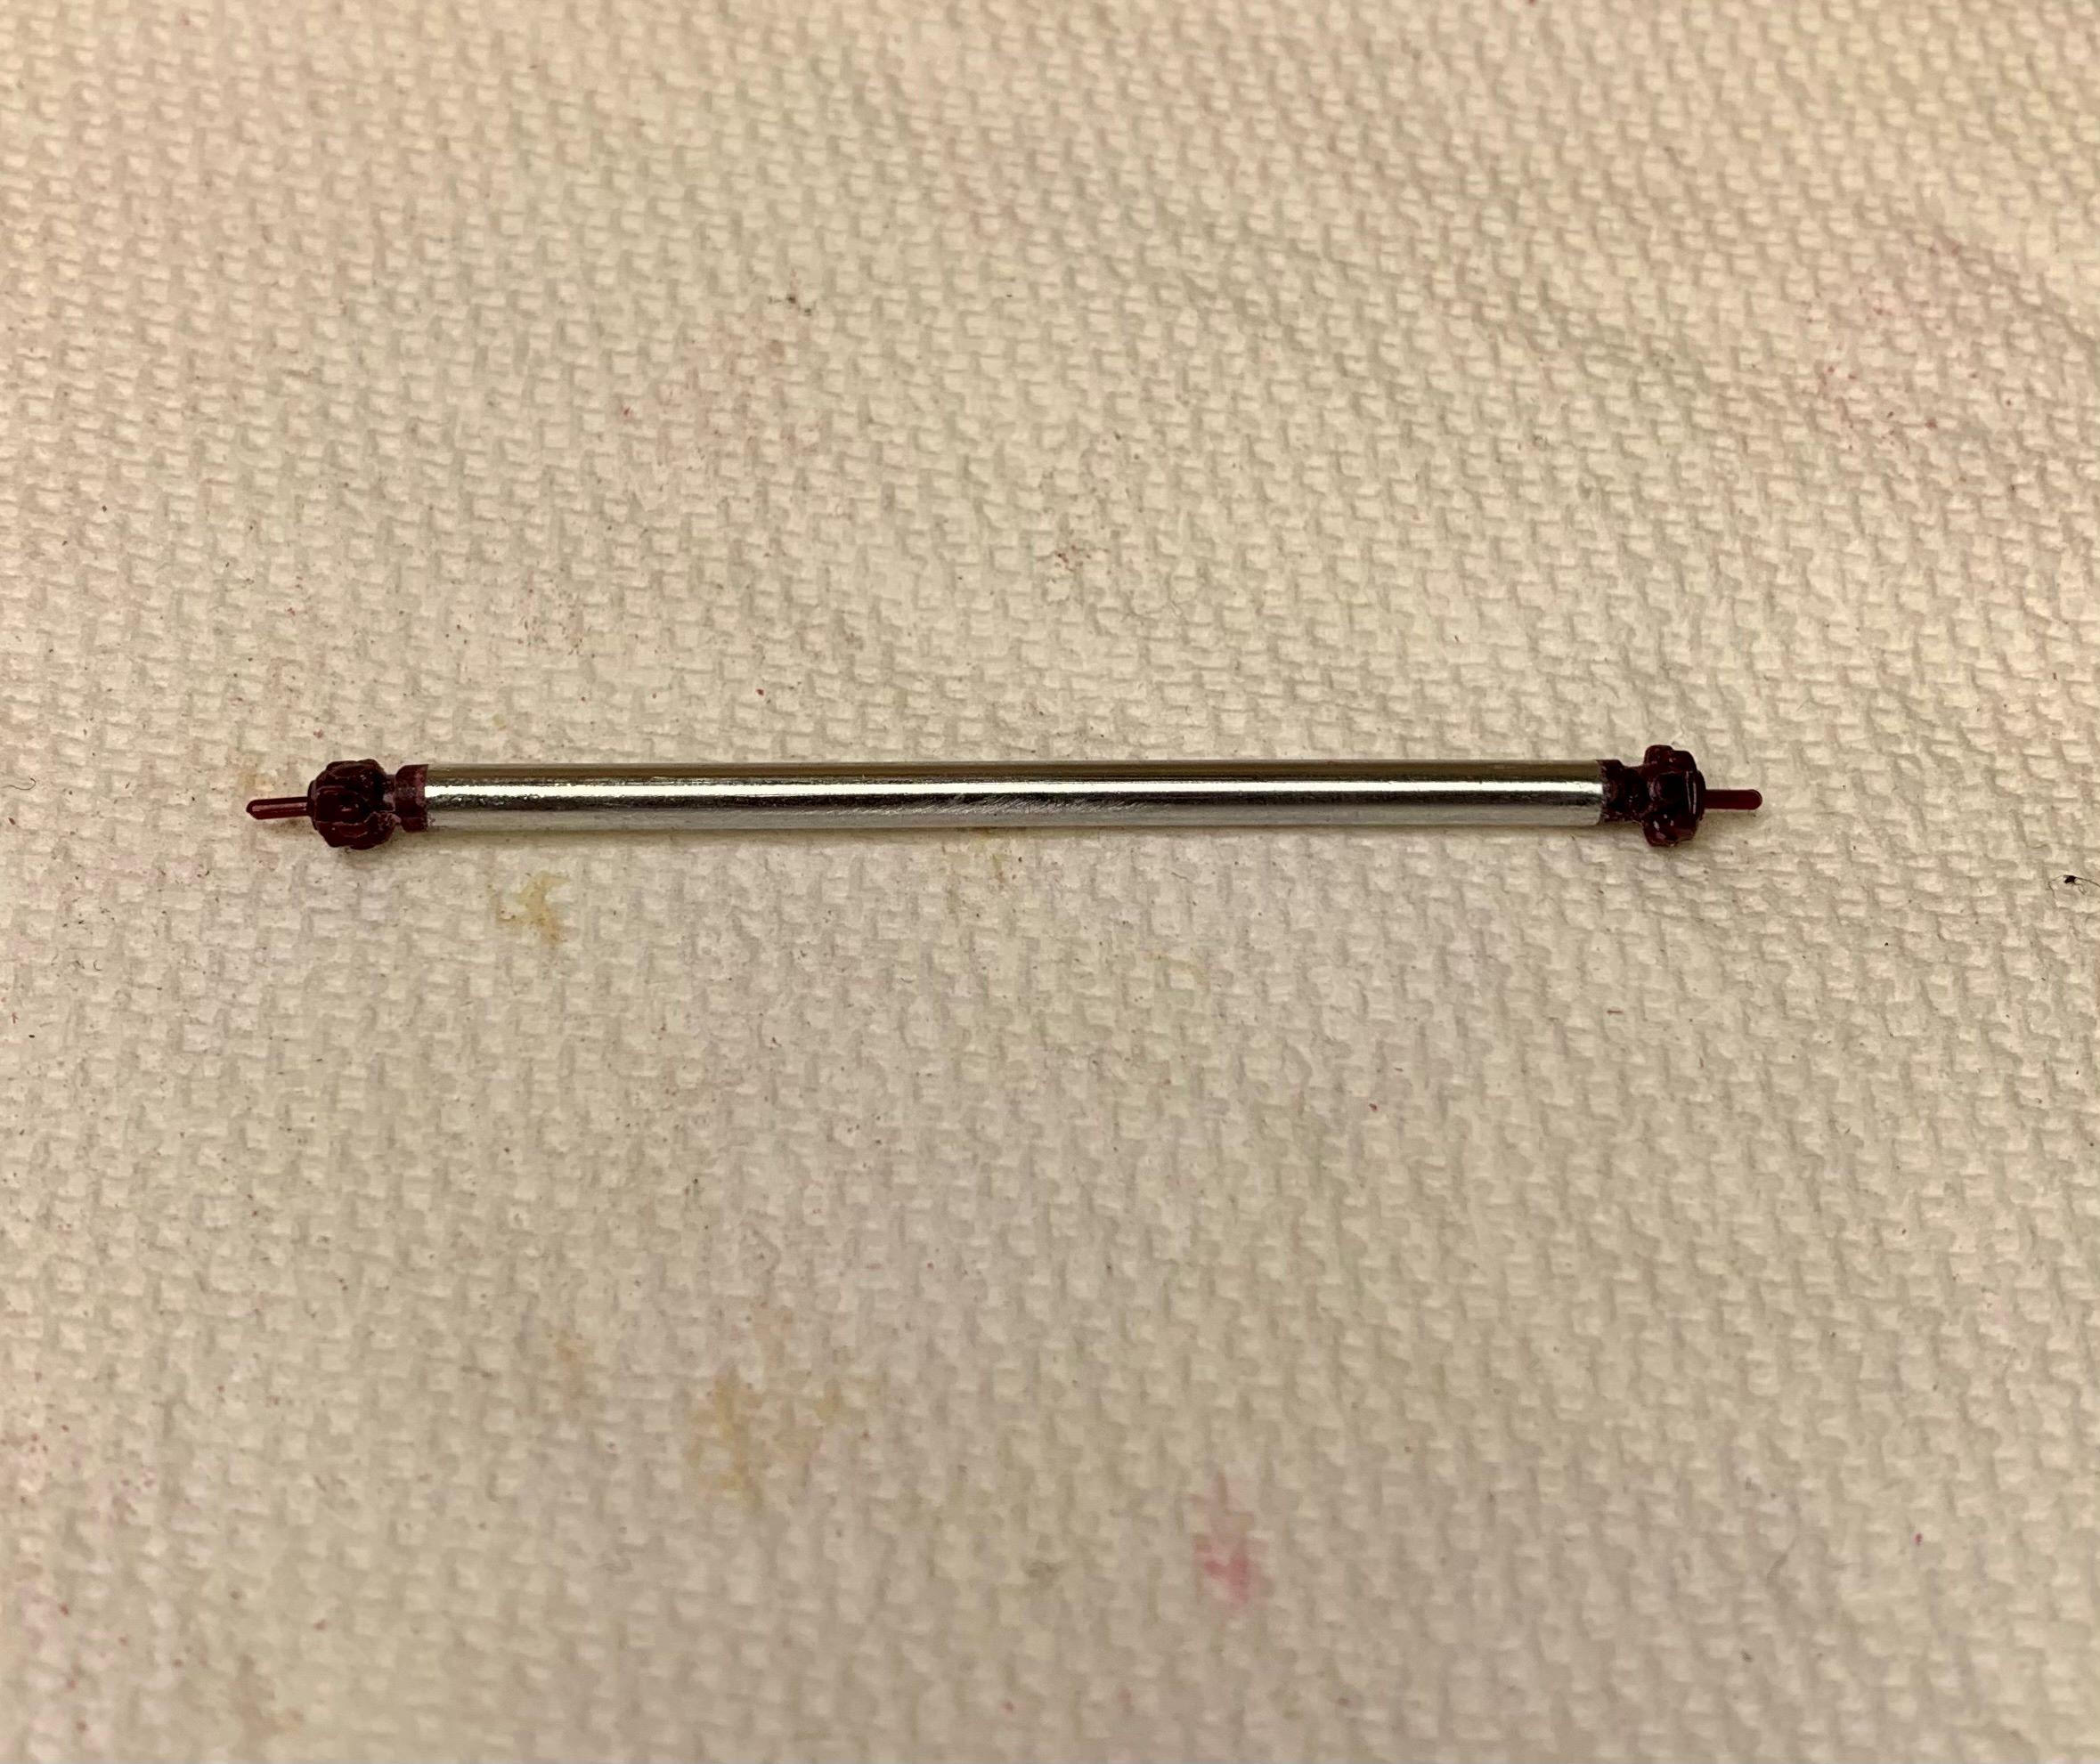
So with the rear end installed and the engine and transmission mounts added, I could make a driveshaft. I had this one in the junk pile, looks like it's from a Thunderbolt kit. I file near the ends because it's easier to hold that way, before I cut the ends off. I leave the thinned out parts attached so they push into aluminum tubing. So now I have a quick and easy driveshaft of the proper length.
-
Here's the frame set up for a Chevy, so those motor mounts or transmission mount won't work. I cut off those motor mounts and moved them up front to line up with the 302, and I made a transmission crossmember for the 4 speed.
-
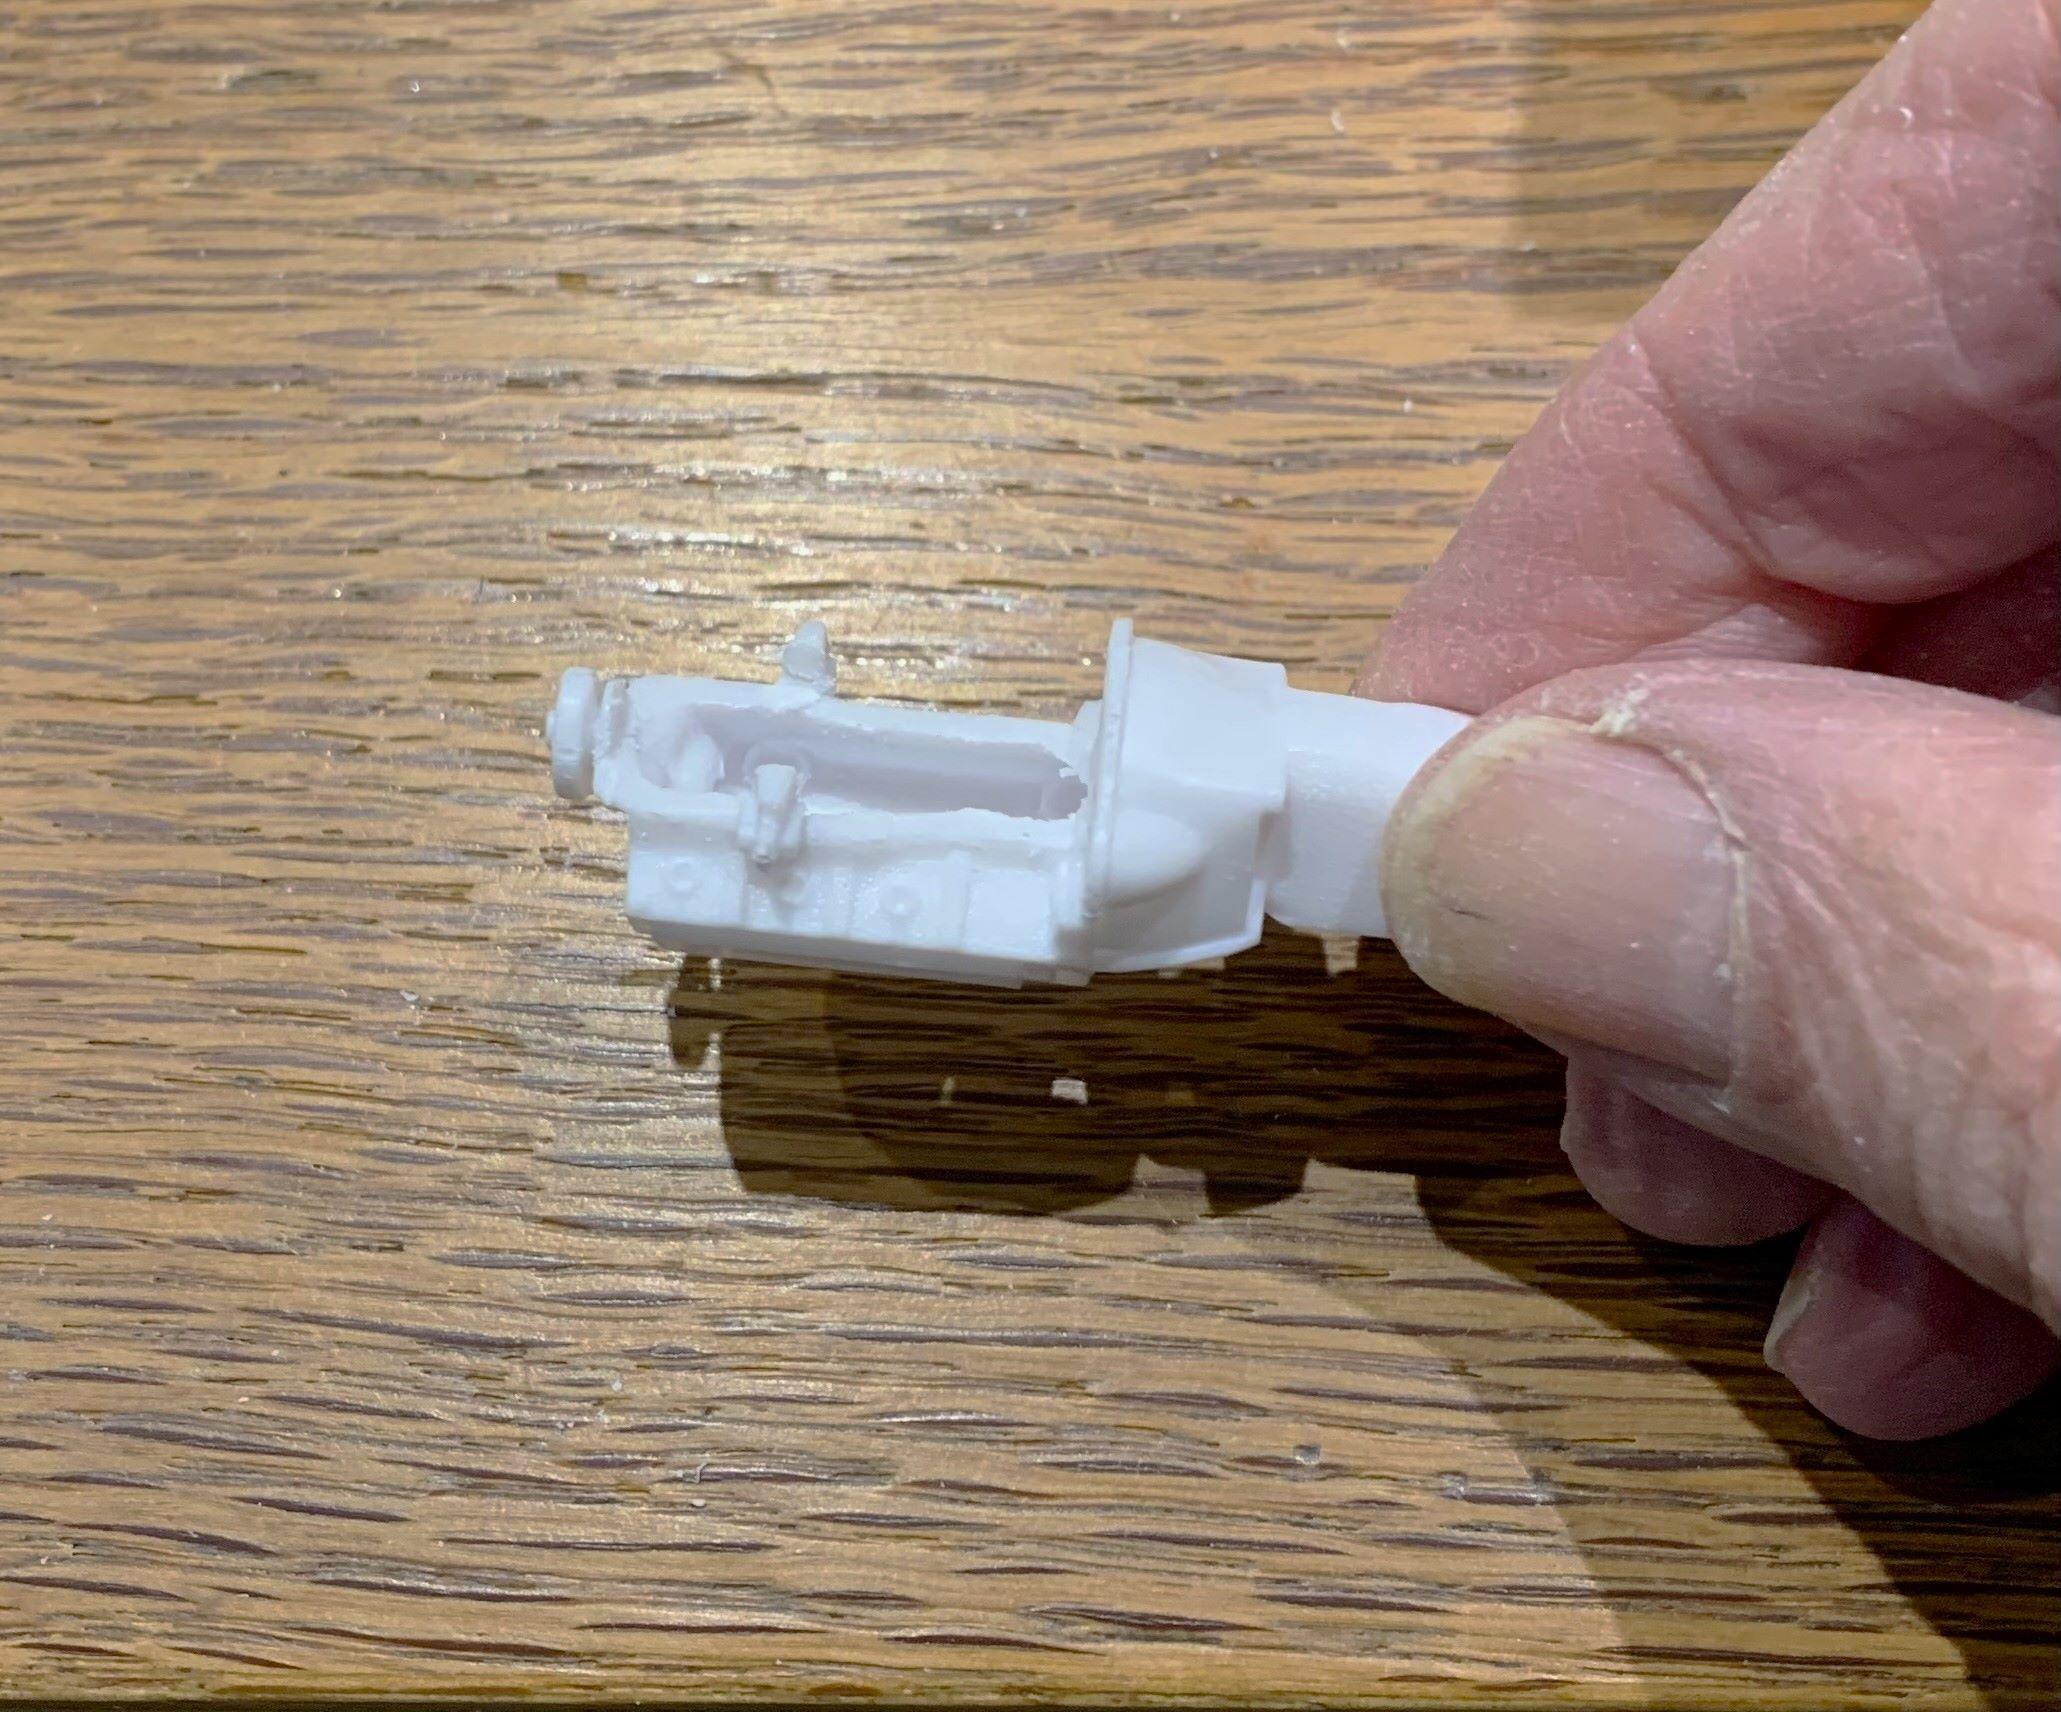
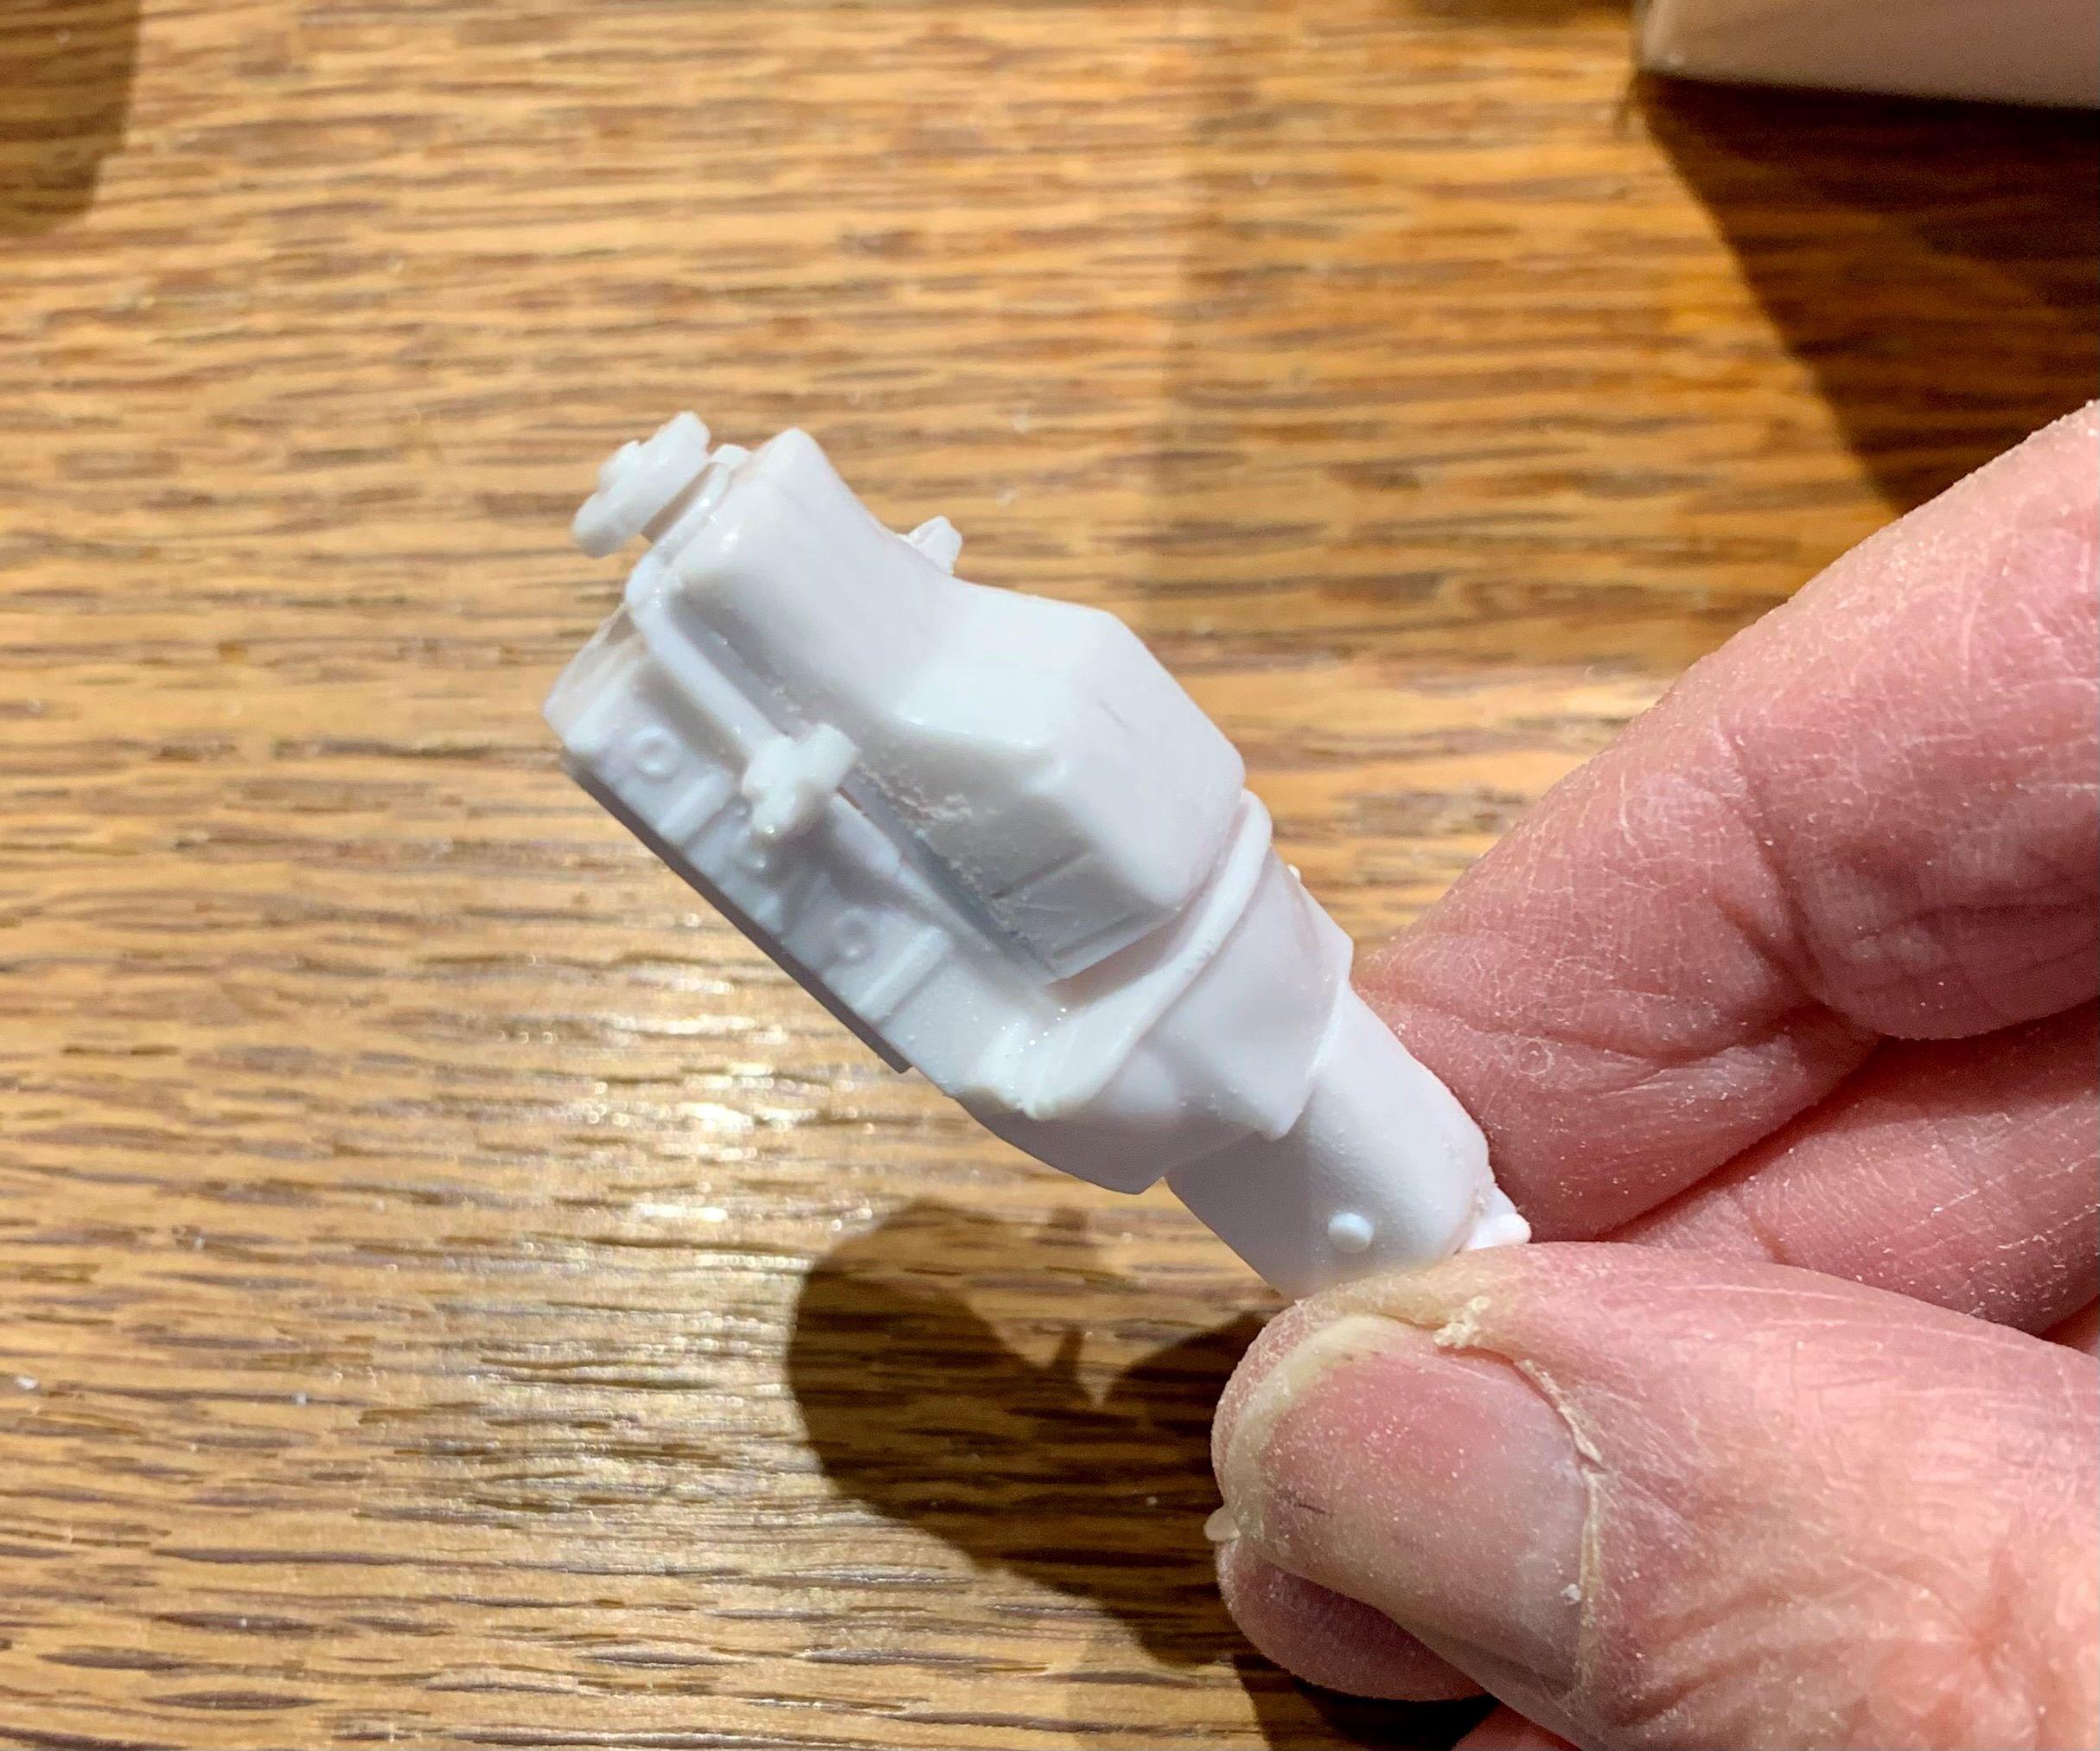
Using parts box stuff I found a cool boss 302! But why did I choose an engine with a seam down the oil pan?? Oh well, I cut it off because the front sump wont clear the dropped suspension. And I had to add styrene scraps to build back material removed by cutting. So now that I have the rear sump and oil pan reversed, I can see if those motor mounts work.
-
Is that a Tamiya kit?
-
Food truck to custom truck
dino246gt replied to Wolfangel's topic in WIP: Model Trucks: Pickups, Vans, SUVs, Light Commercial
Nice work, and cool concept! -
I made some smooth 24s from chrome custom parts box rims. Painted them Tamiya white primer and clearcoat. Added Revell '57 Ford caps with the white decals and turned aluminum valve stems from RB Motion.
-
I fought with the custom front and rear bodywork but ended up putting it away quite some time ago. I did open up the slots under the hood. But now that the kit is re-issued, I brought it back to the "shop"