dino246gt
-
Posts
2,244 -
Joined
-
Last visited
Content Type
Profiles
Forums
Events
Gallery
Everything posted by dino246gt
-
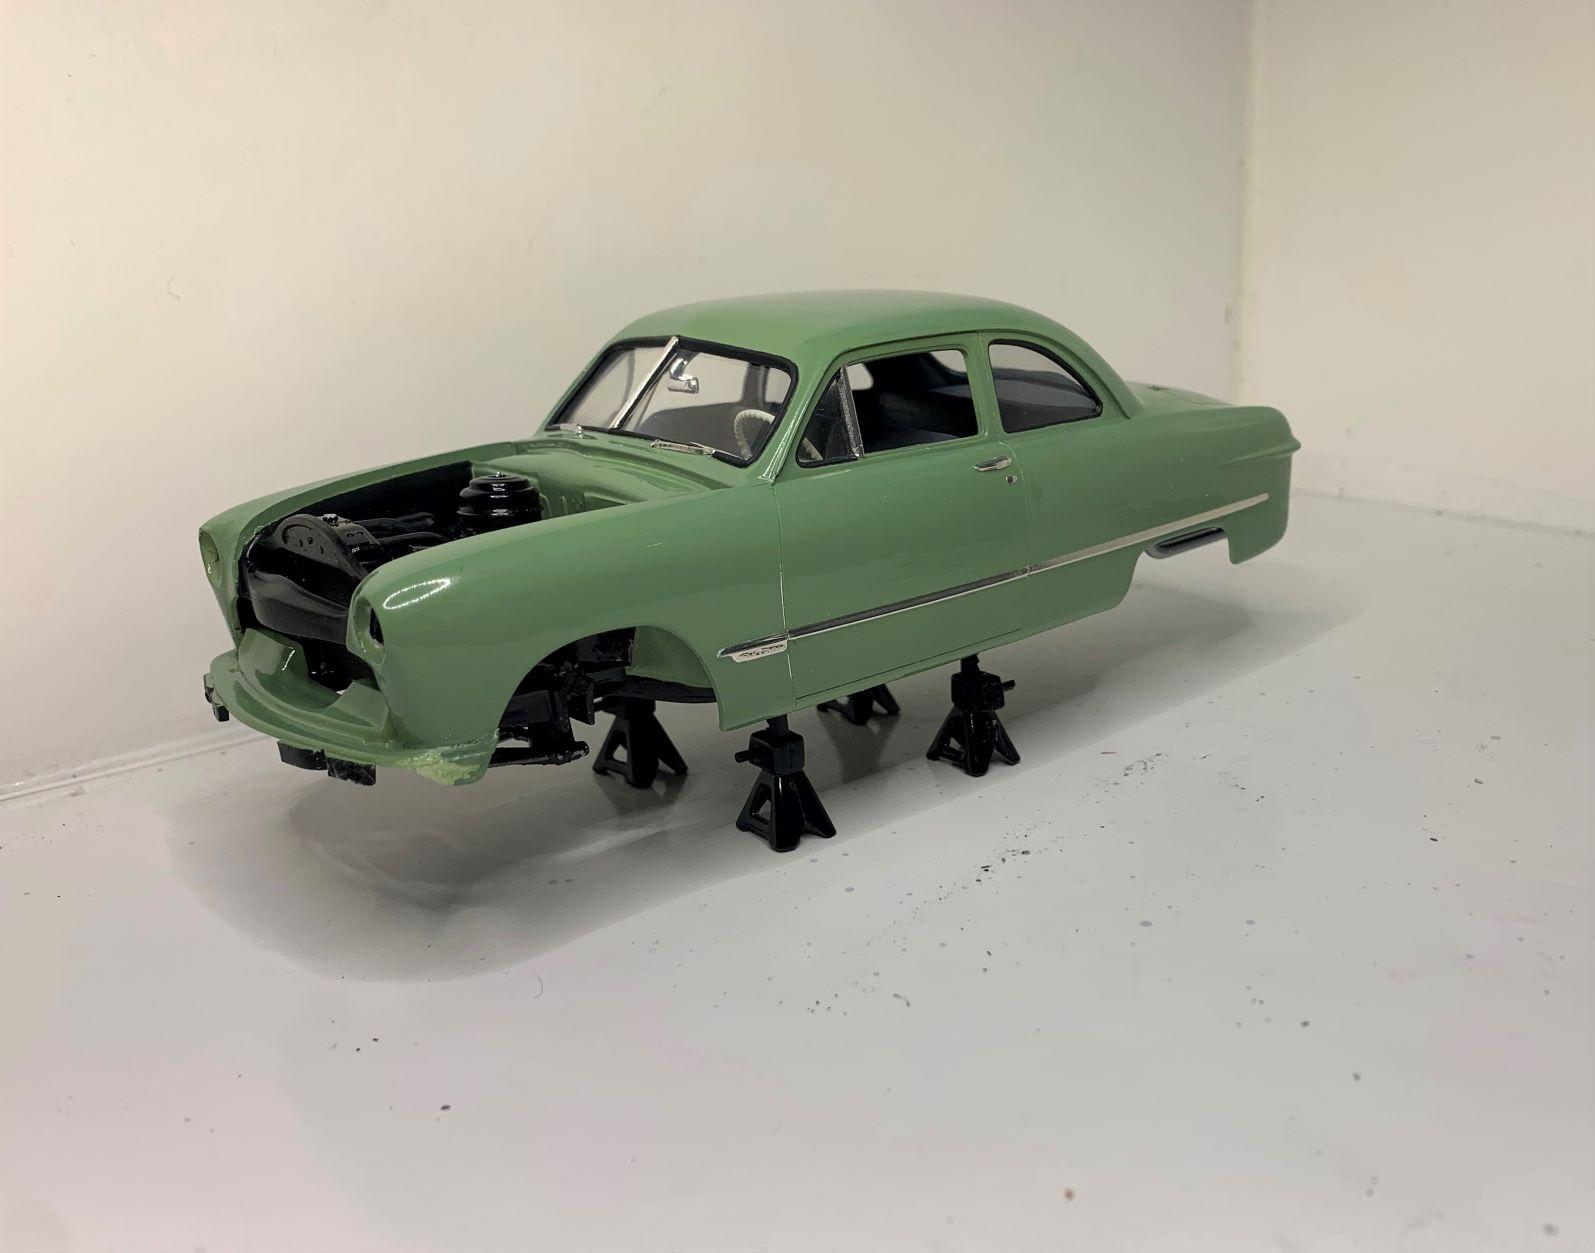
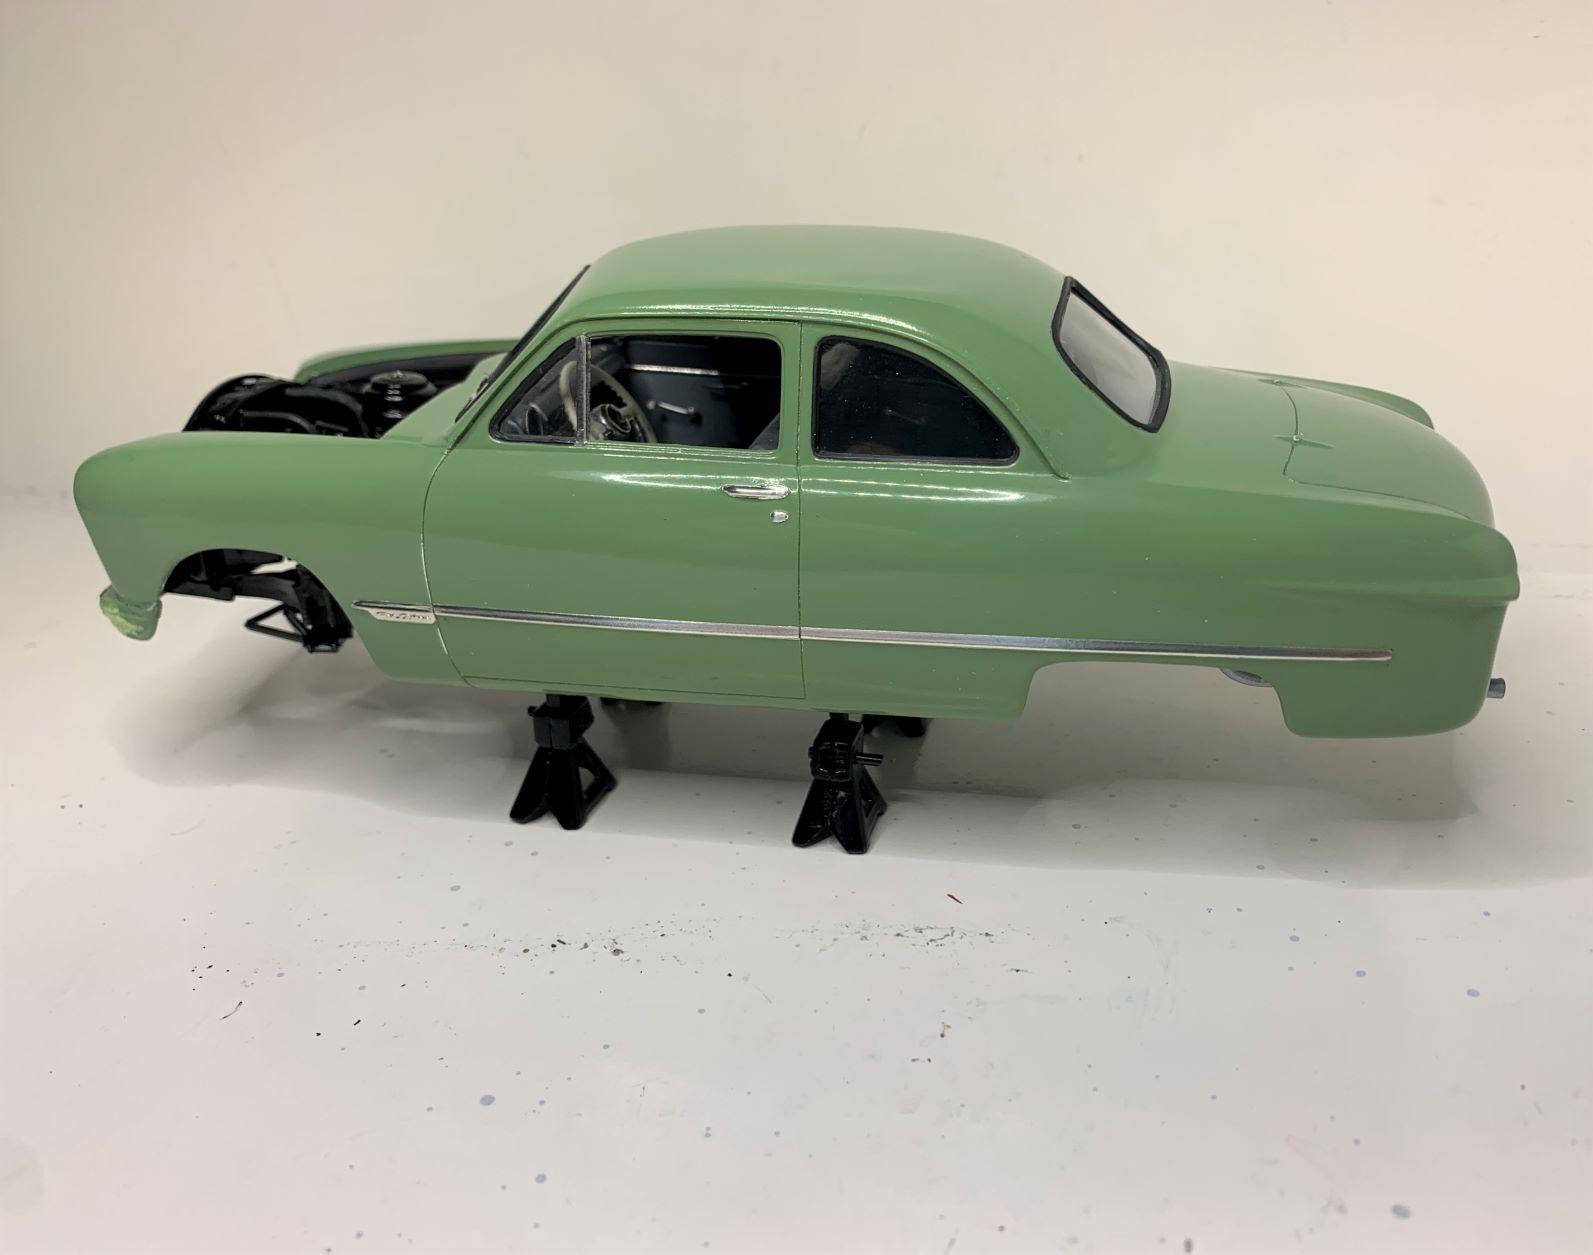
The bumpers were also in poor shape, as usual the wrap-around corners need sanding. I foiled all 4 sanded corners. Of course I got little wrinkles where I tried to wrap the foil, but I think it's less of a "flaw" than the huge mold lines from the kit. After I install them, I'll polish the foil with Novus 2 for a better shine.

-
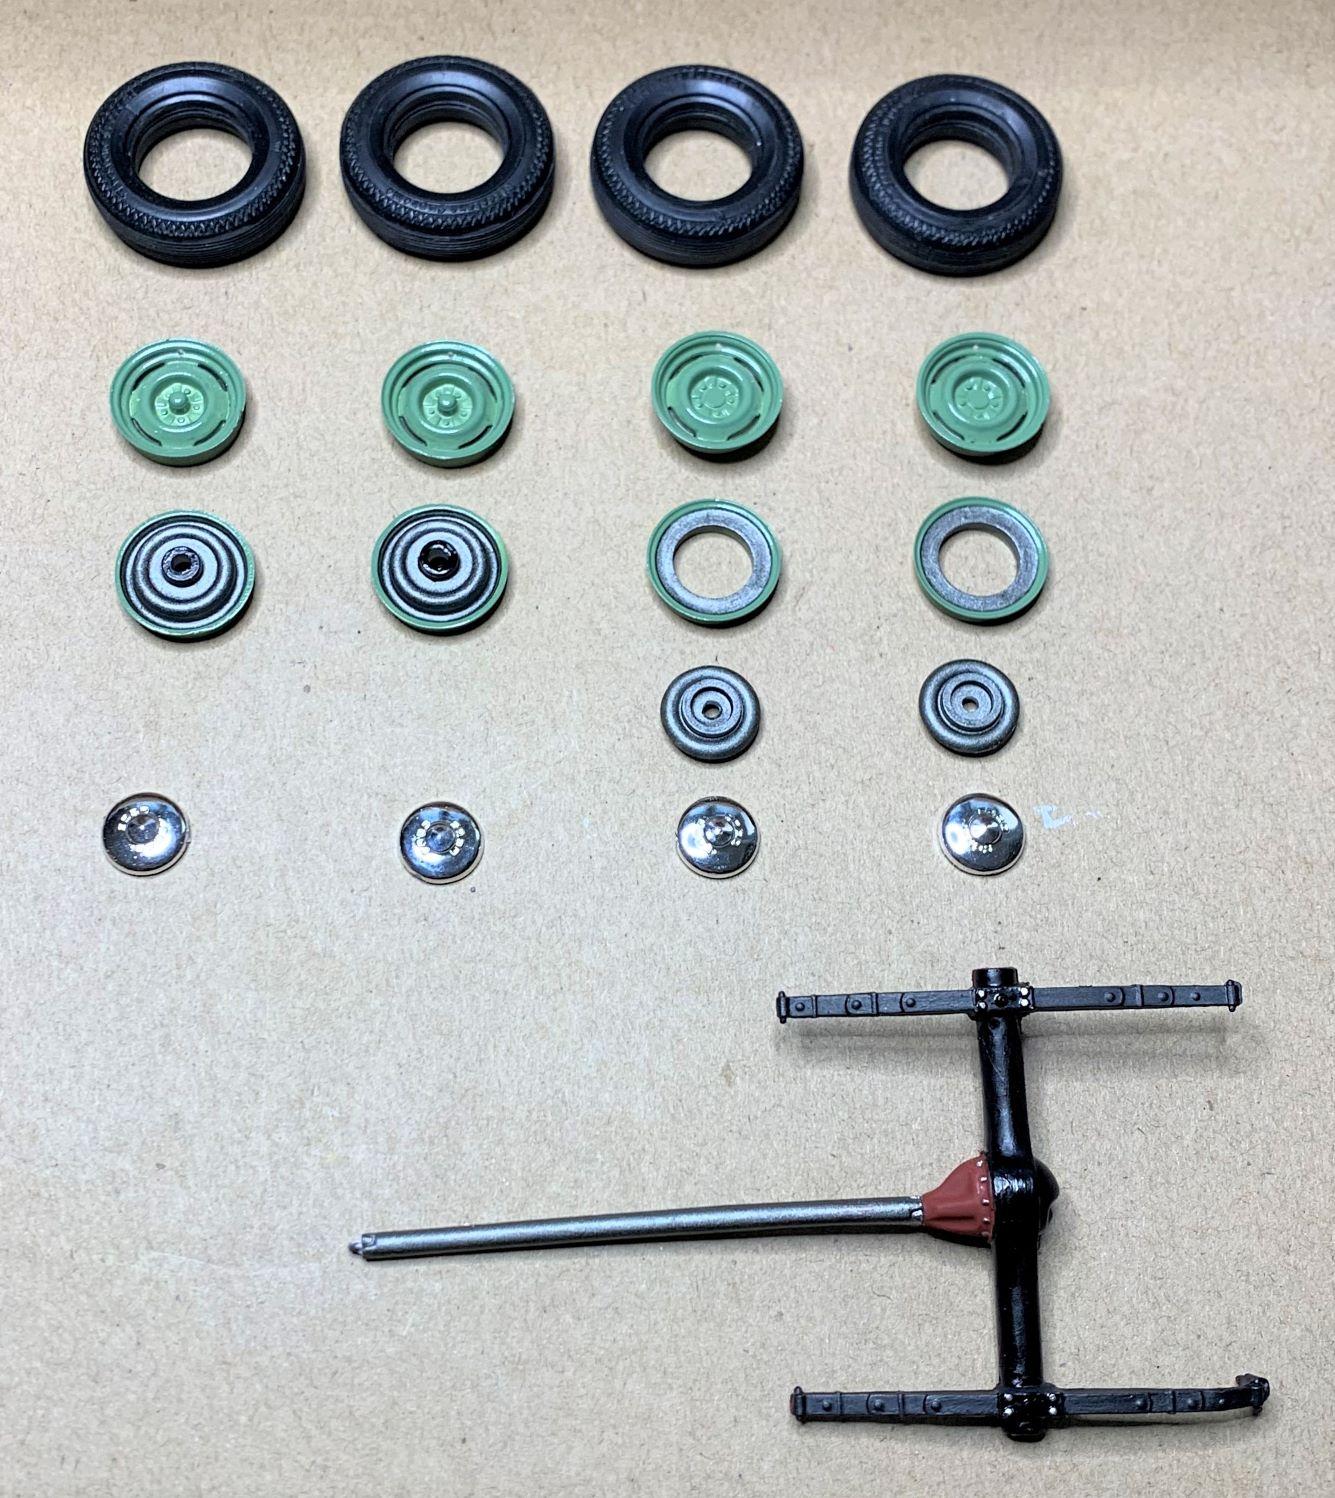
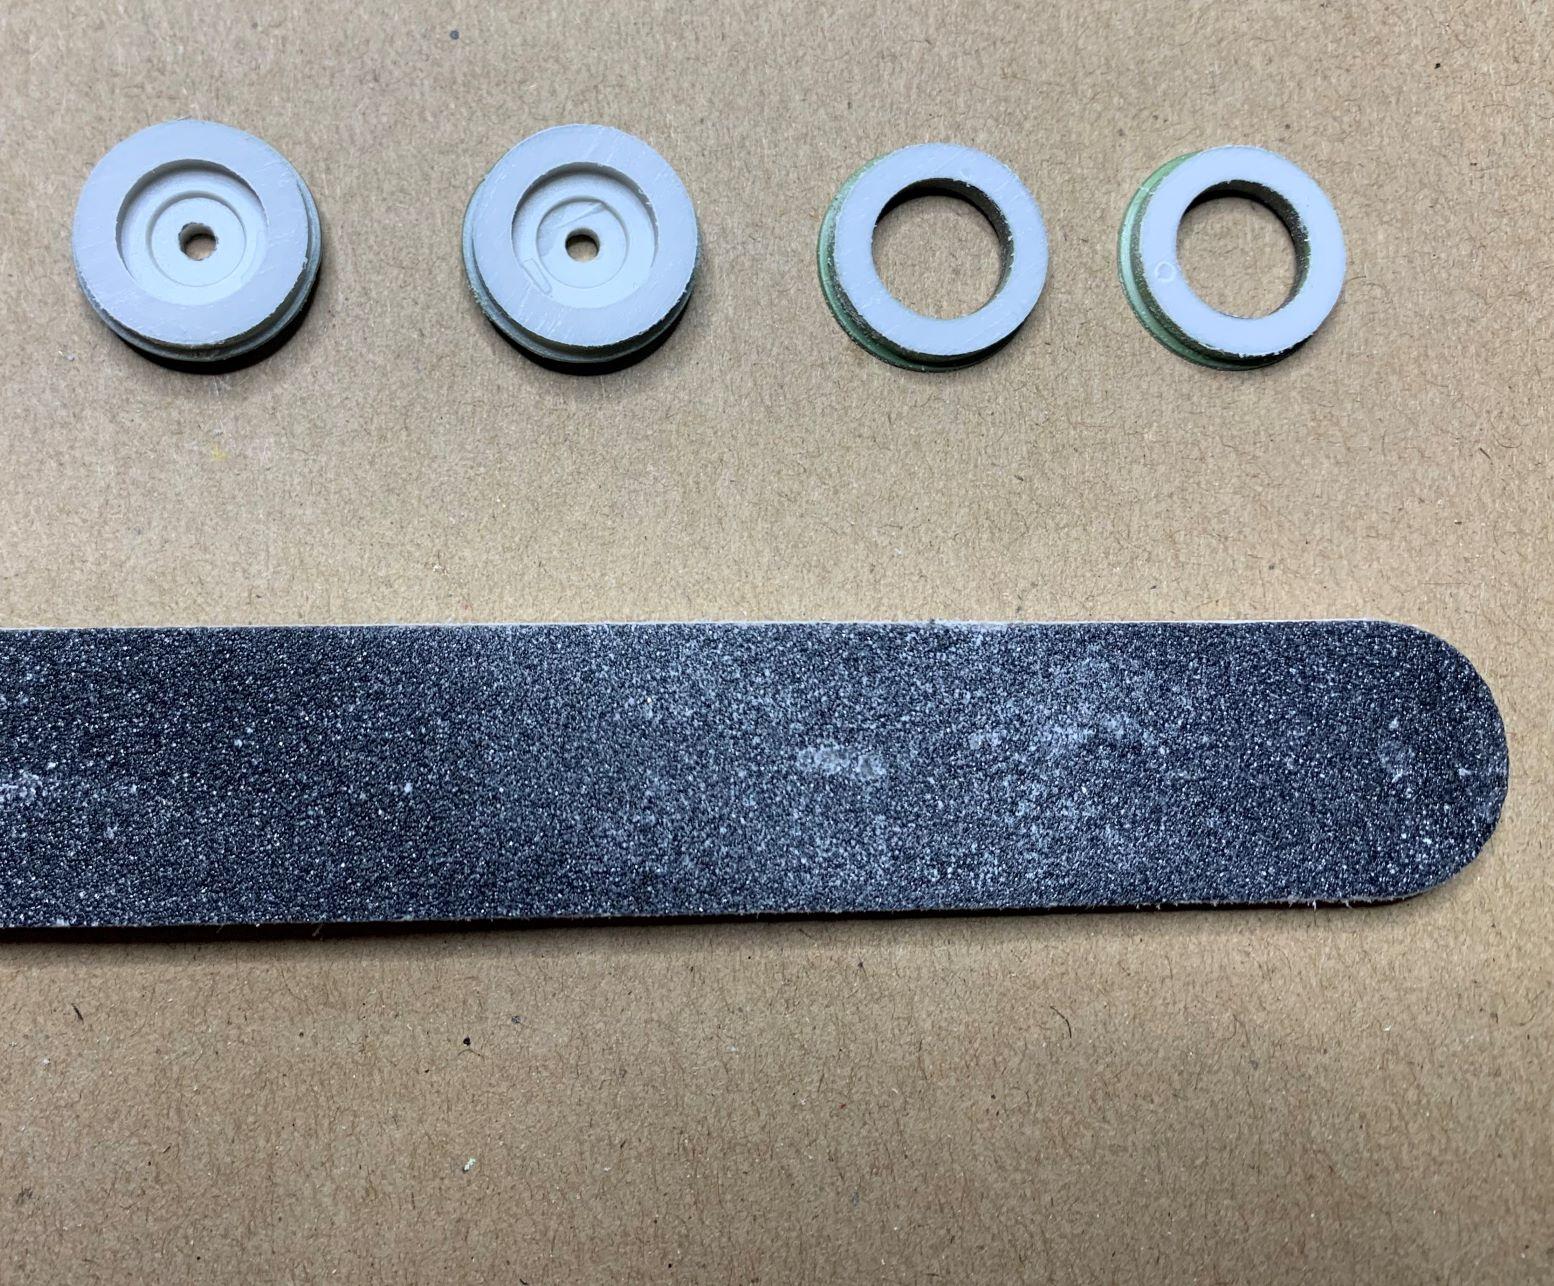
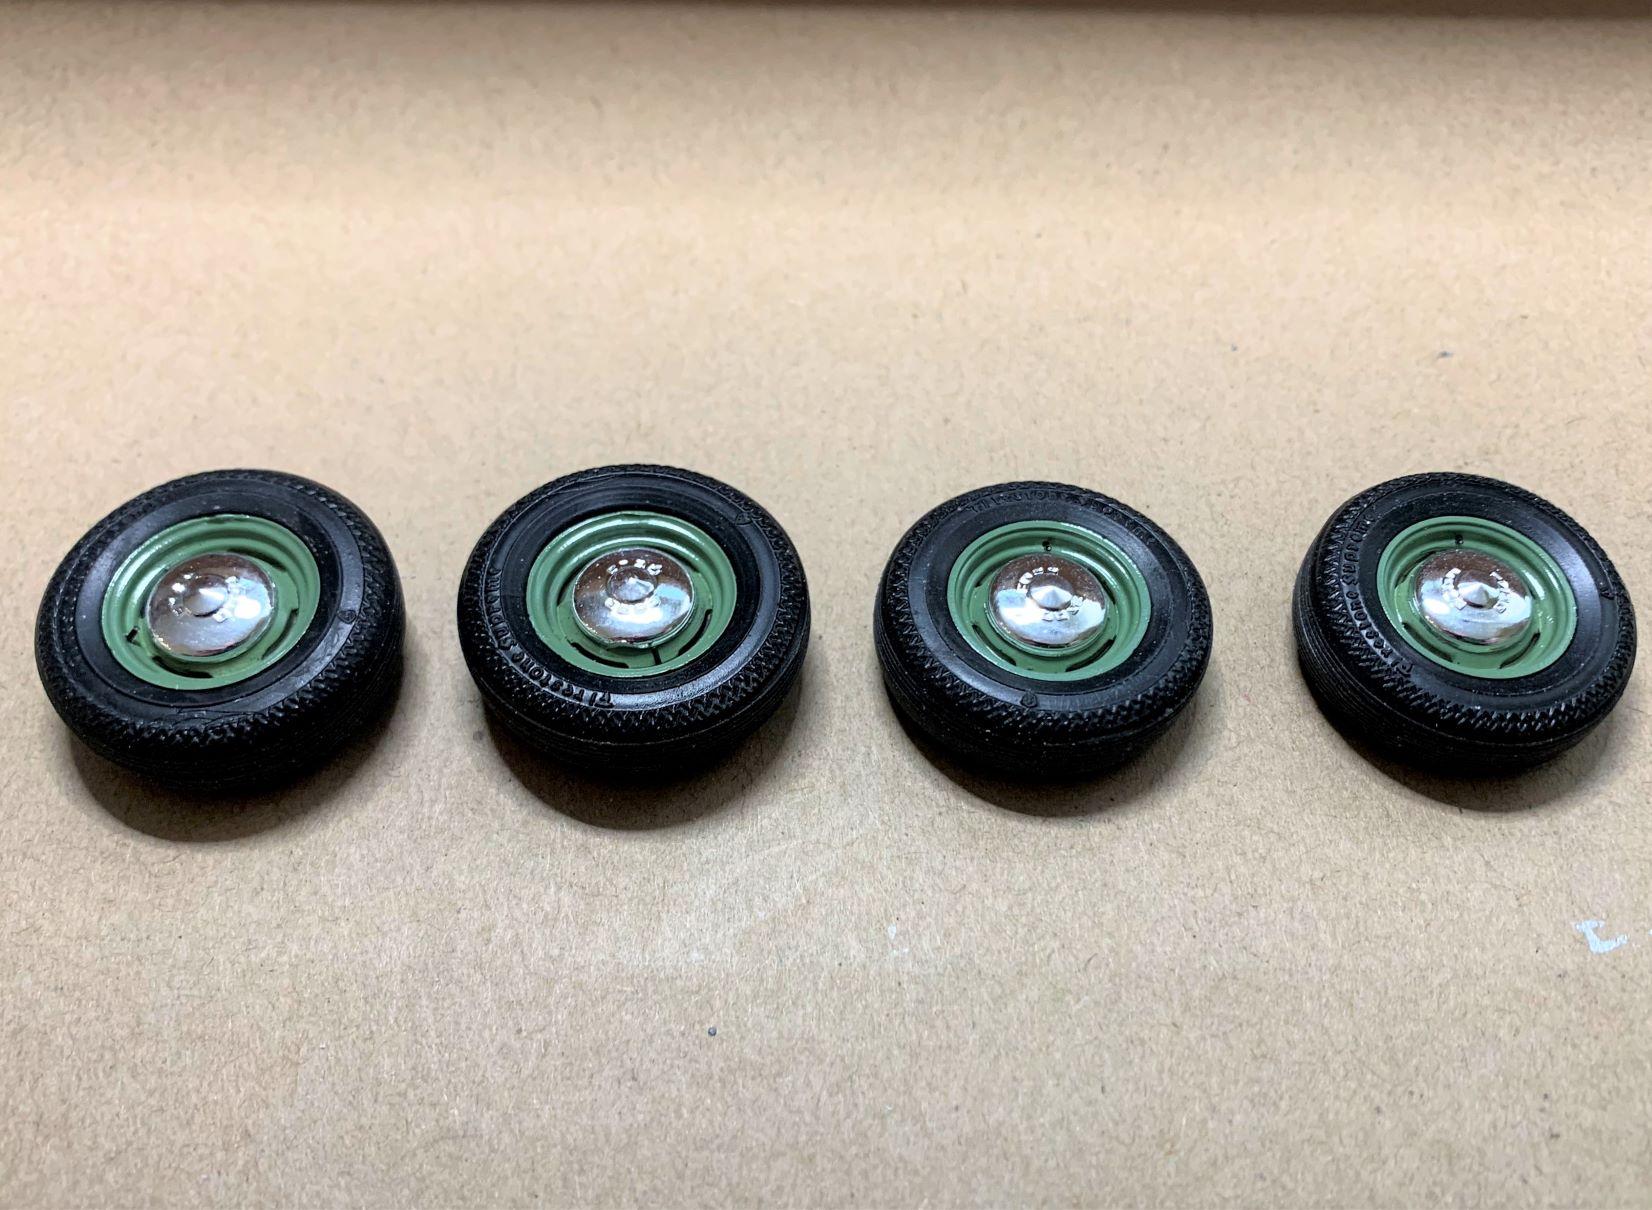
The rims I had, well the fronts were damaged from sprue removal, so I'm using those as the rears, I can glue them with the damage up, hidden by the body. Won't matter that the fronts are in back and vise versa because I'm using hub caps, but I did have to switch the back halves of the rims. I sanded where the halves meet so the rims fit deeper into the tires, I like that look. I found some cool old Firestone tires in the parts box which I cleaned up and used. Drilled for valve stems, I use the same .030 ignition wire for these, a bit over size, but still cool to my eye, also did a black wash to highlight those 4 slots on the rims.
-

'65 Nova Pro Street Update 11/14/22 Completed Chassis Photo Pg. 5
dino246gt replied to Plowboy's topic in WIP: Model Cars
Very cool work on this! I also want to make a street machine of some sort from my '65 gasser kit. That real one sure looks cool, I'm sure yours will also! Cheers! -
I got the glass, interior and chassis all glued together! I believe that's called the marriage. Now just the "honeymoon" left!!! I want to have this finished by the weekend.
-
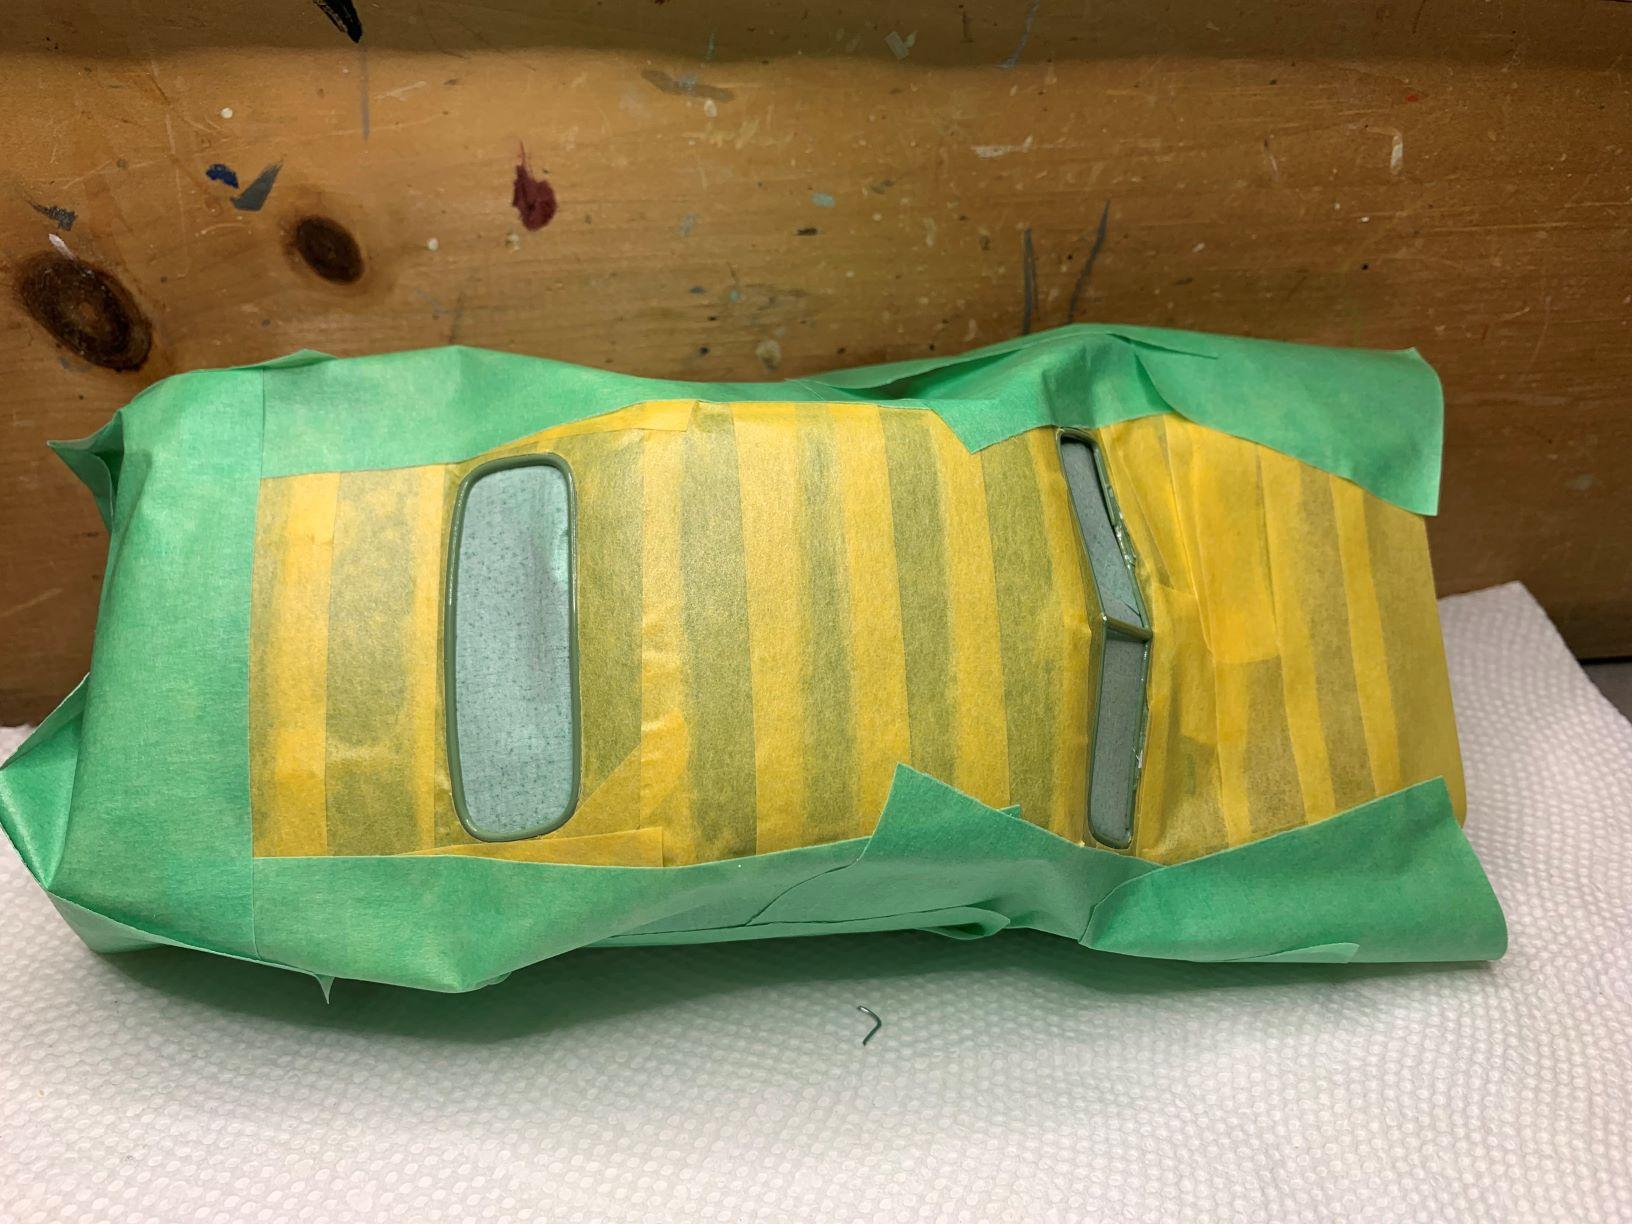
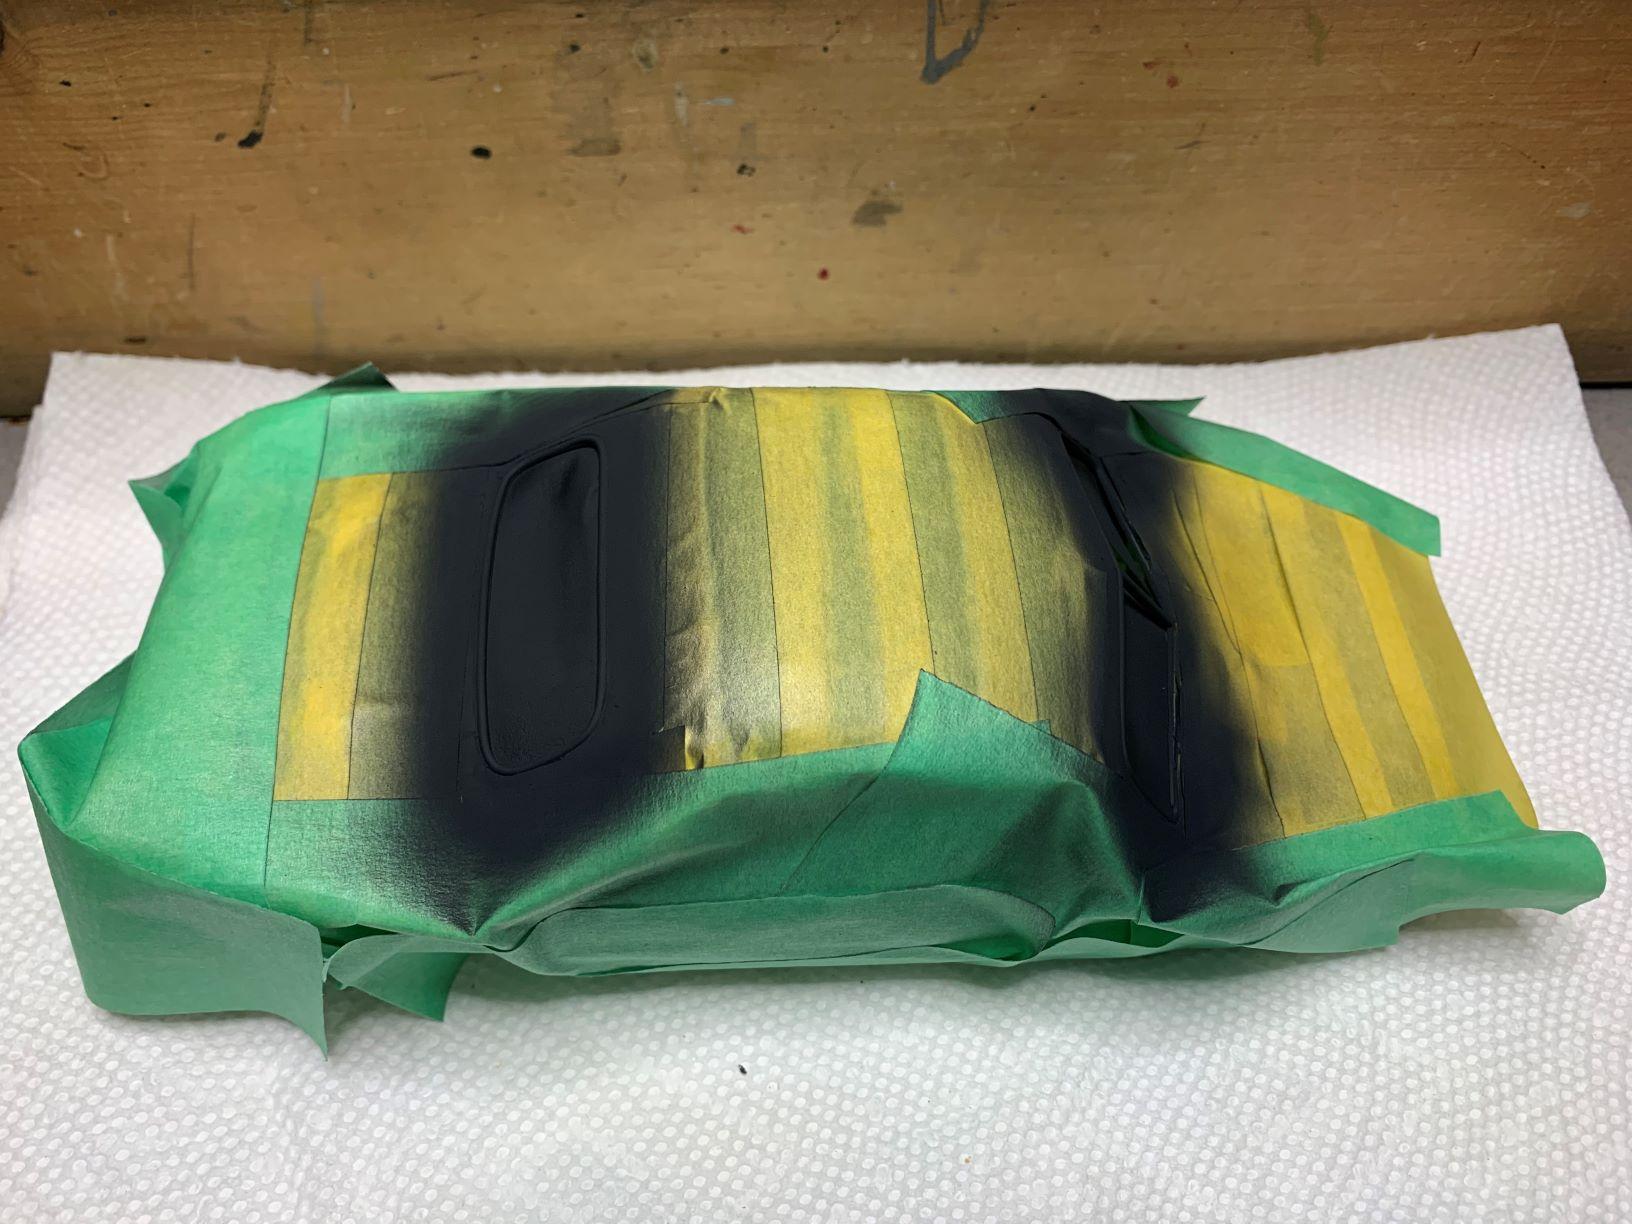
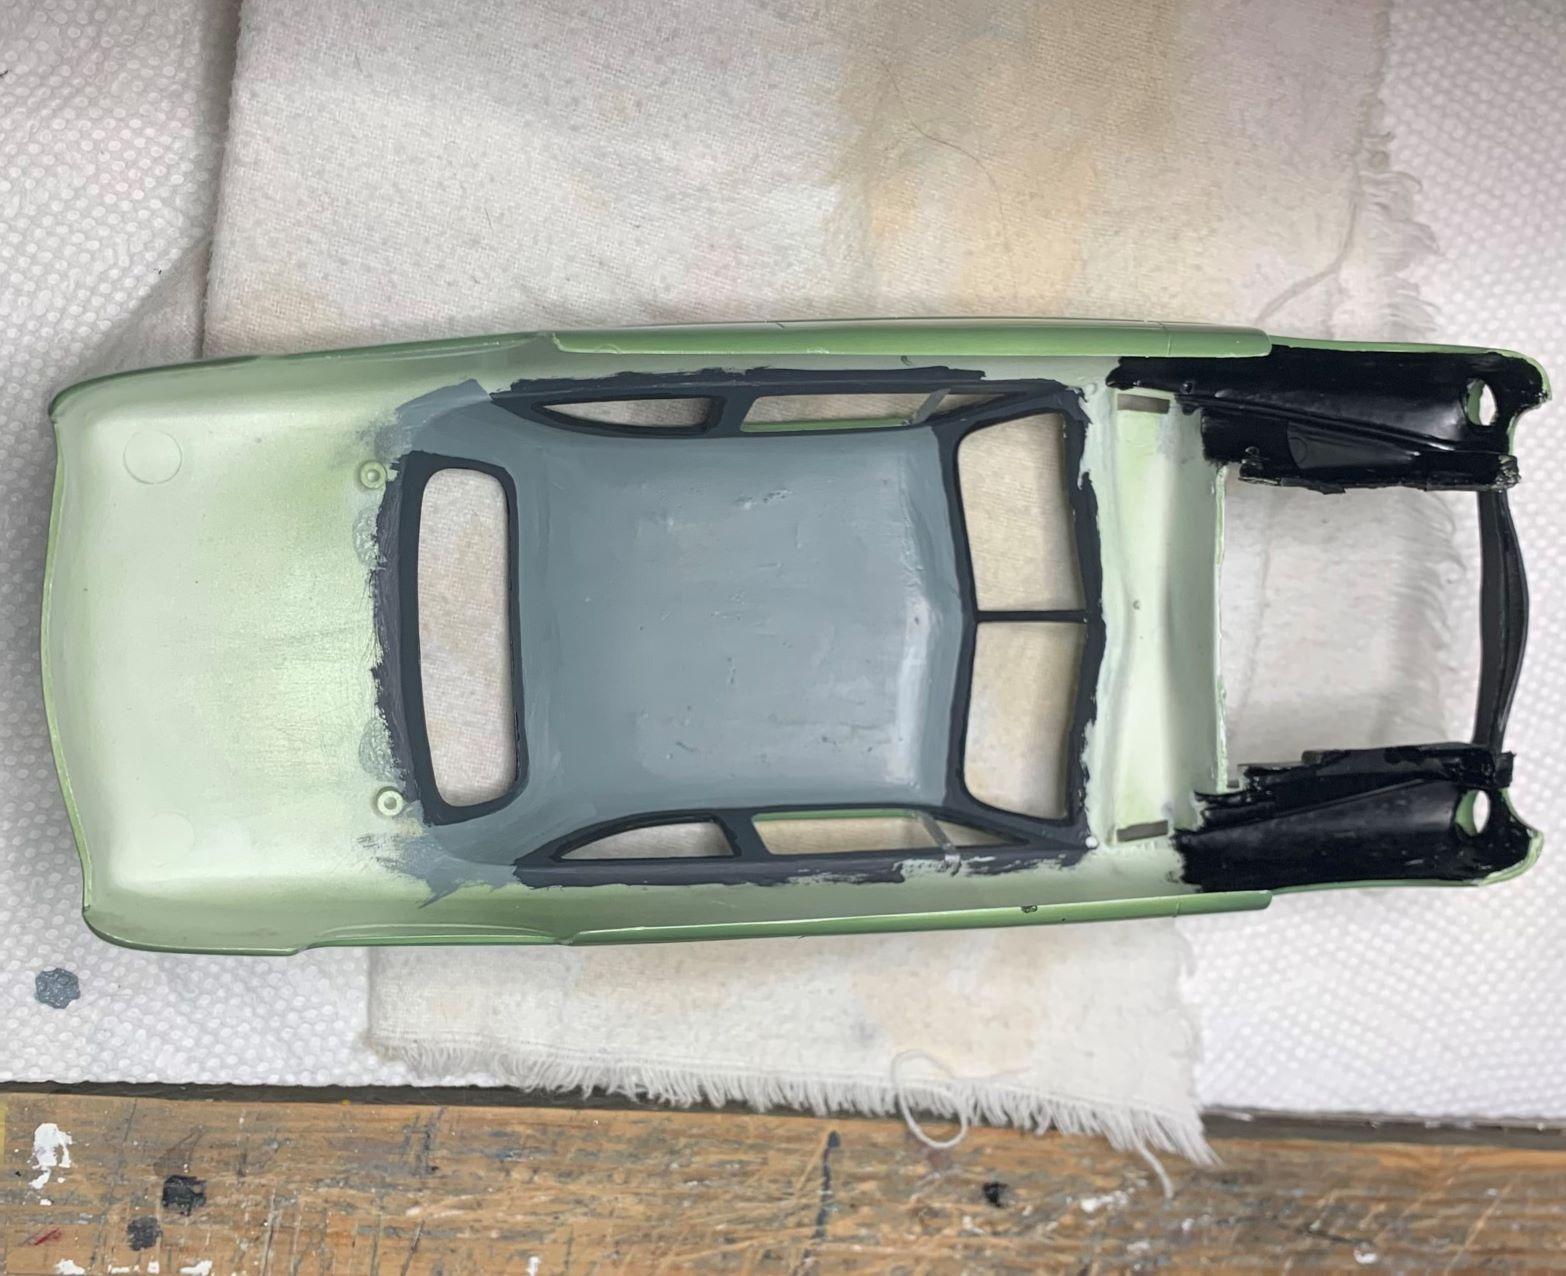
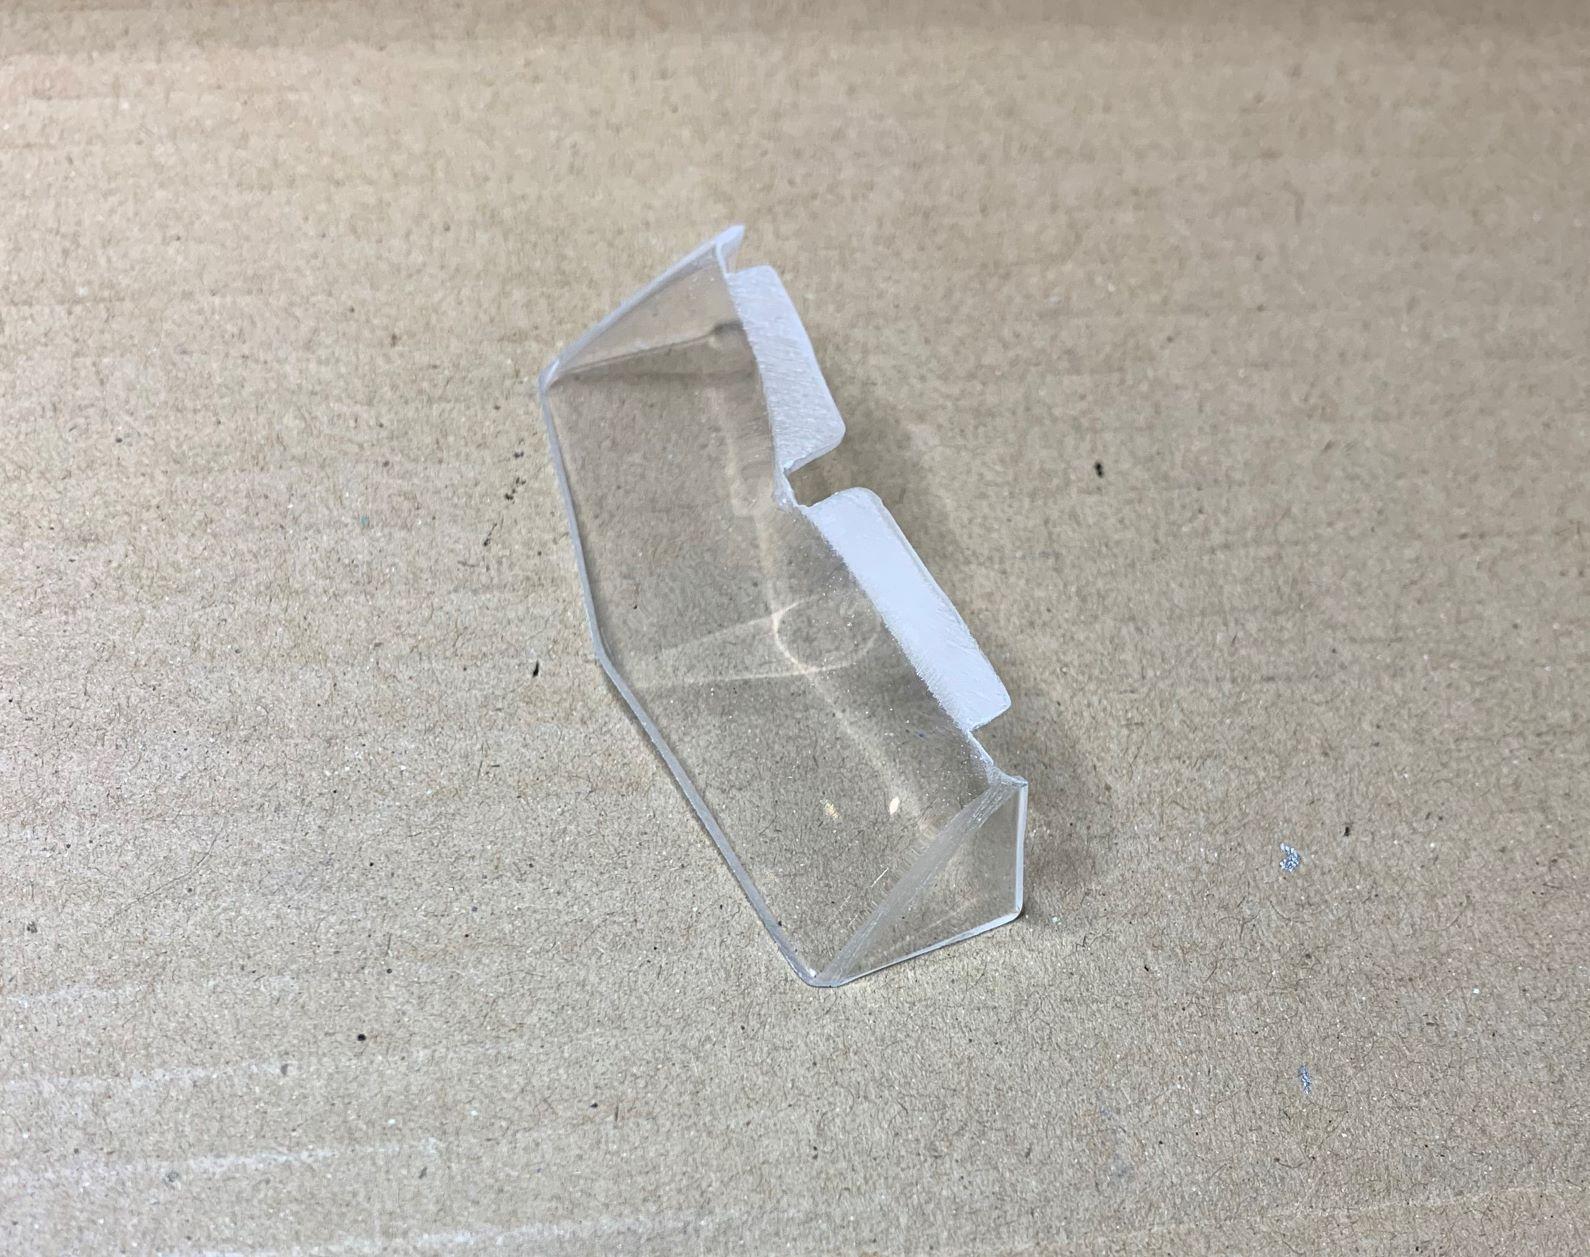
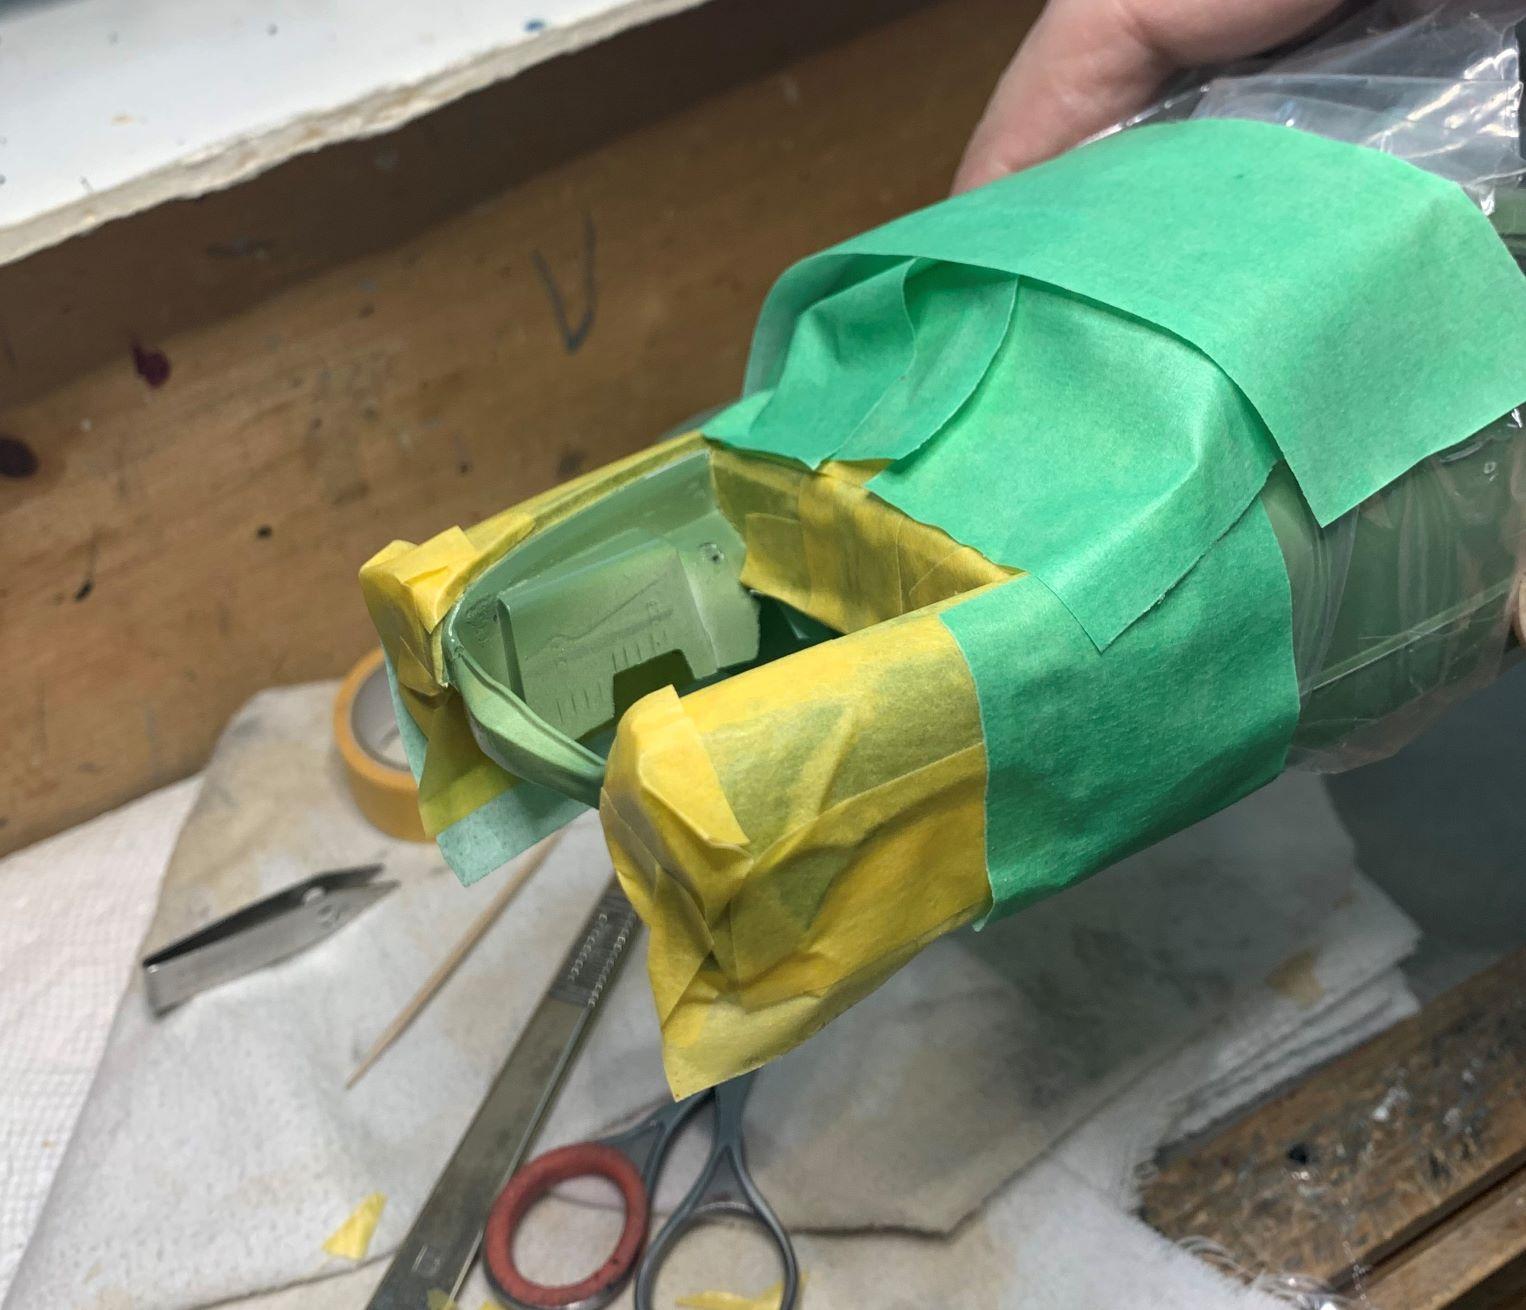
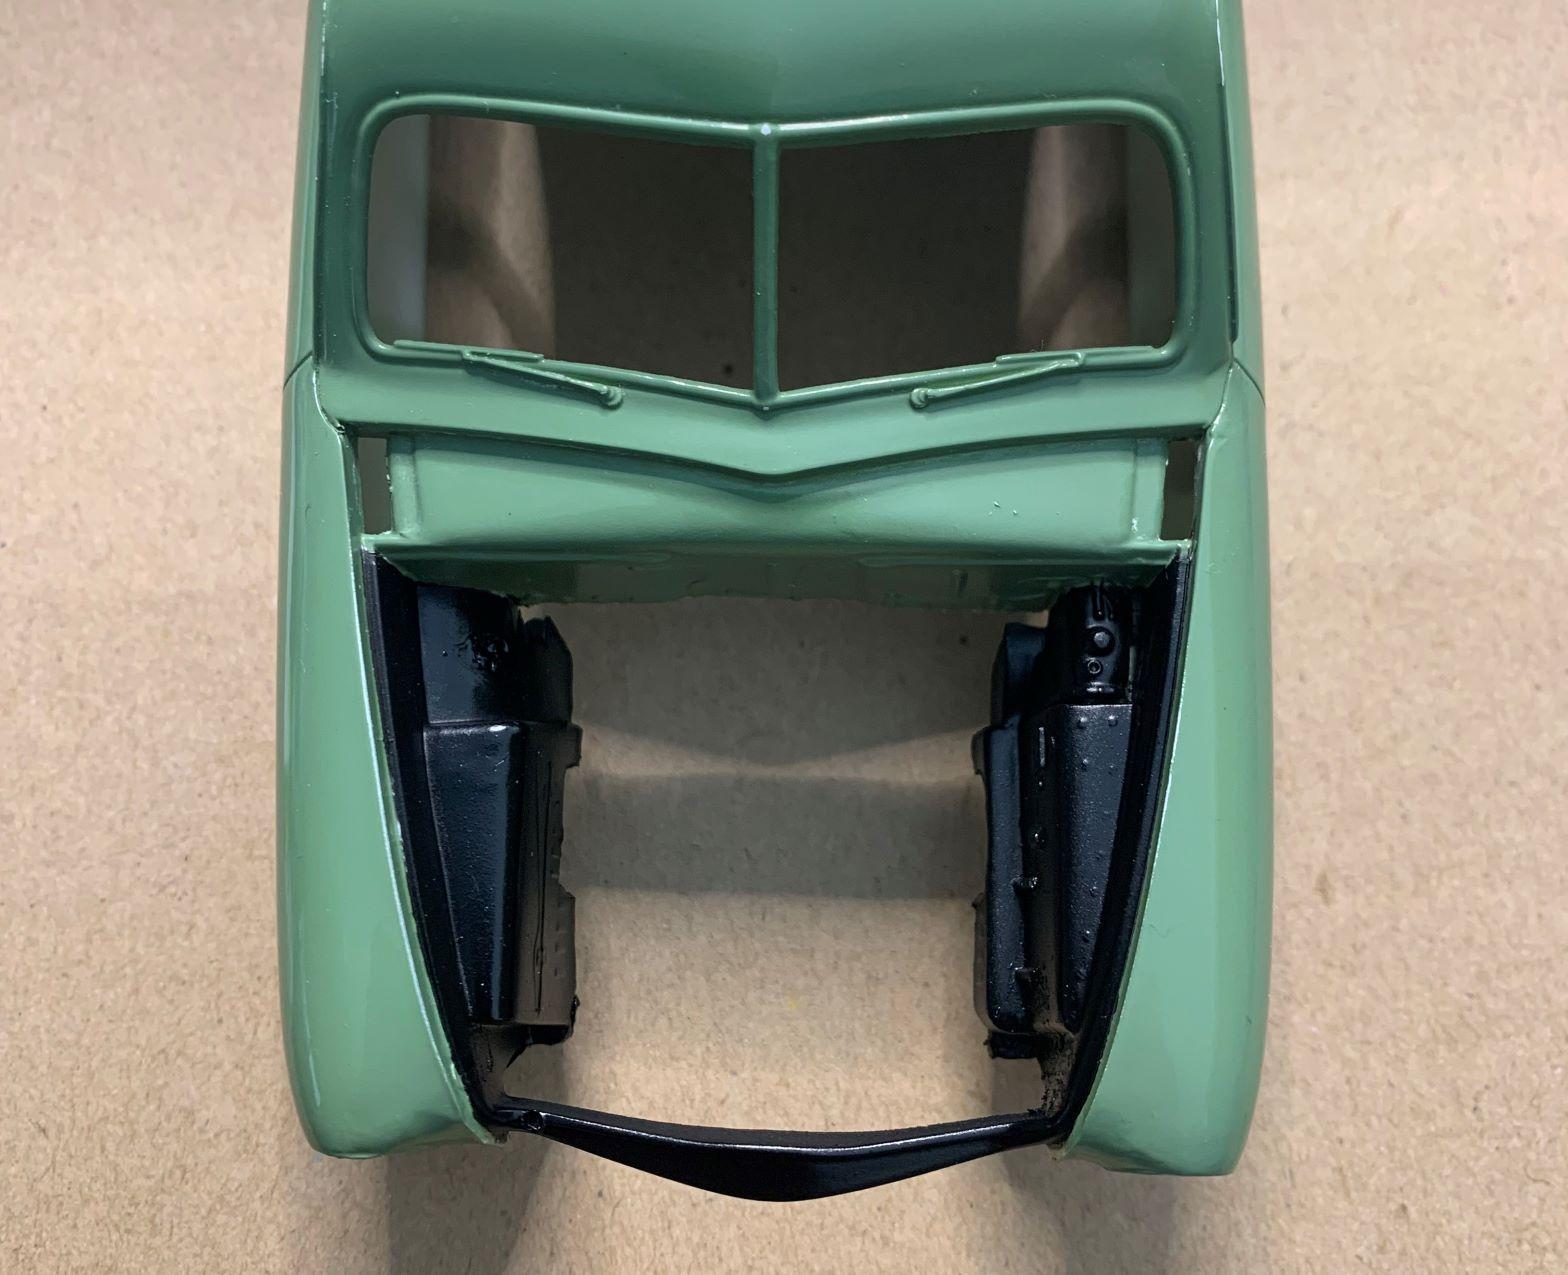
I wanted rubber, not chrome around the windows, so I masked, AND airbrushed Tamiya acrylic rubber thinned 50/50. Then I brushed acrylics to the headliner and around the windows inside. (this is the car upside down looking in) I made a dome light with a '32 Ford kit's chrome mirror and a piece of the clear throw-away things. I reshaped the windshield for somewhat of a sunvisor look inside. (actually turned out pretty good once painted.
-
I'm diggin' this thread! Nice mods so far! I'm sure it'll be a real gas! er!!
-
Here's the usual airbrushing situation: One hour masking, One minute airbrushing! LOL
-
Yeah, I'm just trying to do a quick build from junk to replace the one I have in my display case. That one was painted by Wayne Farmer but he was never going to build it, so I bought it and built it, probably 25 years ago! He asked if he could buy it back from me now, so I'll need a replacement. I'll sell it back to him for what I paid for it un-built back then, can't remember but it wasn't much! Here's a picture of that one:
-
Cool, so far! I'm sure it'll be great, have fun with the conversion!
-
I'm sure it'll be fantastic!
-
Wow, that maroon looks fantastic!
-
Beautiful transmission mods, and the whole car looks so cool, great fun for you................AND for us, watching!
-
Alpha Models Ferrari GTC4Lusso - Update 8/23/2022
dino246gt replied to Exotics_Builder's topic in WIP: Model Cars
Looking good, can't wait to see more! I love the real GTC4, but it's just "slightly" out of my price range! Considered the model as well, so very interested to see what you do with it! -
Very nice! Still working on it?
-
Love it! Amazing craftmanship!
-
2022 Lamborghini Countach QT...scratch build
dino246gt replied to Dann Tier's topic in WIP: Model Cars
WOW, this is some great scratch building! Amazing!! -
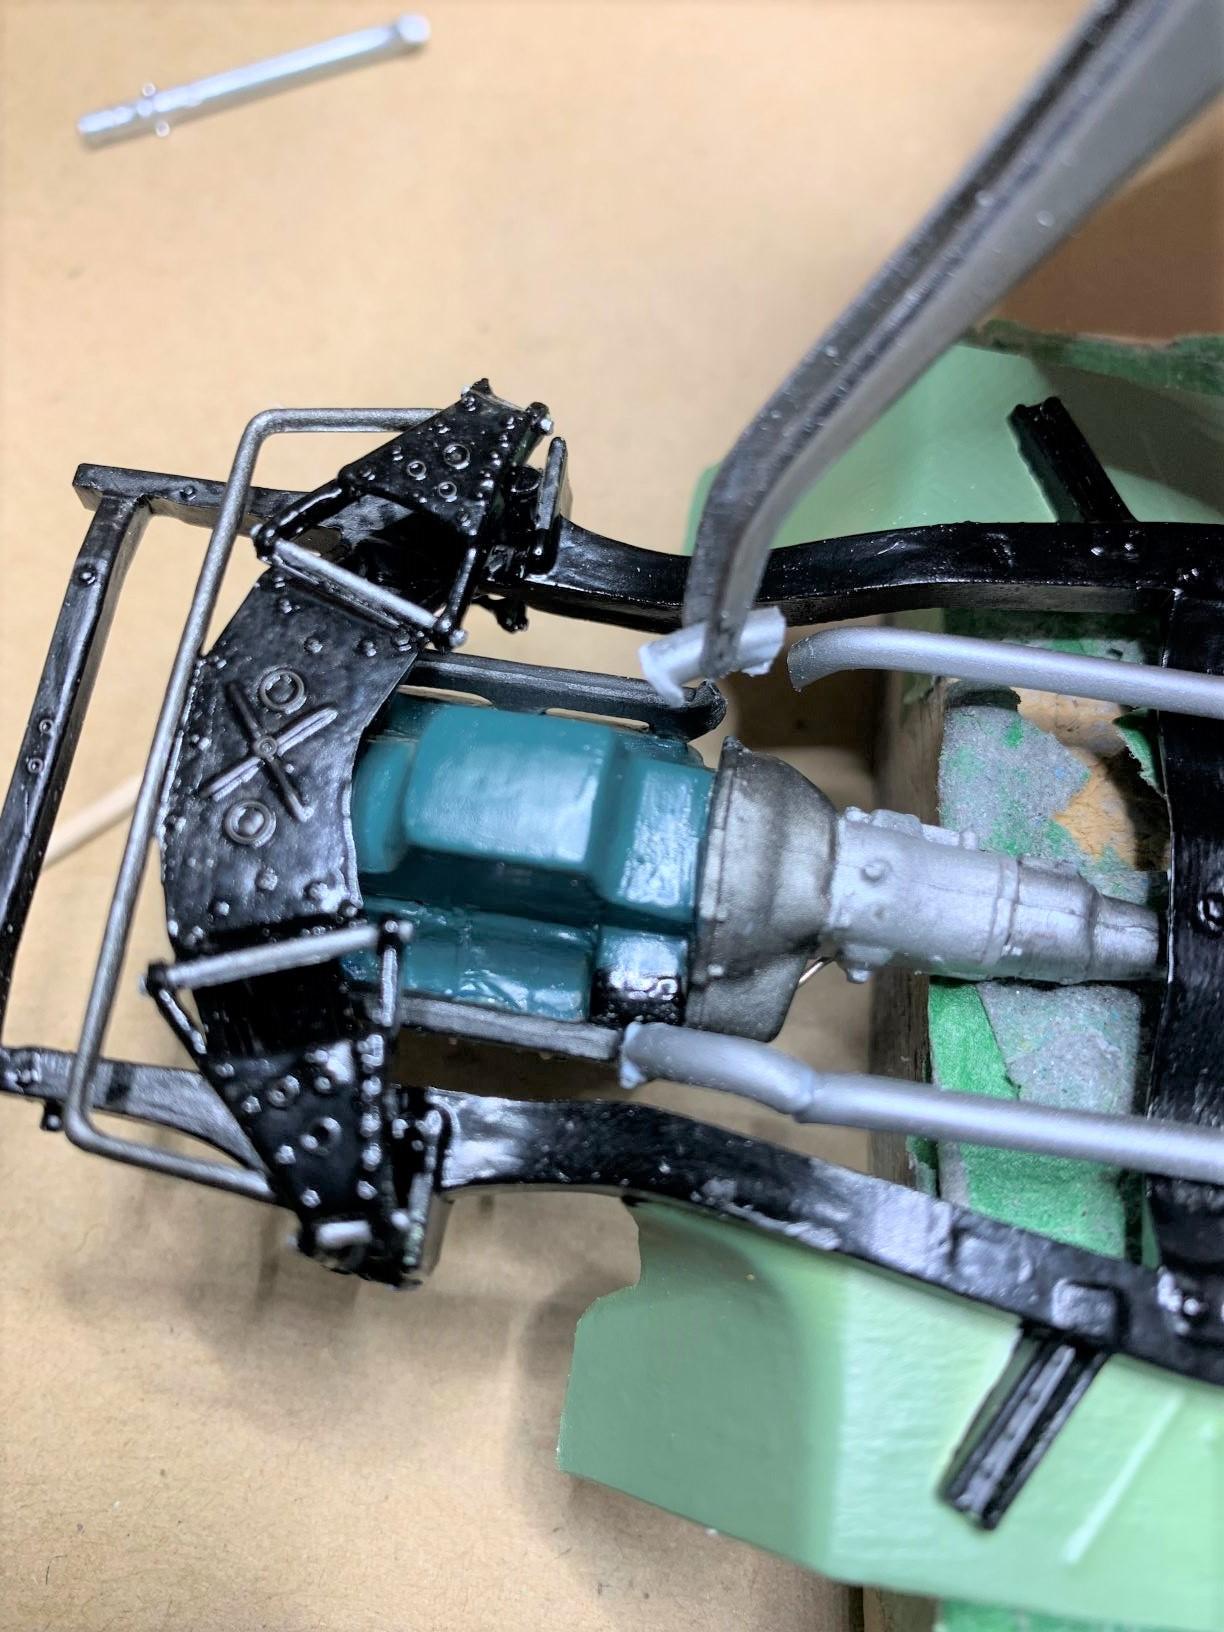
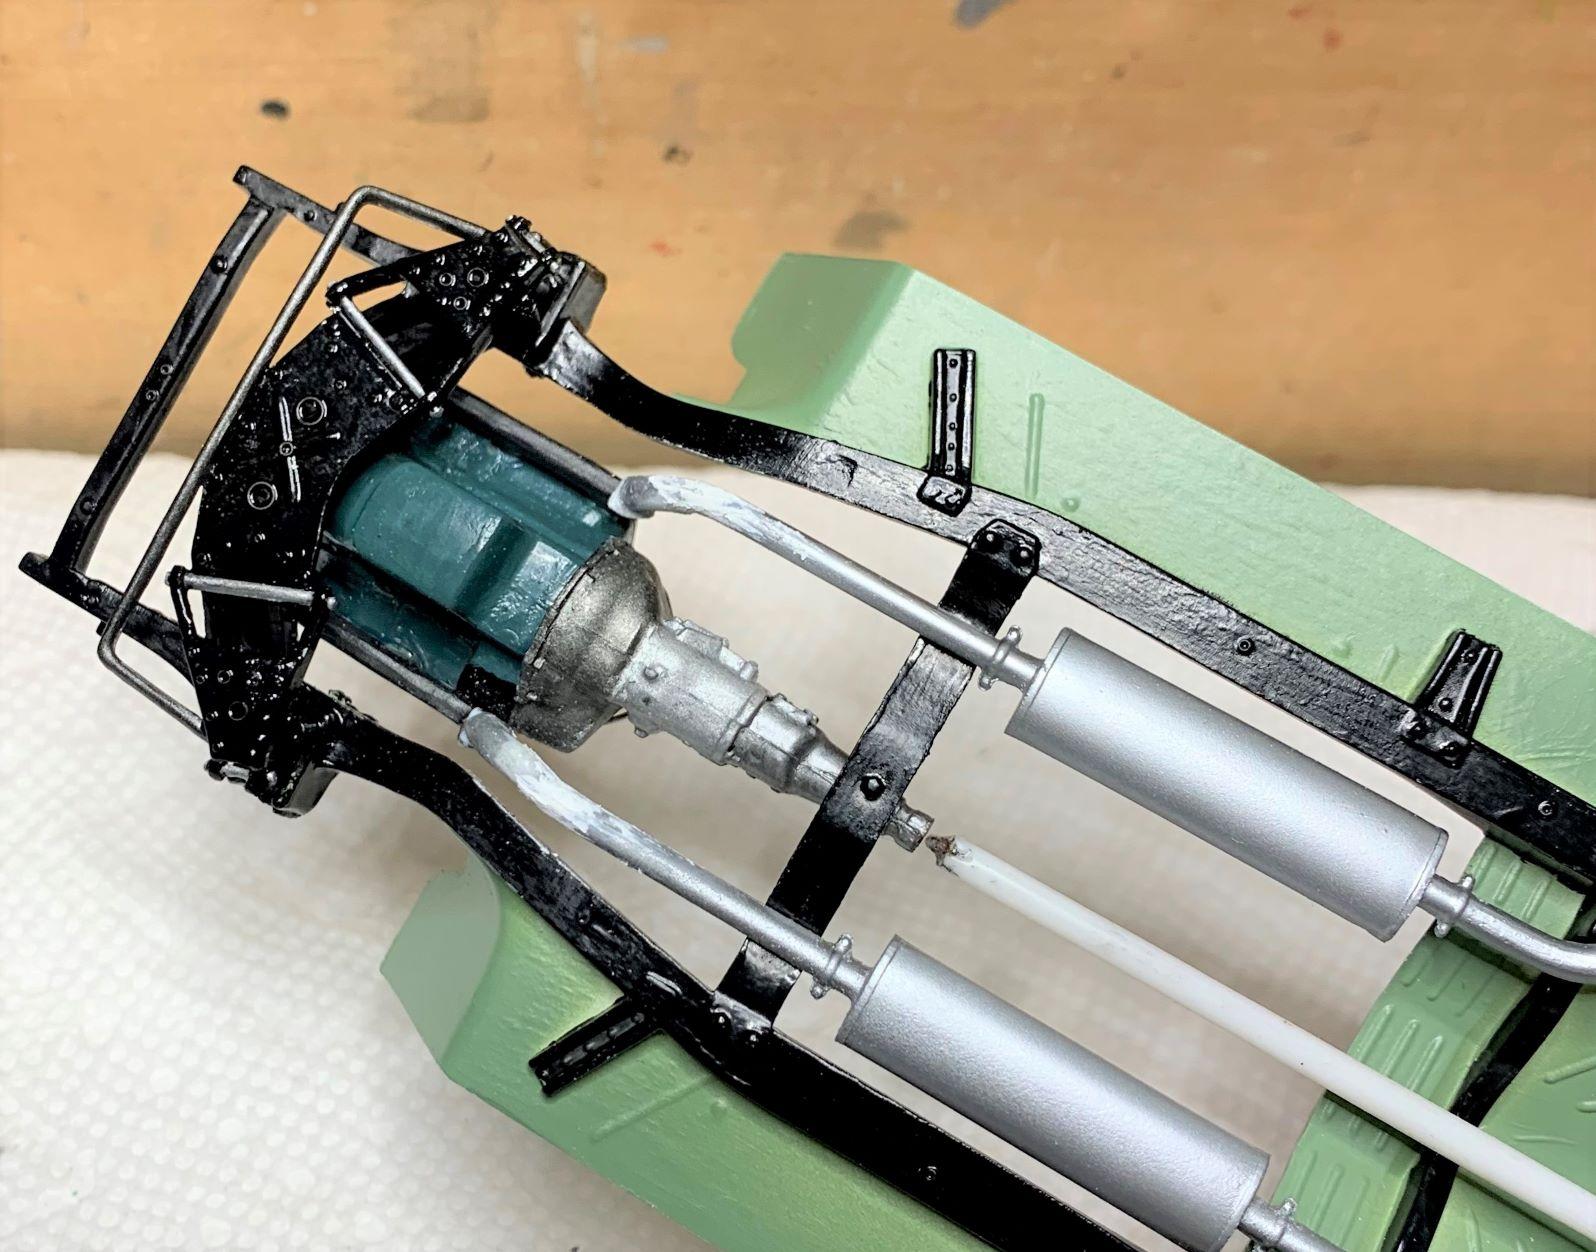
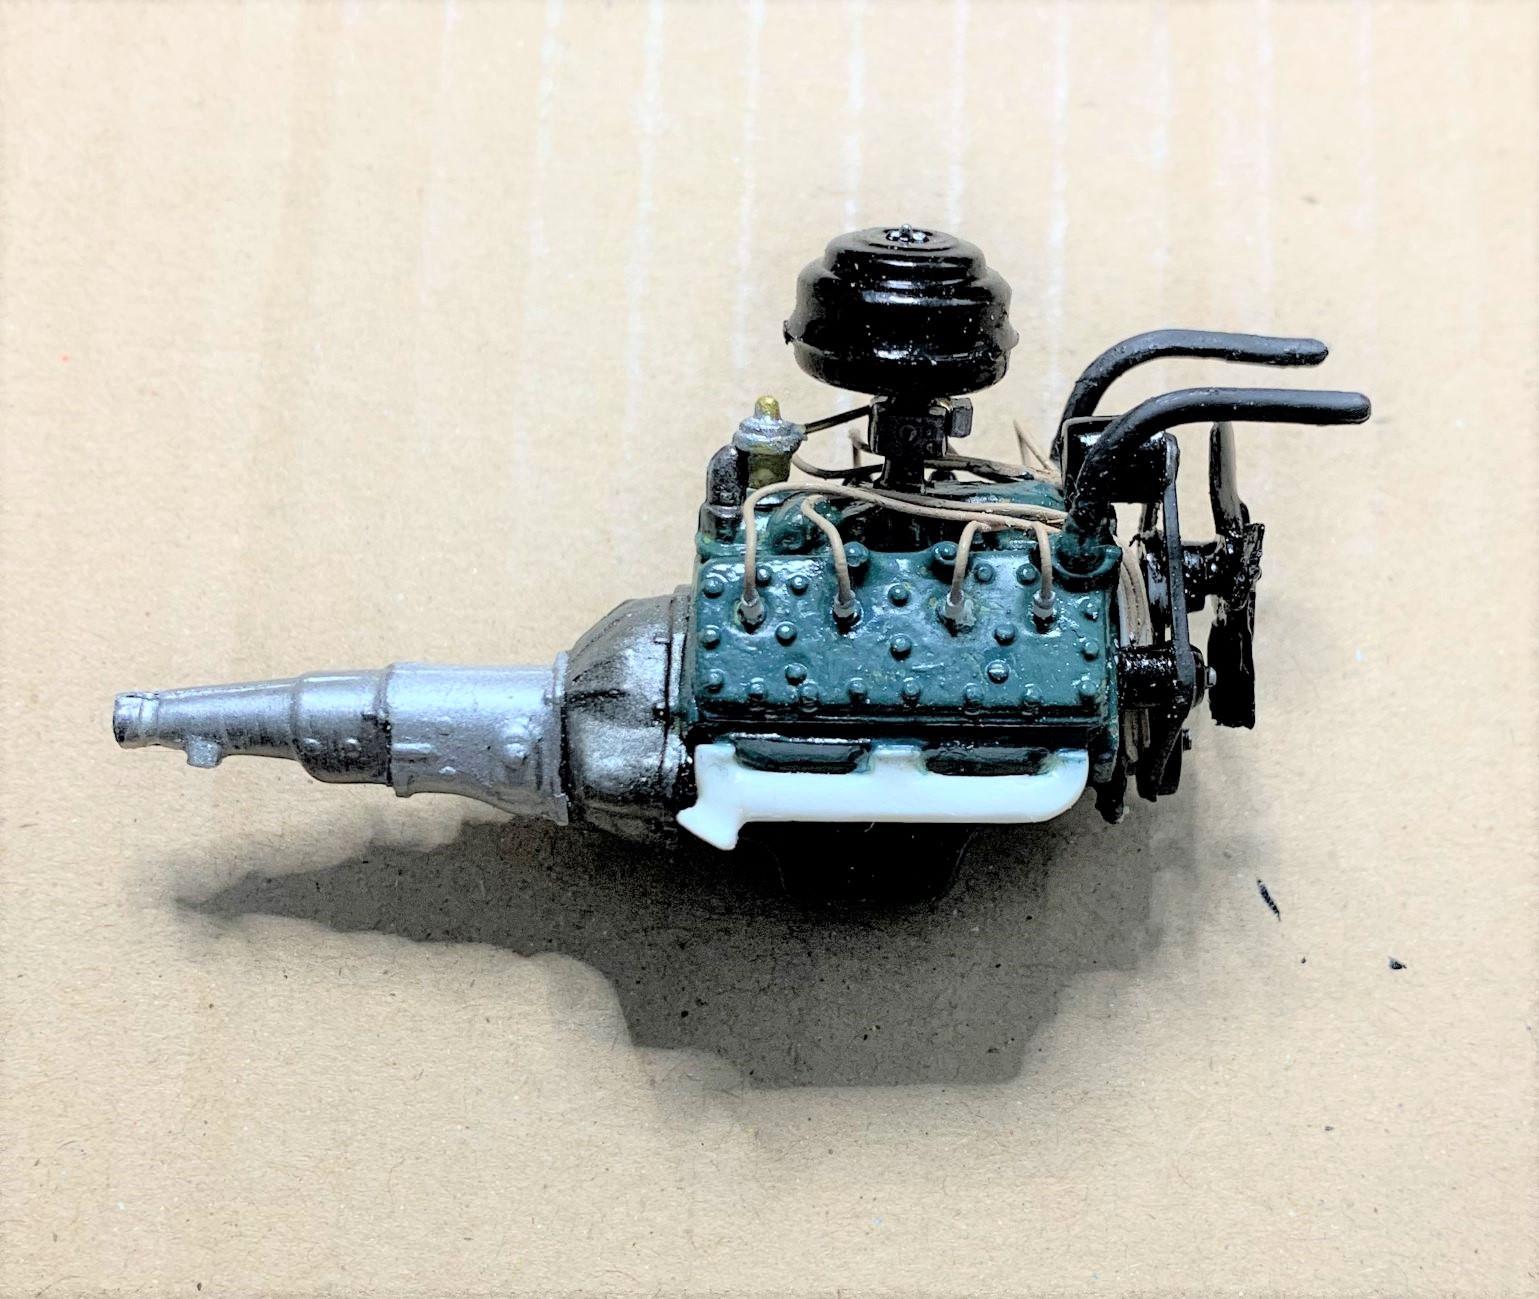
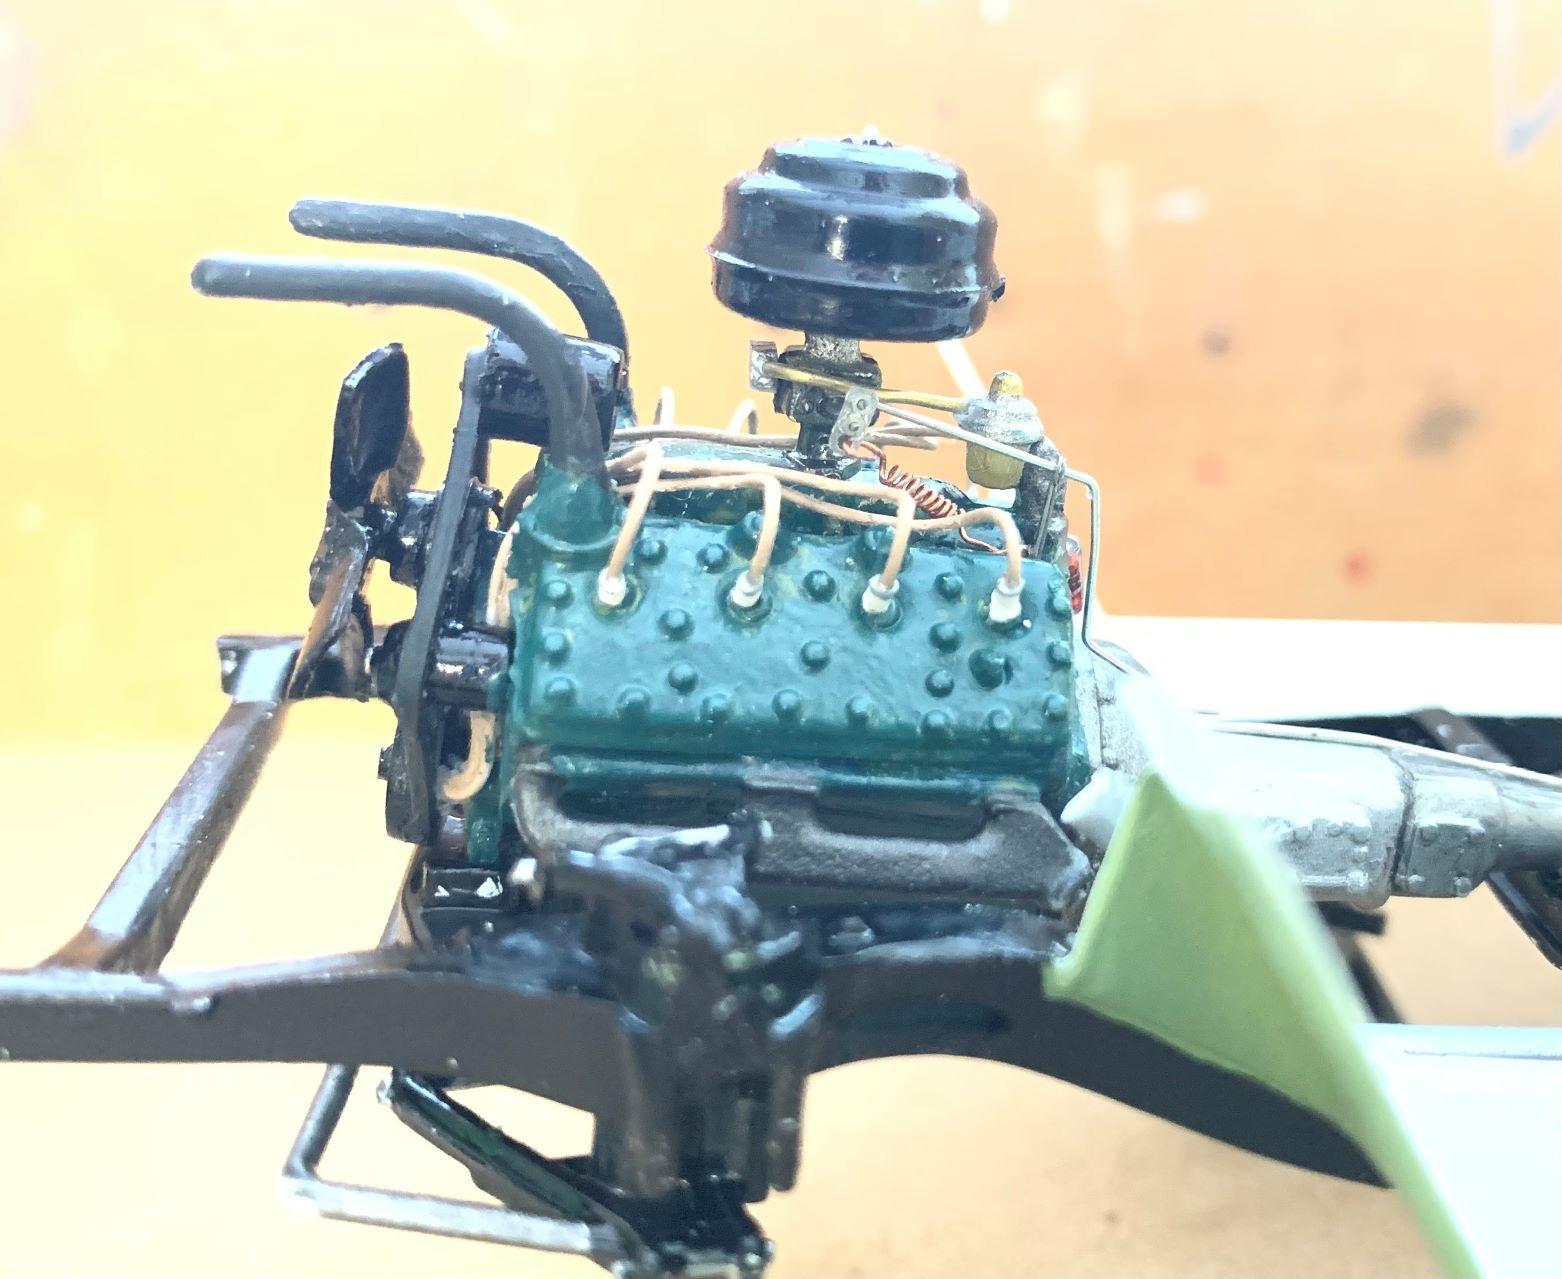
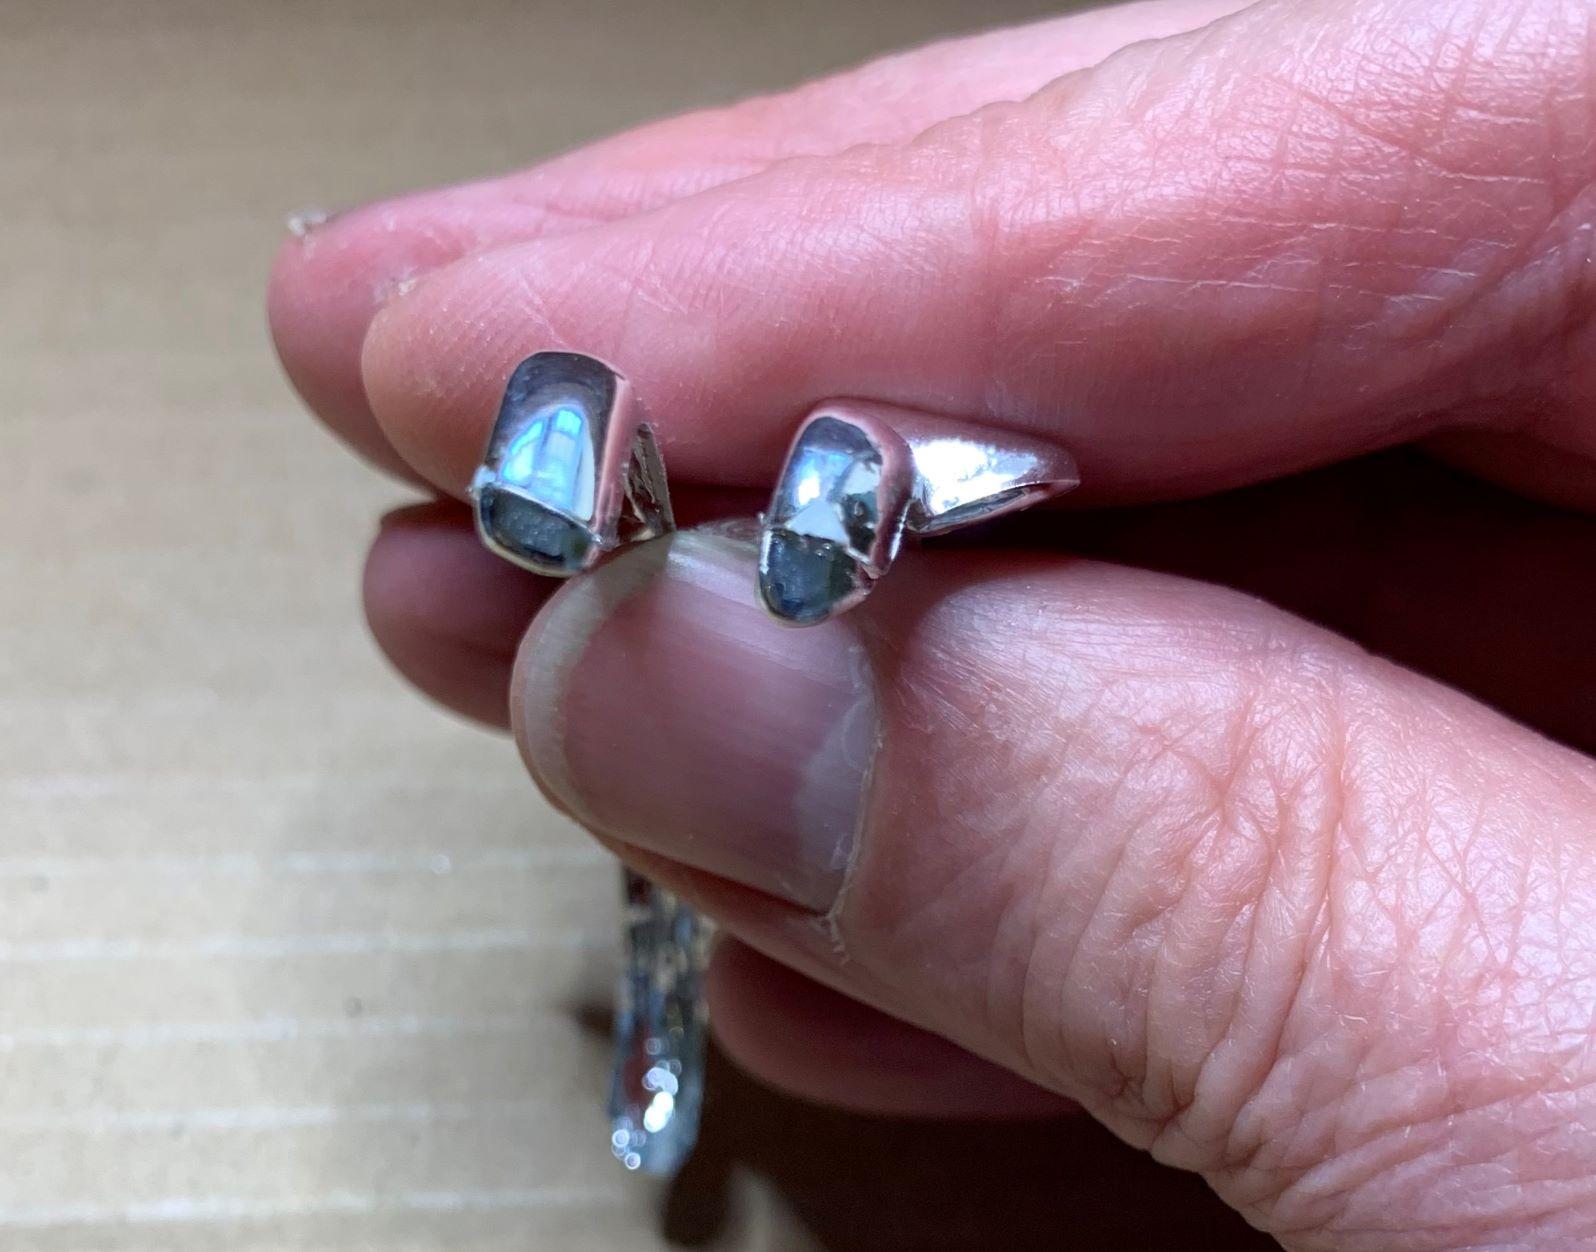
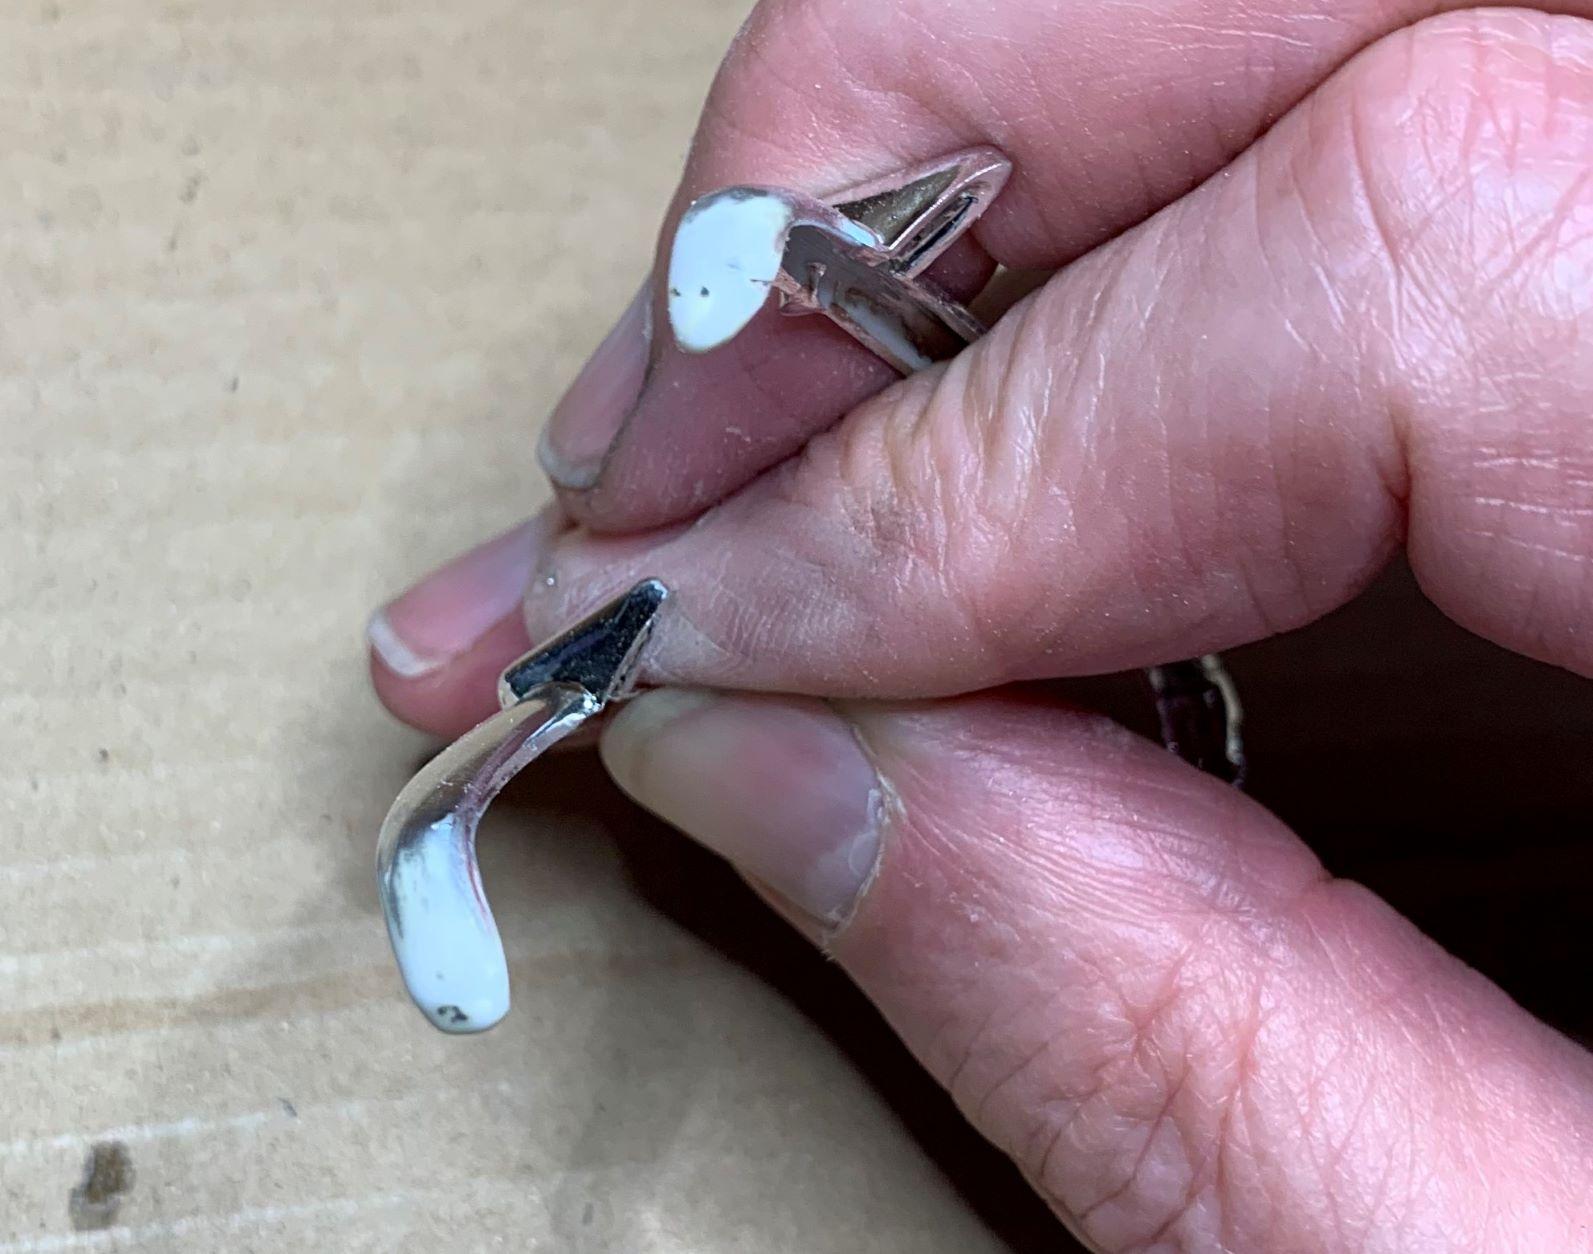
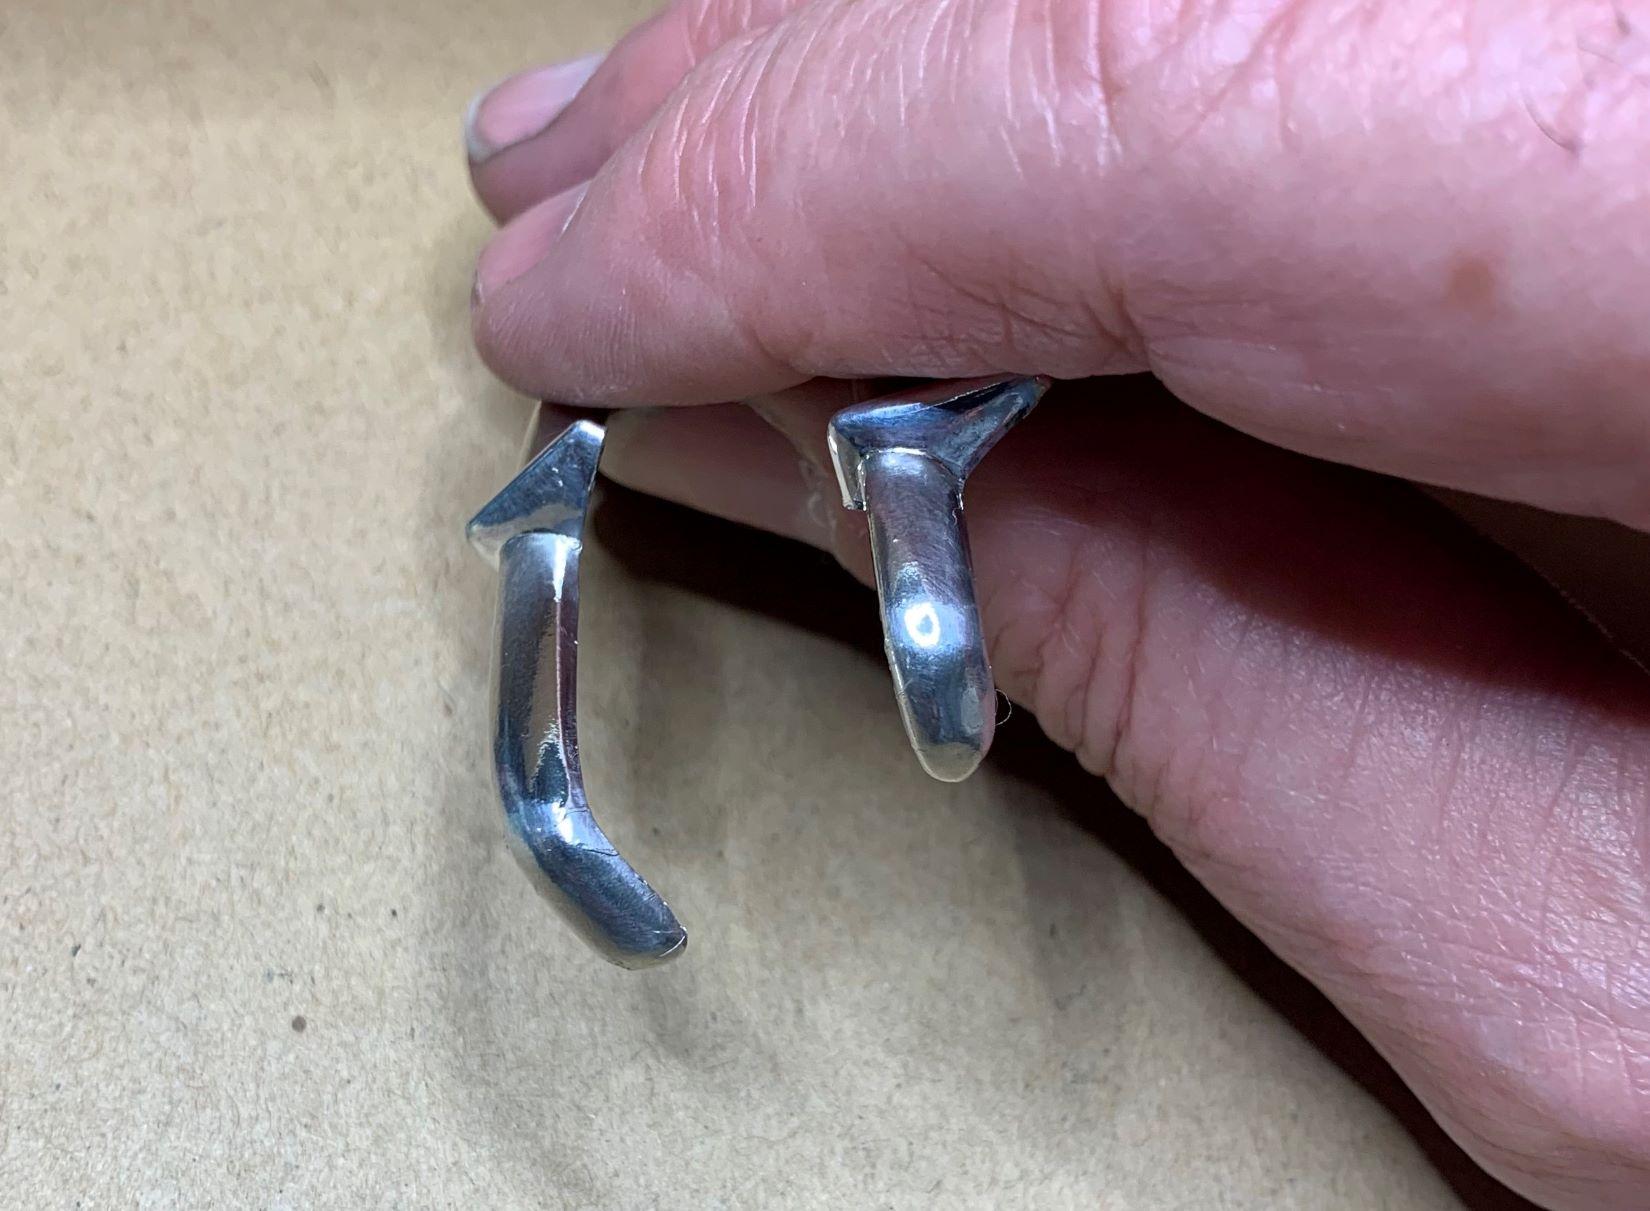
I had one old exhaust pipe and one un-used one! I opened up the ends in both. I cleaned up the mold lines and sharpened the muffler ends and clamps, then sprayed with Alclad Aluminum over grey primer. But of course they didn't line up with my parts box manifolds, so I made some little pipes to make the transition. A little putty and some sanding and they're together, paint touch-ups to follow.
-
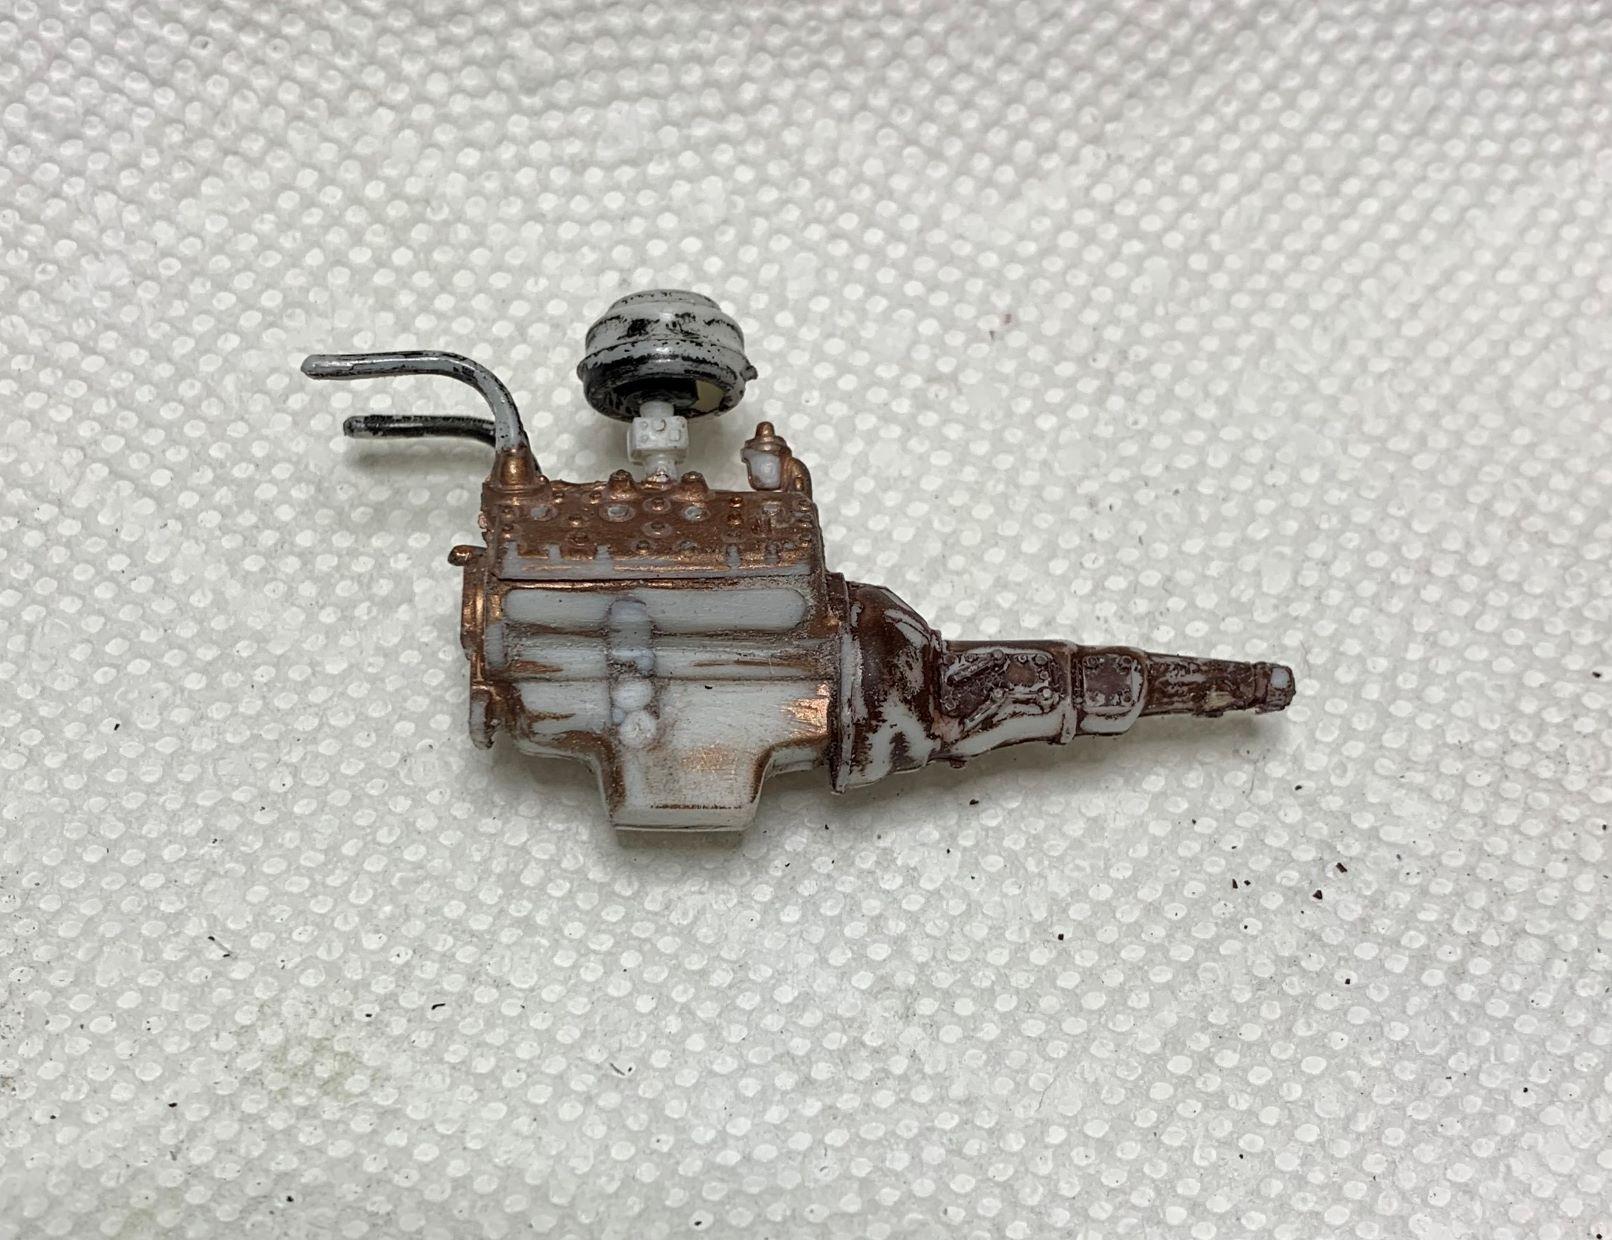
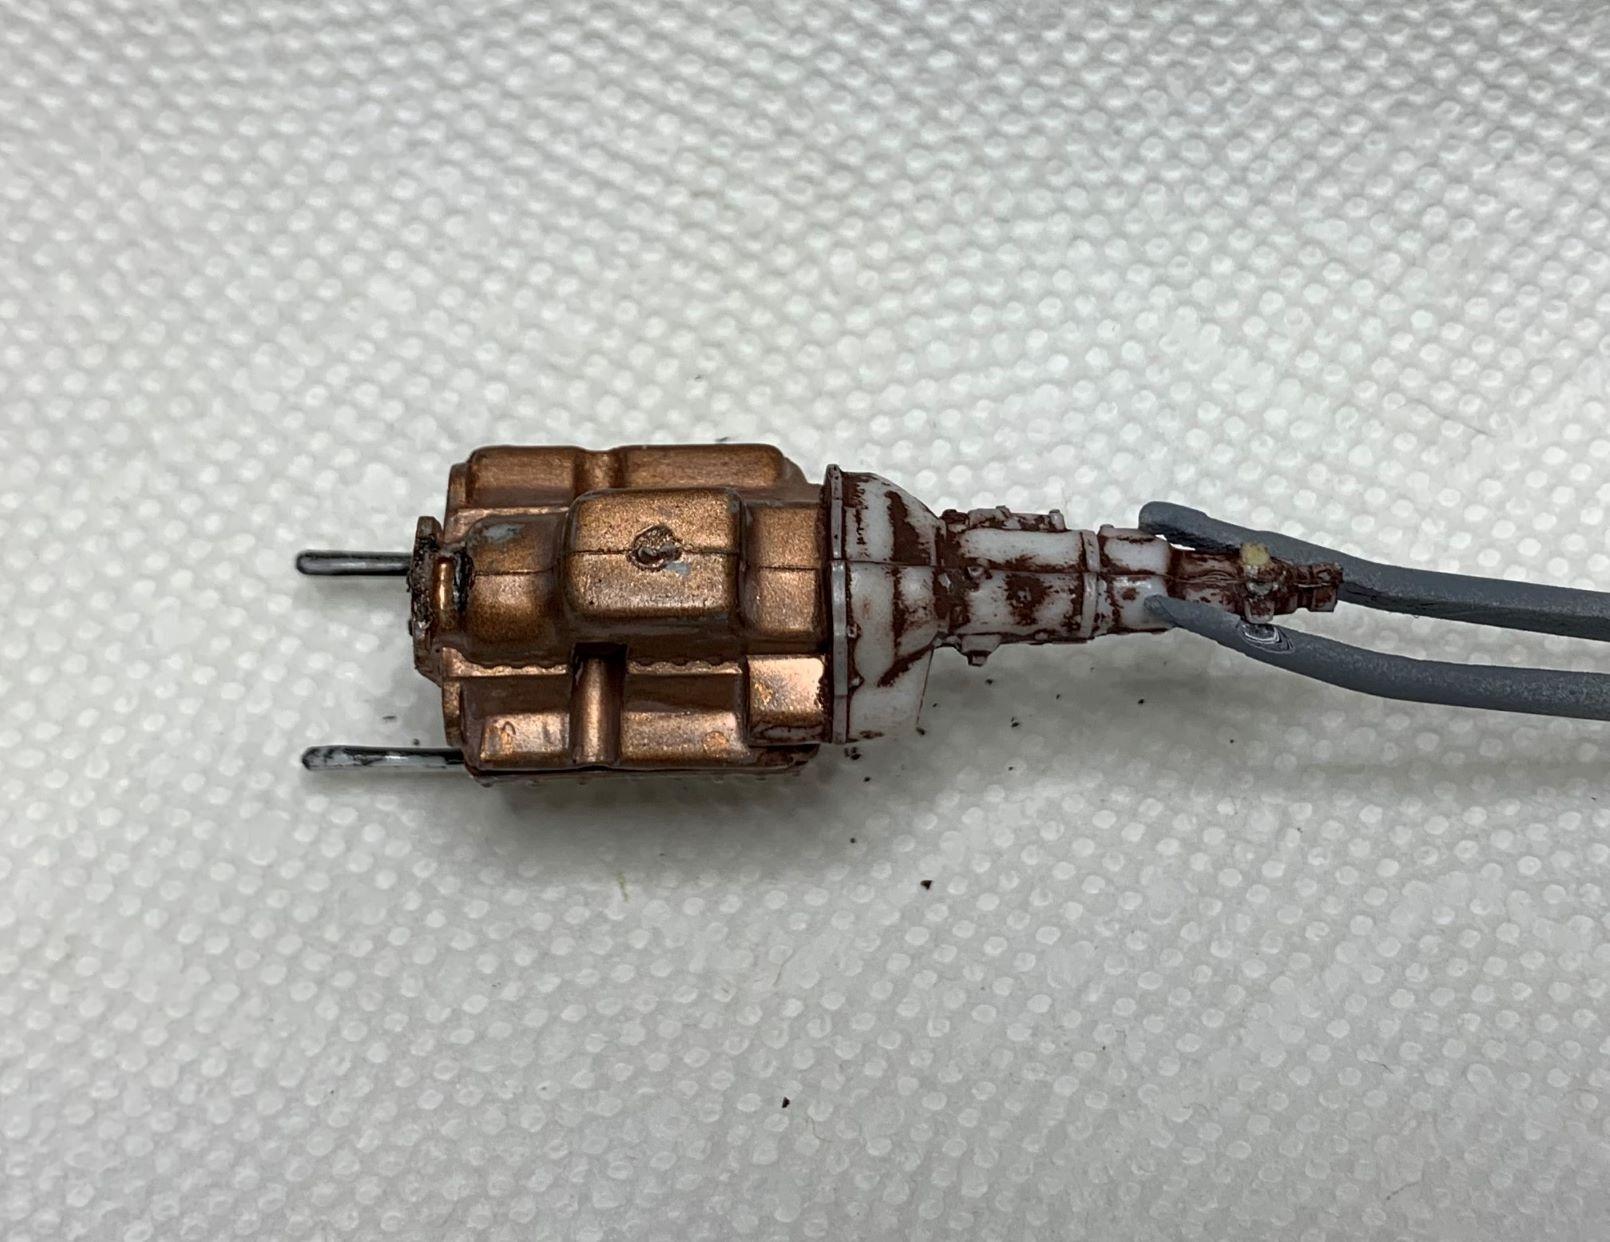
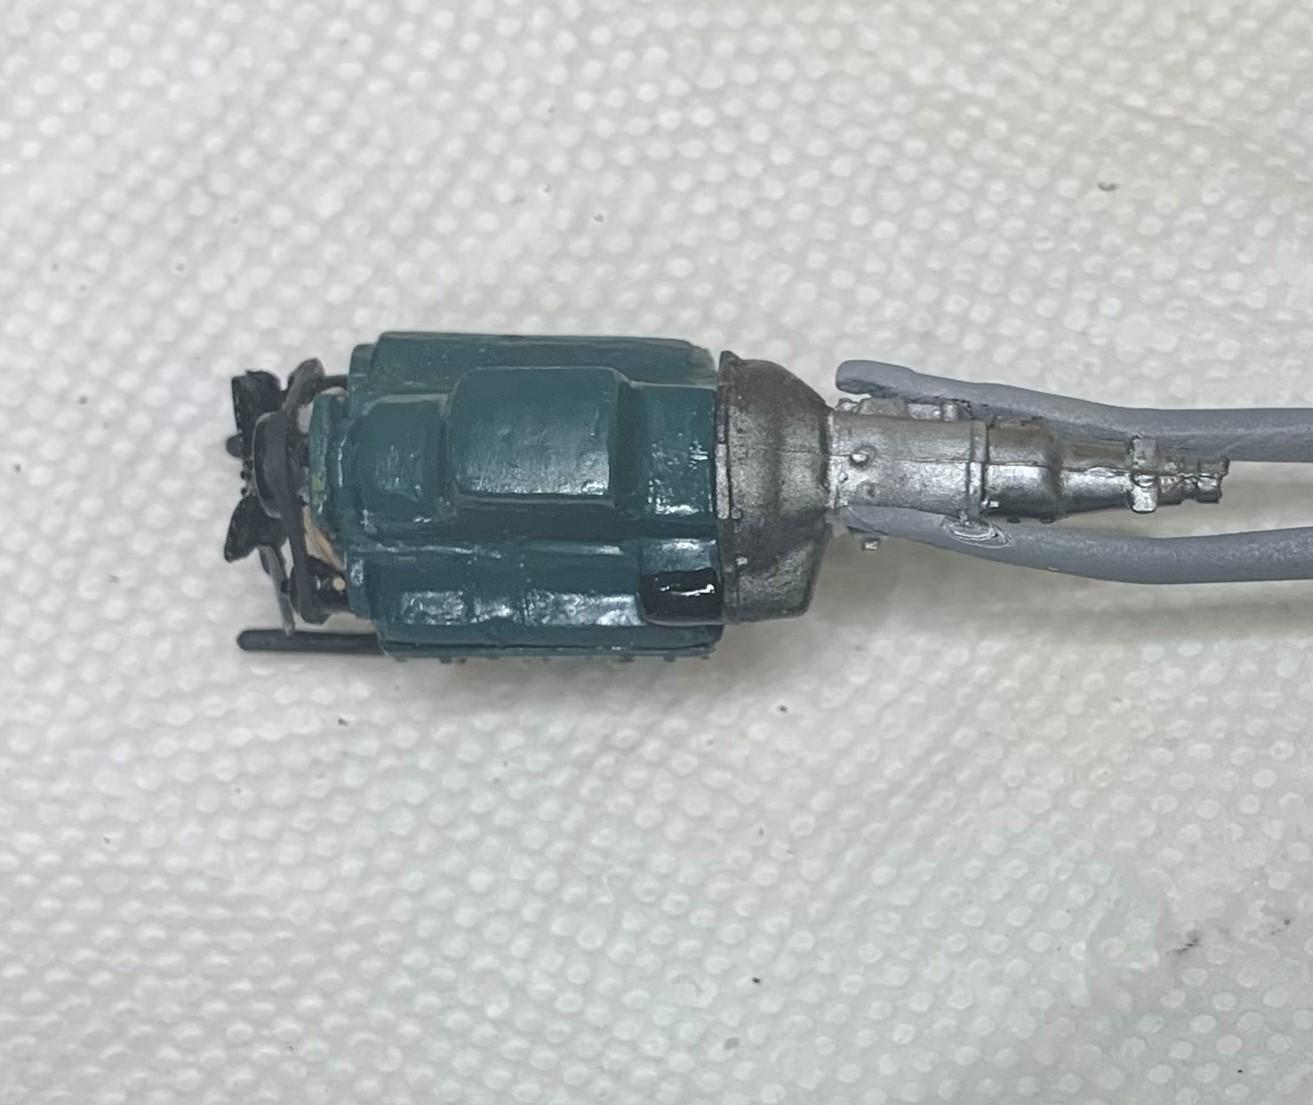
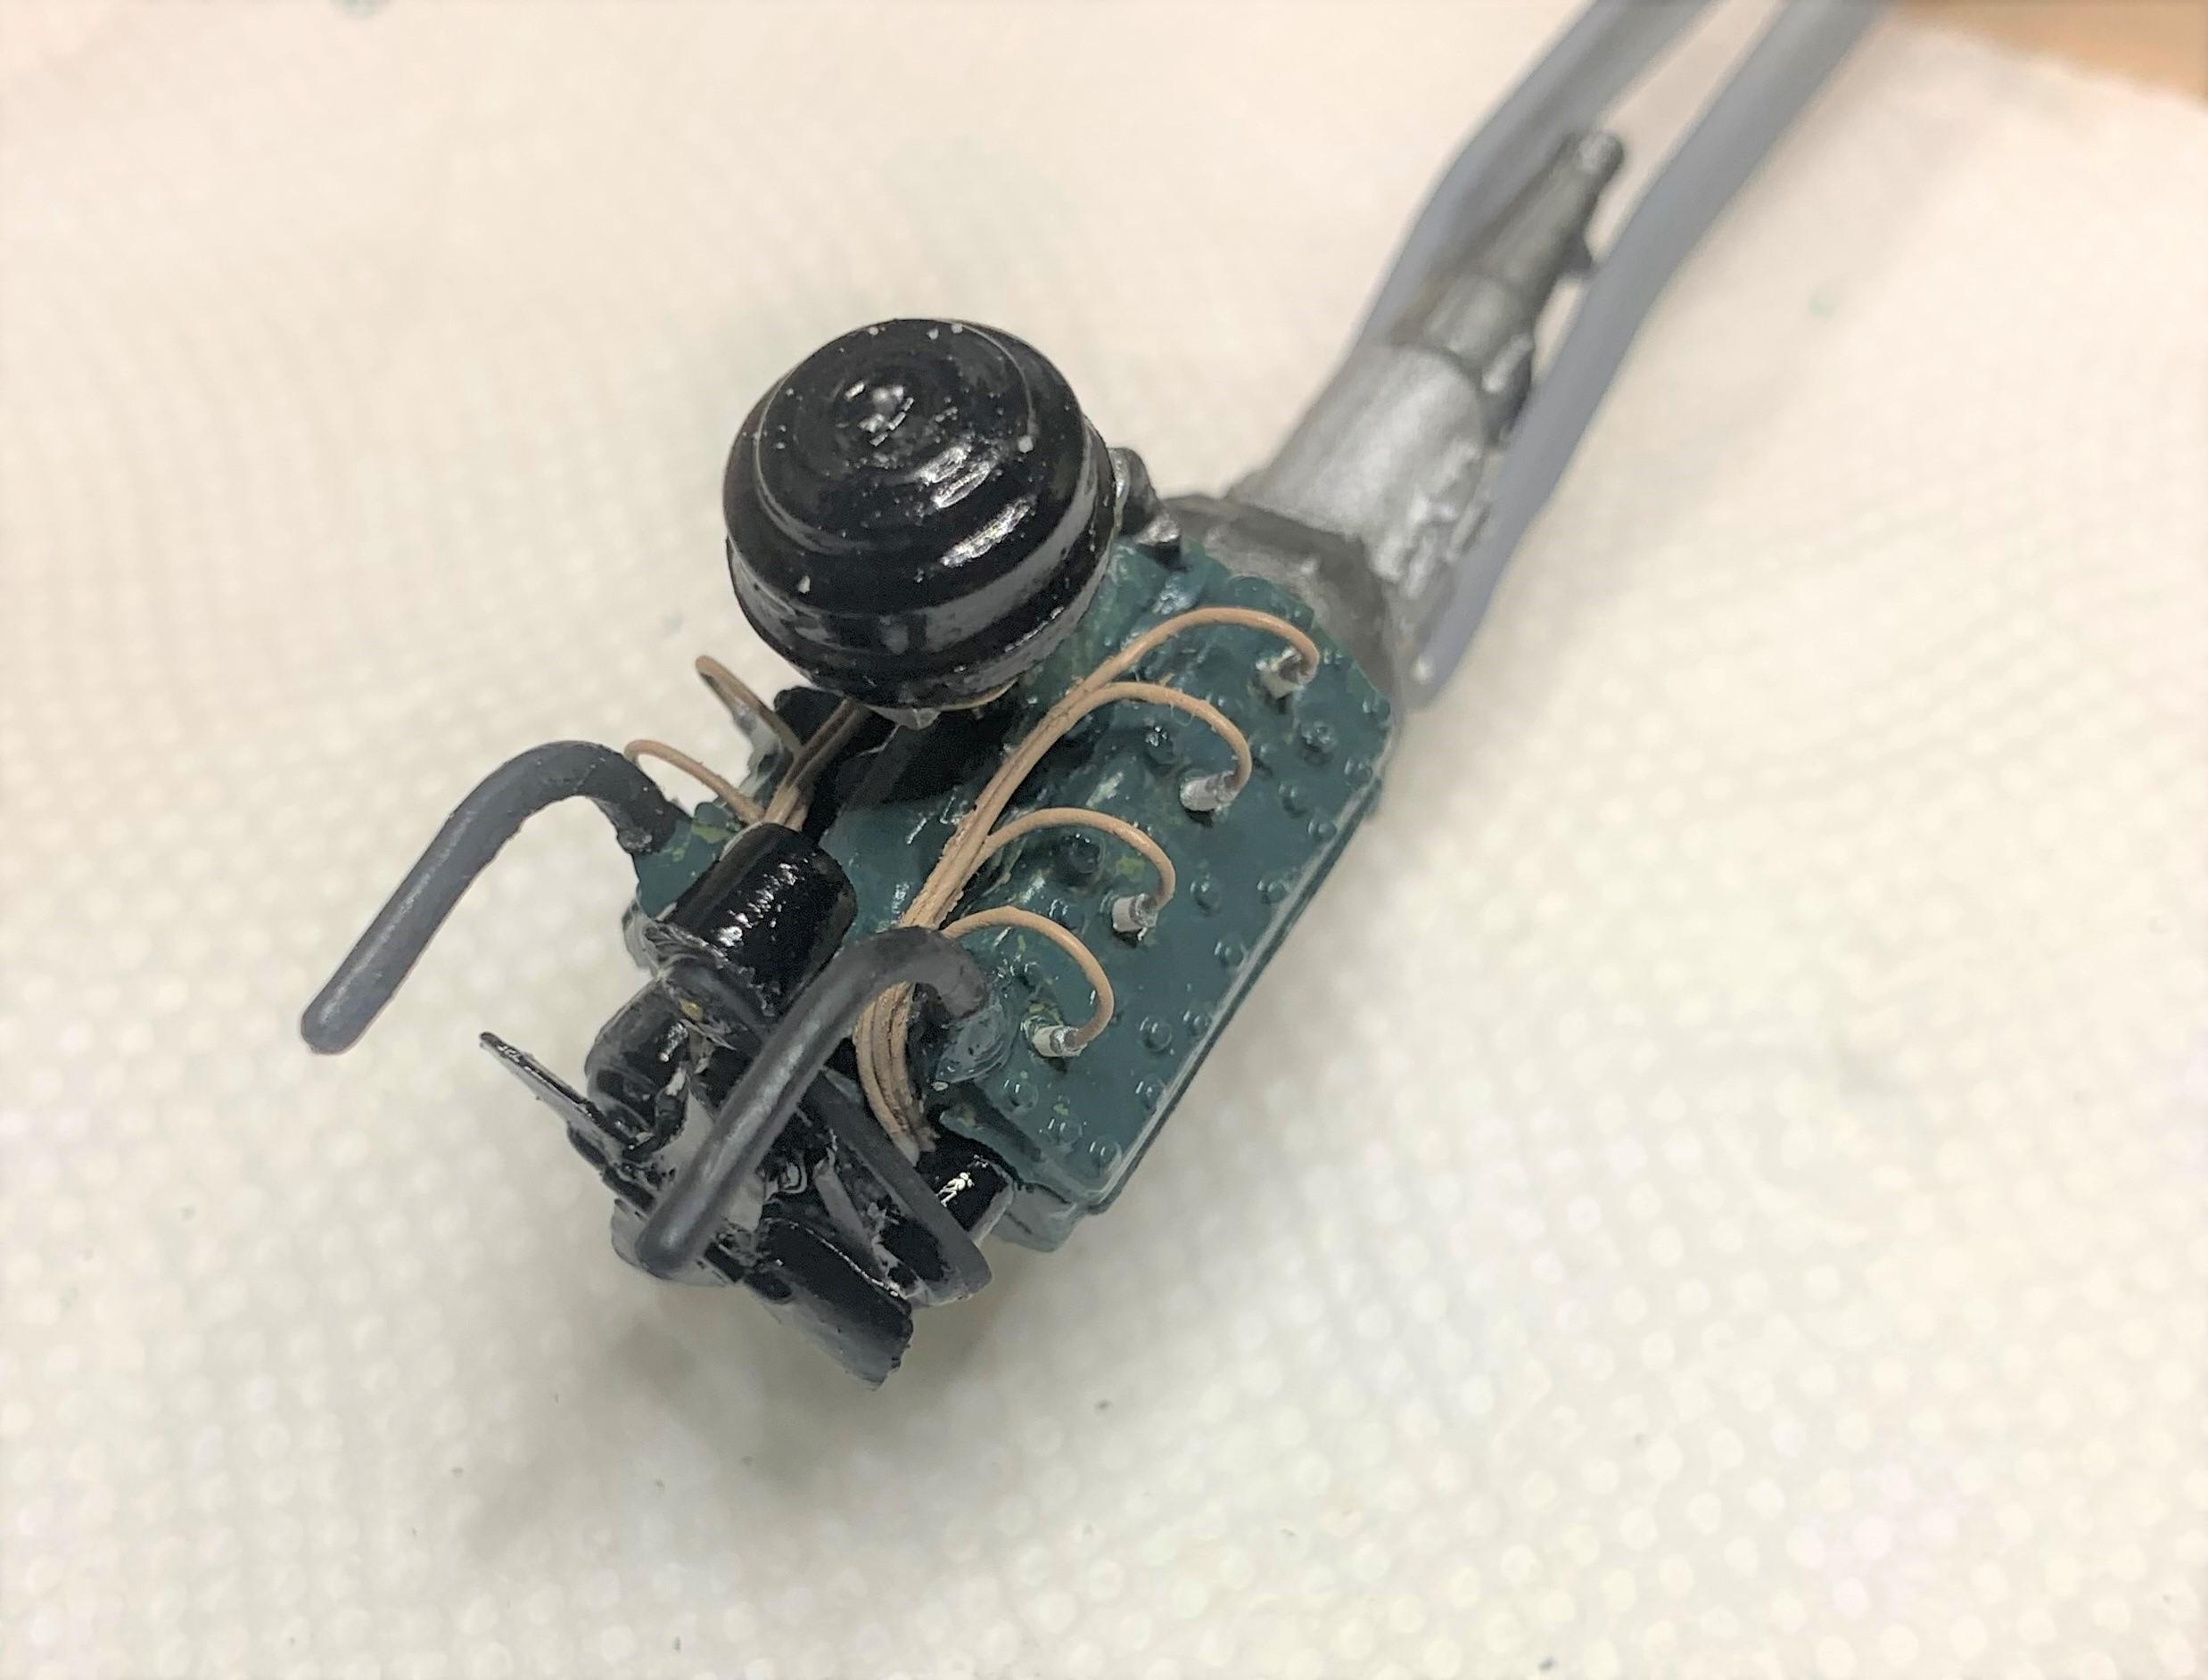
I soaked the engine in Purple Power, but it remained as is! I filled the axle hole, yeah of course I did, with various sized rods and a bit of putty, it won't even show so, not great, good enough! So I drilled for plugs, mixed up some acrylic paints I had on hand and ended up with this color, not quite right, but I ran out of paints on hand! Oil pan got sanded and I made some sort of exhaust manifolds from parts box headers. Then I added some basic fuel lines and simple linkage
-
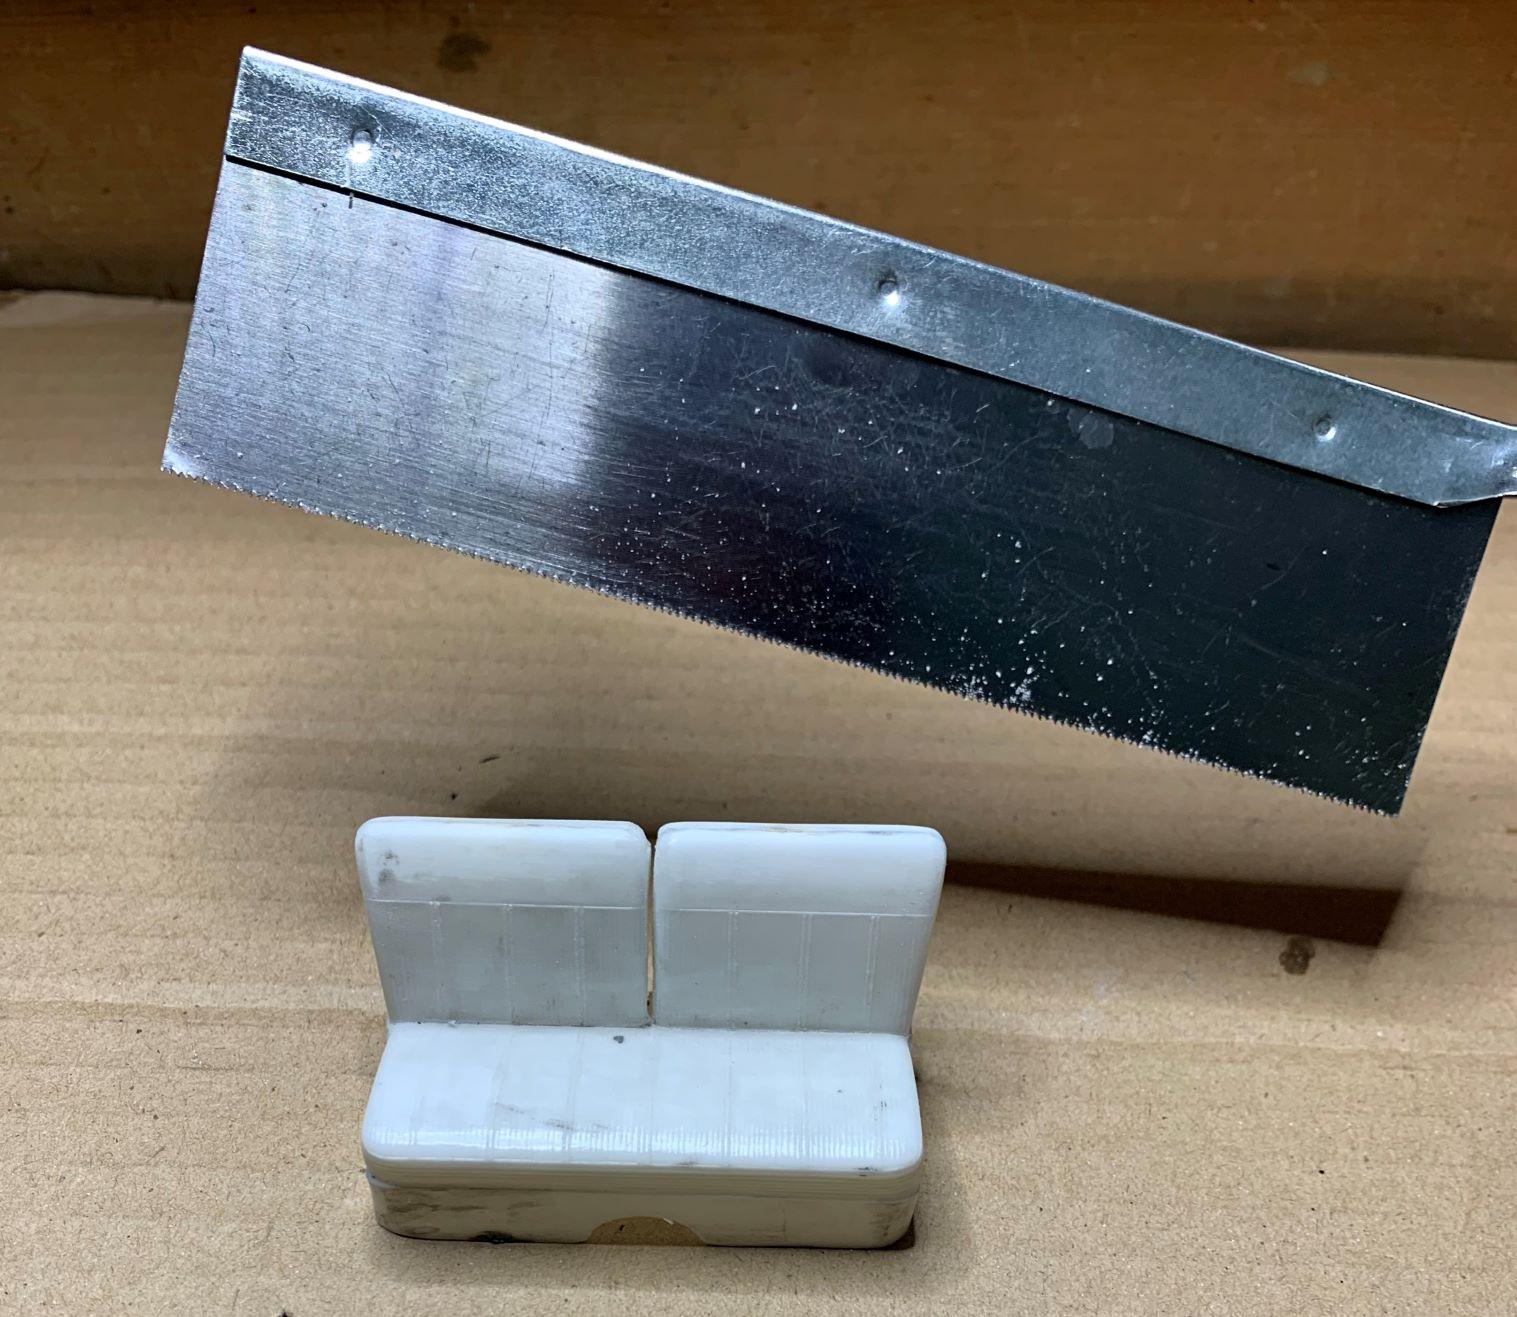
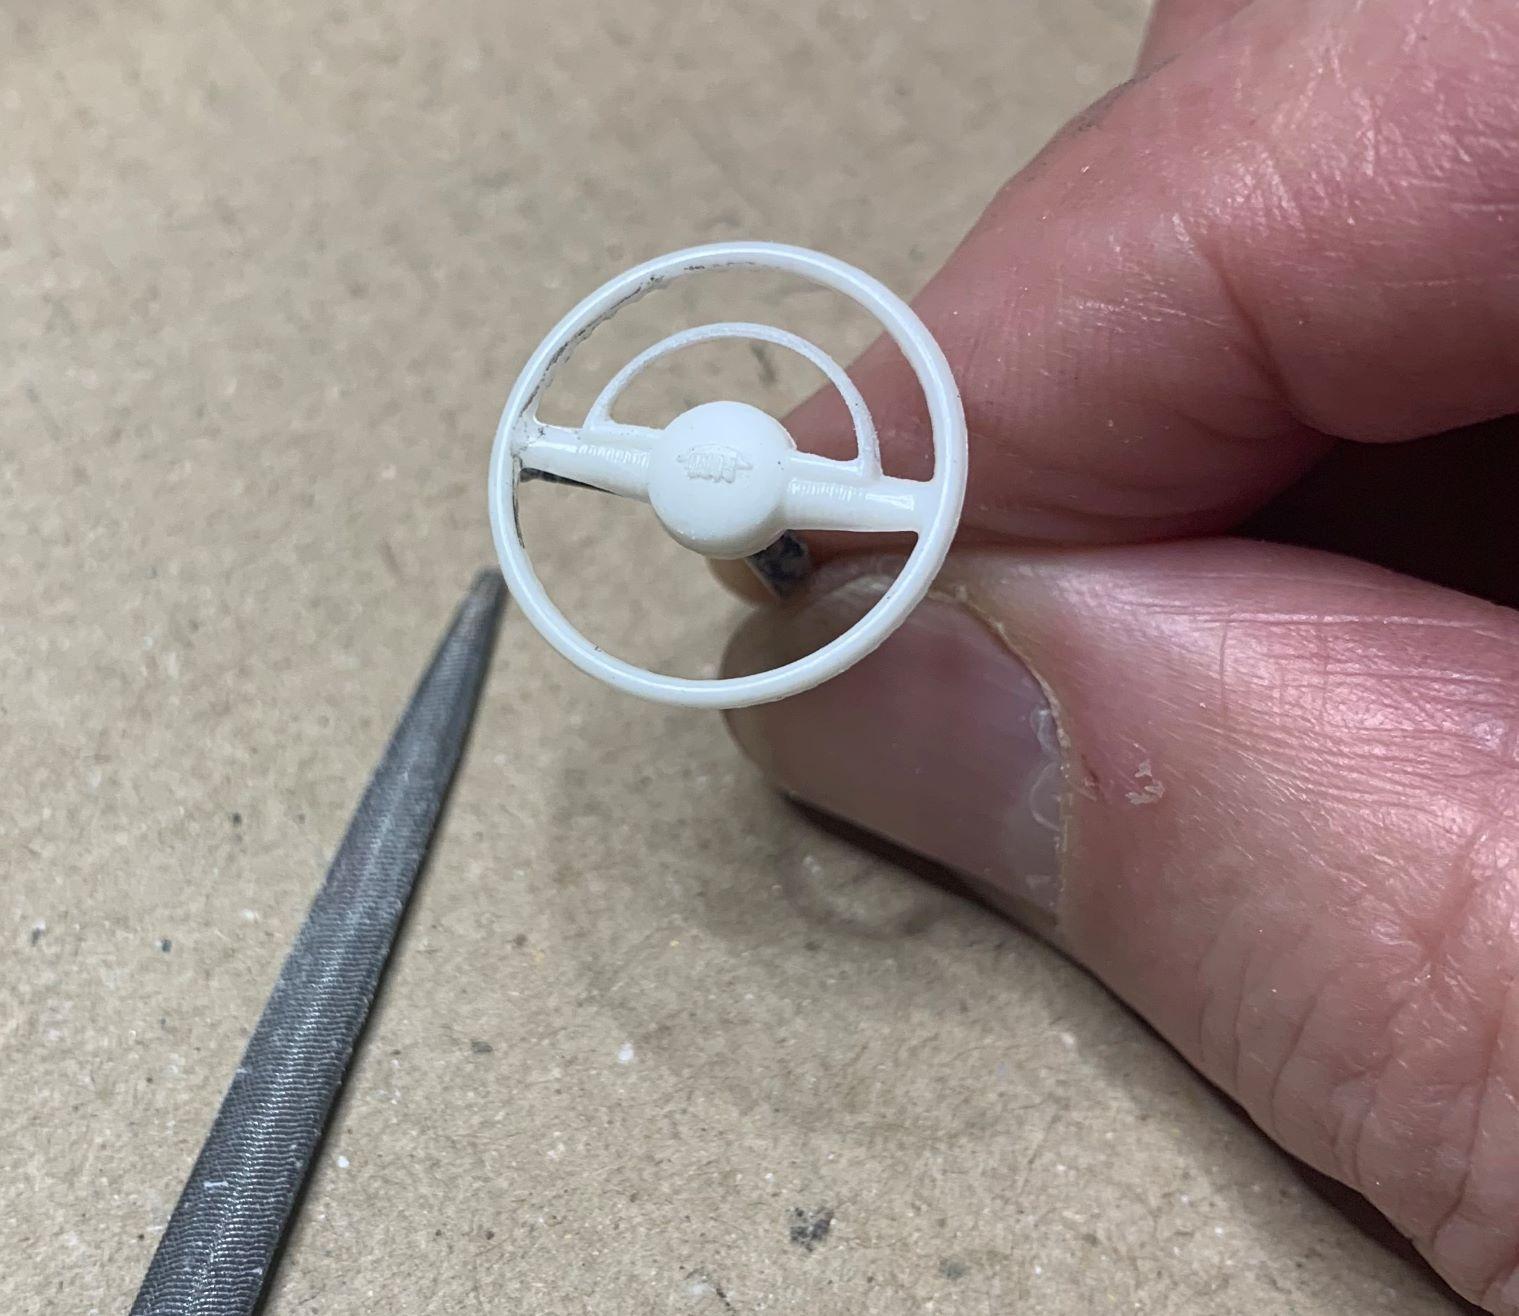
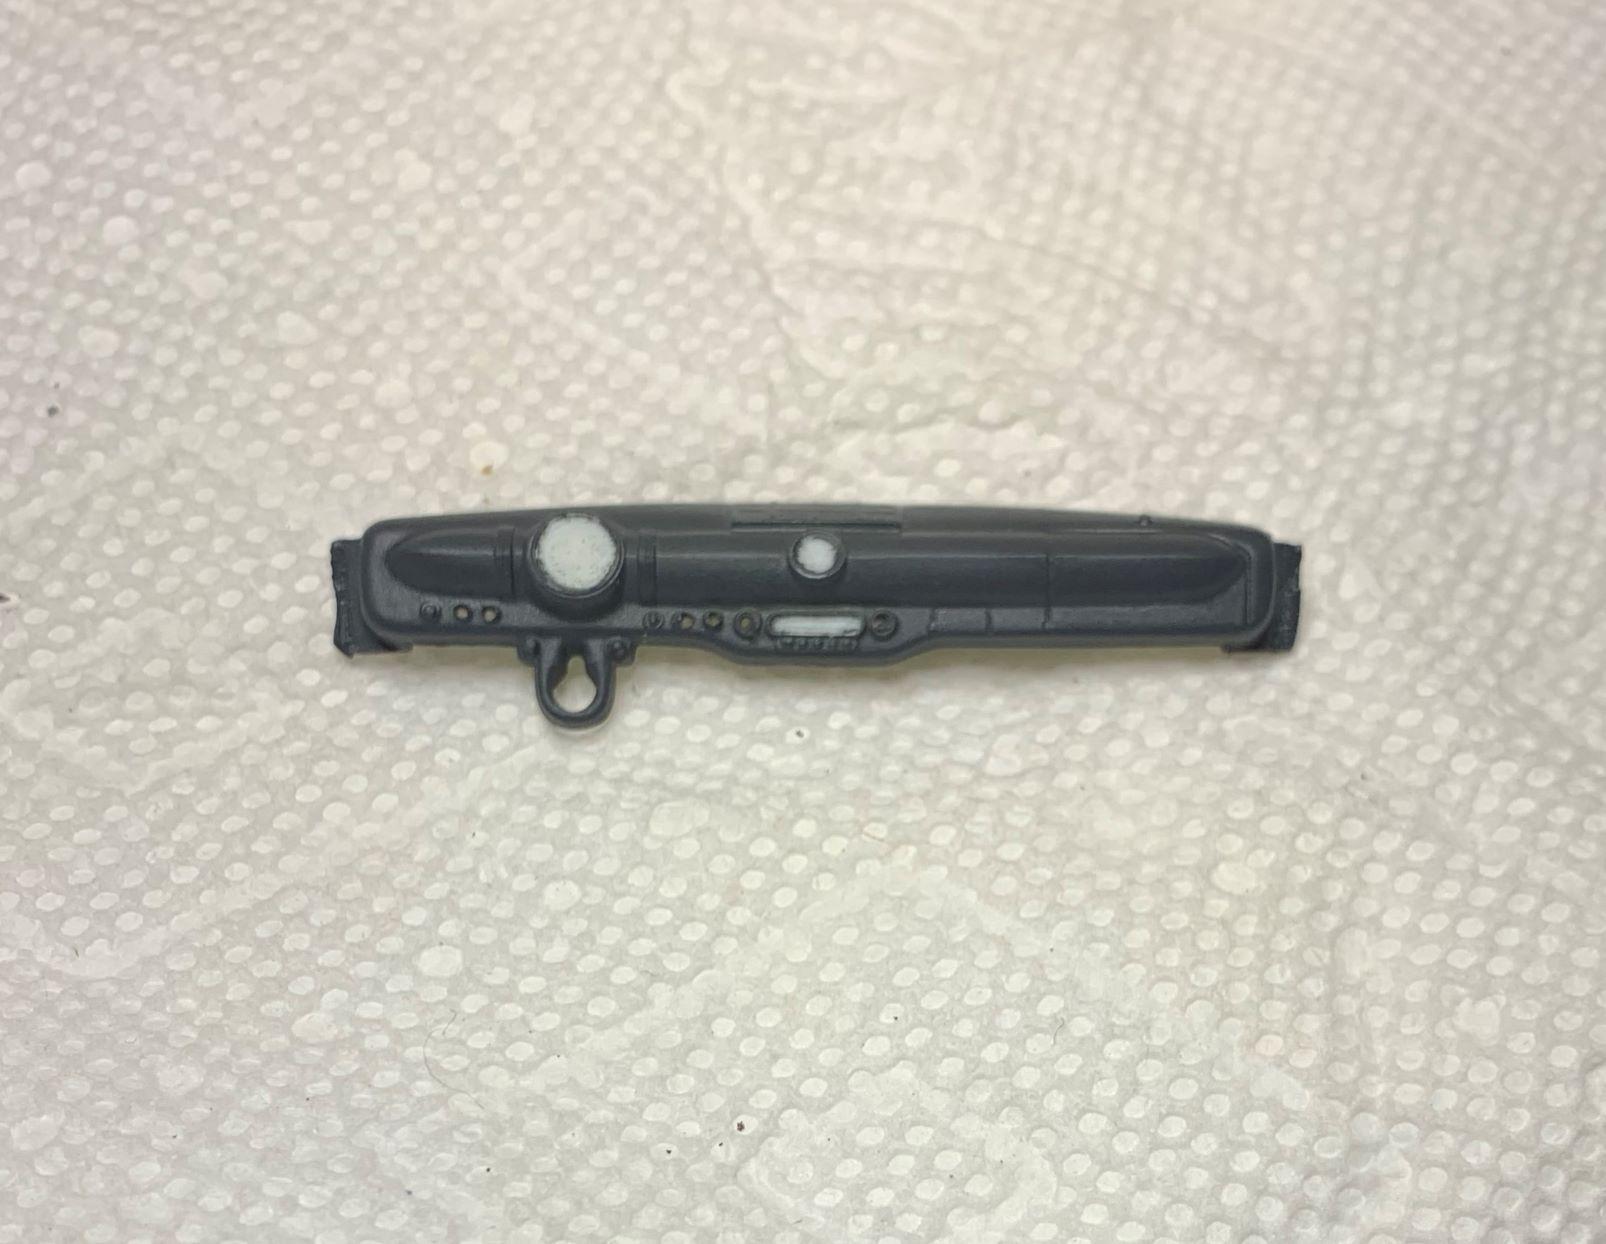
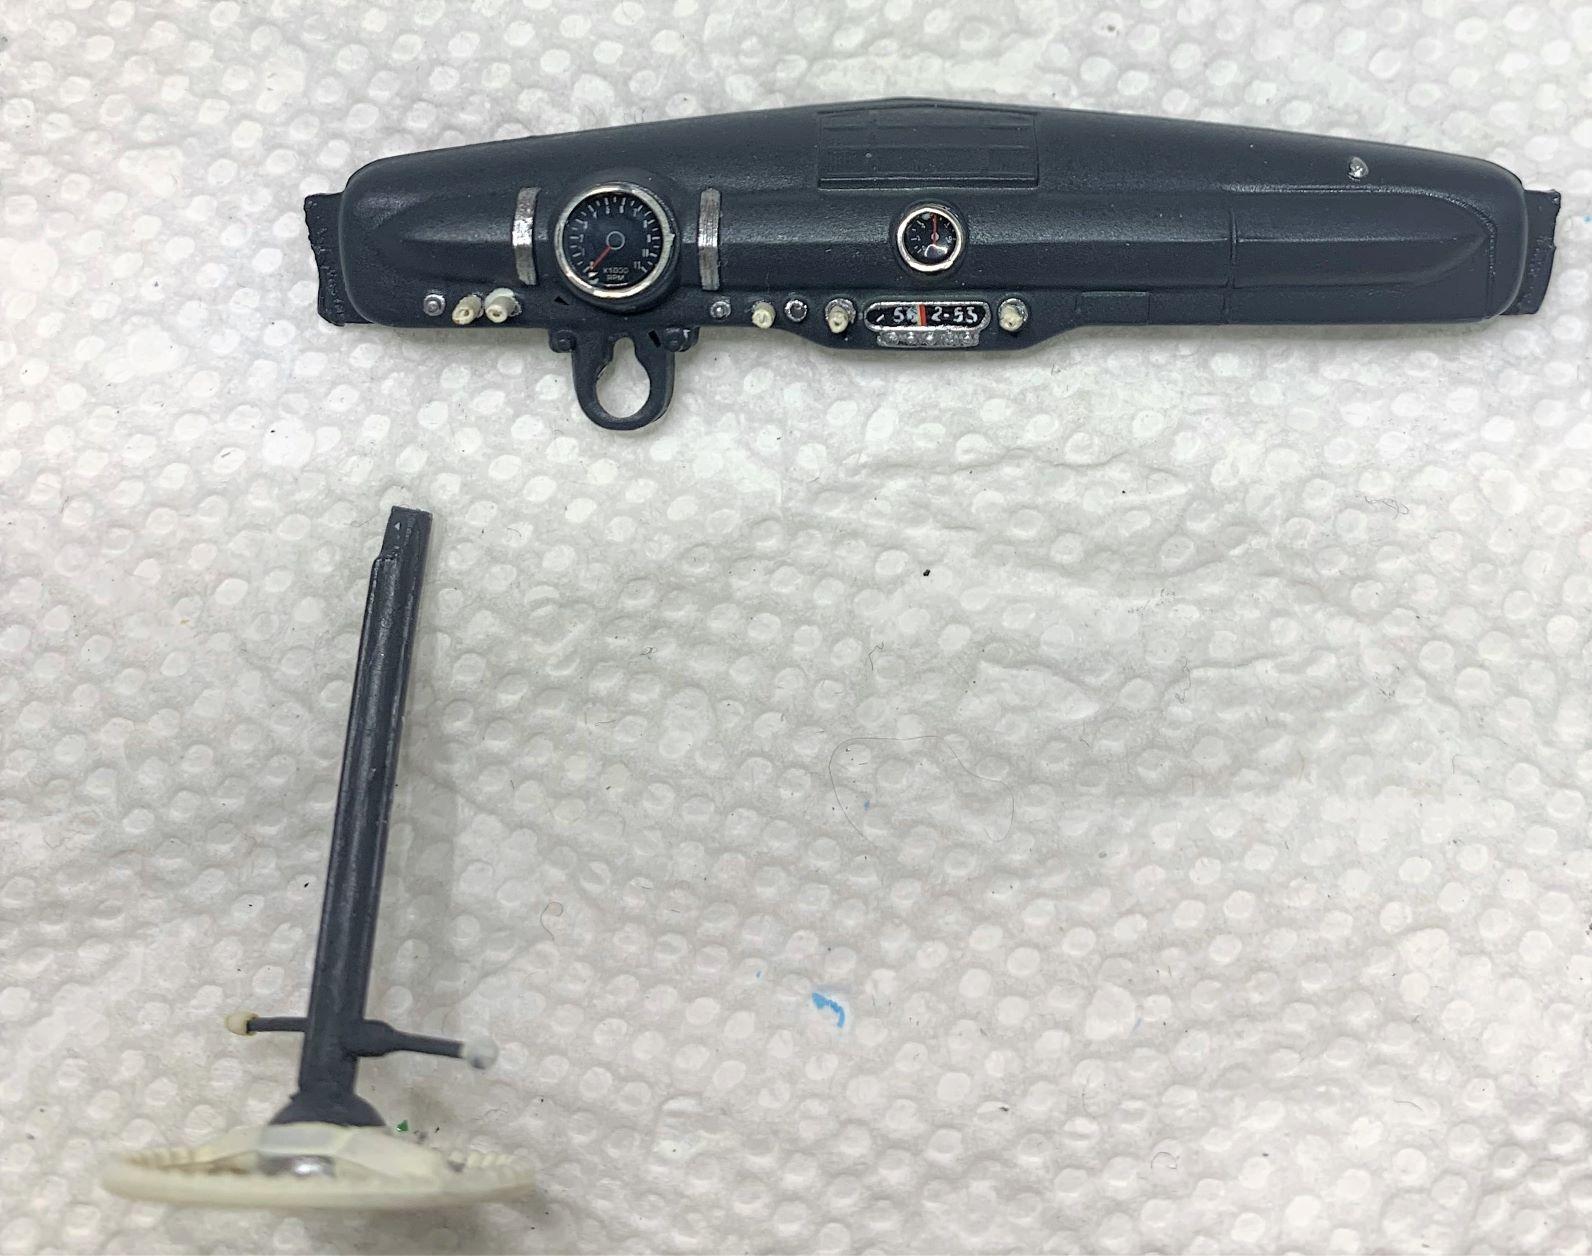
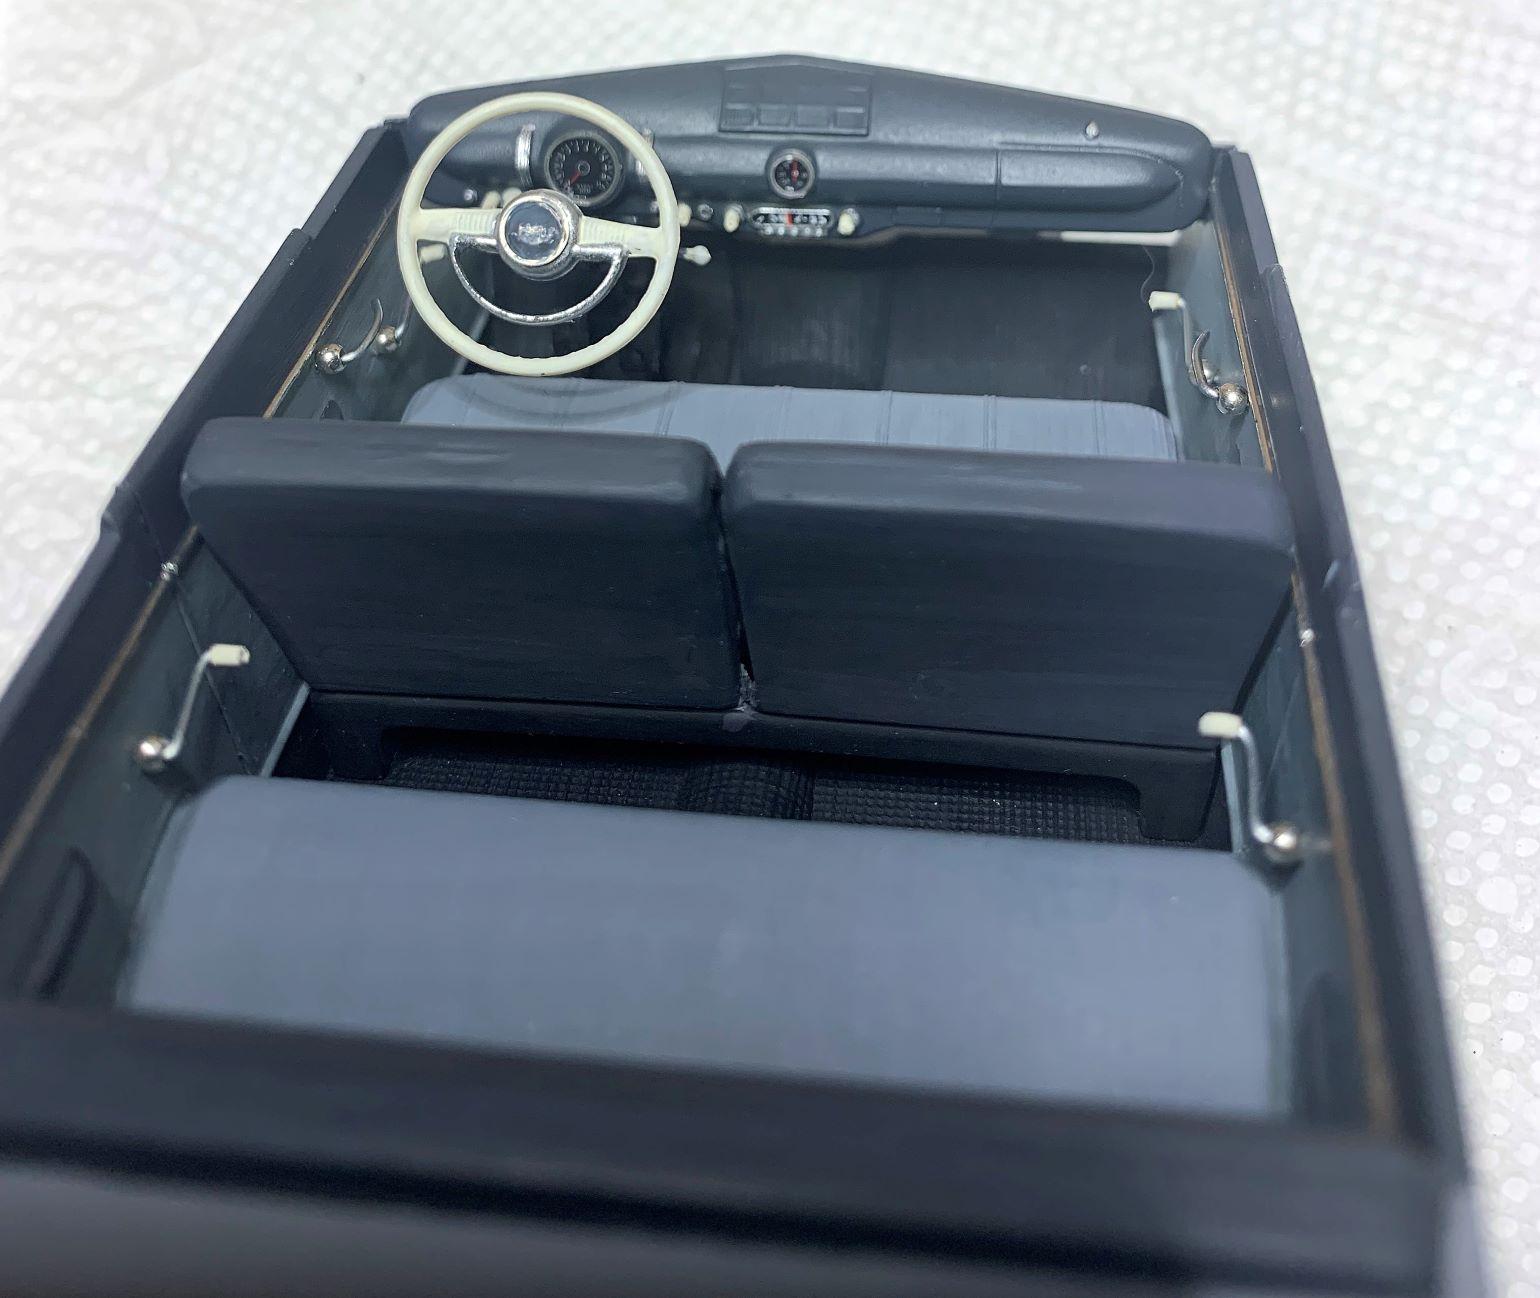
I cut down the center of the front seat back. I thinned the horn ring. I removed the raised details from the dash where I hope I can find decals to fit! Also drilled holes to replace the "knobs" with something more pronounced. I added a turn signal lever and detailed the dash, a bit, good enough for what I want. Made up the door pulls and some detail for the steering wheel. Nothing here is an accurate '49 Ford interior, just my take on a fun model restoration! Cheers!
-
AMT '67 Mustang Fastback-Now in Under Glass Section
dino246gt replied to mustang1989's topic in WIP: Model Cars
Looks great! -
Wow, that's very cool! Sinister looking! Great chassis mods, perfect stance!
-
Very nice! A lot of cool scratch building, I like all that. COOL!
-
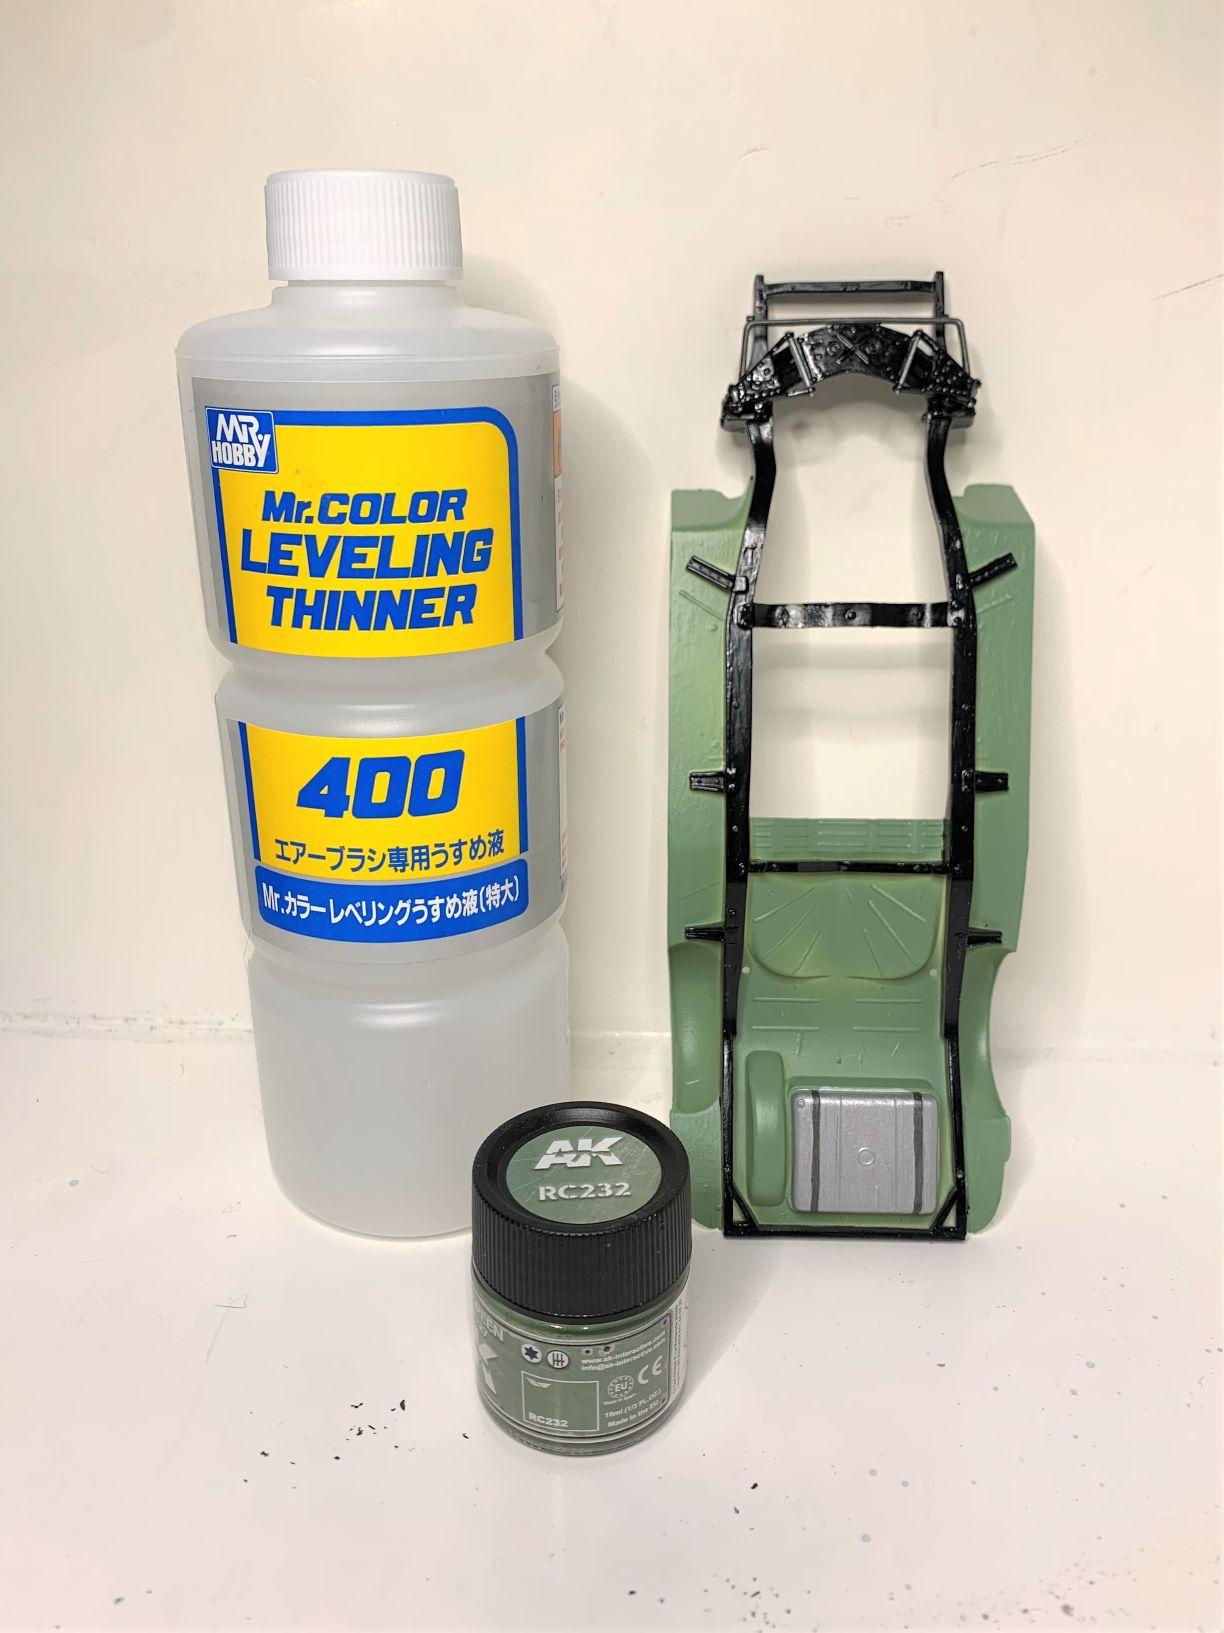
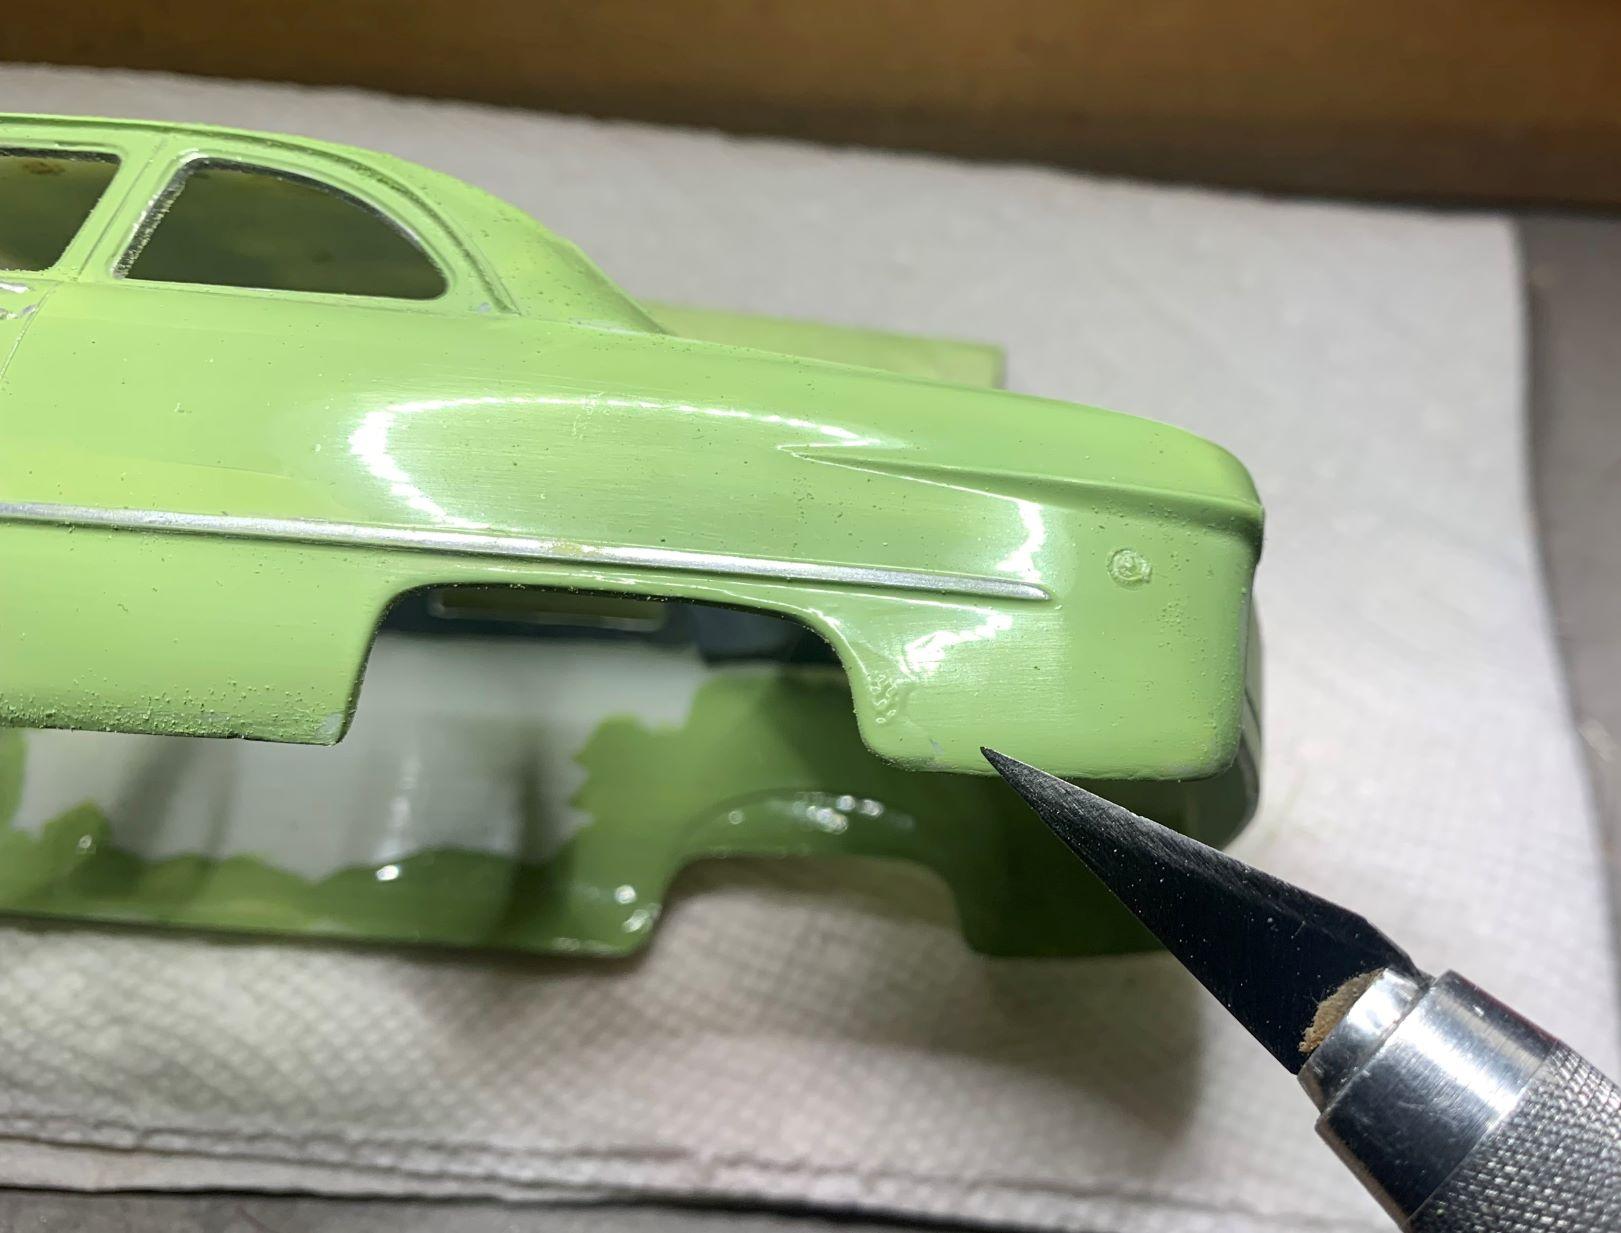
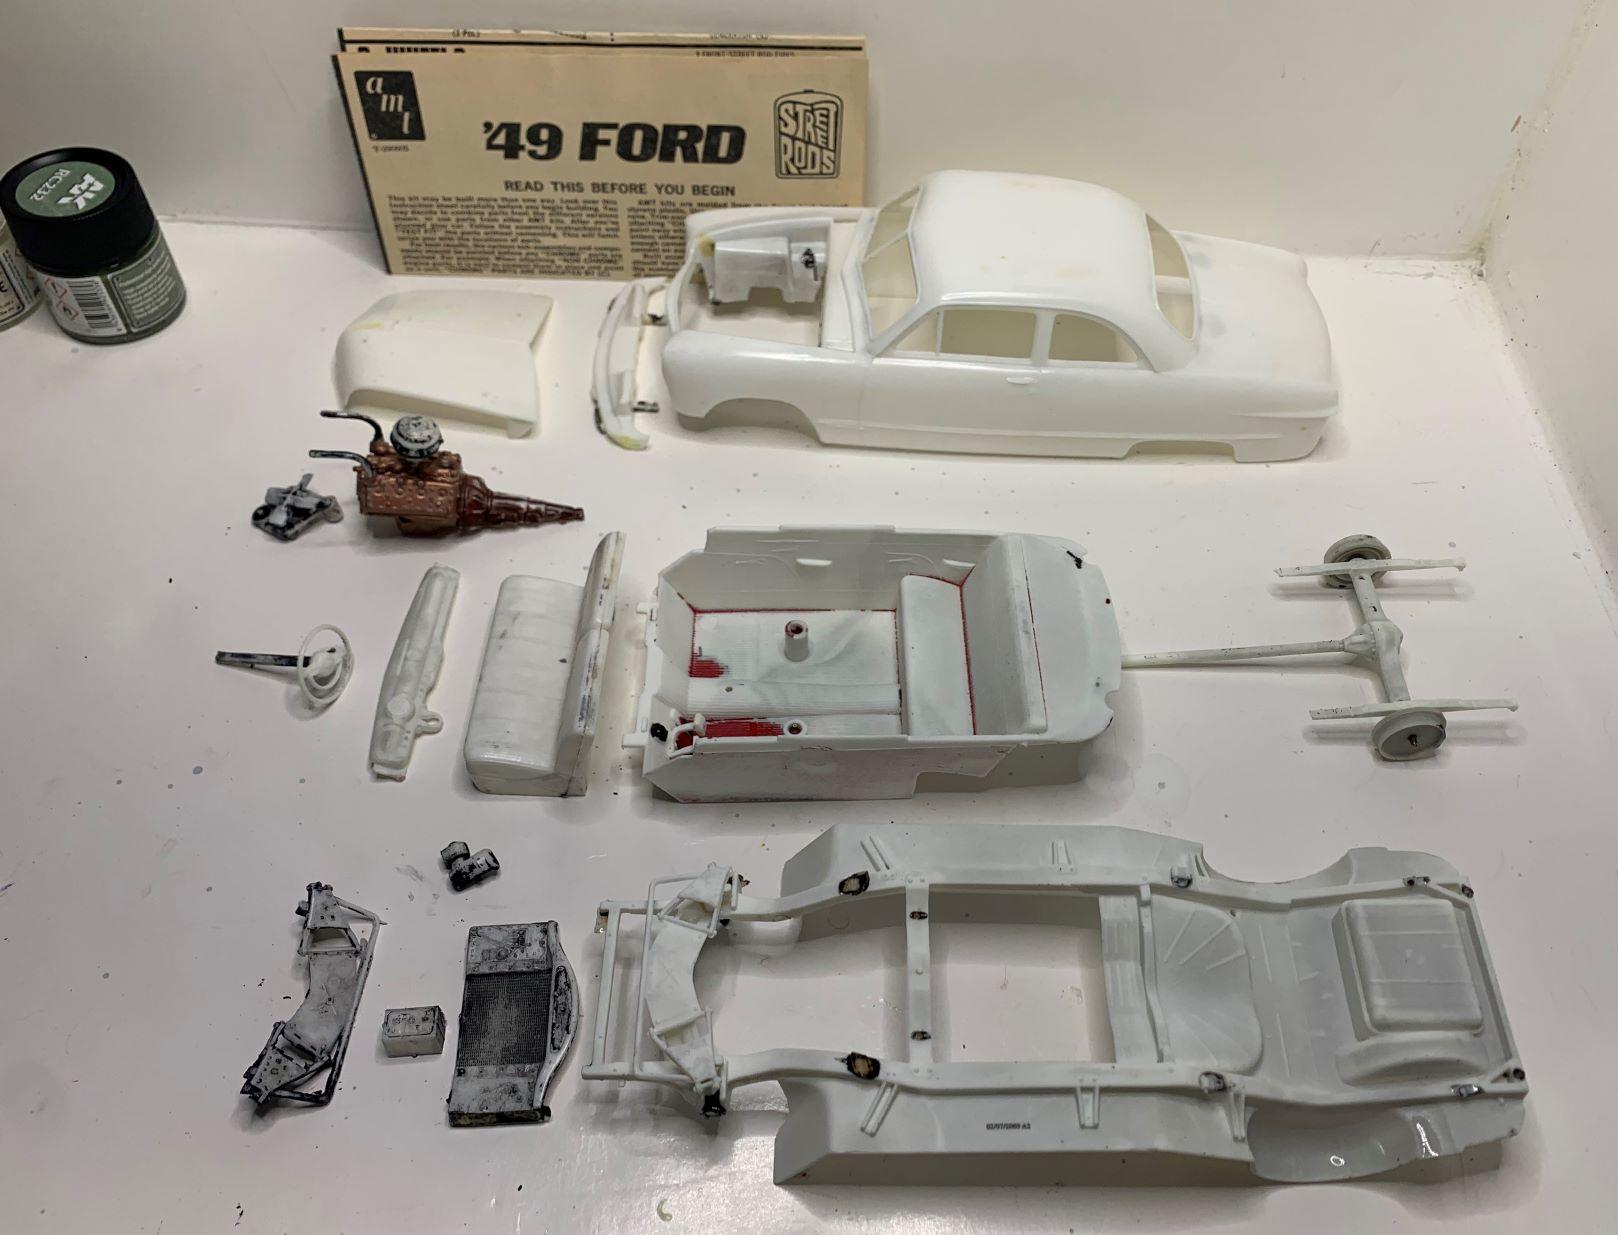
I stripped that old paint and primed the body and chassis with Tamiya white primer then mixed some Mr. Color Leveling Thinner with AK RC232 acrylic lacquer and airbrushed it.
-
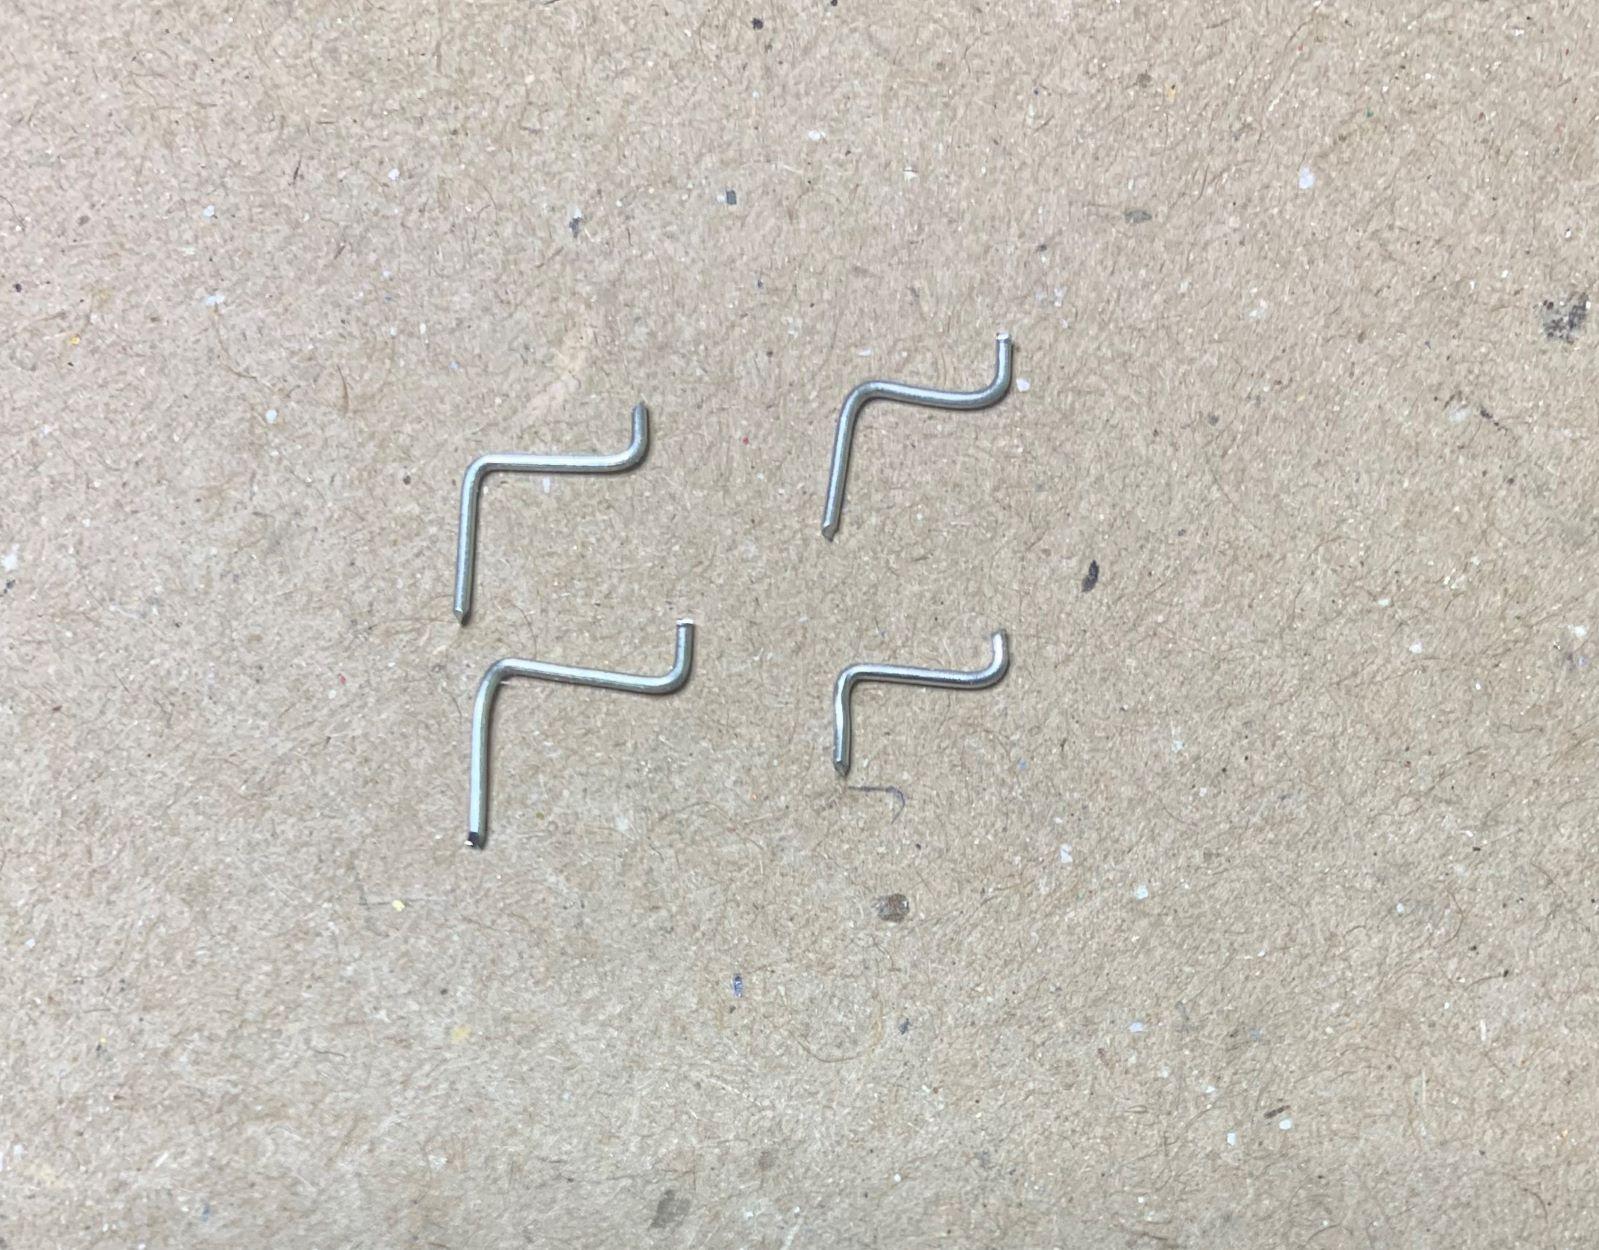
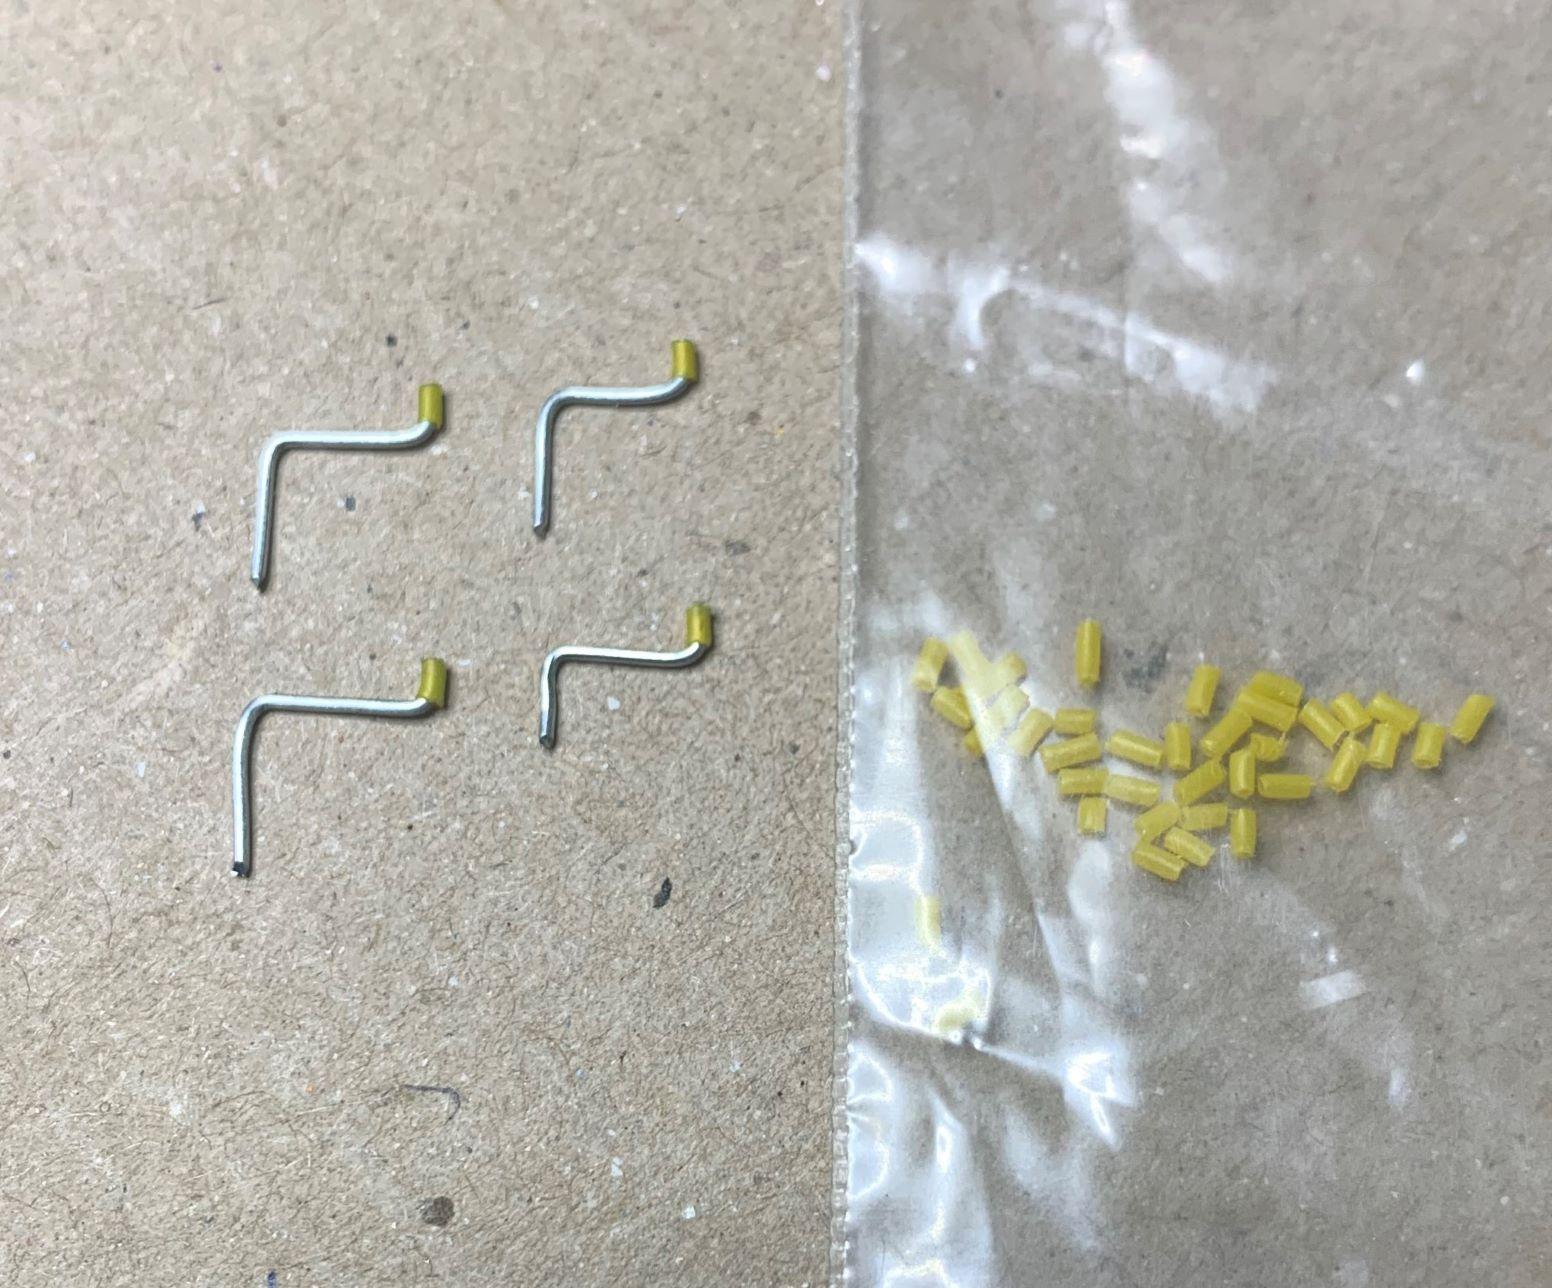
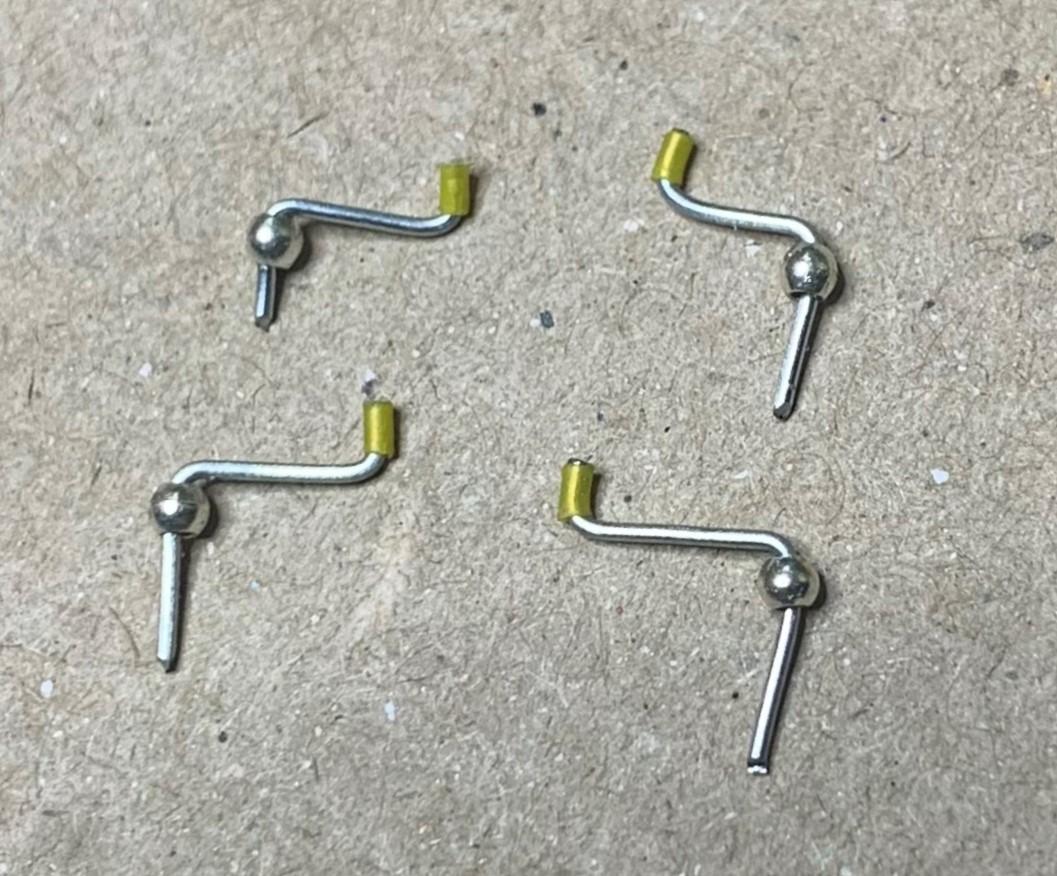
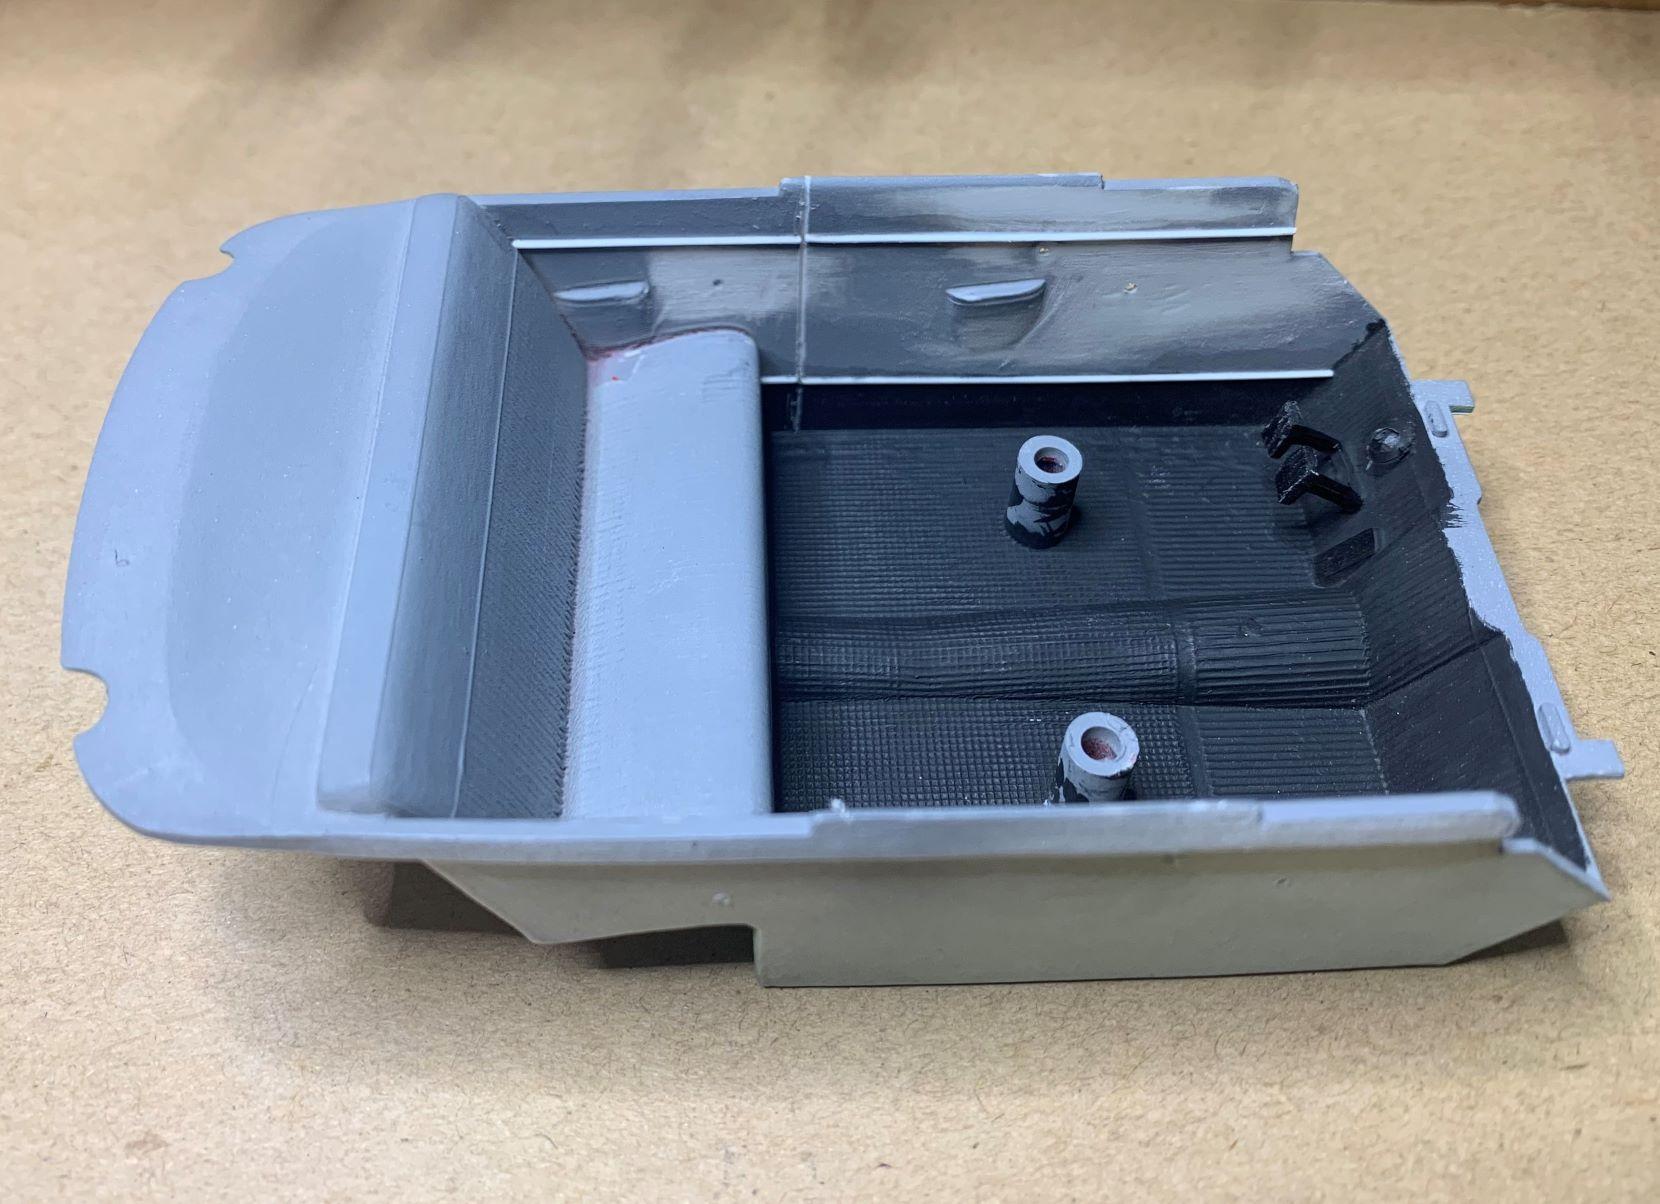
Working on the interior, I started to make window cranks, so I bent some wire, added the outer coating from single strand wire for "knobs" and a bead to each one. This is just a shelf model remember? So they're not what I'd use for a contest car, but better than the almost non-existant ones molded to the door panels! I scraped those off, then drilled for the new ones. I also added some .025 styrene strips for more visual depth.
-
The body did need some cleaning up, plus I re-scribed the trunk and door lines. While I was doing that, I added the line at the bottom of the front fenders to separate them from the rocker panels. After an overnight soak in Purple Power, most of the paint came off, especially on the body!


.JPG.72085a89c9b75fd4aceb76051ca536e6.JPG)