samdiego
-
Posts
943 -
Joined
-
Last visited
Content Type
Profiles
Forums
Events
Gallery
Everything posted by samdiego
-
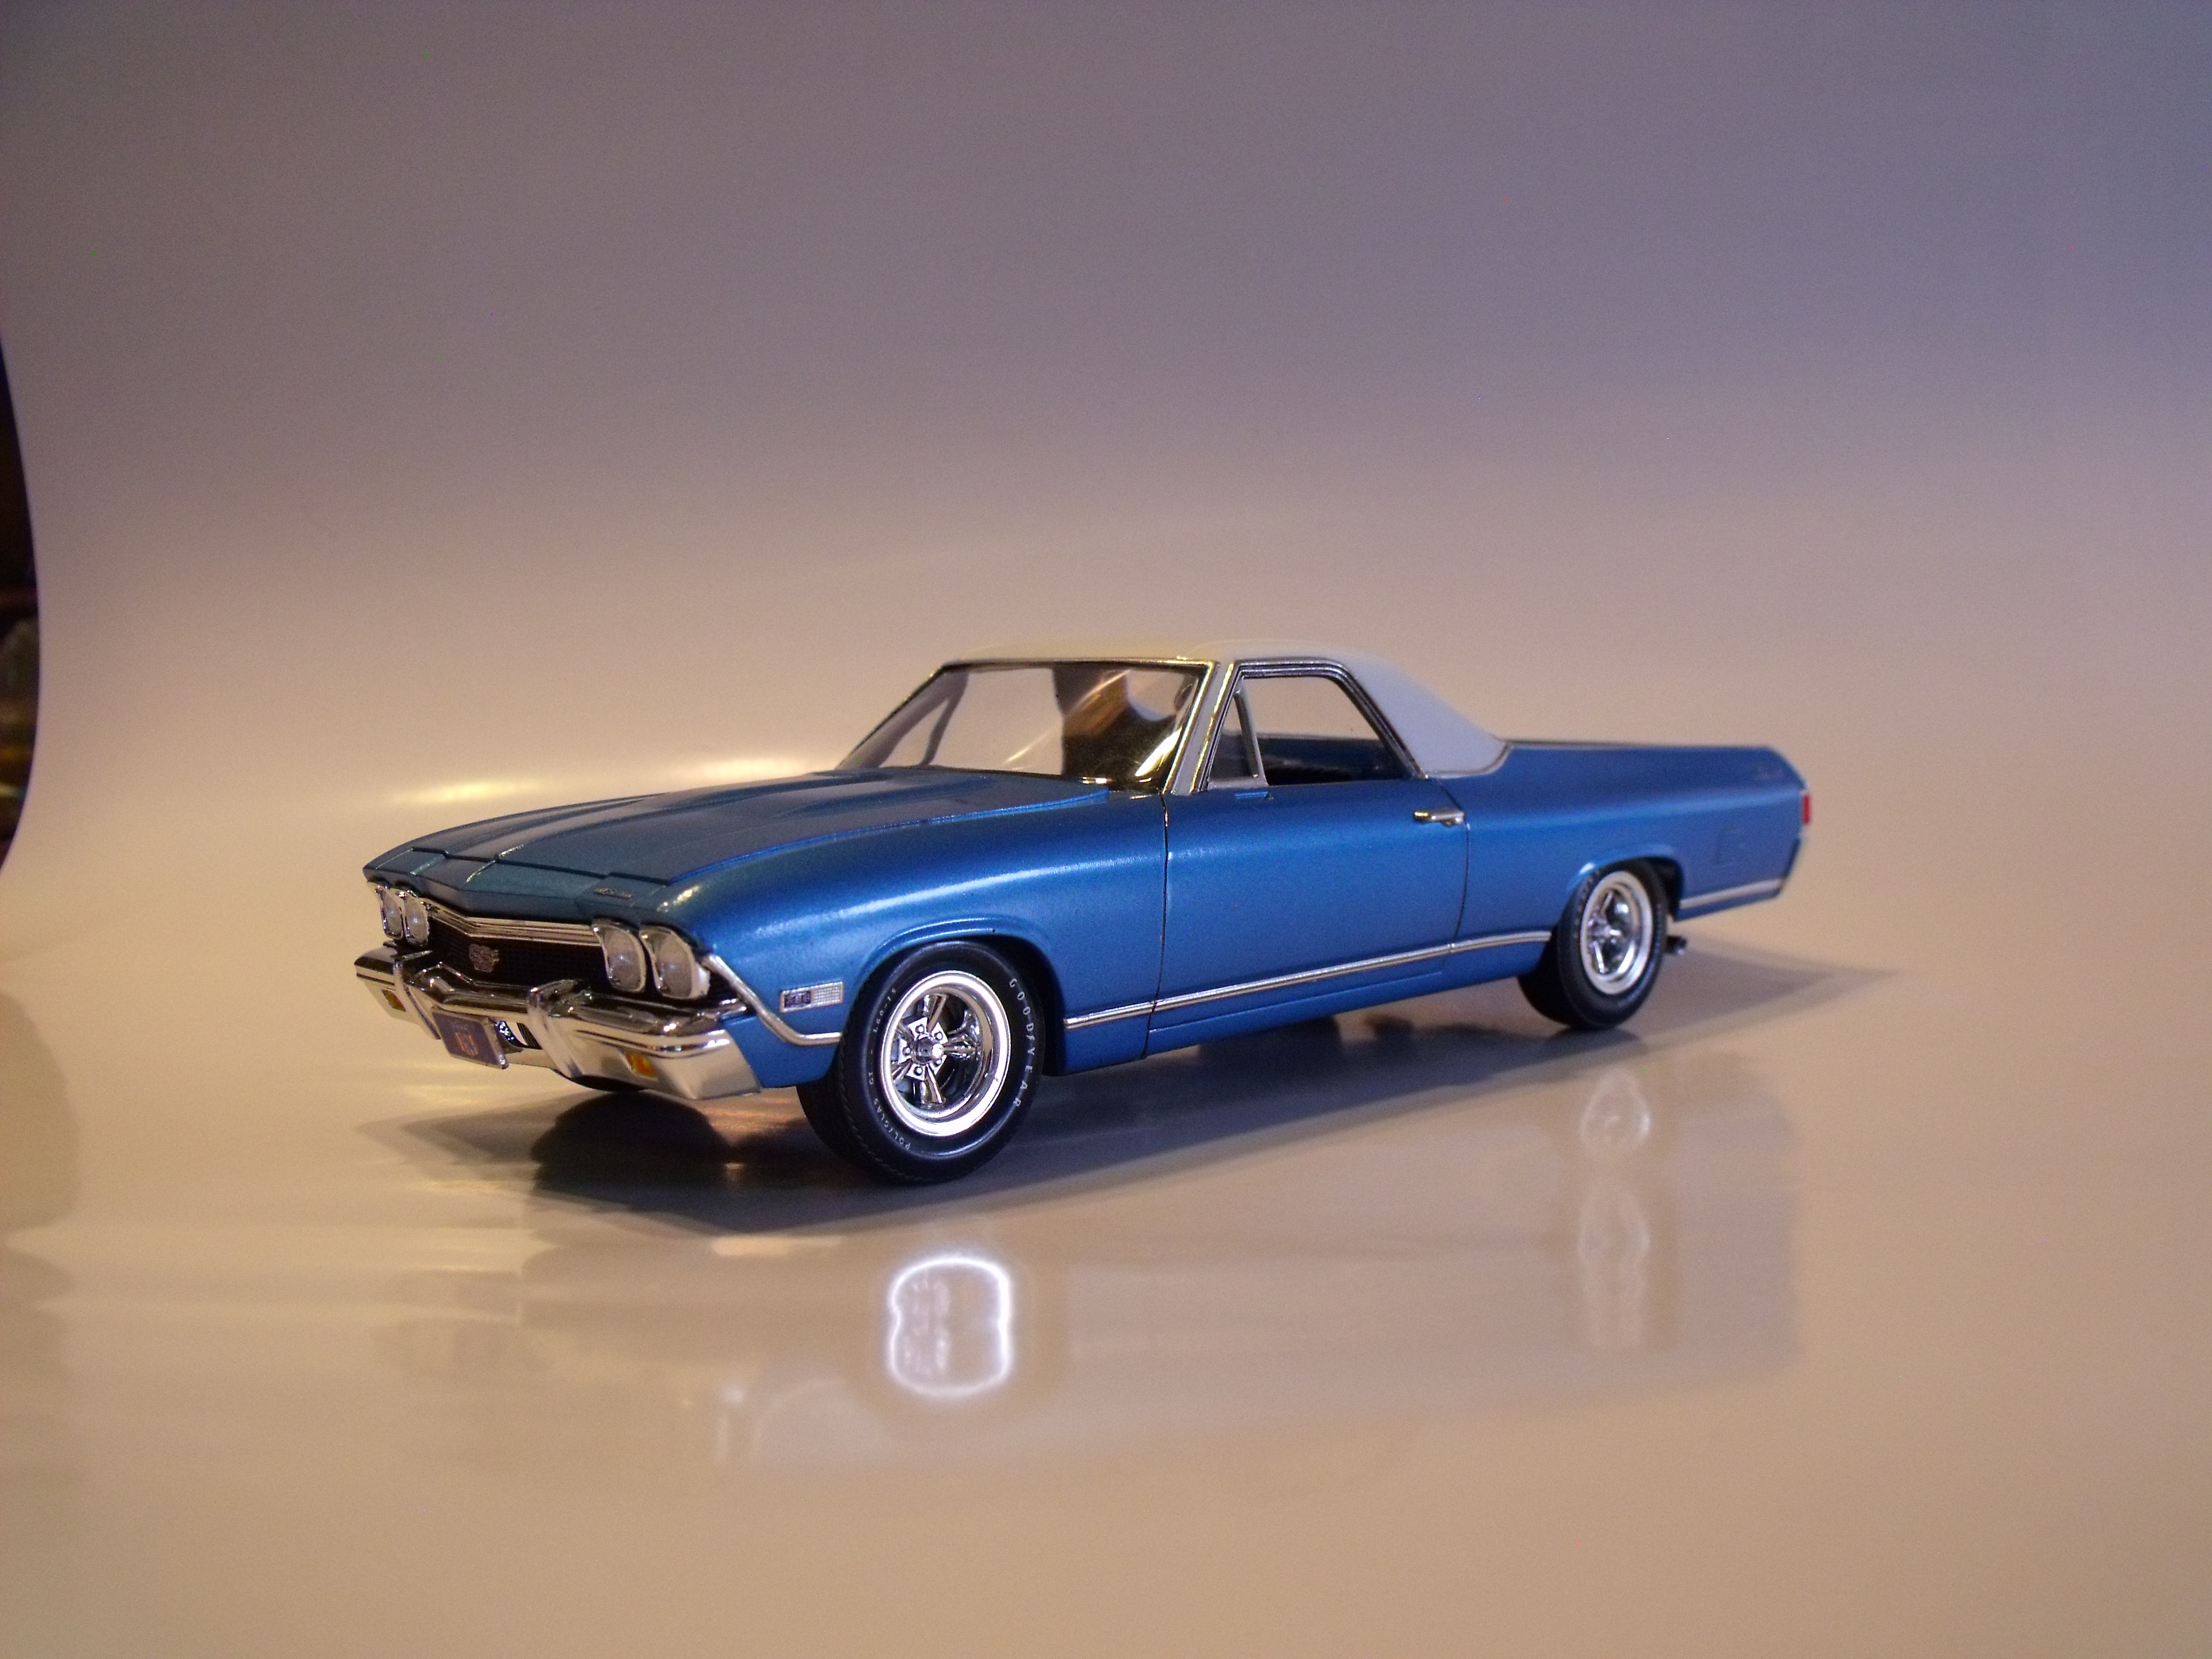
The blue was shot first as the Tamiya primer is pretty opaque. I've started using "Press and Seal" for the major masking duties. It works really well for me. Tamiya fine line was used for the edges splitting the trim down the middle.
-
Mostly I drive women wild, unfortunately not in the good way
-
Revell 1/8th L.A. Chopper
samdiego replied to 62rebel's topic in General Automotive Talk (Trucks and Cars)
Wasn't there a Revell Kawasaki drag bike as well? I'd love to see those brought back -
A house full of Plastic & Die-Cast
samdiego replied to Quicksilver's topic in General Automotive Talk (Trucks and Cars)
Was that Lancer pre-painted Ford body shot with Clearview 2000? -
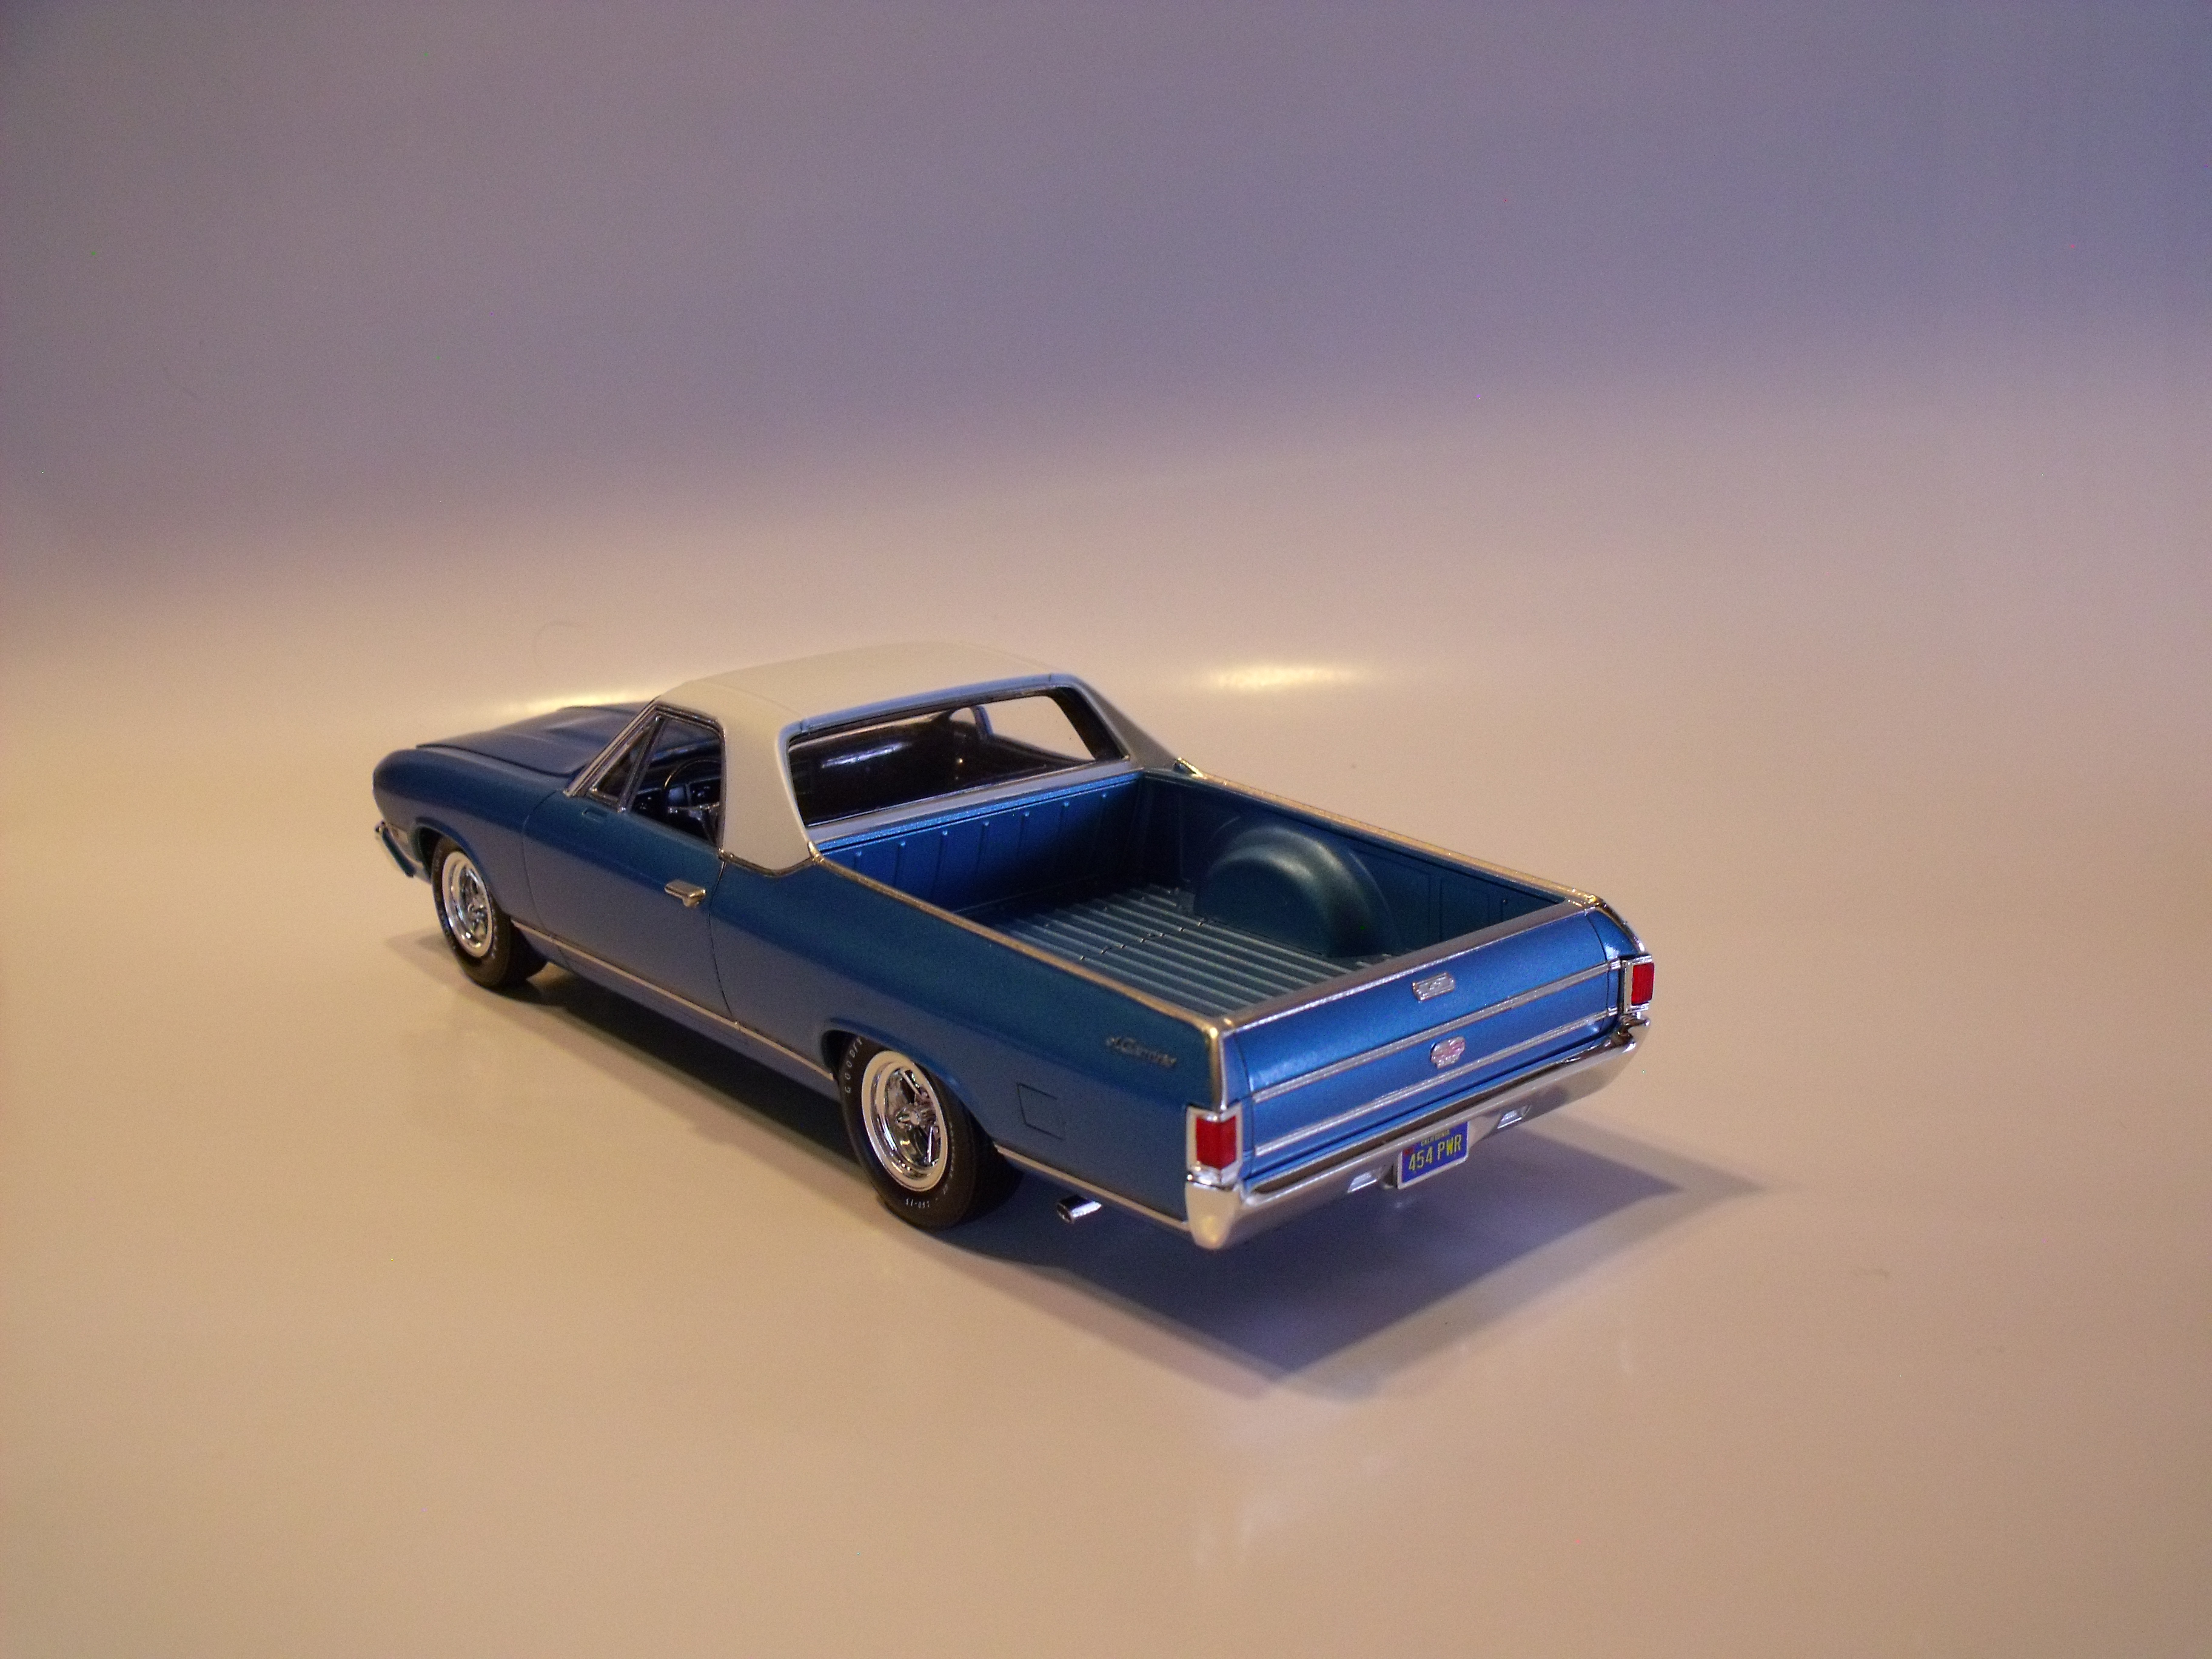
The original kit of the '68 Elky reminded me of the old promo style. The Nassau Blue was from the can, no primer. It did get a bit darker under the clearcoat. There's this too. The body halves didn't fit very well but the plastic is thick enough to take the sanding it took to even it up. Nice to have it.

-
Thanks, guys. I posted that at work and am feeling the need to add a few more comments. My first impression was that the body lines were a little wonky, especially through the quarters. I think it looks better under paint. I'd call it pretty accurate, actually. Hood fit could be better. The window fit is awesome with enough friction at the small locator pins to hold them in place, front and back. The front end chrome also friction fits well, not so for the rear. Better attachment points would be good here. There is really nice detail on the 396. There are brackets on both the alt and the AC compressor. Lines for the AC. Decals for the valve covers and air cleaner. There is a nice open element version on the chrome tree, I haven't reassembled the under hood stuff yet. Dash decals would have been awesome, the gauge on the left may be a tach with a clock in it (I thought Tic Toc Tach was a Pontiac thing) very faintly engraved on two levels. Mine could have come out better. They should also have clear lenses at he edge of the bezel, about a scale inch and a half from the faces. Mold seams run over the chrome trim in places but aren't huge. There are a few sink marks which I ignored because I'm lazy. Right at the point of the body front at the top crease on both sides and in the sail panels under the faintly textured vinyl roof The top is Tamiya fine white primer. The clear is also Tamiya.. I kept the roof treatment mostly because I realized that Trumpeter's Monte Carlo was the only vinyl roof car I've built and I gave that one away after a not so positive review for the mag. And I didn't want to do the work as it would interfere with my current speed building style. About three a month, almost finished. Anyway, I probably needed a vinyl roof car on the shelves. Looks great up there to me.
-
That's Nassau Blue Model Master Laquer. A factory color
-
It's a pretty good kit, definitely better than the Promo. The body to chassis assembly is nerve wracking. I might suggest leaving the accessories off of the drive until after and leaving the motor loose. The brake booster and master cylinder also. That's where the interference was. Yes, I'll get to the side mirrors.
-
More American Graffiti Dragster Replica
samdiego replied to Blackkat13's topic in WIP: Drag Racing Models
A movie that's on my short list of faves. Nice job -
Why Glue Bombs ?
samdiego replied to D. Battista's topic in General Automotive Talk (Trucks and Cars)
My favorite glue bomb. The first step in construction is complicated and involves trapping the working landing gear between the fuselage halves. The builder's technique was to place the part and squeeze cement around it, didn't work and he gave up. No paint either. My Dad had built one of these when it was new. I finally played with it to the point of destruction. After resurrecting this one I proudly presented to him to make up for it. One of my fave planes, a hard to find kit and I got it for $5. It came apart nicely, went back together just as nice and everything works. -
Sad Sad Sad News: Our Harry Passed Away
samdiego replied to Gregg's topic in General Automotive Talk (Trucks and Cars)
One of my greatest pleasures in life has been writing for Model Cars Magazine. It was an honor to work with you, Harry. Thank You and Godspeed -
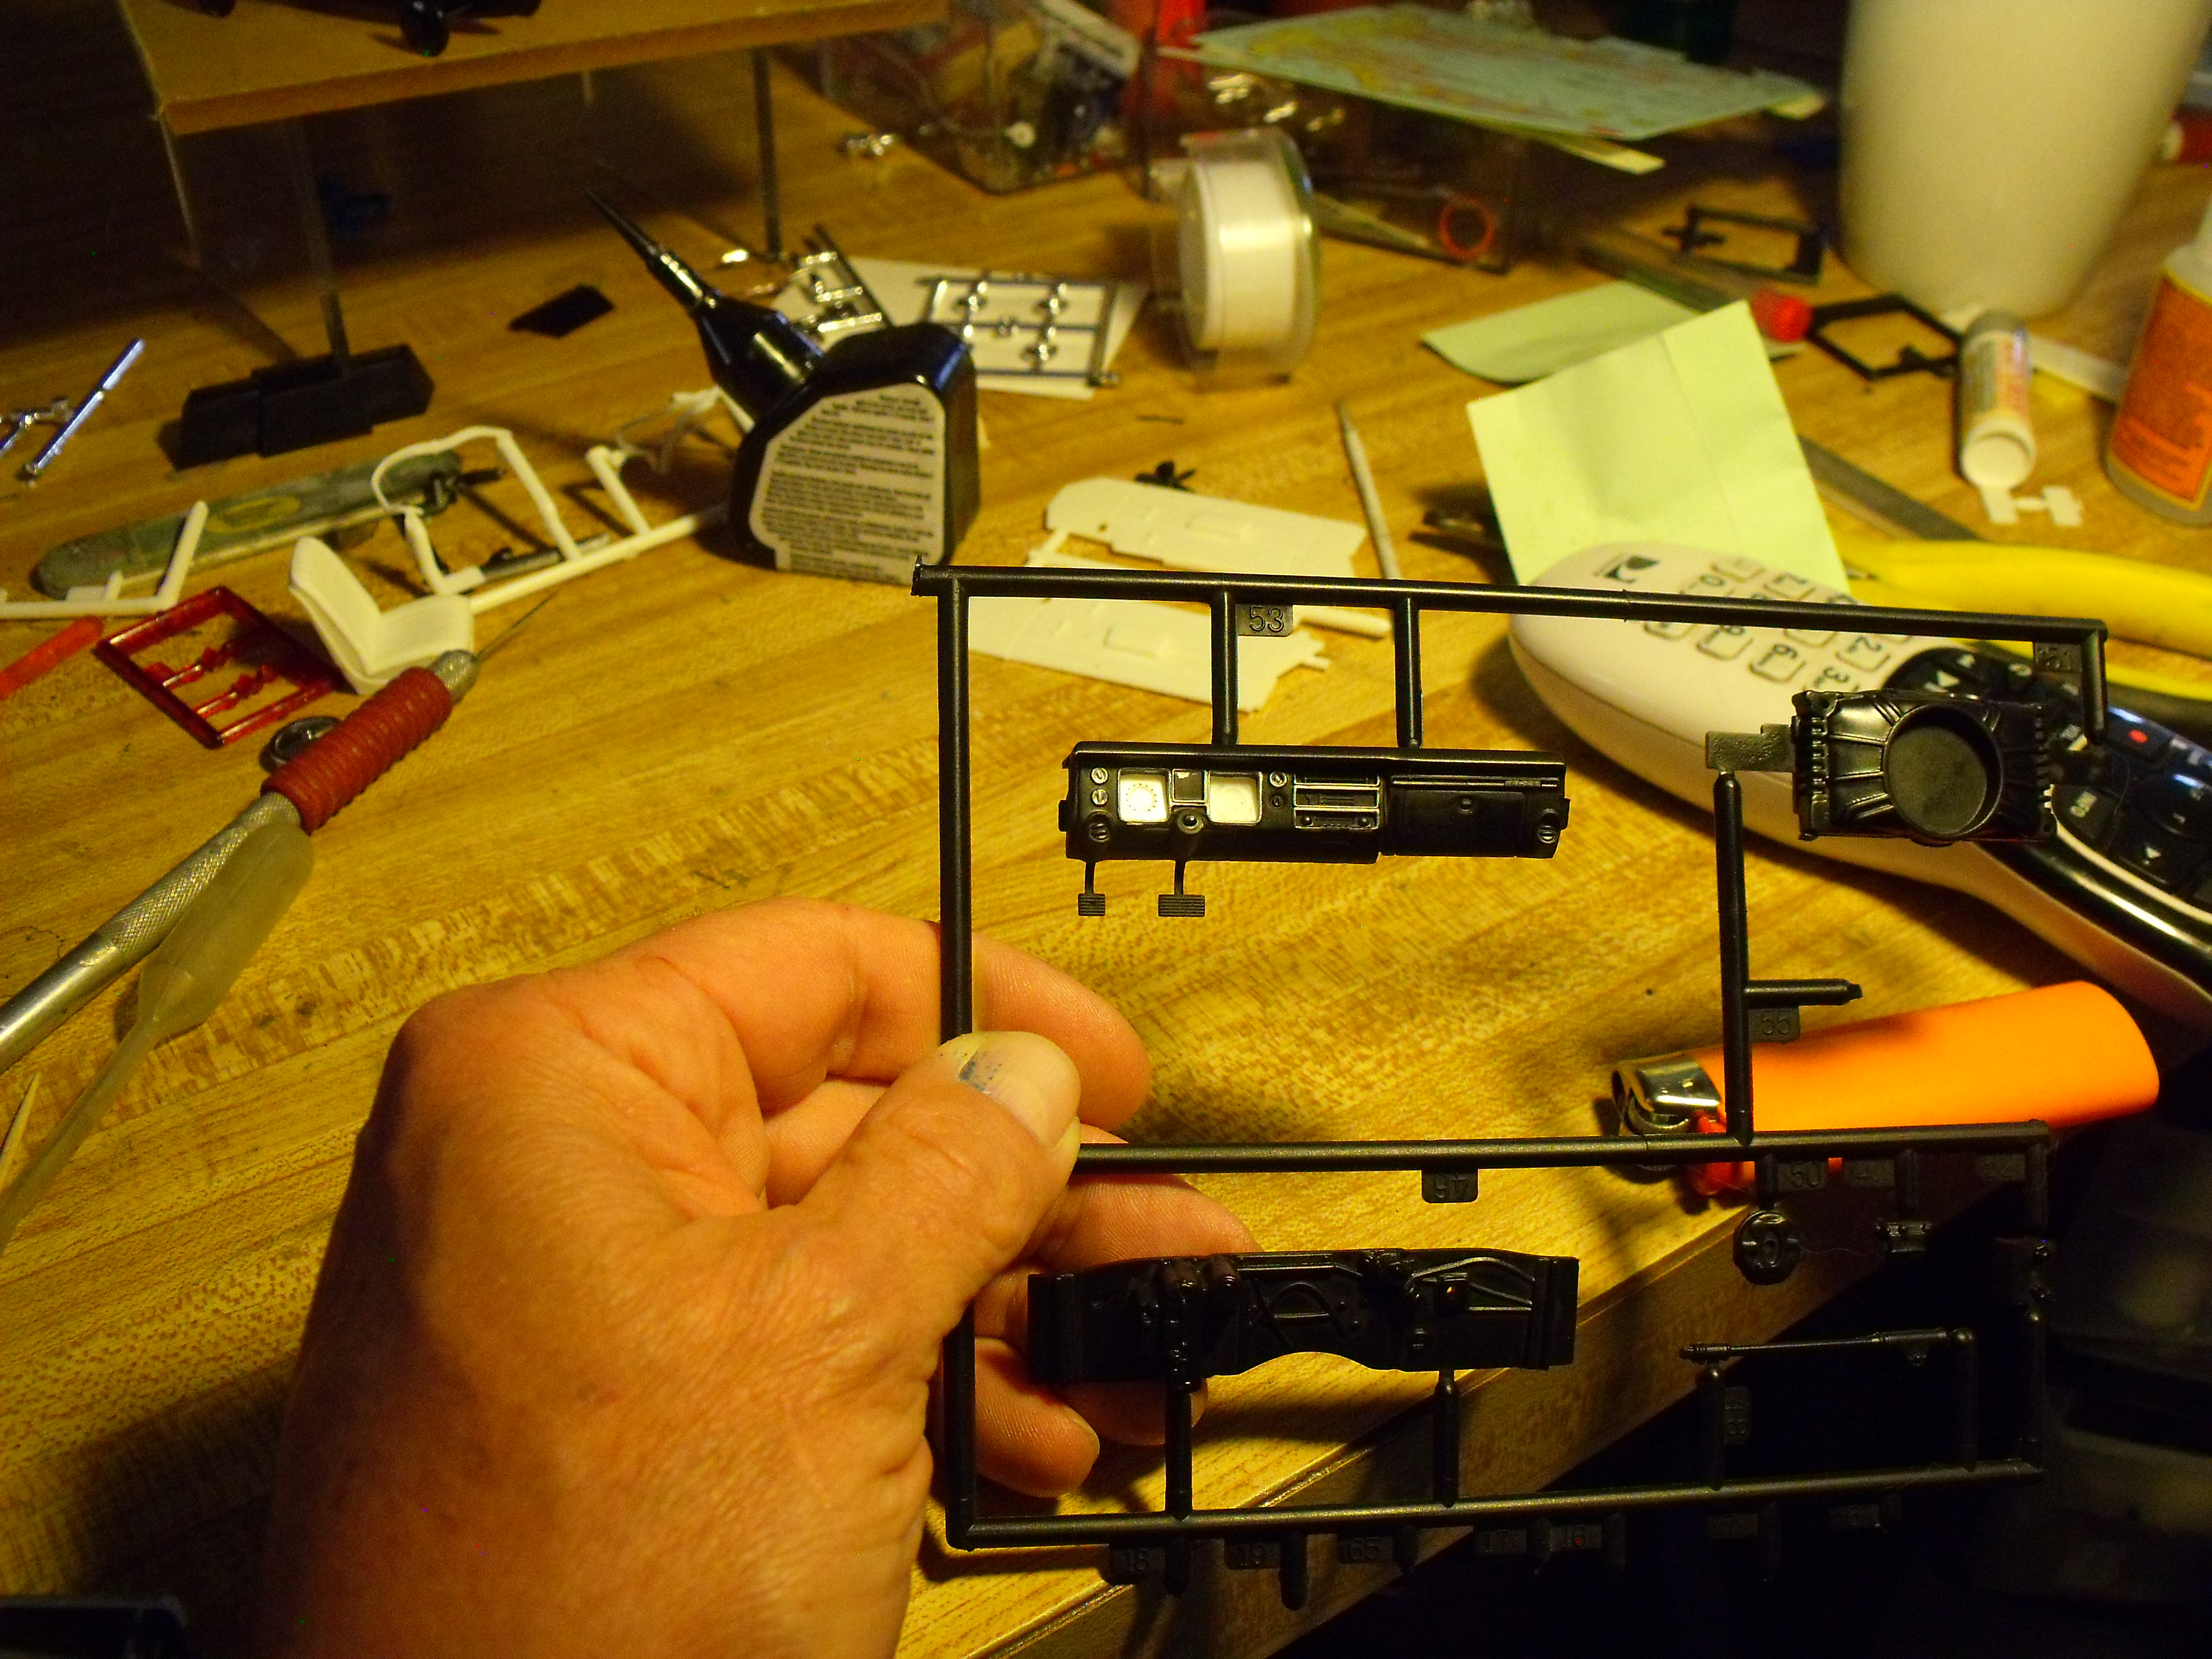
This is the dash for AMT's '68 El Camino. I thought that I had globbed on a thick enough coat of The Detailer's liquid mask to protect the gauges. I shot the black, let it set and pulled the mask. It's hard to see but the one on the left took a perfect coat of black only on the high spots of the numbers. Click on it and magnify. One of those happenings that I couldn't have done if i had tried. I don't know if this is possible to repeat reliably but it does highlight how fine you can get with the liquid mask. i had no idea. The downside is that I was going for white numbers.
-
It's a relatively quick build. I think the most time was spent on the dash board. Mostly a matter of foiling the face, painting it black and taking off the high spots. The gauges are decals. I just painted the houndstooth areas on the seats Nato black to give a more clothish appearance. There is a clear deflector that mounts mid hood. I found it way to thick. I sanded, polished and Futured it, but haven't put it on yet. I'll get to the side marker light that I missed and the number lights for the passenger side door, too. And a bit of Detailer in the shut lines . . . that's why I rarely go for "Under Glass" here
-
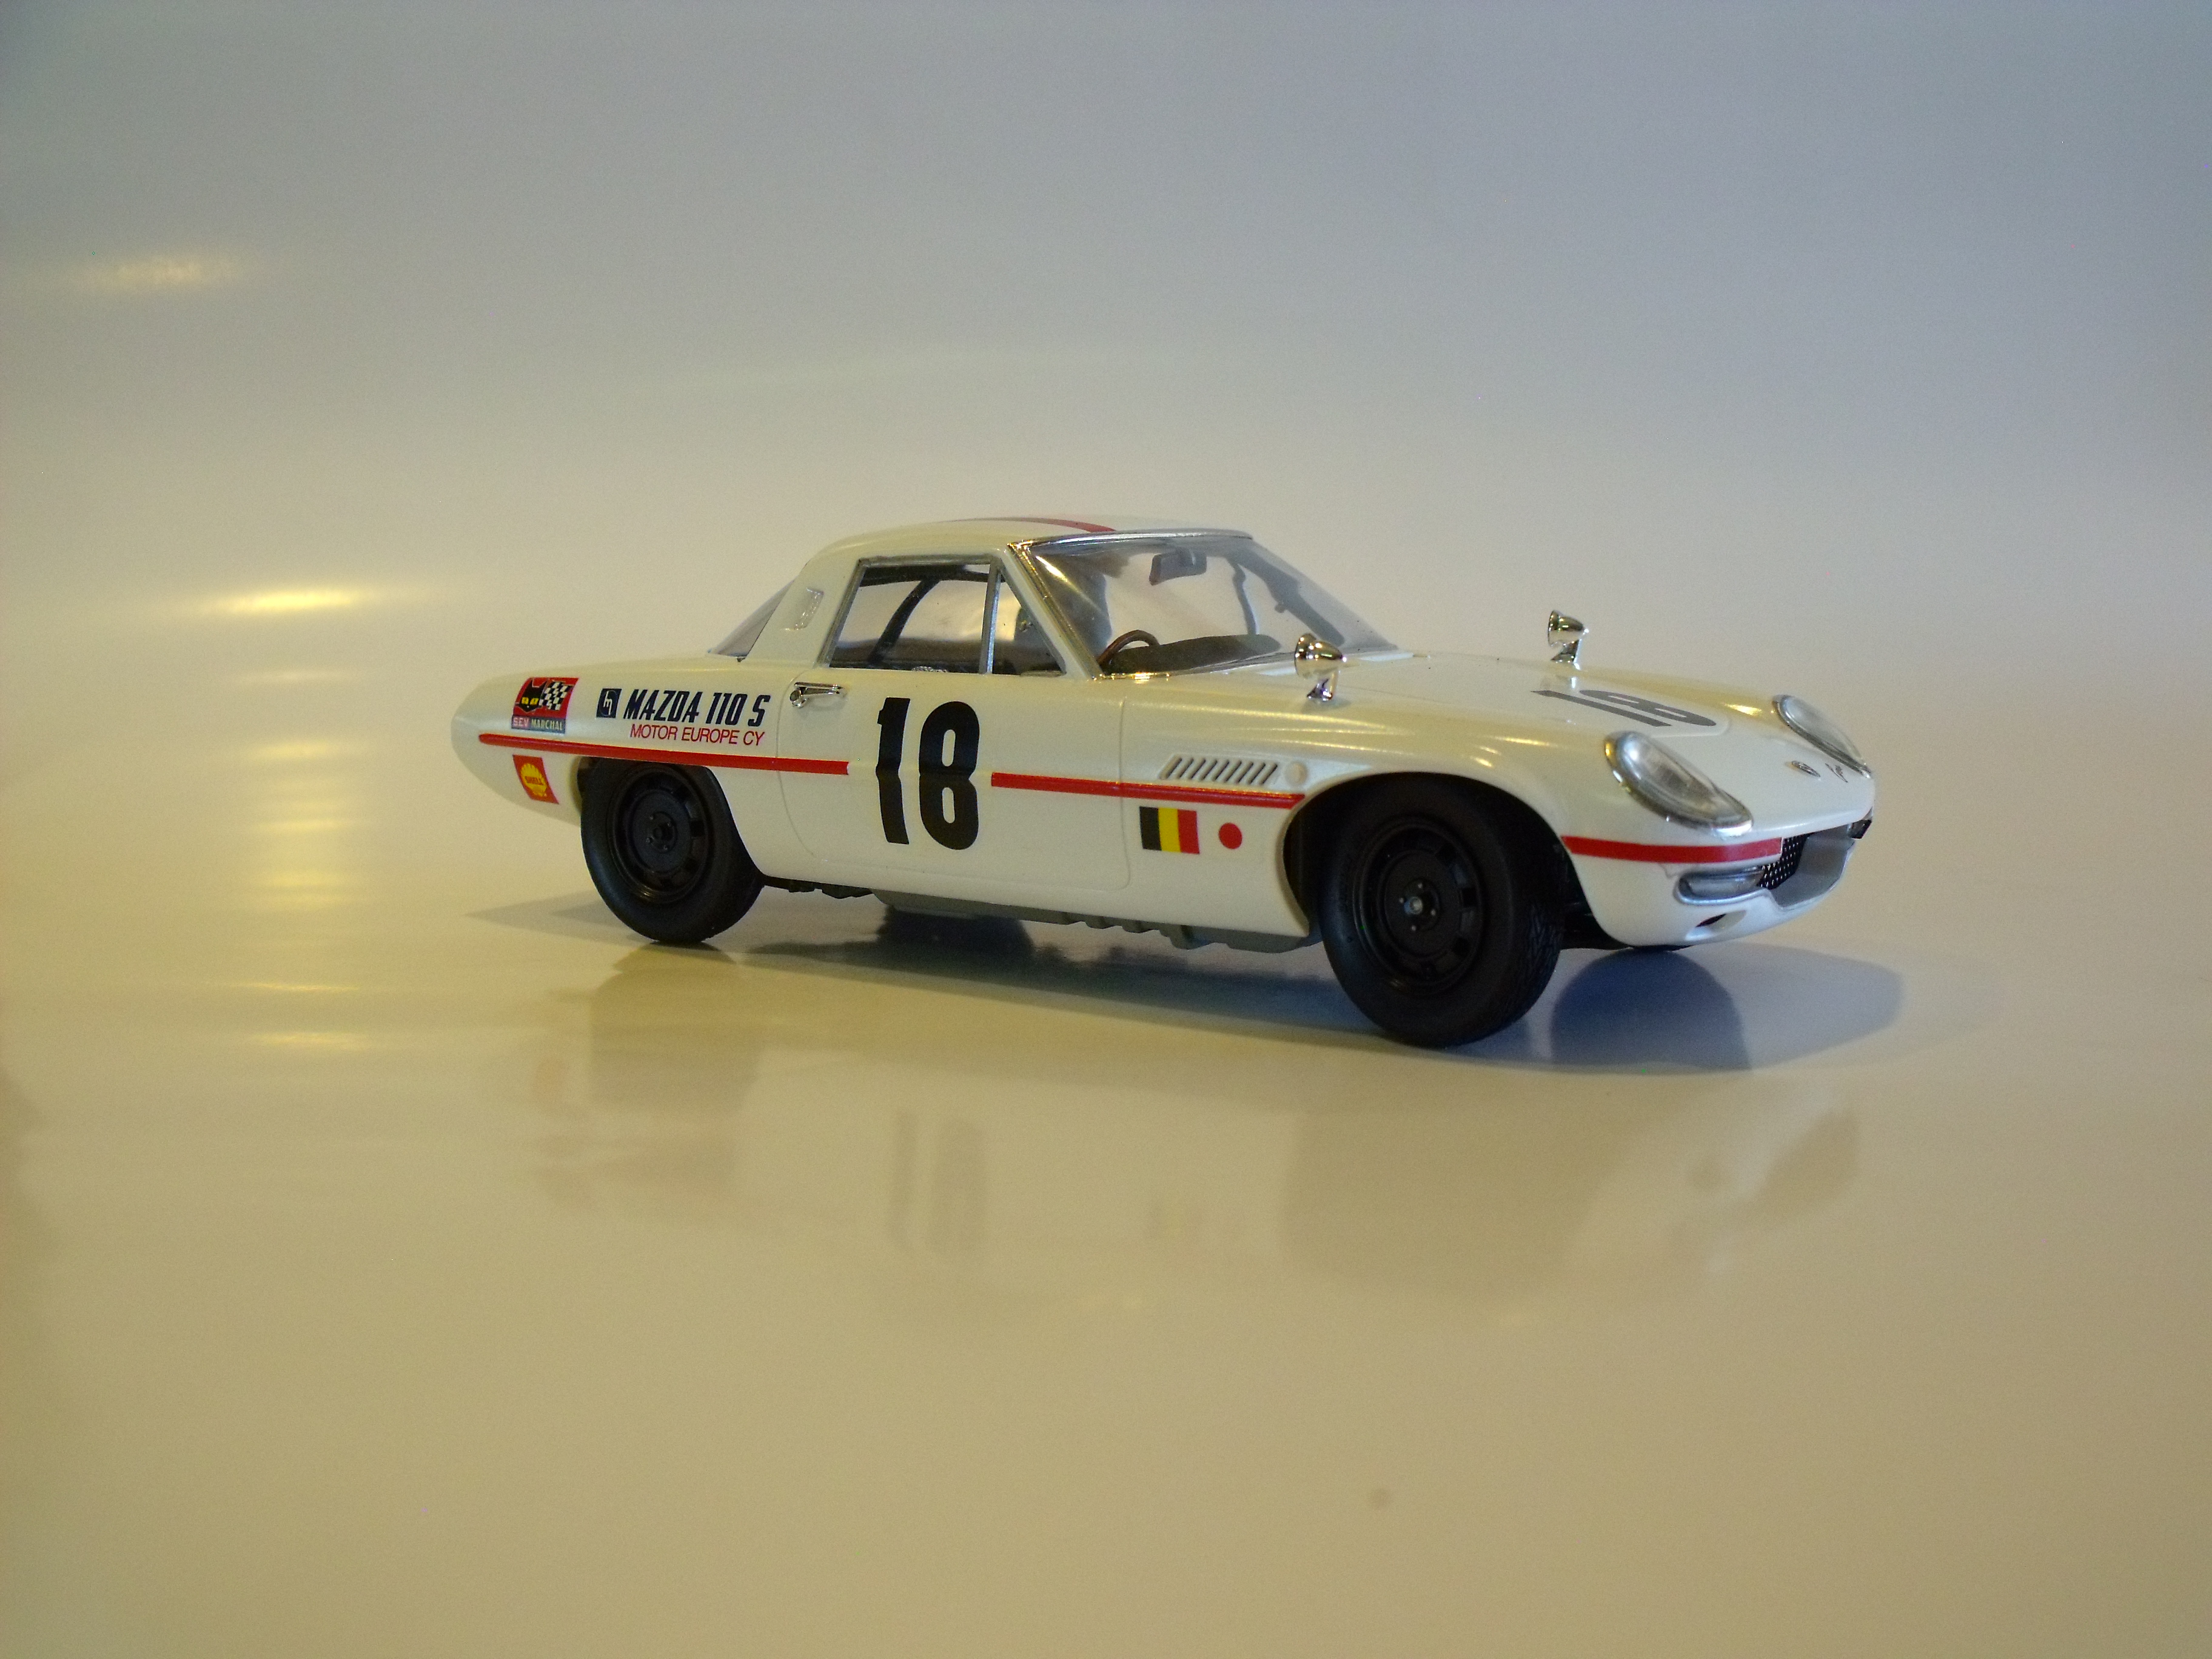
I don't get the chance to build Hasagawa stuff very often. I bit on the oddball aspect. This a pretty nice kit, a curbside but well detailed and nicely tooled. The decals are a bit brittle but reacted to Solvaset. The adhesive backed photoetched stuff is awesome even though I was just a tad off with the trunk emblem. It contacted before I was ready and they stick well with the slightest touch. The side and cowl louvers are molded open as are the wheels. This is a special race edition and you don't get stock bumpers. I noticed this after i painted it so I missed filling a few mounting holes. Same with the fender mounted mirrors but I would have put them on anyway.
-
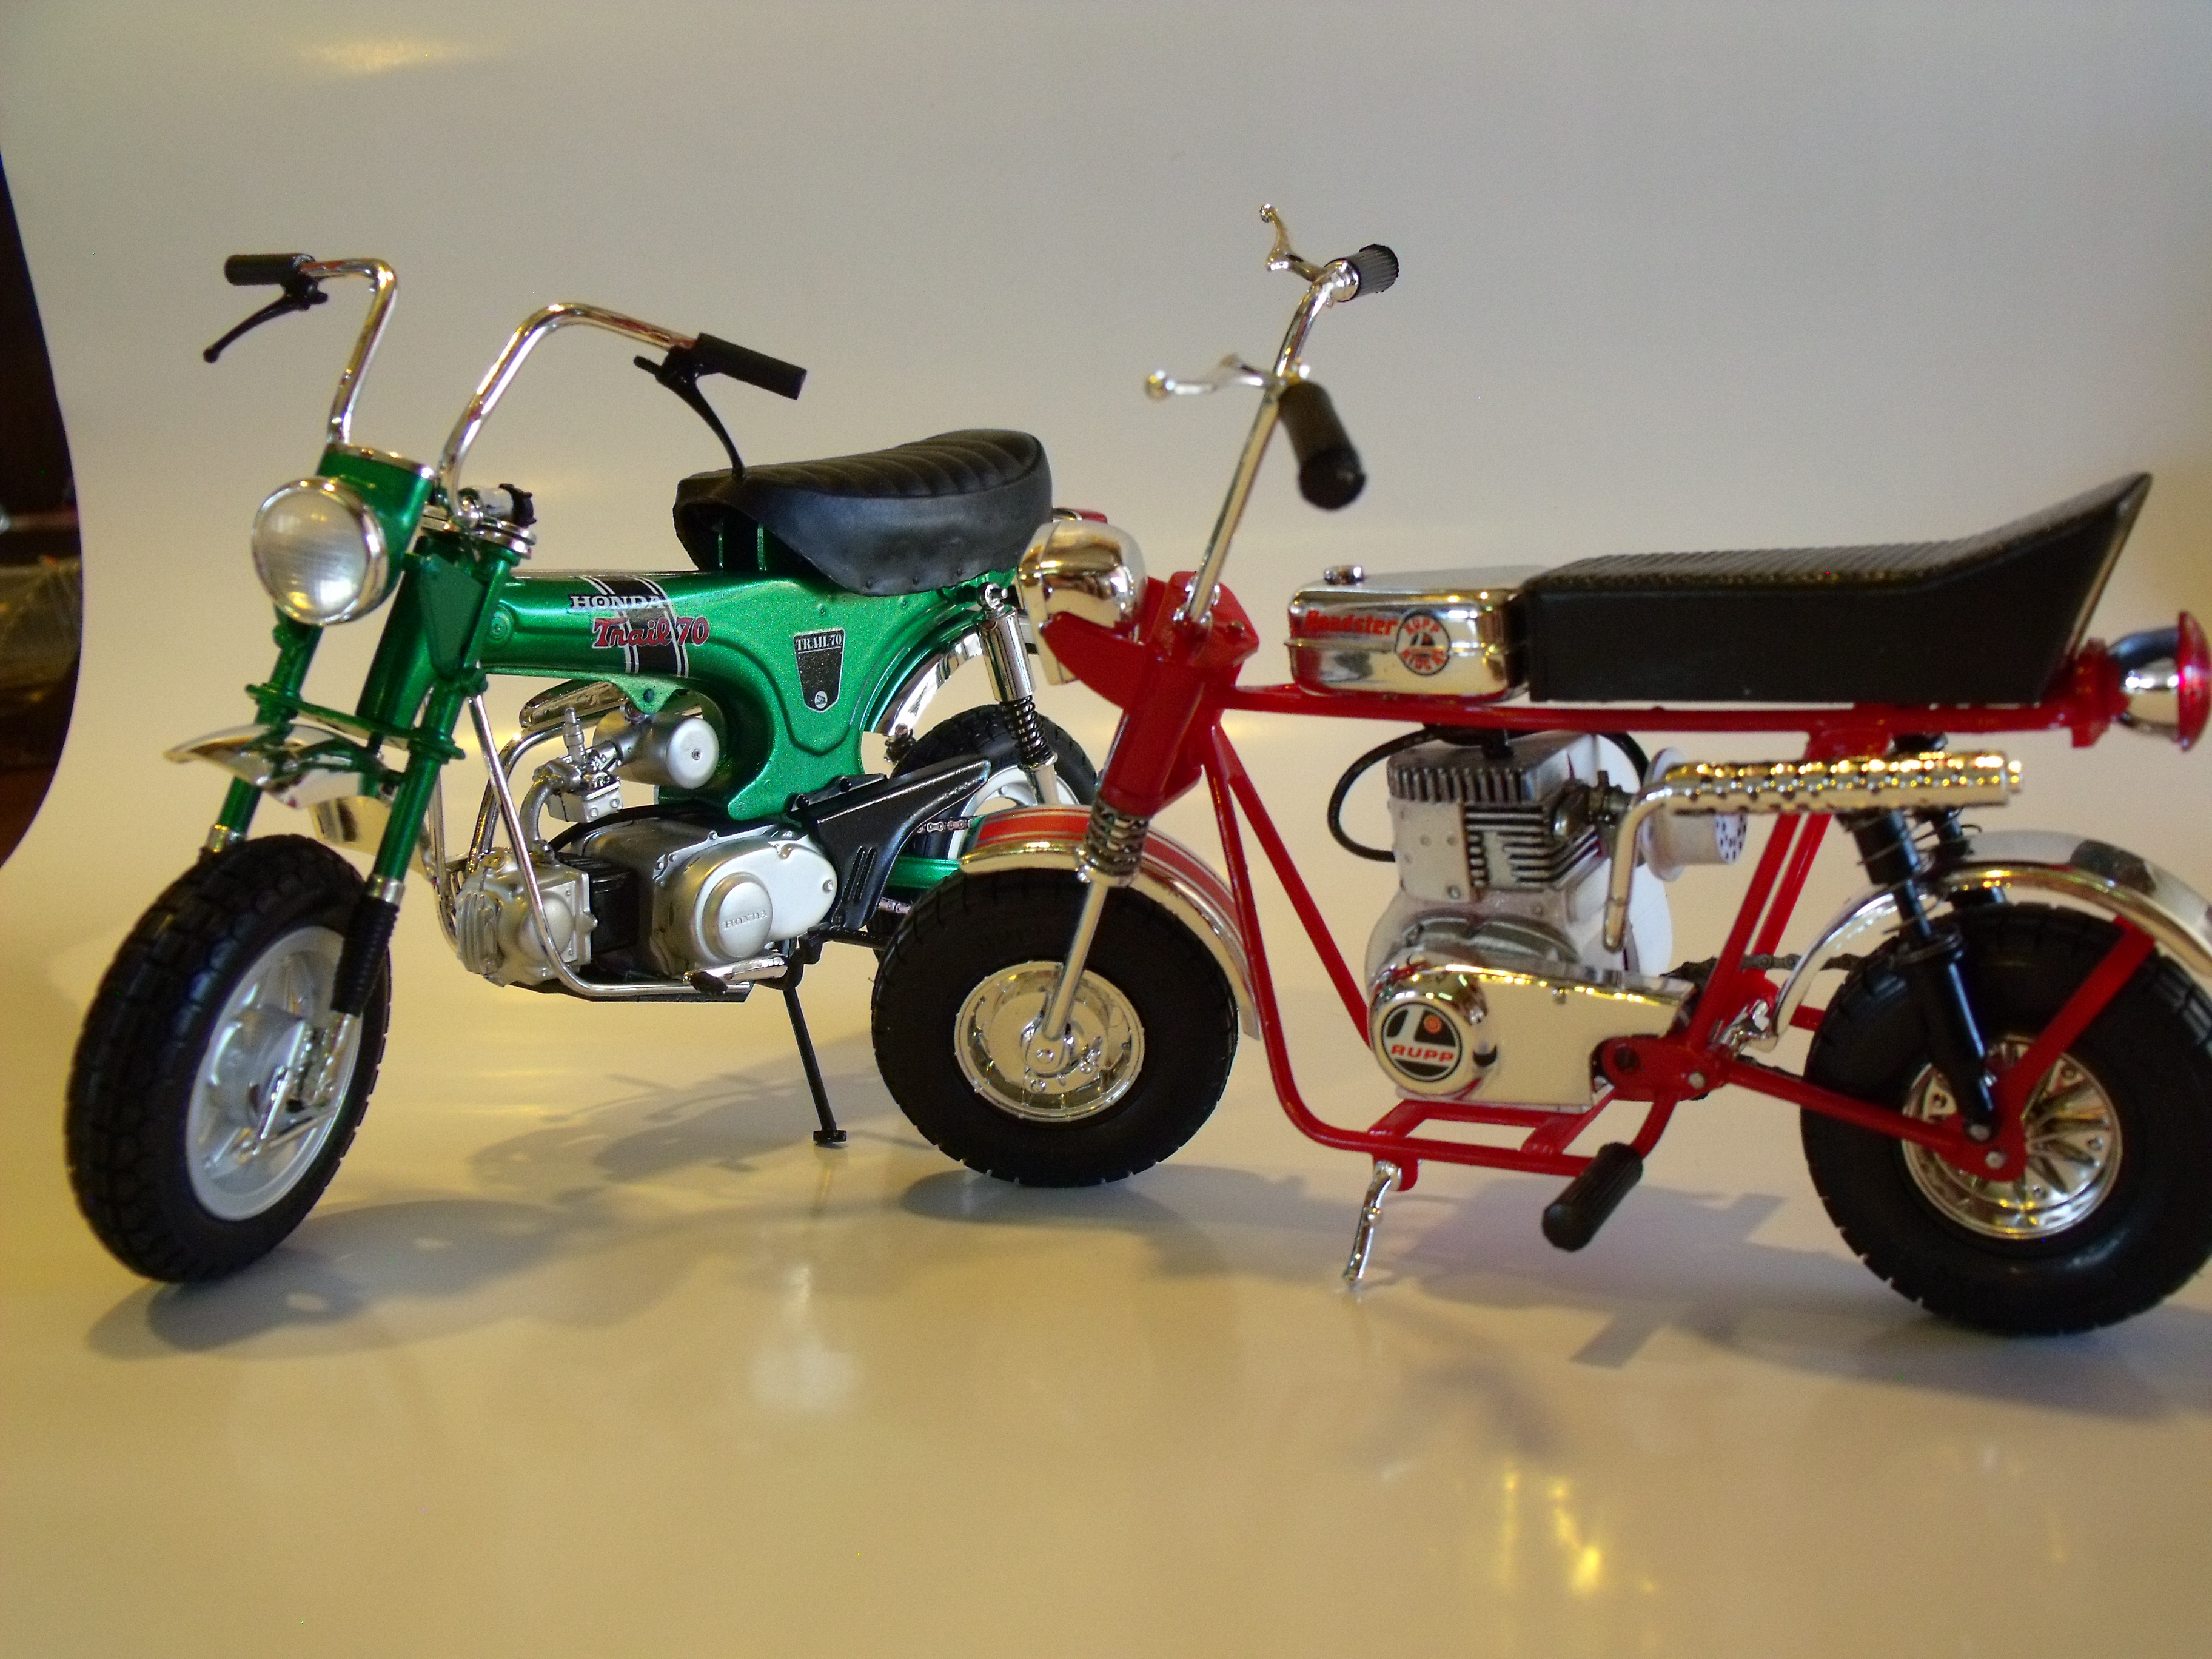
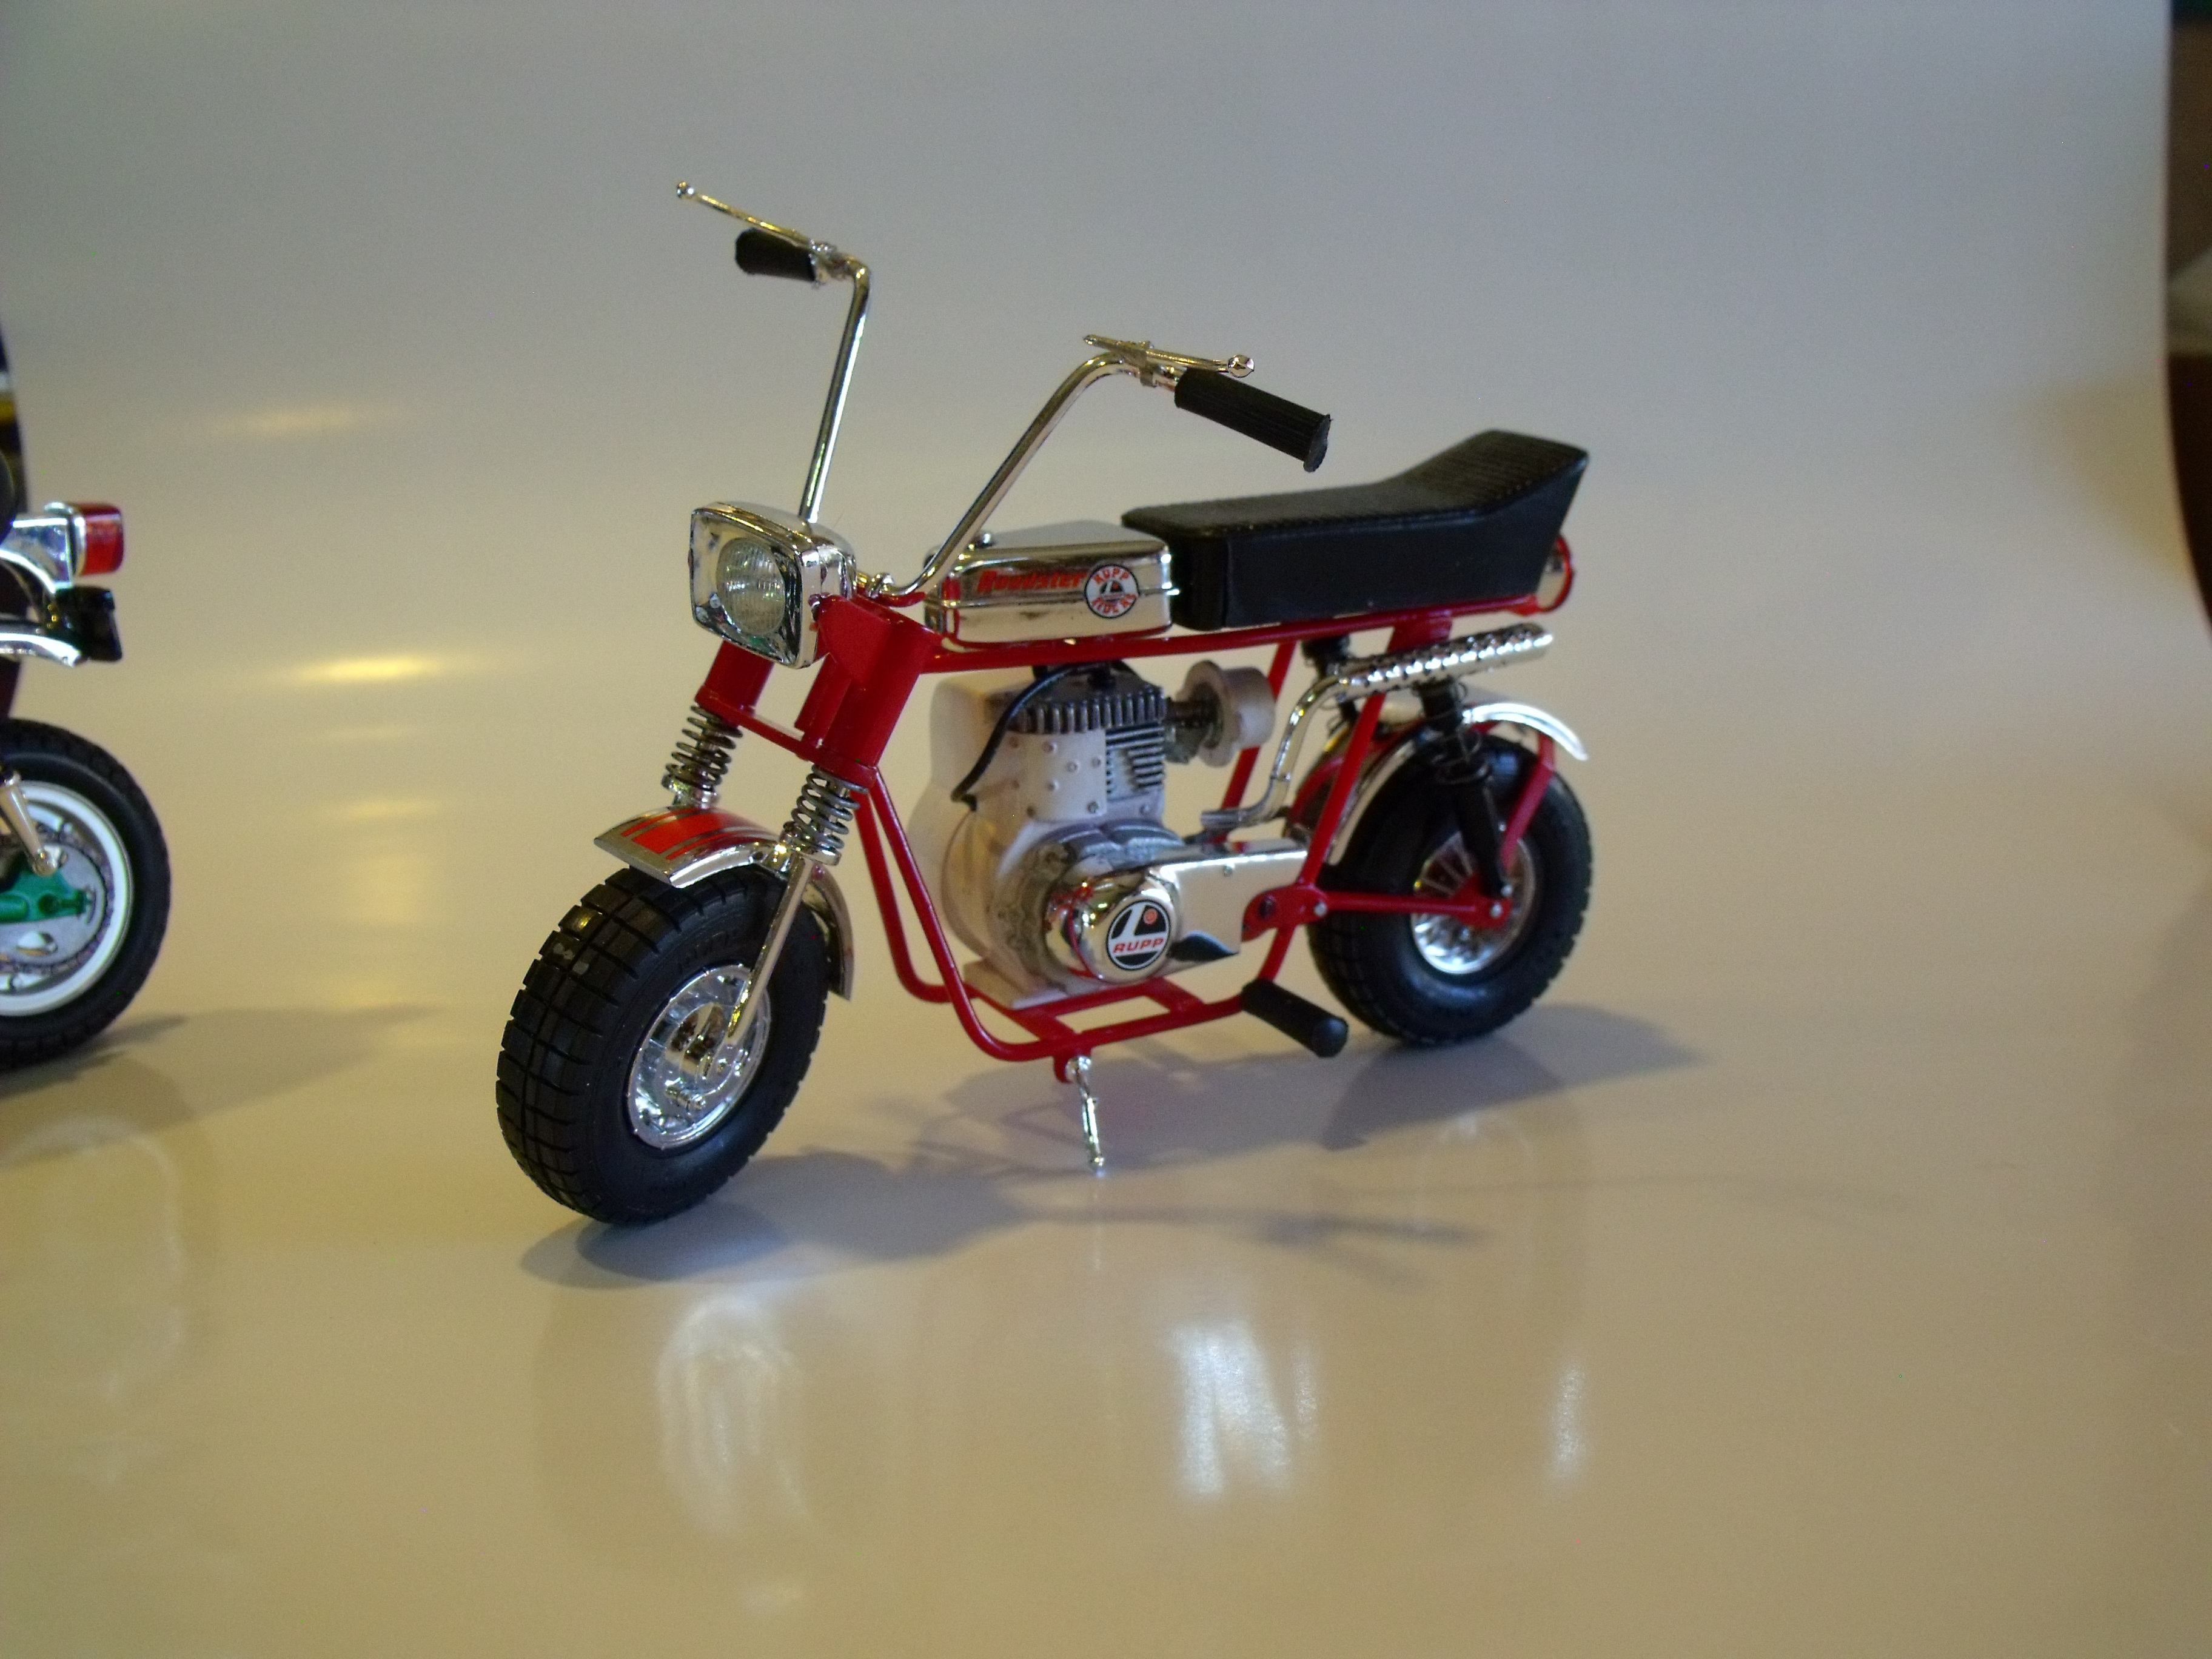
Both from MPC. Neither quite finished because I can't find the ziplock with my perfect replacements for the cabling. The tubing they supply in the kit didn't work when these kits were new and still doesn't. I did use it for the fuel line with a length of wire inside it. The Rupp's plug lead is scale heater hose, again with a wire core. Nice enough kits, typical of the vintage. The Rupp exhaust differs completely from the box photo and has to be modified to tie into the exhaust port. I really don't like the vinyl tires and seat. In this case I'd much rather have styrene versions. Fun builds. Throwback to when I was the perfect age to thrash versions of both.
-
Oh, two Chargers. That almost explains the 9 hubcaps that came off during the chase
-
Caspers Cosmic Charger paint
samdiego replied to gtx6970's topic in Model Building Questions and Answers
Oops, typed that response before remembering that you quoted me in that very post -
How can I get this exact finish on my model wheels?
samdiego replied to Monty's topic in Model Building Questions and Answers
I've done this by spraying the entire rim with Tamiya flat and brushing Tamiya clear over what I wanted bright -
Caspers Cosmic Charger paint
samdiego replied to gtx6970's topic in Model Building Questions and Answers
check "1/25 MPC Carl Casper's Cosmic Charger Fuel Dragster" in "car kit news and reviews". There are a couple of suggestions in there -
But will the reissue include the leopard print sticker for the bed?
-
Monogram Long John Streamlined Dragster
samdiego replied to regular guy's topic in Car Kit News & Reviews
I liked this kit a lot, dead simple but nice. The redone tires and wheels make the reissue. With some judicial masking you can mold the body into 1 piece before painting -
I just did the Prudhomme car. I remember these rails from when they were new, still good kits. Front rims in this medium and scale are always a compromise and I wish they had re-tooled the body with the sides mated with the top. I'll bet a vacuum formed body could be done The new stuff is better and the decals are great.
-
What did you see on the road today?
samdiego replied to Harry P.'s topic in General Automotive Talk (Trucks and Cars)
A Nissan Figaro. I wasn't aware that these were being brought into the US -
Your Rarest Built Kit.
samdiego replied to StevenGuthmiller's topic in General Automotive Talk (Trucks and Cars)
An original Monogram/ Tom Daniel Garbage Truck. Way before the rerelease. I was at a friends house helling him thin his modeling herd. As I was leaving, he said here take this too. "It" was a grocery bag full of miscellany. In with the rest was all of the parts for the Garbage Truck except the roof panel. At that time it was on my grail list. -
Obviously a dry lakes tractor. I wonder what the class records are for those?