Rider
-
Posts
2,270 -
Joined
-
Last visited
Content Type
Profiles
Forums
Events
Gallery
Everything posted by Rider
-
AMT Chaparral 2A
Rider replied to FordRodnKustom's topic in Other Racing: Road Racing, Salt Flat Racers
Great looking build. -
Well done, impressive.
-
le couronne
Rider replied to Ken Gilkeson's topic in WIP: All The Rest: Motorcycles, Aviation, Military, Sci-Fi, Figures
Another great project Ken, love the work. -
This is great work, I am really enjoying all the additions.
-
Wow nice work, it looks like an old shoe.
-
This is really looking sharp.
-
Looks great David. Man the humidity was crazy high today, I never would have painted that today, love the colour.
-
Man those turned out real nice.
-
That turned out great Dann, good commitment and restrain to keep it in your buddys style of build. Well done. Nice back drop too.
-
Another nice looking build.
-
I just got caught up, this is coming together great. Nice clean work.
-
Techno Bubble 41 Willys Bonneville car
Rider replied to Claude Thibodeau's topic in WIP: Drag Racing Models
Wow that is one awesome build. -
Great shade of blue, the paint looks great. Looking forward to seeing this come together.
-
That's a stumbling block, but it looks like you have it sorted out now.
-
Chevy Nova Race Car
Rider replied to zakdoggi's topic in WIP: Other Racing: Road Racing, Land Speed Racers
Looking real good. -
Chevy Nova Race Car
Rider replied to zakdoggi's topic in WIP: Other Racing: Road Racing, Land Speed Racers
Solid rod works much better for cages. ? -
Looking good Randy. The colour combo really works
-
Chevy Nova Race Car
Rider replied to zakdoggi's topic in WIP: Other Racing: Road Racing, Land Speed Racers
This is really coming along. Nice work on the roll bar bends, quality stuff. -
This is really looking great, real nice merging of the two shells. Apoxy Scuplt is pretty useful stuff.
-
Nice save, the rims look great. Scary thought knowing this can happen to parts in the box. Doesn't his mostly happen to kits from the 70's, or is it a concern for kits from the 80's as well?
-
Here ya go. http://www.ipmshamilton.ca/ IIRC, the meetings are the last Wed each month, however there isn't one in August.
-
Thanks Ray?
-
Great method David. I'll be using that in the future. Good luck with the rest of the build. Btw, you're about 30min from my place. Ever make it to the HAMILTON club meetings?
-
Filler before or after primer
Rider replied to JohnU's topic in Model Building Questions and Answers
Before, during, after, I have never had an issue with shrinking/cracking. -
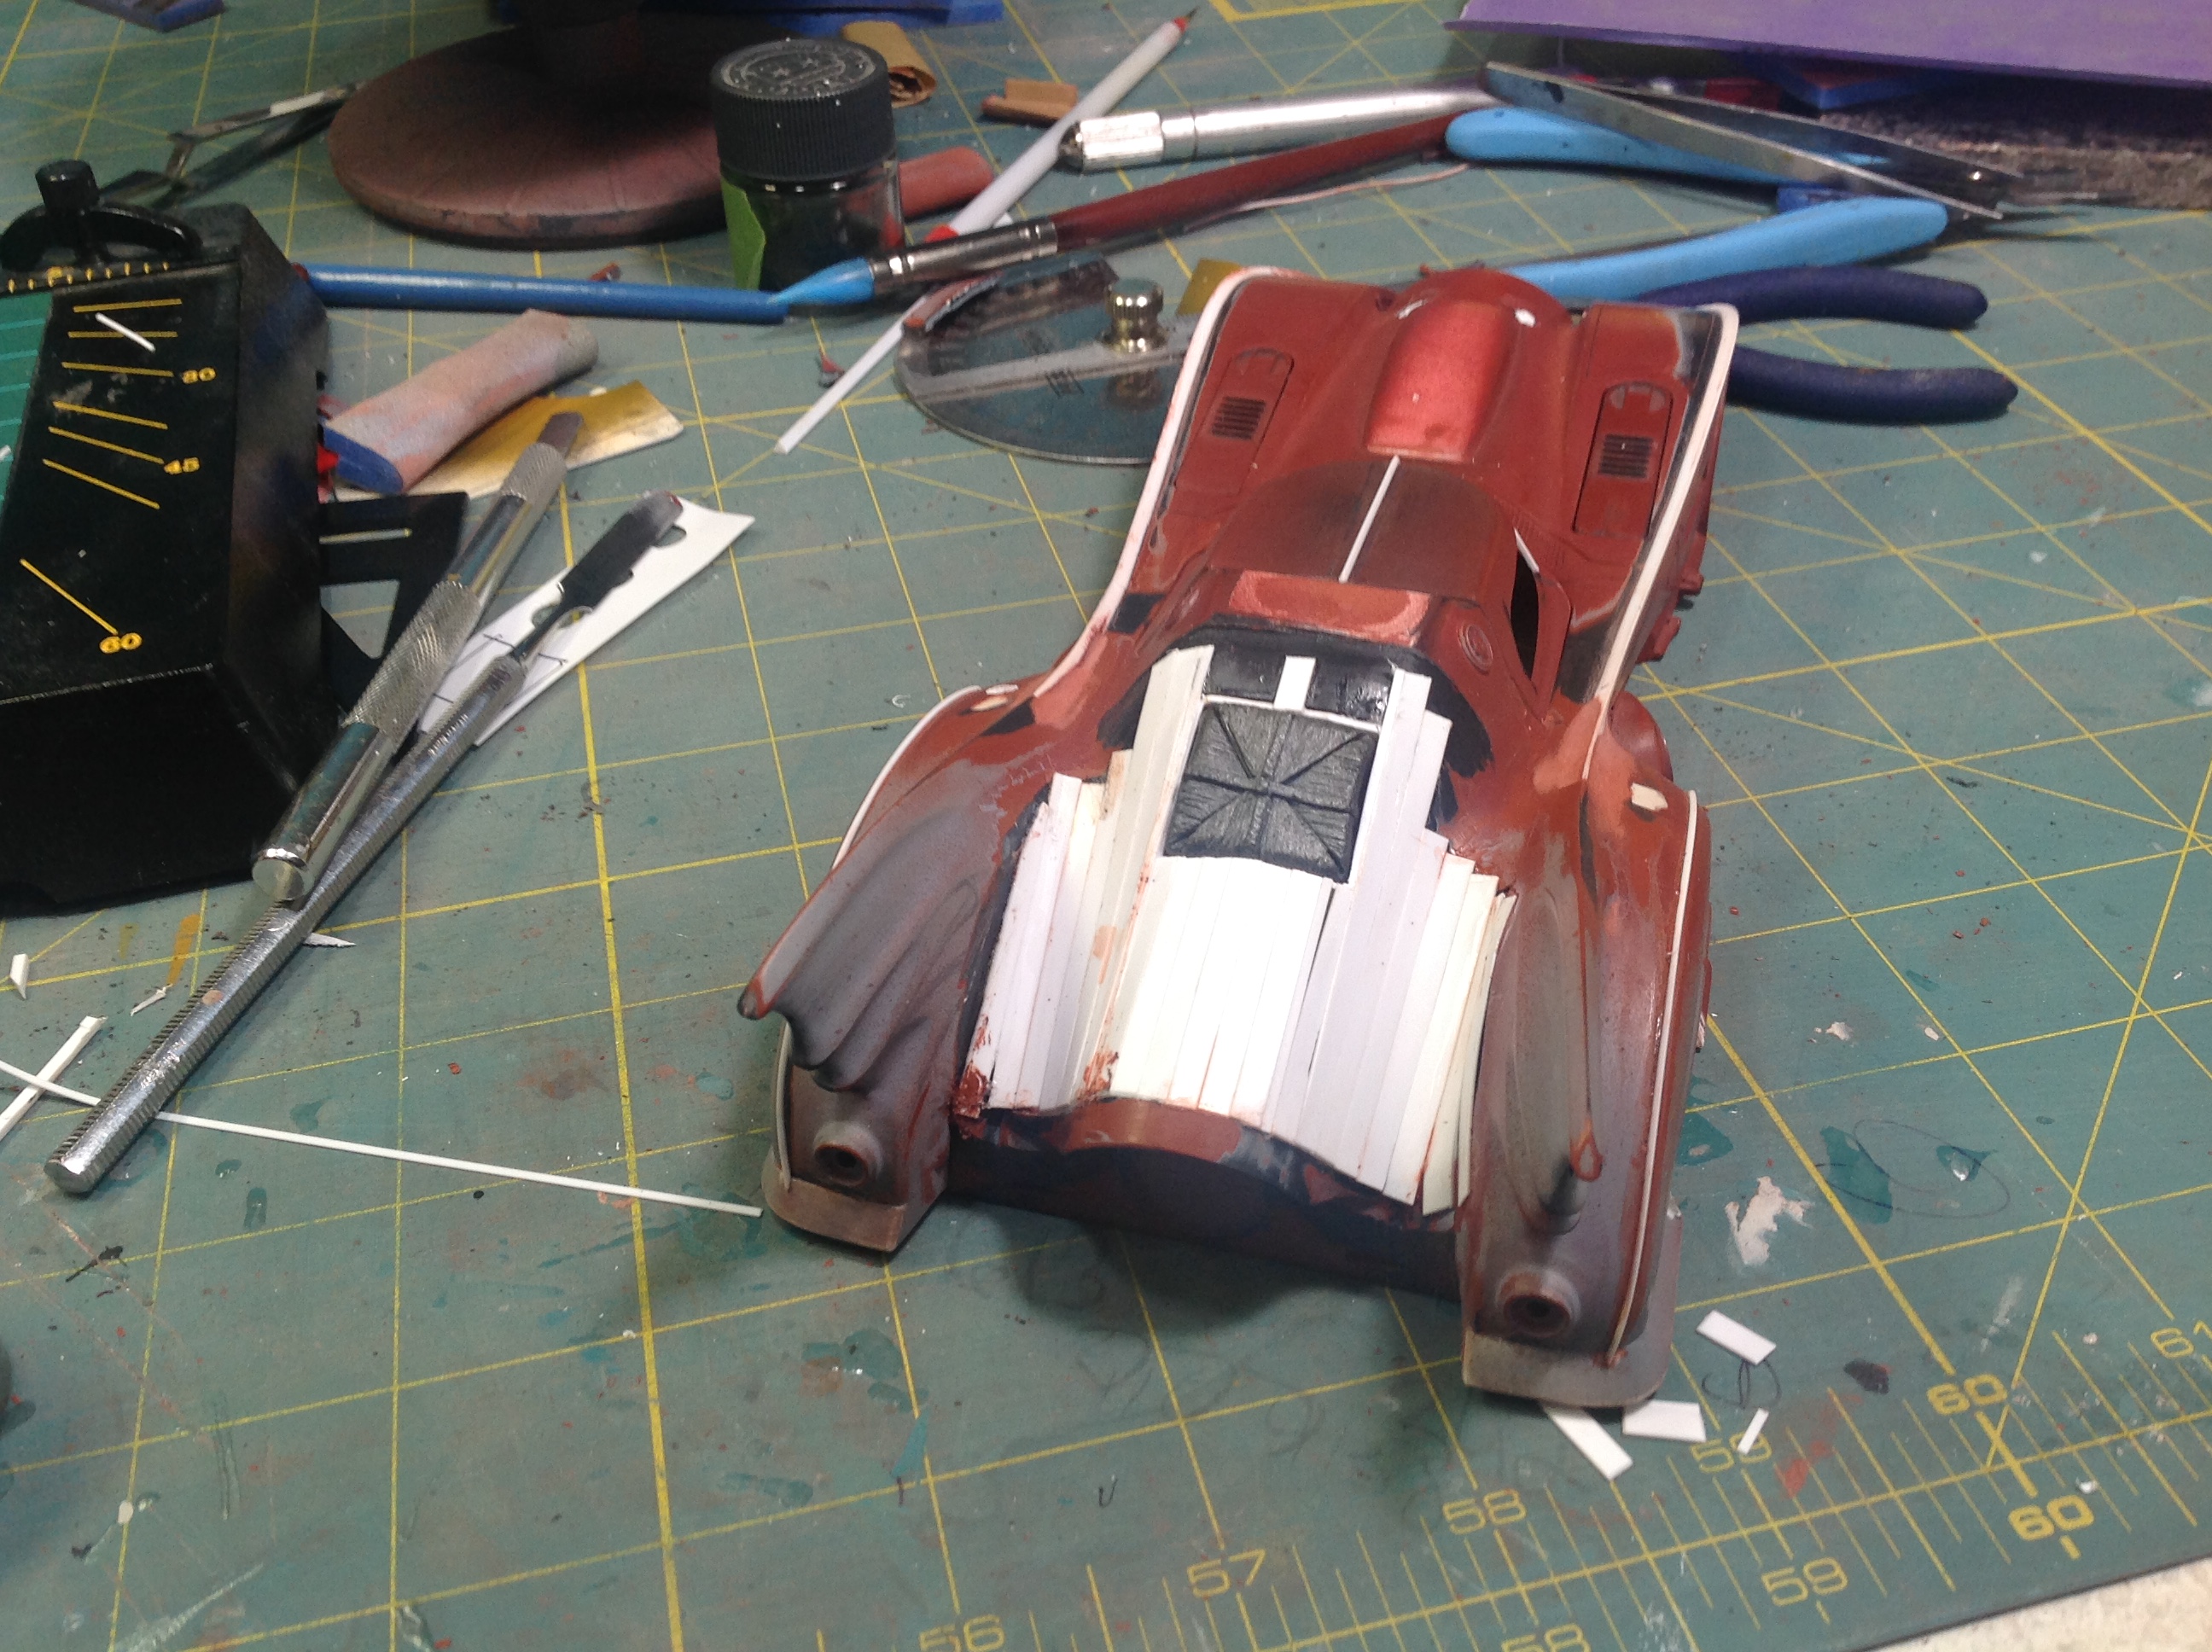
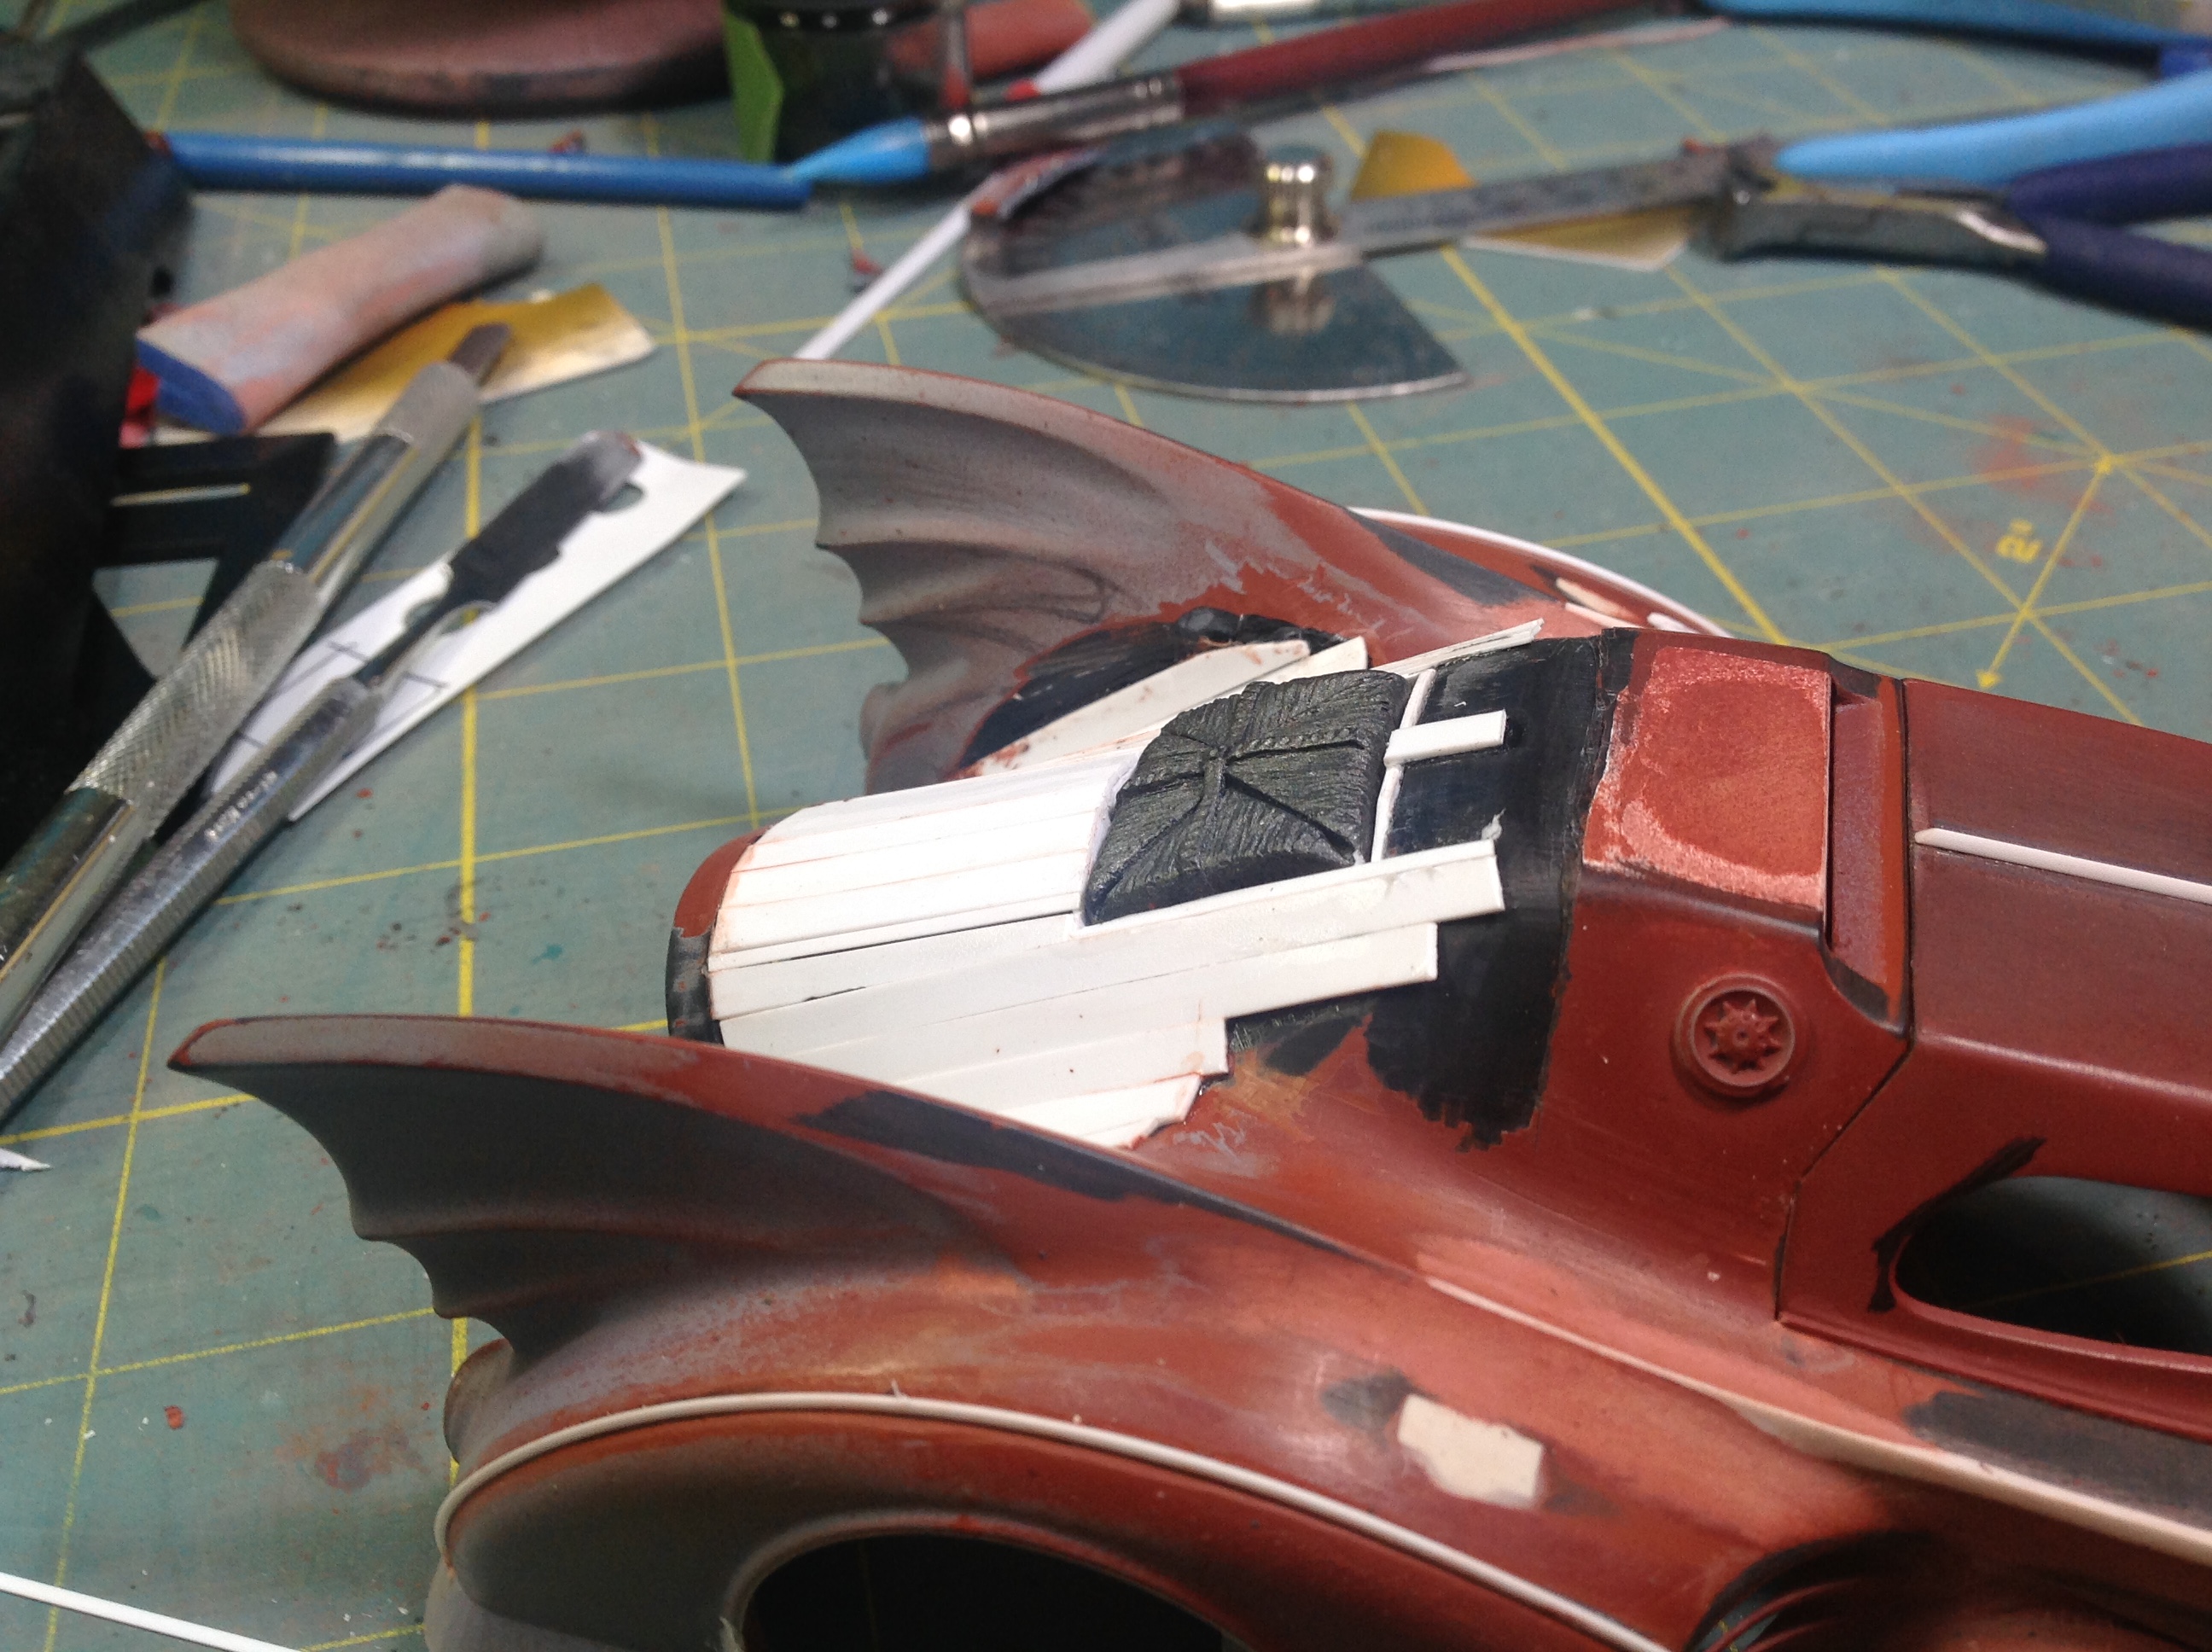
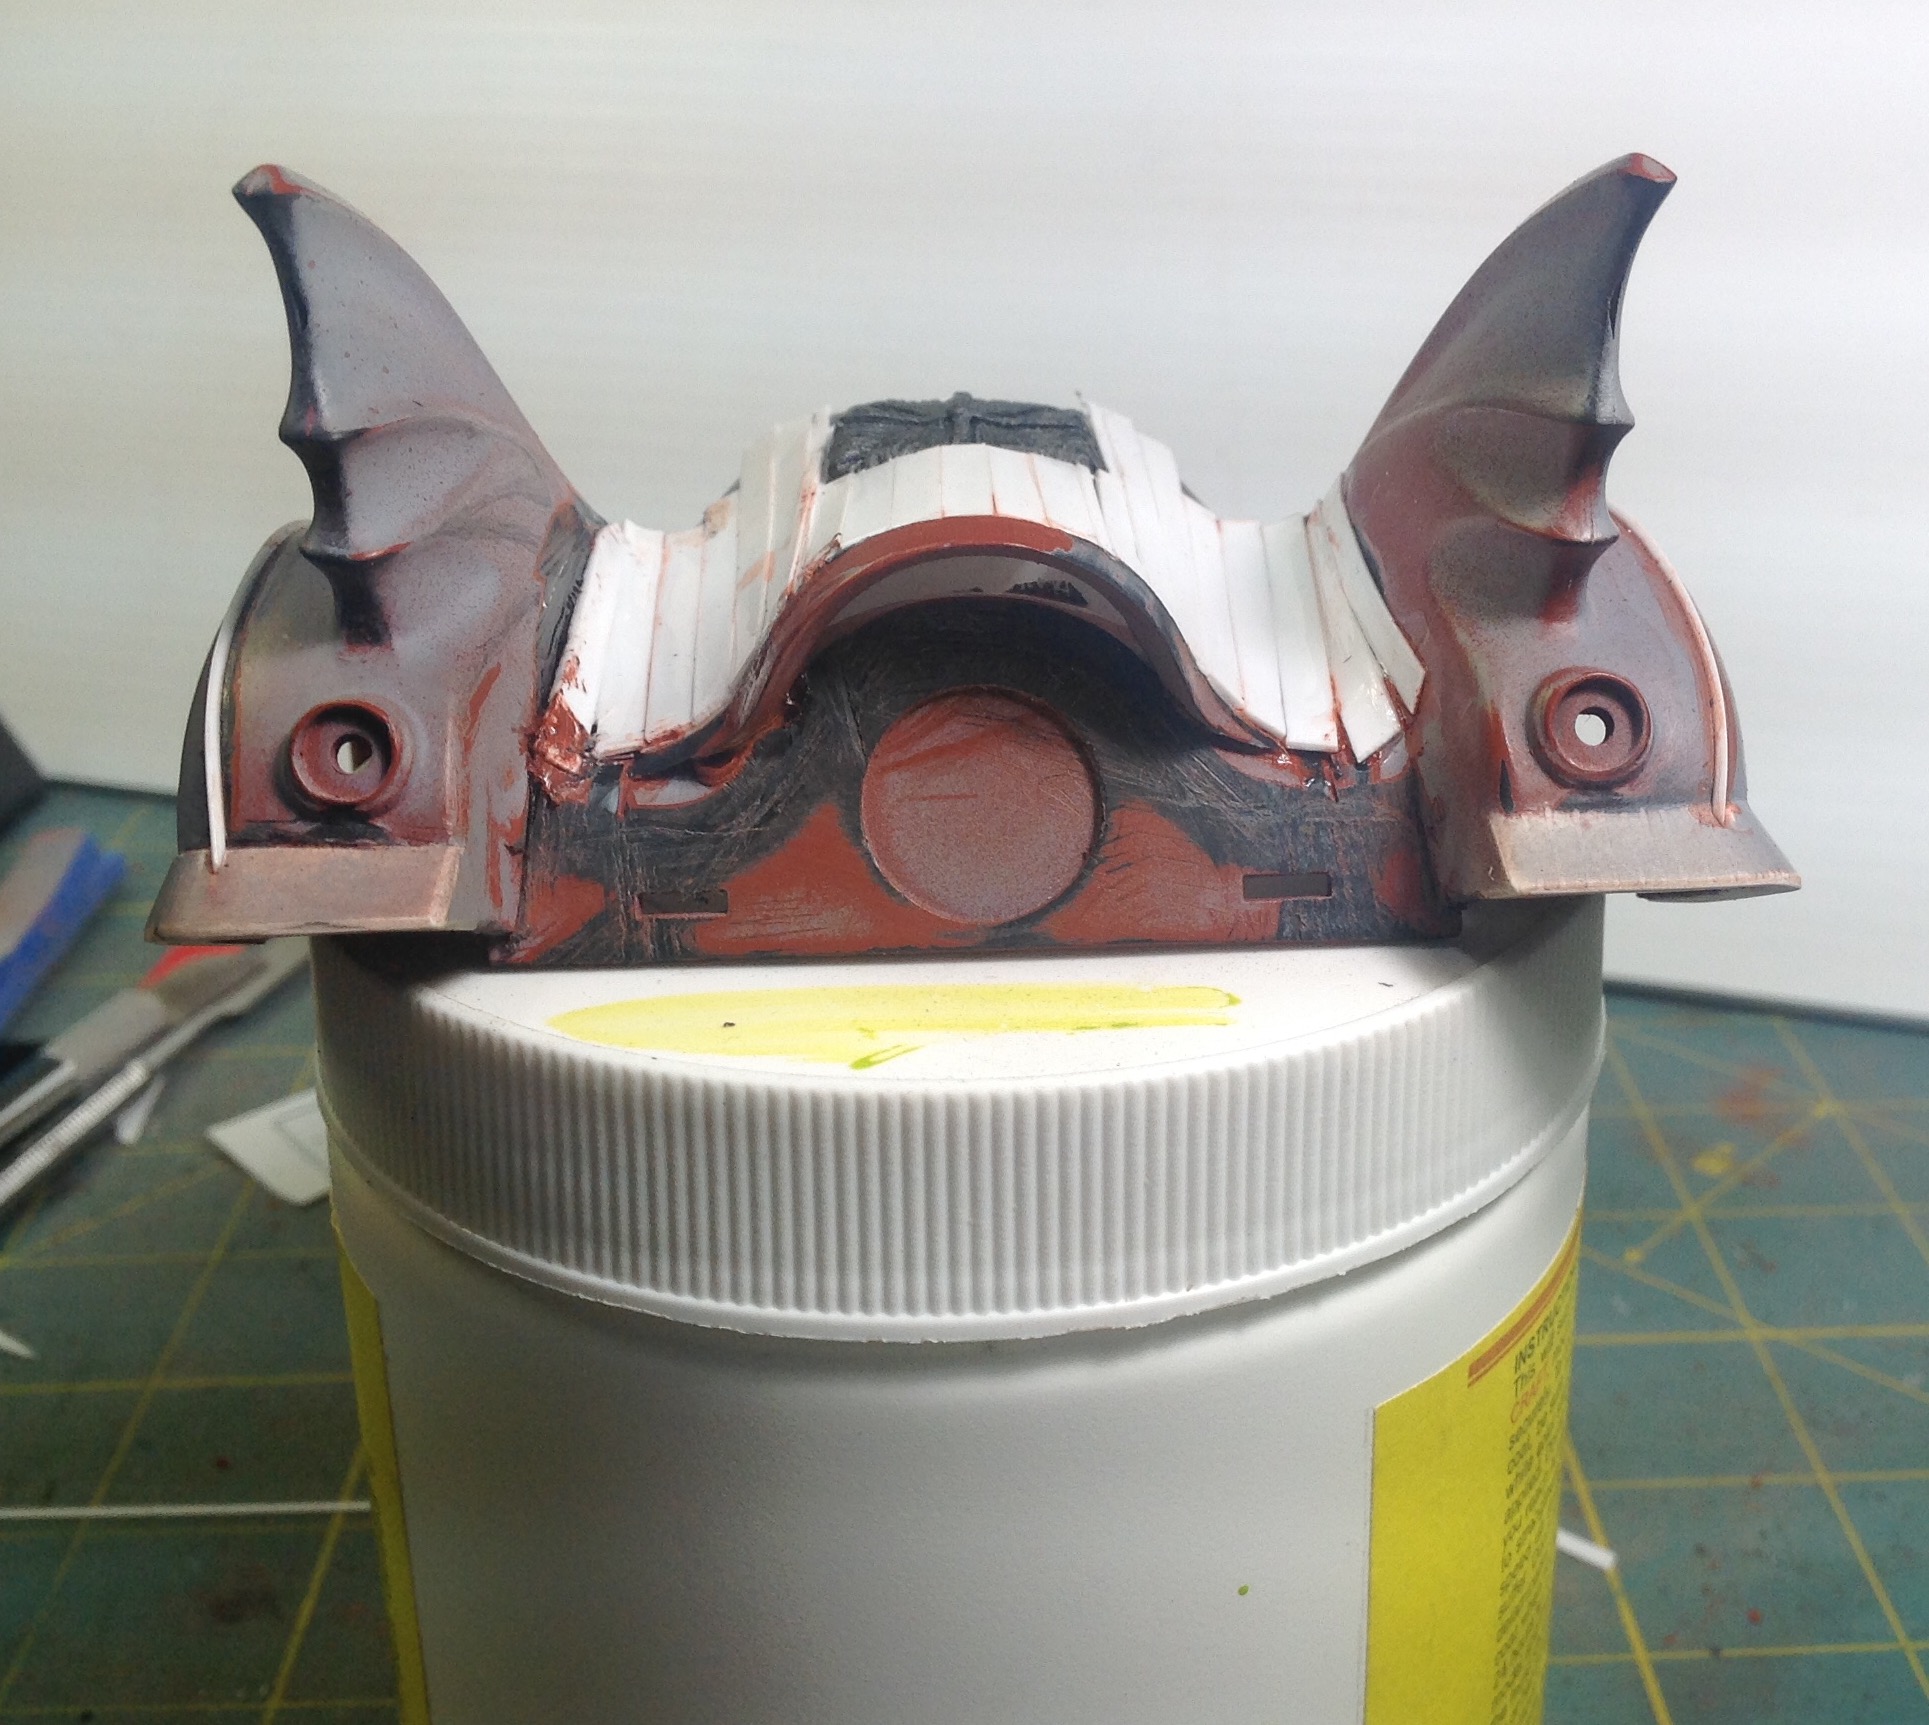
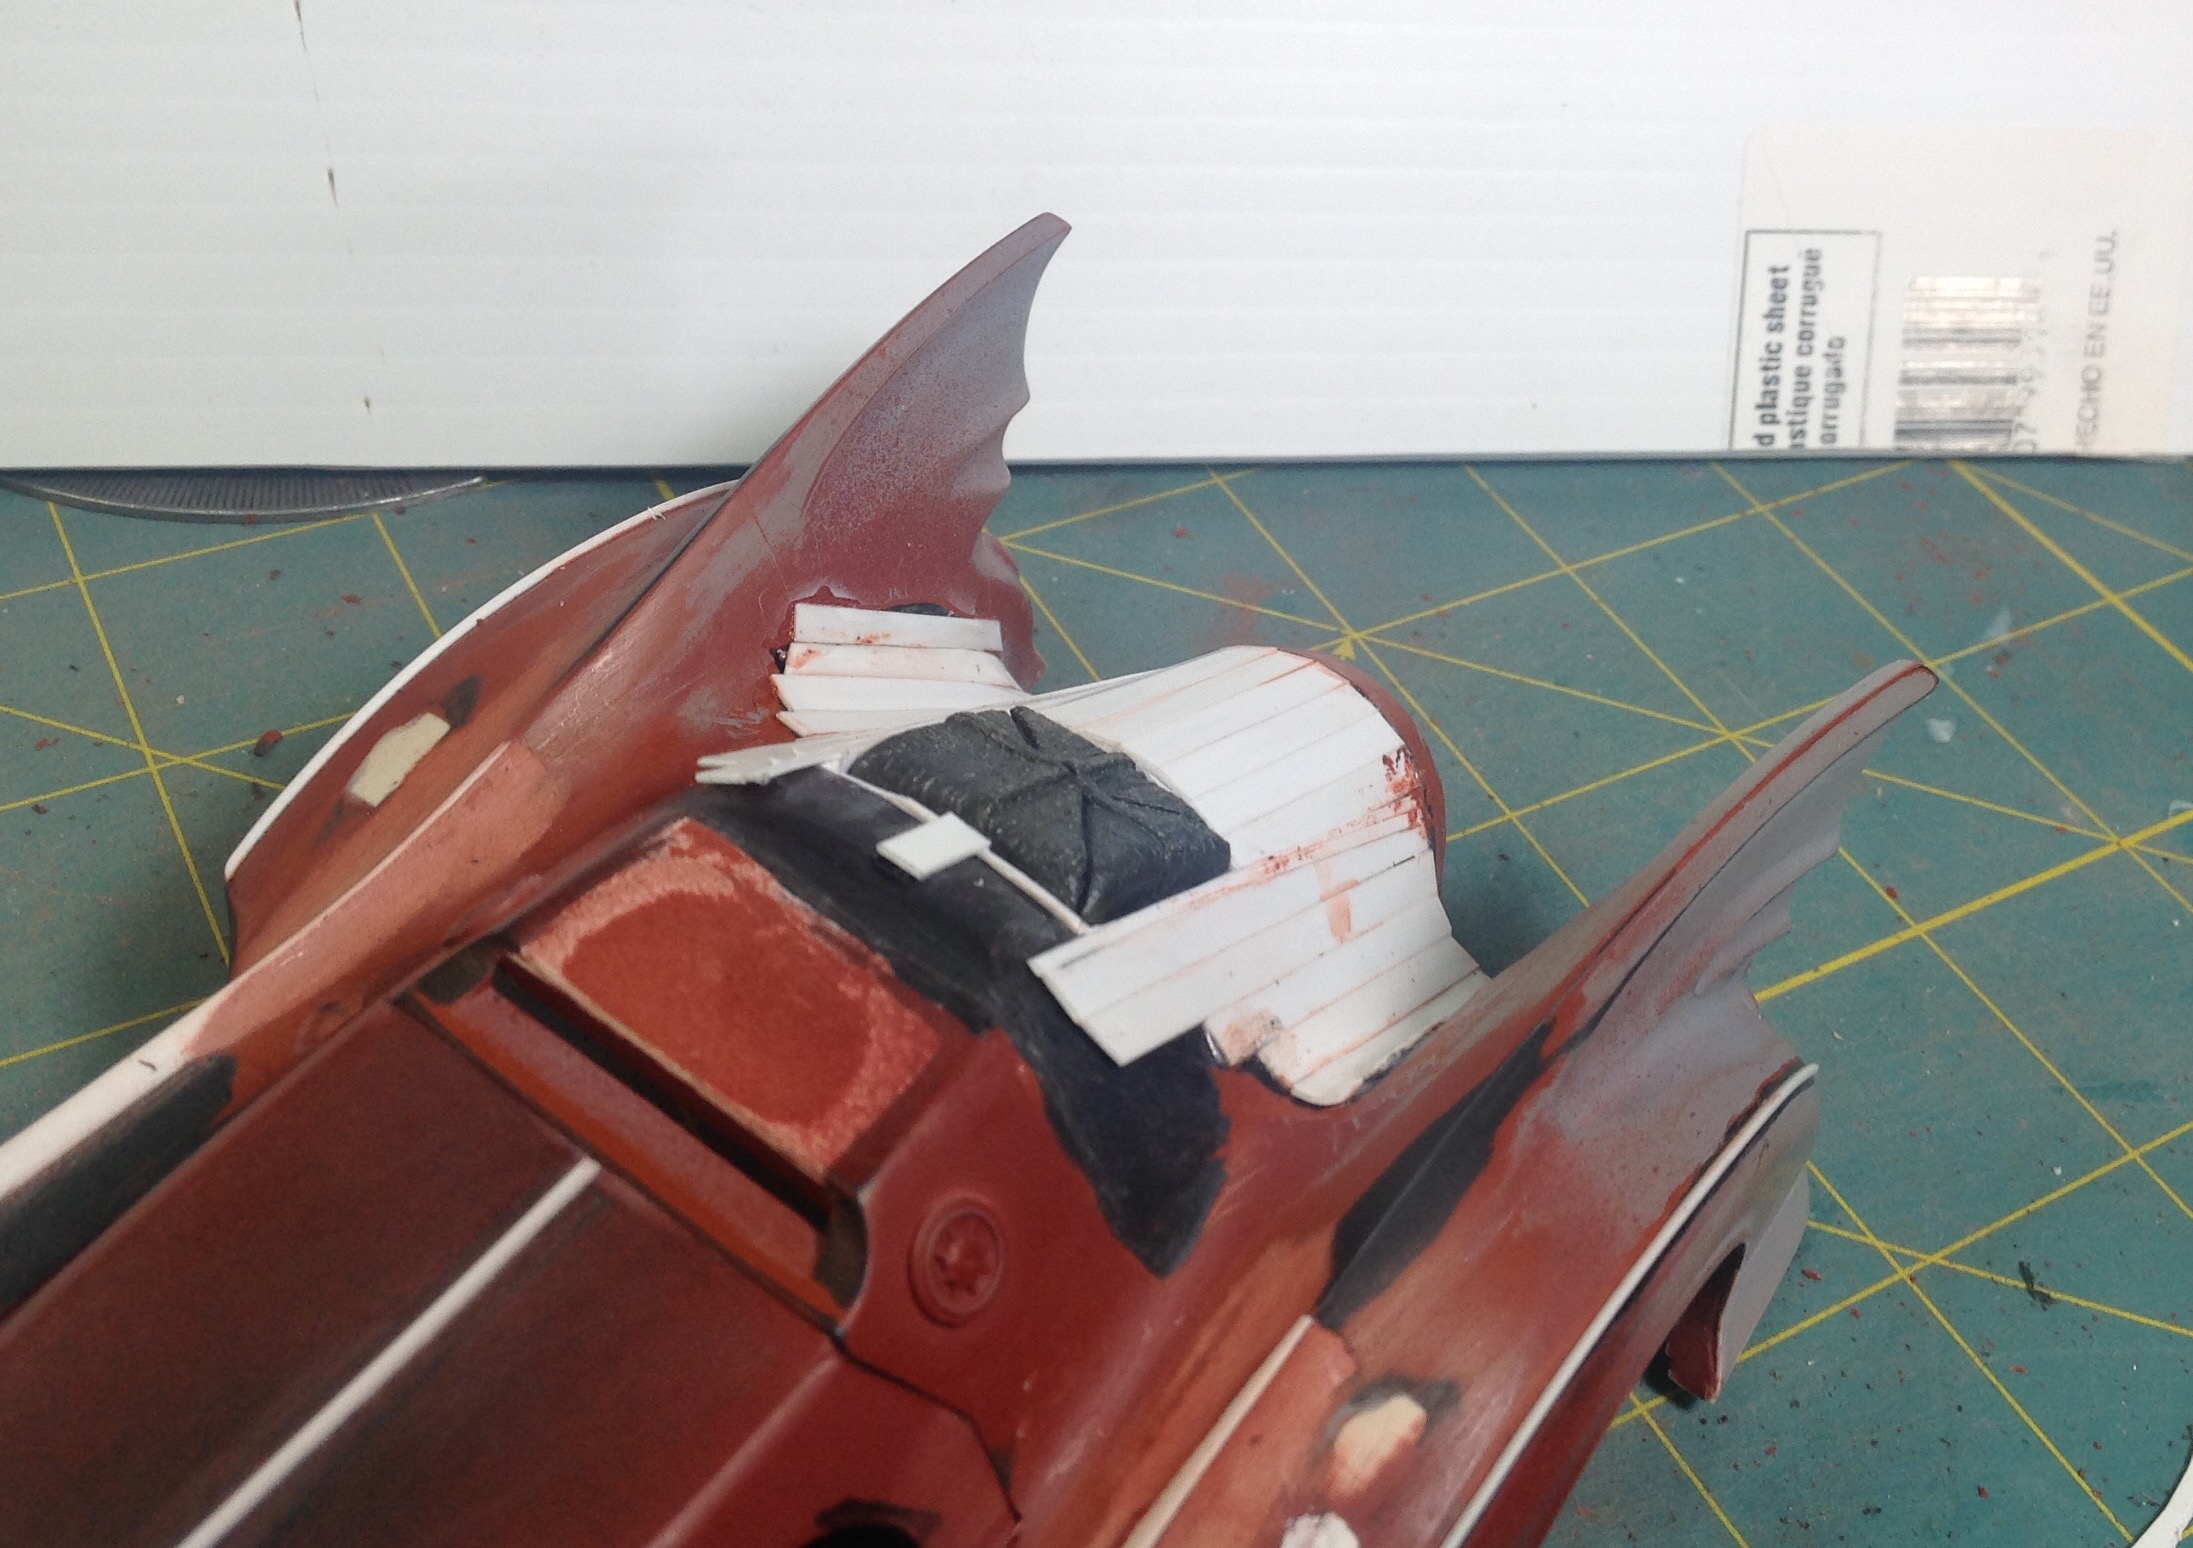
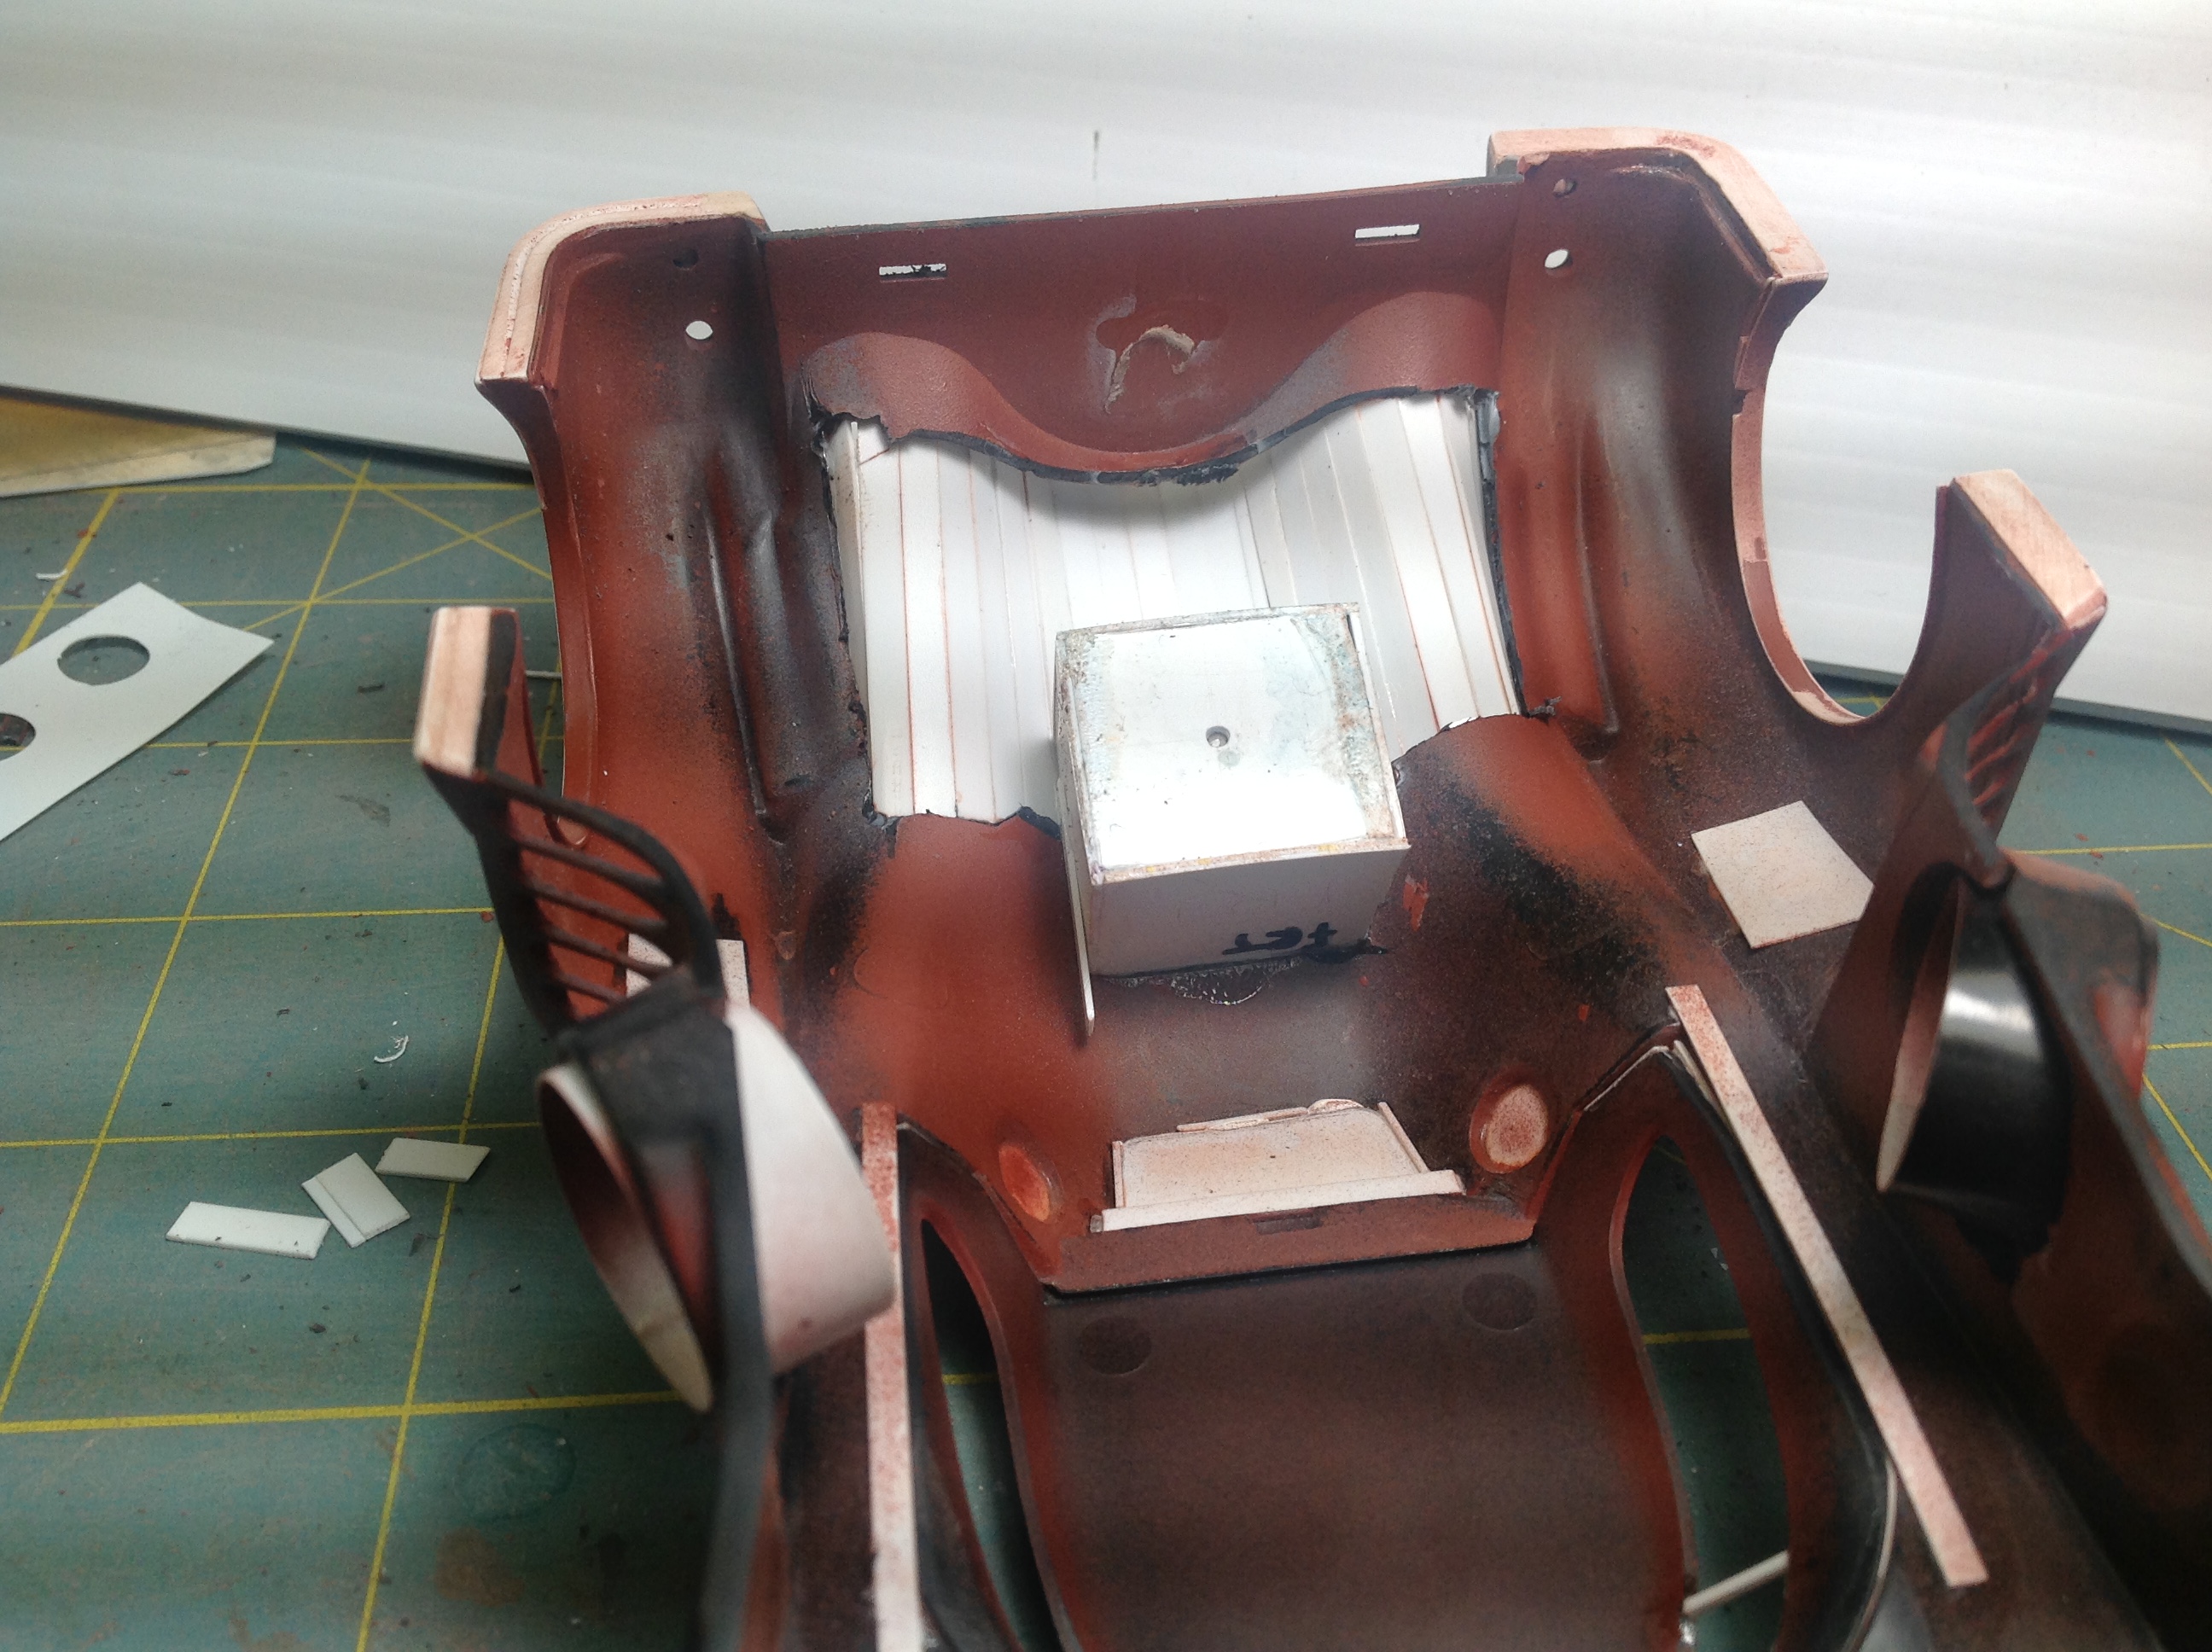
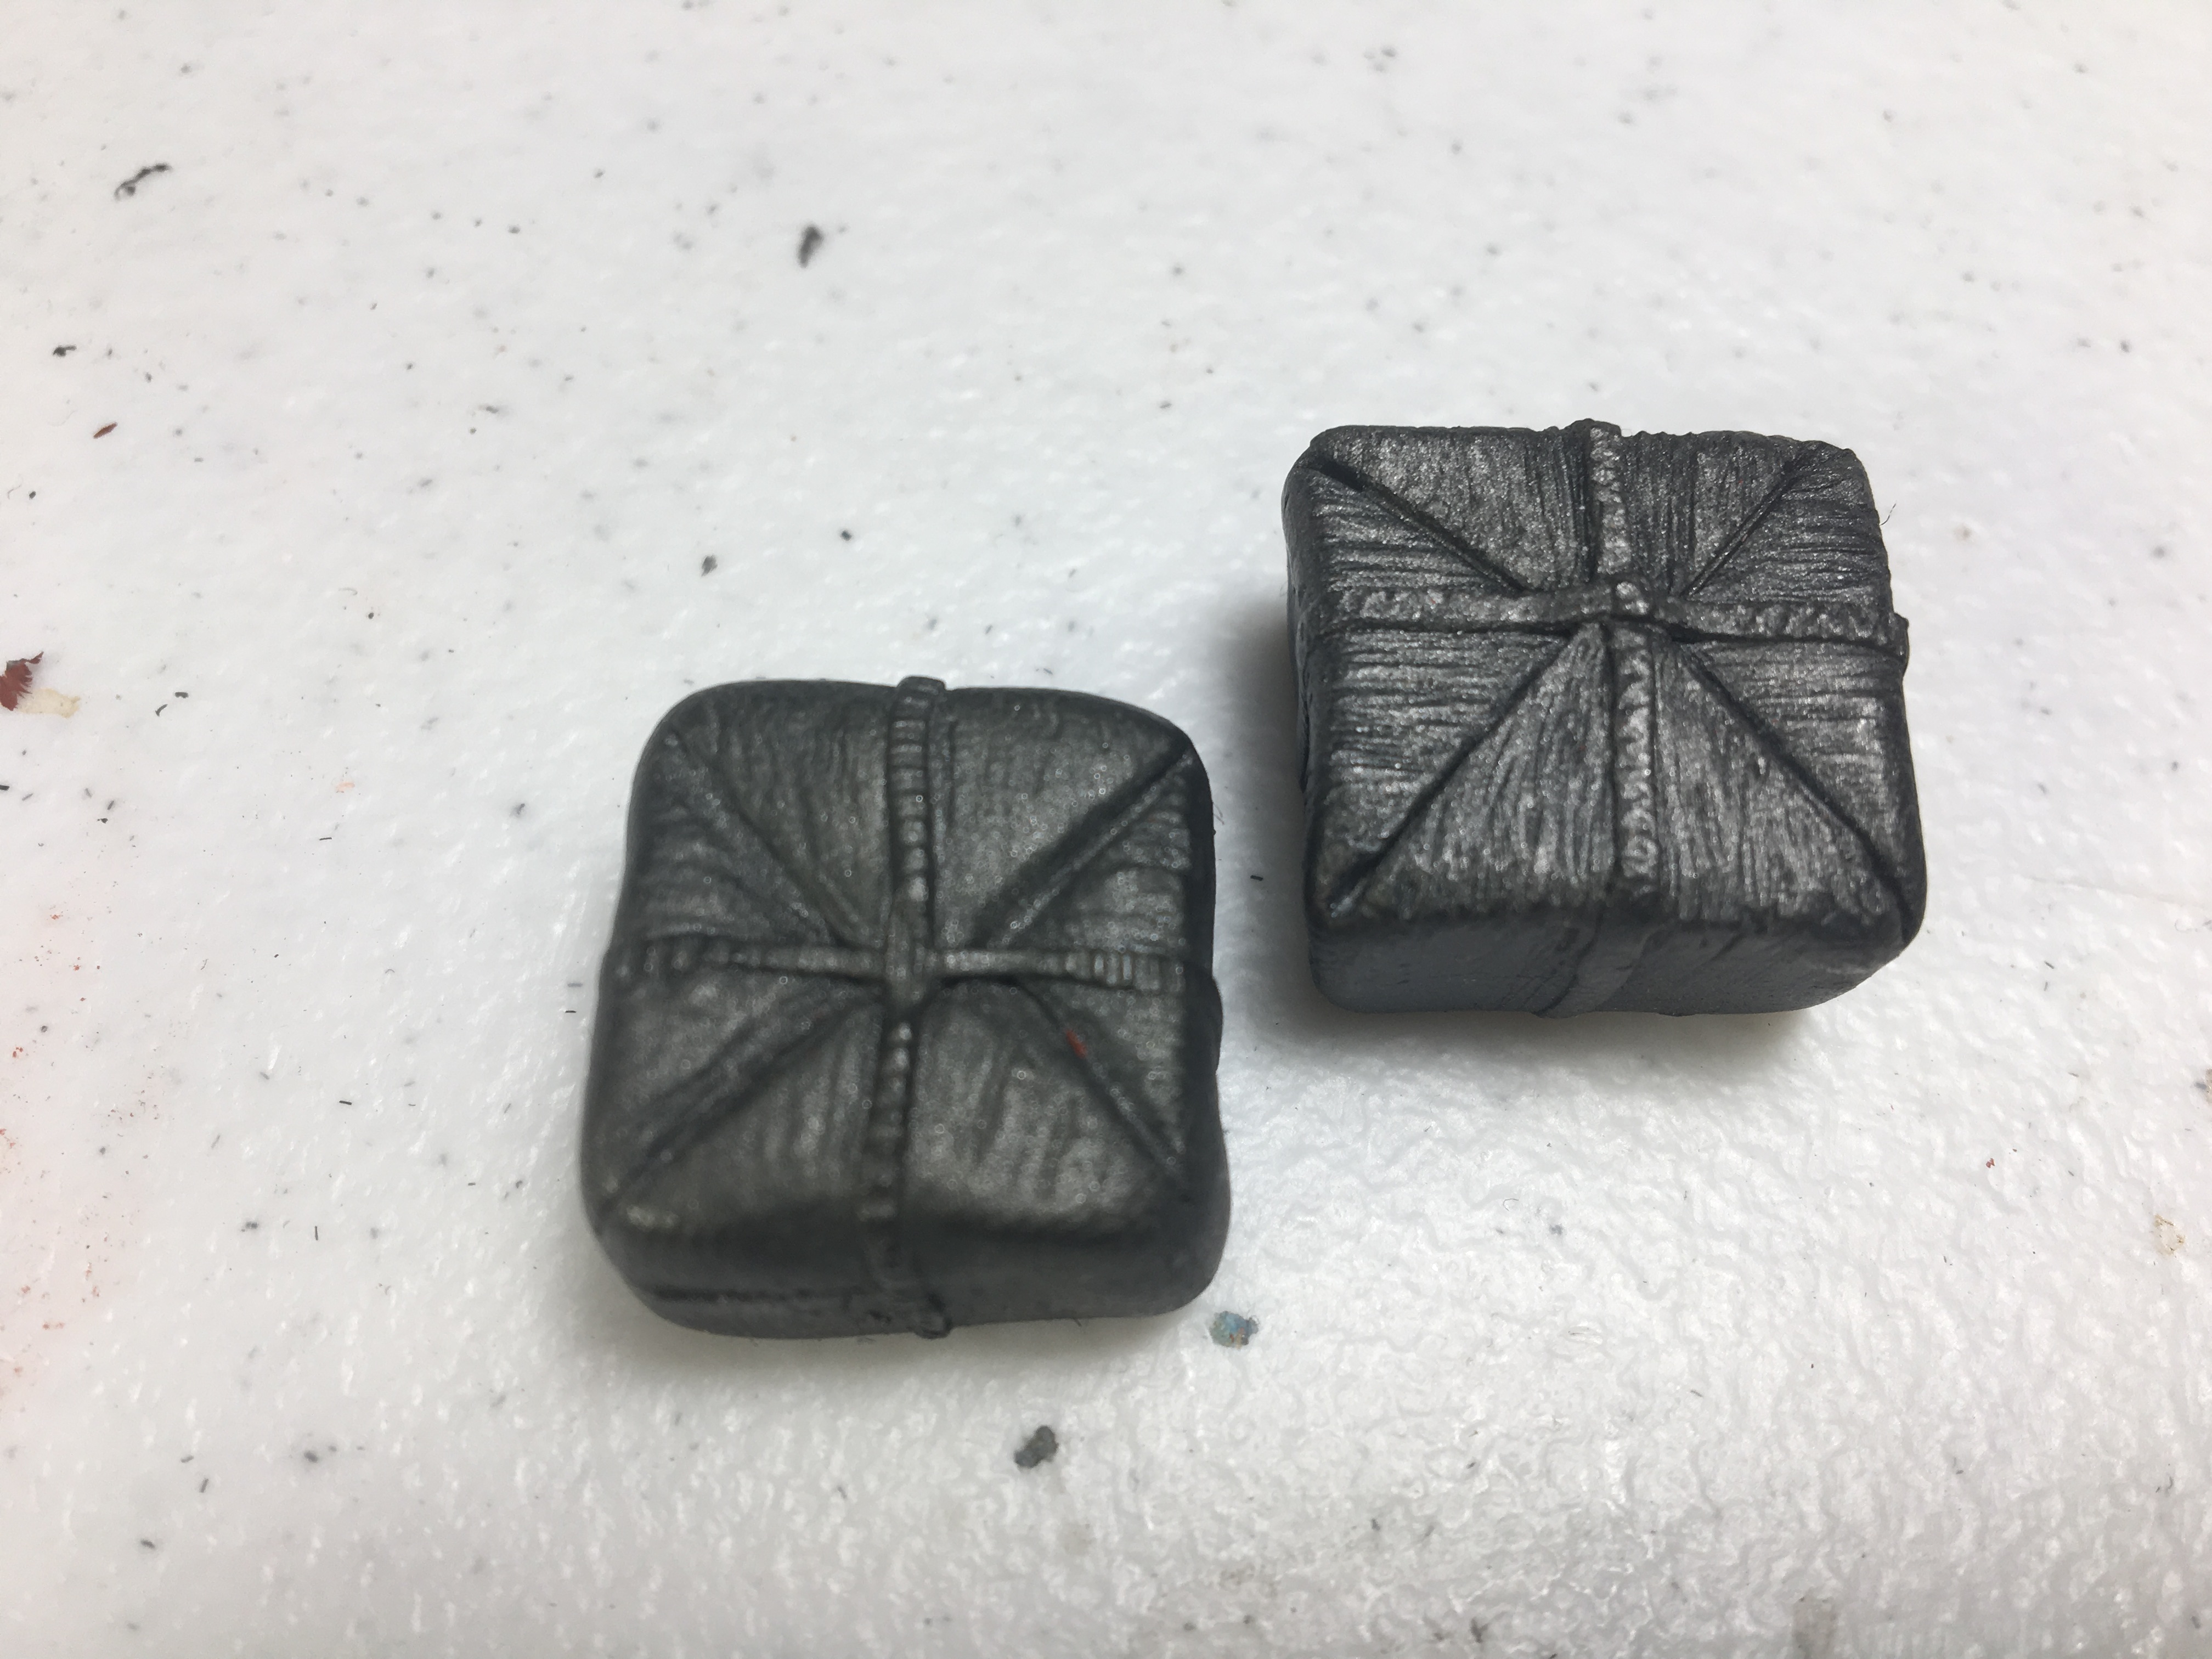
41/2hrs later and another change to the shell. I am hoping it will look less like a lump and flow better with the rest of the car. To achieve is I cut out most of the back to make room for the chute, this allowed me to reshape the back slope of the body. I cut the part that shrouds the jet cone and moved it up 8 scale inches, so it now sits on top of the body. I made a box for the chute then laid down .020x.125 strips of styrene. I will back fill the shell with c-channel strips to strengthen it for the filling, sanding and shaping process. I also sculpted a another chute, I think this one looks muck crisper. Although it now may be too boxy looking. Thanks for checking the progress out