Rider
-
Posts
2,270 -
Joined
-
Last visited
Content Type
Profiles
Forums
Events
Gallery
Everything posted by Rider
-
This build just keeps getting better and better. Nice work on the filters.
-
Some really great mods/corrections, fantastic end result.
-
1963 Corvette Grand Sport (update 8/16/16)
Rider replied to RancheroSteve's topic in WIP: Model Cars
Good work. -
ambitious paint '41 Willys Pro Street curbside-ish
Rider replied to Rider's topic in WIP: Model Cars
Thanks but I can't take credit. It is basically from the Matt and Debbie Hays pro street Thunder Bird. I changed it a bit, and those are a couple of small blowers, not turbos. -
I'll be watching this. Looks very interesting.
-
UPDATED 6/12 - 1968 Hemi Dart - Body Mounted, Almost Done
Rider replied to Quick GMC's topic in WIP: Model Cars
Man this really rocks, the detailing and paint are bang on. Nice foil work too. -
QUICKIE DRAGULA TRAILER - Done Deal - 4/23/17
Rider replied to Nytrozilla's topic in WIP: Model Cars
That is a cool package, great stuff. -
Too bad about the crush job, it was really coming together. That paint job really caches you eye, must have taken you quit a long time.
-
AMT '65 Vette cvt restomod , July 30 ,, engine work
Rider replied to Can-Con's topic in WIP: Model Cars
Looking good, best of luck with the rest of the restore. -
ambitious paint '41 Willys Pro Street curbside-ish
Rider replied to Rider's topic in WIP: Model Cars
Not sure why or how the system atteached images from another post in here, not my doing. Anyway quick update. Still at the shell clean up stage, it is going in for the white base coat this morning. The breather and carbs have been sorted out. Change of plans on the carbs and velocity stacks, the dominators were just too big, plus the stacks just look wrong. The white dominator is the one I cast. The traditional scoop and Carter AFB 650cfm carbs on a tunnel ram are my final choice. As for paint, my head is swimming with the paint lay up steps and ideas. My original lay up had me at about 25 steps if you include the light wet sanding between the 5 different colour coats and all the masking. If I go with what I have come with this morning adds a few more steps that are mostly tedious cutting and laying of the masking tape. Then of course all the normal final clear coat steps. What ever I end up doing will be colourful, and definately OTT in appearance. :18: Thanks for looking in.
-
I'm in Ancaster.
-
Good stuff Craig. No worries on it not being the exact car, it's the spirit of the build that counts. Where in Ontario?
-
You are never too old to start building again. Things have really advanced since we were kids assembling a bunch of plastic parts. Hope to see some of your work soon Michael.
-
Real sharp looking.
-
The colour combo is real sharp.
-
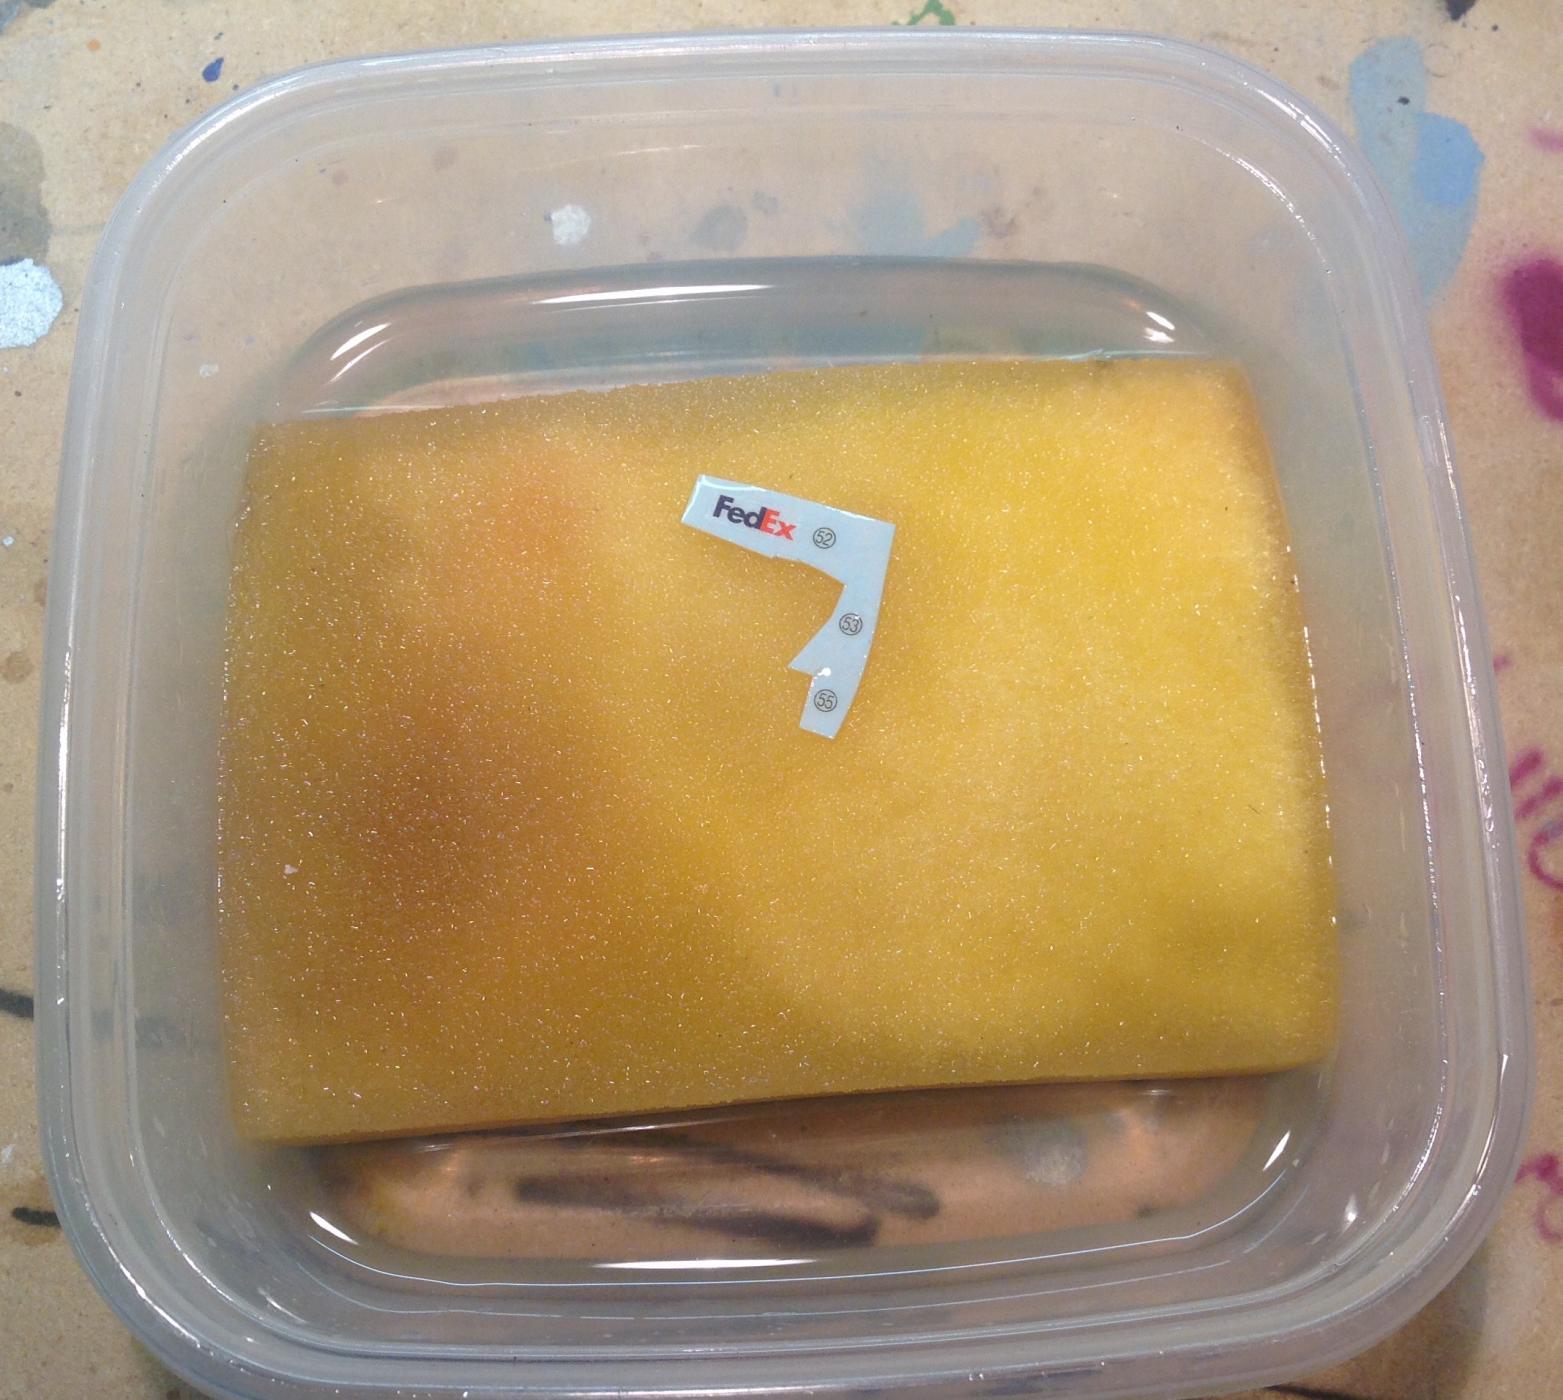
I've been doing this ever since I was a kid. Decalling can be very stressful and very overwhelming to many. You spend countless hours honing your skills and building a kit you are "Hoover Dam" proud of. Everything has gone great or you have been able to correct any problem you have had. Then comes the dreaded decal laying. Sometimes they never get done and we make ourselves feel better by convincing ourselves the build look fine without them. Or we put the kit aside with great intention to work up the courage to do them. Sometimes they never get done. So you've gone and said to yourself "Hoover Dam it I am going to do this" , you get all set up. You put the decals in and you get on with it, then things start to go off the rails, you loose a decal in the water. The problems just snowball from there. I started doing this. The sponge insures you never loose a decal in the water, and you can have many decals on deck soaking. It makes the whole expireince mush less stressful. I also use tiny paint brushes to manipulate the decals. I fill the container just below the sponge. Happy building.
-
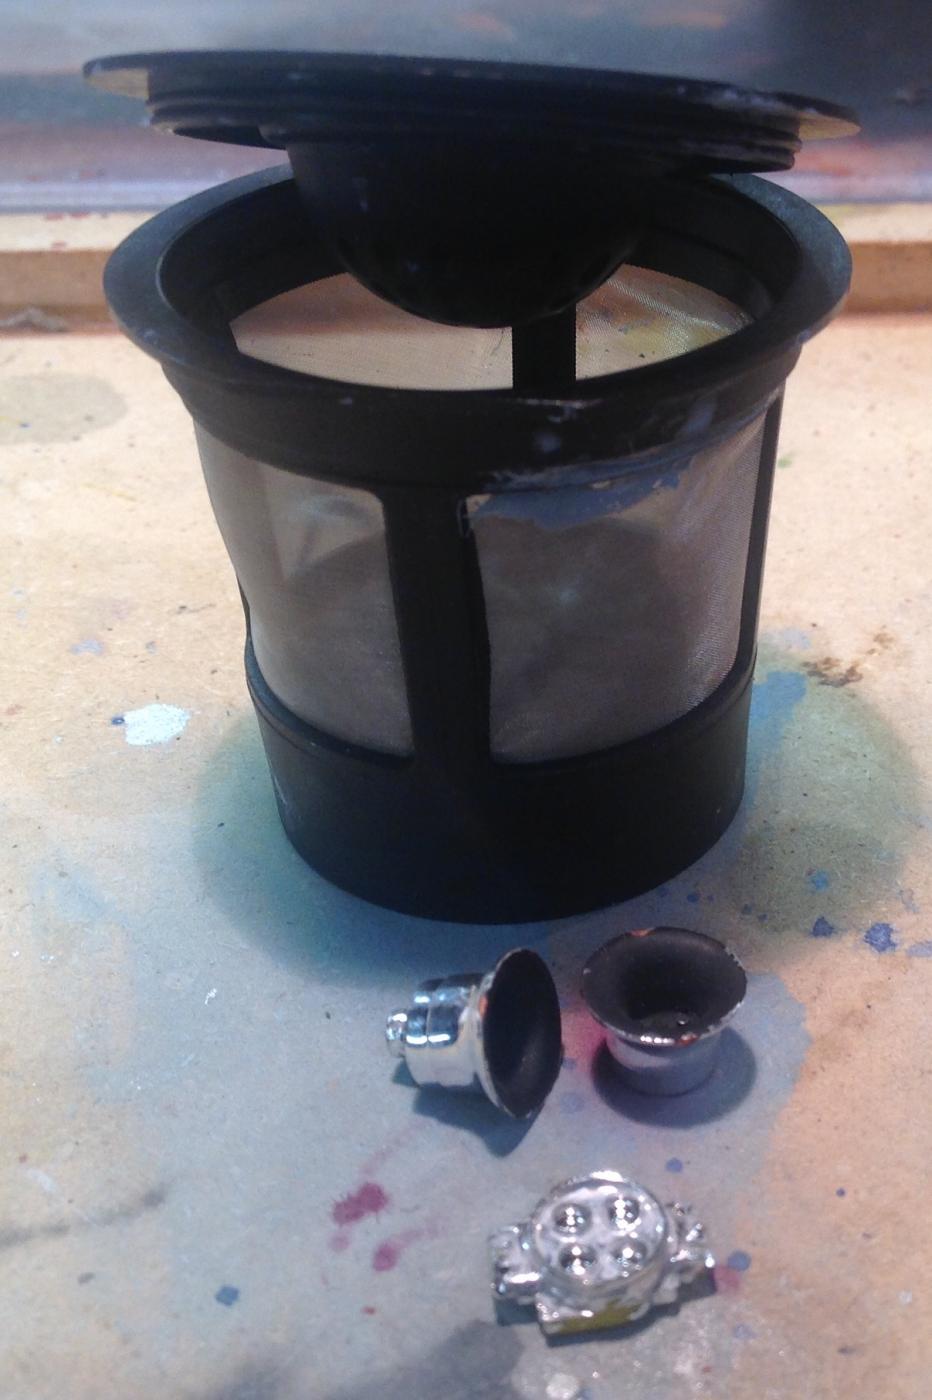
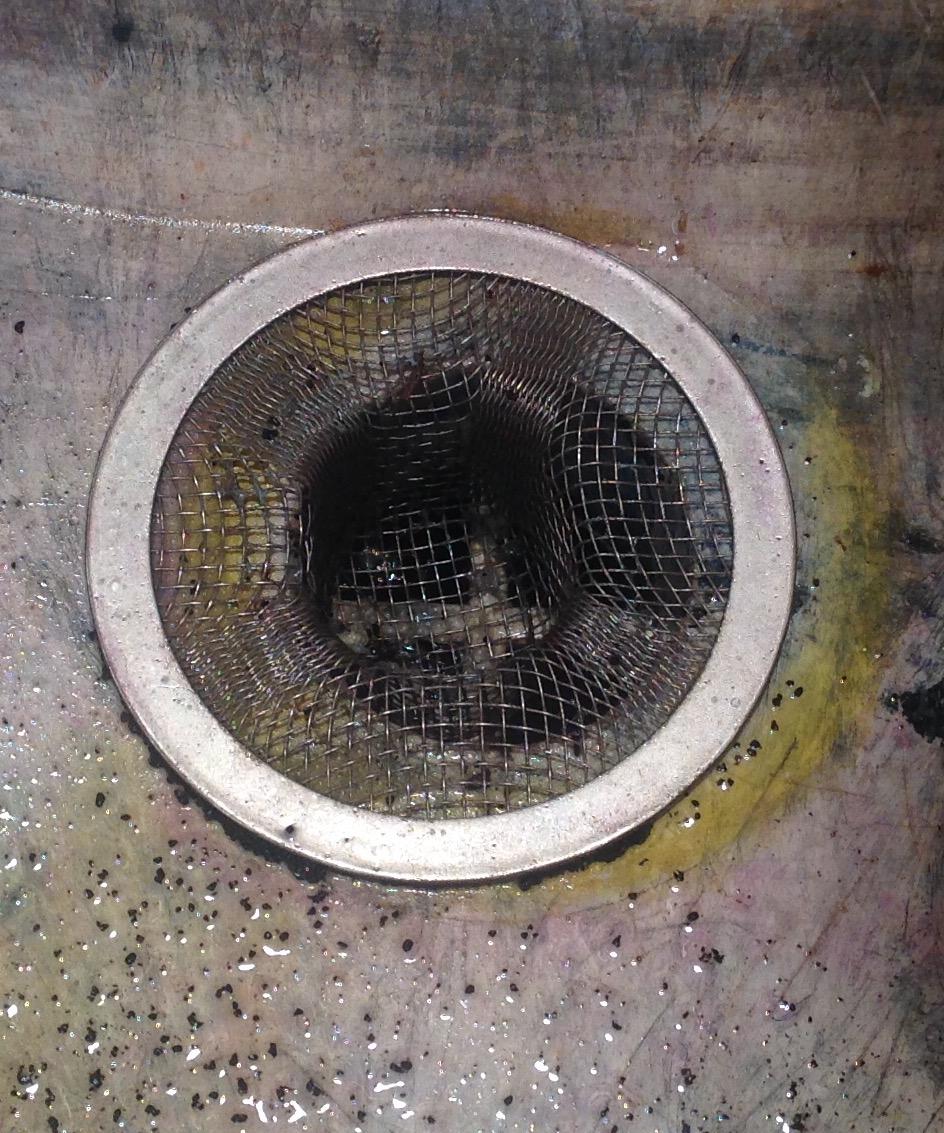
I have always found it some what unnerving when stripping small parts in your fav chemical stripper then having to rinse it off after, until now. Two things I do. First I put the parts in a reusable K-cup them toss the whole thing into the stripper, I also place have one of those drain mesh thingies over the drain. I usually just rinse the part right in the k-cup. Hope someone finds this useful.
-
ambitious paint '41 Willys Pro Street curbside-ish
Rider replied to Rider's topic in WIP: Model Cars
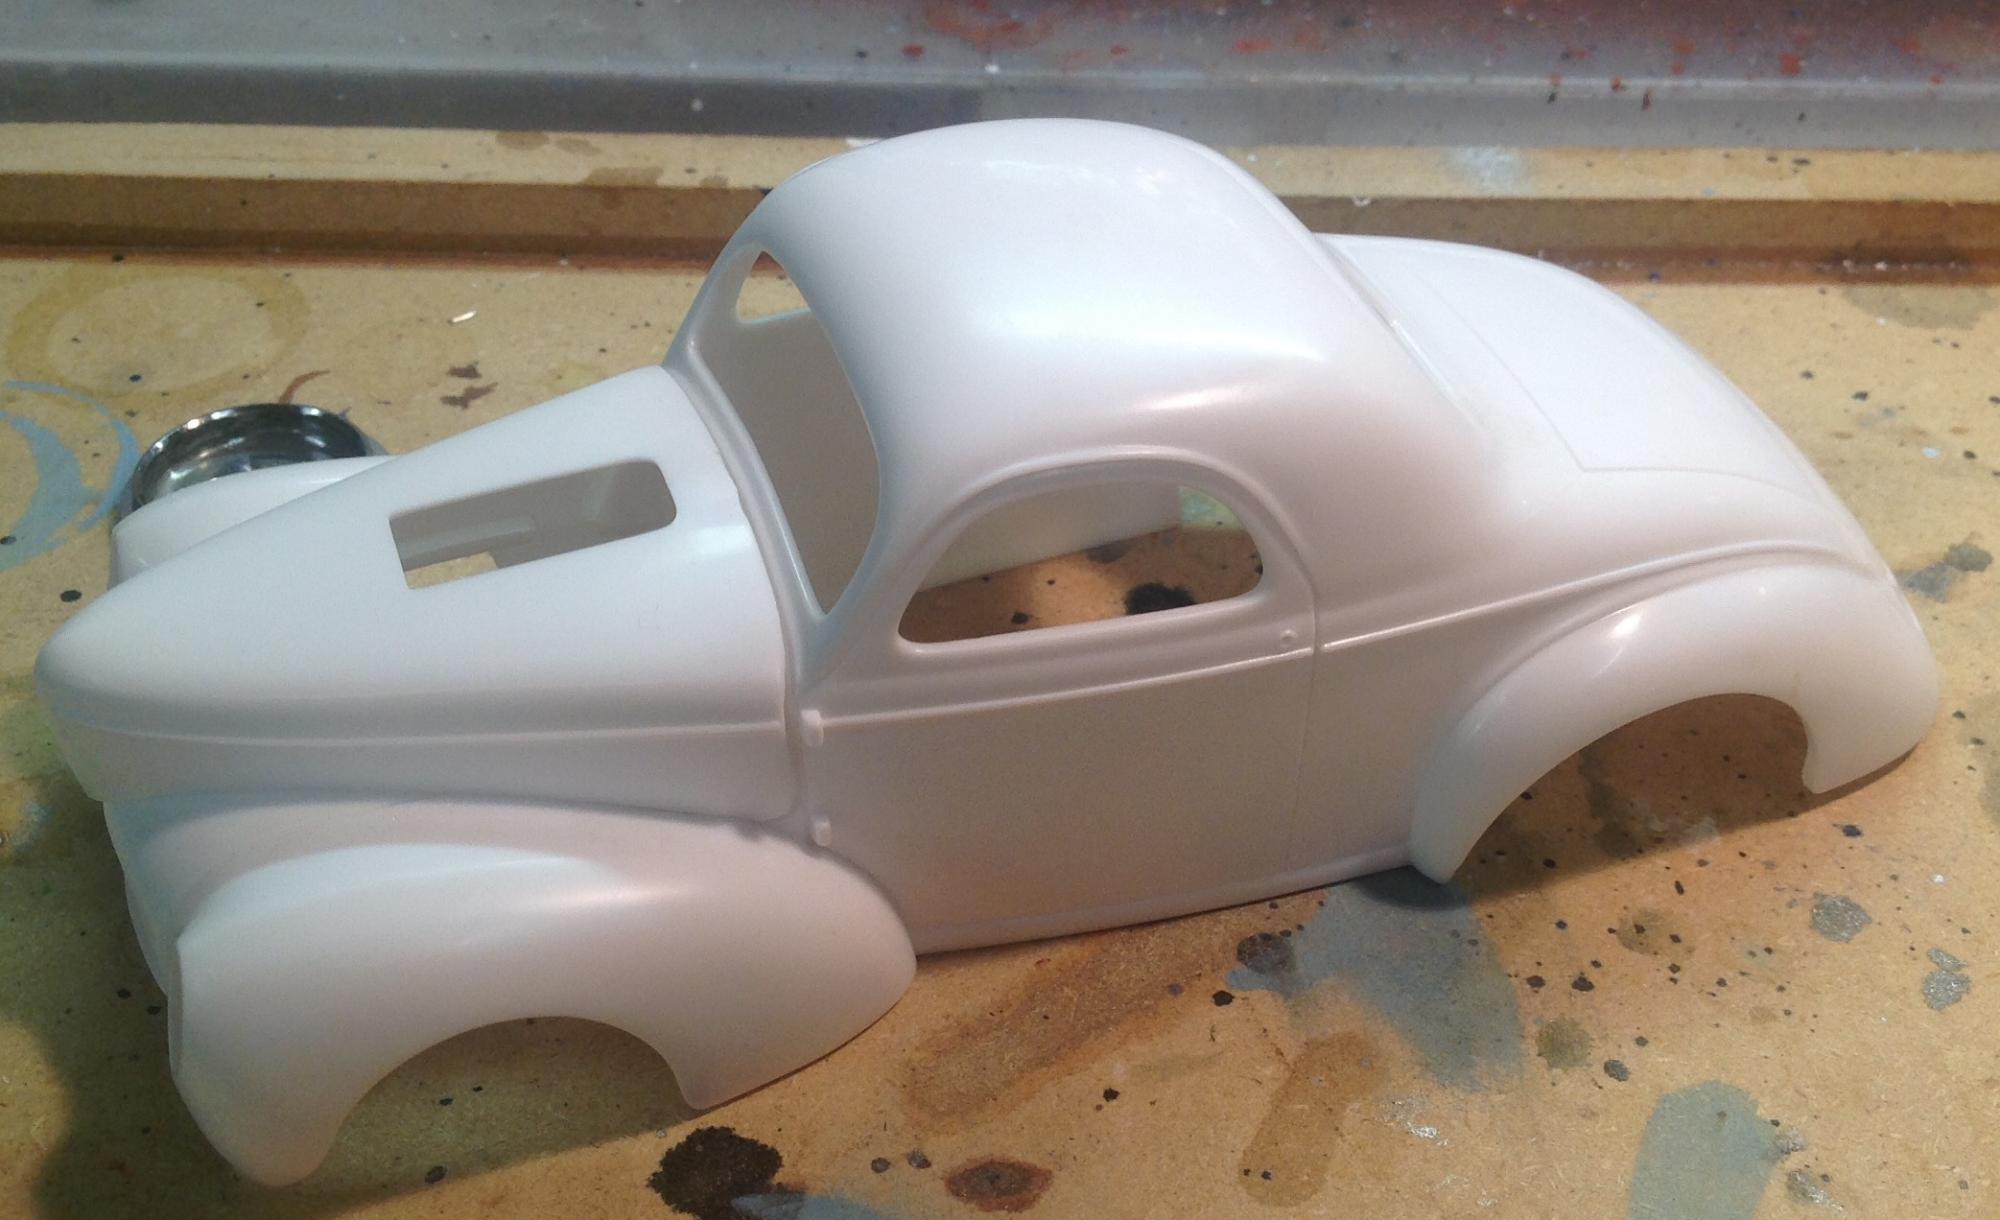
I have decided the body needs WAY too much work. So it's been boxed, I pulled another shell from the stash. In order to move this build along velocity stacks and carb detail will be added to the hood opening. I really didn't want to do any real filling and sanding on this project, I just want to get on with the painting. A mold will be made from the carb found in the parts box and a second carb cast. I use reusable coffee cups when putting small parts in stripper. It just makes life easier. Sorry for the '41 Merc images, something screwy with the site. They just appeared during an edit and now I can't delete them. Thanks for checking n.
-
Moebius ' 65 Belvedere, putt, putt, . . . . done!
Rider replied to smellyfatdude's topic in WIP: Model Cars
Love the colour. -
? nice finish.
-
Thanks Carl. I hope to post more.
-
Good stuff Bill, thanks for the explanation.
-
ambitious paint '41 Willys Pro Street curbside-ish
Rider replied to Rider's topic in WIP: Model Cars
Sorry for the confusion with the first couple pics. Not exactly sure why I posted those, I guess I just wanted to share what could have been. Regardless, it is o lay a true curb side now. Mitchell, totally, that is what was going on. I had the from clip as it is in the pic, then I torn it off to redo it, of course that lead to having to remove the engine/tranny and strip the chrome on and on. Dave,Joe, thanks for your interest and encouragement. I will redo the original concept with that engine in another '41 Willy's build. I answer your question, ya unfortunate this will be a true Curbside. There were just too many issues with the current state of the project to continue. It's all good, I get a do over. -
Great finish on the paint, nice detail through out.
-
This is very cool.