chepp
-
Posts
266 -
Joined
-
Last visited
Content Type
Profiles
Forums
Events
Gallery
Everything posted by chepp
-
Nice job! Your mods are just right.
-
My subscription #209 just arrived in perfect condition in ZIP 917--. A quick flip through it shows a magazine that everyone involved with it can be proud of. The photo reproduction (including some with black backgrounds), printing/paper quality, wide variety of article topics and informative ads are all excellent. It's heartening to see that Gregg, with the help of the talented staff, is achieving his dream. Keep up the good work!
-
That's a big 'flake but it's great for a drag car! You might want to mask and spray the side panels flowing into the door "scoops" like the Dick Landy car. Instead of solid red like Landy's, a candy color of your choice could really make this pop.
-
Here's my only attempt, circa 1969. The cars are 1/25 scale. The pavement is an old weathered beat-up wood plank that I painted black and added white striping to. The fence is a thin piece of wood painted flat black with images cut from car magazines glued on and the crowd is from a magazine centerfold photo of a dragster at the strip. Unfortunately, the Christmas tree is a crude-looking homemade one that I built that actually functioned — the green lights are on in the photo.
-
Thanks! That sounds like a good idea.
-
Thanks! To spray fades on only the top or only the sides, one could add "wings" to the cardboard drive-through mask to limit overspray.
-
The "D" set was finally restocked -- mine came from Burbank's House of Hobbies. Wowee! It's a transparent blue, red-bronze and gray set. I recommend it. It even sticks well to "chrome." Thanks, 935K3.

-
Mine arrived on Saturday in ZIP 917-- in southern California. Looks good!
-
This is my only Iceman purchase. As received. After drilling a fuel line hole in each bowl and spraying one coat of silver.
-
Cool! The New Mexico...Roswell connection...license plate is a great touch. In case you want to add it to a diorama with sound here's a song that I like although it names California desert locations instead of New Mexico.
-
Badger Airbrush Parts & Accessories place
chepp replied to DPNM's topic in Links to Aftermarket Suppliers
I agree. I've bought parts online there, too. "Everything" is in stock and is shipped quickly. -
That's a beautiful build. The paint is especially pleasing with just the right flake size for the color.
-
They also have an adhesive in them that help them stick. I've used them a little bit on HO model railroad items but always on flat paint. Your work looks excellent. For the oily chain you might want to try brushing on Tamiya Clear Smoke. It's glossy and semi-transparent so the silver color will show through. I see that you are in Arvada. So is Bob Black, the moderator for this 1/25 model car site: Traditional Rods and Kustoms in Miniature. His monicker there is RodBurNer. ...and your Gate City Spl. build and exhaust pipe coloring (see Thursday, Jan. 7 post above) looks fantastic.
-
Here are some tests of various transparent colors and solid powders. 1 Clear yellow, 2 coats 2 Clear yellow, 2 coats + clear orange, 3 coats + clear blue, 2 coats + clear brown 3 Clear yellow, 2 coats + clear blue, 2 coats + clear brown 4 Clear orange, 3 coats + clear blue 2 coats 5 Clear orange, 3 coats + clear brown 6 Clear blue, 2 coats 7 Weathering powders: metallic copper + salmon; paint: clear blue 8 Weathering powder: blue; paint: clear brown 9 Clear brown Paints: Clear yellow: Tamiya gloss clear X-22 + clear yellow X-24 + X-20A thinner Clear orange: Tamiya gloss clear X-22 + clear yellow X-24 + clear red X-27 + X-20A thinner Clear blue: Tamiya clear blue X-23 + X-20A thinner Clear brown: clear yellow mix above + clear red X-27 + clear blue X-23 + clear smoke X-19 Powders: Metallic copper: Tamiya Weathering Master, set F Salmon: : Tamiya Weathering Master, set G Blue: Bragdon Enterprises The Blues Here are two colors on an actual part. It looks better in real life. The brown is heaviest nearest the head flanges then fades to nothing halfway down to the tailpipe flange. The blue is heaviest nearest the head flanges and fades to nothing where the three pipes become one. All of the examples were airbrushed with a Badger Krome Renegade with the VL needle/tip at 12-15 psi. The Tamiya powders are intriguing. Unfortunately, the most desirable set D was out of stock but those transparent blue and red colors should be good to try. I didn't have much luck in using any of the powders. I think that they need a matte or flat surface for best results.
-
Thanks for the help! I'll try airbrushing thinned Tamiya clear colors with a VF needle/tip first. Here are pix of some actual pipes. I'll probably try for a toned-down copy of the coloring in photo C with a little blue as in photo H. This link also has some techniques to consider: https://www.reddit.com/r/ModelCars/comments/8d1ty9/id_like_to_simulate_this_bluing_on_crome_exhaust/ .
-
What do you suggest for simulating the bluish/brownish discoloration of chrome 1/25 scale exhaust headers? I'm building a model of a '50s hot rod with exposed headers that gets driven often so I want some coloring but not an excessive amount. I'm having no luck finding photos other than of motorcycles since most folks polish things up before shooting pix. Can you post a link to one or more tutorials? Online searching for this is nearly impossible because phrases like "chrome blueing" turn up all sorts of unrelated things. All I could find is Scroll down to see a couple of photos...but they don't look convincing.
-
Thanks for the how-to. It looks great! Not many people would do wood graining then cover most of it but it really adds to the realism. Scale-looking hinges and chains are an added bonus for making it look convincing.
-
Yes. I was hoping that someone had compiled the information into an easier-to-use reference. This link to Halibrand wheel catalogs and sales sheets might also be useful: https://vintagewheelcatalogs.com/halibrand/ for identifying the 1:1 wheels. Some of the items posted there are just the covers but the site owner says on the home page (of numerous brands of wheel catalogs) that he will scan individual pages upon request.
-
There is a lot of great info and photos in this thread. Has anyone put together a reference showing actual wheels and the scale wheels/source? I look at Halibrand wheel images/info and think that I sort-of understand then I see more posts (on many websites) and get confused again. I have several 1/25 Halibrand wheel castings by Ed Fluck III of Drag City Castings. The quality is excellent.
-
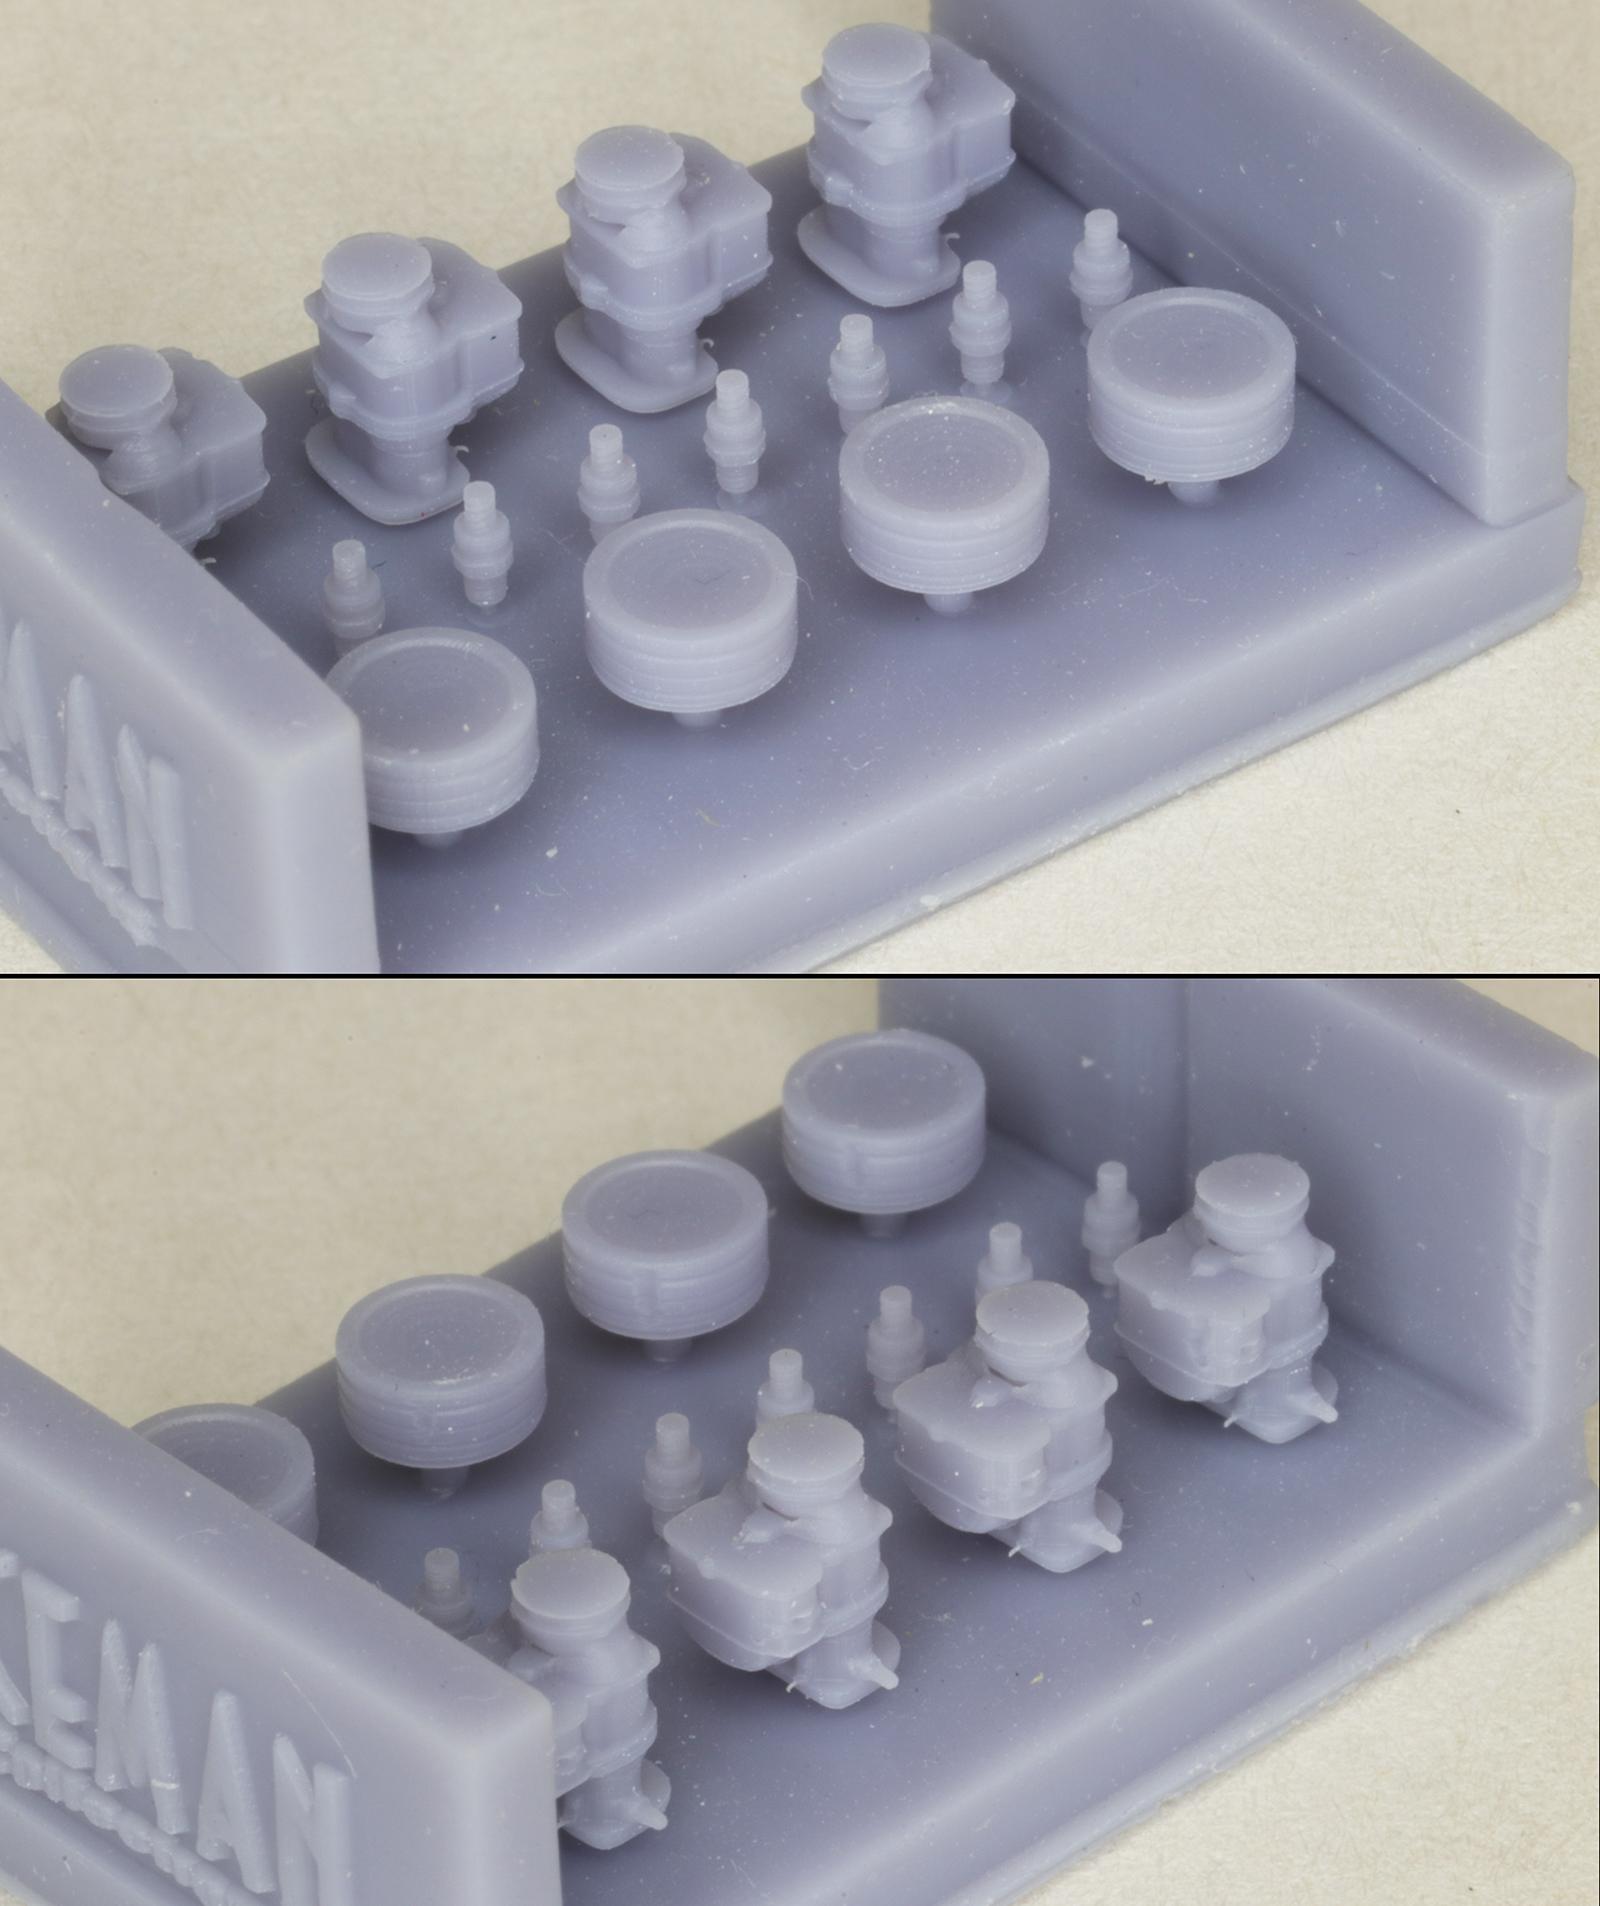
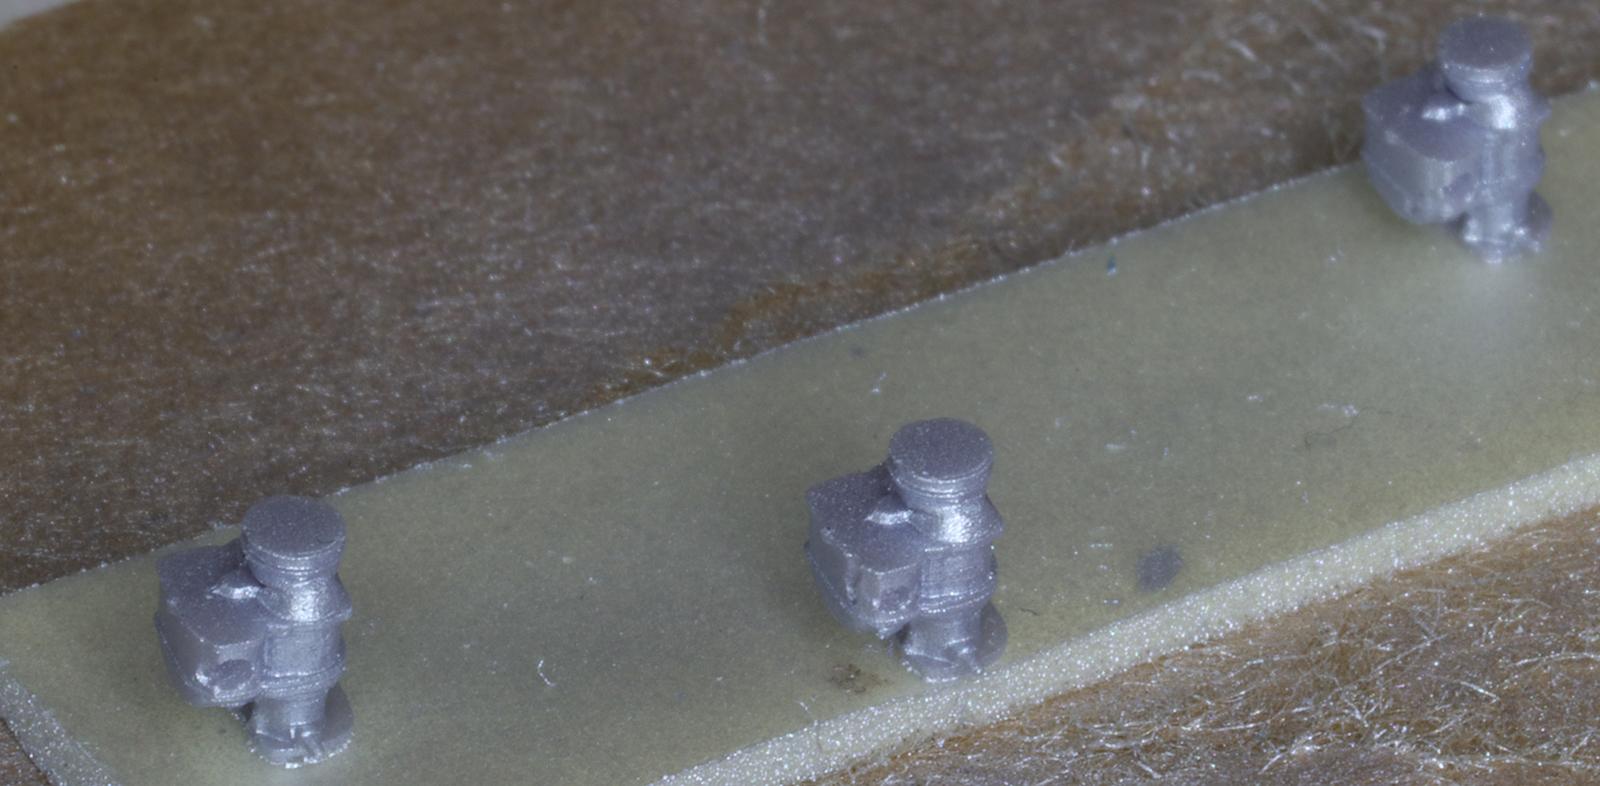
1/25 scratchbuilt spark plug -- anybody make them?
chepp replied to chepp's topic in Model Building Questions and Answers
Erik, those plugs look really good. I've replaced my original photo with one showing a spark plug and different boots. -
I have some 0.040 hex-shaped polystyrene rod -- it scales up to 1". Did you make your own? Here's what I want to replicate. Edit Dec. 1
-
Atlantis Models has bought another lot of tooling/molds.....
chepp replied to Dave Van's topic in Car Kit News & Reviews
Yes, it's wonderful to see that a manufacturer will be reissuing a neat ol' Revell from the '60s. I hope that sales will encourage them to acquire/release other Revell parts packs and/or combination kits as Tim shows in his post. Be sure to buy Tim's "Collecting Drag Racing Model Kits" book -- it has lots of great stuff and some surprises, too. I found kits in there that I had never heard of. I'm still scratching my head over why a '65 Dodge Coronet was only briefly offered. To me, AWB drag versions such as Landy's Dodge would have been a "must have" kit. -
That's a neat way of doing it. Thanks for showing us.
-
As with many things these days, there must be high quality model-sized used lathes from individuals becoming available. Here are a few questions: 1. Would they be available at reasonable prices since there is probably declining demand for them now than in the past? 2. Has anyone created a guide to desirable brands and what to look for? I have no experience with this but is there a way for a newbie to evaluate whether parts are excessively worn? 3. Are there commercially-used ones that become out-of-spec for their high precision needs but would be just fine for us model builders? How would we find them?
-
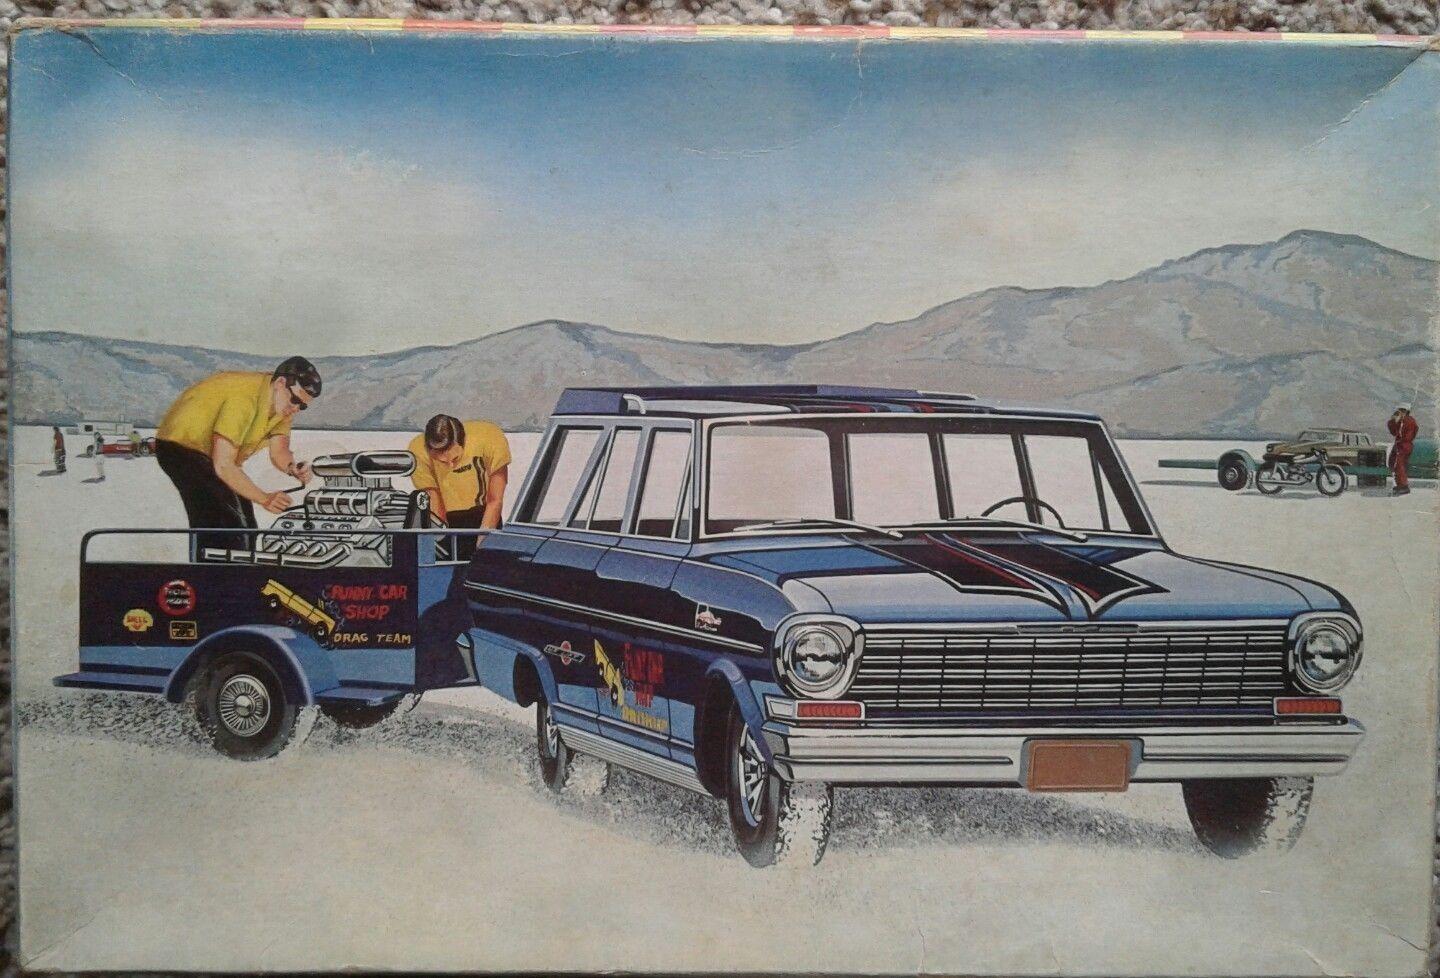
amt 1202 1/25 AMT 1963 Chevy II Nova Station Wagon - Craftsman Plus
chepp replied to Casey's topic in Car Kit News & Reviews
Couldn't they have included the trailer from the T308 Crew Wagon issue? Image swiped from https://www.scalemates.com/kits/amt-t308-200-63-chevy-ii--1156884 .