David G.
-
Posts
11,326 -
Joined
-
Last visited
Content Type
Profiles
Forums
Events
Gallery
Everything posted by David G.
-
Fabulous looking build! I do remember dodging those while driving I-10 back in the day. David G.
-
Great looking build. Excellent work on the custom stripe. David G.
-

Dodge D100 old work truck\barn find
David G. replied to eran_k's topic in Model Trucks: Pickups, Vans, SUVs, Light Commercial
Nice rust and dust, very convincing. David G. -
Nice work so far, I can't wait to see how it all comes out. David G.
-
That's a great looking color combination. David G.
-
Nicely Done! I'll look for it in the Under Glass section. David G.
-
Wow, they look fantastic Roger! I hope it all goes well for you this tine around. David G.
-
Holy Cow François! What you're doing is going waaaay beyond model building and into model engineering. Tremendously impressive work! David G.
-
Fabulous rescue! David G.
-
A beautiful rendition of a classic Funny Car! I love the paint and decals, nicely done! David G.
-
That's a very clever process you came up with for aligning the decals Michael, but once you explain it, it makes perfect sense. I'd like to think that I'd come up with a solution like that when faced with a similar situation . Still, I'm glad you shared it. This has been a spectacular build from the very start, it must feel great to be so close to finishing it. David G.
-
I like the interior detailing, very eye-catching! David G.
-
I thoroughly enjoyed following along with your progress on this amazing build Tomasz. Thanks again for taking the time to share it with us. I'll be sure to look for it in the Under Glass section. David G.
-
39 Chevy Delivery - WIP
David G. replied to KWT's topic in WIP: Model Trucks: Pickups, Vans, SUVs, Light Commercial
I'm sure they won't go to waste. David G. -
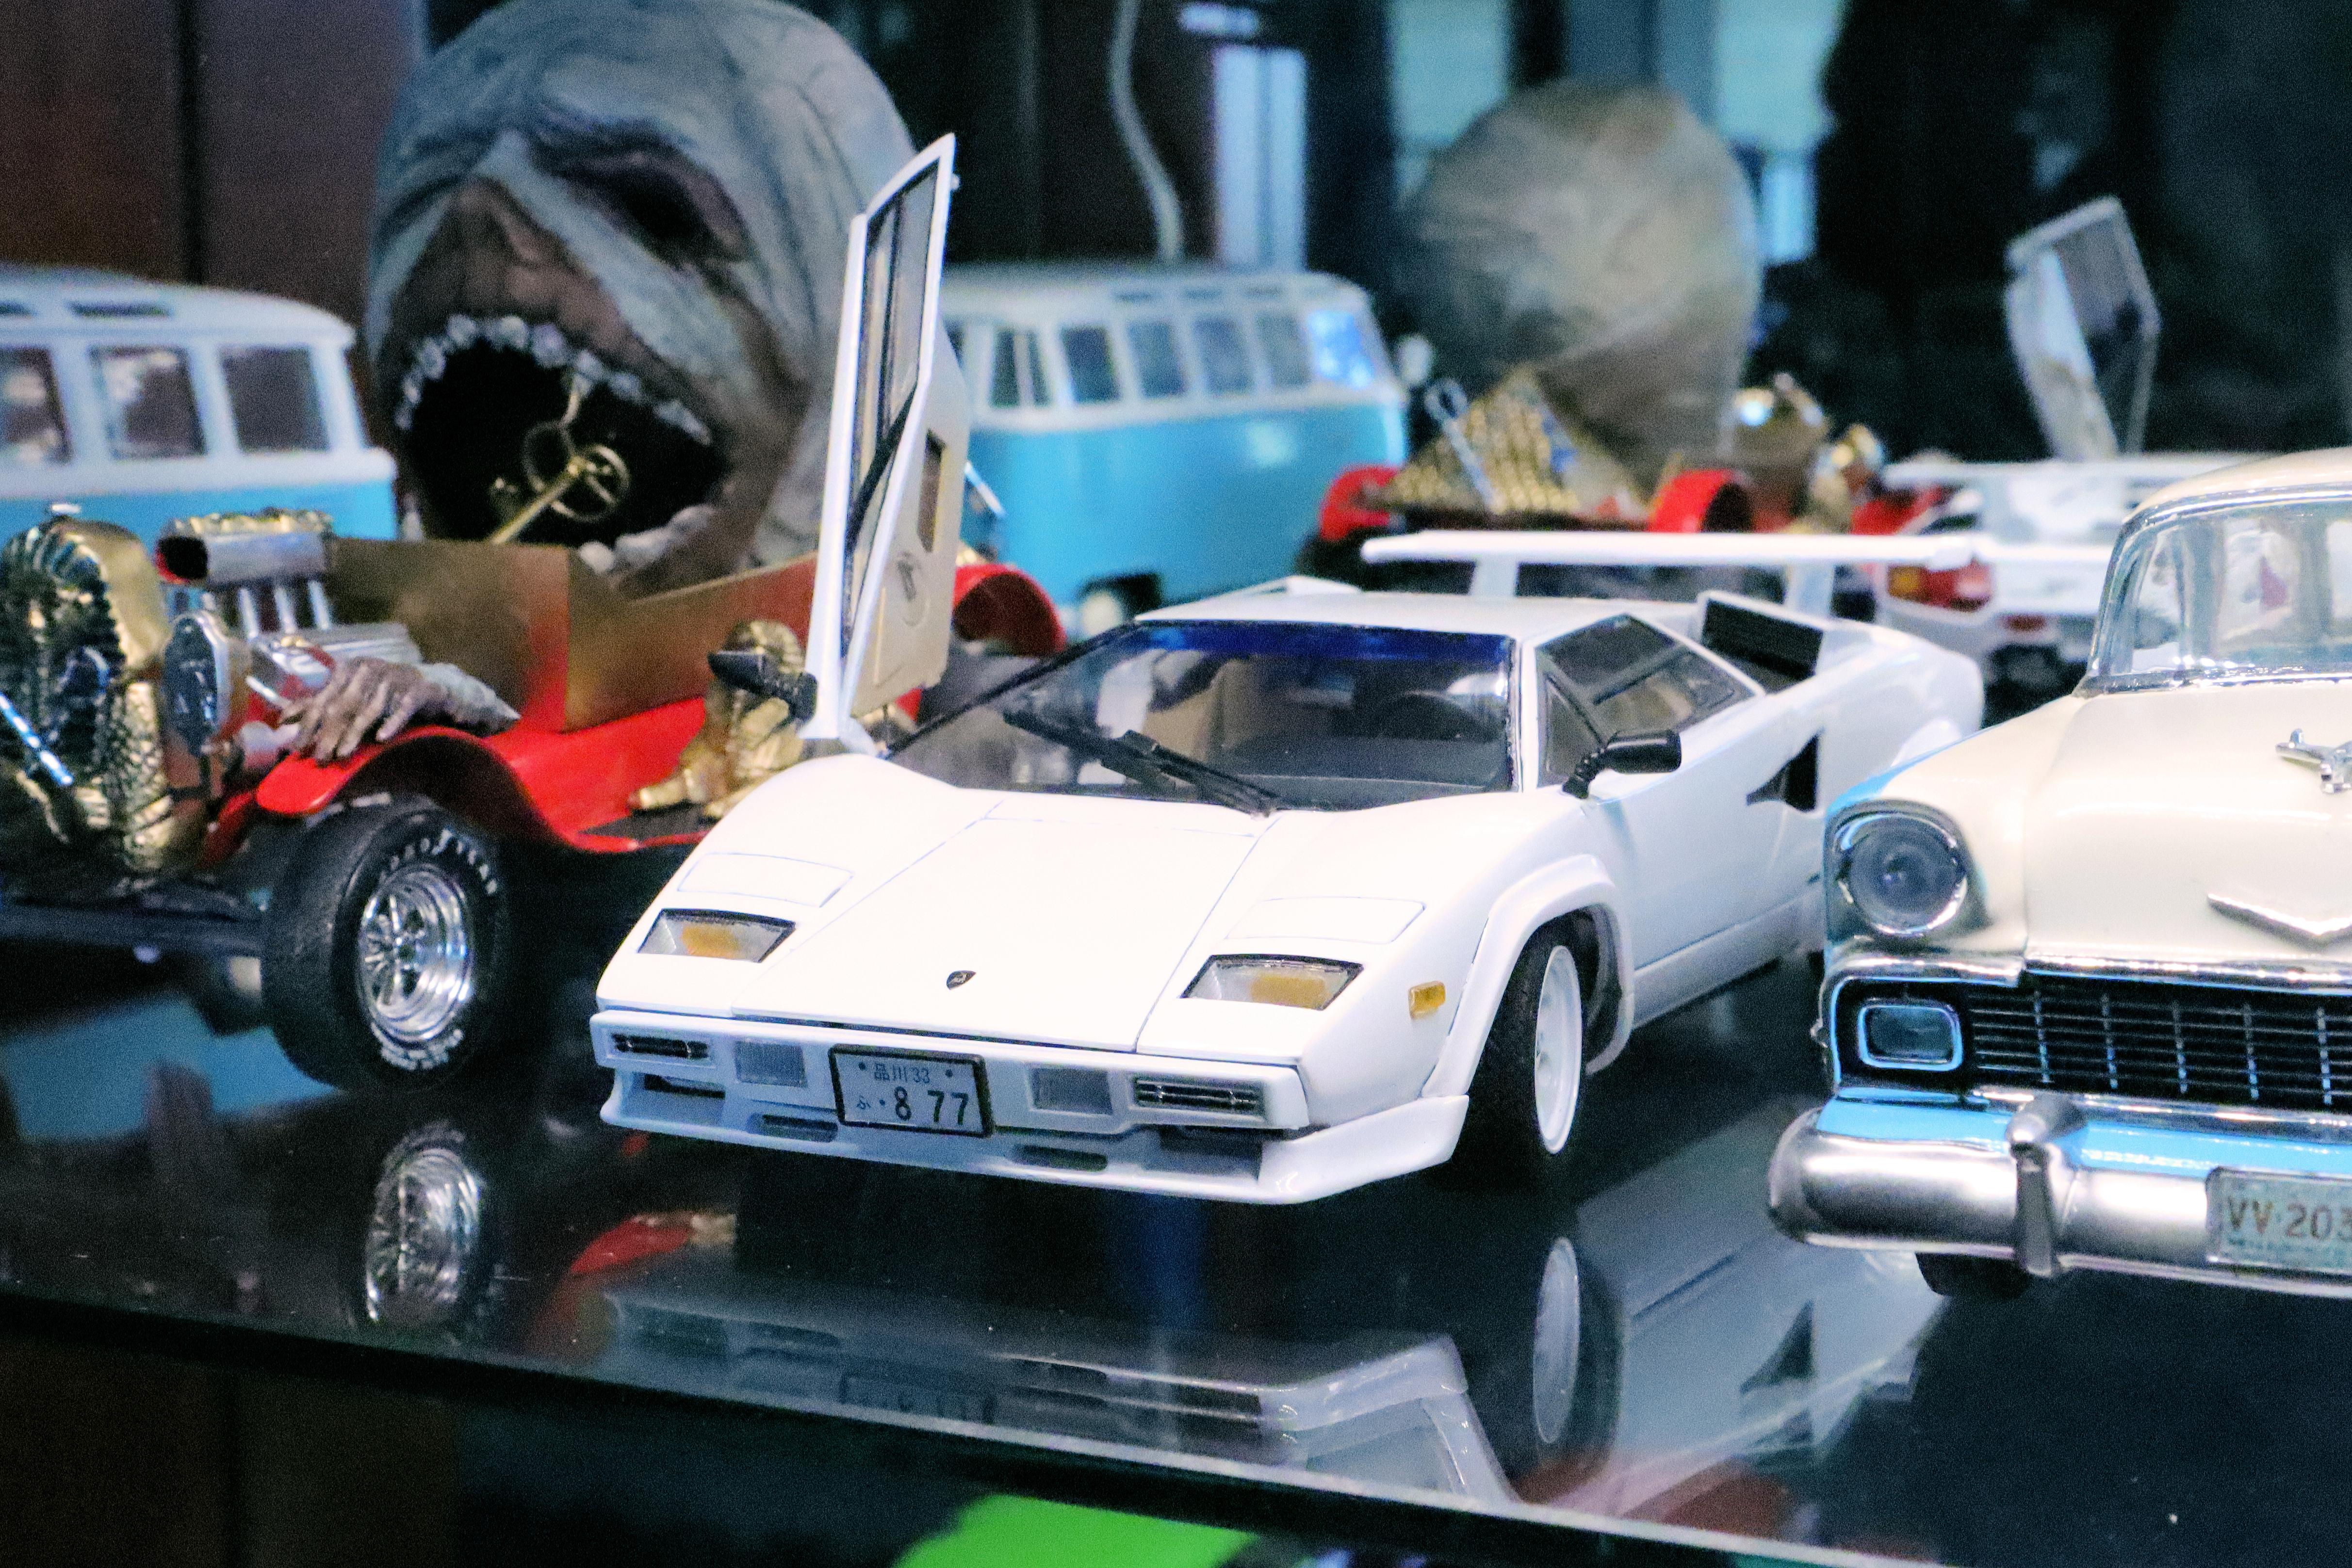
Hello Everybody! As many of you may know I have a display case that I acquired from a place where I occasionally work. It was originally a lighted jewelry display case which I repaired and re-lighted. I now use it as the main showcase for my finished builds. At some point it became a tradition of mine to take a final photo of each of my finished models in the display case as a way of officially marking their completion. So, without further delay, here is my traditional Display Case photo for the Lamborghini Countache. Thanks again to those of you in this fine community who provided their comments and encouragement. David G.

-
Thank you Carl. Thank you Anders, I appreciate your comment. David G.
-
Talk about depth! ? Yeah, it definitely will need some lighting. Subtle lighting. David G.
-
That's a pretty paint job! It has a bit of whimsy to it. David G.
-
39 Chevy Delivery - WIP
David G. replied to KWT's topic in WIP: Model Trucks: Pickups, Vans, SUVs, Light Commercial
Tidy looking little barrels. Will they be visible once the model's finished? David G. -
62 Plymouth Station Wagon: Mighty Mopars Update
David G. replied to BobbyG's topic in WIP: Model Cars
Good progress! Your photos are much better in this posting too. David G. -
Thanks Jeremy, I appreciate that. Thank you Dan, I'm glad you like it. Thank you Trevor, I'm quite pleased with the way they turned out. I'm rather happy with the car overall too. Thanks again for your comment. David G.
-
Nicely Done! David G.
-
Nice looking hood and interior. David G.
-
Fabulous looking paint and decal work. Excellent detailing. David G.
-
What a cool mashup! ? It would make a great Bat Boat. David G.