David G.
-
Posts
11,326 -
Joined
-
Last visited
Content Type
Profiles
Forums
Events
Gallery
Everything posted by David G.
-
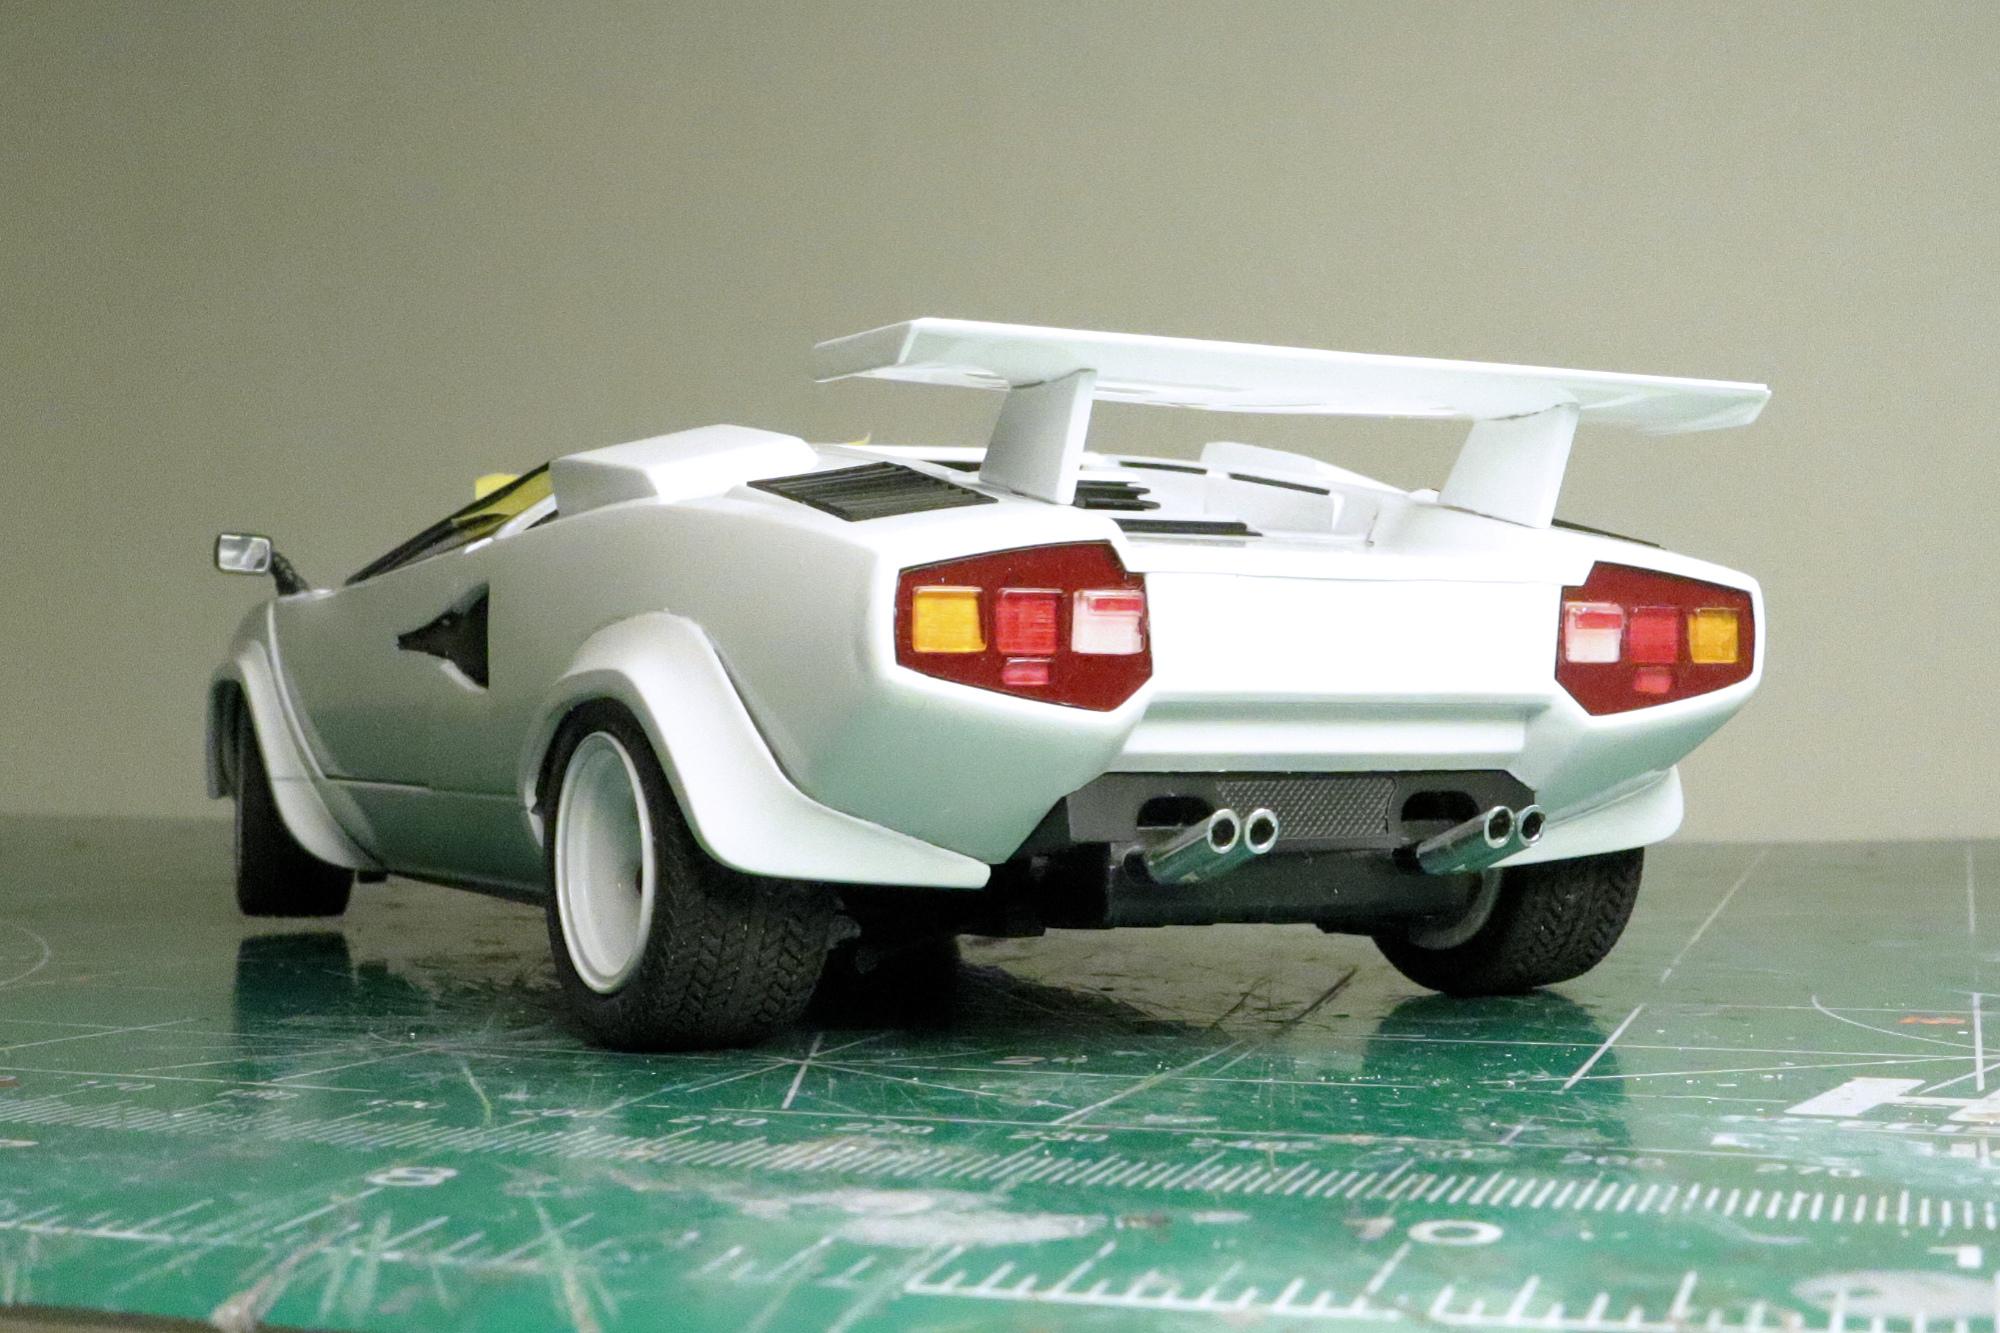
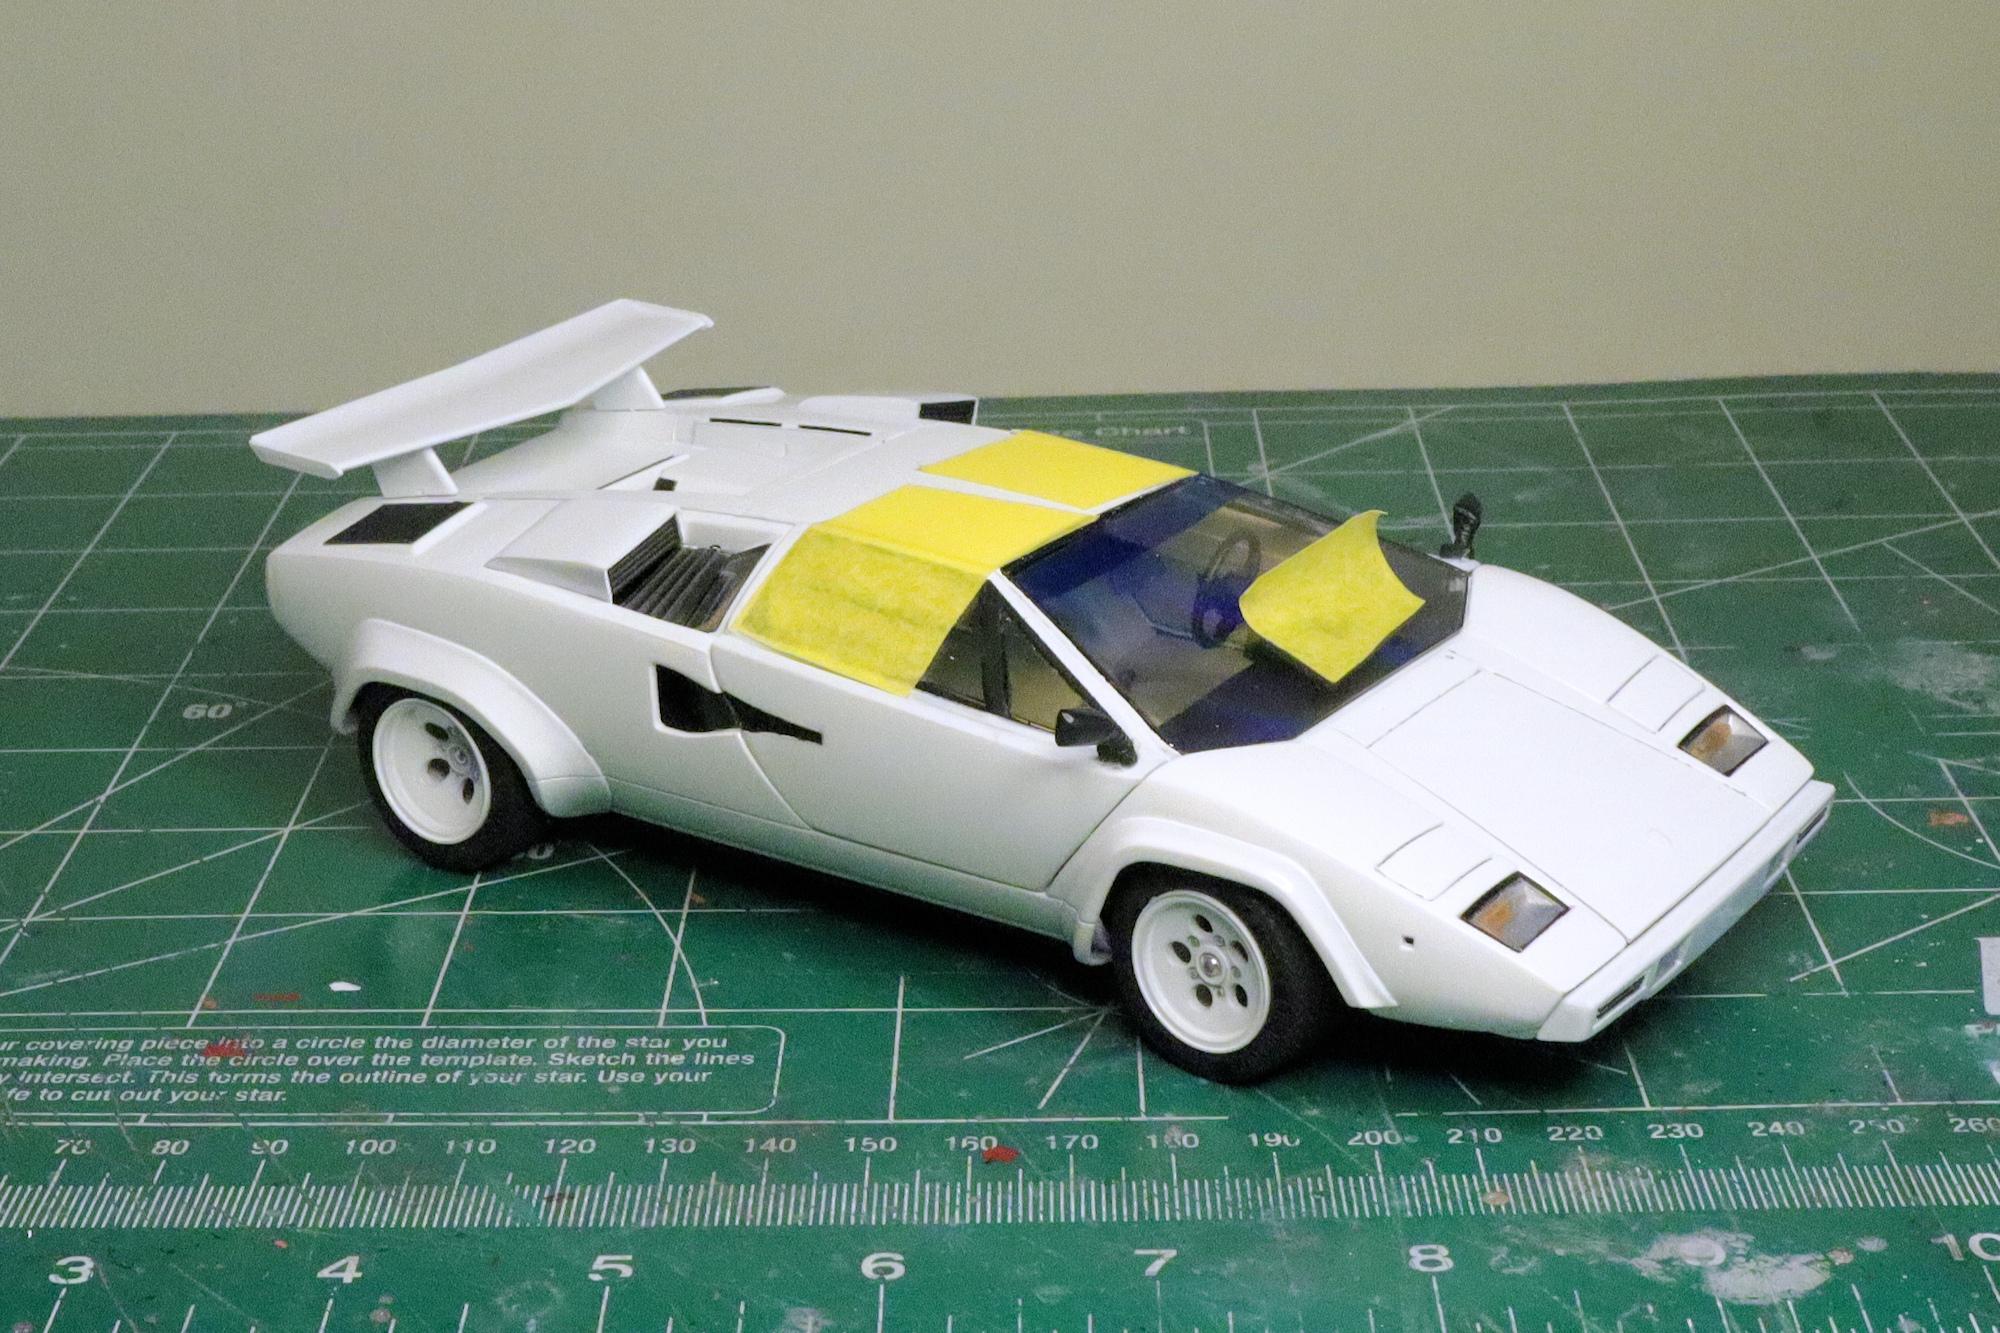
Hello Everybody! Here's a minor update from yesterday's build session. I attached the front... bumper(?) I guess that's the bumper. In any case, it's on there. I also reinstalled the muffler/tailpipe assembly and mounted the splashguard. Yeah, I know. There's a little light leak under the left front but that's just from the wavy cutting mat. This thing sets four-square and firm, trust me on that. I know it's not a big update but on this one, I feel that any progress is worthy of celebration. Or at least acknowledgement. As always, thanks for taking the time to look and please feel free to comment. David G.

-
Thanks Chaz! I always enjoy seeing your comments. David G.
-
Sweet looking GTO, looks perfect from every angle. David G.
-
A nice clean looking build, well done! David G.
-
 Looks great! David G.
 -
Fabulous color, excellent interior, nice engine bay detail, Excellent Work! David G.
-
Looking good! I would have loved to have a set of those tires when I built my WWII Jeep. David G.
-
Nice recovery on the body work. Your color choice looks right for the era. David G.
-
1965 Ford F100
David G. replied to Chuck Most's topic in Model Trucks: Pickups, Vans, SUVs, Light Commercial
Very Cool! David G. -
2010 Concept Camaro: Customizing Revell's Snap kit.
David G. replied to Toast's topic in WIP: Model Cars
Nice progress on this! David G. -
Who doesn't love a mock-up? Let's see yours!
David G. replied to Belairconvertable's topic in WIP: Model Cars
OK, now that's just weird Jim! Delightfully weird. I'd love to see where you go with this one. David G. -
It looks nice and smooth, ready for paint! David G.
-
It's great that you still have the Roadrunner from all those years ago Jeremy. It cleaned up quit nicely and looks great. Do you plan to build the new one to match the old one? I think it would be a fantastic way to show how much your skills have improved over the years. Nice work so far, the body looks great in primer. David G.
-
Thank you Mathias, I'm rather pleased with the outcome. It truly went about as well as it could. Thank you very much for your kind comment Pierre. Yes, the finish line does seem much closer now. Thank you Jim. Given the custom work I've seen you do, I'd love to see what you could do with one of these. Indeed it is Håkan, it truly feels like the worst part of this build is behind me and what lies should be comparatively easy... should be. Thank you all for your kind comments. David G.
-
Thanks Charlie, II can't wait to see your build when you get it going. I'll be sure to keep an eye out for it. Thanks Chaz. David G.
-
It's nice to see you back at this one Jimmy, those are some fine looking turnings you have there. David G.
-
39 Chevy Delivery - WIP
David G. replied to KWT's topic in WIP: Model Trucks: Pickups, Vans, SUVs, Light Commercial
Nice work on the paint, good color combination. David G. -
MFH Ferrari 333SP 1/12
David G. replied to 2whl's topic in WIP: Other Racing: Road Racing, Land Speed Racers
Most Impressive! David G. -
‘57 Chevy Stepside
David G. replied to NOBLNG's topic in WIP: Model Trucks: Pickups, Vans, SUVs, Light Commercial
Excellent work on all the little details! Most times it's the little things that make the biggest difference. David G. -
What a delightful and frightening build! Well done! I'll certainly seek it out in the Under Glass section. David G.
-
It looks smooth and clean and ready for paint. Best of luck on this go round. David G.
-
1964 Pontiac Bonneville Convertible.
David G. replied to StevenGuthmiller's topic in WIP: Model Cars
Wow Steve! I take a couple of weeks off and come back to this amazing bit of work. Beautiful chassis detail, everything looks so real. The funny thing is that even as "dirty" as the bottom of that car is, given its age, it would be considered "clean" if the car were real. David G. -
truck, boat, and trailer
David G. replied to Paul Payne's topic in WIP: Model Trucks: Pickups, Vans, SUVs, Light Commercial
I love the woodwork on the Chevy, nicely done! David G. -
It's great to see this one back on the bench again! Honestly, I had to scroll back through the thread to refresh my memory. Welcome back Michael, I can't wait to see mor progress on this fabulous build of yours. David G.
-
Another award for another excellent model! Well done Brad and certainly well deserved. I remember following your WIP on this a few years ago. A very entertaining build. David G.