David G.
-
Posts
11,326 -
Joined
-
Last visited
Content Type
Profiles
Forums
Events
Gallery
Everything posted by David G.
-

Pink Floyd van
David G. replied to Dburk's topic in Model Trucks: Pickups, Vans, SUVs, Light Commercial
Nice work on the decals! David G. -
1966 Chaparral 2E
David G. replied to Rich Chernosky's topic in Other Racing: Road Racing, Salt Flat Racers
I love all the added details. Nicely Done! David G. -
Holy cow, that's gorgeous! The interior is fabulous and the engine bay looks great. When I saw the first photo, I thought for just a moment that it was a real 1:1 car. David G.
-
A beautiful rendition of a classic vintage car! David G.
-
Nice work on the boards! I imagine you have some wild paint schemes in mind for them. David G.
-
Thank you Jeff. Thanks Chaz. David G.
-
Everything looks perfect! David G.
-
Excellent conversion! David G.
-
37 ford panel
David G. replied to XYHARRY's topic in WIP: Model Trucks: Pickups, Vans, SUVs, Light Commercial
You have some really great mods going on here. It's gonna look killer when it's done. David G. -
Great looking start! David G.
-
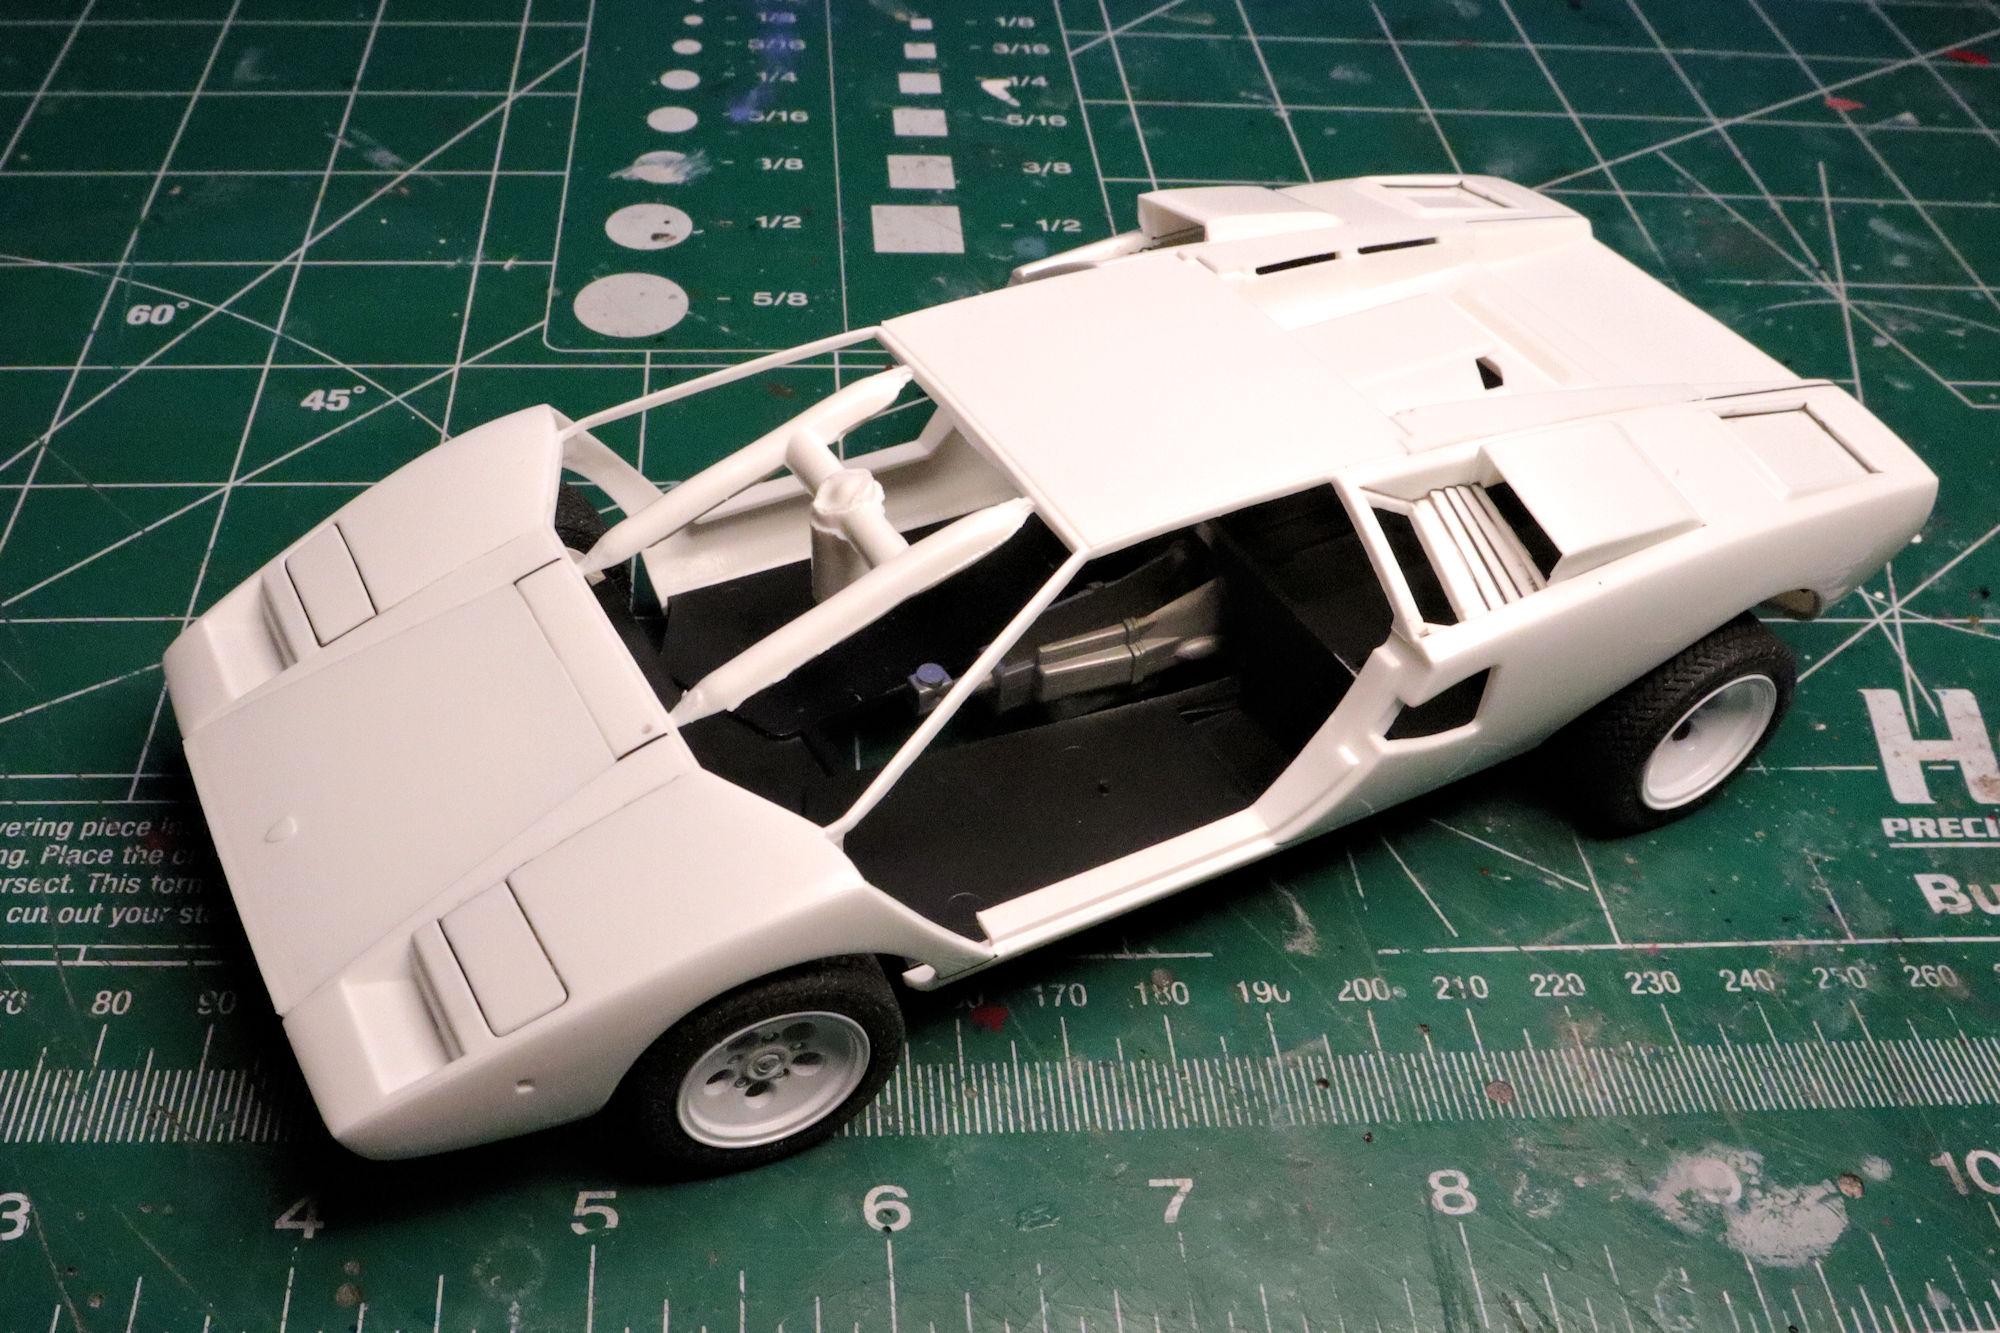
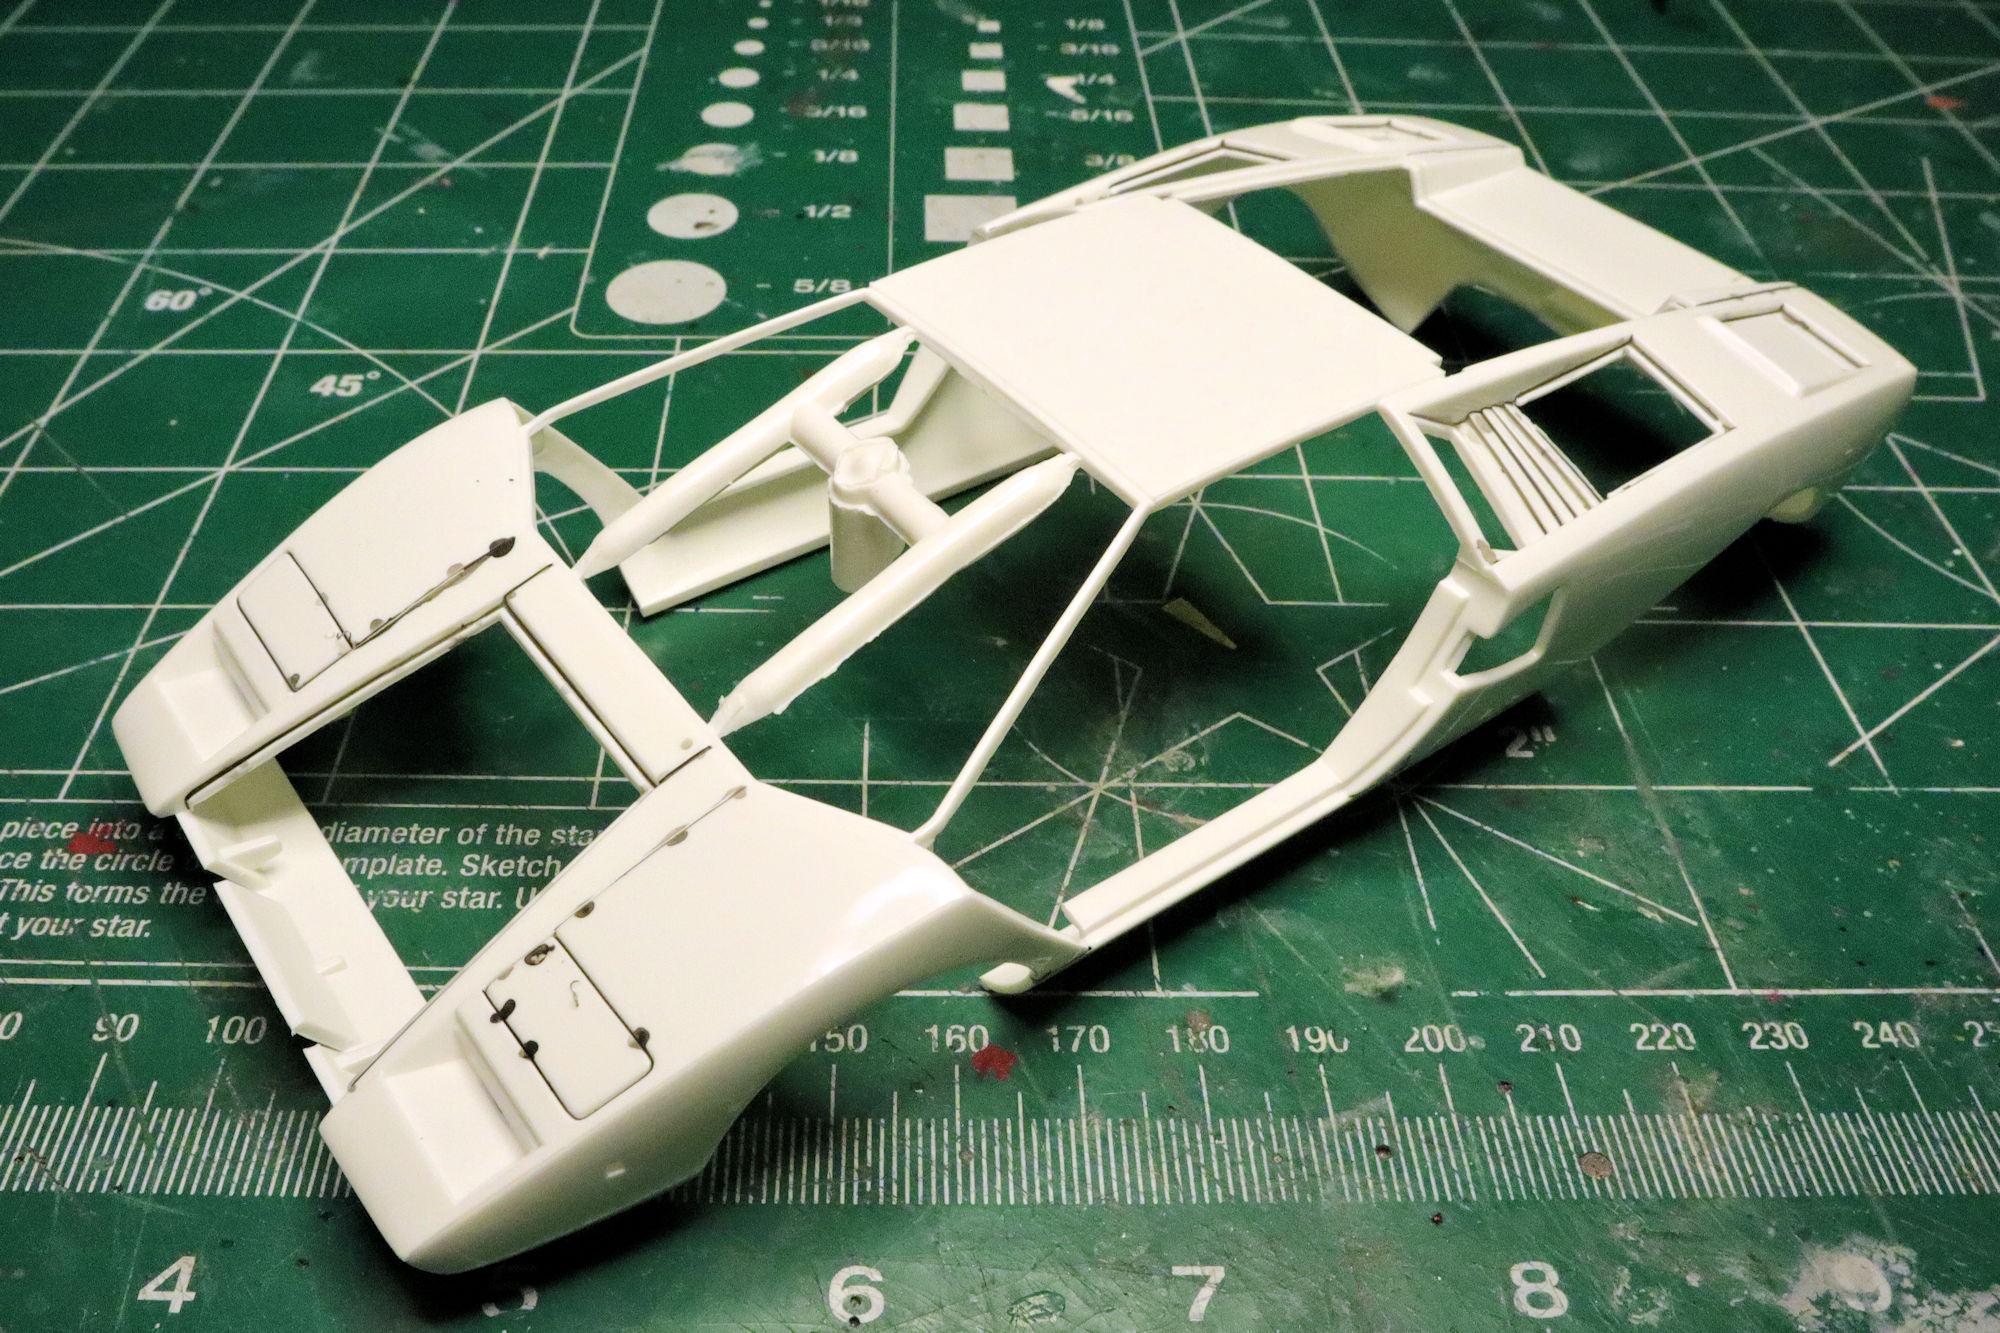
Hello Everybody! After body prep and clean up, I applied some Tamiya Panel Line Accent wash to darken the panel lines a bit. I do this before and after priming and usually at least once after the first color coat. I find that this method creates a more subtle shadow. I'll clean up the blobs with some mineral spirits on a cotton bud or two. Here's our first official test fit of the body and chassis along with some of the other body bits. It actually took me a couple days of thinking things over to work out the best way to mate them up without damage. Also notice that the blobs are gone! That's all for now. As always, thanks for taking the time to look and please feel free to comment. David G.

-
It looks like your painting skills are really improving Bob. Love the interior detail too. David G.
-
'29 Ford Roadster Hot Rod - Final Update - 09-23
David G. replied to Bernard Kron's topic in WIP: Model Cars
It looks like a fun project. You're off to a great start. David G. -
Talbot Lago t26c Silverstone 1949 1/12
David G. replied to maysula's topic in Other Racing: Road Racing, Salt Flat Racers
What a beautiful vintage racer! I love all the detail you added, it really contributes to the realism. David G. -
Beautiful work as always Si! I like the interior details and accent colors. David G.
-
Great color and shine, the wheels really compliment the car. David G.
-
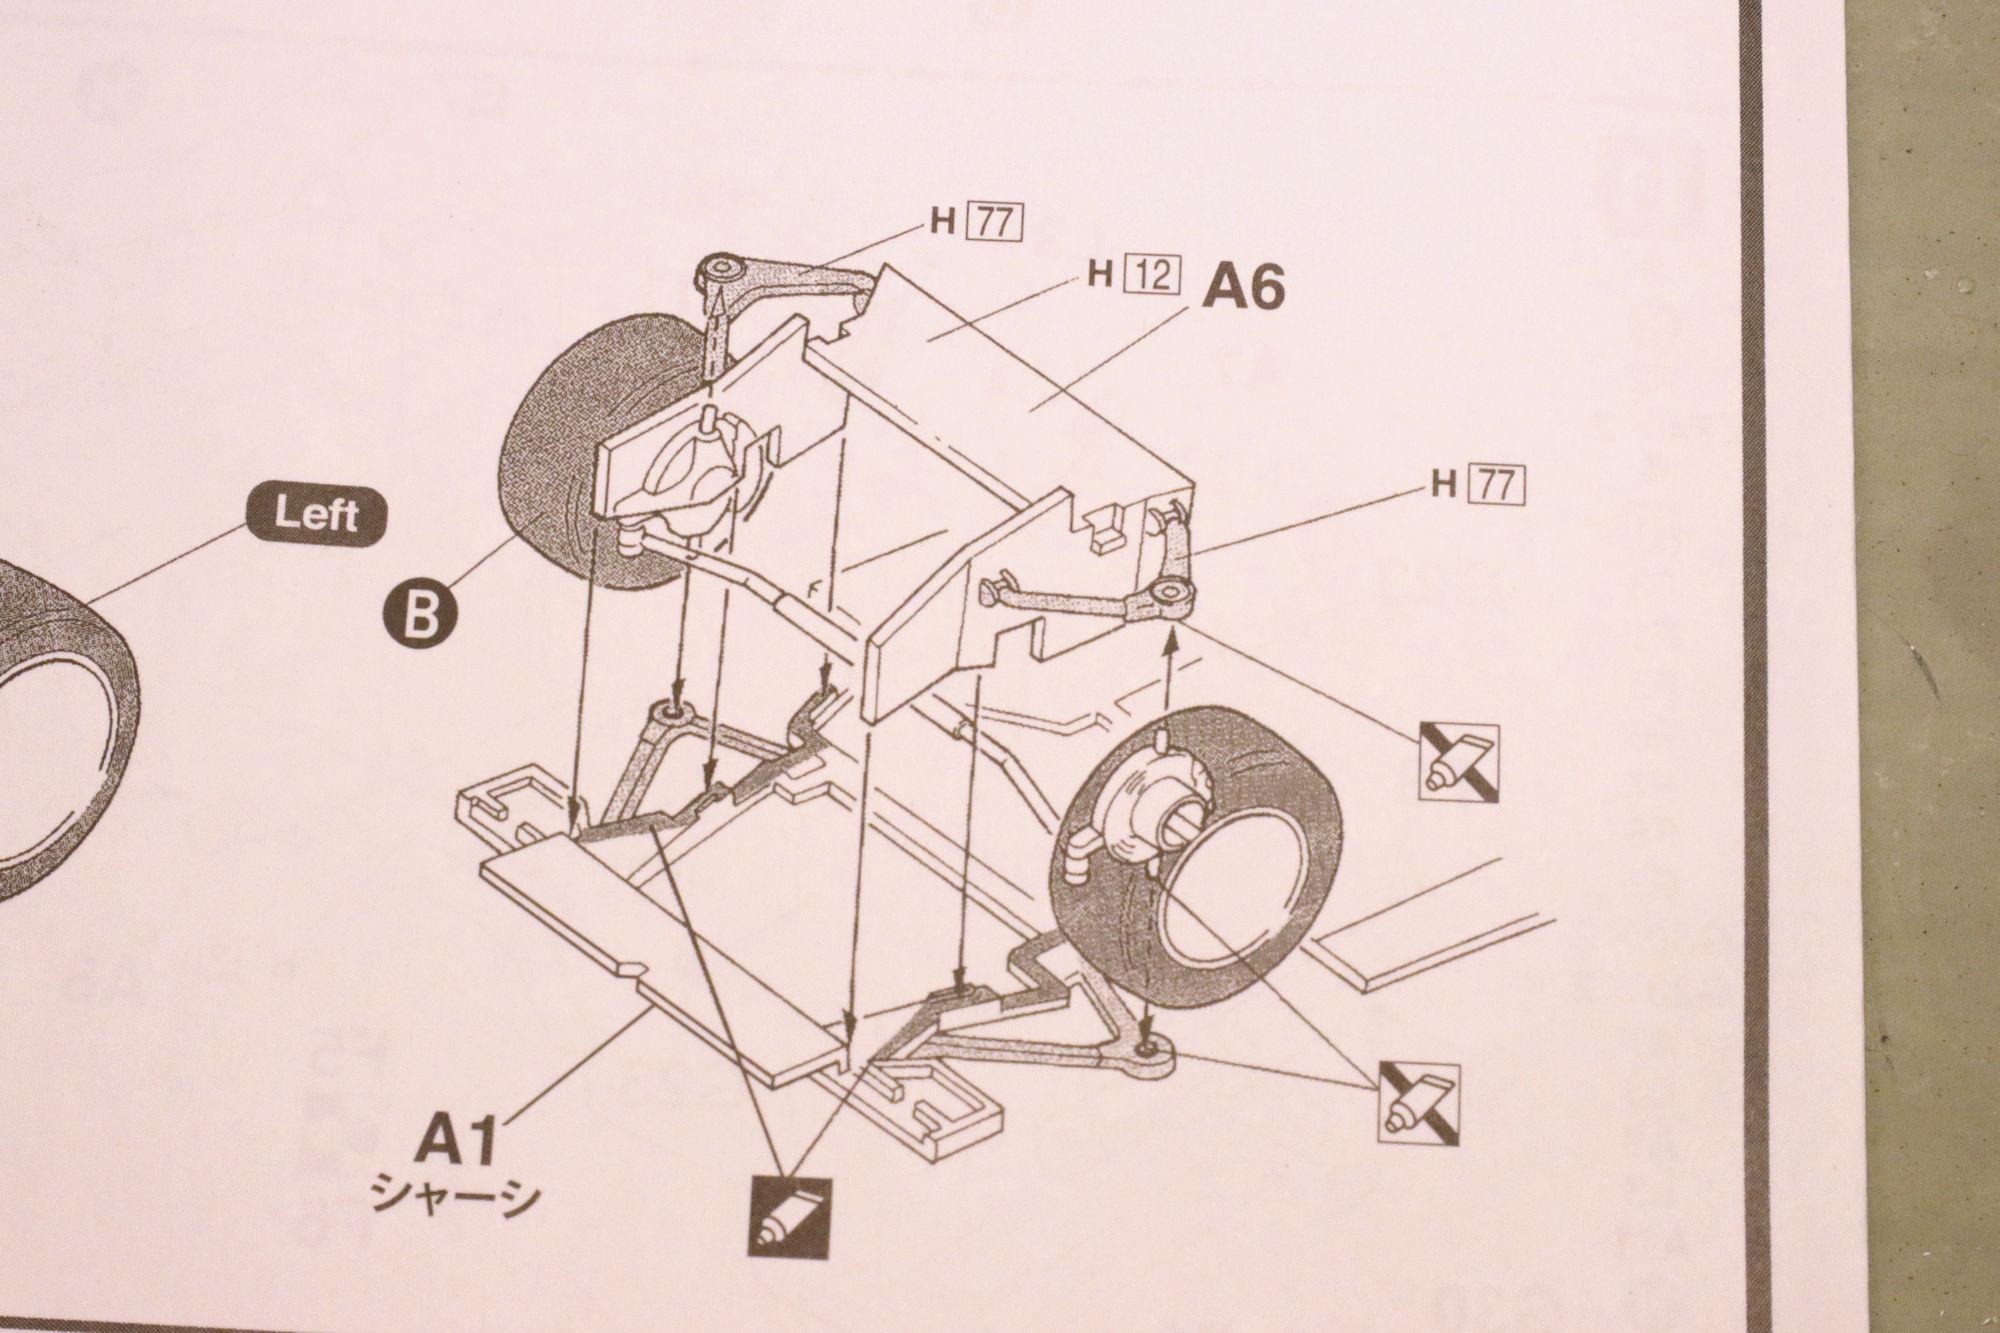
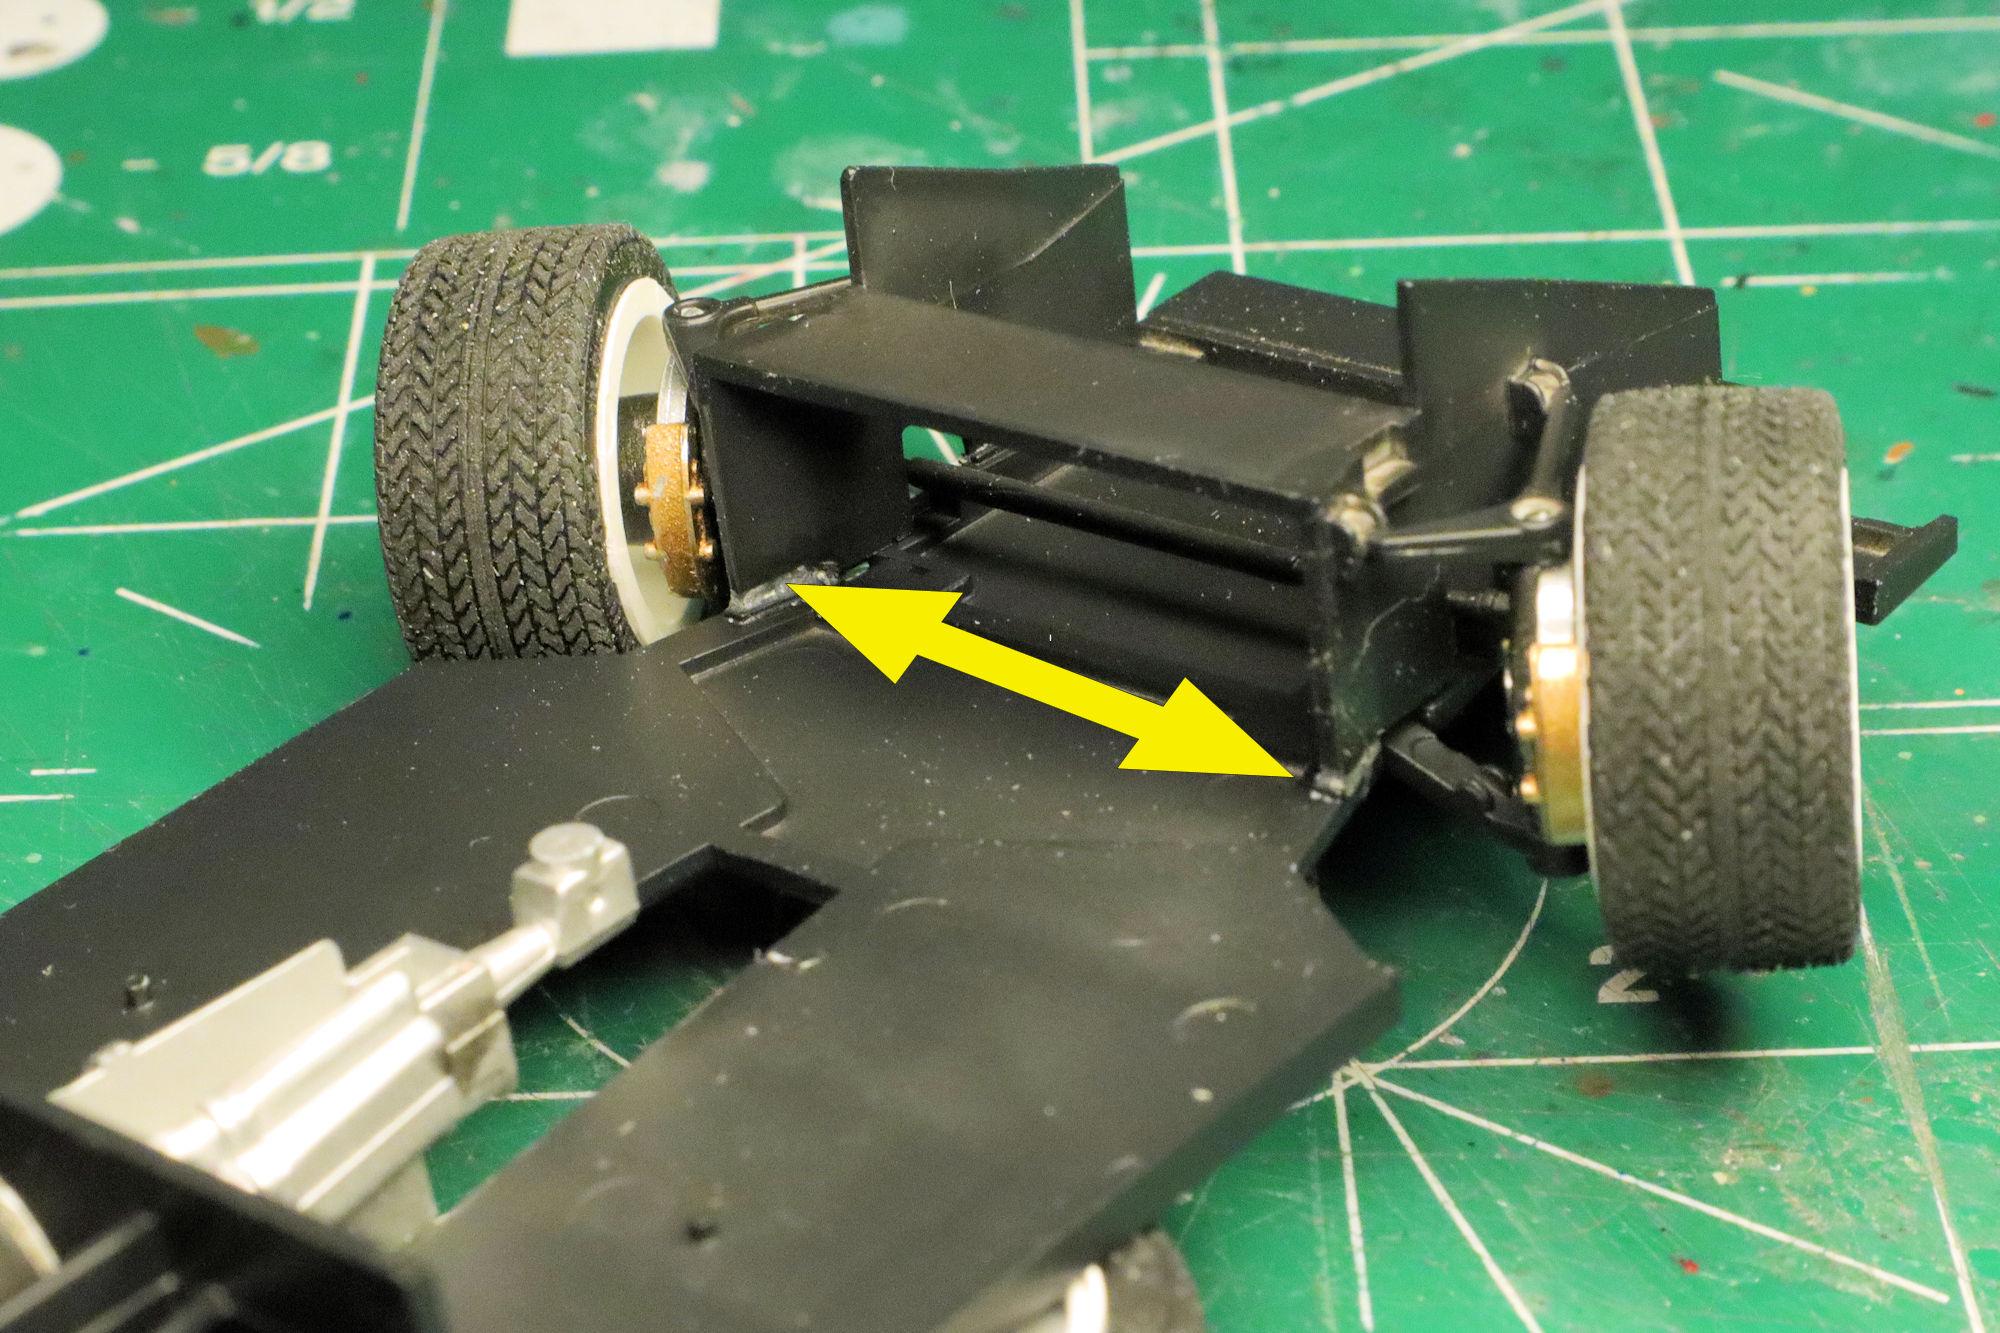
Hello Everybody! One of the first steps building this kit is assembling the front suspension. I had some difficulty getting part A-6 to align properly with the chassis plate. The two side supports toward the rear of the car wanted to spread apart preventing them from seating properly on the chassis plate. I ended up using a wire tie to squeeze them together a bit and hold them until the adhesive cured. Just one of those things to be aware of if you find yourself building one of these kits. As always, thanks for taking the time to look and please feel free to comment. David G.
-
Good fix on the glass, the grille detail looks great. David G.
-
Thank you Mike, I do too. David G.
-
Thanks Dan. I know that there must have been more than one of these posters made but I have yet to see one. Even searching online. Agreed! David G.
-
A fantastic idea, well executed! That, and it's just too cool. David G.
-
AMT 53 Ford Pickup
David G. replied to bluestringer's topic in WIP: Model Trucks: Pickups, Vans, SUVs, Light Commercial
A nice quick-n-eezy build! Well done. David G. -
Nice work, love all the engine detail. David G.
-
AMT 53 Ford Pickup
David G. replied to bluestringer's topic in Model Trucks: Pickups, Vans, SUVs, Light Commercial
A good, solid looking build. Love the color. David G. -
That came out great! Nice finish on the paint. David G.