David G.
-
Posts
11,326 -
Joined
-
Last visited
Content Type
Profiles
Forums
Events
Gallery
Everything posted by David G.
-
Fabulous work on this! Excellent visual composition and enough detail to make it interesting without drawing attention away from the subject. David G.
-

Revell 1957 Chevrolet 150 Black Widow
David G. replied to Jim B's topic in Stock Cars (NASCAR, Super Stock, Late Model, etc.)
Nicely done. David G. -
Trailways bus
David G. replied to yellowsportwagon's topic in WIP: Model Trucks: Big Rigs and Heavy Equipment
What a cool project! Great work so far. David G. -
That's one sweet Cuda! David G.
-
1961 Mercedes Benz 190SL - Revell with a few modifications
David G. replied to 89AKurt's topic in WIP: Model Cars
Wow! Massive progress! It must feel great to be getting so much done. David G. -
It looks like a great show car in the making. David G.
-
That came out nice, well worth the effort. David G.
-
That's a fantastic looking version of that kit, well done! I do agree, the decal looks like it deserves an apology from AMT. David G.
-
Kenworth K100 twinsteer triaxle
David G. replied to PierreR89's topic in WIP: Model Trucks: Big Rigs and Heavy Equipment
Impressive work! David G. -
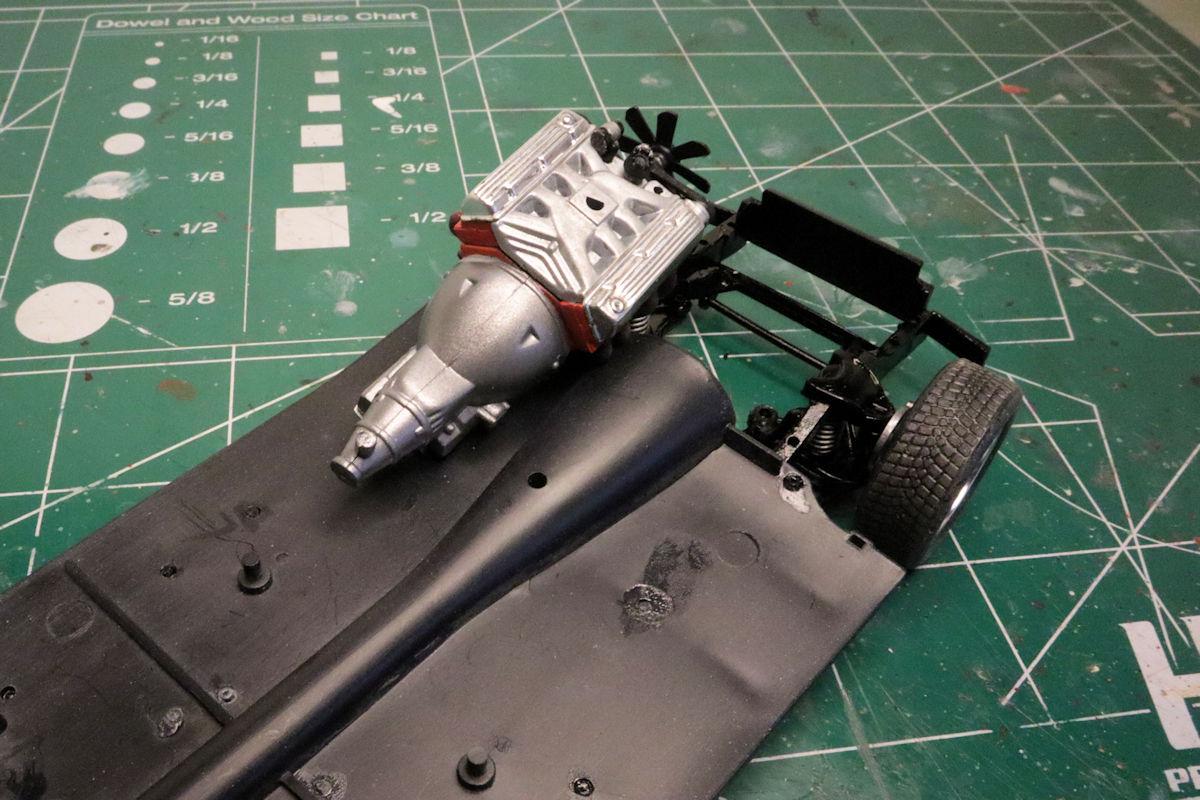
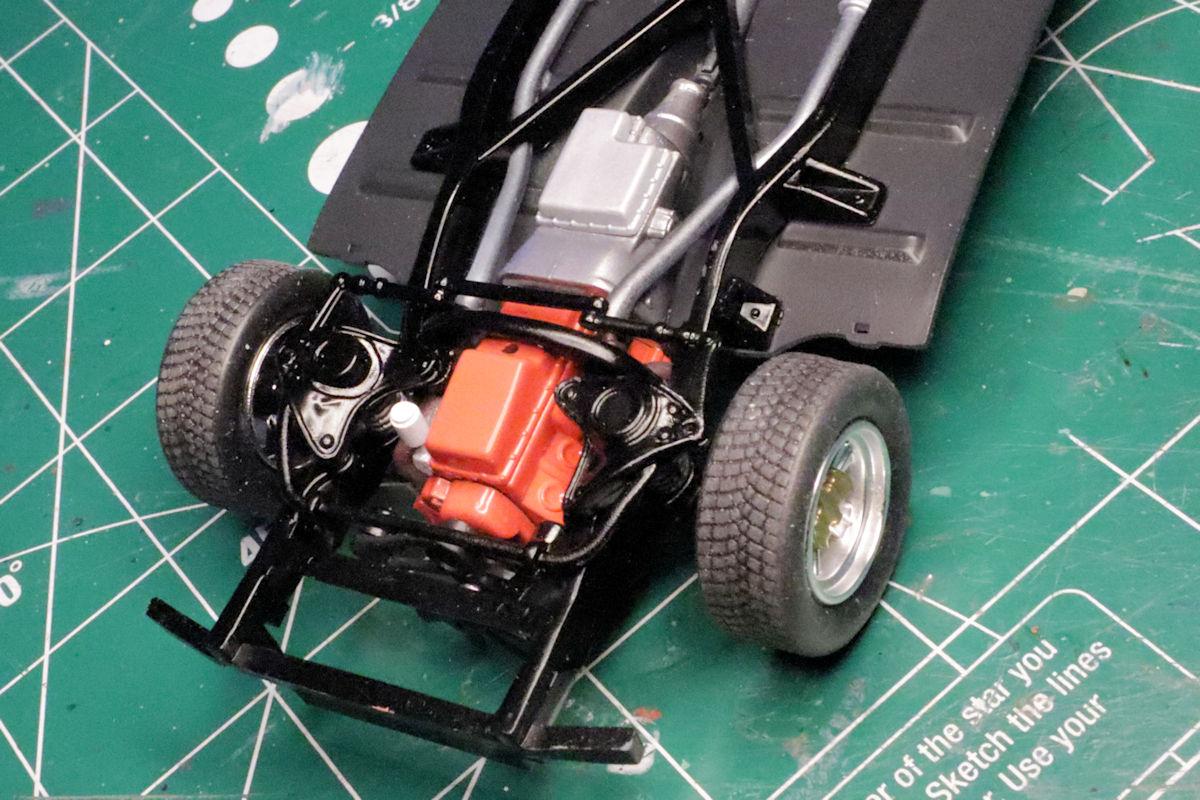
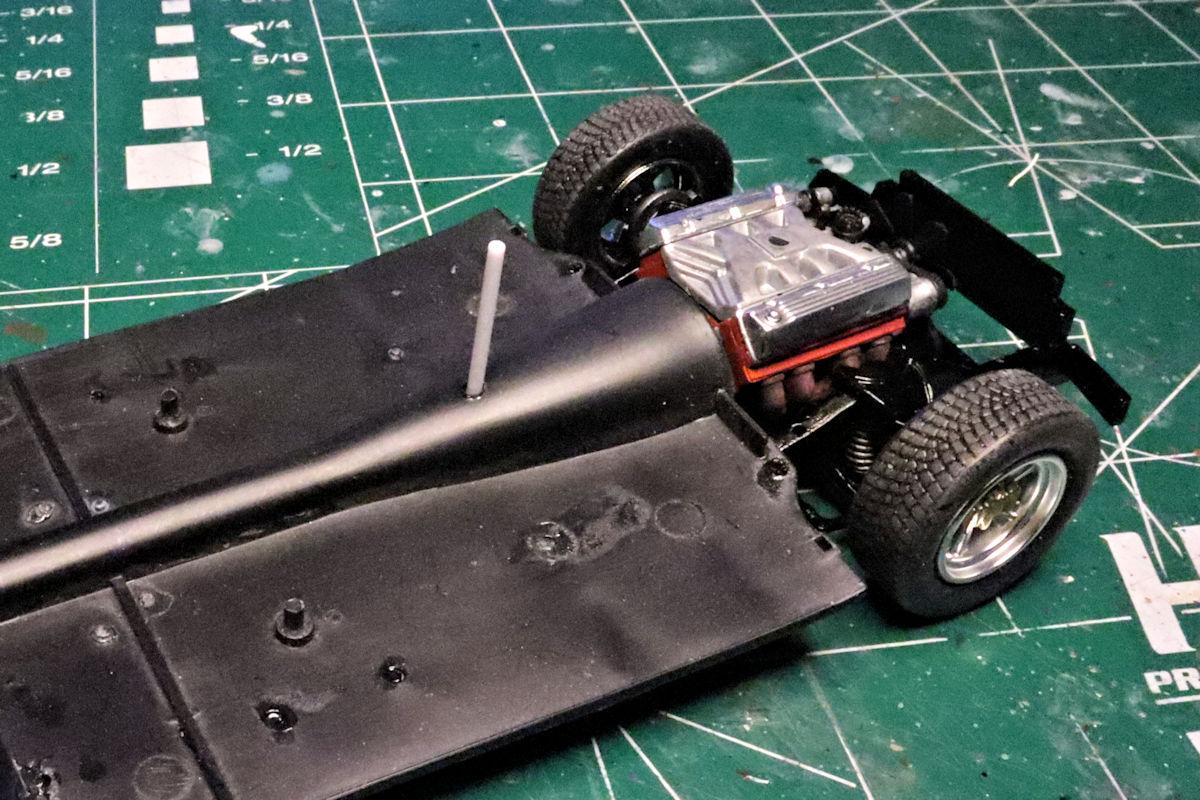
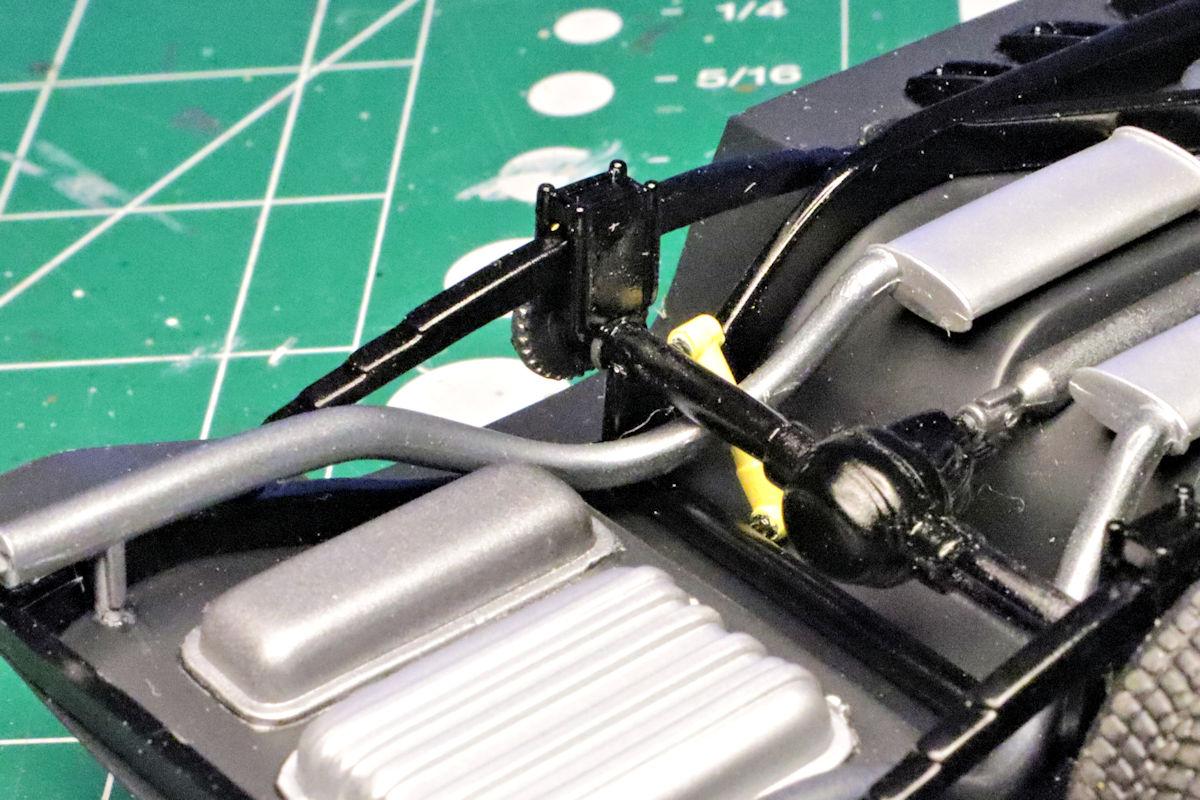
Hello Everybody! The next task is fitting the engine into the assembled chassis, it just won't go. That hole is supposed to engage with a pin on the cross member about 5mm to the left. So I trimmed the pin down a little to allow more clearance. This pin on top of the transmission is supposed to engage with the hole in the floor pan in a similar manner as the one on the crossmember is supposed to with the oil pan. I also trimmed it a bit too. Trimming the pins allowed me to get it a little closer but still not quite there. Getting the engine past the interference from the pins revealed another point of interference. The transmission housing and chassis plate are making some significant contact here and on the other side. The easy (and probably only) solution is to reduce the size of the transmission housing. Luckily this will never be seen once the model is assembled. And finally! Shaving down the transmission did the trick... mostly. I still had to file a little bit off the lead edge of the chassis plate to accommodate the right-hand cylinder head, but there it is. Don't you just love when a two minute task becomes a two-and-a-half hour chore? This whole business left the tail of the transmission a bit floppy without any positive support so I drilled out the pin location and added a replacement. That's enough for this post, more later. Thanks for taking the time to look, comments are always appreciated. David G.

-
Who doesn't love a mock-up? Let's see yours!
David G. replied to Belairconvertable's topic in WIP: Model Cars
That V-12 looks like a natural fit. David G. -
1961 Mercedes Benz 190SL - Revell with a few modifications
David G. replied to 89AKurt's topic in WIP: Model Cars
Wow! That's an impressive array of enhancements! It's often the smallest details that have the greatest impact. David G. -
Thank you Simon. Knowing the precise nature and quality of the work that you do, your compliment means a lot to me. Thank you. I did consider doing more lighting effects but as this was my first attempt at such a thing, I wanted to keep it simple and give myself a reasonable chance of completing the build in one lifetime. As it goes, this was a good experience for me so there will be more lighted models in the future. There' a Pegasus Nautilus kit in my stash and I've had an eye on VoodooFX's lighting kit for some time now. With my recent confidence-building success, I should just order one and get cracking. Thanks for the reminder. Thanks again Simon, it's great to know that you're still out there plugging away. David G.
-
Thank you David. It is pretty close in there, there are even indentations cast into the exhaust pipes to allow space for the shocks. Running the exhaust pipes under the axle probably would have worked but it likely would have taken more effort than the way I ended up doing it. Thank you Scott, I'm glad to know I made a good choice. Thanks Carl. I don't think I'm going to clear coat the body, just polish it up. The has some rough spots hood still needs some work, probably some color sanding and another coat. Thanks again, David G.
-
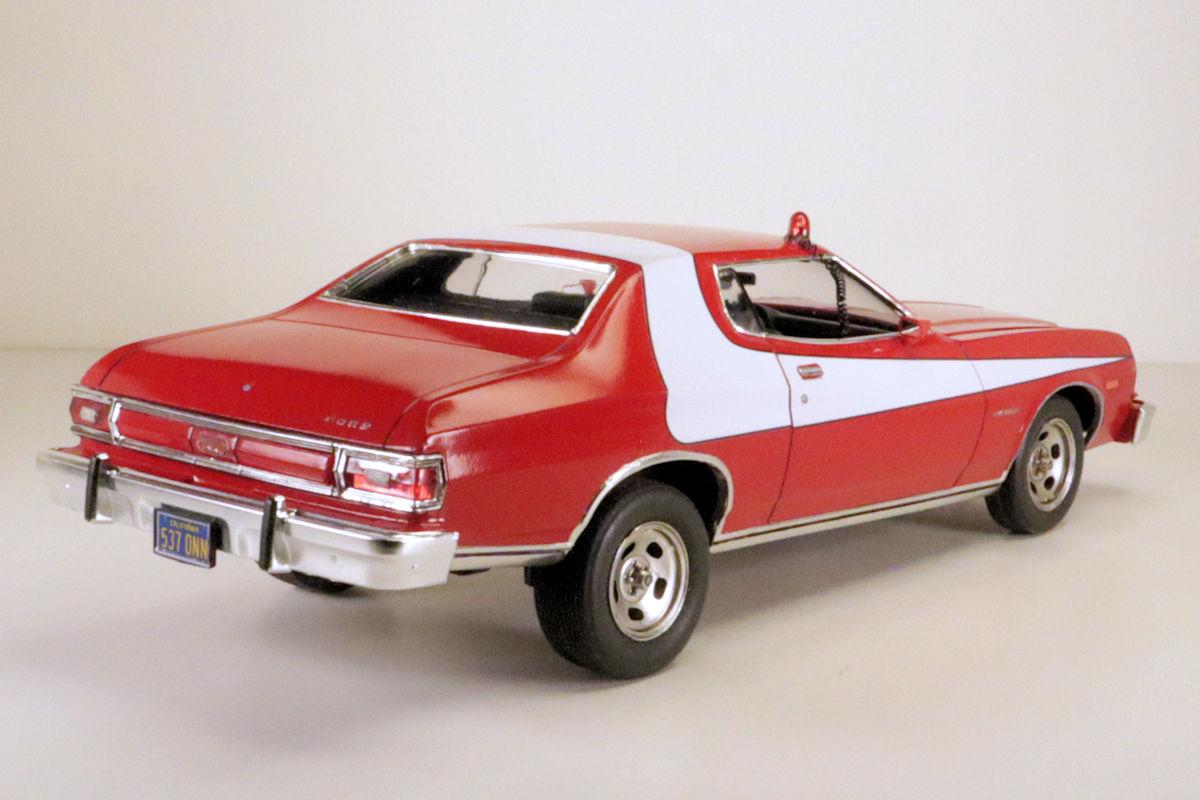
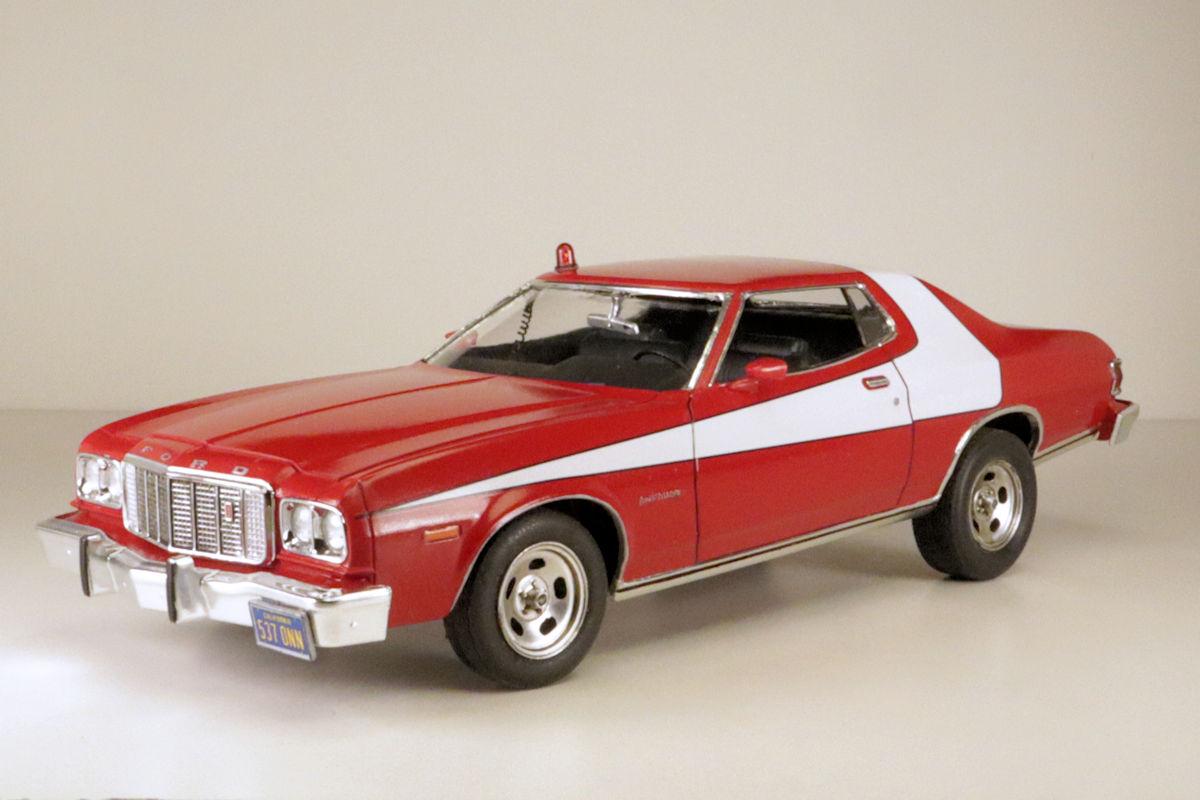
Hello Everybody! So many great contributions, it's impossible to comment on all of them. Here's my version of the Starsky & Hutch Torino. David G.
-
Project Terminator
David G. replied to Saltie Olds's topic in WIP: Model Trucks: Big Rigs and Heavy Equipment
Looks cool! All in all, a nicely built truck. Any plans for the tank trailer? David G. -
A rule of thumb is that the paint is fully cured when you can no longer smell it in a close sniff. Aside from that, it's usually a judgement call based on experience. David G.
-
Million Dollar Shine! I love it! Seriously though, it looks great. David G.
-
That's a good, clean, solid looking build! It just looks right. David G.
-
Ford Bronco 4 door version.
David G. replied to Jurva's topic in WIP: Model Trucks: Pickups, Vans, SUVs, Light Commercial
What a great idea! Excellent engineering and workmanship, it looks like it was meant to be that way. David G. -
It looks like you captured it nicely. David G.
-
It came out rather good for a quick and dirty build. David G.
-
I think that color will look great on it. David G.
-
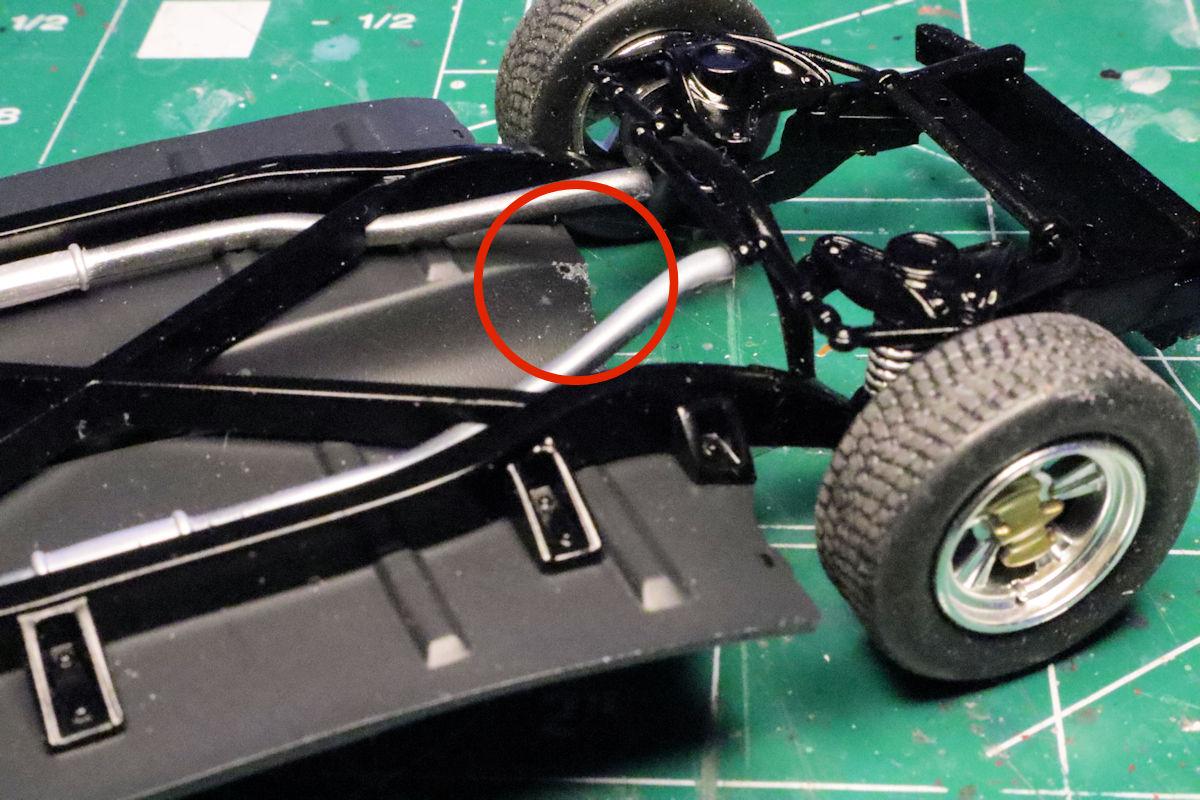
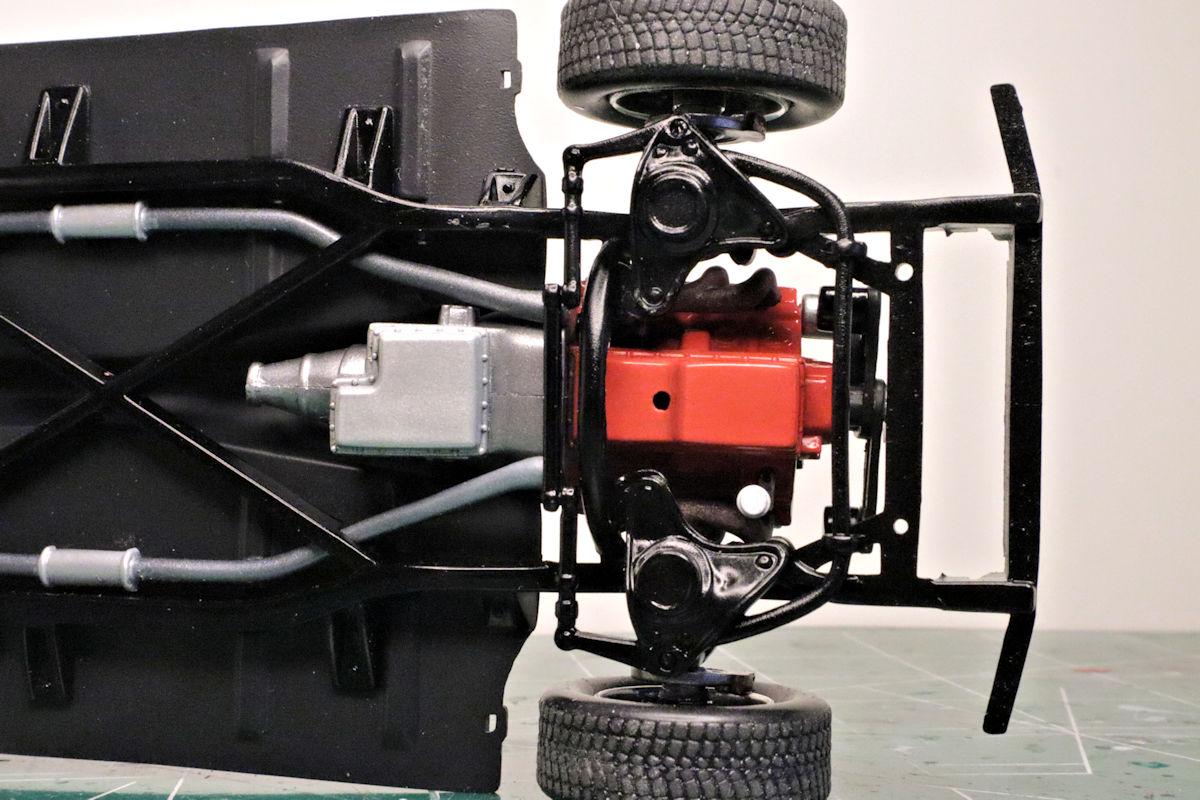
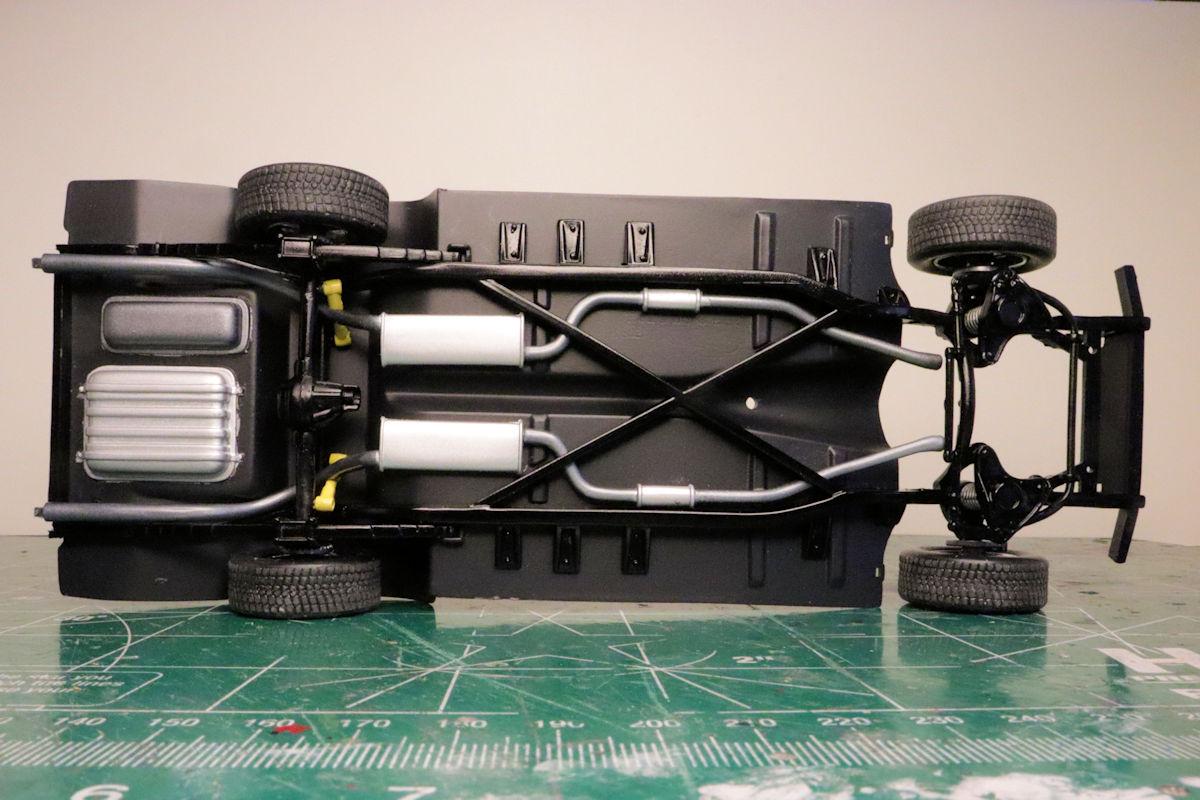
Hello Everybody! The chassis platform is mostly completed. I decided to paint the Bat-Spinners gold rather than have them get lost against the rest of the chrome wheels. Here's a shot of the underside, pretty clean and basic. Fitting in the rear axle and shocks is a bit tricky. Rather than a more traditional free-floating method, the axle mounts between these supports on the frame and the spring blocks. The supports seem to hold the axle too far from the chassis to allow good attachment of the leaf springs to the anchor points on the frame. I filed the mounting points on mine down a little and probably could have filed them a bit more. As always, thanks for looking and please feel free to post a comment. David G.
-
Thank you Carl. David G.