David G.
-
Posts
11,325 -
Joined
-
Last visited
Content Type
Profiles
Forums
Events
Gallery
Everything posted by David G.
-
Great progress! David G.
-
Solid looking build, accurate looking stance, Nicely done! David G.
-
Good color choice. It looks like a good match to Ford's Medium Ivy Green from that time. David G.
-
Good clean build, nice color combination, well done! David G.
-
Nice weathering, very convincing. David G.
-
Thanks Dann! I'm glad that somebody is still watching this one. I have the glass in and the door handles installed. There are a few areas where the paint needs a touch up, then a little light weathering should finish it up. I've kind of stopped taking photos, focusing more on completing it. I think the next posting on this one will be in the Under Glass section. Thanks for coming along for the ride Dann, I really enjoyed your company. David G.
-
Very Cool! David G.
-
A very well done conversion and a great color choice. David G.
-
I agree Richard. I was actually a bit shocked by the chassis design on this kit. The original Beetle's design and engineering is elegant in its simplicity. The chassis on this kit seems to have been designed by a committee of government bureaucrats. It does yield a nice model in the end but that's all that can be built with it. Due to the kit's design, there are no options for any of the traditional VW mods or alterations, Baja, Cal Looker, etc. David G.
-
Like all the added details. Great looking Galaxie. David G.
-
 Looking good! Shipbuilding seems like a hobby that would take a bit of patience. There's no rushing through anything. David G.
 -
Wait! What's going on with those headlights? Did you put skulls in the headlights? ? David G.
-
Looks great! I built one of these kits a while back. It was a fun build, lots of good detail. You did a great job with yours. David G.
-
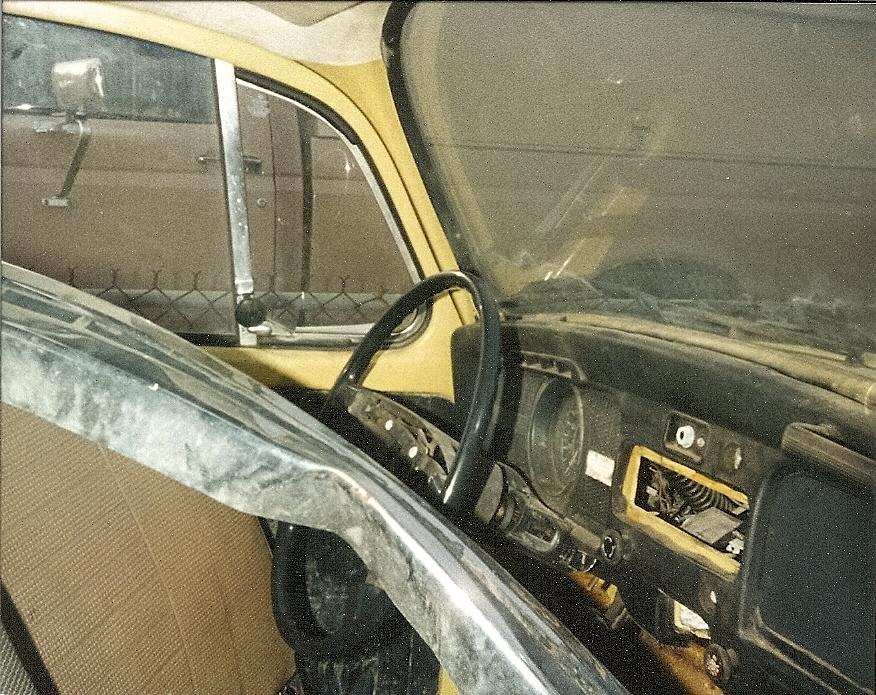
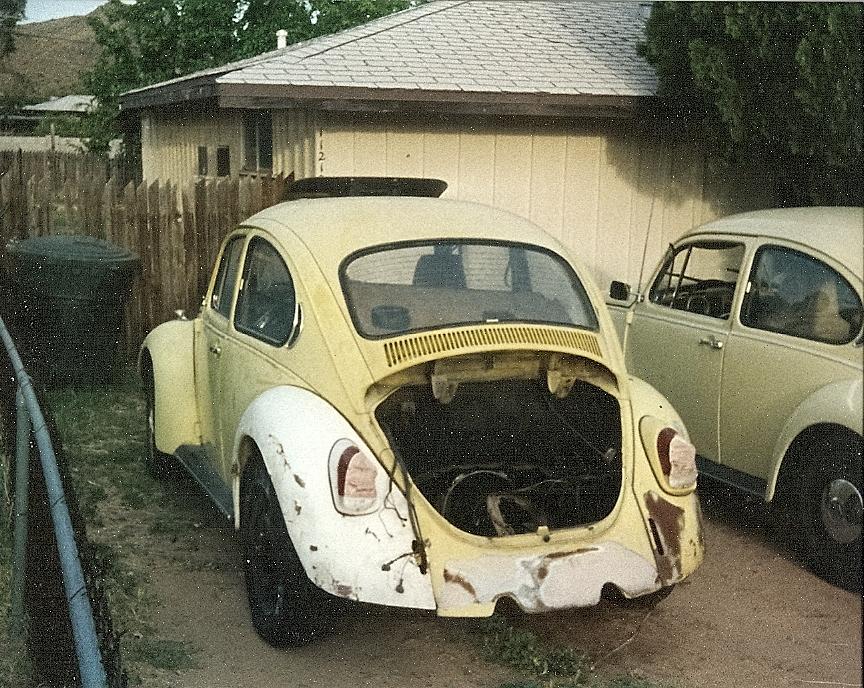
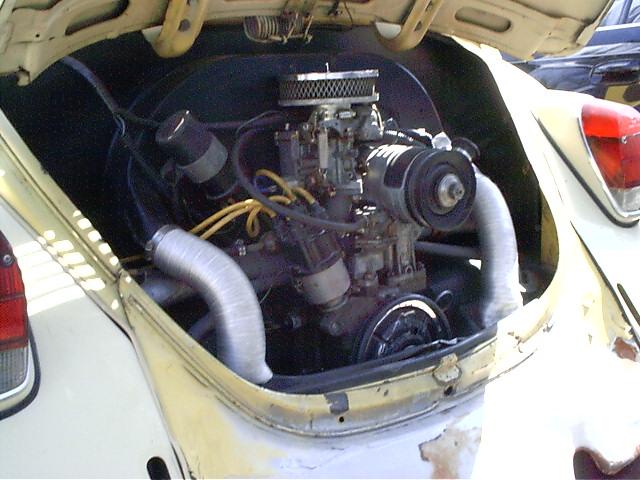
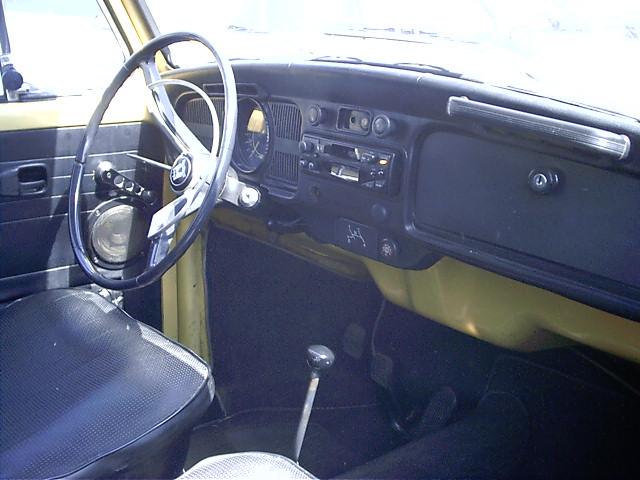
I actually never owned a standard Beetle, mine were all Super Beetles so they all had IRS. The last one I owned, I built from spare parts. It had at least one part from each of the four or five previous Supers that I owned so it was like a rolling personal automotive history. It got wrecked in 2003 but here are some before and after photos. David G.

-
This is going to be one sweet rod when it's done. David G.
-
Good progress, nice work on the seats! David G.
-
Cool! David G.
-
I'm interested to see how this one plays out. David G.
-
Looks good! I can see your skills improving. Remember: Each kit we build is really only practice for the next one. David G.
-
Wow, the saga continues. Will we get a chance to see this one in person at DSC this year? David G.
-
Yes, after I got the decals cleaned up and set, I had actually started using some Tamiya black panel line accent color. My plan was to turn the body upside down and apply the wash to the underside of the grille pieces, throwing some shadow on their undersides. As the wash started to dry, I noticed that it started beading and pooling so I used a pointed swab to draw most of it out. That's when I noticed that the center seam on the nose had opened up just a little. So of course, I had to get the putty out and fill, sand, prime and repaint that. Sheesh! So, where was I? Oh yeah, the wash. I think that the Novus cleaner & polish I used to clean the paint after finishing the decals may have interfered with the Tamiya wash. After the paint cures in a couple of days (I love Dupli-Color lacquer. It dries, literally, in minutes and cures in about 48 hrs.) I'll clean it up like a pre-paint prep and try it again. But yeah, I agree, the grill does need a little depth shading. As always, thanks for the input. David G.
-
It's a Gas! '57 Ford Delivery
David G. replied to Starliner Kustoms's topic in WIP: Drag Racing Models
Nicely Done! David G. -
Thank you Bob. I feel like I'm finally in the home stretch with this one. David G.
-
Looks fantastic! David G.
-
Thanks Alan, I'm glad you like it. David G.