David G.
-
Posts
11,326 -
Joined
-
Last visited
Content Type
Profiles
Forums
Events
Gallery
Everything posted by David G.
-
Thanks for the kind words. I actually finished this one a while ago. Here's the link to the finished thread. Regarding what? Thanks again, David G.
-

'32 Ford roadster gluebomb rework. April 26: back on track
David G. replied to Ace-Garageguy's topic in WIP: Model Cars
It's been a long road on this one. It must feel good to be making progress again. Fascinating work you've done on this. David G. -
Wow, great progress up until the dreaded bumper incident. Hopefully they can get it turned around quickly for you. David G.
-
Fiat 131 Abarth
David G. replied to afx's topic in WIP: Other Racing: Road Racing, Land Speed Racers
Your styrene engineering skills are impressive! David G. -
Excellent work so far! David G.
-
Nice mash-up, it creates some very subtle changes that improve the overall appearance. David G.
-
Impressive detailing, beautiful paintwork, well done! David G.
-
Autocar Logger
David G. replied to delta99's topic in WIP: Model Trucks: Big Rigs and Heavy Equipment
Your weathering techniques are spot-on and your kit bashing skills are right up there as well. David G. -
Thank you all for your kind comments. I truly appreciate them David G.
-
Nicely done, kind of reminds me of Voyager. But you should share the origin story. Where did you get the model? Did you print it yourself? If so, did you build the CAD model or where did you get it? If I wanted to build one, how would I go about getting one, if I could? Thanks, David G.
-
A little of both I think. As this one came together, I imagined a 1:1 version of this as a Sunday drag strip half-time expo. "Sunday! Howland Drag Raceway! Come see the Luftwagen make its seven second run! It's a car! It's a plane! It's a blast!" Thanks, I'm glad you like it. Thank you. Yeah, it's be fun to watch their expression in the rear view mirror when you crank that puppy up! David G.
-
Hi Eric, glad to see that you're still chipping away at this one. Good solution for the wheel mounts. If the wheels don't look good on the deck then not much else matters. David G.
-
Excellent work, very convincing! David G.
-
Nice work so far. It's a bummer about the crazing, good recovery though. I really enjoy your diorama setups for the progress photos, very cool! David G.
-
Dann, thanks. Your support means a lot to me. Hermann you are correct regarding the silver. I thought the color would help to carry the aviation association. And thanks for the artist reference, I appreciate that. -D- This one is now officially finished and can be found in the Under Glass section. Thanks to everyone who followed on this project and those who offered their comments and tips. I truly do appreciate you all. Thanks, David G.
-
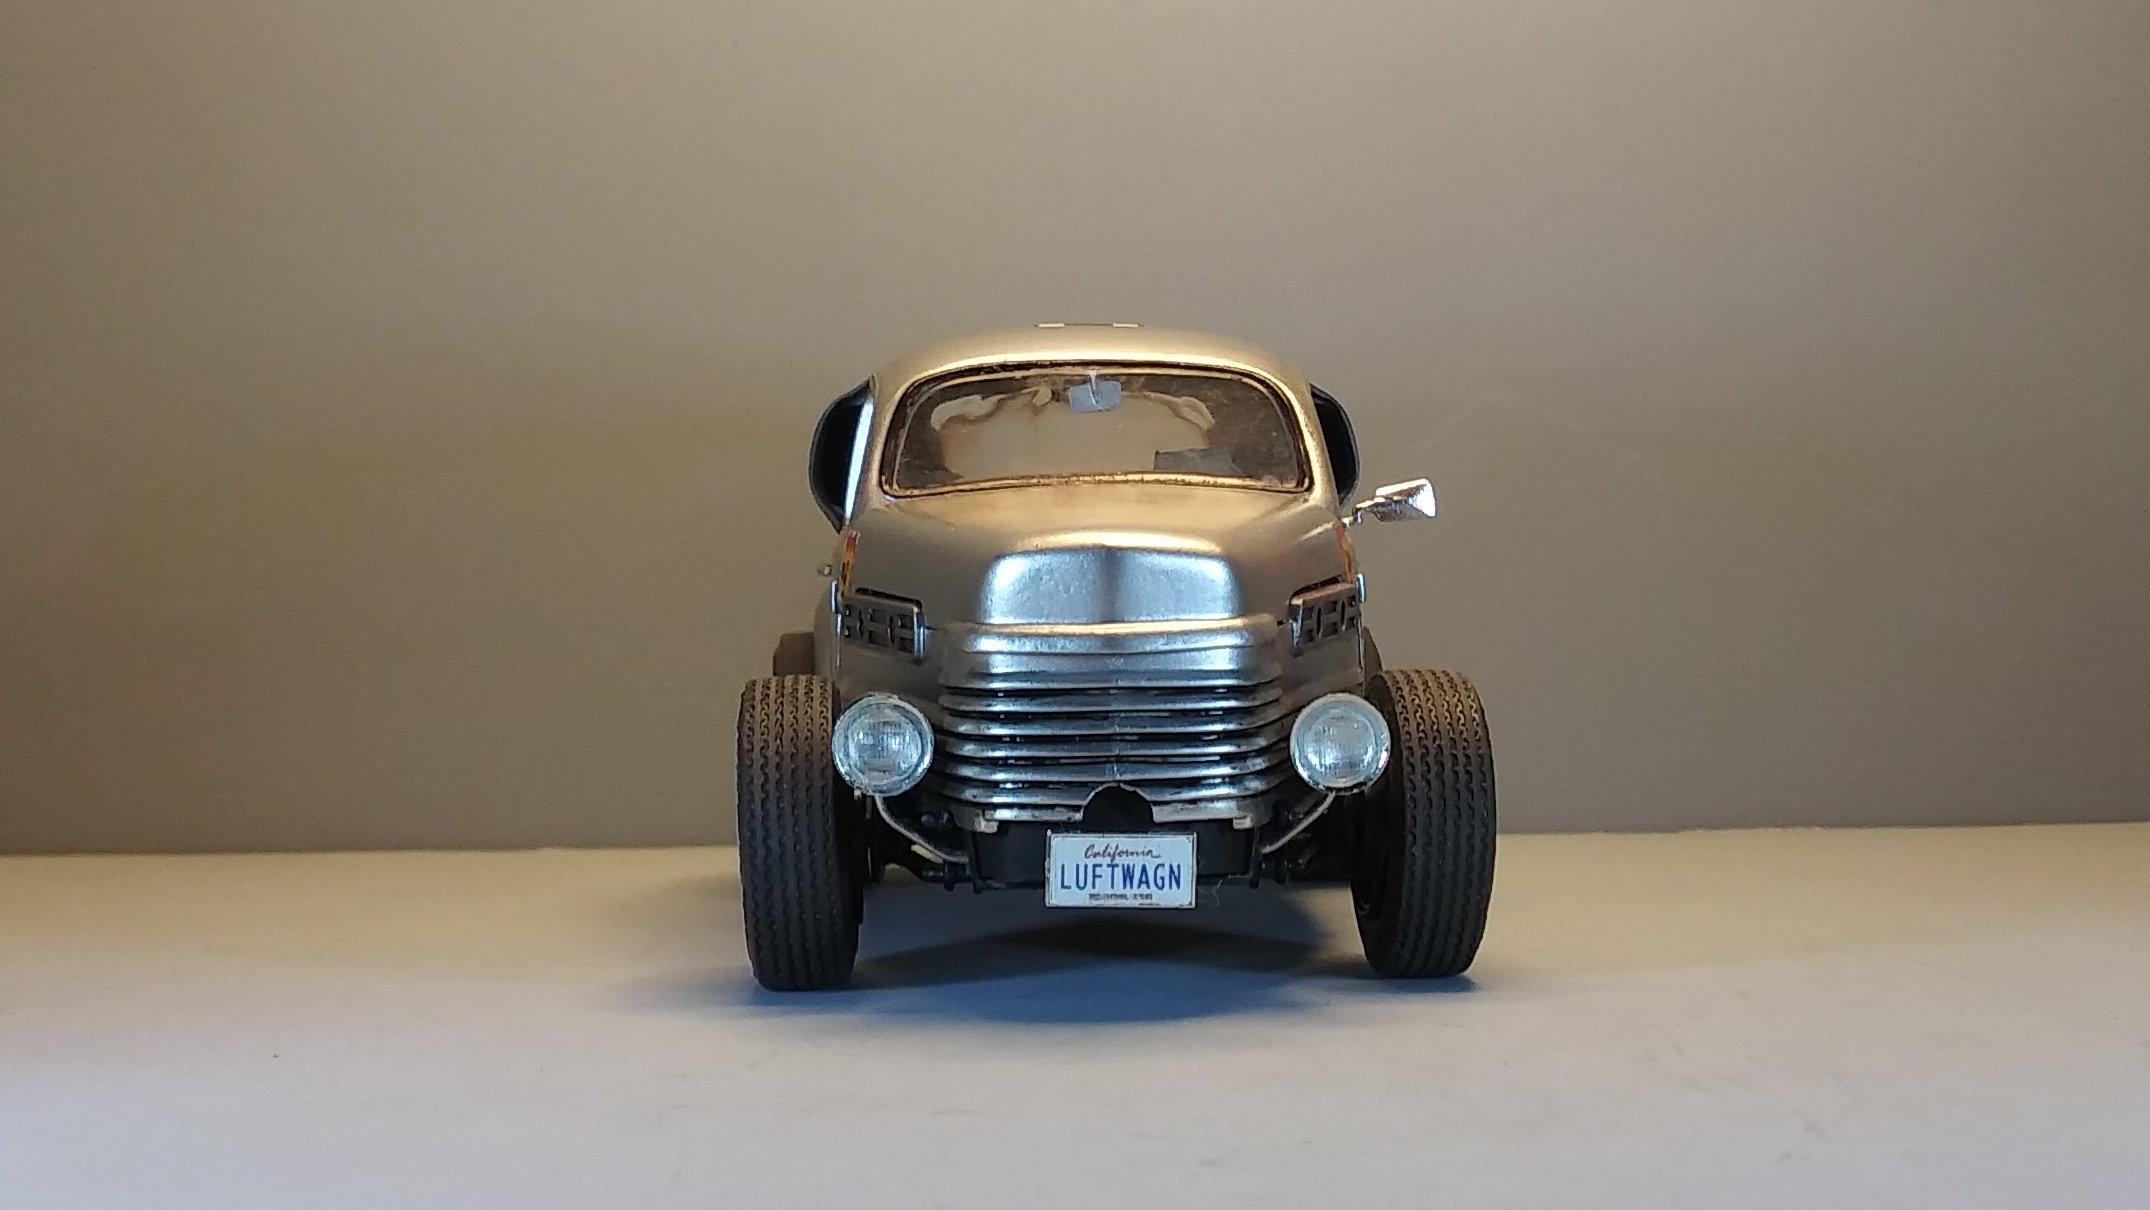
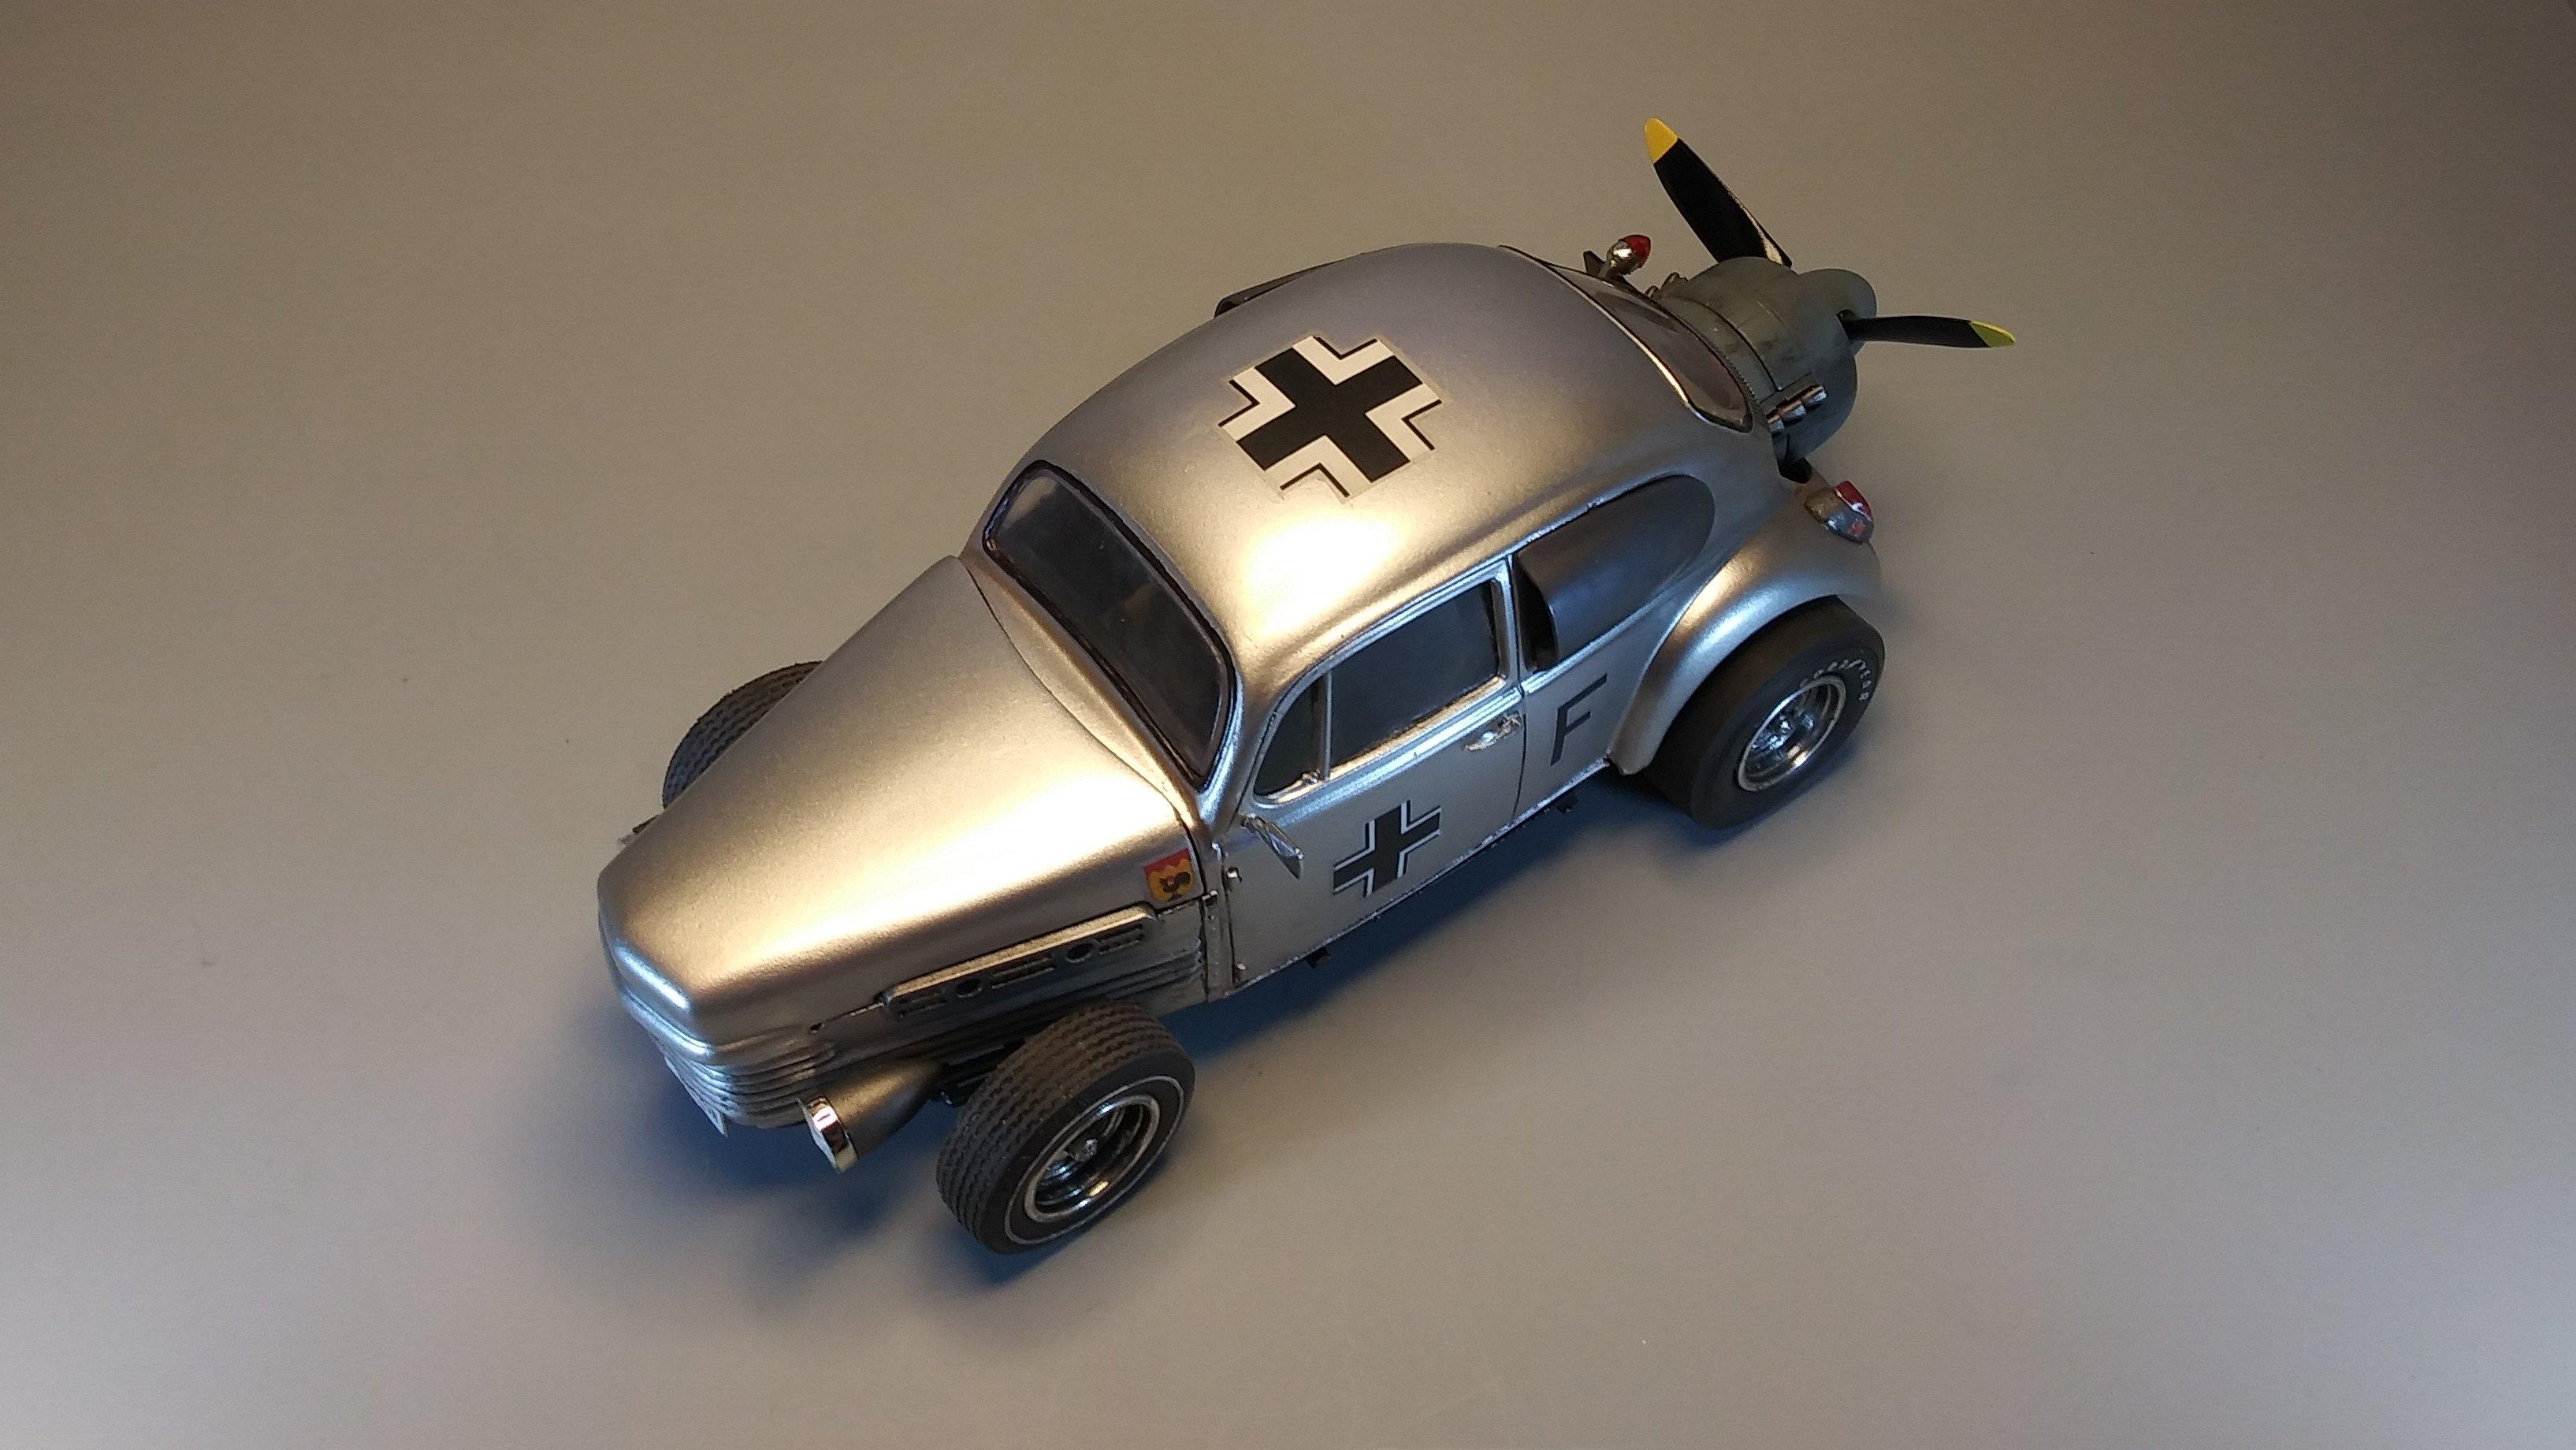
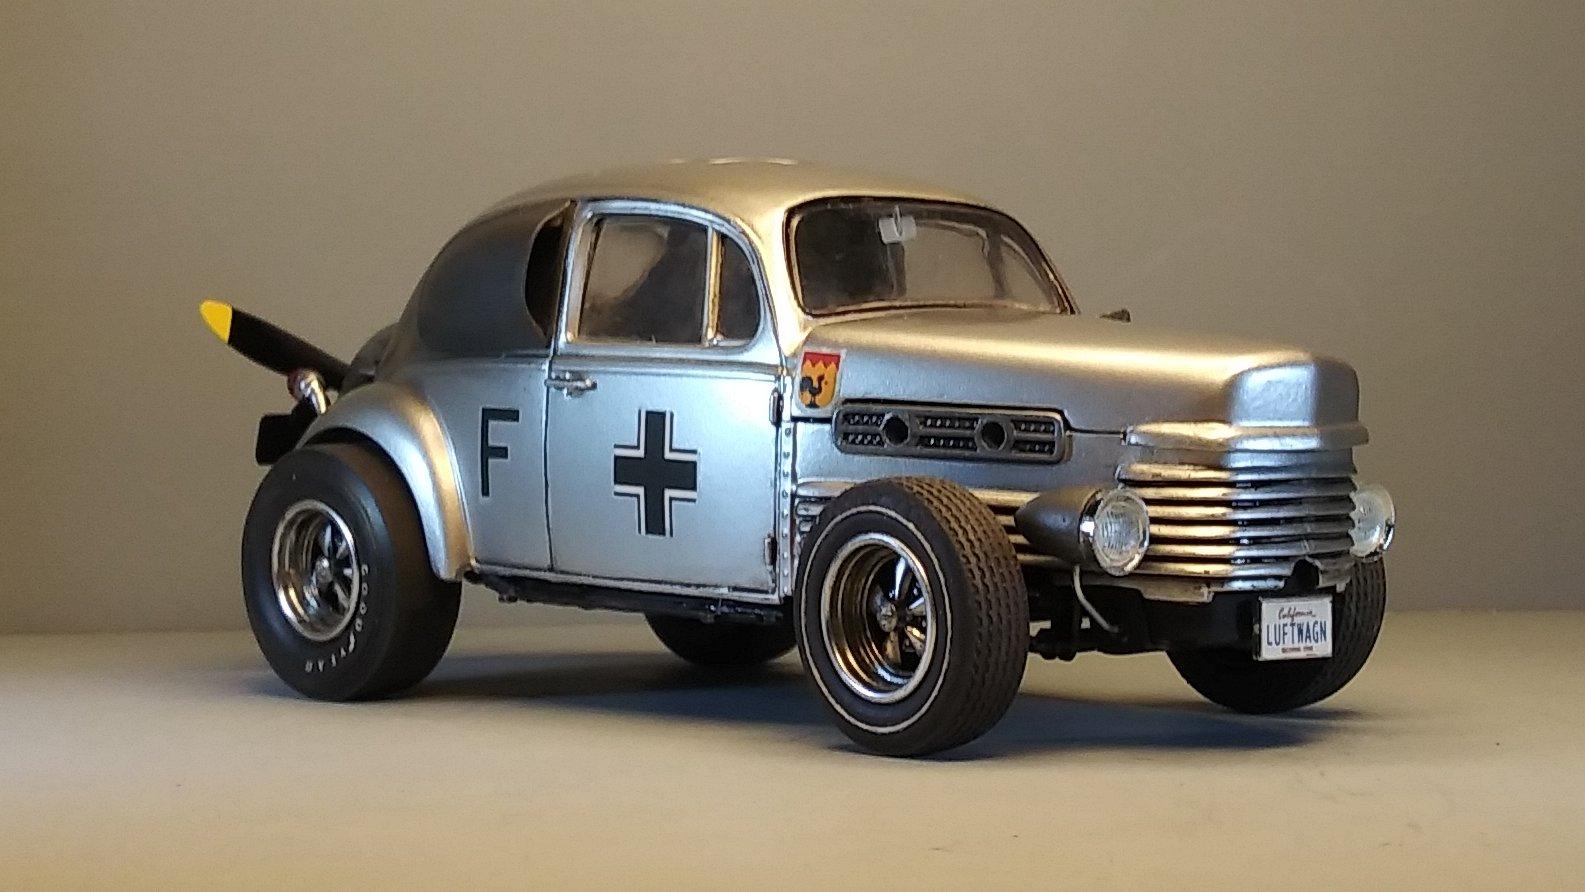
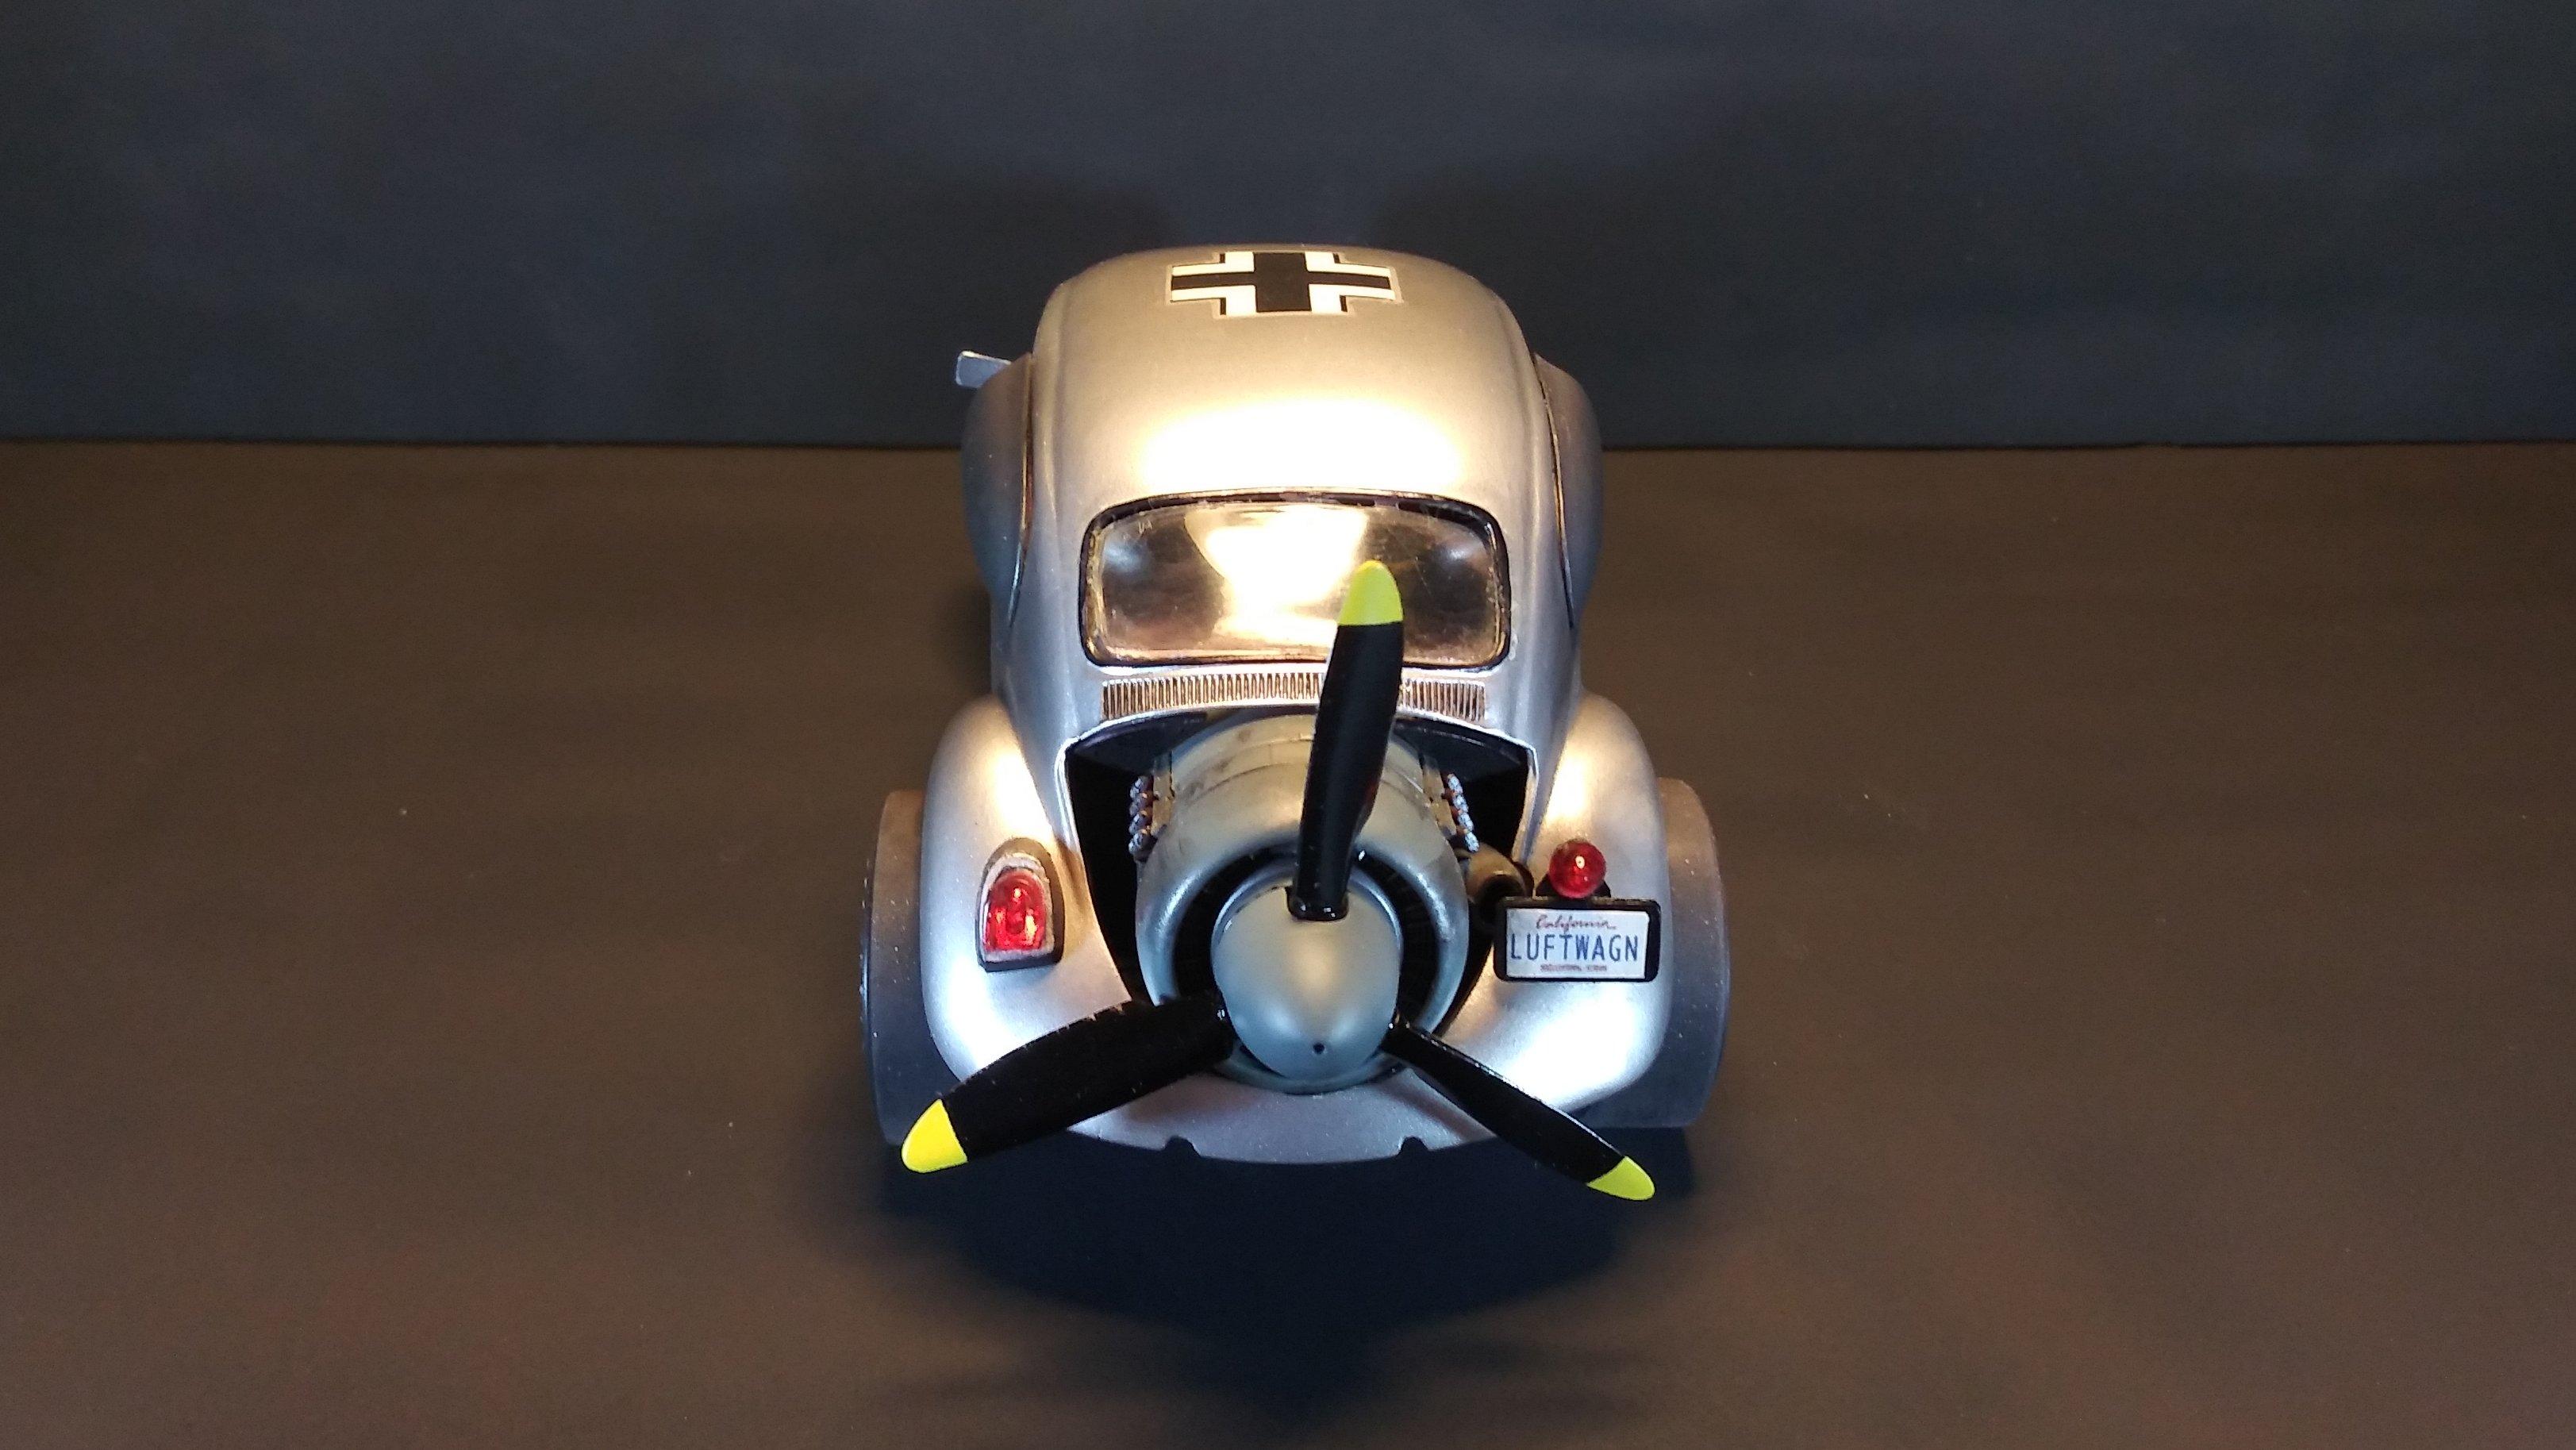
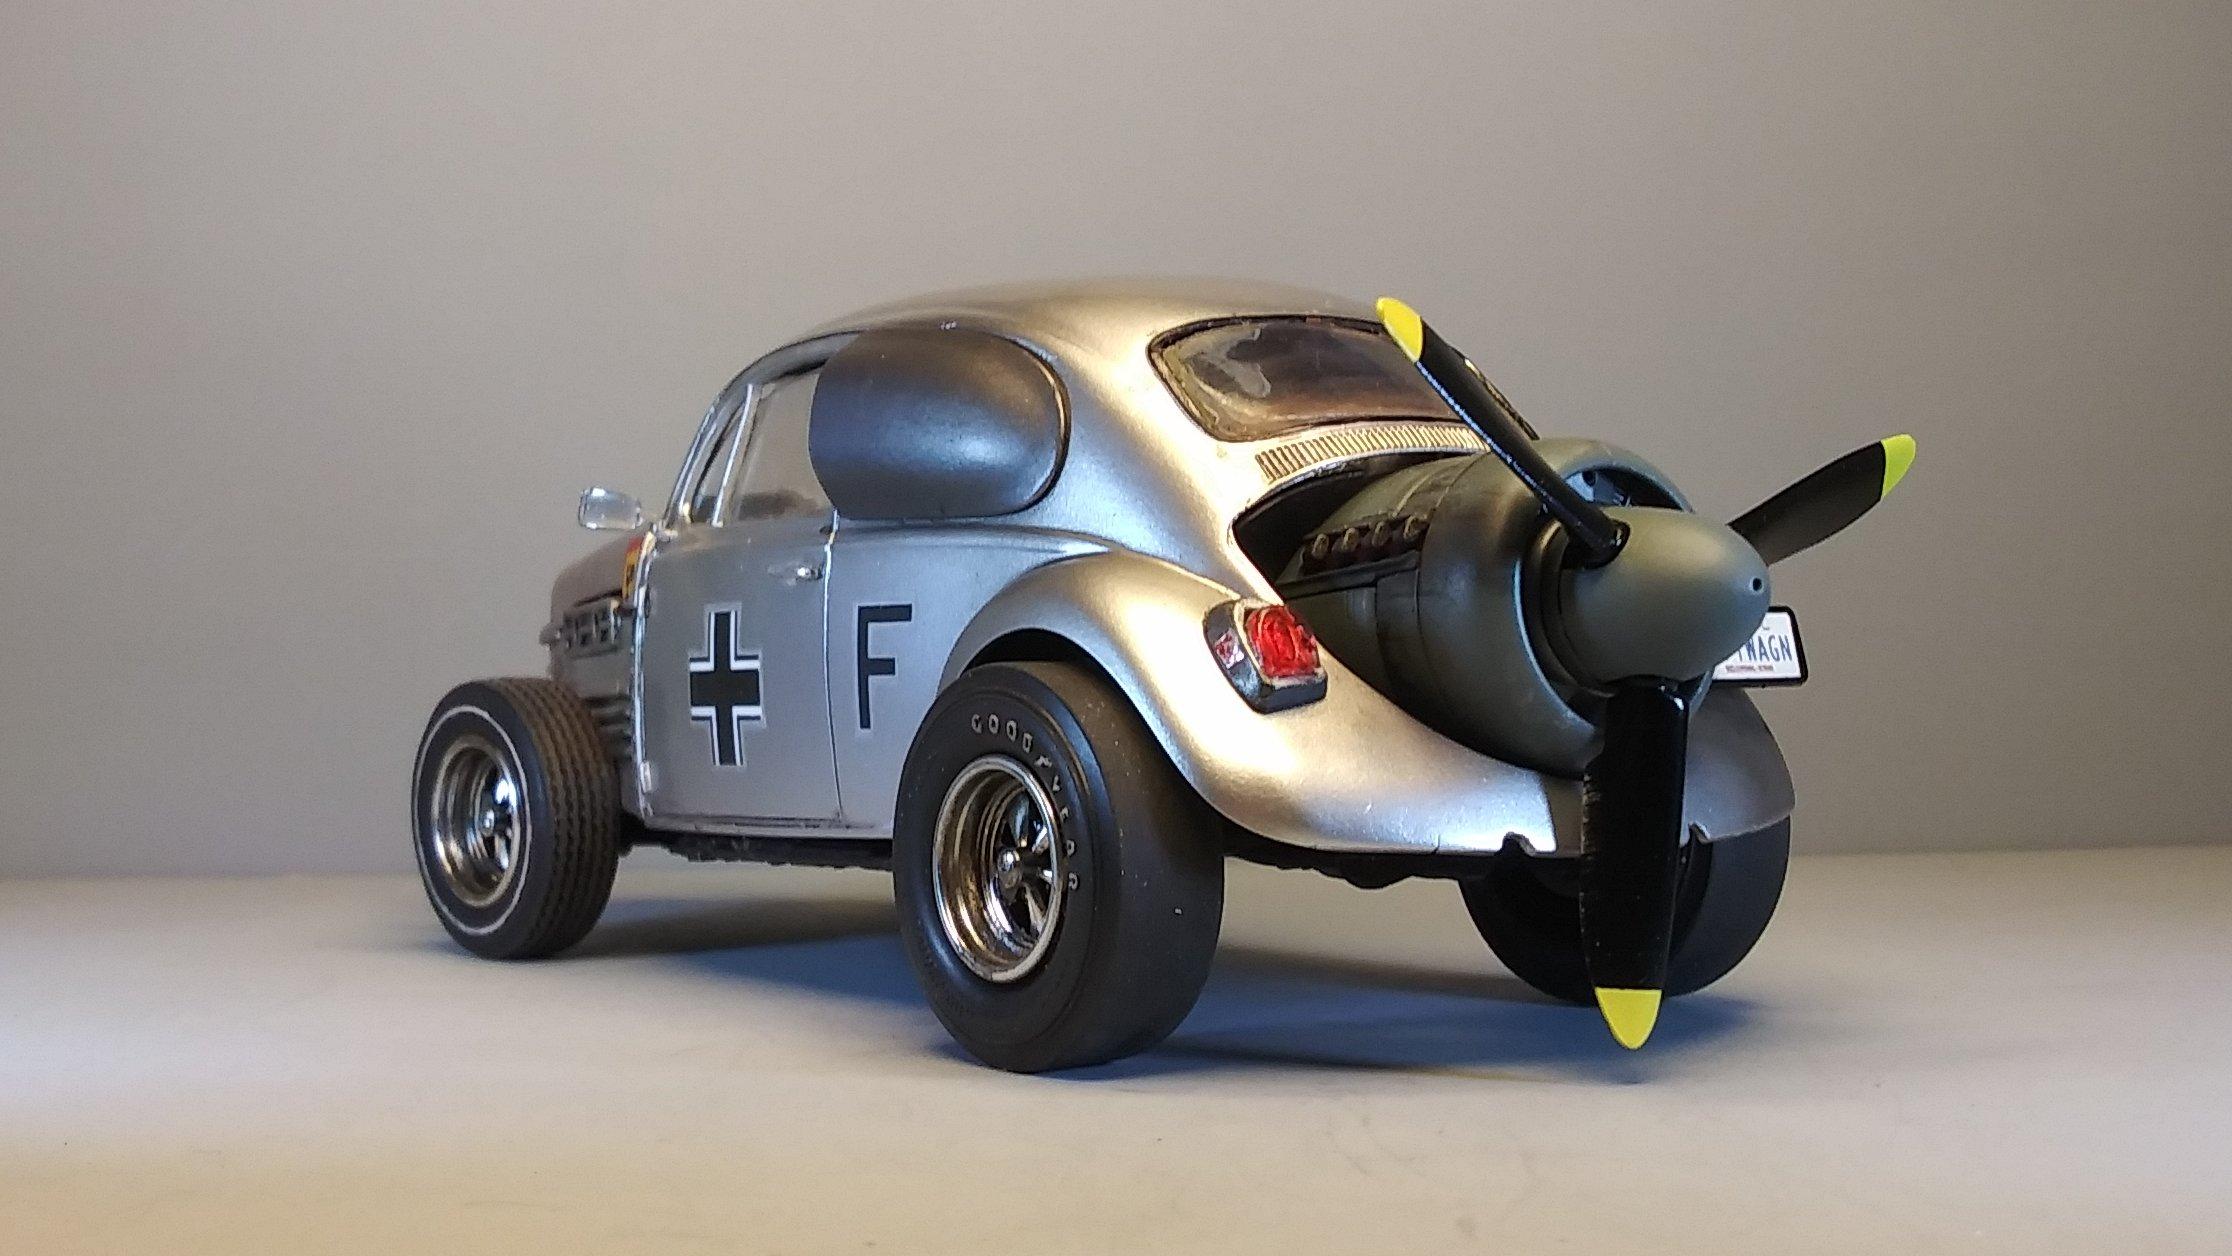
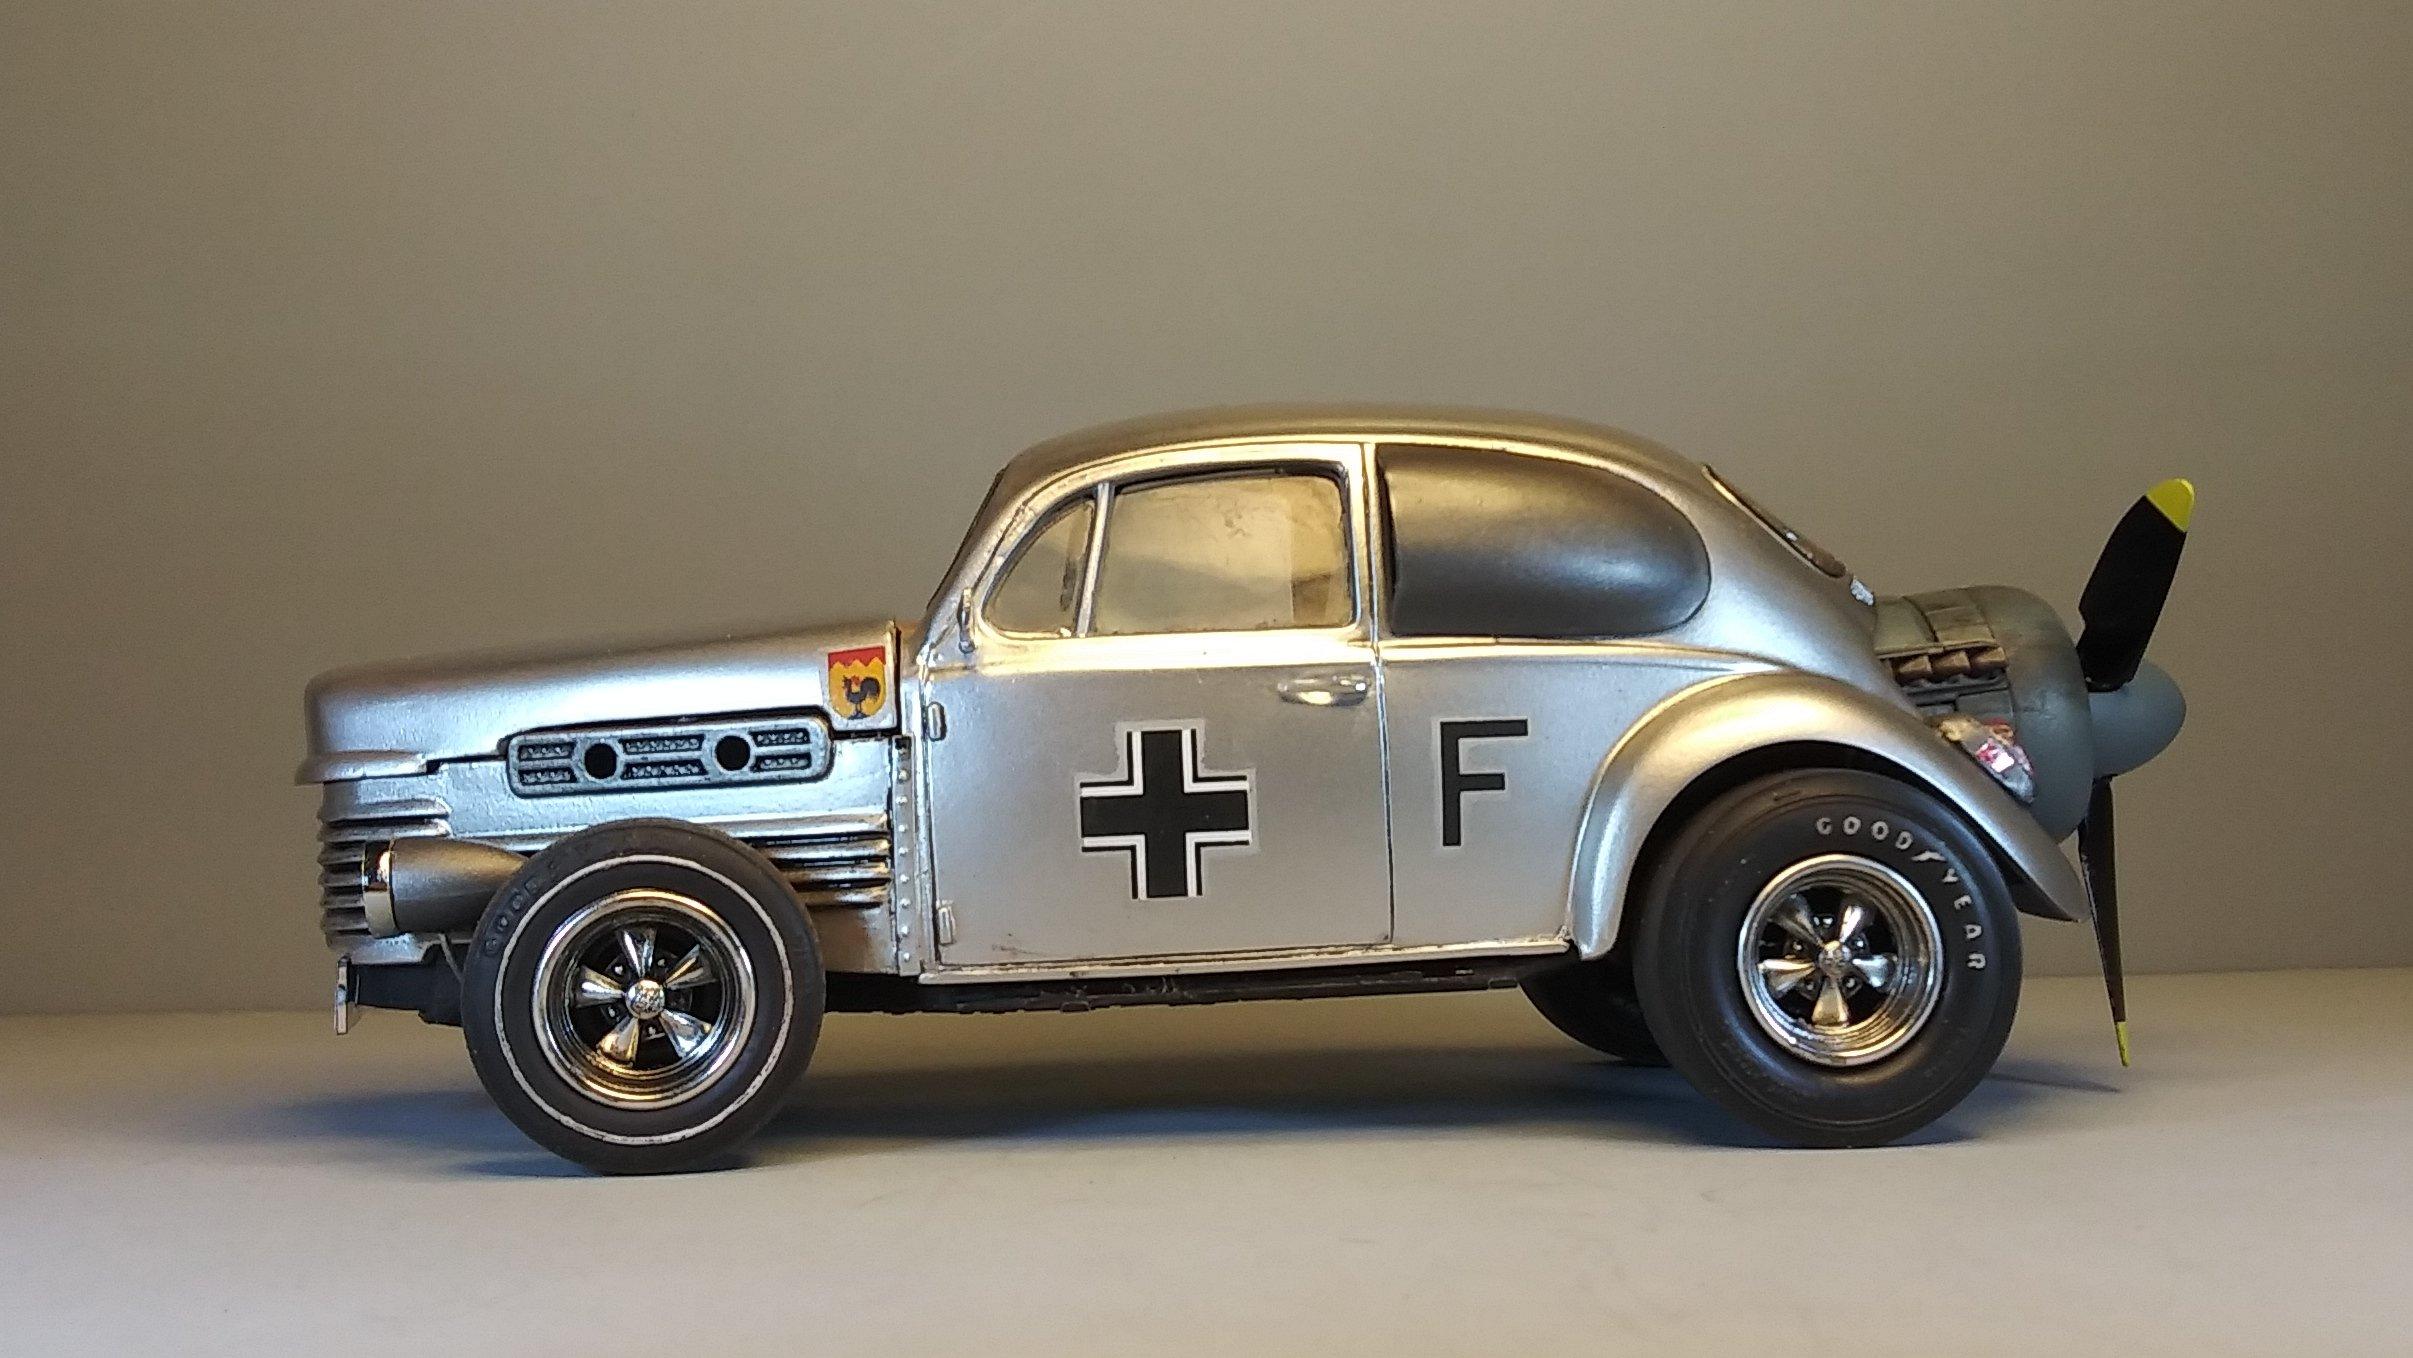
I finally finished this one! From the front, I think it does have more of a hot rod look than that of a Volksie. What started as a quick parts box build ended up taking about 84 hours to complete. Second only to my '58 Chevy Proton in total time. I think the lines flow well enough considering that this is a blending of three different vehicles in three different scales. During the build, I received a number of comments informing me that the blades of the prop are the wrong way about and should be flipped over. Unfortunately, I became aware of this after they were already glued in place and correcting the matter would have likely damaged or destroyed them. I had already imagined that the engine would run in reverse turning the prop in the opposite direction and most props have variable pitch. This obviously isn't one of those builds that should be taken too seriously, think of it like a Zinger or an Ed Roth cartoon brought to life. The stock VW right tail light wouldn't fit properly on the fender due to a cut-out for a vent port on the engine so I improvised a solution using an old style '32 Ford tail light. Which also gave me a place to mount the "LUFTWAGEN" vanity plate. The air scoops came with the Revell VW kit and I used them because they seemed to fit the overall theme of the car very well. I also built air ducts inside the car that feed the scooped air to help cool the aircraft engine. I've had some real VW's that could have benefited from a setup like this. You'll also notice the traditional VW swing axle camber. The decals are from a WWII era Junkers Ju 87 and the engine is from a Focke_Wulf Ta 154 Moskito, also WWII era, and the nose is from a 1937 Cord. I built the headlights from a couple of torpedoes from a torpedo bomber. View from the top. Thanks to everyone who followed along on my build thread and offered tips and encouragement. As always, thanks for taking the time to look and please feel free to share your thoughts. David G.

-
Thanks for the update Bill. I always enjoy following your builds and it's nice to see this one back on the bench. David G.
-
Fiat 131 Abarth
David G. replied to afx's topic in WIP: Other Racing: Road Racing, Land Speed Racers
You have a lot of good mods... or corrections going on with this one. It's gonna look great when it's done. David G. -
The tailgate is awesome and I love the twin six boxers! Keep up the fantastic work. David G.
-
You're off to a great start! When I built this one the biggest challenge I faced was blending the front panel with the fenders while keeping the fender welts. Looks like you found a good solution to that situation. David G.
-
You have a lot of good work going on there. Looks like a fun project, I'll be watching this one. David G.
-
1967 F100 shortbed
David G. replied to Jim H.'s topic in WIP: Model Trucks: Pickups, Vans, SUVs, Light Commercial
Nice work on the weathering. David G. -
60 Chevy pickup
David G. replied to tabsscale1's topic in WIP: Model Trucks: Pickups, Vans, SUVs, Light Commercial
Interesting mash-up, great start! David G. -
I love unusual subjects, can't wait to see how this one turns out. David G.
-
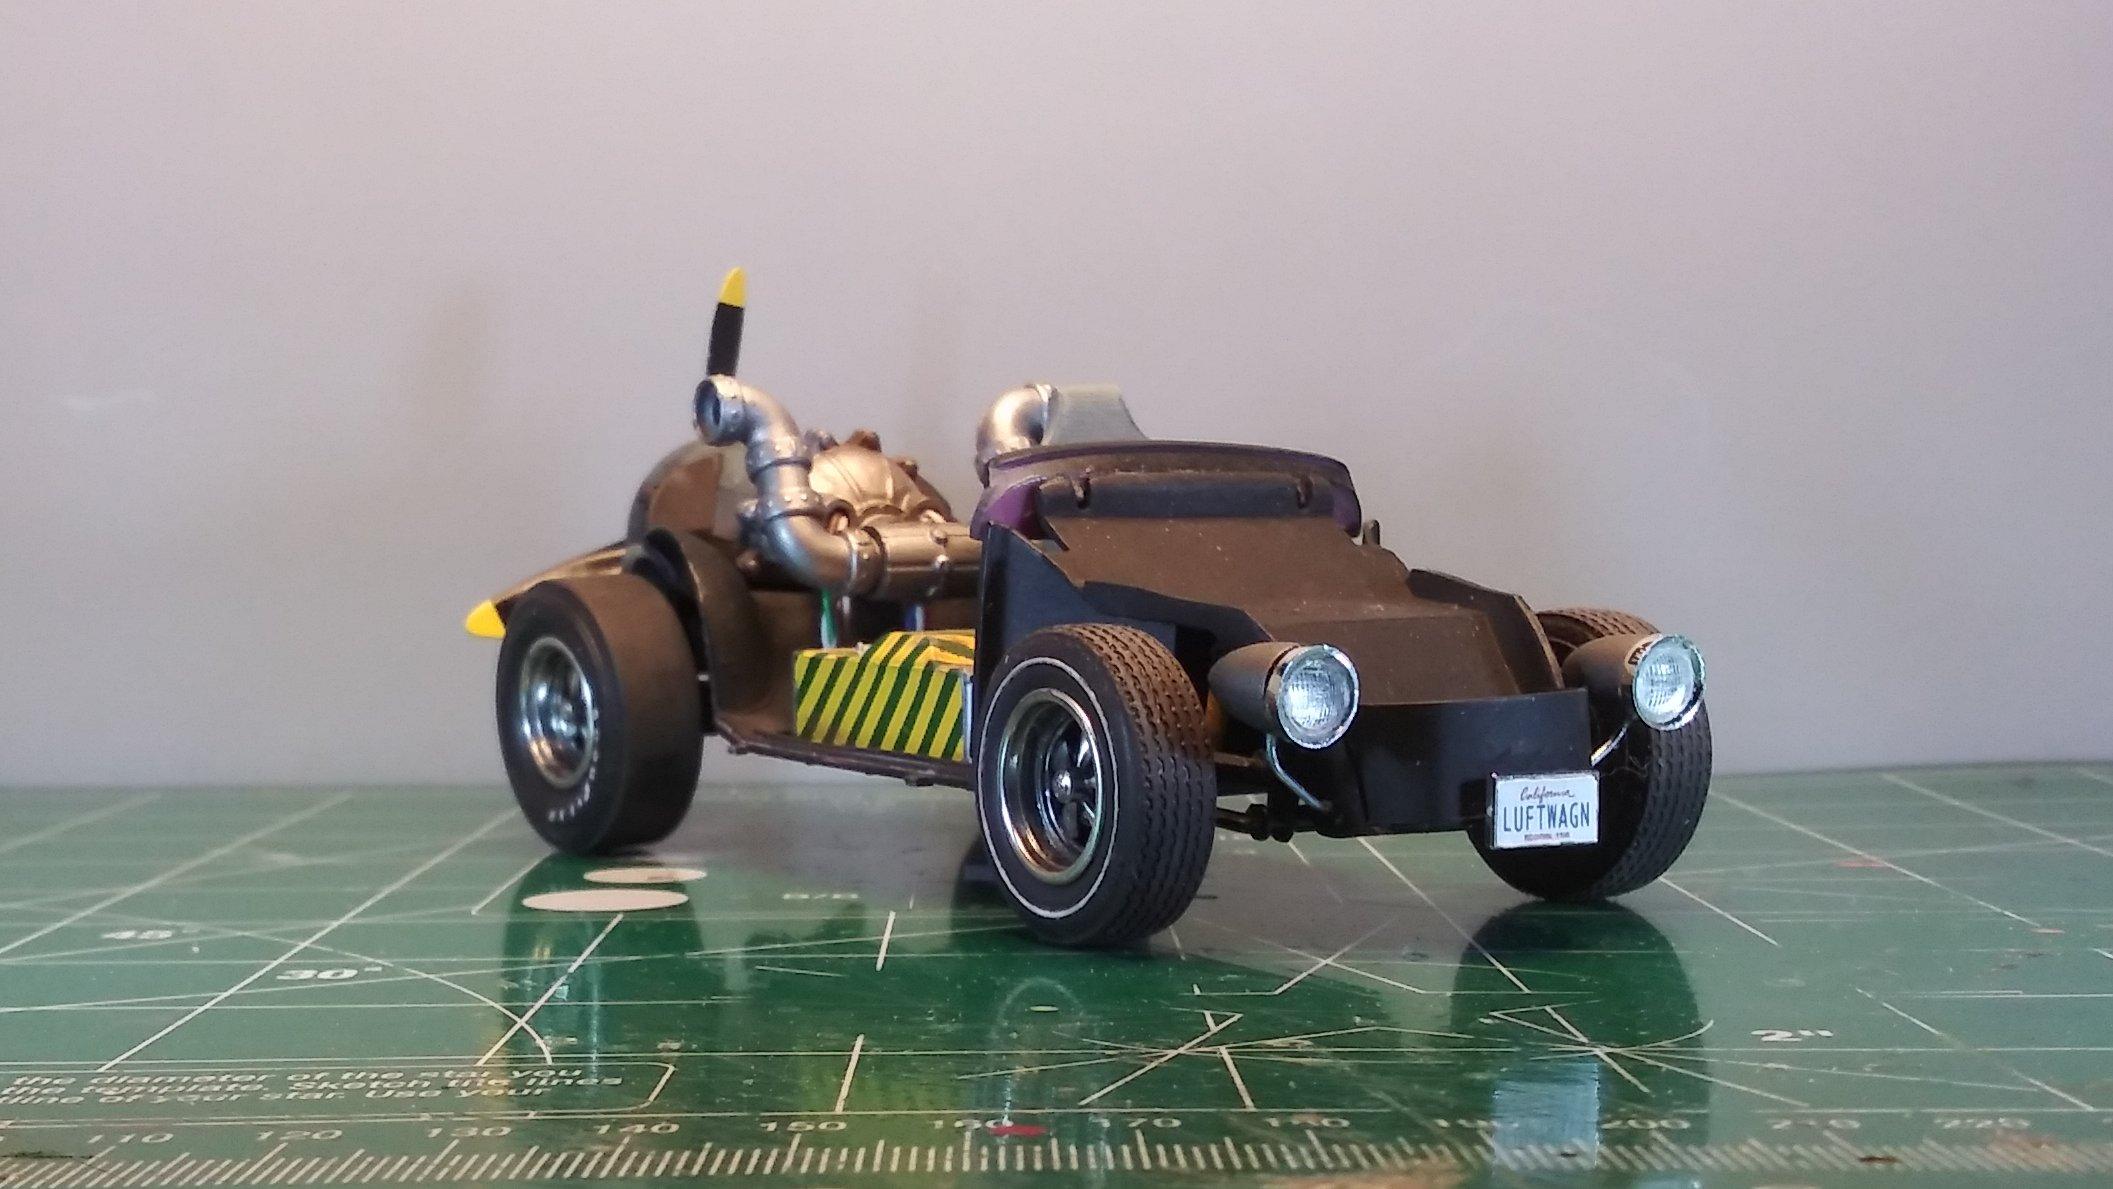
Thank you Darryl Thanks Dann. I have a high level of respect and admiration for your model building skills. From you, such a comment means much to me. Thank you Joe. The plane engine is from a Ta 154 Moskito kit by Revell. The decals were lifted from an unknown Ju 87-B kit. But yeah, either way it would have some Va-room! I now have almost all the accessories attached to the body. The last bit will be the left-hand mirror then I'll be gluing the body to the chassis. so here are a couple of final shots of the completed chassis before I button 'er up. I made a front pan to fill out the cargo area and give us a place to hang the custom vanity plate. A final shot of the interior detail before I bury it under the body. As always, thanks for taking the time to look and please feel free to comment. David G.