David G.
-
Posts
11,324 -
Joined
-
Last visited
Content Type
Profiles
Forums
Events
Gallery
Everything posted by David G.
-
I love those bullet racers! You really captured the feel of the original. David G.
-
Always happy to help! Thank you Mattias, that's just what I was going for. Thanks Tom. It's a fun kit to build. It assembles easily and has good detail where it's needed. I did have a little trouble with the front axle binding in the relief passage cast into the oil pan and block. I ended up filing the area out enough to allow the engine to sit properly in the chassis and keep just a little friction on the axle. I'm not fond of model cars that roll freely. David G.
-
Coming along nicely Geoff! Any more shine on the paint than what you have there would probably exceed original factory specs! David G.
-
Excellent solid looking build. I noticed in the last photo that the side mirror is reflecting the chrome trim on the door. There's also the subtle shadow detail of the seats and body recesses, whatever wash or other technique you used worked perfectly. These are the kinds of details that I call "invisibles". Optical details that many people wouldn't consciously notice but add to the overall feel of realism. Beautiful work. David G.
-
Nicely done! David G.
-
I really like where you're going with this. David G.
-
Thanks Alan, I'm glad you agree. For your wagon you might want to see if you can find a three pedal assembly part from another kit that you can glue up under the dashboard and just remove the pedals cast into the floor. David G.
-
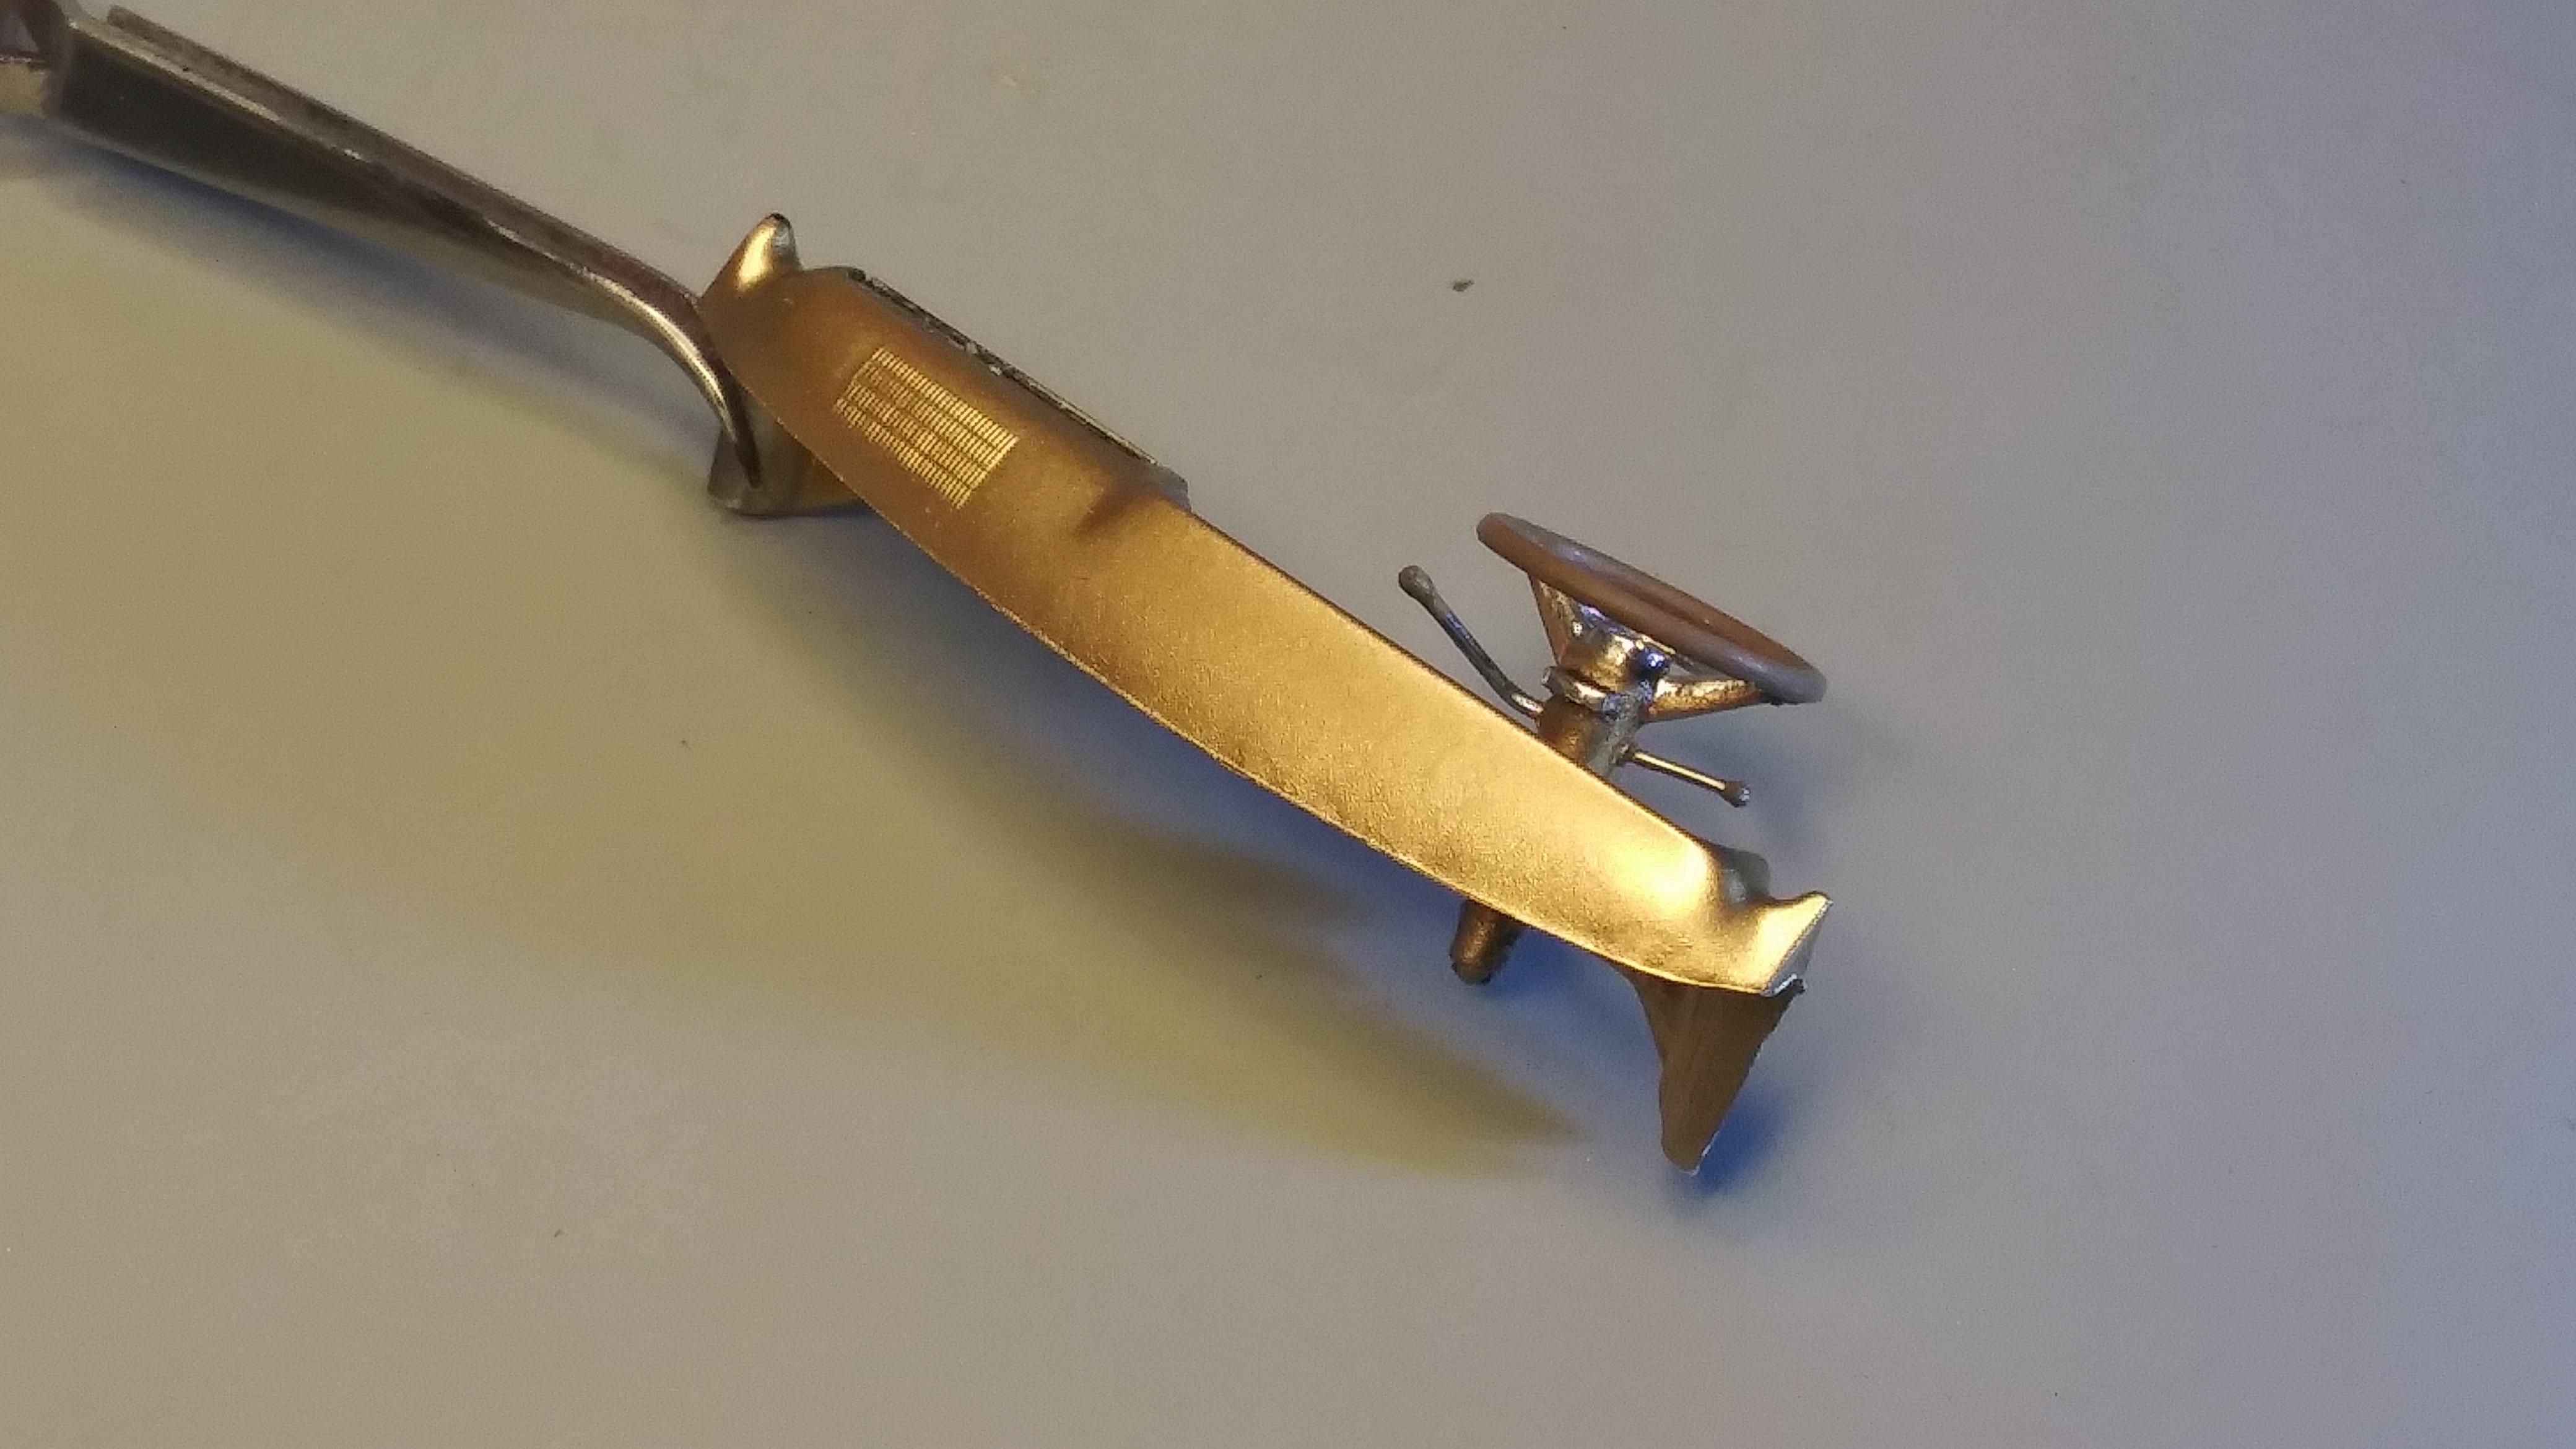
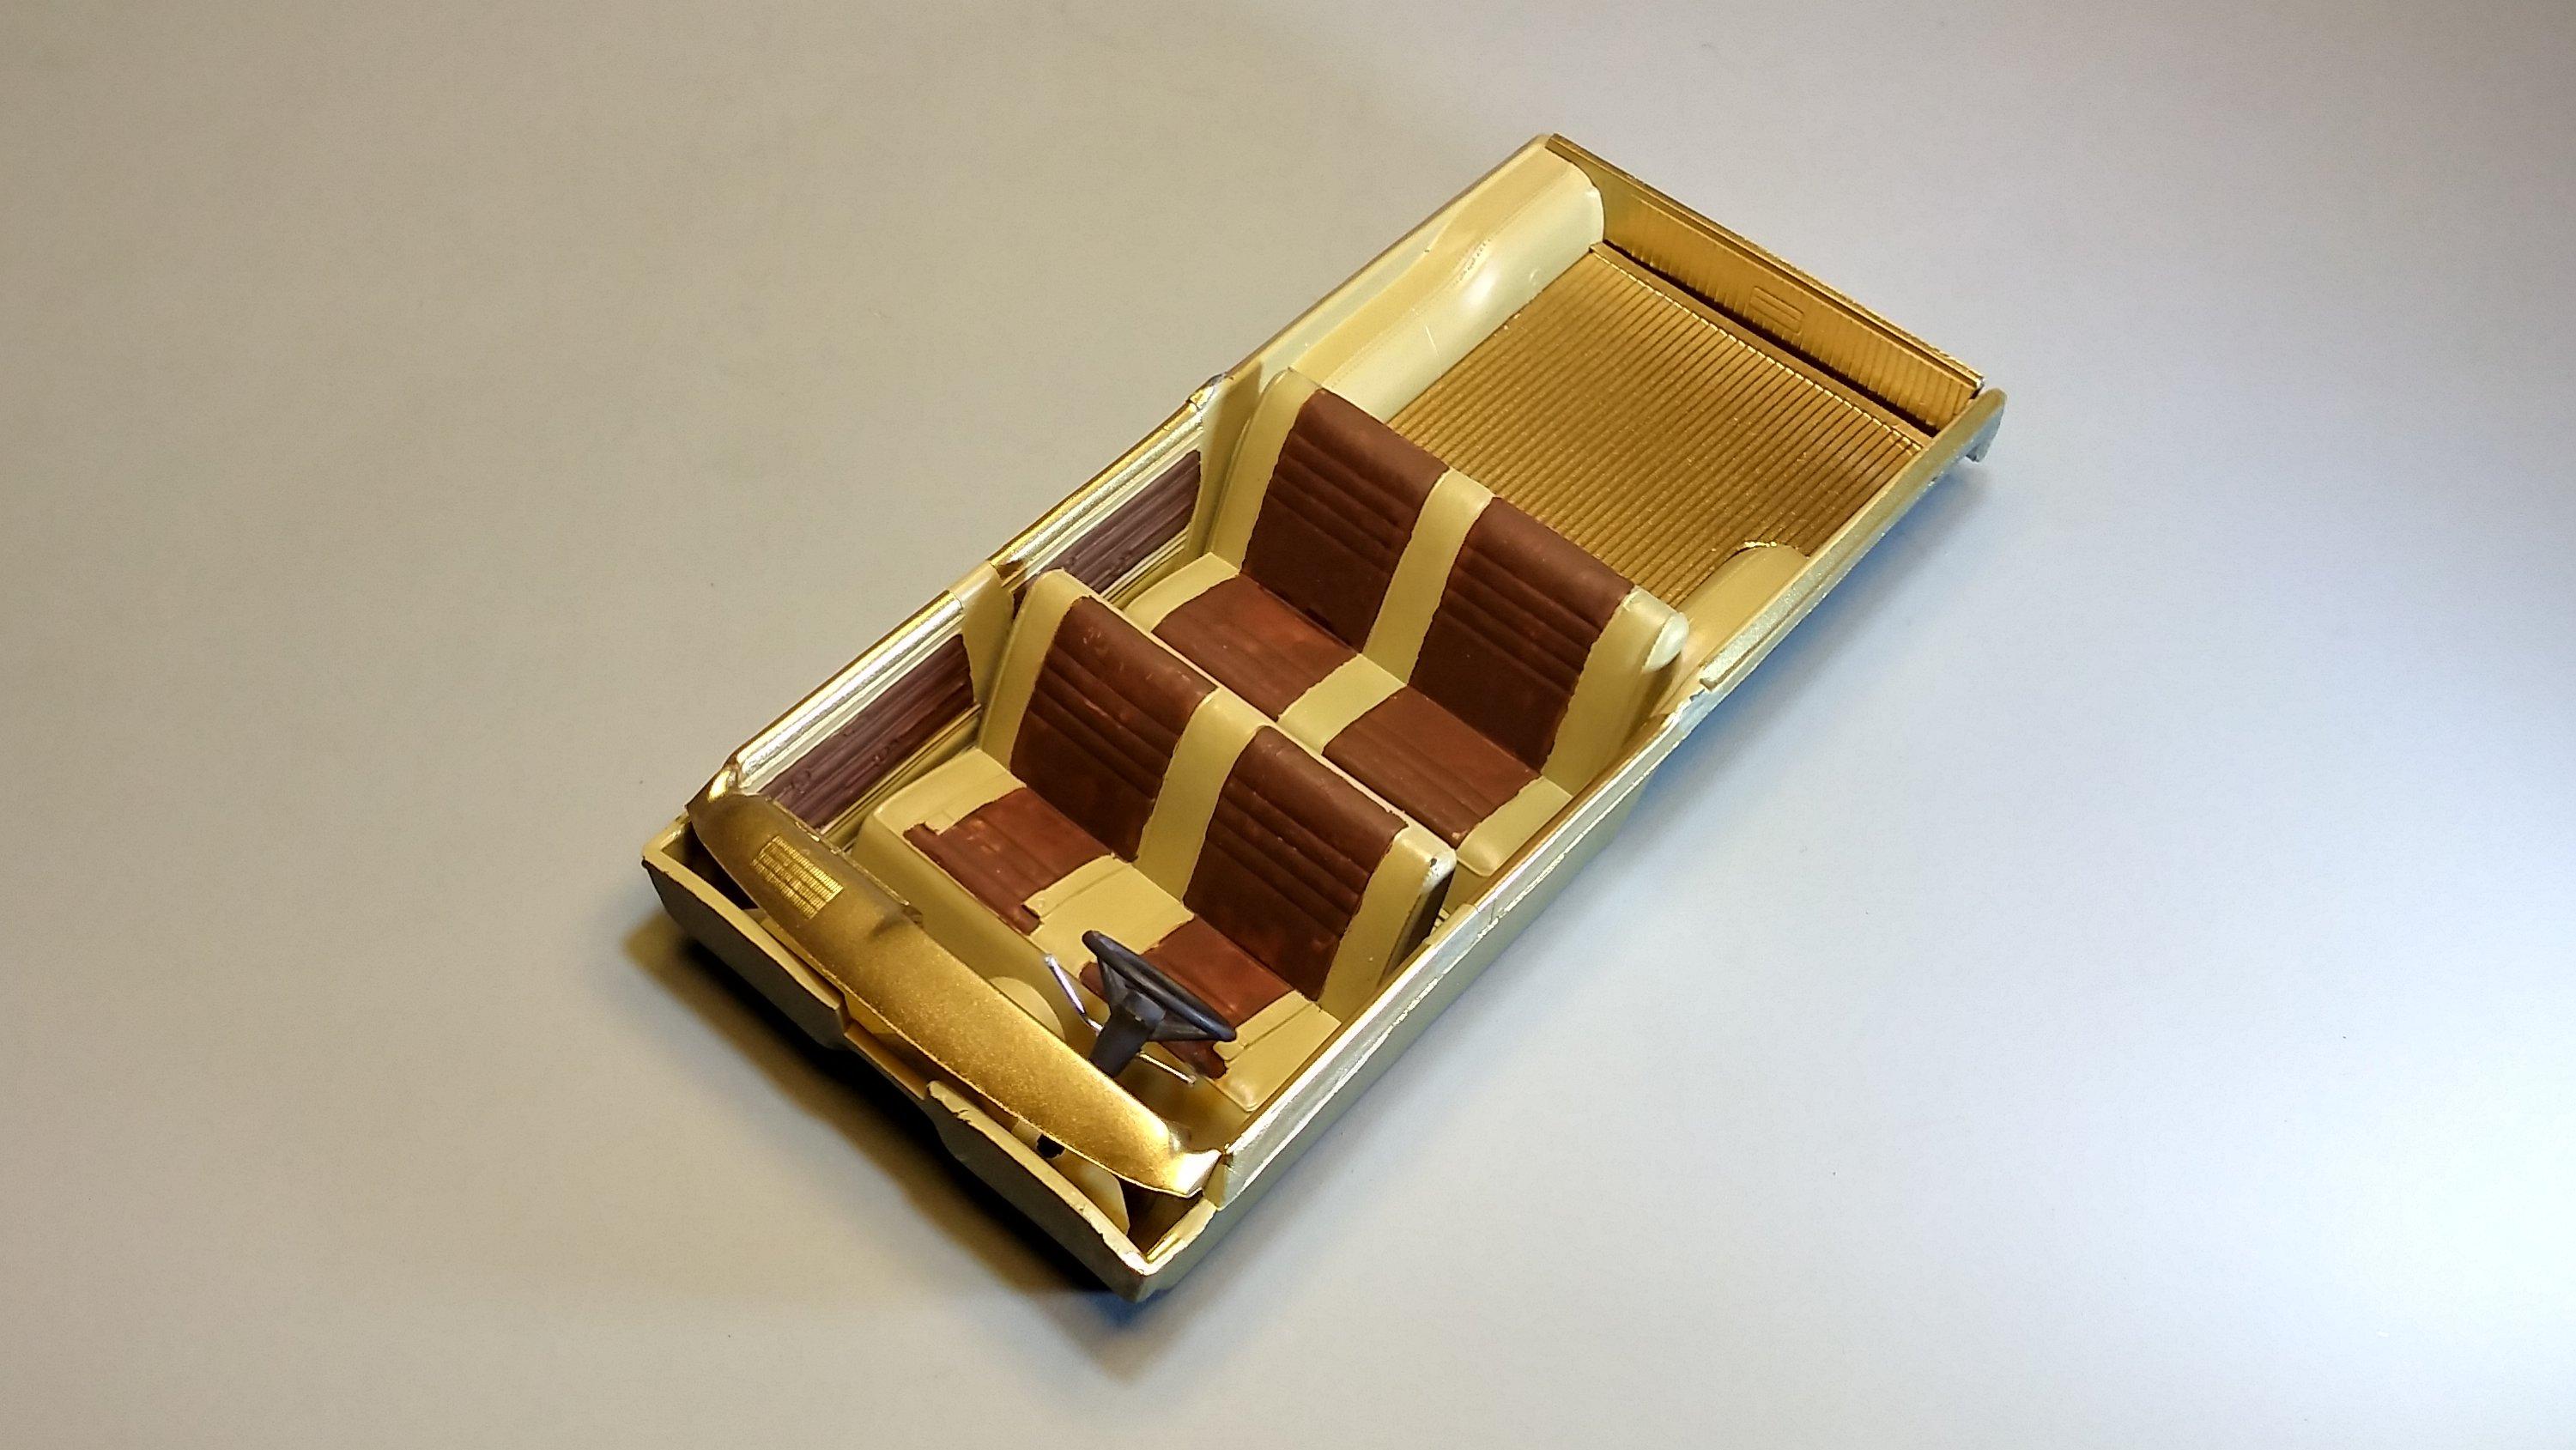
I know it's been a little while, so here's an update. I'm getting the dreaded 404 Error again, so I'm going to post this piecemeal. There are a couple of design conflicts with this kit. The transmission is a manual shift unit with a hole in the floor for a gearshift lever. The interior has a brake pedal for an automatic and no gear selector or turn signal stalk on the steering column. So I added those, along with the gear indicator or "PRNDL" Here's a different angle that shows the levers a little better. I think the Tamiya Flat Earth is a much better option for the seat inserts than the NATO Brown. I have a bit of touch up work to do on the carpet and one door panel. Other than that this interior is mostly done. As always, thanks for taking the time to look and please feel free to comment. David G.

-

Metallic paint for an interior?
David G. replied to crowe-t's topic in Model Building Questions and Answers
I've had some luck with Dupli-Color metallic paints. The flake size is fairly small and very consistent. I painted this interior with Dupli-Color Medium Quasar Metallic and Medium Maui Blue Metallic. It's an old photo but it should be good enough to convey the impression. Let me know if you'd like the paint numbers and I'll upload a snap of the labels. David G.
-
The Most Dangerous Car You've Ever Owned
David G. replied to David G.'s topic in General Automotive Talk (Trucks and Cars)
Looks like you bailed just in time James! David G. -
Very cool! I especially like the bumpers. David G.
-
Cool concept. looks like it's coming along nicely. David G.
-
That came out real nice. David G.
-
36 ford panel delivery
David G. replied to damodelguy az's topic in Model Trucks: Pickups, Vans, SUVs, Light Commercial
Wow, nice mash-up! Love the color scheme. David G. -
41 Chevy Pickup Hovercraft
David G. replied to Daxman's topic in Model Trucks: Pickups, Vans, SUVs, Light Commercial
I always enjoy seeing your hover vehicles. They look very real in an alternate universe kind of way. Thanks for taking the time to share them with us. David G. -
The gray is an excellent choice. The engine bay and interior are nicely detailed too. It's a good solid looking build, well done! David G.
-
Excellent work, it looks great from every angle. Did you hand paint the gold trim or is it decals? David G.
-
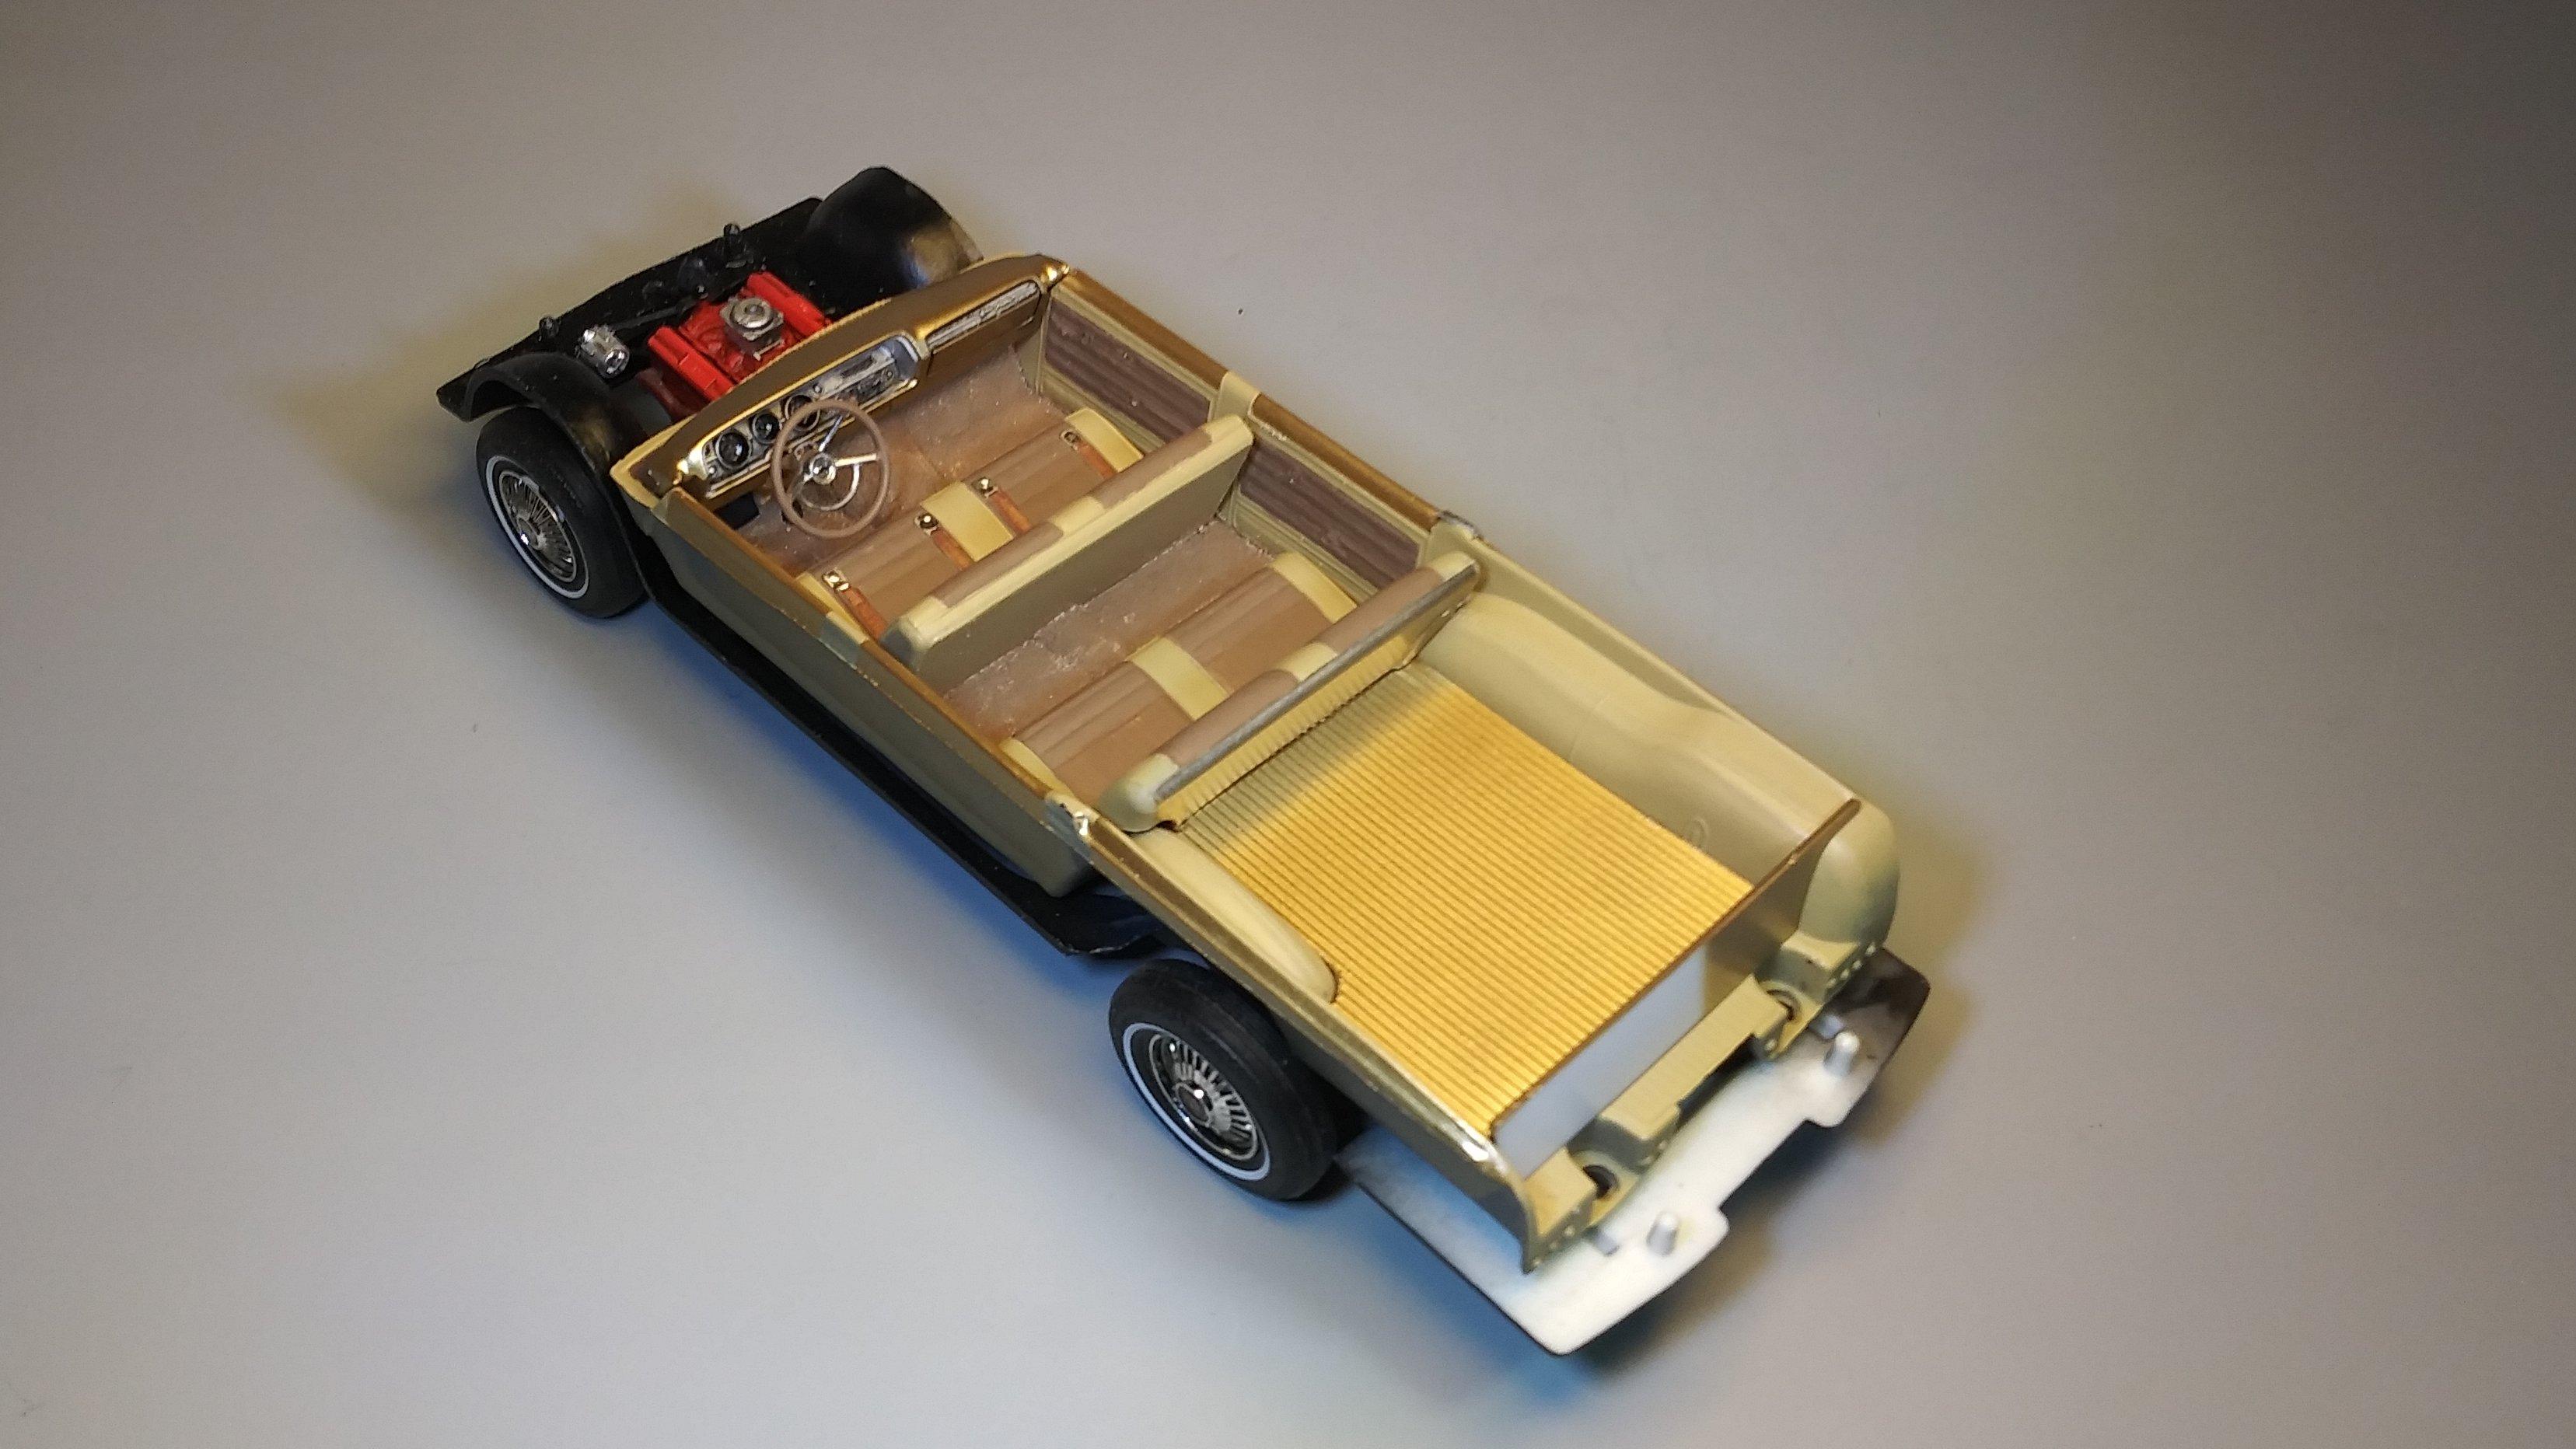
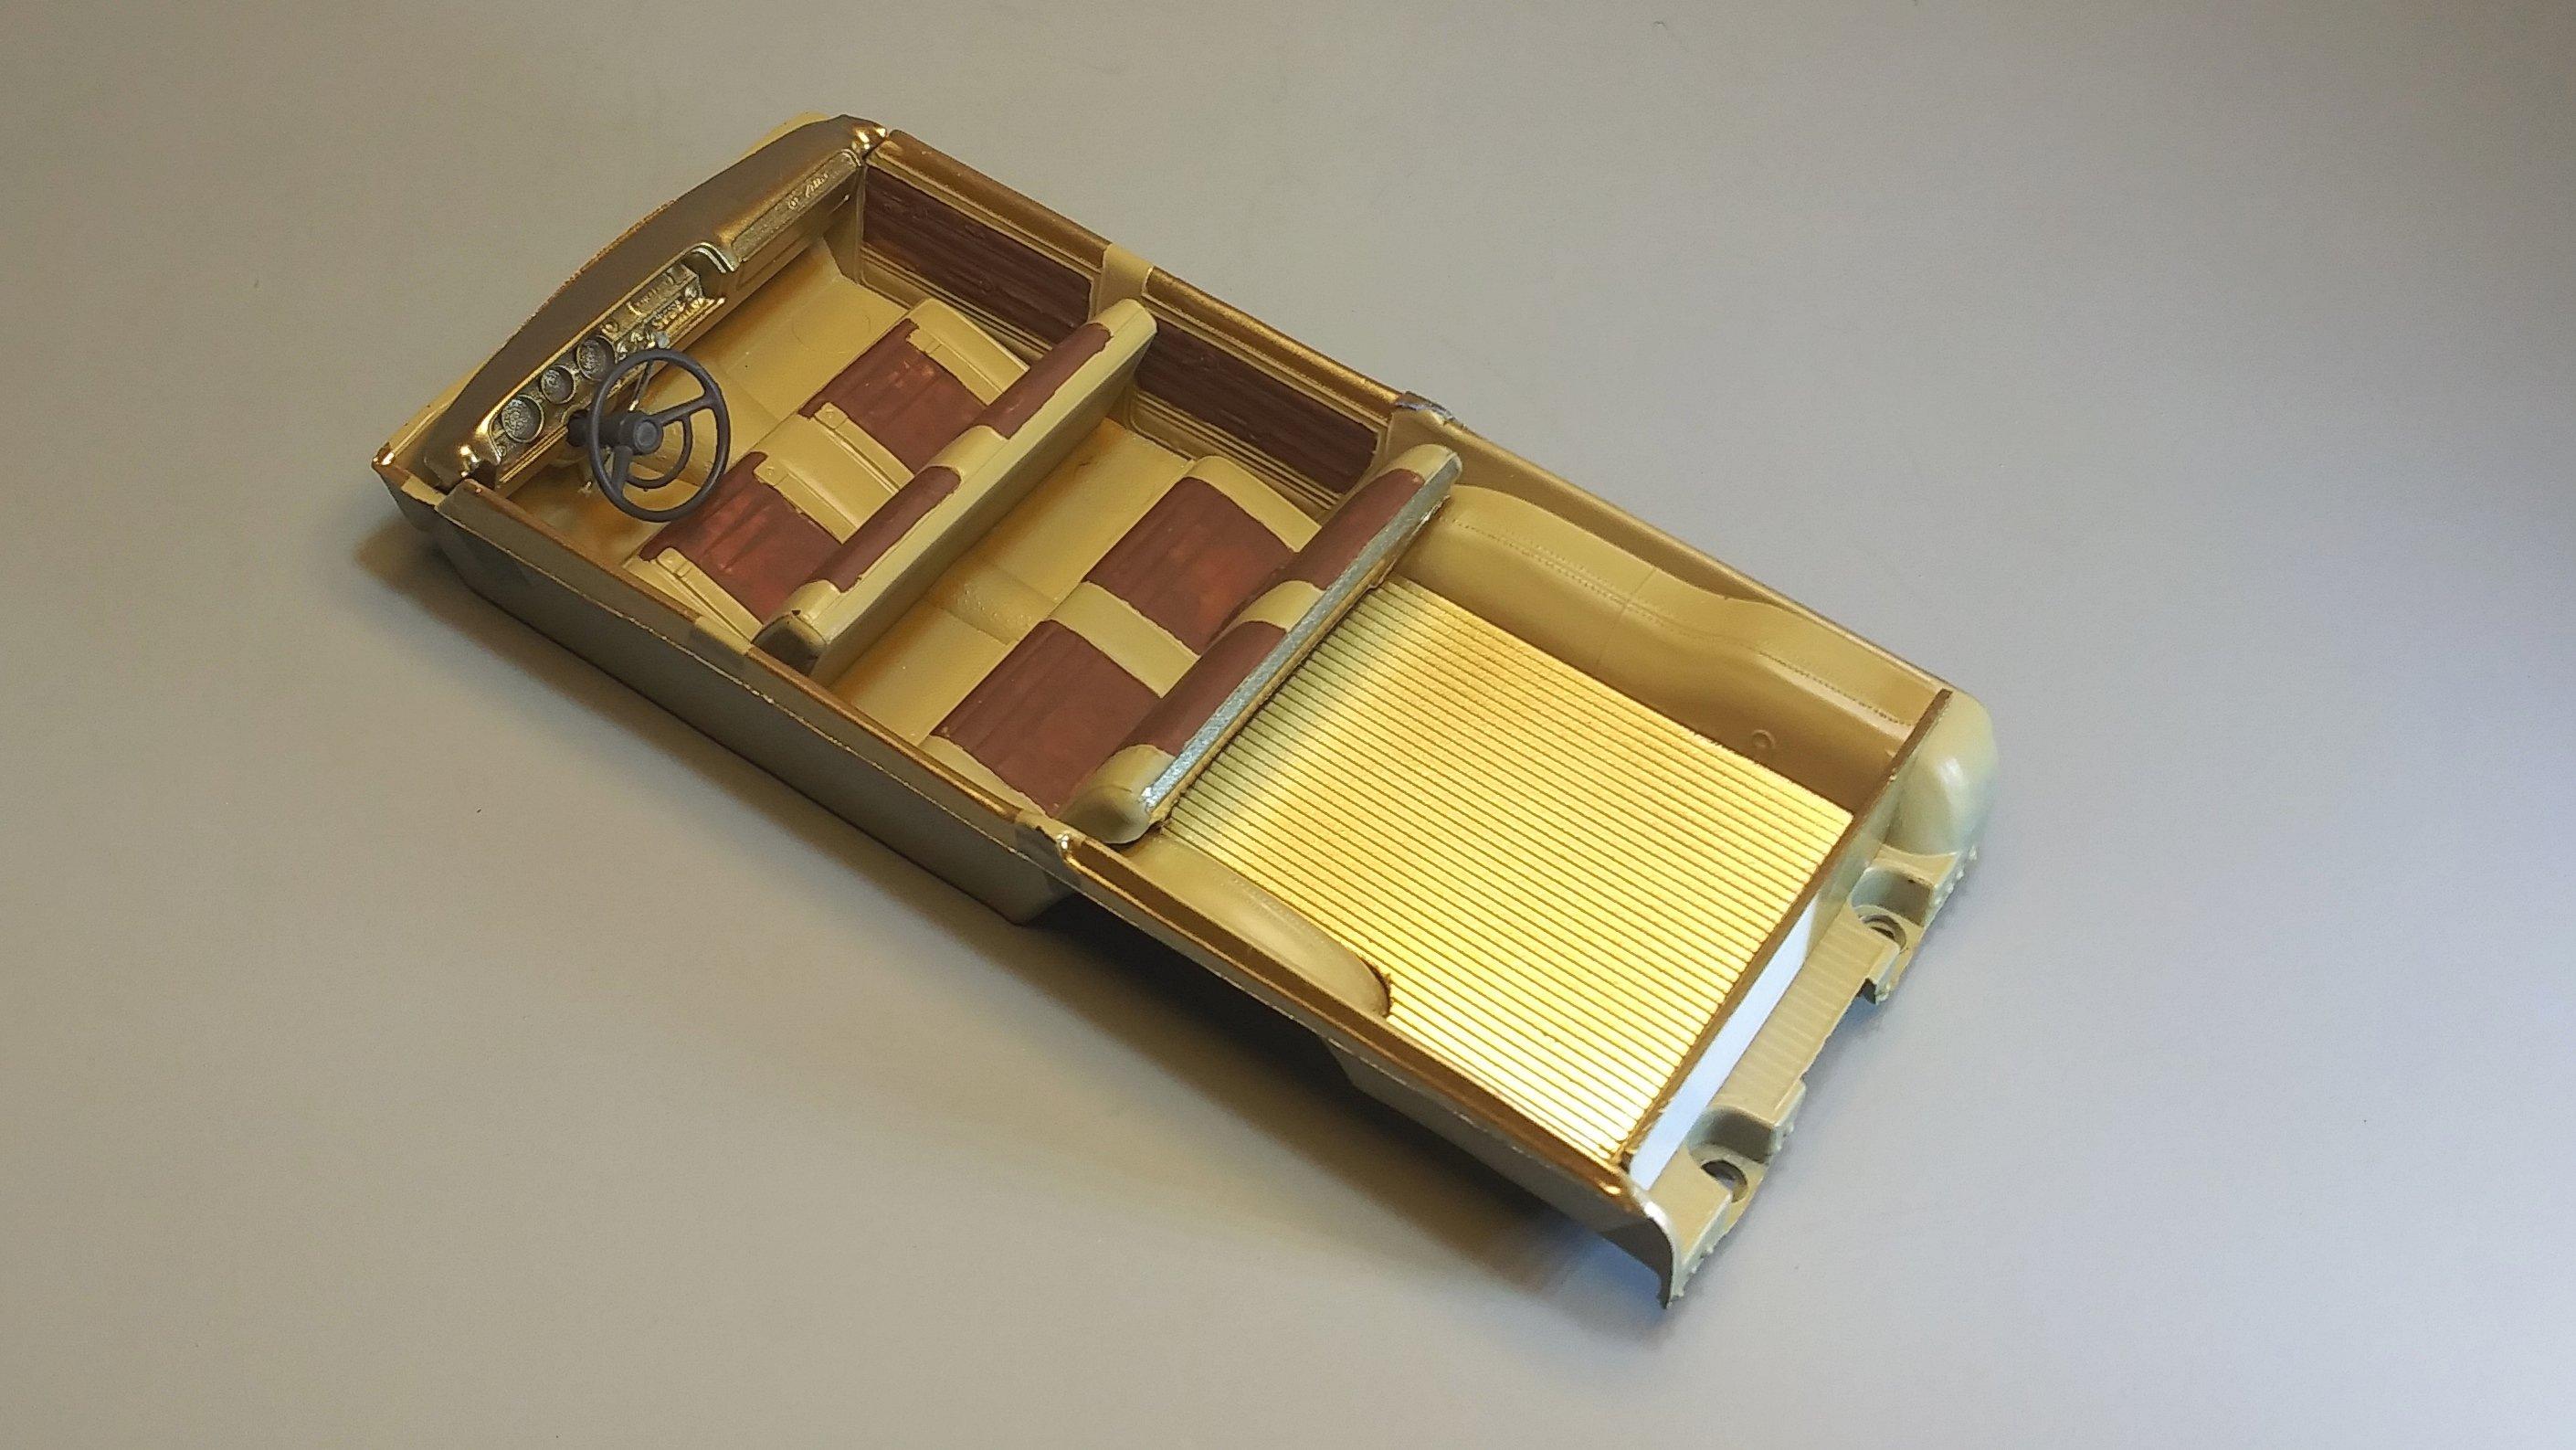
Thanks Mike. Flocking the cargo area would work to cover the marks if they were back-filled and leveled. I had considered that as a solution but in my research, wasn't able to to find any examples of carpeted cargo areas on these particular wagons. Additionally, given the ridges cast into the floor, I would likely have had to completely level the cargo floor to remove those to have a uniform surface. More work than I wanted to do. I had also considered making aftermarket floor mats and various types of cargo before I discovered the sheet styrene in my stock. (I still plan on using a grocery bag or two.) Best regards, David G.
-
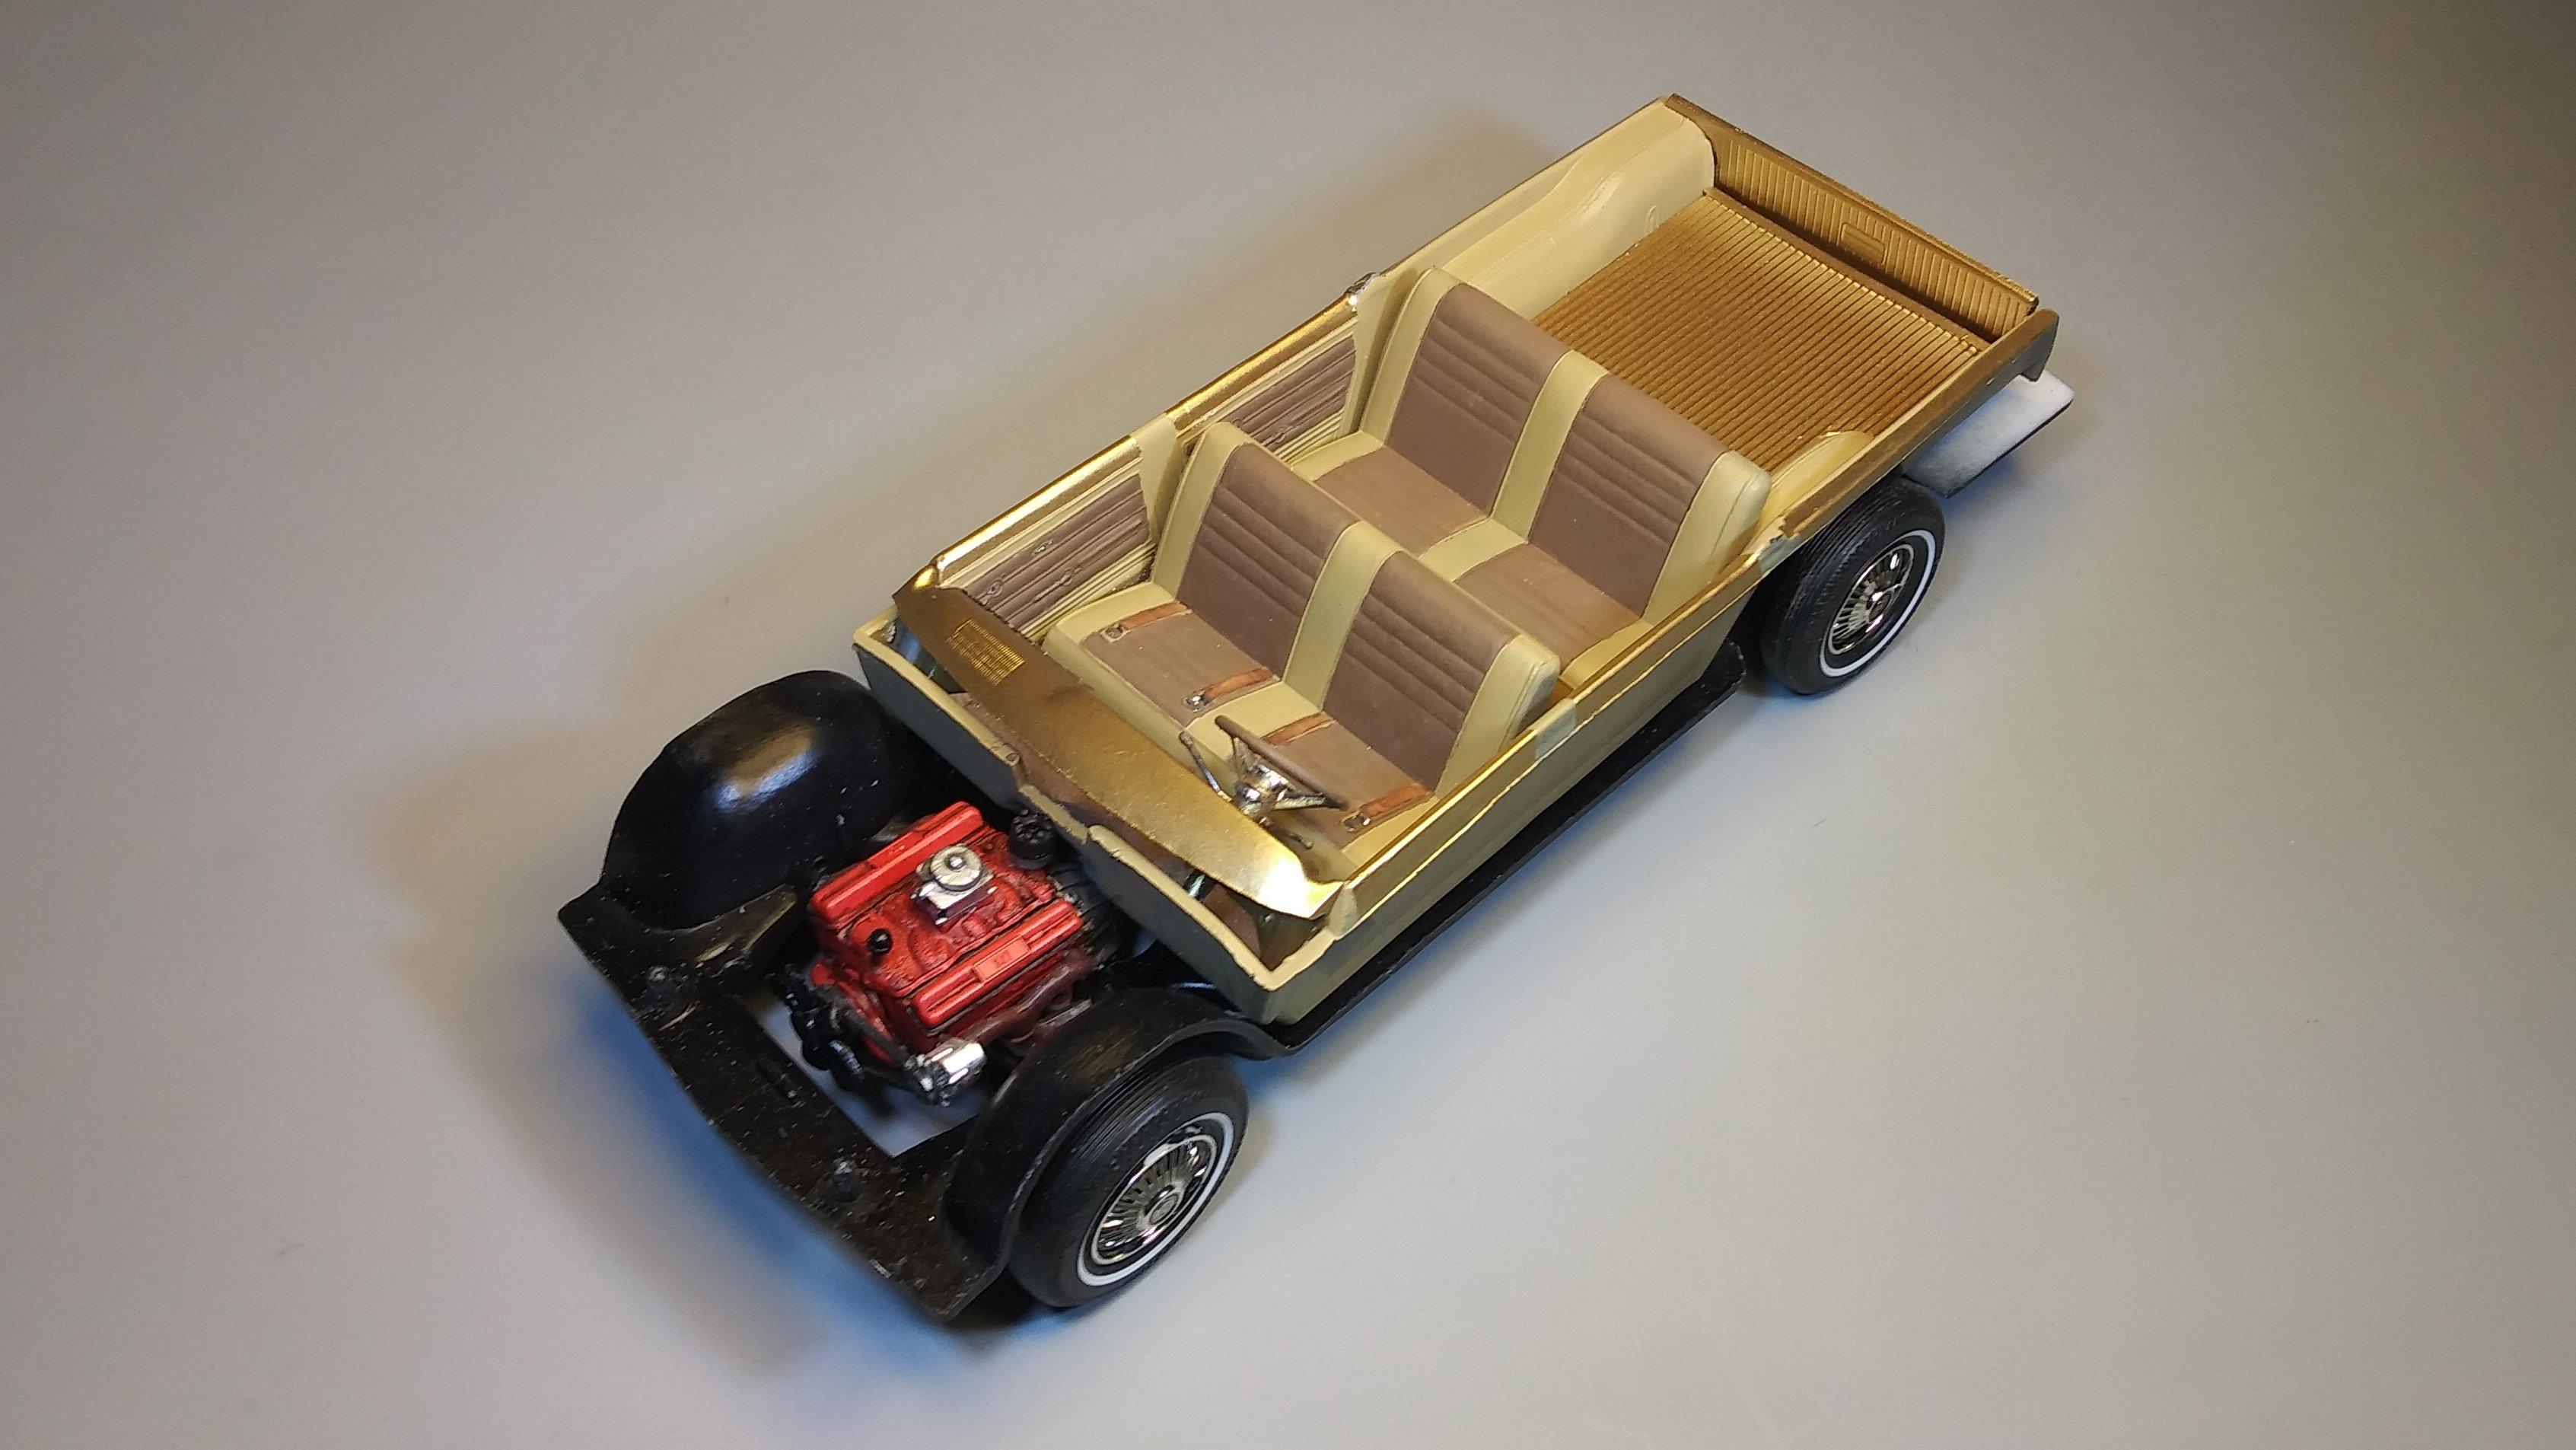
Now back to our regularly scheduled program. Thanks David. I've started testing some colors and I found a nice light tan as a base, Tamiya Light Sand TS 46. I tried their NATO Brown XF 68 with it but found it too dark for for my tastes. I have the NATO brown removed and I'm planning on using Tamiya Flat Earth (hee-hee) XF 52. I haven't decided if the cargo area floor and tailgate will remain in gold or or be painted Light Sand or Flat Earth. The dash is very close to completion so it will probably remain in gold. Thanks, David G.
-
Smooooth and Deadly! David G.
-
1950 Ford Jitney Bus Is done!
David G. replied to Tom Geiger's topic in Model Trucks: Pickups, Vans, SUVs, Light Commercial
Excellent work all around. The cushions are especially cool. David G. -
Wow! From back when Stockcars were stock cars. Nicely done! David G.
-
Thanks John. I guess great minds think alike! Too bad you no longer have them. David G.
-
Thanks Tom, I'm glad you like it. Thank you for saying so Curtis. David G.
-
Thank you very much for saying so. I do try to do the best I can at both. David G.