-
Posts
11,331 -
Joined
-
Last visited
Content Type
Profiles
Forums
Events
Gallery
Everything posted by David G.
-
-
Sweet build! The color looks perfect. David G.
-
-
Great looking build so far! David G.
-
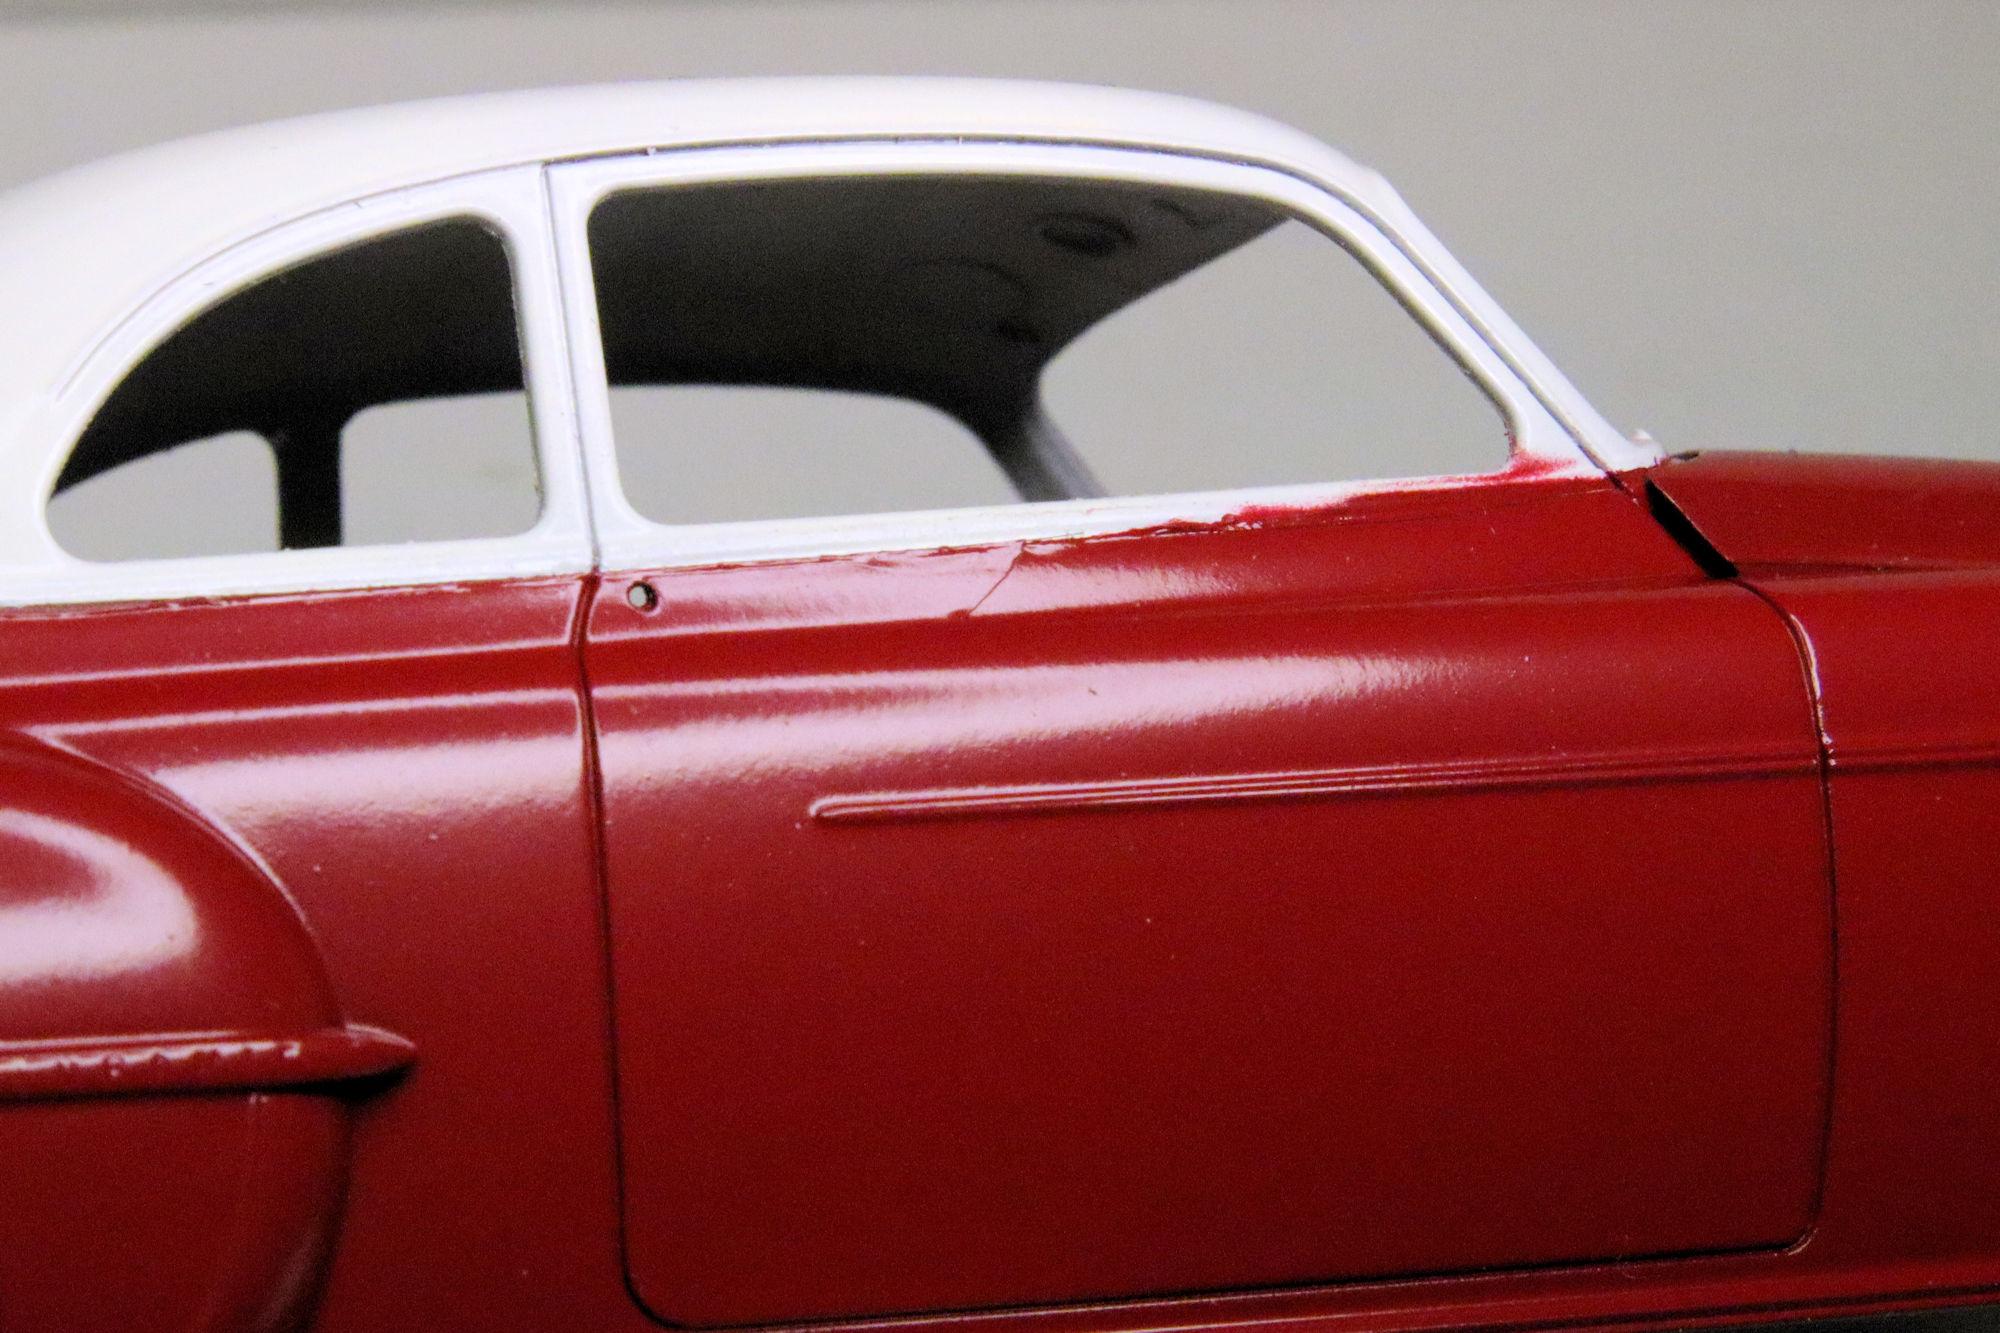
Thank you David. I did discover that sealing effect you mentioned. Part way through the unmasking I noticed that the paint was starting to tear. Of course, I stopped and grabbed my trusty hobby knife and made a cut all the rest of the way around the trim line. This is the event I was referring to when I said I ..."have to develop and refine some my techniques for working with it." in the earlier post. Thanks again for your comment. David G.
-
Either that or move the placard to the base of the diorama as more of a label than a feature. Both text configurations work well to my eye though. It's really just a matter of taste. David G.
-
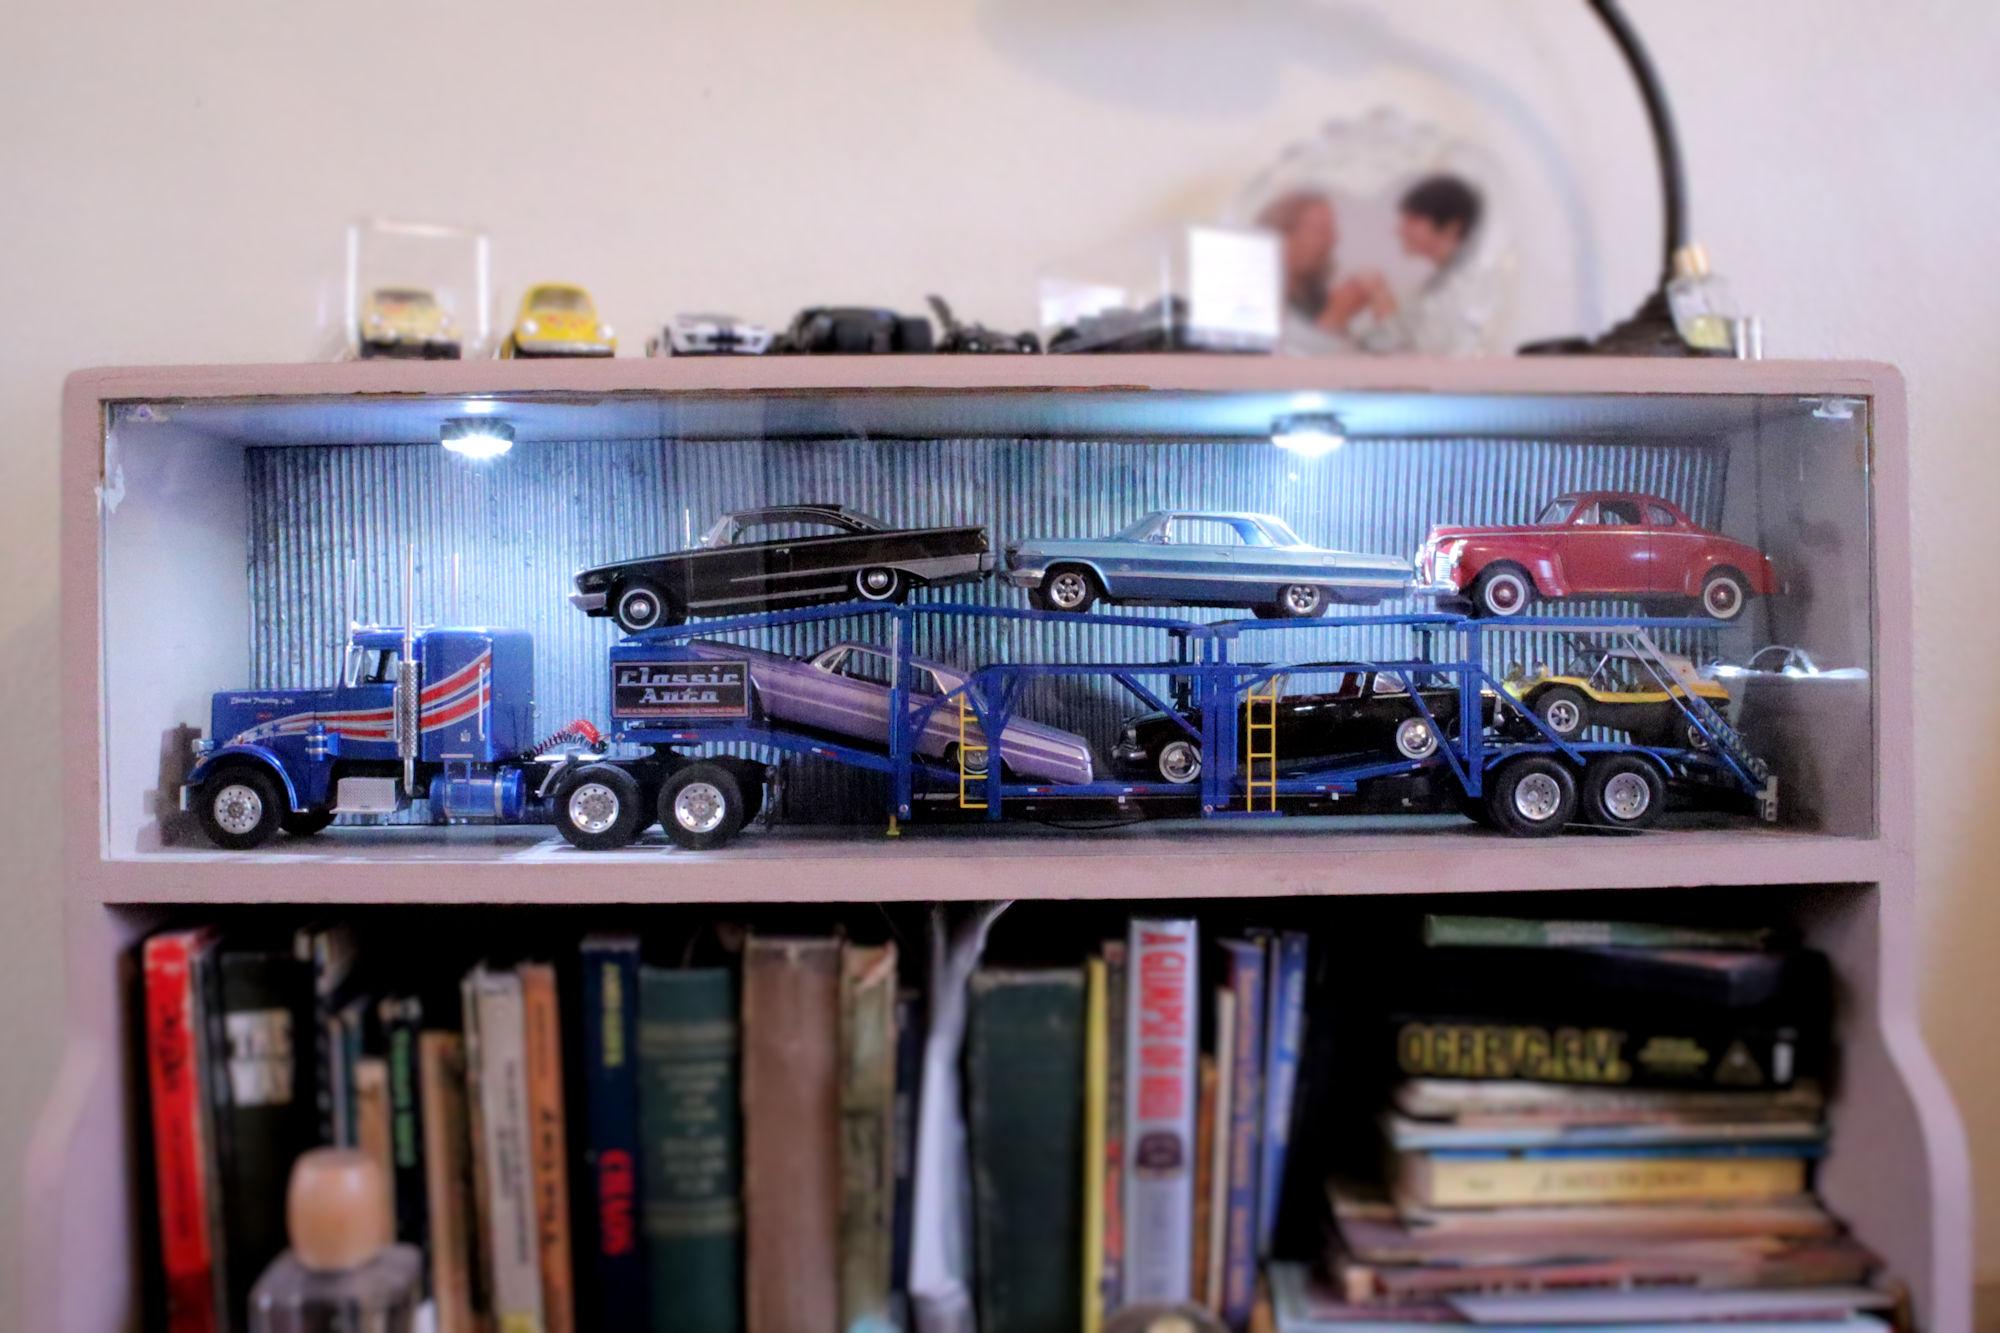
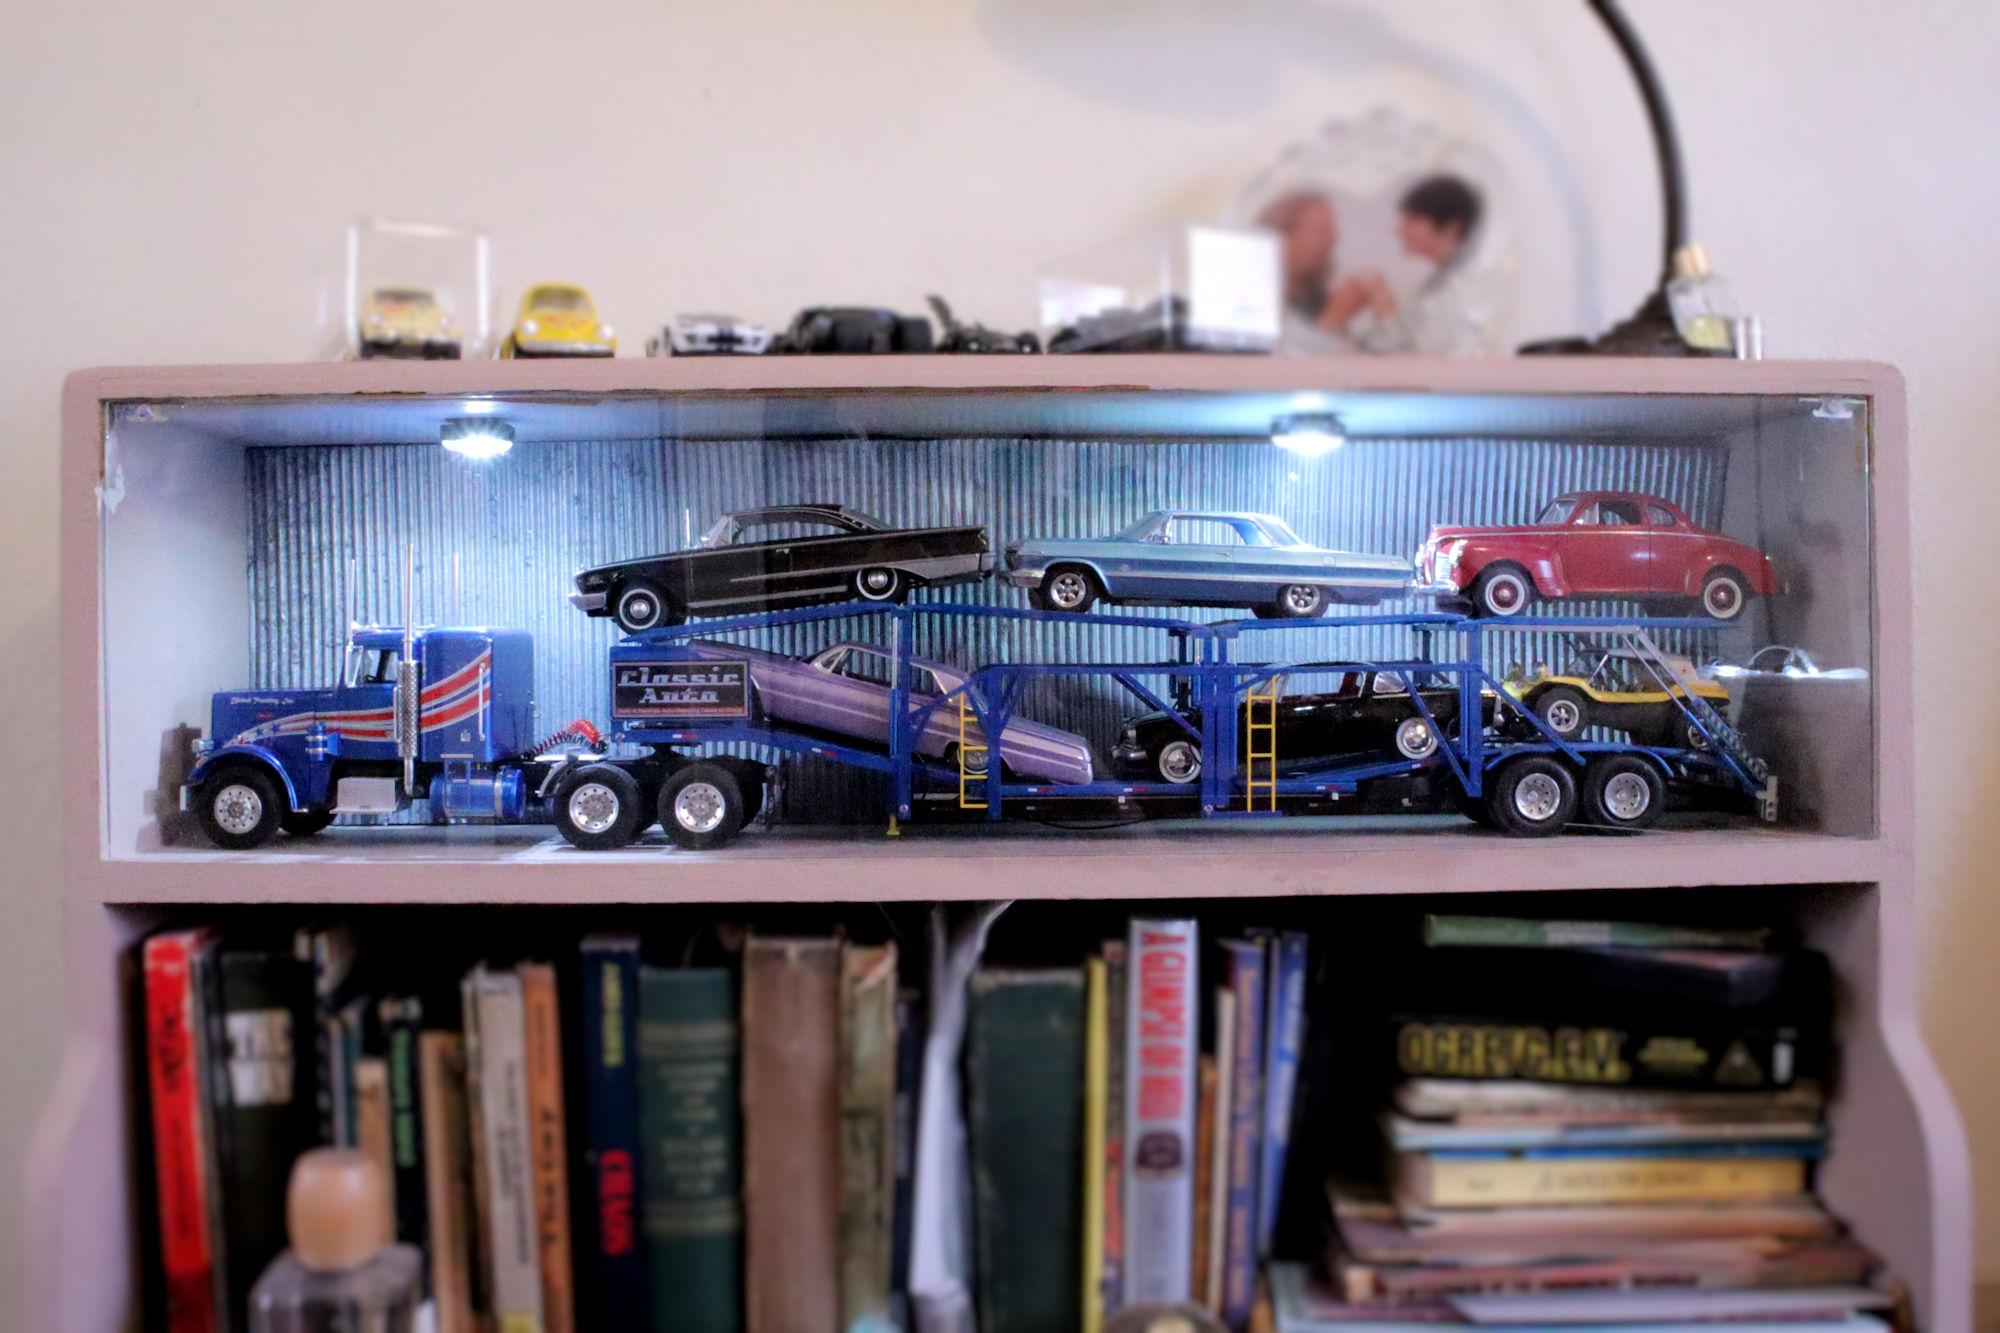
Hello Everybody! As I'm sure many of you know, back in June I completed Revell's Auto Transport Trailer and Peterbilt 359 as companions to one another. I placed them together for display on this bookcase shelf with a plan to continue to upgrade and improve the display. This is stage one of that plan. I added a magnetically secured sheet of plexiglass and some temporary lighting with an improvised backdrop, also temporary. As always, thanks for taking the time to look and please feel free to share any comments. David G.
-
Hello Everybody! As I'm sure many of you know, back in June I completed Revell's Auto Transport Trailer and Peterbilt 359 as companions to one another. I placed them together for display on this bookcase shelf with a plan to continue to upgrade and improve the display. This is stage one of that plan. I added a magnetically secured sheet of plexiglass and some temporary lighting with an improvised backdrop, also temporary. As always, thanks for taking a look and please feel free to comment. David G.
-
Thank you Bob. Yeah, one could definitely say, "Baby Got Back!" =D-
-
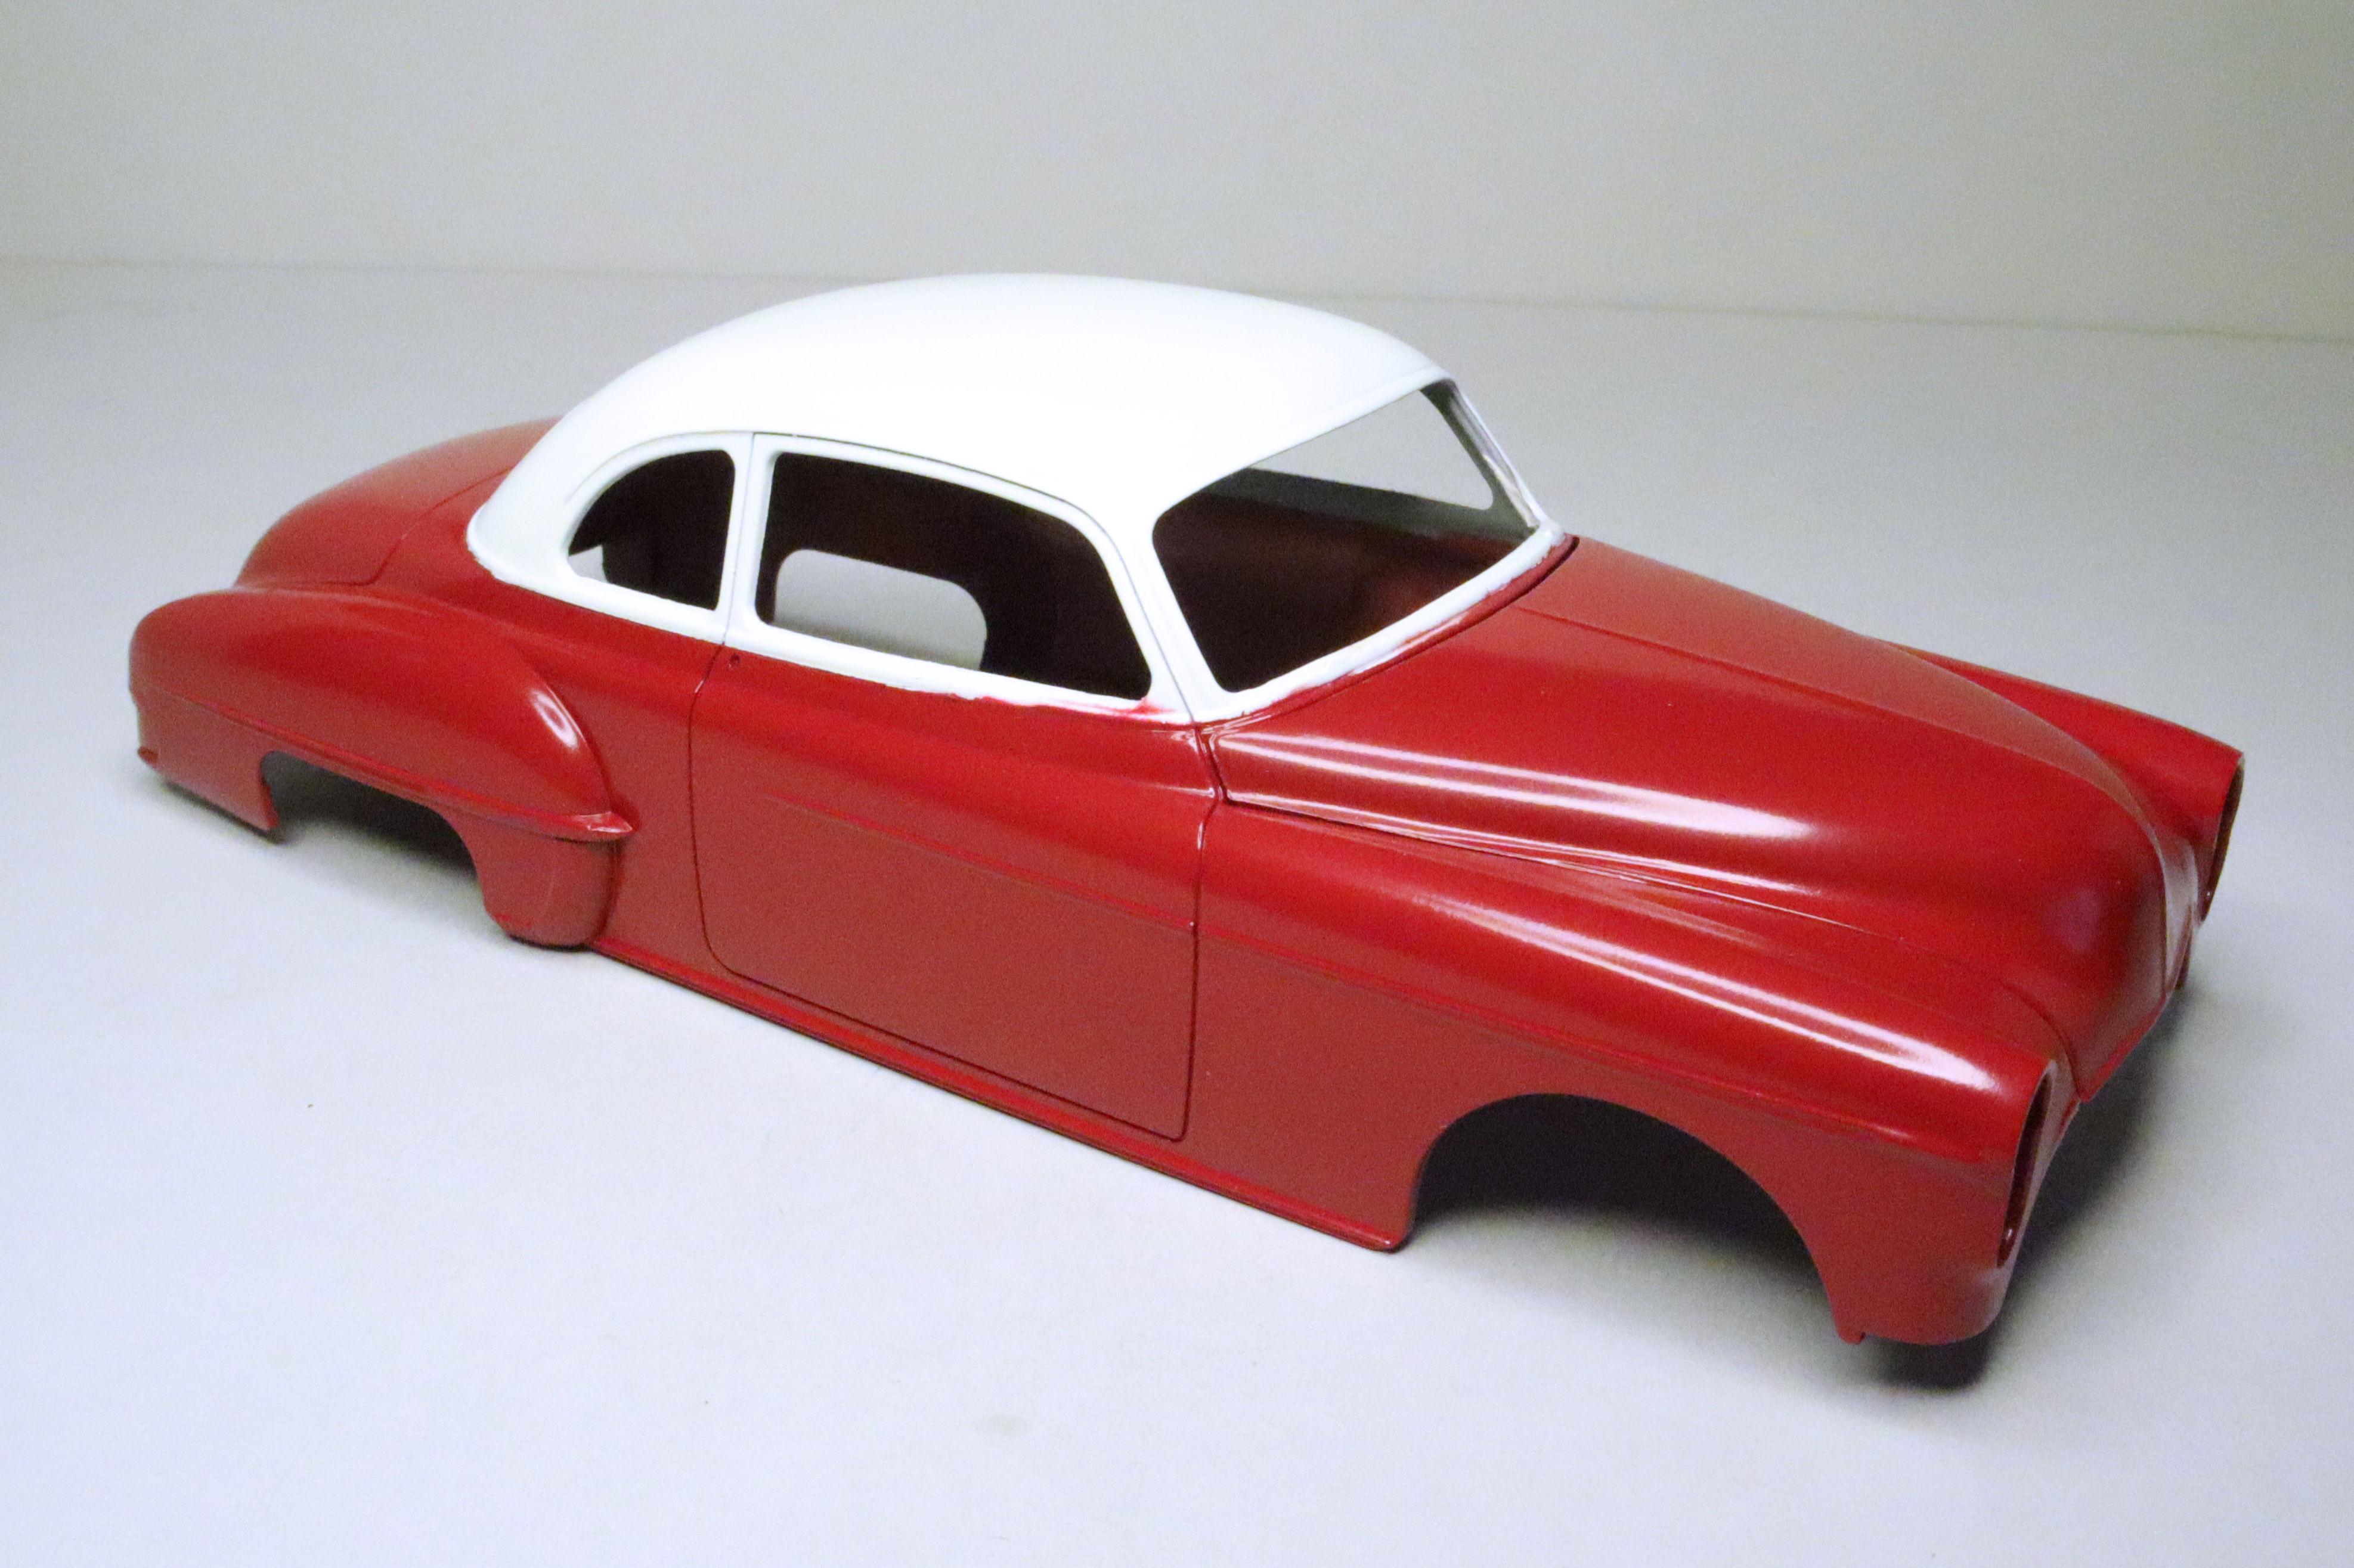
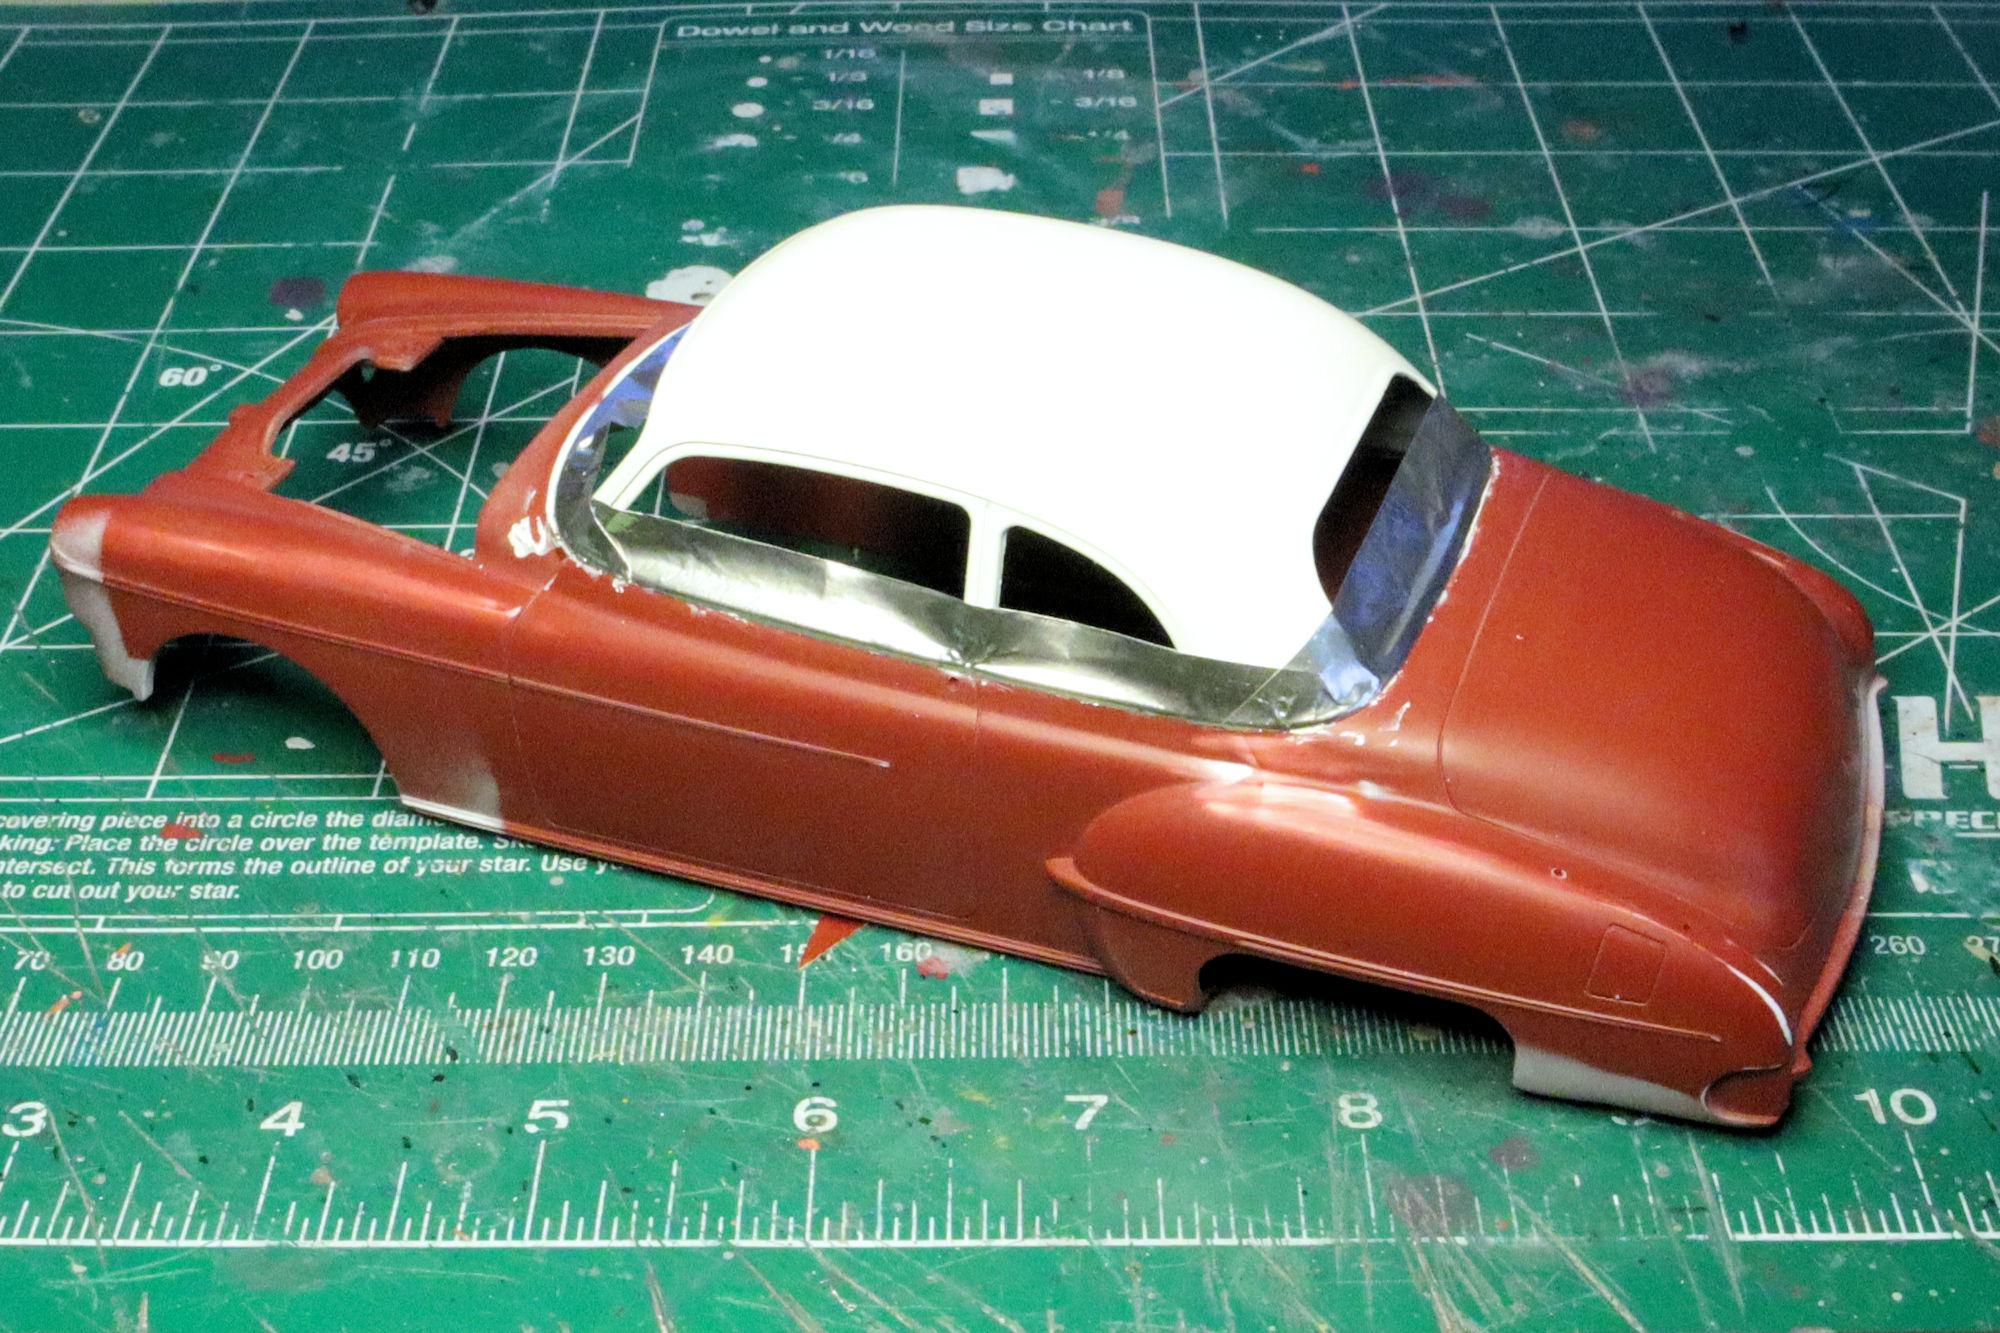
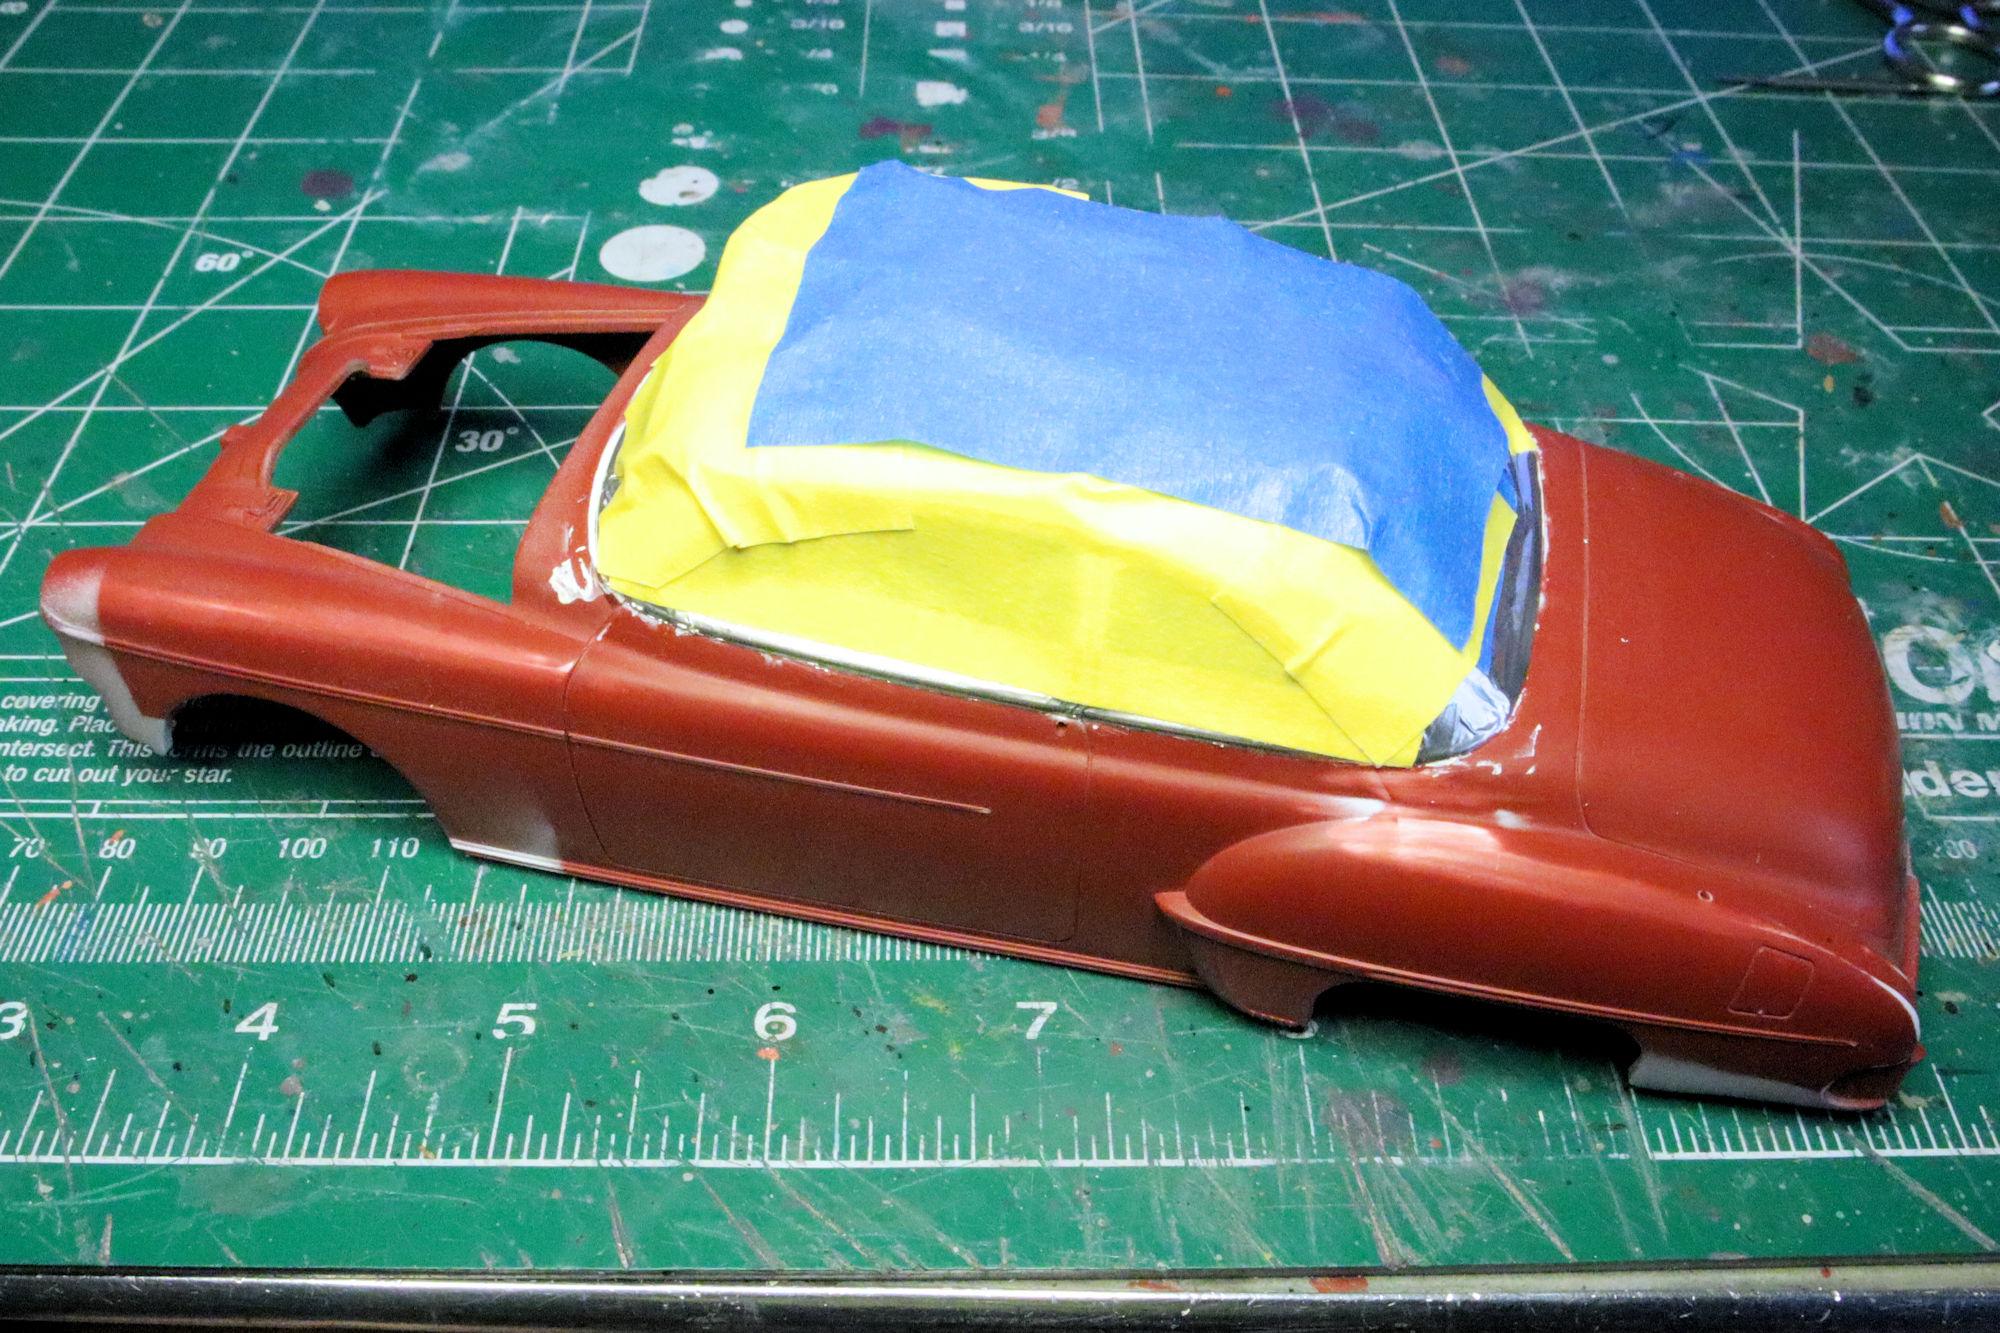
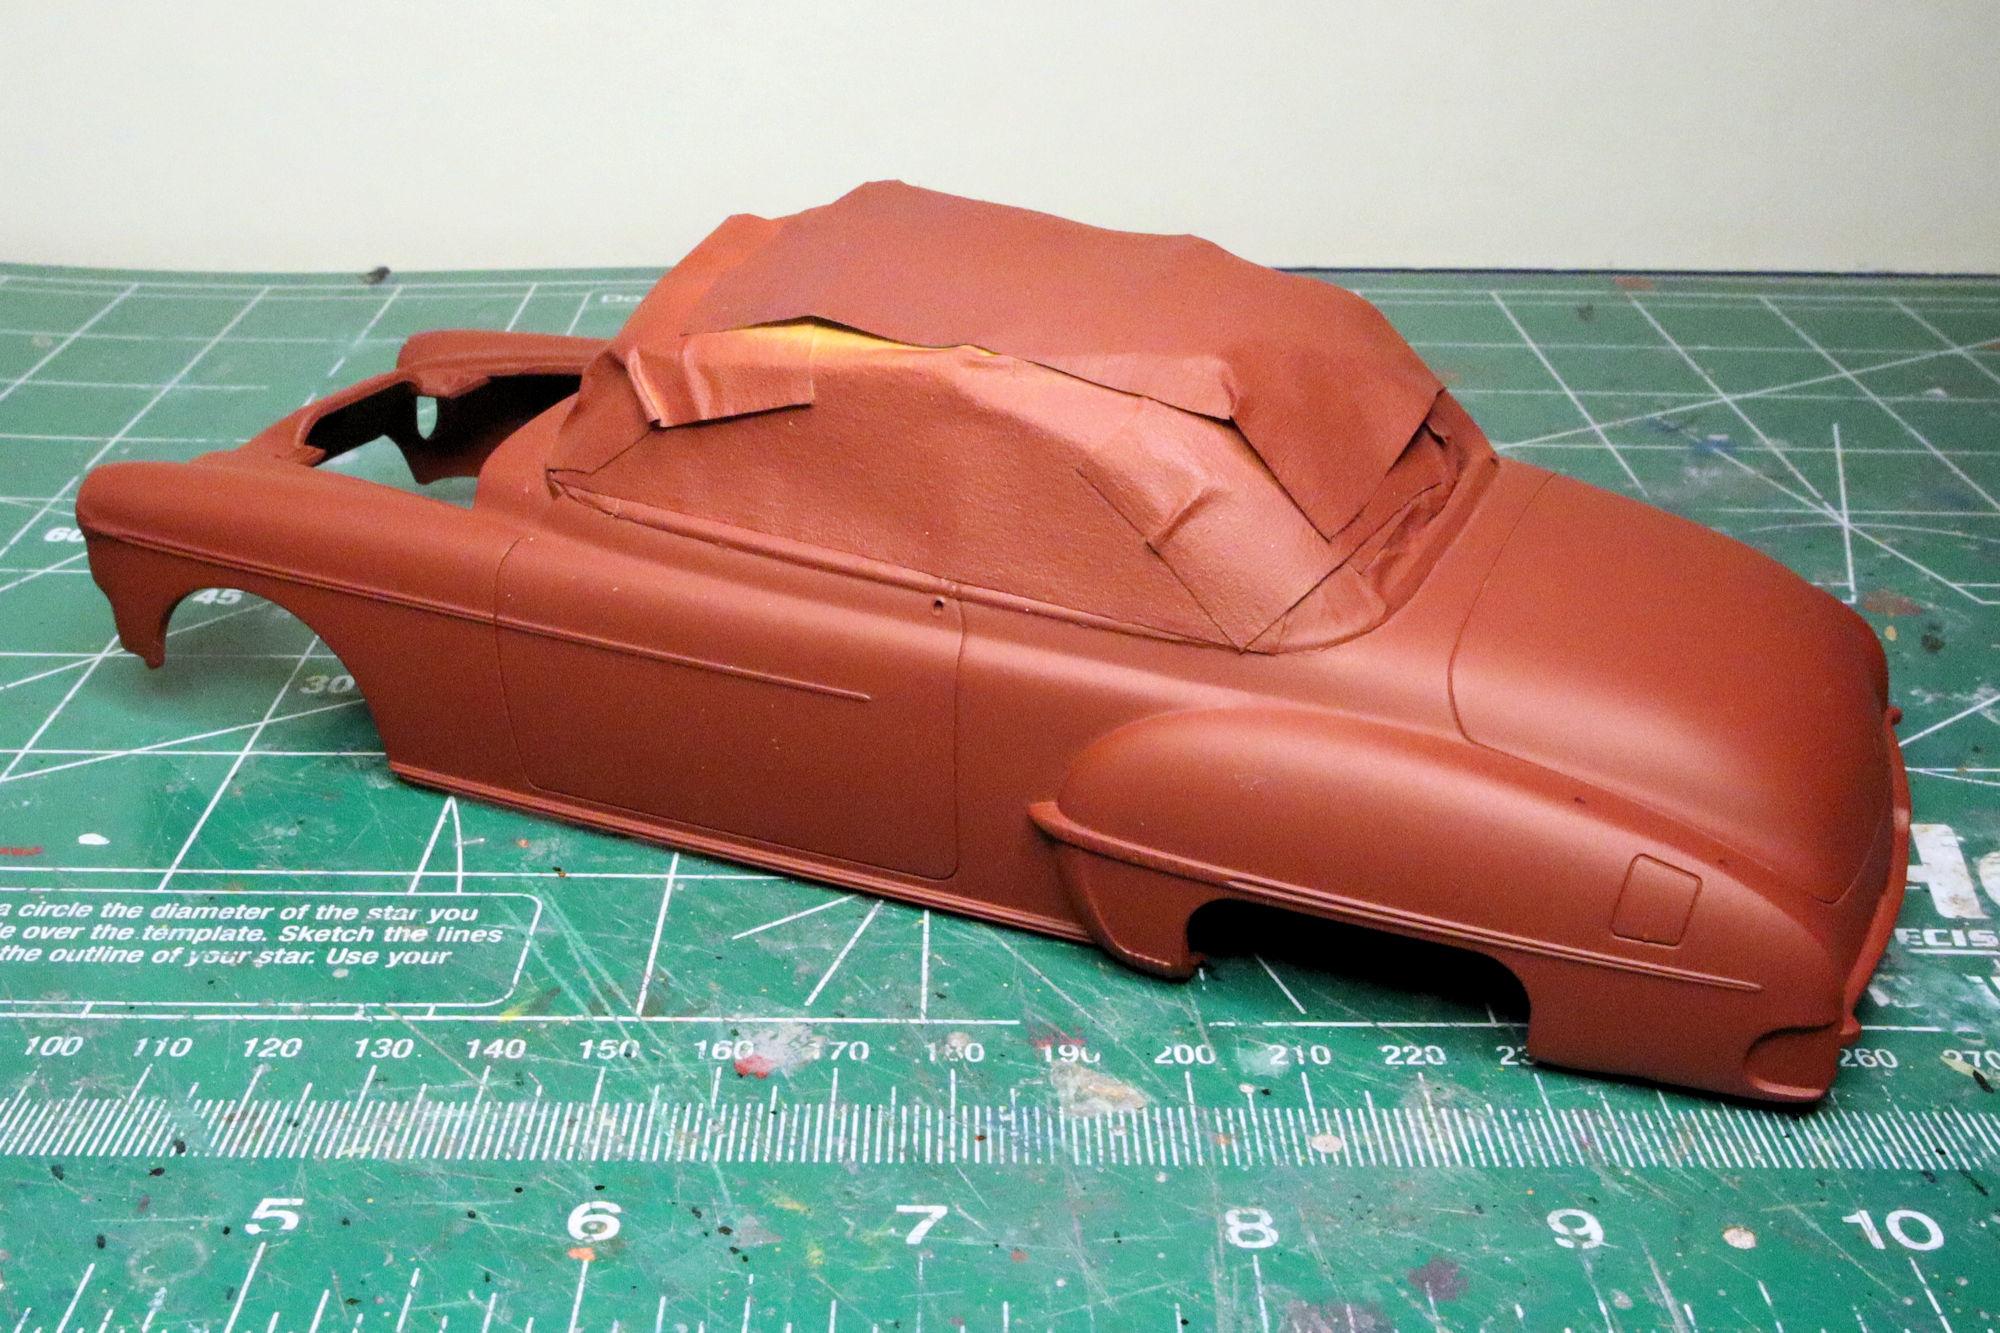
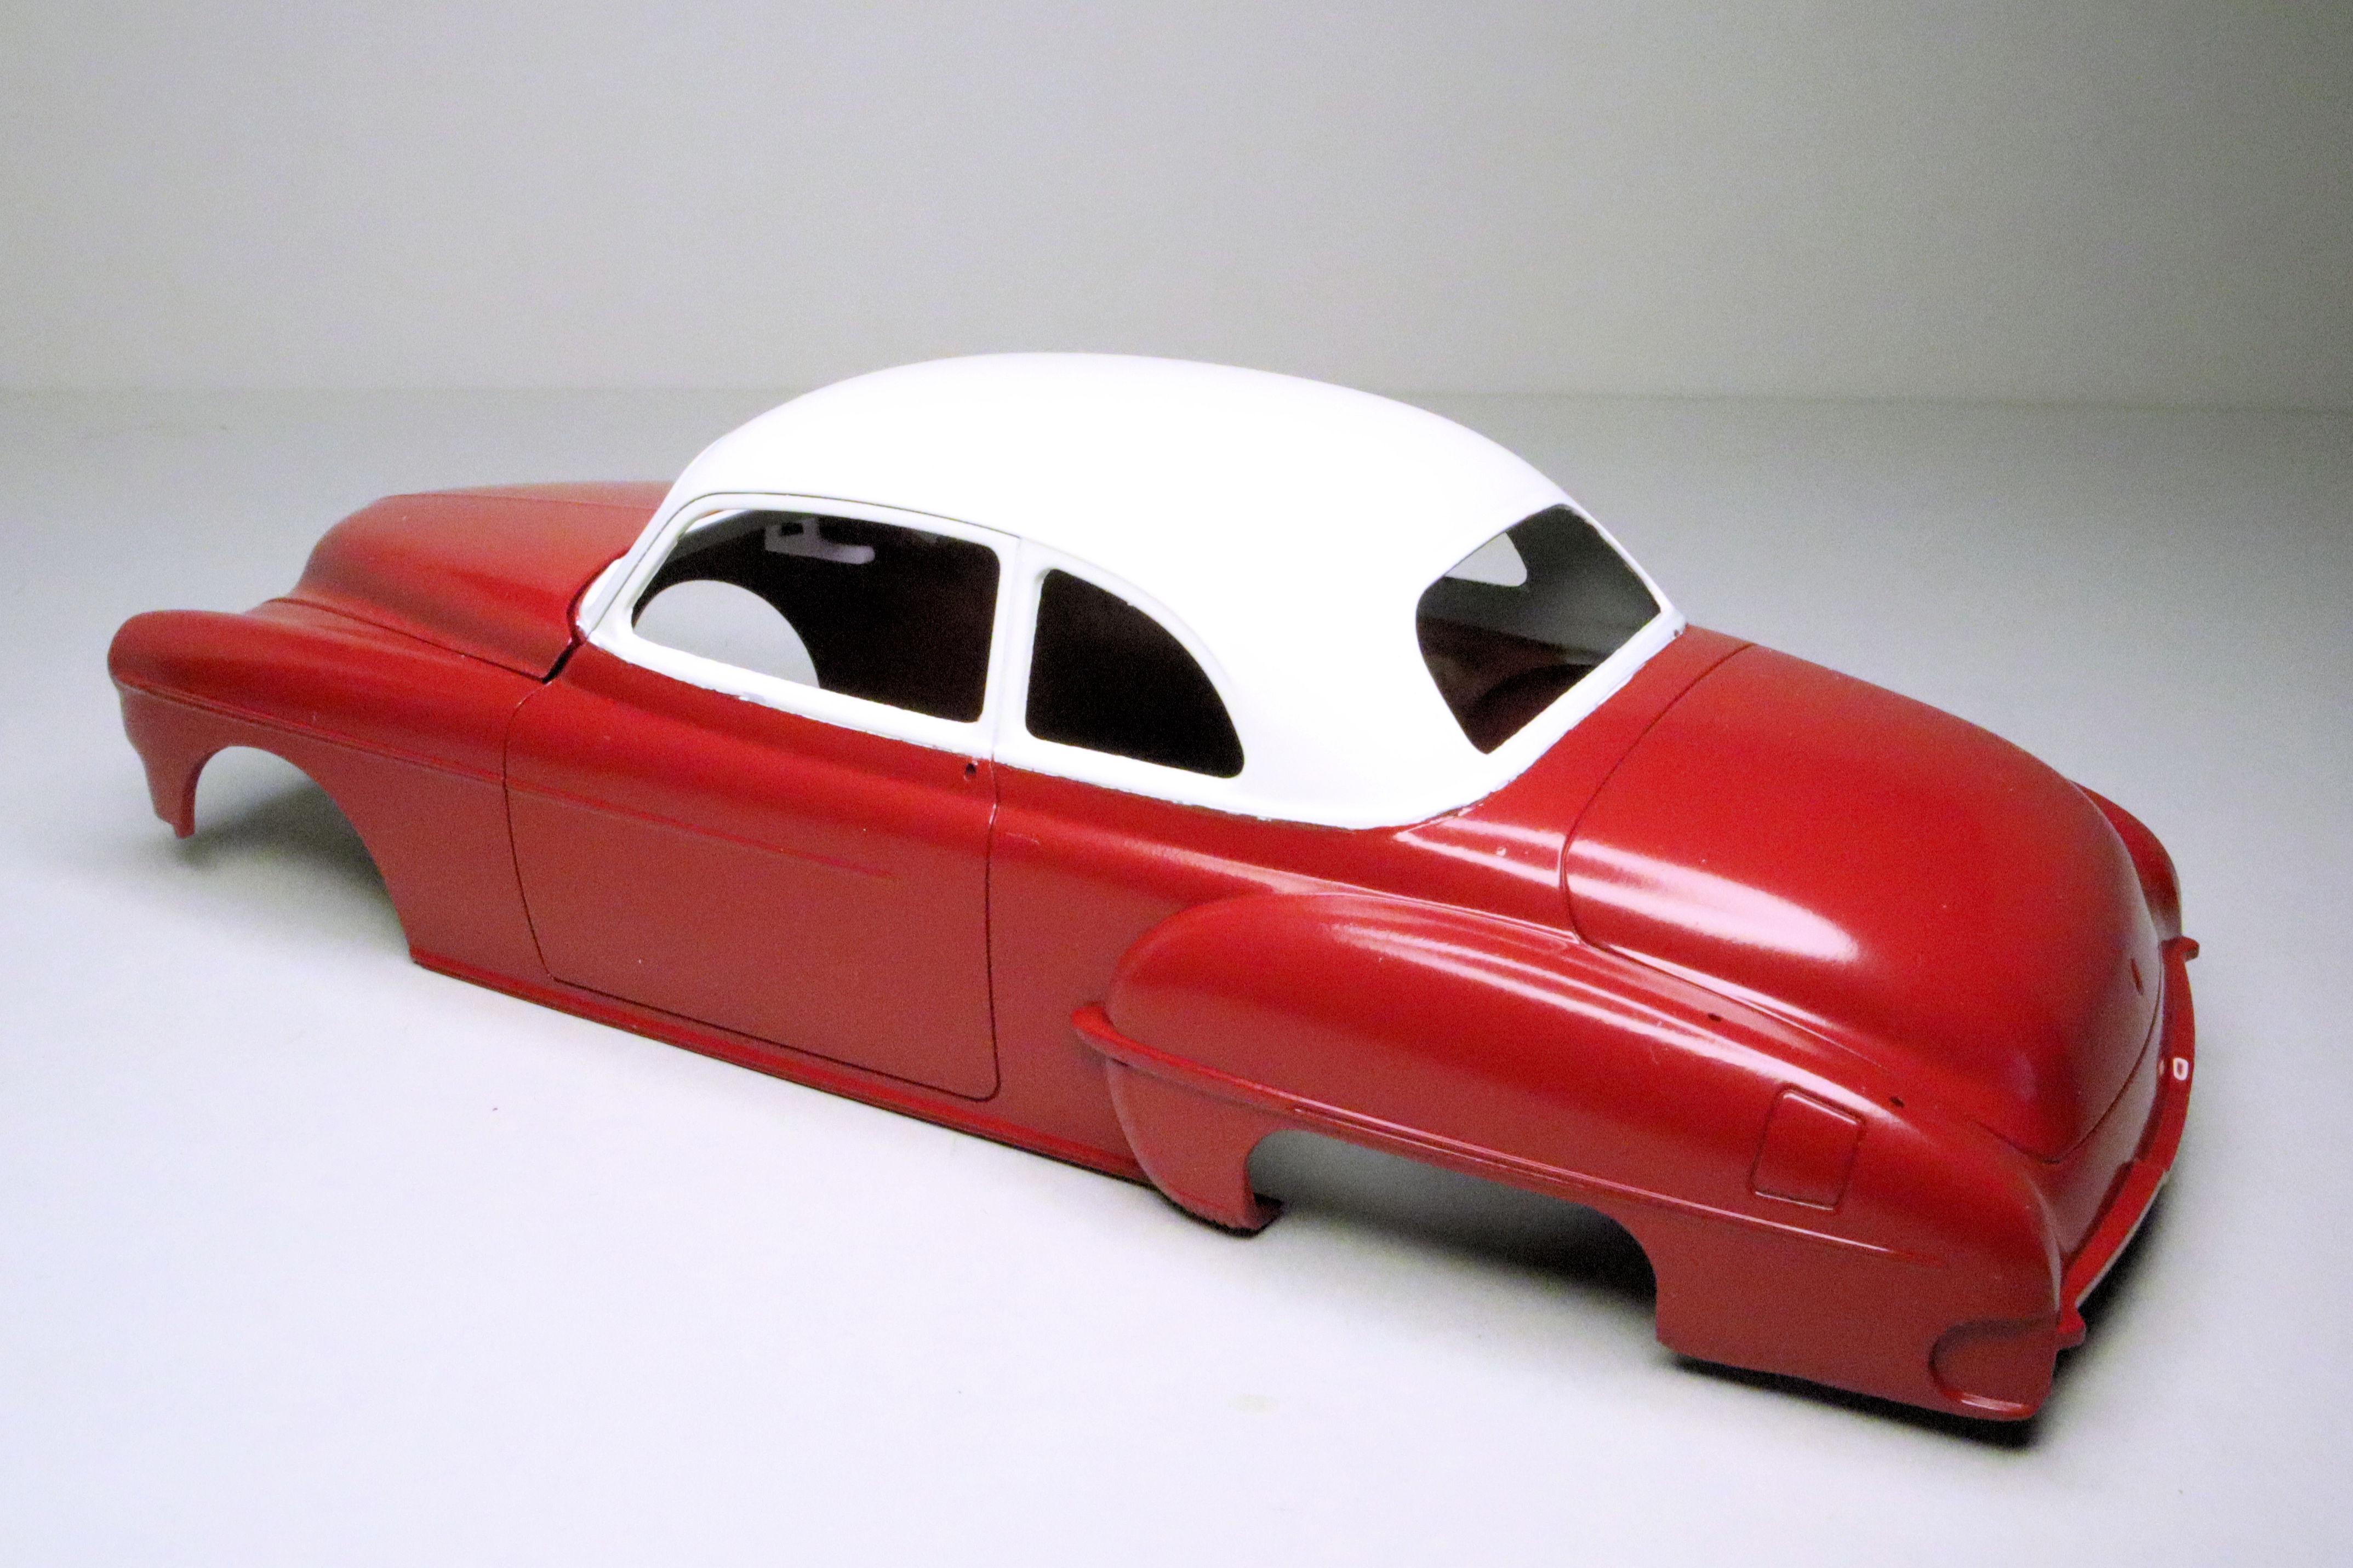
Hello Everybody! Progress is progressing! It's time to paint the main body color. This time I decided to try using BMF as a masking agent. Making up the balance of the coverage with masking tape. Smoothed down, cleaned up, re-primed and ready for red! After a little drying time I removed the masking and I'm rather pleased with the results. The line left by the foil is cleaner than what would have been left by most masking tapes and paint piling is minimal. There will be a little cleanup & touchup to do but there almost always is. I'll probably use foil masking again but I will have to develop and refine some my techniques for working with it. As always, thanks for taking the time to look and please feel free to post any comments you may wish to share. David G.
- 58 replies
-
- 10
-

-

68-72 Suburban scratch build
David G. replied to 64SS350's topic in WIP: Model Trucks: Pickups, Vans, SUVs, Light Commercial
The grille looks great! Nice detail painting. David G. -
Excellent use of cover to uh... cover! One would think that such slight gaps could be easily filled with paint or PVA. I'm interested to see how you address the matter. David G.
-
Wow, great progress on the interior! David G.
-
Thank you Greg. David G.
-
Slow at the moment. I'm working out a way to rig the ratlines. By "working" I mean that I'm thinking about how to do it on the rare occasion when my mind isn't focused on something else. I'll come up with something. Thank you for asking. David G.
-
Thank you Carl. Thanks Bob, I appreciate that. Thank you Michael. Thank you very much L M.
-
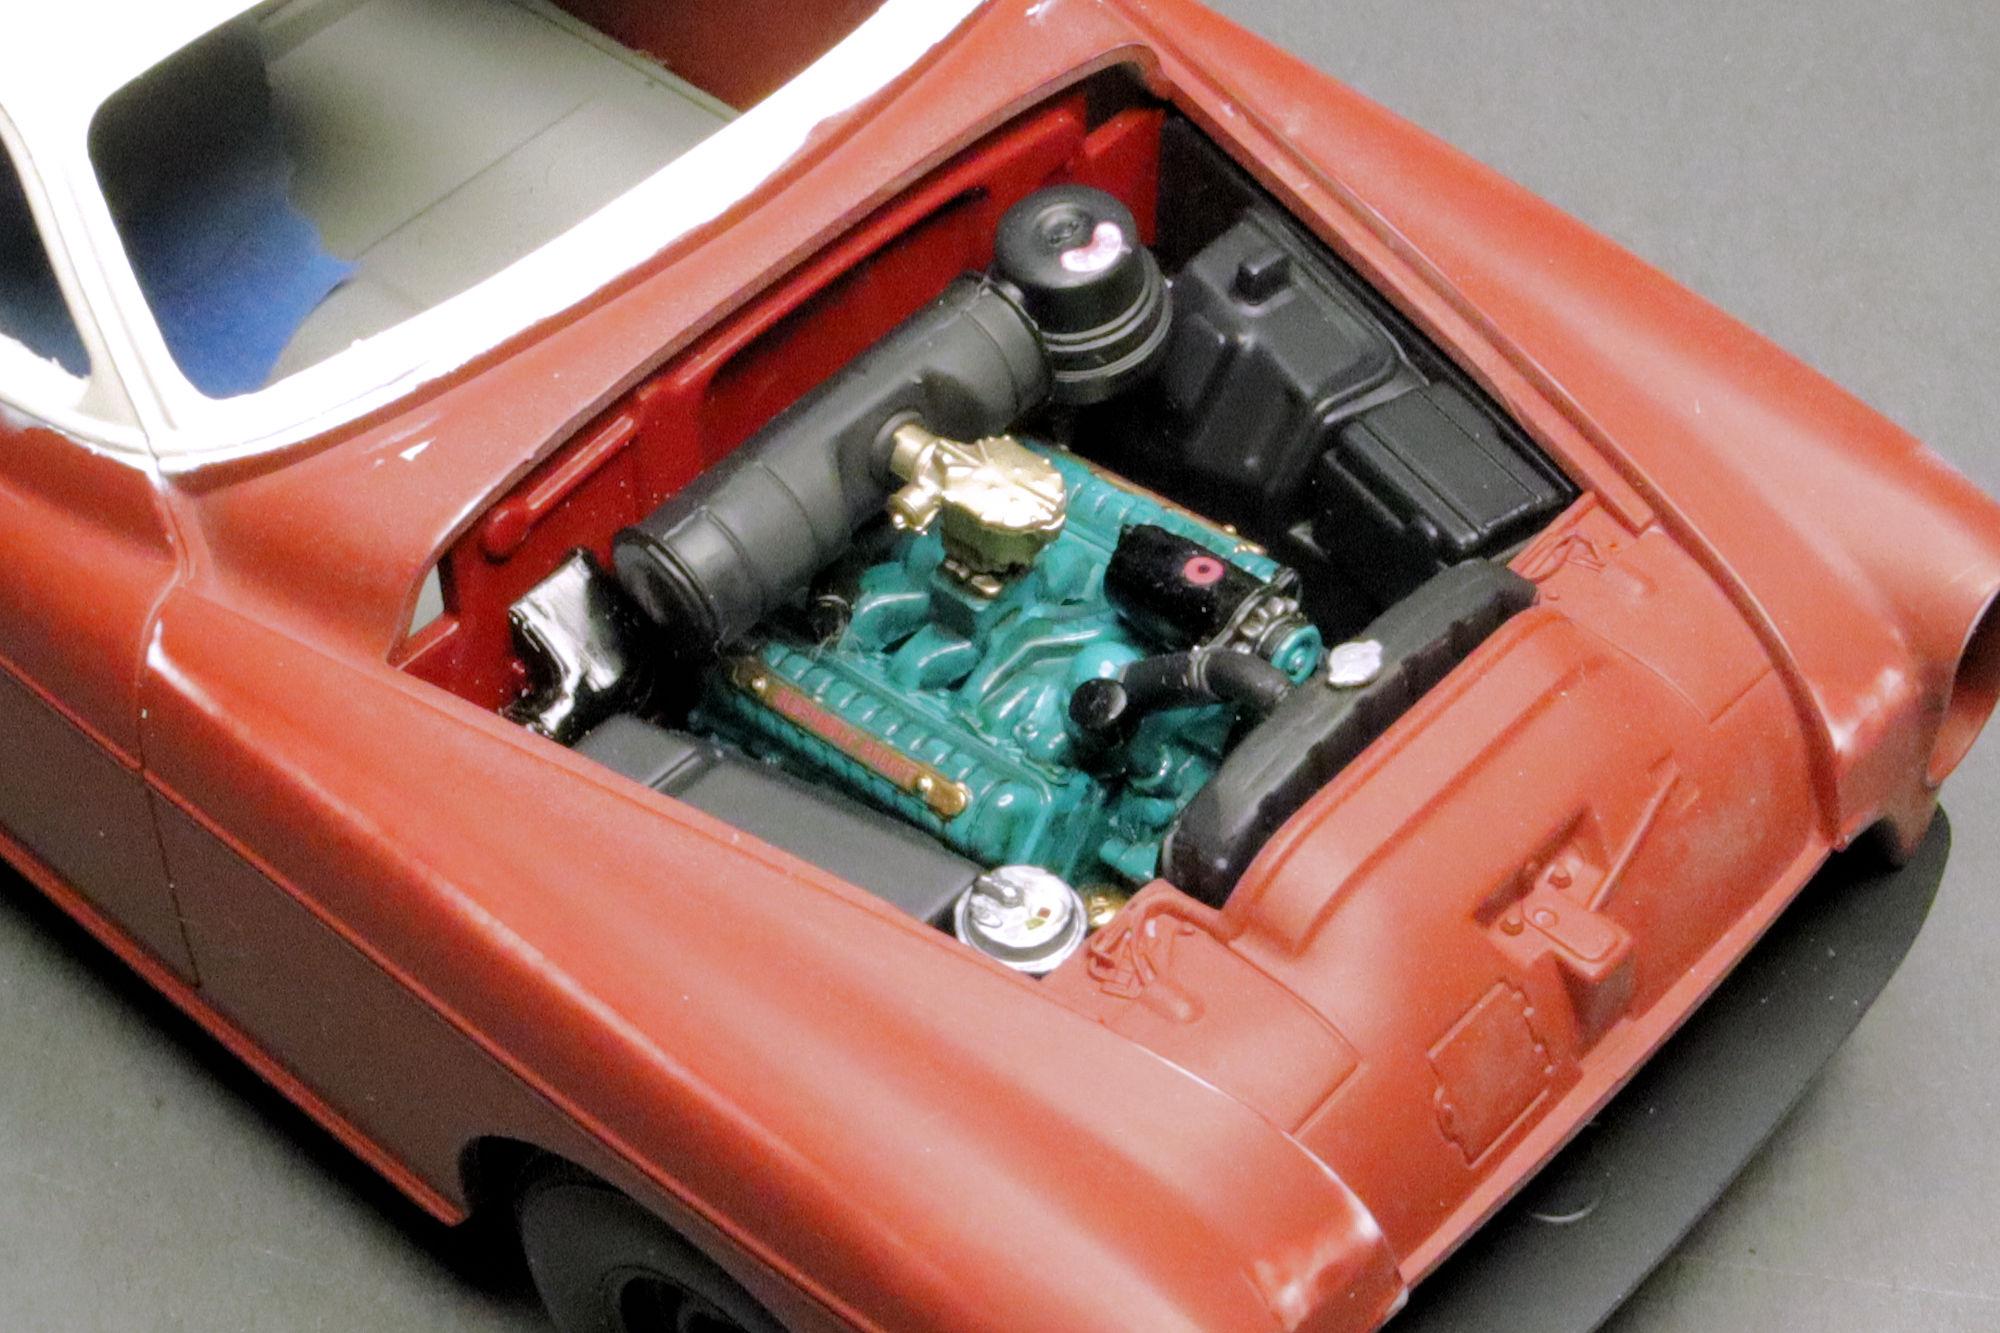
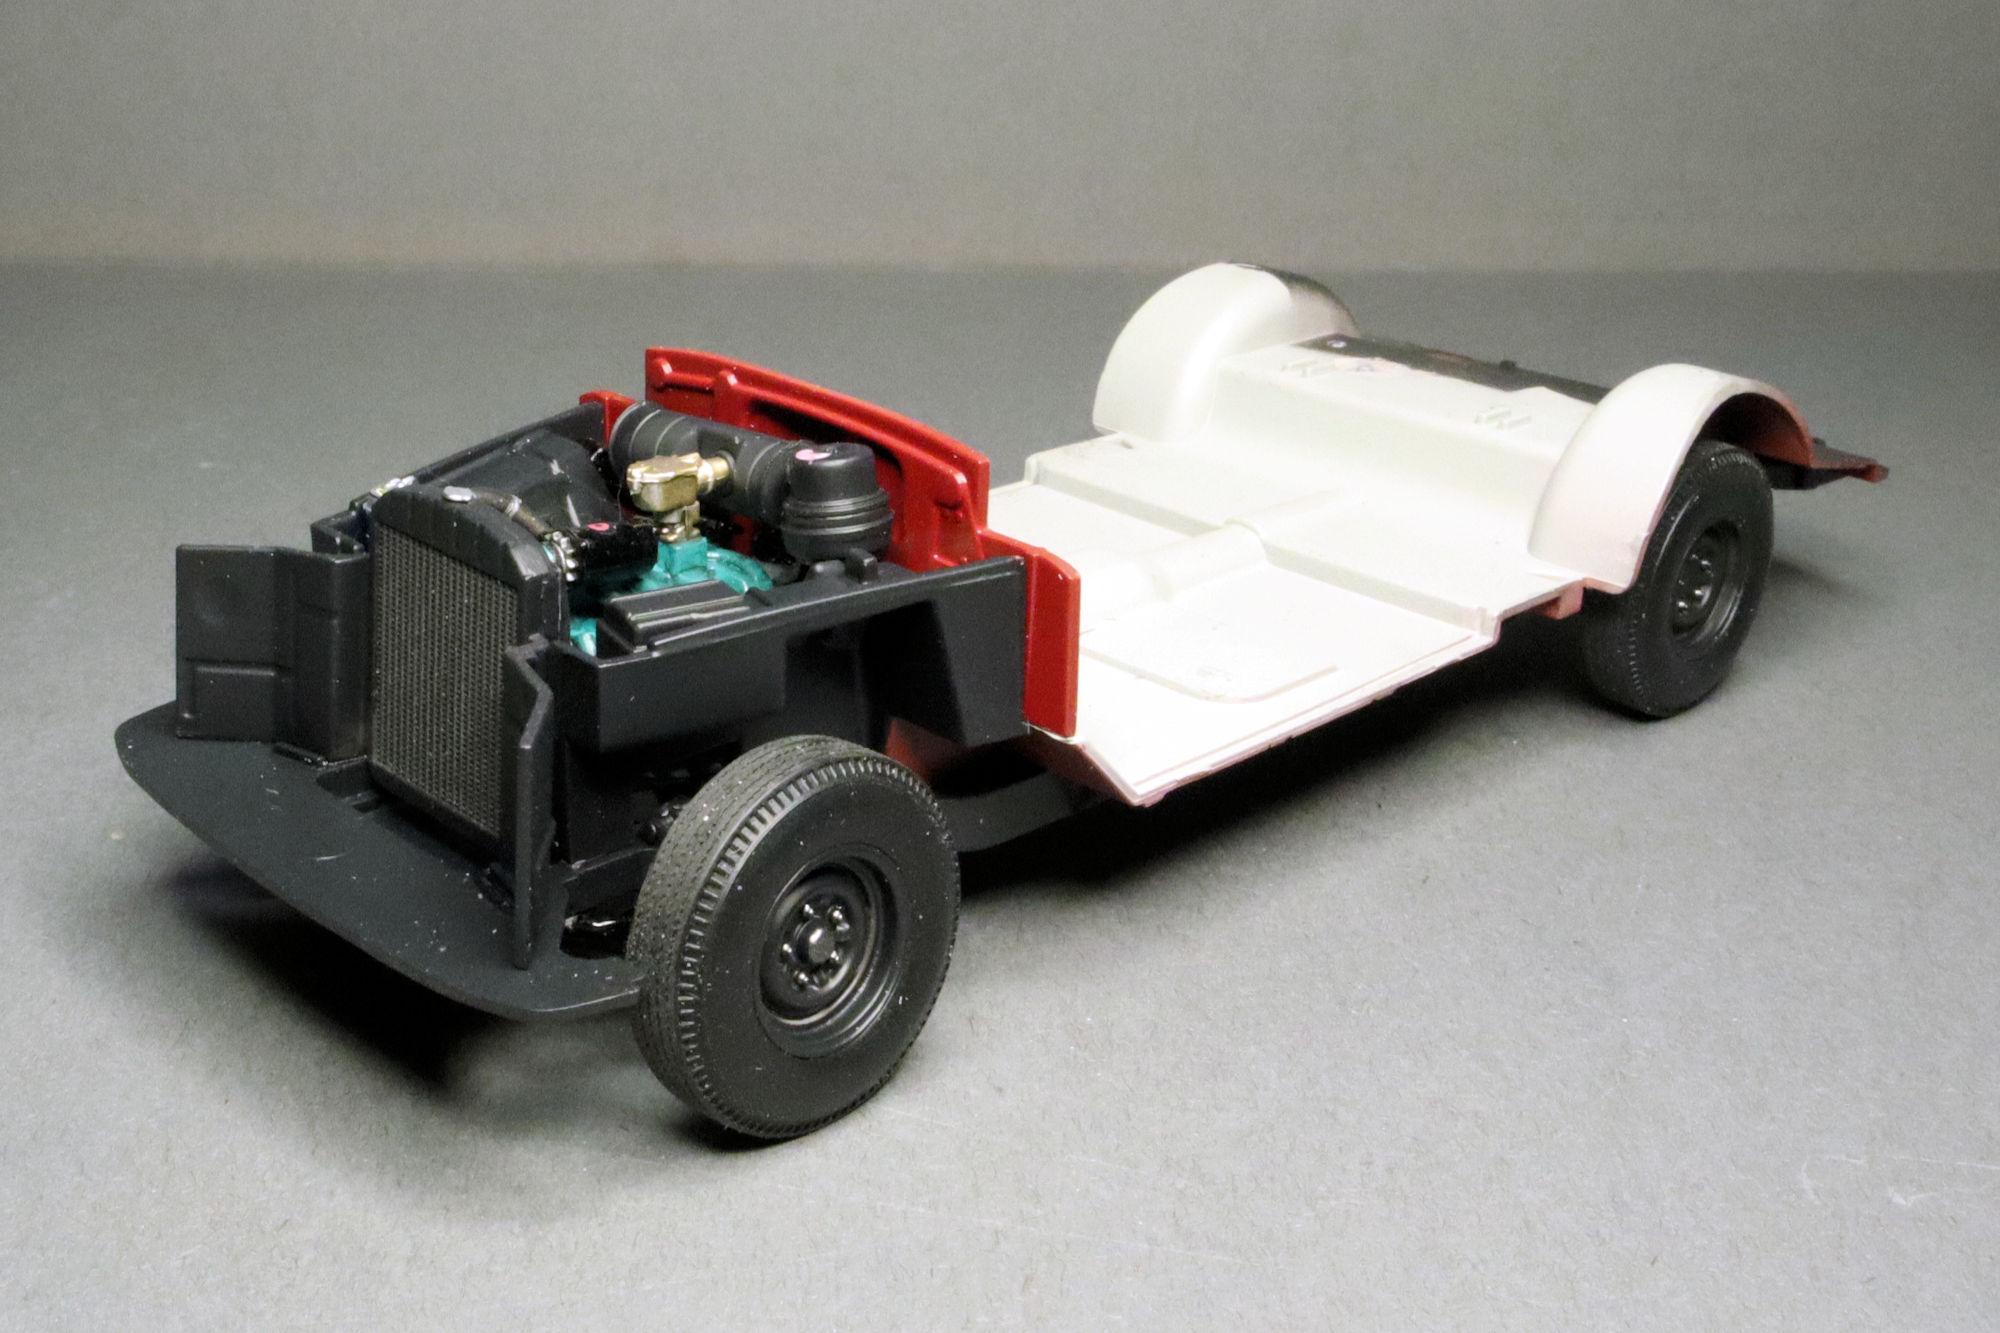
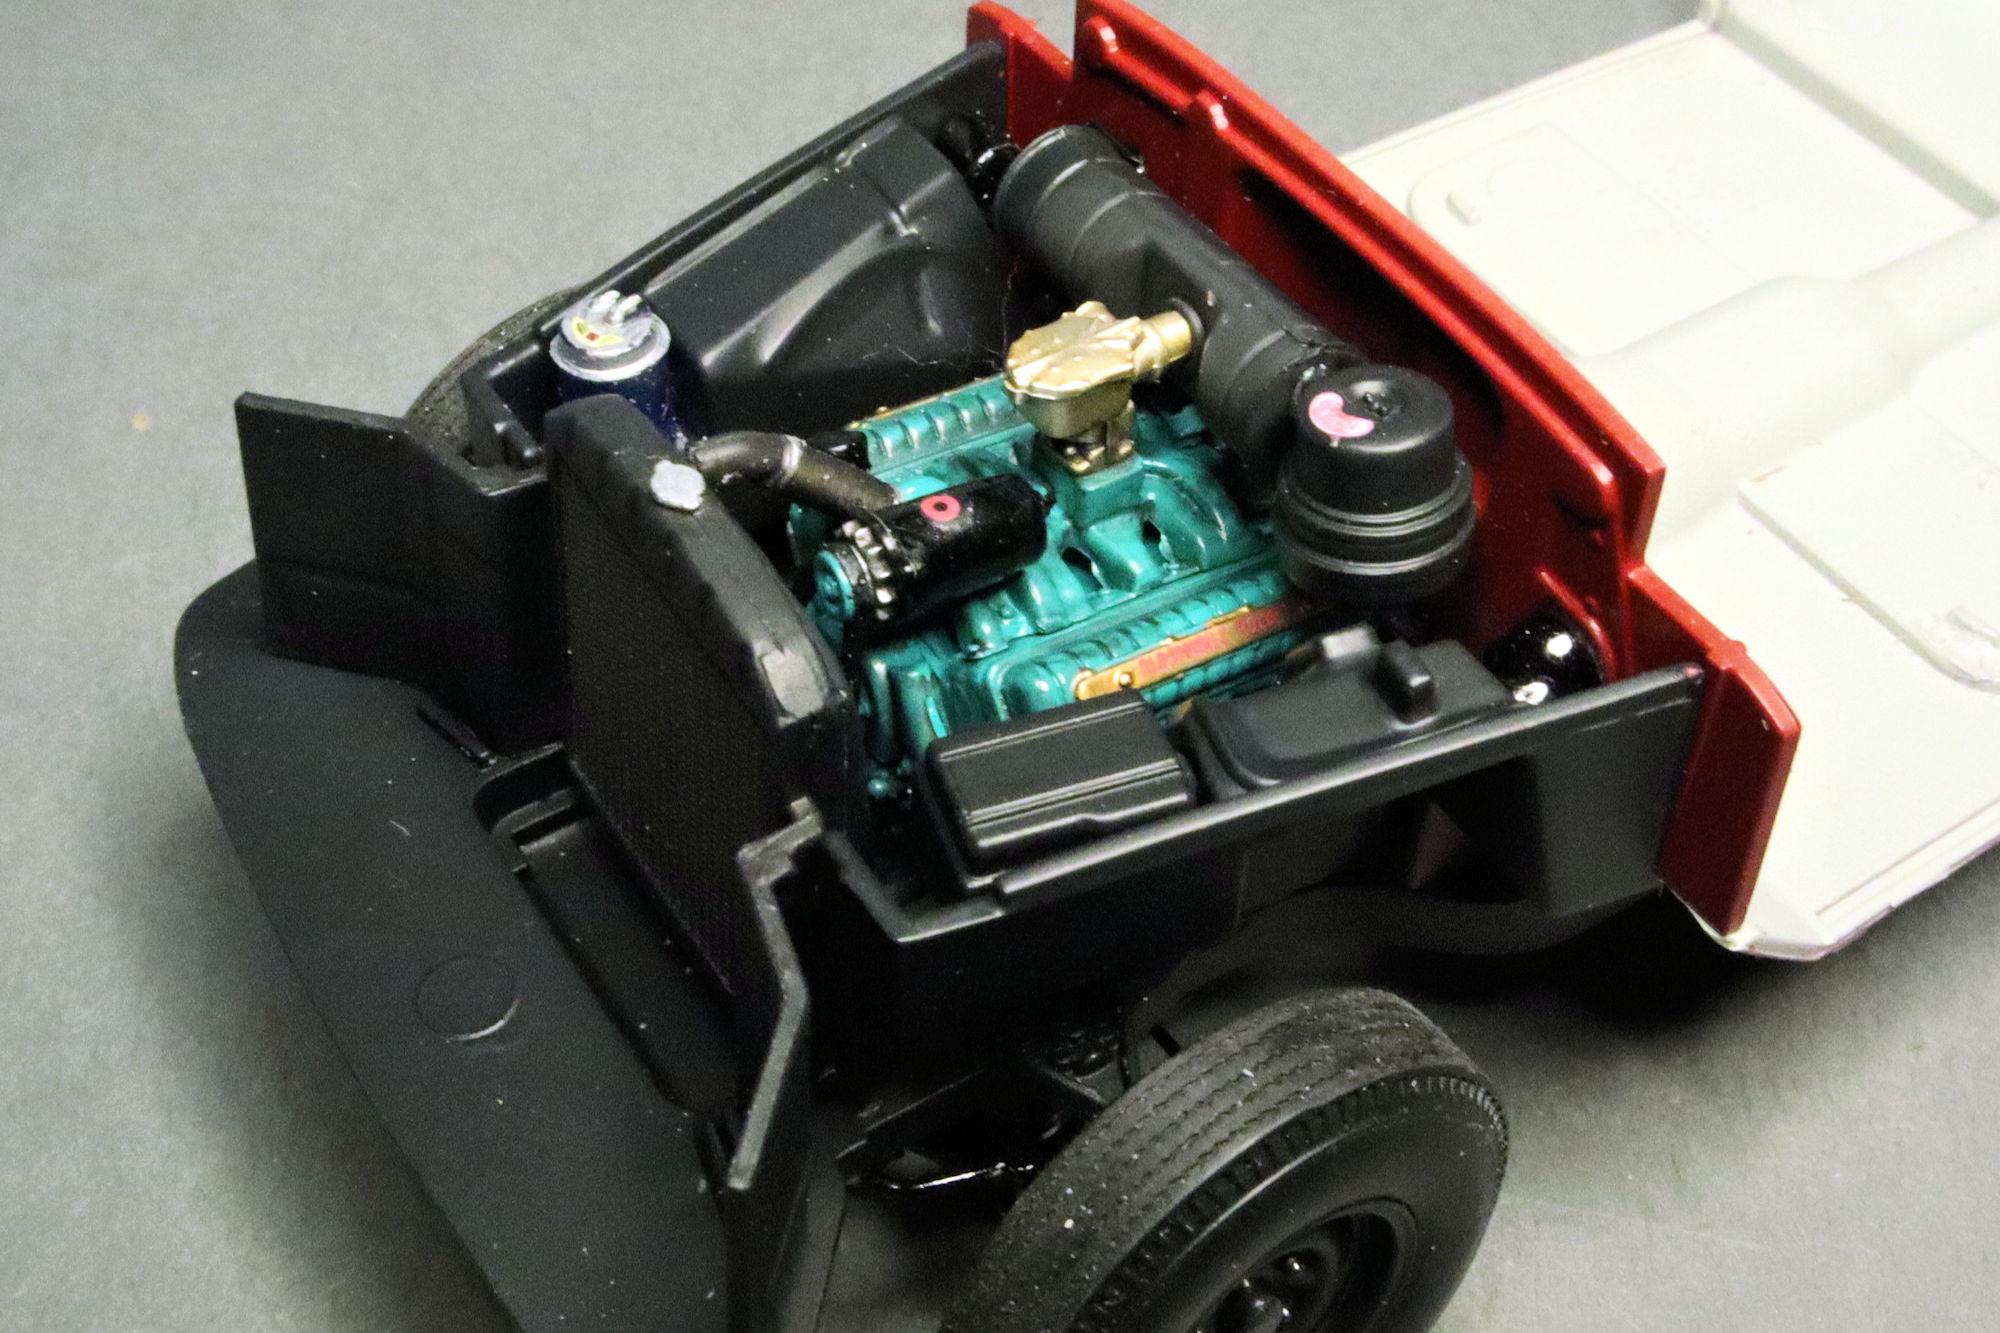
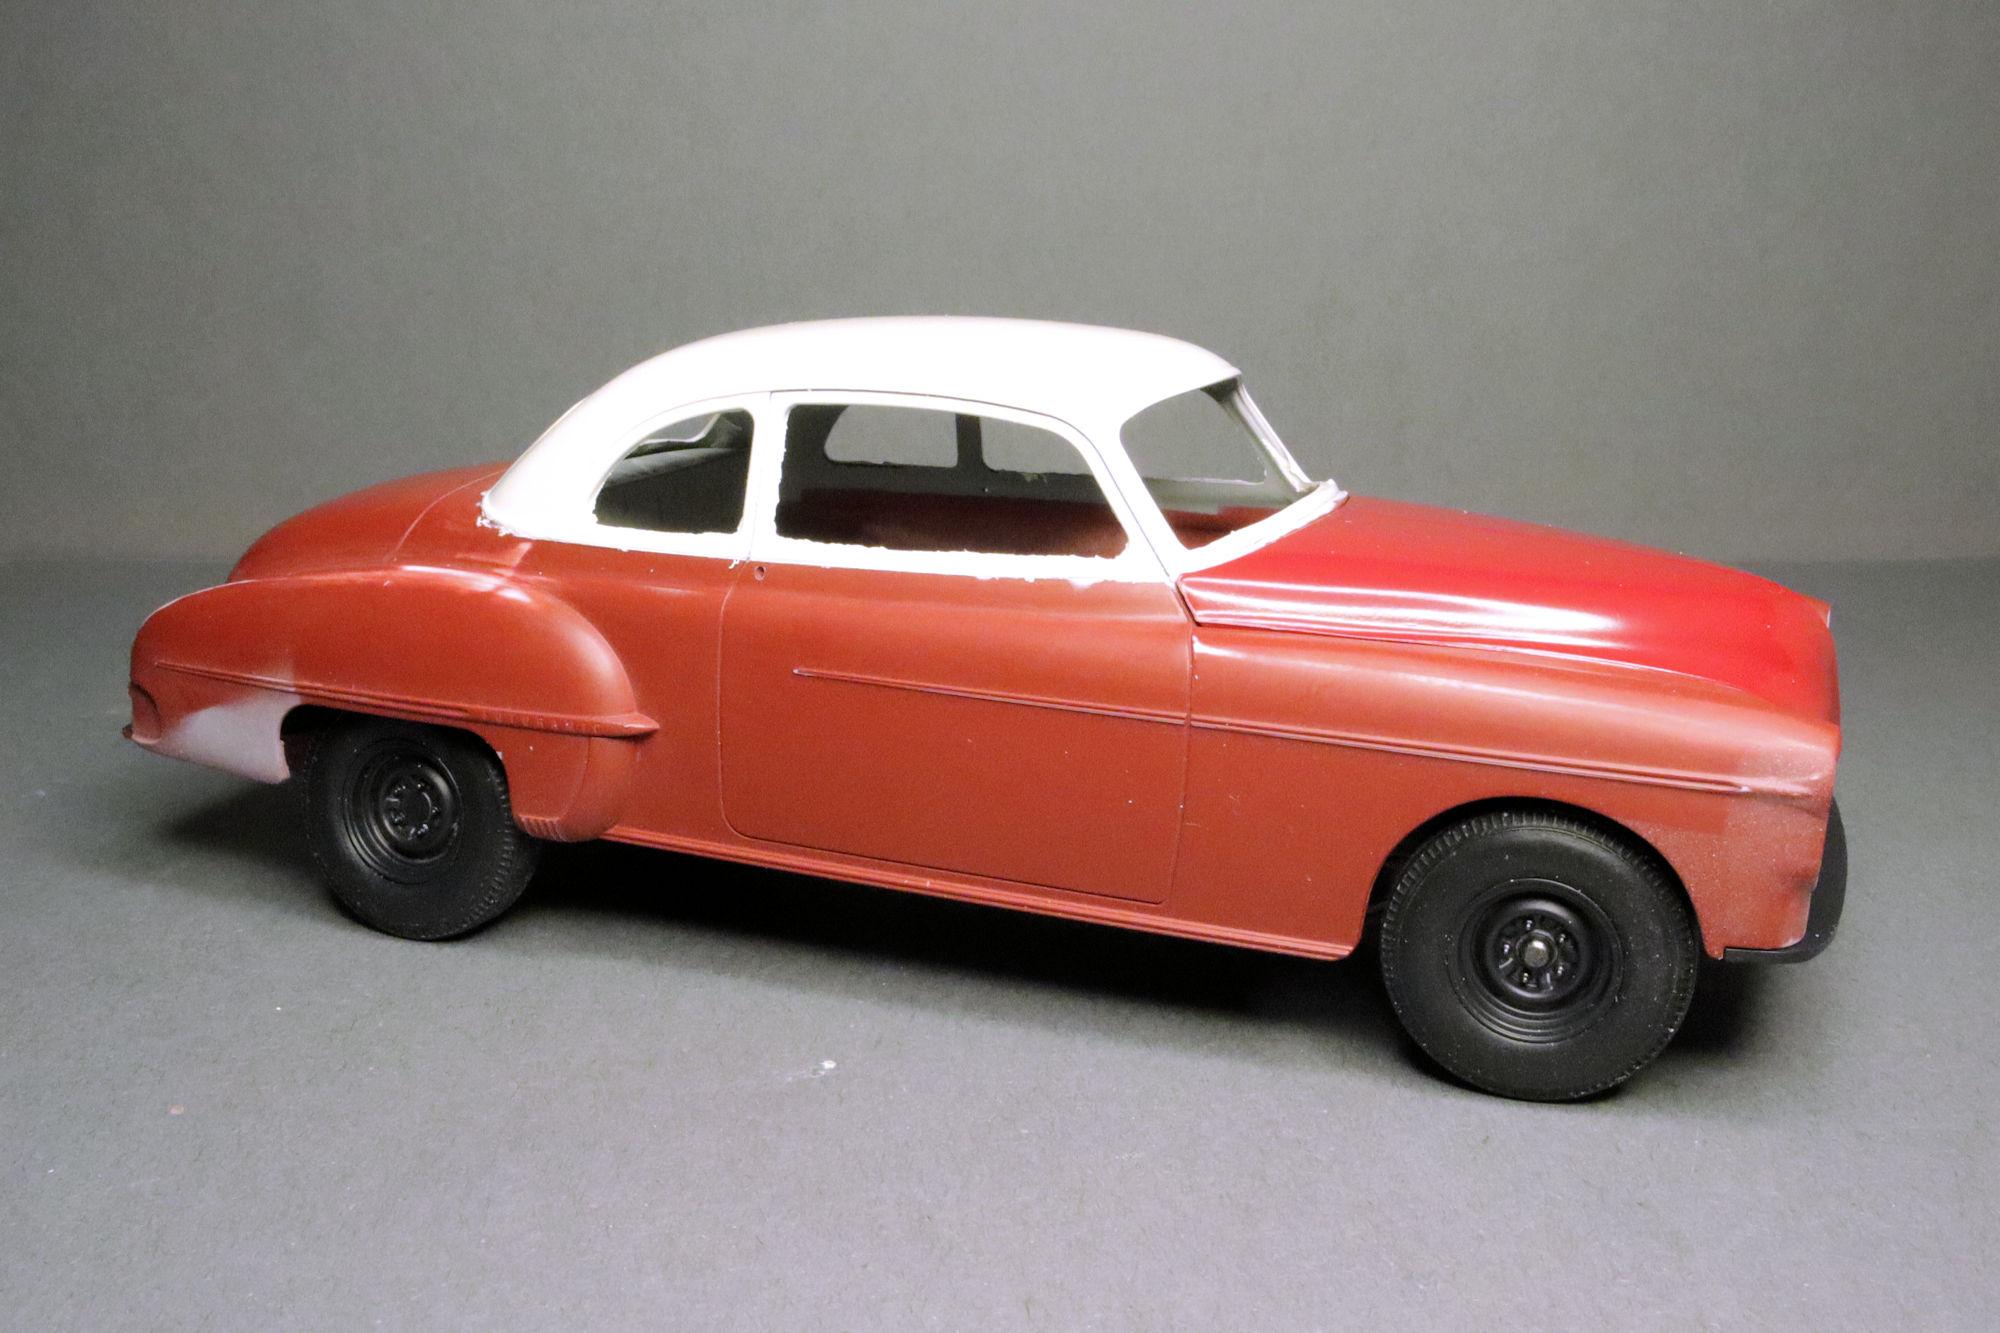
Hello Everybody! I managed to make a bit of progress on the Olds so here are some photos. Wheels Down! Right now I can only get three of them to touch the ground at one time But there's time to fix that later. I'll just flat-spot one or two of them until they can all work together as a team. The engine bay came together nicely and looks pretty good. This of course calls for a test fit. It all looks pretty good so far, the stance is one I can live with. Even the engine bay tucks in nicely. That's all for this round. As always, thanks for taking the time to look and please feel free to comment. David G.
-
Such delightful photos. I'm glad to know that everything seems to be working out so well with the lighting installation. David G.
-
Thanks Greg. The chrome trim and the decals. There are lots of decals! 😮 Thank you very much Dennis. I agree it is a good kit, well designed and the build seems to be going well so far. Thank you Brian, detail painting is one of my favorite parts of the build. Thank you all for taking the time to comment. David G.

