-
Posts
11,331 -
Joined
-
Last visited
Content Type
Profiles
Forums
Events
Gallery
Everything posted by David G.
-
Thanks for the tip Luke. I've already made it through that part of the build. The fit was indeed very snug and would probably never work IRL but it fit well enough for my purposes. I hope to have photos to post tomorrow. =D-
-

68-72 Suburban scratch build
David G. replied to 64SS350's topic in WIP: Model Trucks: Pickups, Vans, SUVs, Light Commercial
Hey! It's nice seeing this one back on the bench. It's one build that certainly deserves to be completed. David G. -

Link-Belt HC-218 Truck Crane
David G. replied to redneckrigger's topic in WIP: Model Trucks: Big Rigs and Heavy Equipment
Welcome back Tom! Those boom sections are just... wow! David G. -
Nice work on the interior, love the prism tape! Gah, I miss the Seventies! David G.
-
Wow David! You've been going at quite a furious pace with this phase of the build! 😮 In the month I've been away from the boards you managed to get the whole house almost completely wired and lit. Most impressive! I really enjoy the interior shots you've taken with Harold surveying your handywork. They make me smile. David G.
-

Revell's Peterbilt 359: WIP
David G. replied to David G.'s topic in WIP: Model Trucks: Big Rigs and Heavy Equipment
Thank you kindly James. Back when I started building models again in 2009 I found the WIP threads in this community tremendously helpful. That's one of the main reasons I post, to kind of return the favor. I'm always glad to know when someone can make use of them. Thank you for letting me know. =D- -
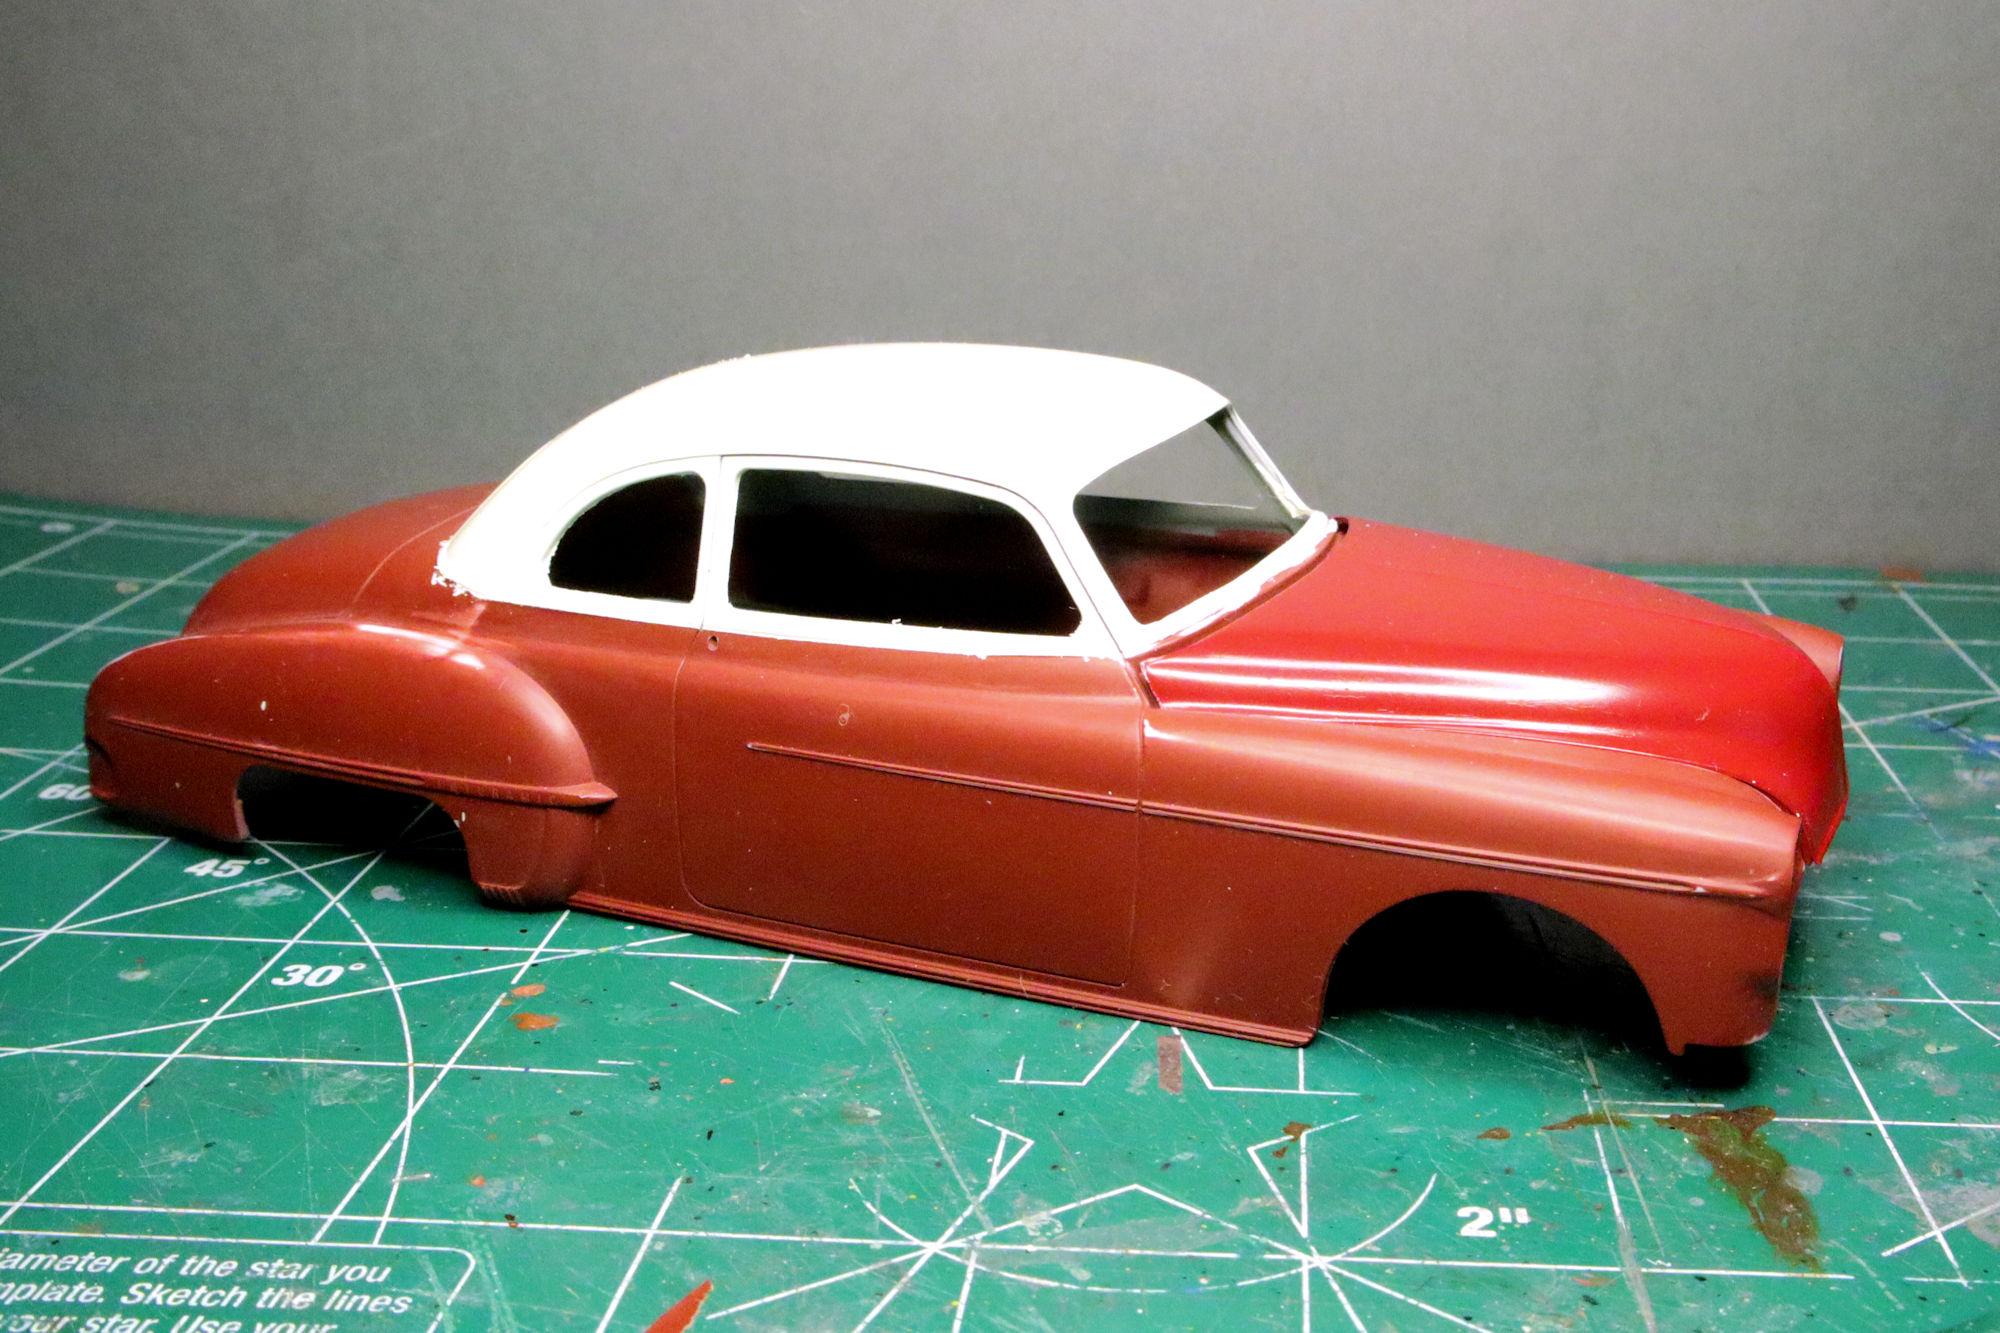
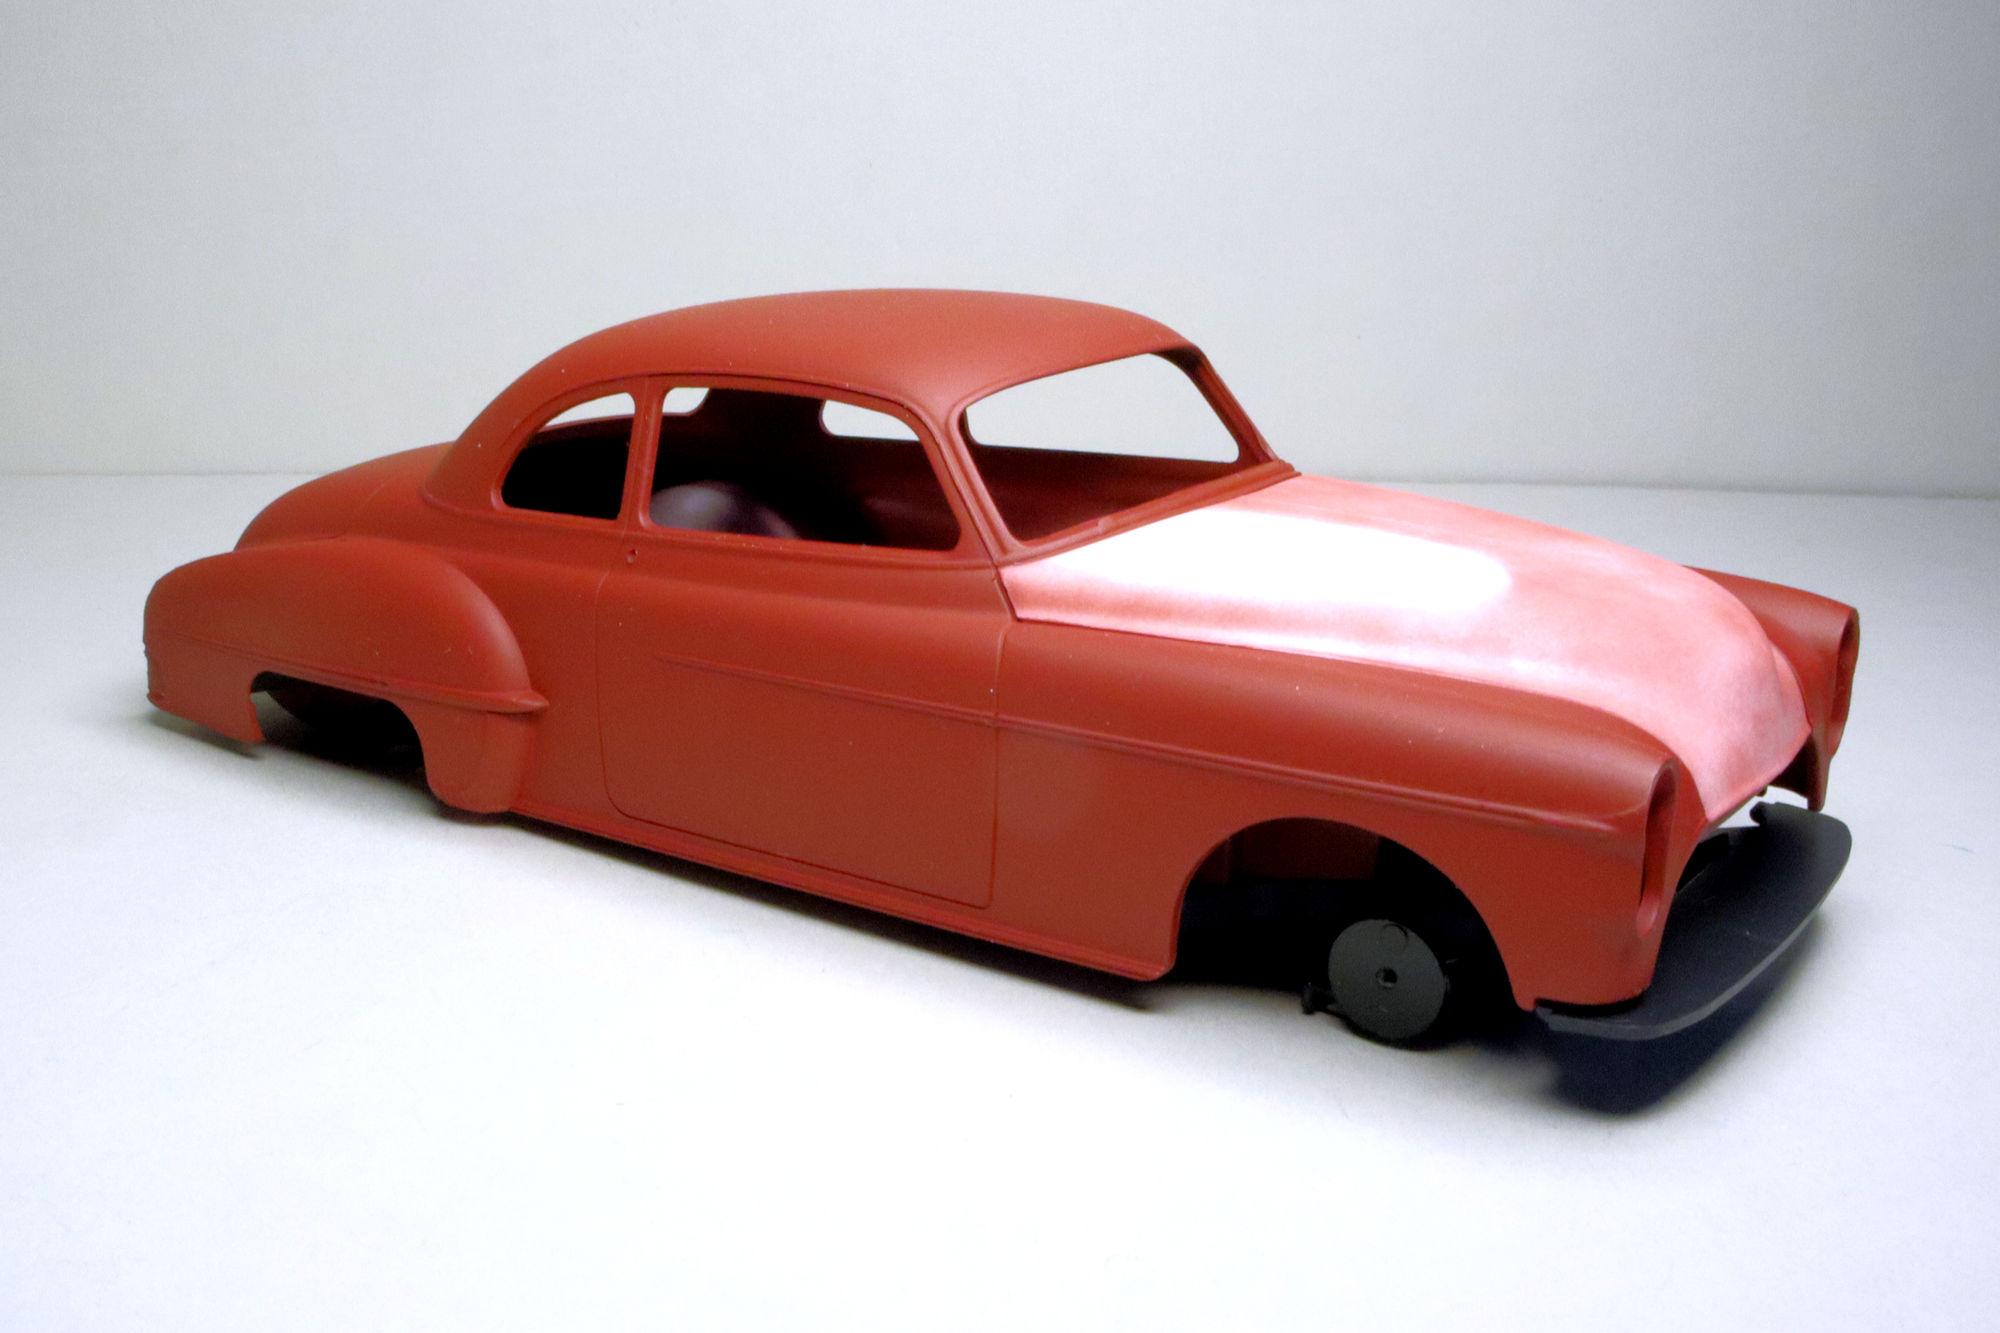
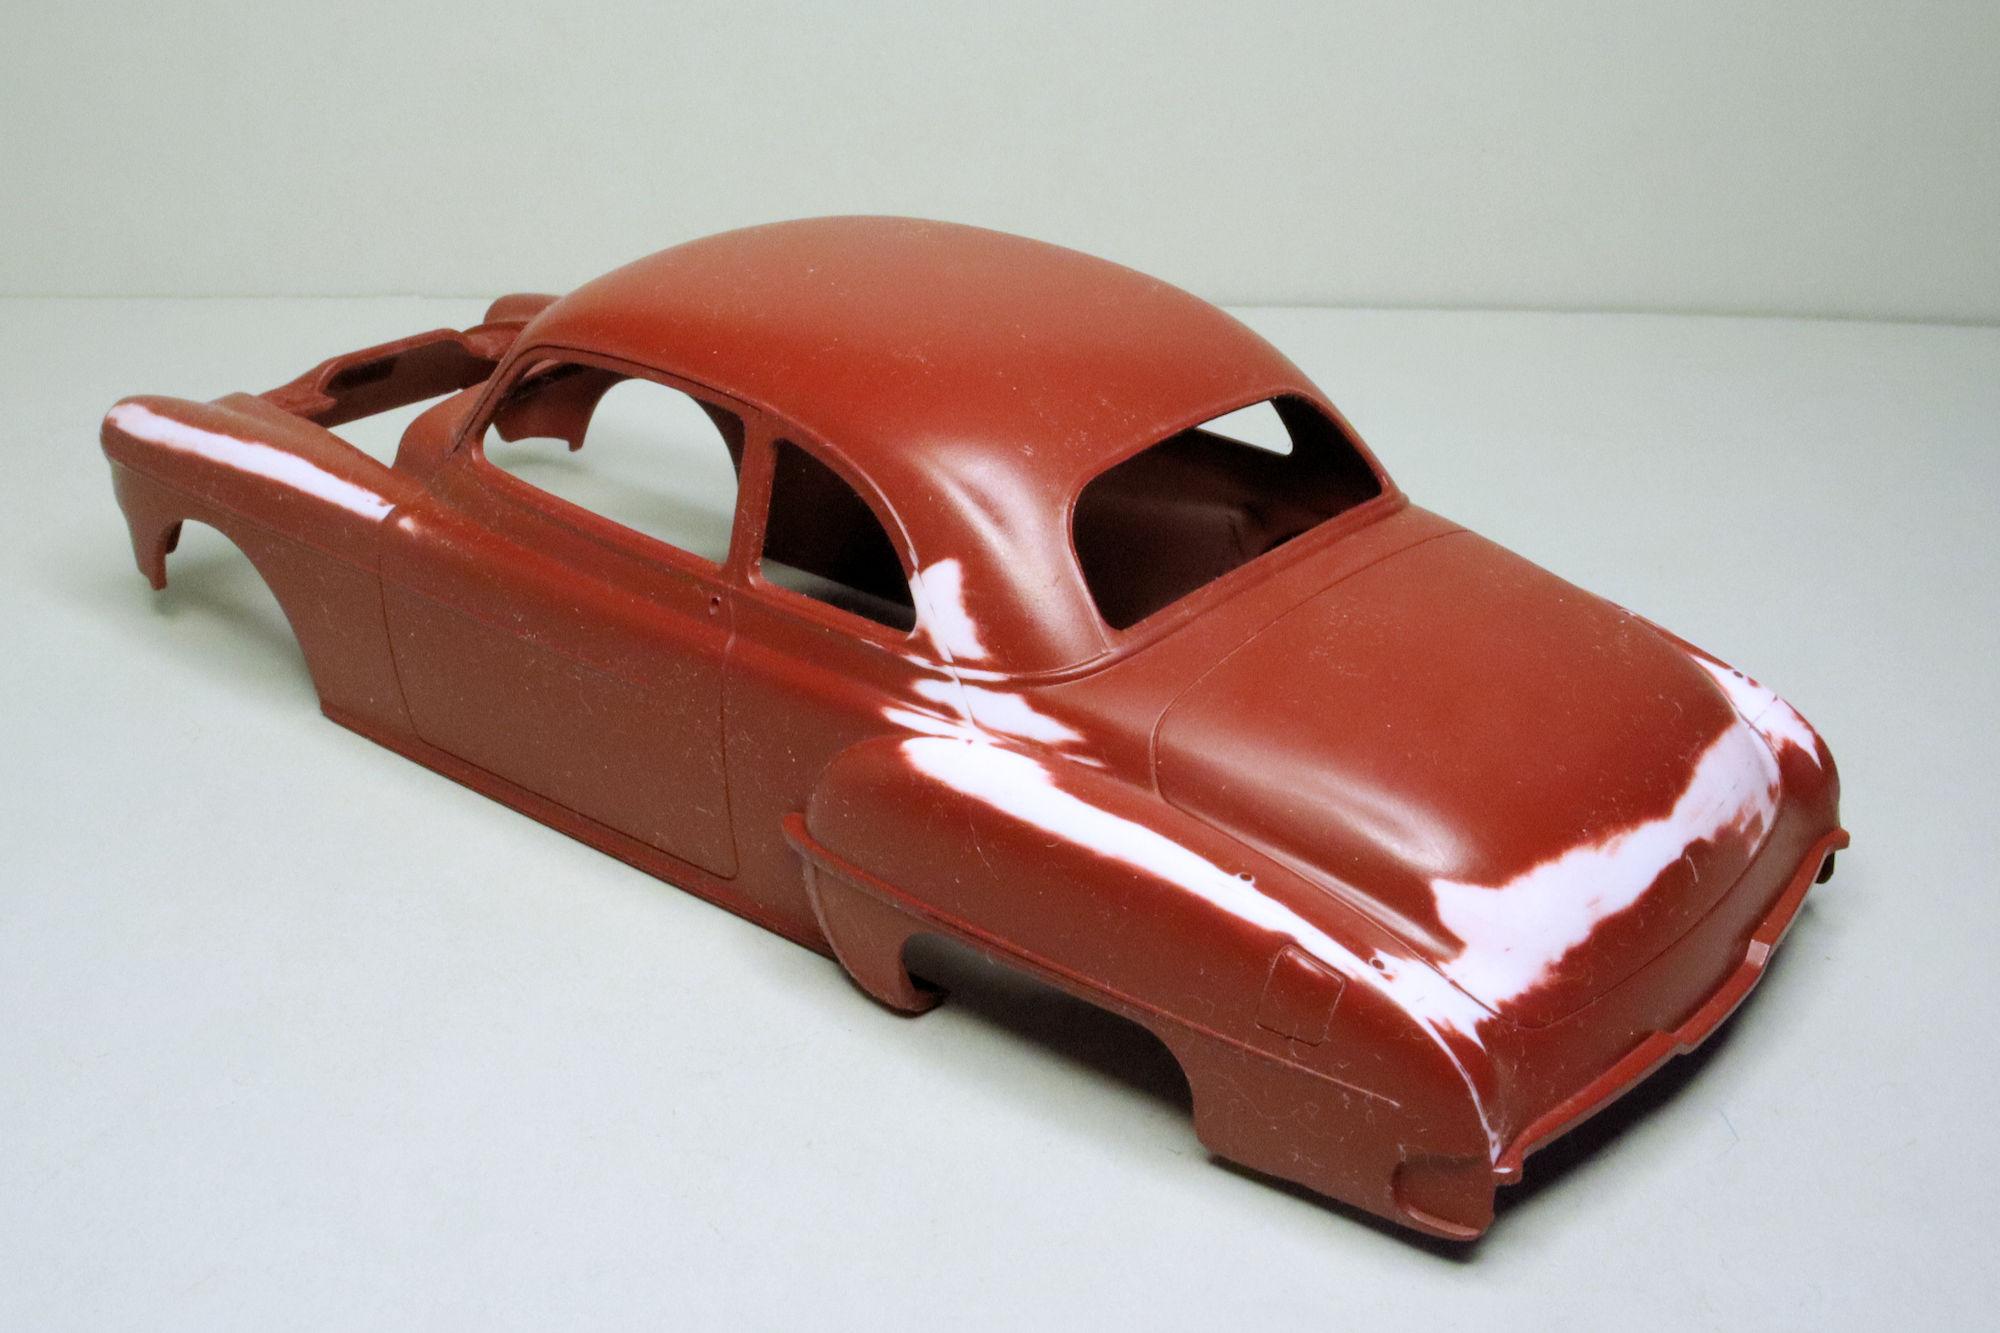
Hello Everybody! My apologies for the lateness of this update. I've spent the past month dealing with a failed water heater and the damage caused by that. As well as some health issues. But all those are mostly taken care of. So for the small handful folks out there who are following this build, here's the next update! Time to spray some primer and have a look at the body. Just some light parting lines to clean up. Other than that, it looks good. These are the colors. Dupli-Color Milano Red on the hood will be the body color and Tamiya TS-7 Racing White for the top. As always, thanks for taking the time to look and please feel free to comment. David G.
-
That looks like a good choice David. I'm looking forward to watching you work those into the model. I know that many LED light chips offer the option to adjust the light color, temperature and intensity. Do these? David G.
-
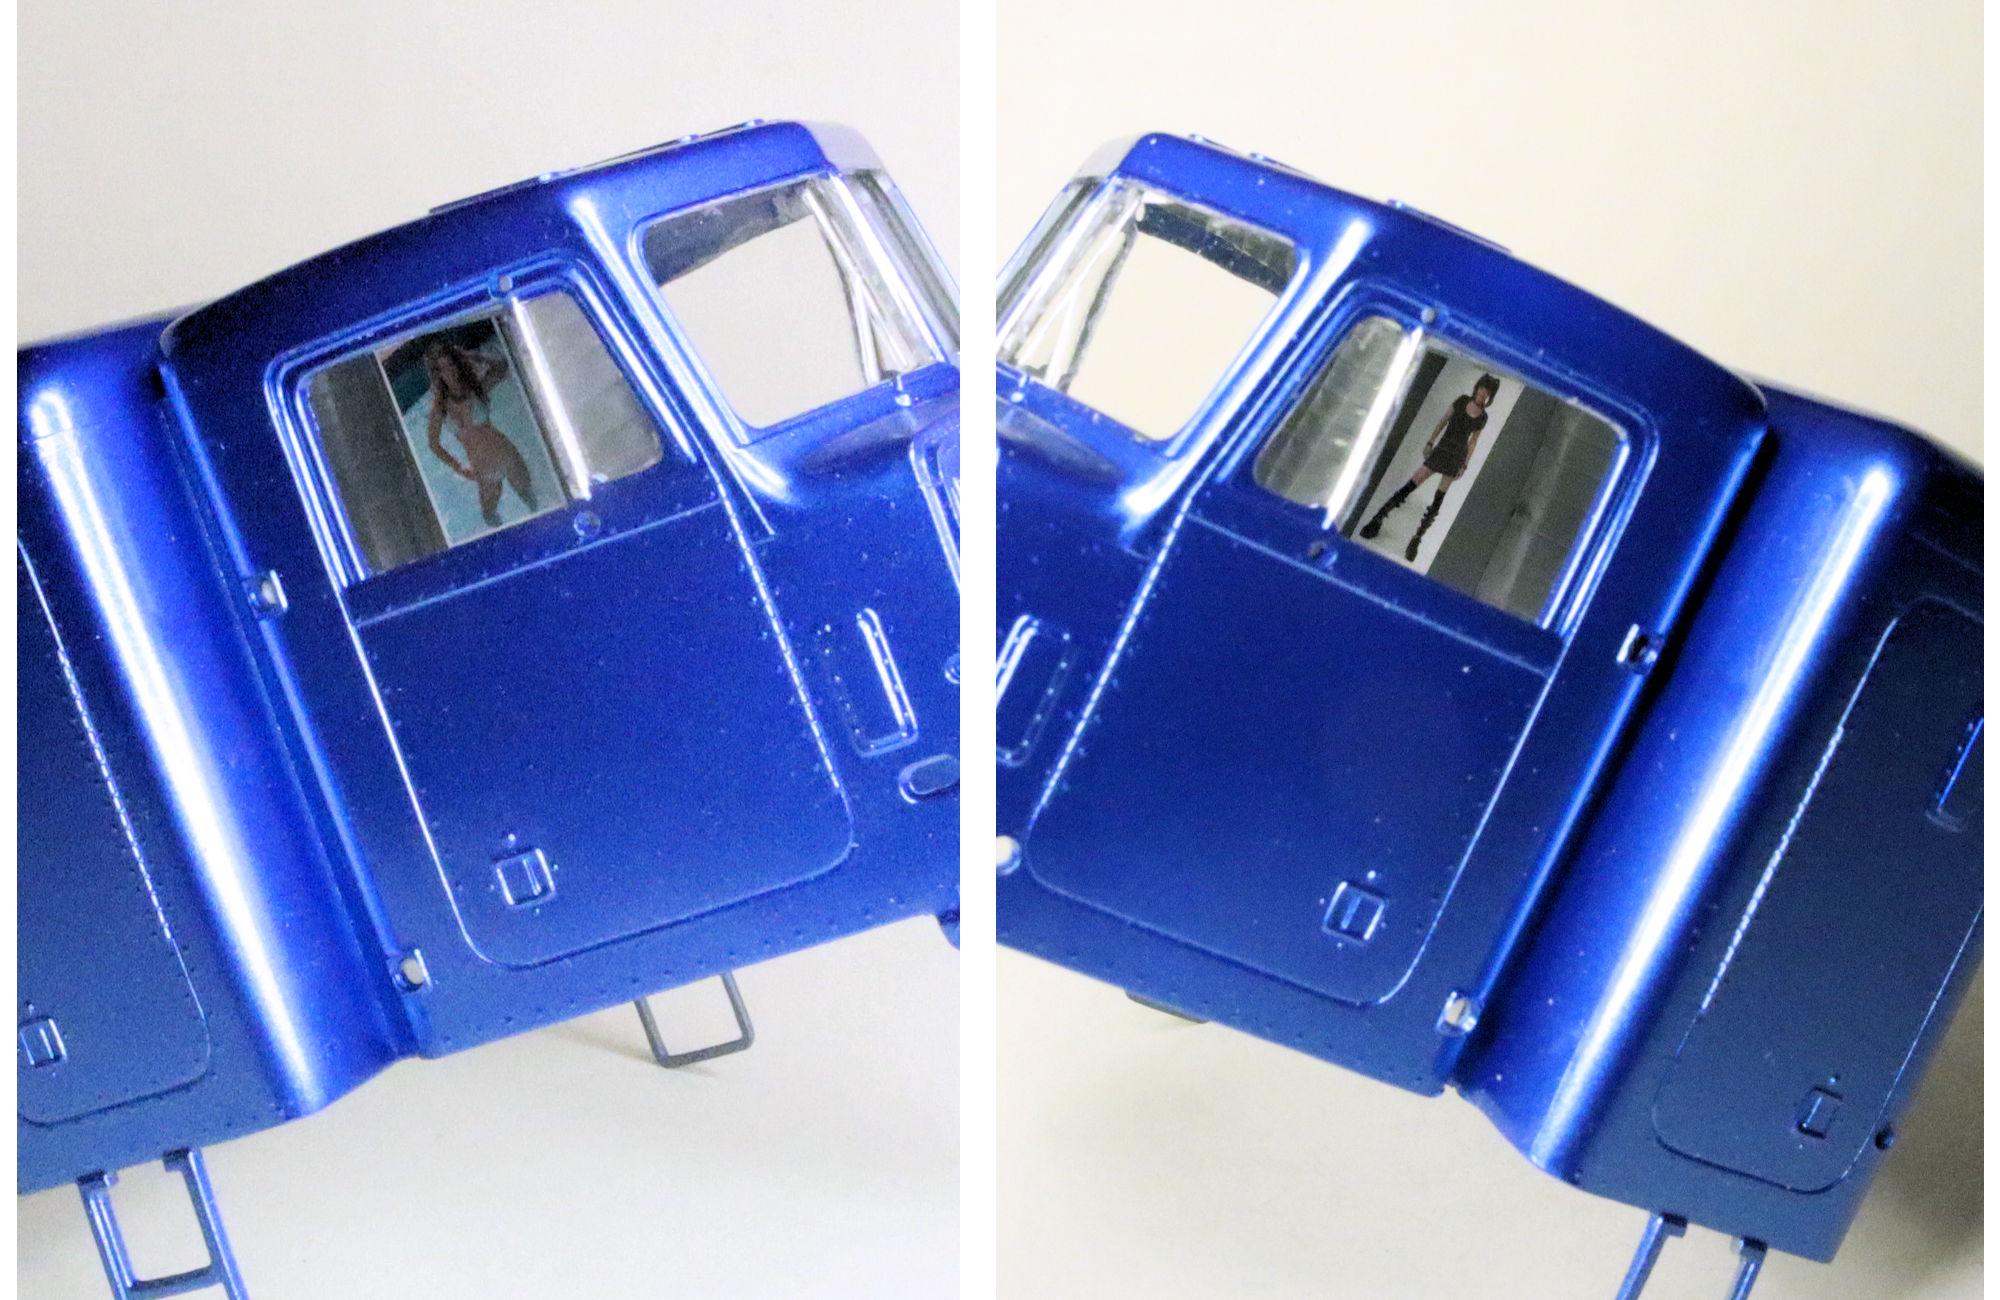
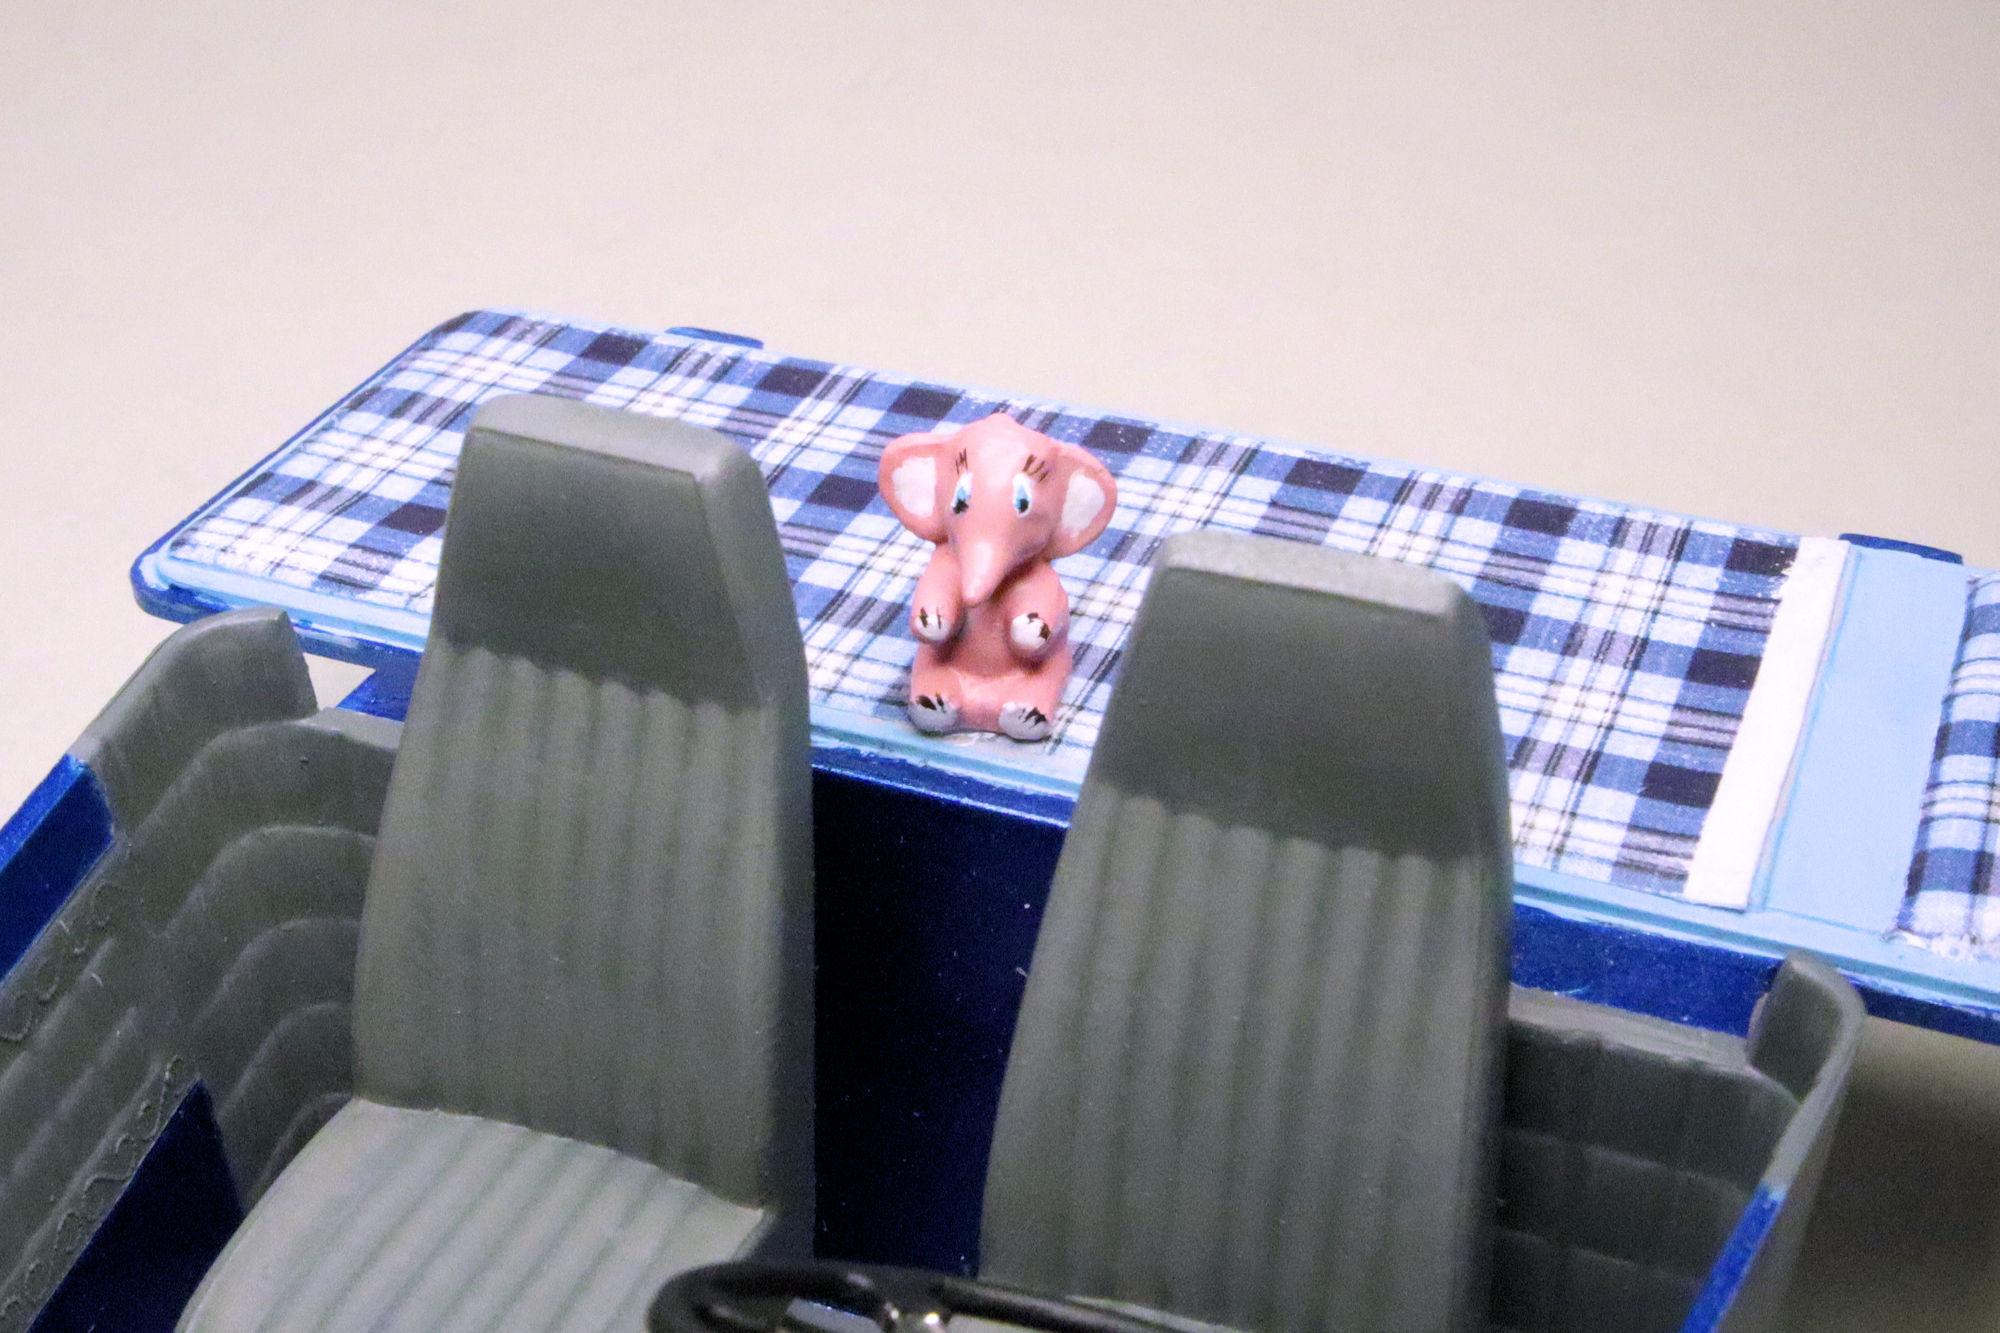
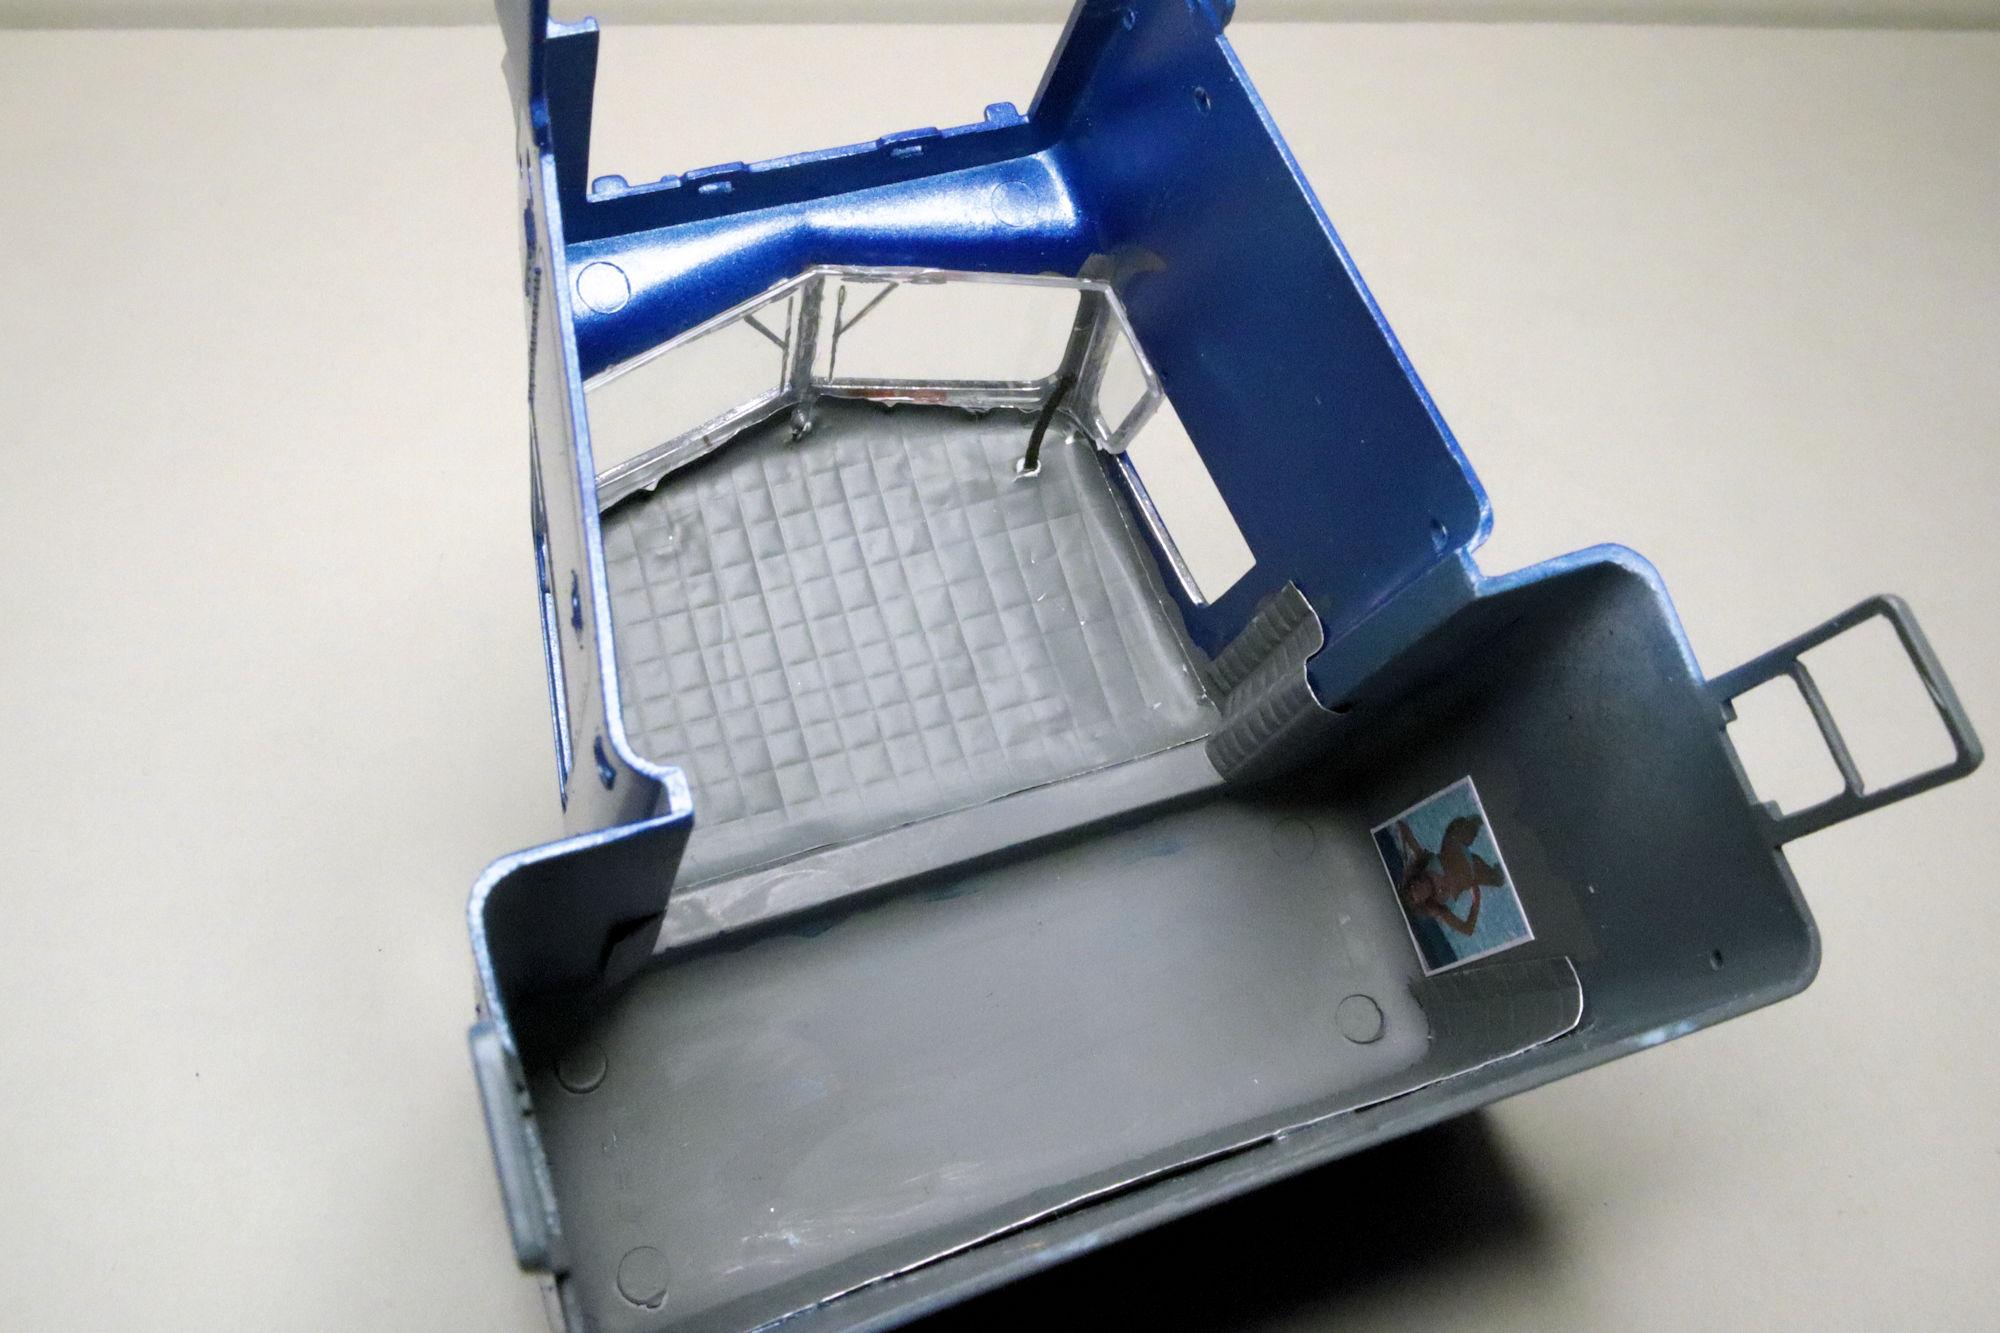
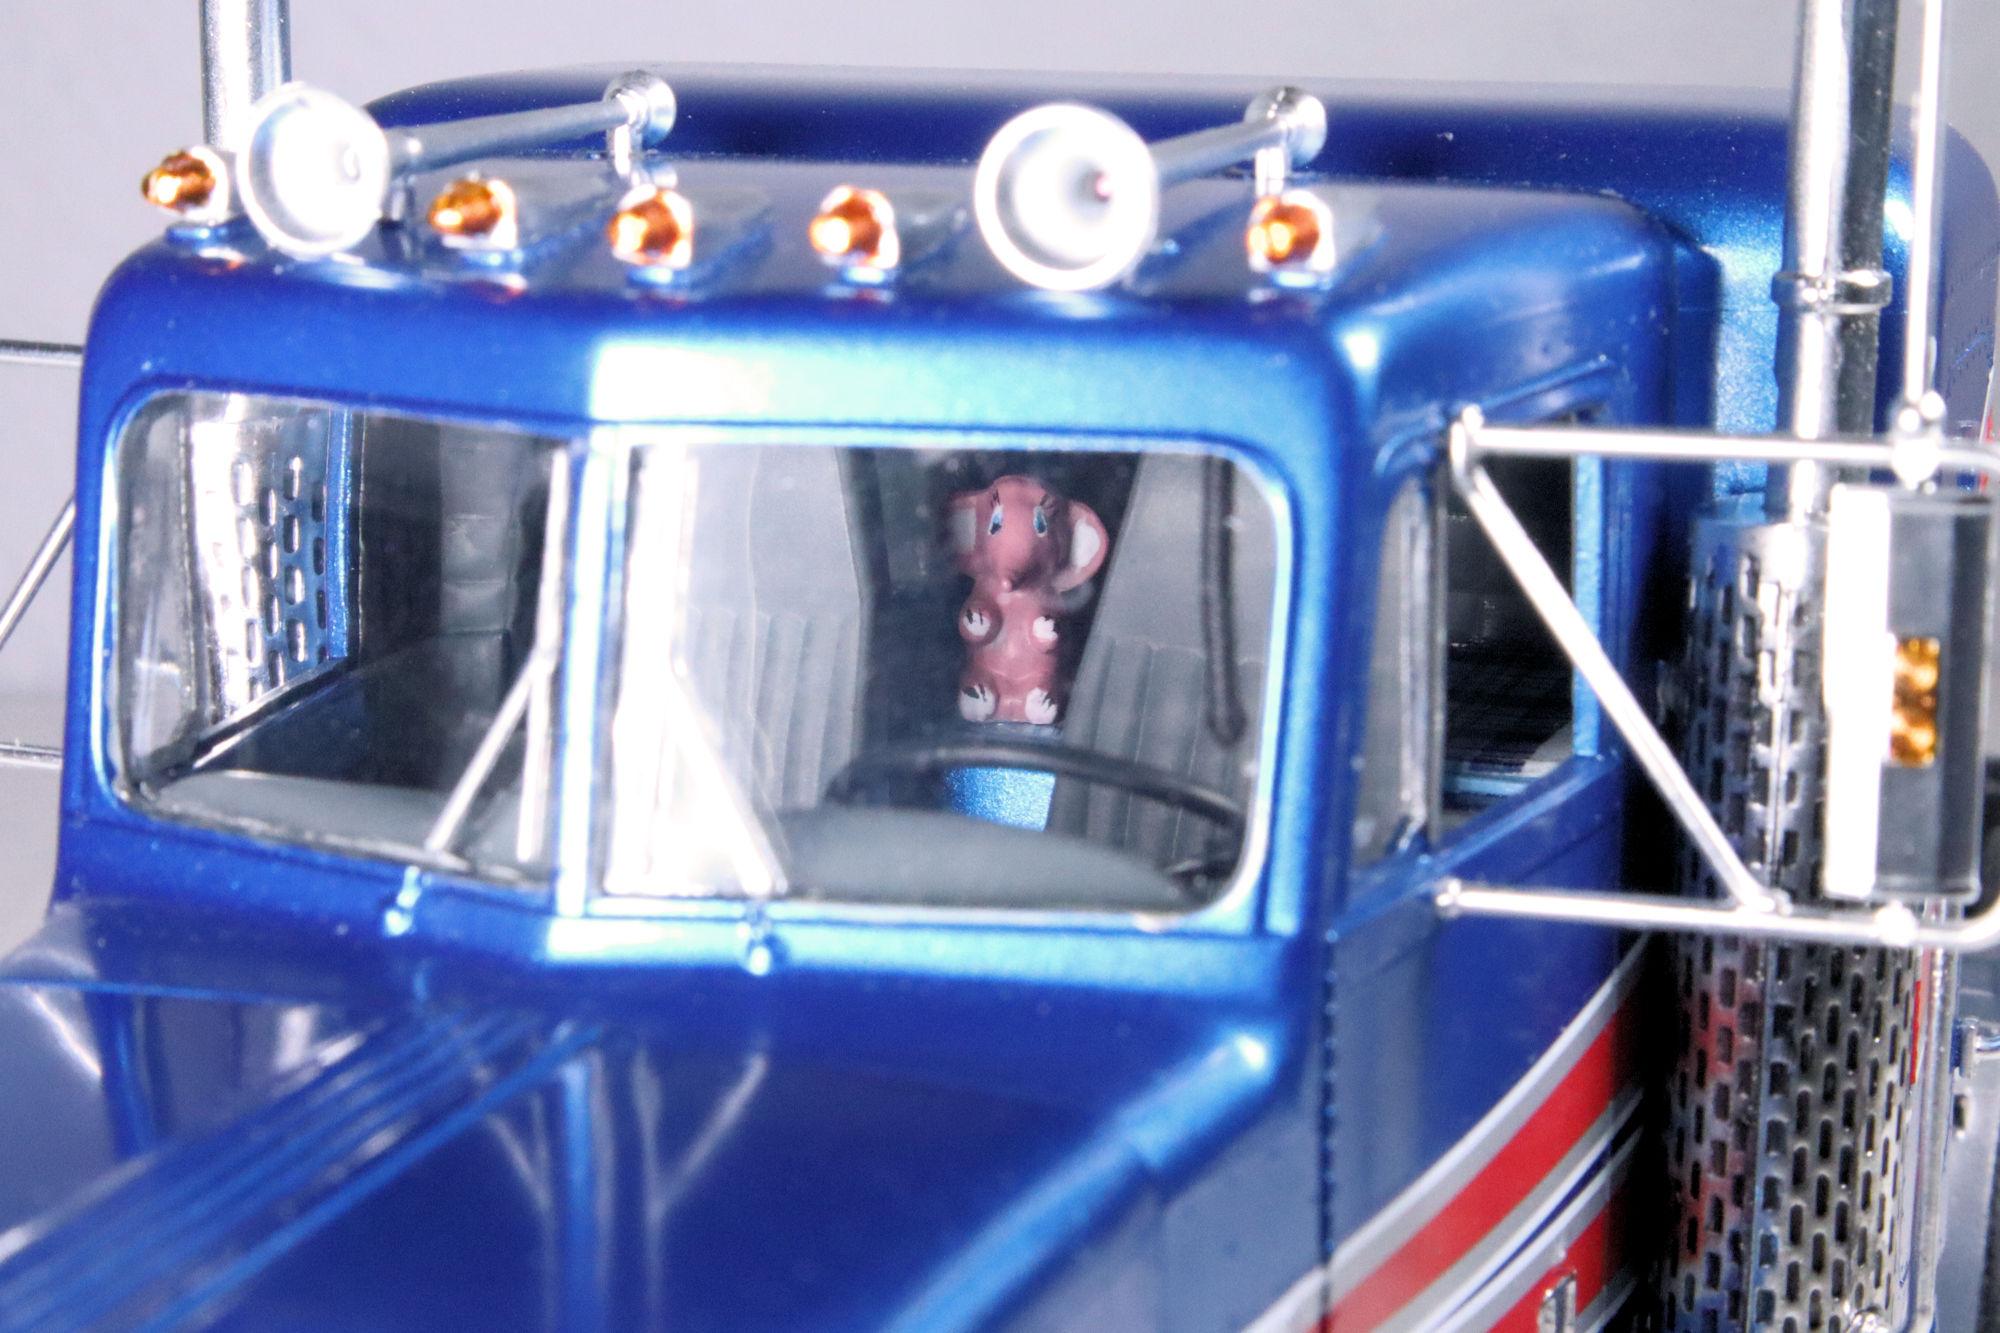
Hello Everybody! I have another contribution for the thread. I'm no fan of unfinished plastic interiors. Though it may not be entirely visible once the model is finished, I decided to make some upholstery using an aluminum cover I'd saved from an old pet food container. I fashioned a headliner and bolsters for the B-pillars. I also made a pullcord for the air horns and a couple of girlie posters to dress up the sleeper. I also painted up a travelling companion which I rescued from (I think) AMT's 62 Buick kit. I wasn't sure if the posters would be easily seen after assembly. As it turned out, the interior was much too dark to easily see most of the improvements I made once it was all put together. As always, thanks for taking the time to look and please feel free to post your own unseen improvements. David G.
-
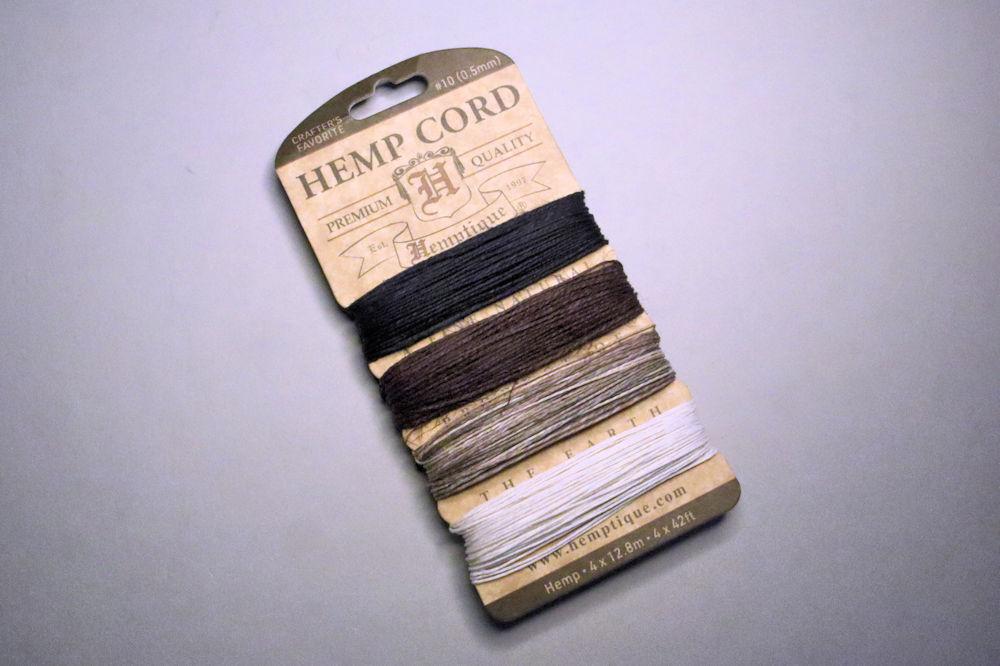
Thank you David, for both your kind words and suggestions and advice on the rigging. I've been doing some online research but there aren't many options or offerings for 1/245 scale sailing ships. I wonder why There is a small spool of black line provided in the kit for rigging and I picked up a card of assorted cord at my LHS. I'll work something out, I always do. =D- Thank you very much Kyle. We ought to start a club! Thank you all again for your interest and your comments. David G.
-

8 Car Transporter (71 Mopar’s)
David G. replied to Mopar - D's topic in WIP: Model Trucks: Big Rigs and Heavy Equipment
That's a lot of work Dan! 😮 But it would certainly do the job, and you'd also be able to shave off all those redundant nubs on the junction boxes. Kind of a win-win. David G. -

Link-Belt HC-218 Truck Crane
David G. replied to redneckrigger's topic in WIP: Model Trucks: Big Rigs and Heavy Equipment
Take your time and get better Tom, we'll be here when you get back to it. Have a speedy recovery all the same. David G. -
What a delightful build this is shaping up to be. I really enjoy the "moving day" photos and the low angle outdoor shots look great. I was hoping that you'd work in some type of lighting to show off all the interior detail you built. I second Steve's suggestion on model railroad suppliers as a good in-scale lighting source. David G.
-
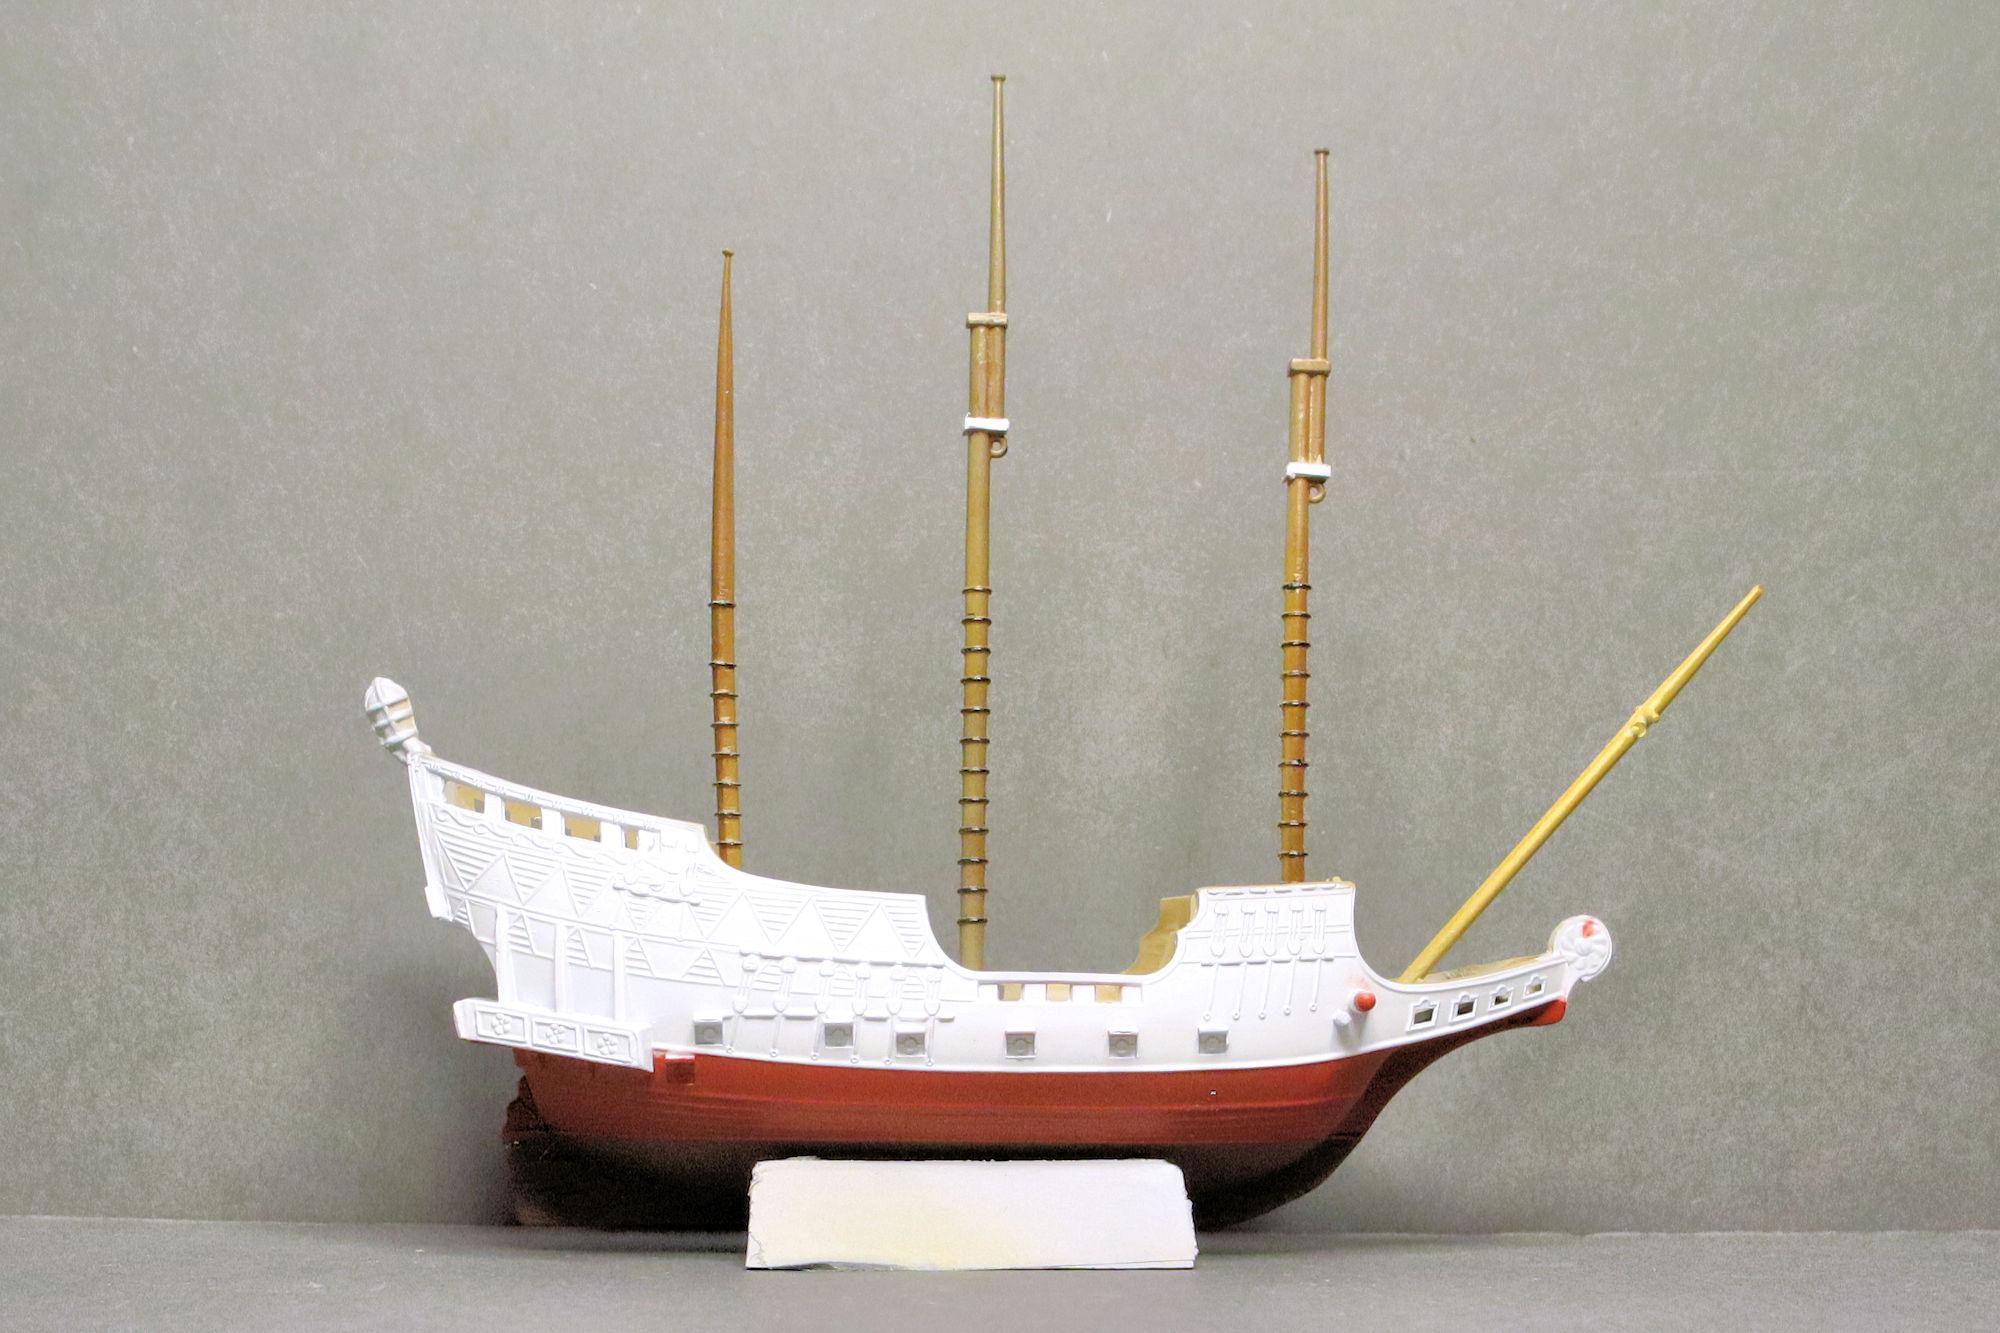
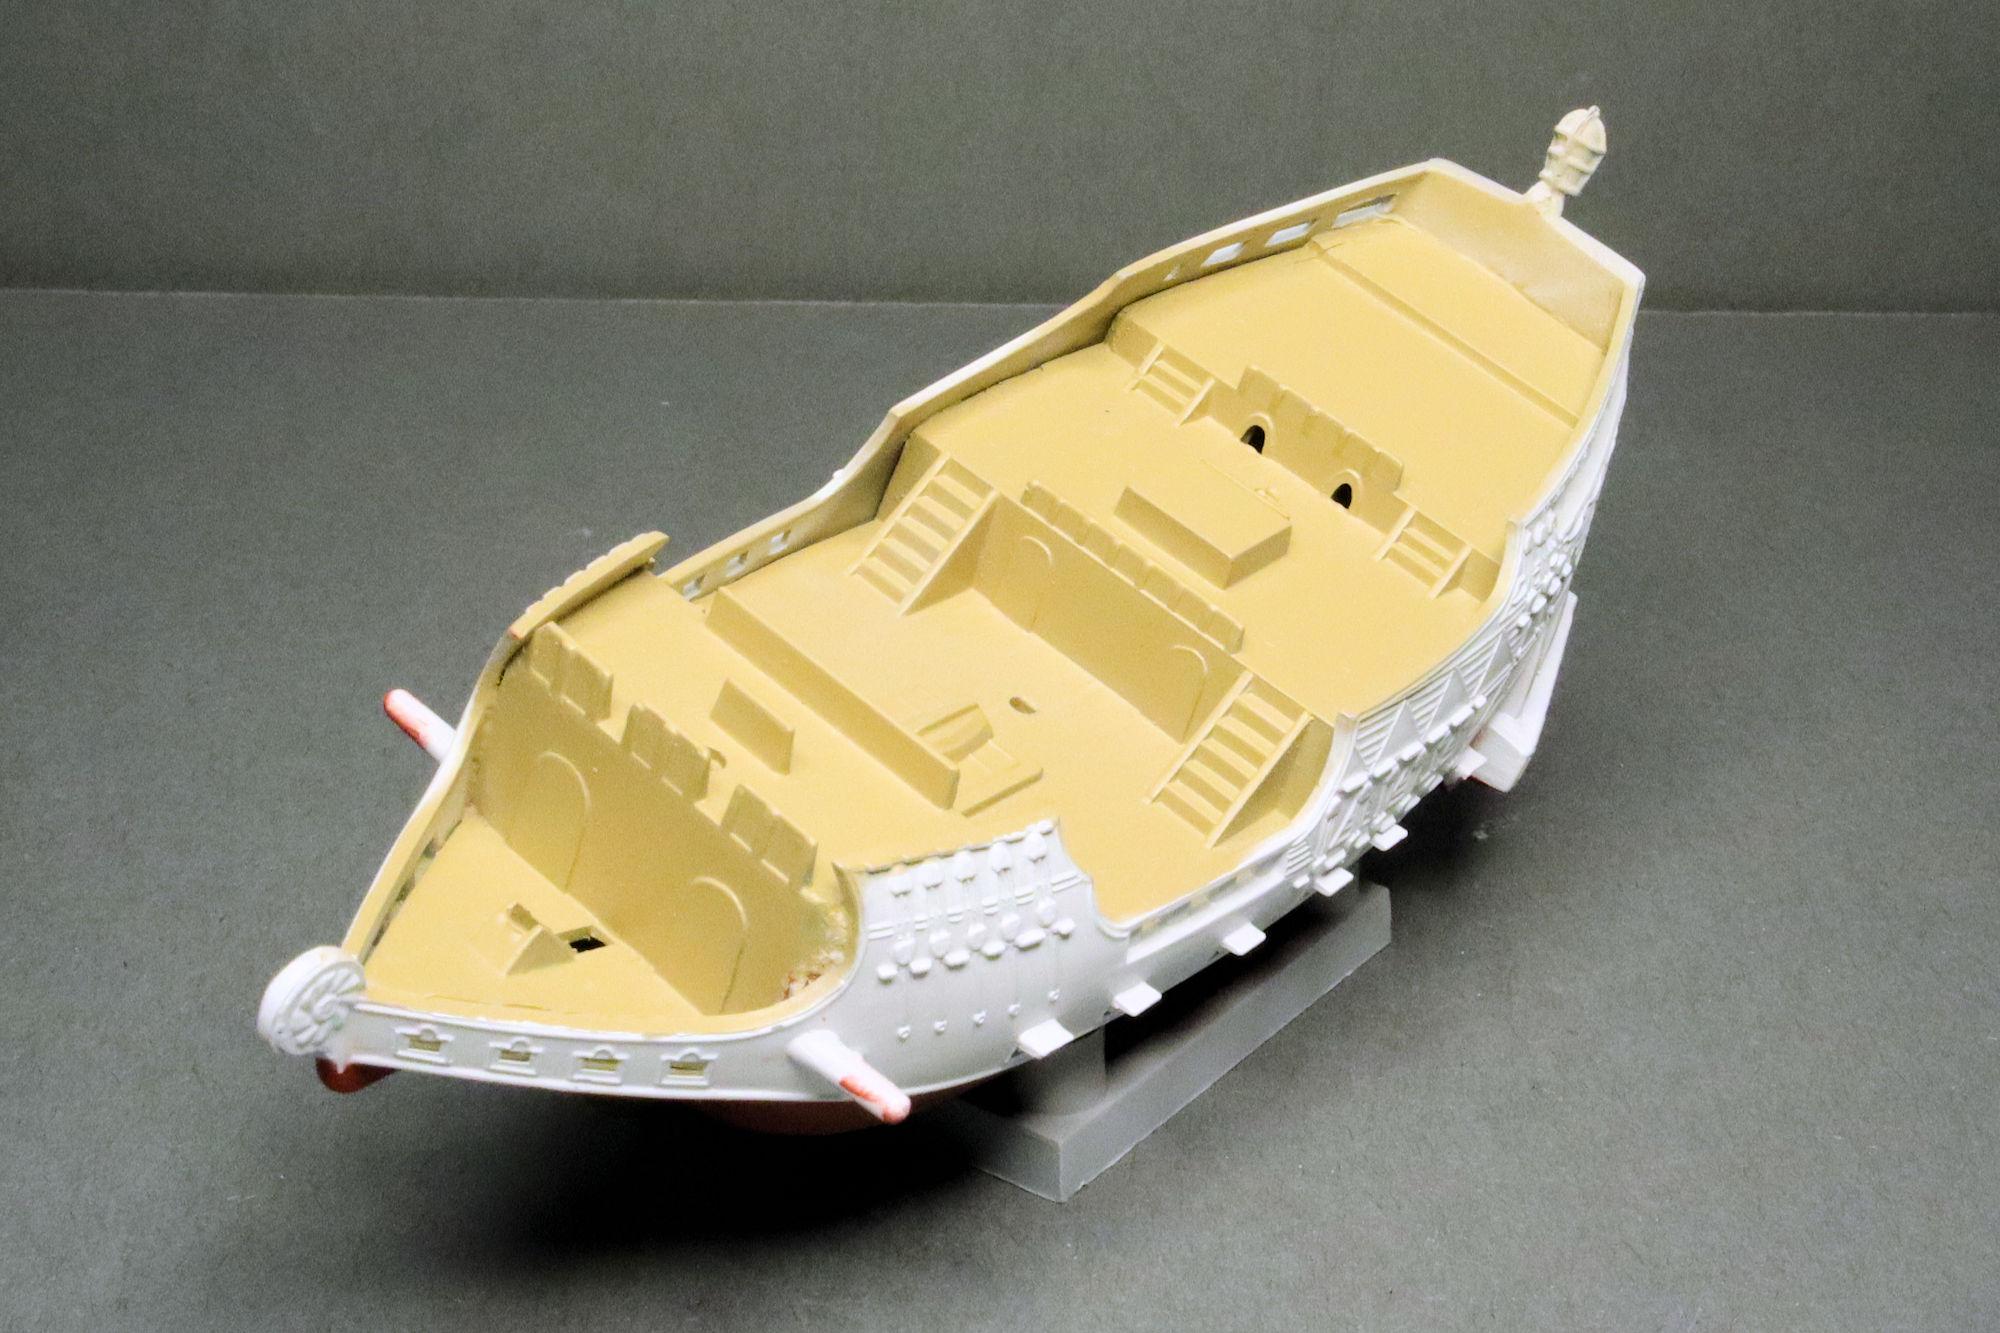
Hello Everybody! This ship hasn't sunk me yet and the sunk cost fallacy has yet to become reality, so on I go! I got some colors masked and sprayed, Tamiya TS-33 Dull Red and TS-69 Linoleum Deck Brown. The main deck color is Tamiya TS-46 Light Sand. Here's a quick mockup. It took me a while to work out the camera settings that would show the colors on the lower hull without completely blowing out the white upper portion. And oh yeah, I just realized last night that I'll have to make the ratlines for this... this... thing. The big clunky styrene ratline castings are a no-show. Ratlines made from actual lines rather than a webbing of phone-pole thick styrene will look better any how. As always, thanks for taking the time to look and please feel free to share your thoughts. Especially if you have any tips regarding making rigging for sailing ships. David G.
-
Much appreciated, thank you for your kind words David. In truth, I had considered setting this one aside on more than one occasion but I it's like I say; "Each kit I build is really only practice for the next one!" And it's so much easier to find the courage to practice on a kit for which I'm not overly concerned with the results. David G.
-

8 Car Transporter (71 Mopar’s)
David G. replied to Mopar - D's topic in WIP: Model Trucks: Big Rigs and Heavy Equipment
The trickiest thing I've found working with those lines is getting them to stay on the stubs. I used a tiny bit of PVA where needed but there's not really any adhesive that works well. Best of luck with yours. David G. -
I may not comment often but I do enjoy following along and watching your progress on this project. It's a shame about the downpipe. Isn't amazing how such things can seemingly just wink out of existence... only to show up again in the most unlikely place at the least useful moment? Oh, is that also the downpipe that you just eyeballed together on the first attempt? 🤔 Odd coincidence if so. David G.
-
I think it's a great color, no joke! Seriously though Jim, excellent body mods on this one and I do think the color is cool but it could do with some kind of accent somewhere. Though probably not bright green. David G.
-
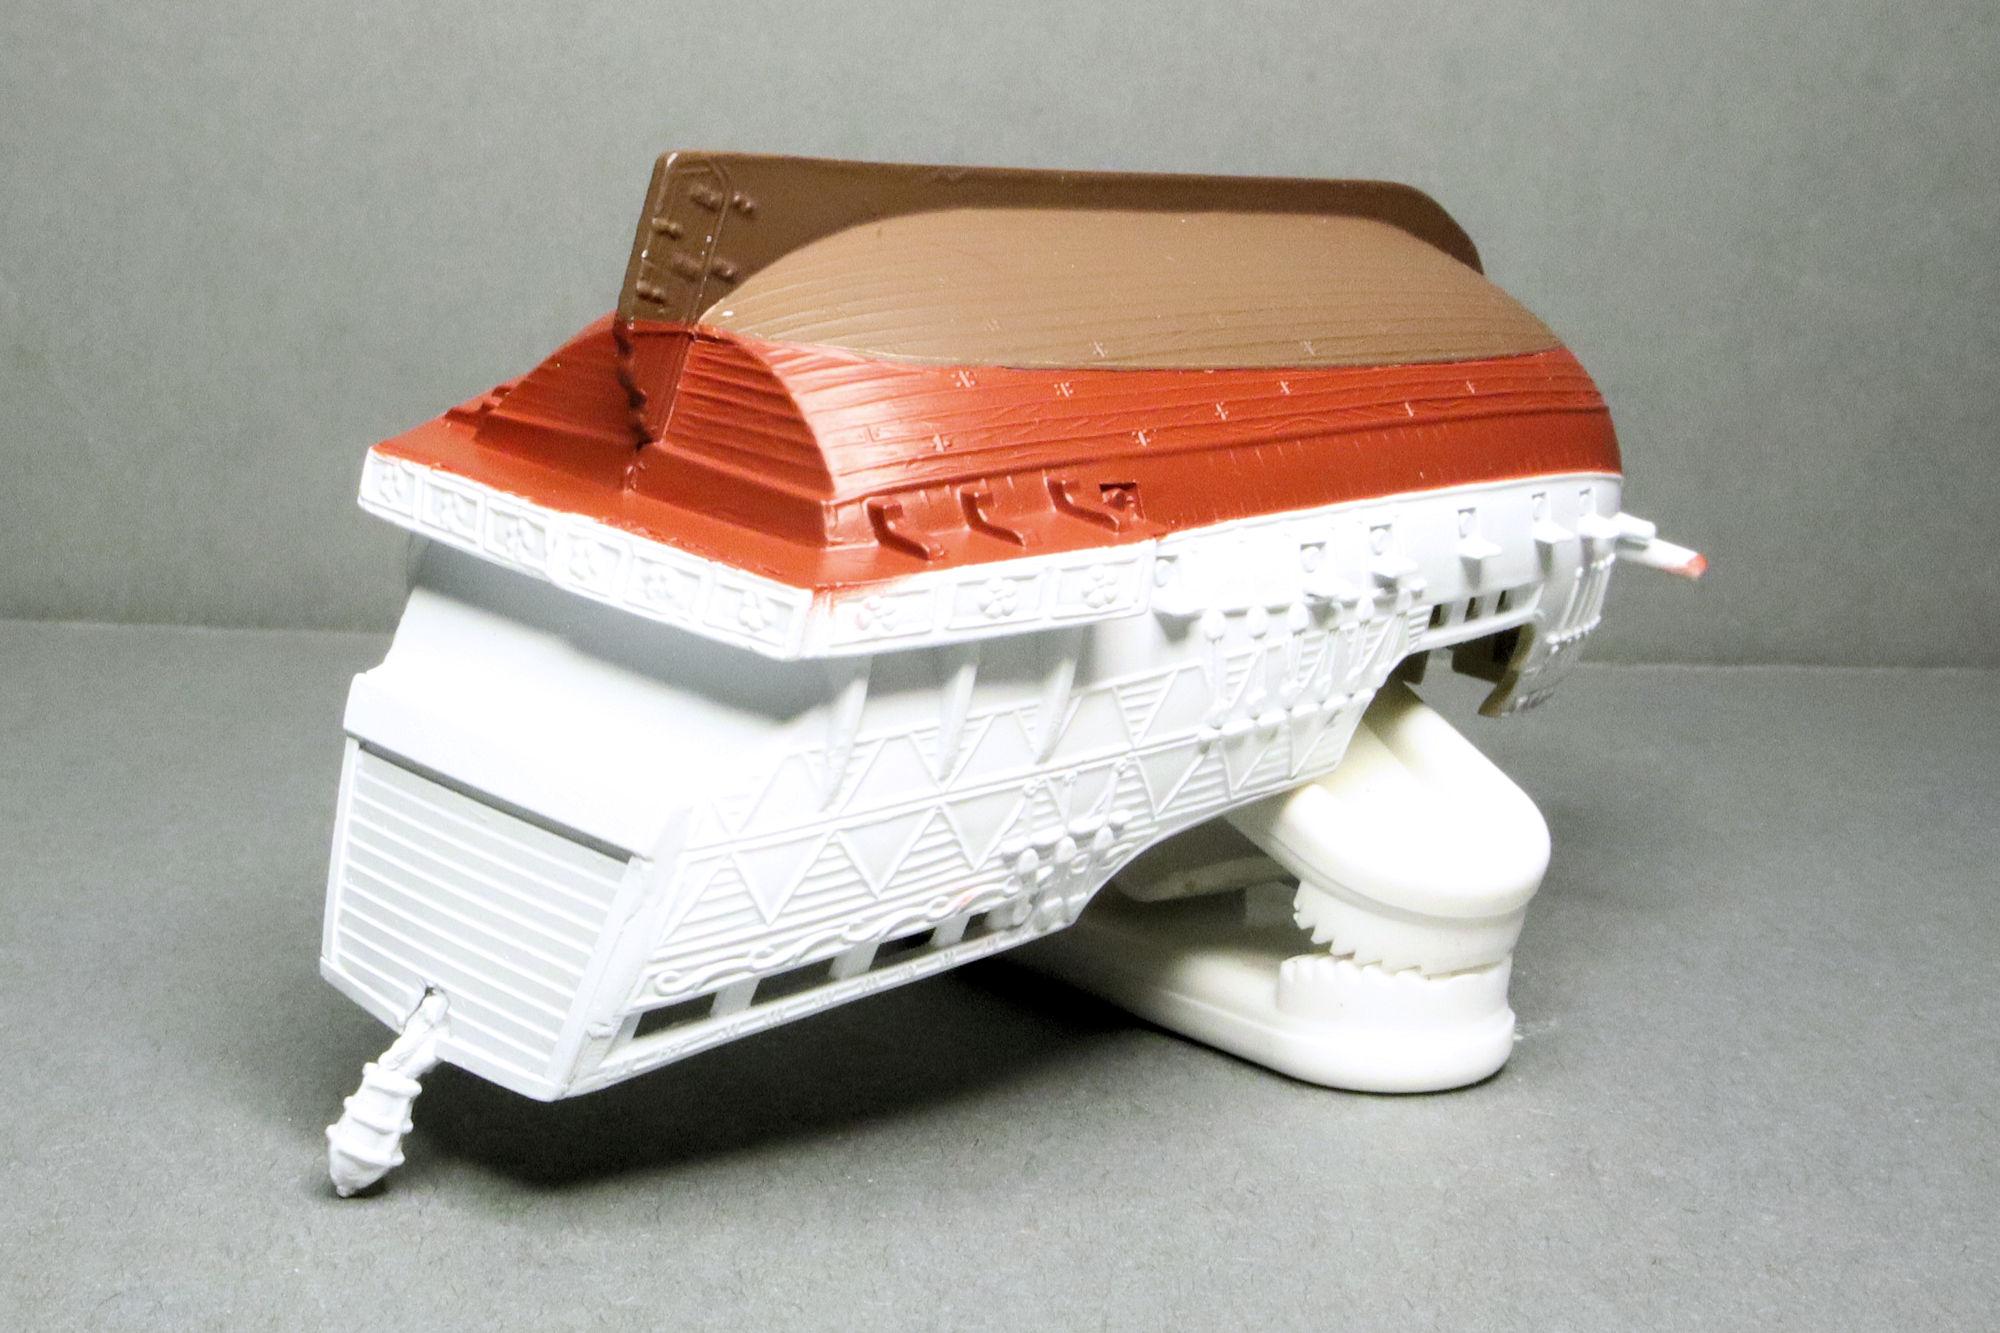
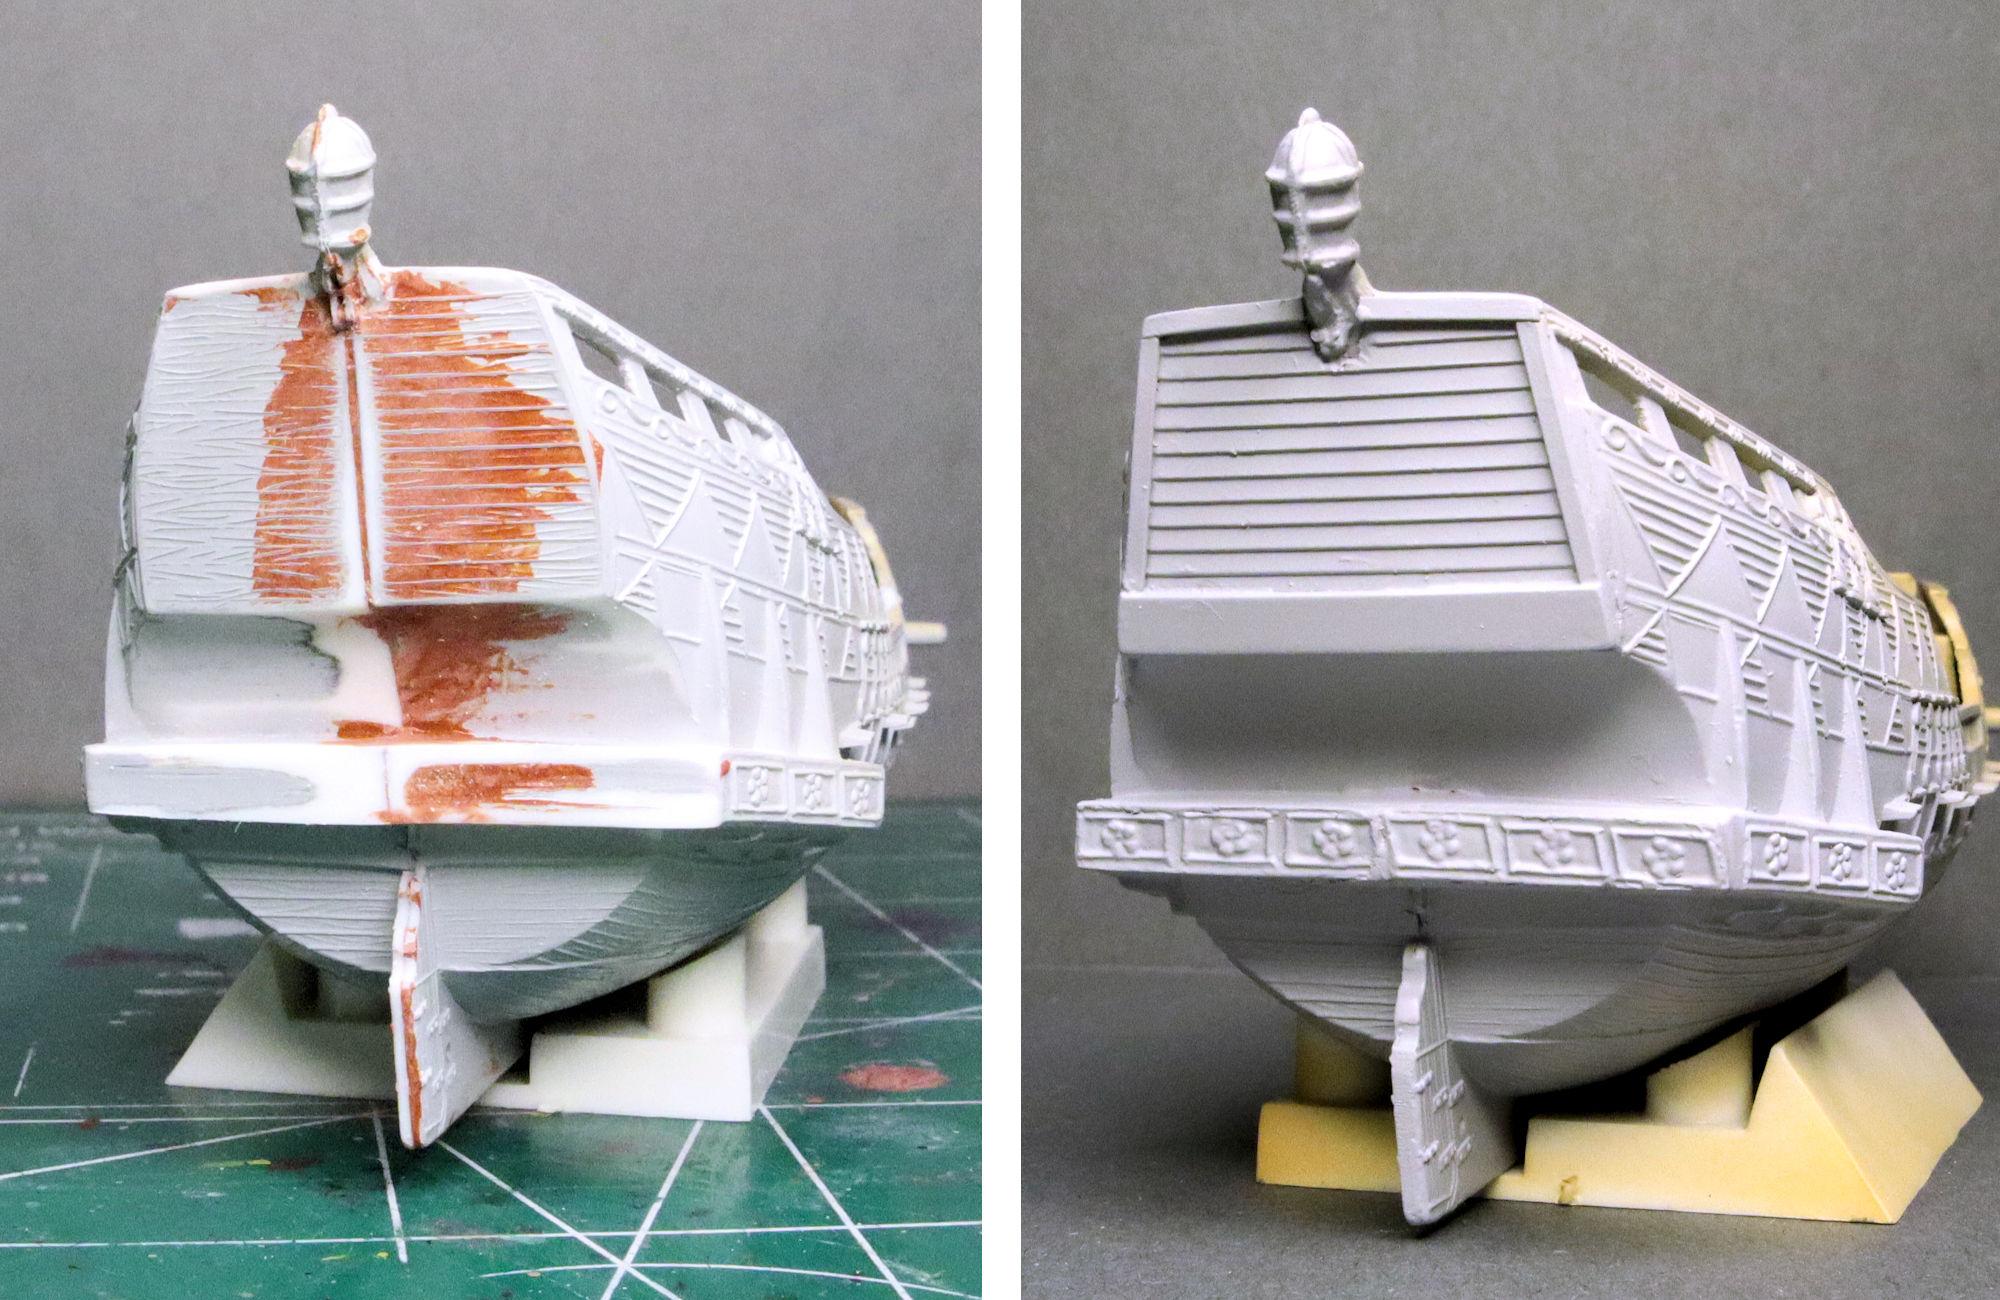
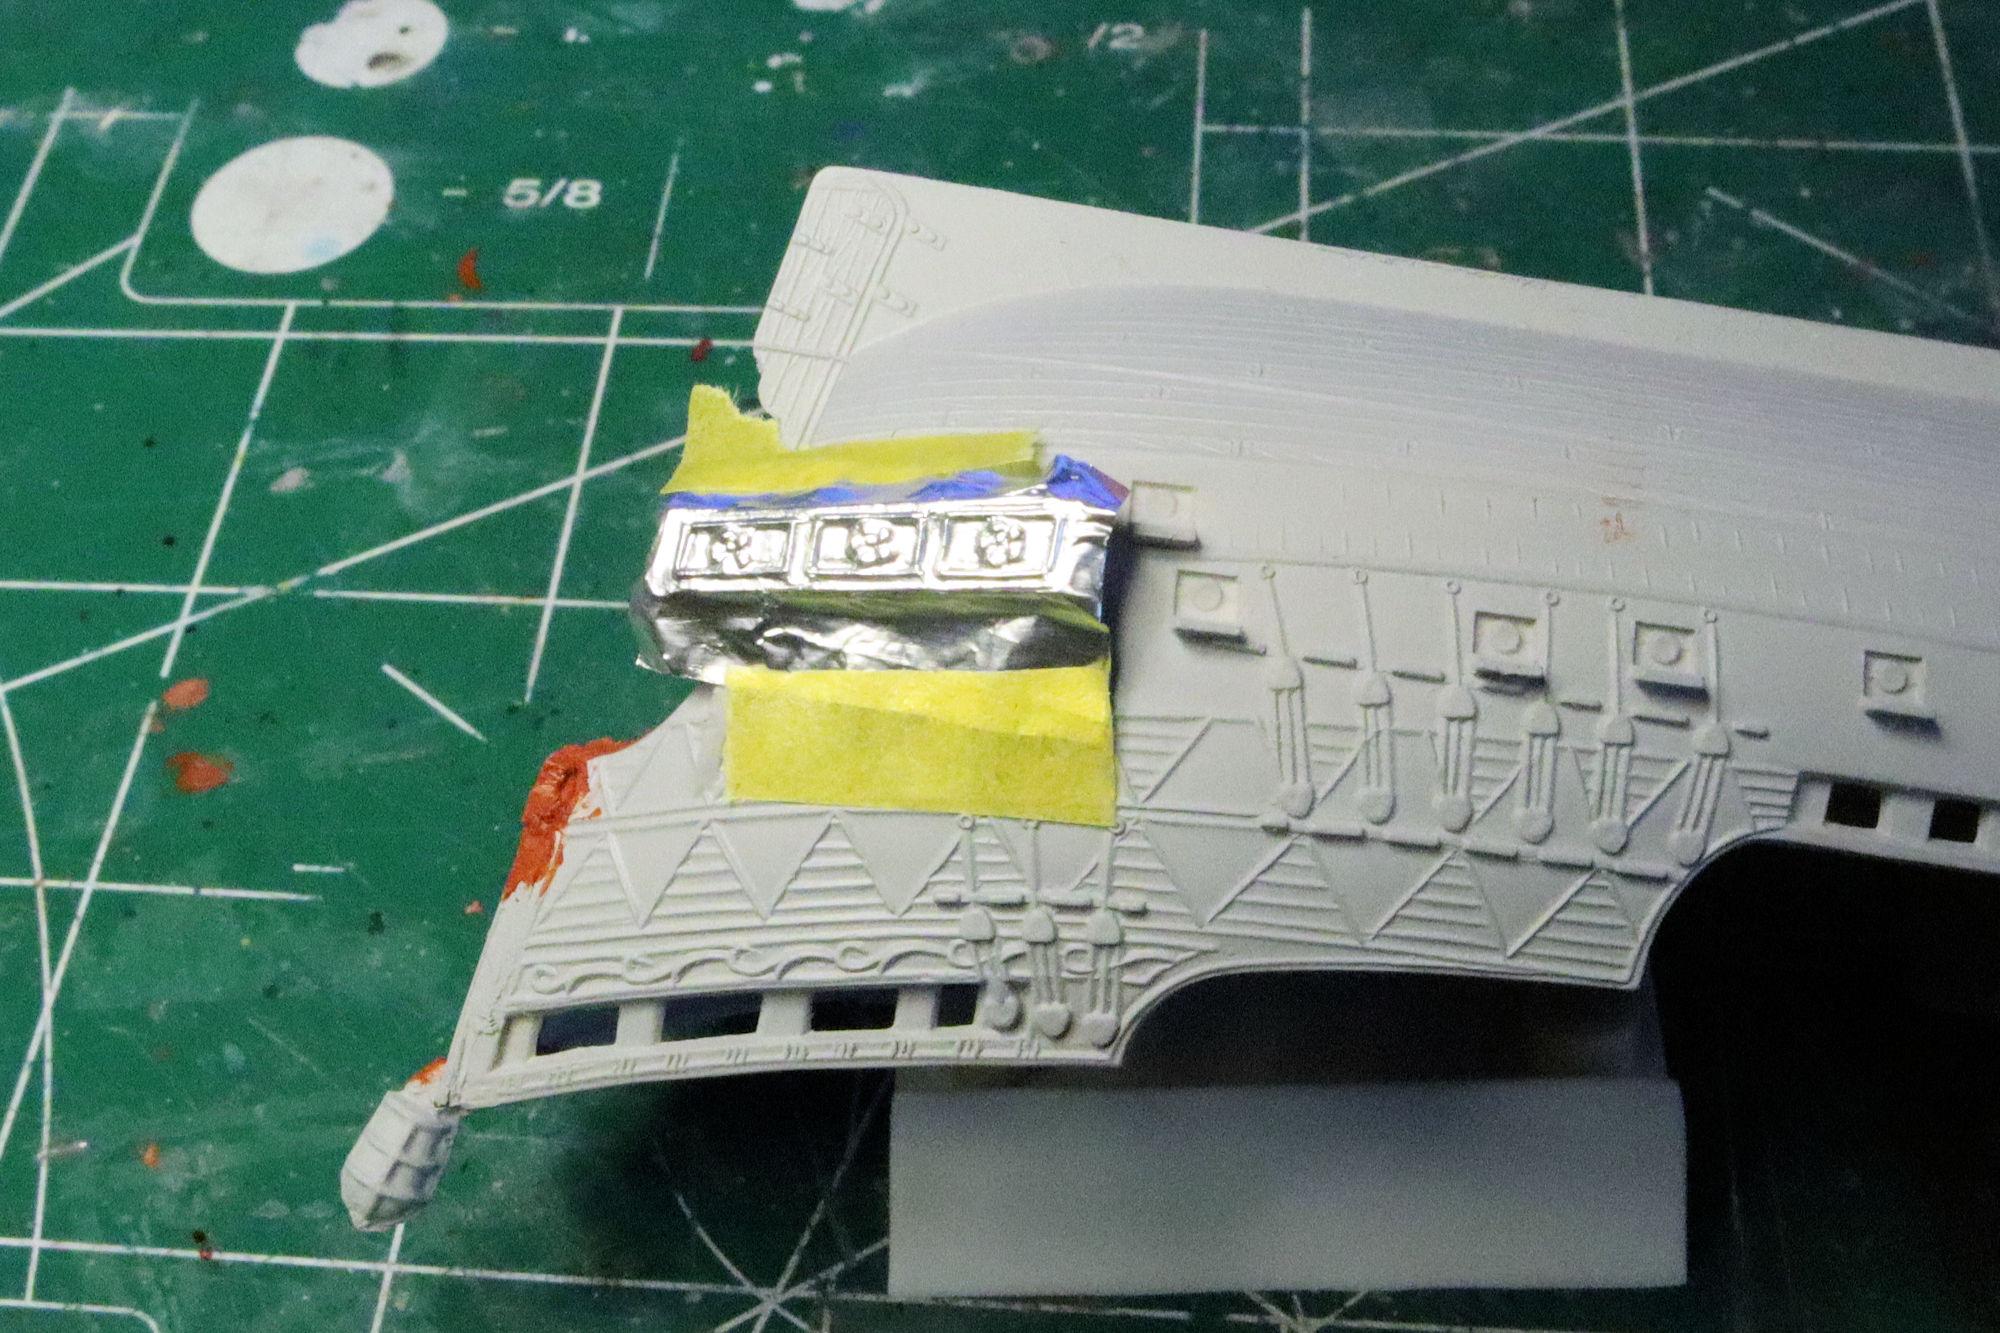
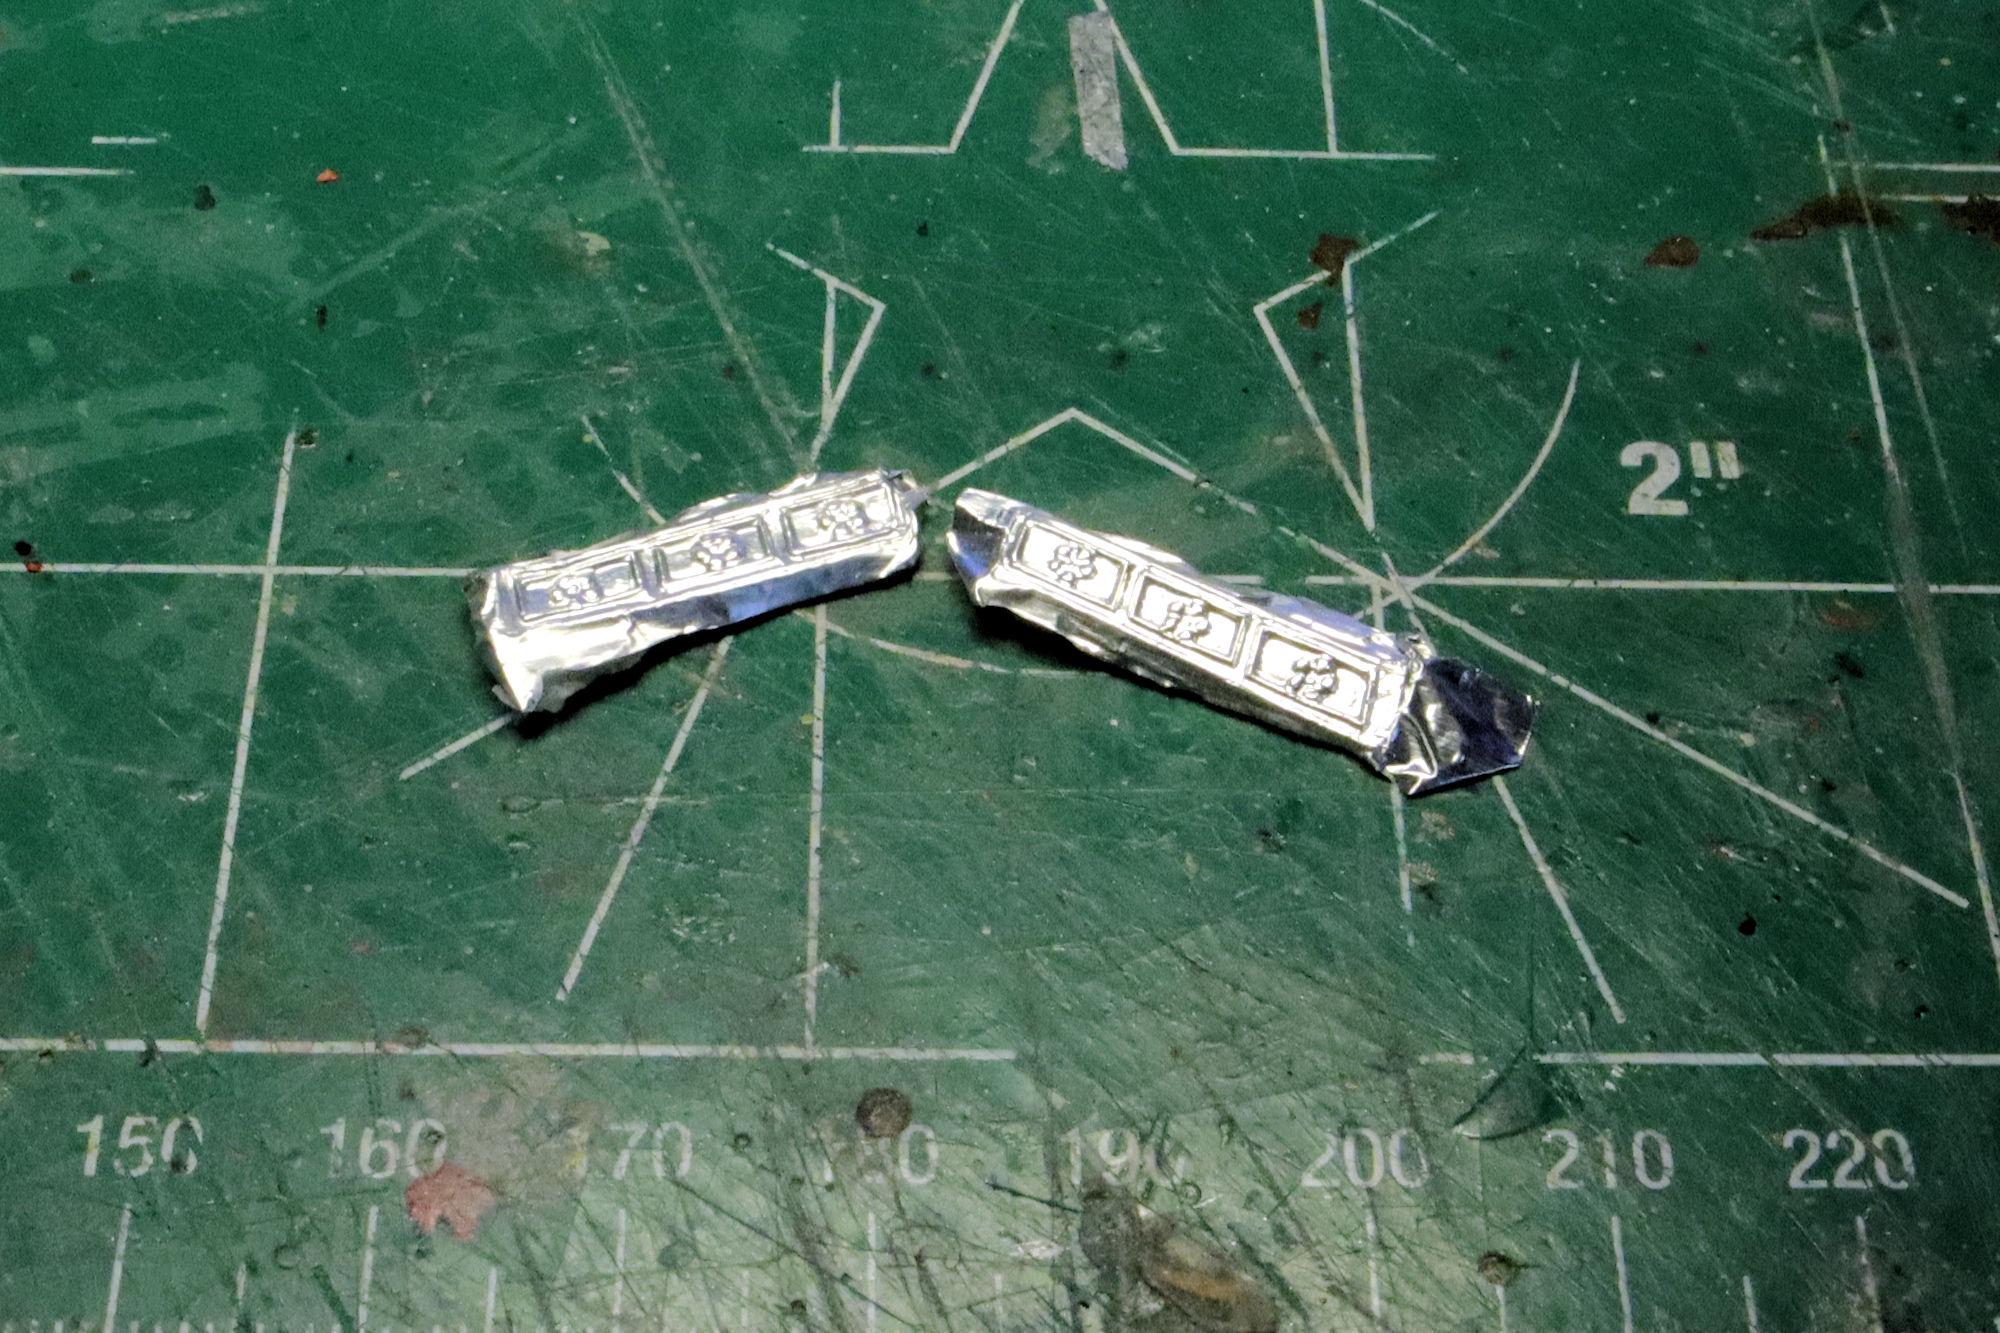
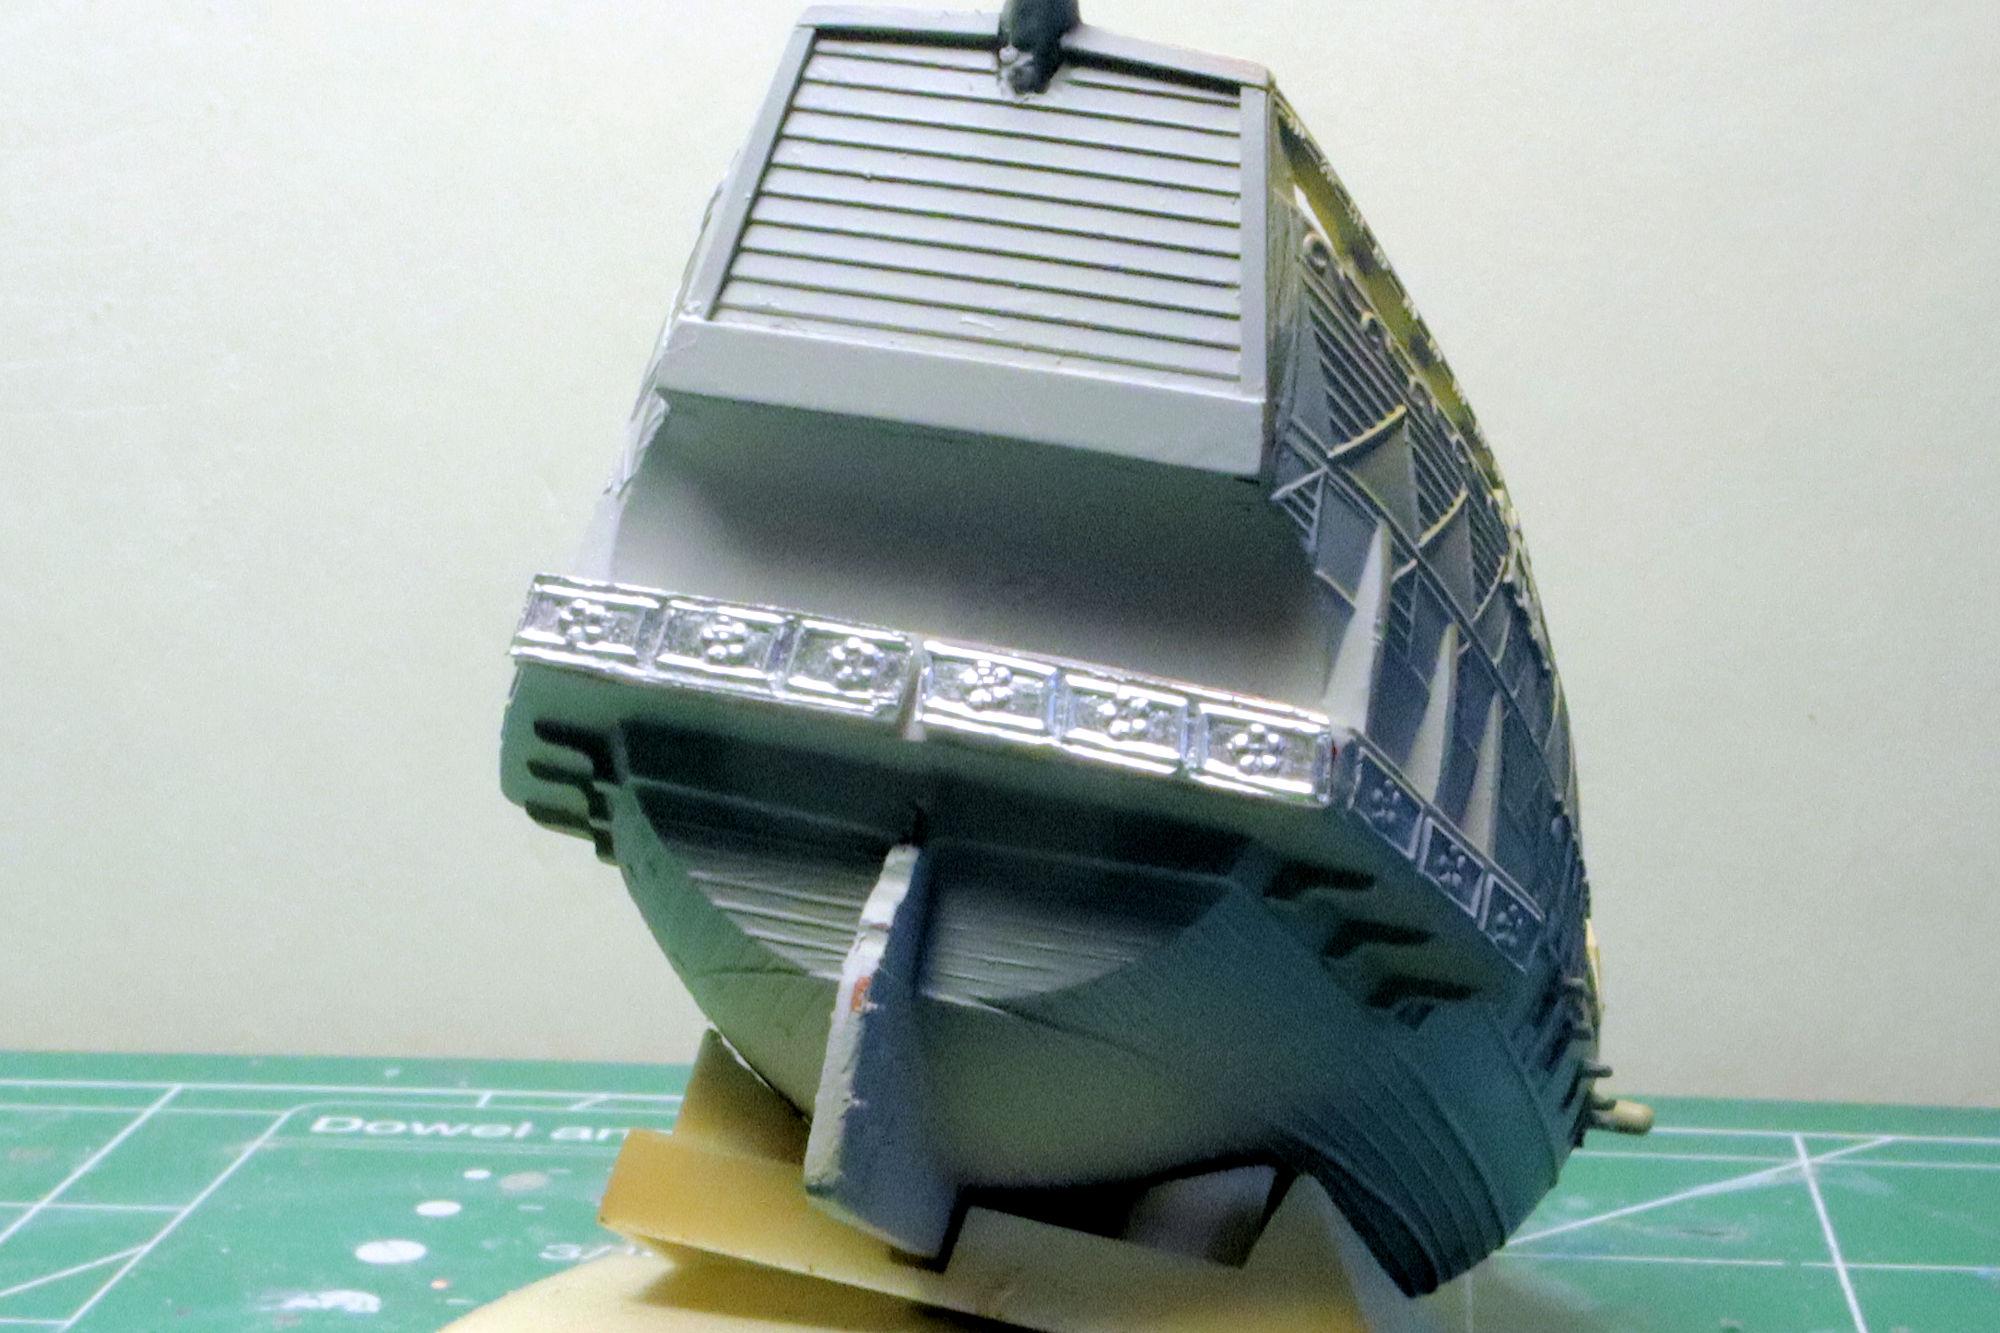
Hello Everybody! I'm pretty sure that I'm giving this kit more time than what it's worth. But I am trying to make it worth my time! To finish dressing up the stern of the ship I wanted to carry the framed rosette design around to the rear of the gallery(?) I started by creating a foil impression of each side. These two empty foil shells are then filled with medium viscosity CA followed by a sprinkling of baking soda. This mixture creates a workable plastic-like substance that gives the foil shells the strength to hold their shape. Here are the castings trimmed down, thinned out and mounted. I want to do a little putty filling to smooth it out a bit but overall, I'm pleased with the way this is going. After a little putty work, this is where it's at. I think I can live with it. It's not the greatest but it's better than what I started with and not a bad first attempt at foil casting. As always, thanks for taking the time to look and please feel free to post any comments you may wish to share. David G.
-
That looks great! I did mine in a very similar color. Getting that rear clip to match up to the quarter panels was a bit tricky. David G.


