-
Posts
11,326 -
Joined
-
Last visited
Content Type
Profiles
Forums
Events
Gallery
Everything posted by David G.
-
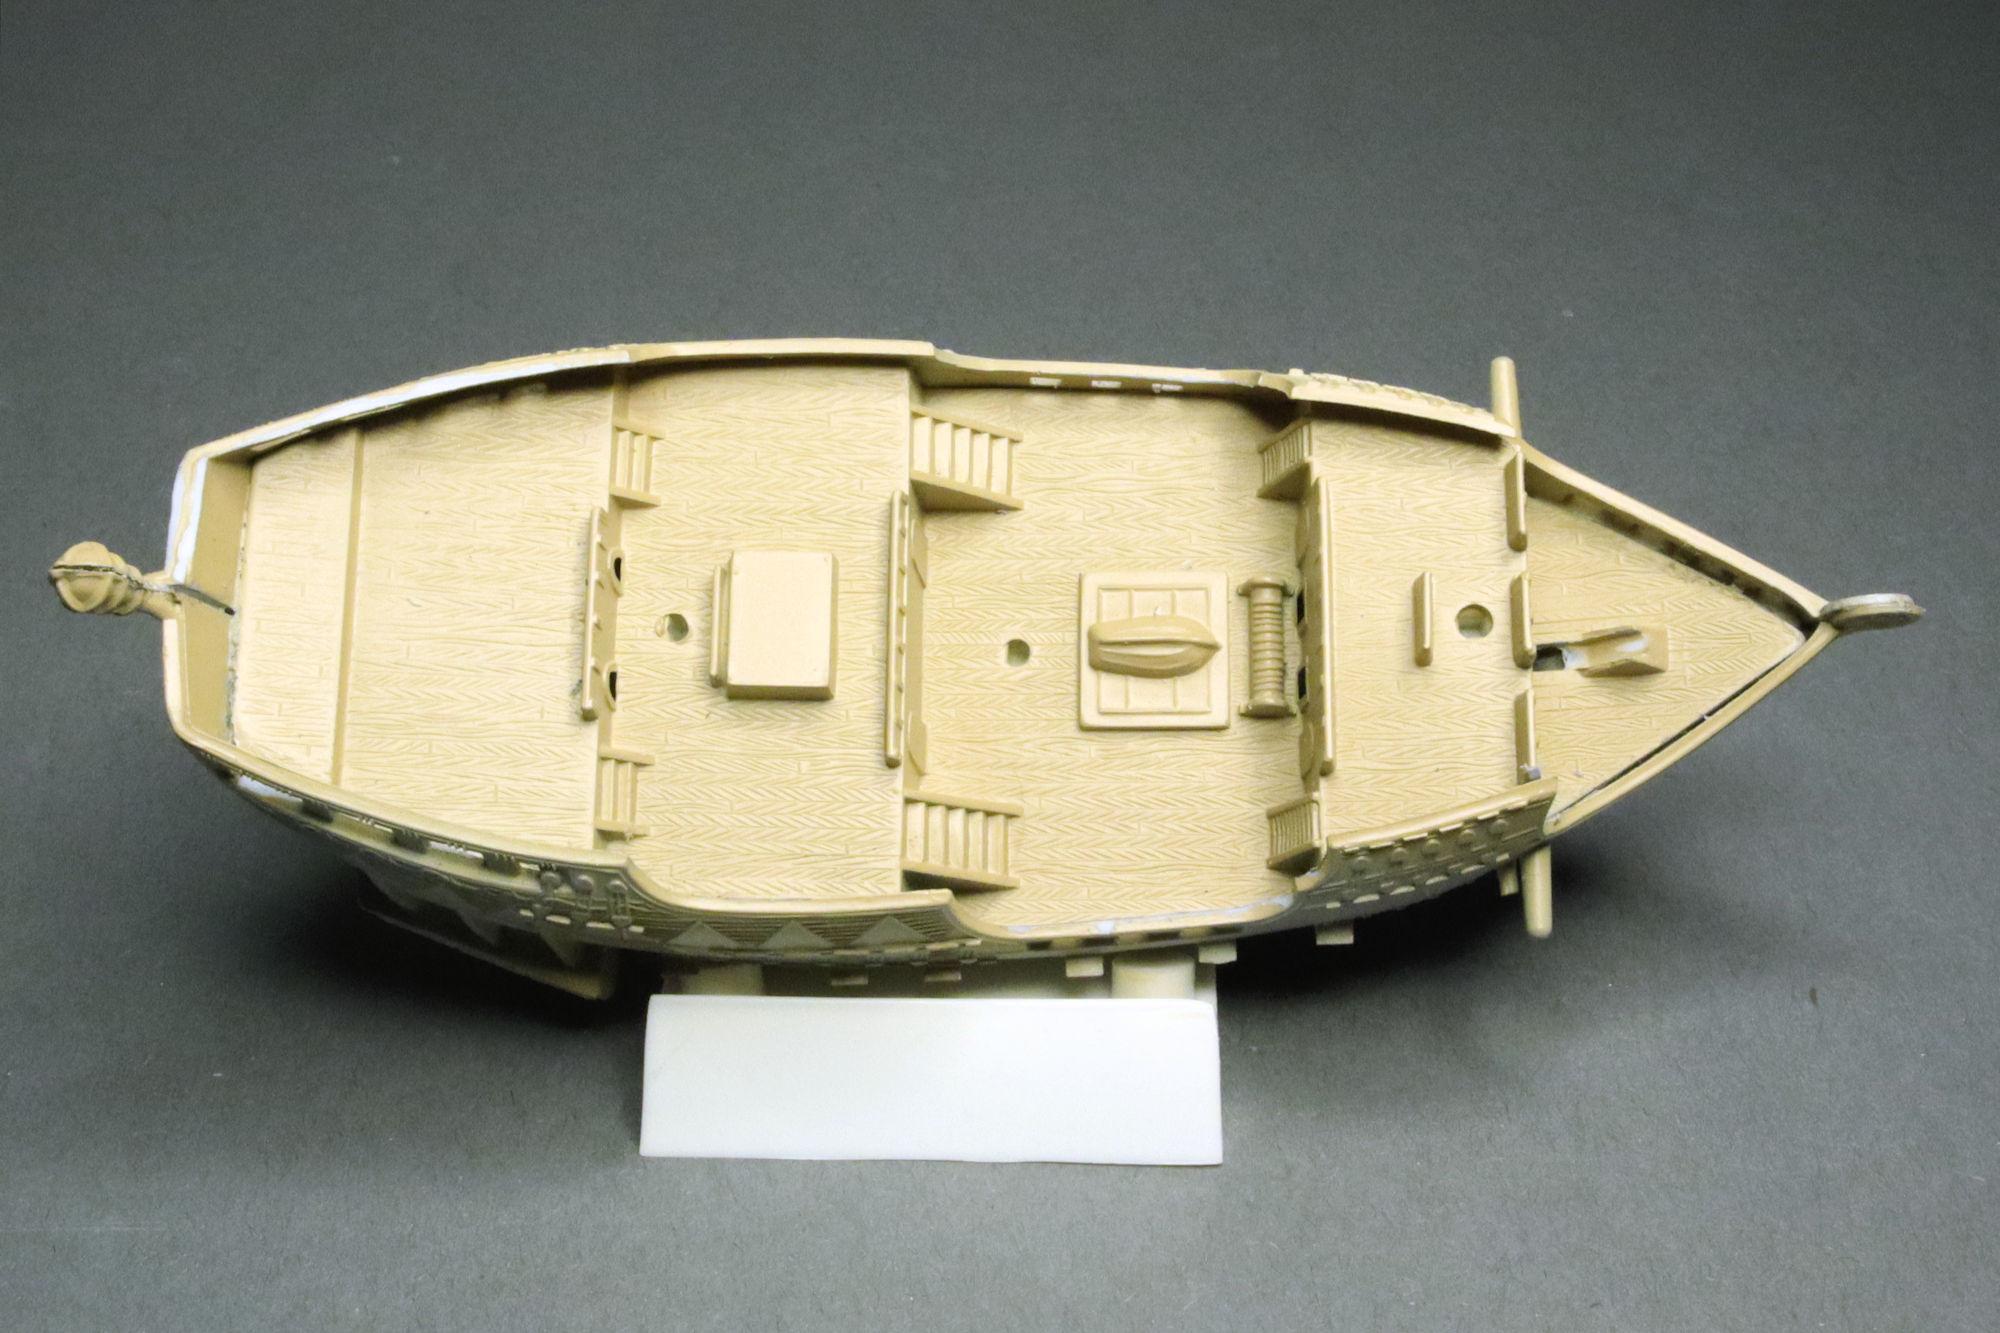
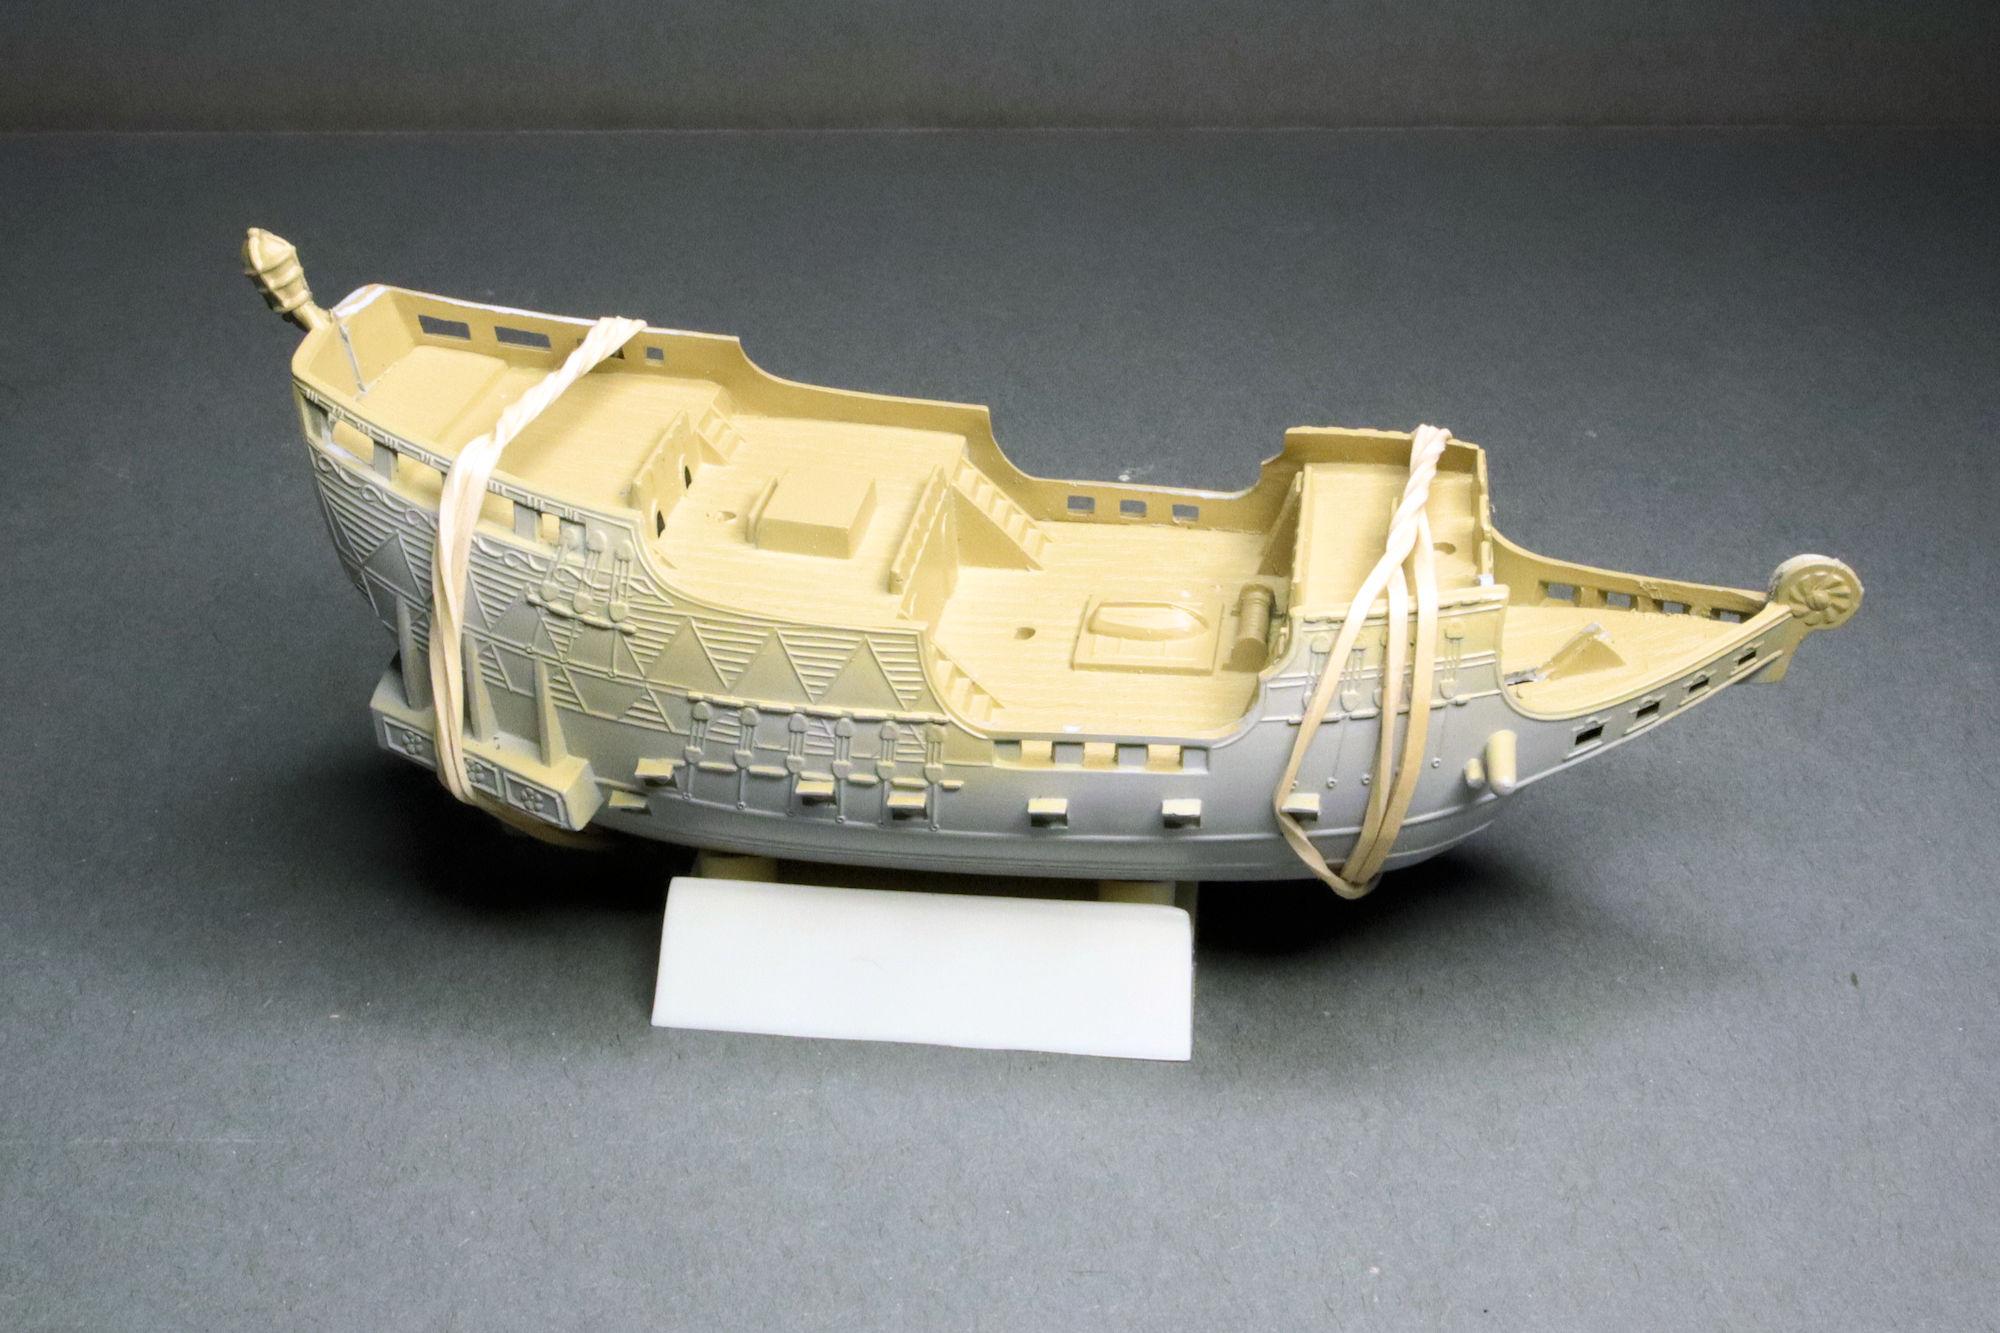
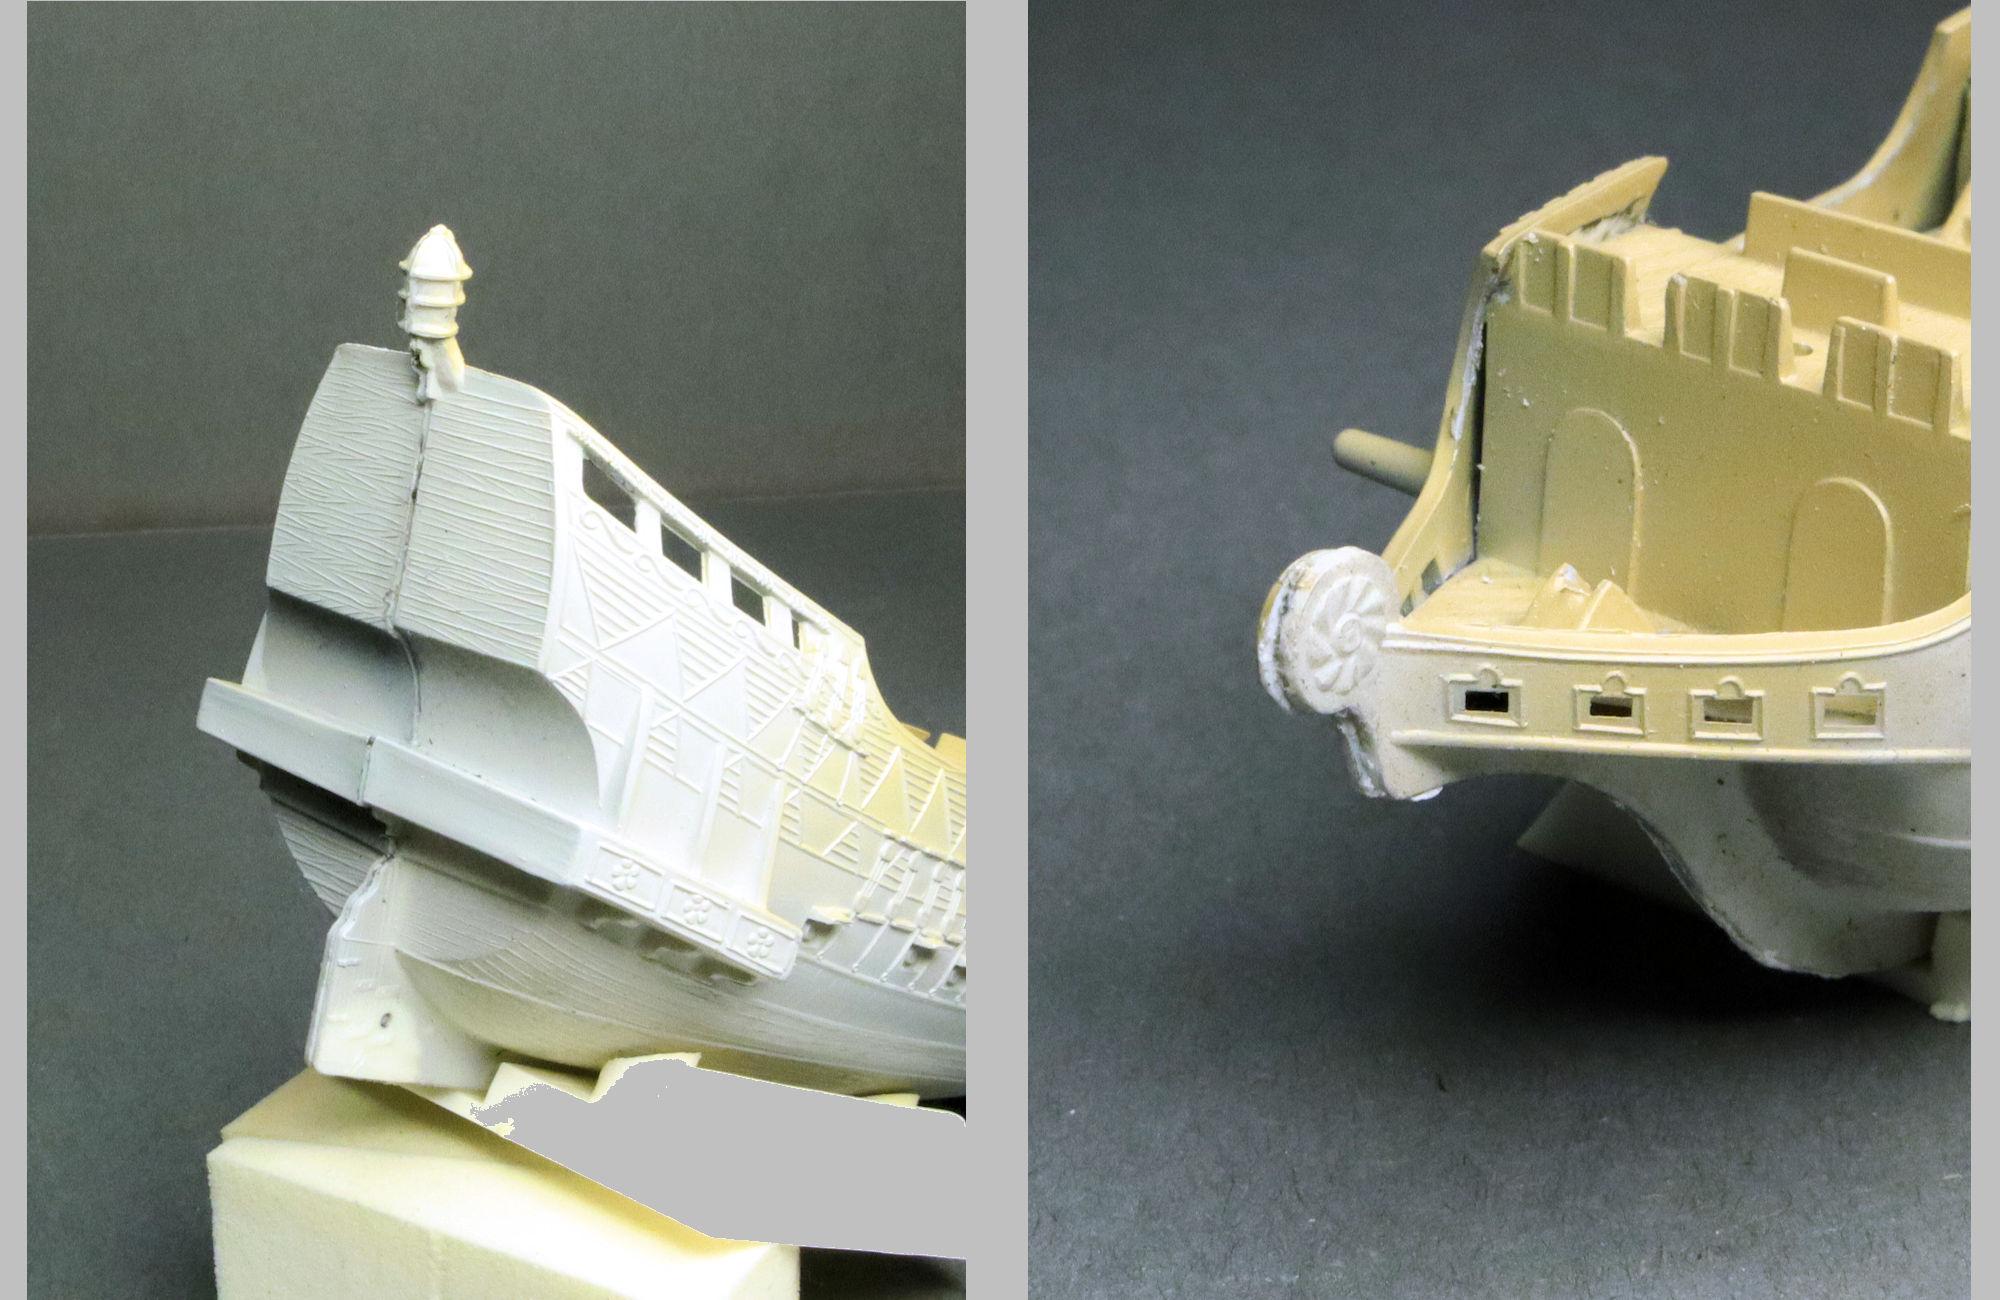
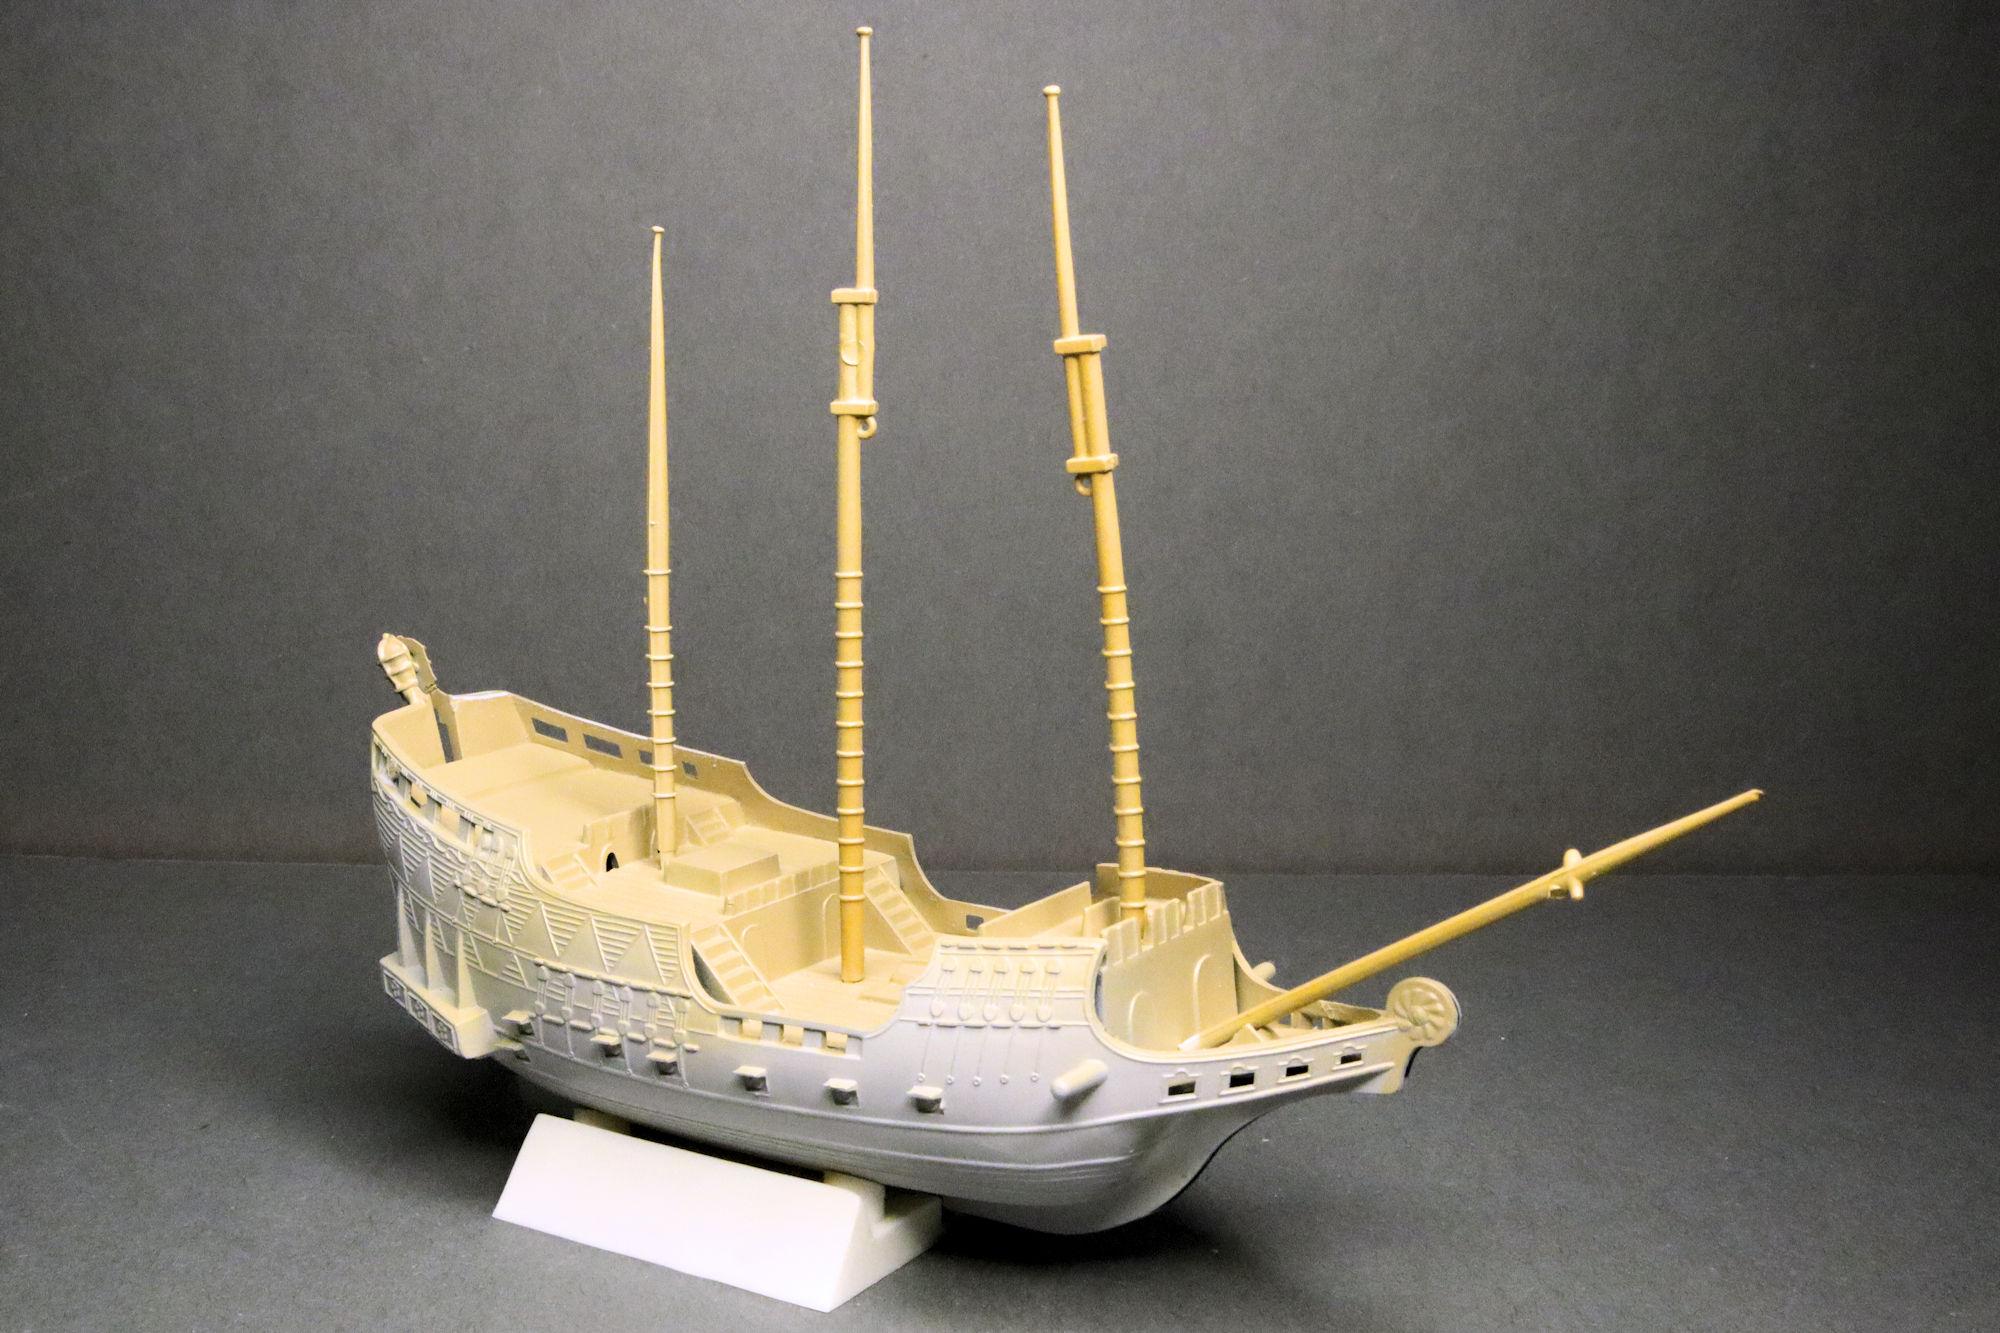
Hello Everybody! Work on the "Golden Hind" sailing ship progresses. Almost all of the most recent build session was spent getting the hull sections and deck as aligned as possible and glued together. Once the rubber bands came off, the bond was solid but there are issues I'll have to address. Aside from the obvious alignment problems, the textures on the two halves of the stern aren't even close to being similar! 😮 But at least most of the huge gaps between the deck and hull have been corrected... mostly. Maybe this kit wasn't the best choice for a first go at a sailing ship. Anyway, thanks for taking the time to look and please feel free to comment. David G.
-
Those look great Bob. It seems that having a 3D printer is the way to go these days. Maybe I'll look into getting one. David G.
-
Thank you sidcharles. It's nice to see that someone is paying attention, not everybody makes it to the signature line. Thank you Michael. I've always believed in sharing good ideas, sometimes even when people don't necessarily want me to Thanks Bob. So far it does seem to be one of Revell's better kits. I'll have to have a look for your WIP on it... maybe I can steal some ideas. Thank you David. It does seem like it'll be a fun build. Thank you kindly Greg. Thanks again to everybody who took the time to comment. David G.
-
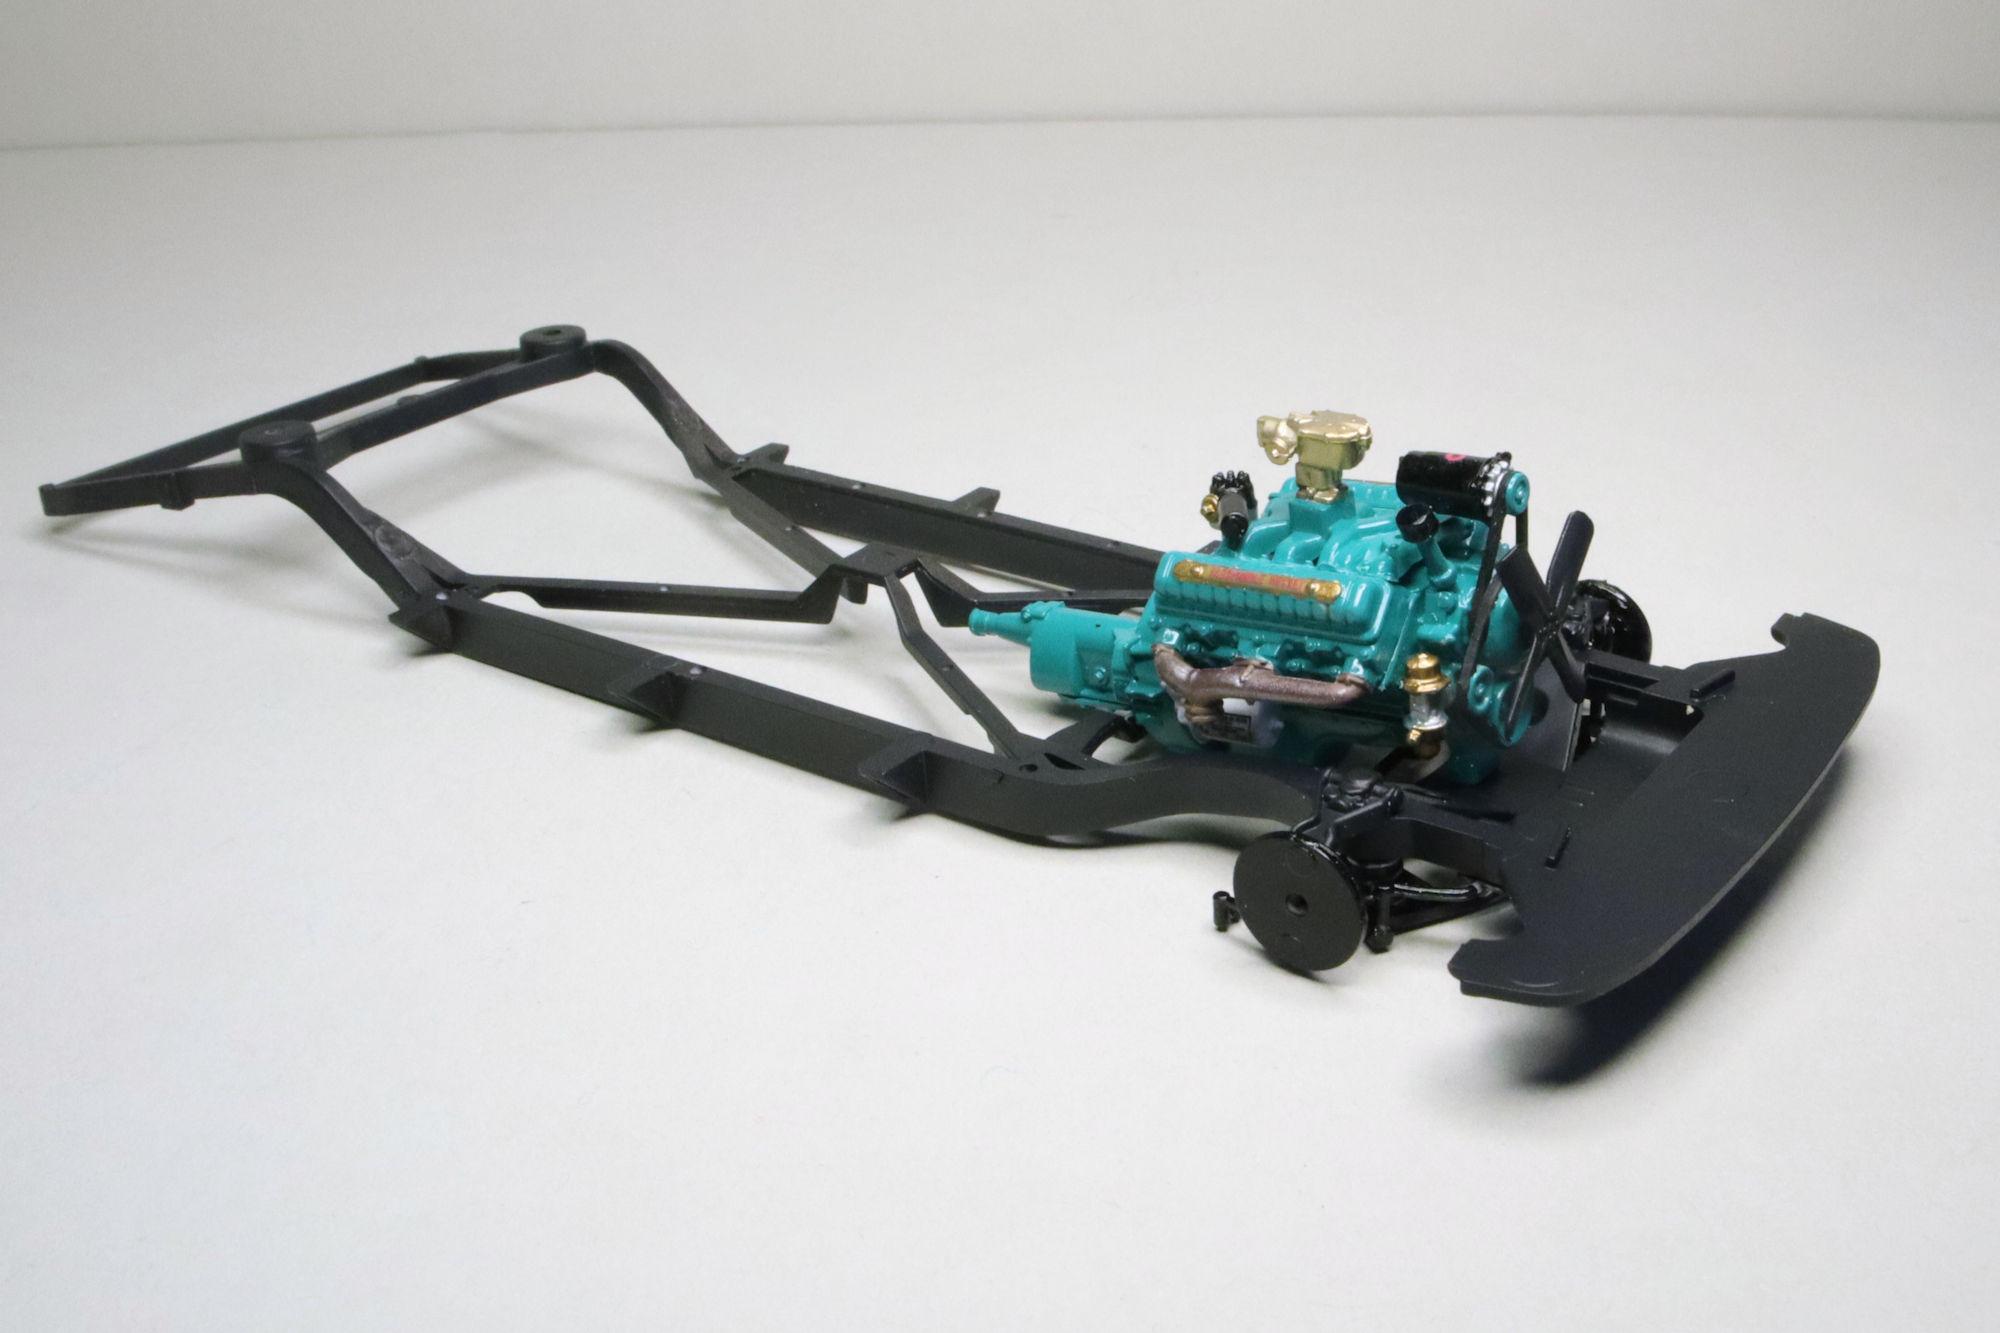
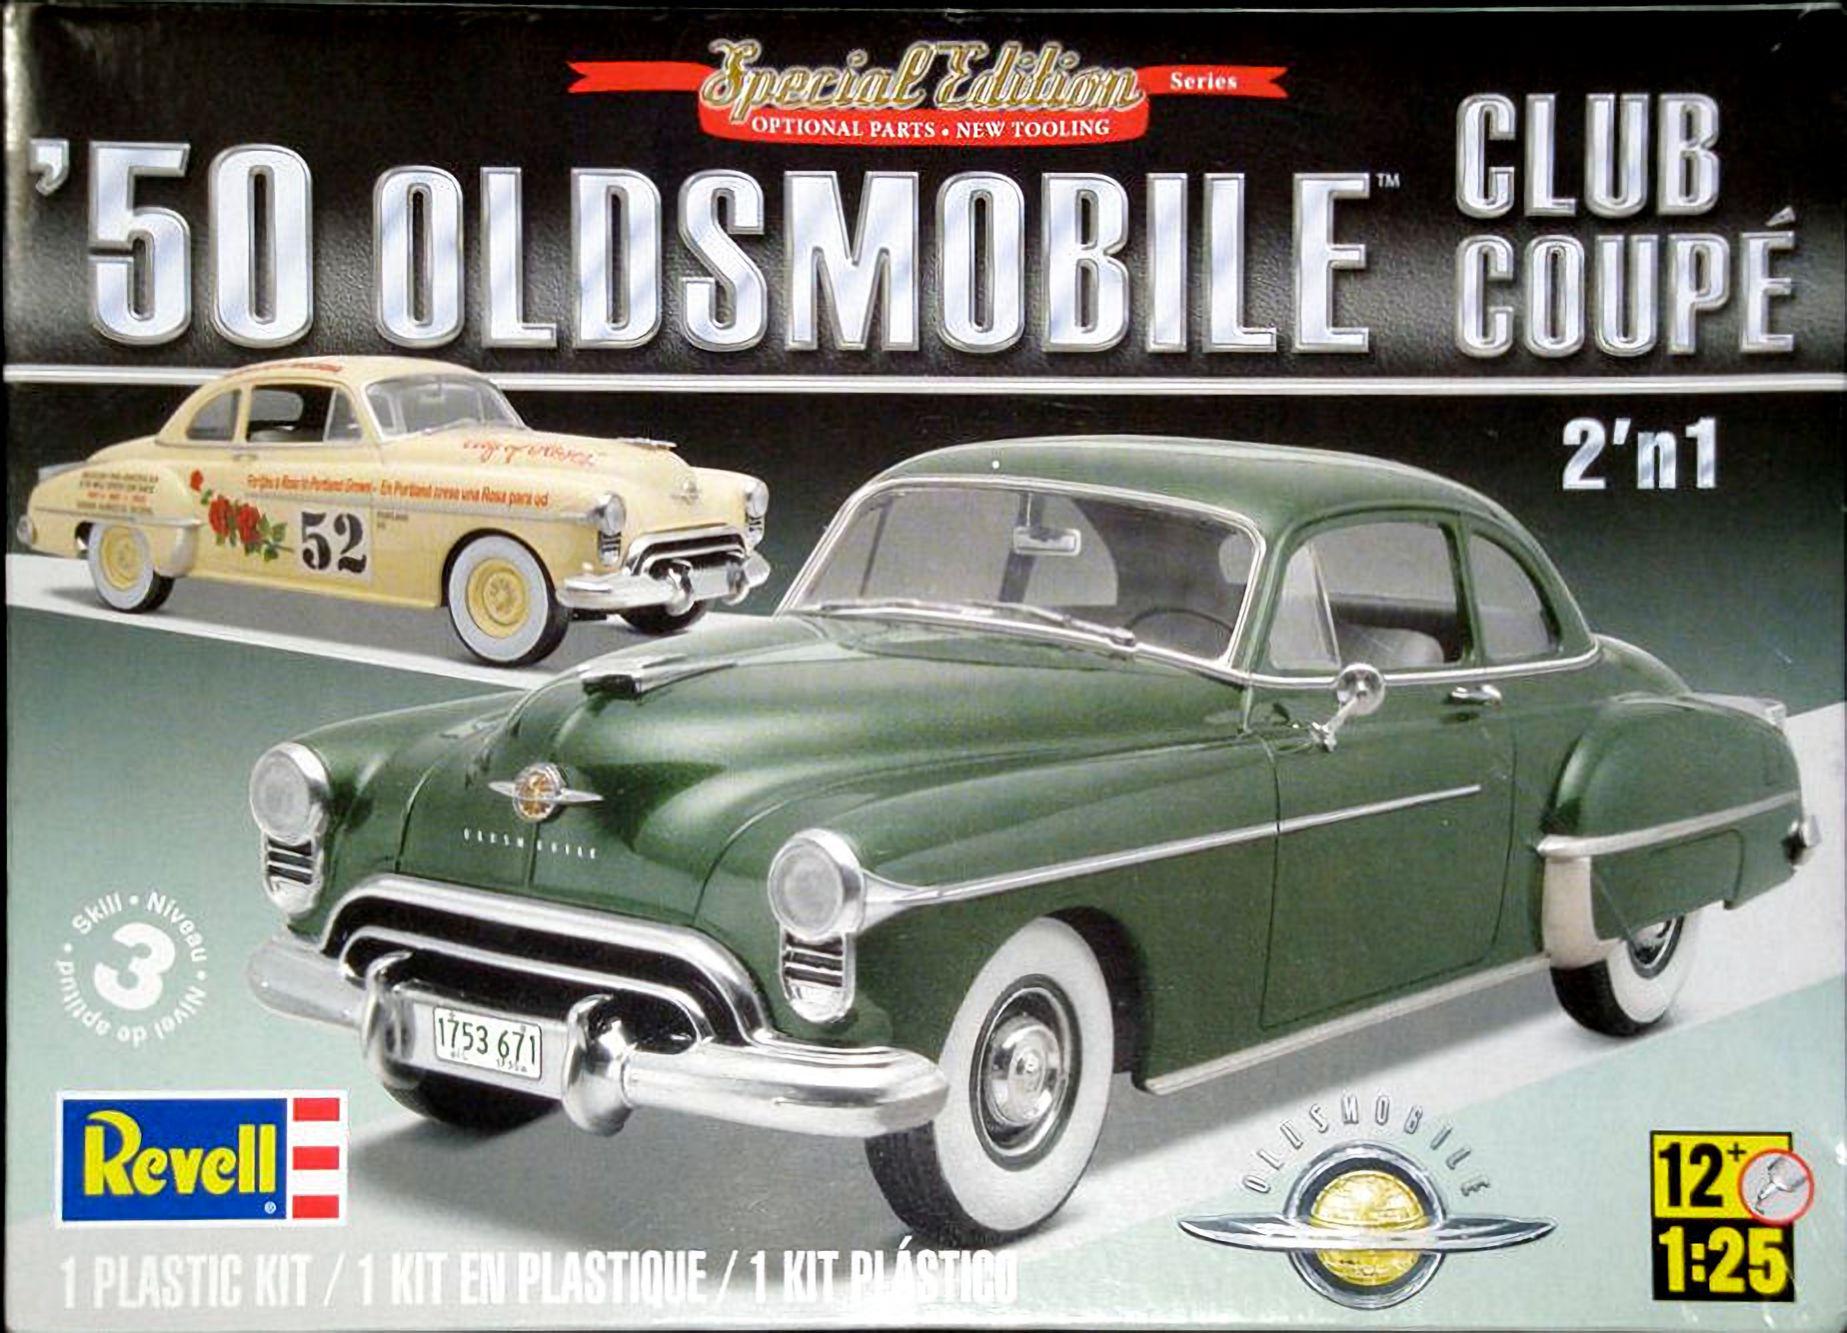
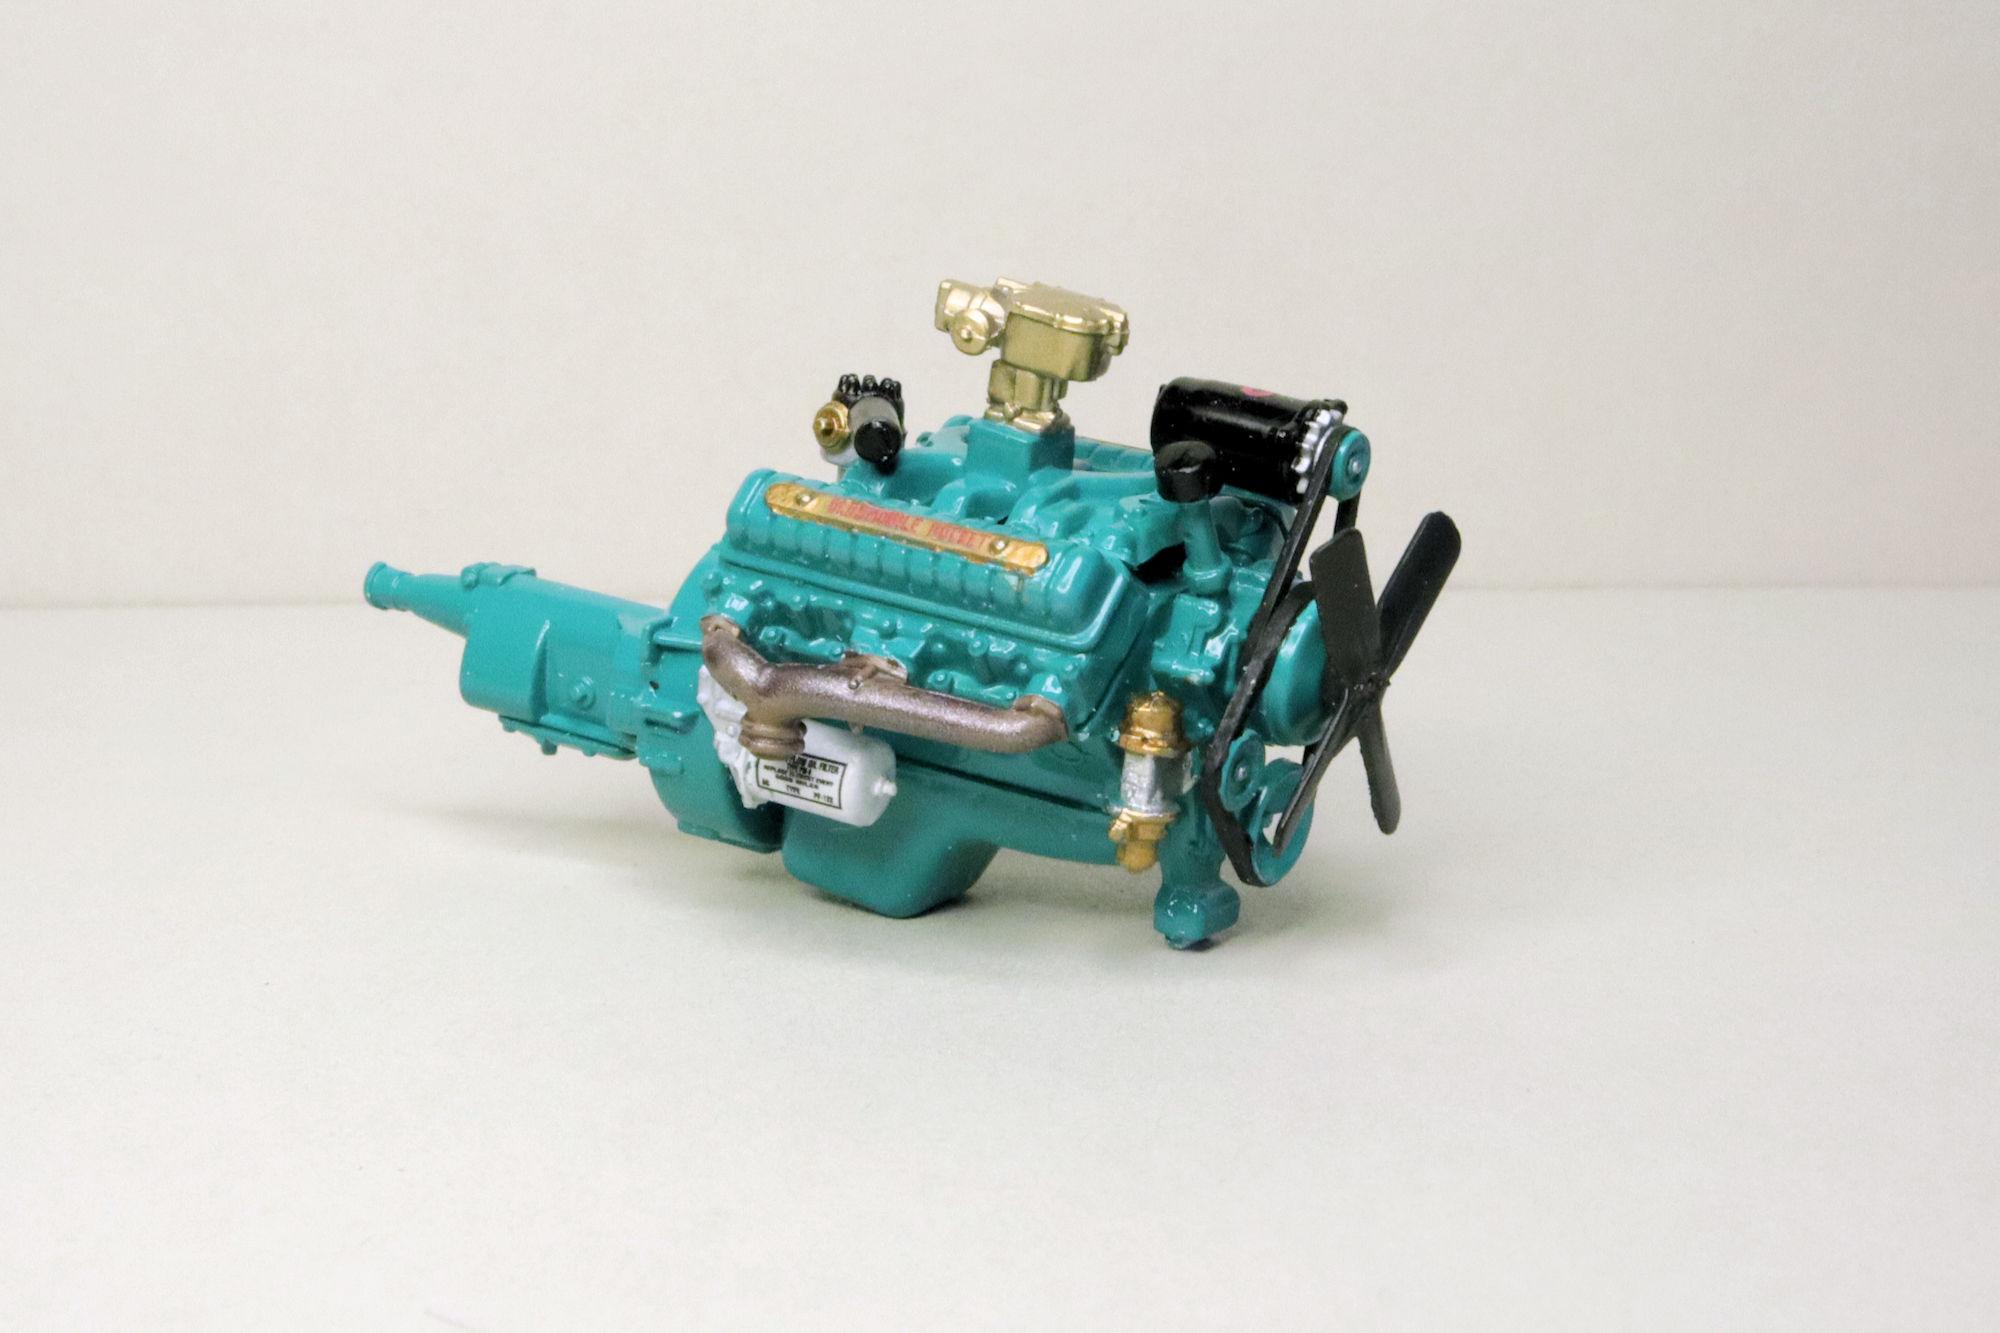
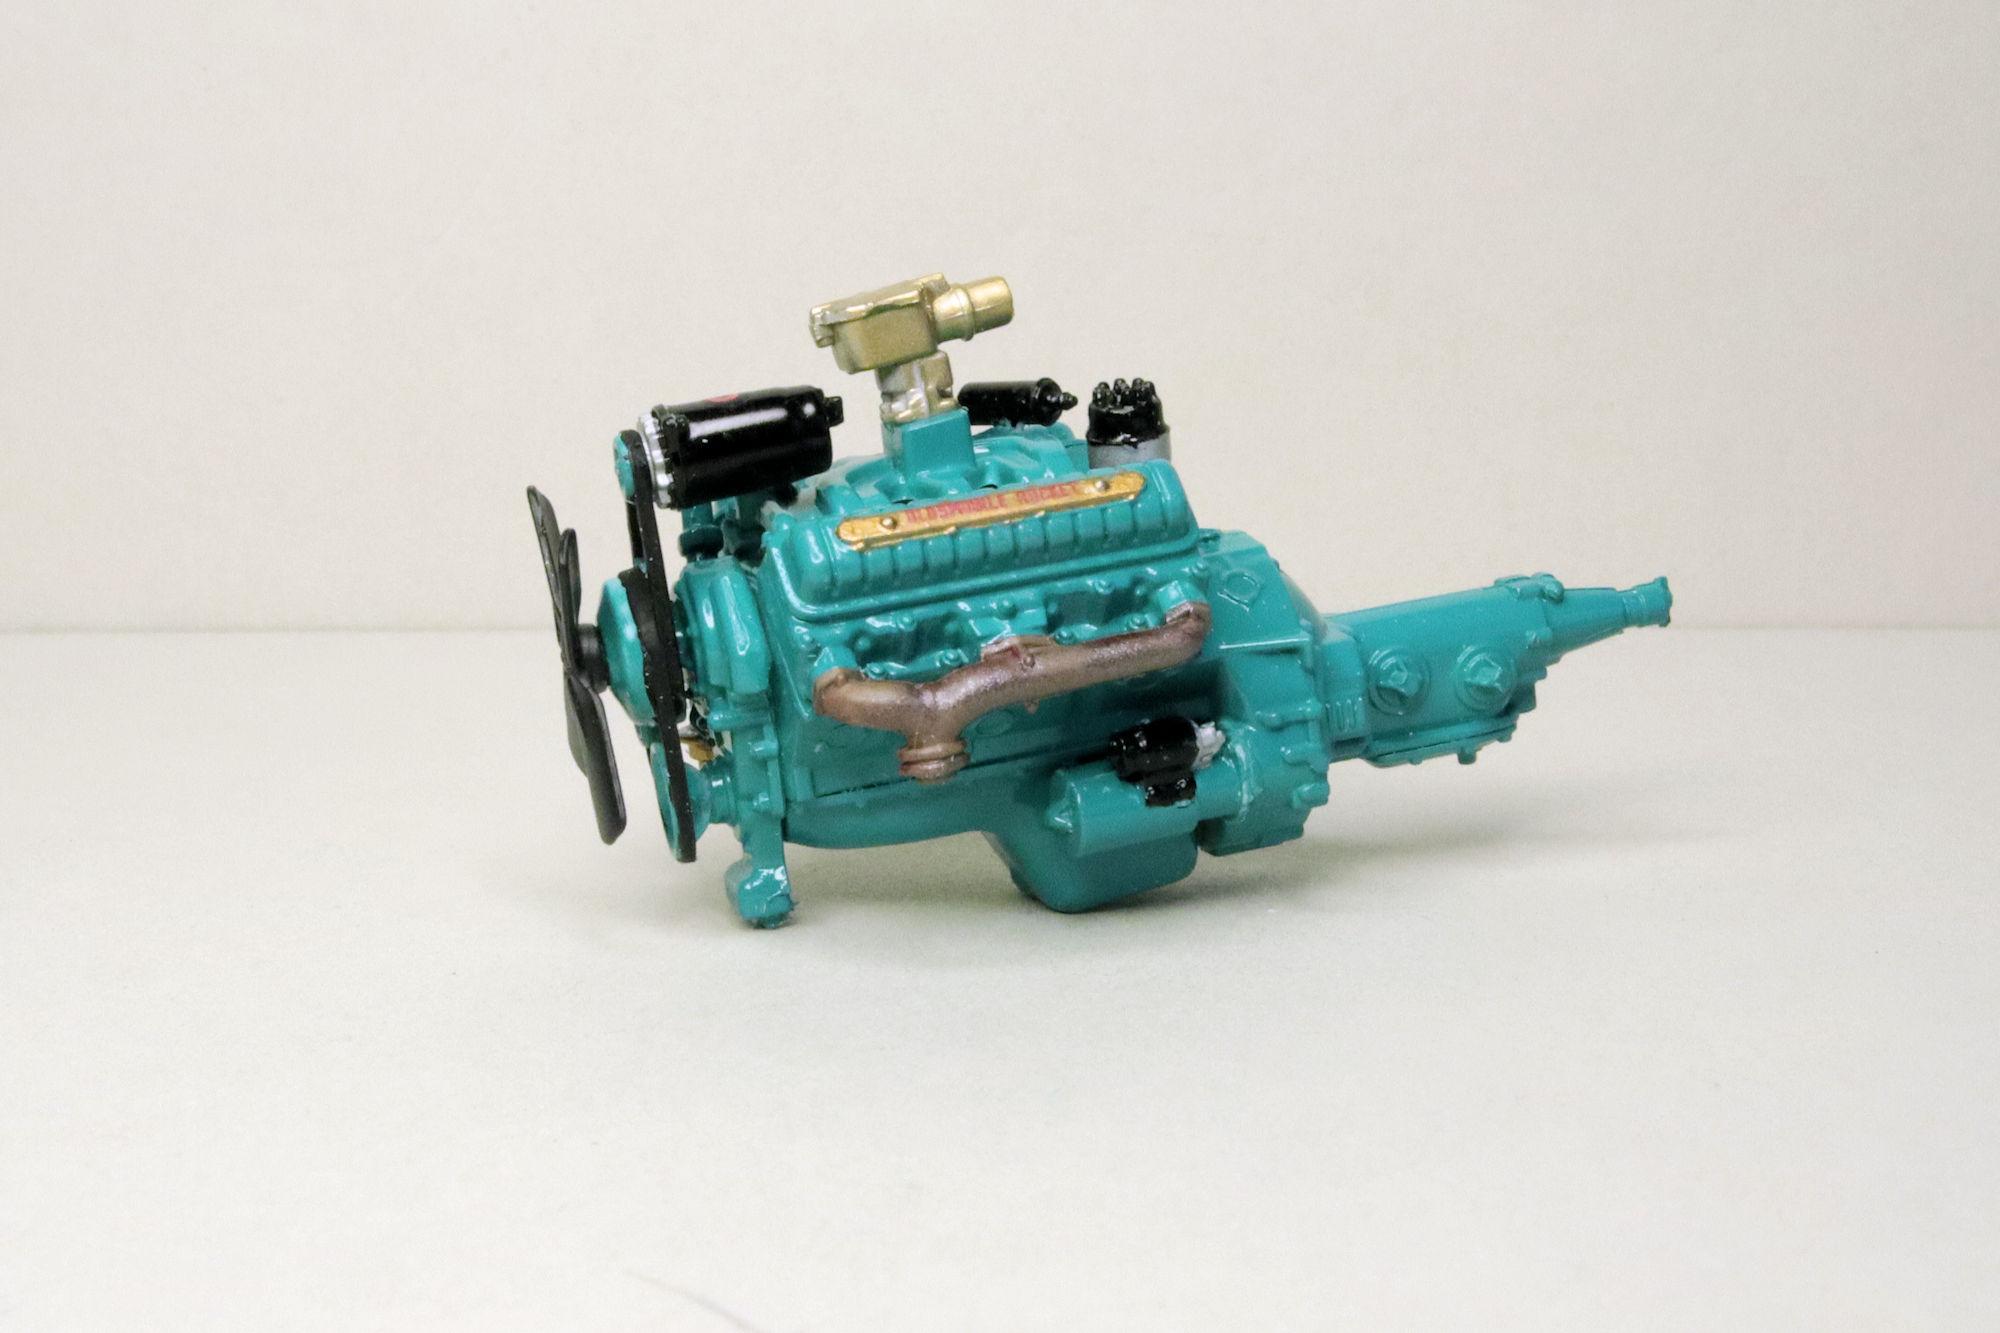
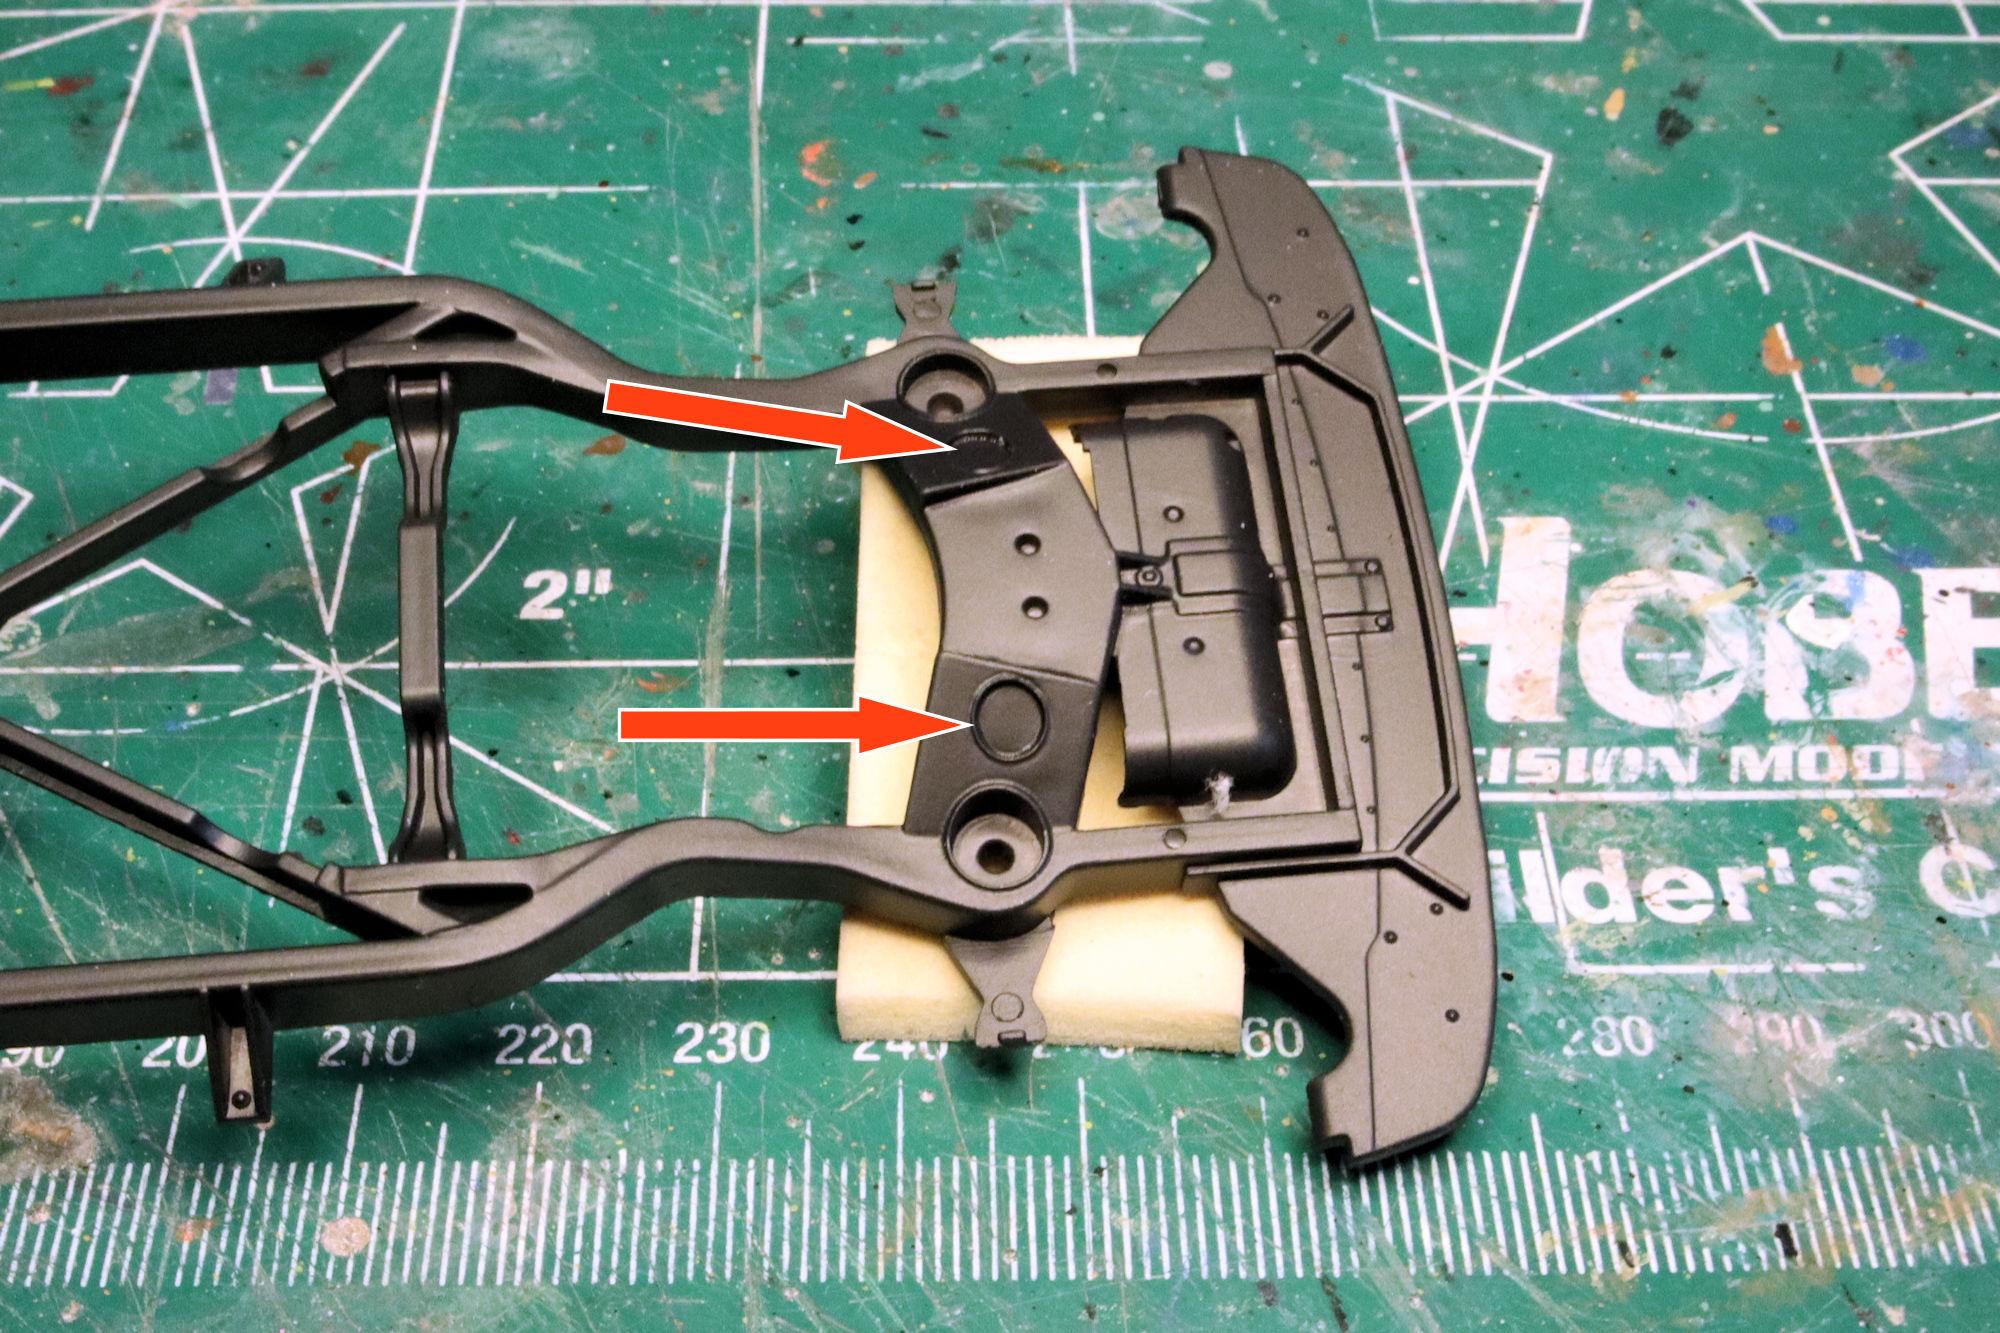
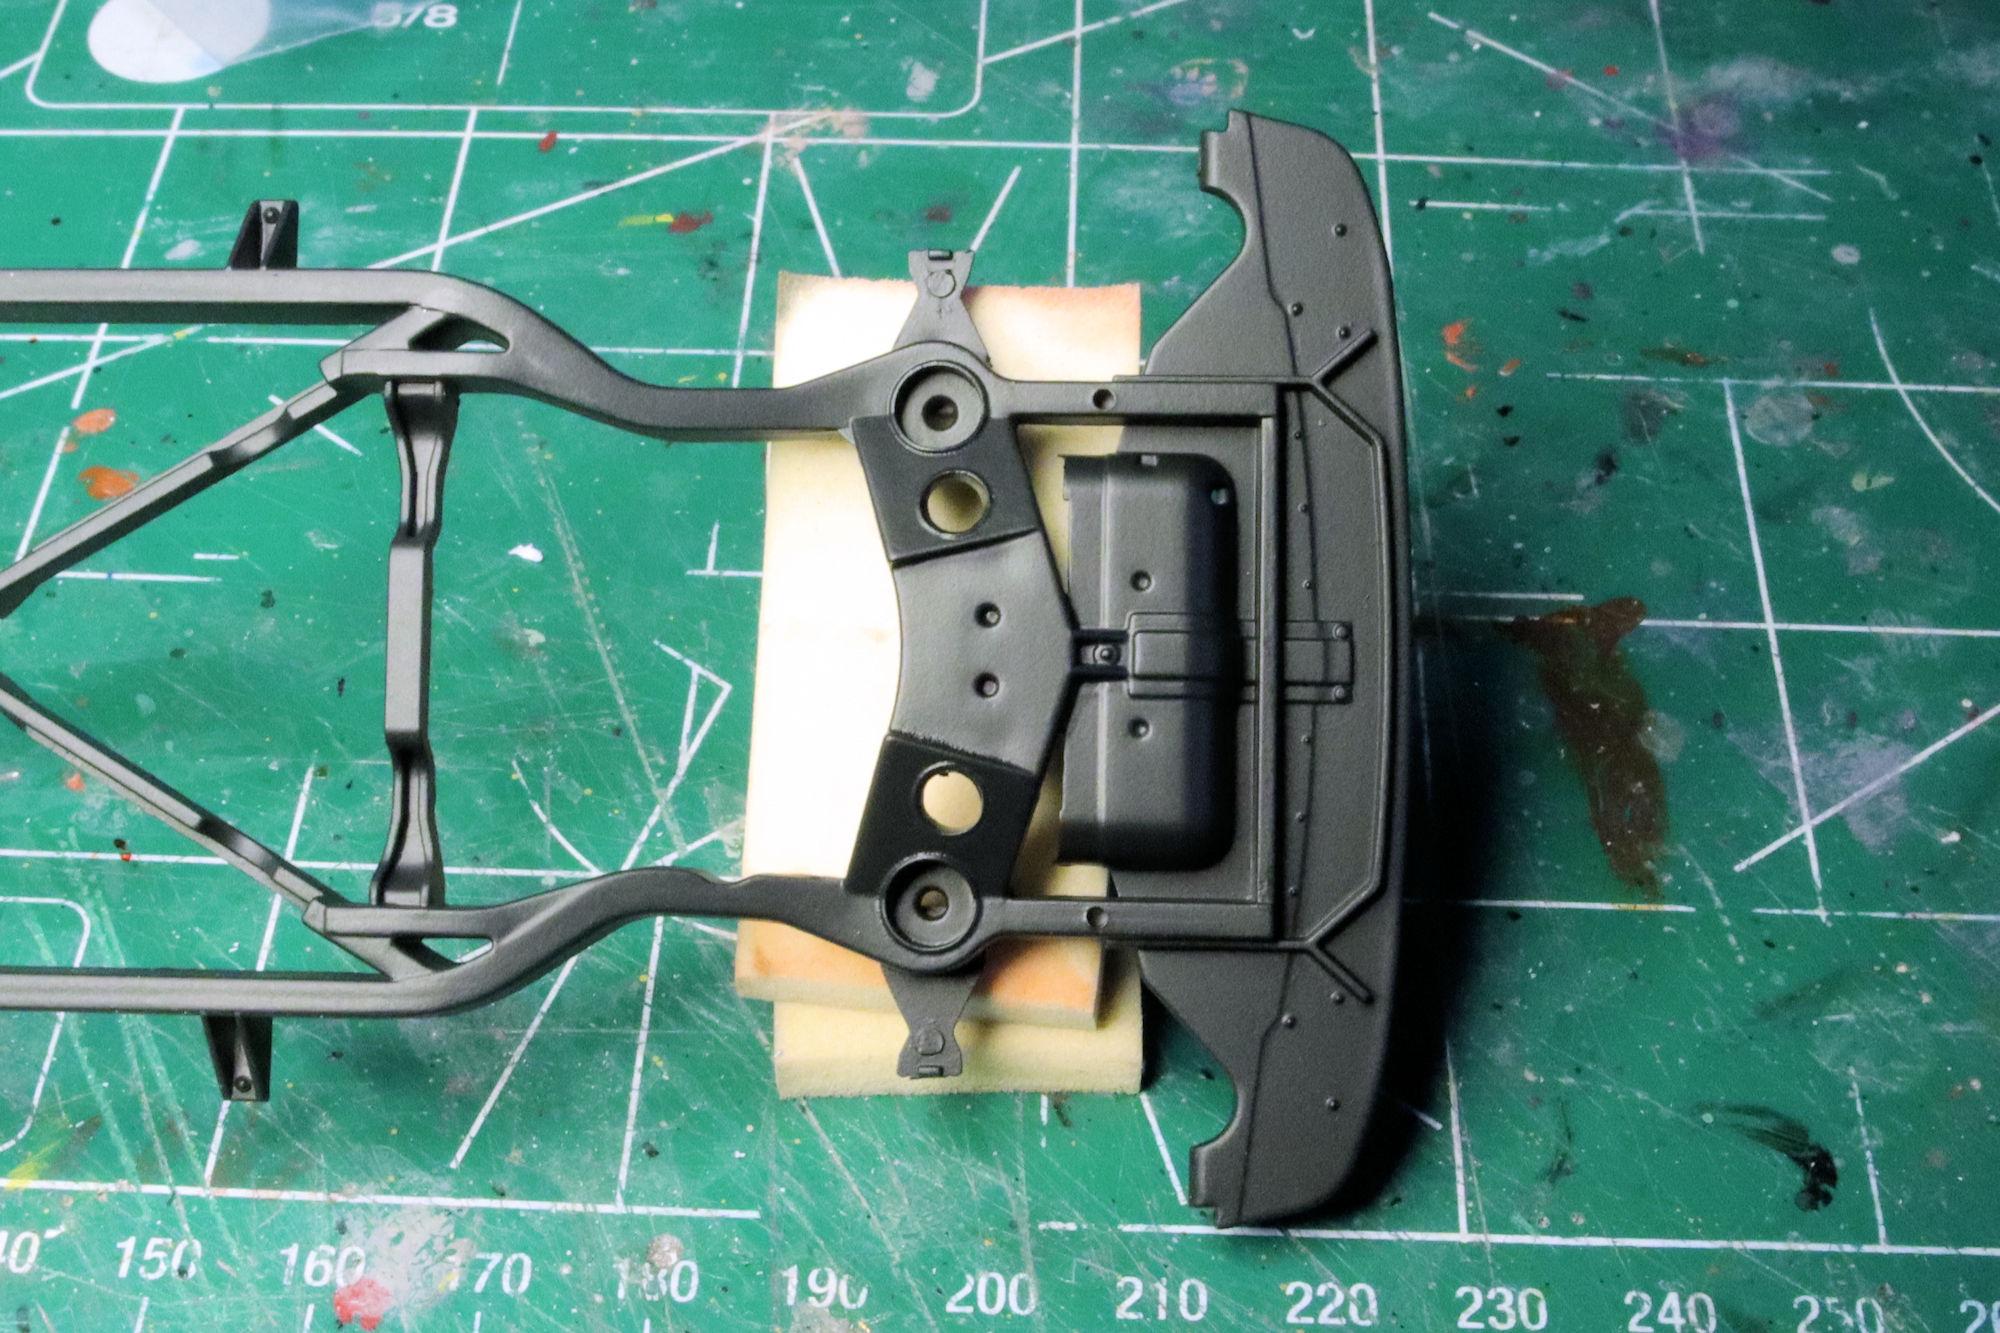
Hello Everybody! I've been working on this one for a couple of days and I felt that it's time to release it into the wild. This is Revell's 1950 Oldsmobile Club Coupe, it can be built one of three ways. First is stock, which would be my usual choice. Option two is a replica of the winner of the 1950 Pan American Road Race. I have to admit that did I seriously considered this building one. And finally, (not pictured on the box) there's a traditional Stock Car, pre-NASCAR. This goes back to the old ASCA (American Stock Car Association)- from the early days. Back when Stock Car racing used... stock cars. This is the version I chose. In just a couple of build sessions I have the engine completed. Revell provided decals for the generator, oil filter and valve covers. My research revealed that these two indentations on the frame should actually be holes. Now they are. There are other holes and pass-throughs in this area but they aren't really modeled well enough to work with. The assembled engine mounted to the frame with most of the front suspension in place. As always, thanks for taking the time to look and please feel free to post any comments, hints or suggestions you may have. David G.
- 58 replies
-
- 15
-

-

-
Wow Bob! That's more shiny than shiny should be allowed to be! Super looking paintjob. David G.
-

Revell's Peterbilt 359: WIP
David G. replied to David G.'s topic in WIP: Model Trucks: Big Rigs and Heavy Equipment
Thank you Dan. =D- -

Revell's Peterbilt 359: WIP
David G. replied to David G.'s topic in WIP: Model Trucks: Big Rigs and Heavy Equipment
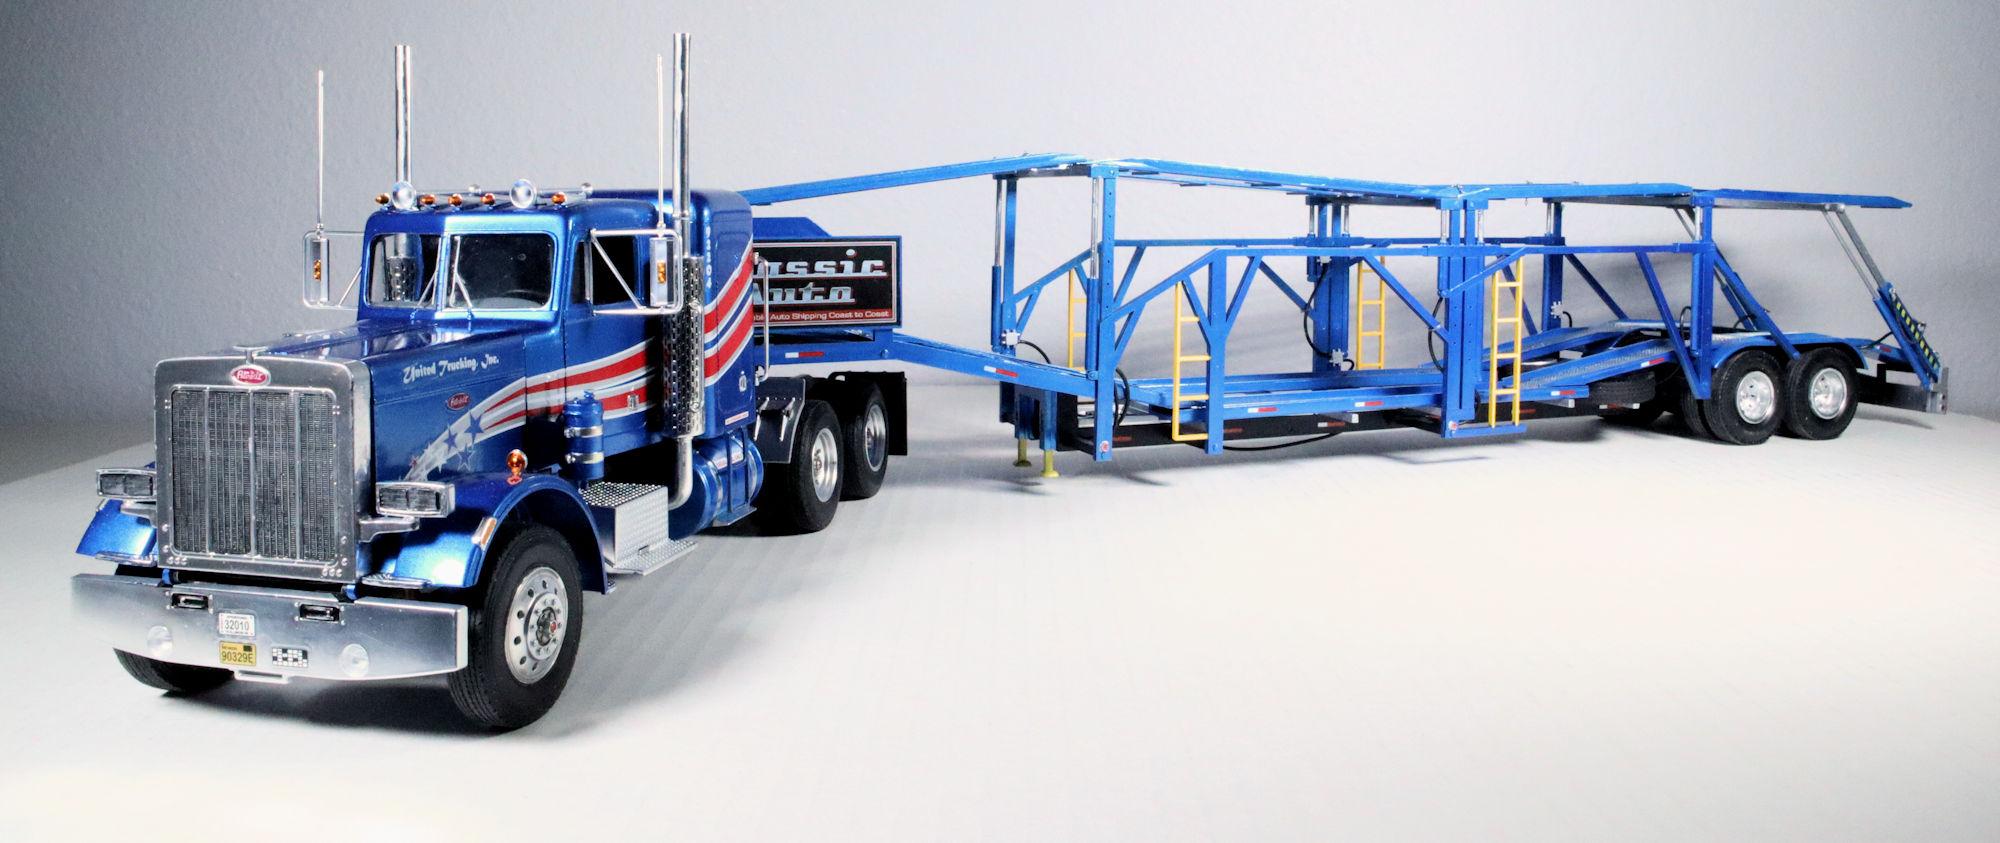
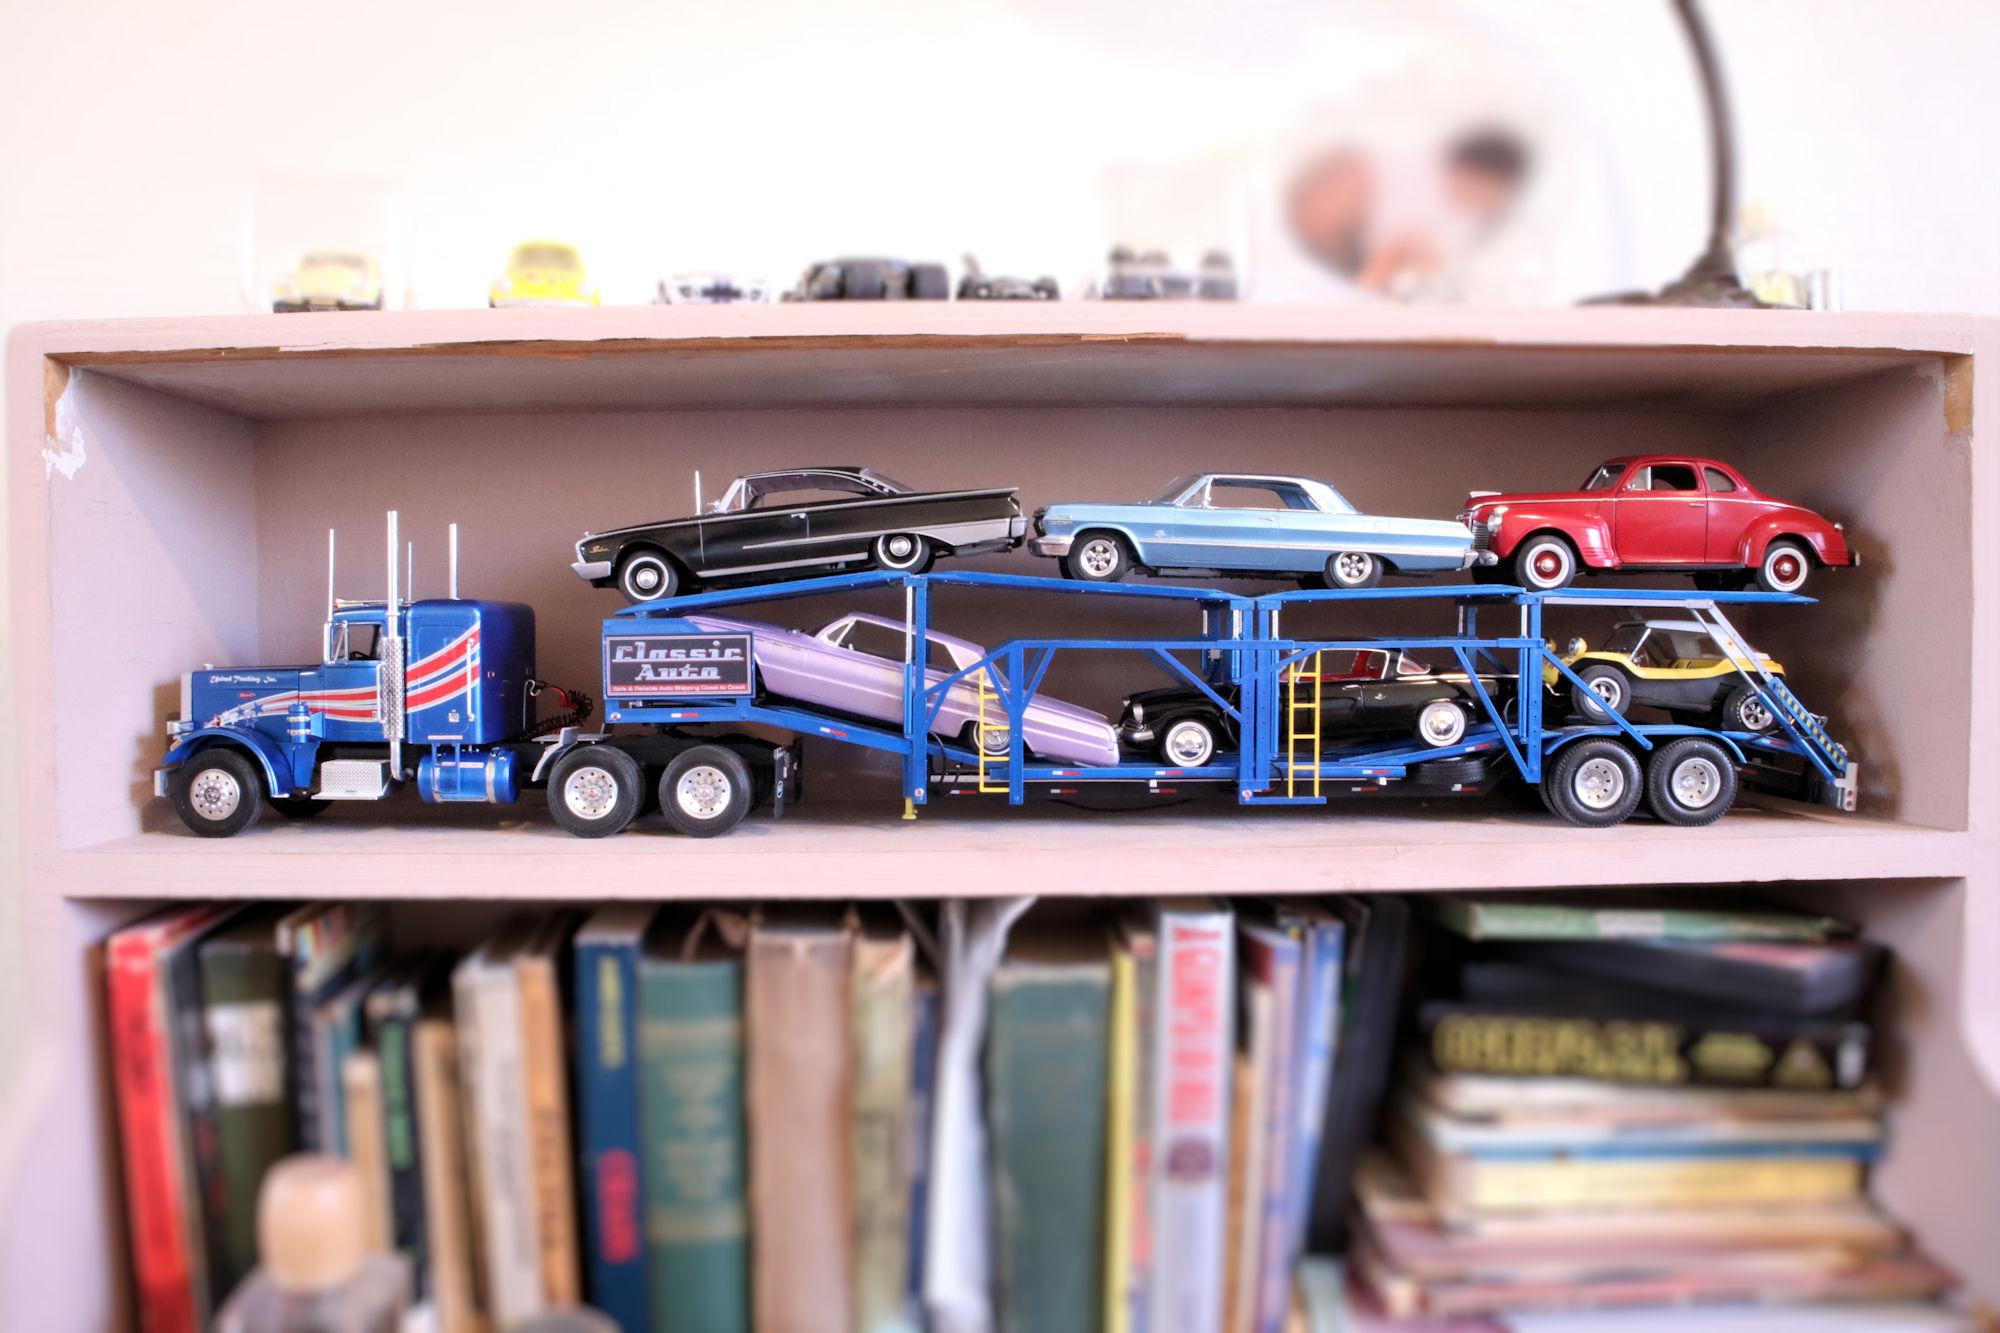
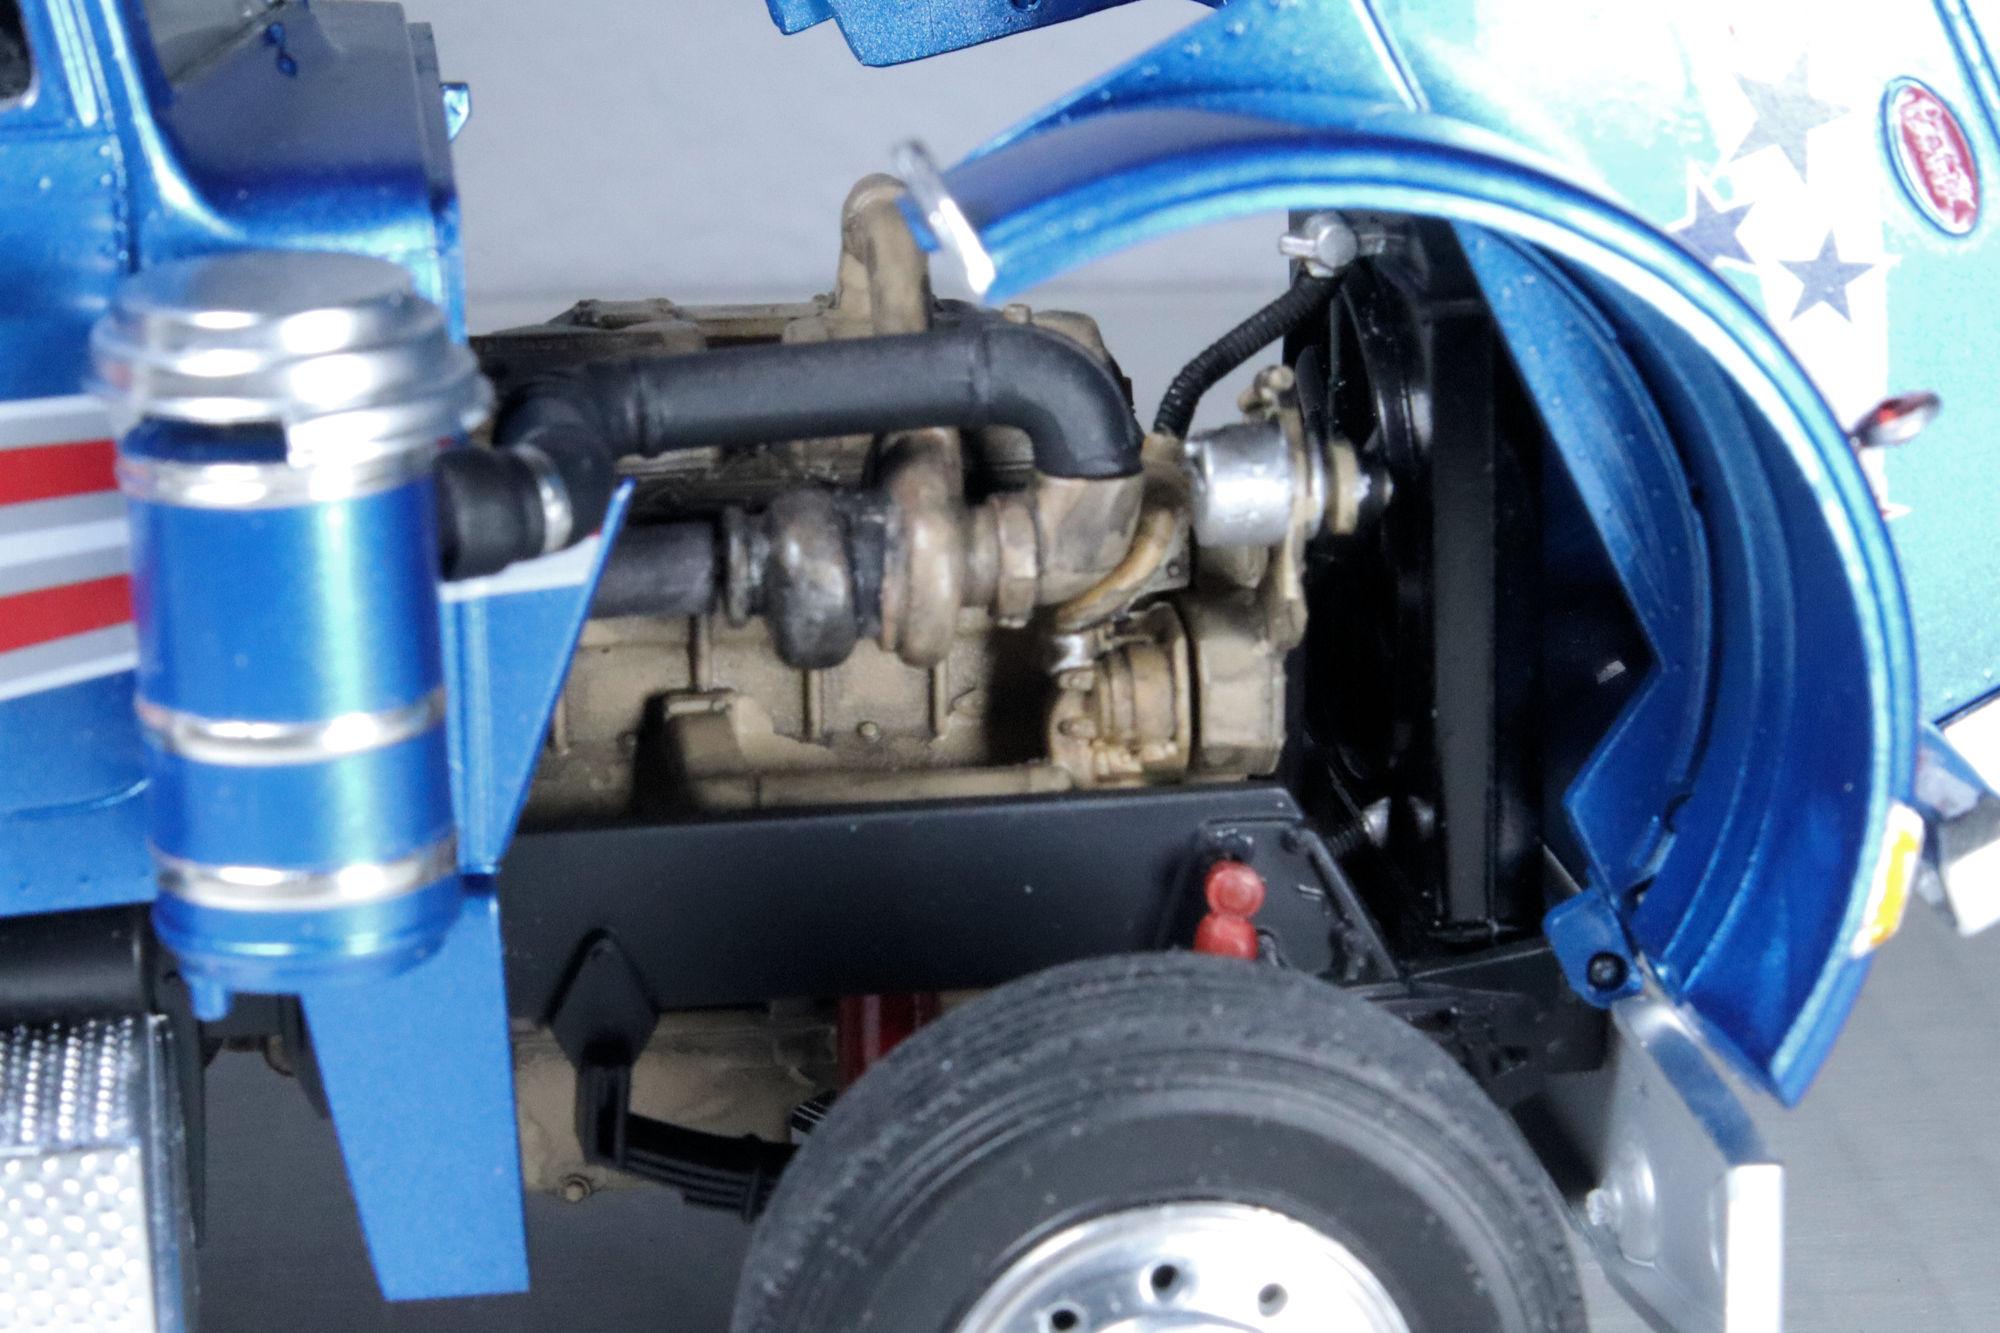
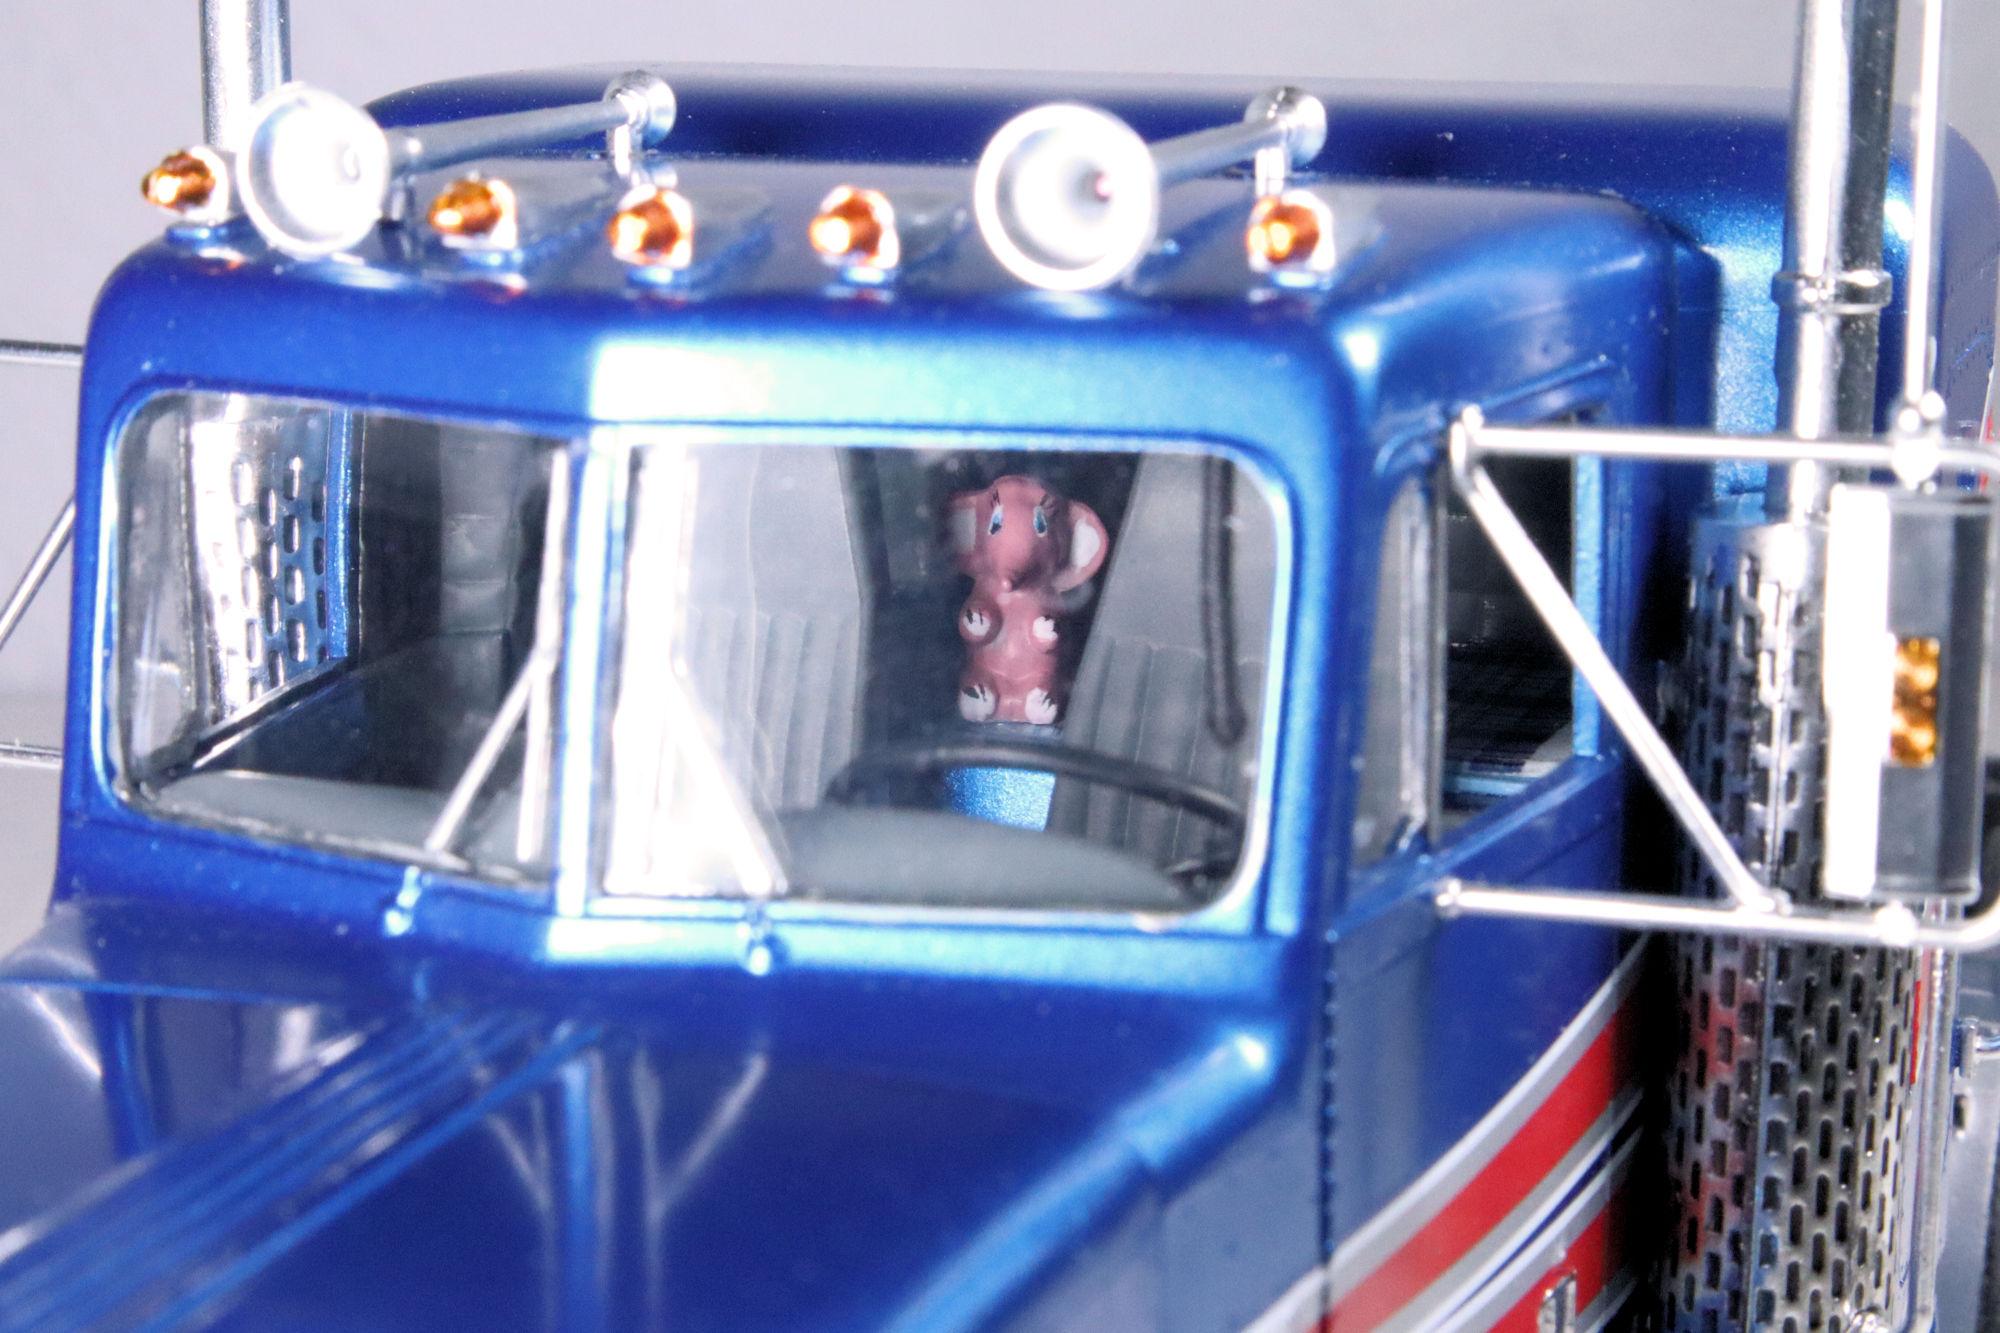
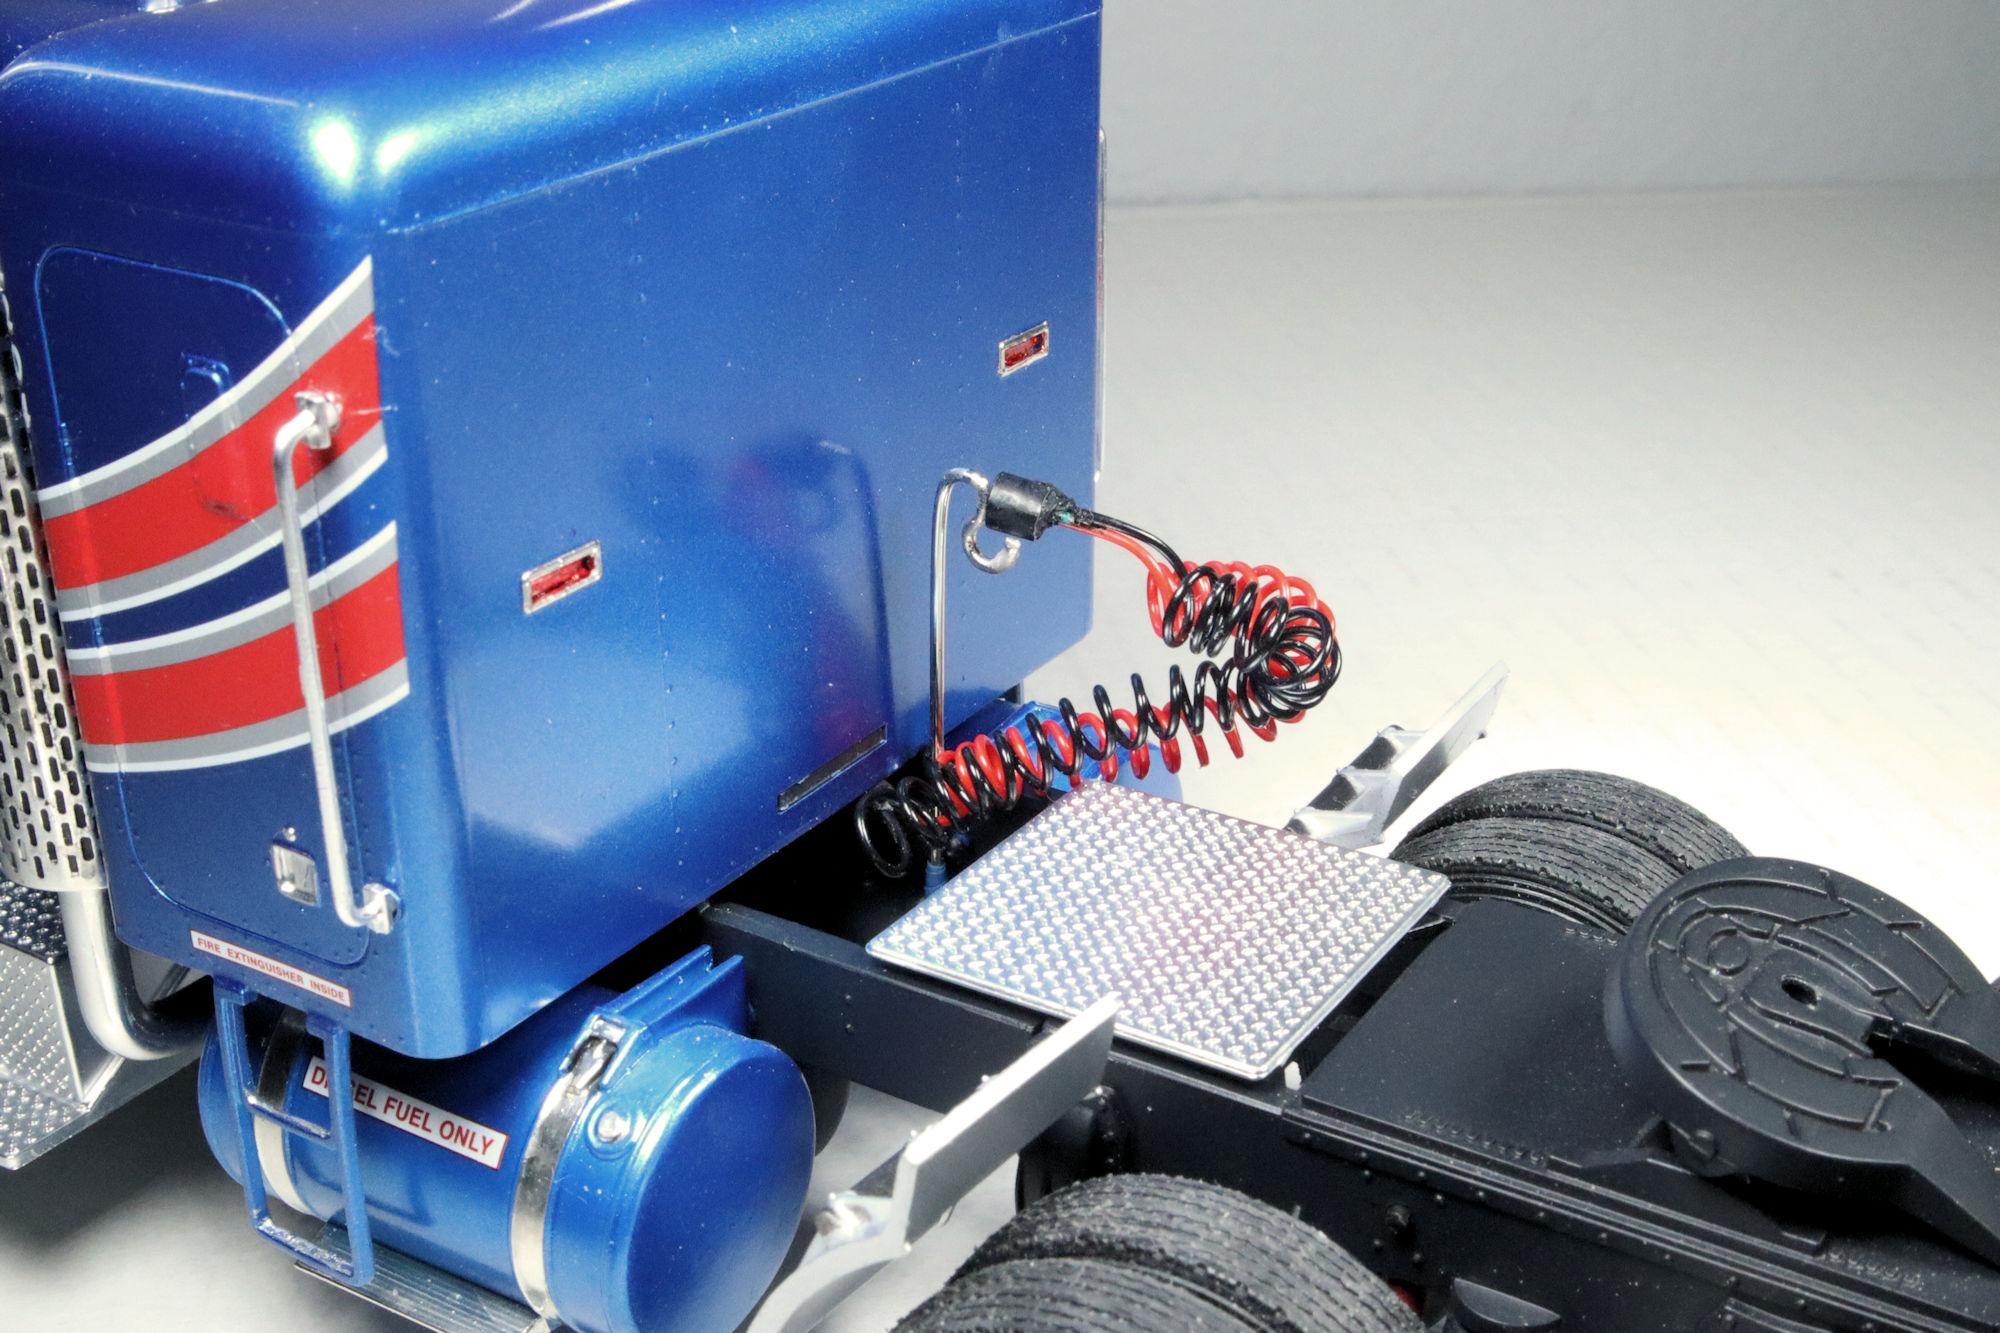
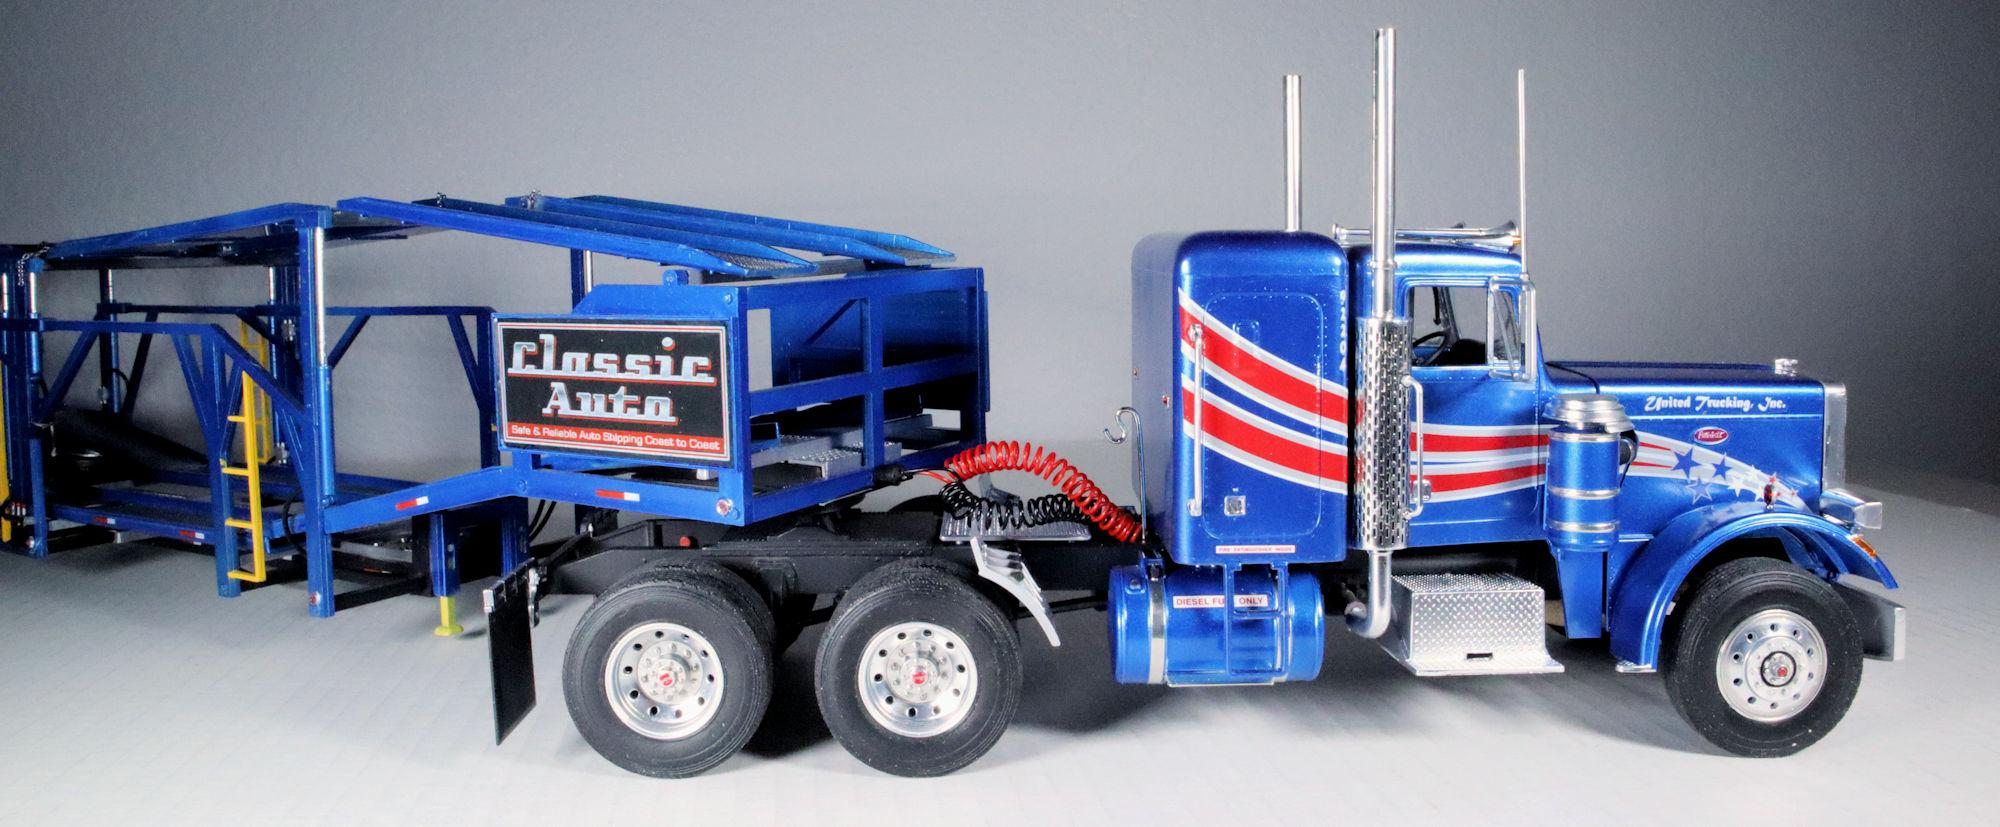
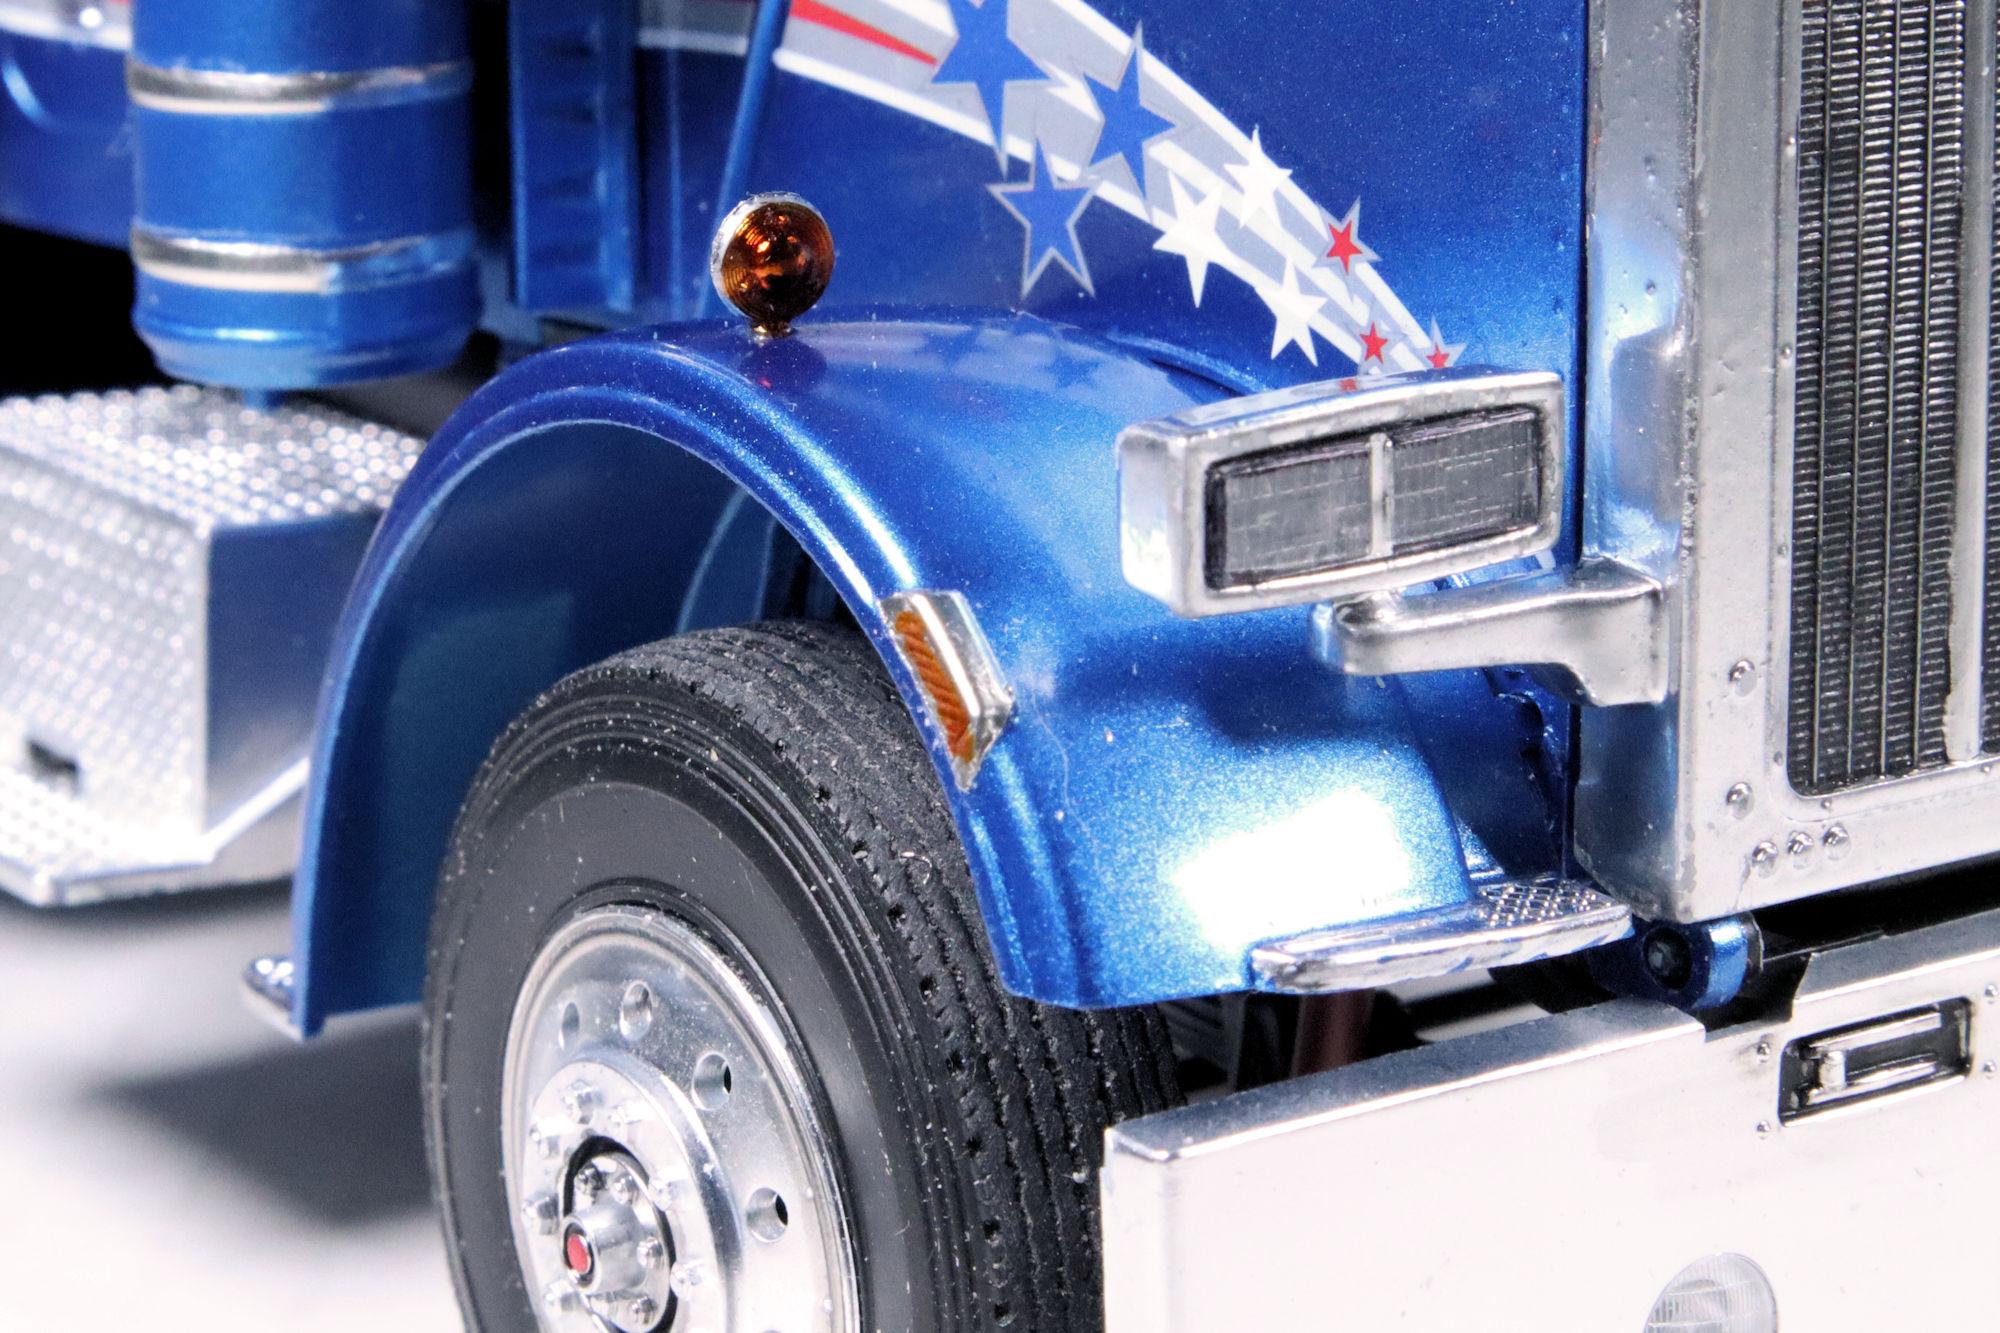
Hello Everybody! Here's the final photo set for the Peterbilt 359, thanks for your patience. I almost completely missed these little marker lights on the fenders! I discovered them while I was doing the final cleanup. I applied some BMF and a little transparent amber paint to give them a proper finish. This kit does have an engine... there it is. I decided to add a little travelling companion to the bunk area. Here's a more detailed shot of the connectors I added. The connector lines attach to the trailer with magnets. This is the full rig with Revell's Auto Transport Trailer as companion. And what's the reason that we want to build an auto transport trailer tractor-trailer rig? Why, to load it with model cars, of course! My traditional Display Case photo is actually a bookcase photo. This is the one place that I have to display this monster safely. I do have plans to dress things up a bit to make a more suitable display area. As always, thanks for taking the time to look and please feel free to share any comments you wish to post. David G. -

Revell's Peterbilt 359: WIP
David G. replied to David G.'s topic in WIP: Model Trucks: Big Rigs and Heavy Equipment
Thank you very much Dan. David G. -
Great color Bob! If that doesn't cover that pesky red plastic, nothing will! David G.
-
Ah, it looks like building codes may be a little different in the UK than here in the States. This is more the image I had in mind... Same idea I think, different execution. In the US these vents rise straight up within the wall from where the fixture feeds into the soil pipe. So there are usually several on every roof, pretty much one for each plumbed room. The ones in your photo look like they would vent the common soil pipe where it feeds into the sewer main. Which is probably more efficient in some ways. Isn't interesting? The rabbit holes that such a build takes one down into? Cheers my friend, enjoy the build! =D-
-
Hey no worries Anton, it was just a thought that occurred to me in the moment. It's your build and your vision, it has to work for you. Great detail work on the figures. Painting figures in this scale is tricky to say the least and those look great. David G.
-

Revell's Peterbilt 359: WIP
David G. replied to David G.'s topic in WIP: Model Trucks: Big Rigs and Heavy Equipment
Hello Everybody! This one is now officially completed and has its own post in the Under Glass section. Thanks to all of you who followed along and offered your support through your comments. David G. -
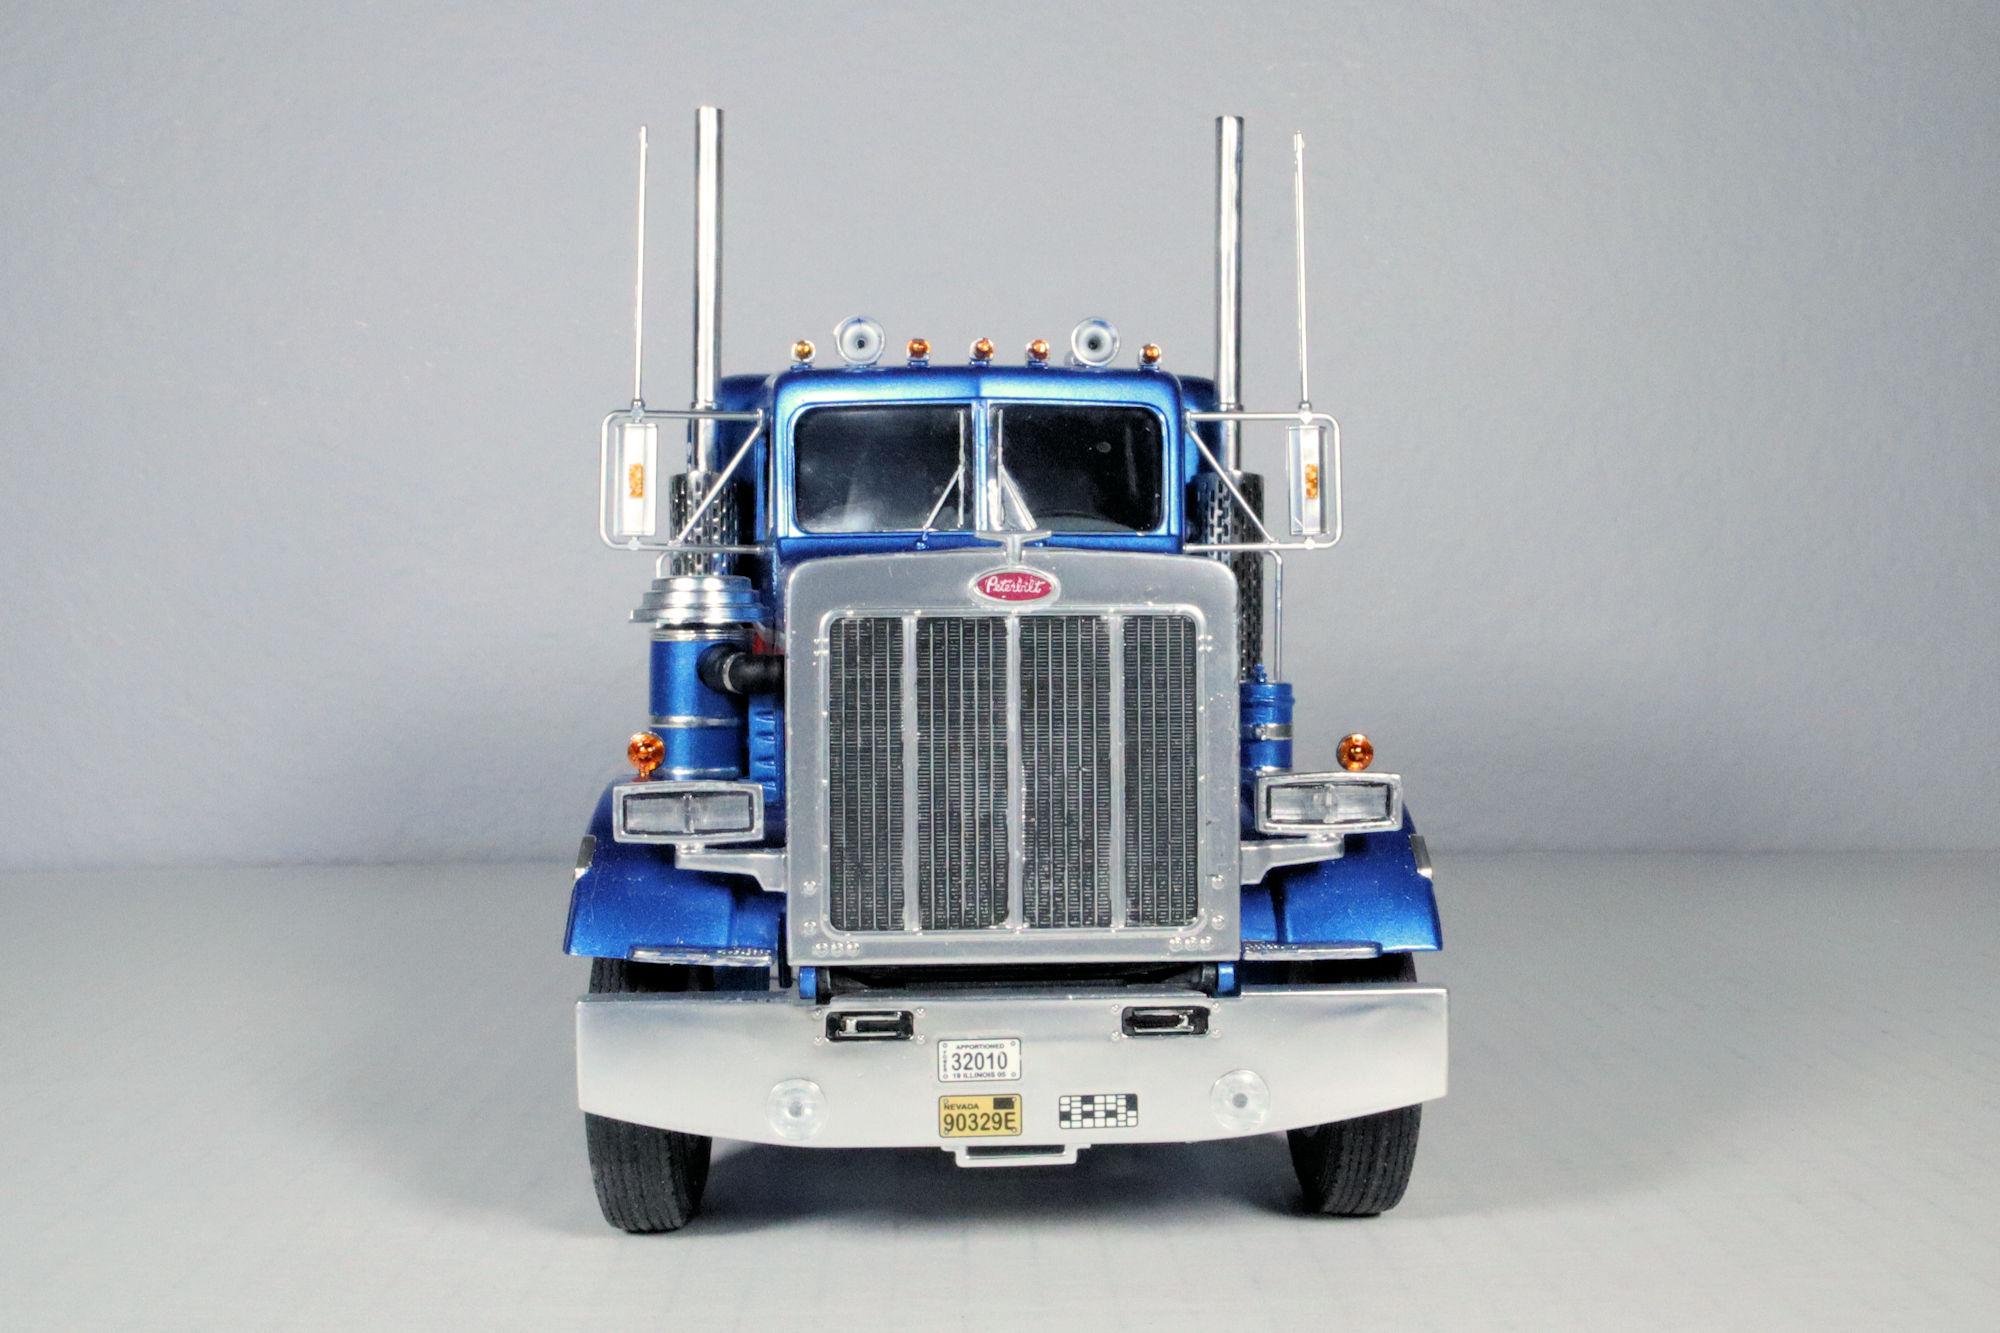
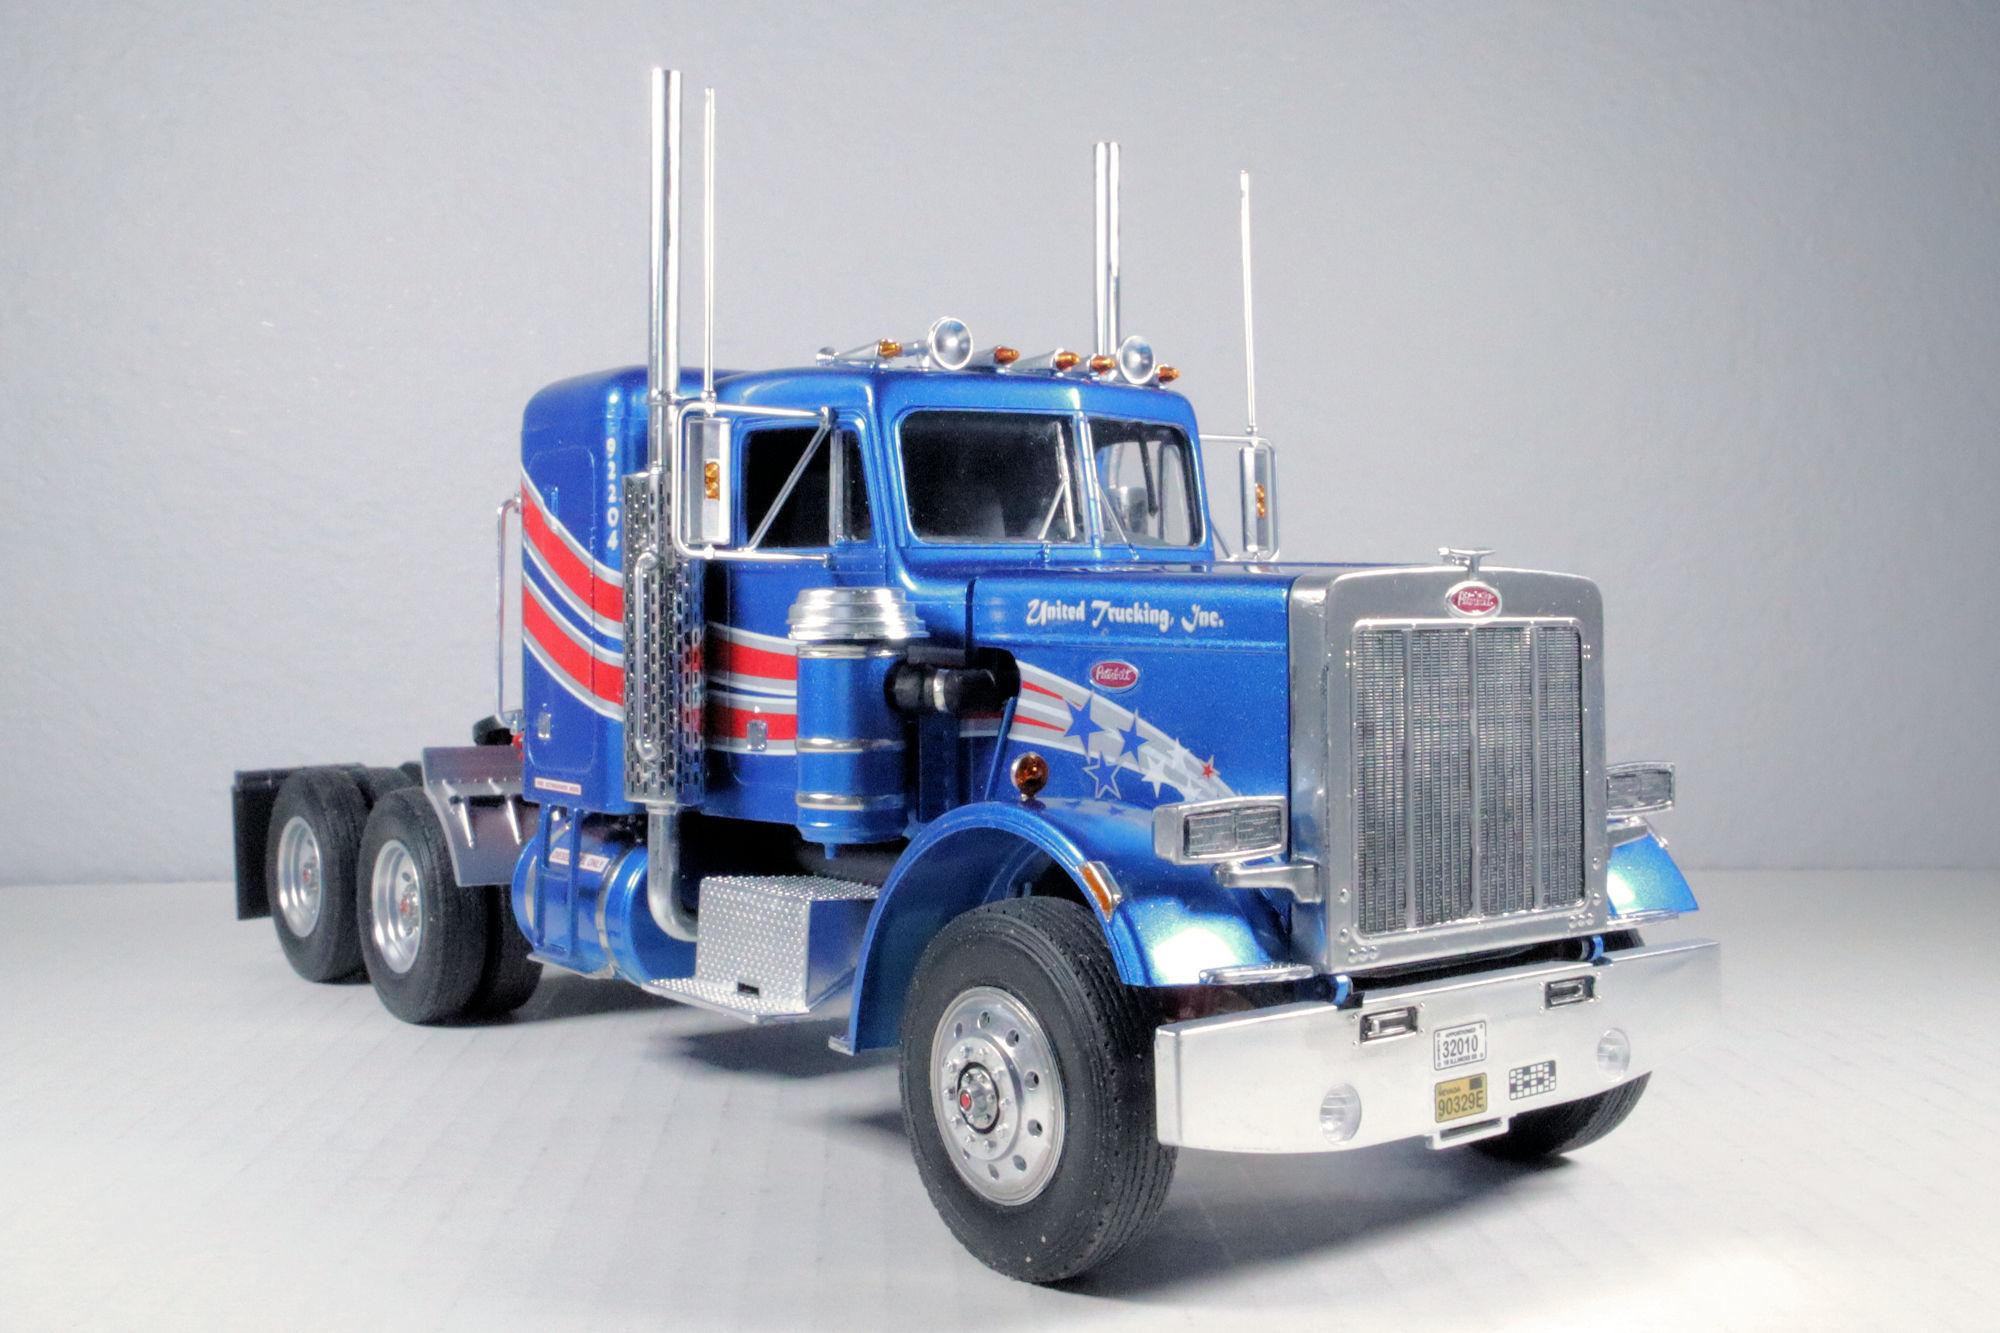
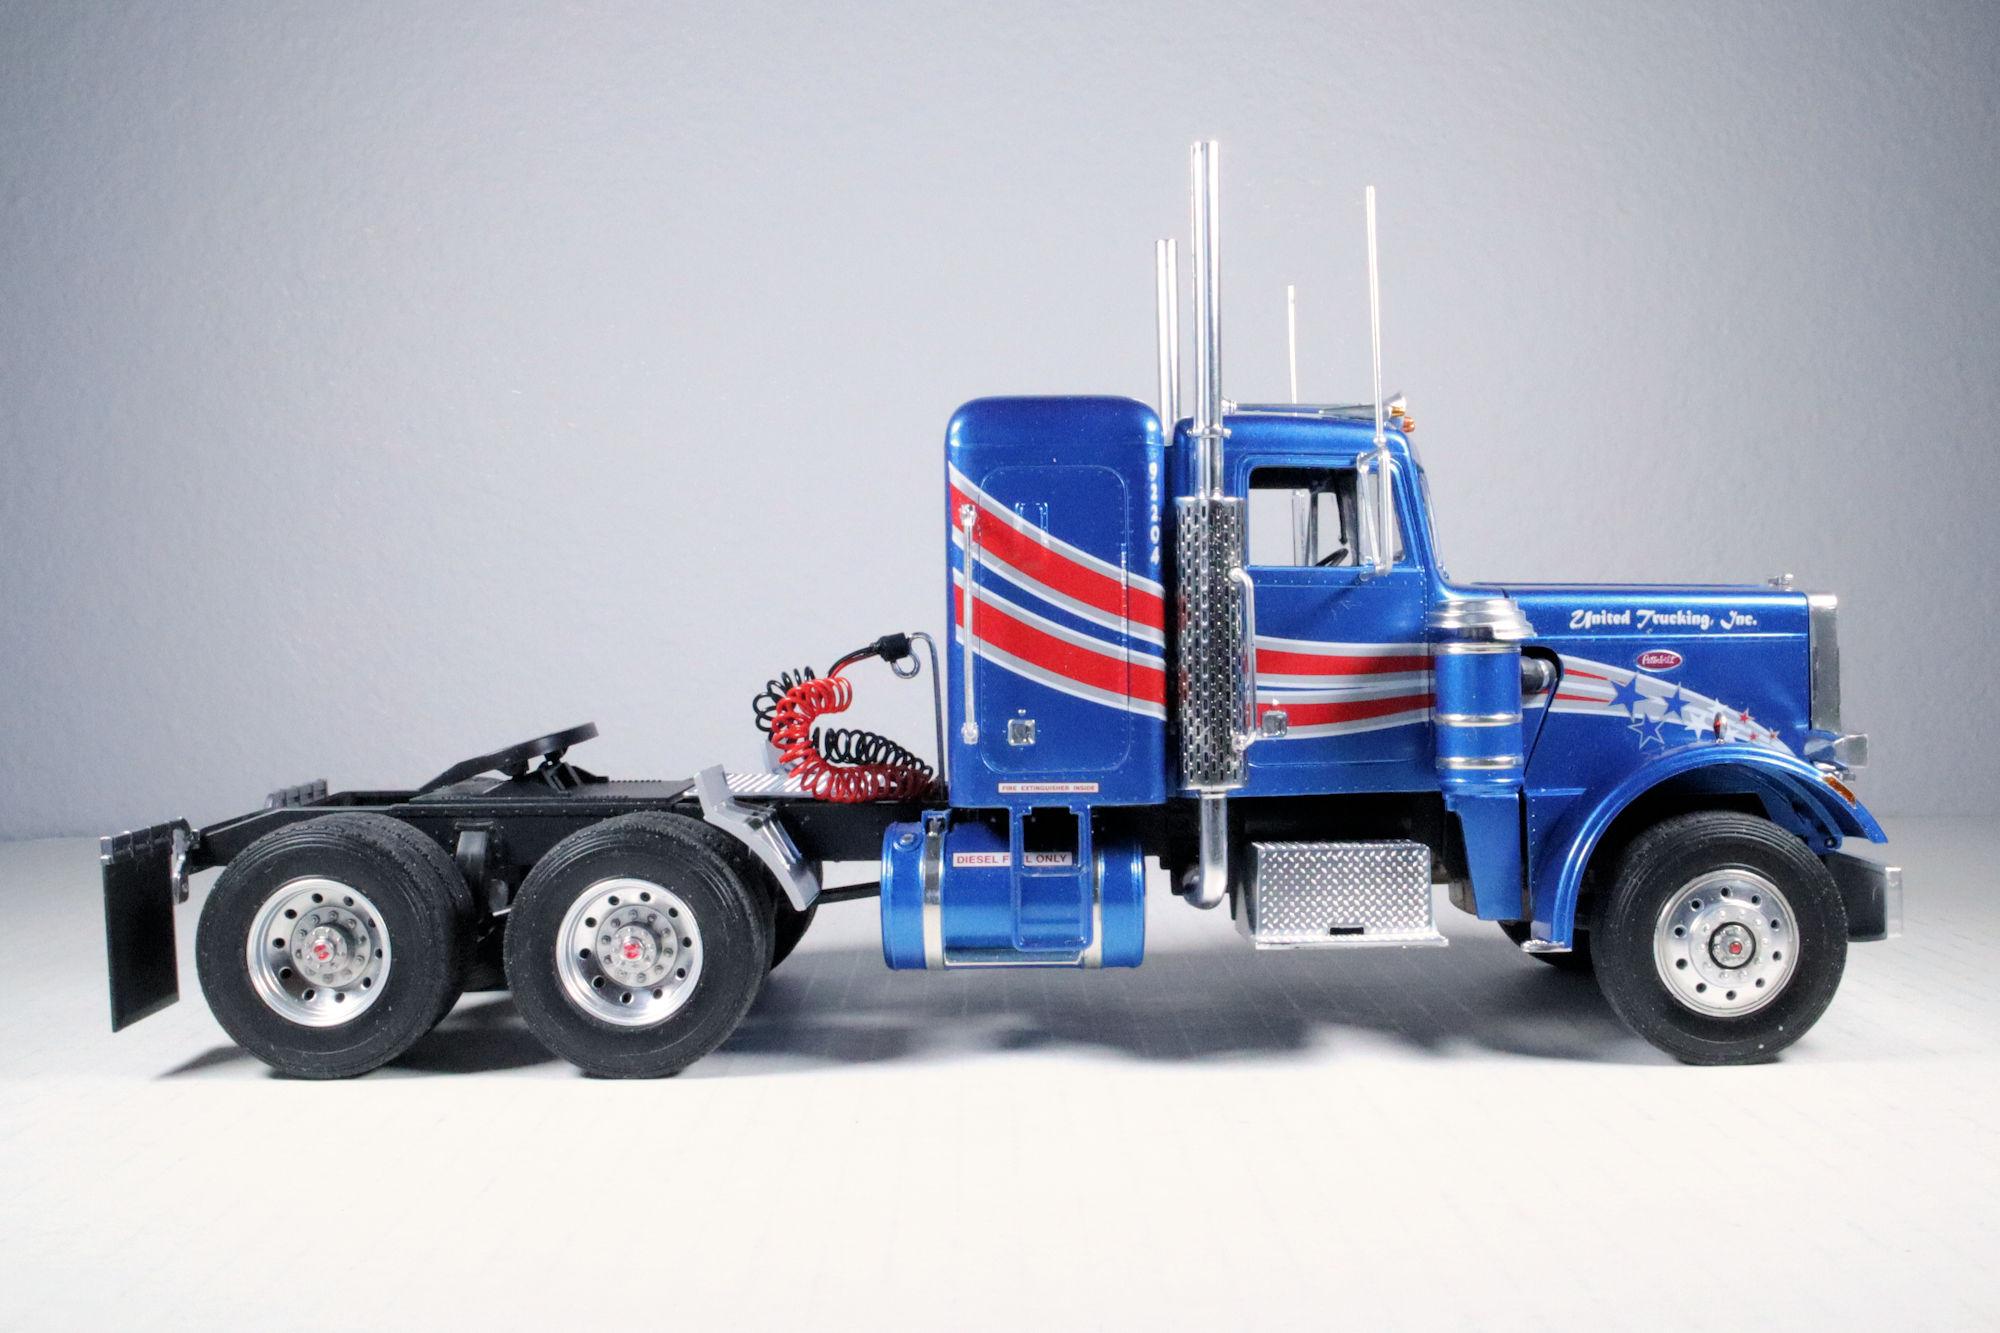
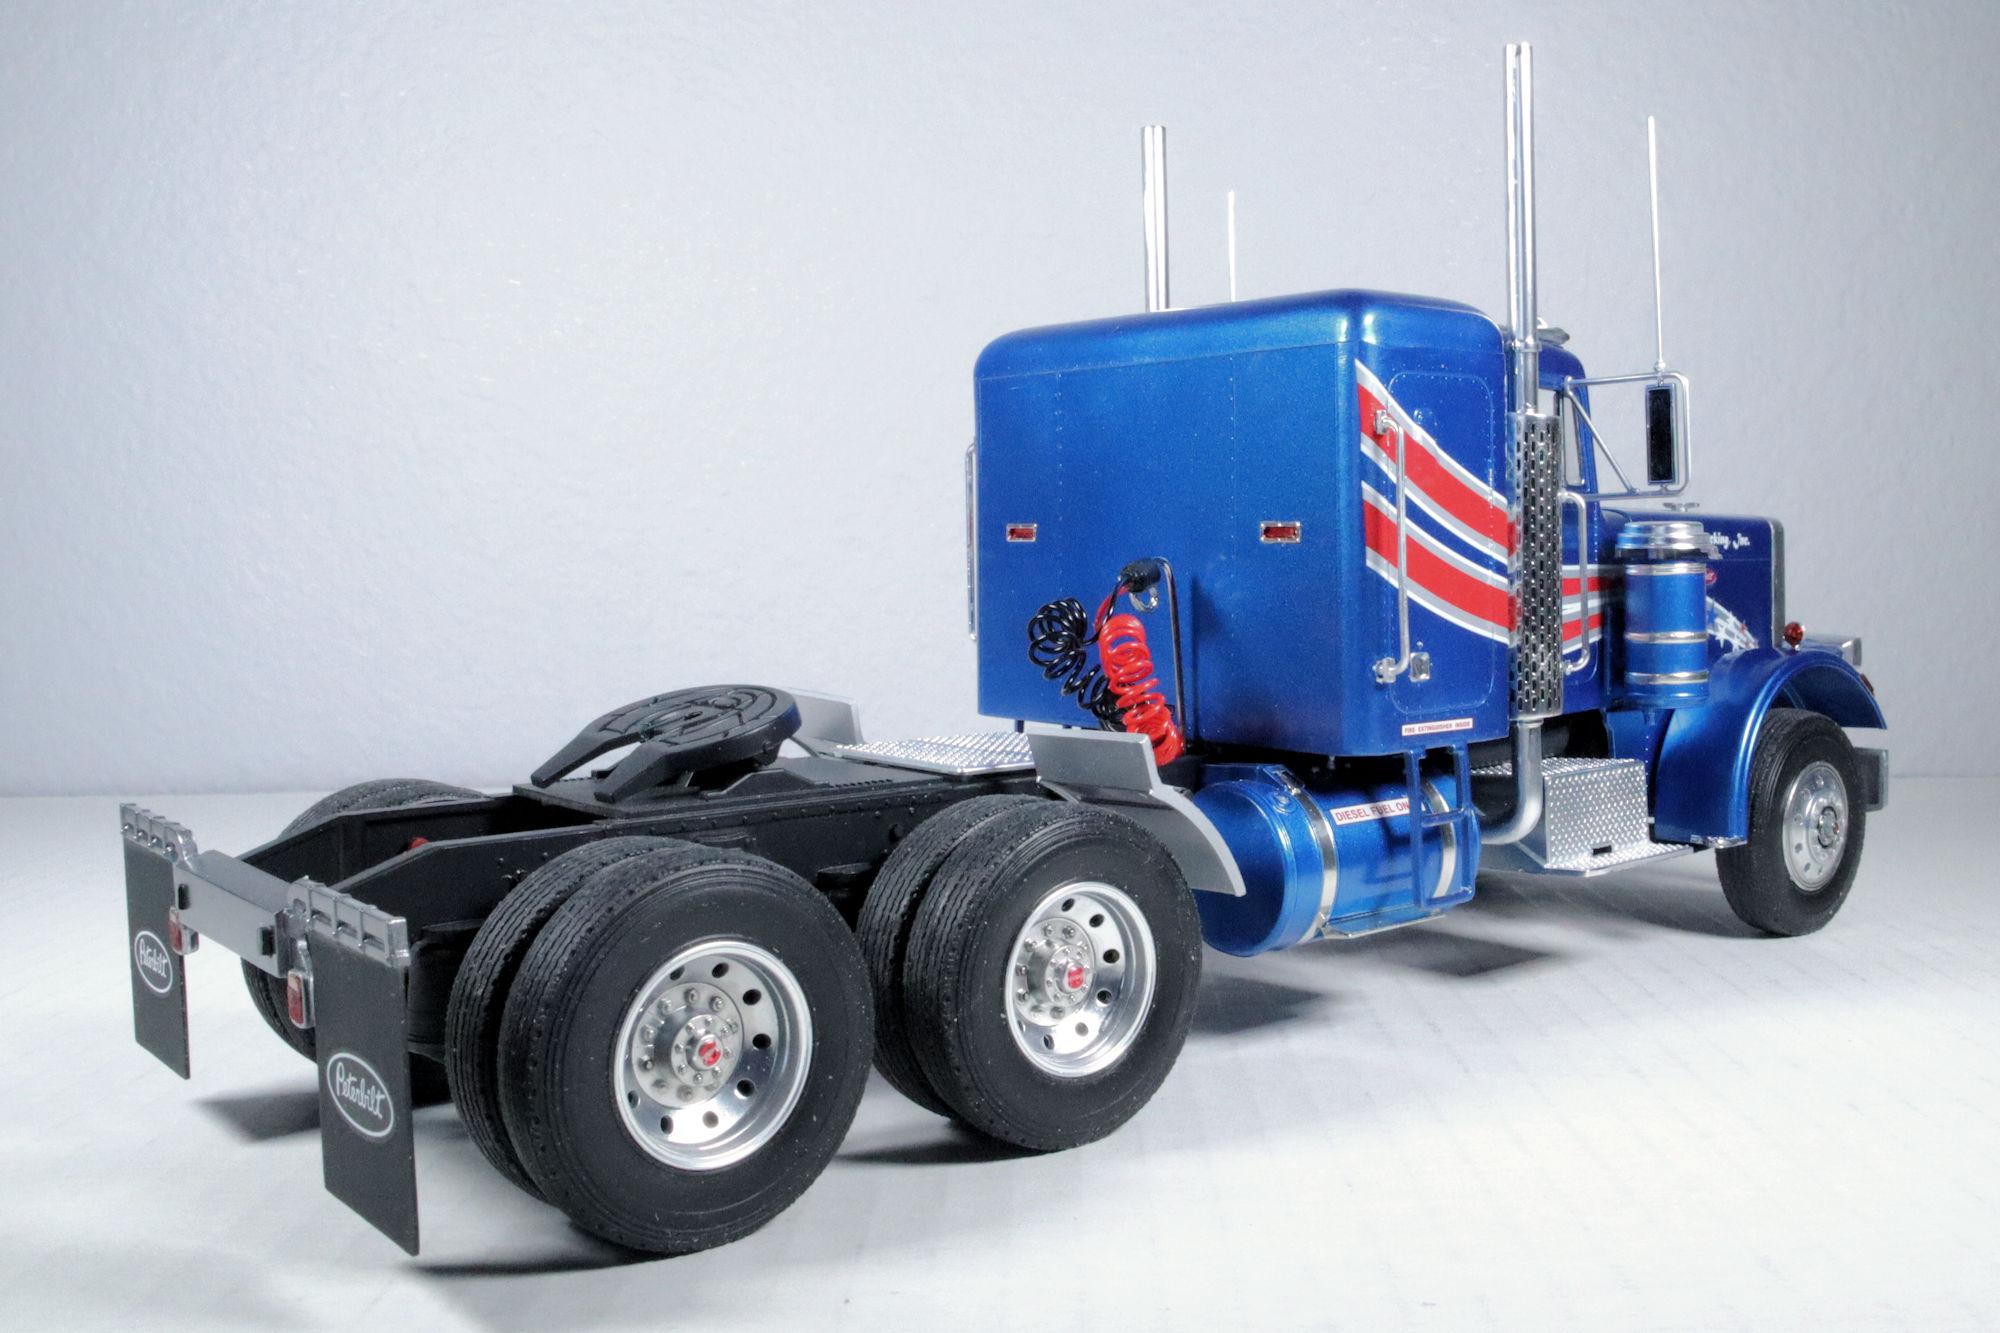
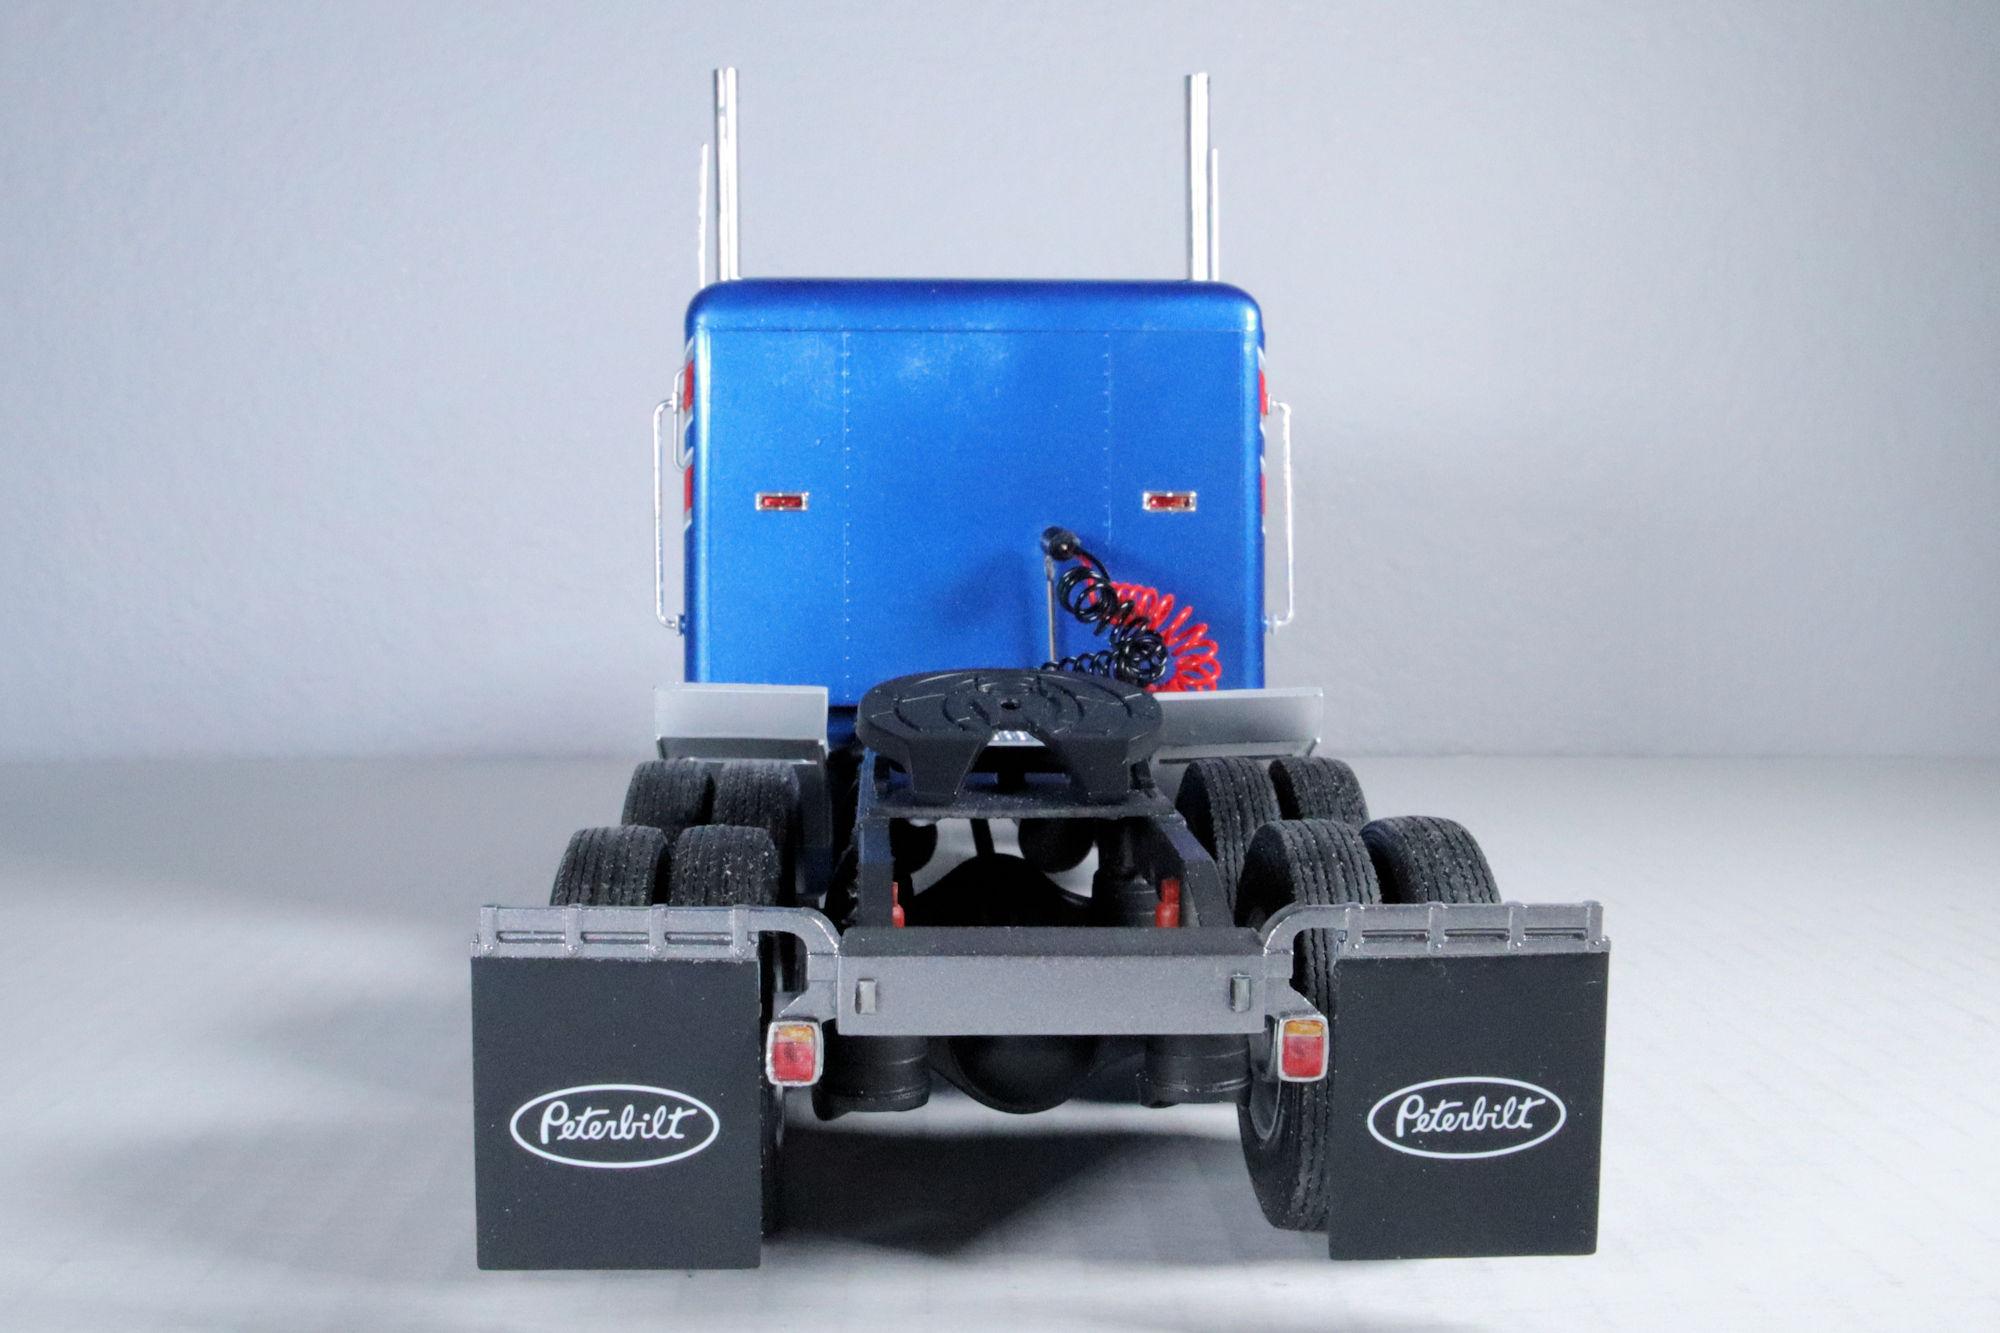
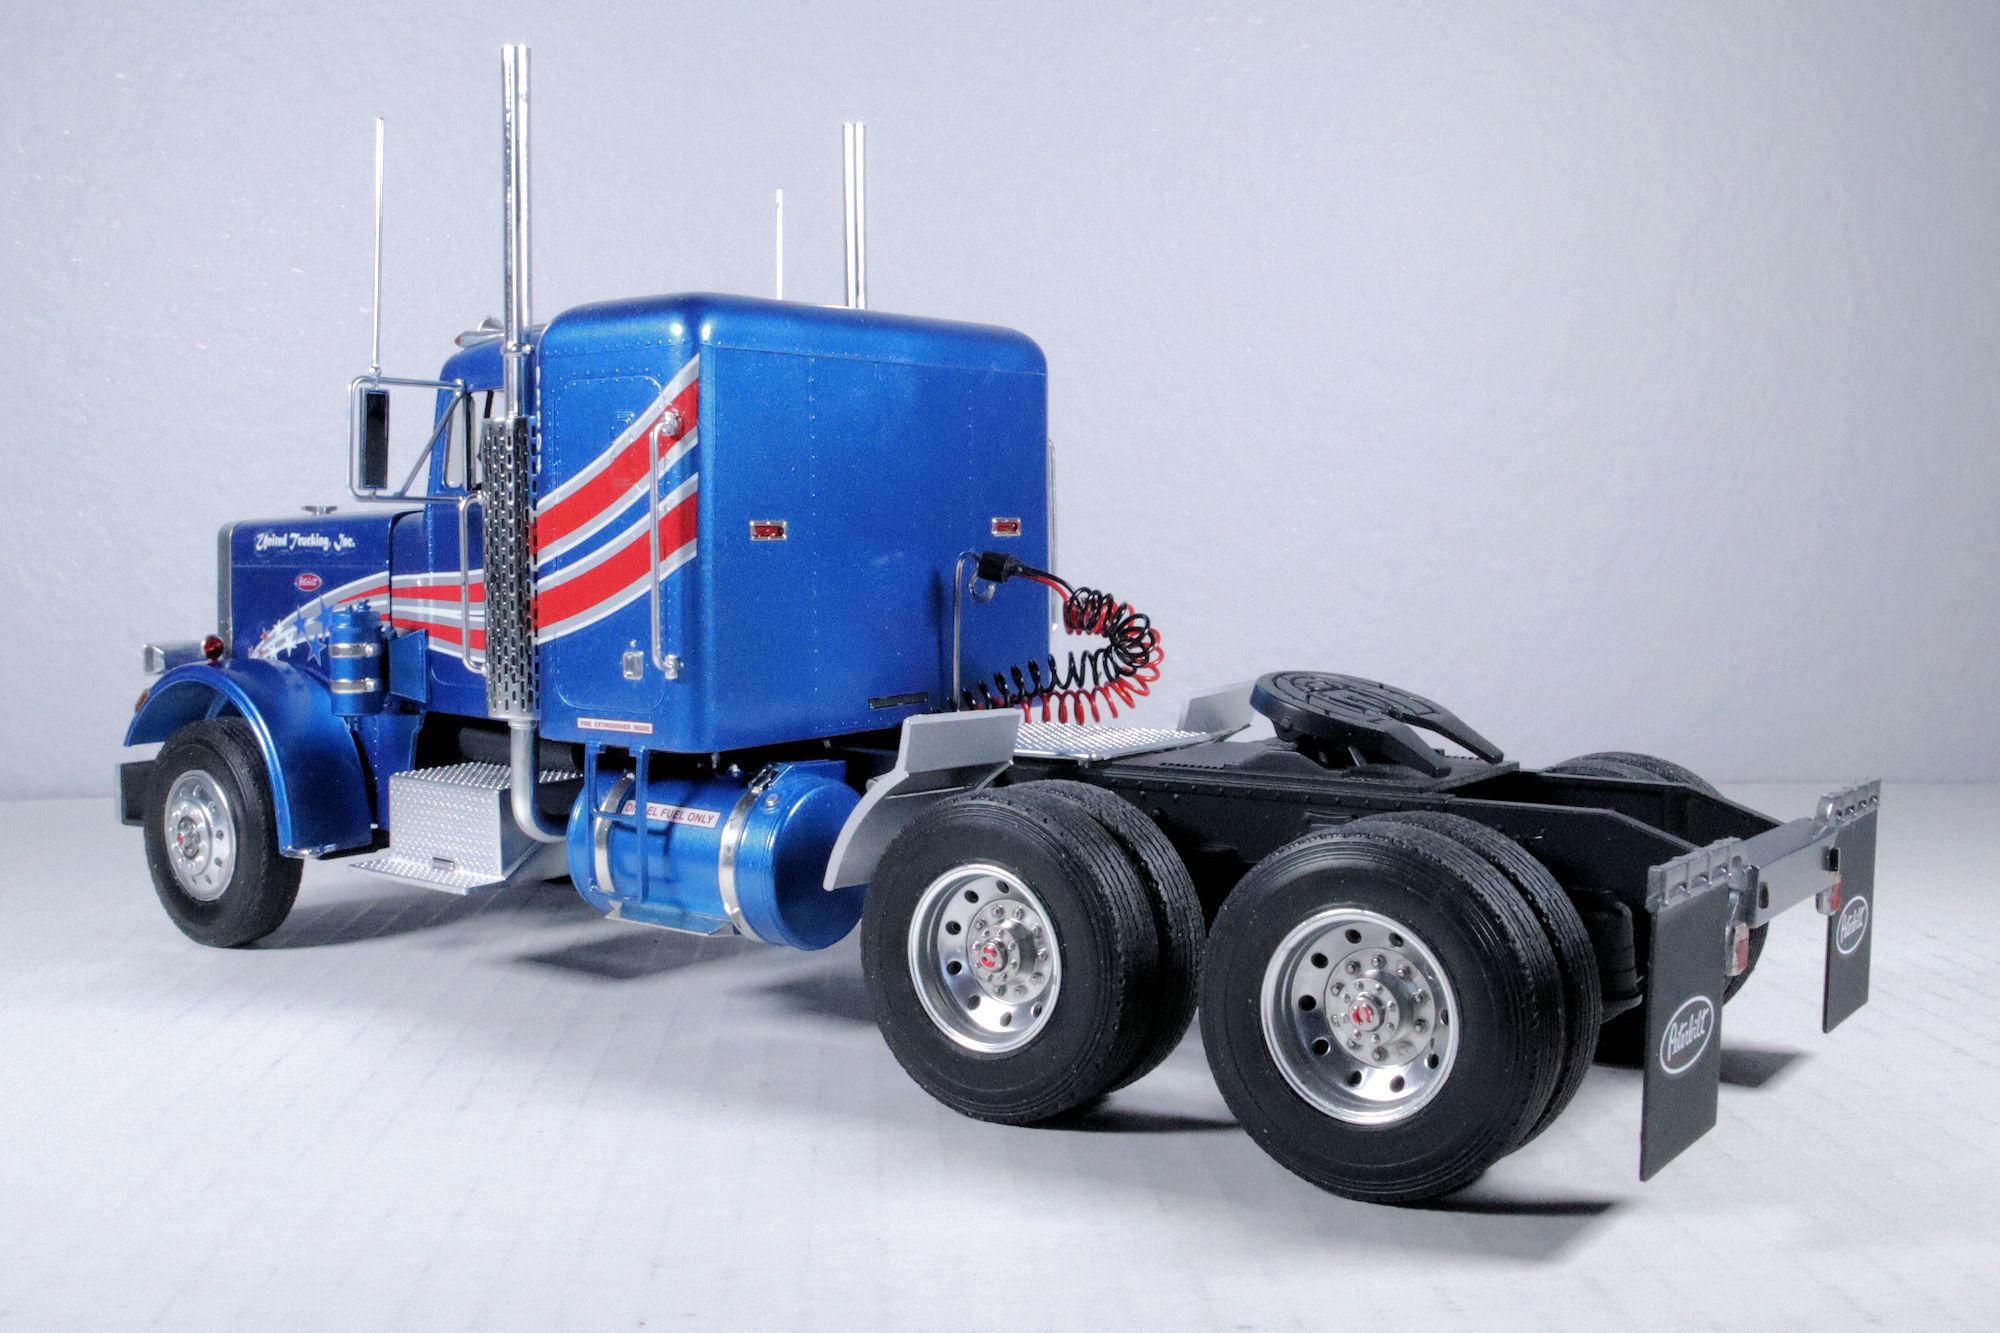
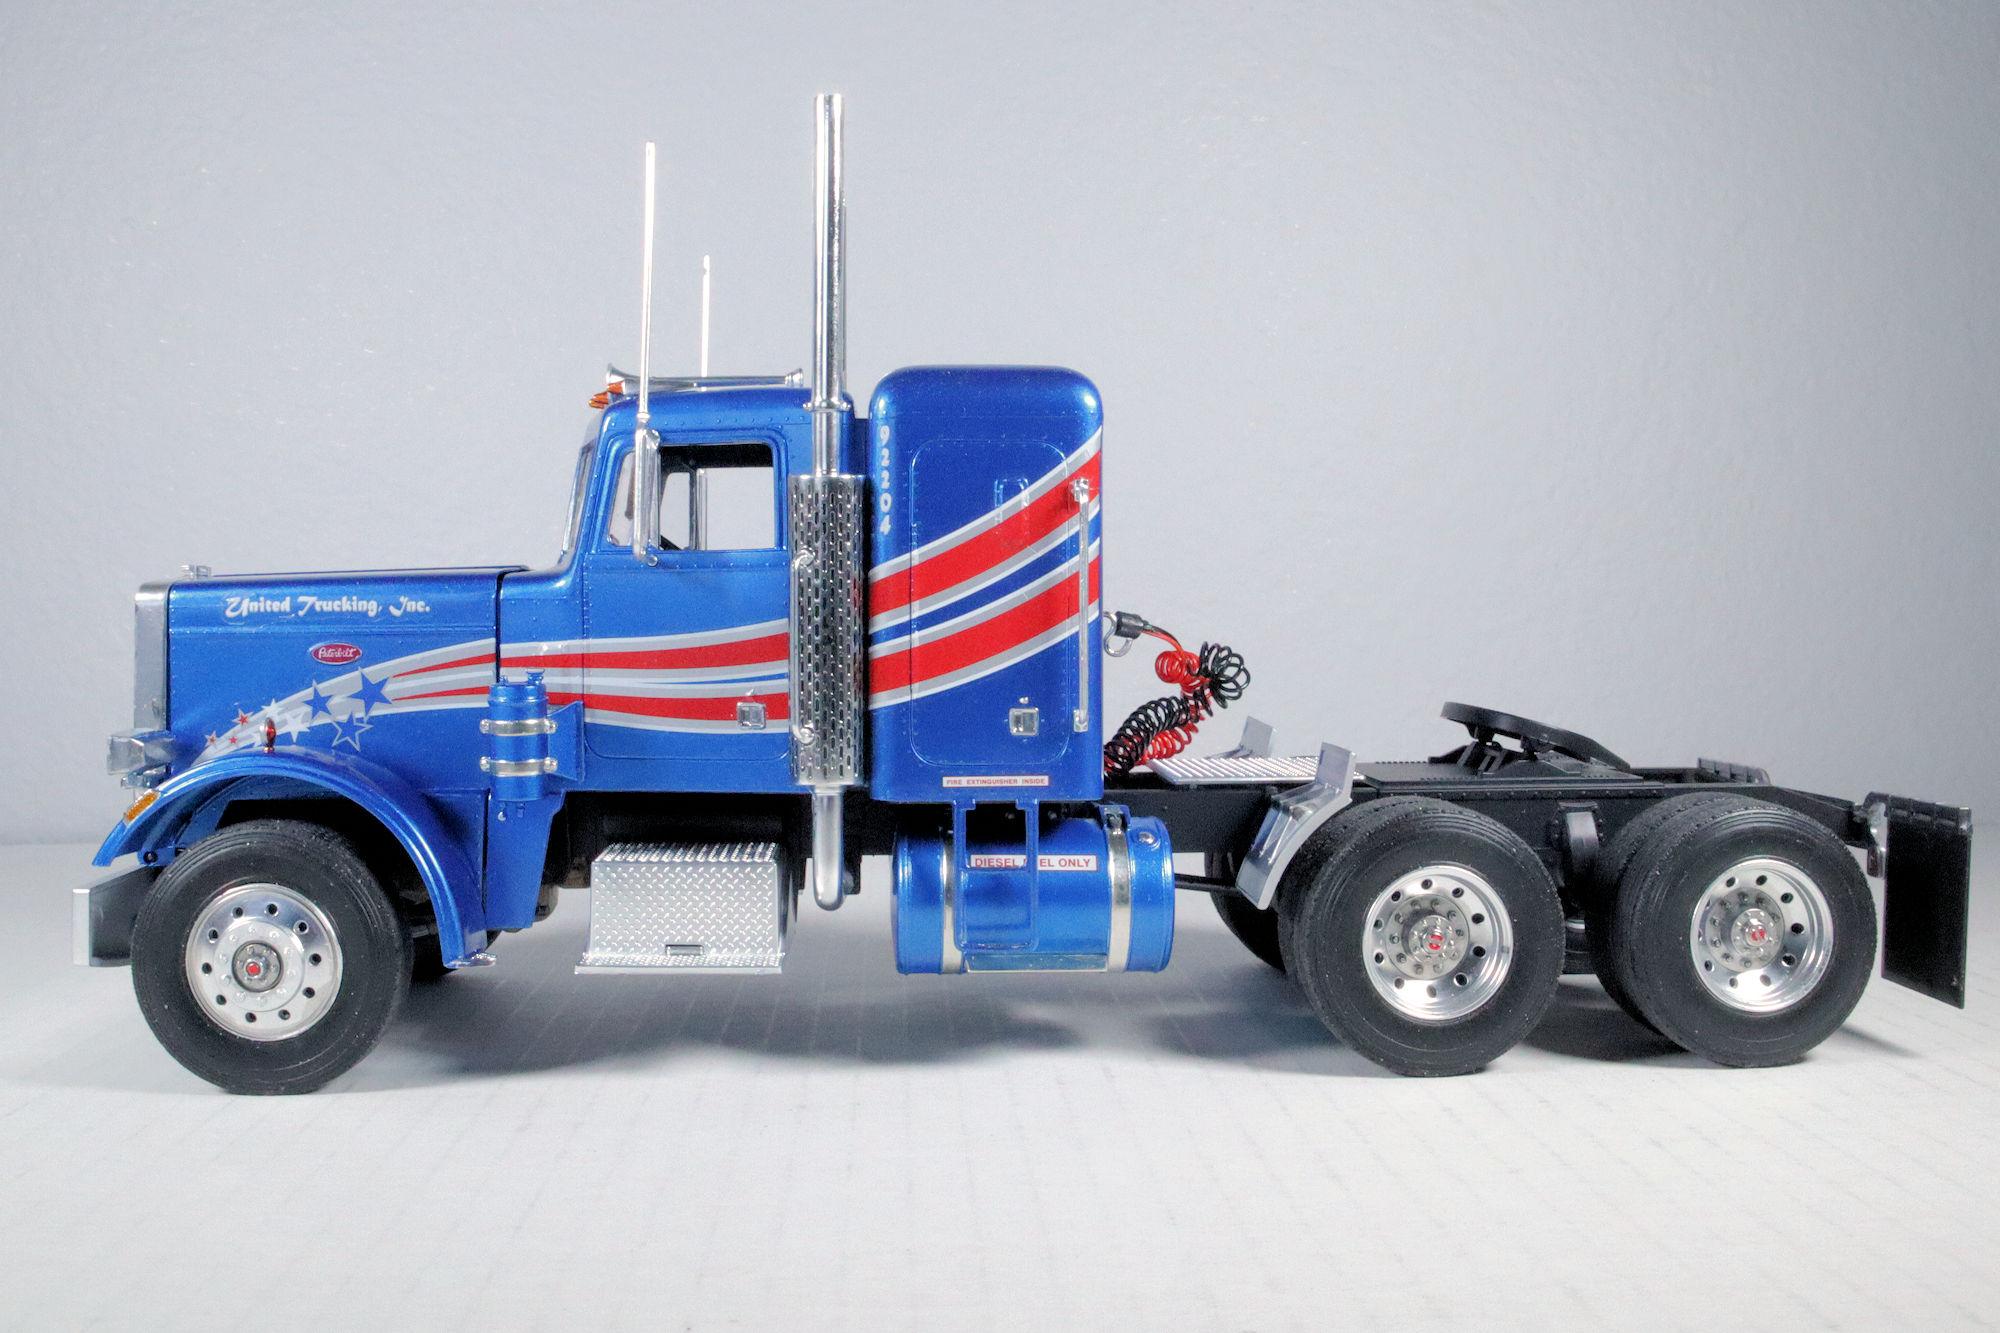
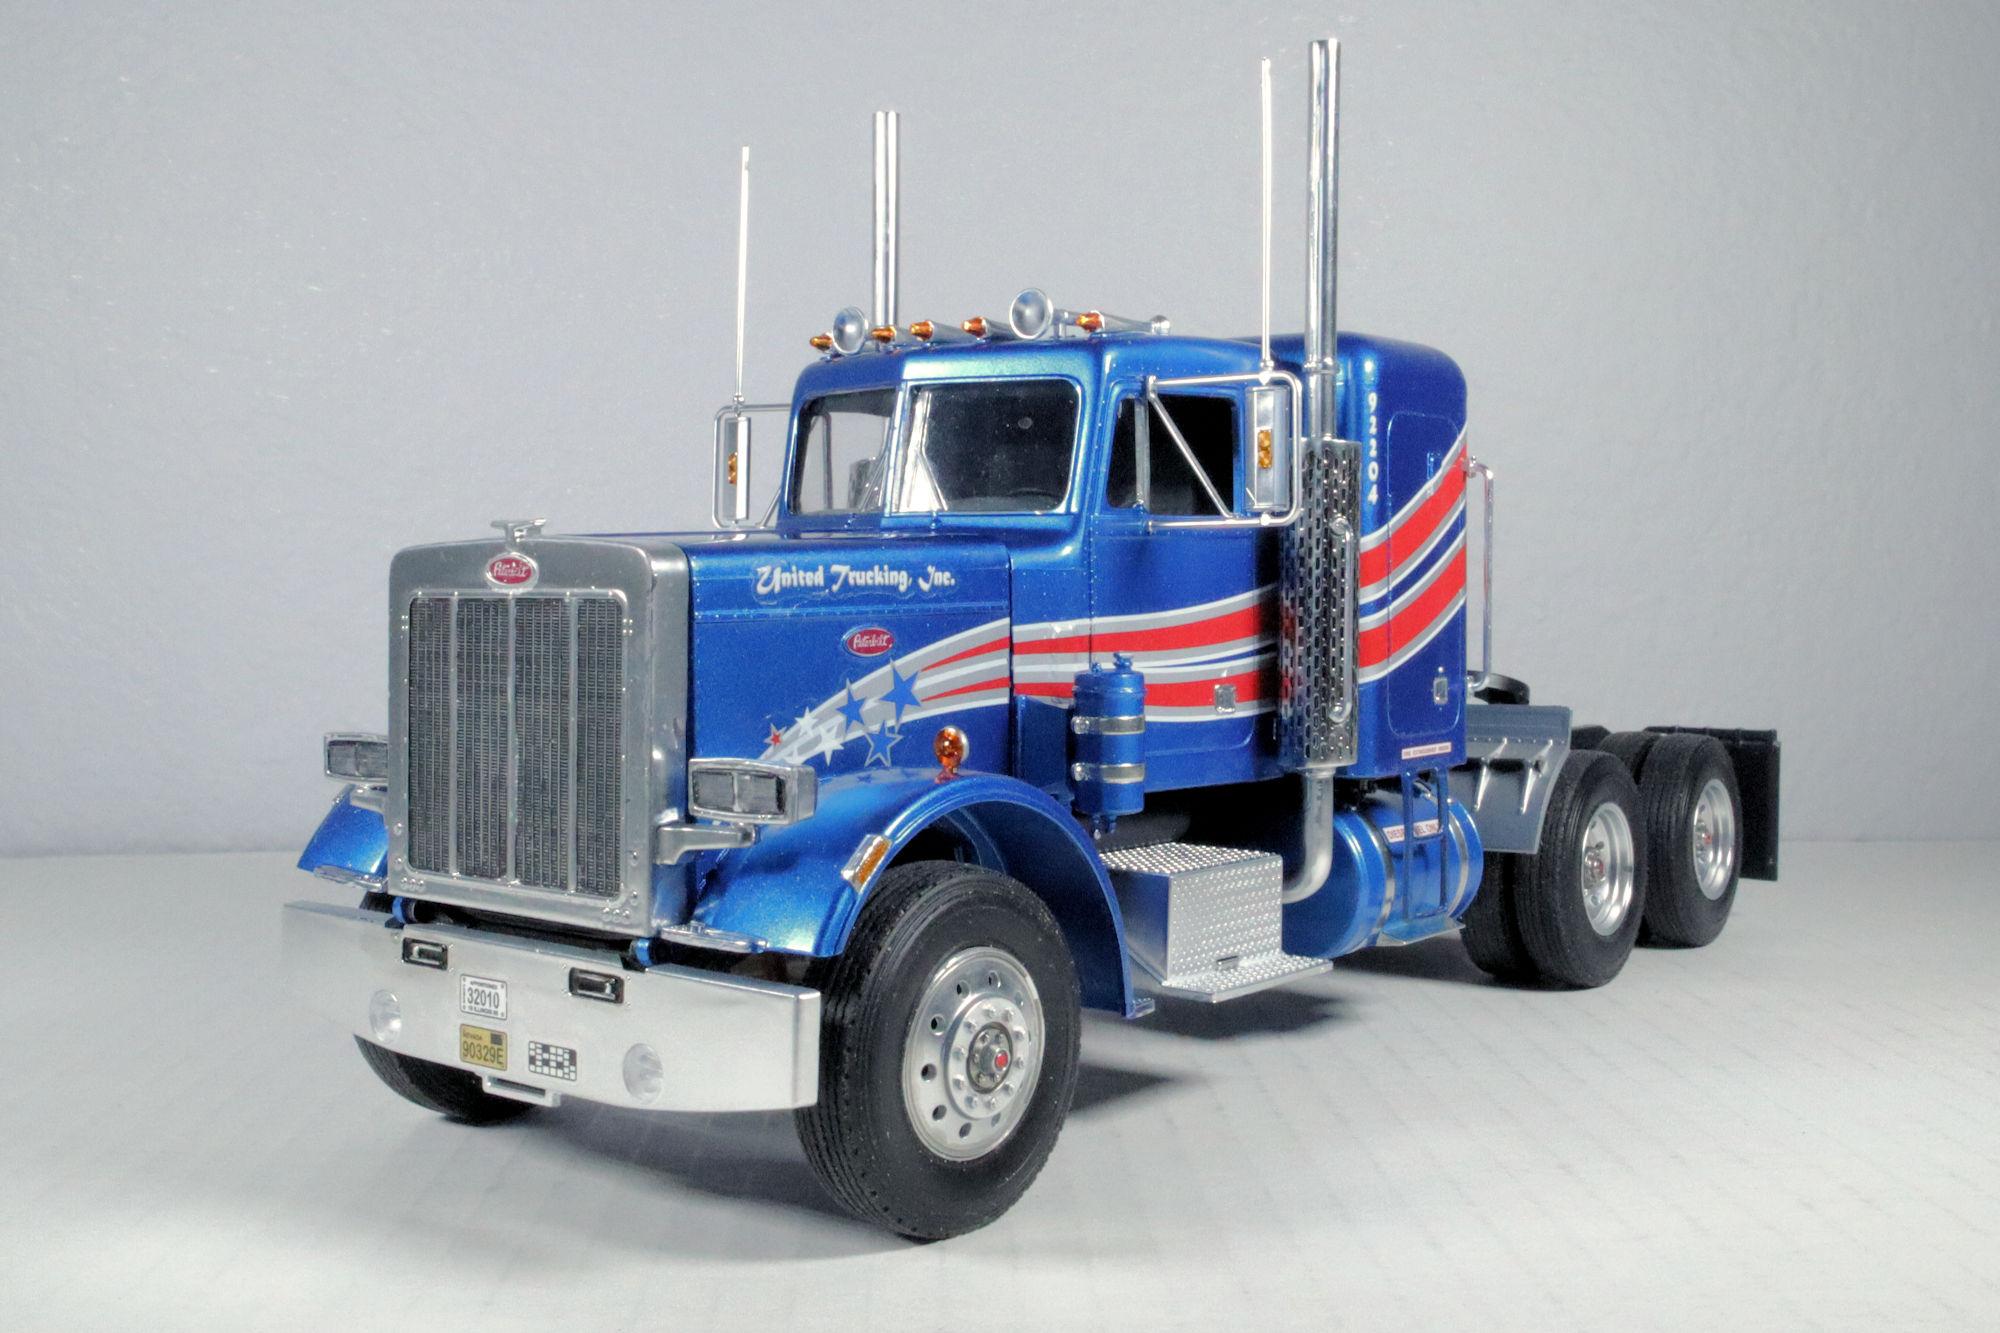
Hello Everybody! I actually completed this build a couple of weeks ago and I finally found the time and inclination to get the photos shot and edited. So here they are. For a kit designed as a snap-together, it builds up rather nicely. I added a pogo stick and a set of connector lines. The "tail lights" on the sleeper are actually the connecting tabs that hold the interior in place. The wheel assemblies on this kit were a nightmare. If you've built one of these, you know what I'm talking about. The decals were a little challenging but gave me no trouble. Here's the cover shot! This is one of the last things one wants to see up close in the rearview mirror! I do have another set to edit and post which includes the Revell Transport Trailer and load, hopefully soon. For those of you who may be interested, I do have a complete build thread, here's a link:\ As always, thanks for taking the time to look and please feel free to comment if you wish. David G.
-
The roof seems to be the most challenging part of this project so far and you seem to have it very well in hand David. Everything with the looks as I think it should and much better than I believe I could have done. The down spouting and chimney will add much to the appearance. Do you also plan to add sewer vents? David G.
-
This diorama is coming together quite nicely Anton. You've done some very good detail painting on the figure, especially the eyes. Those are some of the most difficult features to do well. David G.
-
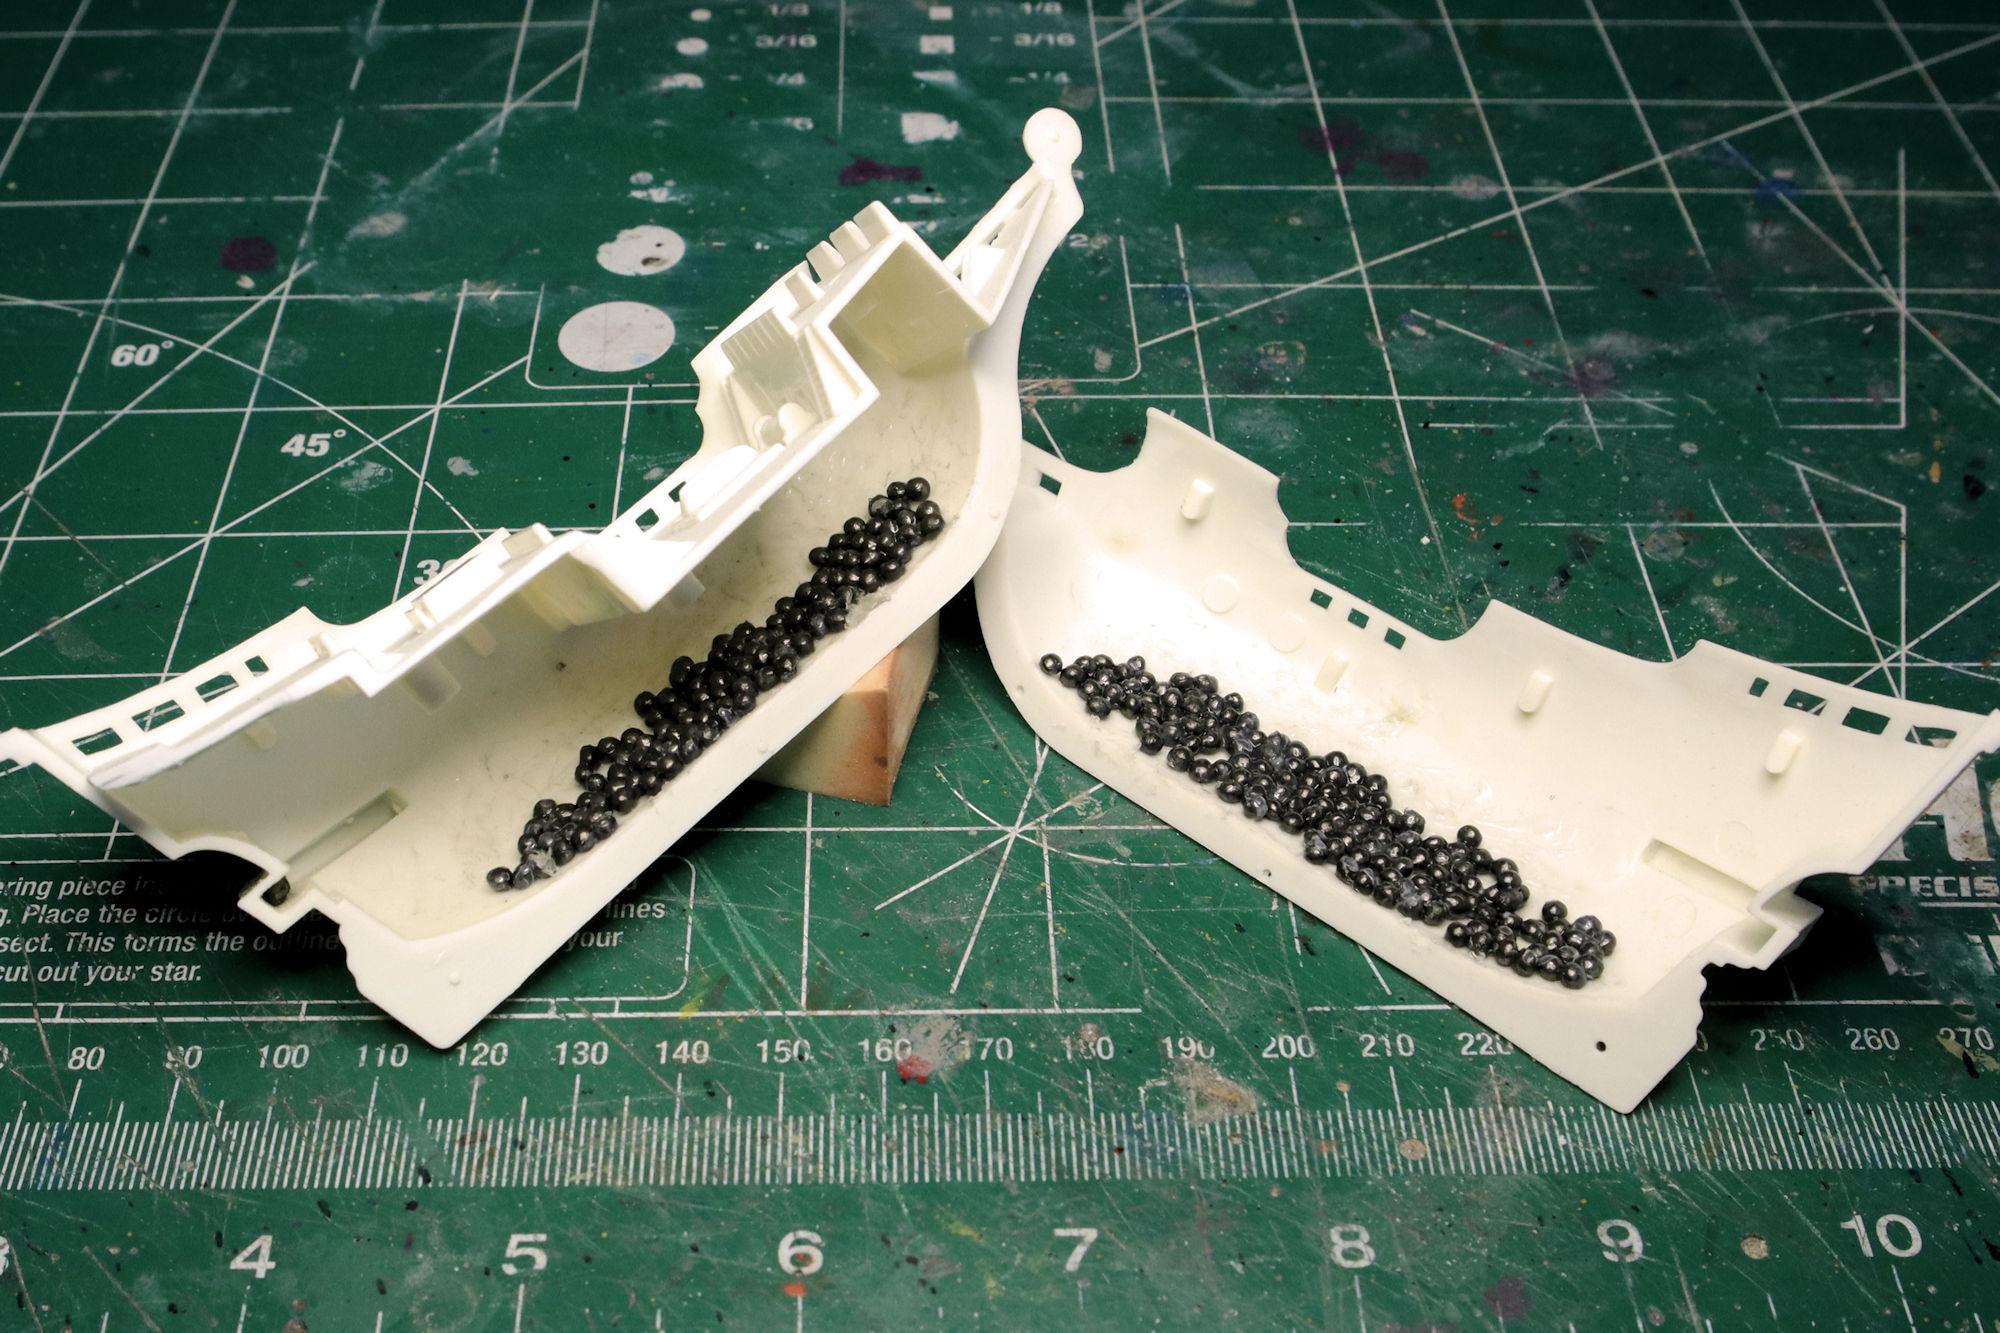
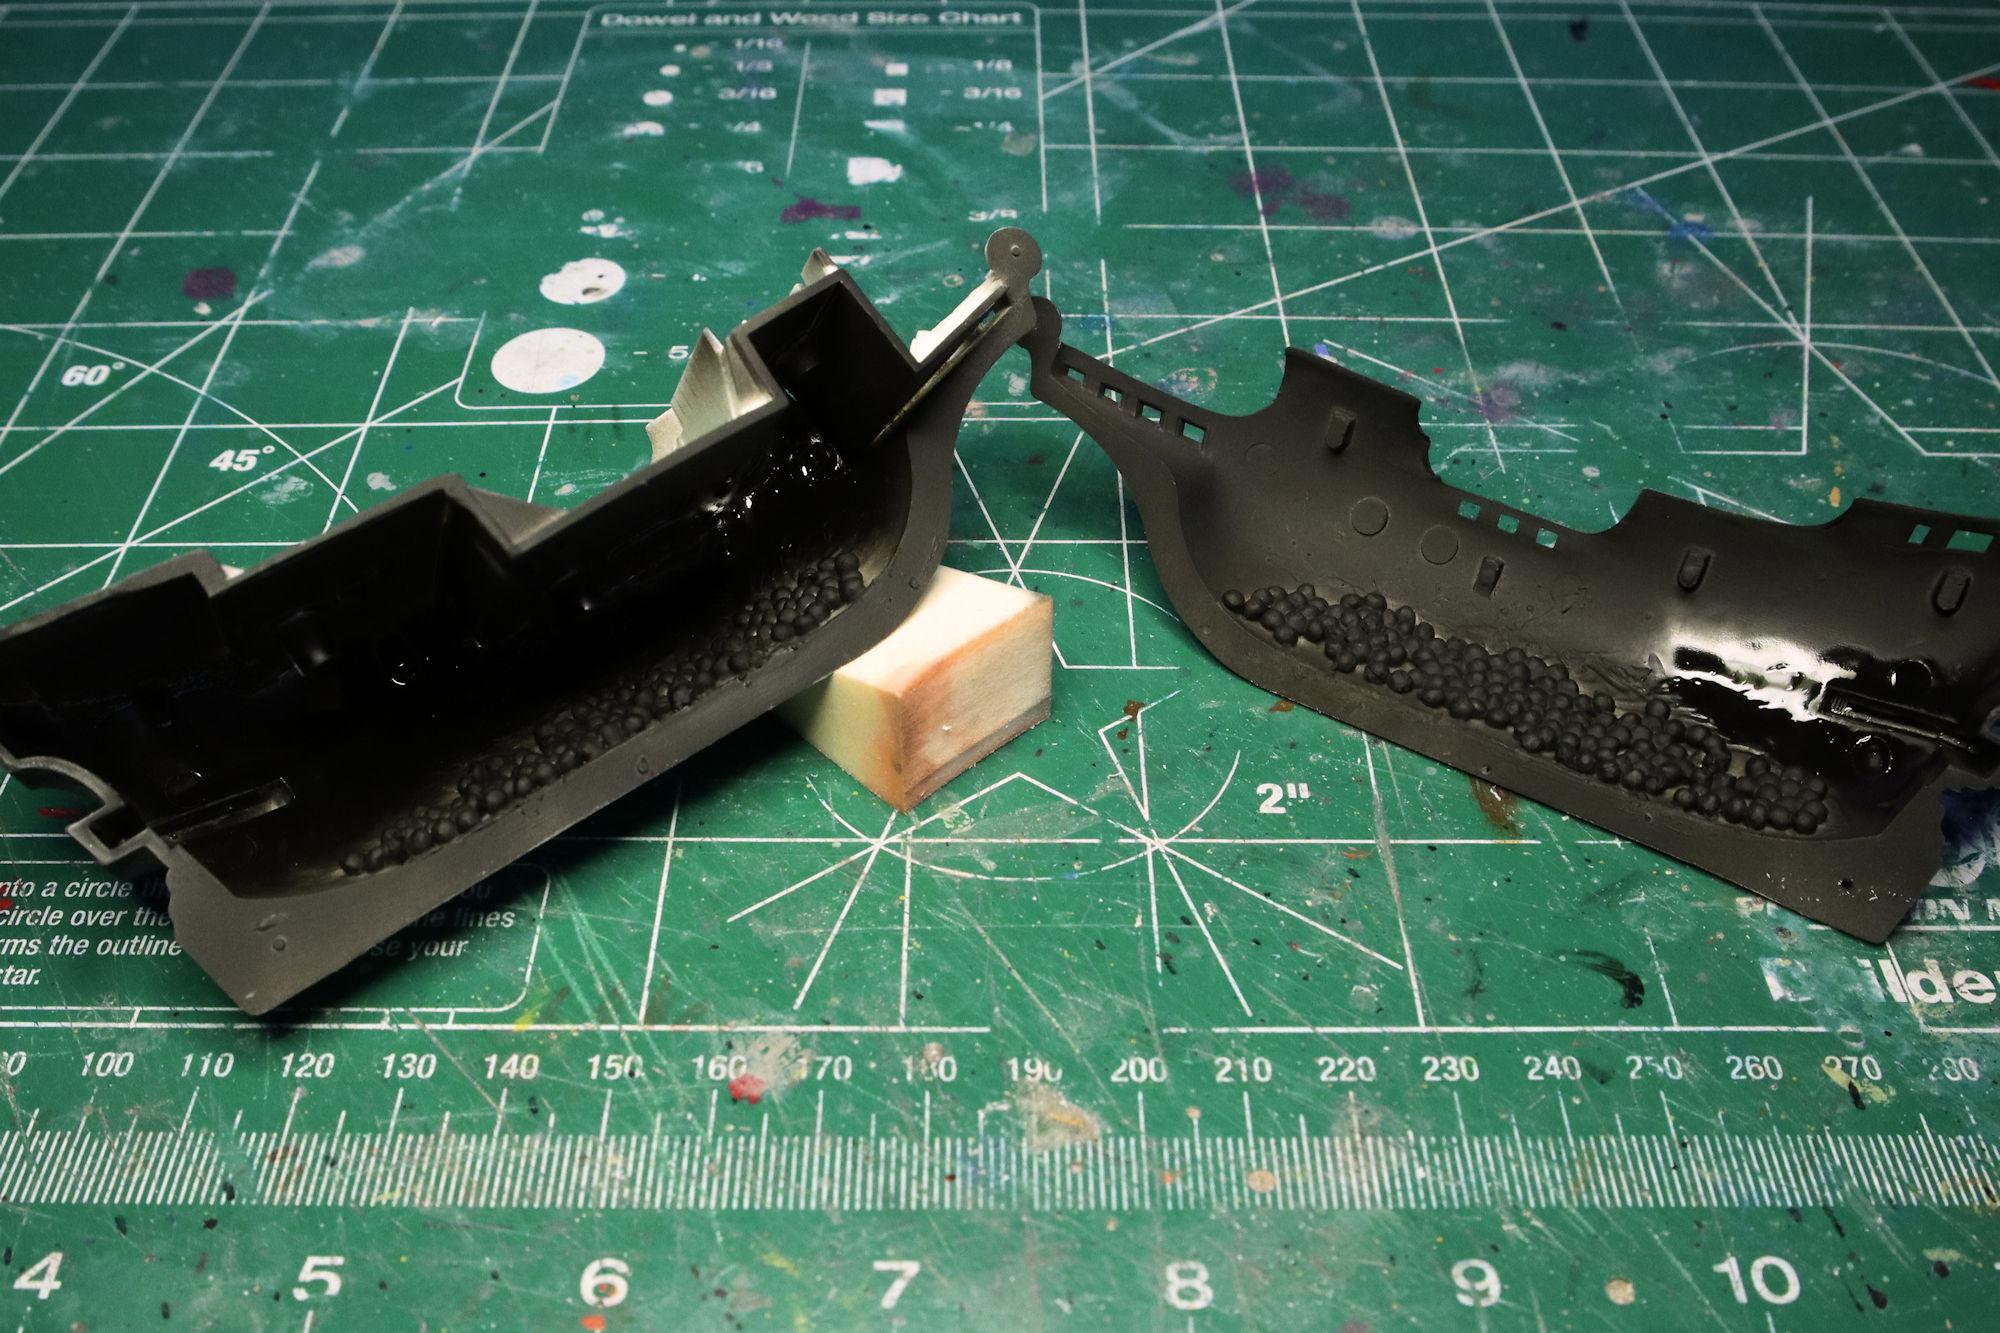
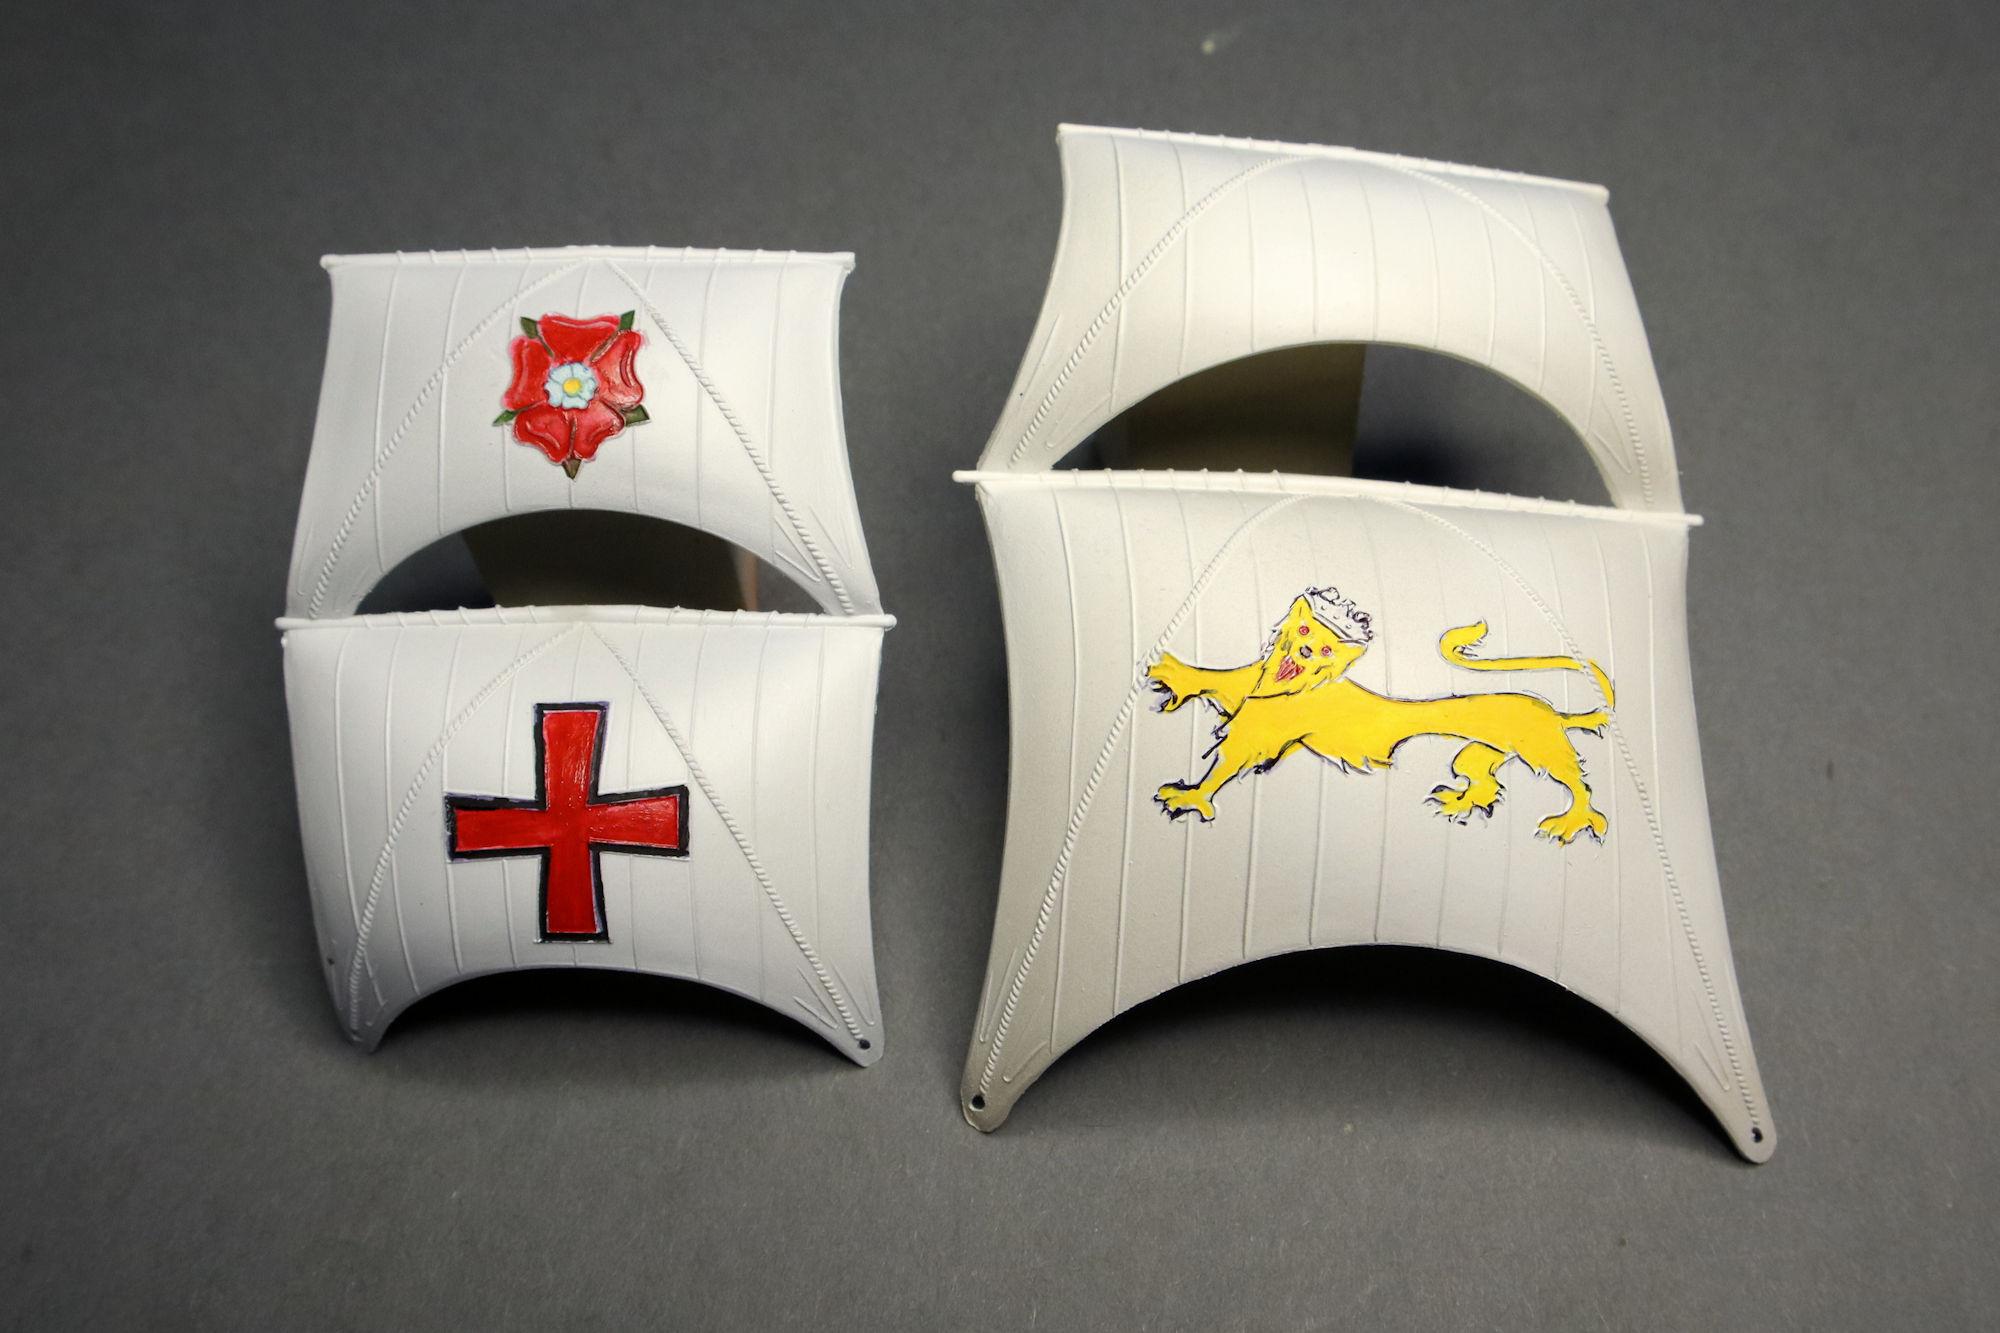
Hello Everybody! It seems that the simplest kits can often provide the most challenge. Maybe that's because the builder ends up compensating for what was left out to simplify the kit. I know that model ships really don't need ballast but I wanted to add a little lead shot to balance the mass out a little. I sprayed some flat black primer on the inside to give some shadow and depth to the few deck openings... and help hide any gaps that escape my vigilance. Getting some basic colors on the mainsails. I'll have to do some blending and softening to get the appearance where I want it to be. First mockup assembly, testing out some colors for the deck. I had to straighten the masts using hot water. Obviously, there's still more work to do. As always, thanks for taking the time to look and please feel free to post any questions or comments you have. David G,
-
Thank you much Bob. I don't think you missed anything great by passing on that lot. In fact you may have avoided a little disappointment. Thank you David, that I do. While she'll never be seaworthy, if I'm lucky I can make her see-worthy. Or at least good enough to look at. Sorry for the bad pun. (not really) David G.
-
Thank you Brian. I've actually seen and been in such a studio. Back in the Nineties I contracted to have a promotional photo shoot done for a transportation company. We had two Dodge Maxi-Vans, two airport limos and 36px minibus all in the studio at the same time. It was pretty much a sound stage. A rather exciting experience. Thank you kindly Steve. And yes, loading the cars is fun and just a little nerve-wracking. Thank you very much David. Thank you Jim, I appreciate that. Thanks again to all of you who took a moment or two to comment, I do enjoy reading them. David G.

