astroracer
-
Posts
451 -
Joined
-
Last visited
Content Type
Profiles
Forums
Events
Gallery
Everything posted by astroracer
-
Pinholes In My Resin Parts-HELP
astroracer replied to 69NovaYenko's topic in Model Building Questions and Answers
Be careful using super glue to fix this problem. The issue is the glue is MUCH harder then the resin and it will not sand consistantly. This is bad, especially on a body, as the surface will have waves in it. My best method is to sand out the part then put on a couple of wet primer coats. I use Dupont sandable grey. Let this set up and then sand it again. Re-prime as necessary, trying to keep from breaking through the primer to the resin. I will not recommend spraying these parts with a "hot" paint, such as laquer. It WILL raise the pinholes through the primer. Use an acrylic or model car type enamel. Mark -
Scrub the resin parts with hot water with a bit of Dawn dishwashing soap in it. Use a stiff bristle brush or a toothbrush. Rinse in hot water then dry very well, keep your oily fingers off the parts. Mist a couple of light coats of Dupont Sandable grey primer and let dry. Put on a couple of heavier coats, don't go crazy though. If you want aluminum looking blocks and heads spray with a ceramic Brake Caliper Paint. It looks just like cast aluminum. Mark
-
Do you still have any "good" o-rings? If you do you can measure them up and go to McMaster Carr and order better ones that will work with laquer thinner. If you can't measure them accurately enough get the size from your airbrush guy. http://www.mcmaster.com/#o-rings/=10yqxsl Mark
-
3D printed parts?
astroracer replied to keviiin86's topic in General Automotive Talk (Trucks and Cars)
Reproducing the detail in scale is the issue. A high resolution printer is required to acheive a good looking 3D Printed part, especially in the smaller scales. You are not going to get there with a cheap, desktop style machine. That high resolution print also translates into higher cost per piece. I have printed some very nice looking 1/24th scale Vector style wheels thru Shapeways using their Extreme Frosted Detail. I got pics of them, I can post some if you want to see what is possible with this material. Modeling a carburater is easy, reproducing the fine detail is the hard part. Mark -
Anything Good at Harbor Freight?
astroracer replied to Snake45's topic in General Automotive Talk (Trucks and Cars)
File sets, miniature plier sets, glue, sanding and grinding supplies, etc. You have to go look, there is a TON of stuff you can use. I have one of their miniature cut-off saws. Works very well for brass and stainless tubing. Wood and plastic cuts slick with the small 3" saw blade. I also have a small hand held grinder/Dremel style tool that works well. 10 bucks for it and a bunch of collets and attachments. As mentioned, they have quite an assortment of clamps and small tools that work well for our hobby. Mark -
$1.36 yesterday morning in Byron on my way to work. $1.80 on my way home... WTH? What justified an increase of .44 cents in one day?
-
Ahhh, I see it now. Thanks Eric!

-
Paint a red body to white?
astroracer replied to Zoom's topic in Model Building Questions and Answers
It looks like the kit is molded in red, right? Covering red/burgundy plastic is tough. Like Richard said you need to get the "red" buried under multi coats of primer. I use strictly automotive based primers for this. Dupont grey sandable would be my choice. I would even suggest using a sealer over the primer once you have it ready for paint. This will help keep the red from bleeding through. Mark -
Chassis for 59 Chrysler Imperial (Model King)
astroracer replied to fseva's topic in Model Building Questions and Answers
Yup! My bad. I saw "soaking" and the immediate knee jerk was resin body... Sorry about the mis-direction... Mark -
Chassis for 59 Chrysler Imperial (Model King)
astroracer replied to fseva's topic in Model Building Questions and Answers
I don't know Steve. Like I said, it's an old wifes tale and I have no clue WHERE or WHY it became necessary to do this with a resin part. I did a LOT of paint work for Ray of R&R and never once soaked any parts , bodies or otherwise, in anything. Cleaning it with hot water and Dawn was usually enough to get it ready for paint. The injection molded bodies come covered in mold release also but you don't hear of anyone requiring those to be soaked in a "cleaner" for 24 hrs prior to painting... Same difference and the same cleaning process for those works just as well on resin. Like I tell everybody else, I will tell you to try it and see for yourself. Mark -
Chassis for 59 Chrysler Imperial (Model King)
astroracer replied to fseva's topic in Model Building Questions and Answers
And AGAIN... Frank, just letting you know there is absolutely NO reason to soak resin parts in ANYTHING overnight. This is an old wifes tale that got started years ago and has absolutely no basis. All that is needed is a good washing and scrubbing with TSP and hot water. I don't like to use the "cleaners" because there are other additives that are not needed to clean a model car body for painting... Use a ScotchBrite pad to scrub the model while cleaning. And keep it oil free while painting. Once there is a coat of primer I use automotive wax and grease removers to clean prior to spraying paint. Mark -
Hmm, photo explains nothing to me.... looks like a glue bomb with a lot of rotary tool damage to me... Sorry. Mark
-
Cameras
astroracer replied to KeepingTheHobbyAlive1998's topic in Model Building Questions and Answers
I have a Sony Mavica FD73. It has a 10X OPTICAL zoom. If you want close ups that are in focus, optical zoom is what you need to look for. I paid almost 400 bucks for my 73 when they came out but I just picked up another similar camera at GoodWill for 5 dollars. They save to the 3 1/2 floppy discs. I can zoom up to within a 1/2 inch; with the 73. Check on eBay or any thrift shop. They are cheap now and they take excellant photo's. Just search Sony Mavica. Mark -
Also be aware. A good Cyanoacrylate will work as long as the surfaces are not to smooth. Give the parts a good sanding if you can and the CA will hold better. Be careful with the CA and aluminum, the vapors from the CA will tarnish or fog the bare aluminum. I found that a little car wax on the aluminum is enough to protect it from the vapors. leave it on until the glue is set then buff it out. Mark
-
Taking Pictures of Model cars
astroracer replied to drodg's topic in General Automotive Talk (Trucks and Cars)
I have a Sony Mavica FD73. It has a 10X OPTICAL zoom. If you want close ups that are in focus optical zoom is what you need to look for. I paid almost 400 bucks for my 73 when they came out but I just picked up another similar camera at GoodWill for 5 dollars. These pics were just taken with that camera last nite... In my shop, under flourescents with a rubber shop pad as a backdrop. They save to the 3 1/2 floppy discs. I can zoom up to within a 1/2" with the 73. Check on eBay or any thrift shop. They are cheap now and they take excellant photo's. Mark
-
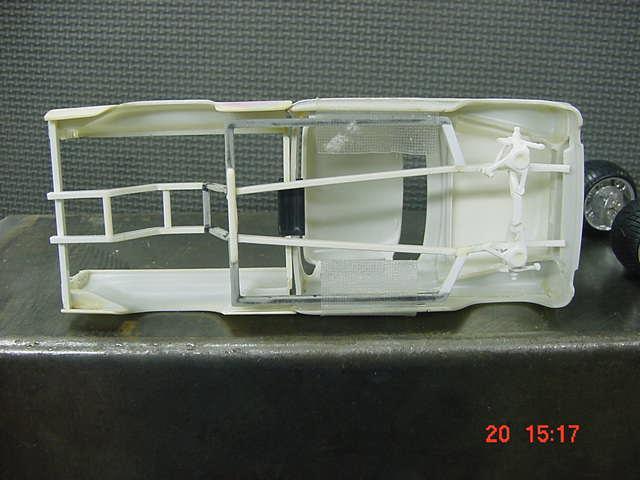
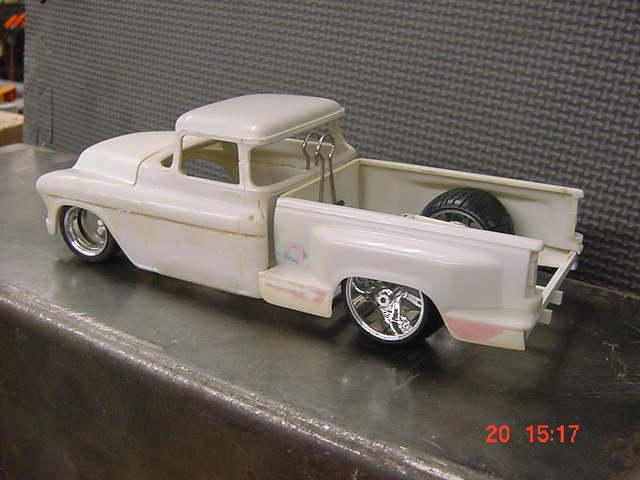
Hey Scott, hope you are making progress on the build. I took some pics of the 57 I was building. These will show the front sub frame I used to build the chassis. I remembered it is from a Nastruck kit. I used only the forward part. The rest is scratch built. Don't laugh, this was started in '93 or '94... If Iwas to get back into it I would rebuild the back half.
-
Hobby area flooring ideas?
astroracer replied to crazyjim's topic in General Automotive Talk (Trucks and Cars)
Vinyl is about as good as it gets, bud. Anything needs to be maintained and vacuumed... All you need to do is run a broom in there when it needs it. I would just leave it and build models. There is short nap carpet in my hobby room and it has quite a few "lost" model parts in it. Mark -
Thanks Bill, good to know it's still out there. The cans I always picked up were the smaller ones. I still have quite few, They are so old most of them have lost their propellant. I usually save them and just decant to spray with an airbrush. The DupliColor seems to work just fine though so I use that for quick and dirty jobs like the '56 where I know 99% of it will get block sanded off. Mark
-
PlastiKote Grey rattlecan was about the best I ever used. Don't know if it is still around. I use Duplicolor alot also. The '56 conversion was primed many times with it during the build process. Light coats work well to preserve details. Mark
-
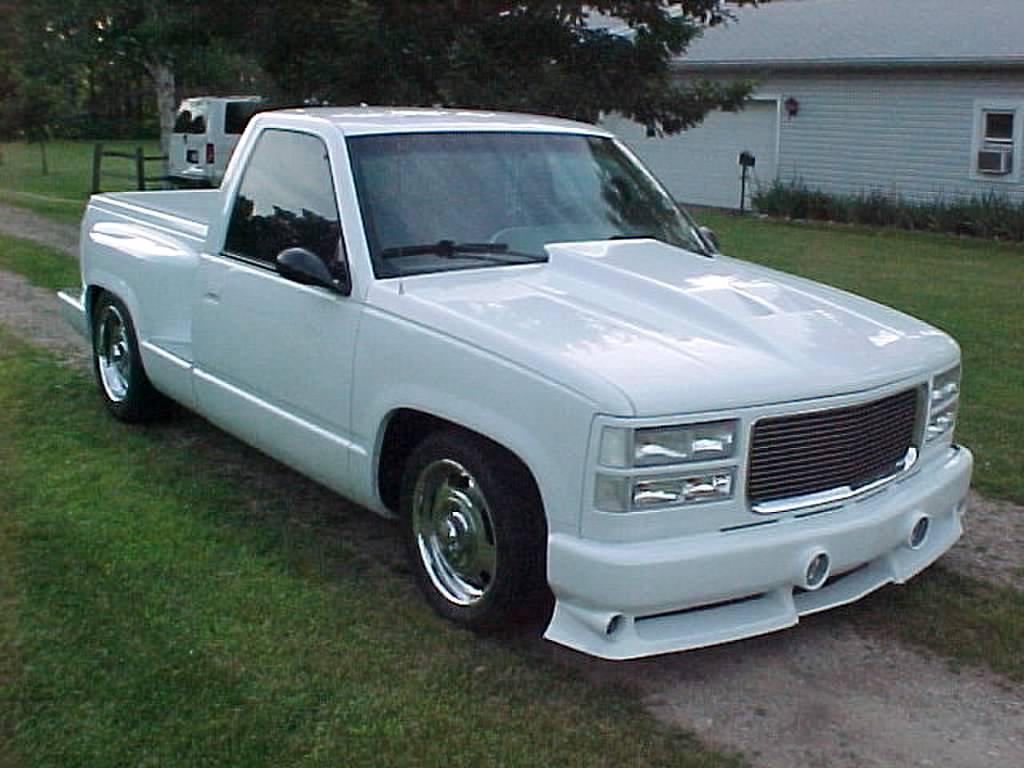
Post your GMCs
astroracer replied to SpreadAxle's topic in Model Trucks: Big Rigs and Heavy Equipment
This is my GMC... I built it in 2001-2002.
-
Gluing resin to styrene???
astroracer replied to Mike77's topic in Model Building Questions and Answers
As stated, superglue or 5 min epoxy. Styrene glue depends on "melting" the two pieces together. Resin doesn't melt so styrene glue will not hold. Superglue or epoxy hold things together with a mechanical bond which is what is needed for your application. Mark -
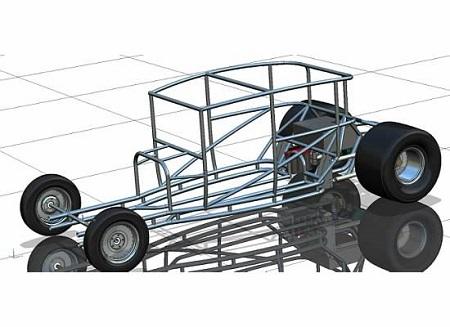
Hi Scott, I started building one of these about a 100 yrs ago, never got finished. I used a Nascar front suspension on mine and it looked and worked real well. I think I swapped out the whole front frame structure. I'll have to dig it out and look. Mark
-
1/16 Pro Street 55 Bel Air Update! 1-19-16 New Parts have Arrived!
astroracer replied to Armornv's topic in WIP: Model Cars
I should have been clearer. If you look at the "Pro Street" and "Pro Touring" versions offered by Morrison you will see the frame nips in to give wider tires more clearance right in front of the rear tire. And yes, stock 55-57 frames run straight back. Mark -
1/16 Pro Street 55 Bel Air Update! 1-19-16 New Parts have Arrived!
astroracer replied to Armornv's topic in WIP: Model Cars
The Tri-Five Chevies use a perimeter frame. The frame runs around the outside edges of the body. If you trim off the frame where it tucks back in, right at the front of the rear wheels, that is usually where the modifications begin. You will have to add tubing to each inside corner to get to your new rear rail width but you can see all of that on any of the chassis sites. What rear suspension will you be building? Leaf spring? Triangulated 4 bar? Parallel 4-link? That will have some impact on your back half design. Mark -
1/16 Pro Street 55 Bel Air Update! 1-19-16 New Parts have Arrived!
astroracer replied to Armornv's topic in WIP: Model Cars
Hey Clint, There is a TON of info on the net about back-halving a car. Chris Alston, Art Morrison, Chassisworks, etc. Look thru some of those sites for idea's. Here is a PDF of Morrison's catalog. There is a lot of Pro street stuff in it. http://www.artmorrison.com/2006cat/2015catalog.pdf Mark