Cool Hand
-
Posts
2,087 -
Joined
-
Last visited
Content Type
Profiles
Forums
Events
Gallery
Everything posted by Cool Hand
-
Well I guess if at some point in the future lots of Ai generated car models start showing up on the forum, then you would assume another sub section would need to be created to separate Ai generated. I doubt there is any need for concern about Ai created or the casual observer, sure some people will use Ai as a tool but most if not all that visit this forum are here to see and discuss the creation of all things related to real world physically created scale model cars.
-
As Les mentioned AI images are highly defined and crystal clear, where as regular human model car images will not be as polished or 100% in focus.
-
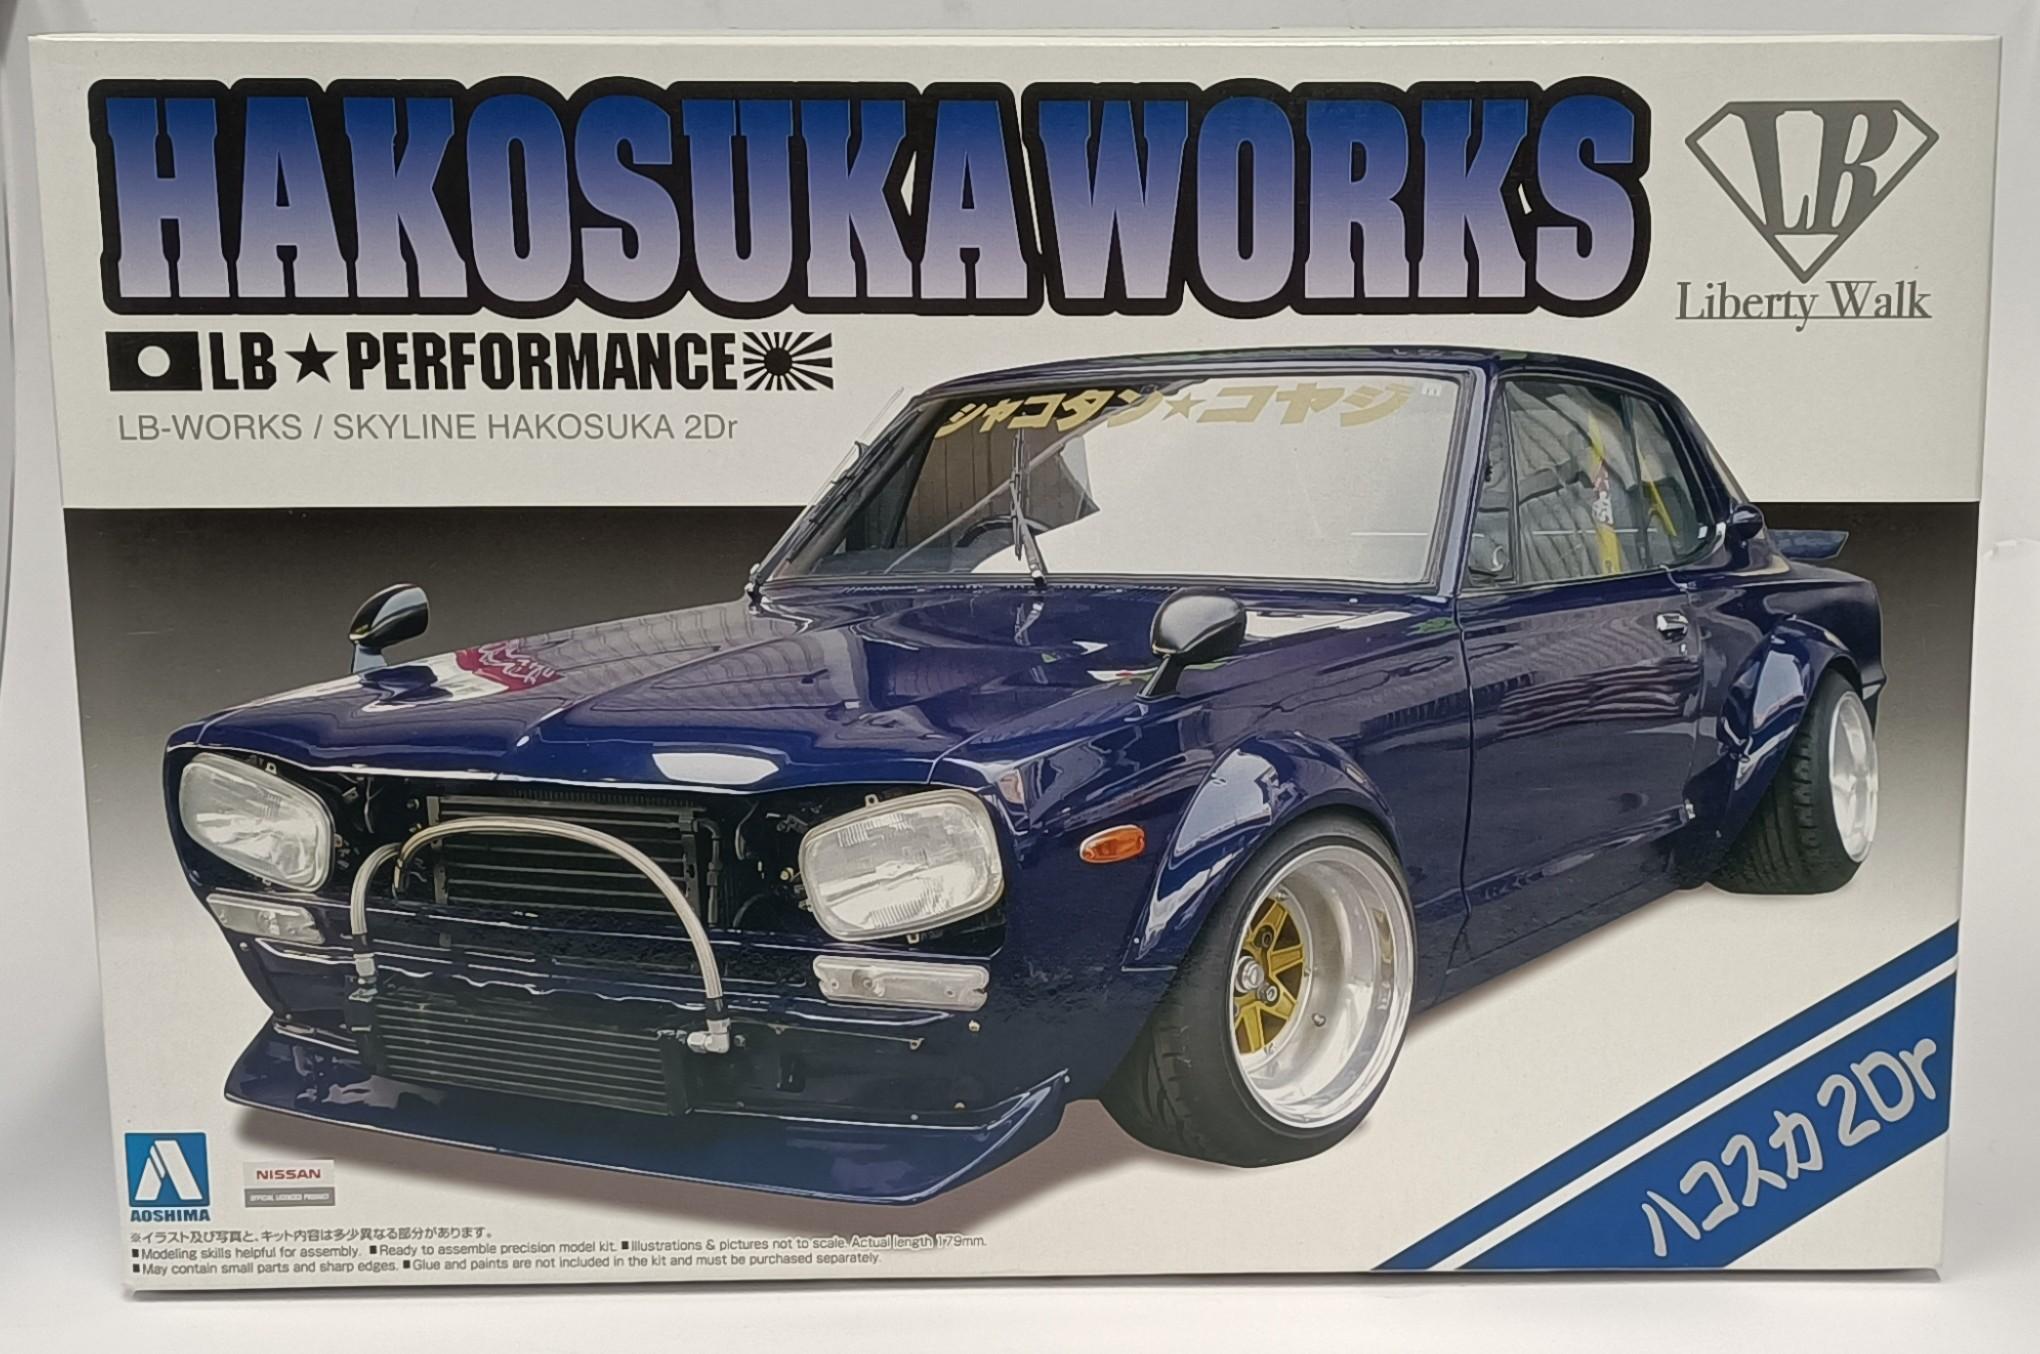
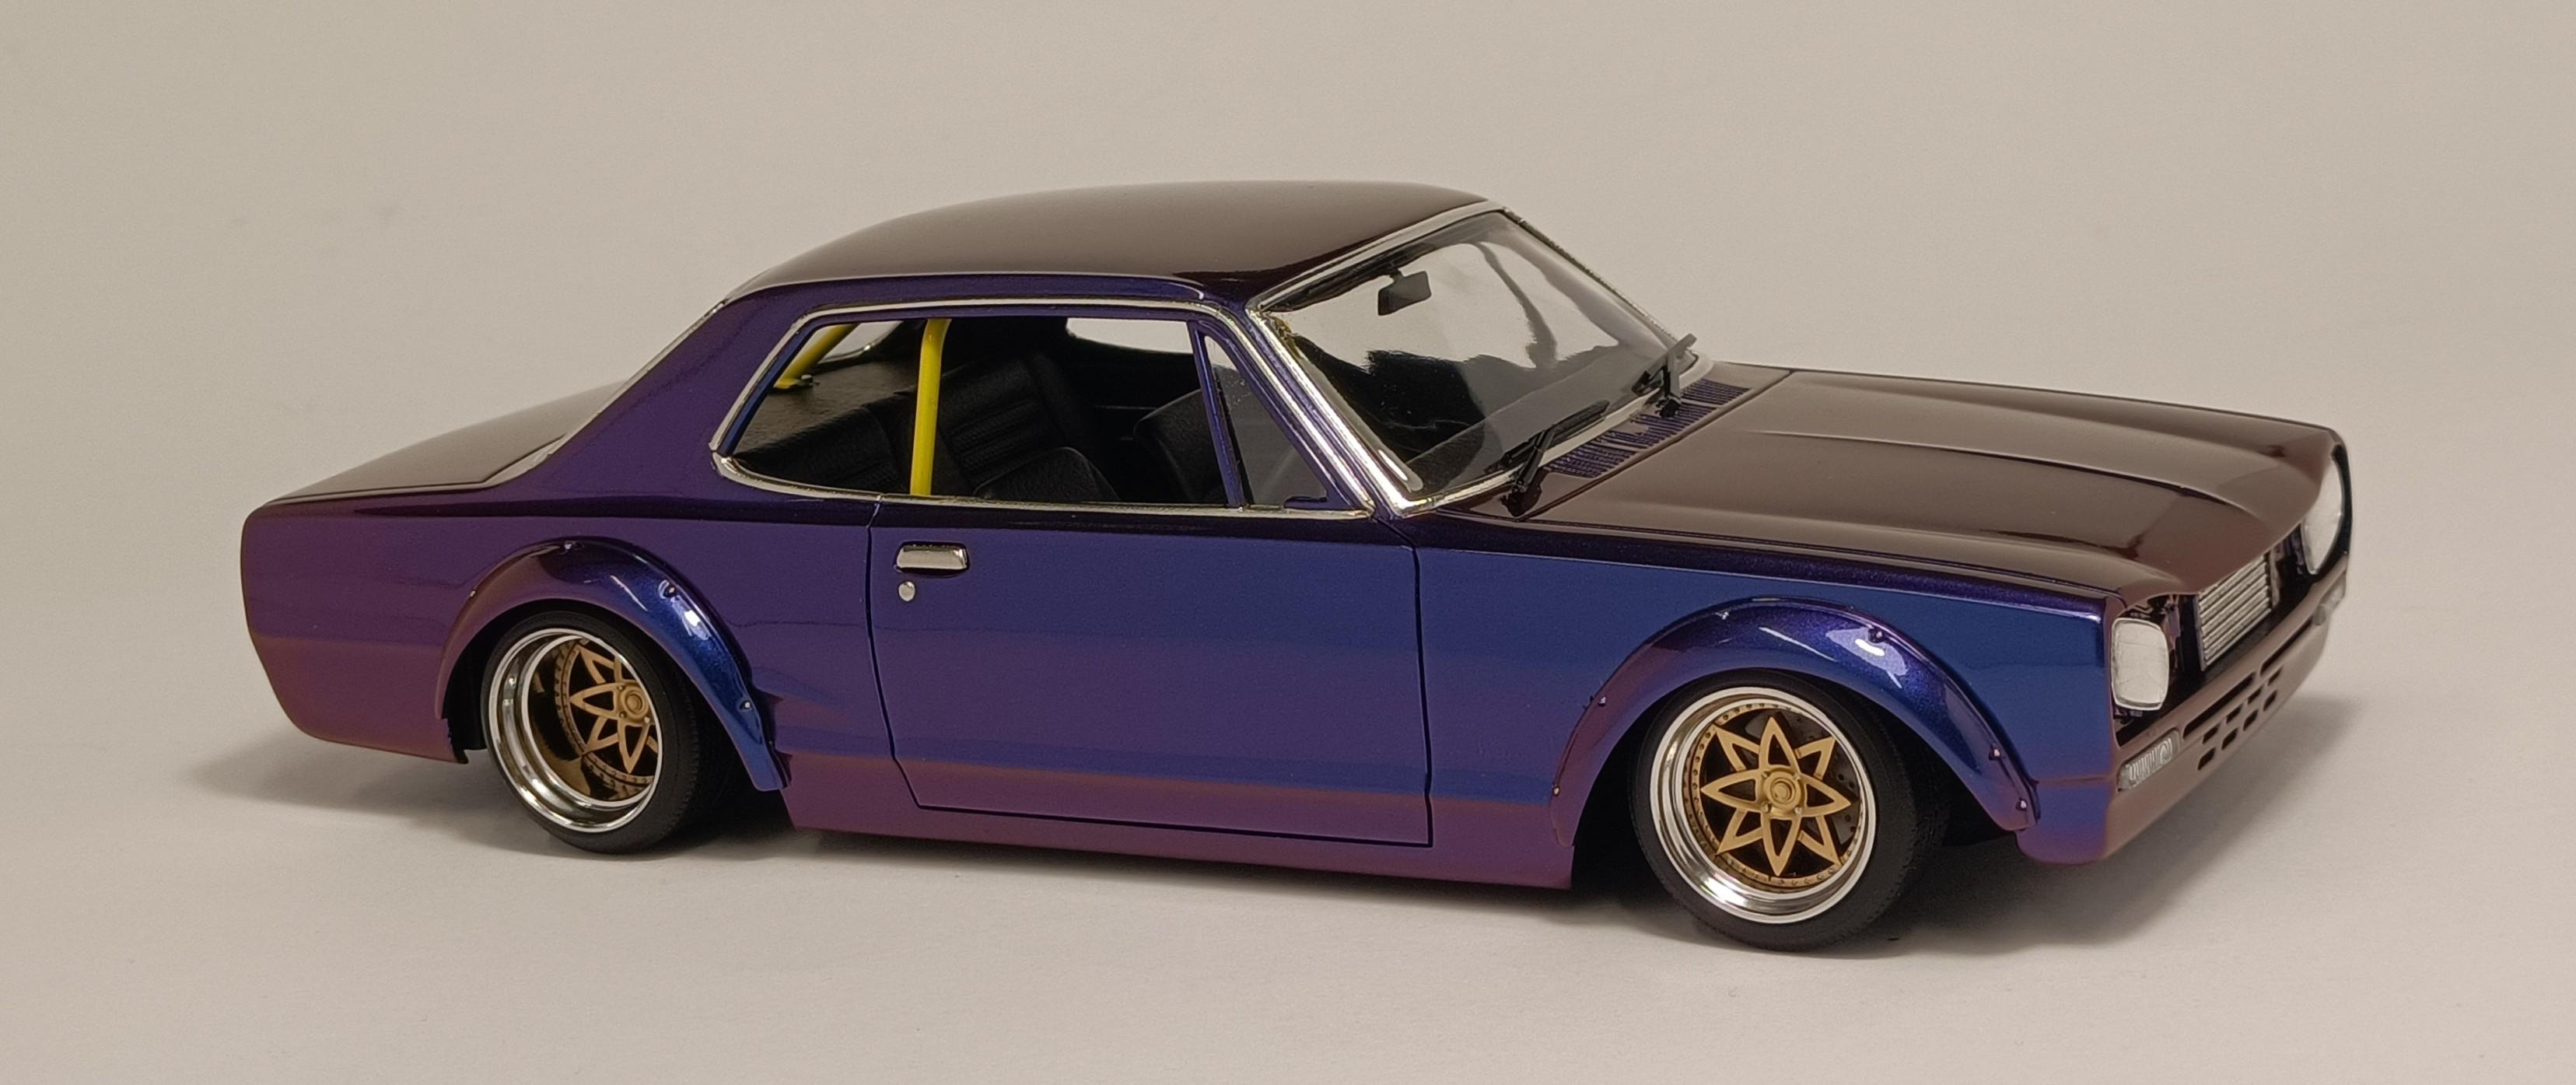
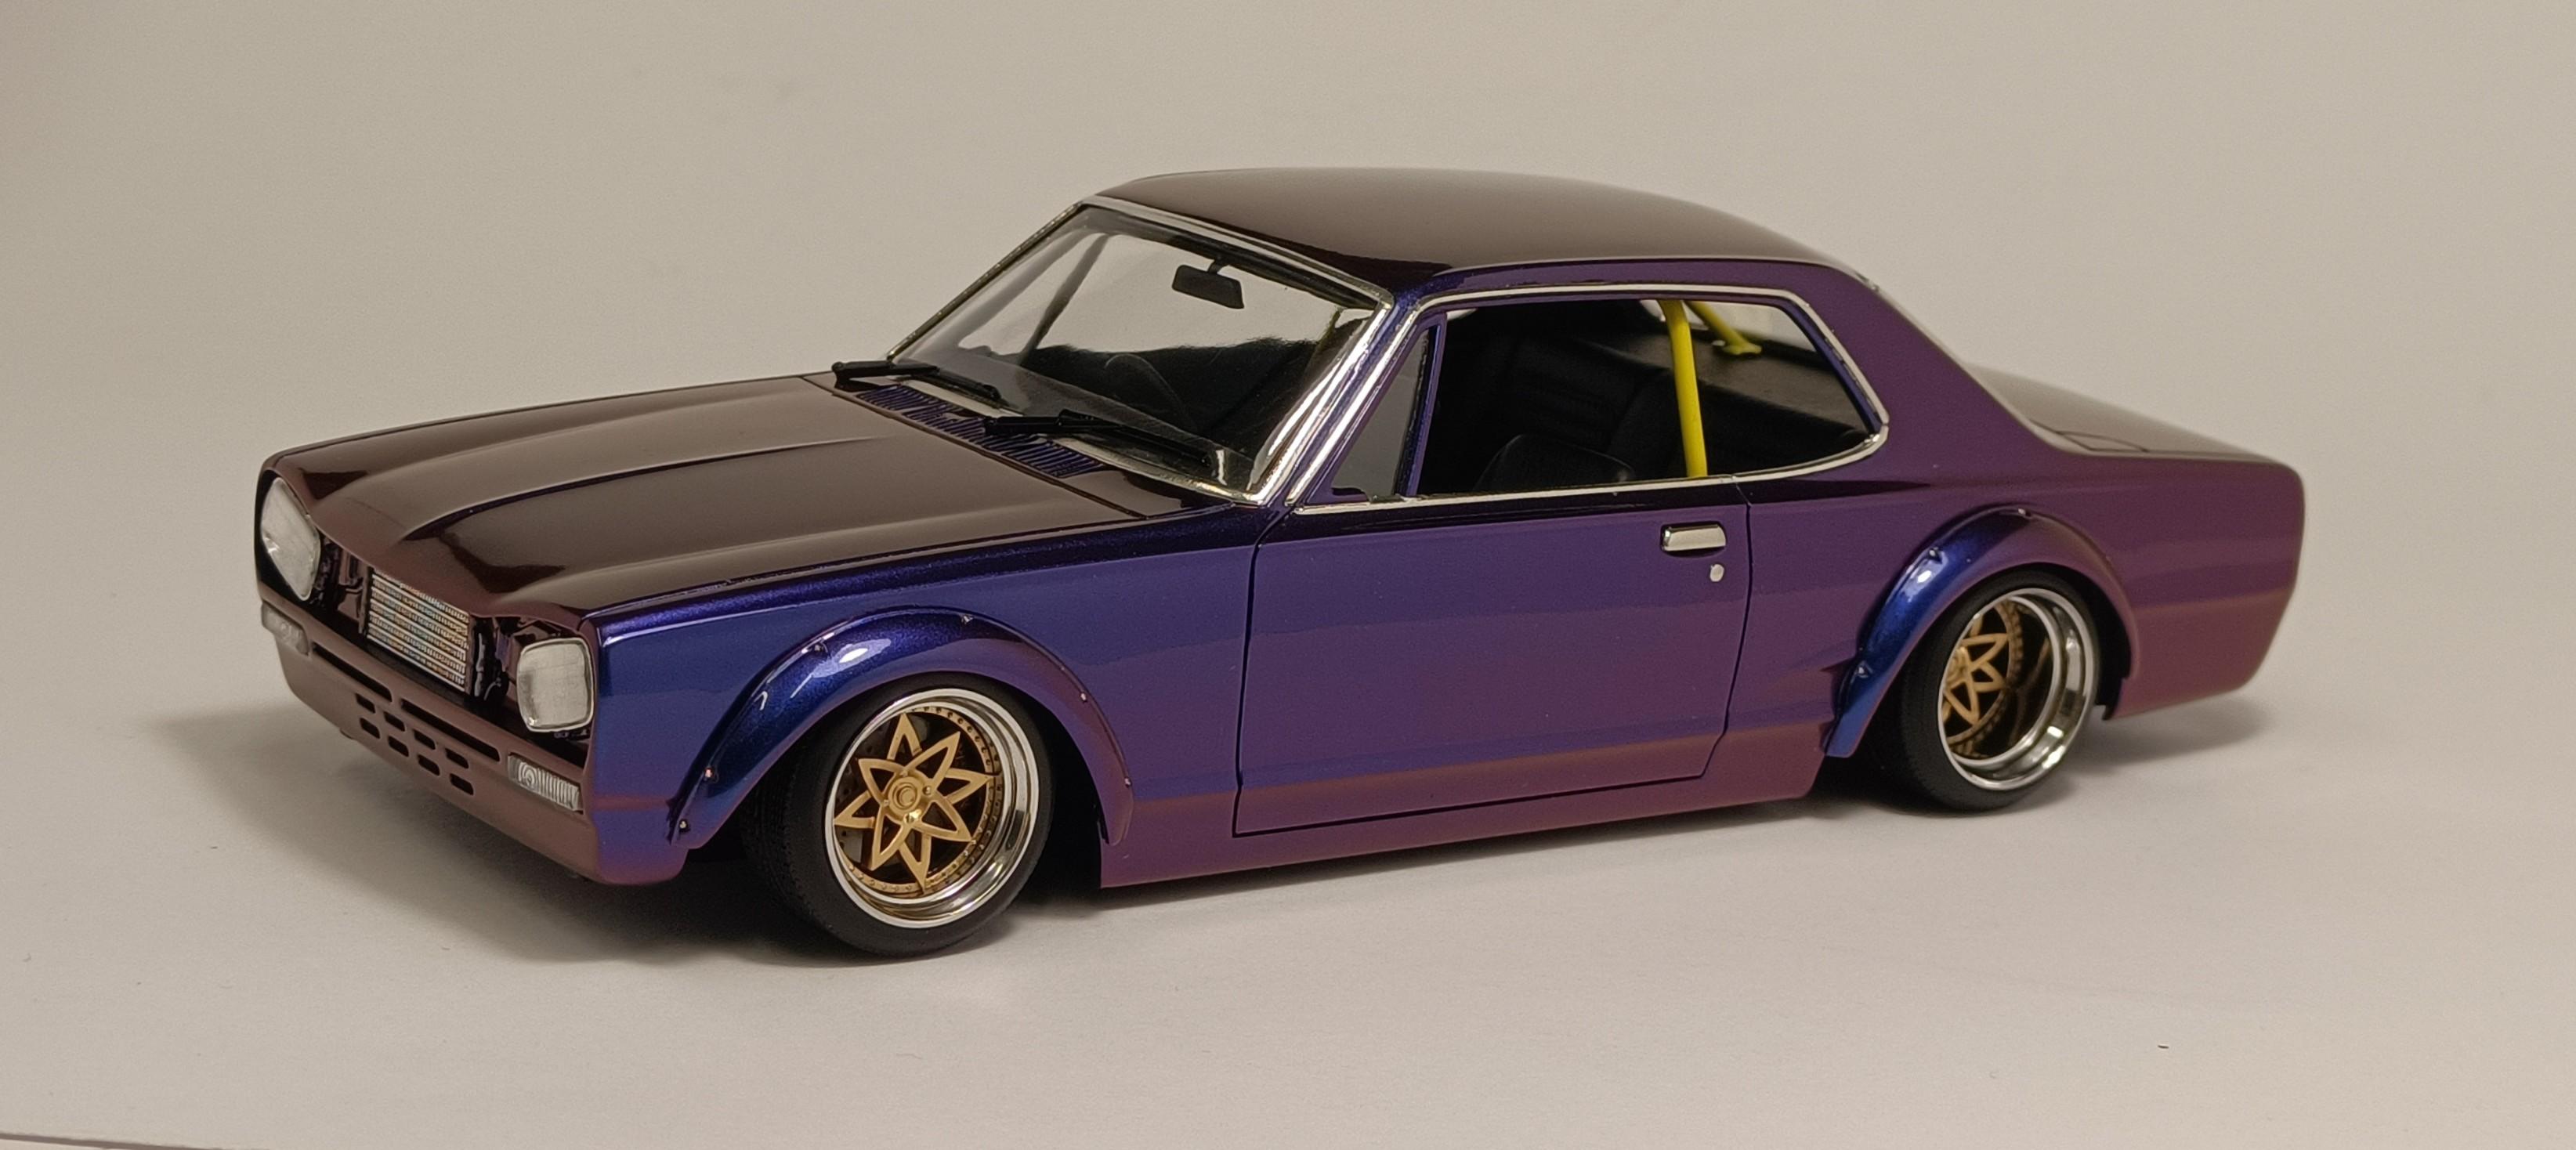
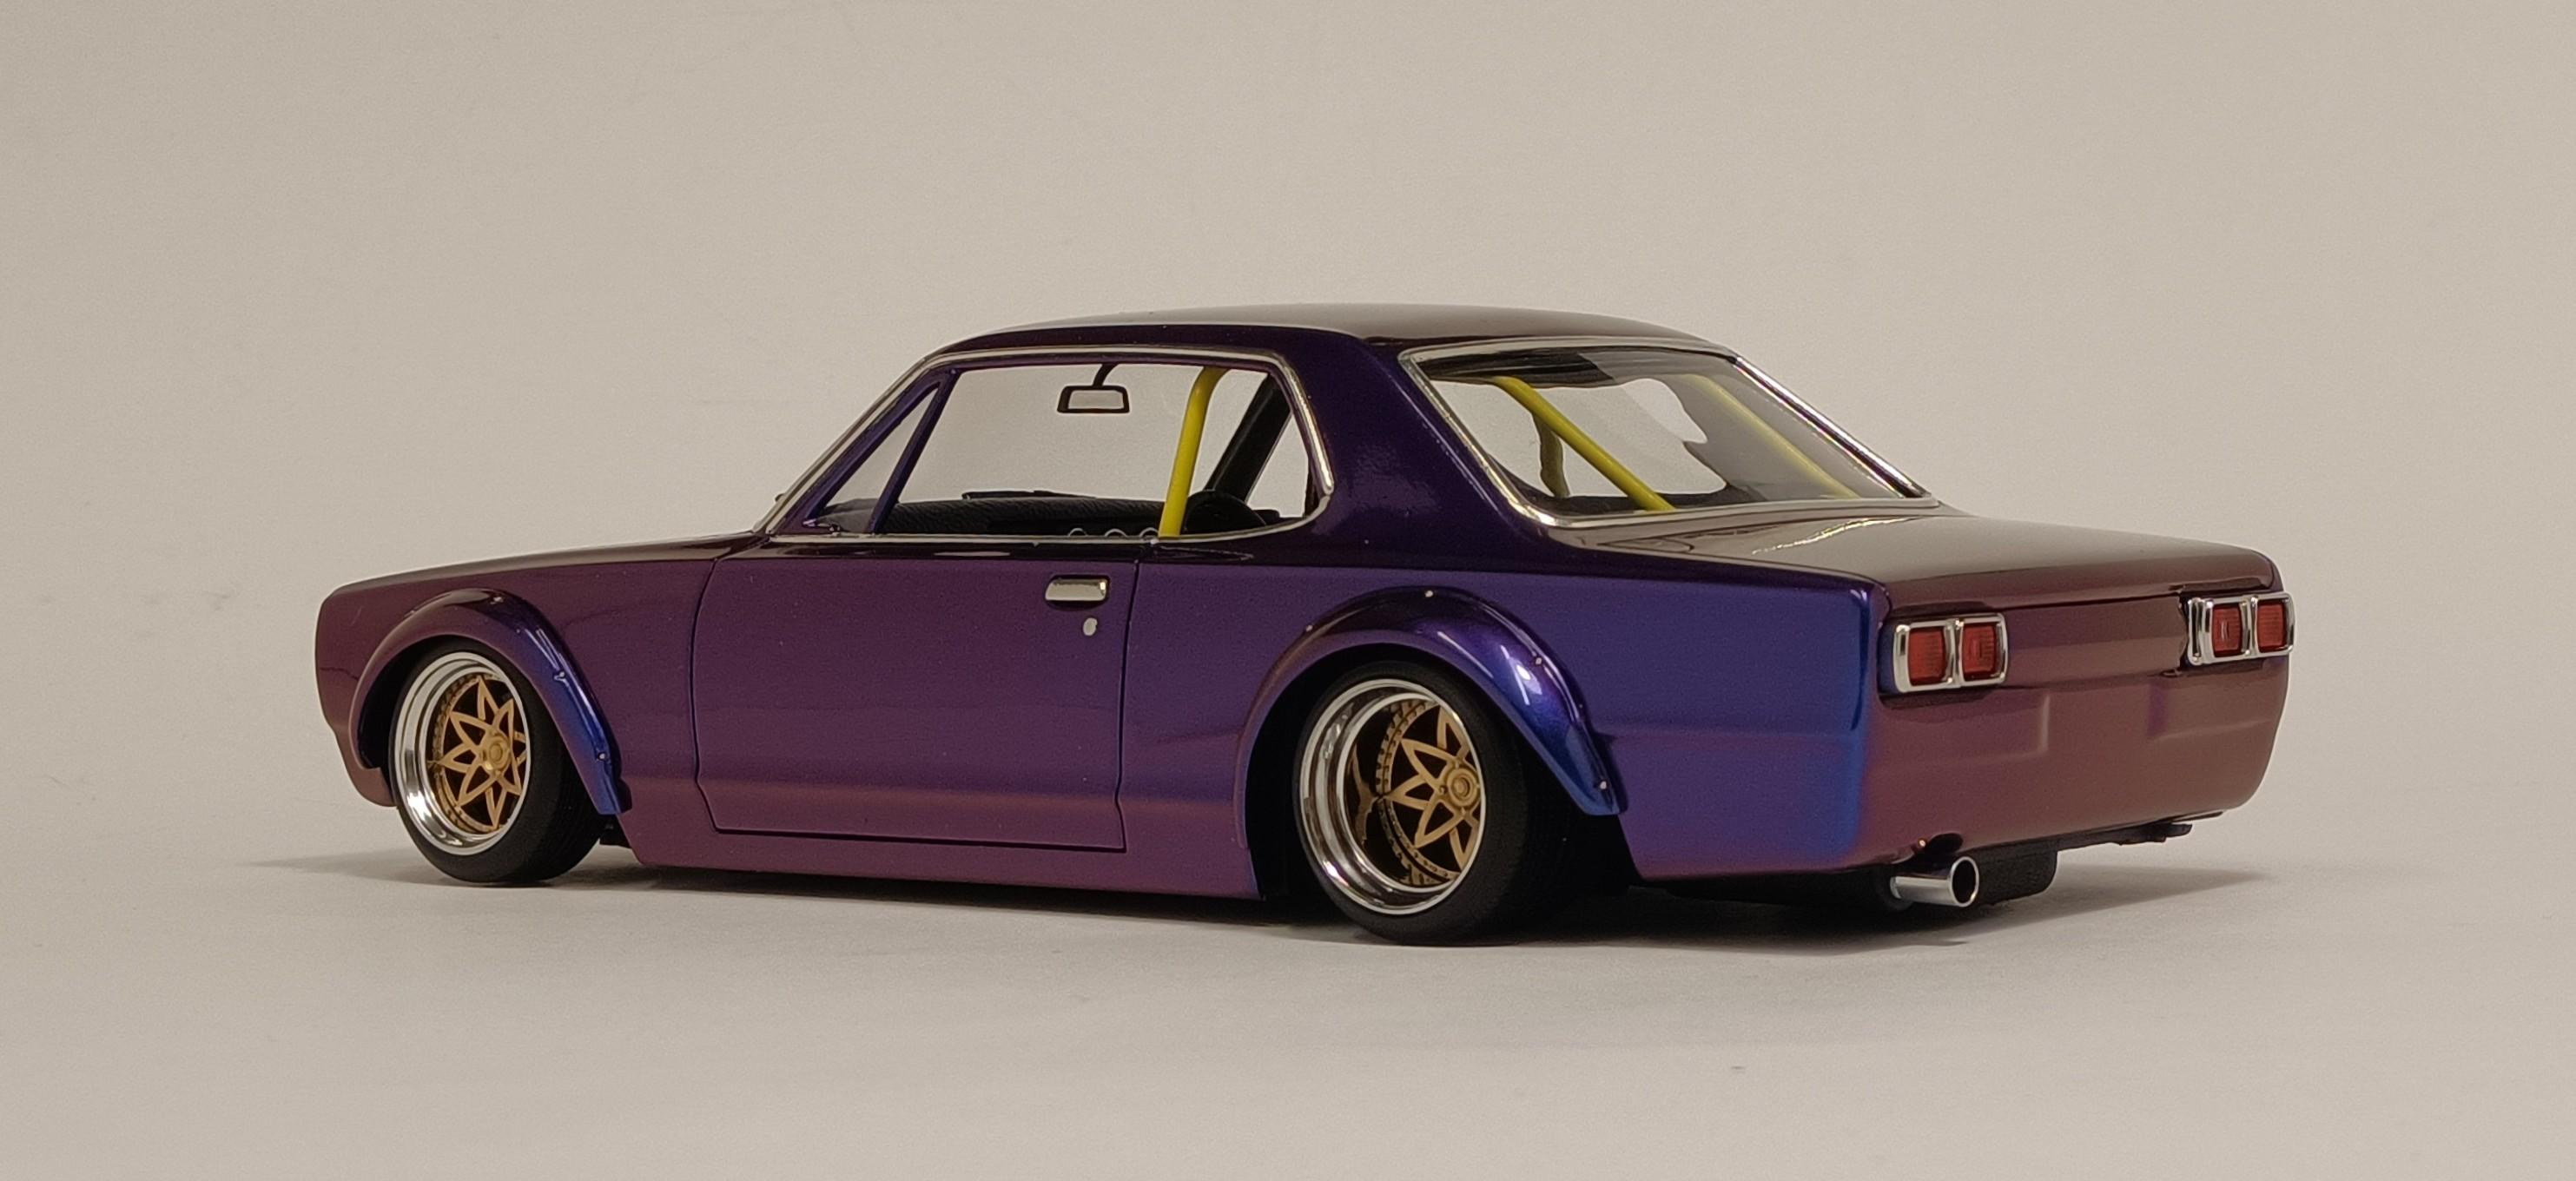
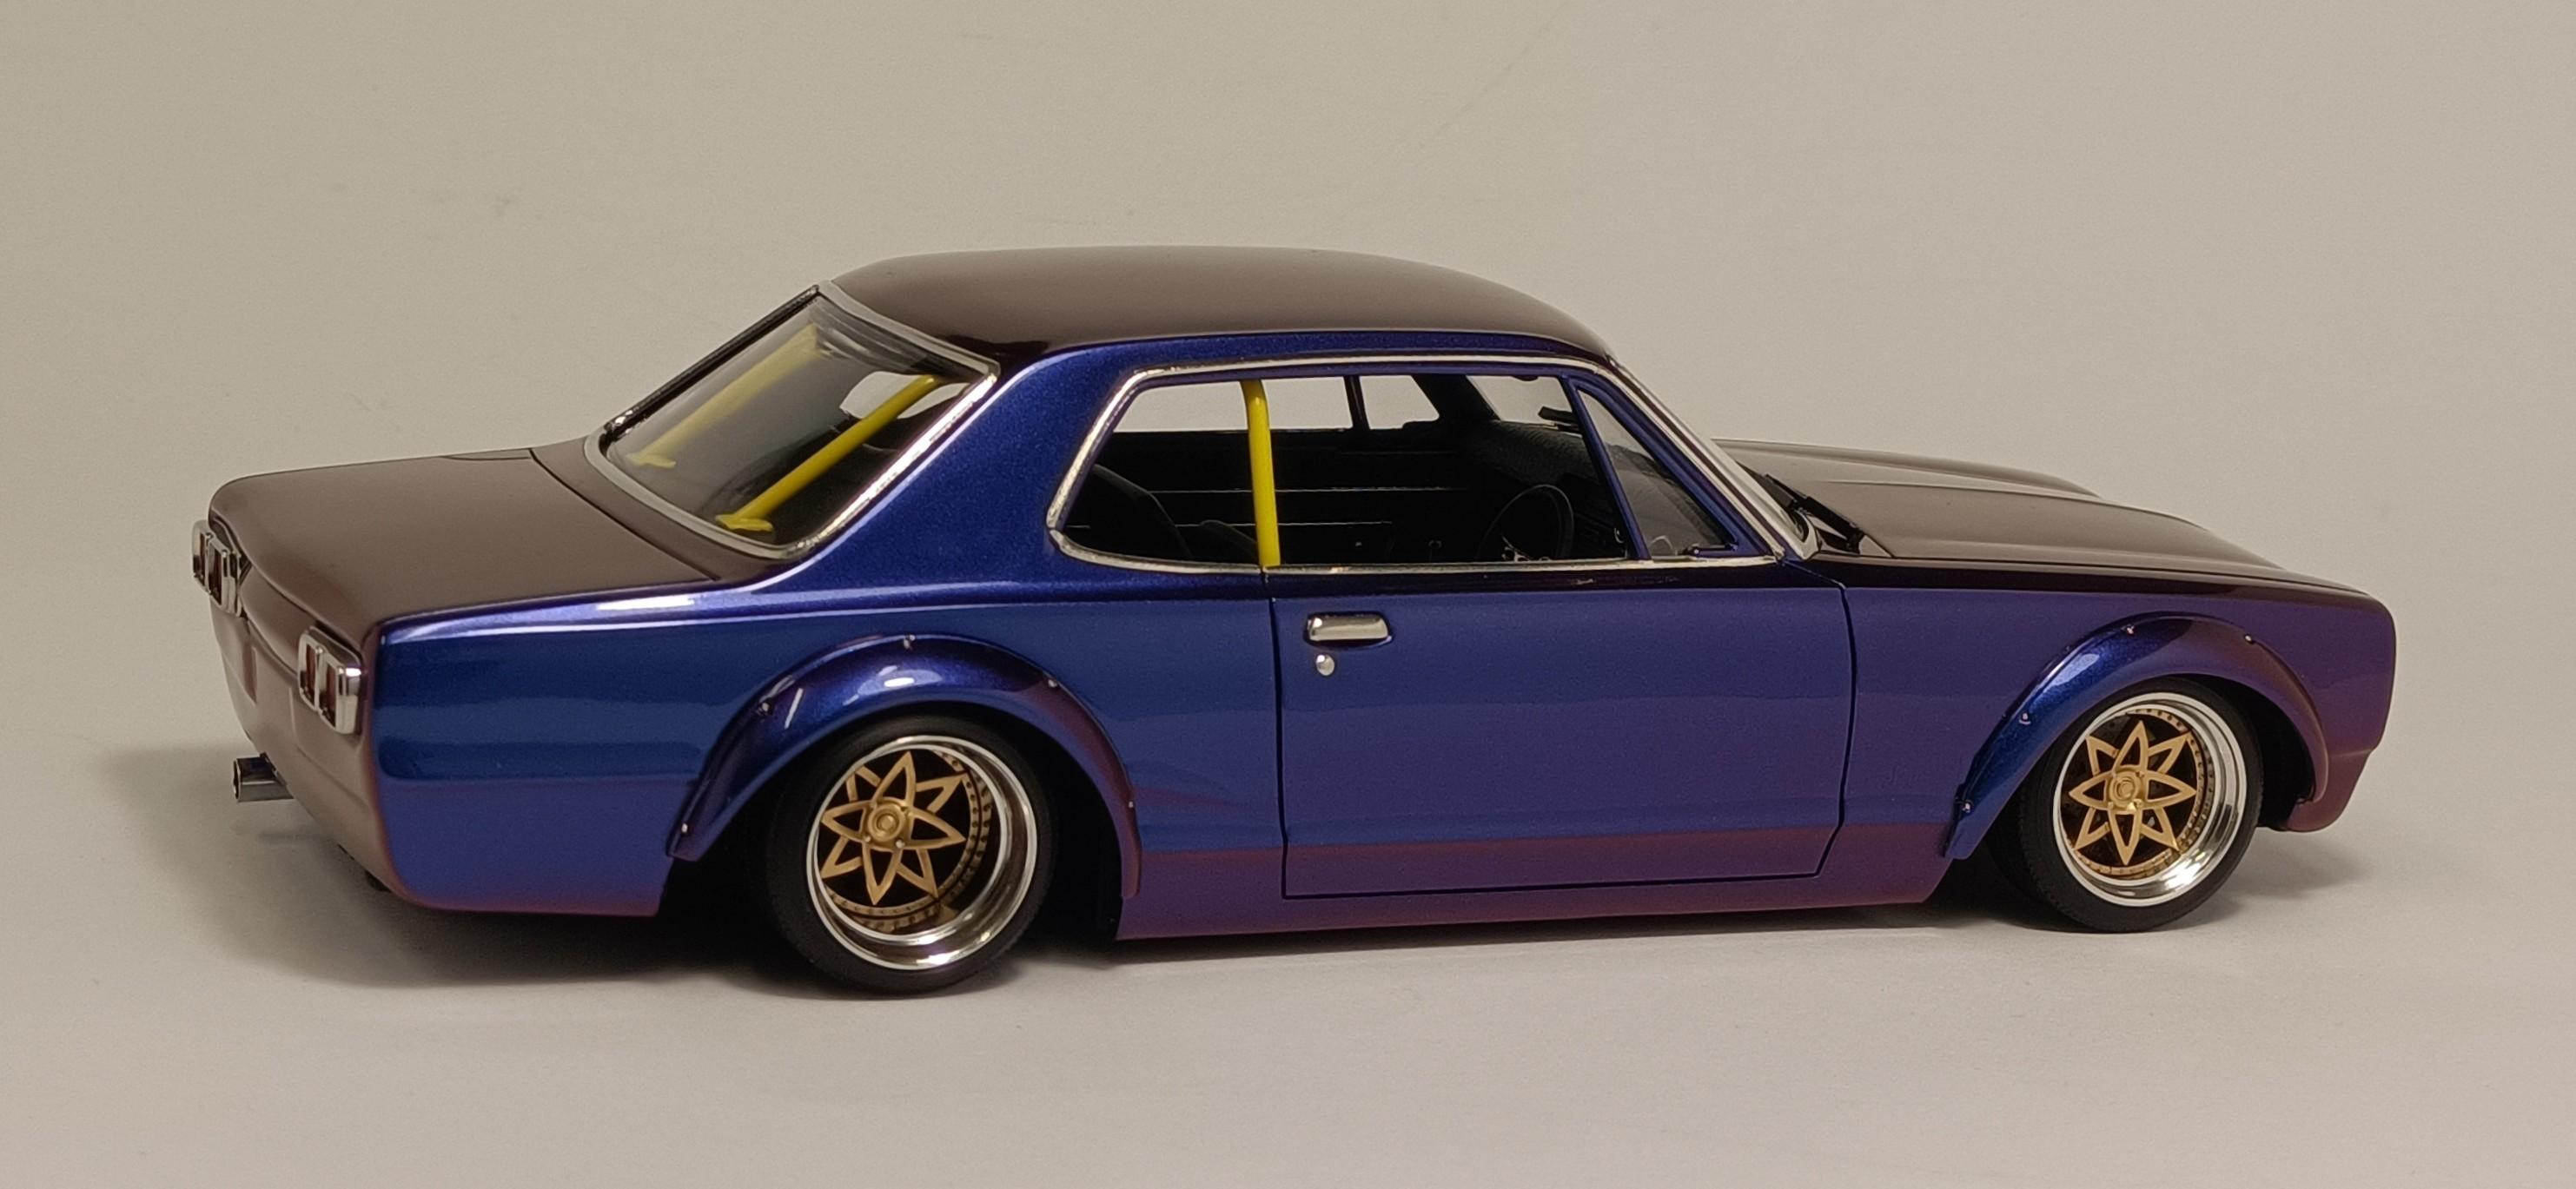
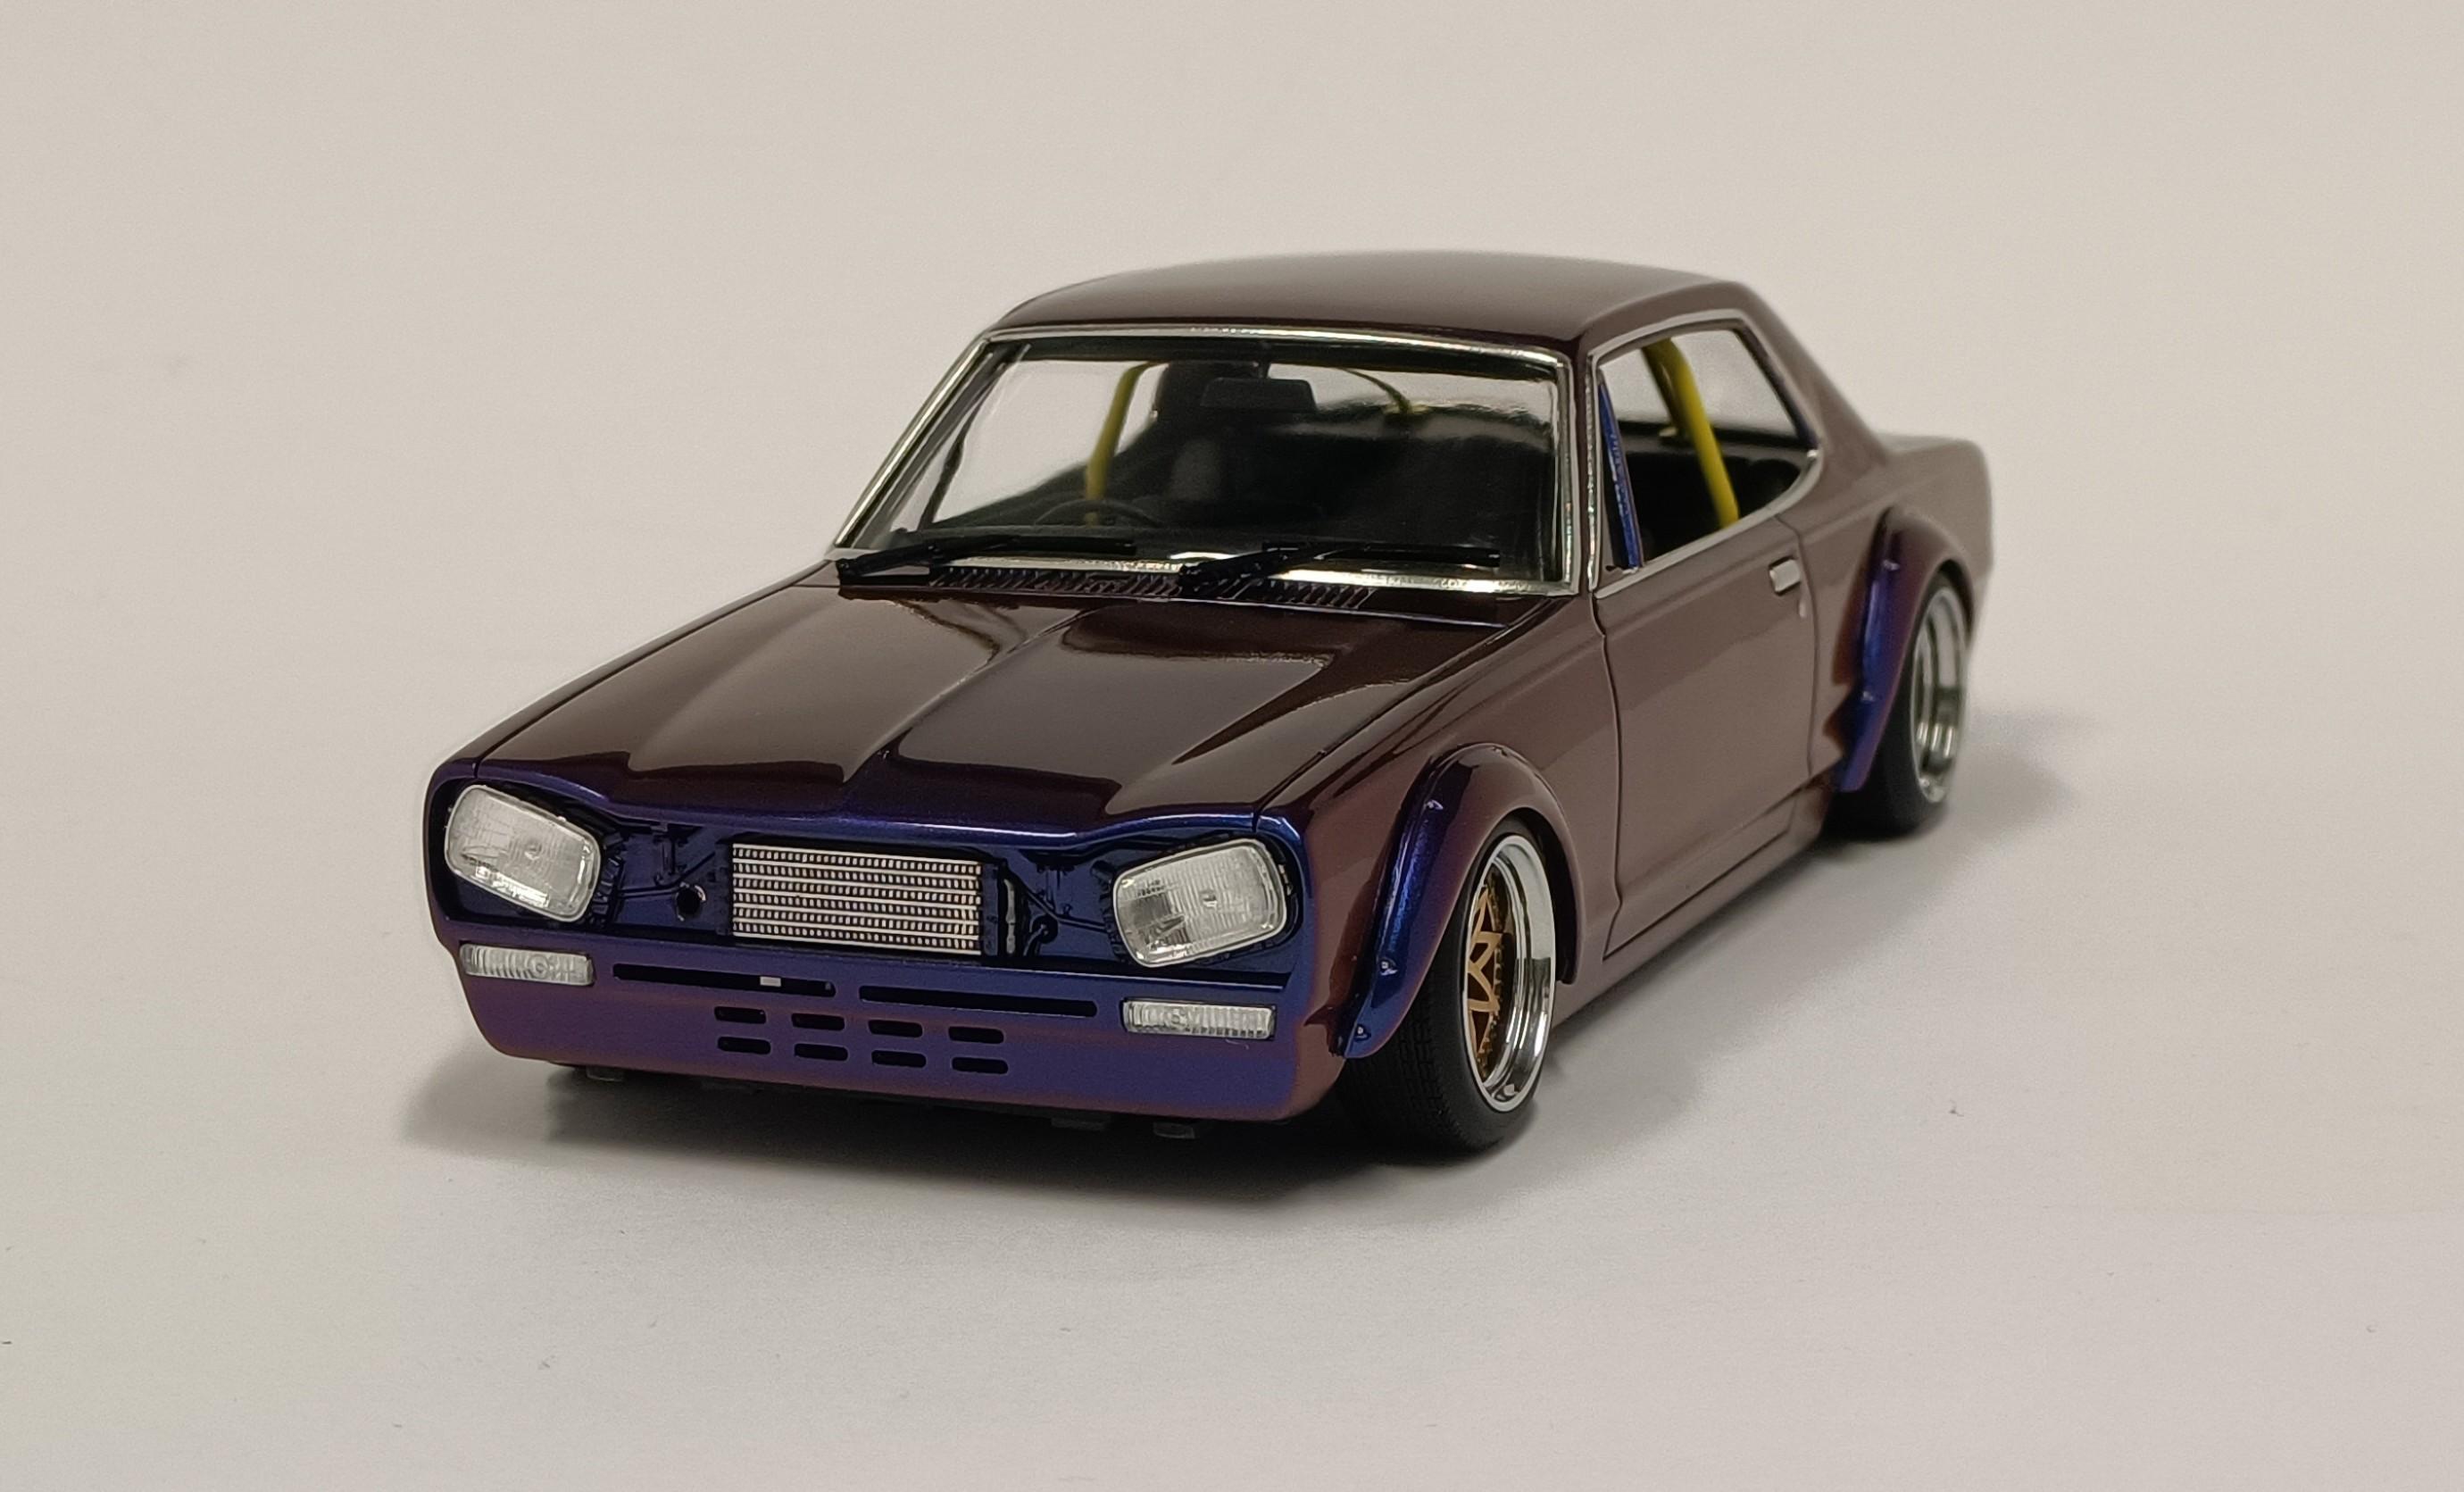
Hako completed. And Under Glass.

- 766 replies
-
- 7
-

-
- stalled builds
- quick builds
- (and 2 more)
-
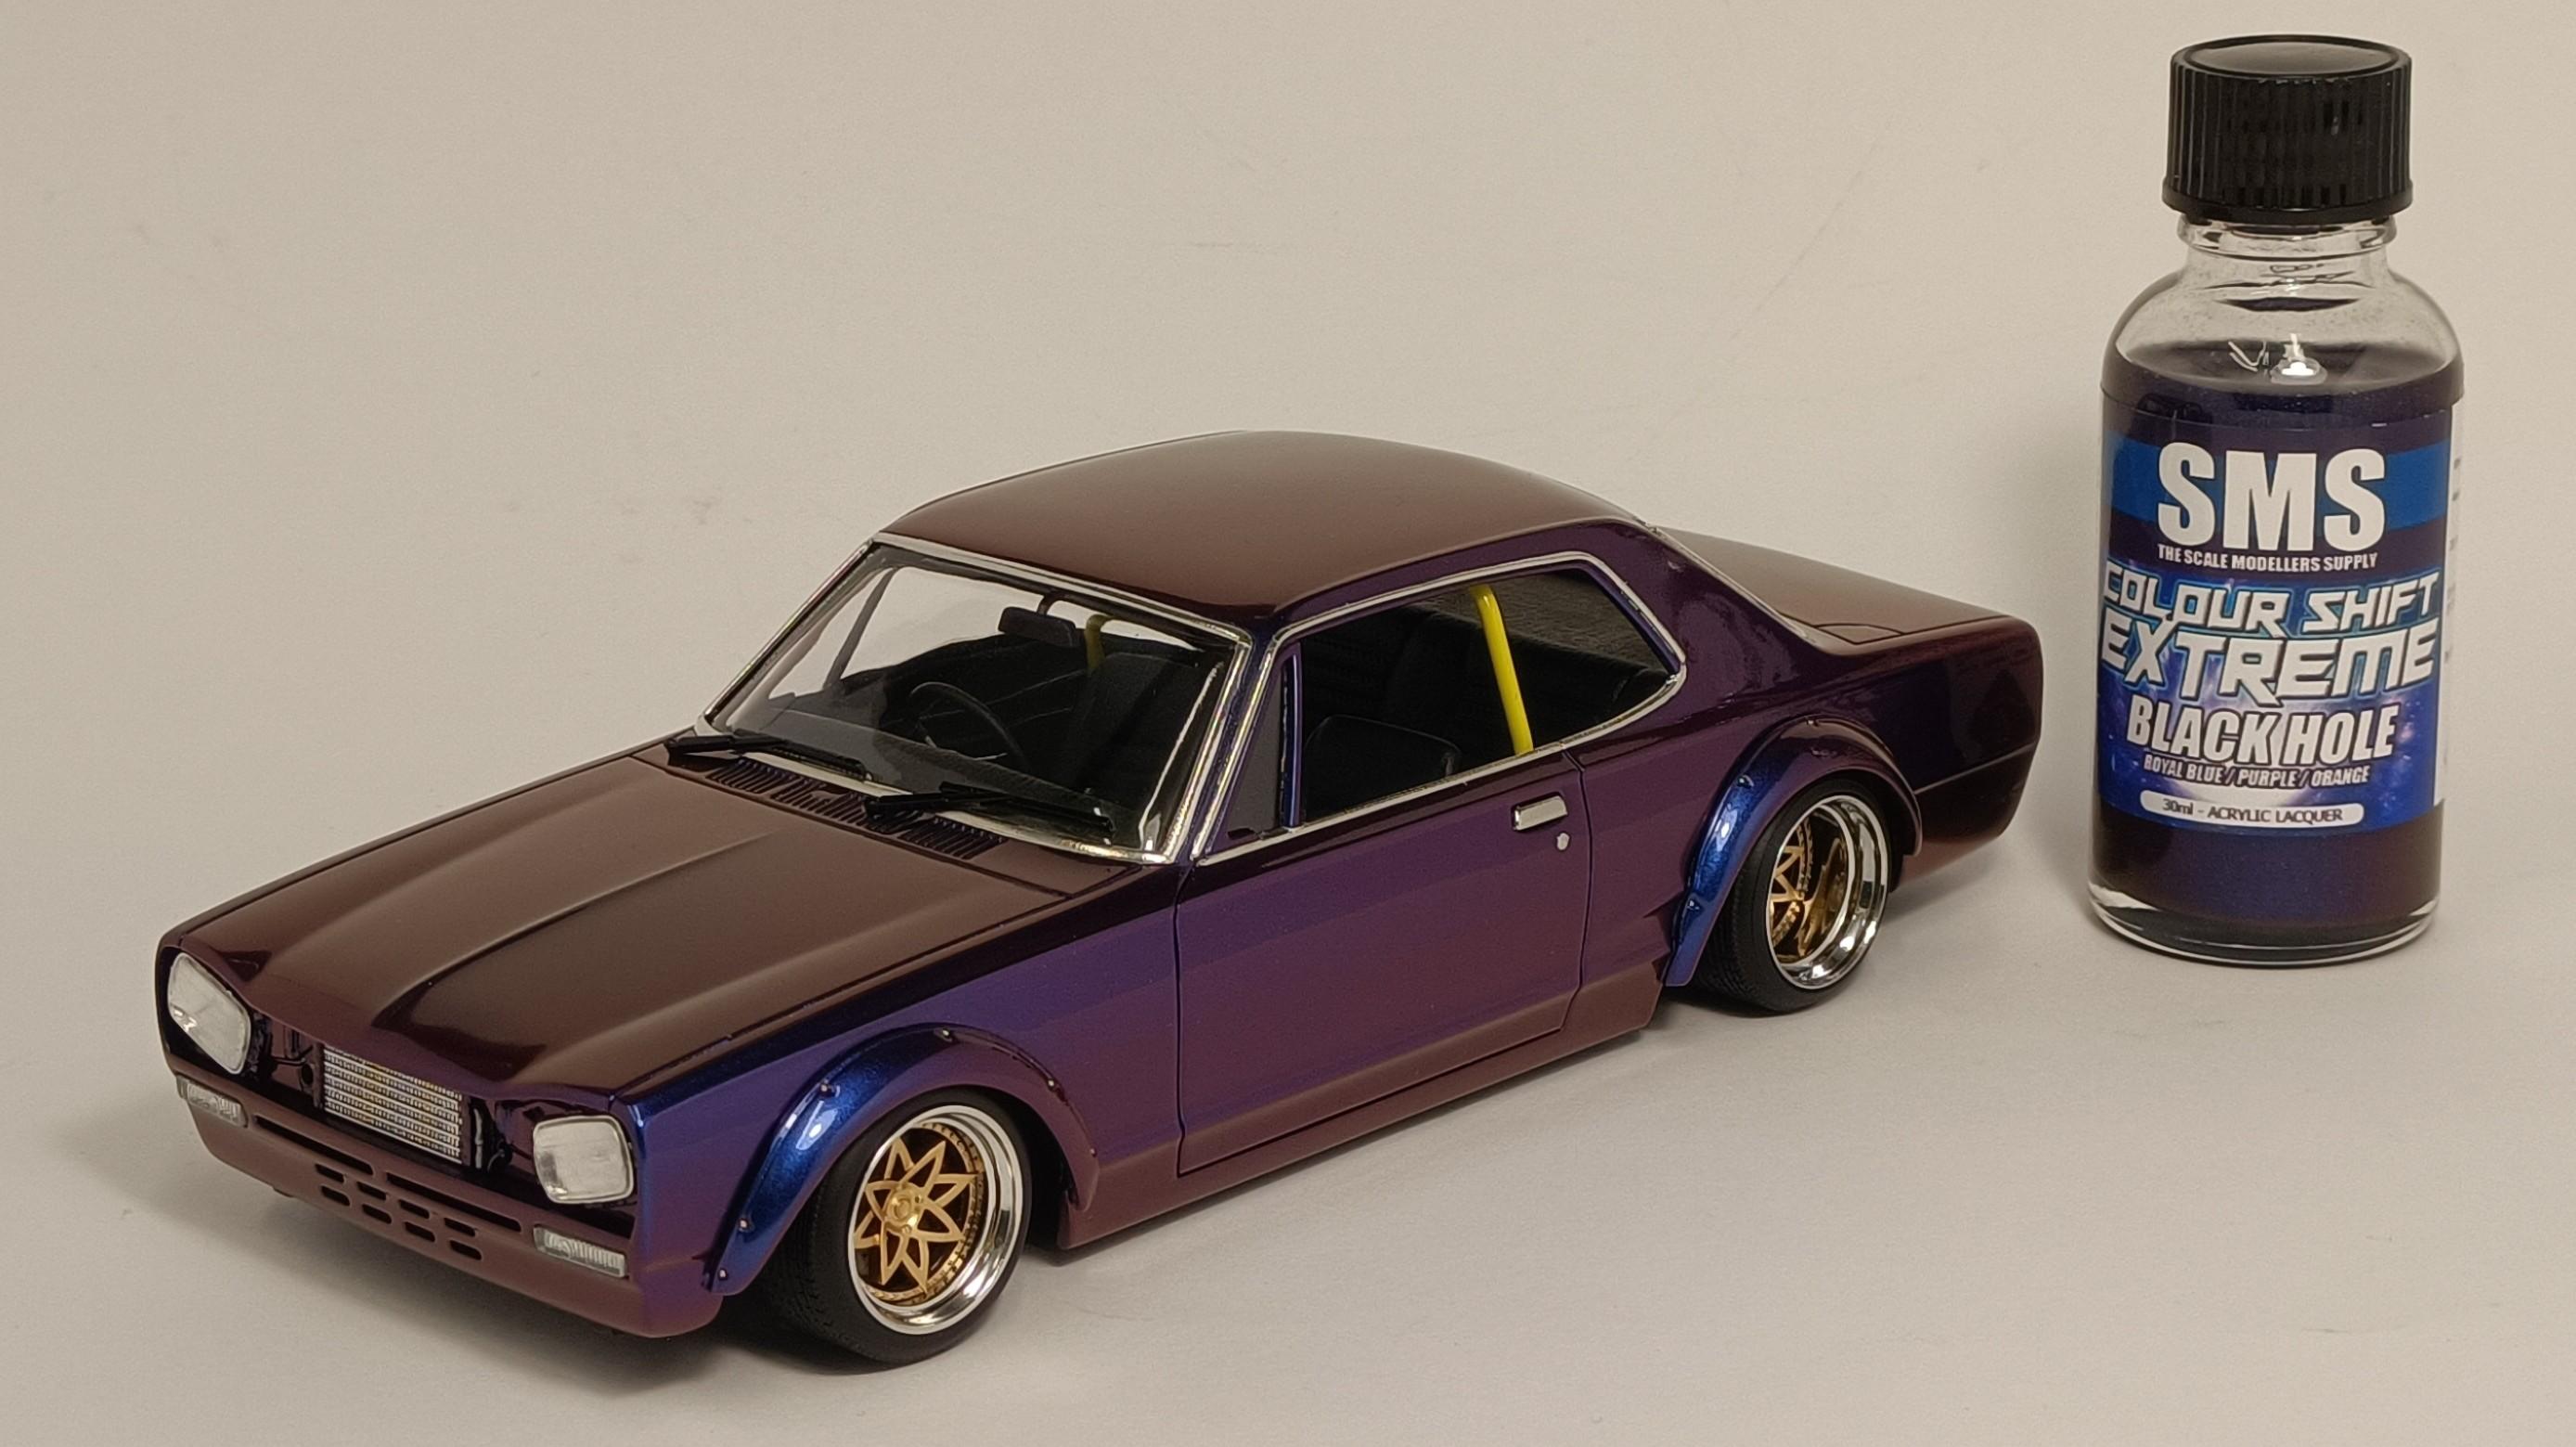
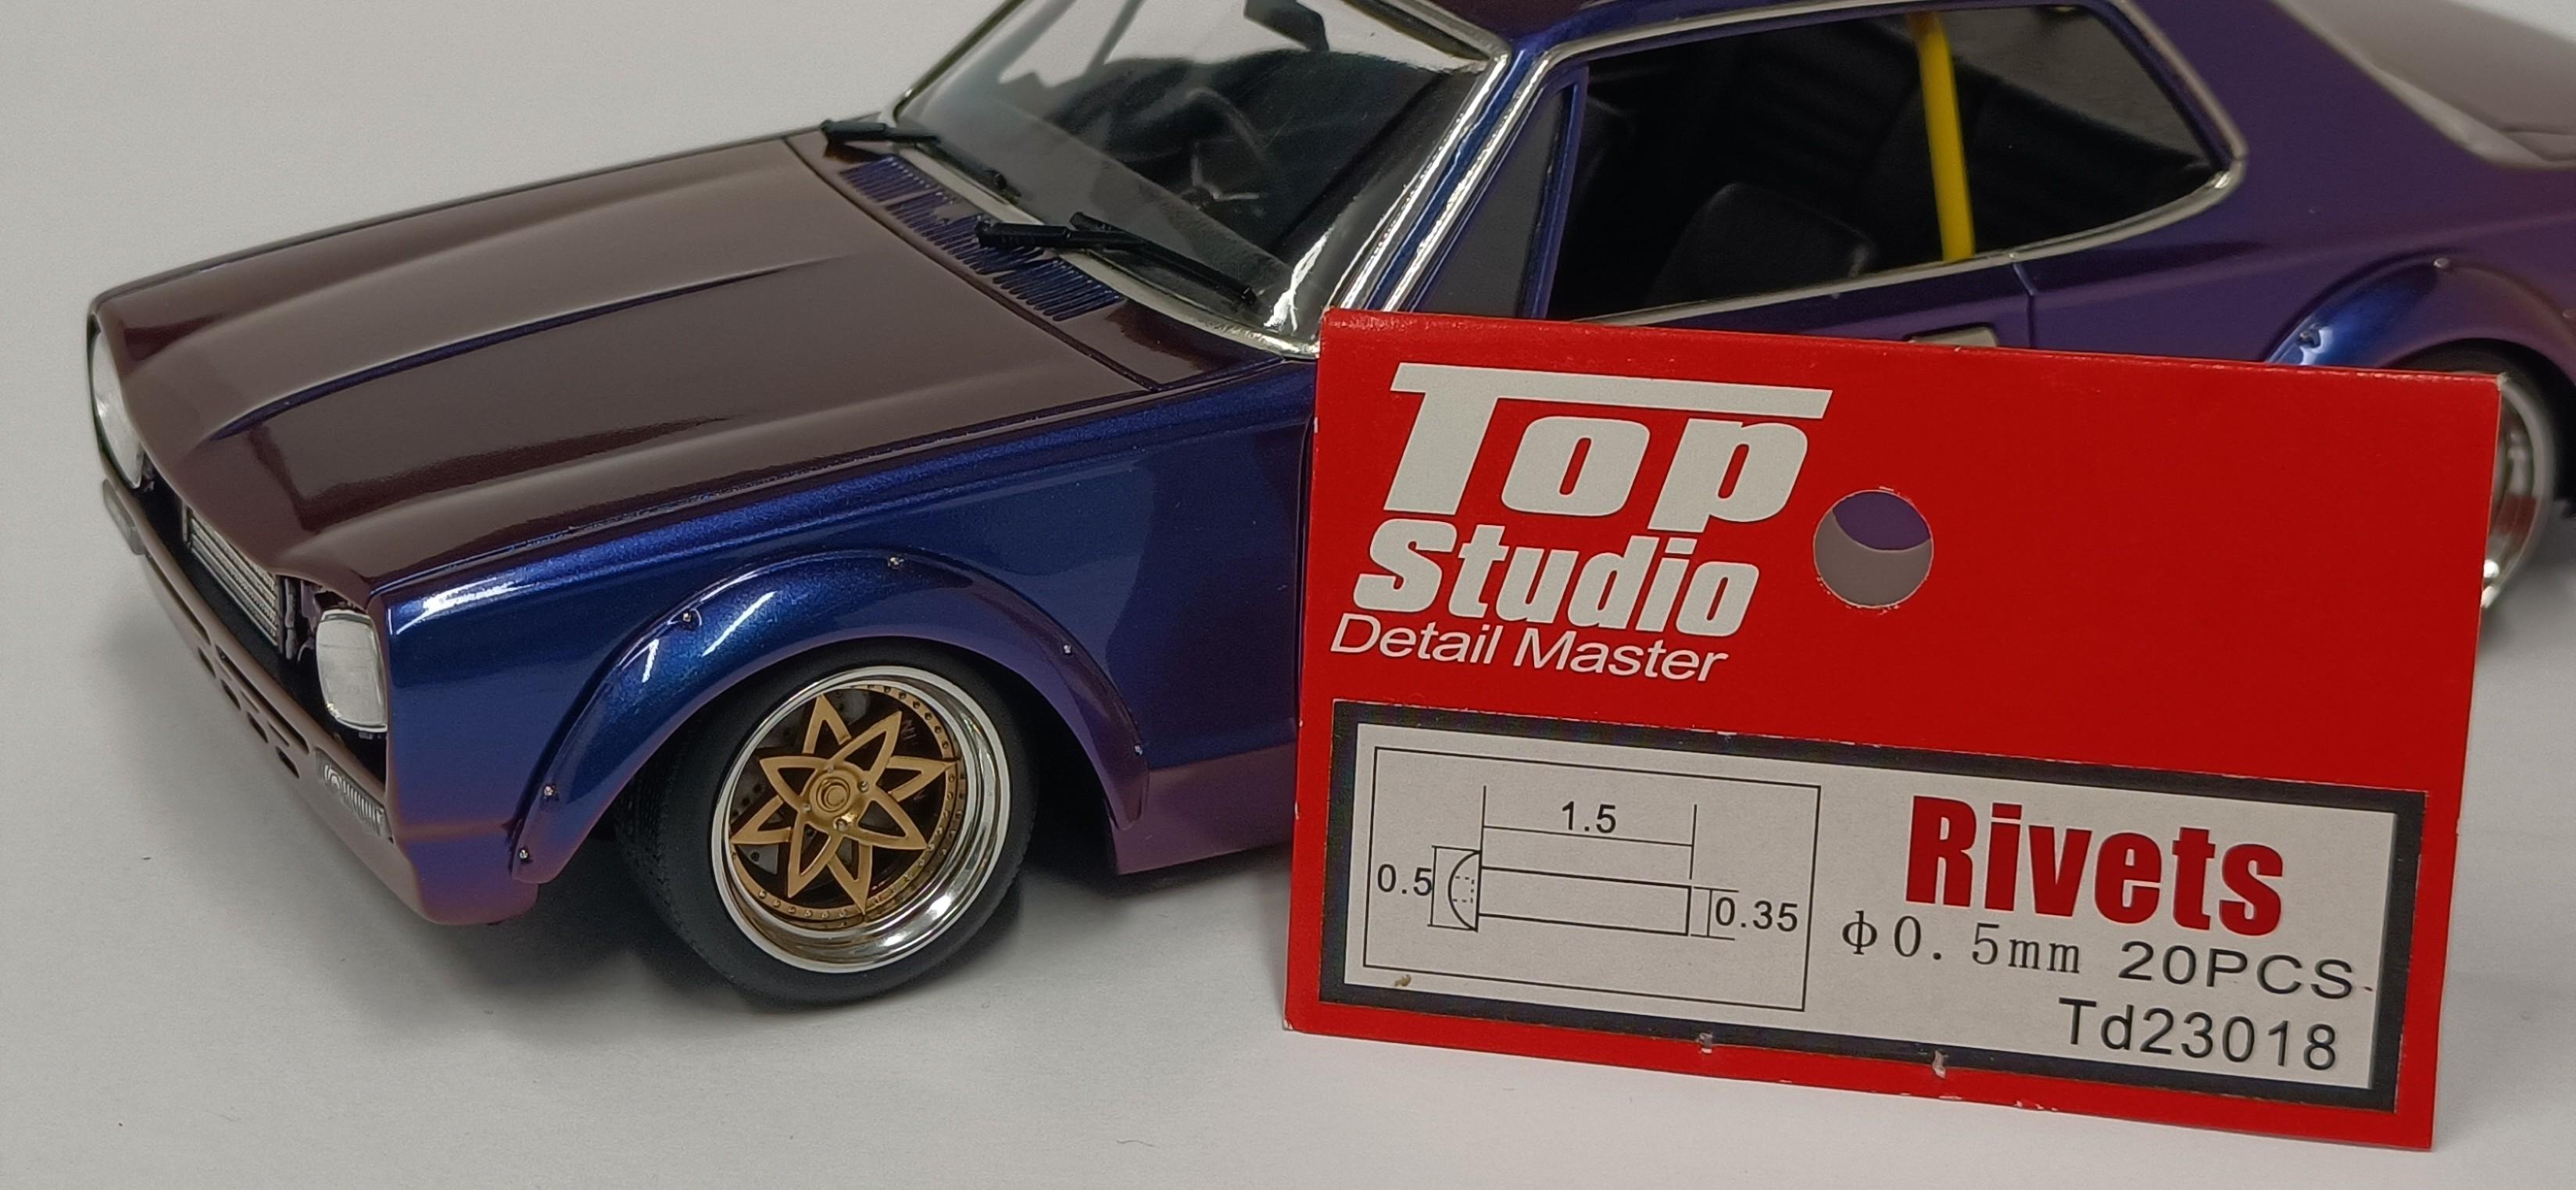
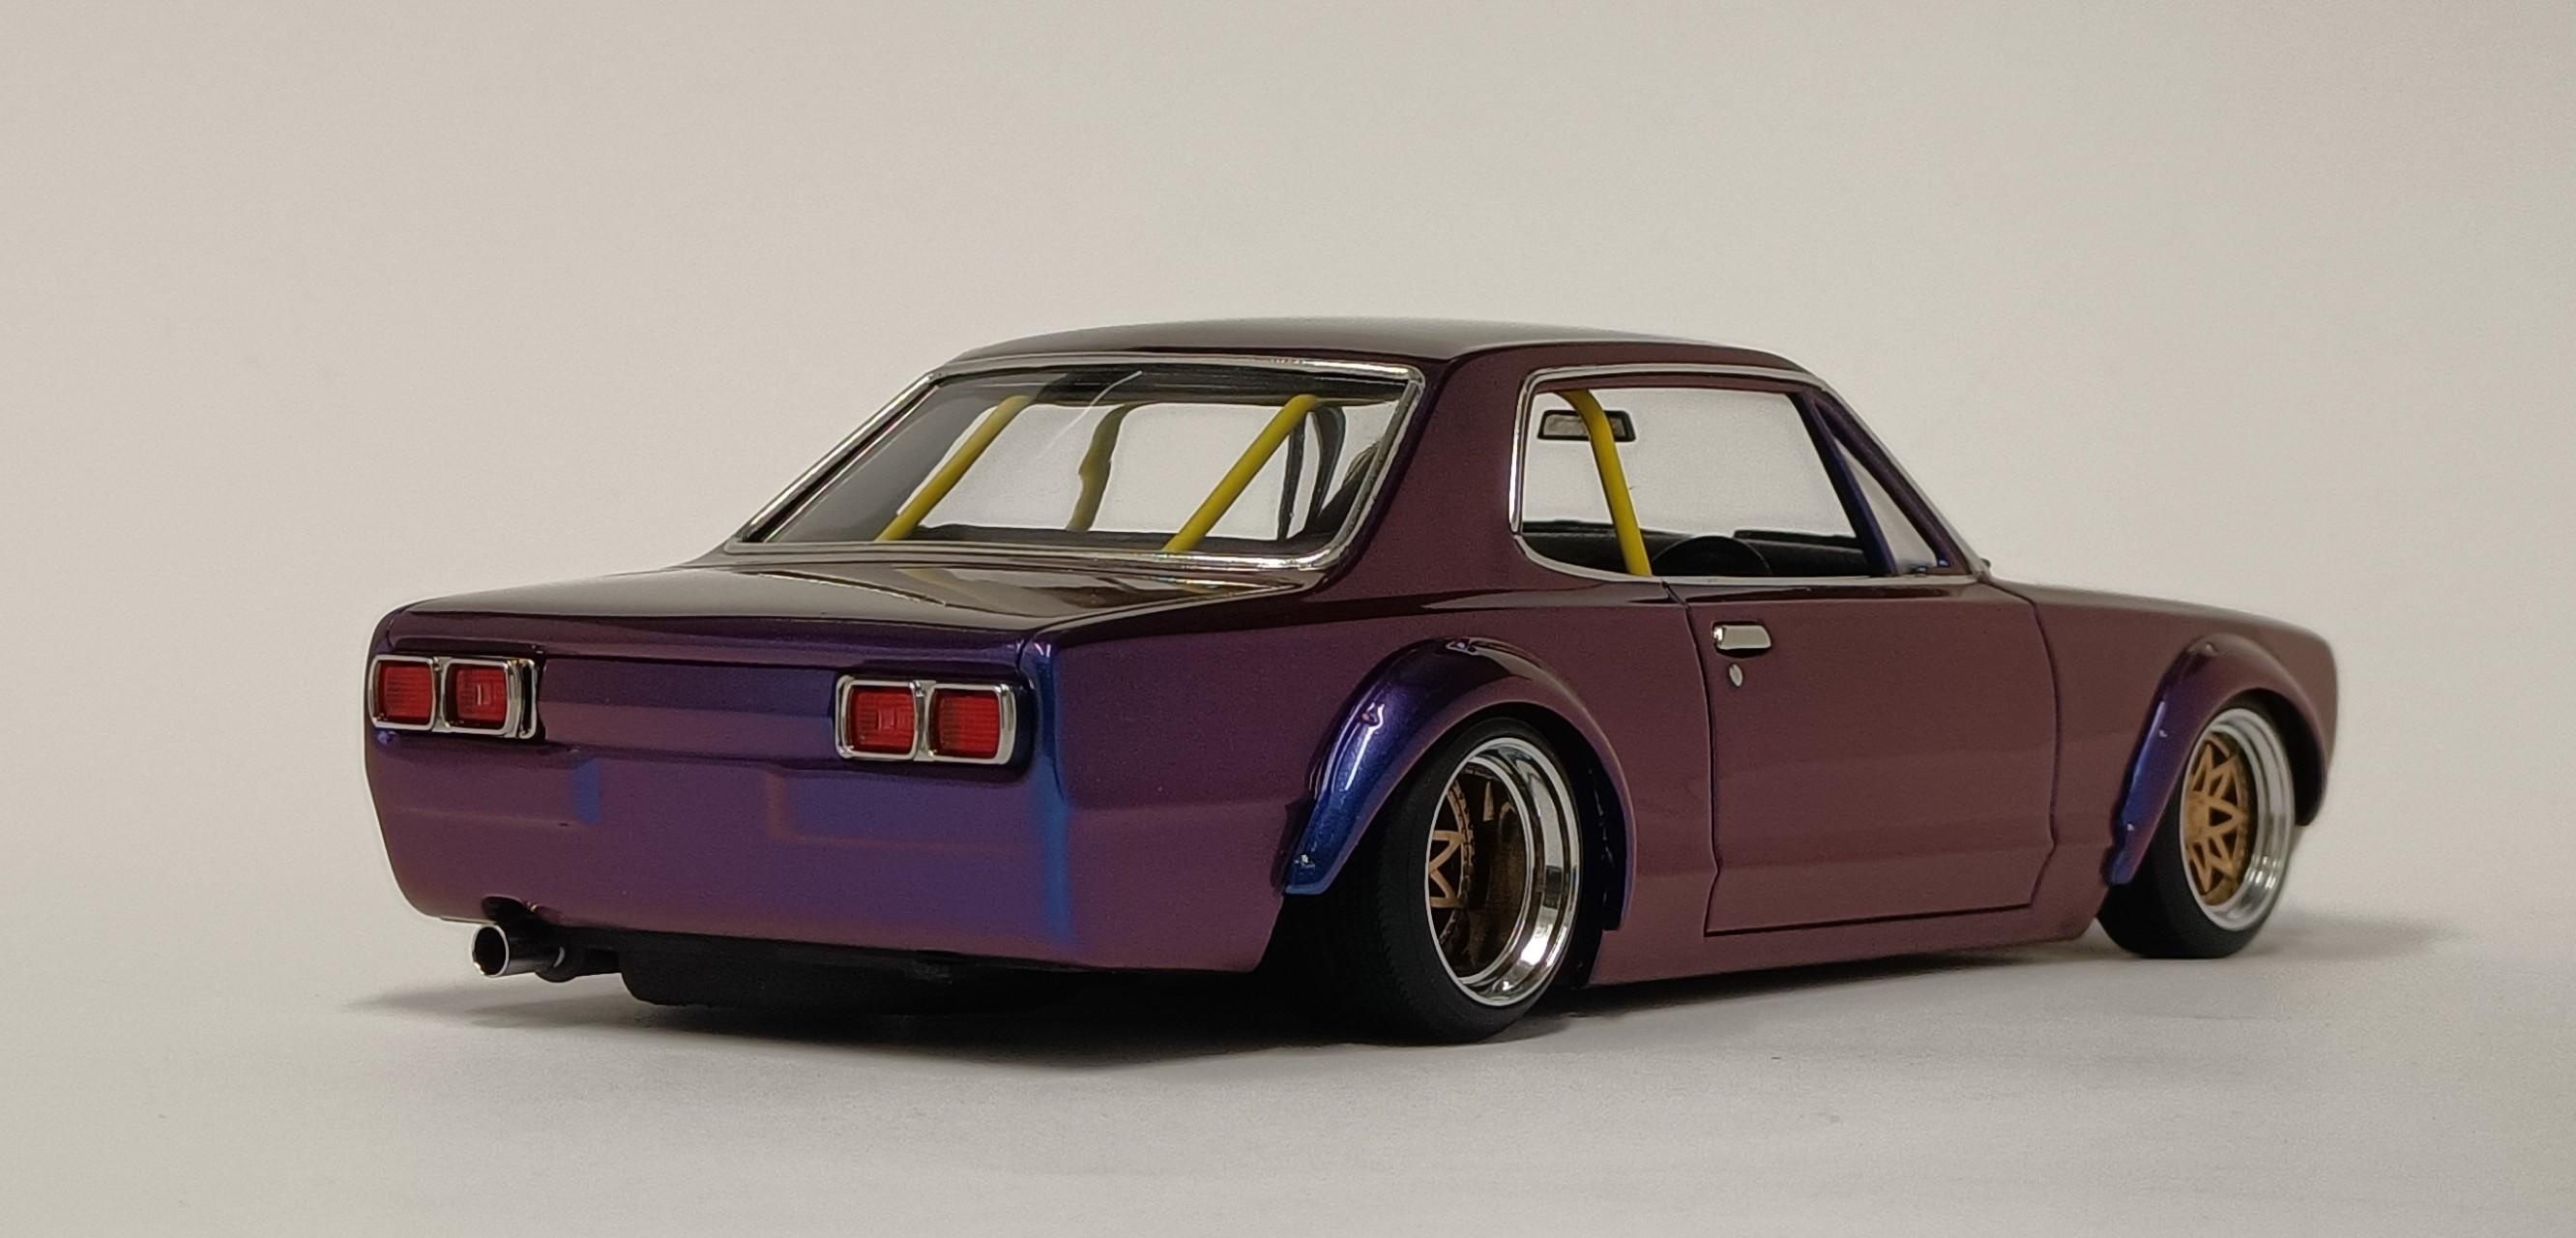
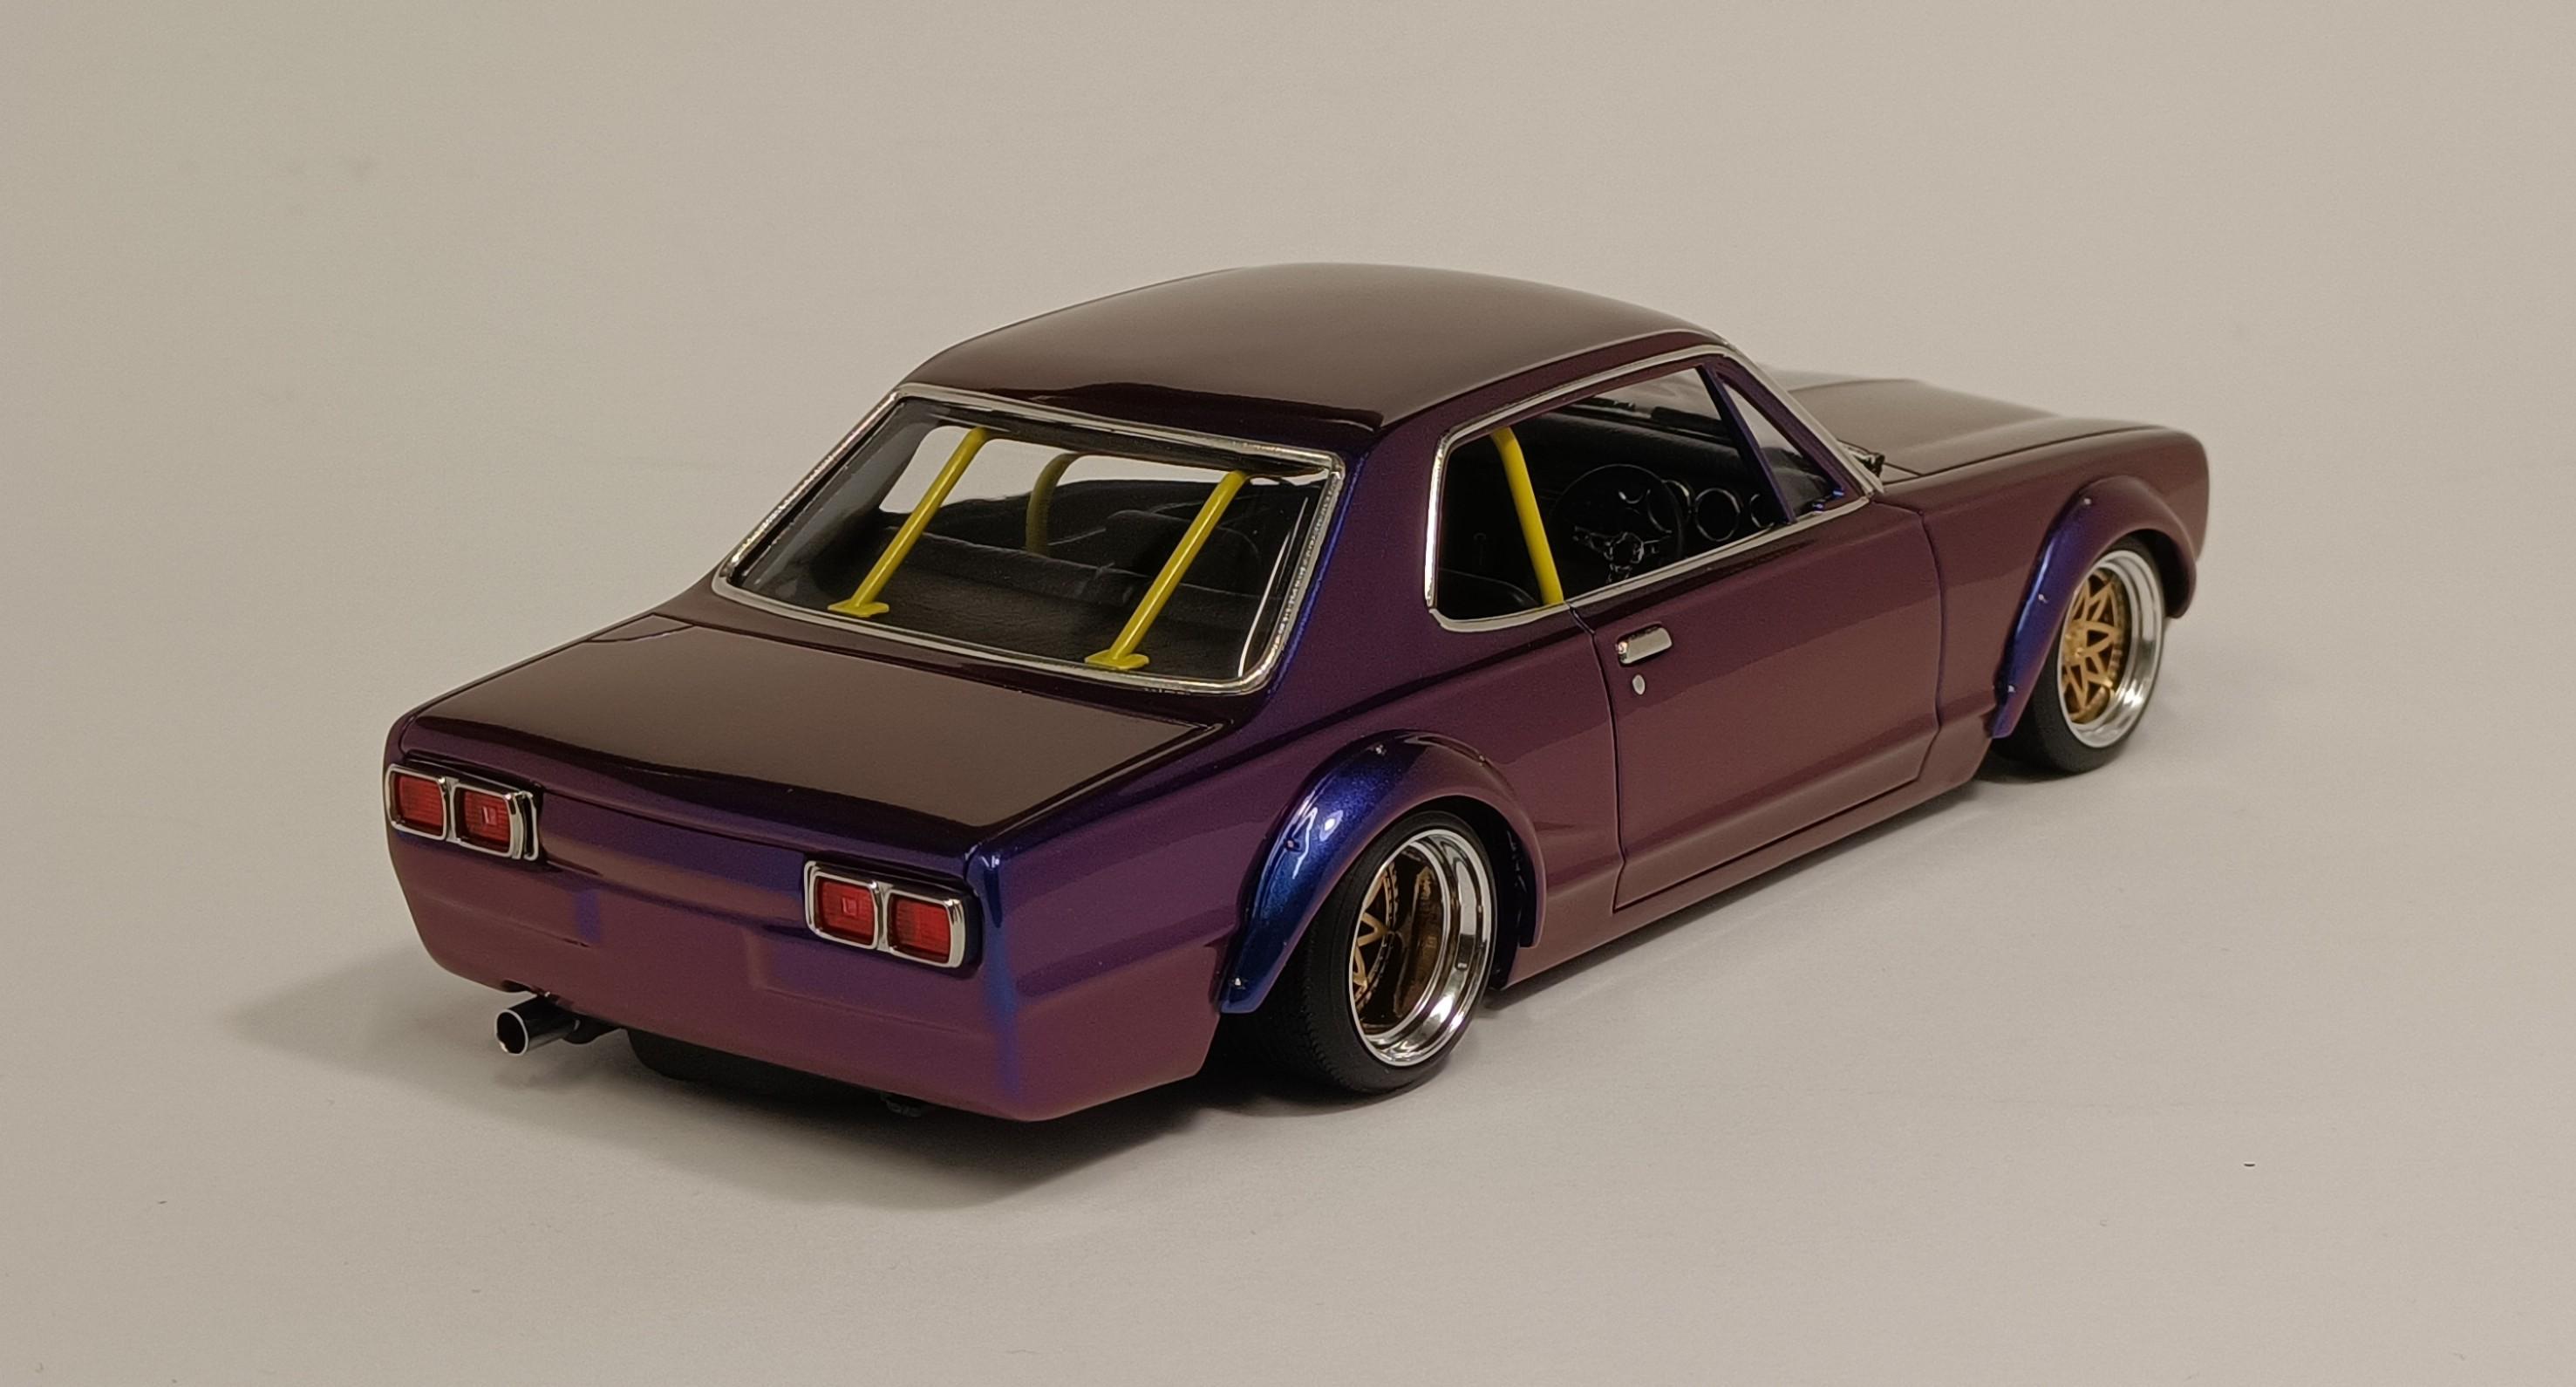
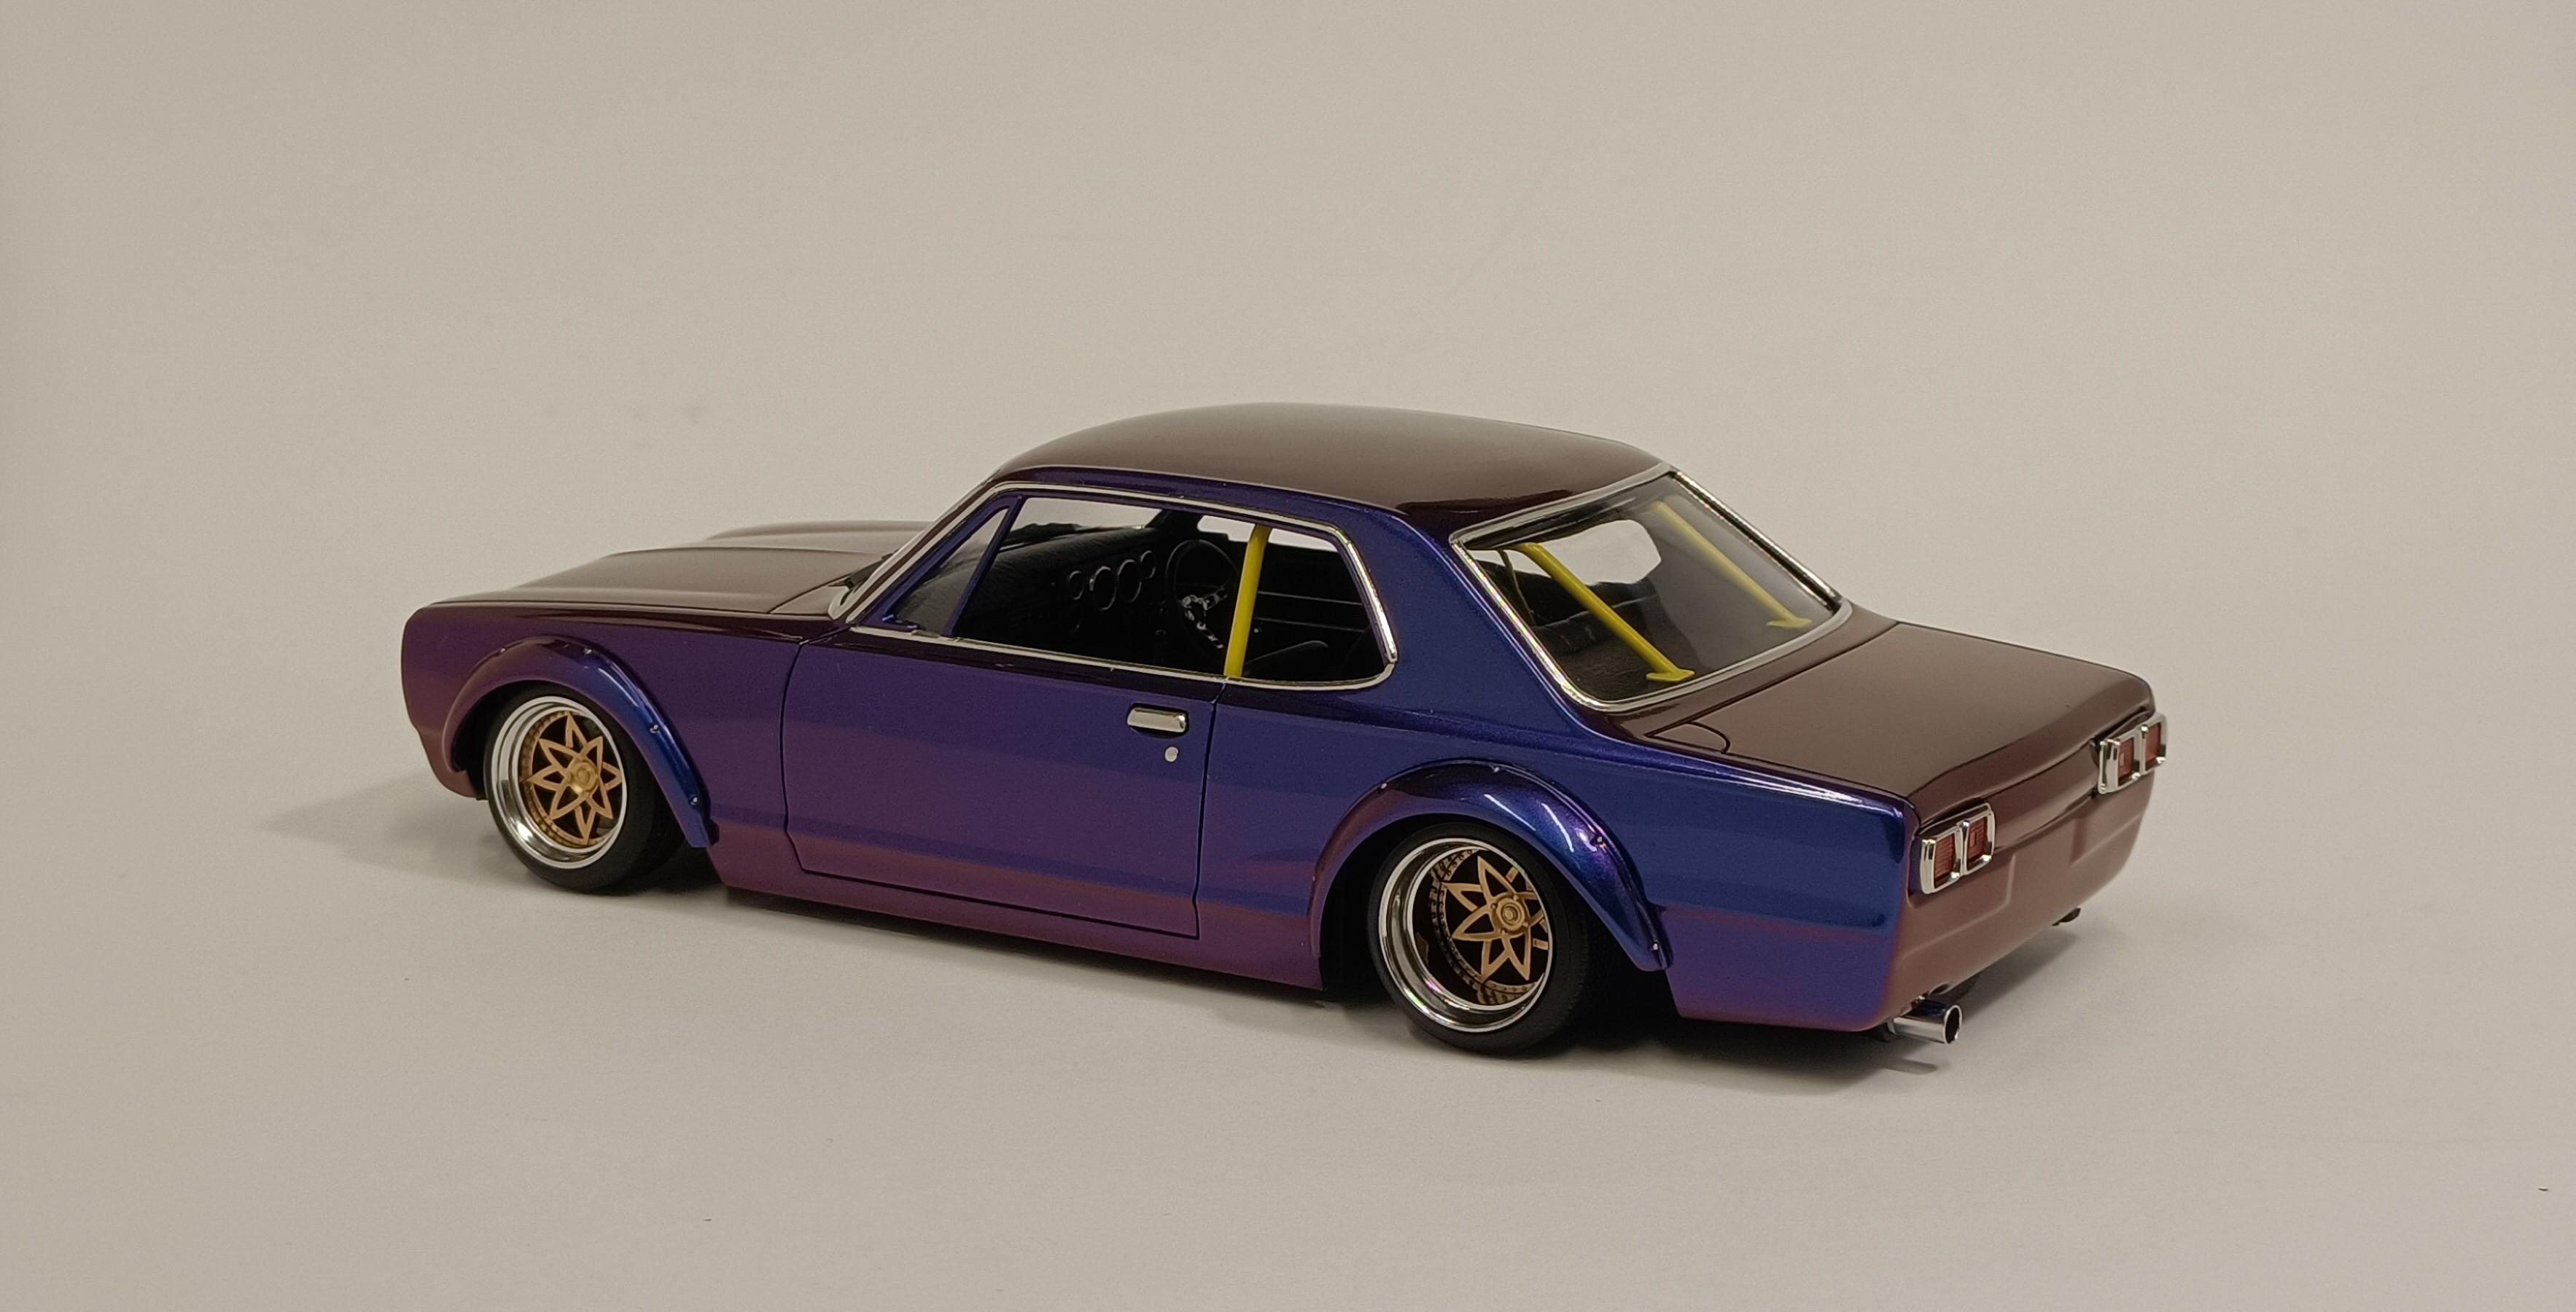
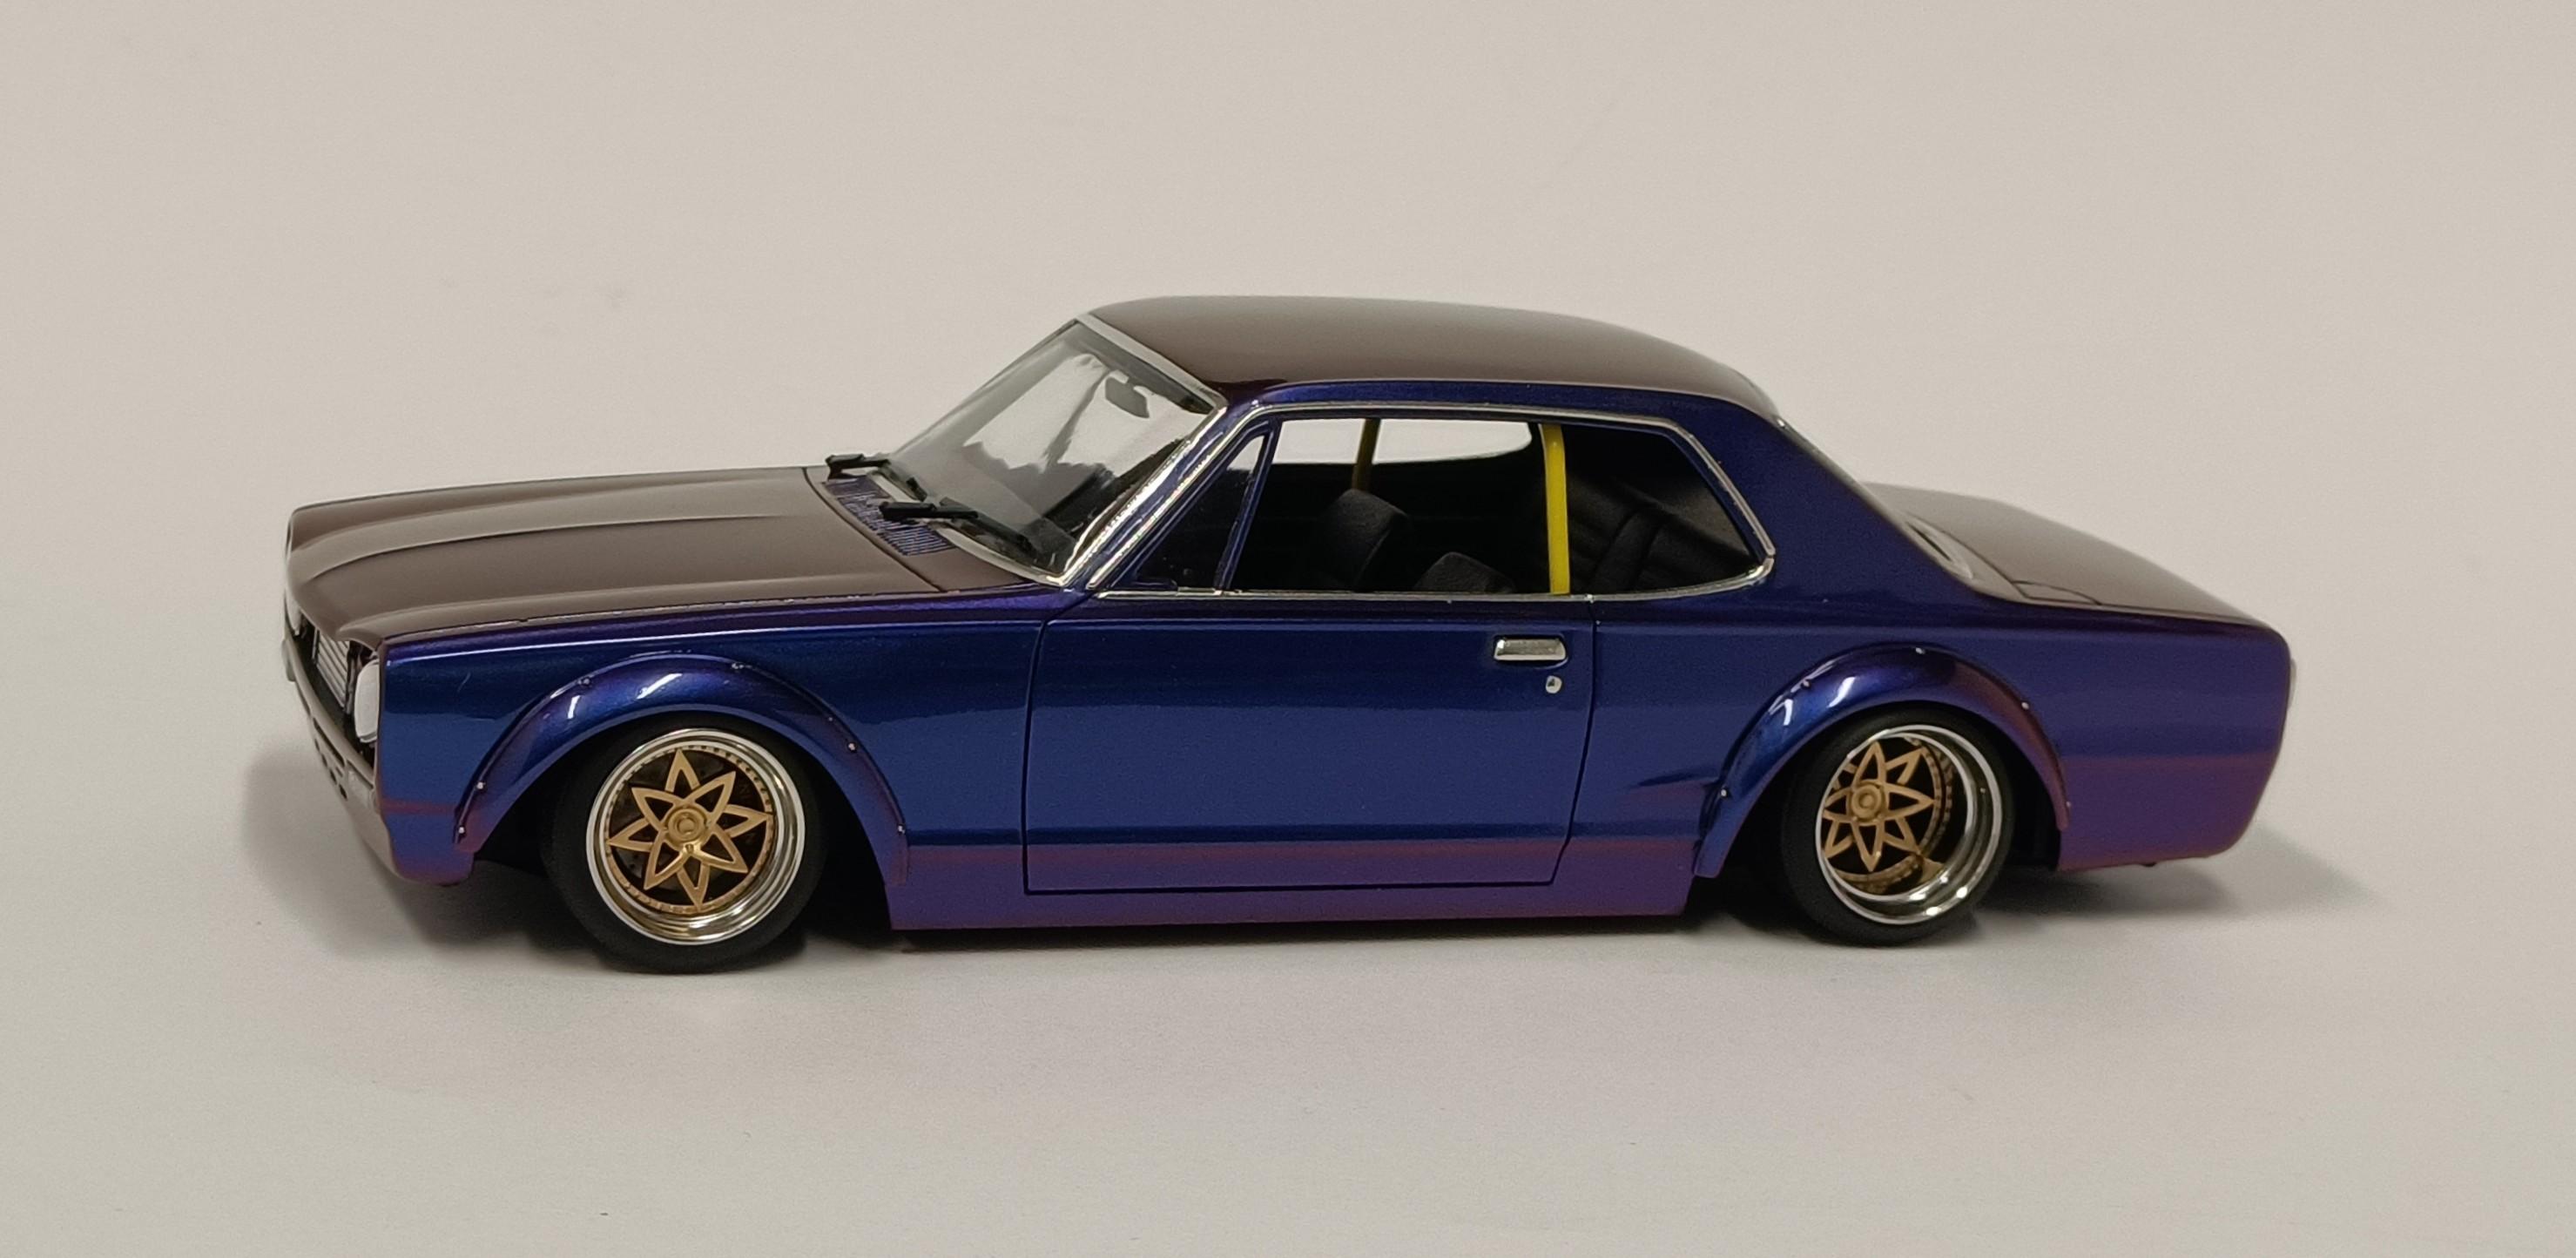
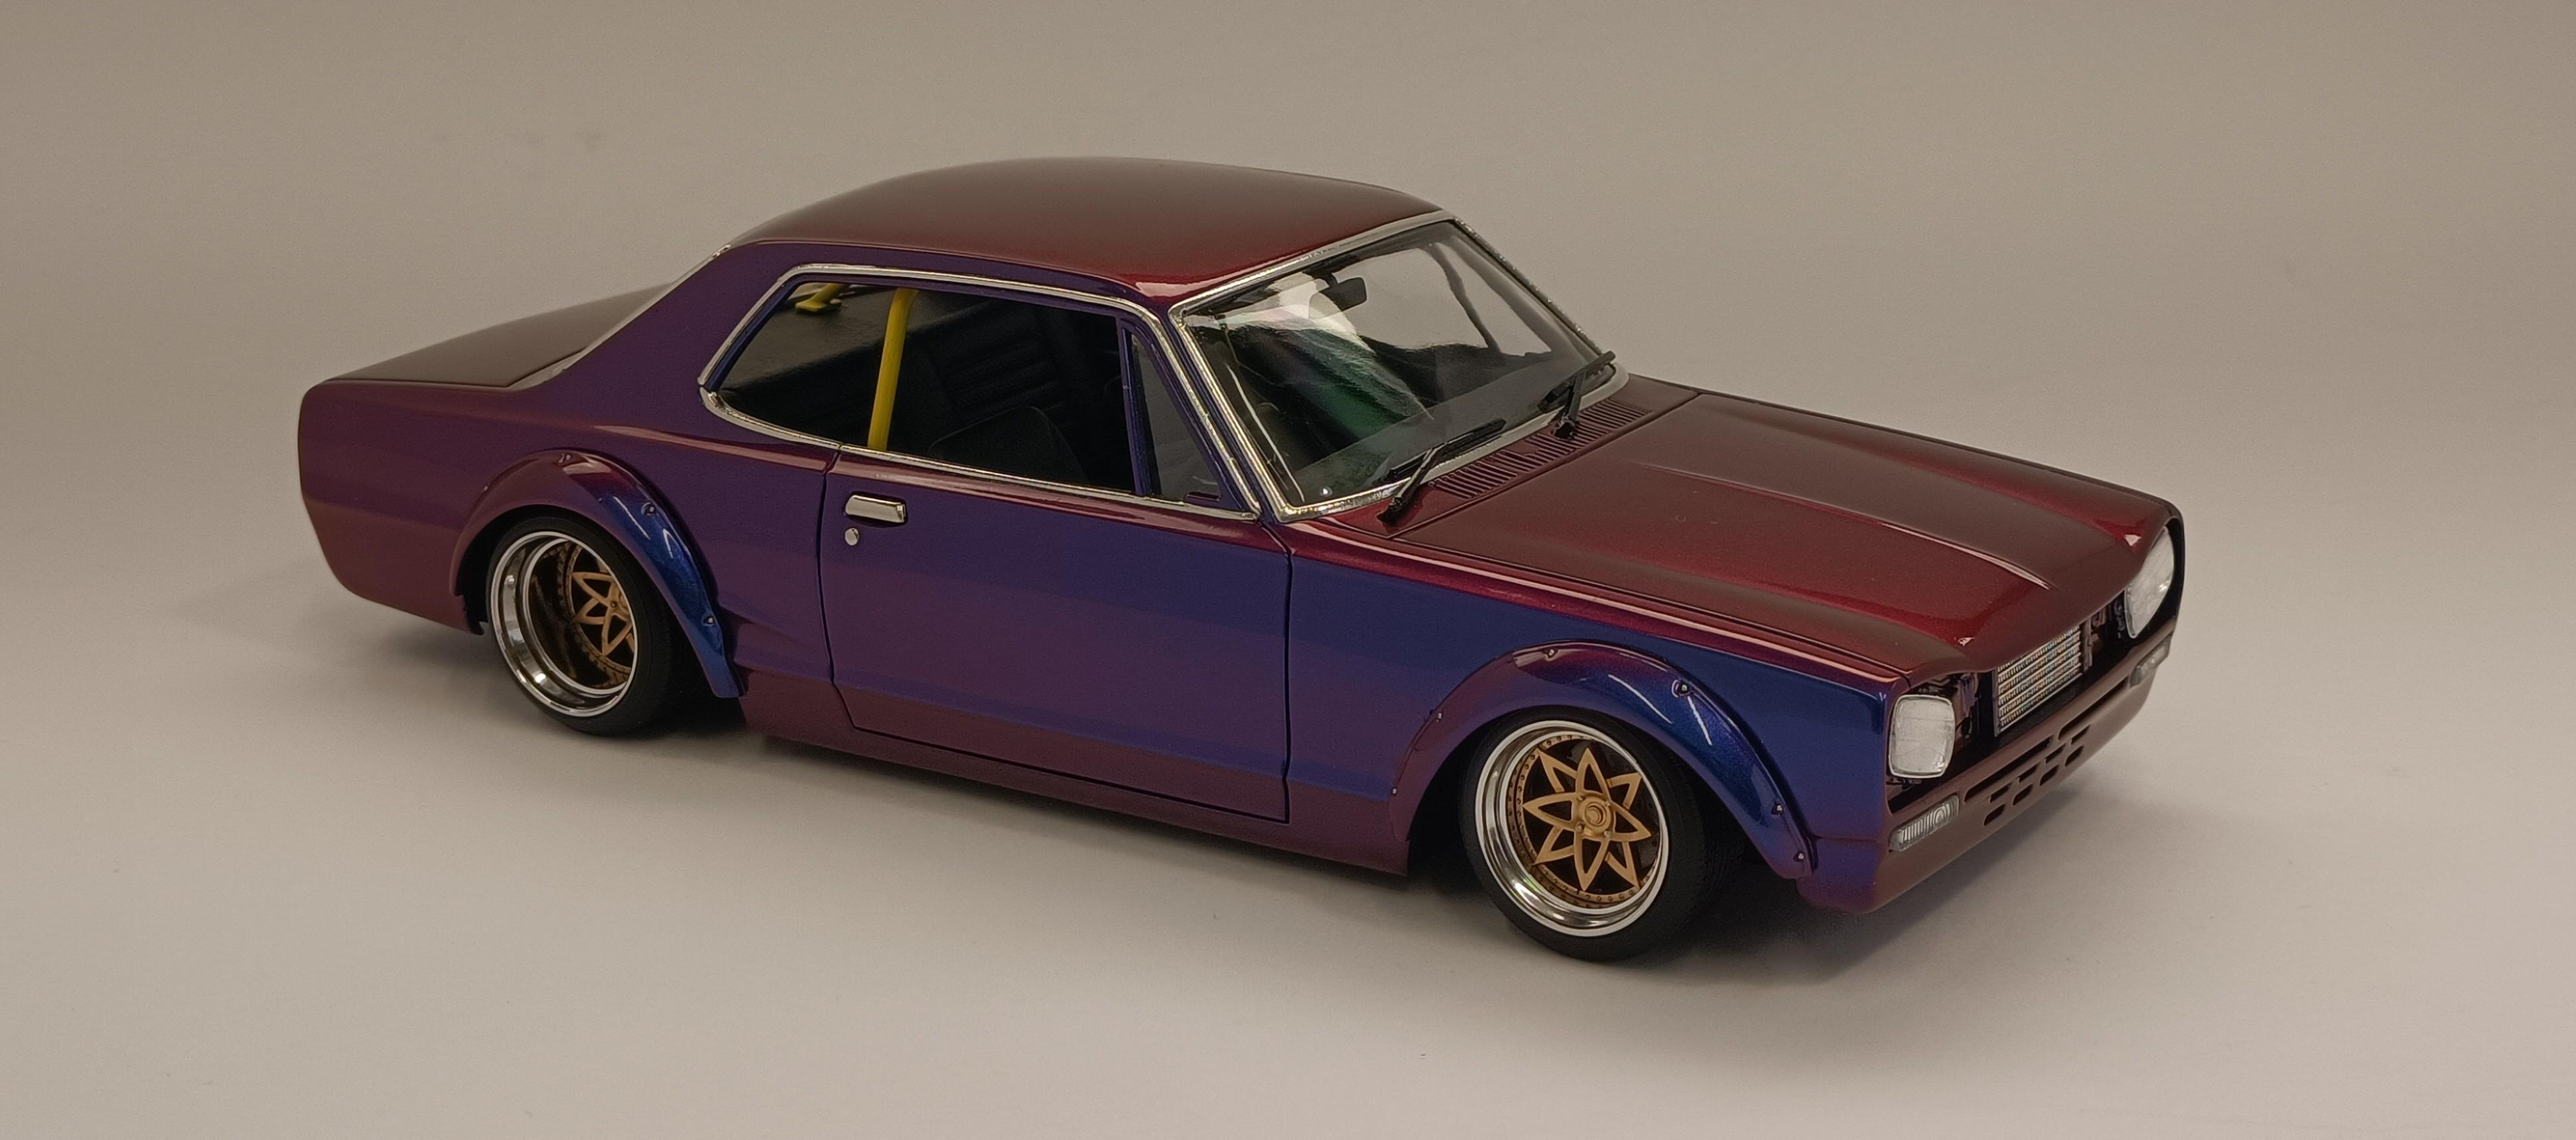
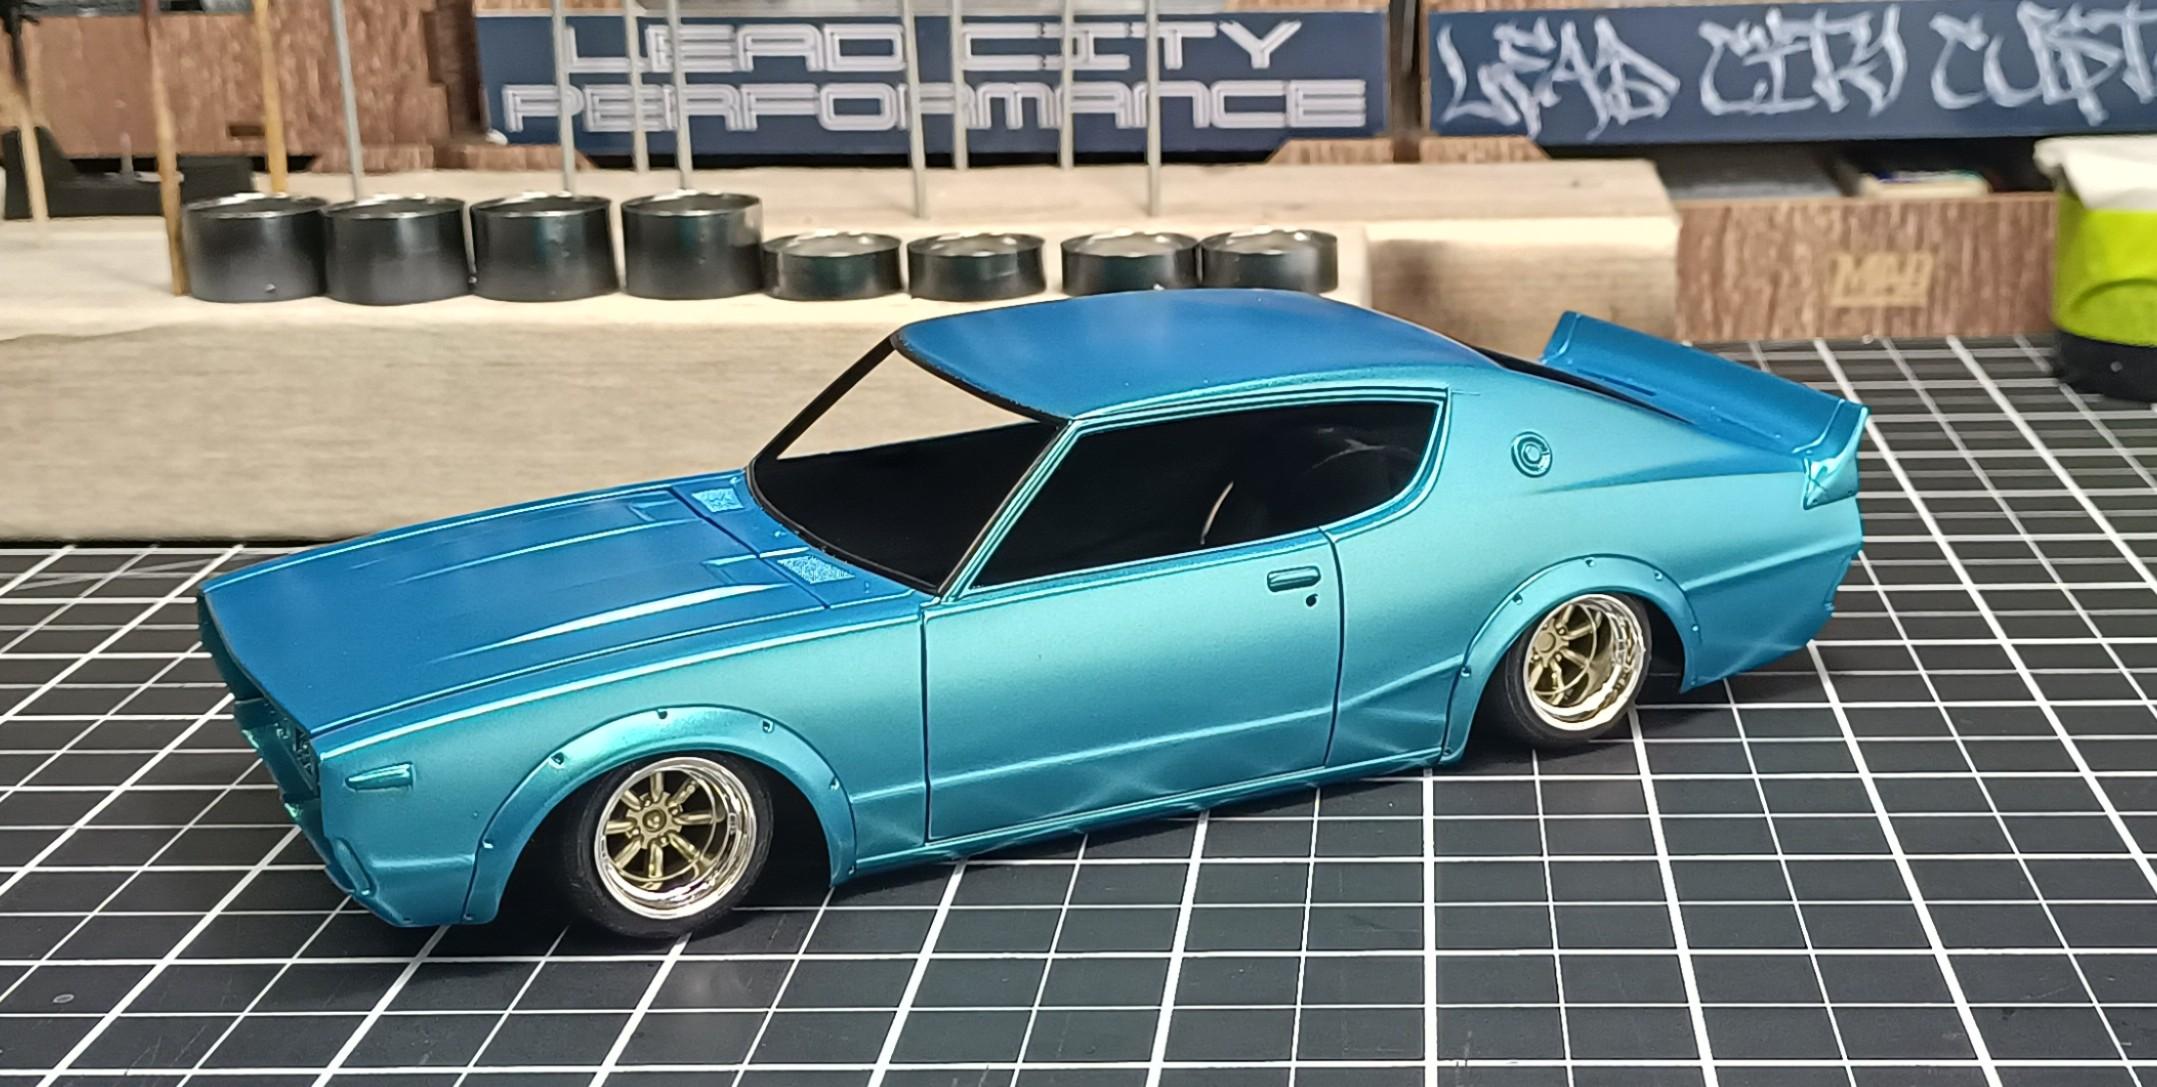
About time I got this build completed. Shaved front and rear side marker lights and script, filled the recess for the badge on the C pillar, shaved the badges on the trunk, filled the rear license plate locating holes and filled the rear bumper and oil cooler locating holes. I 3D printed the wheels which are from SlowysModels. 3D printed steering wheel from BlockBox. Chose the colour as it's very similar to Nissan OEM midnight purple II. As per usual with my over fender builds. SMS paints Hyper Chrome Dark Tone was applied to the tail light surrounds. Aluminum tube for the exhaust tip.
- 25 replies
-
- 17
-
-
 Finally completed the Hako build I started 2 years ago.
-
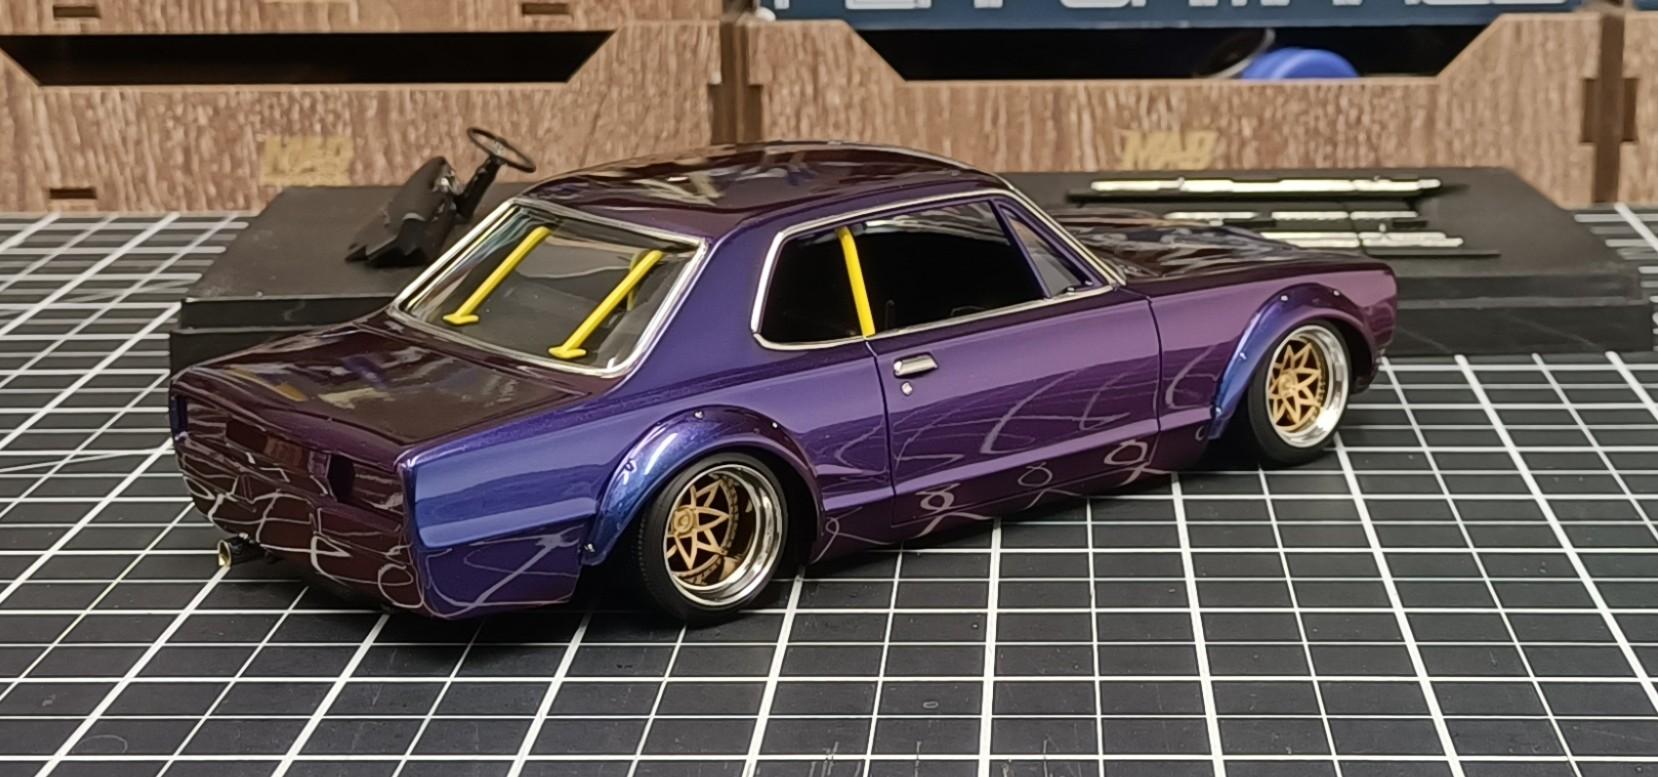
Seen another members Hako and the colour reminded me of my LBWK Hako build, so it got me inspired and motivated to circle back and put in some work to try get completed. Interior pretty much completed, just need to adjust the roll cage position and touch up a few things. Body needs a clean, the dash fitted and door cards installed, then once fitted onto the chassis plate I can install the tail lights, attach the wipers and fit the front grill panel and call it completed. Which will be later today.
- 766 replies
-
- 7
-
-
- stalled builds
- quick builds
- (and 2 more)
-
Good job on the fire wall Bob. I would be happy to trade some weather, ive had enough of southern polar blasts that keep gusting through 🥶 Thankfully my room out the garage/shed has heating and cooling so I can work on the models in comfort all year round.
-
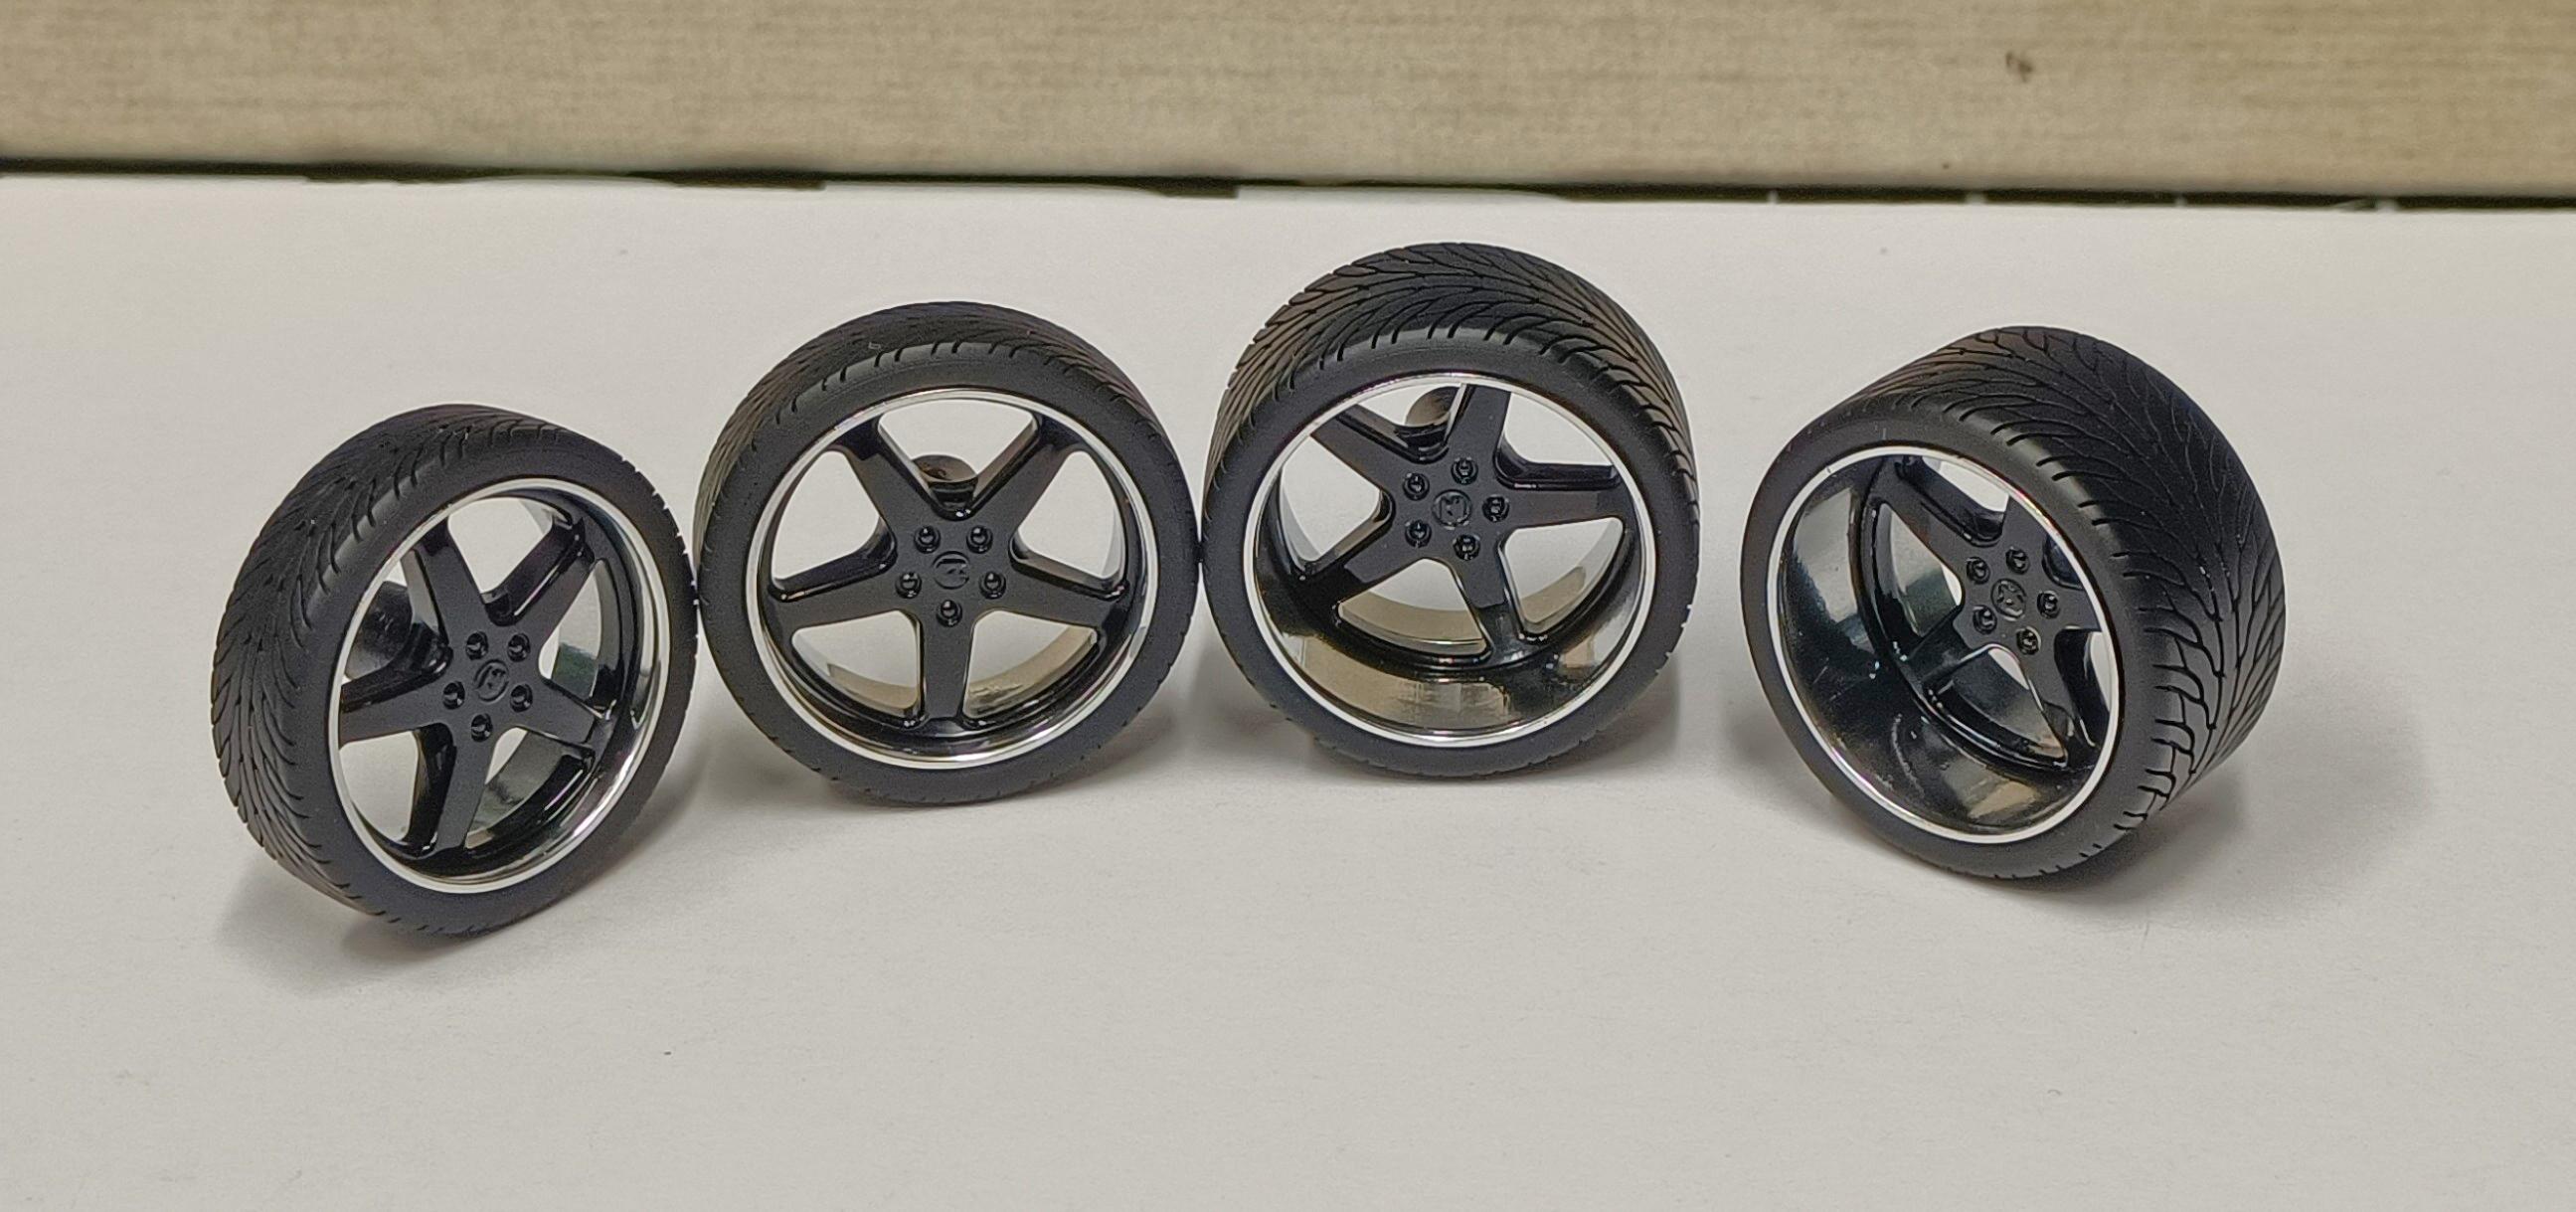
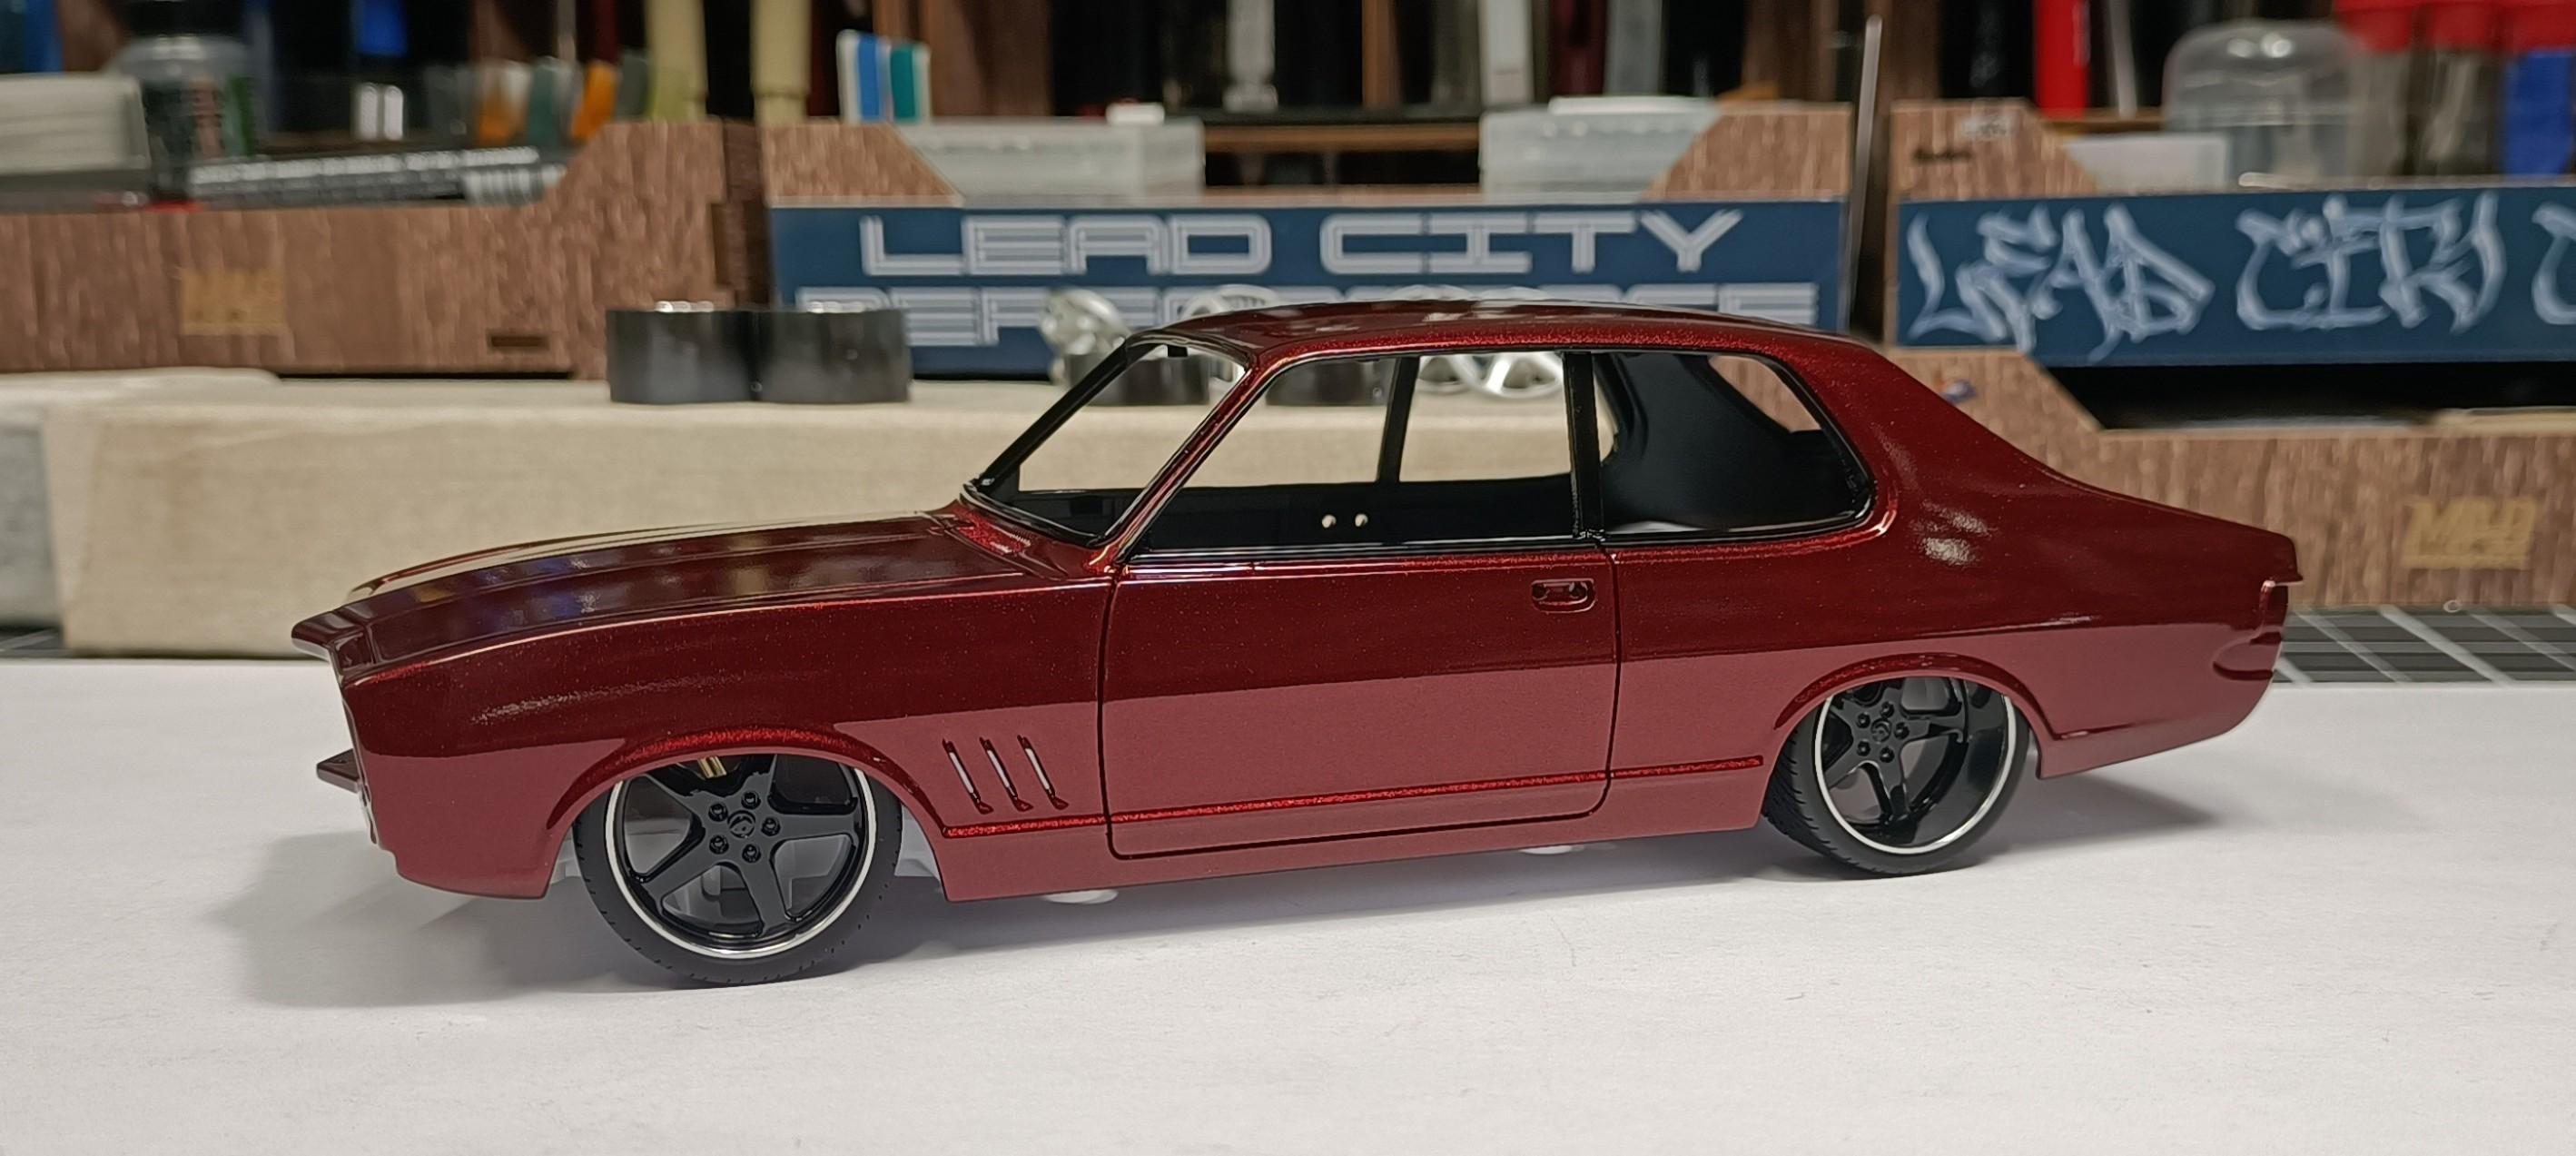
Went on a side mission circling back to a Holden LJ Torana I have painted, but had not chosen the wheels or decided what style to build. Found some Holden VL Group A Walkinshaw wheels from Scale Model Wheels And Designs. I printed the centers and use some other hoops/sleeves for staggered deeep dish rears. Tyres are from Morries Kustoms. Painted with SMS Hyper Chrome Cold Tone and Jet Black clead coated with SMS Super Clear. Definitely will need to adjust the stance, its a bit too low. Cant believe I just said that 😄
- 766 replies
-
- 5
-
-
- stalled builds
- quick builds
- (and 2 more)
-
Question for the molotow "pro's"
Cool Hand replied to johnyrotten's topic in Model Building Questions and Answers
Sometimes time is limited and I just like to get things done so I can move on to the next stage or something else. Time frame with the full system of SMS paints. I applied the surfacer let that dry overnight. The following day I based coated jet black and clear coated in the morning let that dry all day about 8hrs. Then applied the Chrome Cold Tone. 2 hours later I buffed and assembled the wheels.
-
Who doesn't love a mock-up? Let's see yours!
Cool Hand replied to Belairconvertable's topic in WIP: Model Cars
New wheels for build.
-
Thanks Mathias. As per usual cant wait and have to do a paint mock up.
- 766 replies
-
- 7
-
-
- stalled builds
- quick builds
- (and 2 more)
-
As always appreciate your comments Bob, thankyou. Ha ha, very soon. Just want to get a few builds completed before I start a new wip 😉
-
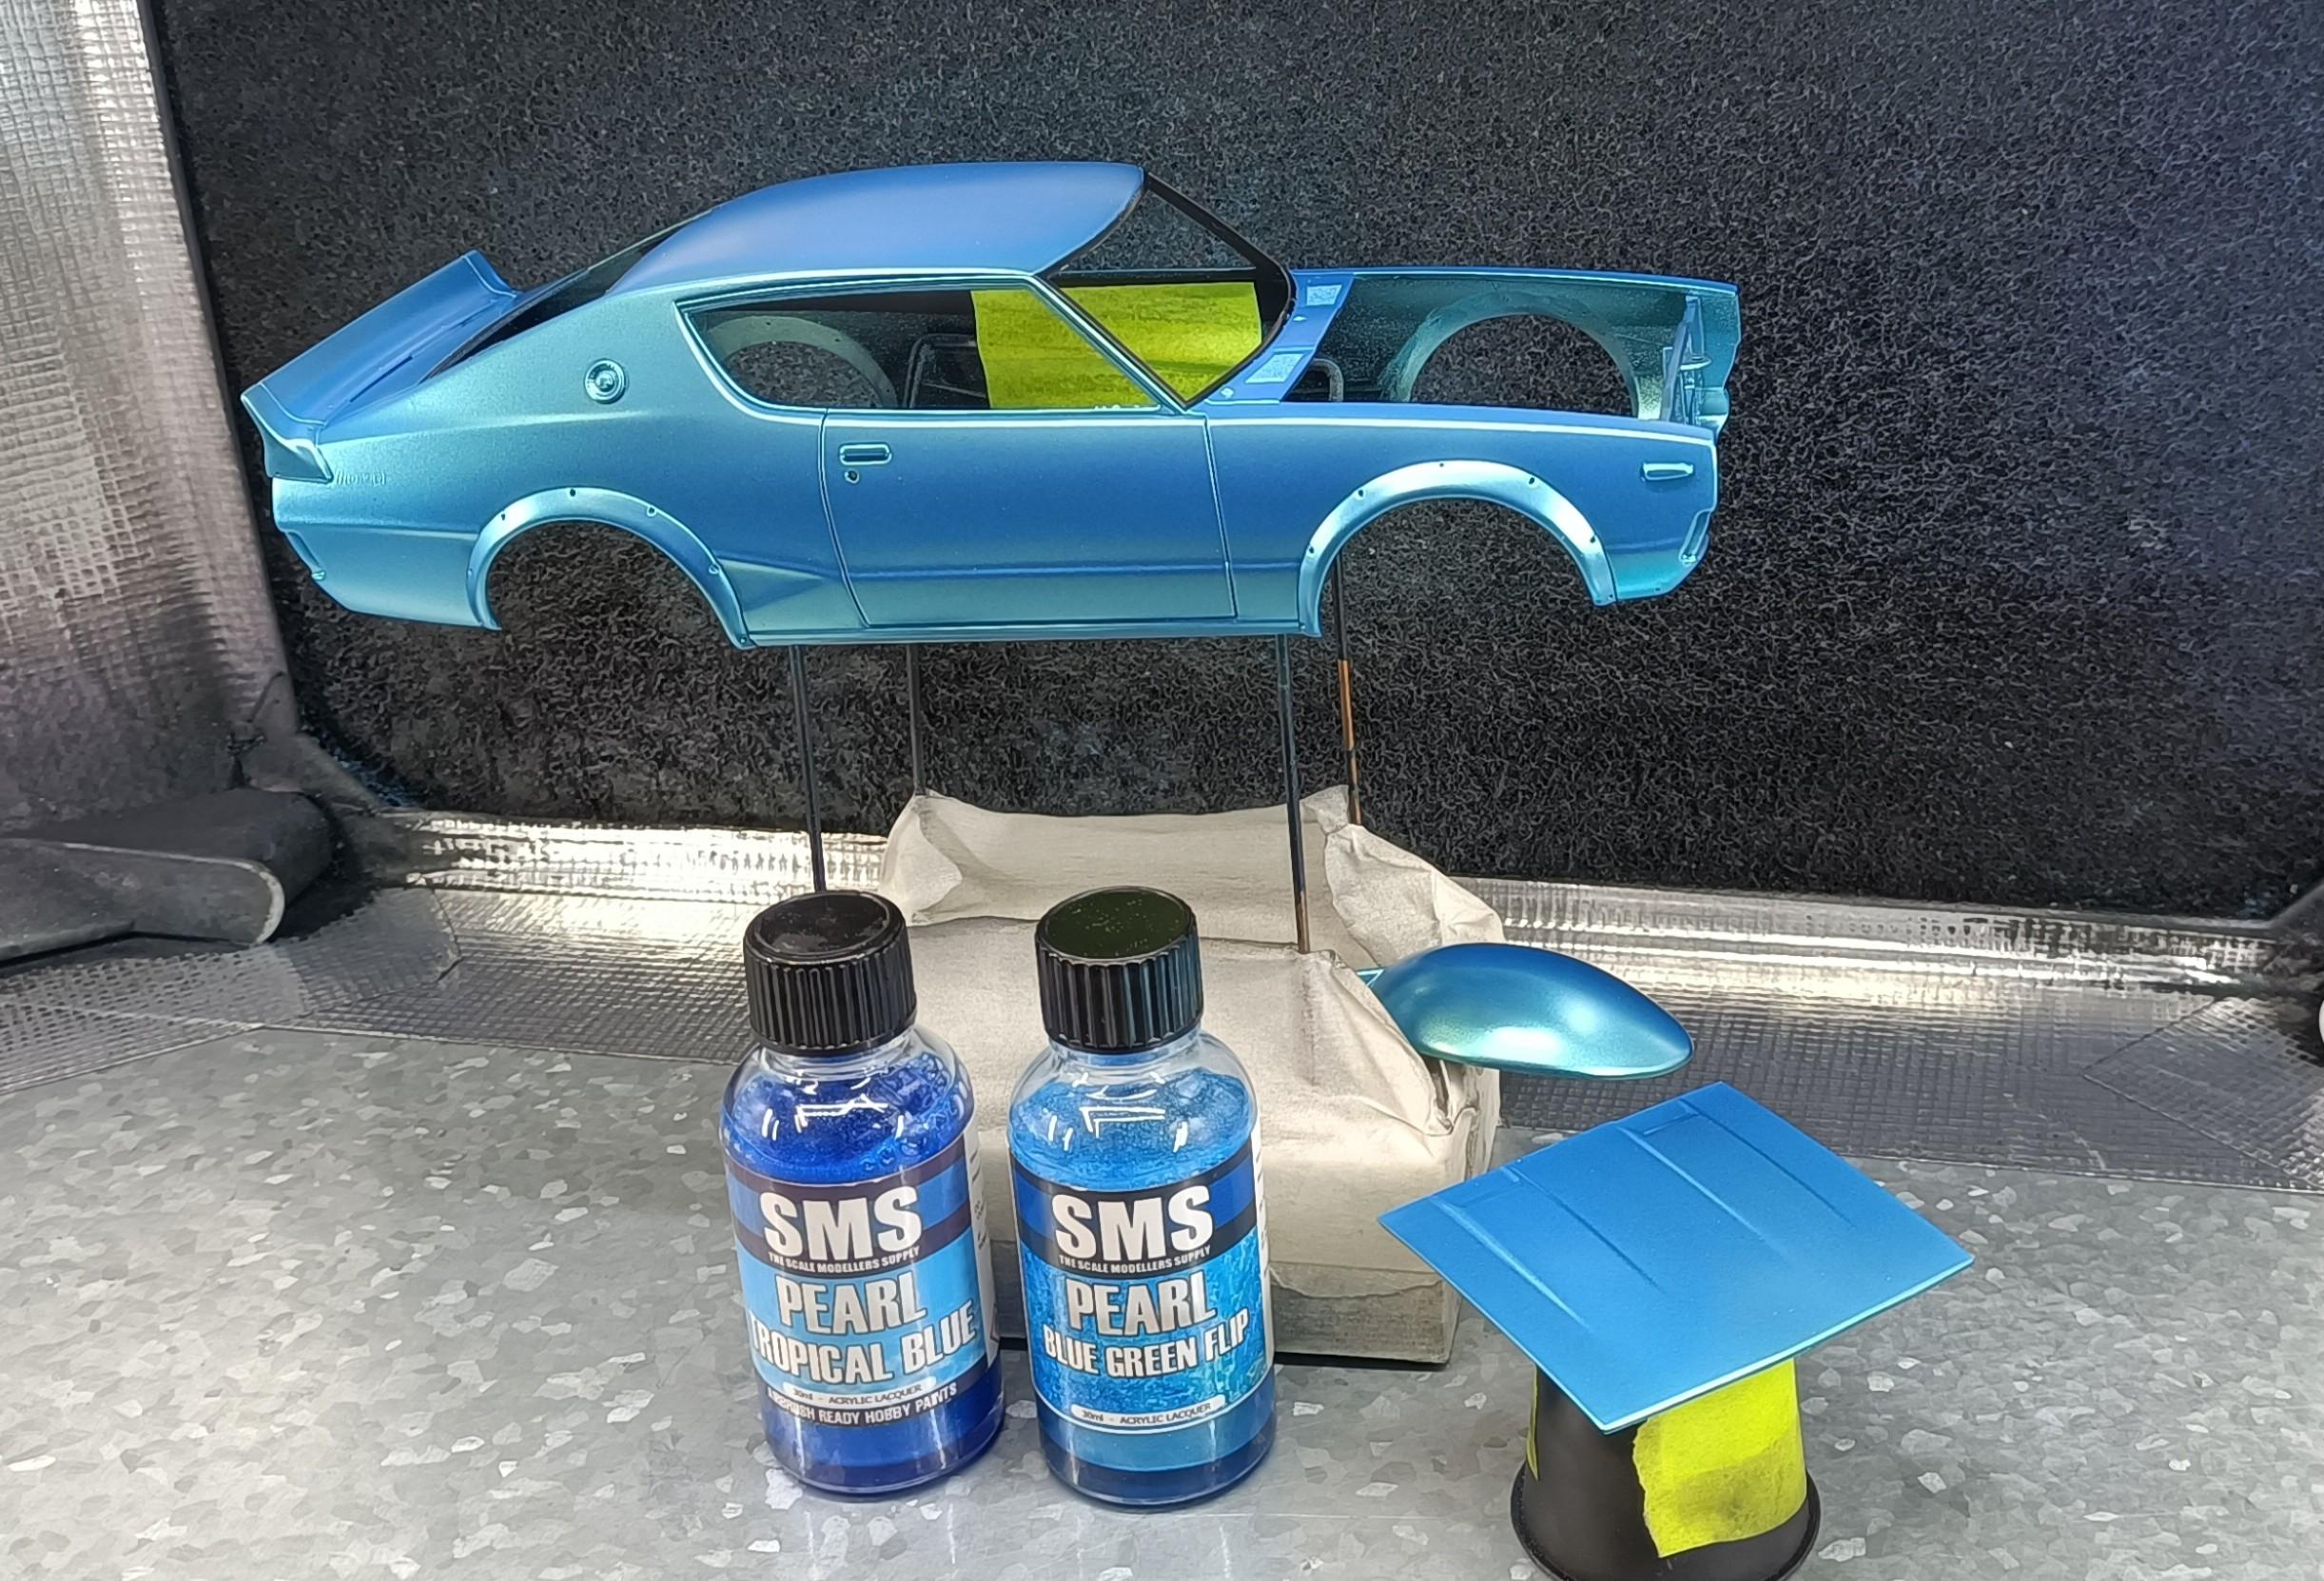
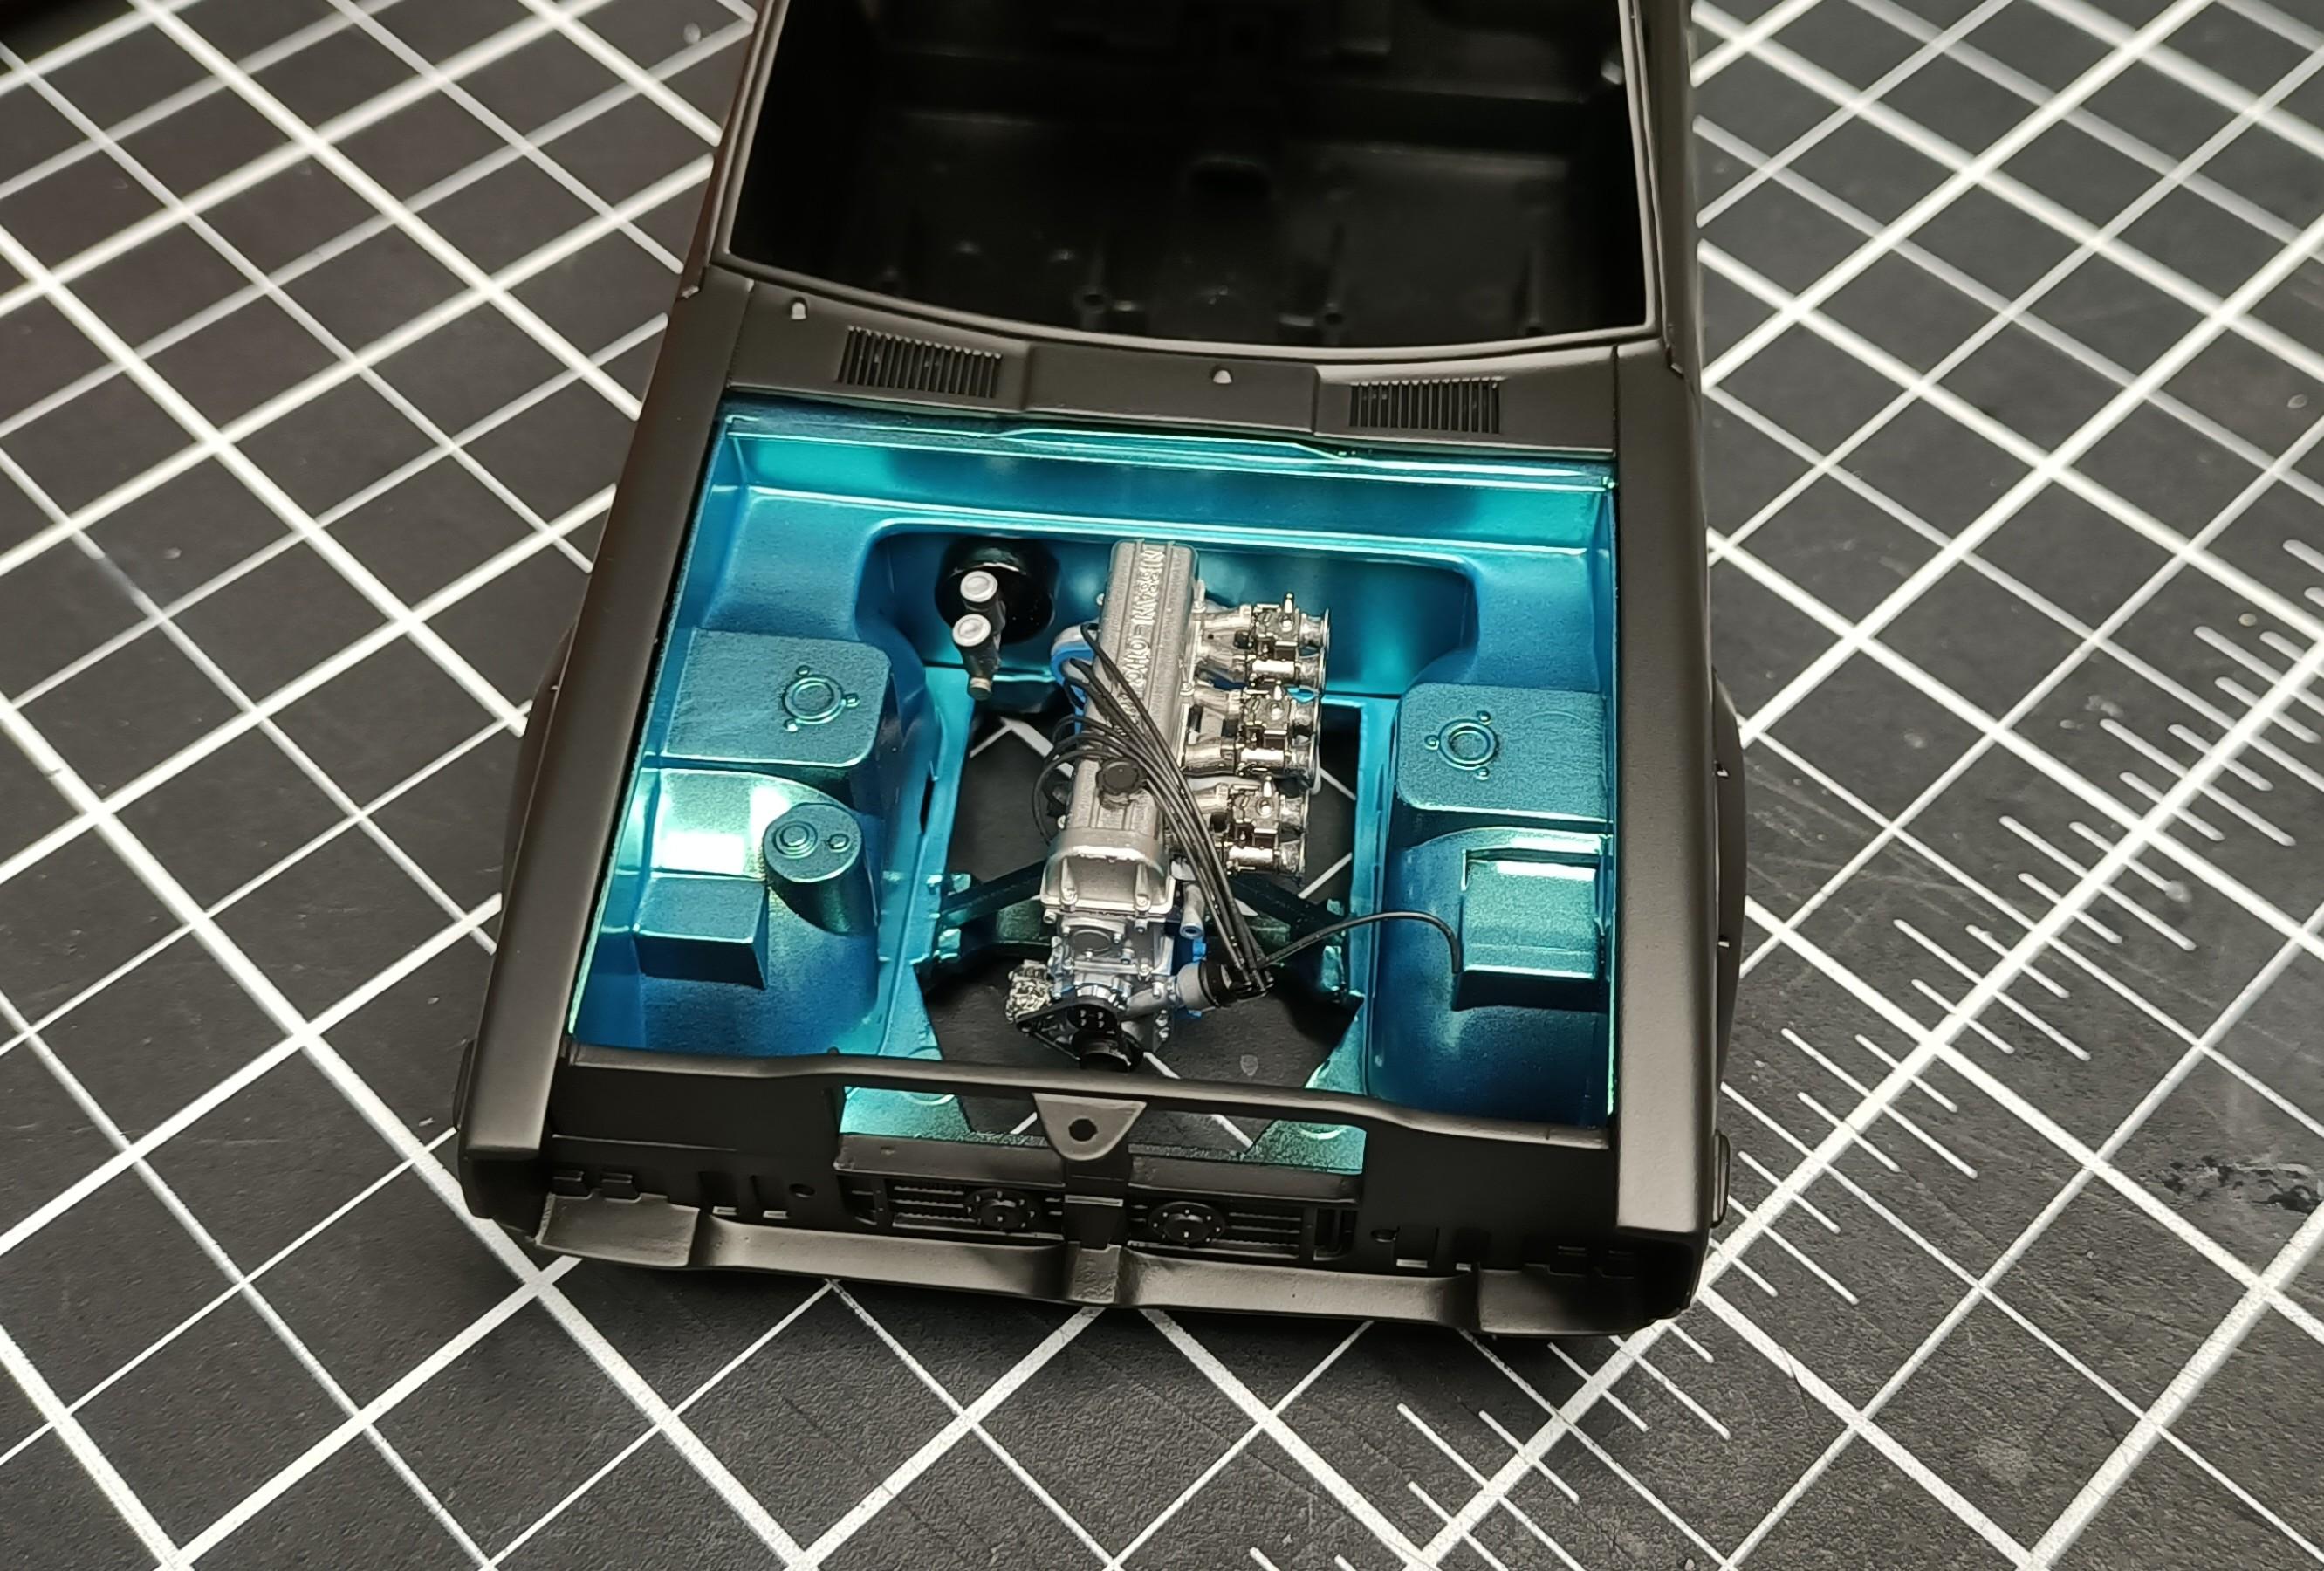
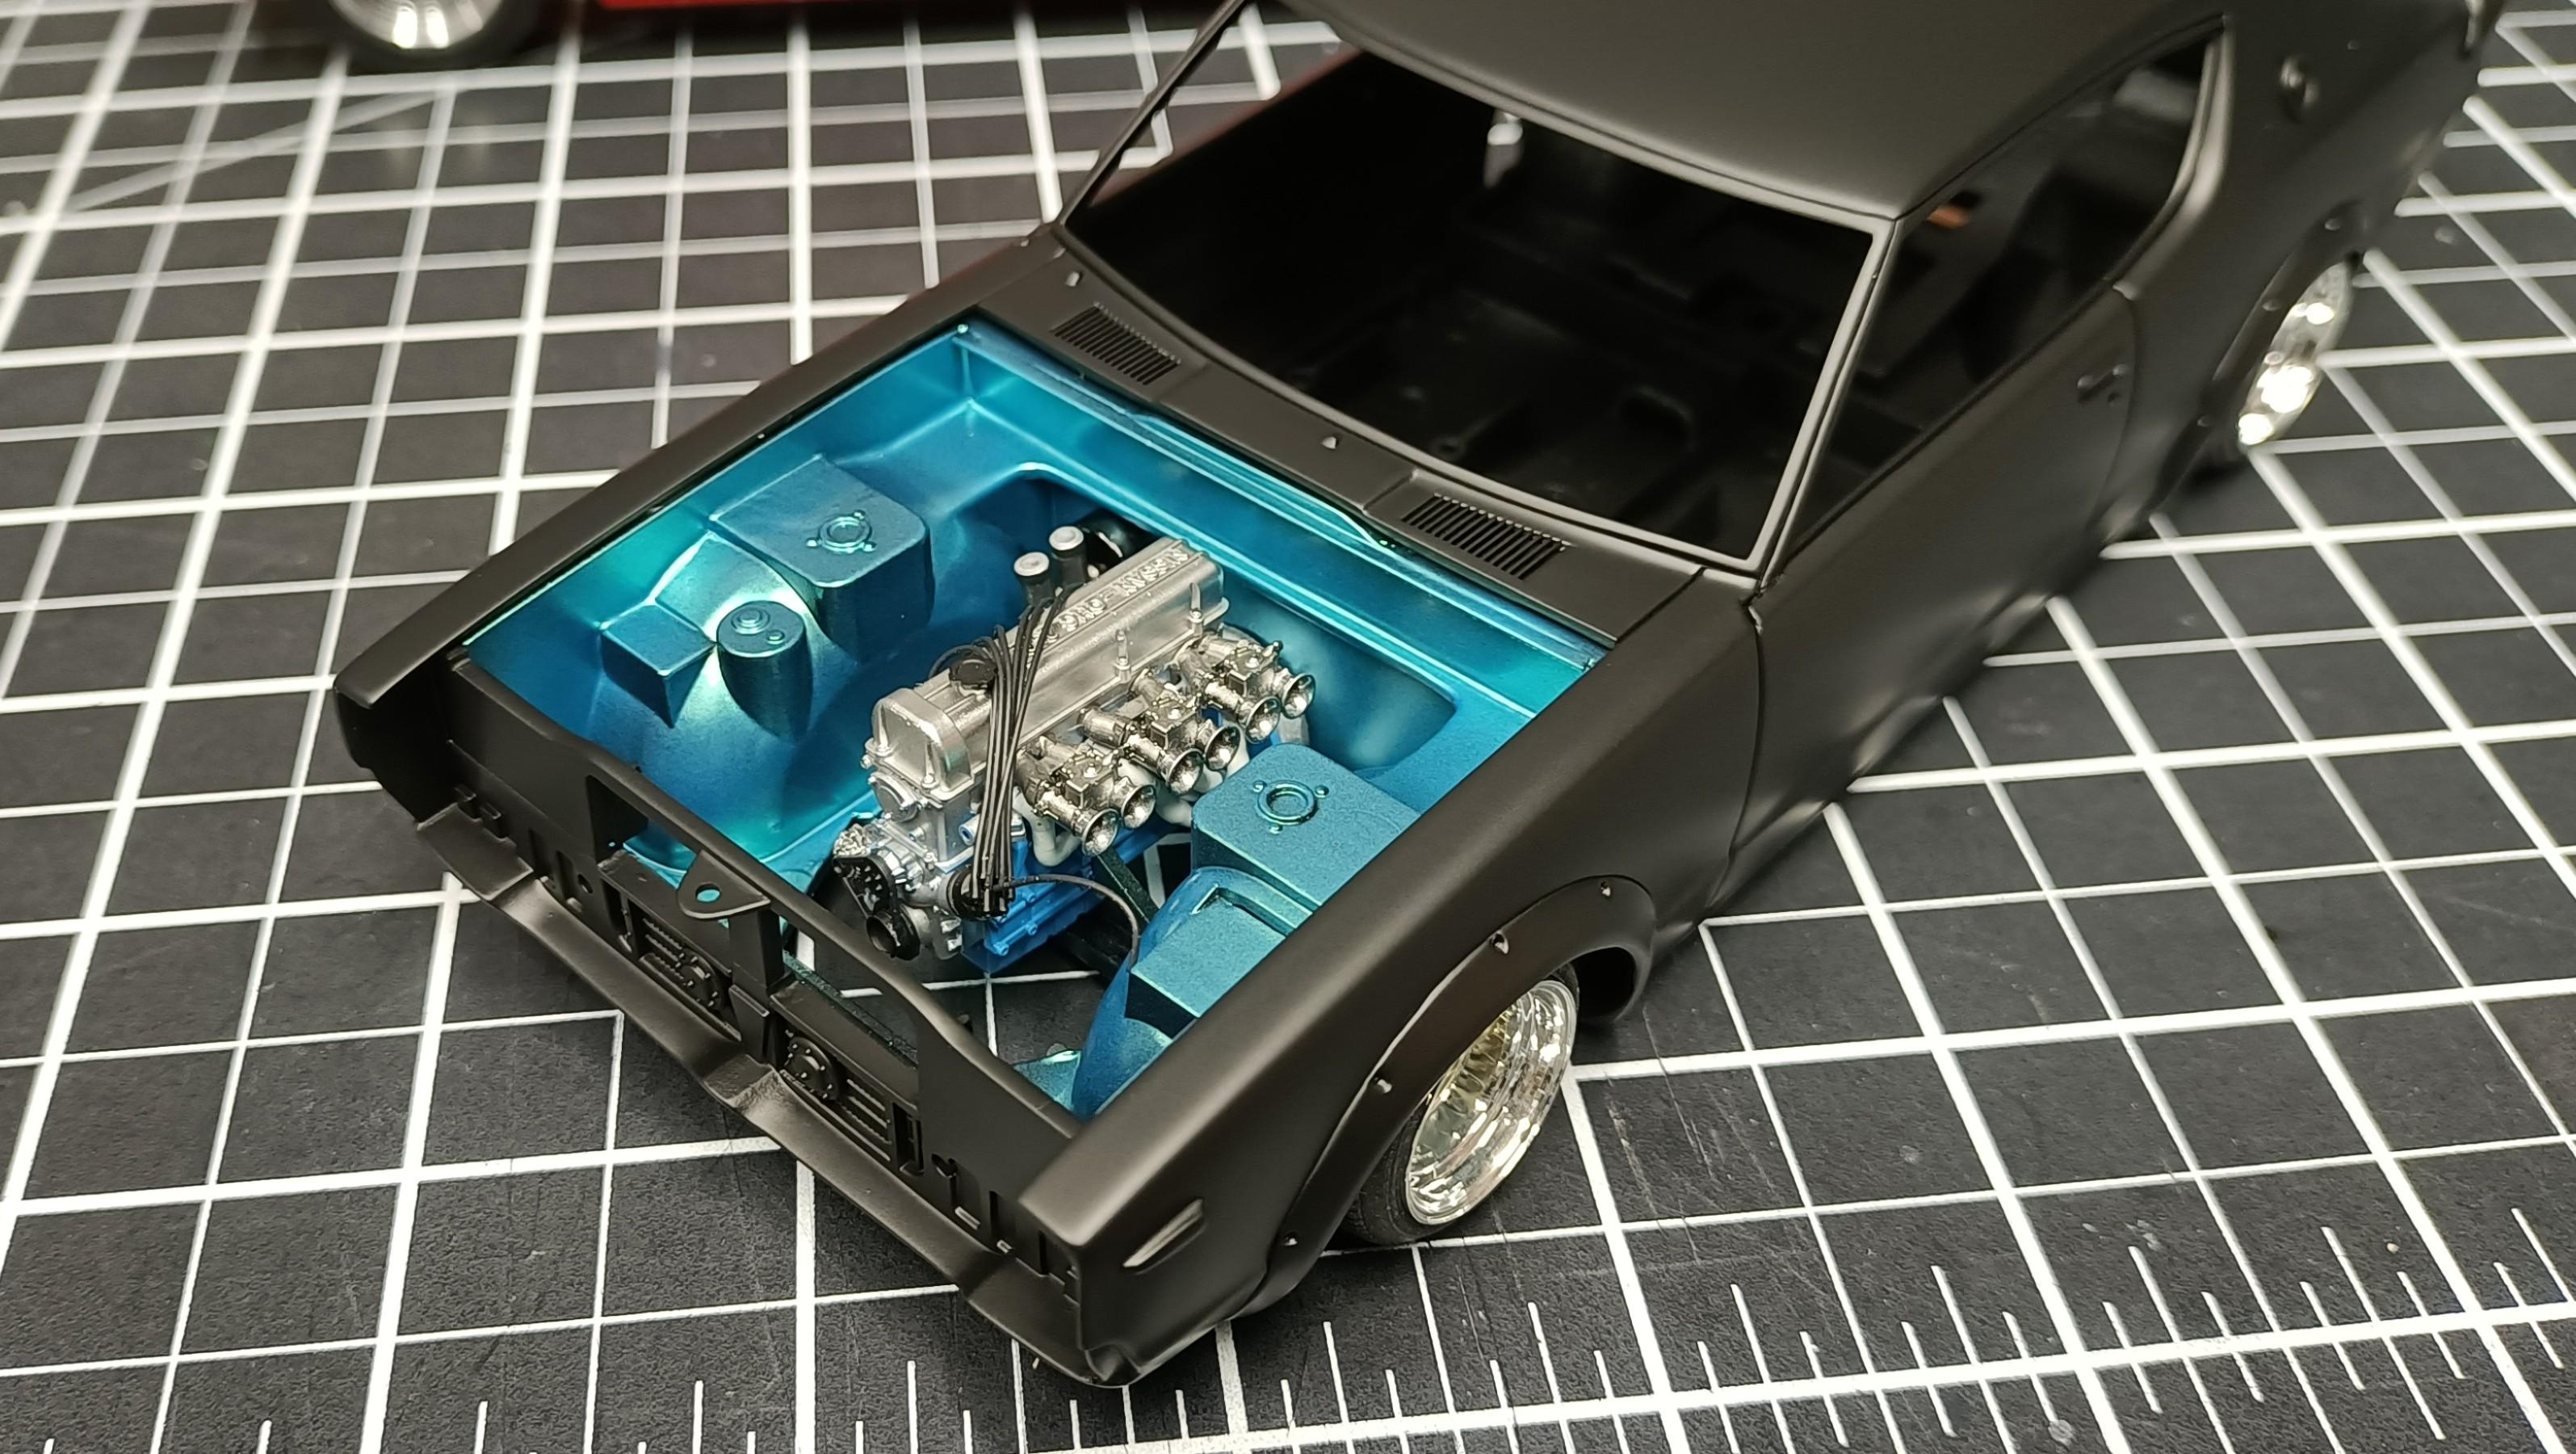
Thanks Bob. Got the colour coat applied and yeah turned out okay. I added and small amount of tropical blue to the blue green flip, so the colour flip is mostly blue.
- 766 replies
-
- 1
-
-
- stalled builds
- quick builds
- (and 2 more)
-
Question for the molotow "pro's"
Cool Hand replied to johnyrotten's topic in Model Building Questions and Answers
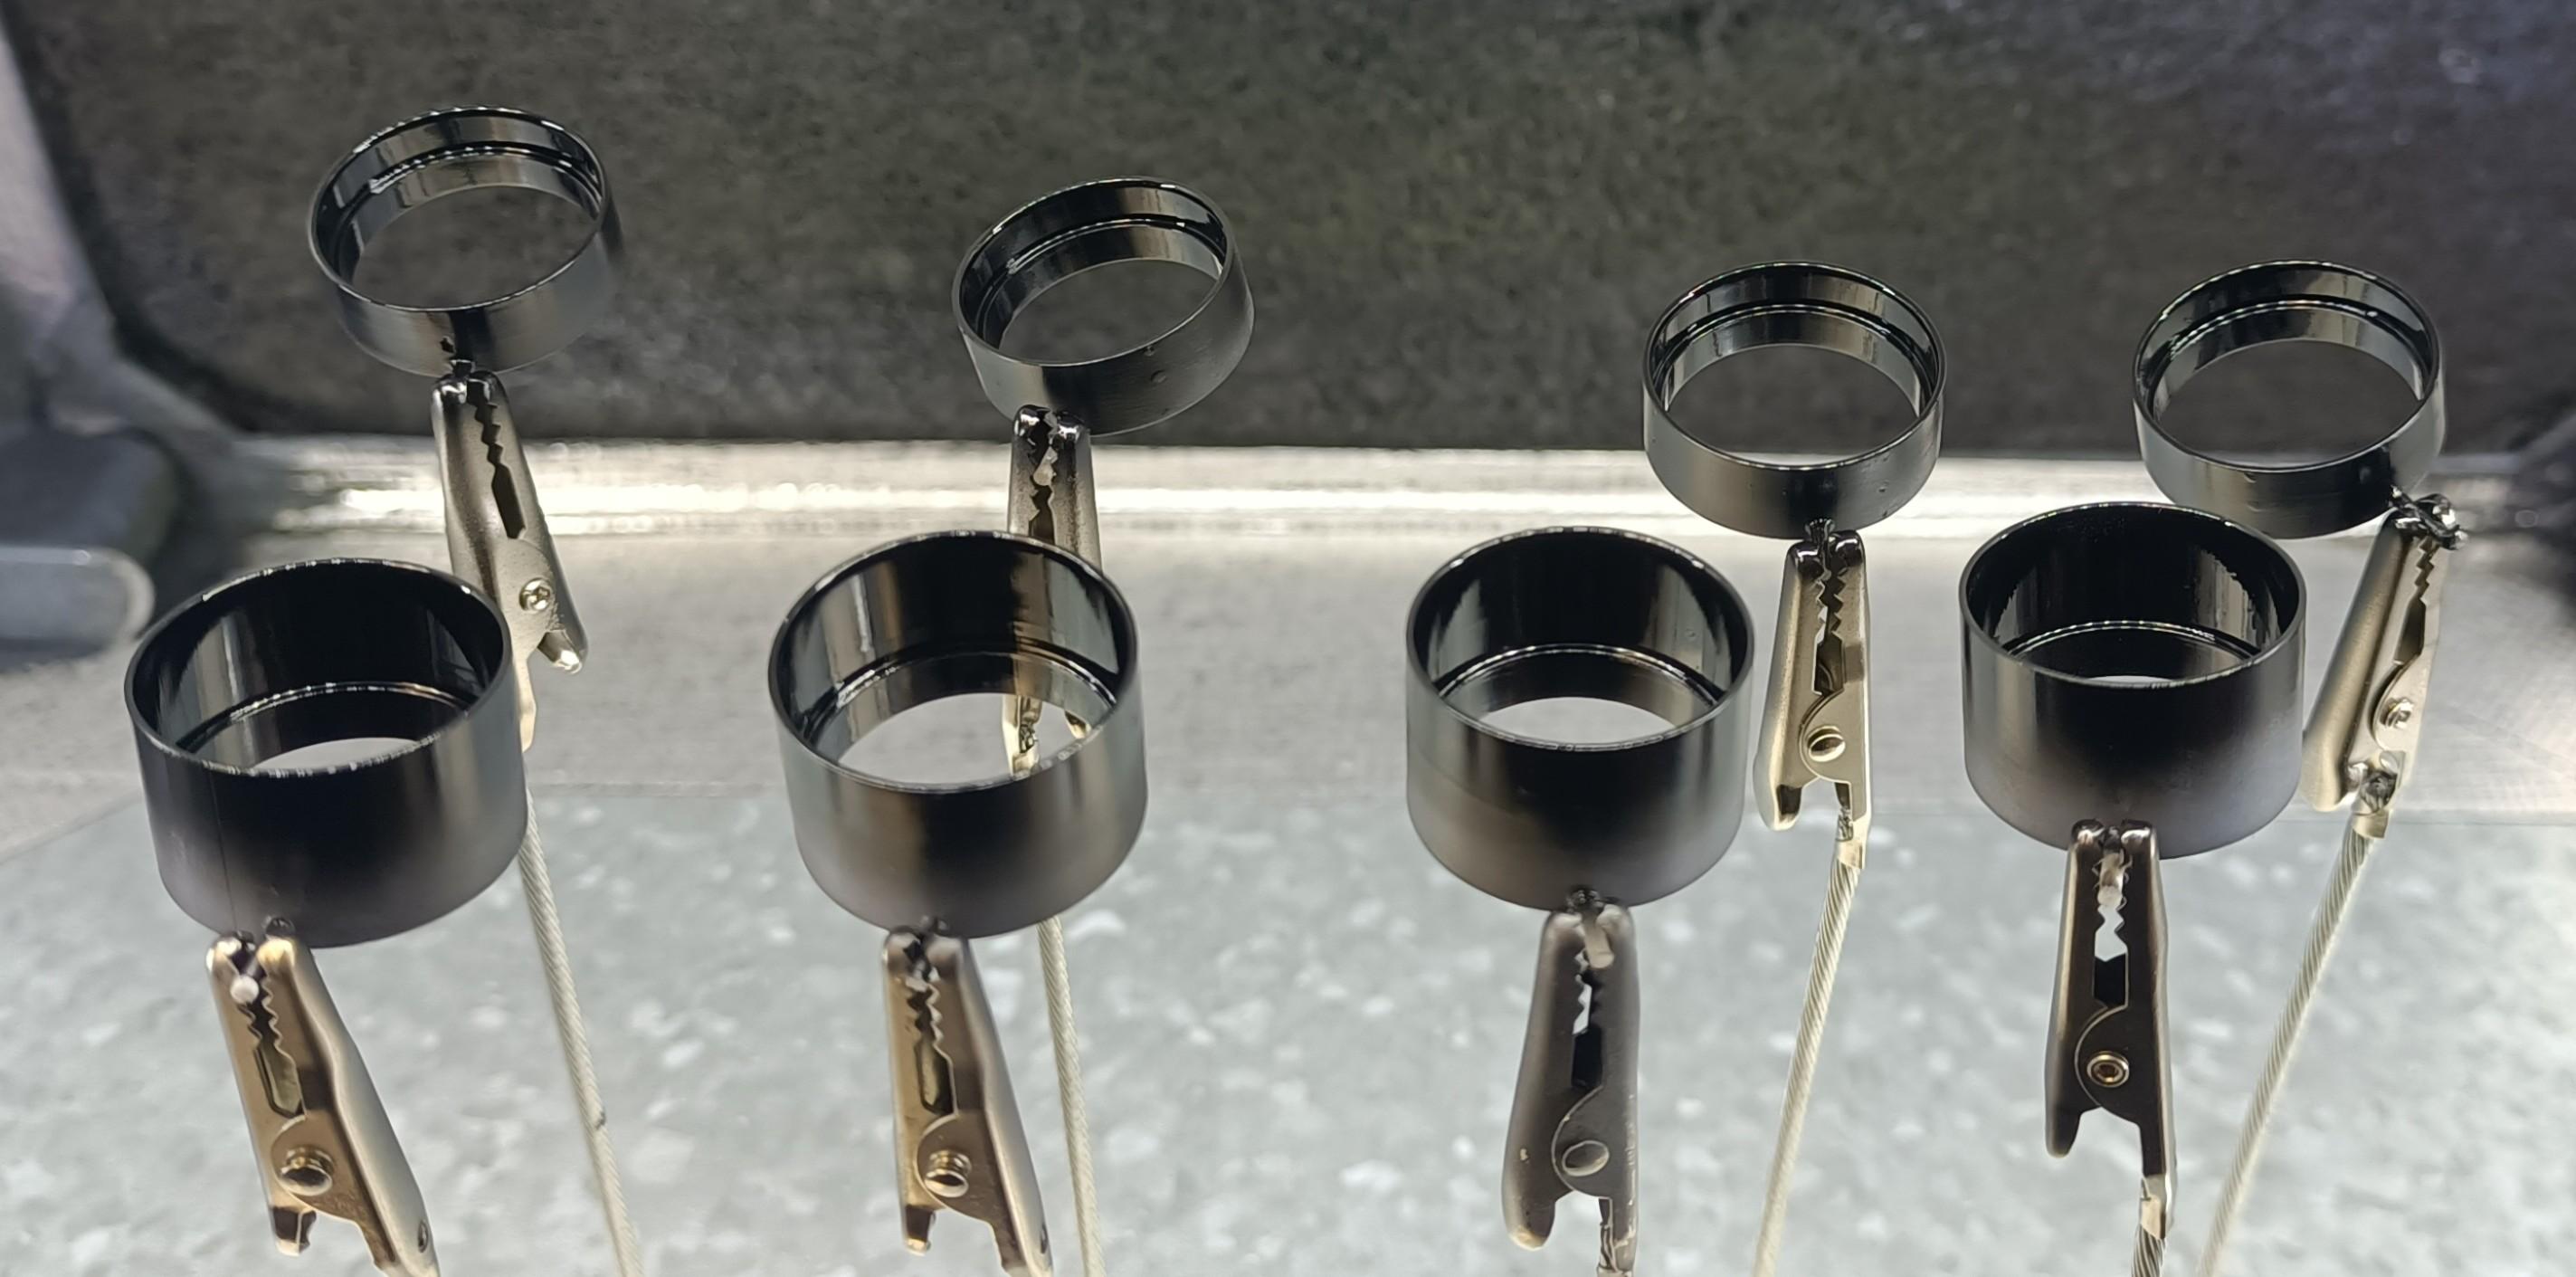
I find it works well as you just rotate the stick and the paint hits the surface and circulates through. Having the hoops on the tape the Molotow hits the surface and the tape which circulates the spray back onto itself which is like having over spray going into the wet paint. And being that Molotow needs to go on heavy and wet the overspray would be dulling the chrome effect. I found Molotow is way to finnicky and takes forever to fully harden/cure and even then the surface is not very durable. I recently started using SMS paints Hyper Chrome, the results are excellent and in my opinion its the best hobby grade chrome paint thats available, I have used it over Tamiya TS-14 black and Alclad gloss black base. And shown below it was applied over SMS Jet black which was clear coated with SMS Super clear. I use the Cold Tone for wheels And like with Alclad its very durable, just lightly buff with a cotton ball to remove the dust that forms on the surface. Ive pretty much tried all the chrome paints, and to me SMS Hyper Chrome is the best option for a great finish, its quick to dry/cure and very durable.
-
Thankyou very much to all for the comments, much appreciated.
-
Applied the black base coat to the Skyline body.
- 766 replies
-
- 4
-
-
- stalled builds
- quick builds
- (and 2 more)
-
Question for the molotow "pro's"
Cool Hand replied to johnyrotten's topic in Model Building Questions and Answers
I dont use Molotow, but I have painted a lot of 3D printed wheel hoops/sleeves. Glue on some small handles that can be held with a clippy stick. Use CA glue and it can easily be snapped off and excess glue removed with a blade. Also do the same for tyres.
-
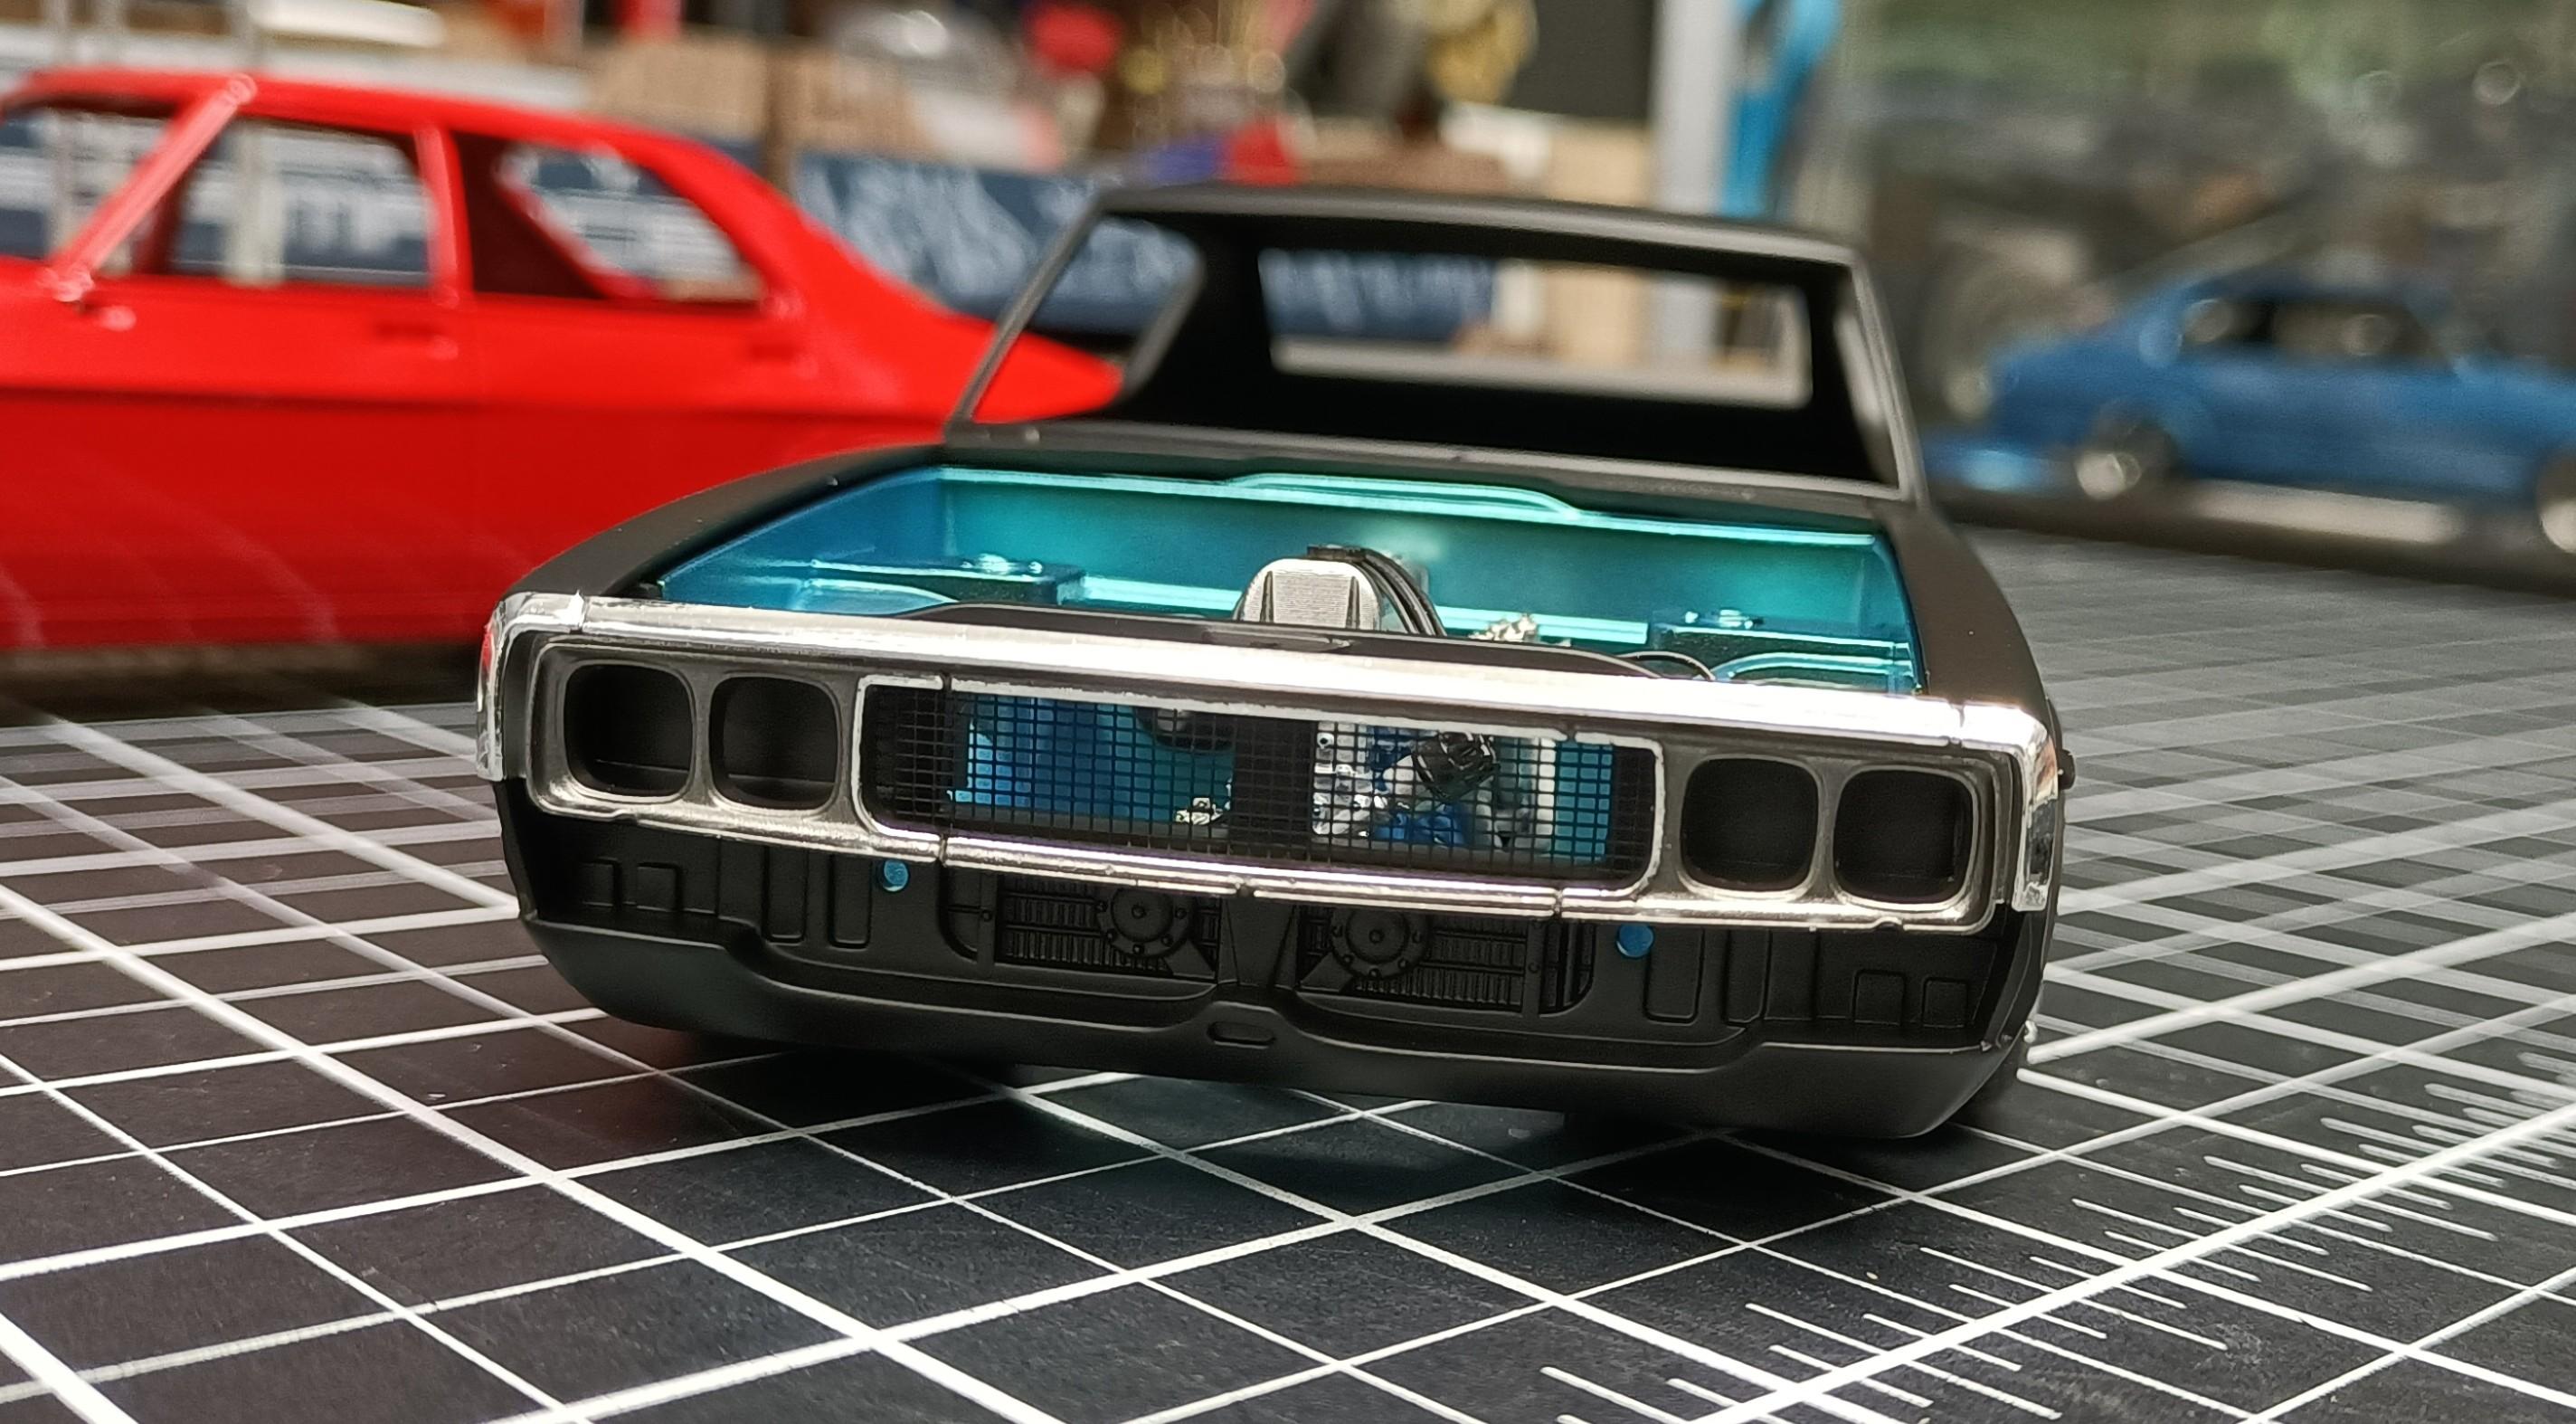
And a preview of the colour for the C110 Skyline. Going to paint the body tomorrow night 🤞 Also done the usual open up the kit grill opening and install pe mesh.
- 766 replies
-
- 4
-
-
- stalled builds
- quick builds
- (and 2 more)
-
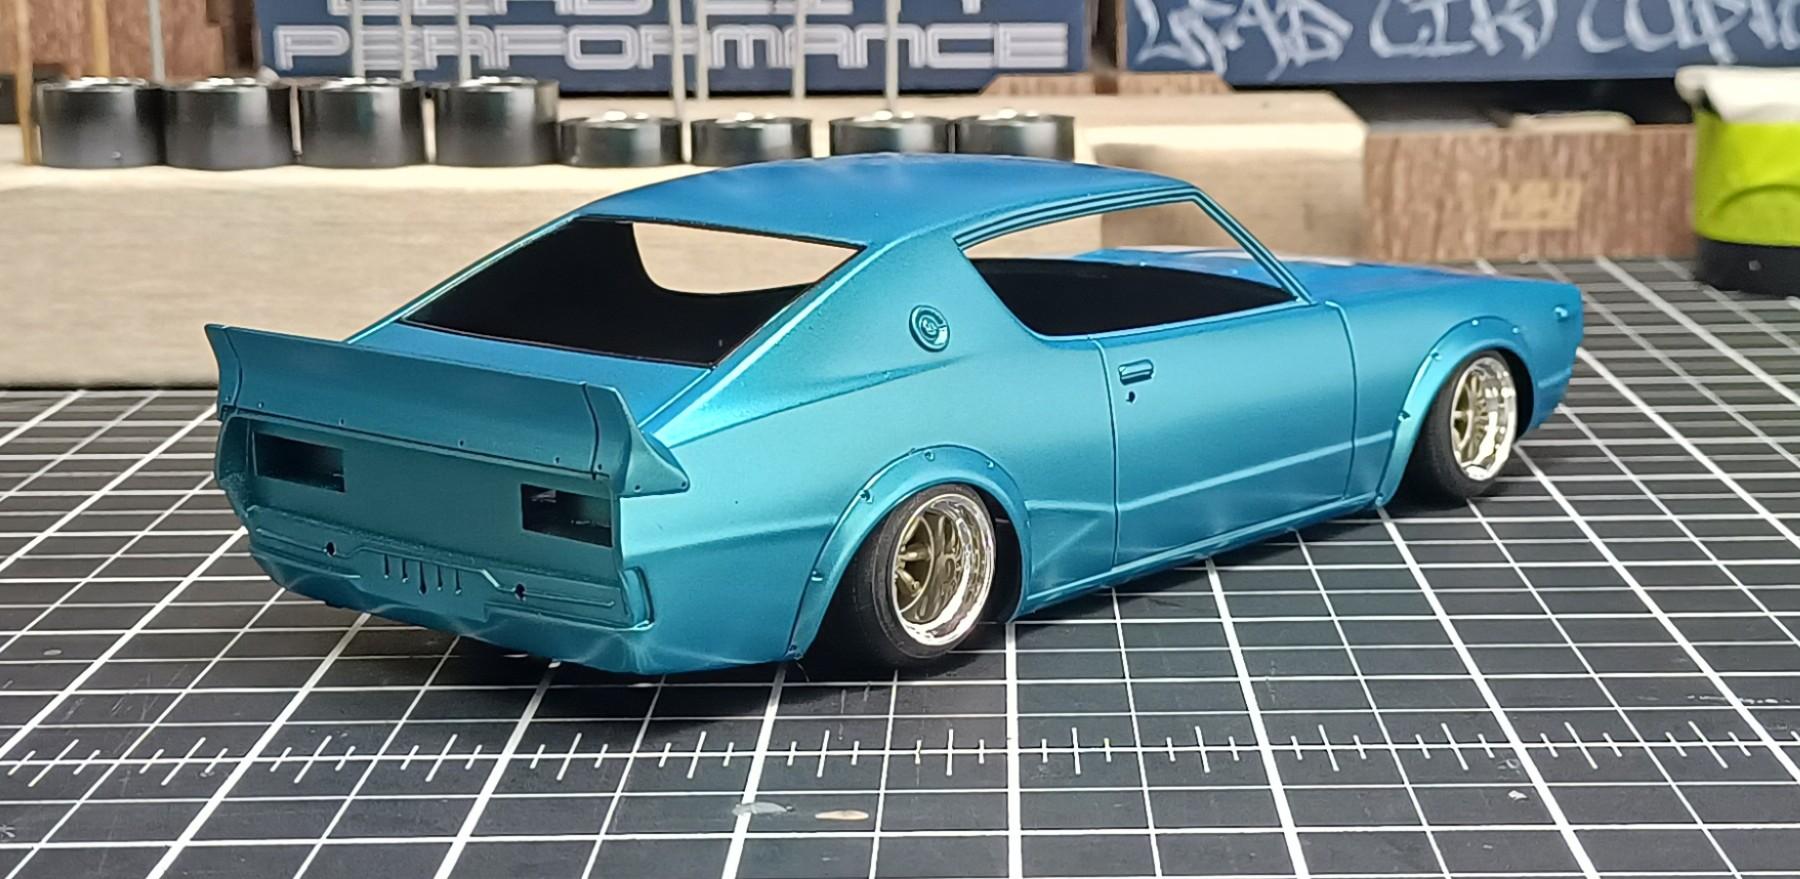
How could I not mock things up after some paint work 😁
- 766 replies
-
- 2
-
-
- stalled builds
- quick builds
- (and 2 more)
-
Hey Stu, thanks mate. Will be making some good progress from now until completion. Hope to see an update of your HQ build soon. Thanks Bob, bit of styrene cutting and shut'n got the job done in the end. Going to start piecing it all together over the next few days.
-
@Donny have you seen this channel ?? . Great source for information about all different paints for the hobby. https://youtube.com/@barbatosrex9473?si=zn_XiJvduLWdwygk
-
😢 🤘
-
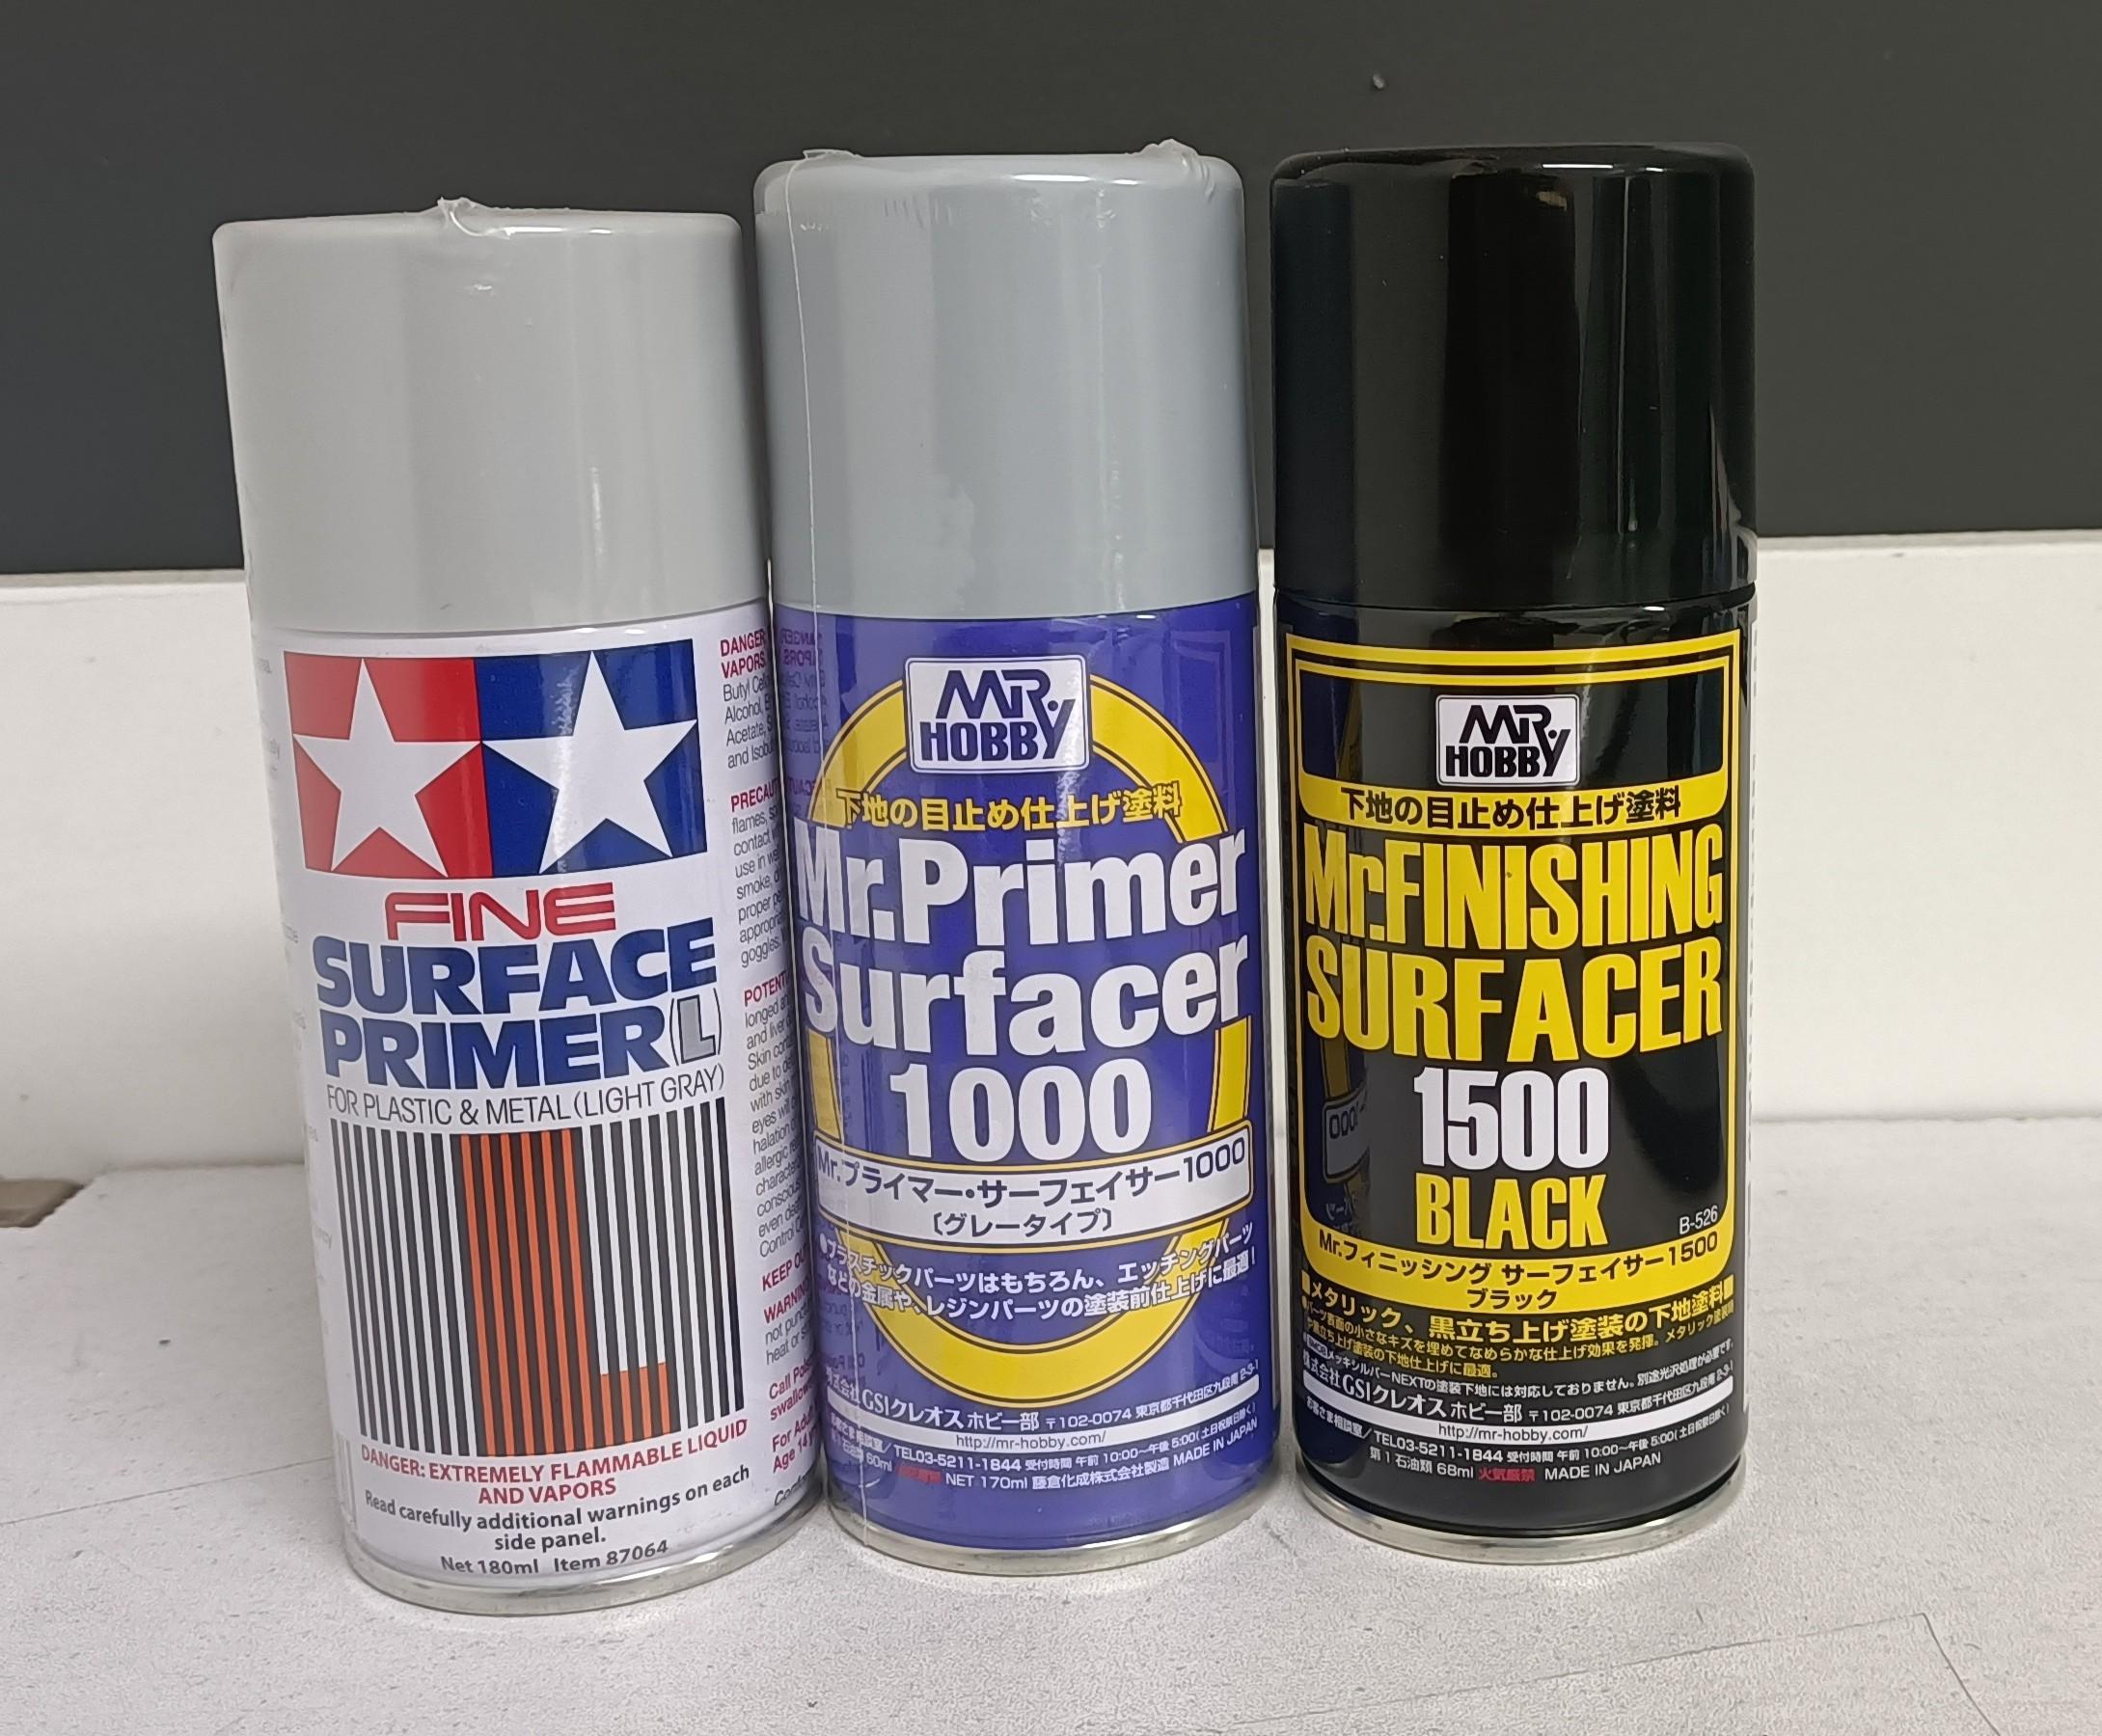
Like I said just have a go and see how things turn out. As others have mentioned first couple builds will be all about learning and practice. You will learn fast by experiencing the process and seeing what area's will need improvement and dialling in the techniques. And there are many on the forum who will help and answer the questions you will have. Hobby surfacer primers and finishing surfacers have much finer pigments, self level, fill fine scratches which will result in a smoother surface. Im from Port Pirie (aka Lead City) South Australia
-
Hey Donny, Seeing as you are trying to get into the model car hobby it would be best to start with a paint system that is user friendly and with a bit of trial and error and some practice, good results are easily achievable. My suggestion would be to find the nearest local well stocked hobby store, and have a look at the Tamiya and Mr Hobby brands. A good paint job starts with the foundation. These are excellent primers and surfacers. I feel the Mr Hobby Surfacer range is better as it lays down a very smooth satin finish. But seeing you mentioned having an airbrush, that opens up a lot more options. But that will require a bit more learning and practice to become familiar with brand of choice. A go to brand for us Aussie car modellers is The Scale Modeller Supply which can be found in many hobby shops in QLD. Quality paint brand with a wide range of colours and user friendly. Another competitor Aussie brand is Model paint Company again quality paint and user friendly. Between those 2 brands you are spoilt for choice and should cover all colour requirements. You are on the right track, researching here and on Youtube, both sites will supply you with a good understanding of the current range of brands and techniques. Just have go, you'll be right mate.
-
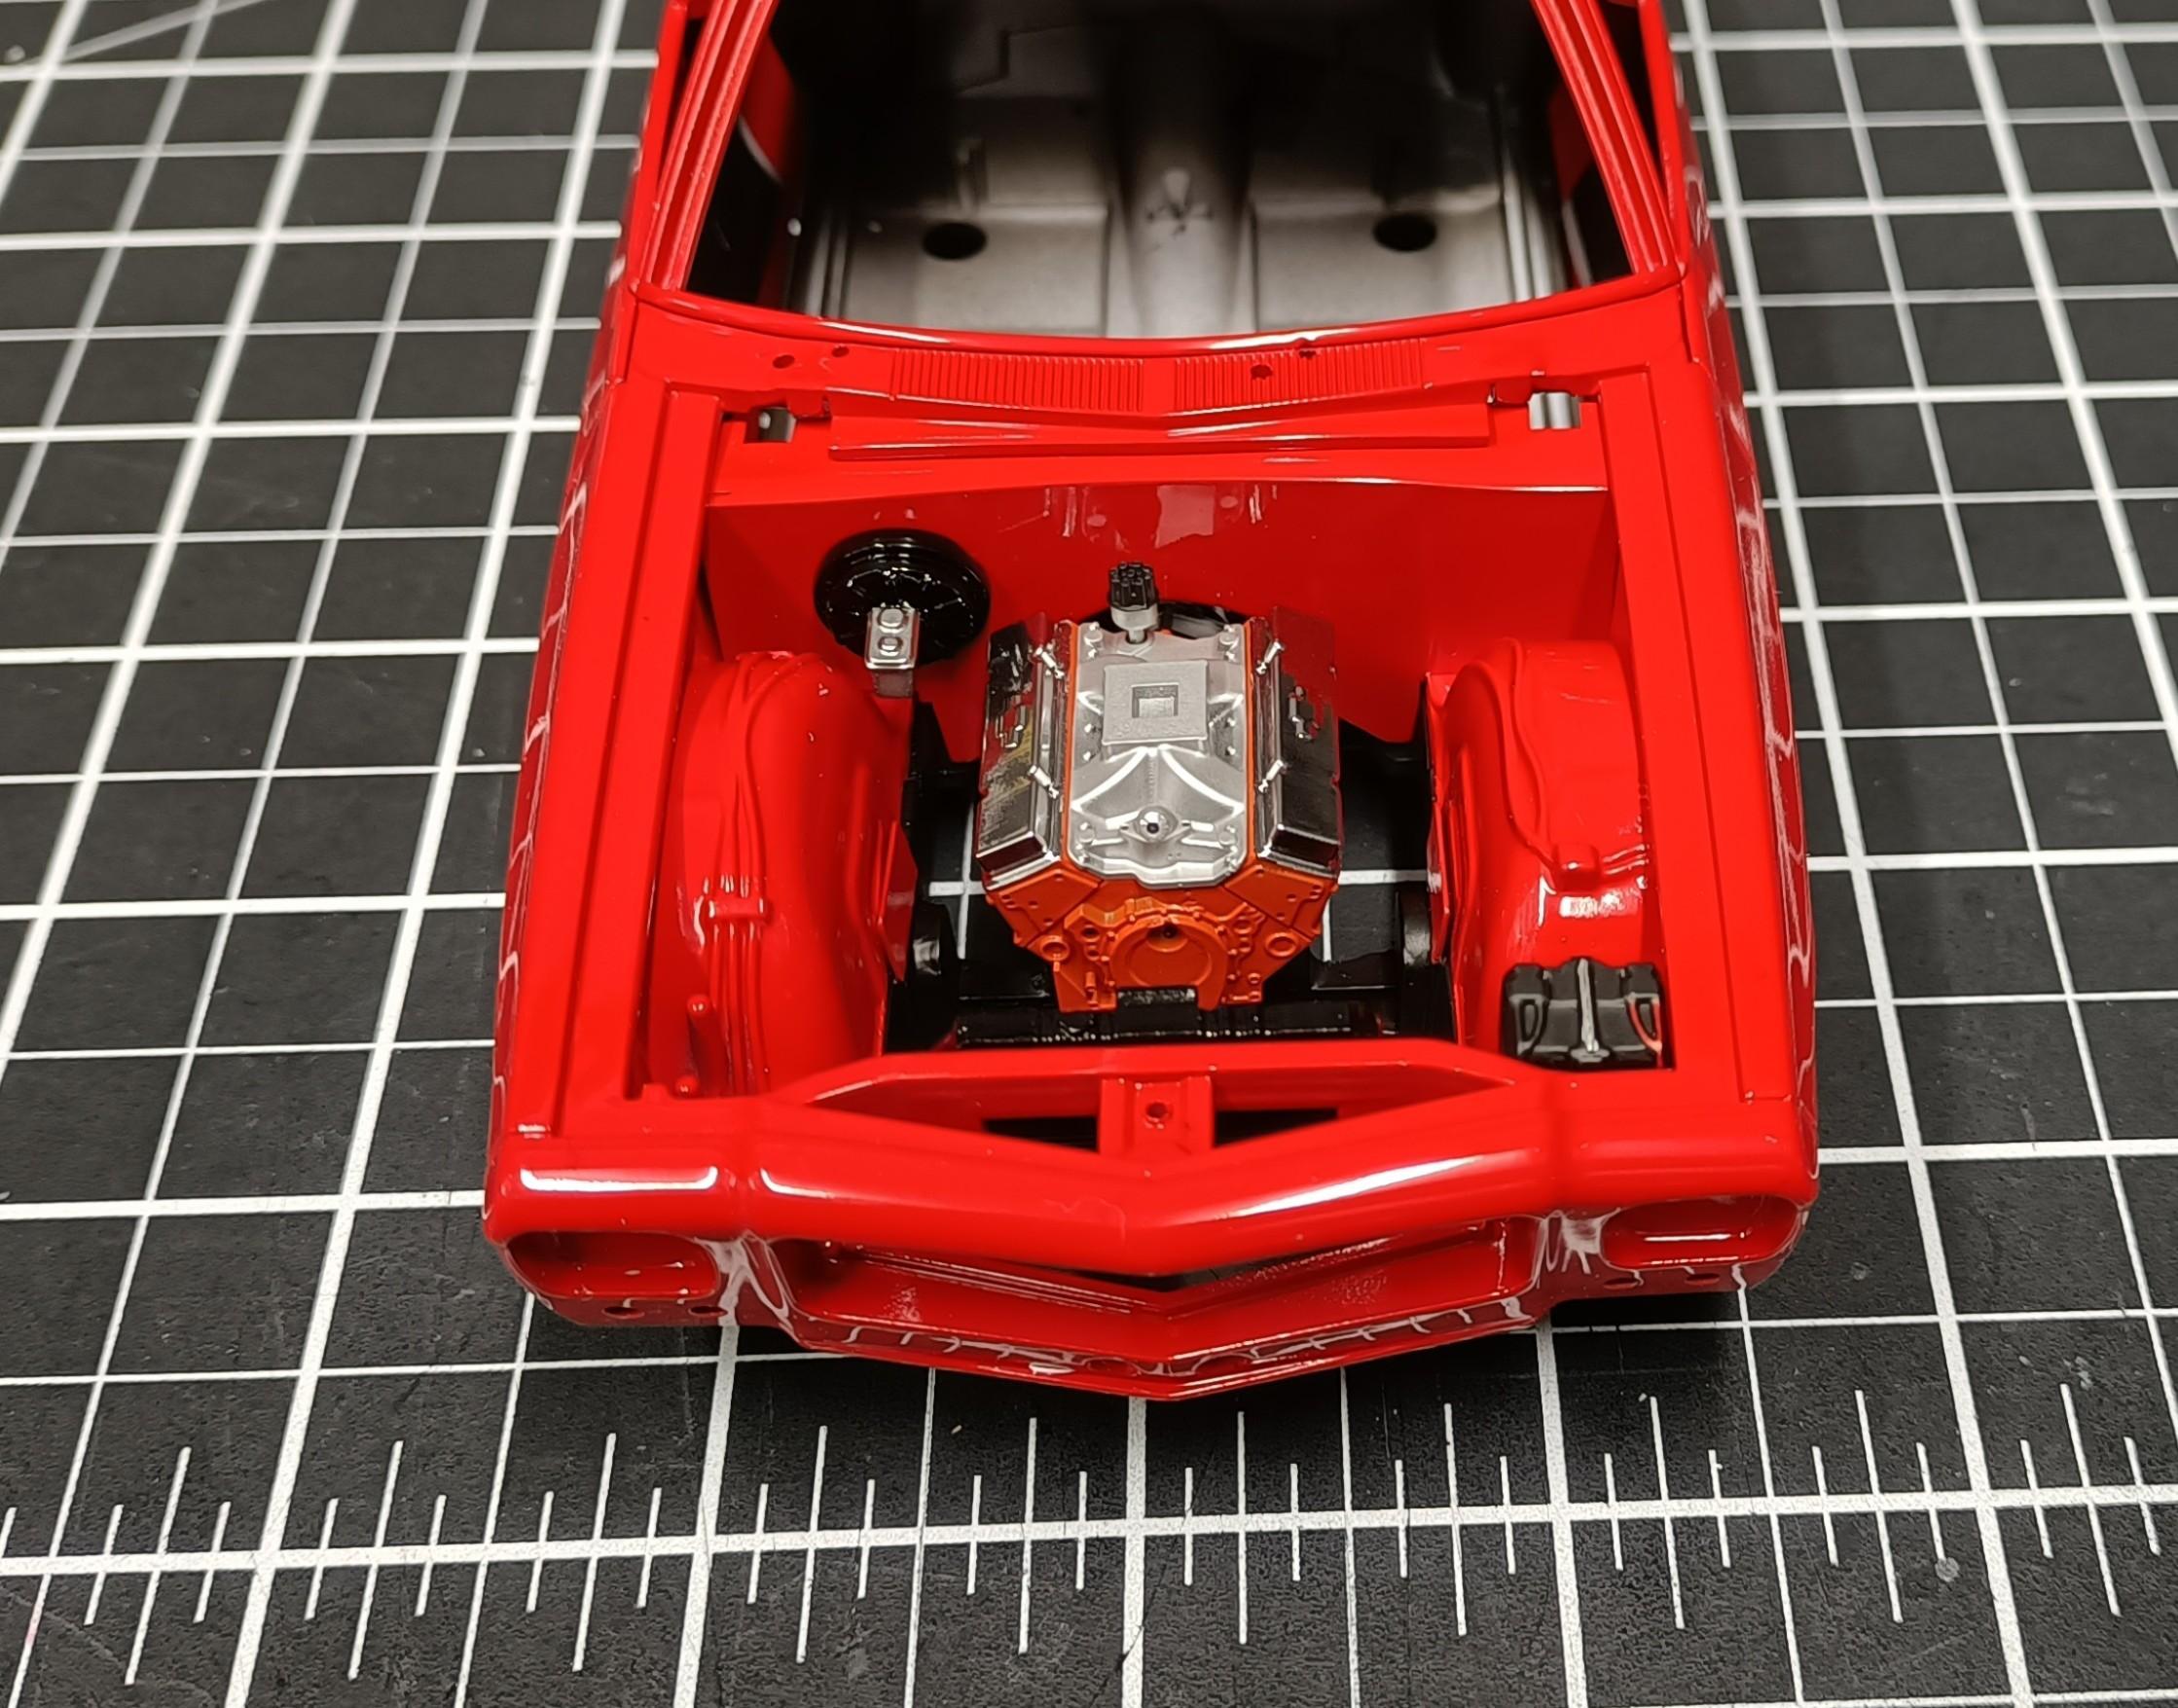
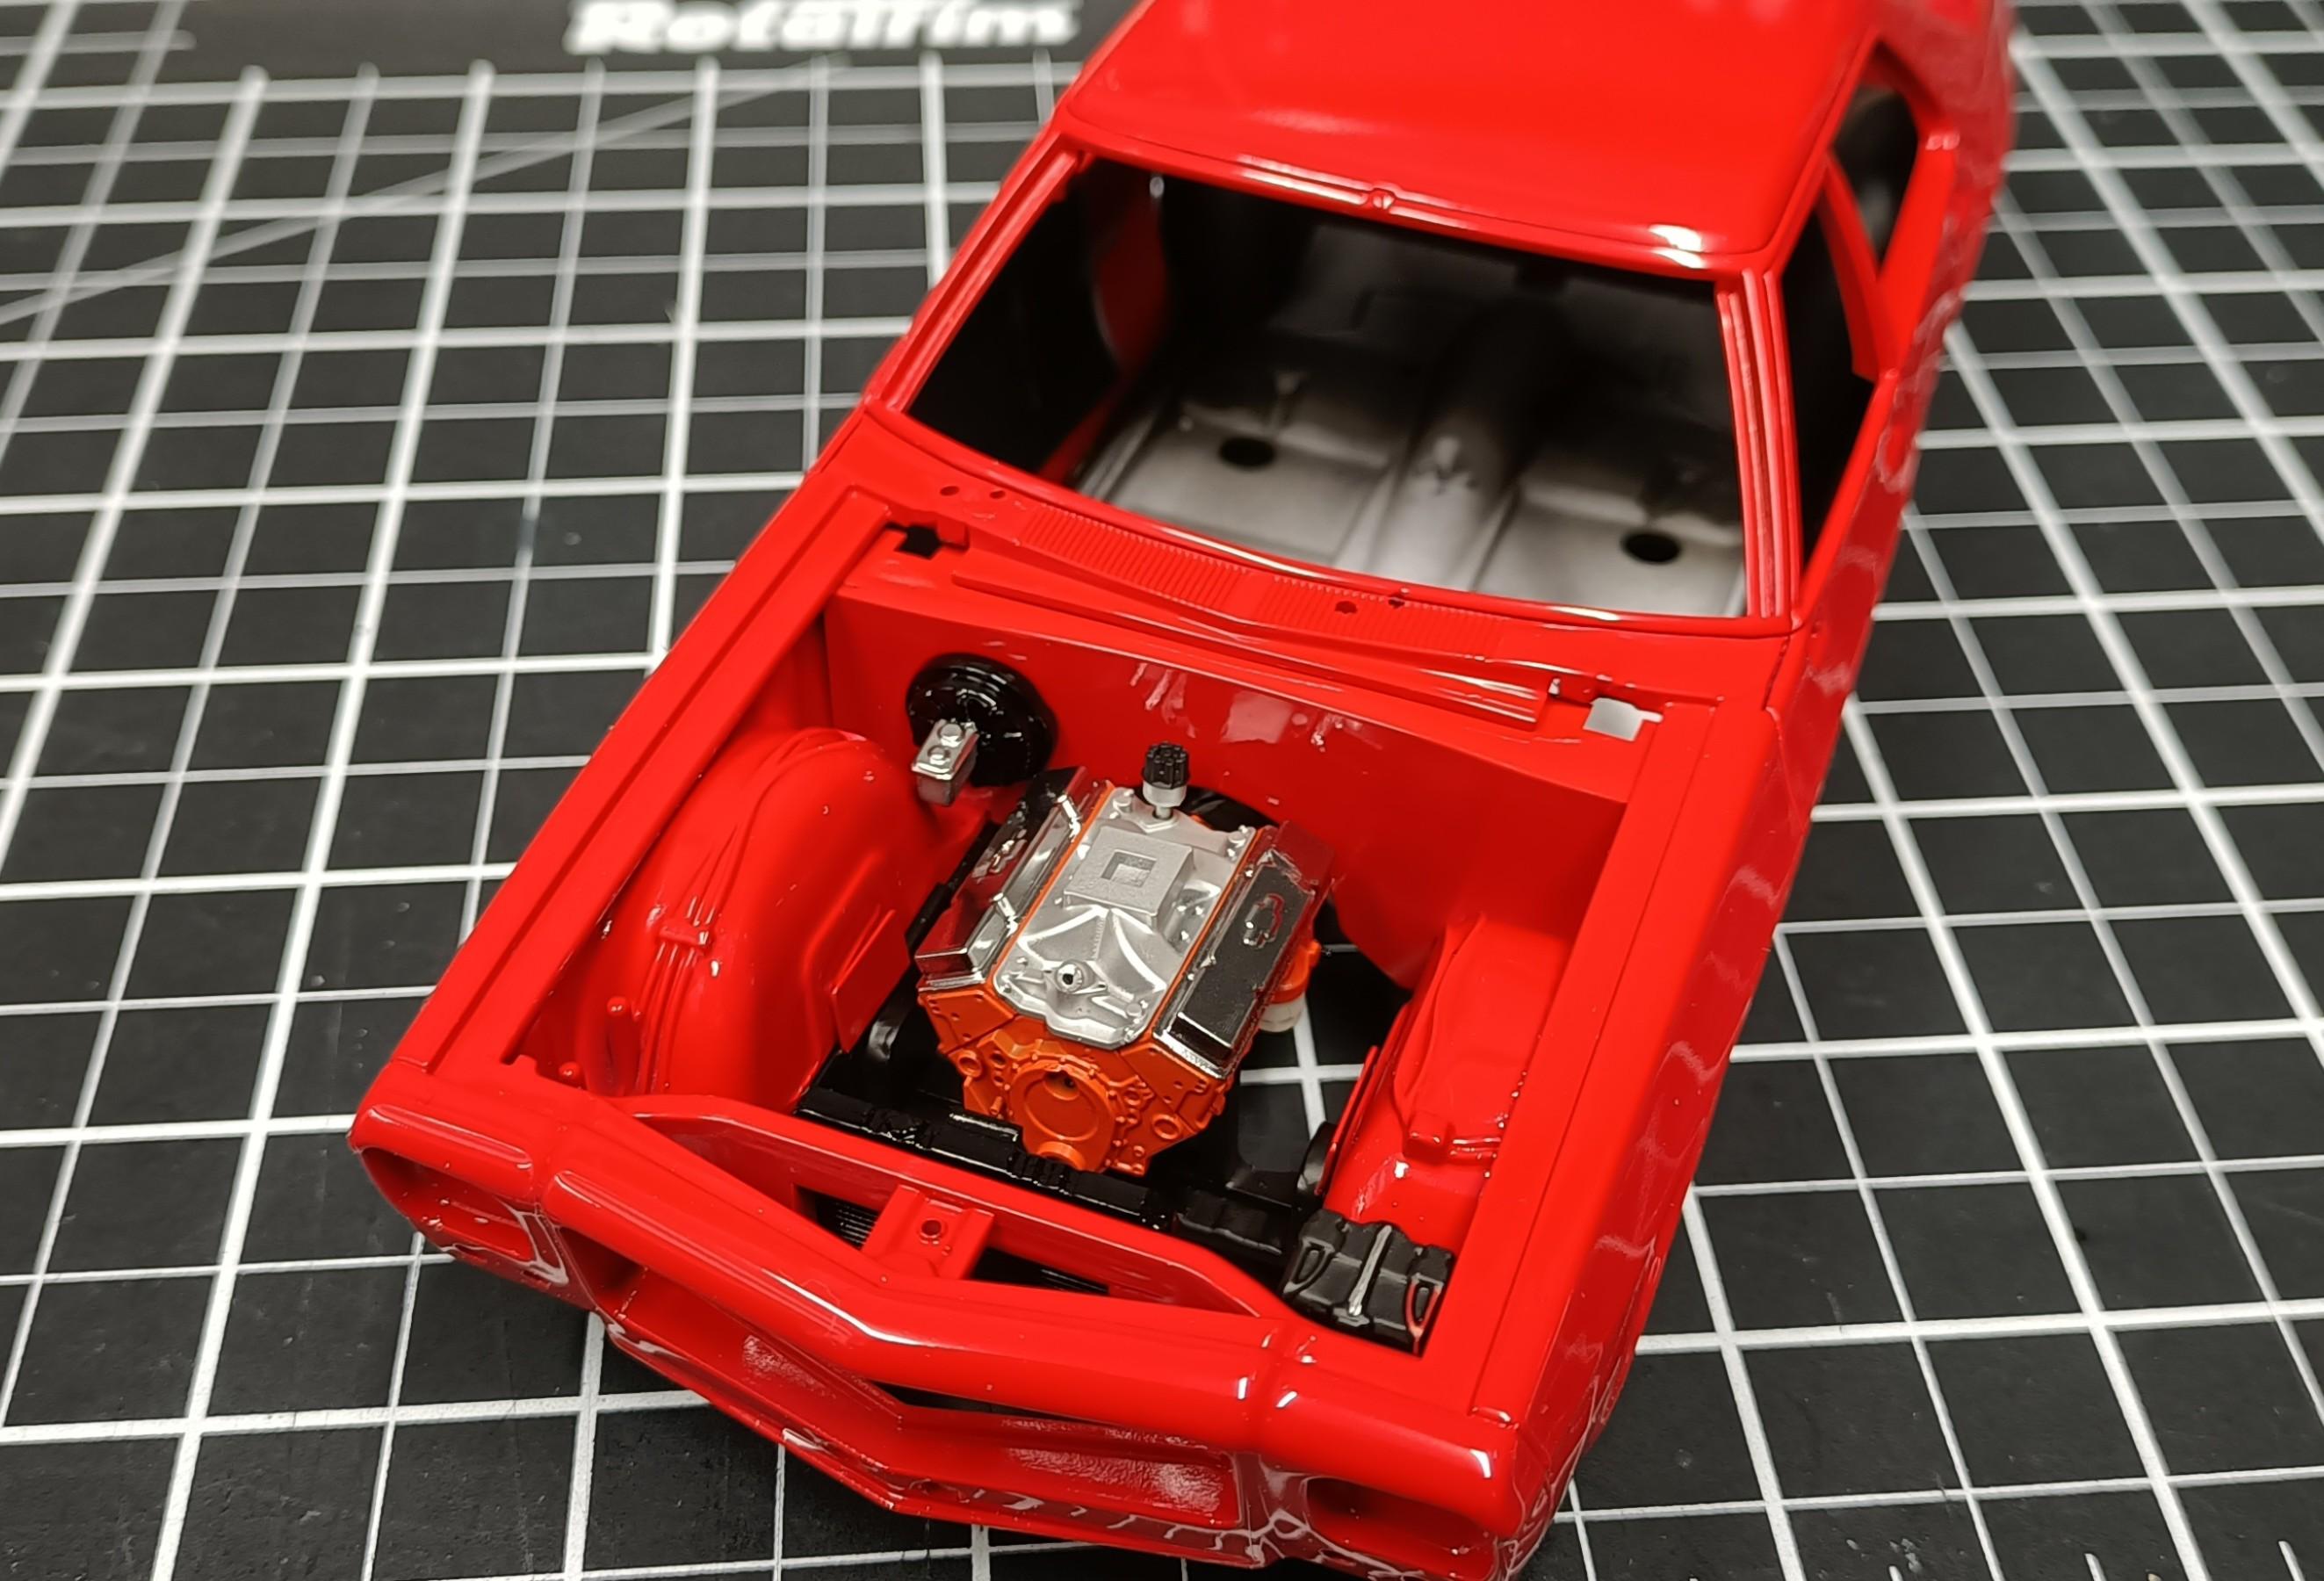
Fire wall sorted. Just needs to be cleaned up and prepared for surfacer and paint. Now all the modifications are done I can start working towards getting it finished. Modified the transmission tunnel.
- 766 replies
-
- 4
-
-
- stalled builds
- quick builds
- (and 2 more)