Cool Hand
-
Posts
2,087 -
Joined
-
Last visited
Content Type
Profiles
Forums
Events
Gallery
Everything posted by Cool Hand
-
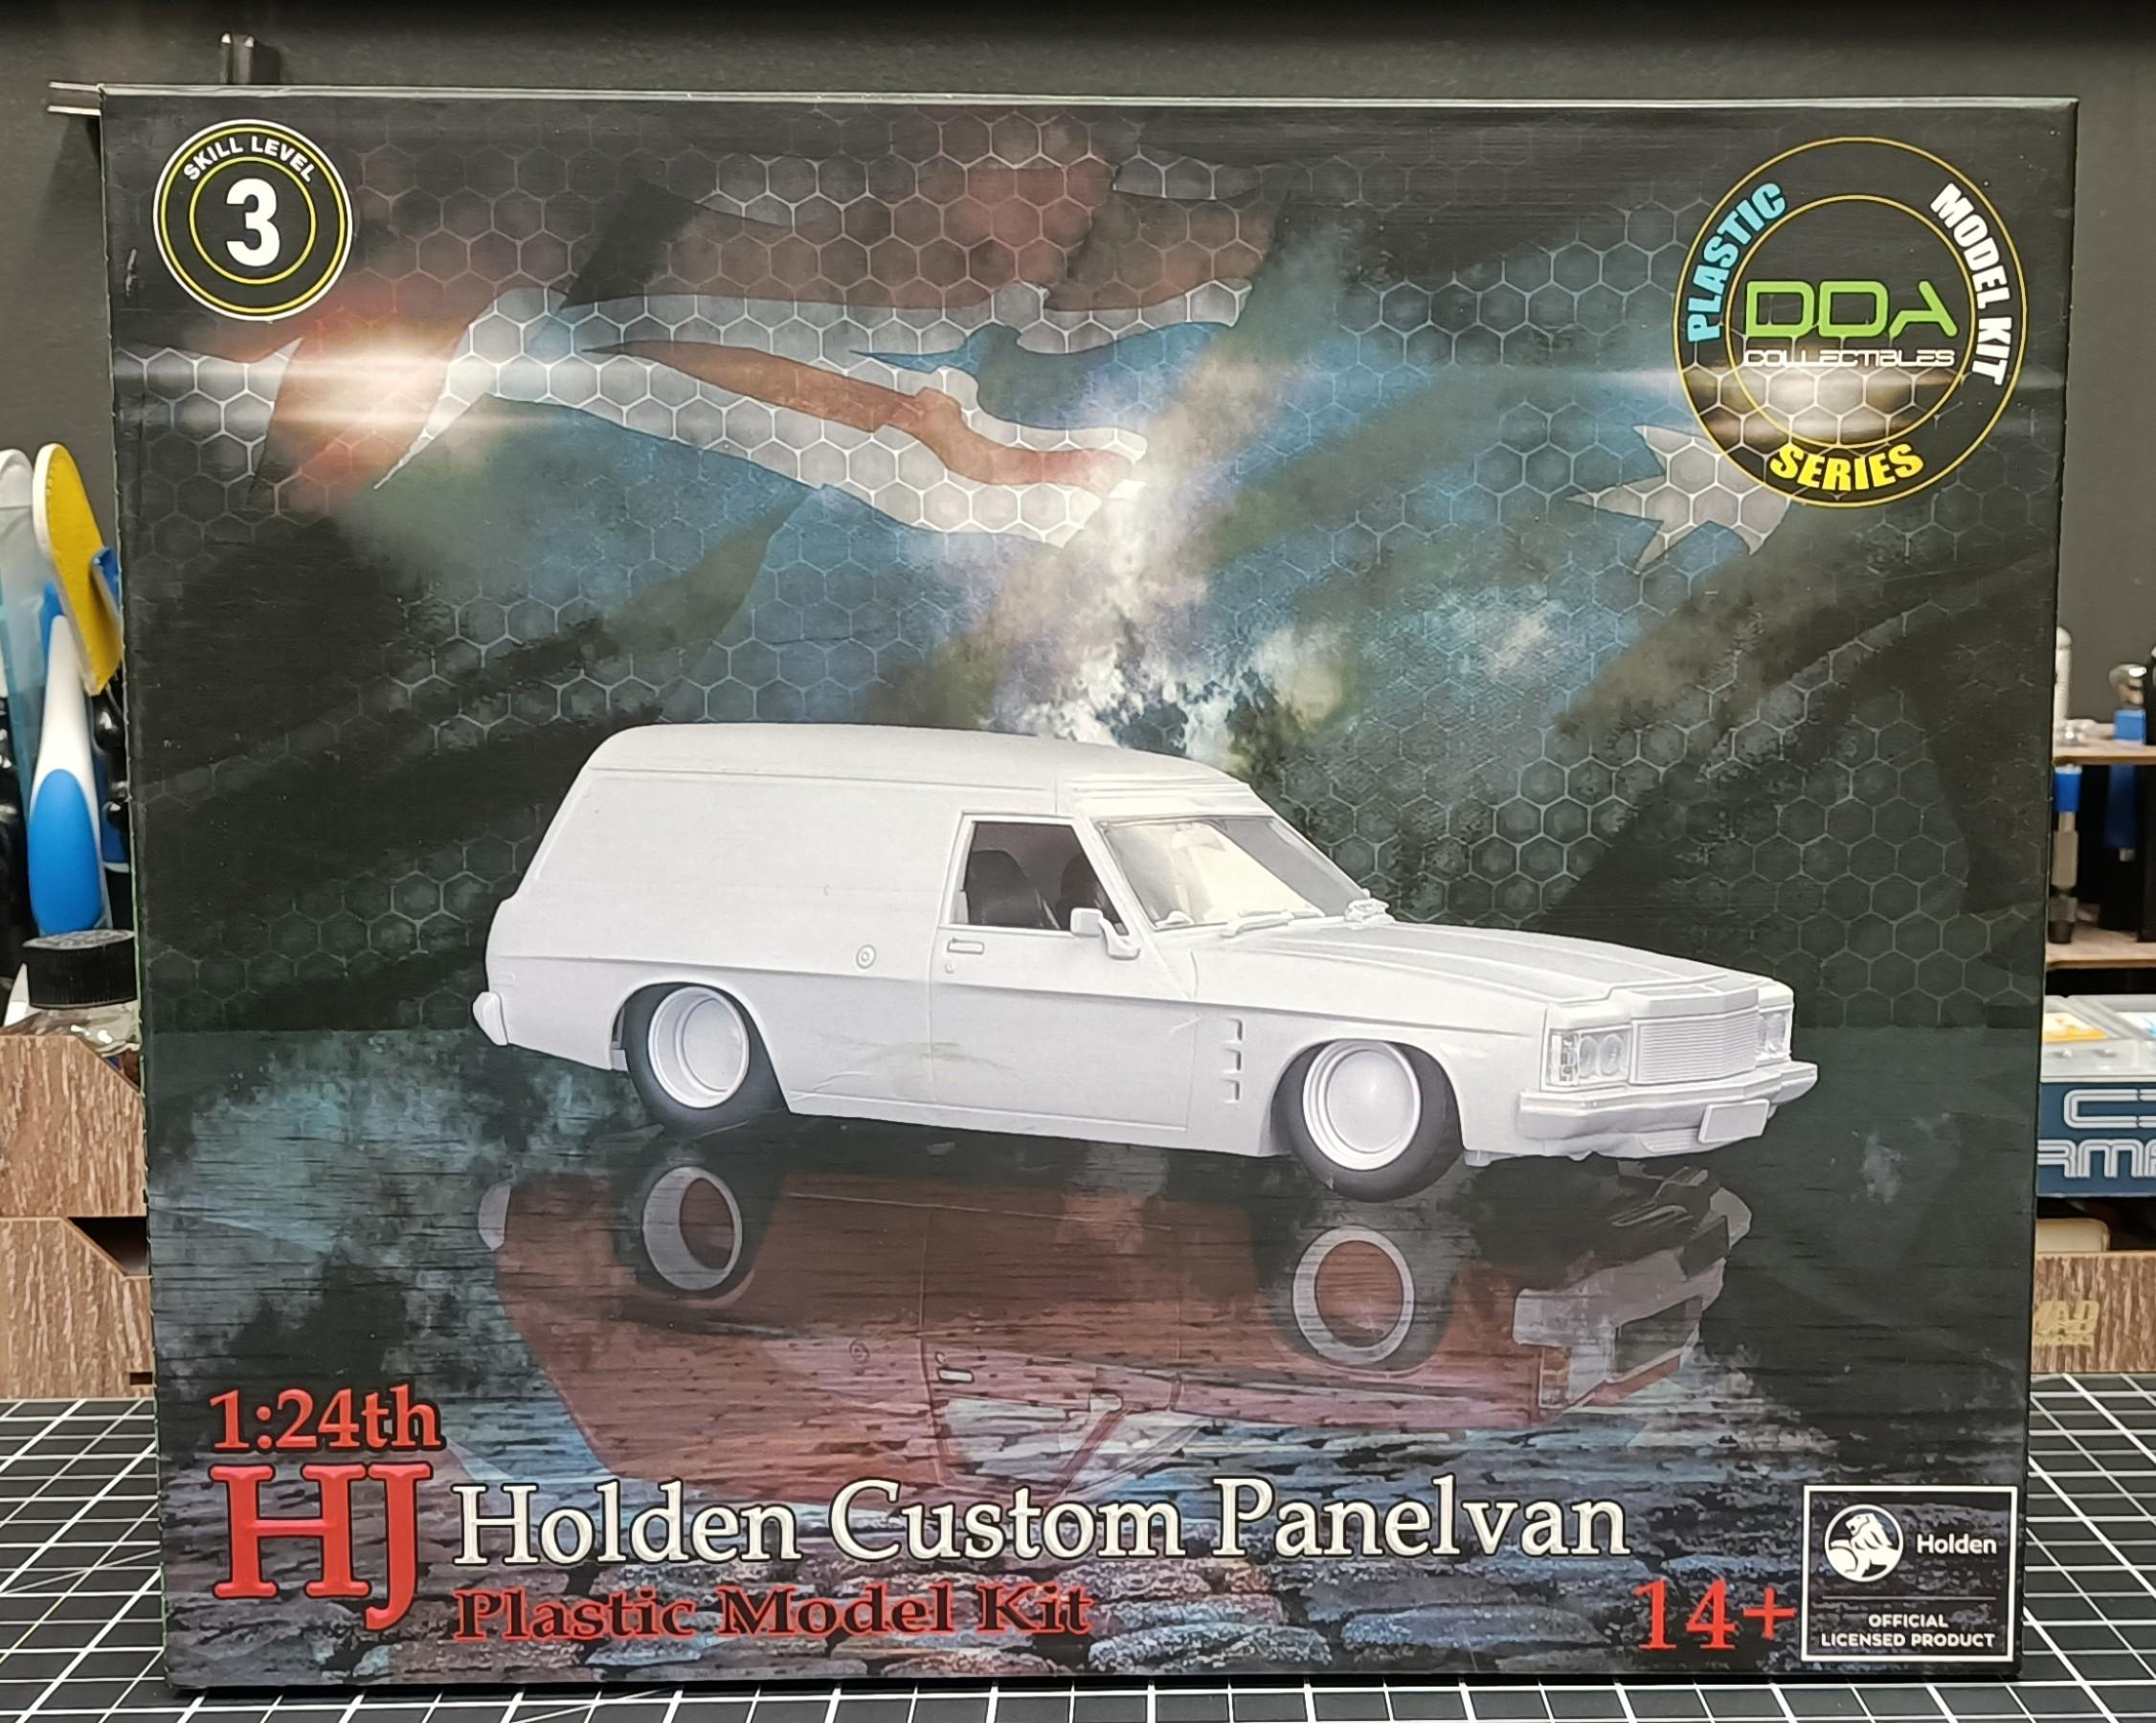
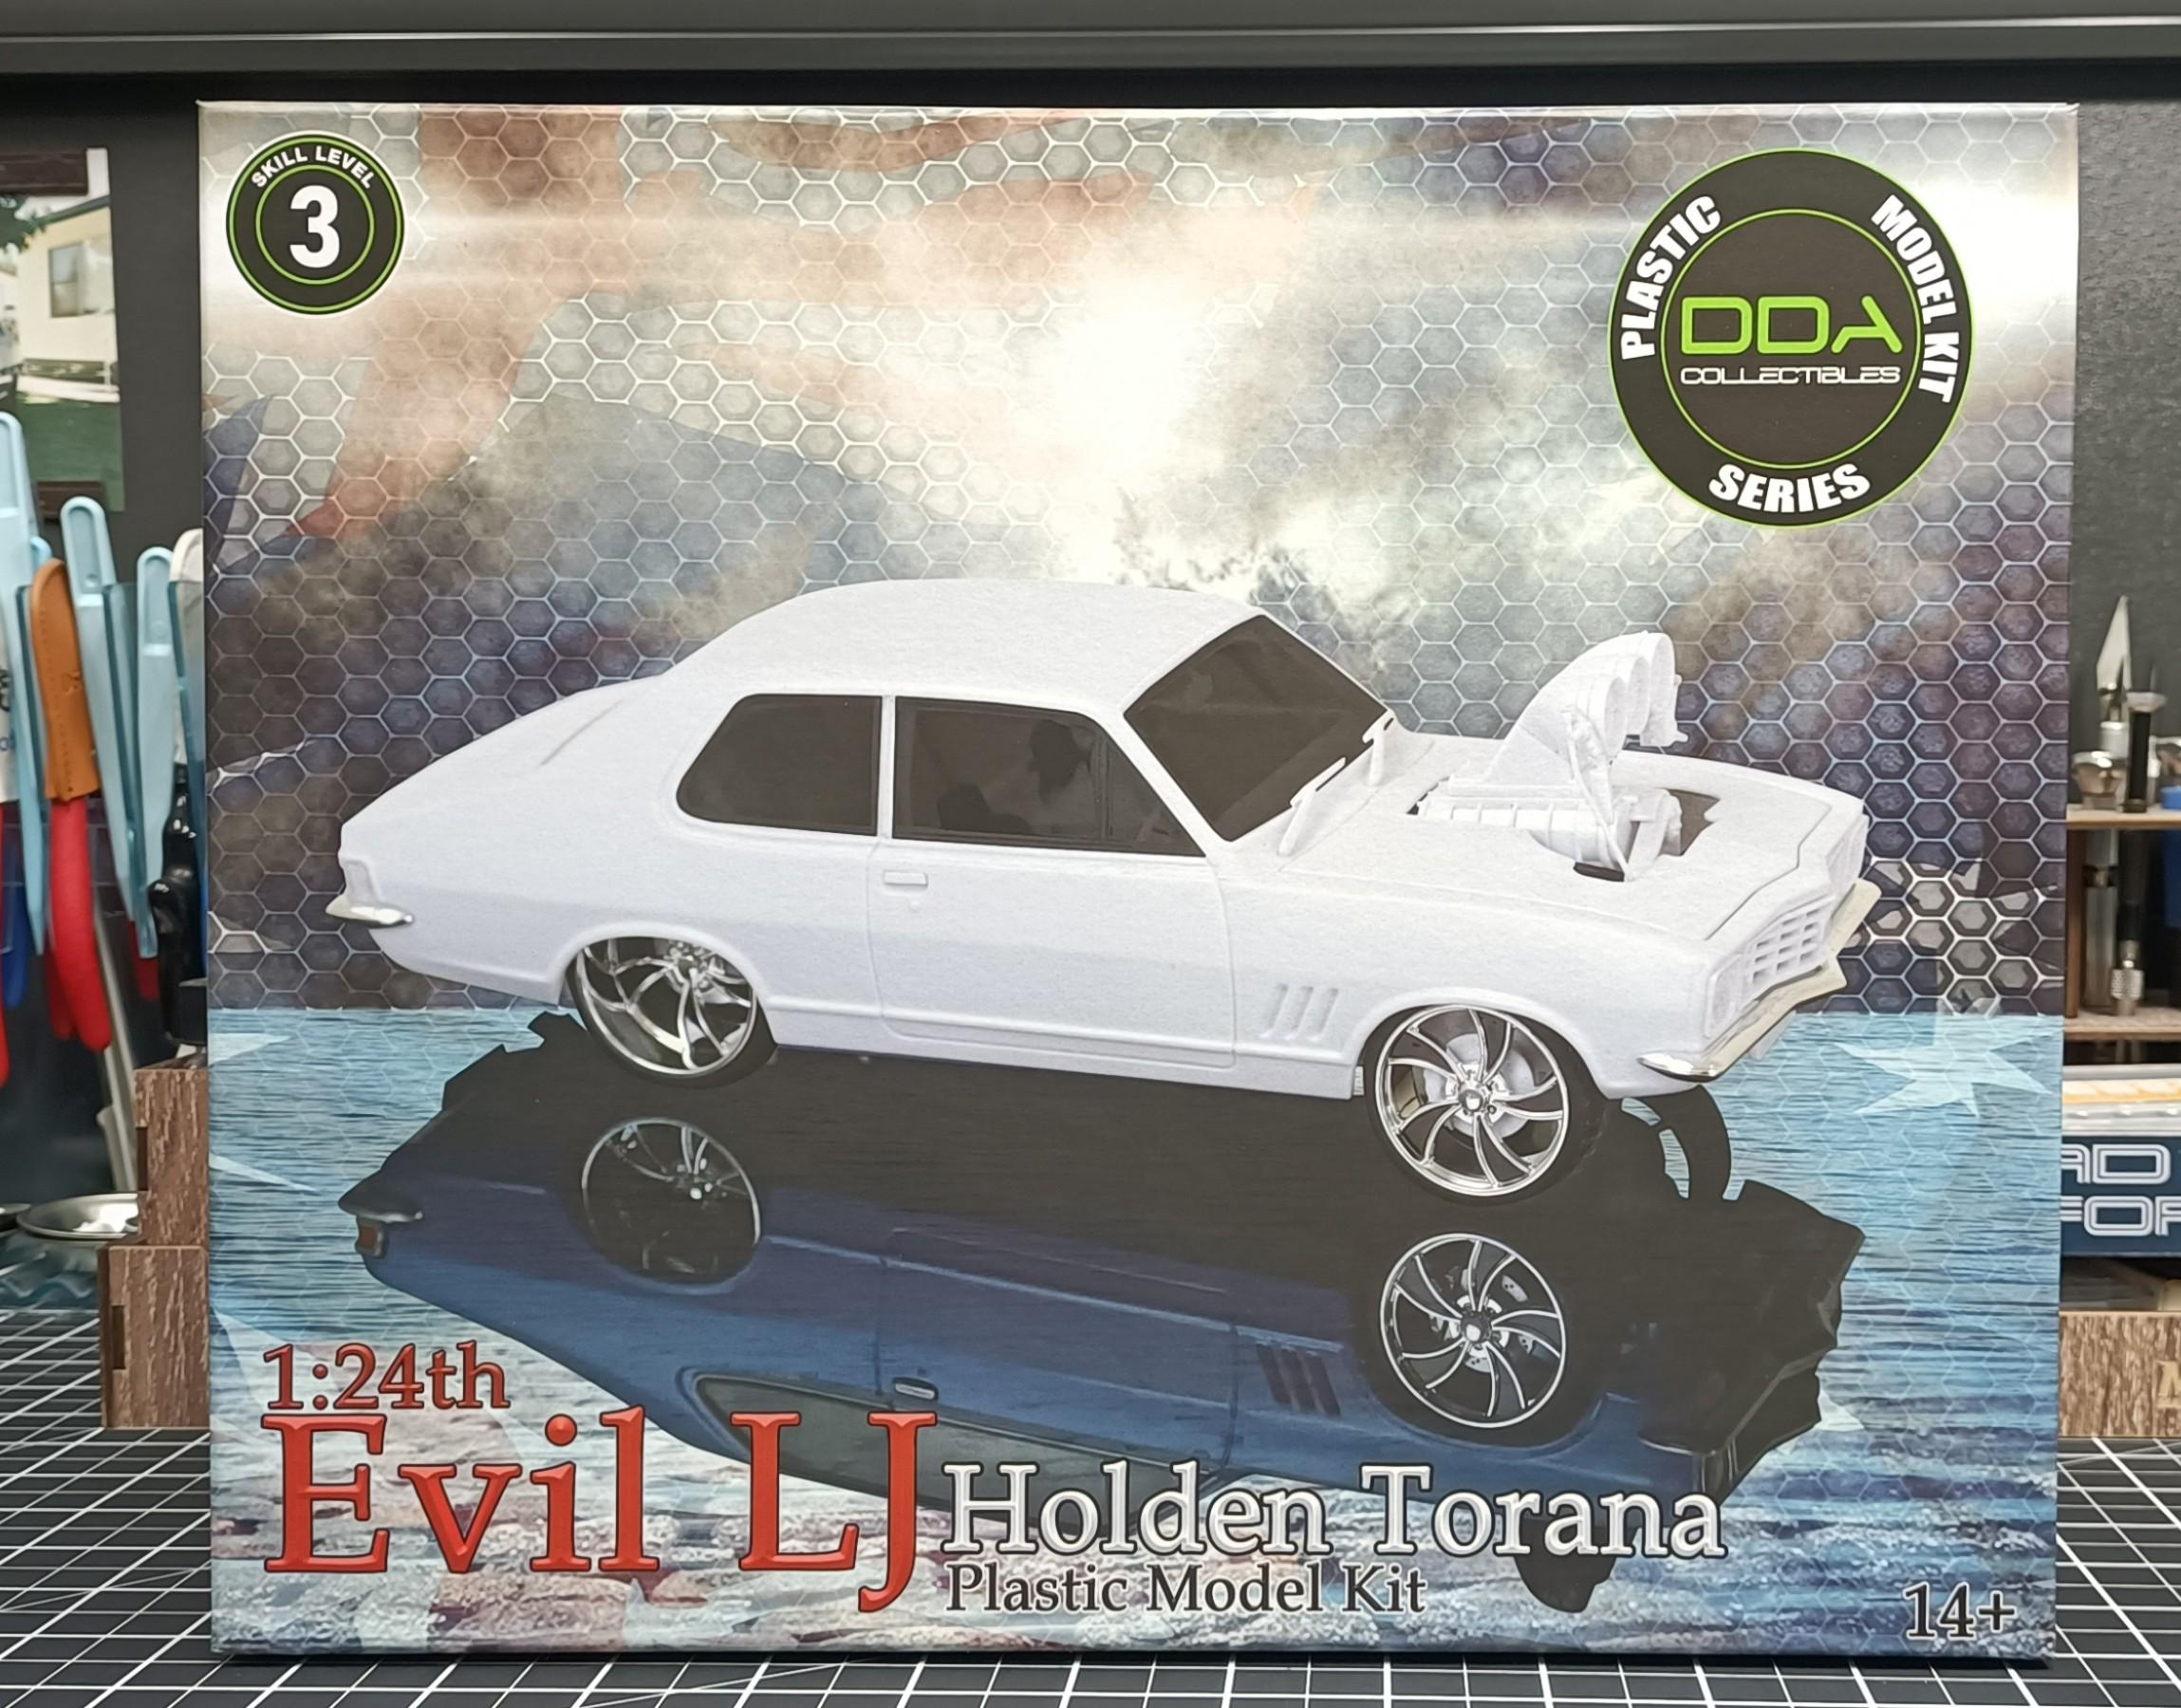
Im interested and will be following along to see how this builds up. I got the brilliant white version.
-
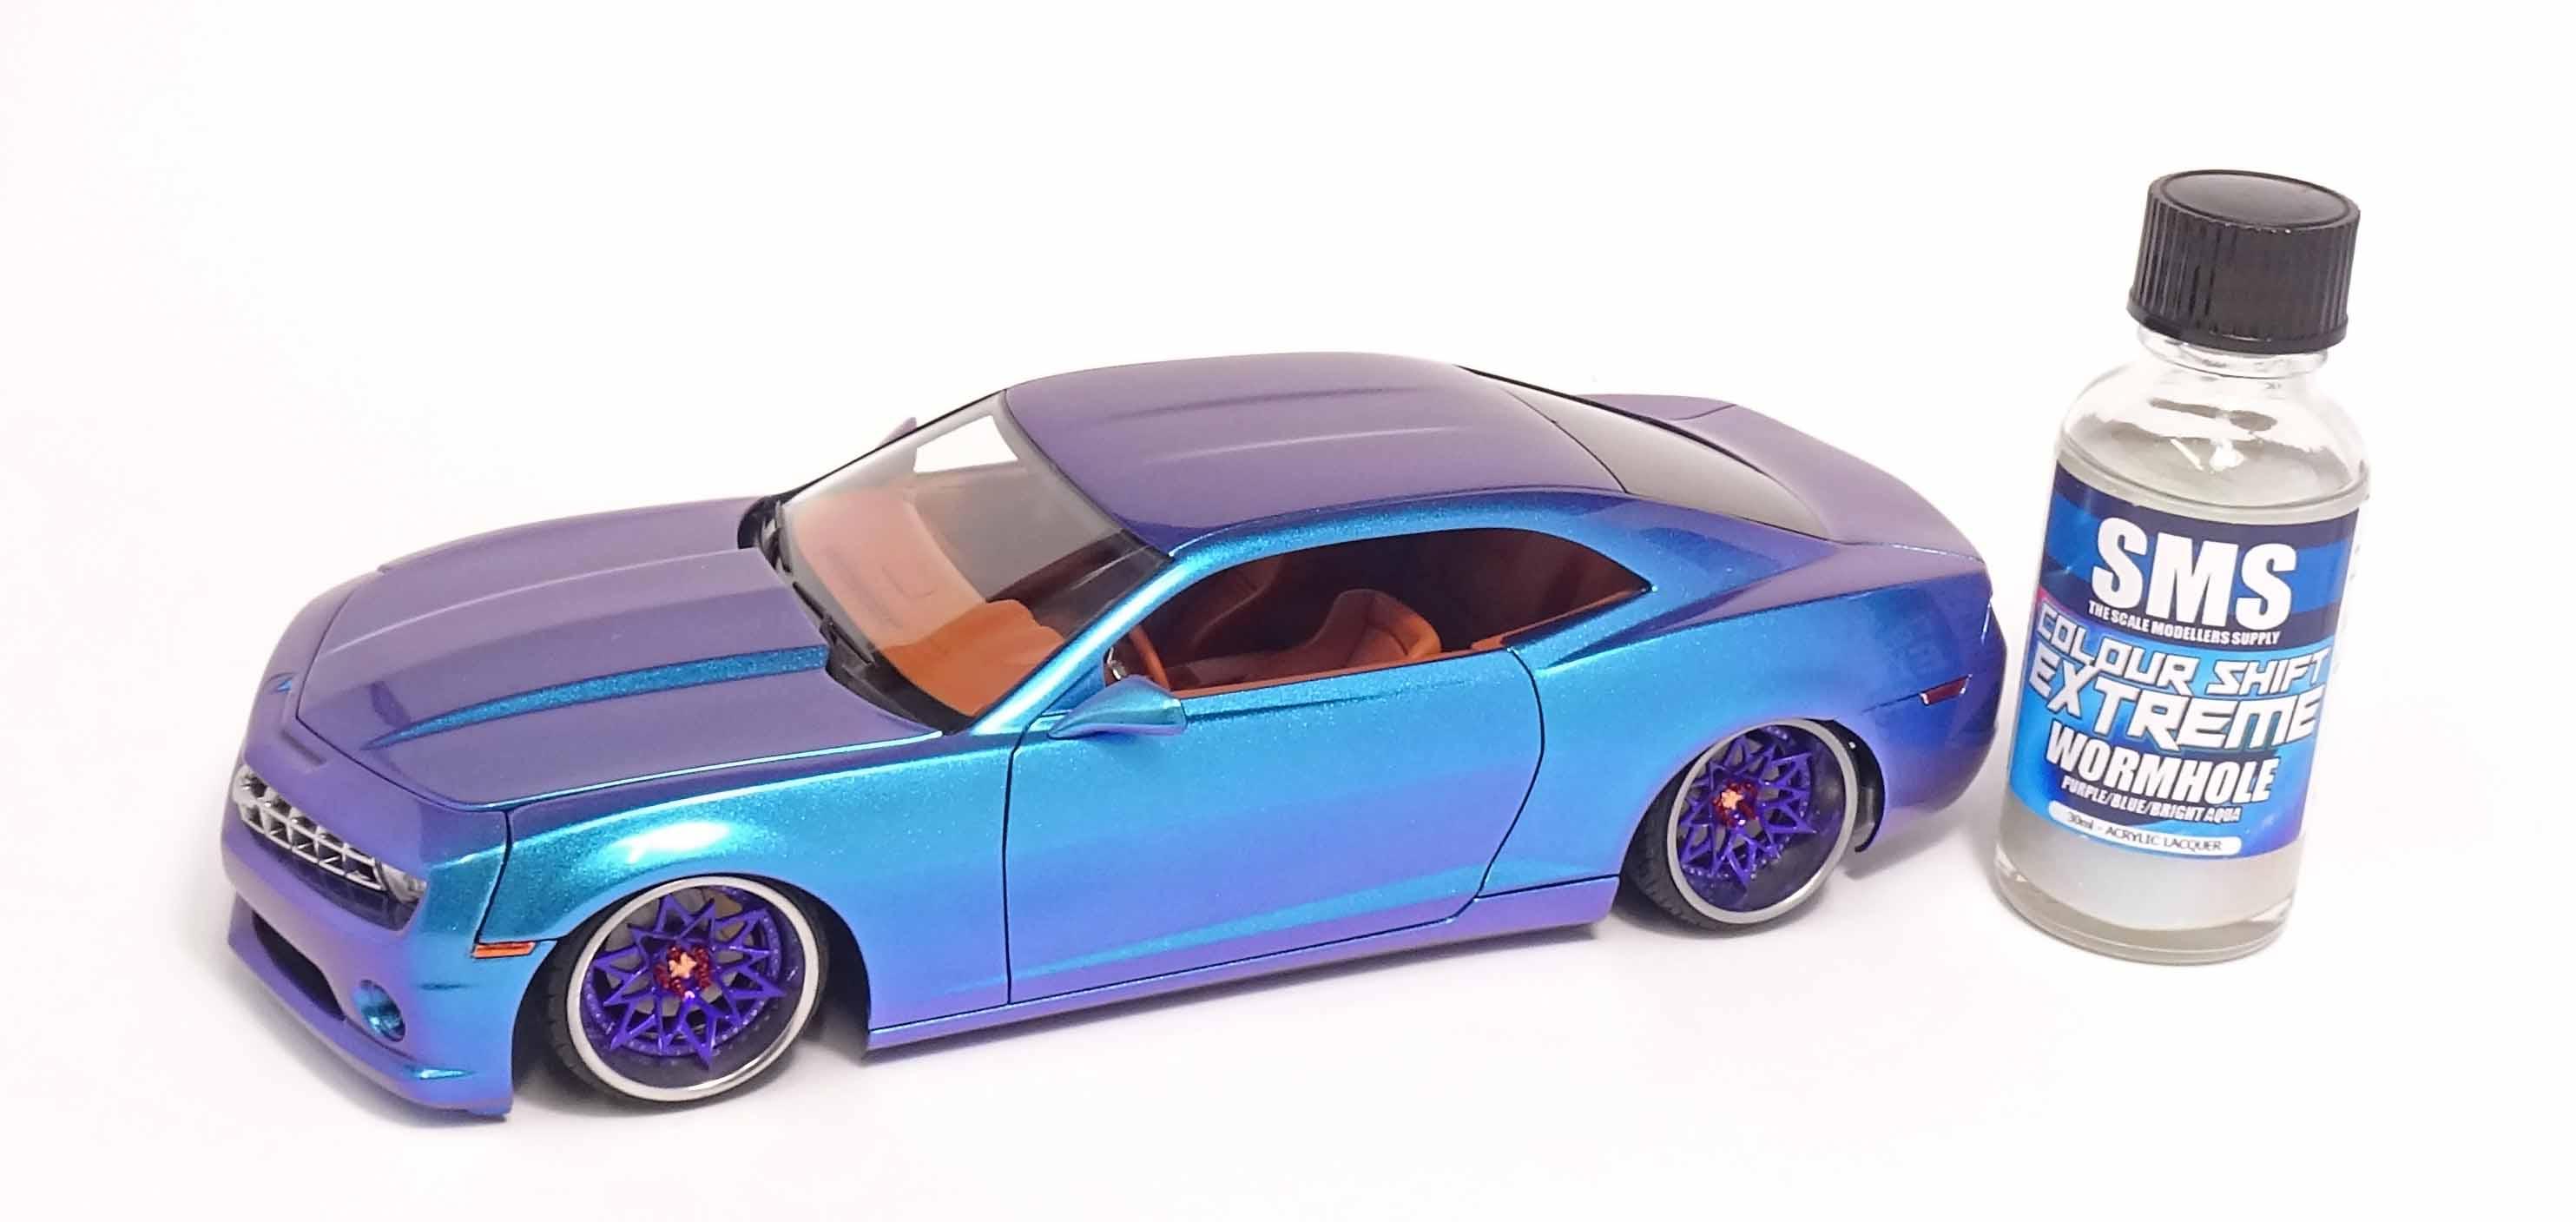
This one was blue, purple, bright aqua over a gloss black base.

-
Another great custom build. Well done Starting to see your build style, I like it.
-
 Good one, shaping up like an Aussie ute. Look forward to seeing the build progress and what you do for the frame.
 -
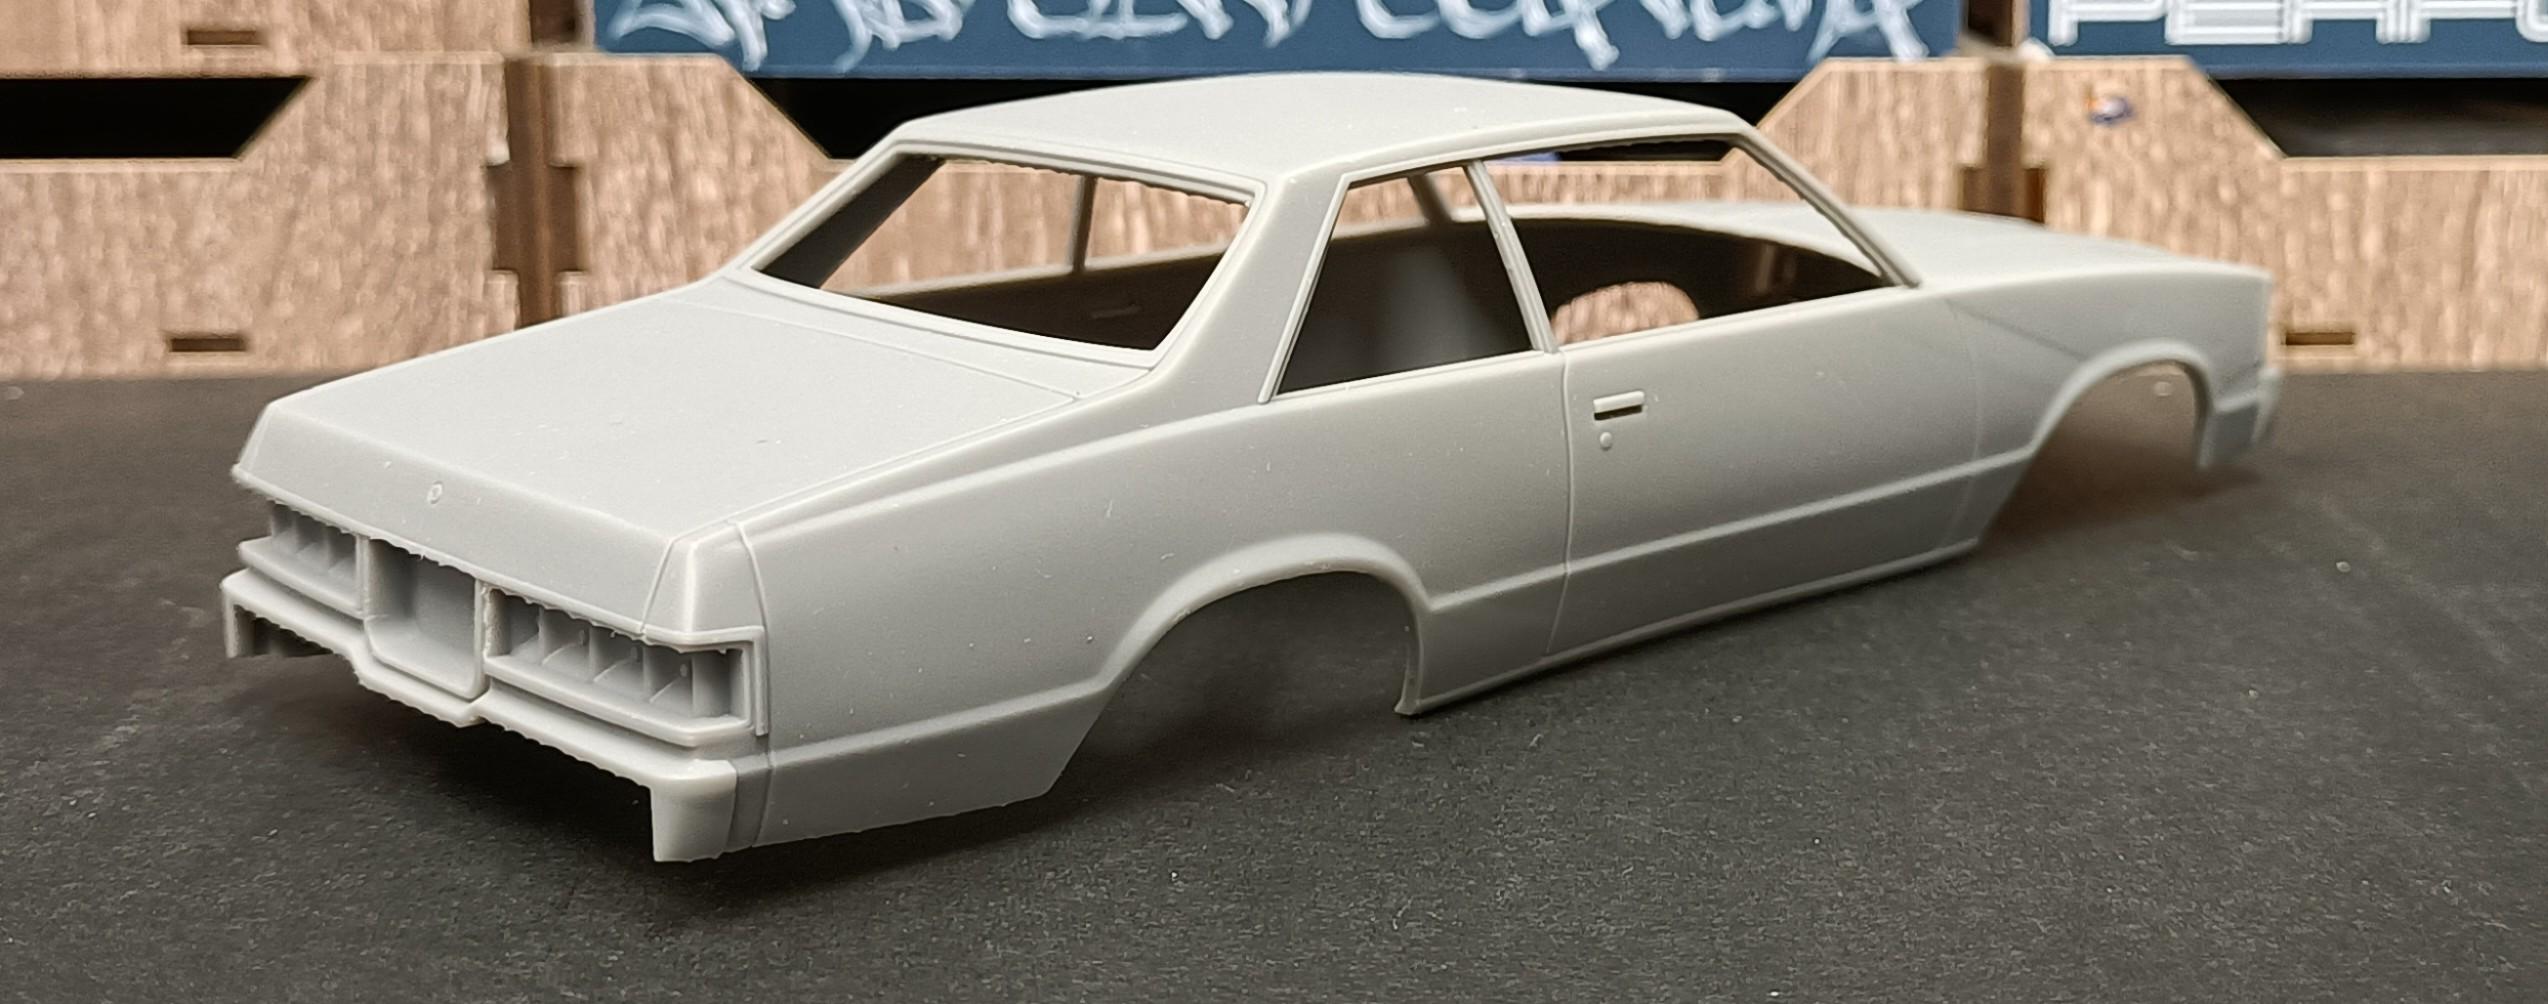
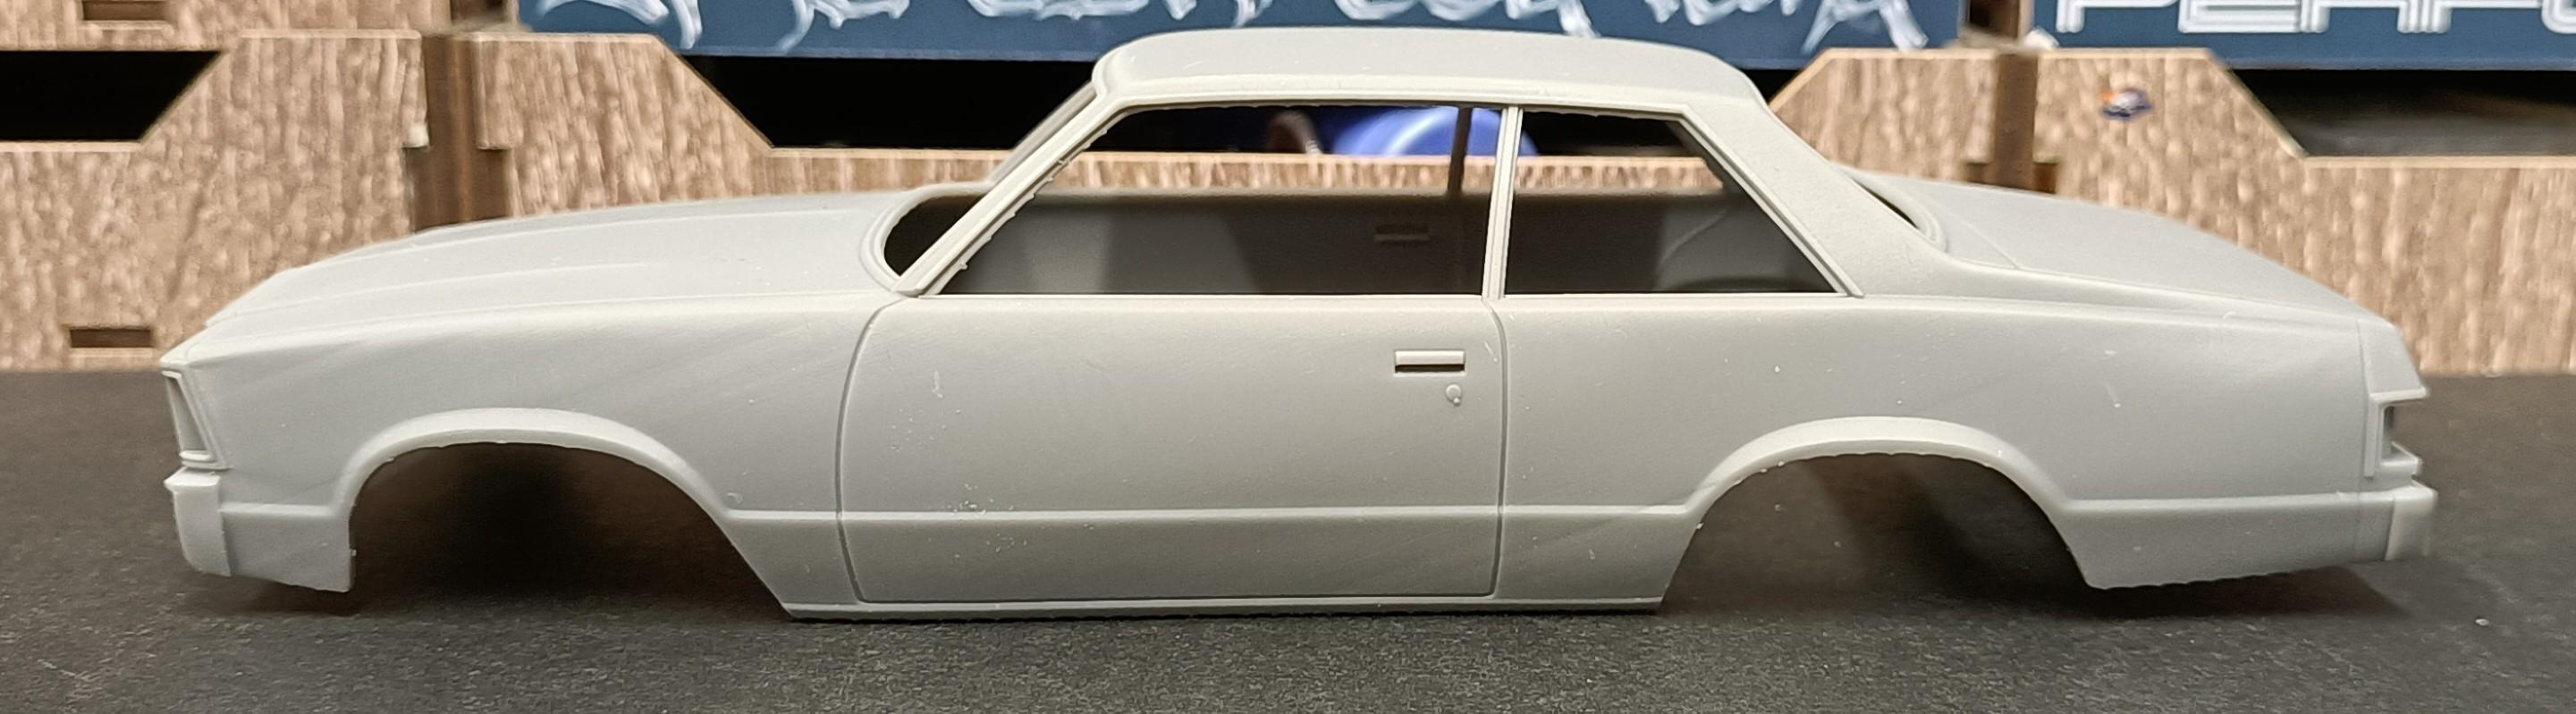
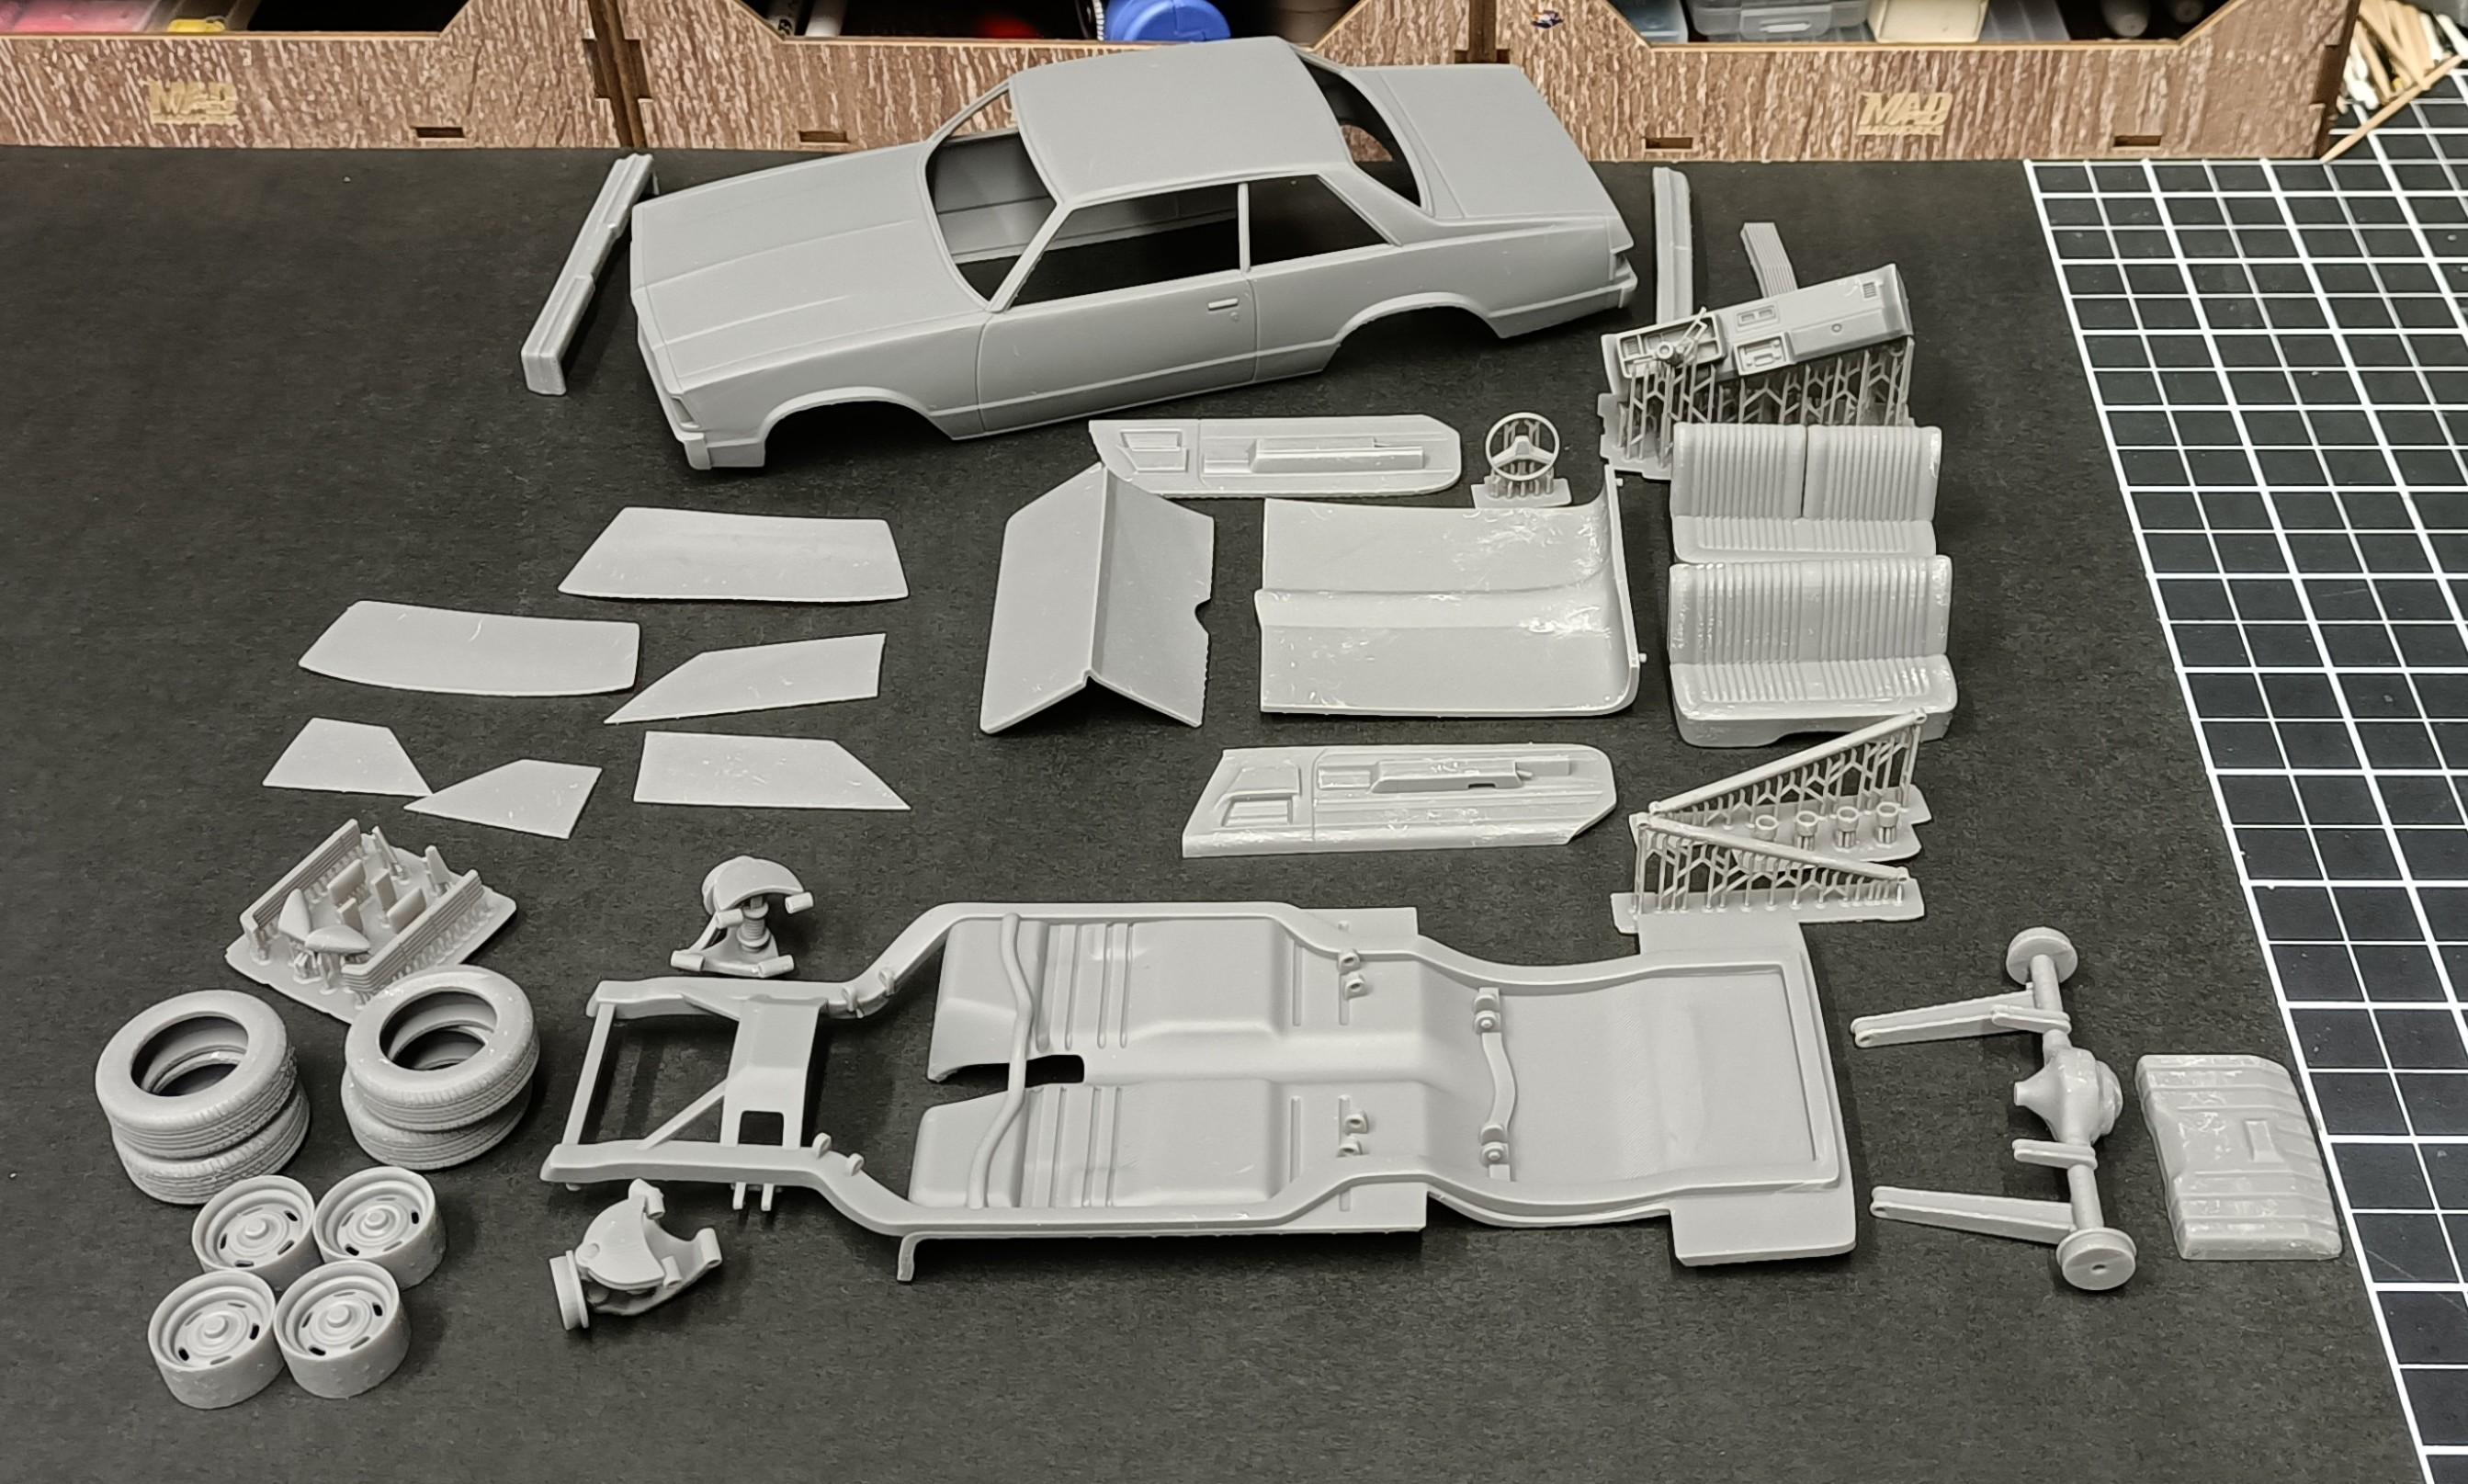
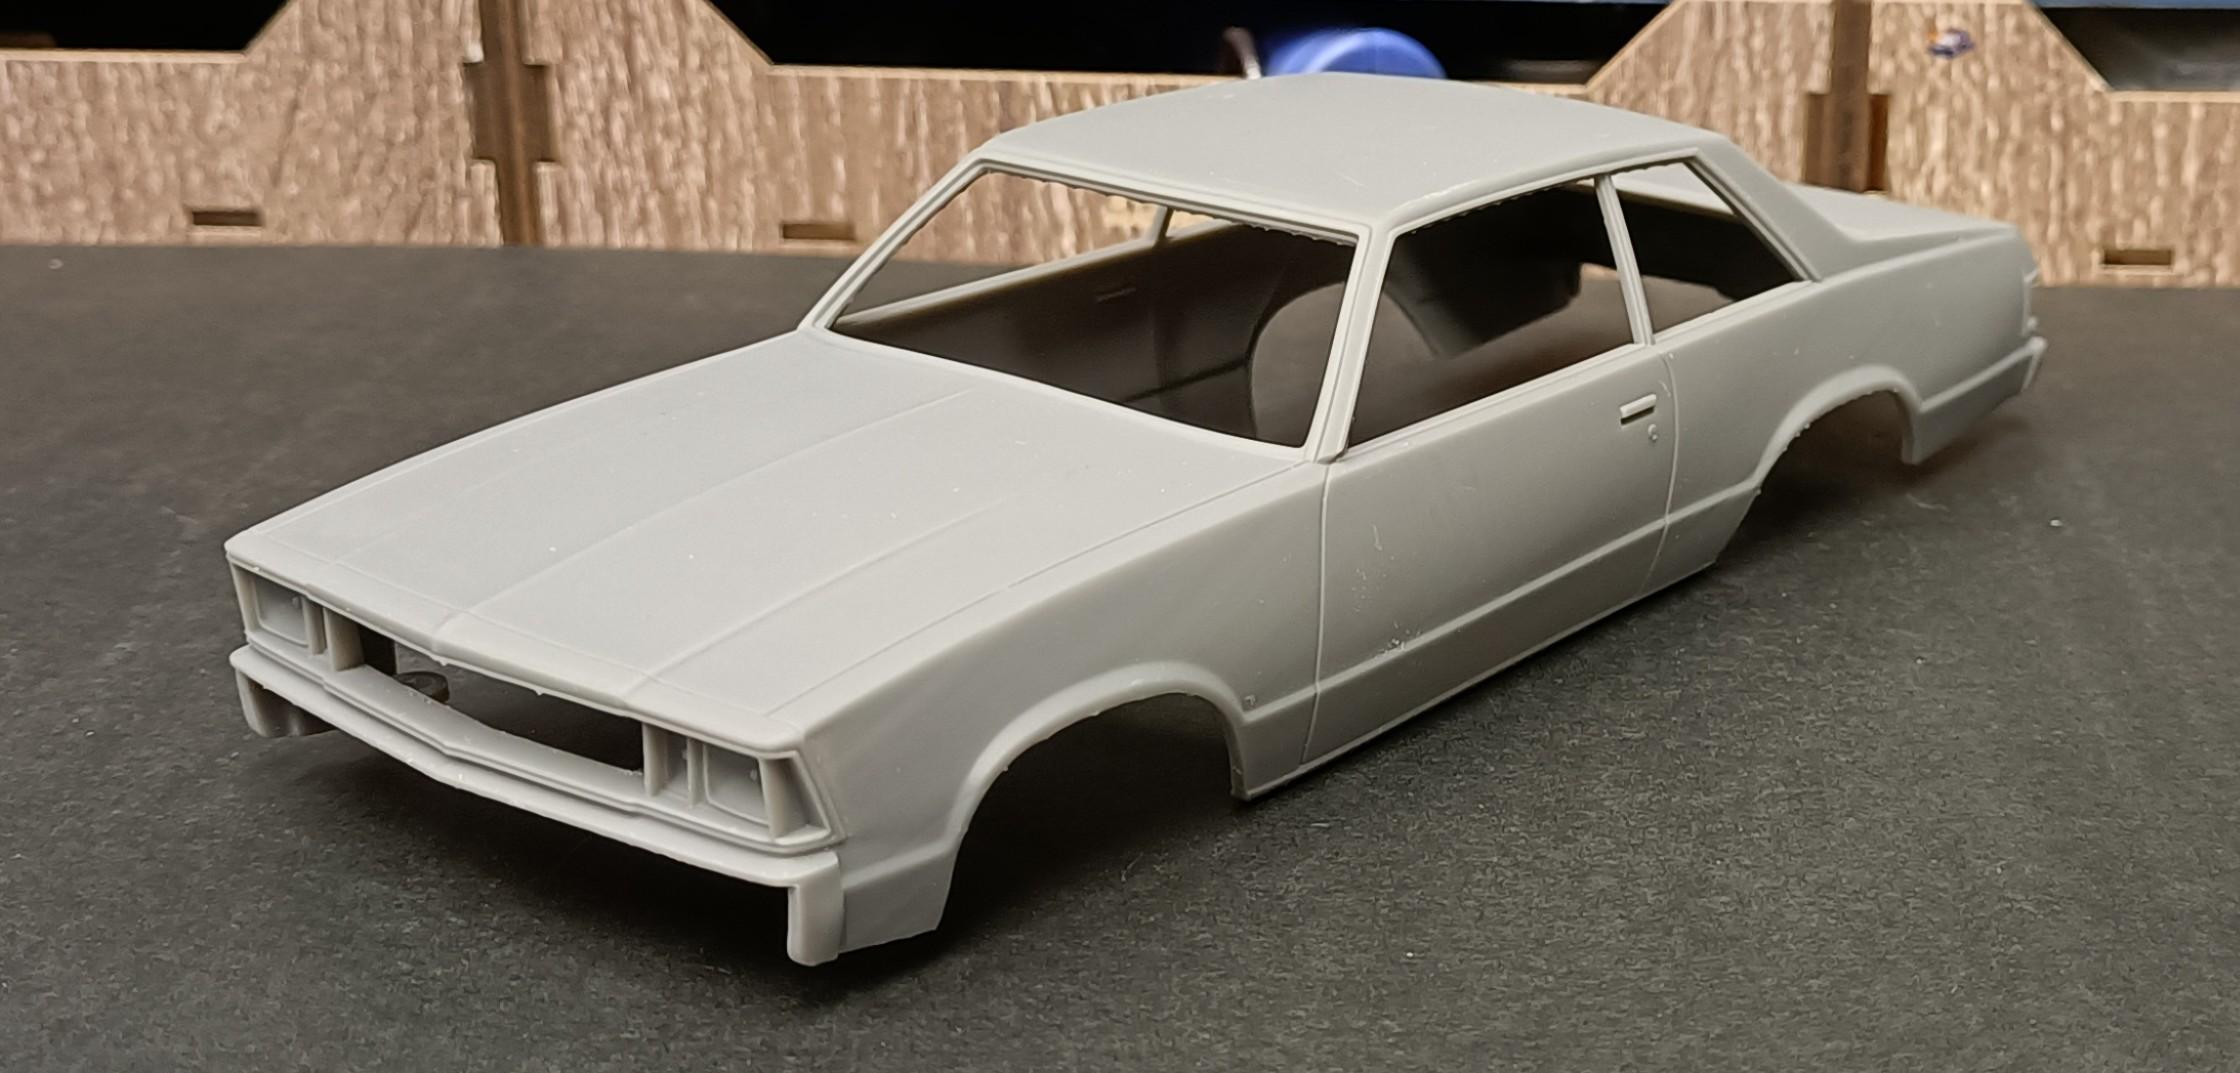
81 Chevy Malibu coupe. Thanks to Andy @zaina . Excellent quality print
- 39,064 replies
-
- 11
-

-

-
- johan
- glue bombs
- (and 1 more)
-
Thank you very much to all who commented, much appreciated. Yeah I always use this for all my clear coats Clear coat does change the appearance a little bit. It brings out the pearl pigments and reflects light. More than anything with colour shifts, its all about the type of light and viewing angle. The Quasar is a subtle shift compared to others in the SMS Extreme series. The difference you maybe seeing from my wip thread to here, is the camera. Phone camera for wip and Sony Cyber Shot digital camera for under glass images.
-
Hope things improve for you Carl, have always appreciated your comments over the years.
-
A well thought out build with lots of excellent custom work, well done. Its good to see someone posting mini trucks. Hope to see more of your work and maybe wip.
-
Nice one. Nailed the look of old school style. Like how you done the rear, with filled in the tail lights and tail gate. Great idea to use that particular decal. Simple kits but they are a lot of fun to build.
-
Looks cool with the old Pegasus #1109 wire wheels. Have always thought this kit would be great done as a lowrider. Cant help but wonder how it would look with the stance fully lowered, still looks good a drive height though.
-
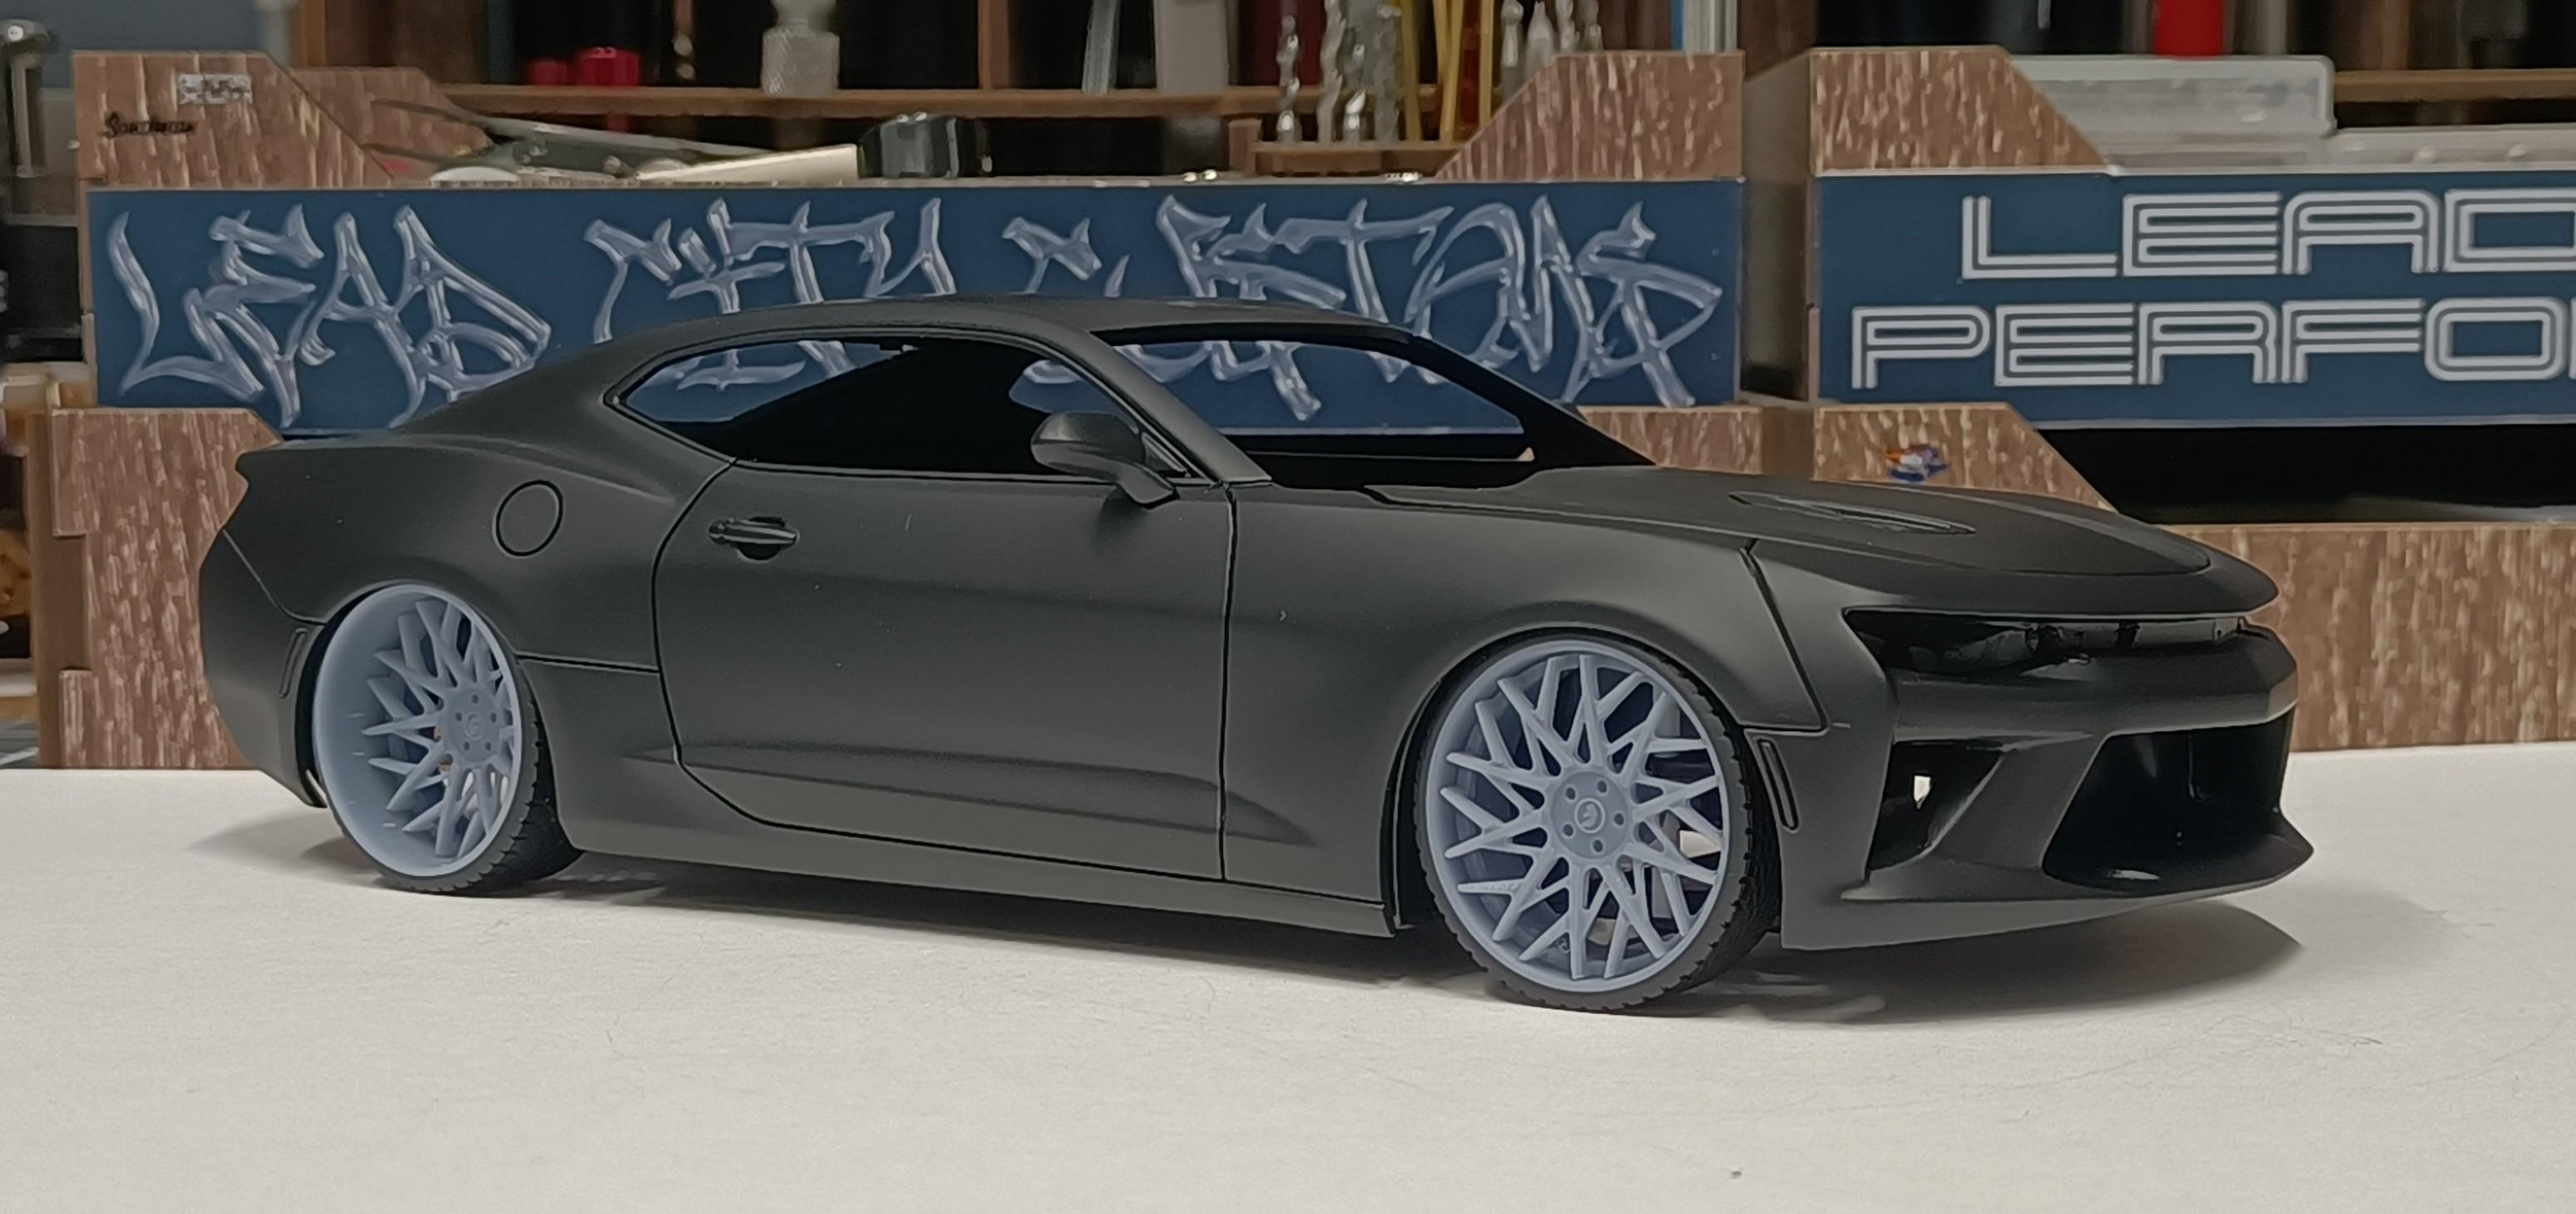
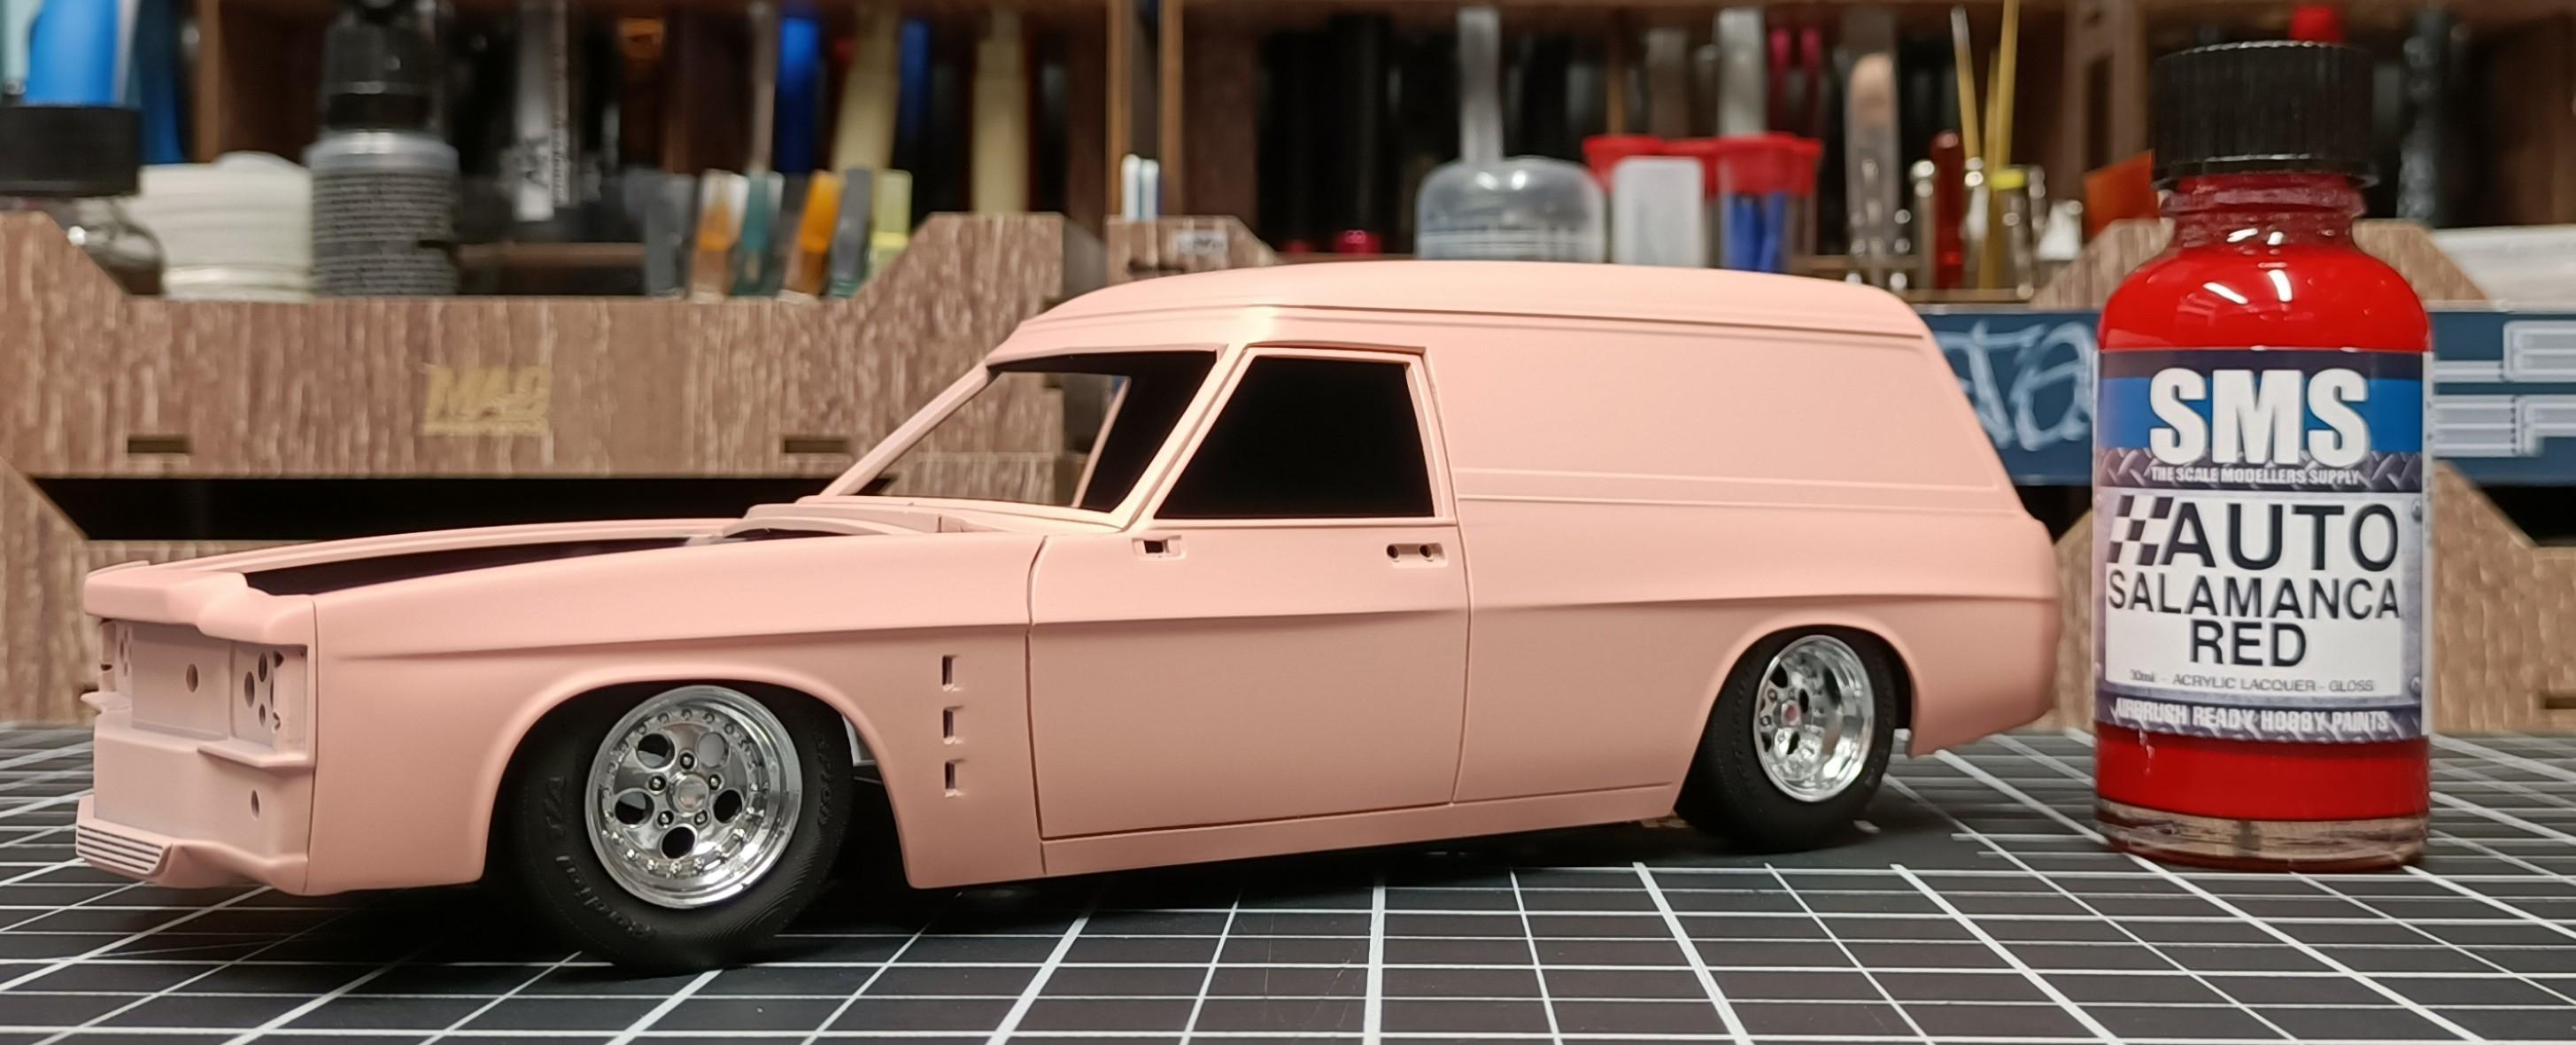
What paint manufacturer will you be using ?? But yeah what Janice stated, gloss black base. And take your time and slowly build up the colour shift with multiple light coats. It can take me anywhere from 6-8 coats to get full even coverage. You dont want breaks in the pearl with the black showing through. Always do a test spoon before painting the body. I usually dial in and get a feel for how the paint lays down and how many coats for full even coverage. Once comfortable and confident move straight onto the body. All of these have SMS paints colour shift.
-
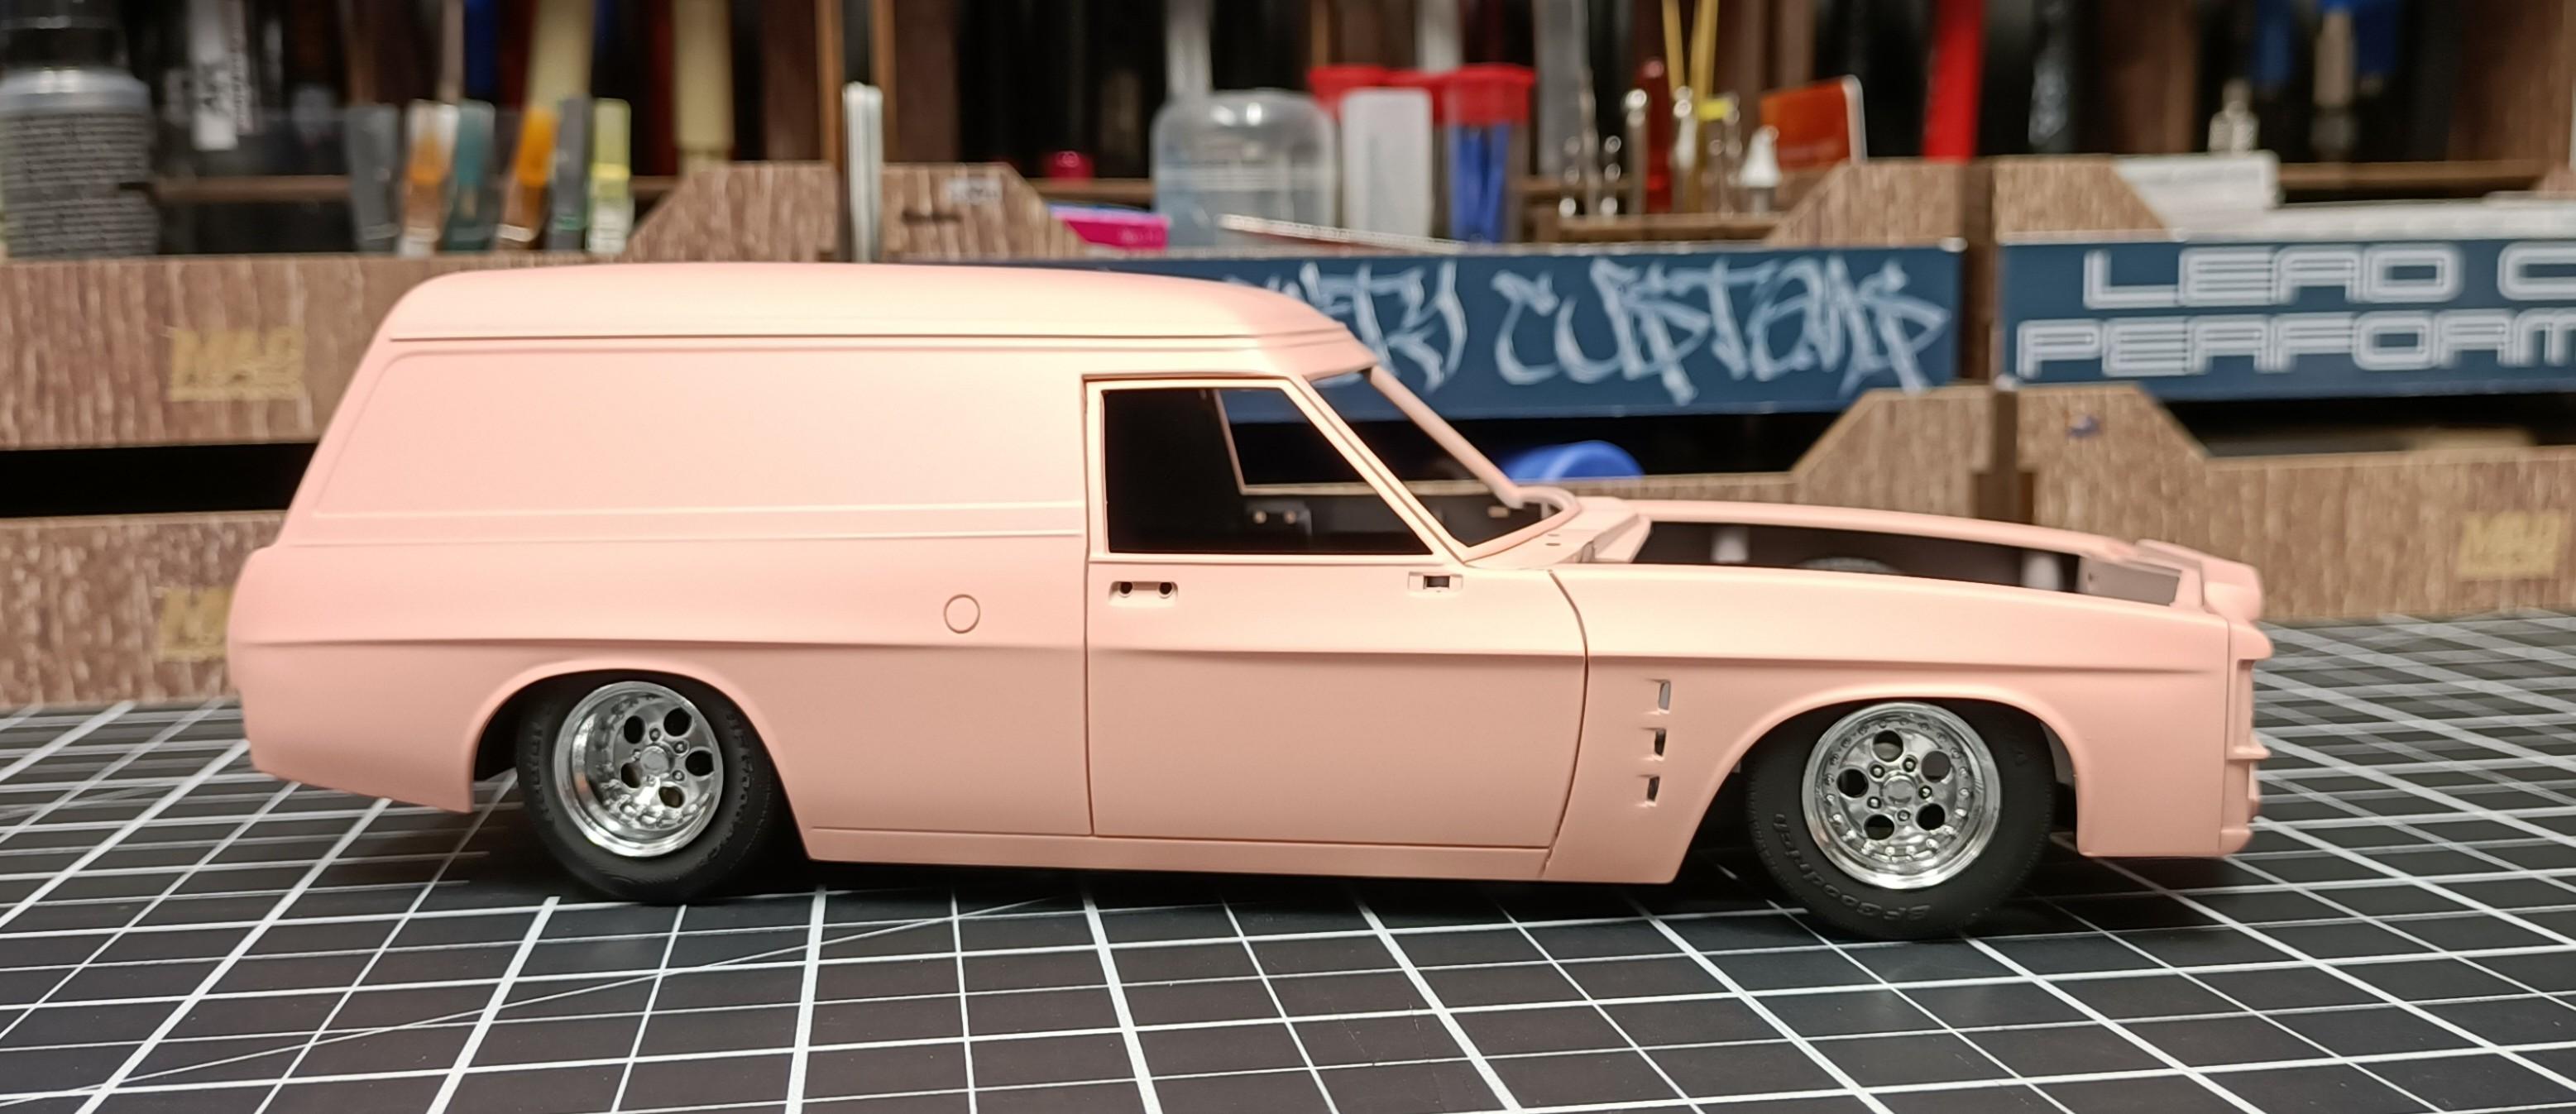
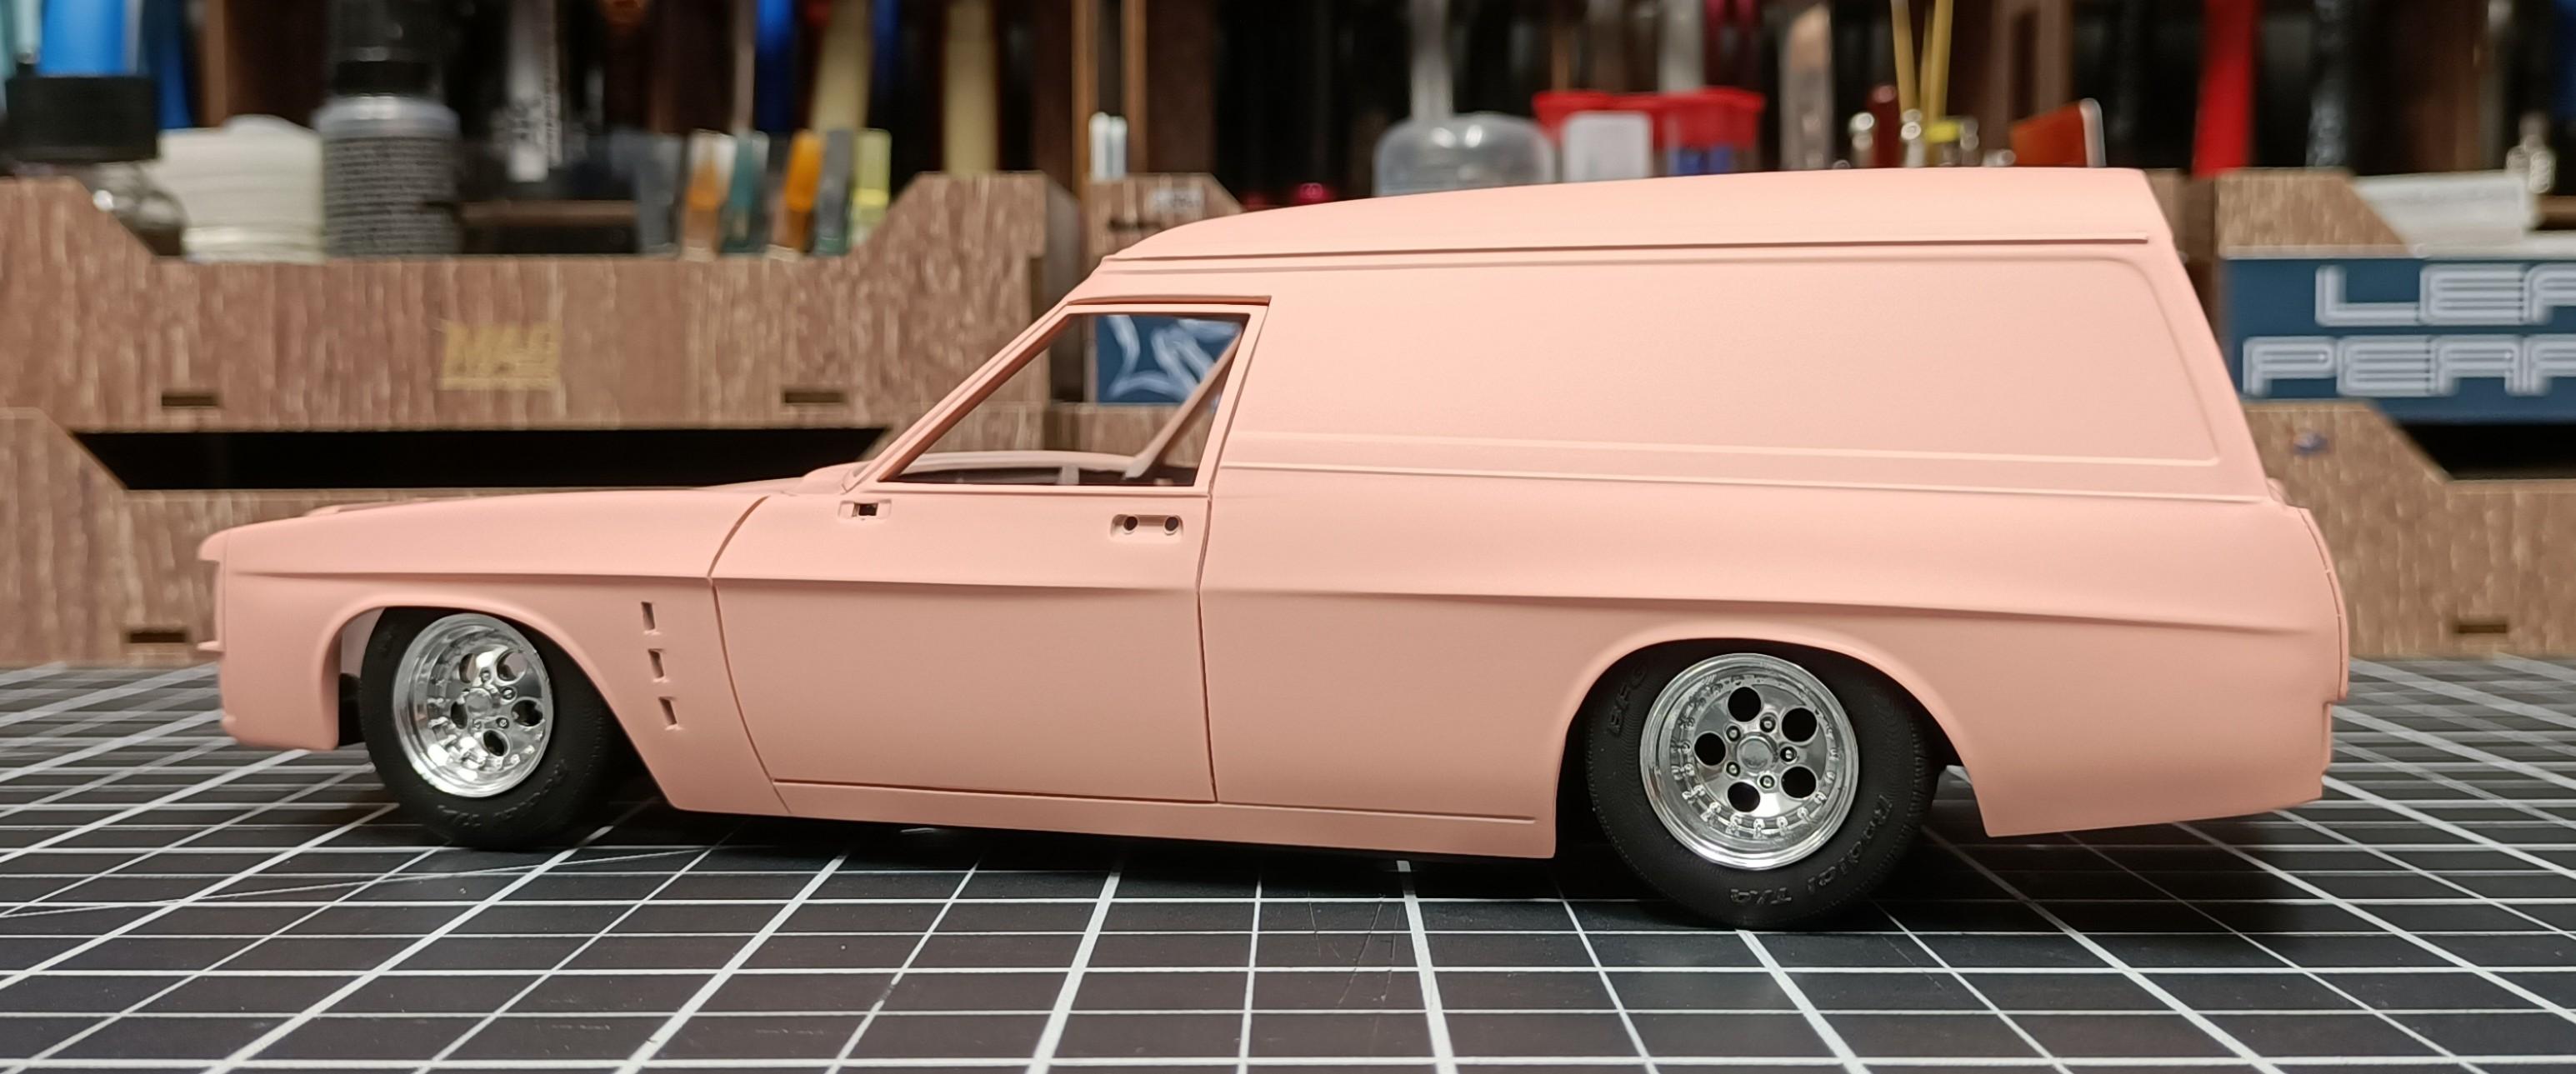
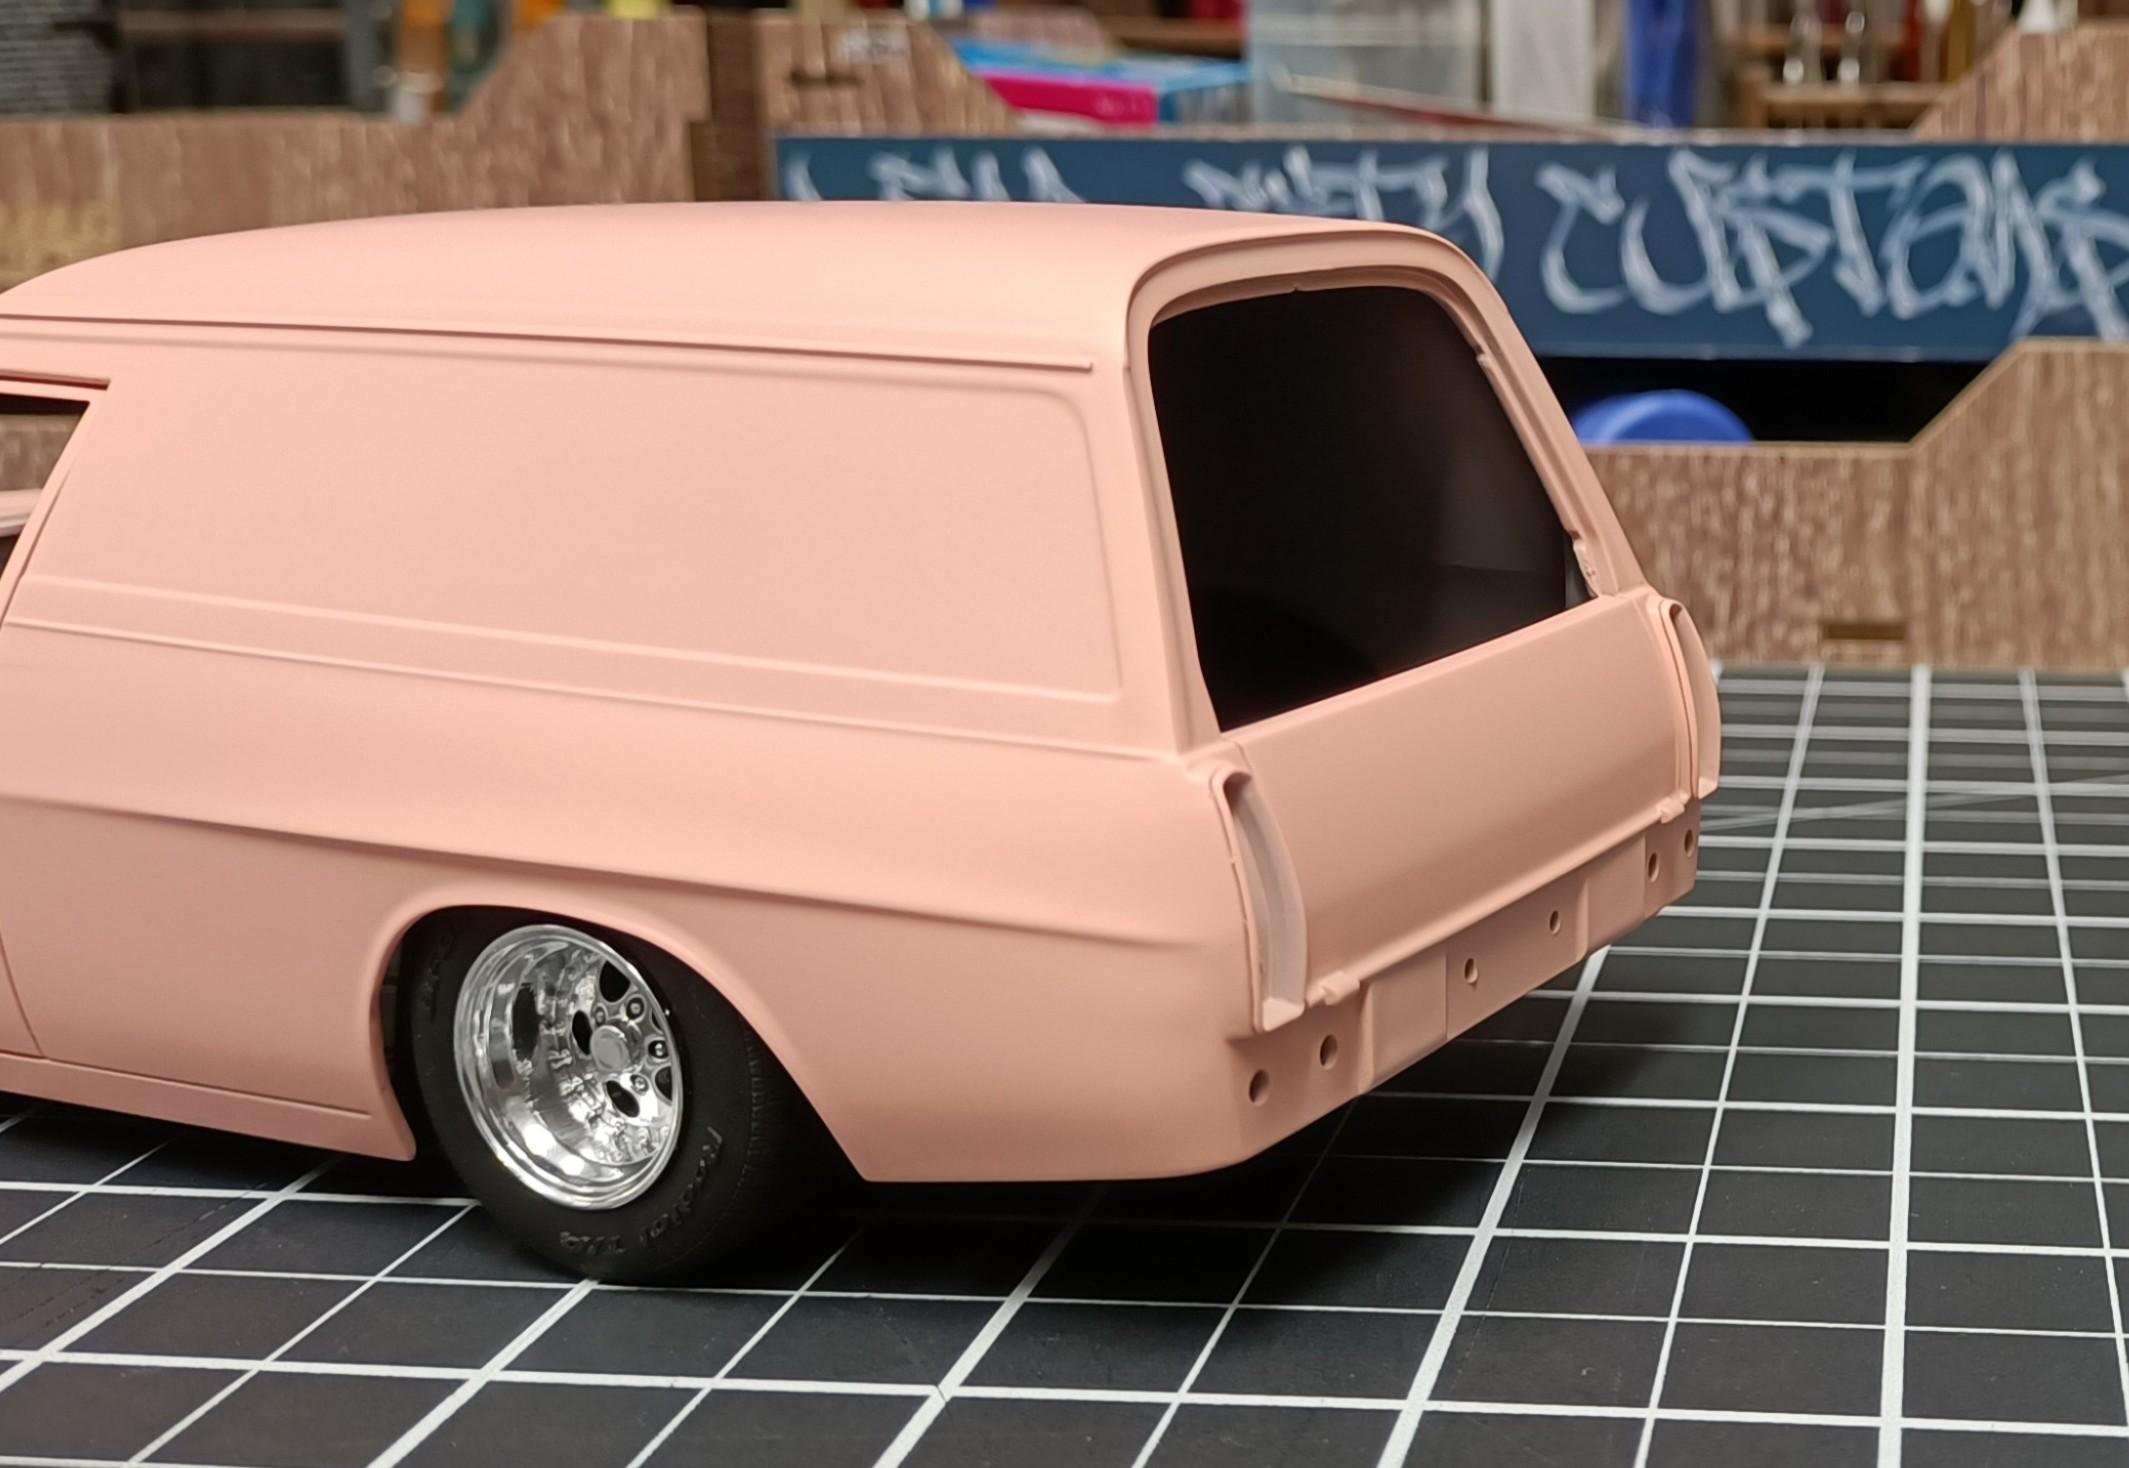
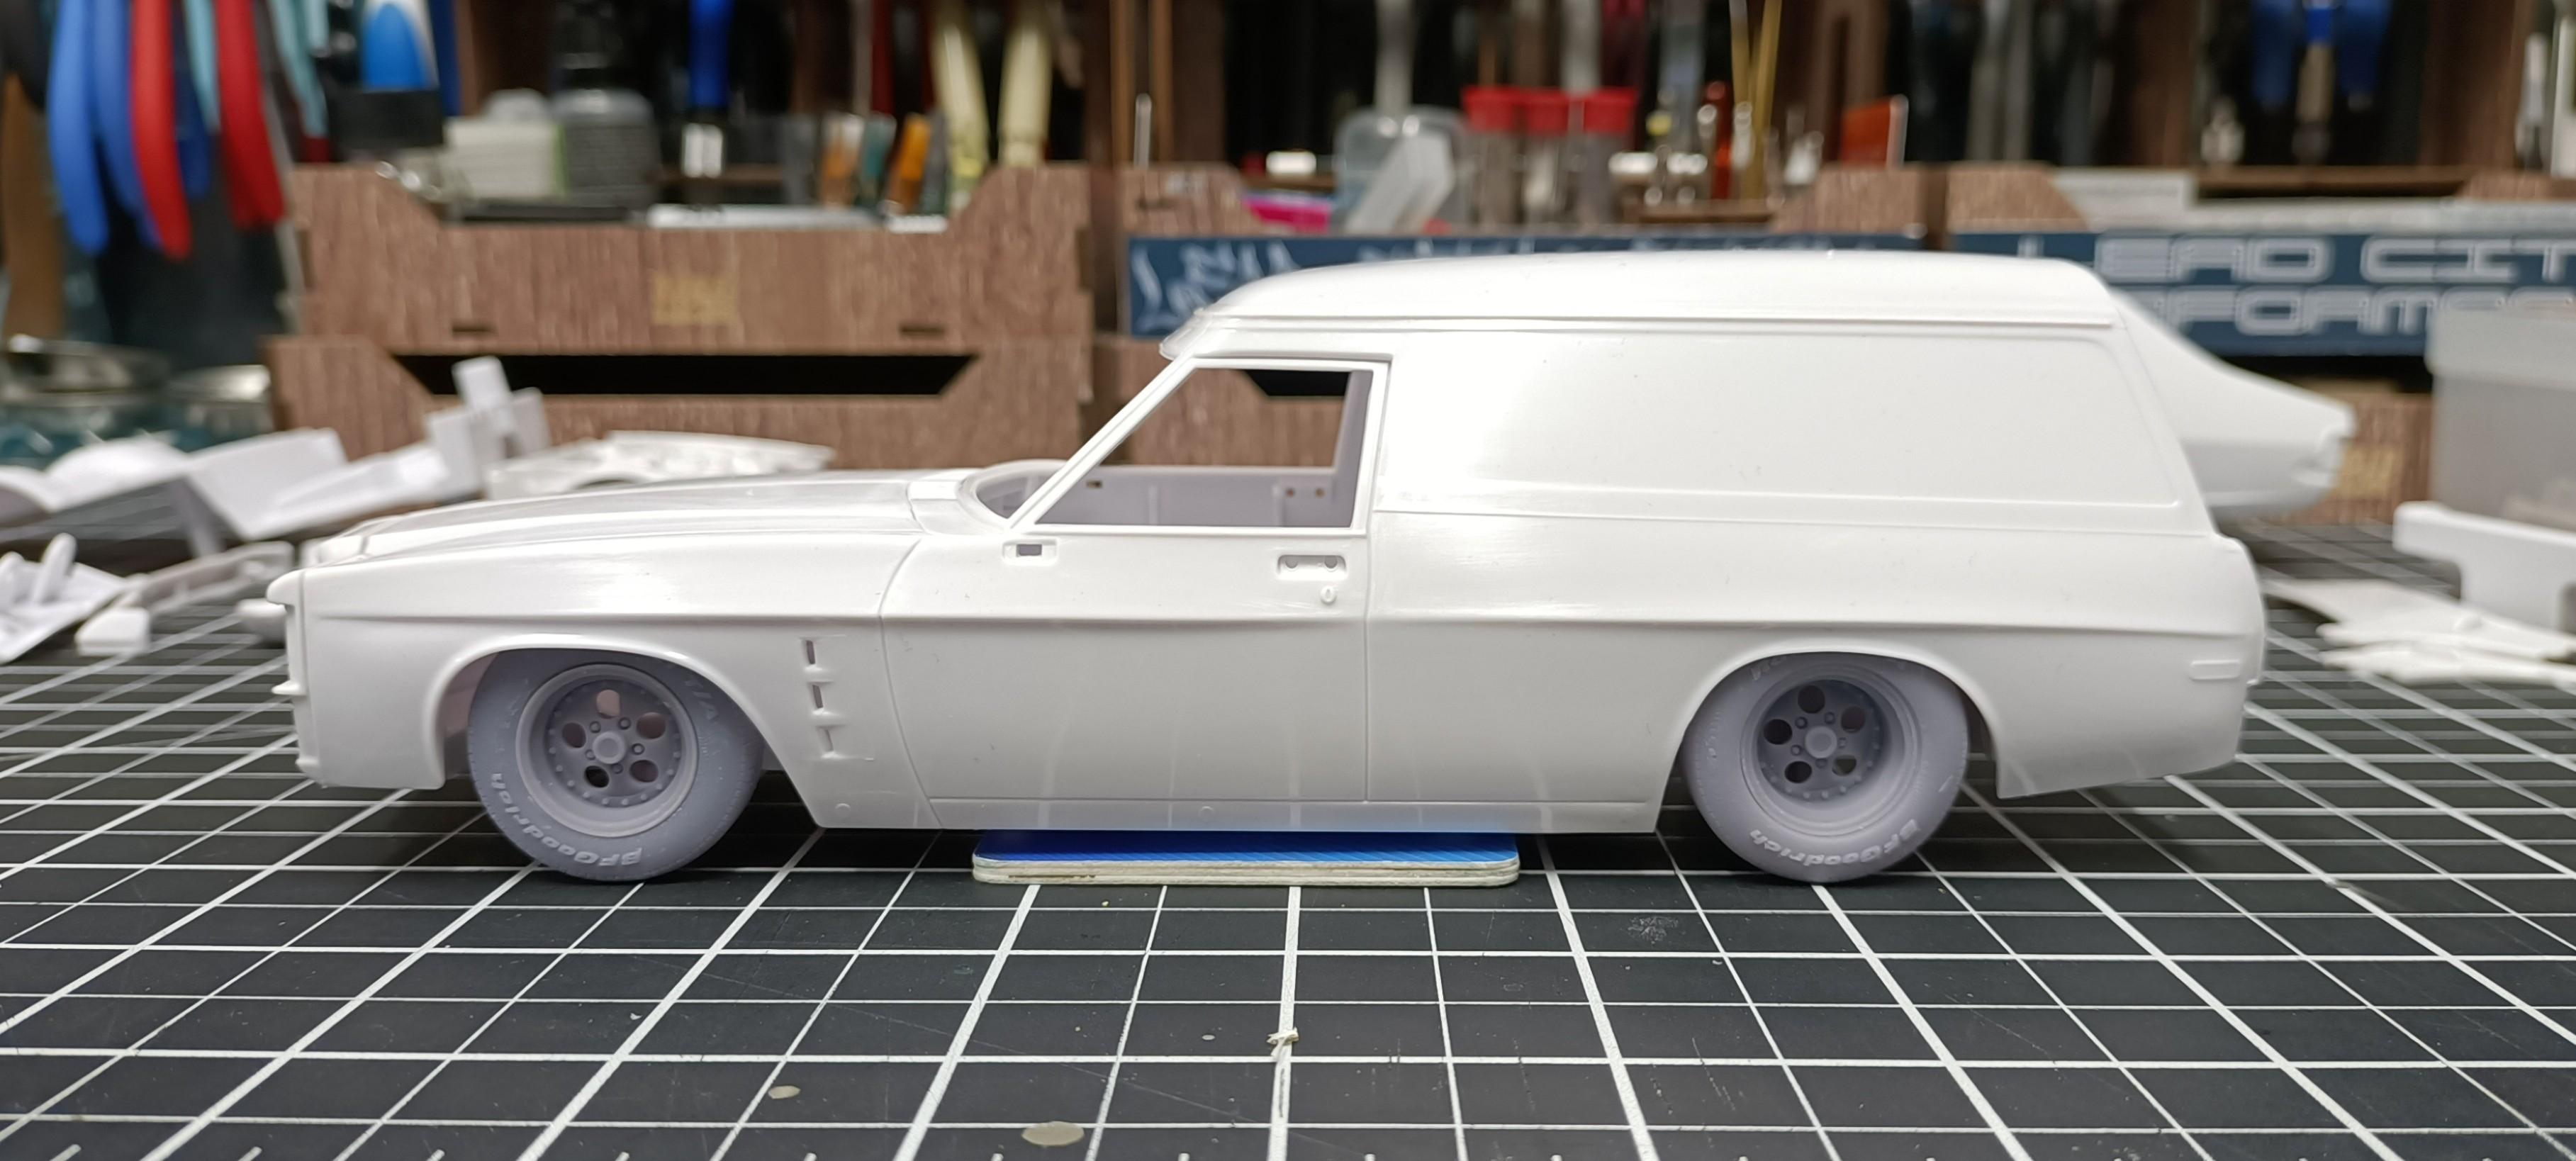
Body prep work pretty much done on the HJ Holden Pano Scribed the door lines, lower front window trim, tailgate and tail light surround trim. Scribed and flushed the fuel cap door, shaved the door locks and rear side marker lights. And first round of 1500 pink surfacer applied. Very excited to get the colour coat applied.
- 766 replies
-
- 4
-
-
- stalled builds
- quick builds
- (and 2 more)
-
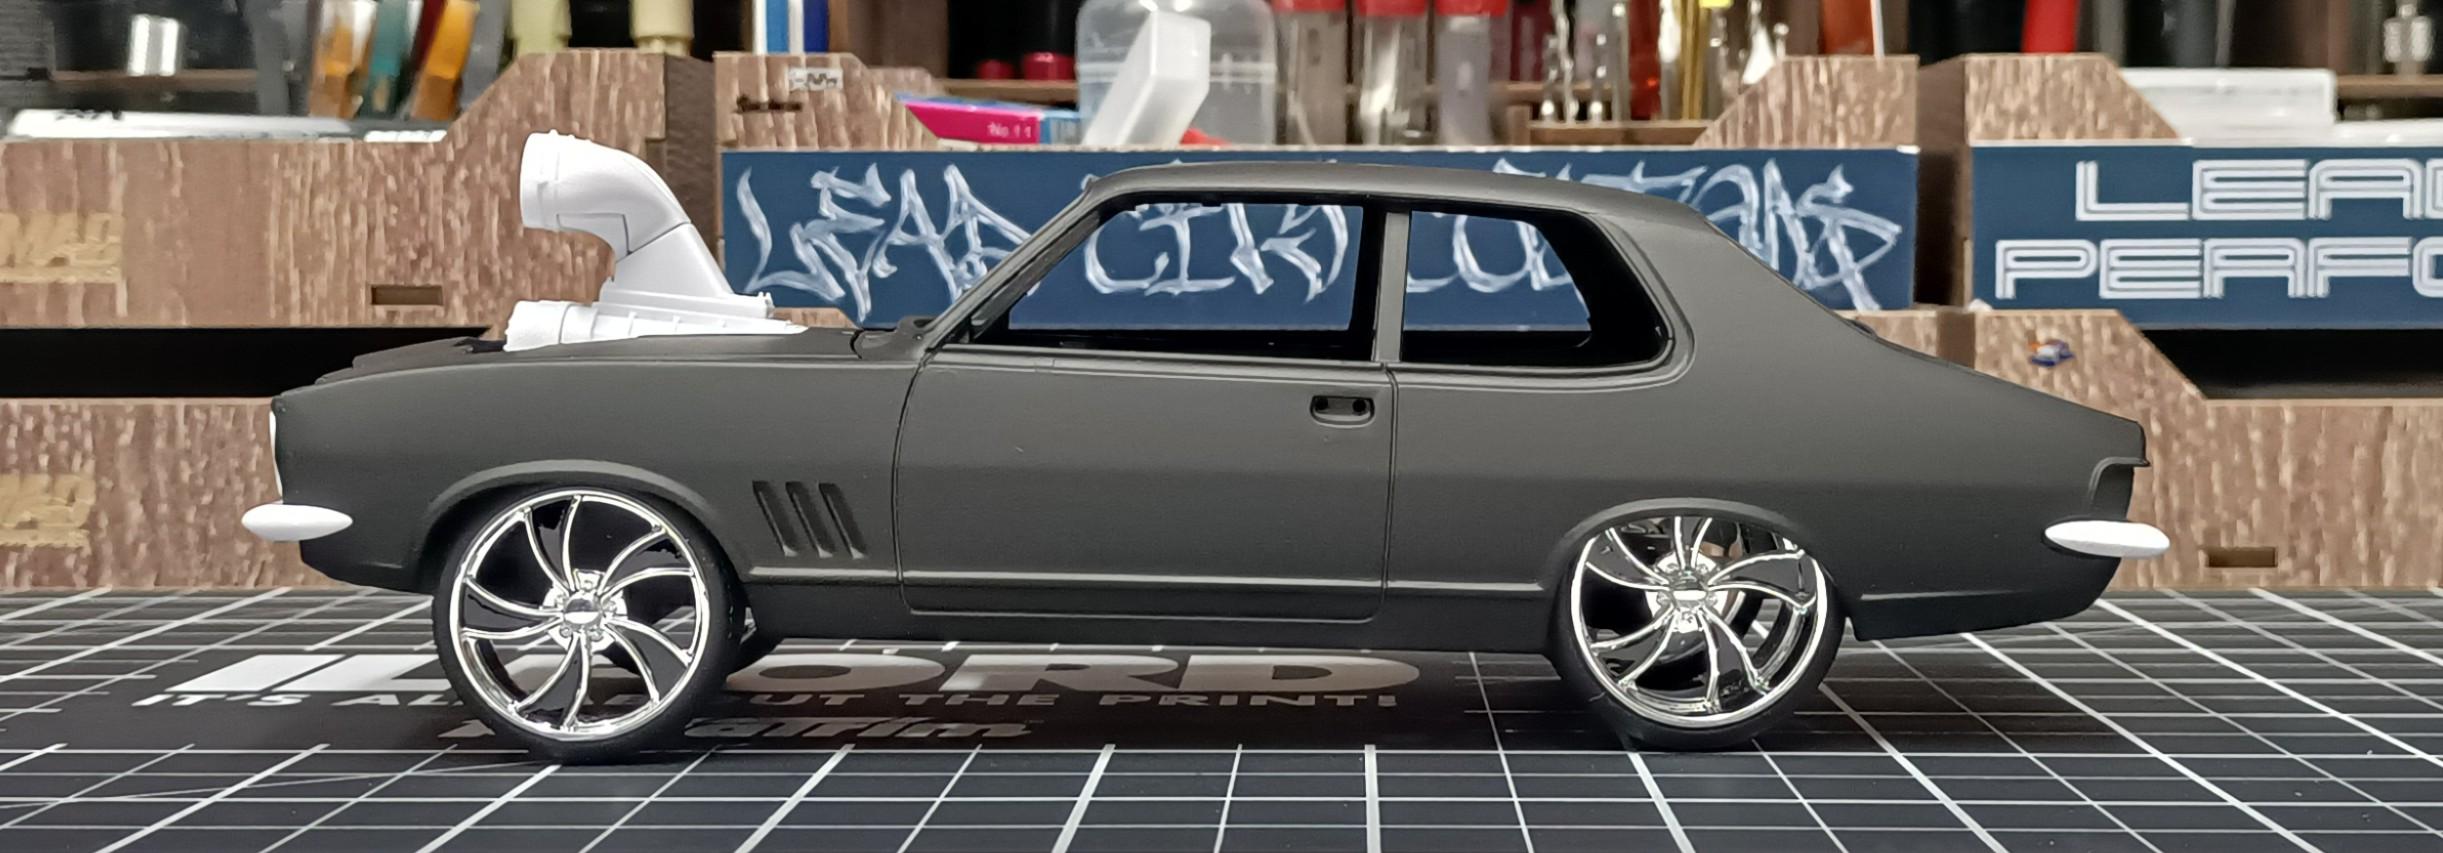
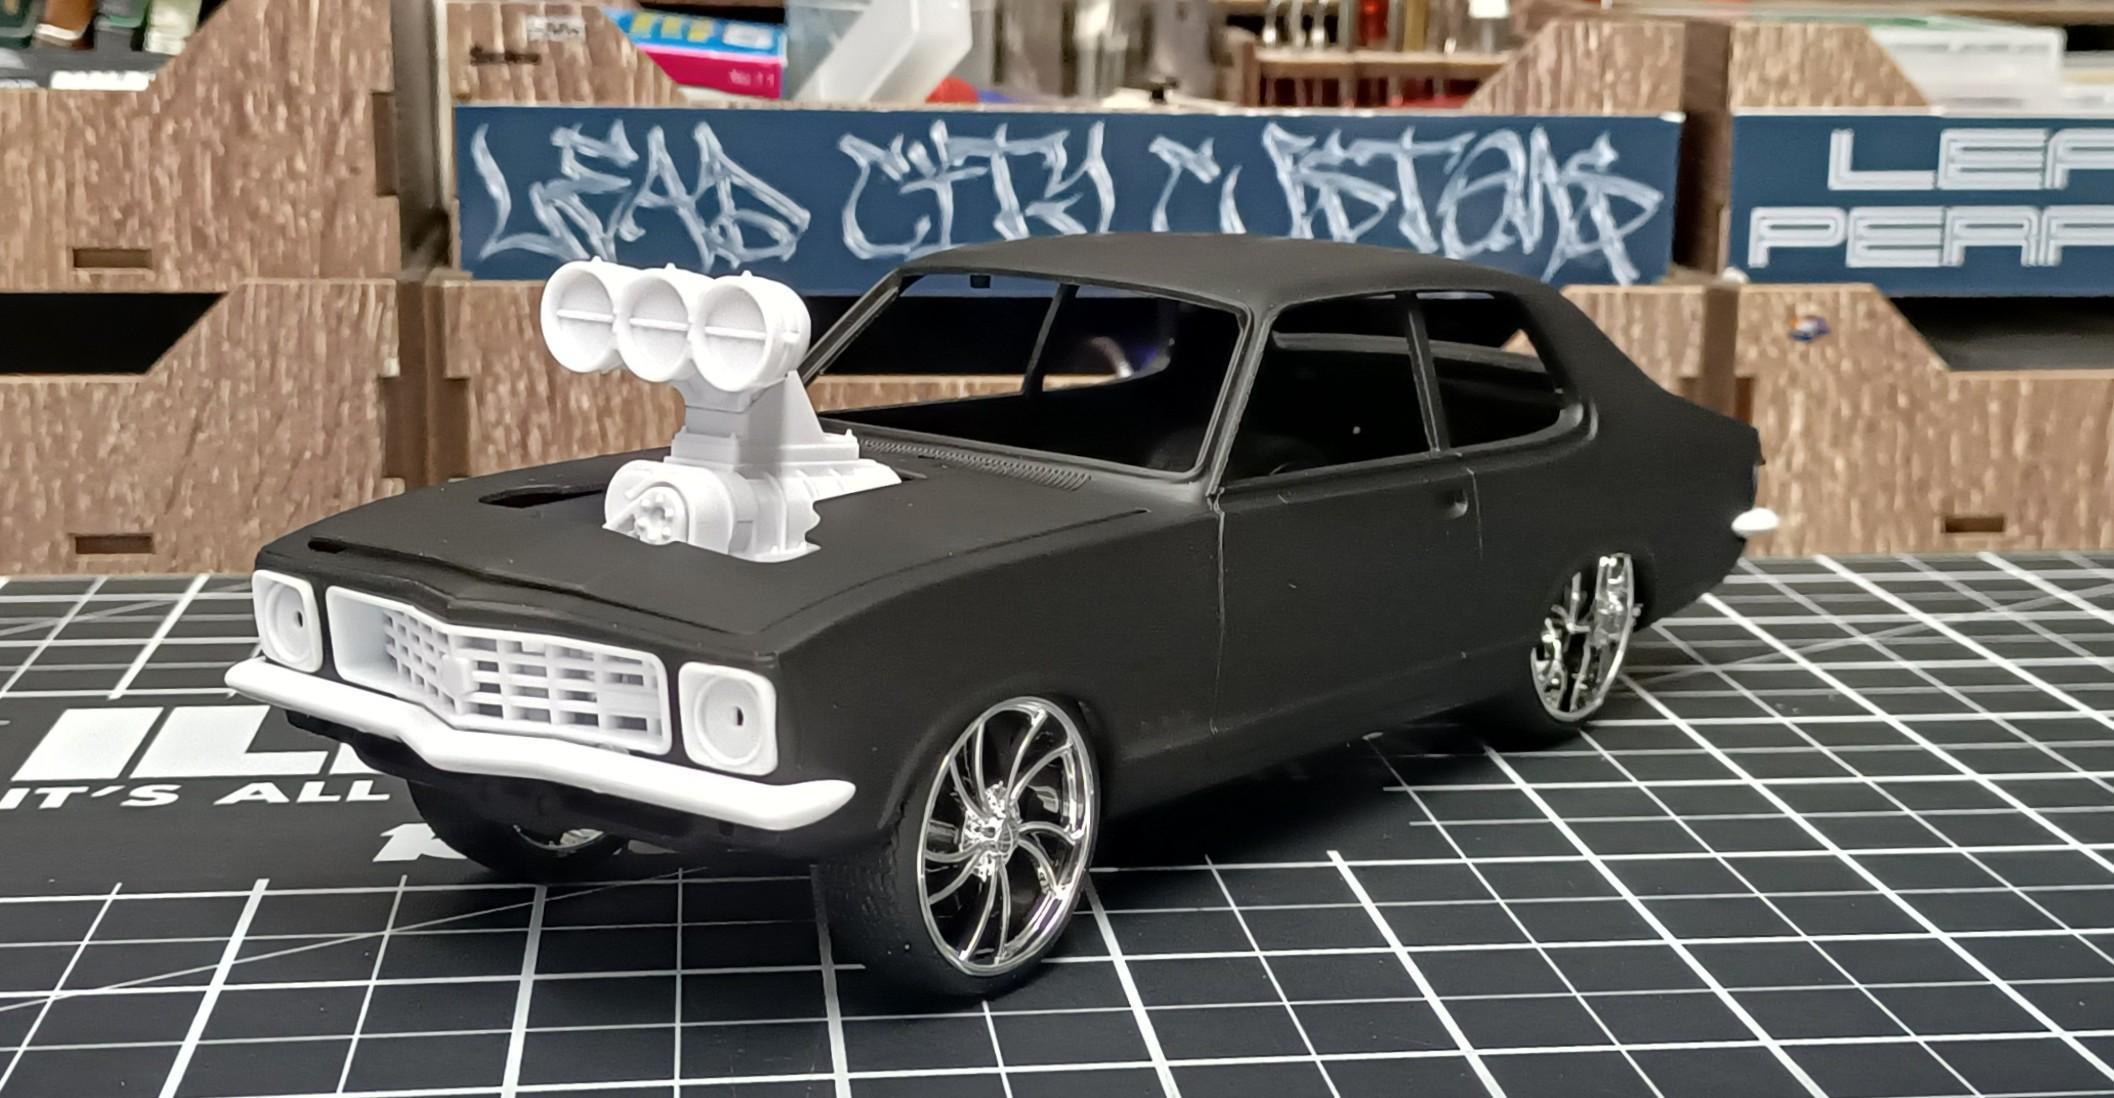
As always thanks for your comments Bob. The Pano will be a simple clean build, wheels and paint will be the standout features. 😄 If I can get my idea's to become a reality with the LJ Torana, it will be rad.
-
Started the prep work on the Pano.
-
Thanks Anton, always many builds in circulation at the bench. Need to make those idea's a reality.
-
Paint looks to have shrunk back pretty good to Bob.
-
"Sour Apple" '74 GMC
Cool Hand replied to Can-Con's topic in Model Trucks: Pickups, Vans, SUVs, Light Commercial
Turned out great Steve, It was an excellent wip to follow, seeing all the work you done to make it a one of a kind. The opening bed floor is a cool feature. All around it is a clean looking pick up truck. Job well done sir. -
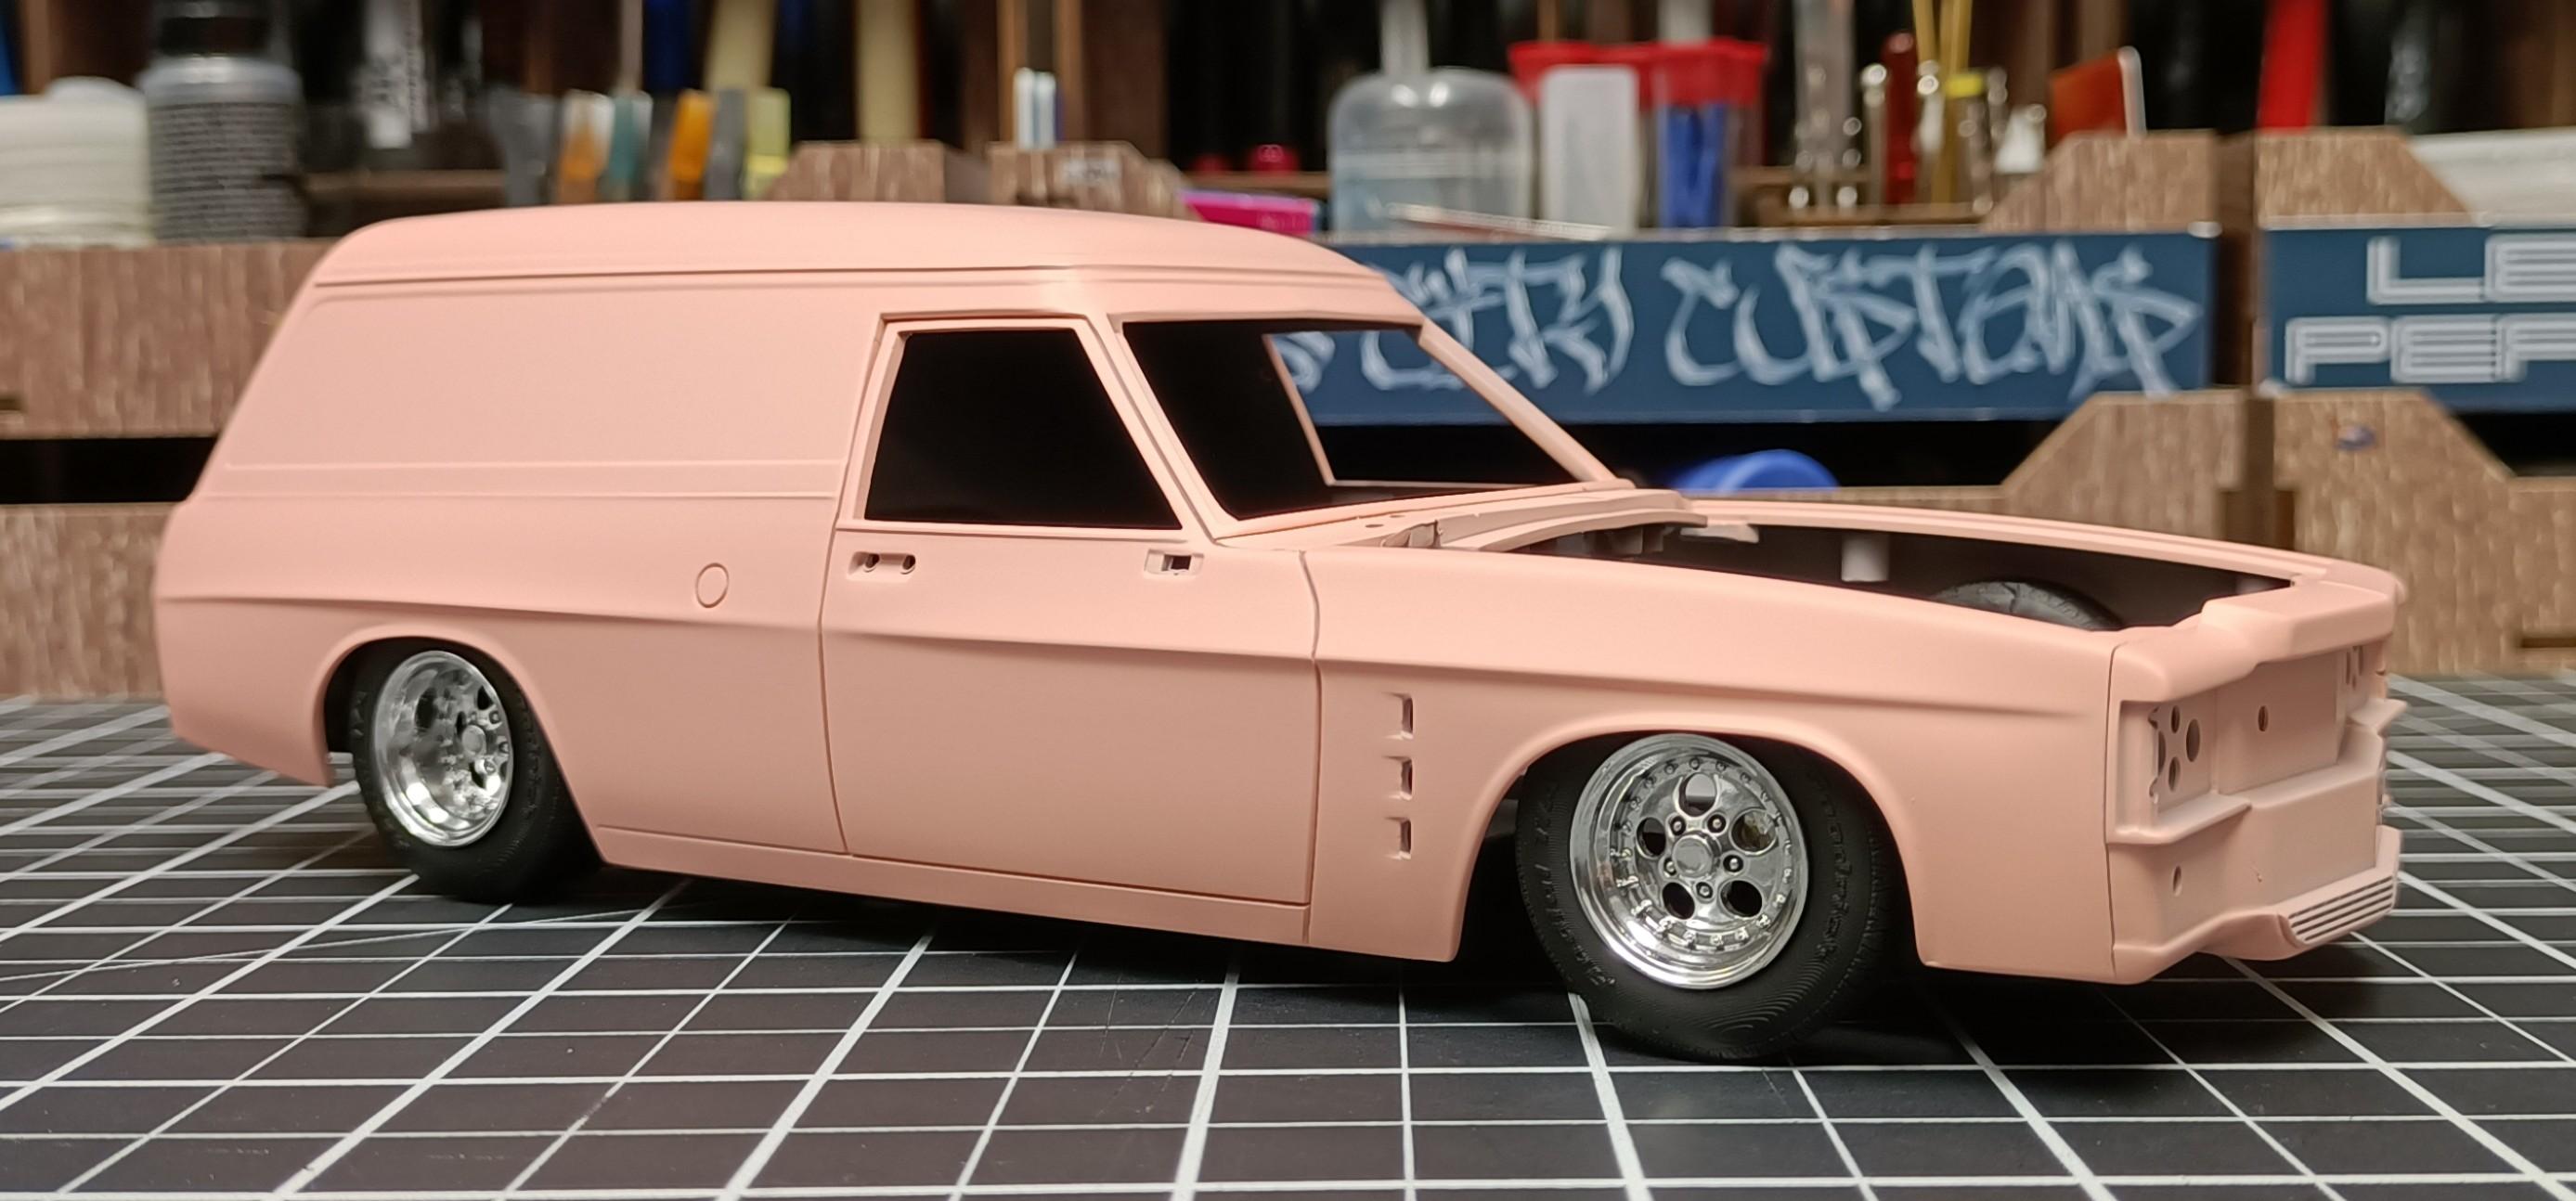
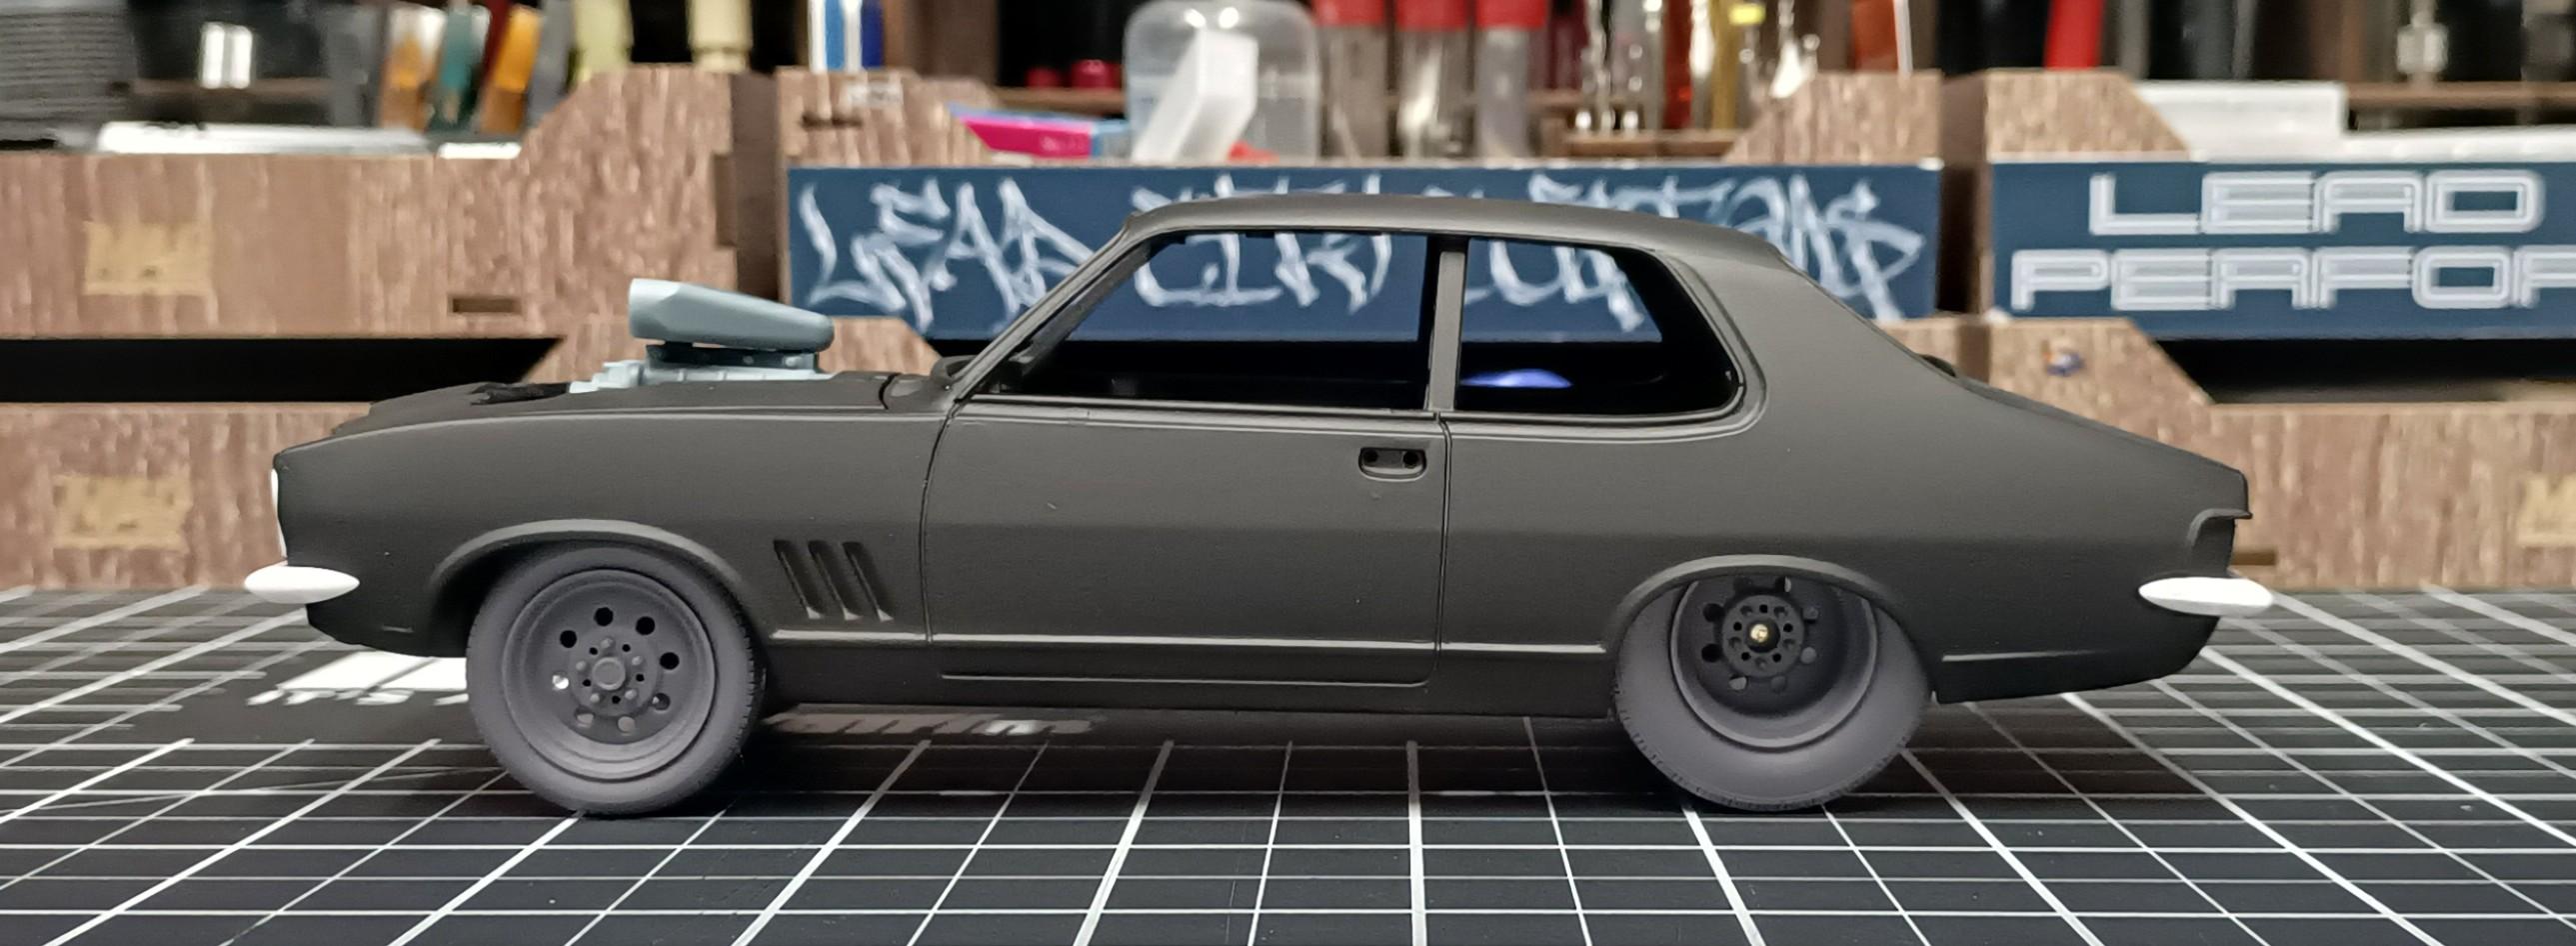
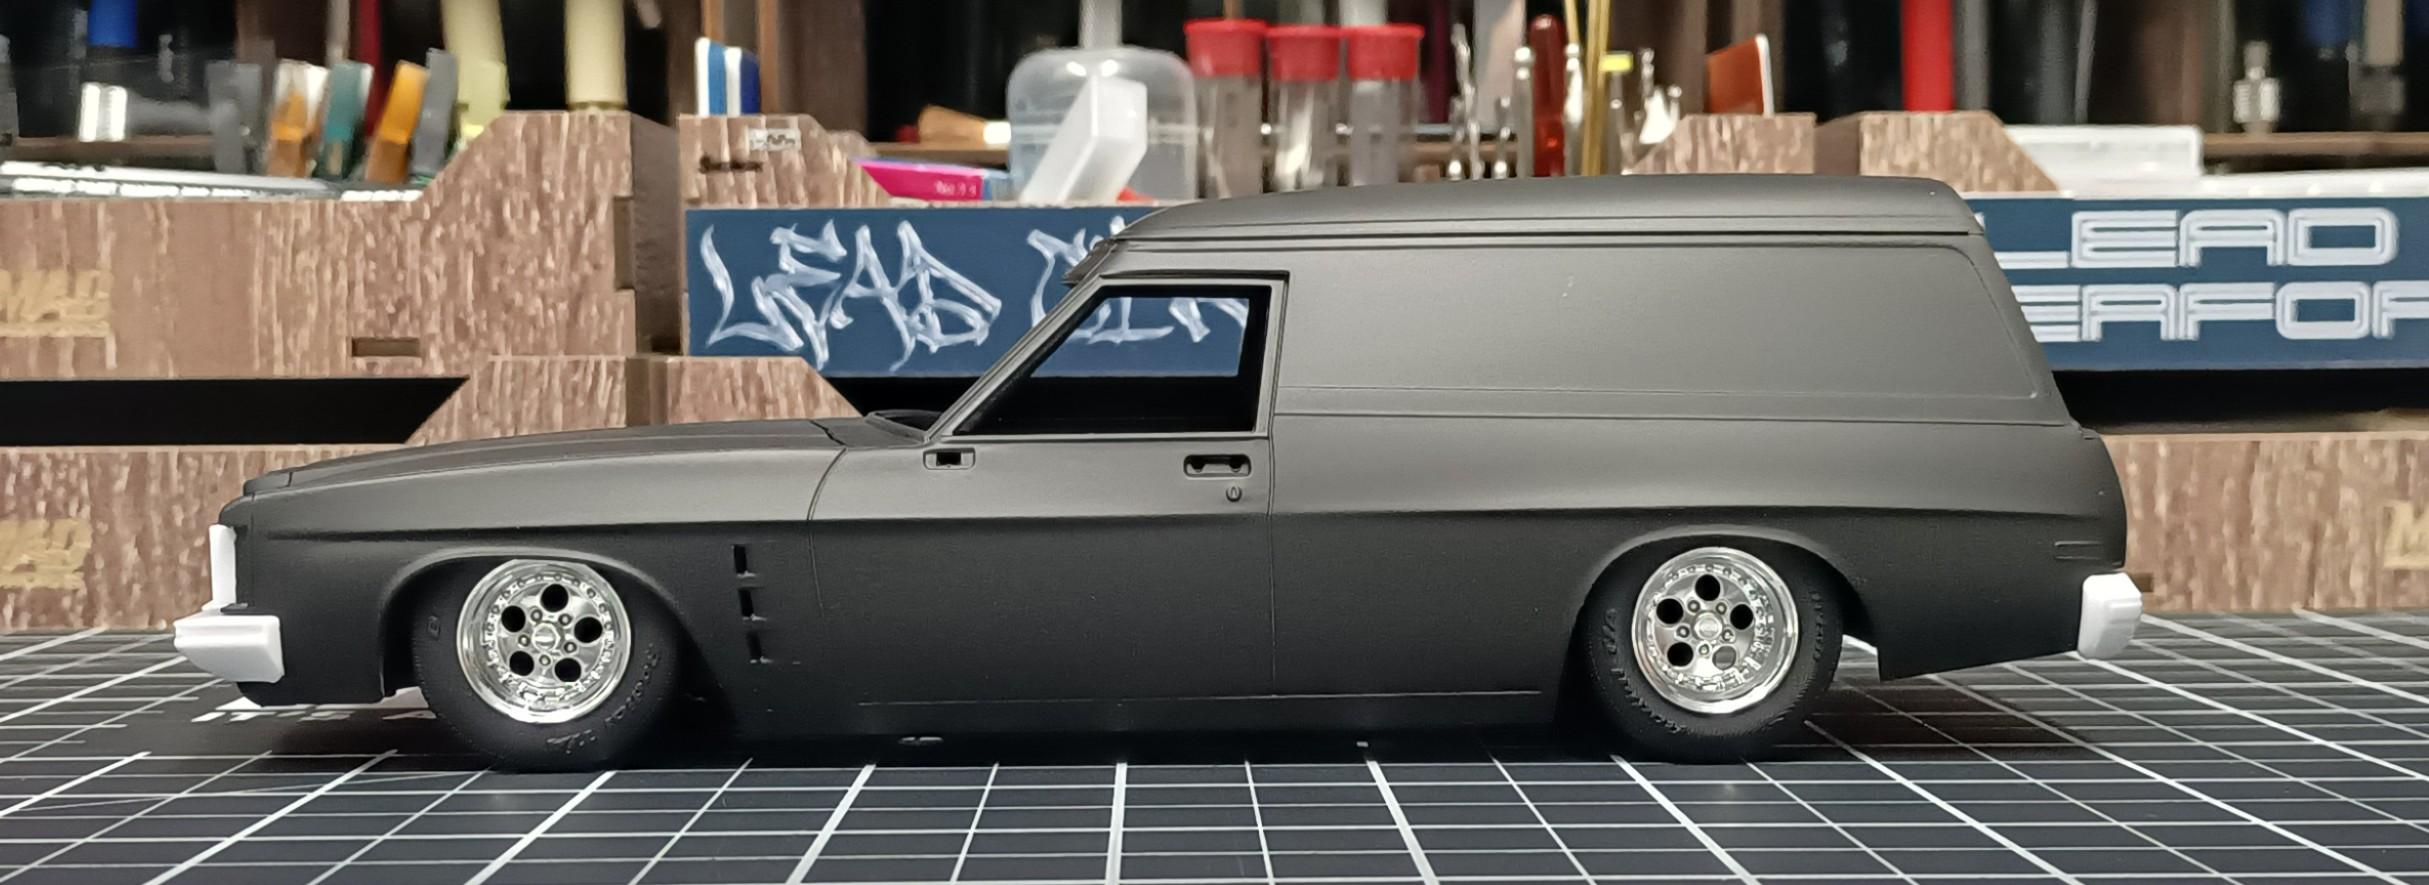
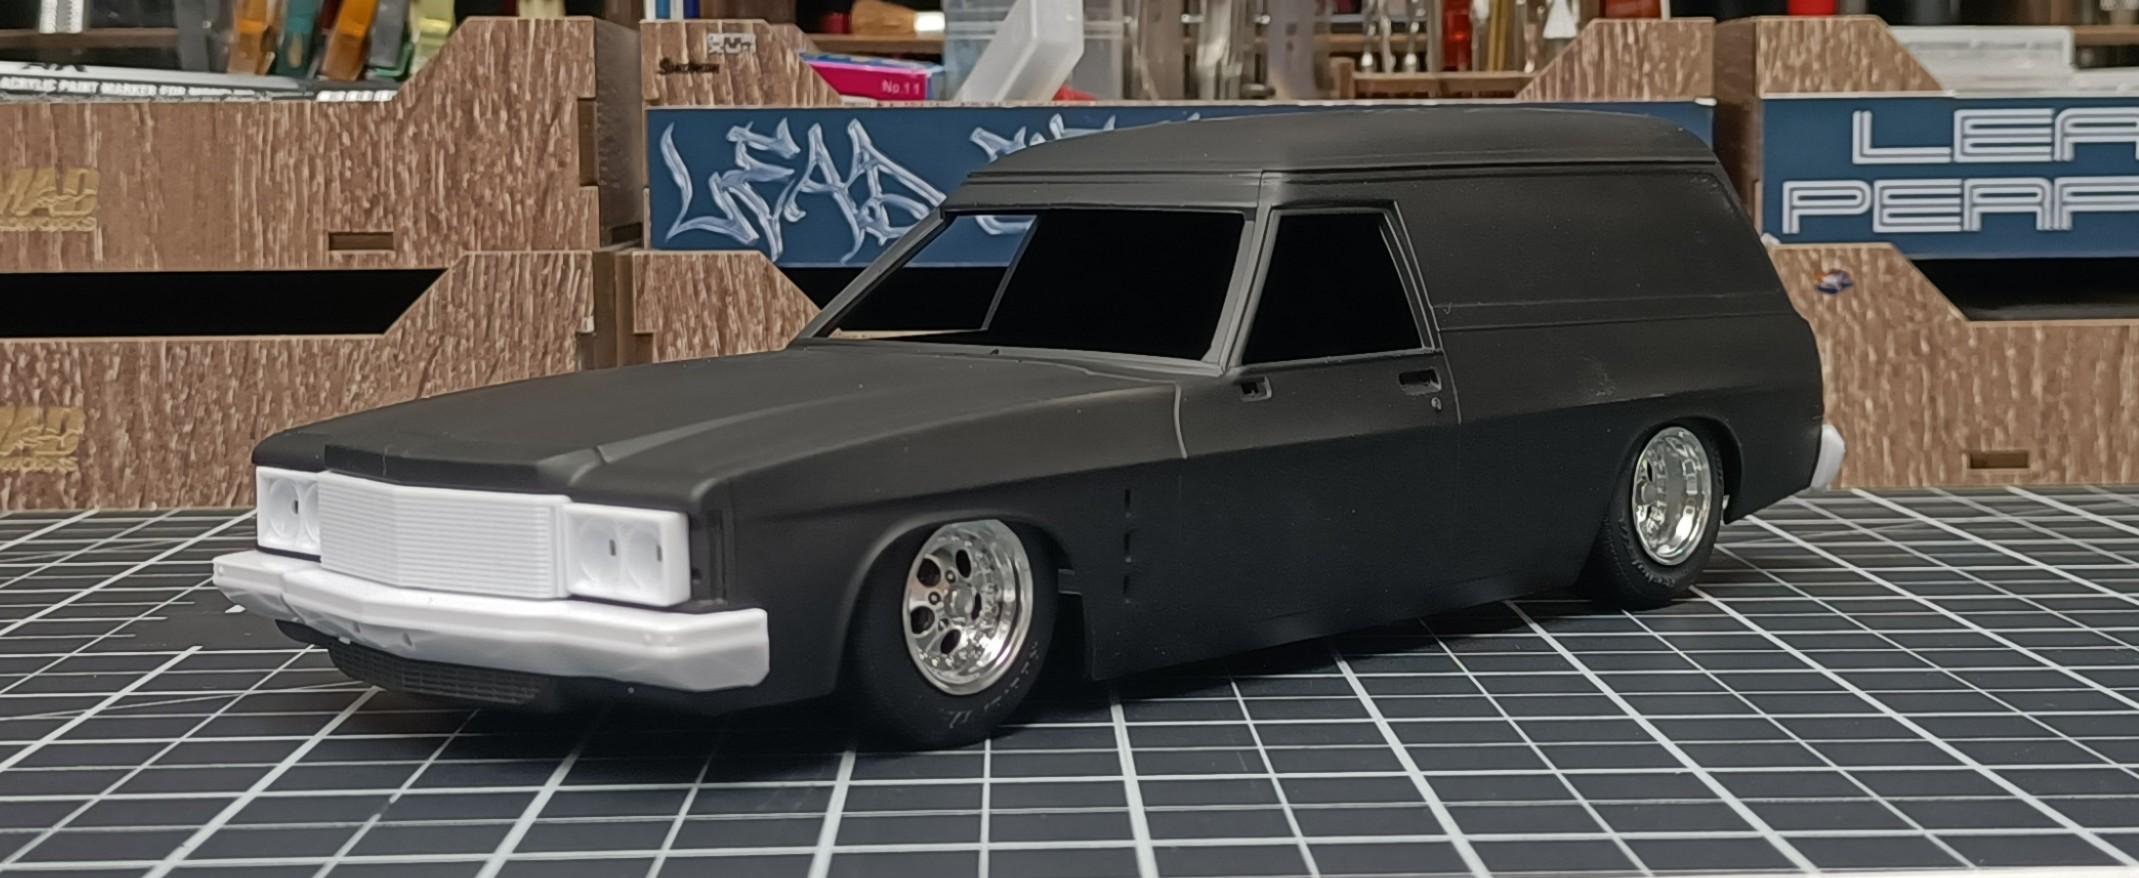
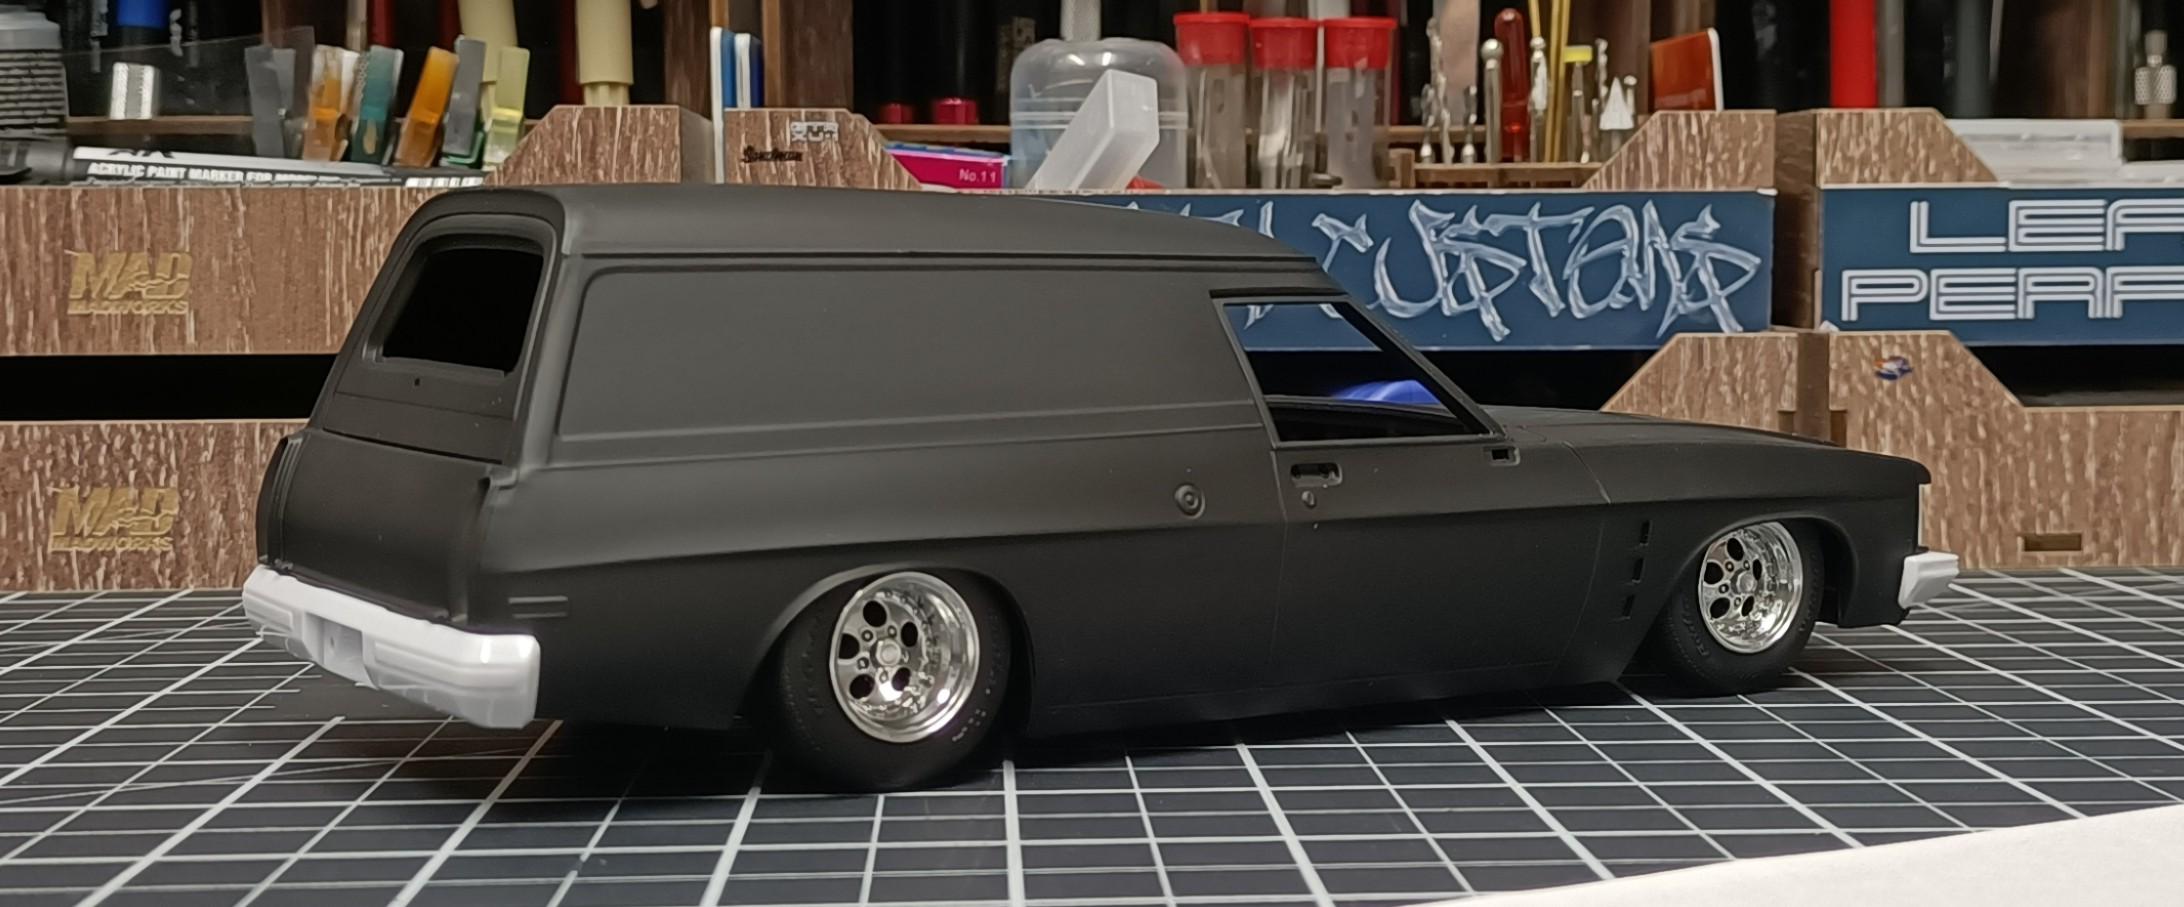
Applied a check coat of surfacer to both and done some proper mockups to see where things are at. Not liking this oob mockup. So the plan is transform it to 80's-90's pro street, engine swap, change the wheels and stretch the rear wheel arch, adjust the stance. And a few other modifications, but more on those when I get to it. Panel Van stance is close to where I would like it. If anything the front will be raised a smidge. This will be a pretty much oob build. Just wheels and some added details. So much fun being able to build the Aussie cars.
- 766 replies
-
- 5
-
-
- stalled builds
- quick builds
- (and 2 more)
-
Nailed the Street Freak style. Great work grafting the 66 front half chassis and converting to a flip nose. Looking forward to seeing what you decided for an engine. Its always a satisfying moment doing a mock up after laying some paint.
-
Quick wheel mock up for the Pano. I remember the 1:1 inspiration having Dragway Indy wheels. So I purchased these similar wheels from an online vendor back before I had my own 3D printer. But I will print another set as I can set my printer to produce a much better quality.
- 766 replies
-
- 4
-
-
- stalled builds
- quick builds
- (and 2 more)
-
So after getting 5 stalled builds completed, time to start a couple new ones. Bit of a back story to this one. I went to trade school back in the late 90's with guy who a had HJ Sandman panel van. So I will start with this kit and build it inspired by how I remember it. And ole mate @Zippi was asking when im going to do a pro street. So dug this kit out it, sort of close enough to a pro street. Aussie style burnout car 😁 Will be back soon with some mock ups.
- 766 replies
-
- 4
-
-
- stalled builds
- quick builds
- (and 2 more)
-
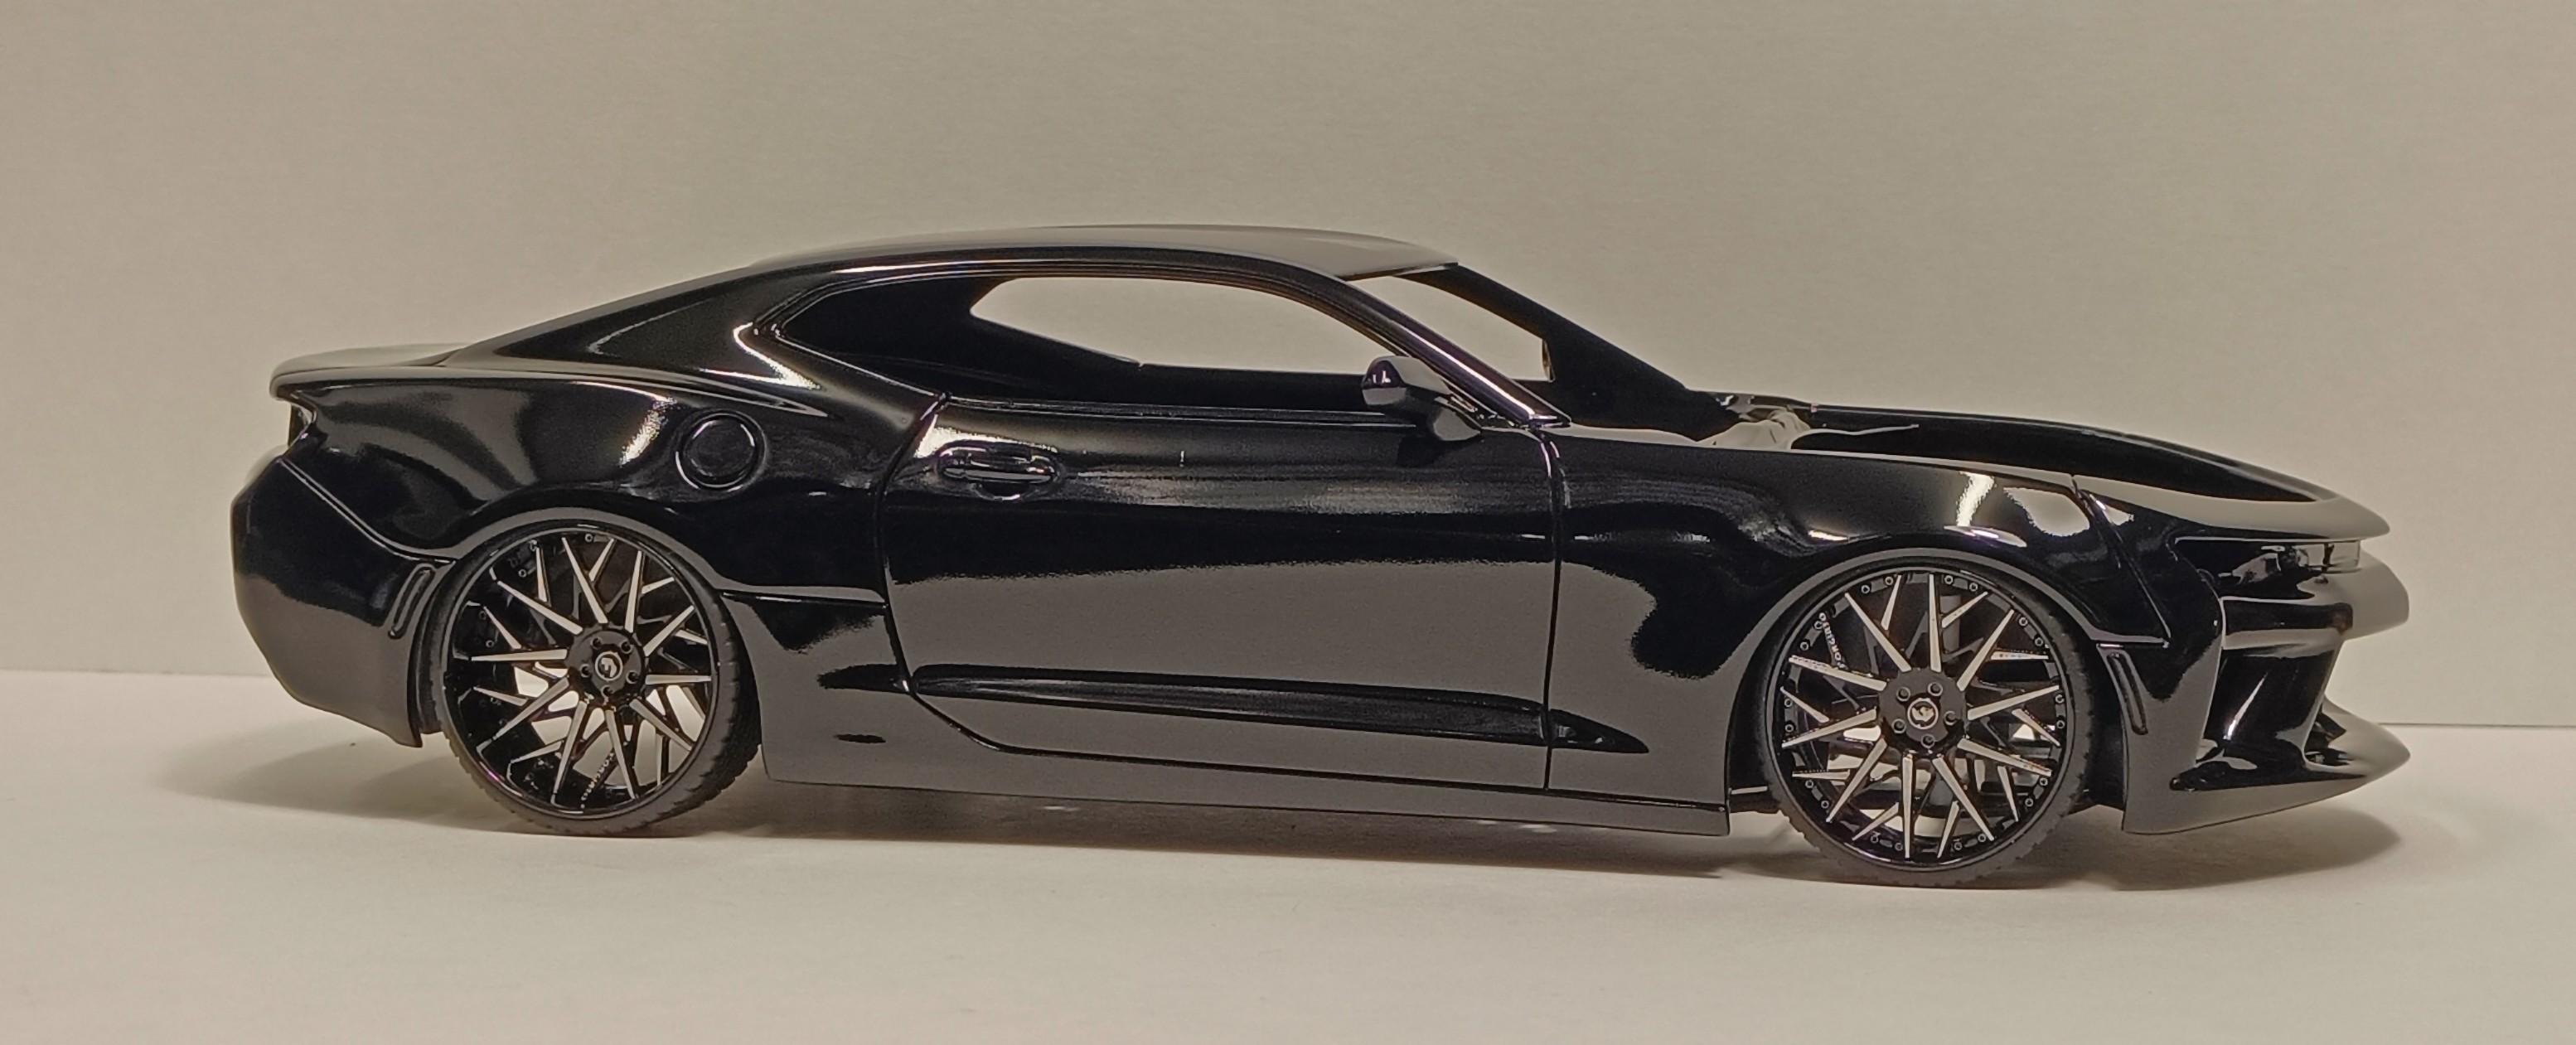
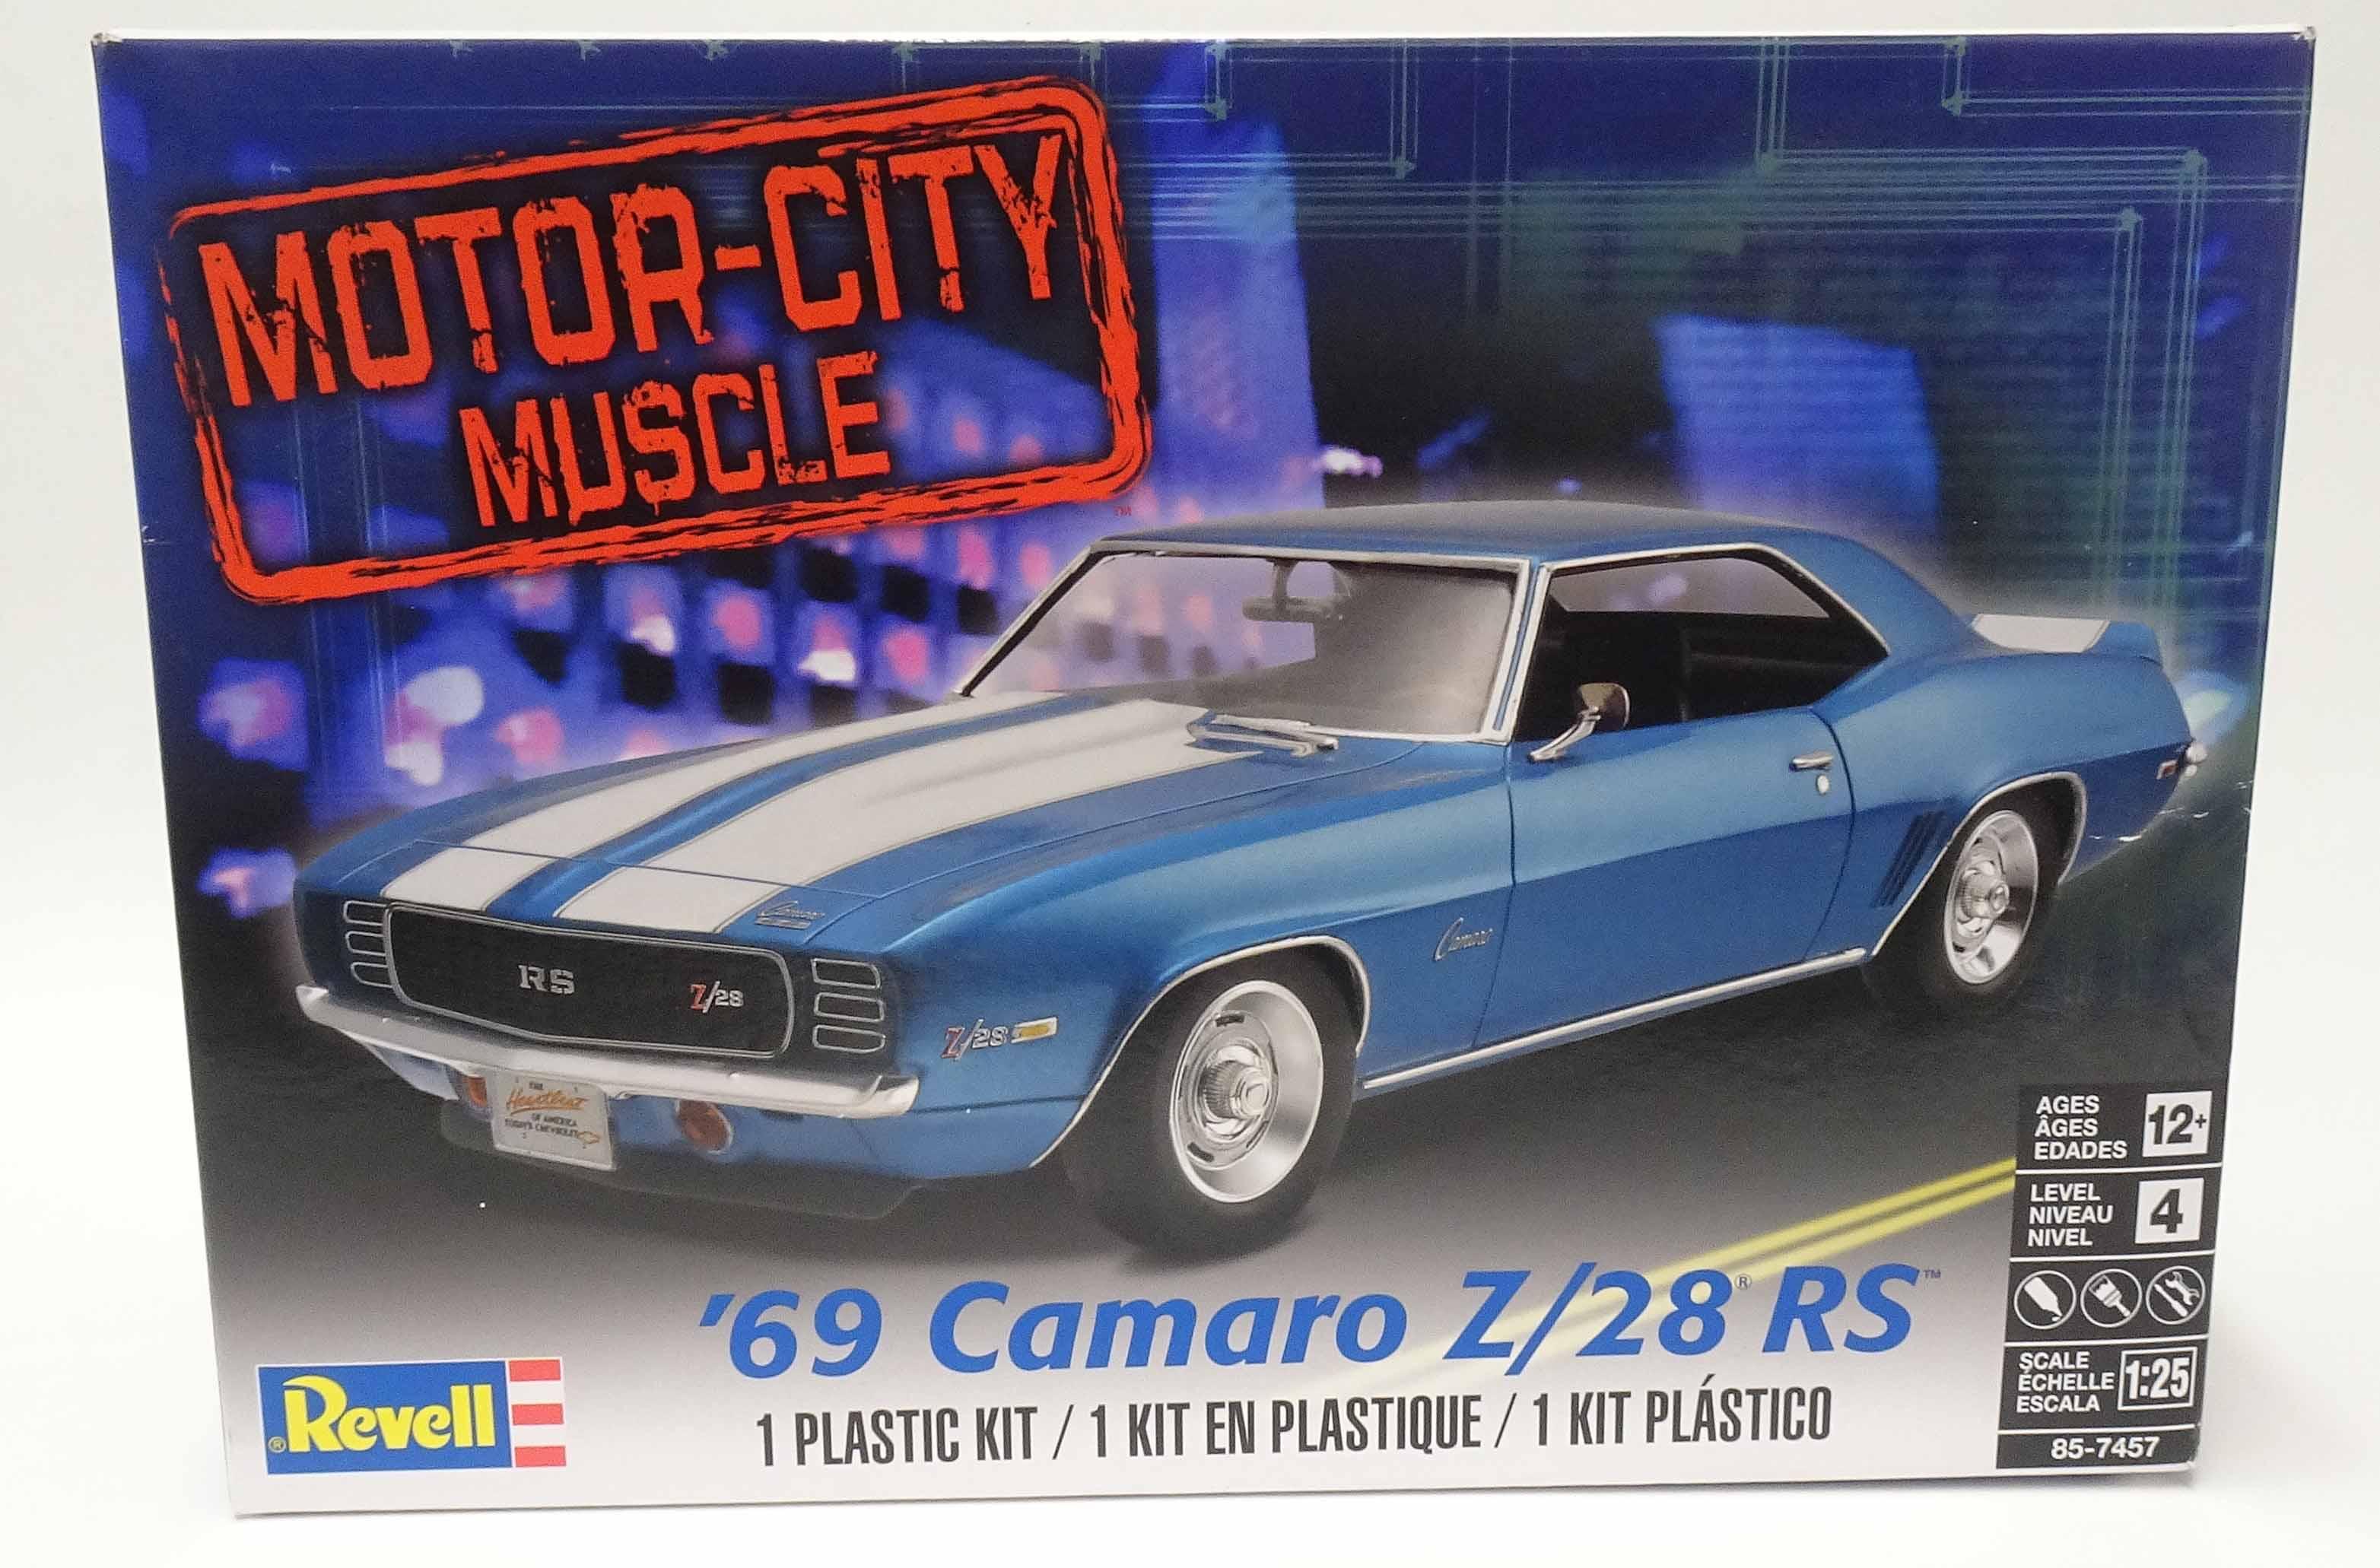
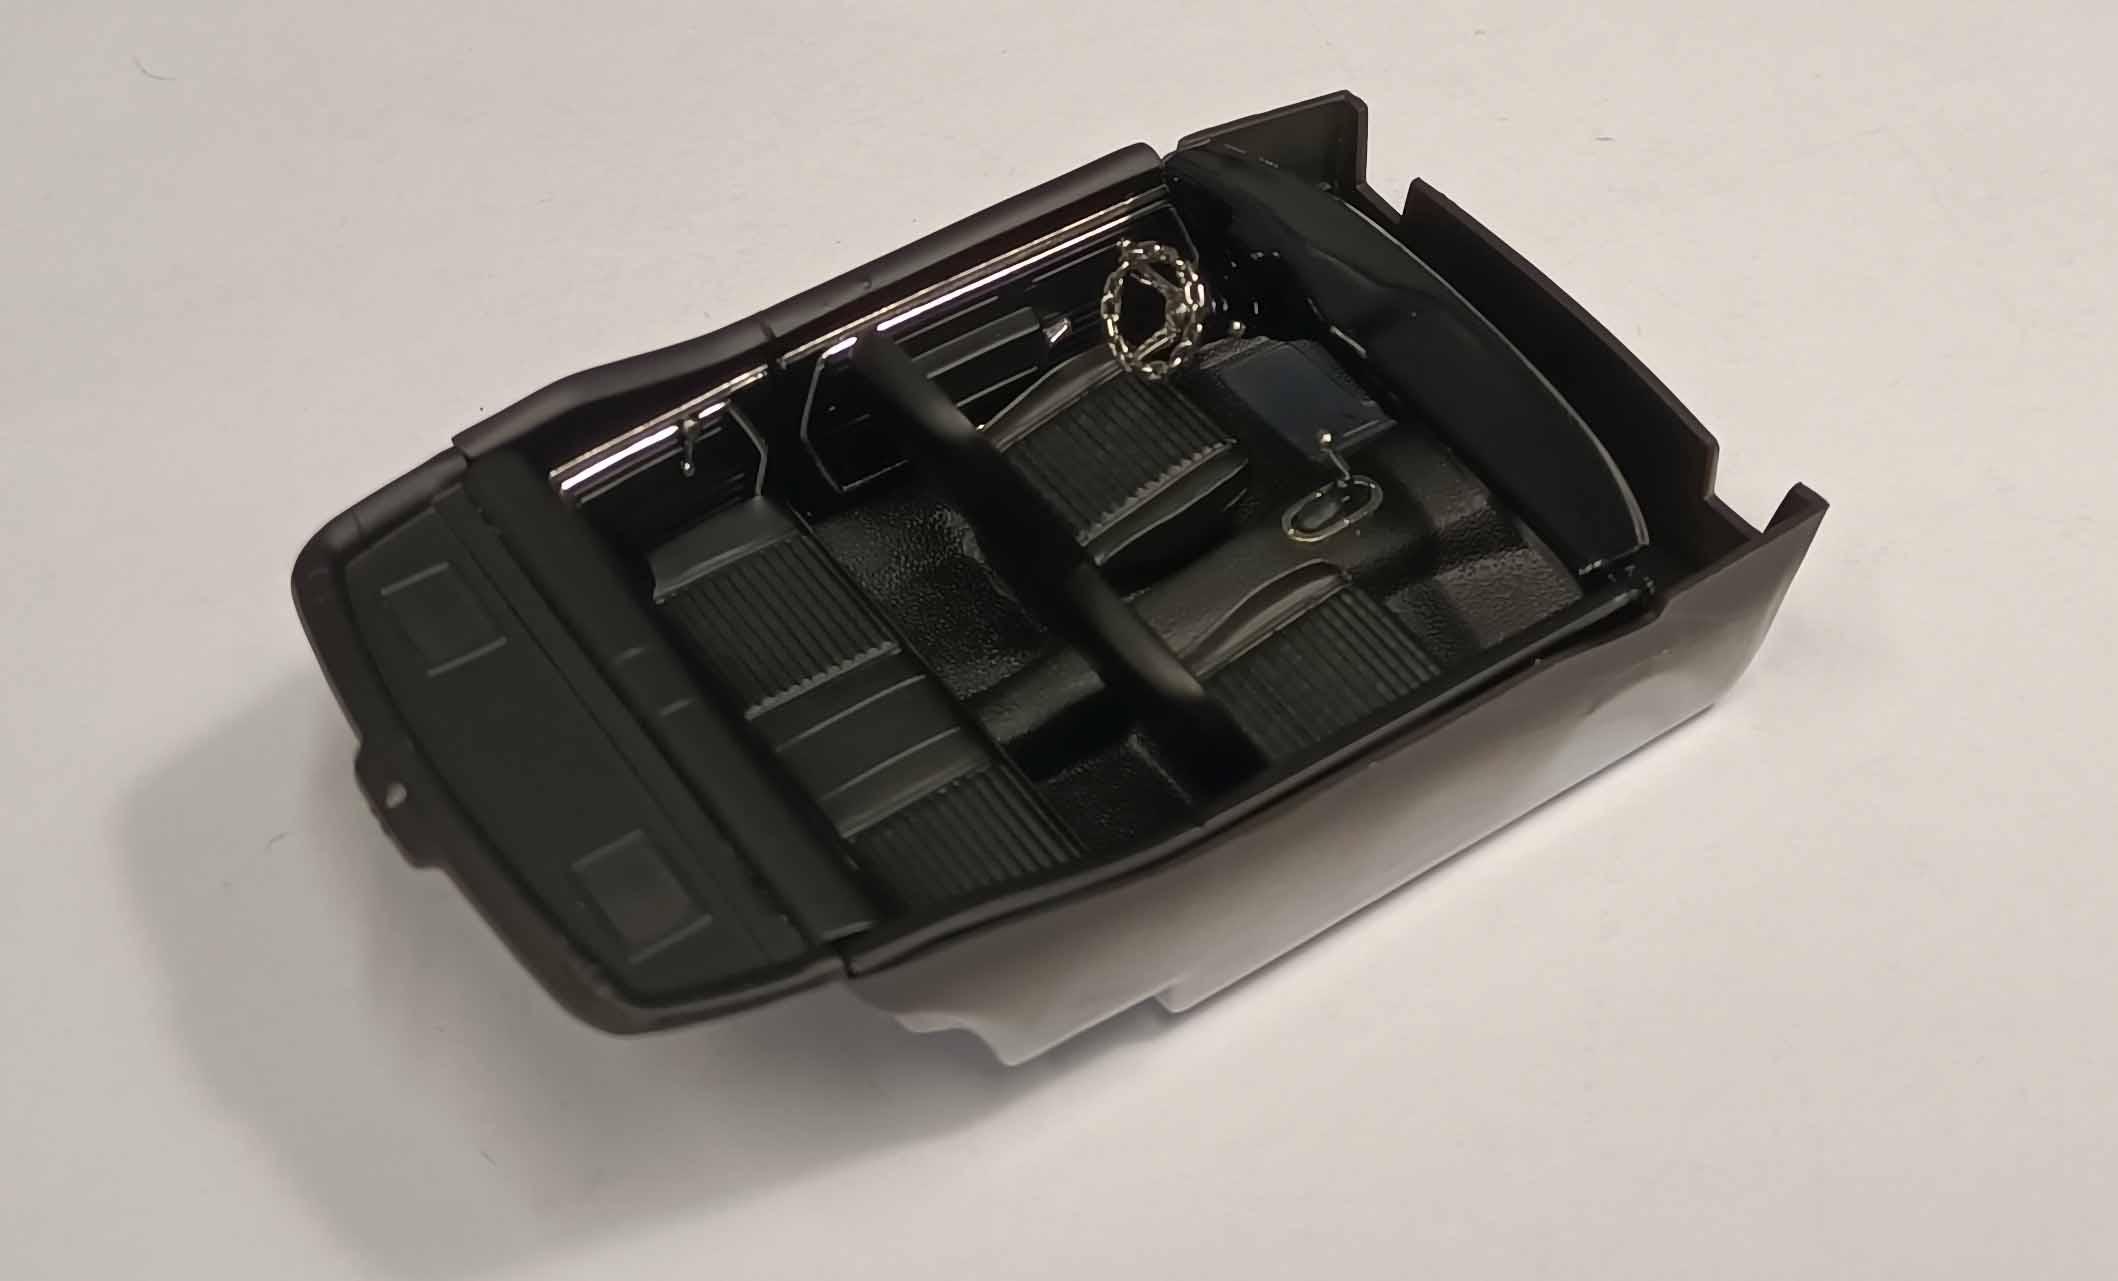
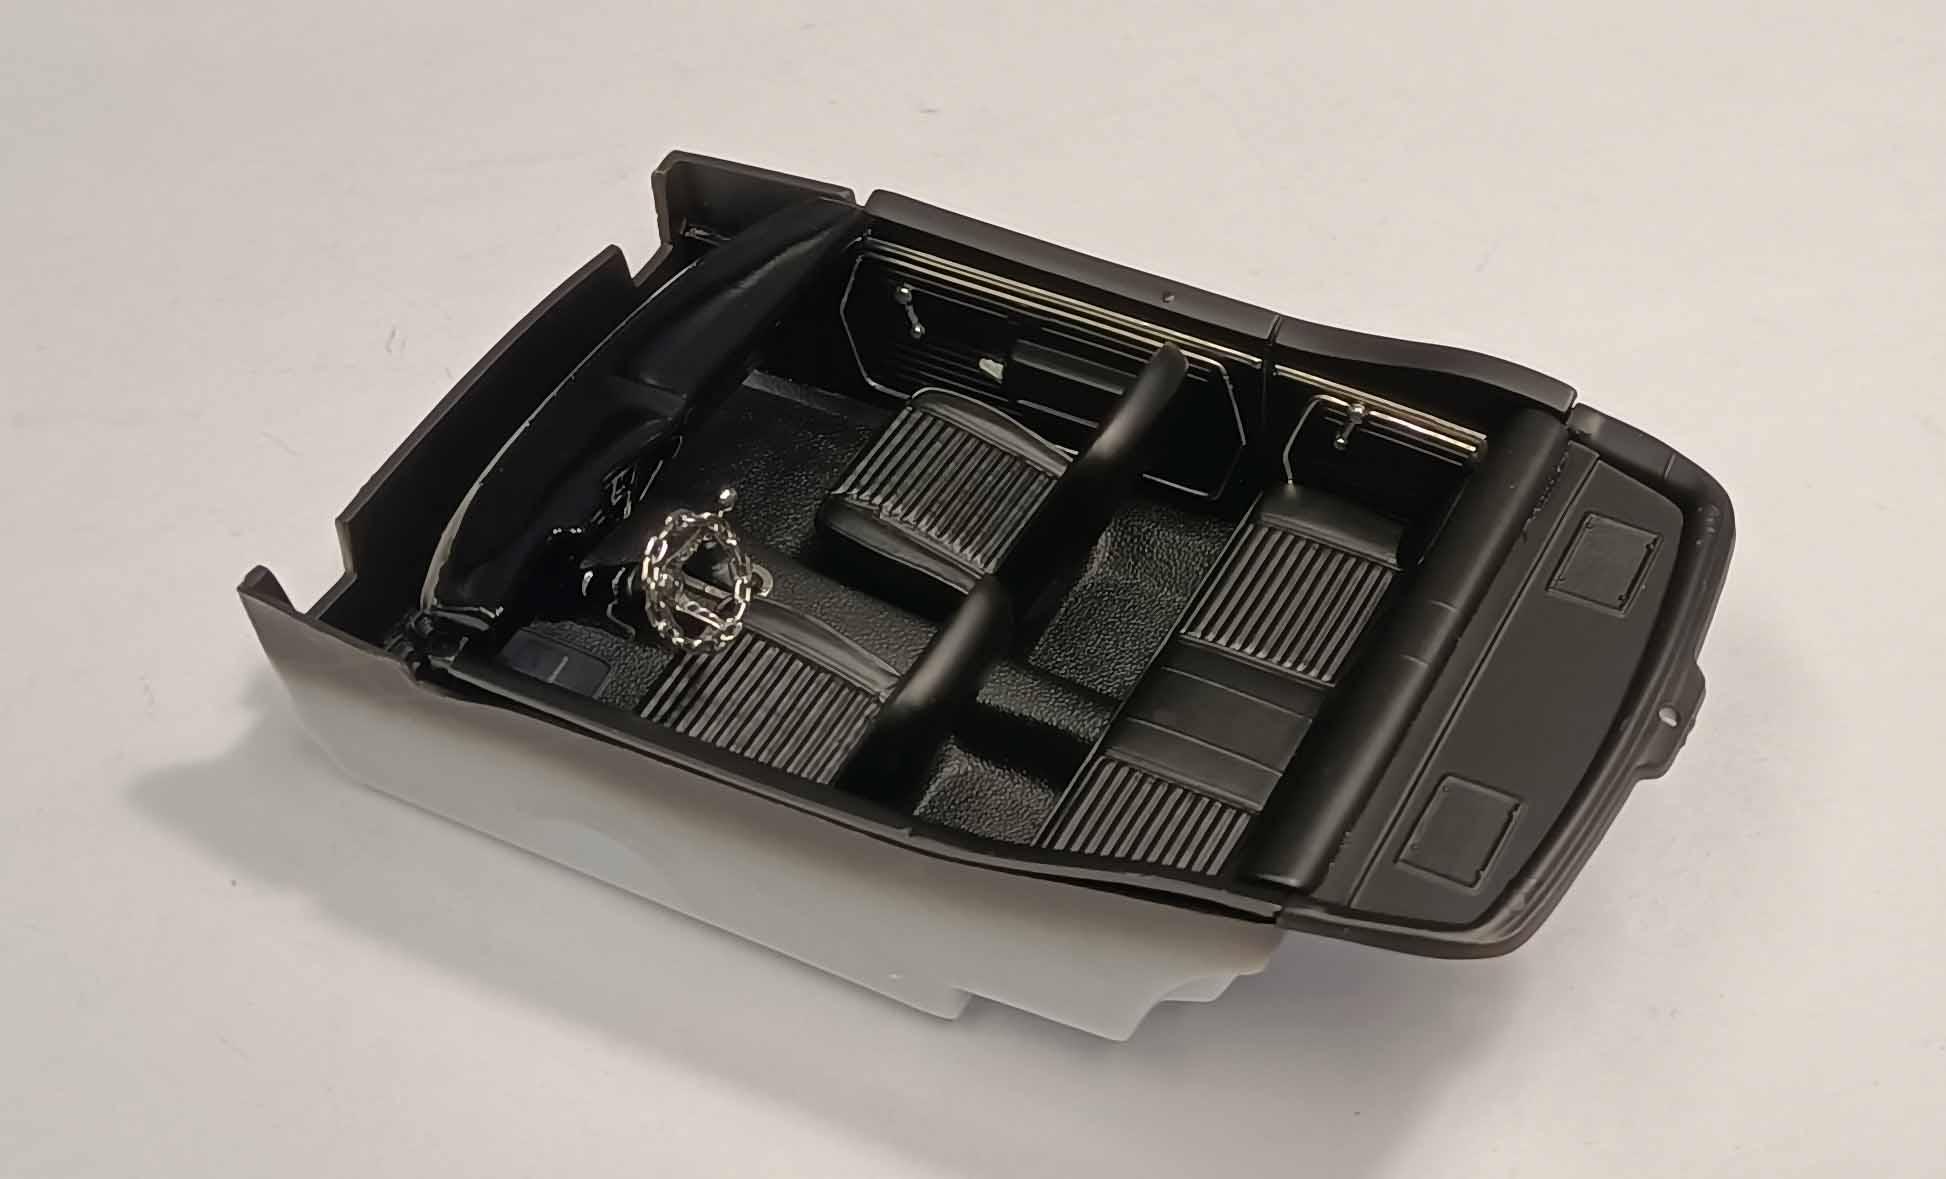
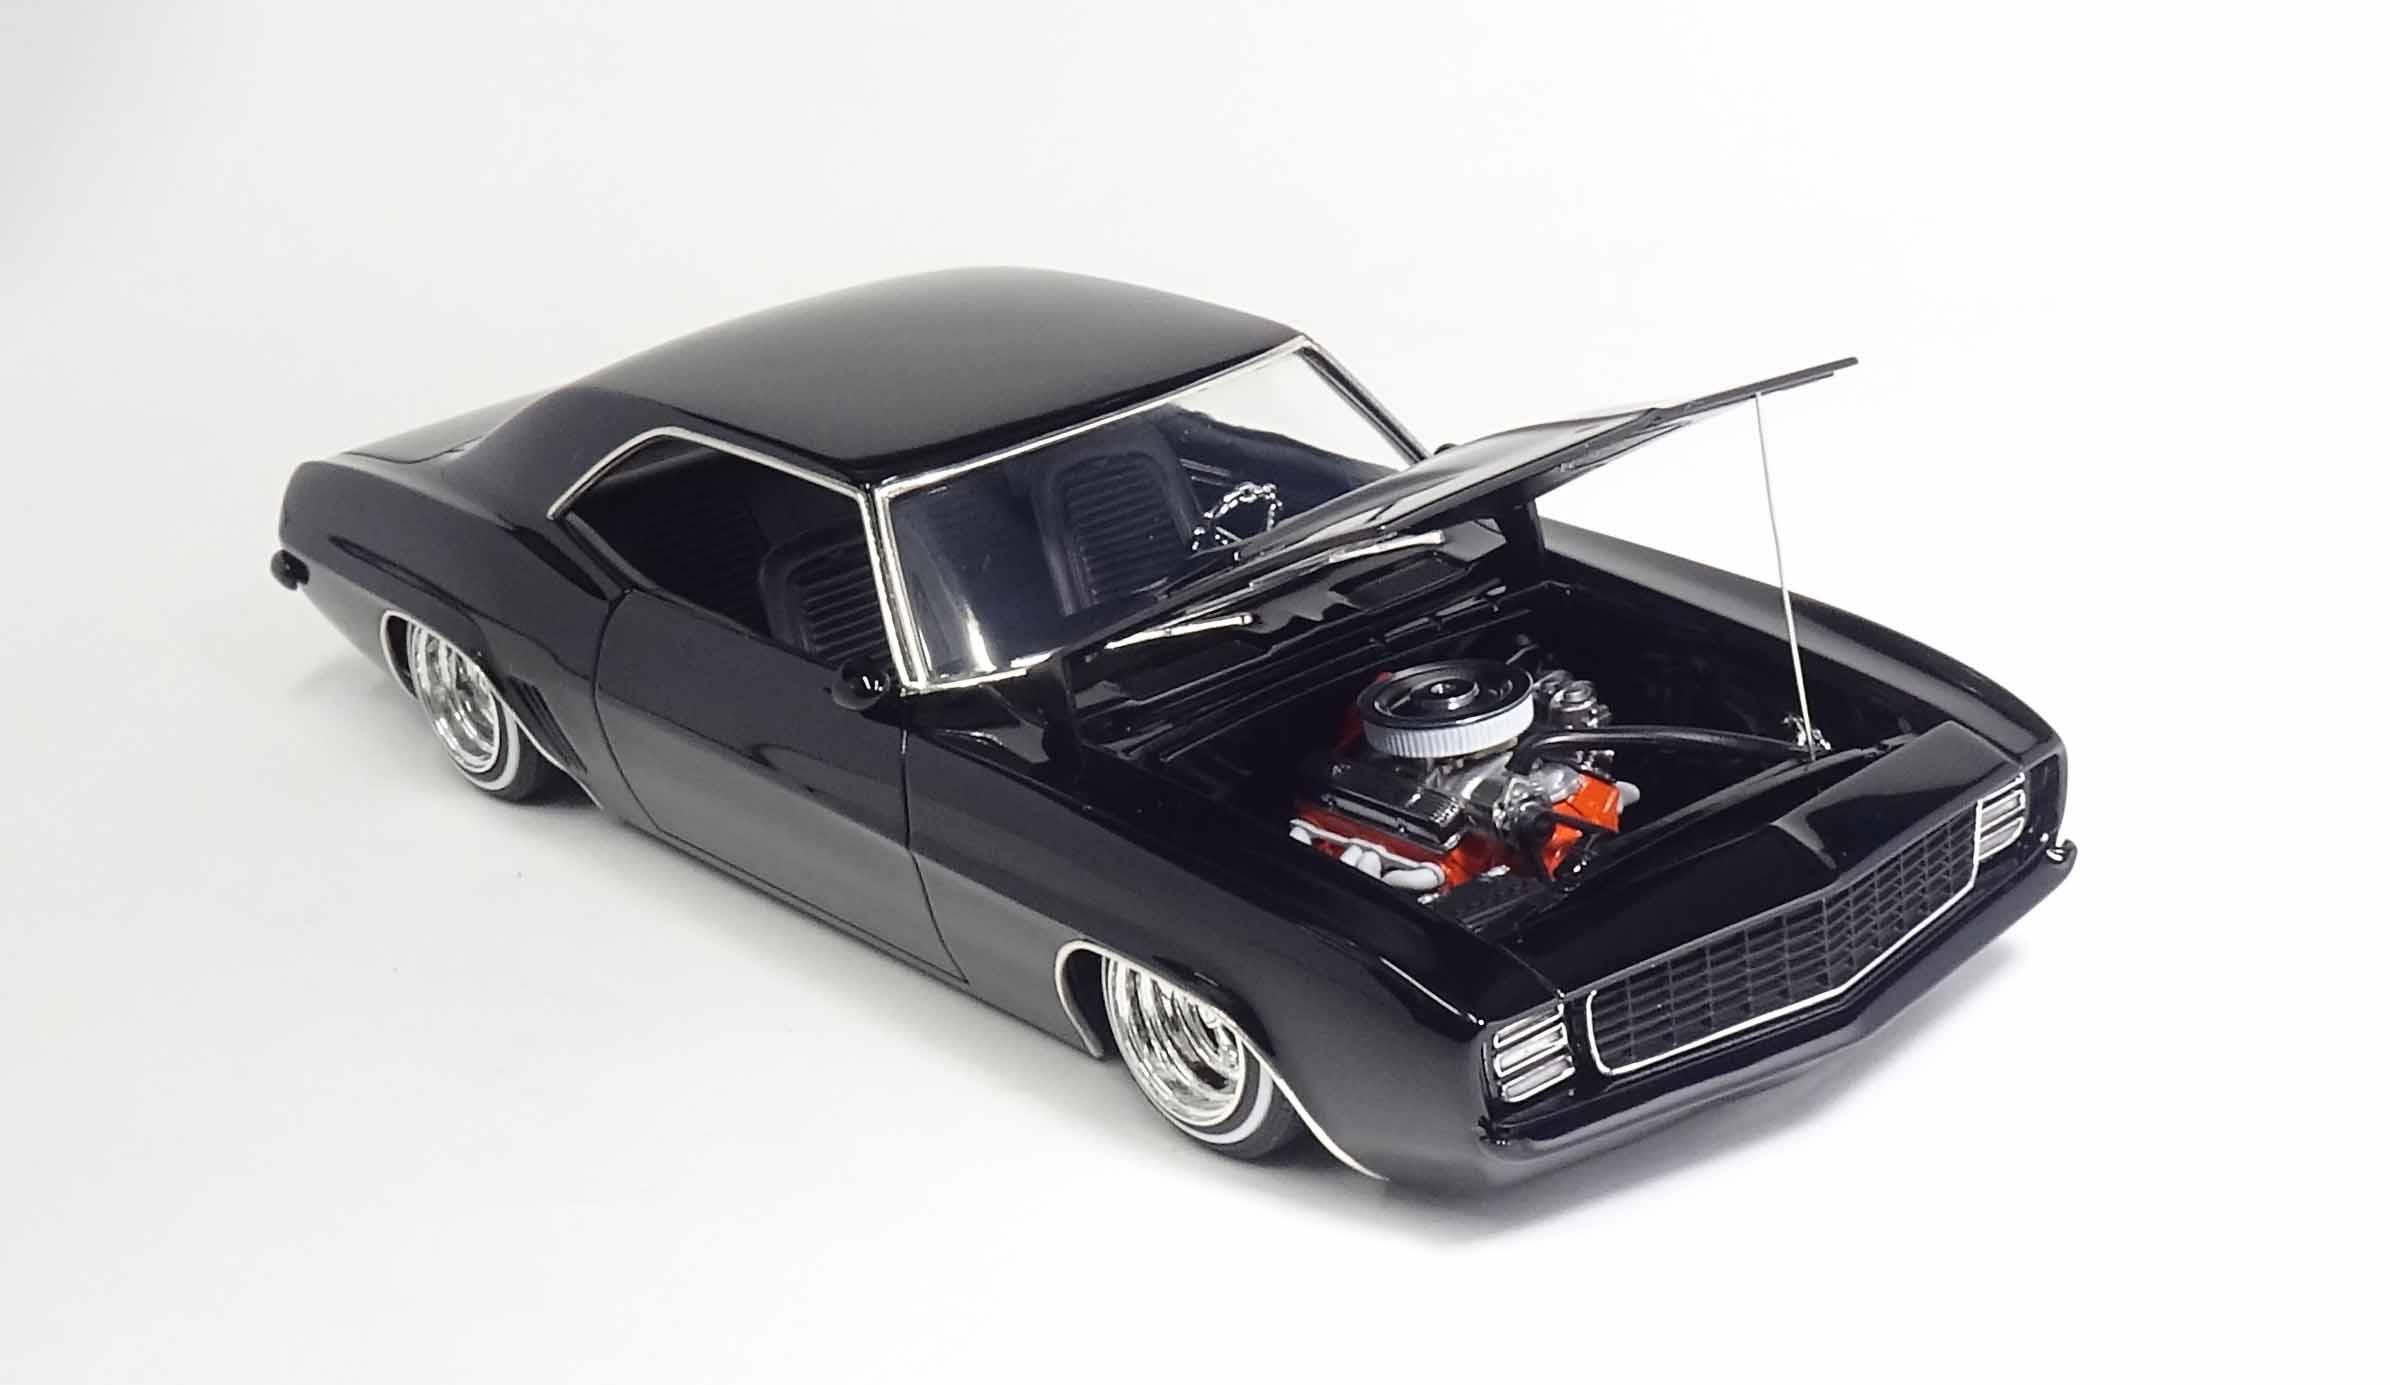
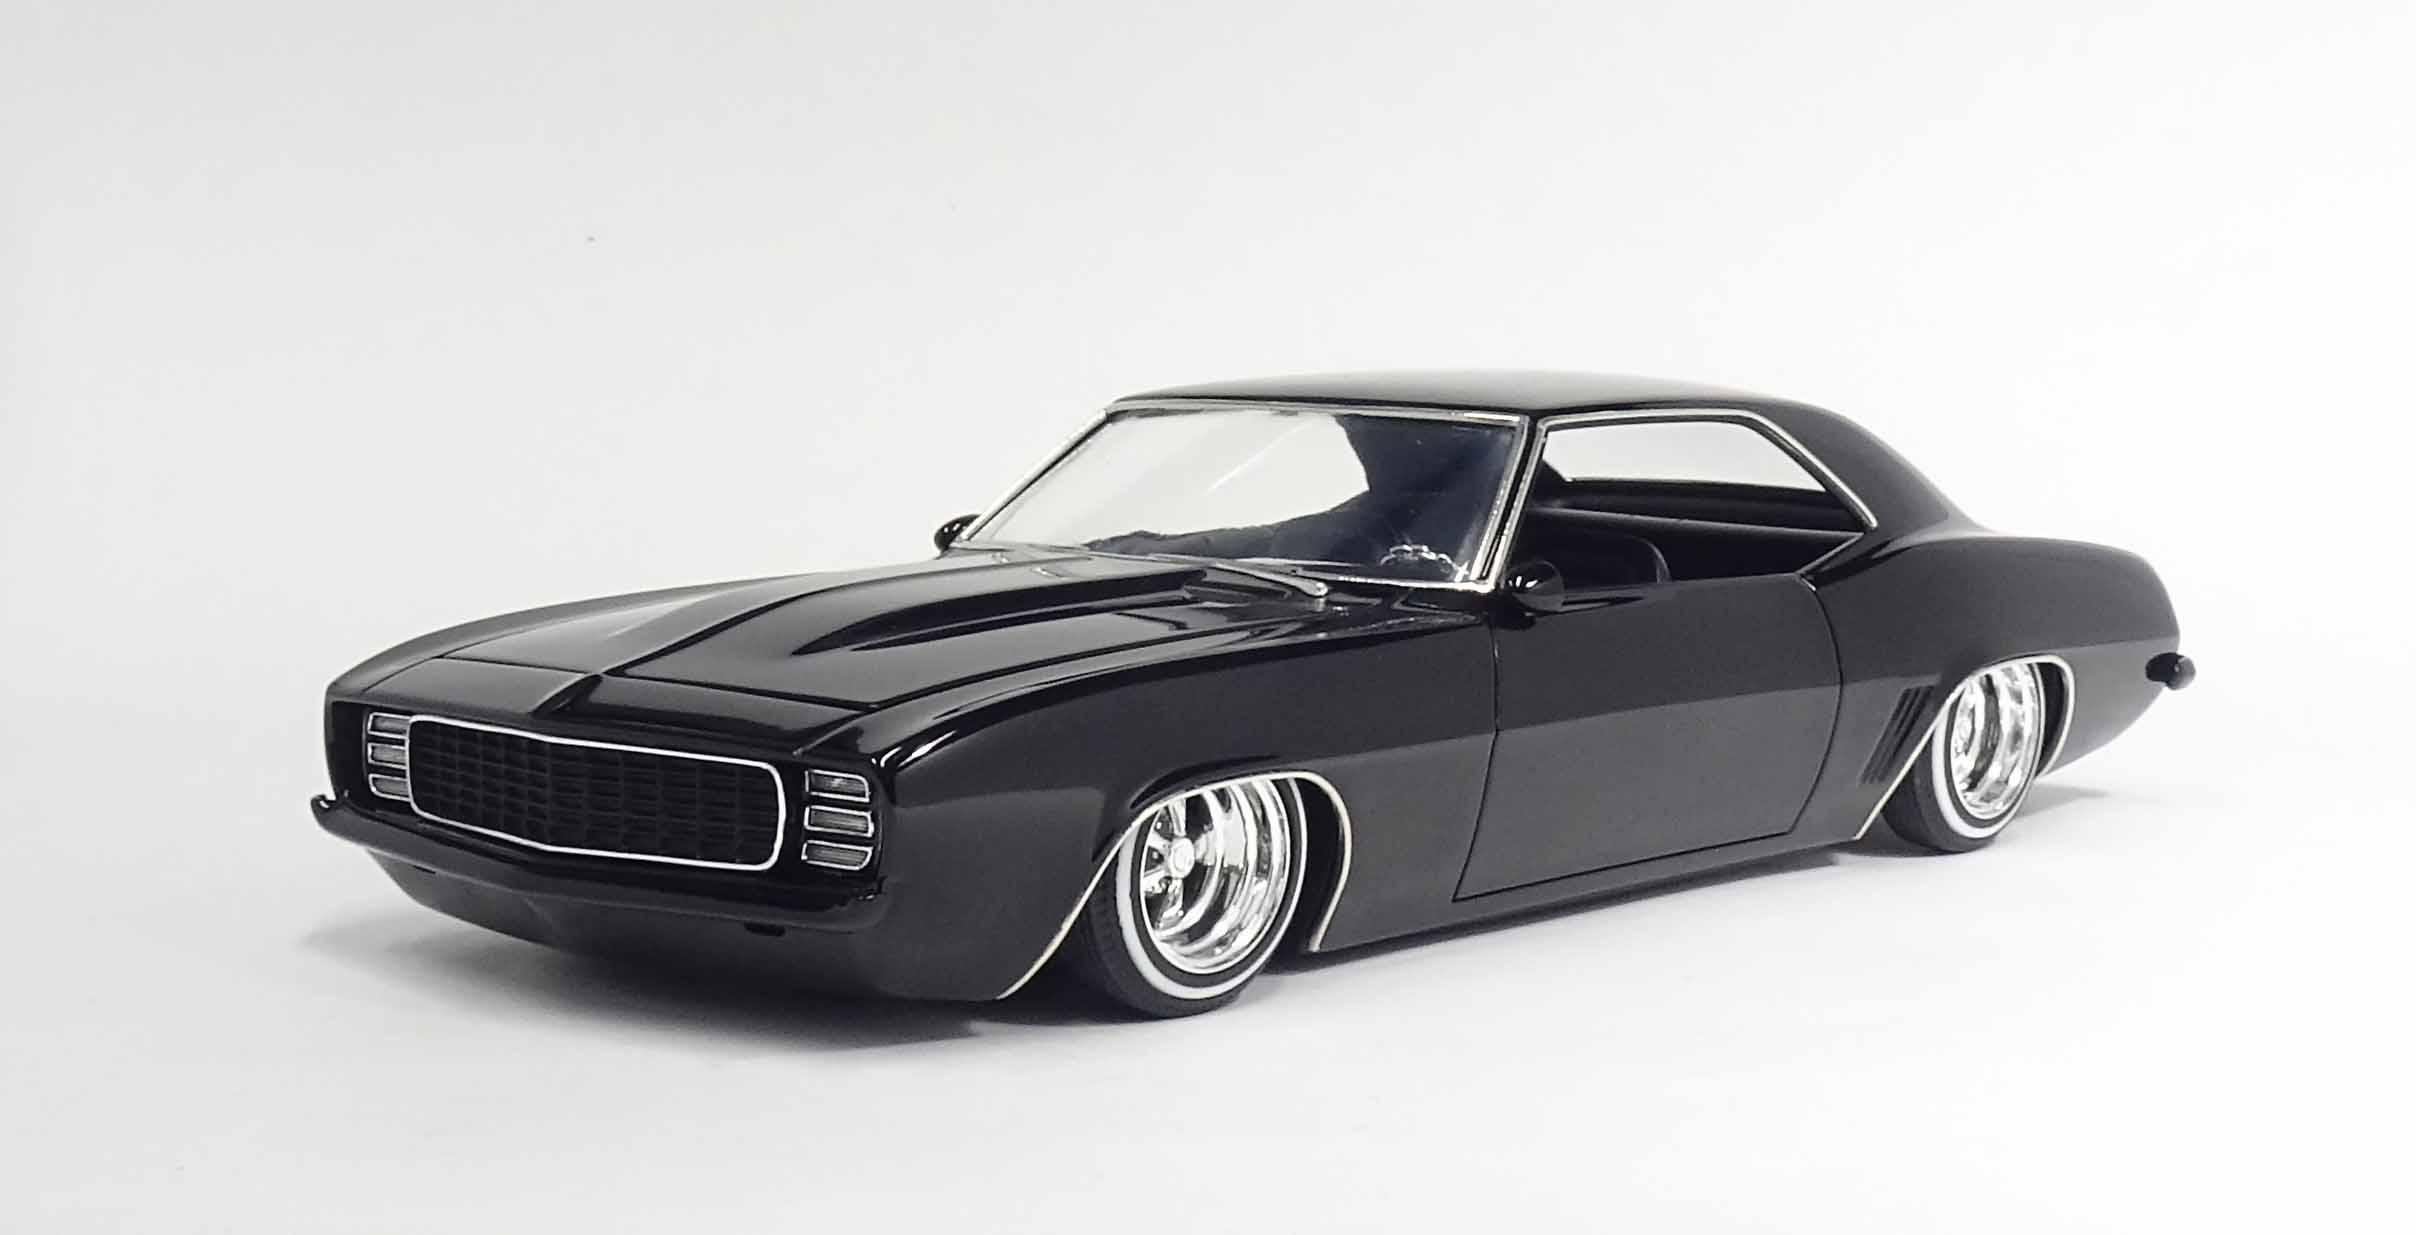
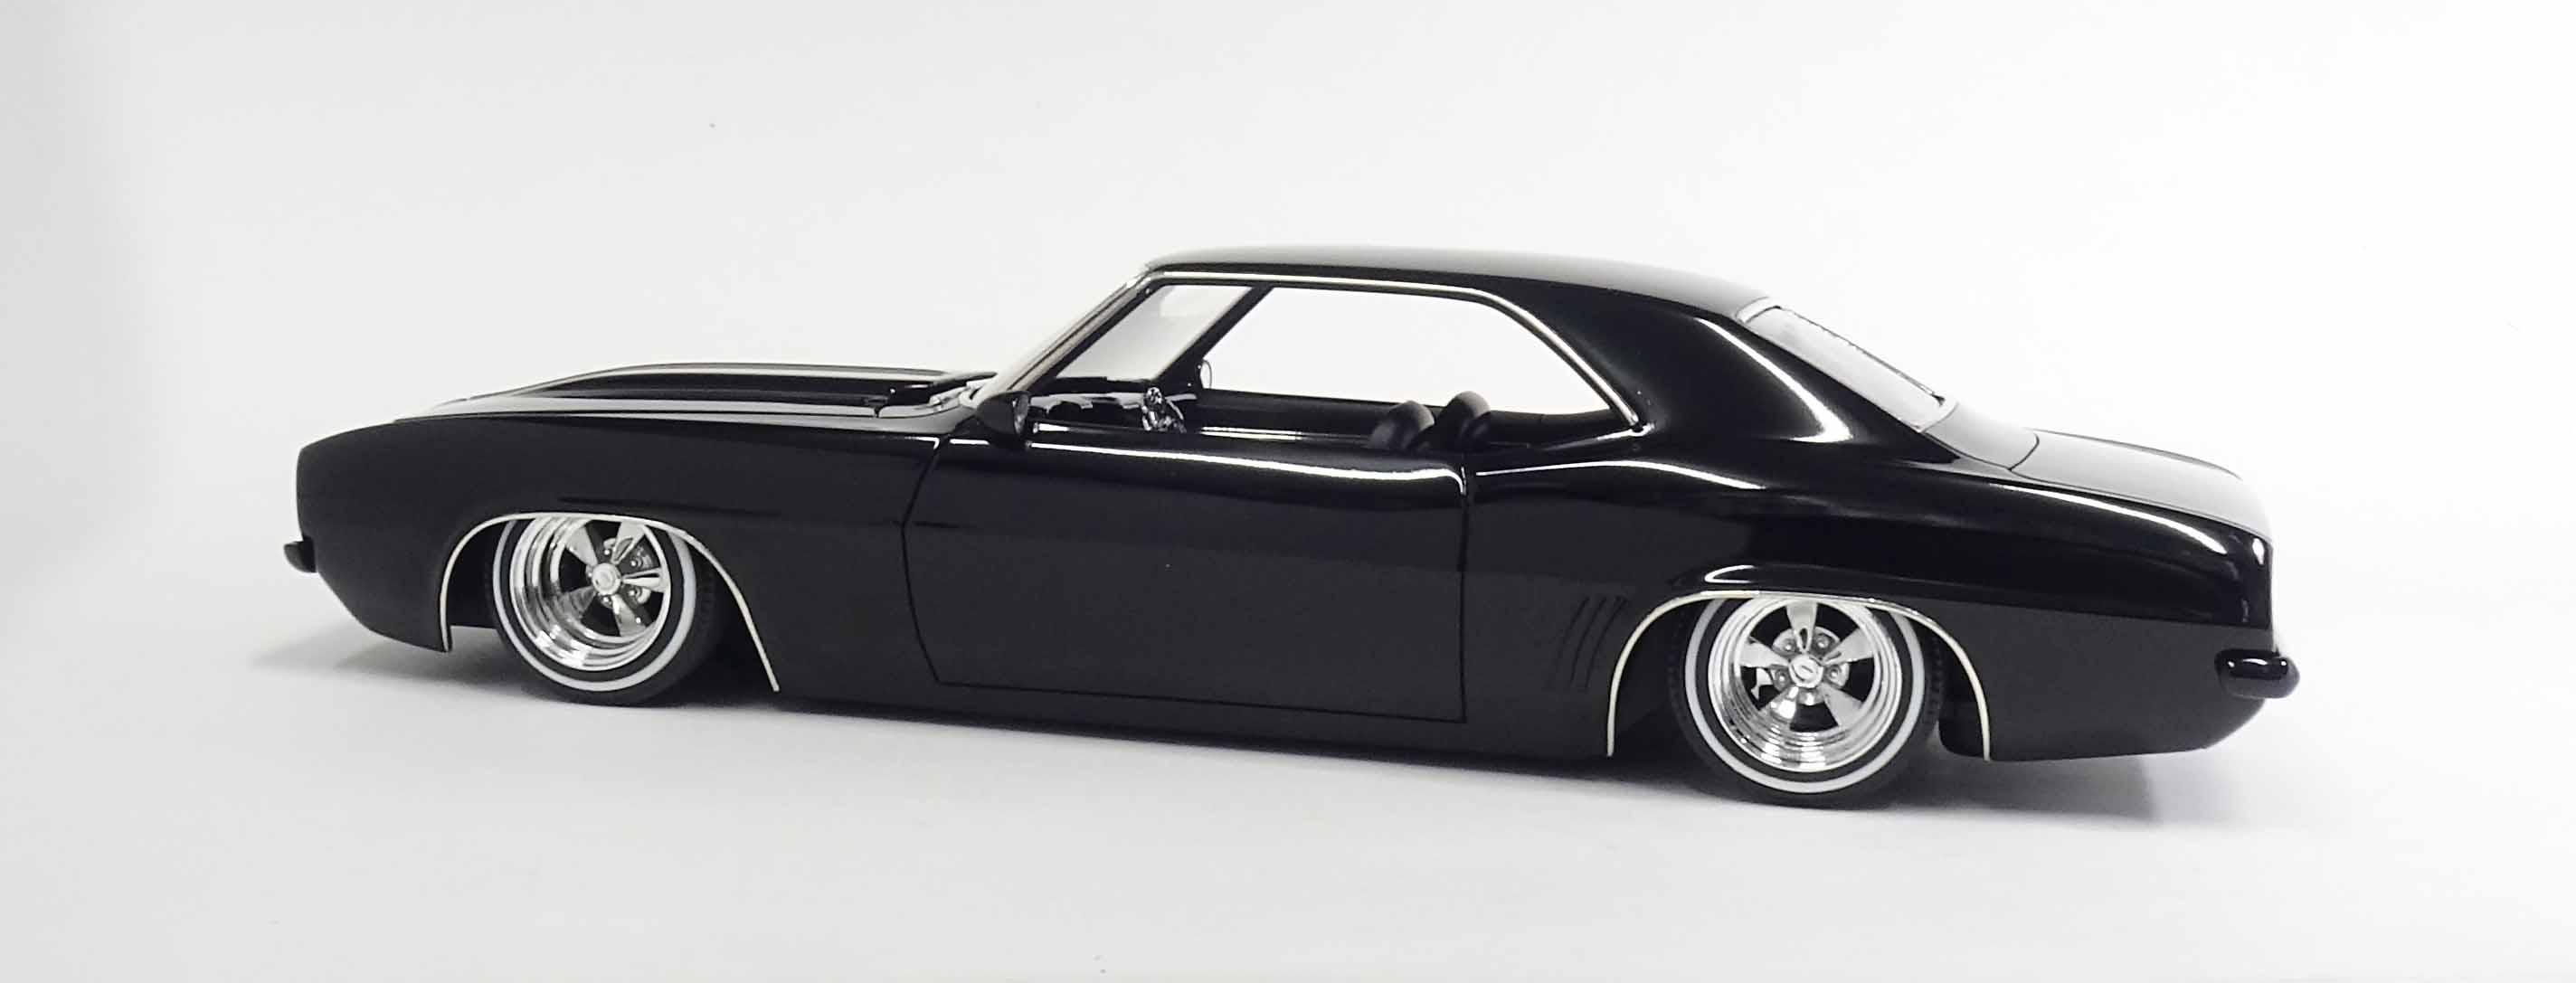
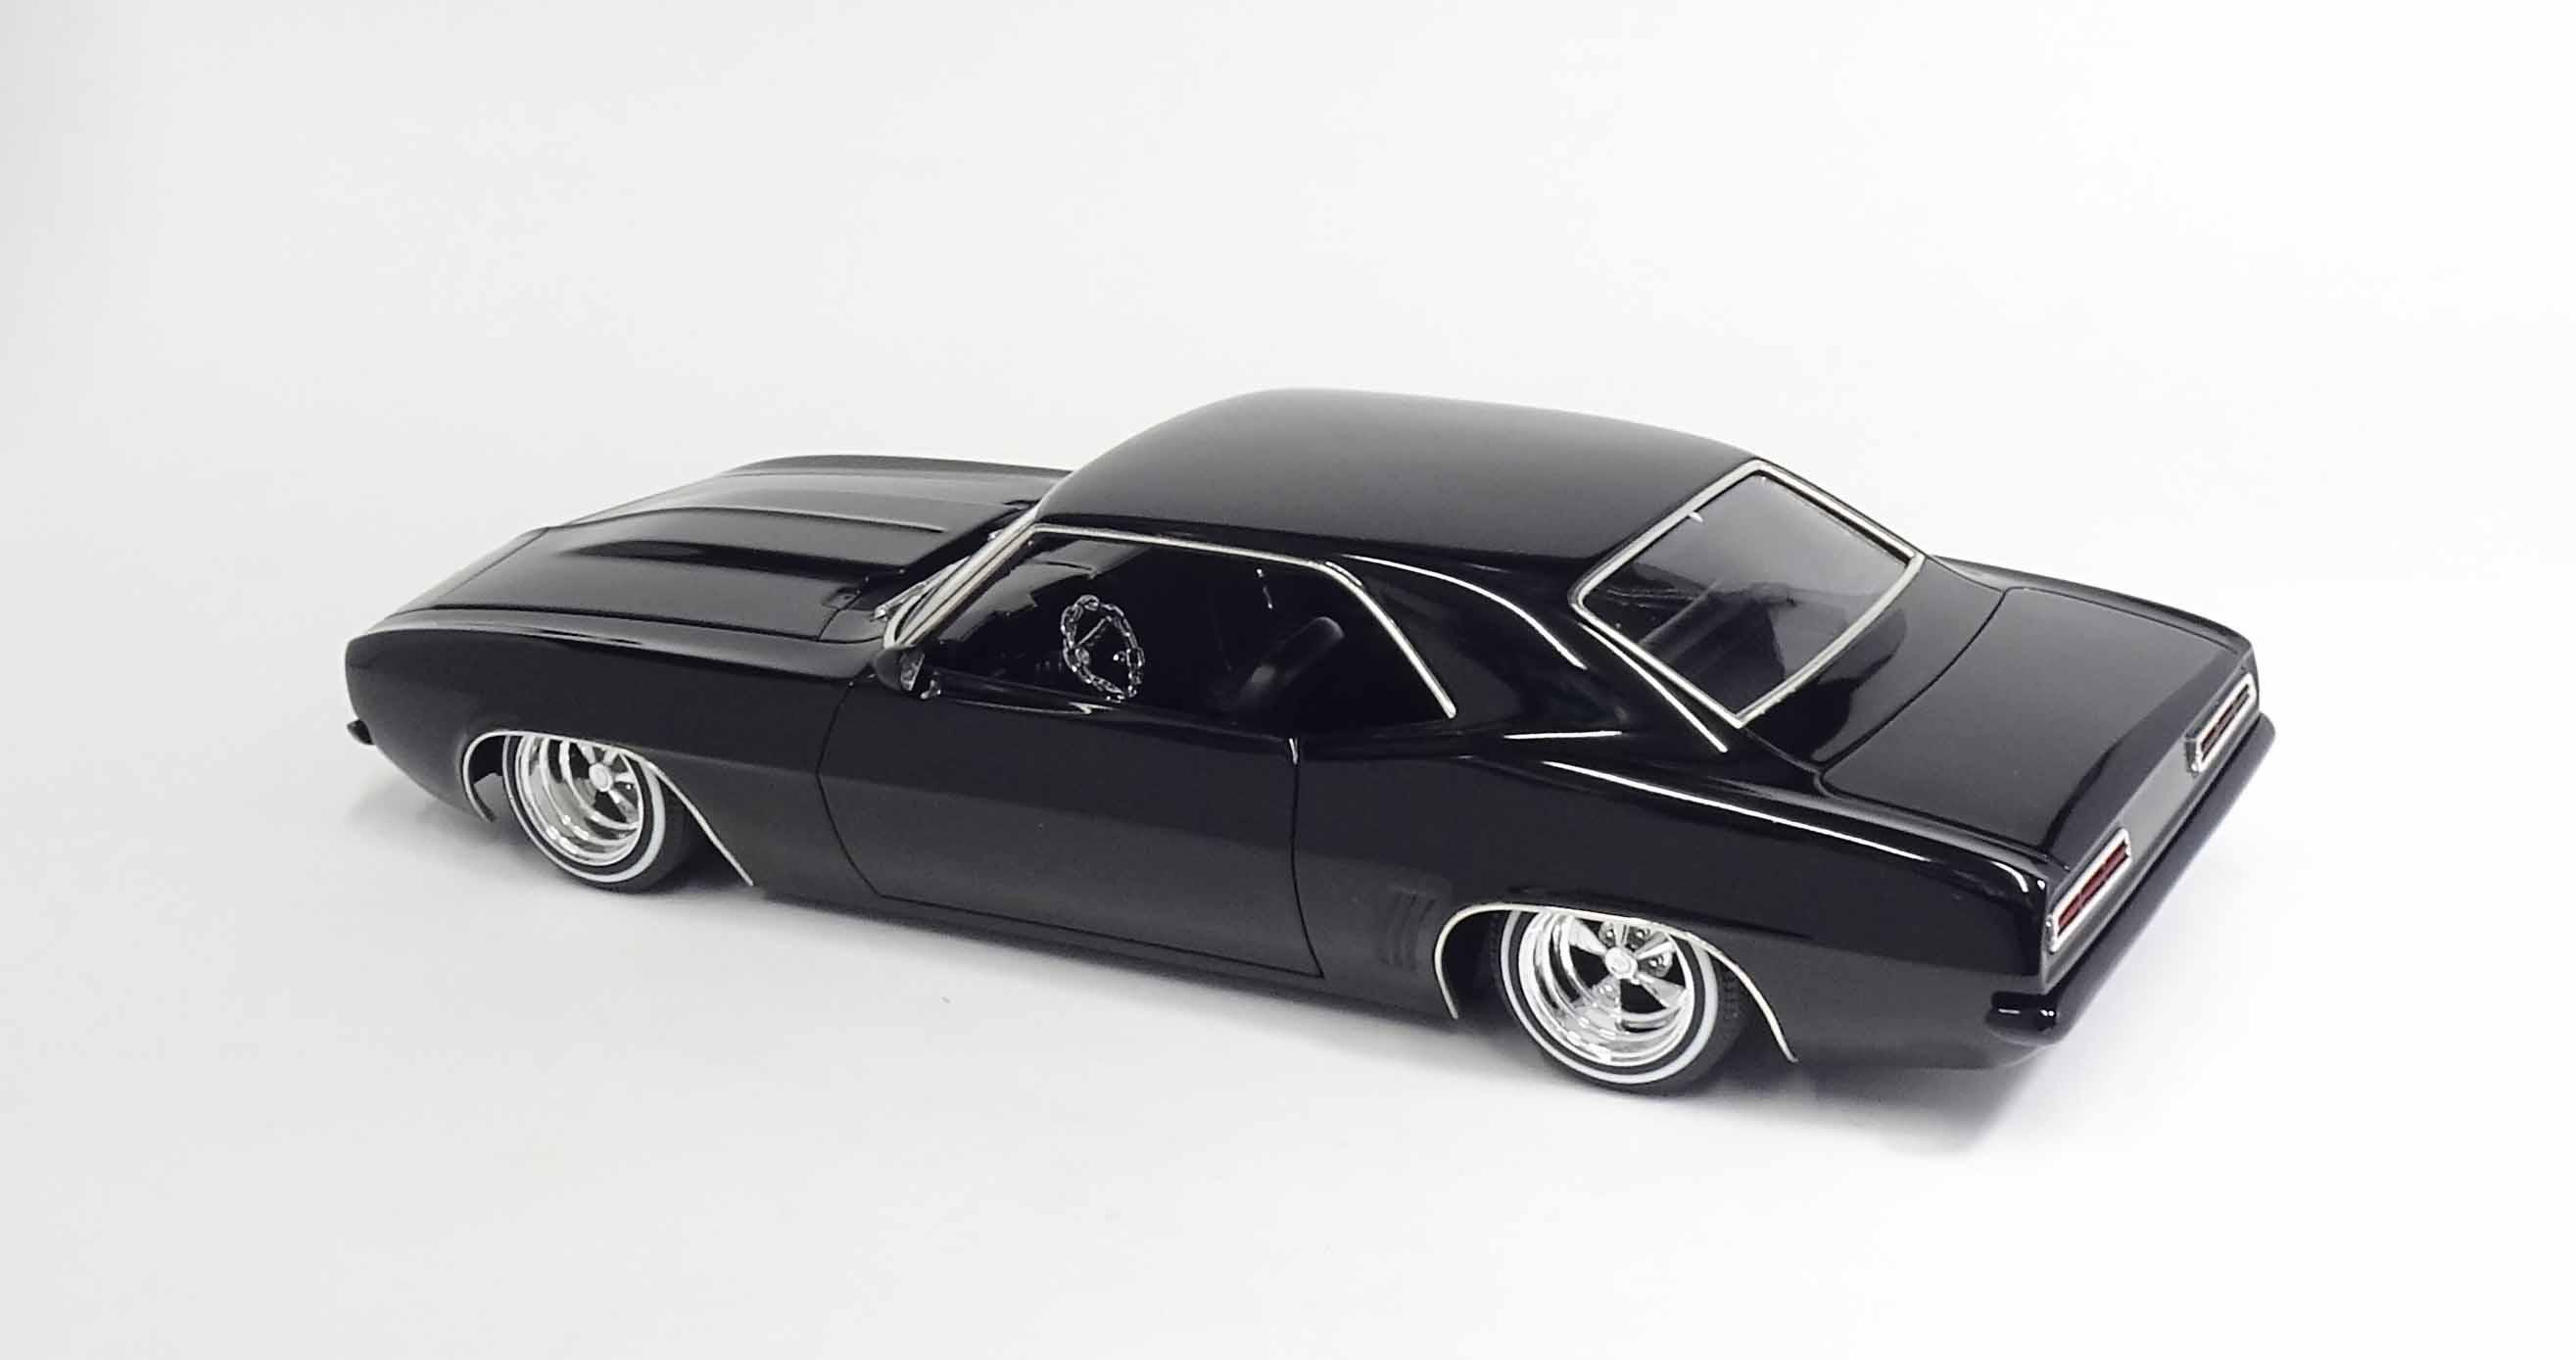
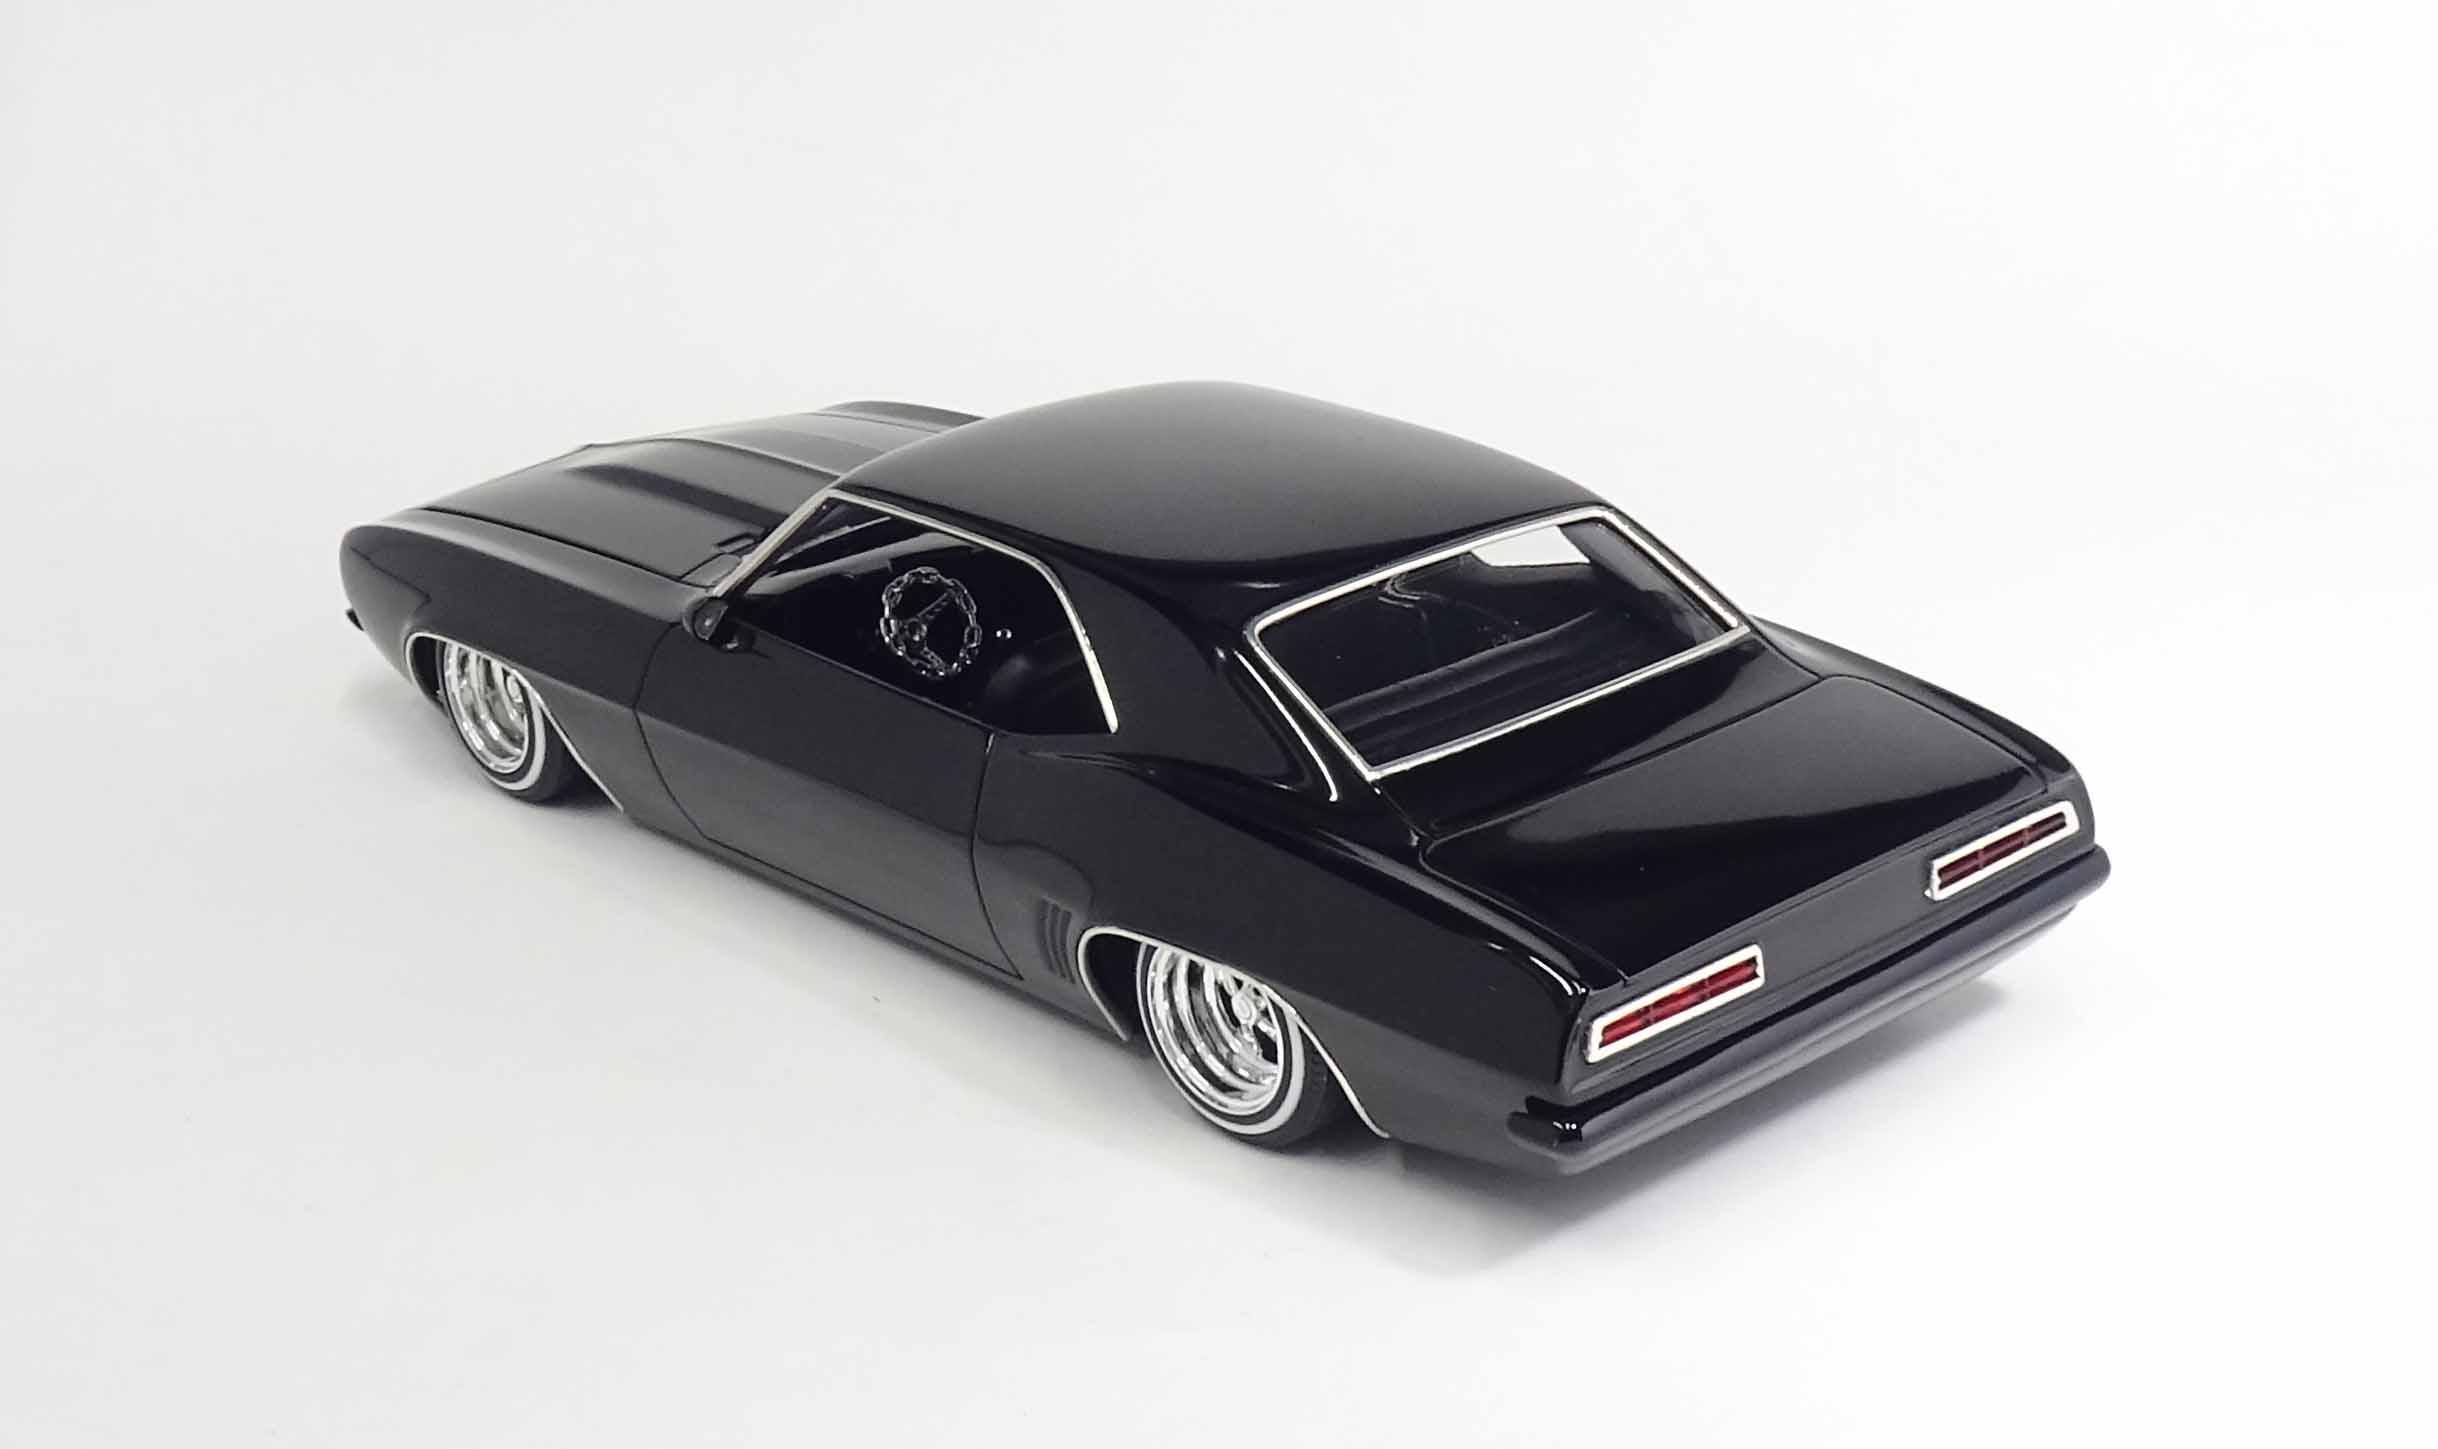
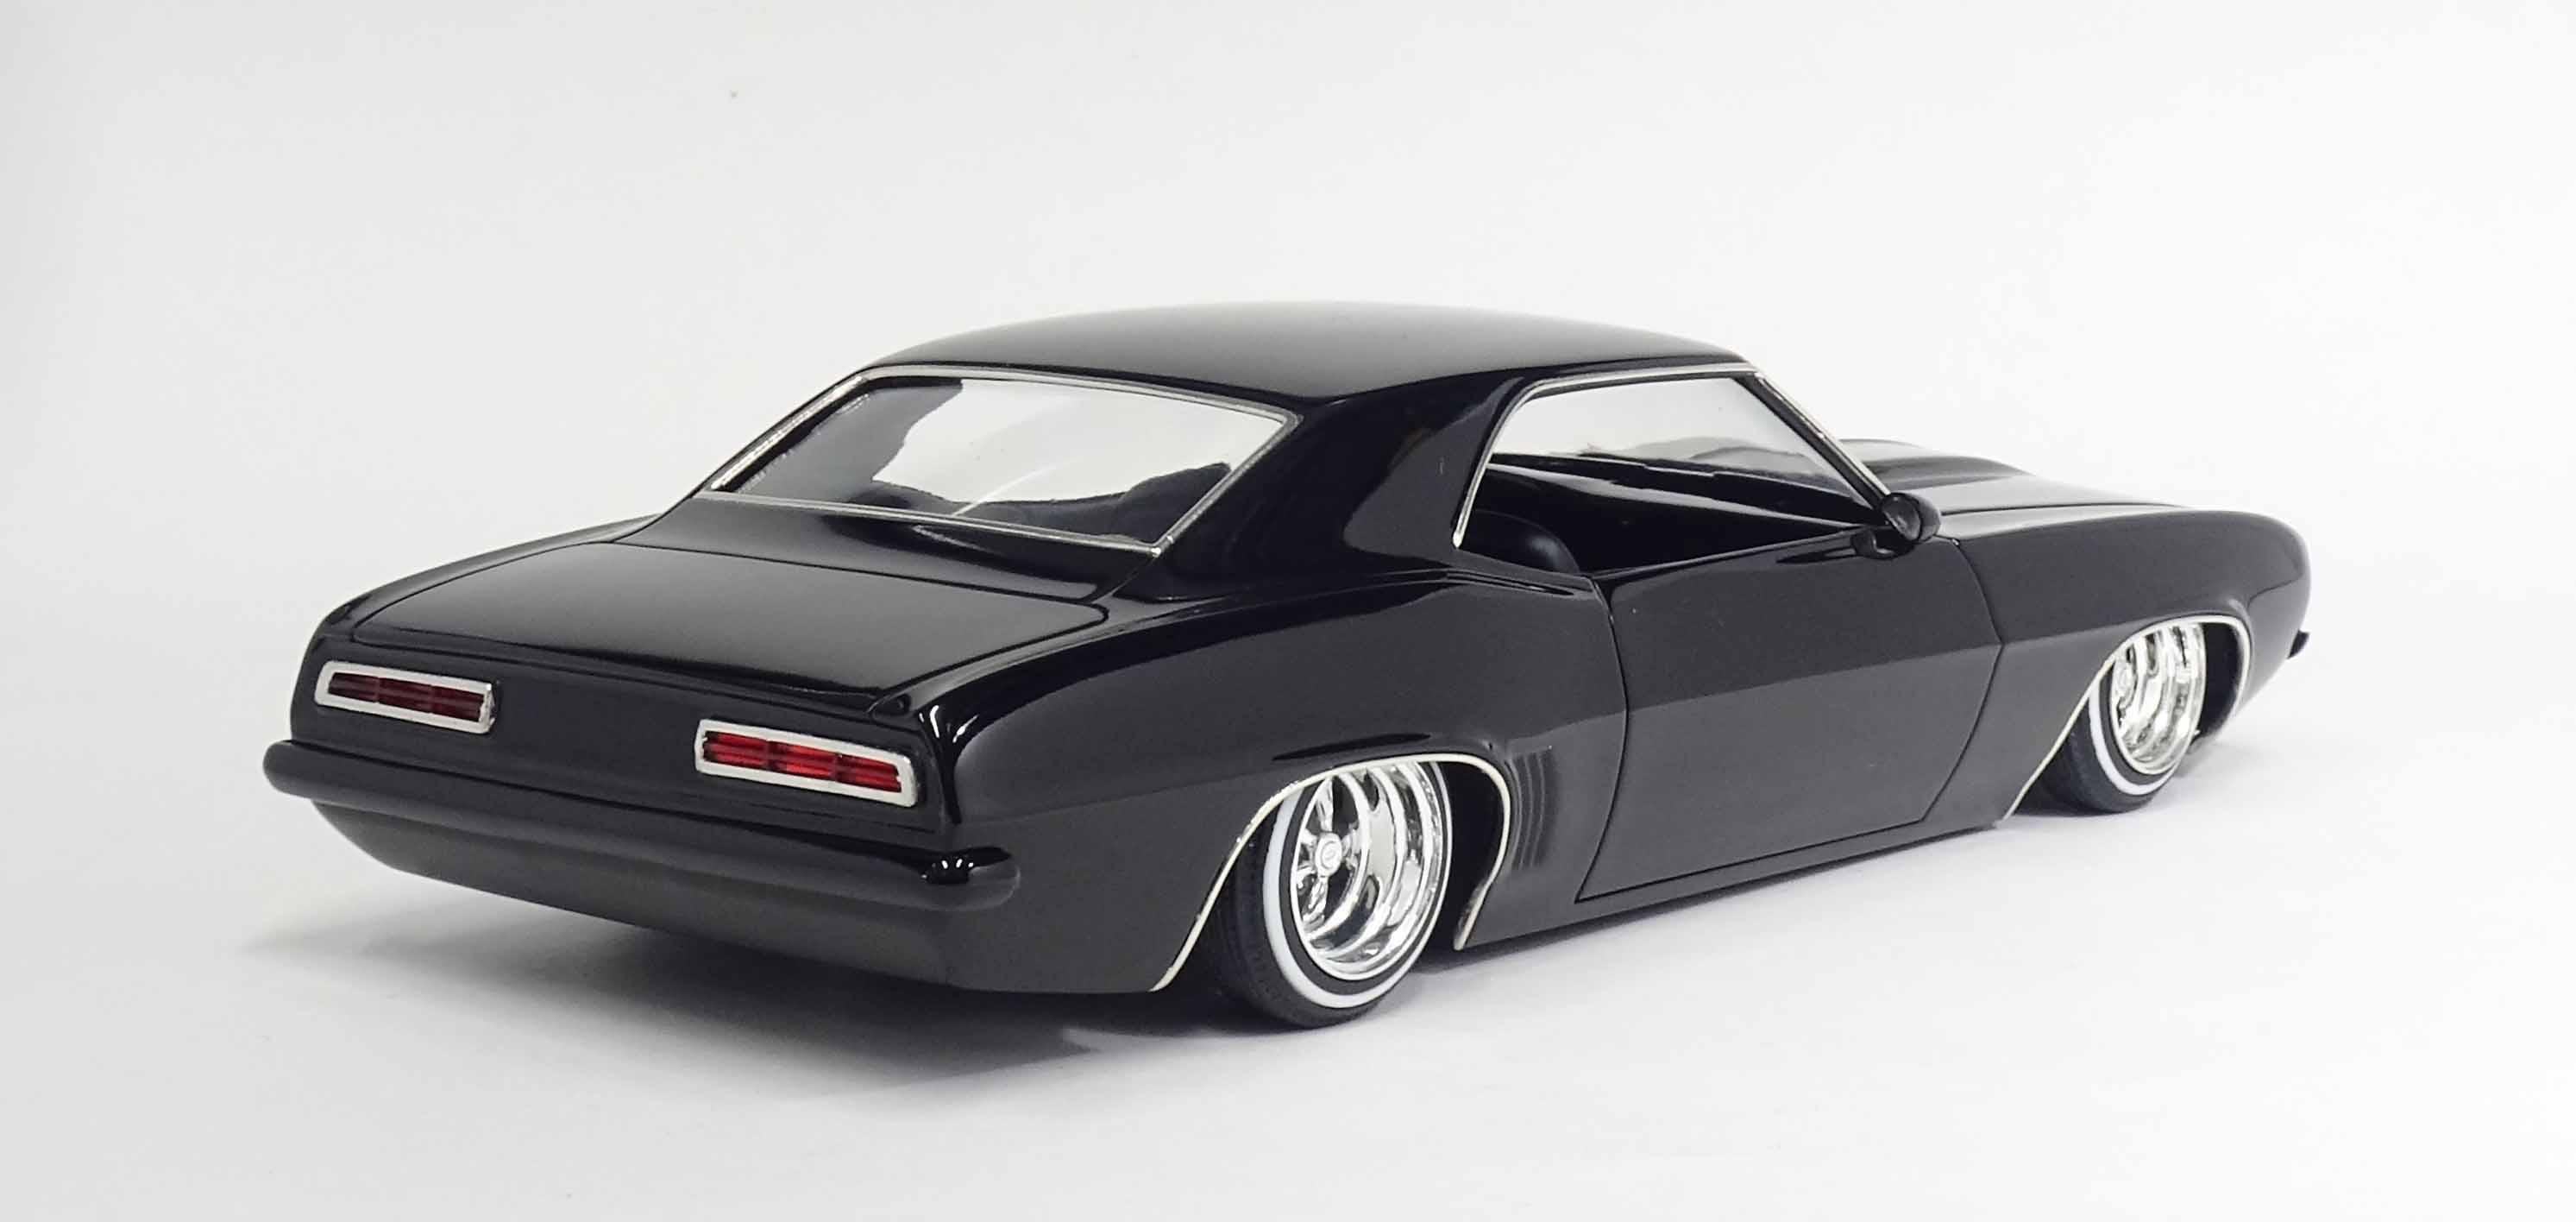
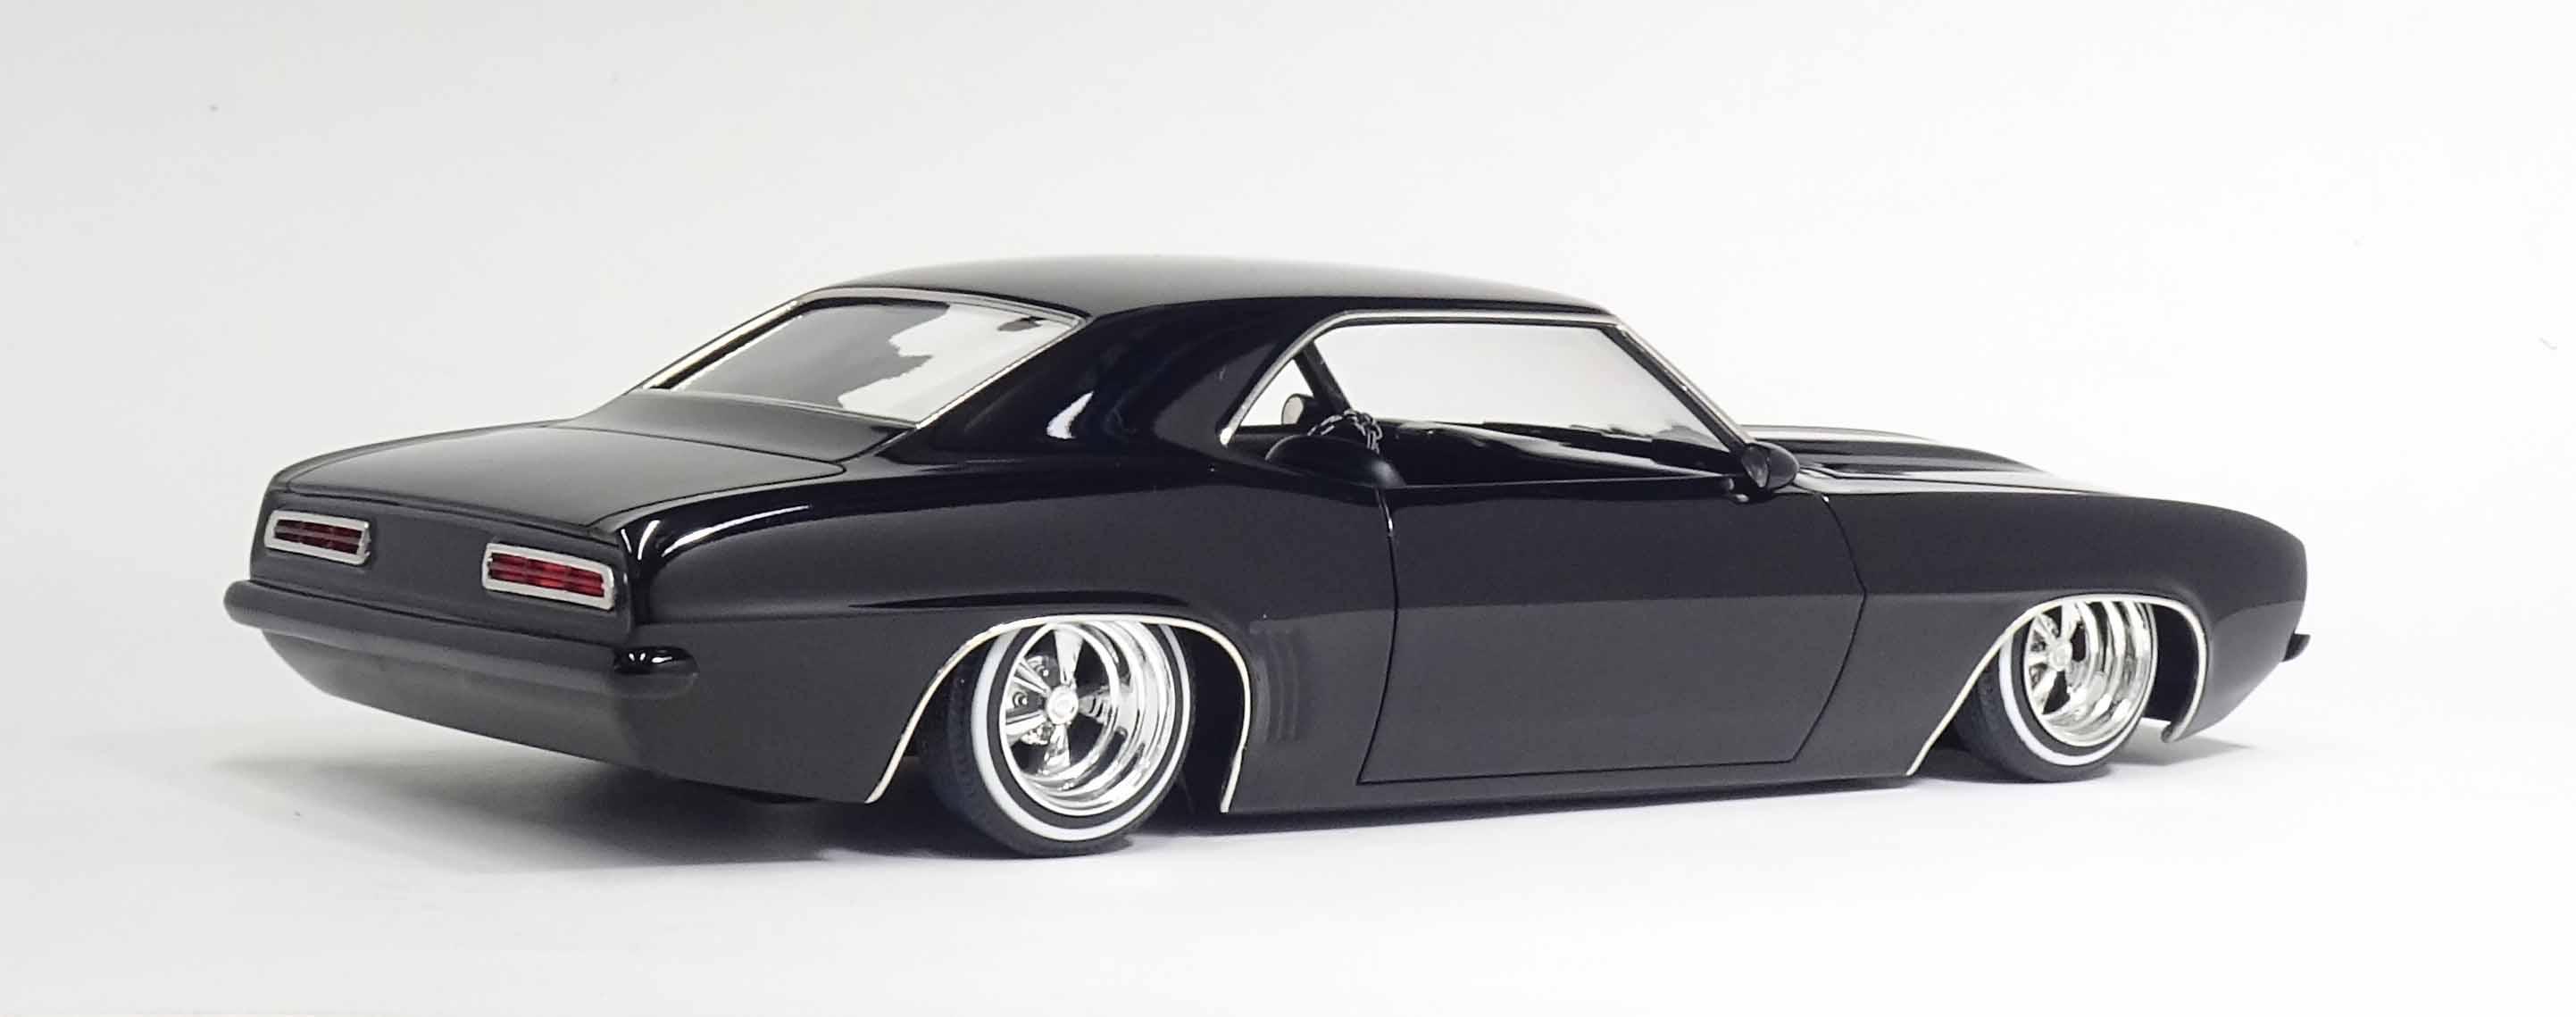
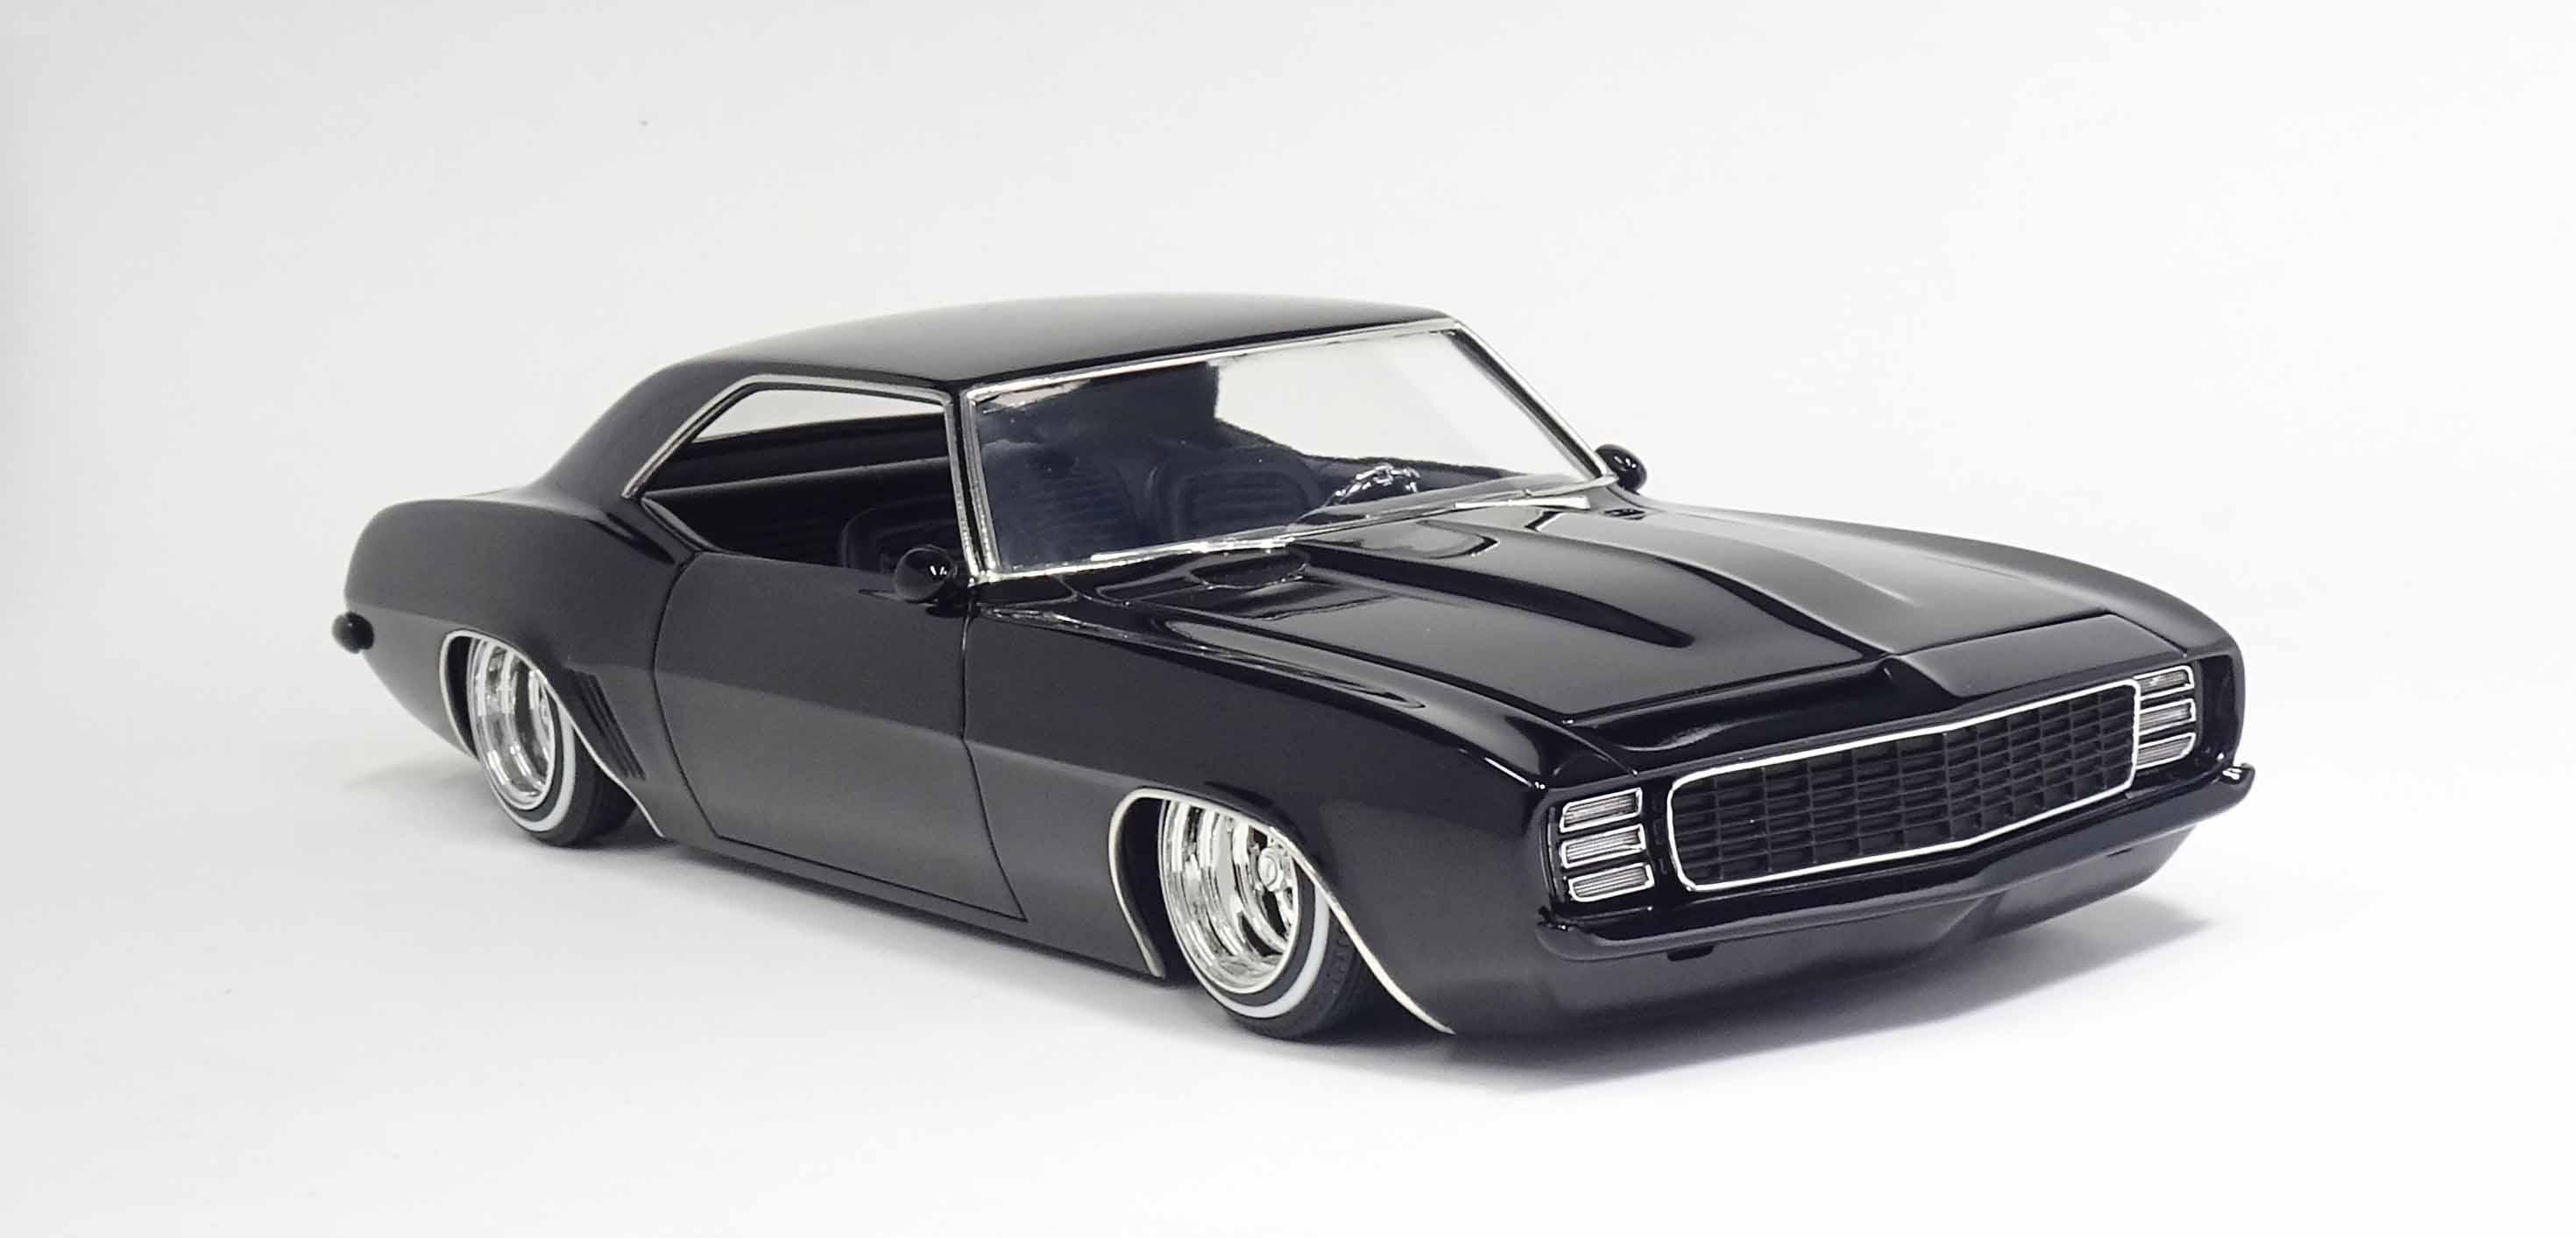
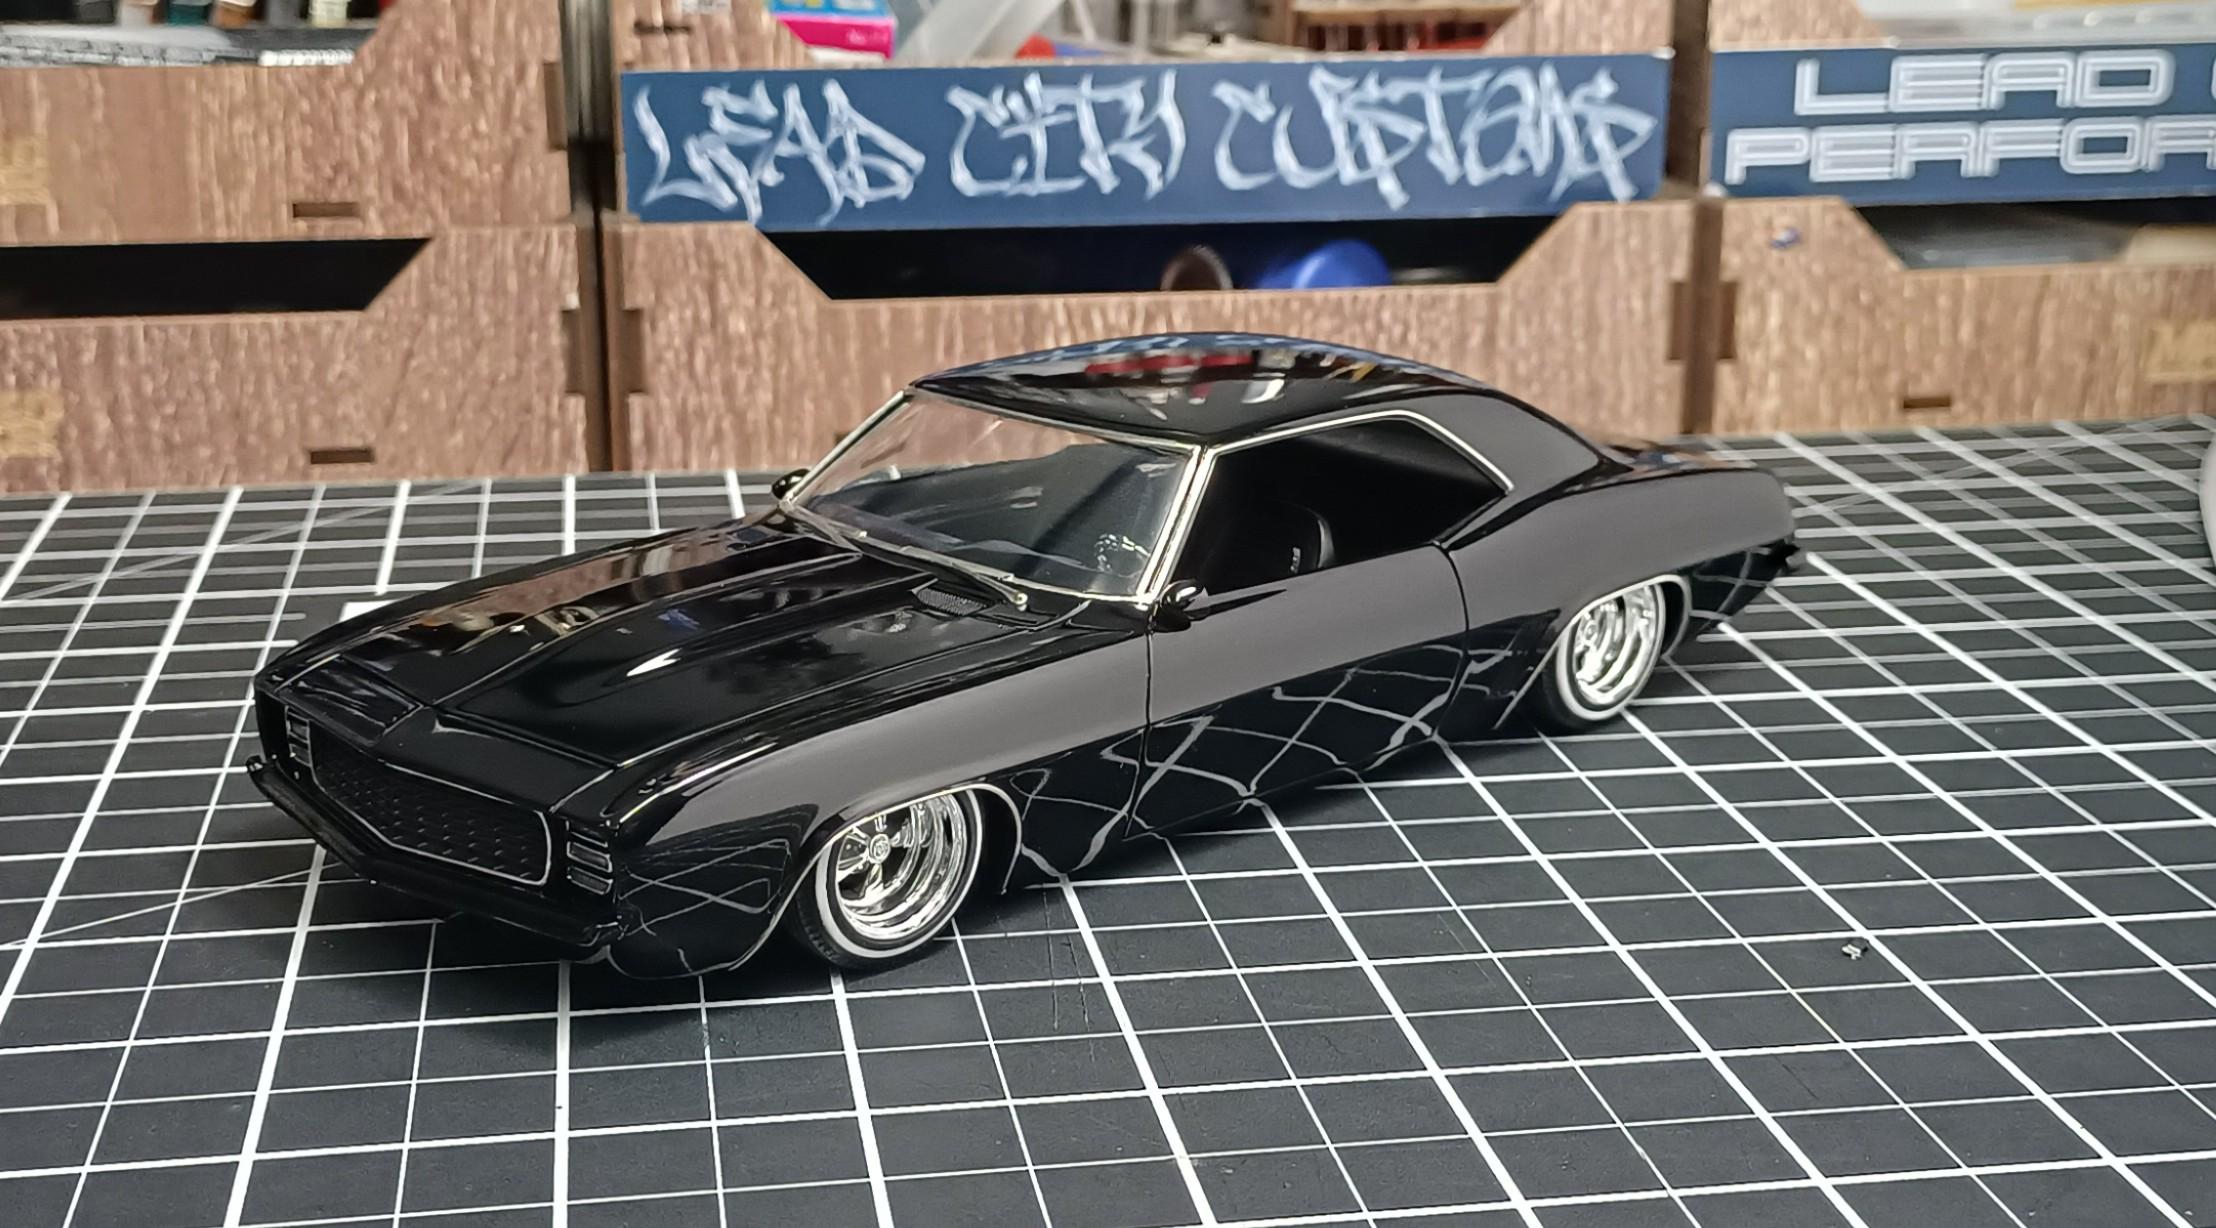
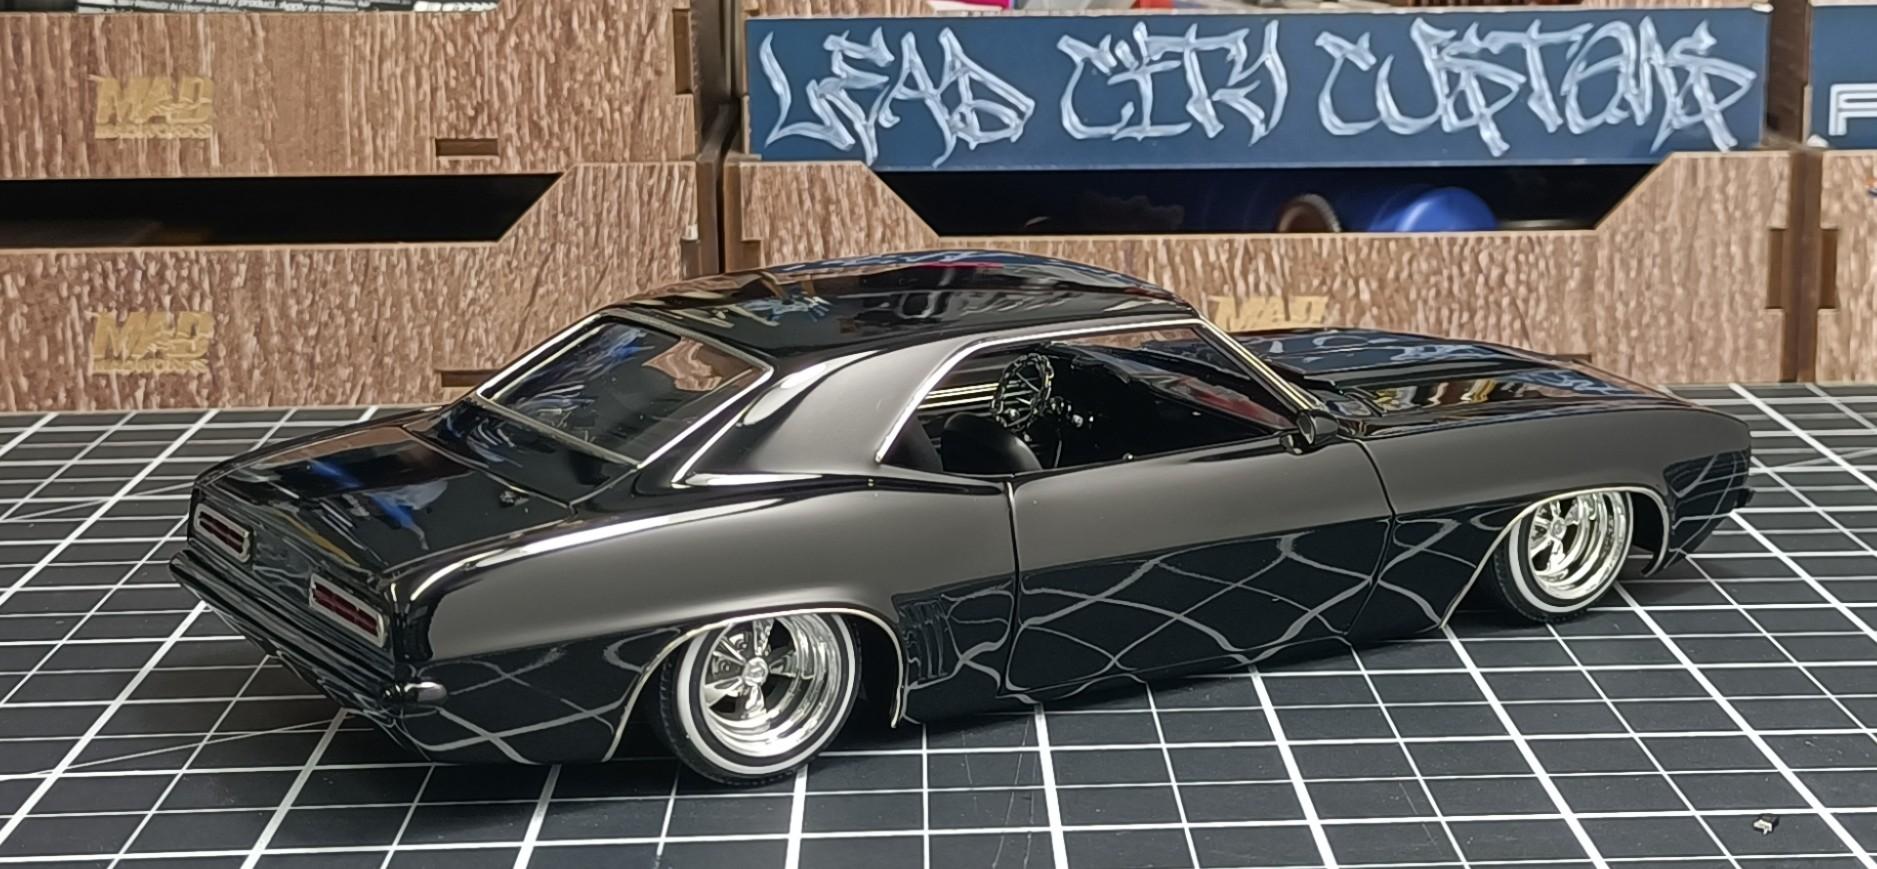
Back to basics minimal effort type of build. Just a shelf model. Style is 70's Lowrider, so slammed and fitted Pegasus wheels. Interior was painted 1500 surfacer black, BMF for the trim on the inner door panels. Tamiya TS-14 black applied to the dash, fitted 3D printed chain steering wheel and removed the head rests. Filled smoothed the front and rear roll pans, filled number plate recess and smoothed the front bumper, filled the number plate recess and removed bumper guards and smoothed the rear bumper. Side mirrors from a Aoshima kit cant remember which one. As per usual paint is Tamiya TS-14 black, that was polished with Tamiya coarse, fine and finish compounds and waxed with Megiuars Tech Wax.
-
Camaro completed. Under Glass.
- 766 replies
-
- 7
-
-
- stalled builds
- quick builds
- (and 2 more)
-
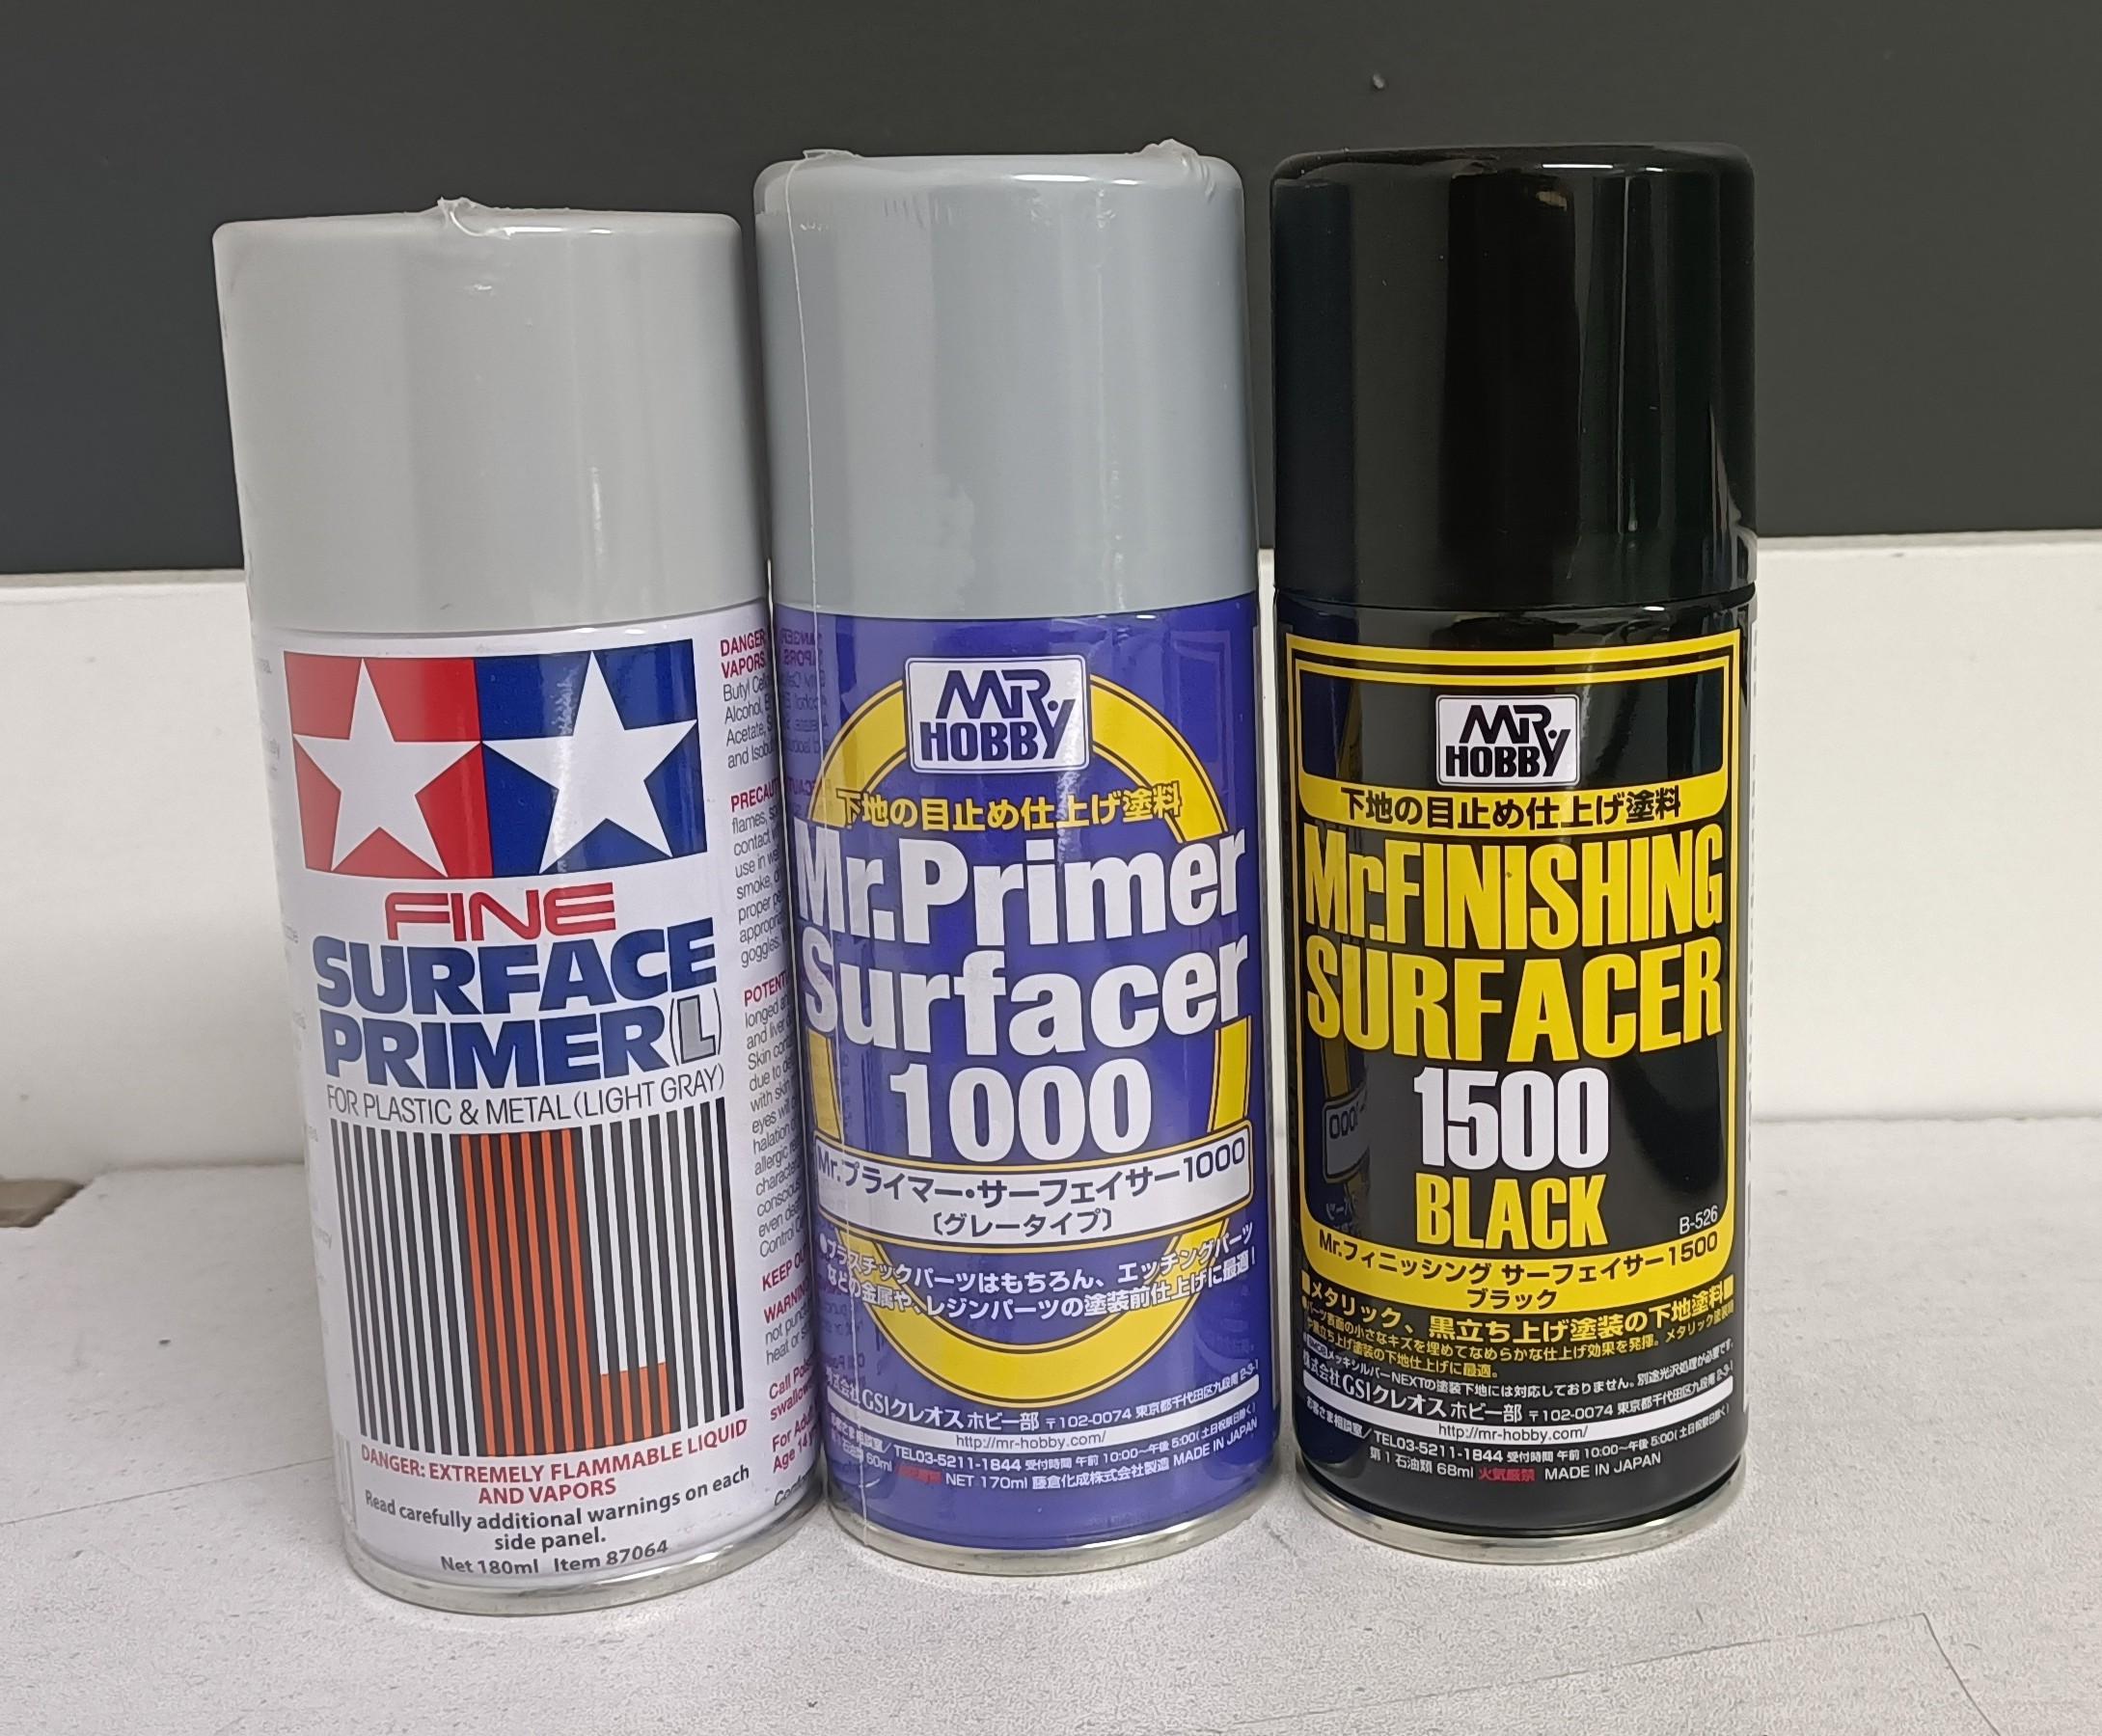
Yes mate, mentioned else where in one of the other threads. It is pricey, but worth it, when you wont have to sand. Also when using spray cans in winter, place the can in some hot tap water for 5 min before shaking and spraying. It will help the paint atomize better and get a smoother finish.
-
There is a reason some of us are willing and like to spend the extra dollars on hobby grade primers or surfacers. No sanding required, and a perfect foundation for colour coats. And all had Tamiya TS-14 Black applied for colour coat, and none required a clear coat the following results are black straight from the can.


.jpg.68760908fd4d4b0aee6d82715378eff3.jpg)