crowe-t
-
Posts
1,965 -
Joined
-
Last visited
Content Type
Profiles
Forums
Events
Gallery
Everything posted by crowe-t
-
 Can anyone who uses photo etch(PE) interior door window cranks post pictures with them installed? I'd like to see how they look and go together.
 -
Portola Red Model Paint Equivalent
crowe-t replied to crowe-t's topic in Model Building Questions and Answers
I just added a tiny drop of Testors Aircraft Interior Black to the Testors Insignia Red and it looks almost 100% on. I was hoping for something straight out of the bottle but this mixture works for me. Thanks everyone for the suggestions. -
Portola Red Model Paint Equivalent
crowe-t replied to crowe-t's topic in Model Building Questions and Answers
It looks close in this picture. -
Portola Red Model Paint Equivalent
crowe-t replied to crowe-t's topic in Model Building Questions and Answers
That's why I'm looking for something close in a hobby acrylic. I have Testors Insignia Red acrylic but it's a bit too red. -
Portola Red Model Paint Equivalent
crowe-t replied to crowe-t's topic in Model Building Questions and Answers
Have you used Vallejo Model Air 71.084 Fire Red or compared it to Portola Red? -
Is there an acrylic hobby paint that matches Portola Red interior color?
-
The color looks great! What type of clear did you use?
-
1965 Oldsmobile 442(from an AMT '64 Olds 442) - FINISHED
crowe-t replied to crowe-t's topic in WIP: Model Cars
Here's a small update. I got a set of resin Weld Drag Lites from M.A.D. Modeling. I drilled holes for the alternate bolt pattern and added the center caps. I'll add the small screws around the perimeter of the rear wheels that hold the drag radials in place and possibly the valve stems.
-
Beautiful job on this Tom and great attention to detail! The big tires in the rear look awesome.
-
1965 Oldsmobile 442(from an AMT '64 Olds 442) - FINISHED
crowe-t replied to crowe-t's topic in WIP: Model Cars
Thanks Carl! Everyone Have a Happy Thanksgiving! -
1965 Oldsmobile 442(from an AMT '64 Olds 442) - FINISHED
crowe-t replied to crowe-t's topic in WIP: Model Cars
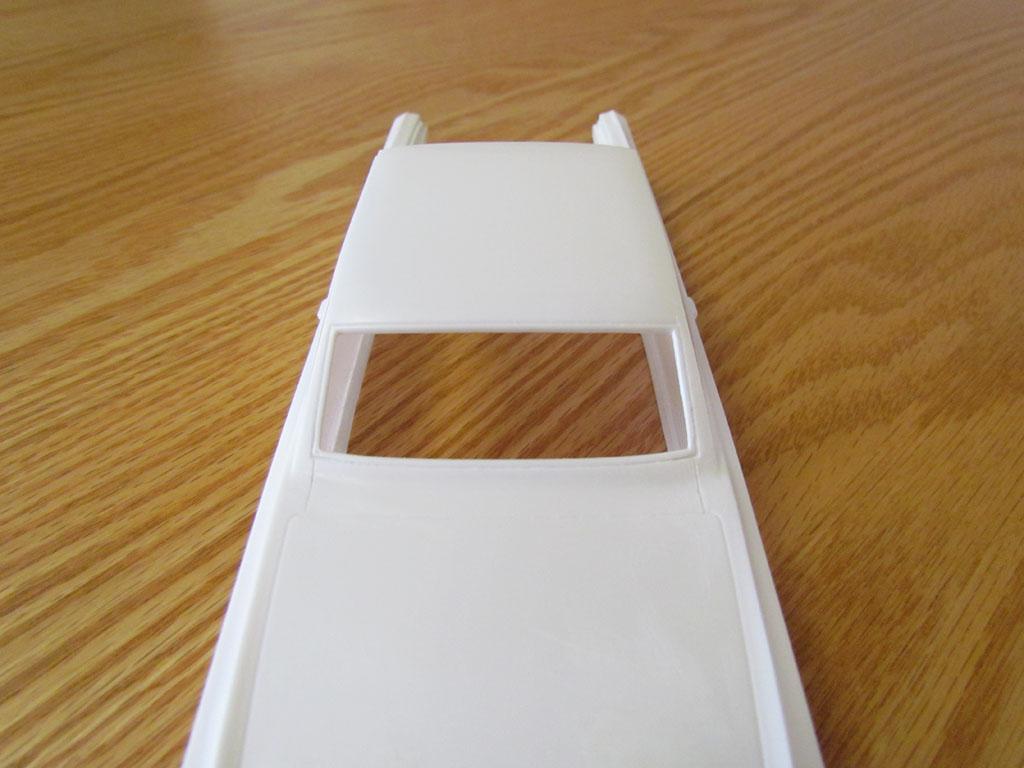
The lower corners of the rear window frame are rounded on the '64 kit. They should be squared off. I squared them and also scribed the lines that separate the rear deck filler panel from the quarter panels. The last picture shows the lower corners of the rear window as round. Unfortunately I forgot to take more pictures of the rear of the body before I squared off the corners and scribed the rear deck filler panel separation lines. This is the best picture I have showing that.
-
1965 Oldsmobile 442(from an AMT '64 Olds 442) - FINISHED
crowe-t replied to crowe-t's topic in WIP: Model Cars
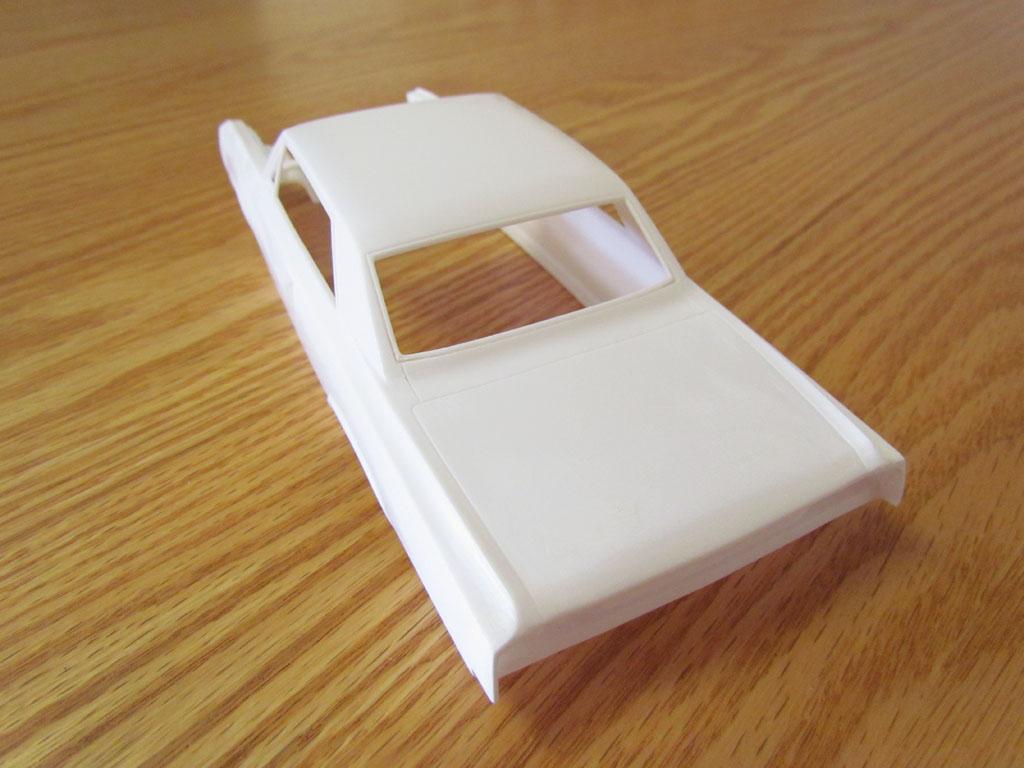
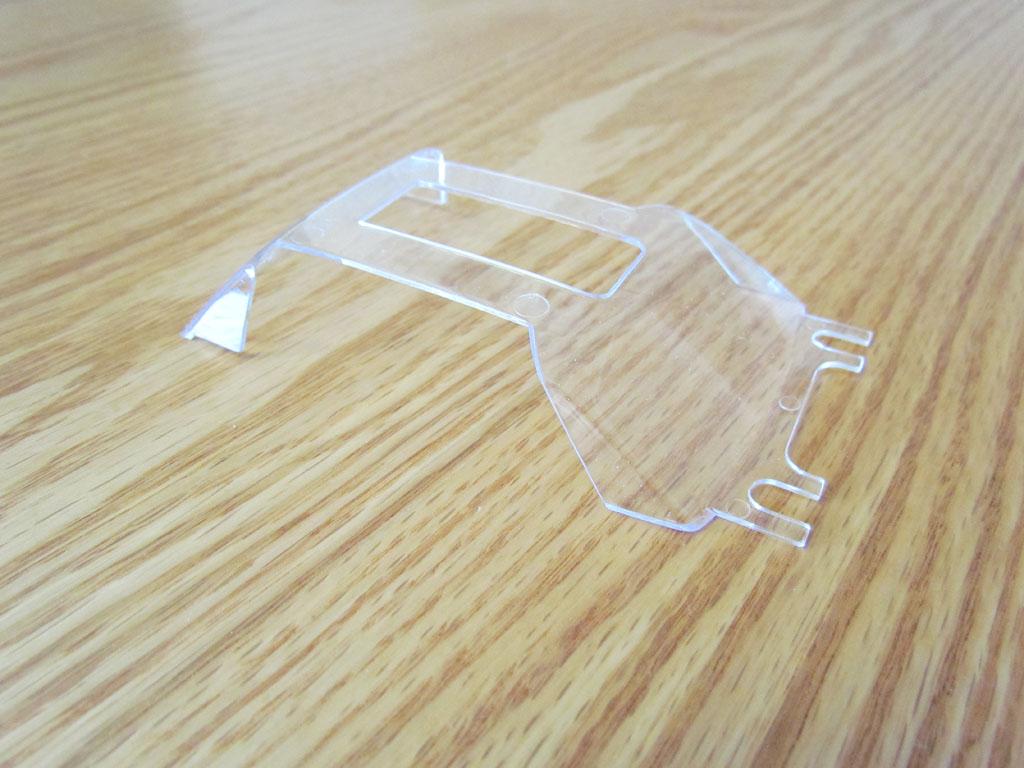
I cut the clear windows out so they can be installed as 2 separate windows. I never liked how they look inside when they are connected. I added some styrene to the lower corners of the windshield frame to round them some more and re-scribed the frame. The lower corners out of box aren't rounded enough. The kit is missing some seam lines below the windshield frame that separate the fenders and windshield valance. I scribed these in. It shows in some of my previous pictures but I hadn't pointed this out. The last picture shows how the lower corners of the windshield frame looked and has no seam lines out of box.
-
1965 Oldsmobile 442(from an AMT '64 Olds 442) - FINISHED
crowe-t replied to crowe-t's topic in WIP: Model Cars
Thanks! I'm having fun with this build. It's a real nice car and I want to capture the feel of it. -
1965 Oldsmobile 442(from an AMT '64 Olds 442) - FINISHED
crowe-t replied to crowe-t's topic in WIP: Model Cars
I appreciate that Mike! -
1965 Oldsmobile 442(from an AMT '64 Olds 442) - FINISHED
crowe-t replied to crowe-t's topic in WIP: Model Cars
Thanks Mike! I just measured the height of the scoop and it's exactly the height it should be. The 1:1 scoop is 4.5 inches high. I made the scoop 4.6 mm high. It's hard to tell in the pictures. The picture I posted of my friend's car is making the scoop look a bit higher. -
1965 Oldsmobile 442(from an AMT '64 Olds 442) - FINISHED
crowe-t replied to crowe-t's topic in WIP: Model Cars
Thanks David! Thanks for the advice about using the wire. If the styrene doesn't work I'll use wire. -
1965 Oldsmobile 442(from an AMT '64 Olds 442) - FINISHED
crowe-t replied to crowe-t's topic in WIP: Model Cars
To make the crease in the hood I cut small triangular shapes into a piece of photo etch with a small file. I used .5mm x .5mm strip styrene placed on a cutting mat and ran the photo etch triangular cut shape(2nd from the left) over it to get the shape of the crease. Then glued the crease onto the hood.
-
1965 Oldsmobile 442(from an AMT '64 Olds 442) - FINISHED
crowe-t replied to crowe-t's topic in WIP: Model Cars
Thanks Chaz! My friend is taking the HD floor mats out so I won't be including them. -
1965 Oldsmobile 442(from an AMT '64 Olds 442) - FINISHED
crowe-t replied to crowe-t's topic in WIP: Model Cars
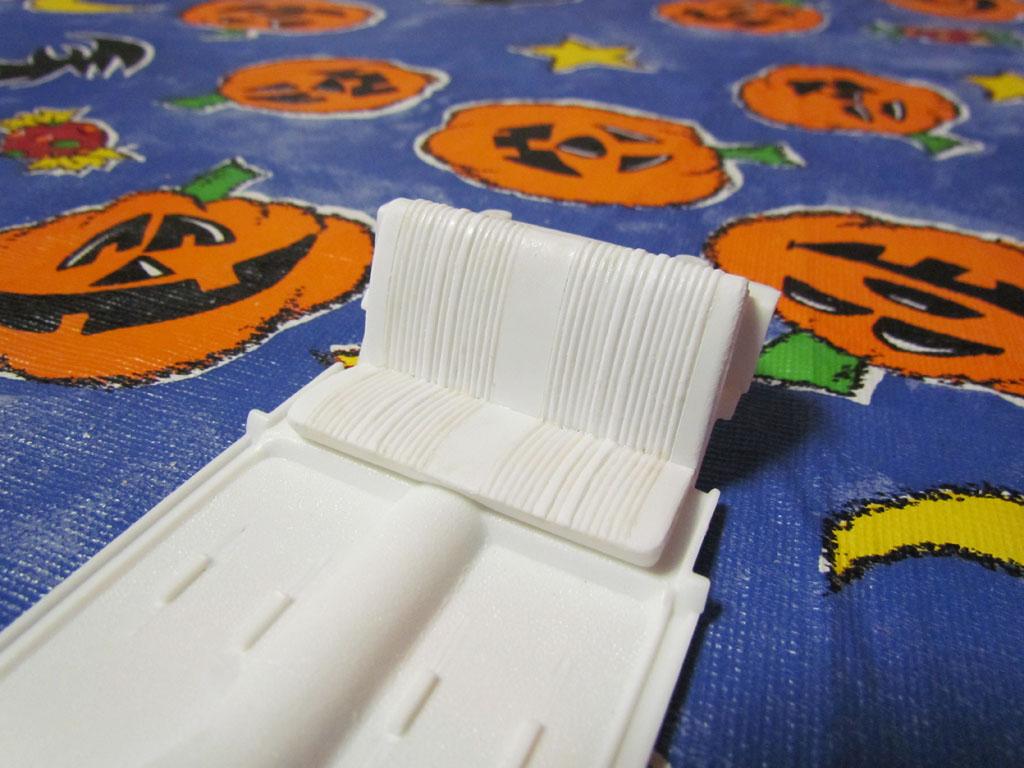
Thanks Walt! I applied some Plastruct Plastic Weld which sets faster than thin cement on the seat and held the half round rod(s) in place until they stuck. I used mostly 1 mm half round and some 1.5 mm for the wider pleats. It's easier to glue it to the curved areas with a thicker cement. -
1965 Oldsmobile 442(from an AMT '64 Olds 442) - FINISHED
crowe-t replied to crowe-t's topic in WIP: Model Cars
I added a picture of the engine in the original post. I forgot to add it when I first posted. -
1965 Oldsmobile 442(from an AMT '64 Olds 442) - FINISHED
crowe-t replied to crowe-t's topic in WIP: Model Cars
Thanks guys! My friend did a great job building his 442. He even painted the hood, fenders and trunk lid himself. He's a real talented guy. -
1965 Oldsmobile 442(from an AMT '64 Olds 442) - FINISHED
crowe-t replied to crowe-t's topic in WIP: Model Cars
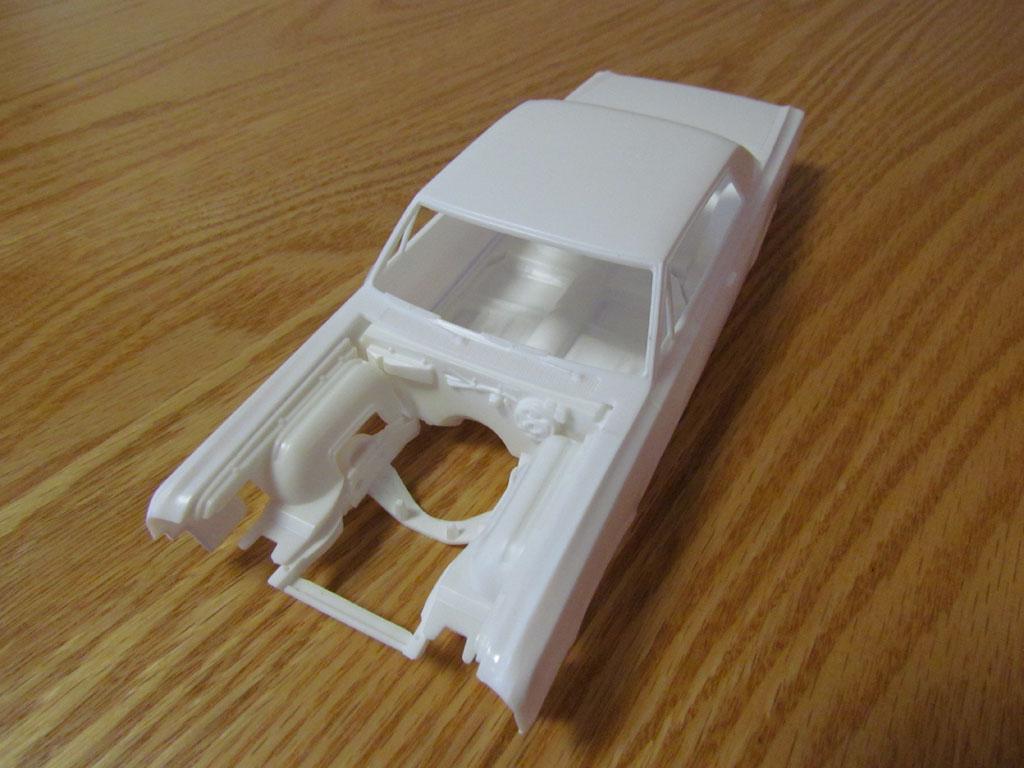
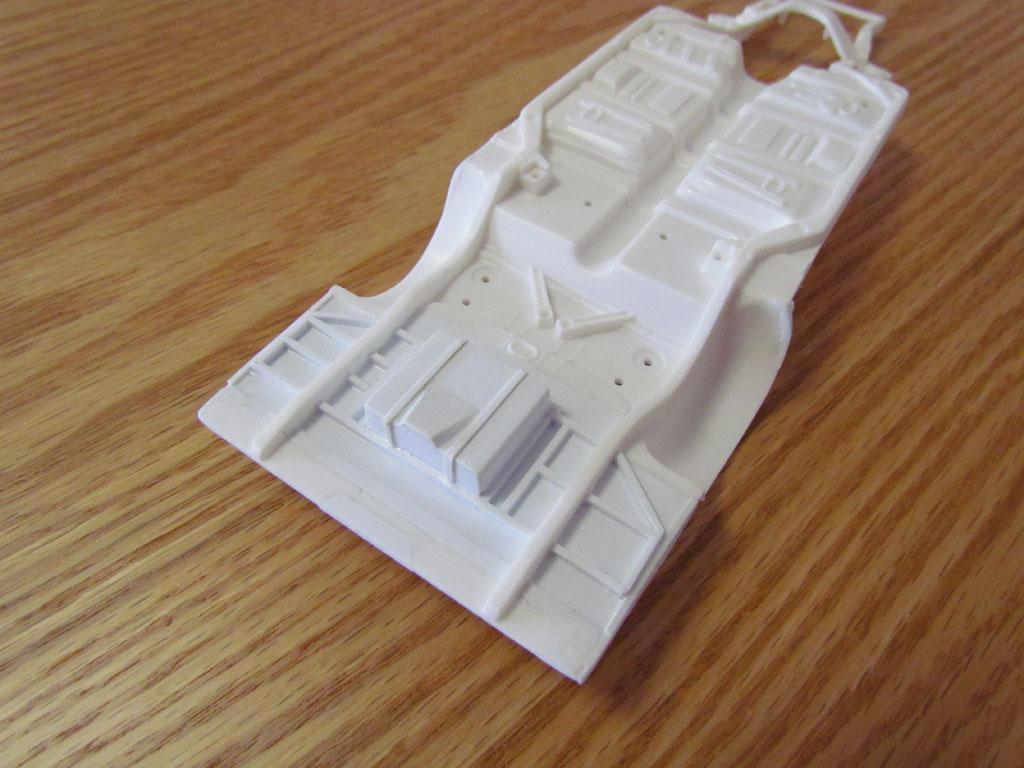
Since the '67 kit has the inner front wheel wells attached to the body I had to cut them out and install them in the '64. They are much nicer than the ones attached to the '64 chassis. The '64 chassis has the exhaust, drive shaft and rear end all molded in. It's one part of the kit Round 2 should have re-tooled. I attached a picture with the hood scoop laid on the hood and a resin grill/bumper from MCW. I bought the front grill/bumper, rear bumper and tail light panel from MCW. These parts are more accurate than the ones in the R&R Resins kit. The '67 rear end has the sway bar molded in which doesn't look realist so I started removing it. I'll make a new one with styrene rod. Today I finished the hood scoop. I glued styrene to the front of the hood to re-shape it. It just needs some putty and sanding. I also added the straps on the fuel cell. Thanks for looking in. I'll post more updates soon.
-
1965 Oldsmobile 442(from an AMT '64 Olds 442) - FINISHED
crowe-t replied to crowe-t's topic in WIP: Model Cars
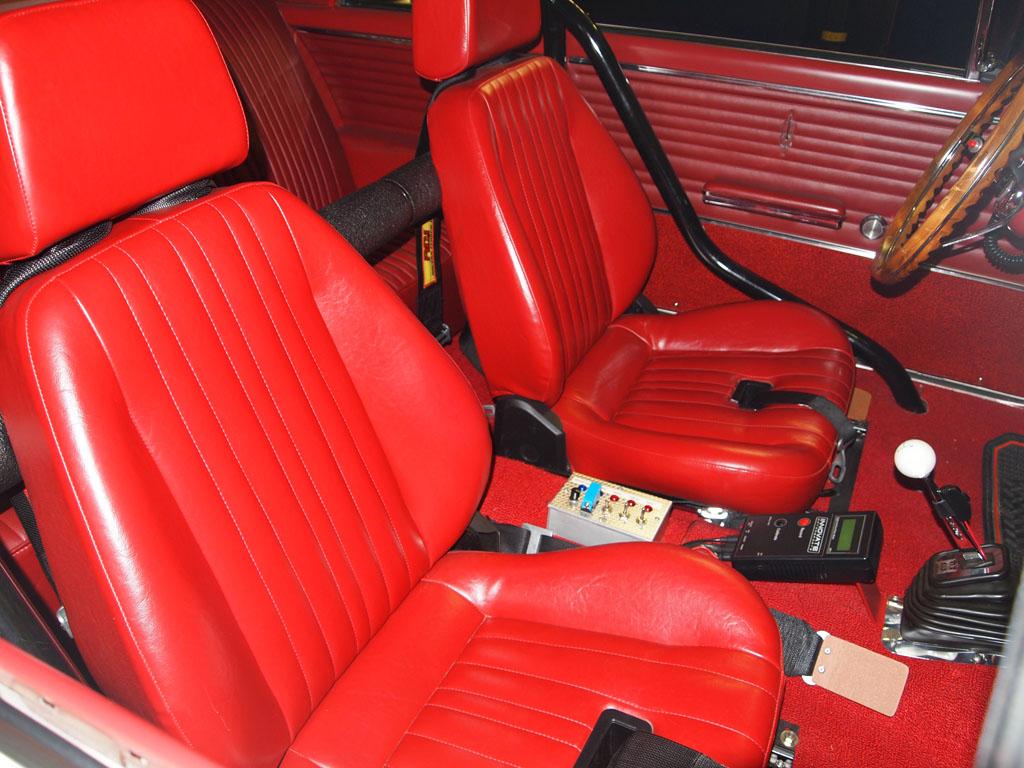
I had a set of front seats from a Revell '85 Olds 442 that I'm using. I modified the seats to match the seats in my friend's 1:1 442. The '85 Olds seats already had a similar shape so it was the easiest way for me to make them. I removed all the details on the '67 kit's rear seat and used half round rods to simulate the look of a '65 rear seat. I had to leave a few pleats out but at this scale it won't be noticeable. The ends of the quarter panels are re-shaped to resemble a '65.
-
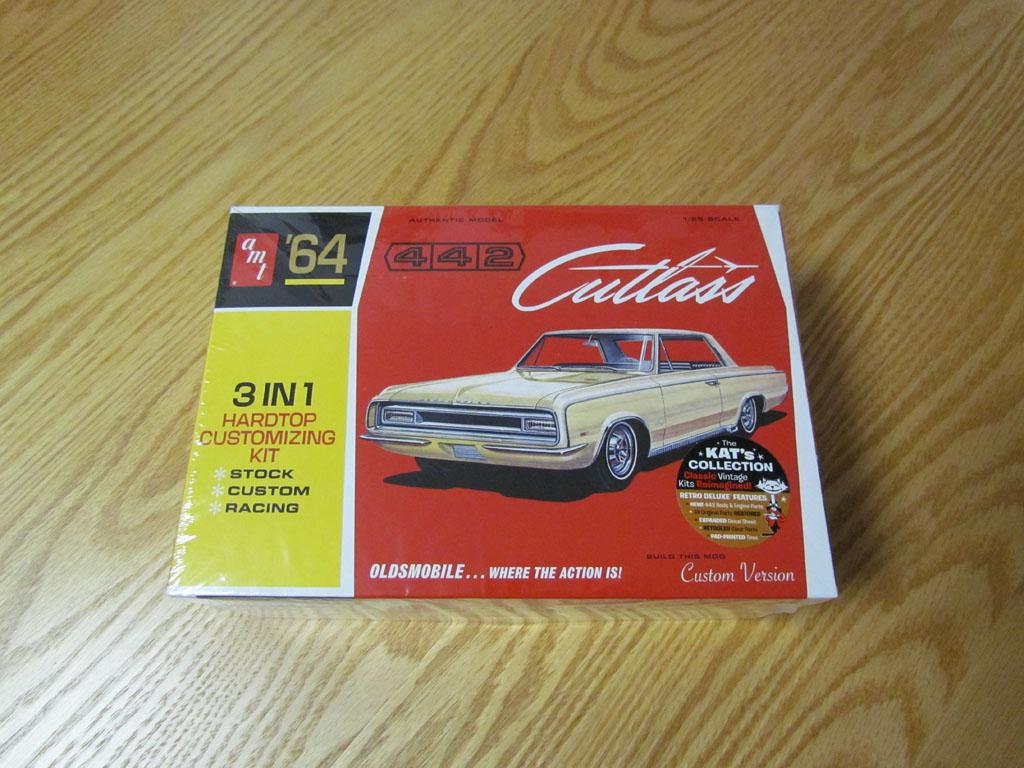
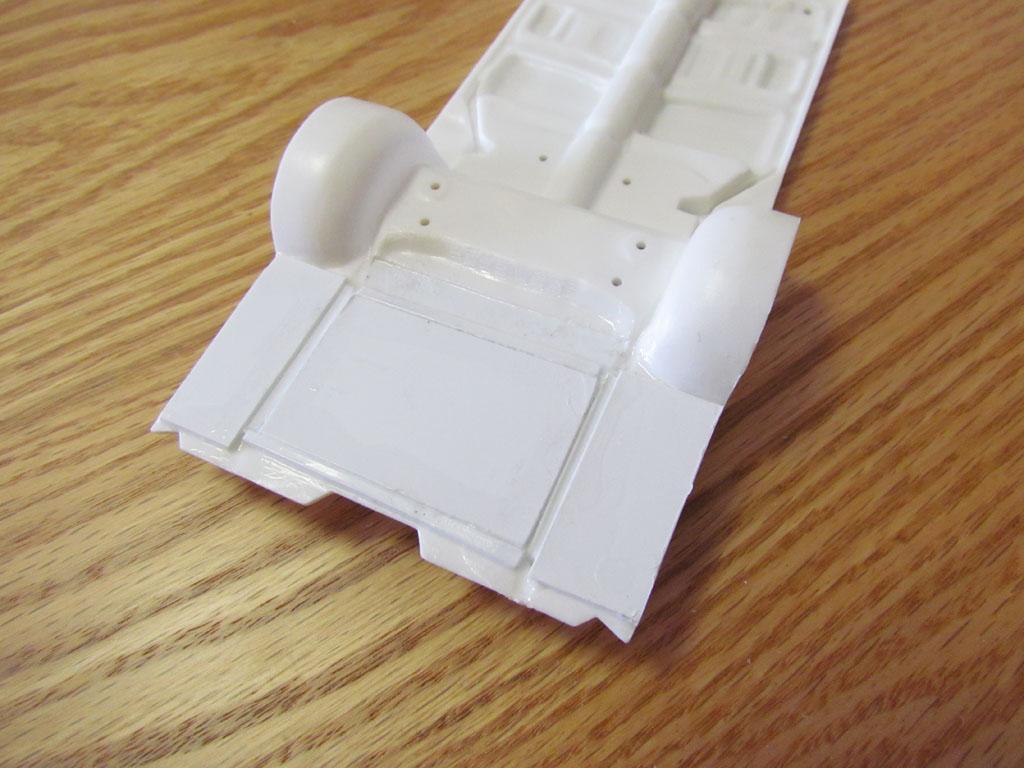
I'm building a '65 Olds 442 for my friend. It's going to be a model of his car. I attached some pictures of his car, including the interior, engine and undercarriage. My friend sent me an R&R Resins '65 Olds 442 and a Lindberg '67 Olds 442 to start with. The resin kit from R&R Resins isn't that great. The body is warped and the details aren't that accurate. I was considering buying a MCW(Model Car World) '65 Olds 442 but by luck Round 2 just released the AMT '64 Olds 442 Hardtop kit so I decided to use that instead of the resin body. The '67 442's chassis, interior, engine... are all much better than the parts that come in the '64 kit so I'm modifying them to fit the AMT '64 body. The 1:1 car has a custom frame and fuel cell. Before the AMT '64 kit arrived I started working on the '67 kit's parts. I cut the gas tank and rear area out of the '67 chassis and scratch built the fuel cell and surrounding frame and started making the hood scoop. The hood is a fiberglass one with a 4 inch cowl scoop from VFN Fiberglass. I'll post more pictures in the next post. I'm not sure how many I can put in a single post.
-
My hardtop has about the same gaps as your convertible. I looked at the body and it doesn't appear to be spread apart at the bottom. I'll be using a chassis from a Lindberg '67 Olds 442 kit so I'll just work with it to make it fit. I just wanted to make sure the body was OK.