Fat Brian
-
Posts
4,439 -
Joined
-
Last visited
Content Type
Profiles
Forums
Events
Gallery
Everything posted by Fat Brian
-
I'm not a fan but........
Fat Brian replied to stitchdup's topic in General Automotive Talk (Trucks and Cars)
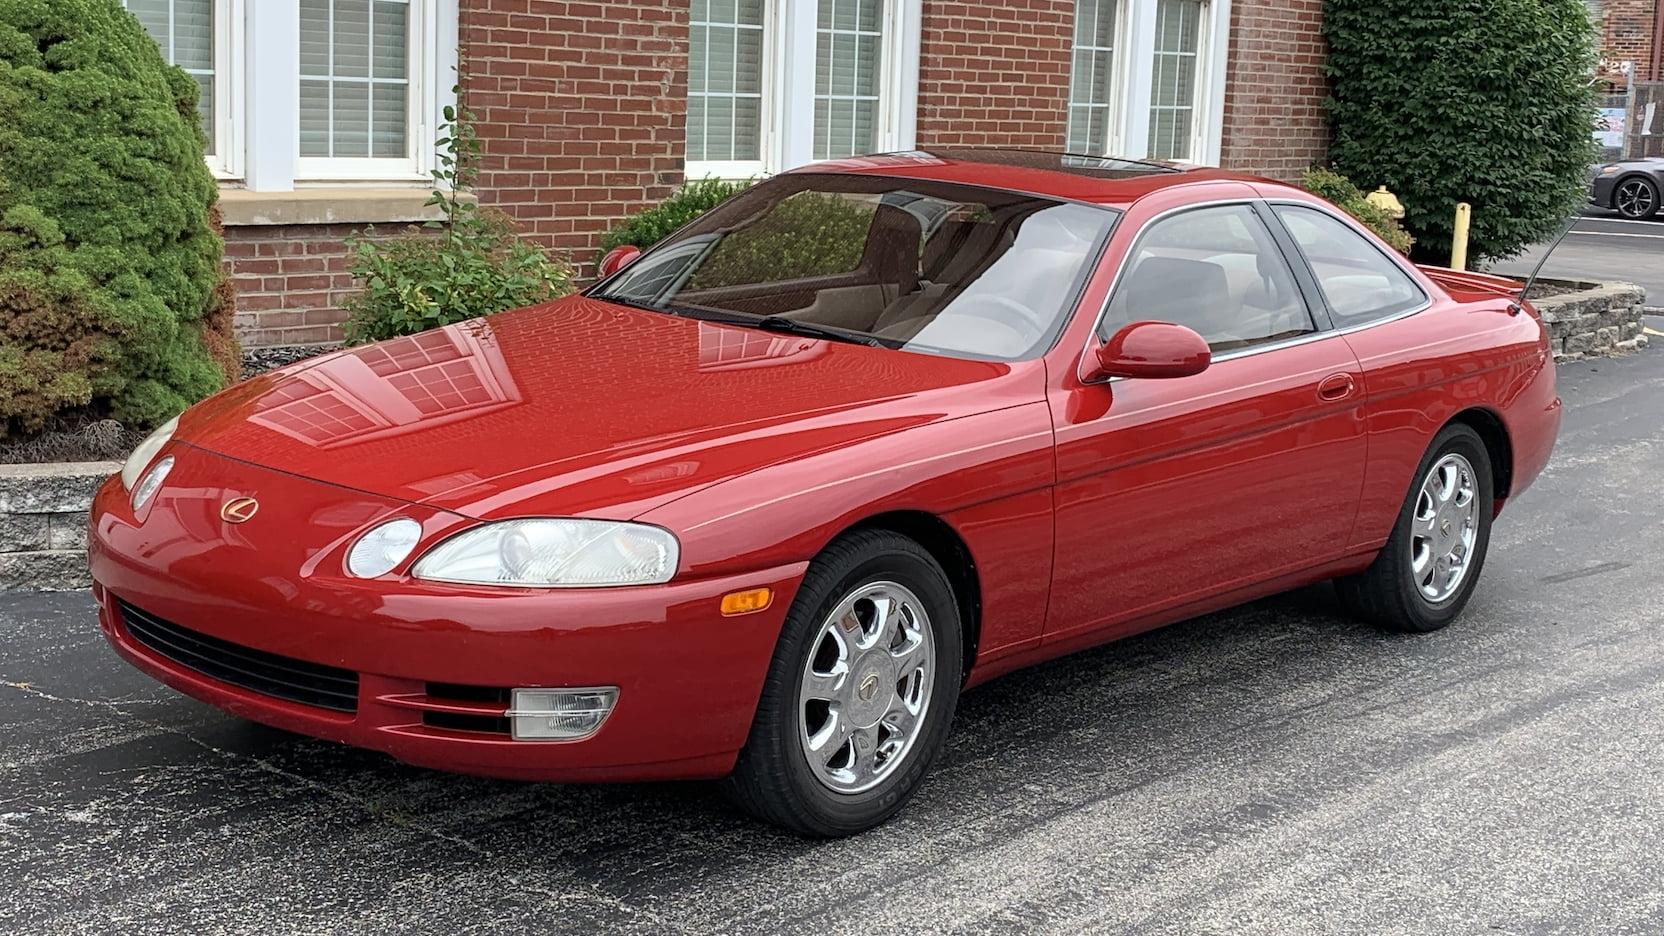
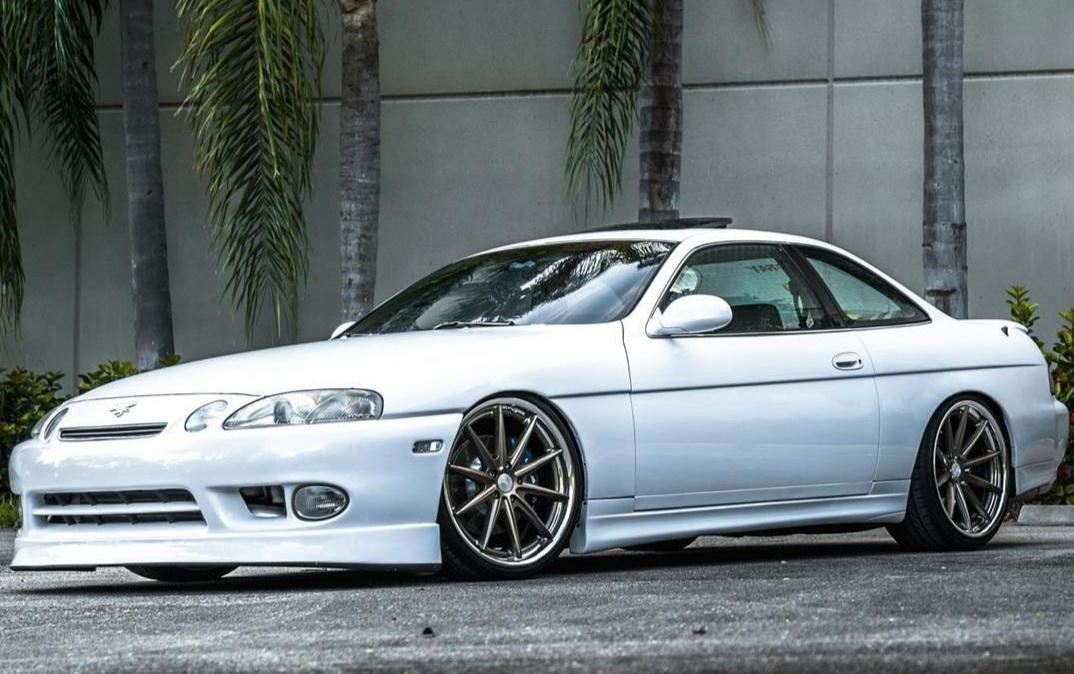
I was 100% American muscle until I saw this car. This car started my interest is import cars and I've owned two since then. It's the 92-00 Lexus SC300/SC400. I've owned a 95 and still have a 98.
-
AMT kits suck!
Fat Brian replied to Plumcrazy Preston's topic in General Automotive Talk (Trucks and Cars)
Since you're new to automotive subjects I would strongly suggest researching your purchases here before making a decision. There is a wealth of information available about almost every kit ever produced so you can make educated purchases. I think this is as much a misalignment of expectations as it is anything else. As to the Kenworth kit in question, as others have stated it's quite old. But some of your criticisms are features rather than flaws. The cab and other mounting holes aren't drilled so you can choose how you want those items to be located. This gives you options, maybe you only want two lights on the cab corners and a single center mounted horn. If all the holes were open you'd have a ton of filling and sanding to do. As for the tires, I don't think they fit particularly well either. Maybe you can find someone who can trade you a set of Goodyear or Uniroyal tires that fit better. -
In 1/16 the measurement would be 5/8" to 11/16" wide and around 1 1/2" to 2" tall.
-
Clearly Scale at Model Builder's Warehouse
Fat Brian replied to Randy D's topic in Car Aftermarket / Resin / 3D Printed
Thats great to hear, his stuff is really good. -
Need 1:24/25 Boze Pro Touring Wheels
Fat Brian replied to DusterJoe's topic in Car Aftermarket / Resin / 3D Printed
What is the OD of the rim in millimeters? This will give is a ballpark of which tires might fit. Are the outside of the barrels smooth or do they have a lip? -
All New Tool big rig from AMT !!!!!
Fat Brian replied to Mr mopar's topic in Truck Kit News & Reviews
I'm not either, that was just the often repeated reason why the W925 couldn't be brought back. -
All New Tool big rig from AMT !!!!!
Fat Brian replied to Mr mopar's topic in Truck Kit News & Reviews
They may or may not be able to do their T600 depending on exactly how they fixed the W925 molds which were reportedly altered into the T600. -
All New Tool big rig from AMT !!!!!
Fat Brian replied to Mr mopar's topic in Truck Kit News & Reviews
If it's a modern truck and not a 379/389 or a W900L I'm going to lose my mind. I'm tired of kit companies choosing poor subjects and then blaming us when they don't sell. -
The best you can do now is try to hold the rear end stable while gently forcing the front end to the right a bit. Just work slowly and keep checking the straightness and flatness in the other directions so you don't introduce any new misalignment.
-
All New Tool big rig from AMT !!!!!
Fat Brian replied to Mr mopar's topic in Truck Kit News & Reviews
This begs the question, is it a new tool of a modern truck or of a classic truck? Either way I hope it's a subject that will move a lot of units. -
I bought the Flintstone body for someone here and they said it was pretty good.
-
Congratulations! That's a very imaginative build and you put it together so quickly too. We're coming for you next year.
-
New Kits of Old Subjects from Round2
Fat Brian replied to Casey's topic in General Automotive Talk (Trucks and Cars)
I think the 68 Coronet should be fairly easy to do. They could always just put the body and interior over the 68 Roadrunner chassis like they did with the 70 Coronet. -
Without knowing your plans for the build it's impossible to make a recommendation. Are going classic custom? Modern custom? Kind of a day two muscle vibe?
-
Maybe that's what's in the bottom of that pit.
-
If you send him your file I'm sure he can recreate it in vector. The decals I posted were around $30 for design and print. The main issue is that any pixel based graphics format won't print cleanly, for crisp lines you have to have a vector file. The color really doesn't make a difference in this respect.
-
Try Firebird Designs, he's done good work for me. Mr. Muma disappeared on me after I paid him $120 and sent him a body to take measurements of, he can go kick rocks personally. These decals were done by Firebird.
-
Johan Pinto Funny Car
Fat Brian replied to Sledsel's topic in General Automotive Talk (Trucks and Cars)
Thanks for posting this, I have been trying to decide what to do about that seemingly cartoonishly large rear end. Now that I know it was a real part I've got some ideas for them. -
Combining a Monogram Buick stock car kit and their GNX kit would make for an interesting Mary Kay themed entry.
-
what 426 Hemi 1/24 looks the best ??
Fat Brian replied to Mr mopar's topic in Model Building Questions and Answers
Interesting, I saw the hemi heads and figured it was Mopar based. -
what 426 Hemi 1/24 looks the best ??
Fat Brian replied to Mr mopar's topic in Model Building Questions and Answers
Arias too, but I think those were more geared toward the tractor pulling market. There are three in the Blazin' Bison kit. -
My main problem with NASCAR has never been the car, it's their stupid fake "playoff" system that ruins the sport. When they went to only valuing winning everyone just started riding around until the last few laps and it's boring. Back when you could win the championship by leading laps finishing consistently the races were more watchable lap to lap.
-
what 426 Hemi 1/24 looks the best ??
Fat Brian replied to Mr mopar's topic in Model Building Questions and Answers
Those engines typically use aftermarket blocks and have very little in common with a stock 426. -
Need a little help picking the right bass and amp
Fat Brian replied to Hotrod 97's topic in The Off-Topic Lounge
The Fender Precision bass is pretty much the standard for bass guitars and can be heard in every type of music. The Squier versions are very good, especially if you step up to the mid teir ones. Personally, I find the neck of the Precision a bit chunky so I went with the Jazz bass. I have a Squier 70's Modified series and it is great. Do you have any tones or players you're trying to replicate/immulate? That may point you in a certain direction. For the amp I wouldn't go with anything less than a 12" speaker. You really need to move some air to get a good sound. I have a Peavey solid state amp but I wish I gone with a bigger speaker. -
Atlantis Models has bought another lot of tooling/molds.....
Fat Brian replied to Dave Van's topic in Car Kit News & Reviews
It's about as far from stock as it could possibly be, the nose is stretched, the bed is molded closed and there are louvers that follow the end curve of the C pillar instead of the coved rear window. It looks really cool but if you want a stock El Camino there are much easier ways to get one.