Fat Brian
-
Posts
4,439 -
Joined
-
Last visited
Content Type
Profiles
Forums
Events
Gallery
Everything posted by Fat Brian
-
The only 1/25 monster truck tires with lettering are the early AMT ones from the Bigfoot 1 kit and the 87-91 body style Bigfoot kits without the red and yellow stripes. Overall these tires are awful so I wouldn't recommend trying to find any. You're best bet is probably to try to find a 1/18 or so scale tire decal or dry transfer.
-
I think 10 might be the cockpit piece from a Johan funny car like Boss Hoss or Crazy Horse kits. 12 looks like the hood from the Revell stepside square body hot rod truck, 2 might be the dash from the same kit. That red dash might be from the MPC 80s Bronco.
-
I have some of those tires I can send you, pm me your address and I'll get them to you.
-
That's an early to mid twenties model T truck dressed up as a semi, what a neat little kit. As for tires, most AMT tires should fit those wheels.
-
Ryan at Z-force was supposed to be working on one in 1/25 but I don't know if he got it finished or not.
-
Kitbashing,,,
Fat Brian replied to thomascoffey1959@gmail.com's topic in General Automotive Talk (Trucks and Cars)
I have this particular one bad, fully a third or more of the kits I have are donors for other builds. -
My order didn't make it today, but it got to New York yesterday so it should be here by the end of the week.
-
Transfer Cases - Identification & Reference
Fat Brian replied to Casey's topic in Model Building Questions and Answers
Yeah, I don't know that the shape of the silver one is functionally possible, at least not for a chain driven unit. -
Transfer Cases - Identification & Reference
Fat Brian replied to Casey's topic in Model Building Questions and Answers
The majority of those are the venerable NP205, used by all of the Big 3 in the 70s and in heavy duty Chevy's and Dodges into the 90s. Column 1 #1 and #3, column 2 #1, column 3 #1 and #2, and column 4 #1 and #2 all look like various interpretations of an NP205.
-
I placed an order with Dmitry from ebay who used to be with USCP last month and so far everything is going okay. It's supposed to be here Monday so I'll update then. I know it's not the same company but it's coming from the same city.
-
1/25 AMT Kenworth/Challenge Transit Mixer
Fat Brian replied to Casey's topic in Truck Kit News & Reviews
As Hakan said, it takes a lot of fitting to get the parts to go together correctly and run straight. I might spend an entire day filing and fitting and adjusting to get the thing to true up. -
Tips for Building in New Climate
Fat Brian replied to Quick GMC's topic in General Automotive Talk (Trucks and Cars)
I live just outside Charlotte. Painting in the summer can be brutal if you have to paint outside but drying too fast will certainlynot be an issue. It doesn't really matter for flat colors but if I'm painting something shiny in the summer I try to shoot it around mid day, the humidity is way too high in the morning and late afternoon. Another thing I've done is try to batch paint bodies in the winter on nice dry days. This worked better before winter turned into monsoon season around here. It's really going to depend on your setup and where you paint as much as anything. -
Need my first scribing tool
Fat Brian replied to Venom's topic in Model Building Questions and Answers
I took a wooden dowel about 3/16 in diameter and six inches long and drilled into one end and stuck the unwrapped core wire of a wound guitar string in it. I left about 1/8 of an inch of wire exposed and it's just a bit thicker than an Xacto blade. It also makes a good scratch awl for marking tiny holes for drilling. -
what the hell happened???
Fat Brian replied to eldo60's topic in Model Building Questions and Answers
That is paint shrinkage. The color coat didn't bond to the primer properly. You'll have to see what kind of paint the color is and pick a more appropriate primer for it. -
I'm working on closing up the interior now, the rear fire wall is done but the front looks like it's going to be tough.
-
I swapped a v8 for a turbo 4cyl that's less that half the displacement and I'm at least doubling the fuel capacity so I've got fuel economy covered. Driver comfort is a bit limited though due to the race interior.
-
Lindberg 66 chevelle SS. Any good?
Fat Brian replied to Dragline's topic in General Automotive Talk (Trucks and Cars)
With a bit of work you put the chassis of the Revell 64 GTO under the Malibu body to give it a stock chassis. -
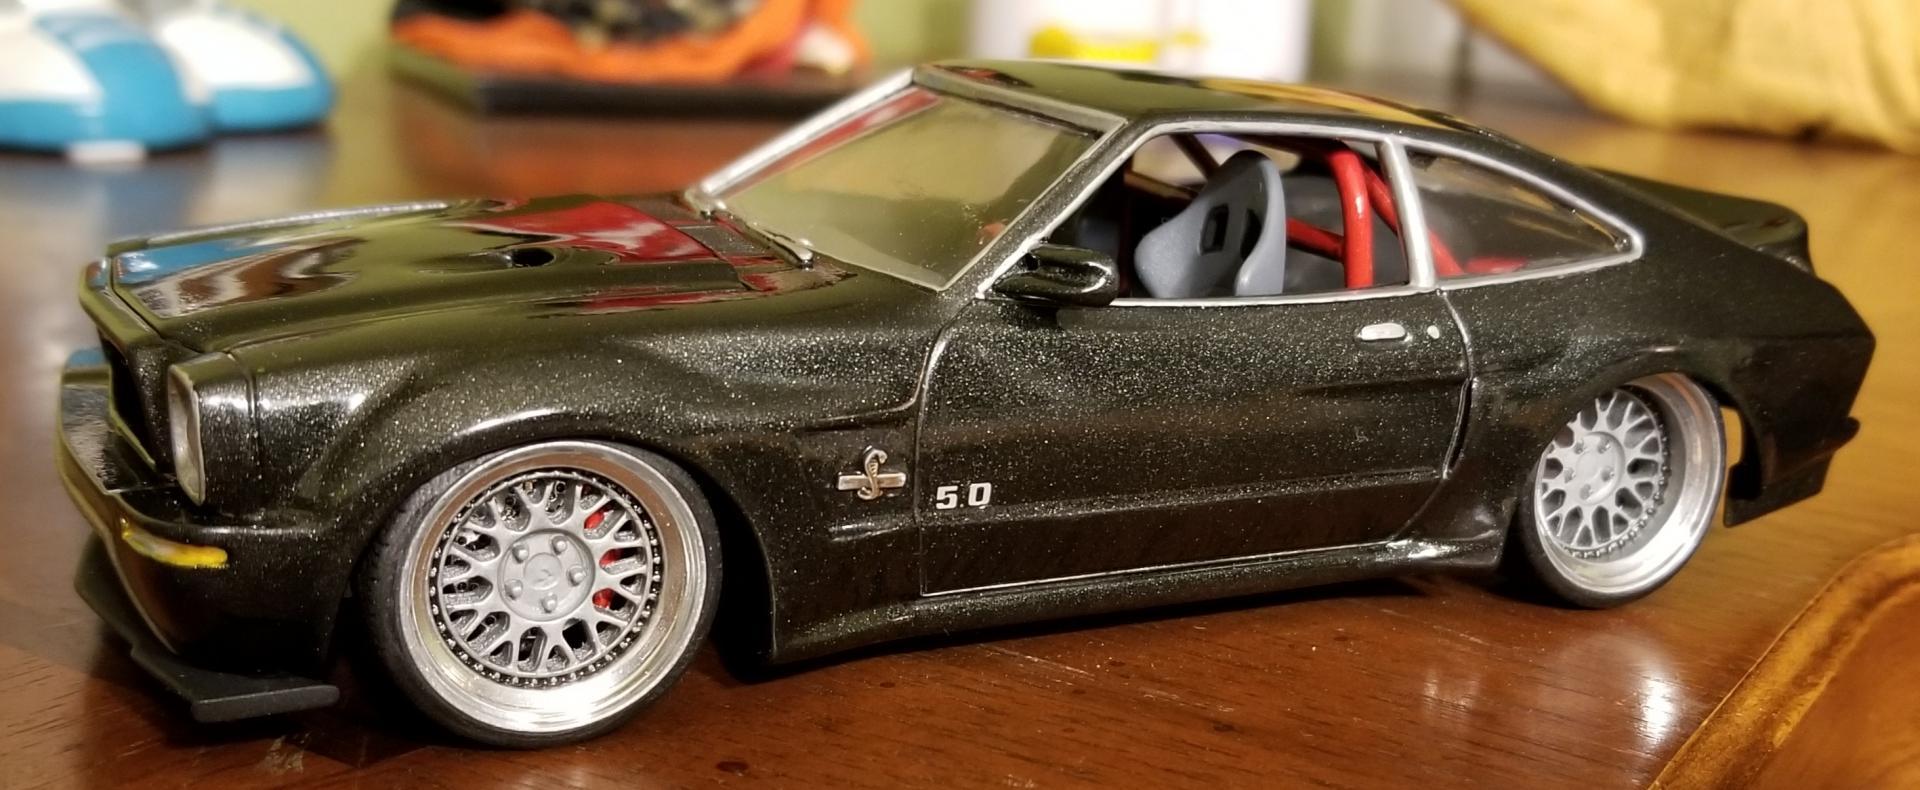
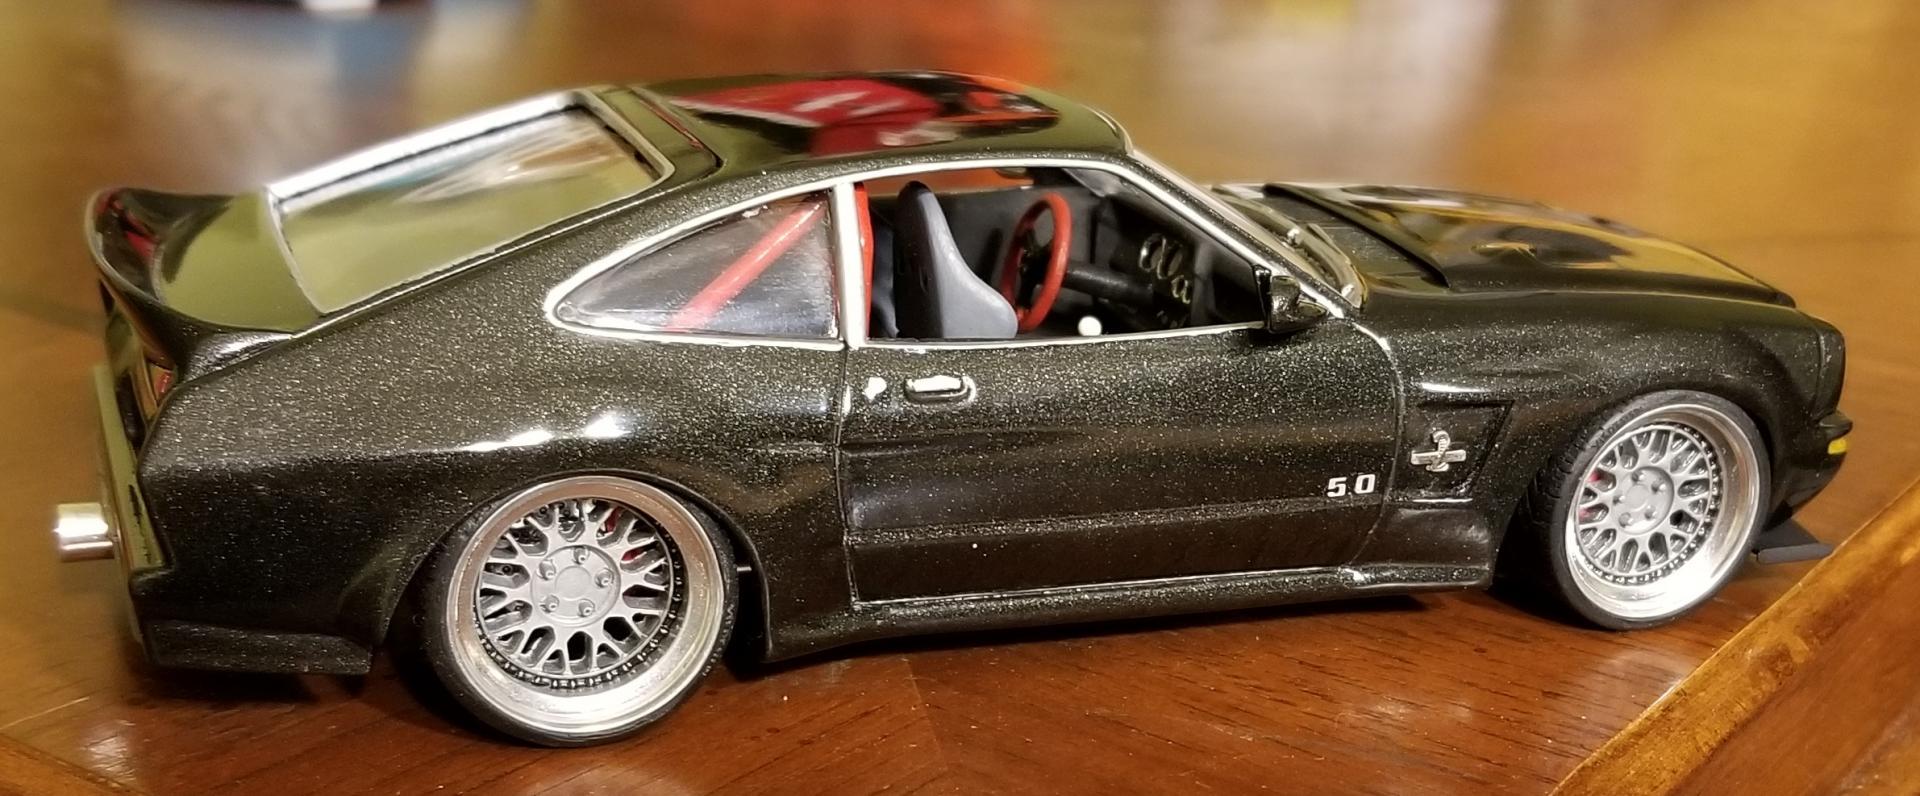
Finally some progress to show. I've been working on making room in the interior for a second person, the original interior barely has room for one. I cut away the lower bars of the roll cage and added in the door bars from a NASCAR kit, I still need to add a few more braces to tie them into the rest of the cage fully. I also filled the holes in the side of the body where the exhaust originally exited, I'm planning something more stealthy. I'm still trying to figure out the tire situation, I'd like to use the stock wheels but I'm having a hard time finding any street tires that will fit them. Here's a pic of the stock interior. and the changes so far
-
The Impala would make a nice Cannonball car, room for 3 plus supplies.
-
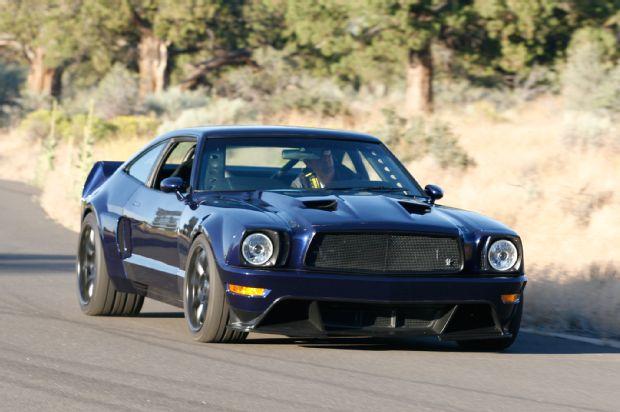
I really like the Restomod and Pro Touring style, especially for non original or rare classic cars. I built this 77 Mustang a couple years ago for the Cannonball Run and it very much fits your description. I stretched the wheelbase almost two feet and grafted the wheel openings from a 2008 Mustang onto the body. I used styrene strips and putty to make a widebody kit and the front and rear fascias with molded in decrhromed bumpers. I used the front suspension from the 08 Mustang and the independent rear from a 350Z. To be fair though I borrowed the design from a real car someone built.
-
Tell her thank you for her vote and I'm glad she liked my build.
-
I understand that feeling, but in the words of Mitch Hedberg "F*** it, cut 'em up!"
-
dull clear coat the chrome plated parts?
Fat Brian replied to youpey's topic in Model Building Questions and Answers
I've never had a problem with Chrome so I don't dullcote it unless I'm going for that look. -
Duplicate post
-
I wonder if there was a transition period where the air ride is okay for an early B but was phased out later or if the transition happened in the same year? Sounds like a research opportunity.