Plowboy
-
Posts
3,434 -
Joined
-
Last visited
Content Type
Profiles
Forums
Events
Gallery
Everything posted by Plowboy
-
Thanx Jordon! I checked with automotive touchup and a 12 oz. spray can is $27.95! I think I'll just see if I can score a can of MM Phoenician Yellow. That or choose a different color.
-
Thanx! No, I hadn't done a search here. Just went through several Google searches.
-
Anyone know if Dupli Color makes a color similar to Model Master's Phoenician Yellow? I've searched high and low trying to find a color chart for the Perfect Match spray cans. But, have came up empty. I have a partial can of the Phoenician Yellow. But, I seriously doubt it will be enough paint for the project I want to use it on as I'll be painting the floorpan solid. Any and all help appreciated!
-
Thanx! It's Tamiya Gray primer, Tamiya TS-21 Gold and Tamiya TS-92 Metallic Orange covered with TS-13. This model shows both colors.

-
That color looks a lot like TS-92 Metallic Orange to me.
-
Let me check. I'm pretty sure I have one.
-
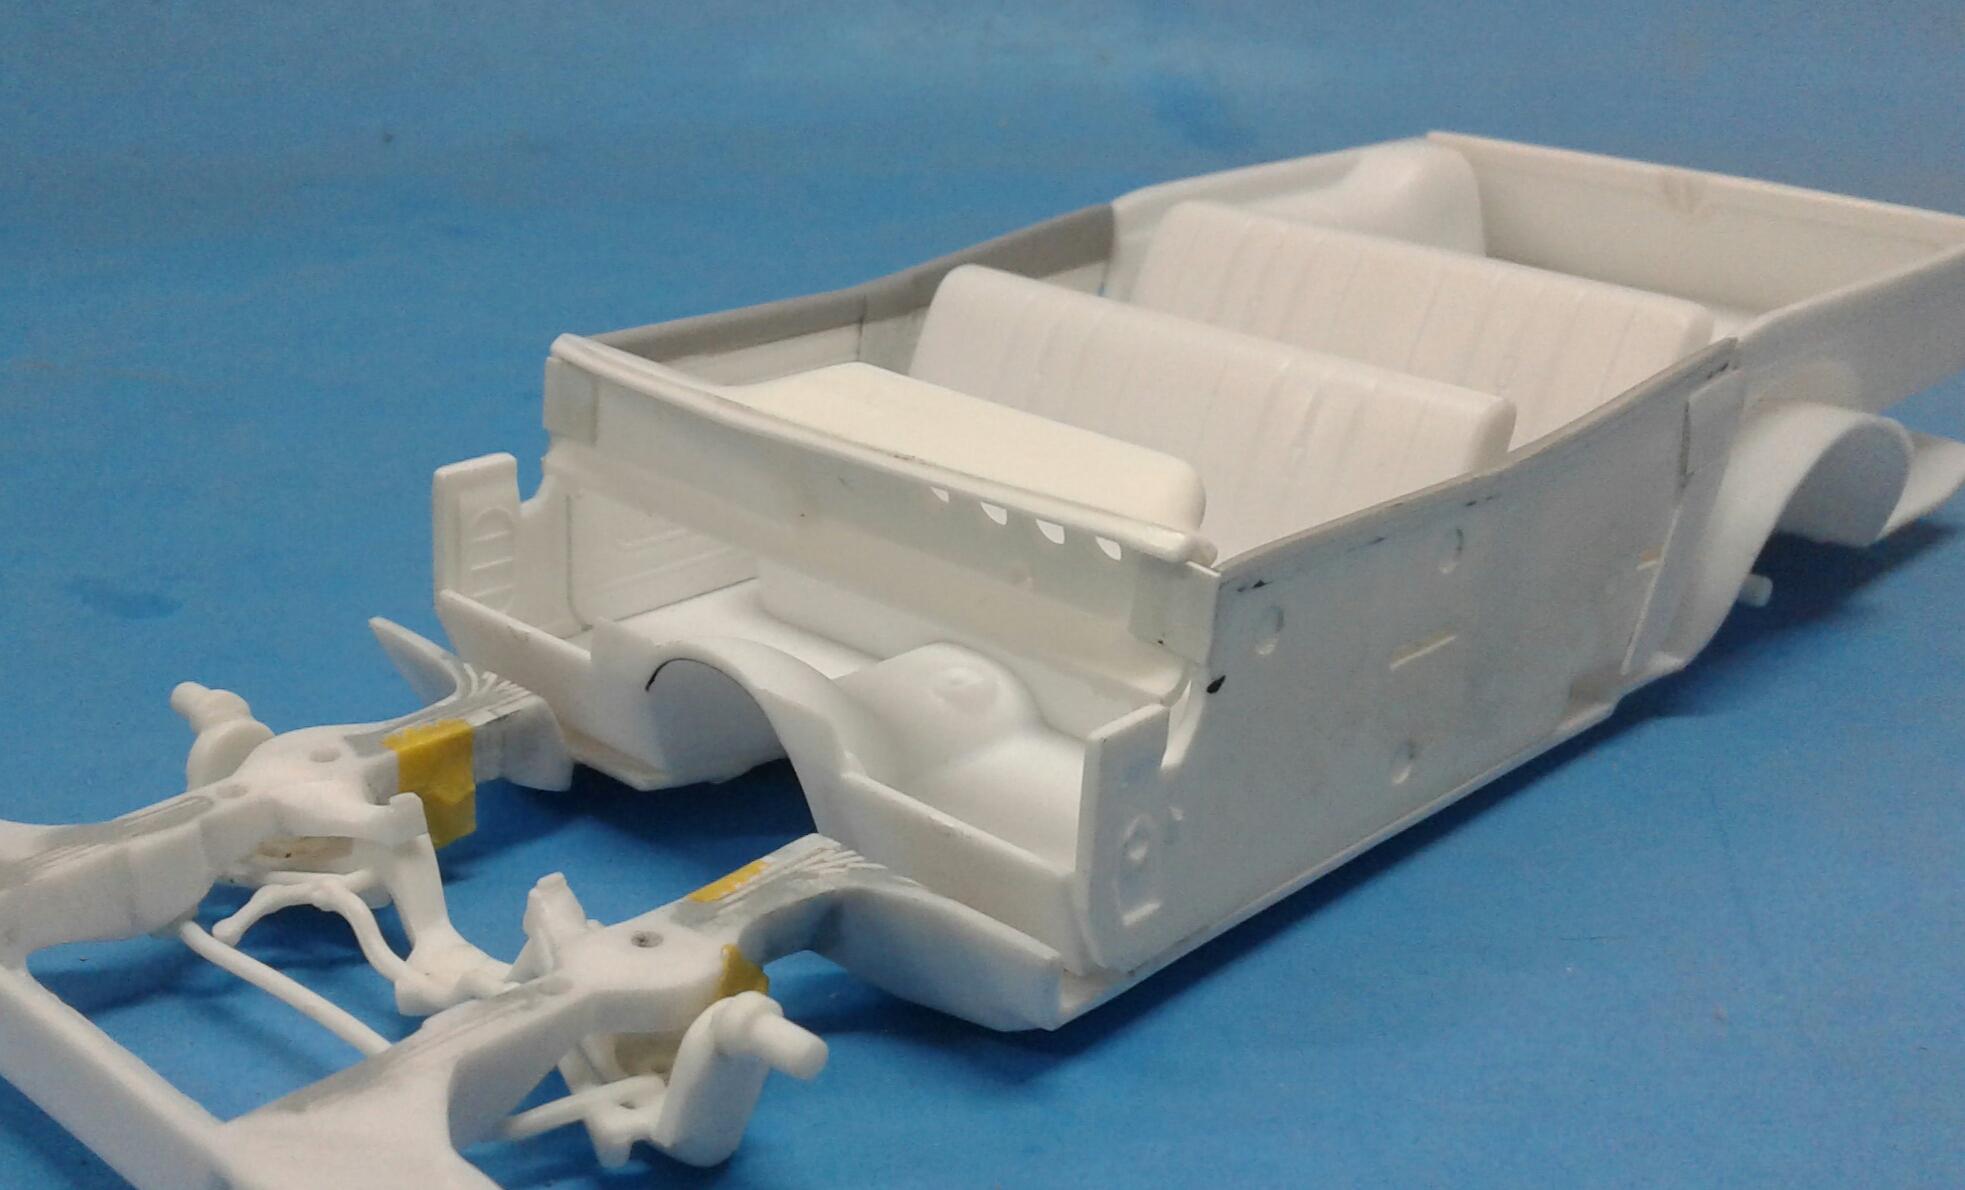
I now have the interior fitted. I had to add a little more to the top of the door panels to get them to match the body like they should. Also have the dash fitted. The dash took a bit of work to get it where it needed to be. I had to narrow it a couple of mms on each side to get it to fit between the door panels as it had to be moved towards the rear and up. Luckily, the small amount it needed to move rearward allowed me to just add a couple of tabs to the dash. I also added tabs to the rear of the door panels. The placement of the dash leaves a big void in the door panel that I'll have to fill. I thought it may not be visible from the inside. But, it is. That's a simple fix. I should have all of the major fitment work done now. I'll have to fit the exhaust and maybe some minor bits. It should be primer and paint work from here on out. I gotta get a color nailed down. I'm not feeling the Champagne Gold or the Light Blue Pearl. I'm going to have to study my Tamiya paint charts and come up with something.
-
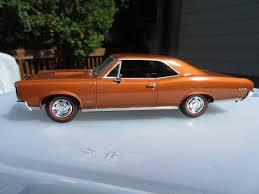
Not mine. But, I found this. It's a nice looking color.
-
Some companies have tried it. It doesn't work well and doesn't look right. It's not that much work to remove a chrome strip.
-
Try sliding the rear section of chassis in first,(both sides at the same time) and work your way forward.
-
Round 2 November 2022 Product Spotlight
Plowboy replied to Dave Darby's topic in Car Kit News & Reviews
I know. I was going to build that one with the Stunt Van. I figured the only difference was the decals. I'd really rather have that one as it's molded in white. I may just use the chassis from the Stunt Van under an AMT van. -
Round 2 November 2022 Product Spotlight
Plowboy replied to Dave Darby's topic in Car Kit News & Reviews
That van has misleading boxart. It shows the early grille with round headlights. But, actually has the newer grille with the square headlights. I bought one thinking it had the early grille. IIRC, it also doesn't have chrome wheels. -
It's an everything molded in chassis. A better one would be the AMT 2005 Escalade EXT or the Revell Cadillac Escalade. I bought an AMT '96 Tahoe snap with the plan of using the EXT as a donor. But, never got around to it.
-
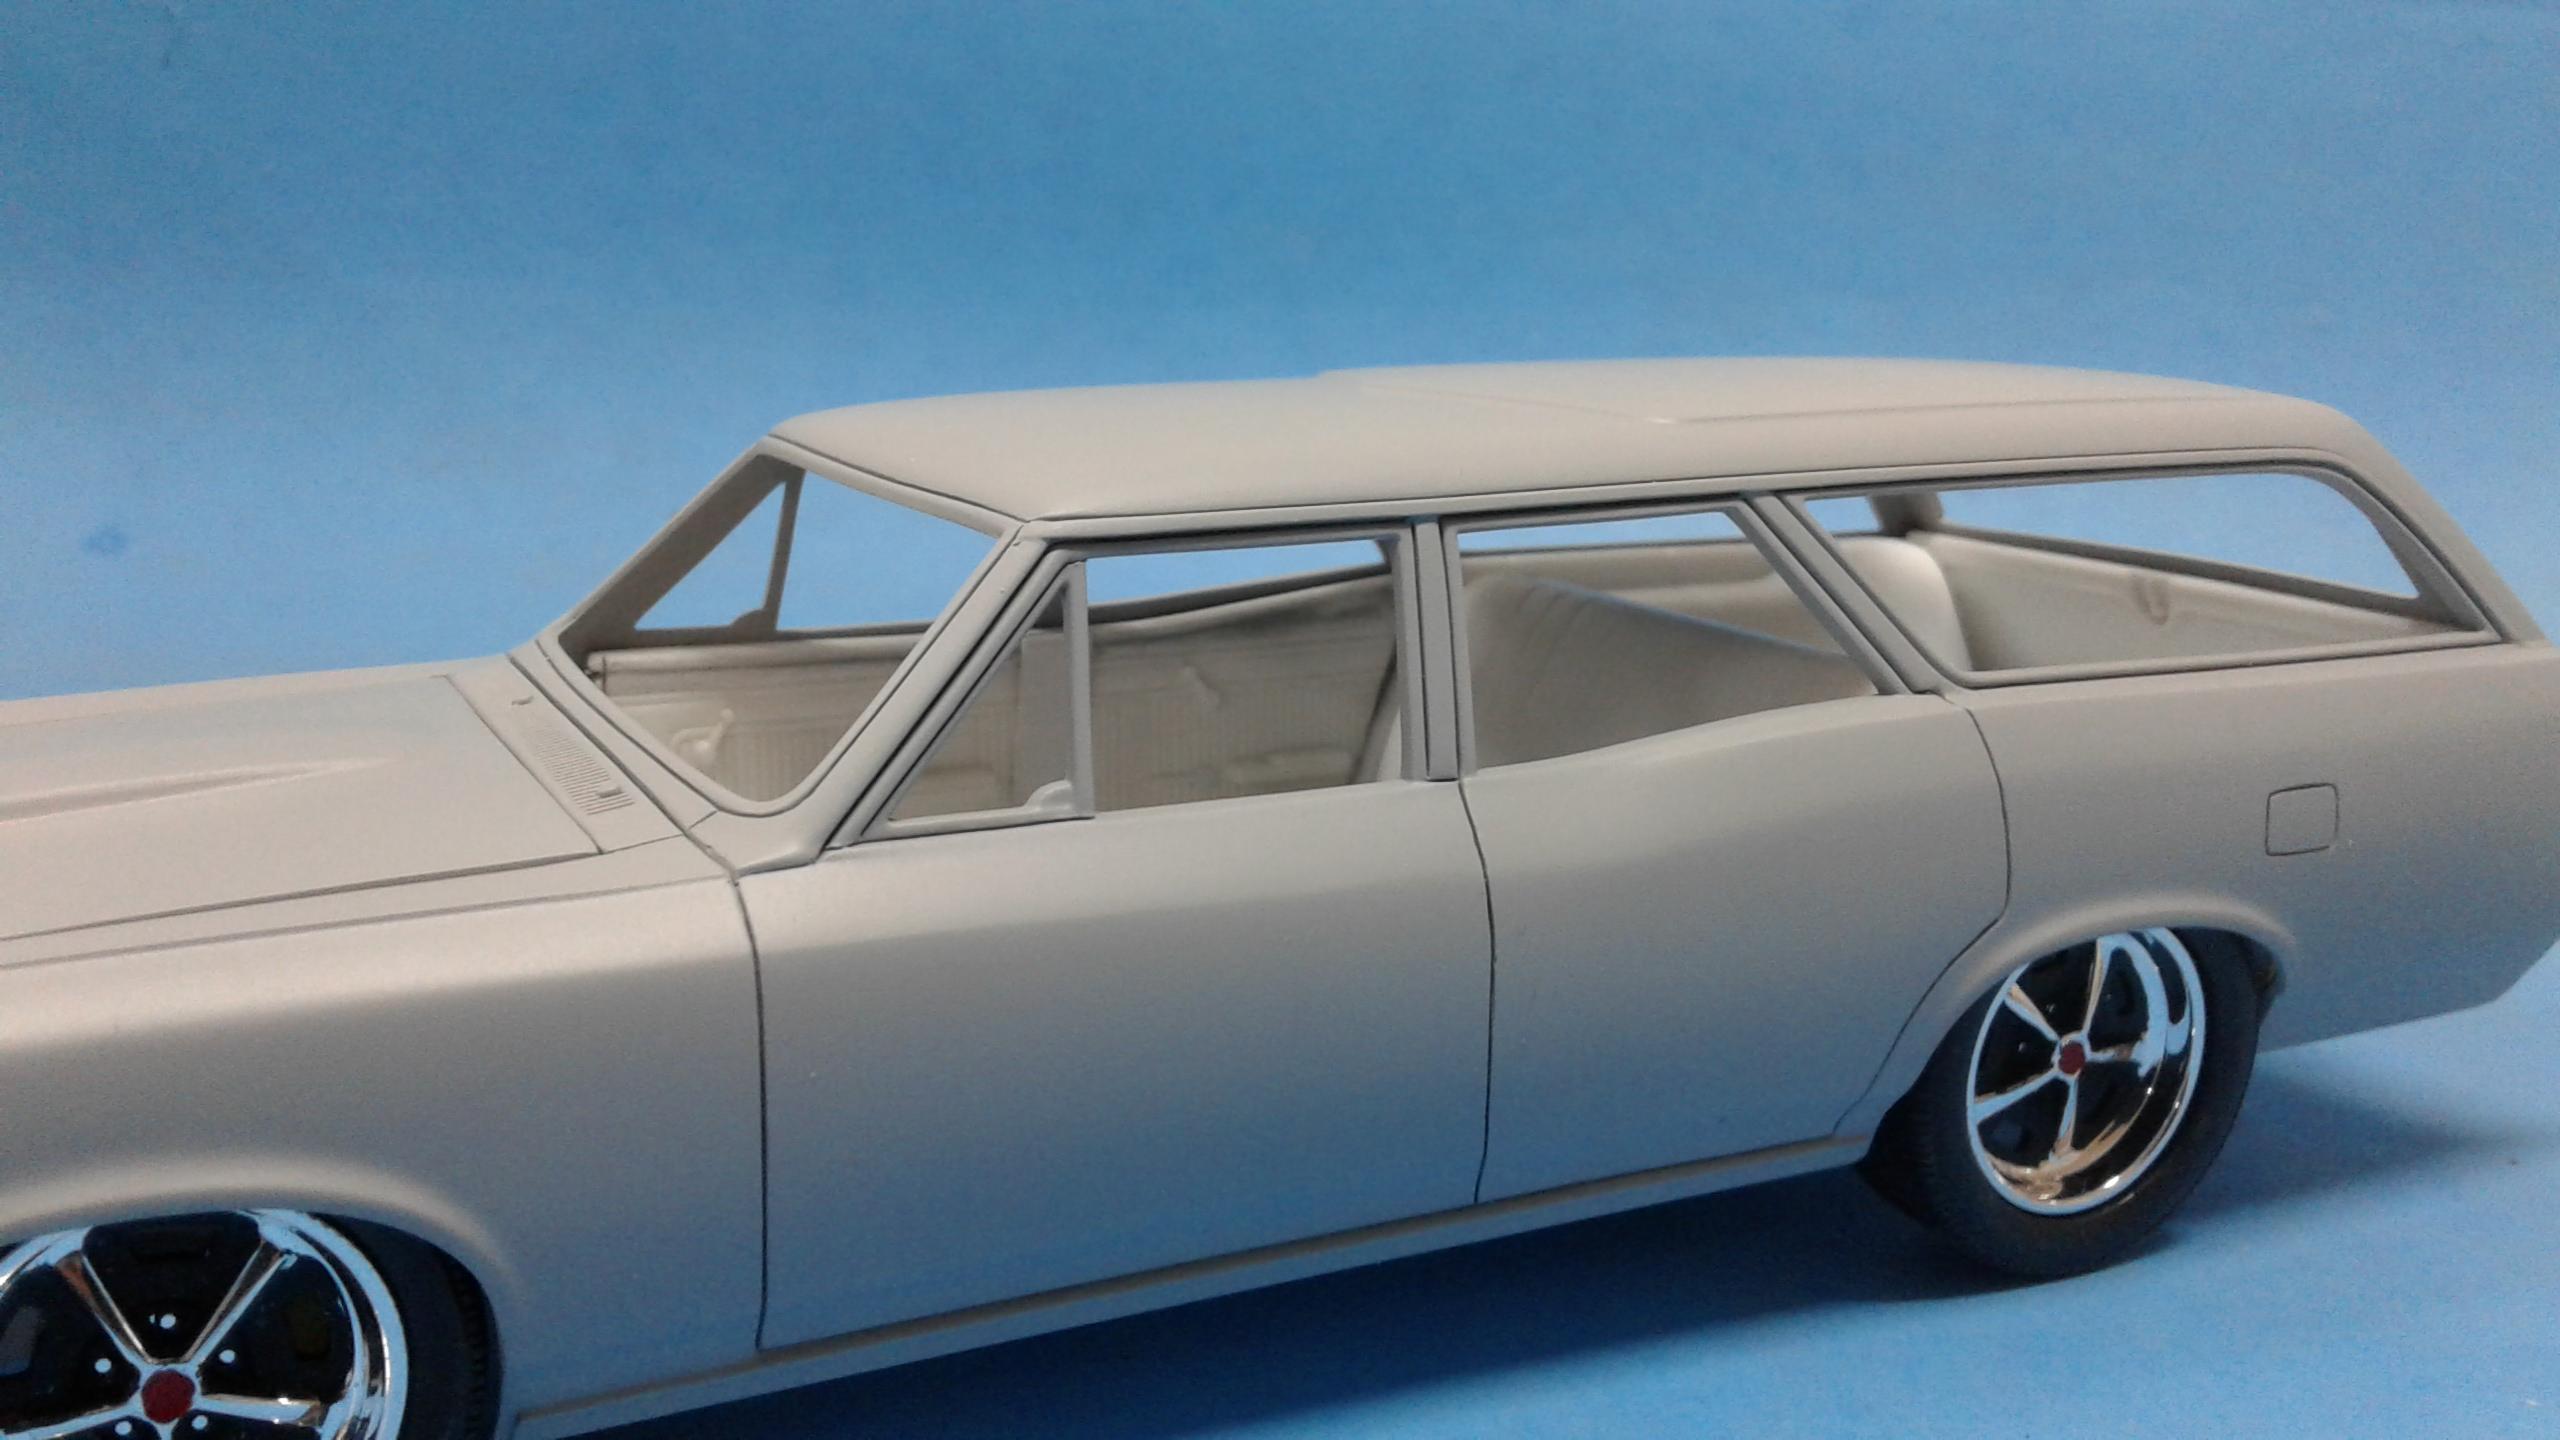
Looks like I've went down another rabbit hole! I just wasn't liking the Malibu door panels. As much as I wanted to leave them, I couldn't. So, I decided to modify the GTO door panels to work with the Malibu interior pan. They're not accurate for a Tempest wagon. But, this is a "GTO" wagon. So, they'll work for this project. Test fit in the body. Looks like they need a bit more tweaking to fit exactly right. The real test will be when the dash and windshield are installed also. The body is now in final primer! I just sprayed a couple of coats. I'll let it cure well, sand with 1000 grit and paint when the time comes.
-
1966 C10 “ truck “
Plowboy replied to Immortal Chips's topic in Model Trucks: Pickups, Vans, SUVs, Light Commercial
That is wicked COOL! Perfect stance and colors! The best part is the Ford diesel in a Chevy truck! Love it! -
Current building techniques
Plowboy replied to Bobjernigan3's topic in General Automotive Talk (Trucks and Cars)
Maybe you should look around a little more. Plenty of people are doing the things you mentioned. No, everyone is not adding every detail possible. Speaking for myself, I got over it and enjoy the more simple style of building. Every model doesn't have to be a show winner. -
Yeah, it needs the hood scoop. If I had used the six cylinder, I would've made it flat.
-
Round 2 November 2022 Product Spotlight
Plowboy replied to Dave Darby's topic in Car Kit News & Reviews
Sorry Tim, but measurements with a digital caliper prove that the top is chopped on the Moebius Nova sedan. Right at 1.5 scale inches. Measurements also proves that the backlight is eight scale inches too narrow and the headlights are a scale inch too small. You can find all of the Nova's dimensions on Nova Resource. com. Personally, I doubt I'll ever buy another Moebius kit. If there's a kit company that needs to do things differently, it's Moebius. -
Round 2 November 2022 Product Spotlight
Plowboy replied to Dave Darby's topic in Car Kit News & Reviews
The results on the Bronco and Charger speak for themselves. As does the Foose F-100 and Eldorod. Doesn't it cost to make corrections to to the tooling also? How much time is lost going back and forth with test shots and corrections? Seems to me that 3D printing doesn't always equal accurate. The Moebius '65 Nova was printed and the roof on that kit is butchered 'til hell wouldn't even have it. It had to have cost them to change the window openings, door panels and glass trying to hide the chopped roof. -
The way I see it, you can do one of two things: 1 Glue the hood shut and build it as a curbside. 2 Bash it with an AMT '70 Camaro. Sometimes, it's better to make lemonade from lemons. Or grab the tequila and salt. There's always a choice.
-
Round 2 November 2022 Product Spotlight
Plowboy replied to Dave Darby's topic in Car Kit News & Reviews
What would the difference in cost between reverse engineering/making corrections vs. digital scanning a real car? It can't be that expensive to digitally scan a real car. Revell has proven that it works and seems to have adopted the procedure. -
1977 Ford Overlander Van
Plowboy replied to Chirps's topic in Model Trucks: Pickups, Vans, SUVs, Light Commercial
Very nice! The subtle weathering is perfect on this model! The tires are especially realistic looking. Nice work and I look forward to seeing more models from you! -
The touch ups, extra sanding, spot primer and mist coat is now done. Finally! Everything looks good right now. I don't expect to have to do anymore body work. It should just be sand, primer, sand, paint and clear. I still haven't made up my mind on the exact color. It'll come to me before time to paint I'm sure.
-
78 El Camino
Plowboy replied to XYHARRY's topic in Model Trucks: Pickups, Vans, SUVs, Light Commercial
Nice looking El Camino David! I typically don't care for purple. But, that shade of it works well with the model! Nice work! -
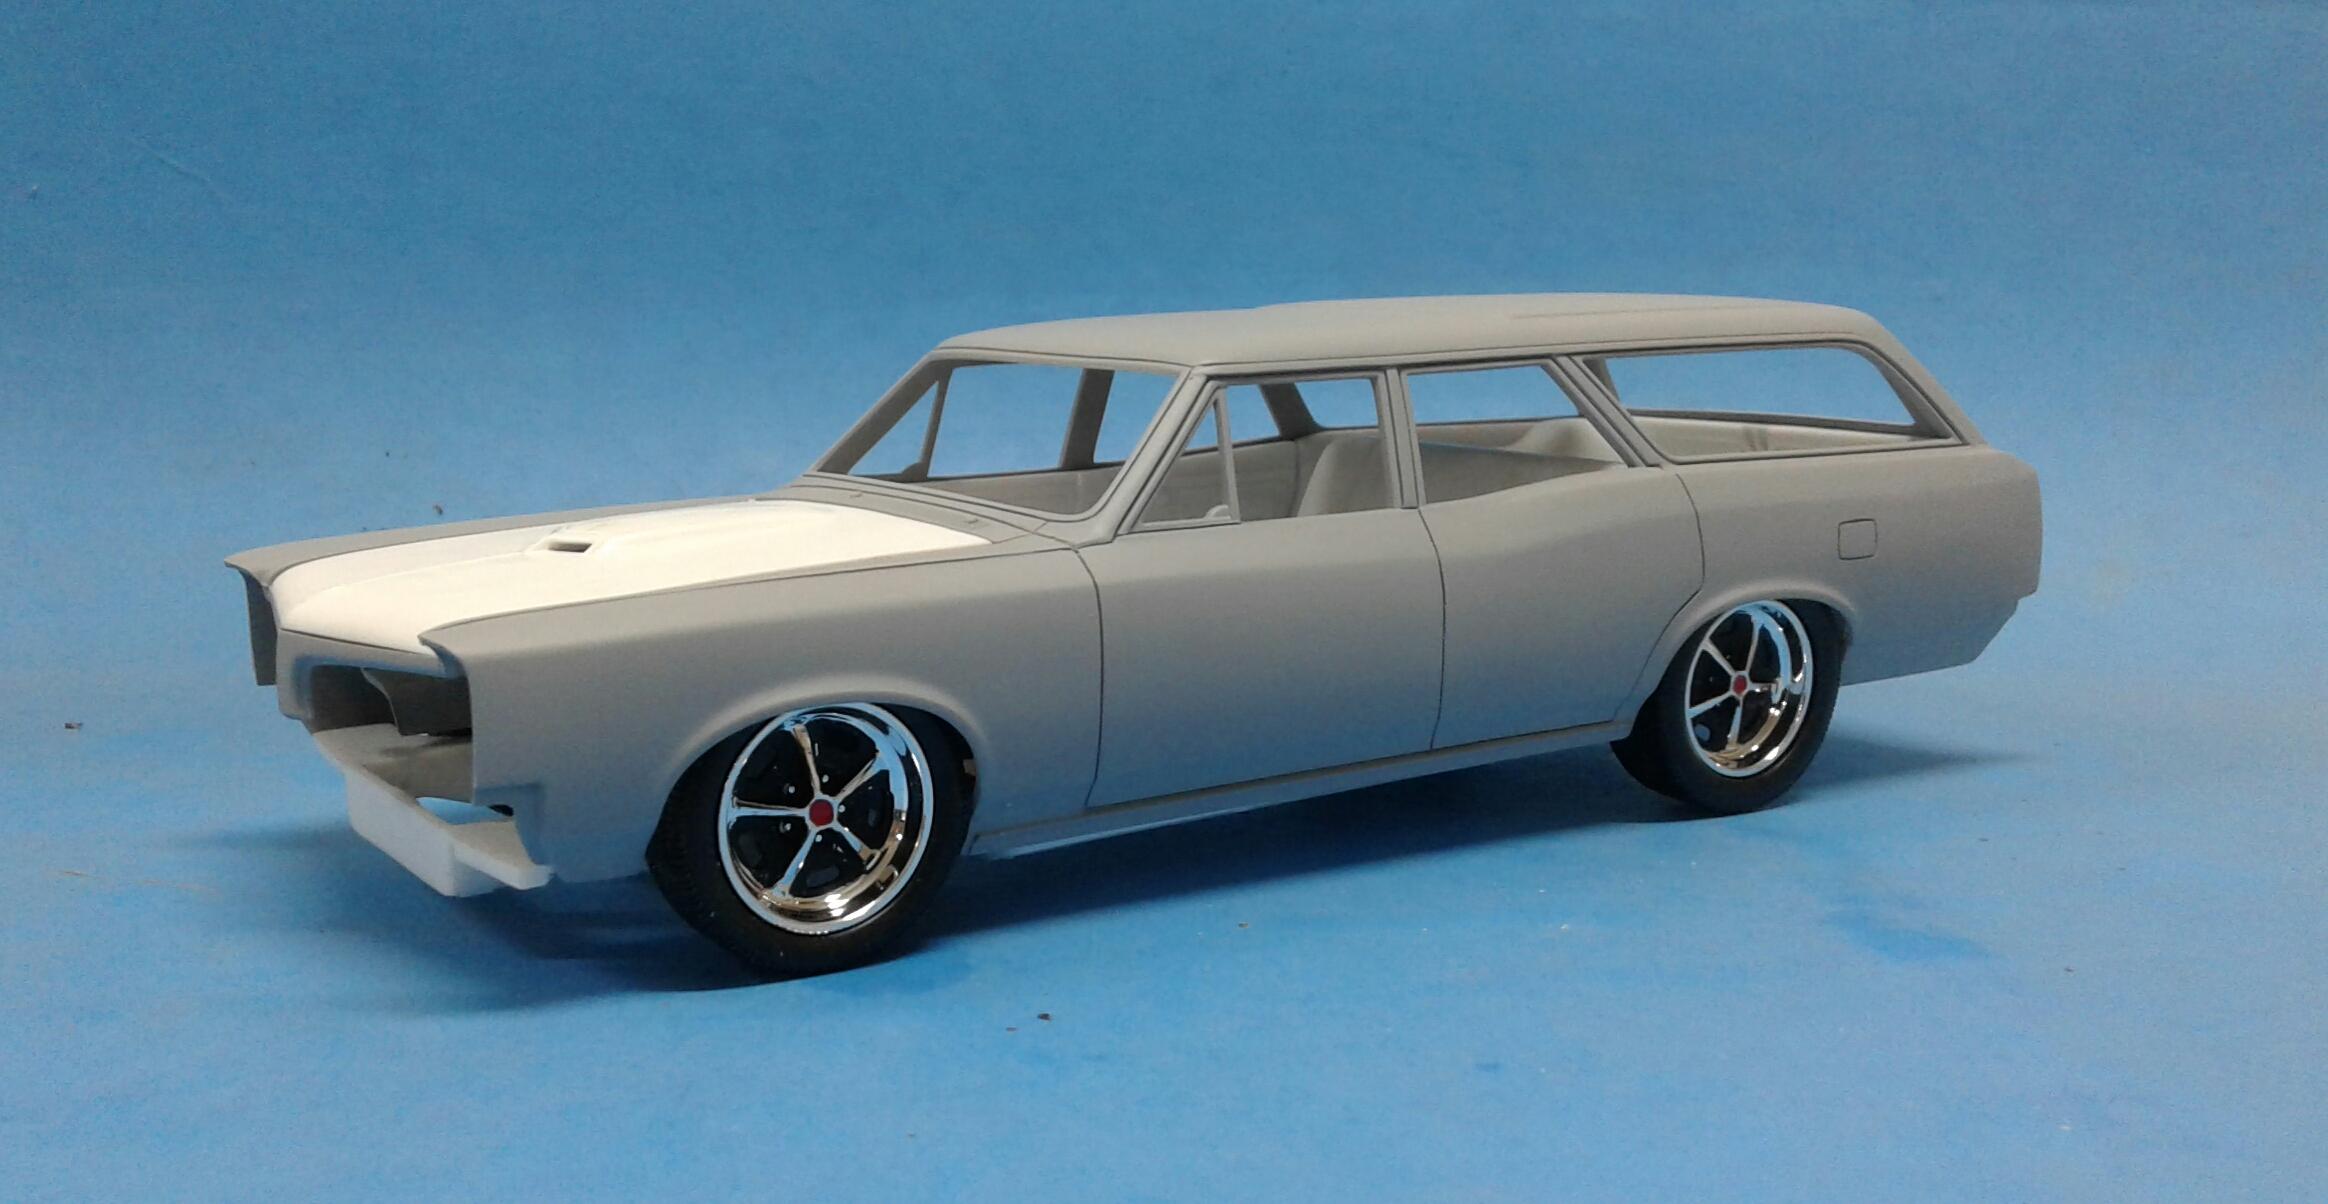
I have the Goat back in primer! Just have a few touch ups and a little more sanding to do. Then I'll spot primer, shoot a mist coat of white for a guide coat, sand it down with 600 and shoot the final primer. The plan is to finish a couple of projects or at least one of them while the primer and putty cures out well.