Plowboy
Members-
Posts
3,434 -
Joined
-
Last visited
Content Type
Profiles
Forums
Events
Gallery
Everything posted by Plowboy
-
I was thinking that too Carl. The only reason I'm not painting it that color is that I already have three models painted that color.
-
I've never done a staggered or z cut on a chop. I can see the benefit of it. But, I can also see where it could cause issues for someone doing their first top chop. The '37 Ford's pillars provide plenty of area to glue back together well. Just make sure to use a good liquid cement like Tamiya Extra Thin or Tenax7. One tip when it comes time to cut the roof in half: cut from underneath (door frame to headliner) after you cut your top loose. That way, you'll get a perfectly straight cut.
-
1963 Monogram 55 Chevy Restoration/Rebuild
Plowboy replied to disconovaman's topic in WIP: Model Cars
It already looks better! -
Bare Metal Foil on larger areas?
Plowboy replied to crowe-t's topic in Model Building Questions and Answers
I think you could use BMF on those panels pretty easily. But, as Jim mentioned, the glue bumps may be visible. It won't hurt to try it. -
I always cut perpendicular to the pillar. Especially on the A pillar. But, each model is different. There's no one way fits all method. I've actually chopped a '37 Ford pickup. But, it's been a while. You'll either have to lengthen the roof or slant the A pillars. I normally choose to lengthen the roof. Usually, how ever much you chop it, that's how much it will need to be lengthened. I use the tape to mark the lines. Then saw inside them. But, you can use the tape as a guide also. Depends on what works best for you. Where you have your tape is exactly where it needs to be cut.
-
Spotlight hobbies
Plowboy replied to Mopar maniac 74's topic in Model Building Questions and Answers
I've never bought a kit from Spotlight as I can always find what I want on ebay at a cheaper price. Especially older kits that are out of production. -
Bare Metal Foil on larger areas?
Plowboy replied to crowe-t's topic in Model Building Questions and Answers
I would paint it with an aluminum paint. Dupli Color Chrome looks more like polished aluminum than chrome. There's also other options like Alclad aluminum. I think it would be quite difficult to use BMF on an engine compartment. -
'32 3 window (to be named later) update 11/27/22 -PAINT!!!
Plowboy replied to Rocking Rodney Rat's topic in WIP: Model Cars
Ah, OK. I never thought of wiring like the factory did! That's the perfect solution! In my mind, I always think of routing the wires up and over the headers. I've done them that way on a couple of Y block Fords. I should have thought of that! -
'32 3 window (to be named later) update 11/27/22 -PAINT!!!
Plowboy replied to Rocking Rodney Rat's topic in WIP: Model Cars
My issue was that I wanted to wire the engine and saw no way of installing the headers with the wires on the engine. I guess I could've cut the flanges away from the headers. But, it would've still been a tricky procedure for me to pull off. I know this will have a killer look to it once it's together! -
'65 Nova Pro Street Update 11/14/22 Completed Chassis Photo Pg. 5
Plowboy replied to Plowboy's topic in WIP: Model Cars
The chassis is now finished! I may pick out the bolt heads with a dab of paint. I just have a few more things to do and this one will be done! Finally! This will the last update! Thanx to everyone who followed along, commented and offered ideas. Much appreciated! -
'32 3 window (to be named later) update 11/27/22 -PAINT!!!
Plowboy replied to Rocking Rodney Rat's topic in WIP: Model Cars
Nice work Rodney! What's the plan on the hood sides and headers when it comes time for final assembly? Will the hood sides be glued permanent and the headers installed afterwards? I wanted to do this on a build. But, couldn't come up with a plan that I was comfortable with attempting. -
I've only stripped one Tamiya paint job and I found that the 91% alcohol is the only thing that will strip it. It takes time. But, it will strip it off. By time, I mean weeks. Especially if you use Tamiya primer also. Is there no way to save the paint job you have?
-
Wow! All that hype for this???
-
If I can't find anything on the 'net or locally, I'll try to work a deal with you on it.
-
Nice looking Mustang James! I really like the modern 5.0 stuffed in there! Doesn't look like your skills have diminished much.
-
That's a sharp looking Olds Scott! The Candy Lime and Pearl White along with the Astros give it the old school vibe that suits it perfectly. I have one of these that I converted to a hardtop years ago. But, it never even made it to the primer stage. Your build makes me want to dig it back out! Nice work!
-
'65 Nova Pro Street Update 11/14/22 Completed Chassis Photo Pg. 5
Plowboy replied to Plowboy's topic in WIP: Model Cars
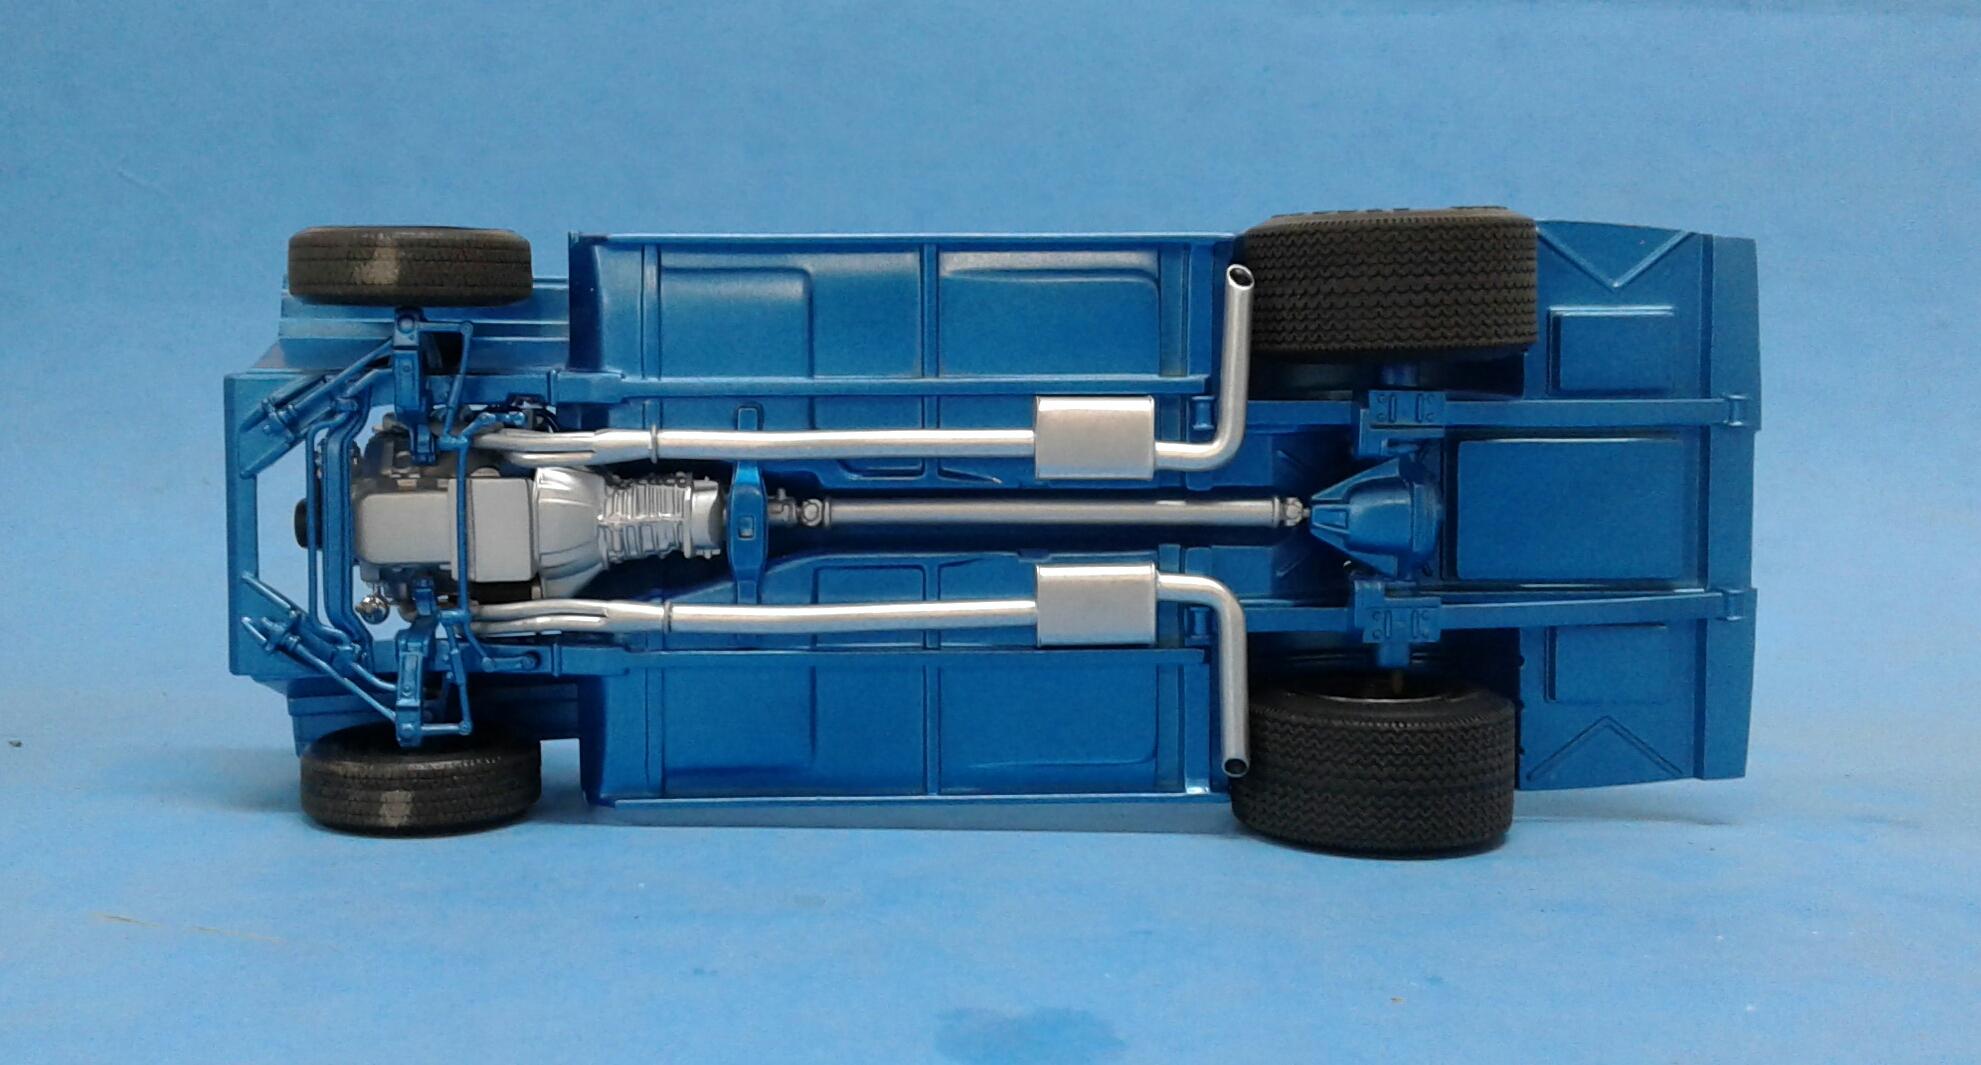
Back on this one while the Goat Wagon is taking a break. Can't believe how long this thing has dragged out! I'm determined to get it finished this time! I'm tired of looking at it on the bench! I have the engine and bay done now. I can't add the radiator support until assembly time. I have to stick it to the body. Then install the chassis and glue it to the core. It's got a little dusty setting on the bench. But, I still have to go over it with the Tamiya Finish compound. All I like having the chassis done is the exhaust. I have it made and in primer. Just have to paint and glue. -
-
I won't be disappointed if it is the Cosma Ray. But, I won't be buying one either.
-
Thanx Jordon! I checked with automotive touchup and a 12 oz. spray can is $27.95! I think I'll just see if I can score a can of MM Phoenician Yellow. That or choose a different color.
-
Thanx! No, I hadn't done a search here. Just went through several Google searches.
-
Anyone know if Dupli Color makes a color similar to Model Master's Phoenician Yellow? I've searched high and low trying to find a color chart for the Perfect Match spray cans. But, have came up empty. I have a partial can of the Phoenician Yellow. But, I seriously doubt it will be enough paint for the project I want to use it on as I'll be painting the floorpan solid. Any and all help appreciated!


