Plowboy
-
Posts
3,434 -
Joined
-
Last visited
Content Type
Profiles
Forums
Events
Gallery
Everything posted by Plowboy
-
I've done it both ways. It just depends on the part. If you want to save the chrome on the headlight buckets, sand, primer and paint. If you aren't concerned about the chrome, strip, primer and paint.
-
Has anyone bought this kit yet? If so, please post photos of what's inside.
-
One thing I didn't like about the MPC '80 Camaro I built as a kid was the rear bumper was wider than the body. It should be flush. Even as a kid, that bugged me. Does the '81 have the same issue or did they fix it?
-
Looks nice Andrew! It's always cool to see the different cars built. The Edsel is just something you don't see that often. The wheels and tires from the Eldorod suits it nicely!
-
Nice looking wagon Thomas! I really like the two tone paint! Nice work!
-
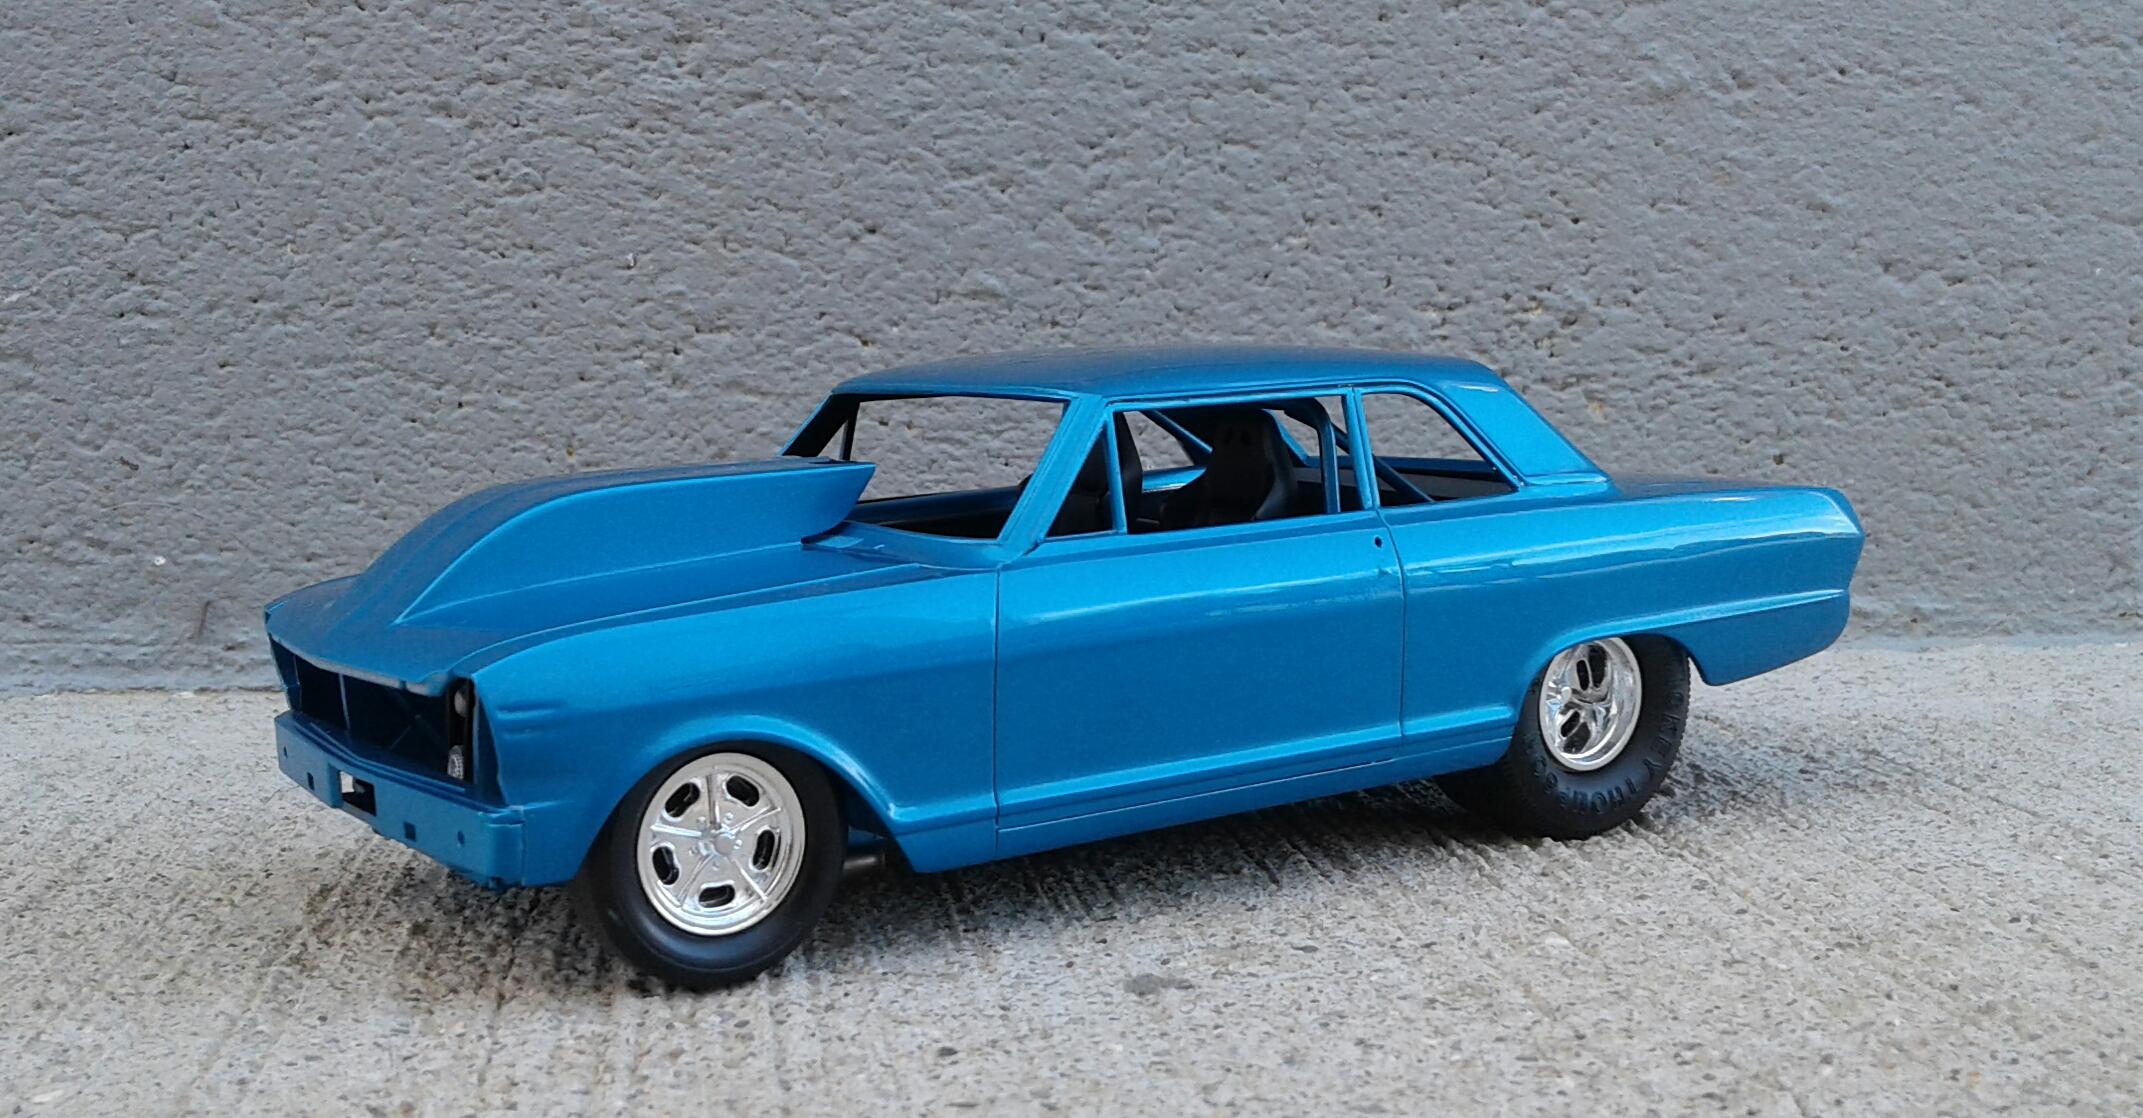
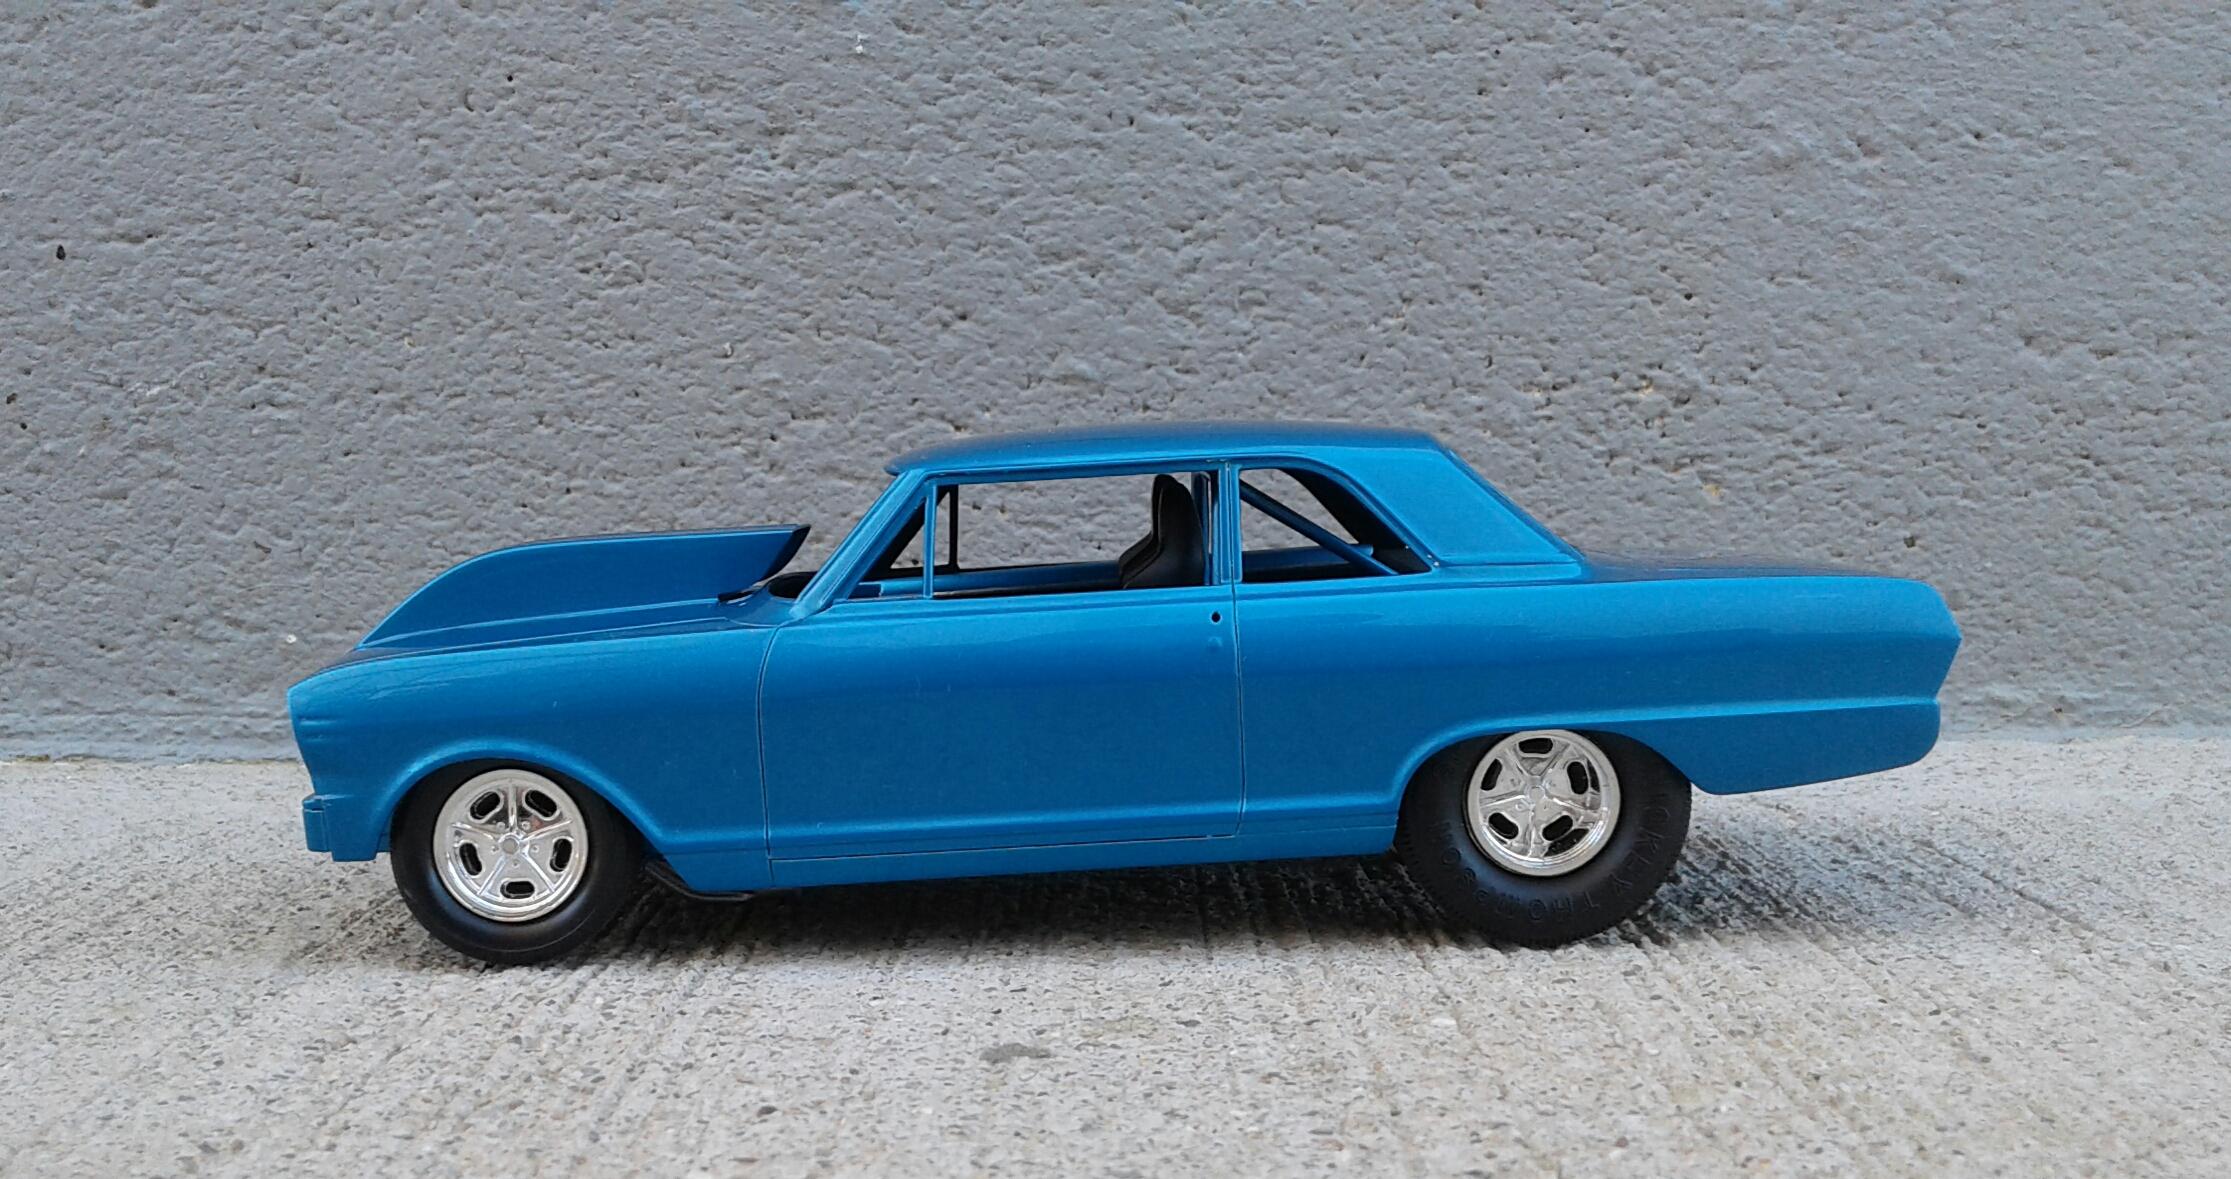
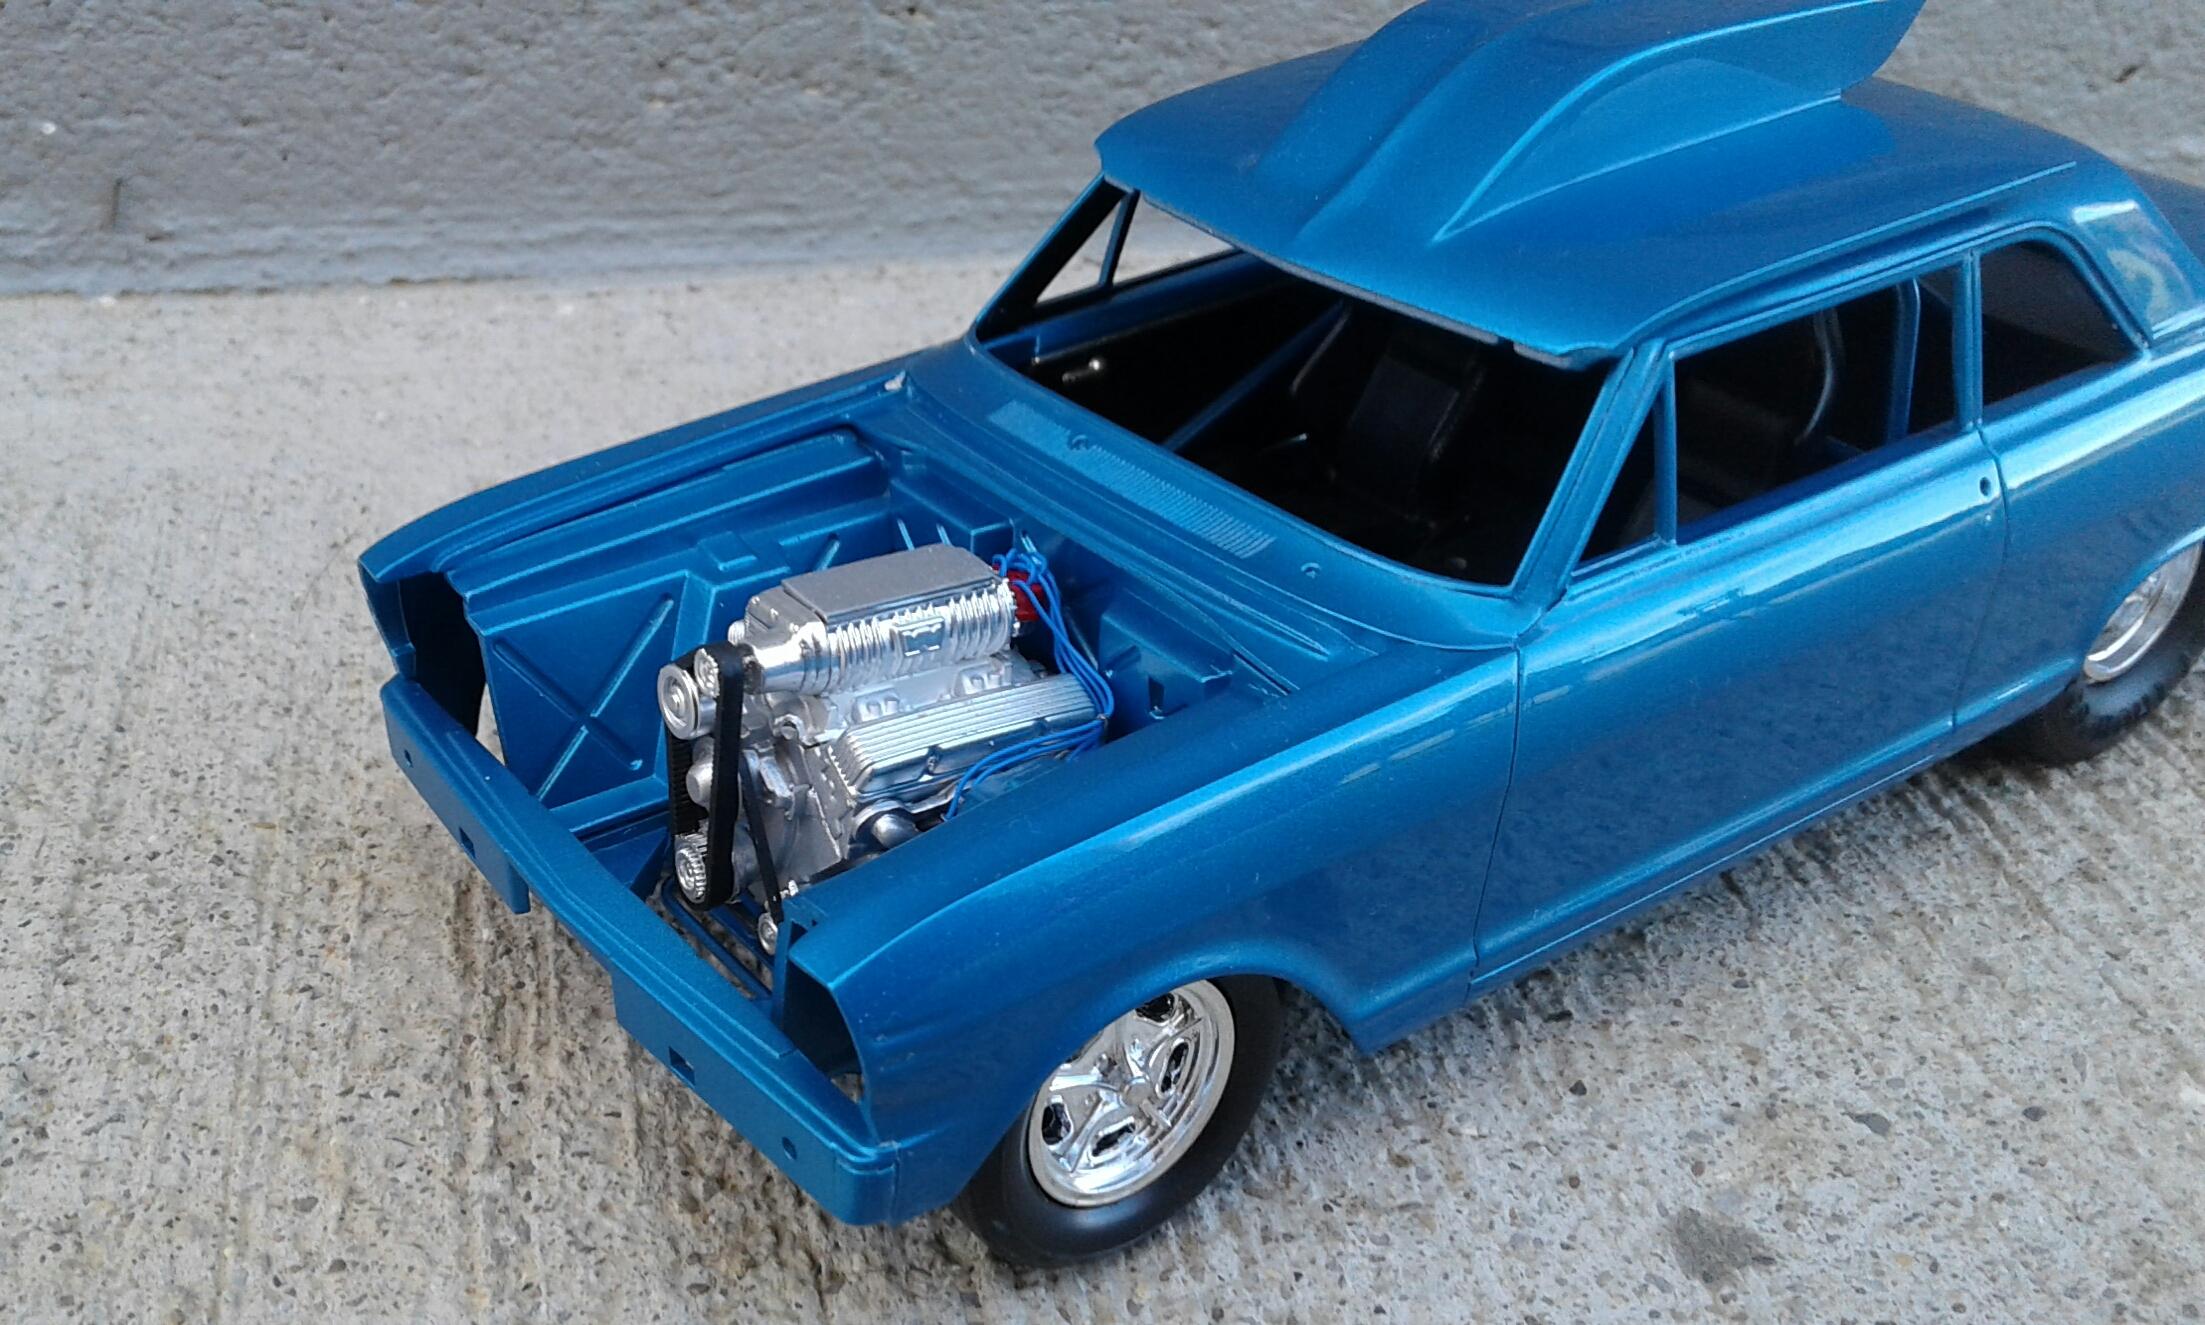
'65 Nova Pro Street Update 11/14/22 Completed Chassis Photo Pg. 5
Plowboy replied to Plowboy's topic in WIP: Model Cars
Thanx guys, I appreciate it! Very little time equals very little progress. But, I have managed to get the chassis together enough to do a mockup. I still have to add the exhaust and rear shocks. The interior is almost complete. Just have to detail the dash, add the console that I cut out of an Alternomad and shifter from an AMT '66 Fairlane. I've polished the body with Tamiya Course and Fine compounds. I'll foil it and then go over it with the Finish compound. The engine is installed. Just have to add the carburetors and air cleaners. Only detail I added was ignition wires. It's getting close to being done! Think when I get this one out of the way, I'll get back in on my '62 Galaxie.
-
Only one I'm interested in is the '64 Comet. Already have a Monte Carlo and two '68 Road Runners. I don't remember the snap Viper and Mustang.
-
You will still need to polish it to get rid of the fine scratches. That's what I hated about the polishing pads! All that sanding and you still have to polish! It shouldn't take much polishing to get rid of the fine scratches. Maybe try the 3M glaze posted above.
-
Super nice looking '36 Tommy! You really nailed the look! Is the pinstripe hand painted? BTW, I think your rear bumper is from a '53 Chevy. Whatever it is, it suits it well. Nice work!
-
Thanx! I started on the SS Hatch right after this one. I got it in primer and then lost interest. I may have to drag it out and finish it. I can't recall ever seeing one built.
-
Very nice! The wheels and tires makes a huge difference!
-
I'm not a fan of the Revell Kelsey Hayes wires either. No matter how you paint them, all you see are the outside spokes in photos. Even in person, you have to look closely to see the spokes on the rear half.
-
This is Tamiya Bright Red. Don't know if it's the brightest or not. This is Dupli Color Bright Red. Not quite as bright as the Tamiya.
-
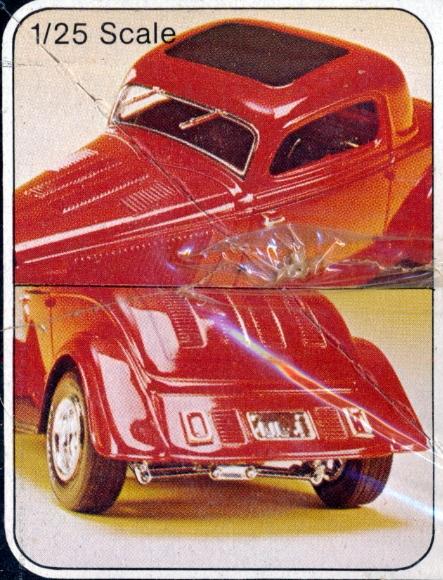
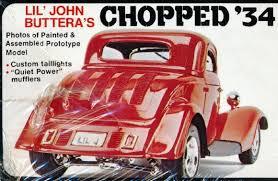
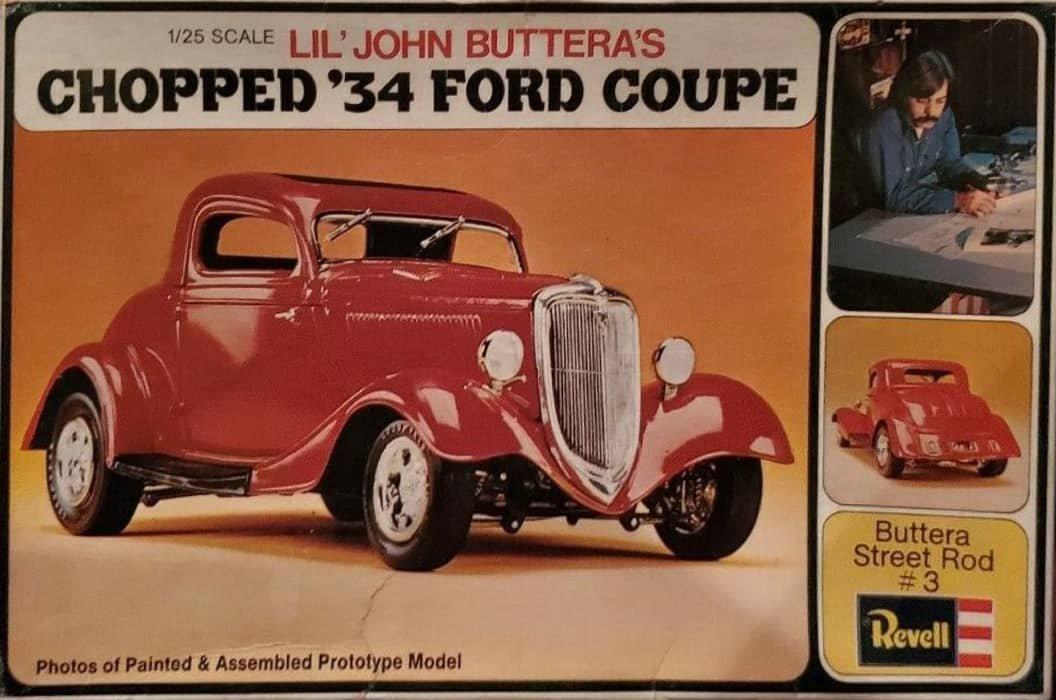
All one has to do is look at the roof to know it's not the Monogram '34. Then there's the louvered trunk and filler panel at the rear with the recessed plate. The louvered hood. The independent suspensions front and rear. The only things that favor a Monogram '34 are the retouched grille and headlights. There's no confusing the rest.
-
Not true. The boxart on on that kit looks nothing like the Monogram kit. That's an old wives tale.
-
Thanx! I checked the wheelbase on mine out of curiosity and it measured the same side to side (110mms). It doesn't look out of square either. Maybe they fixed it?
-
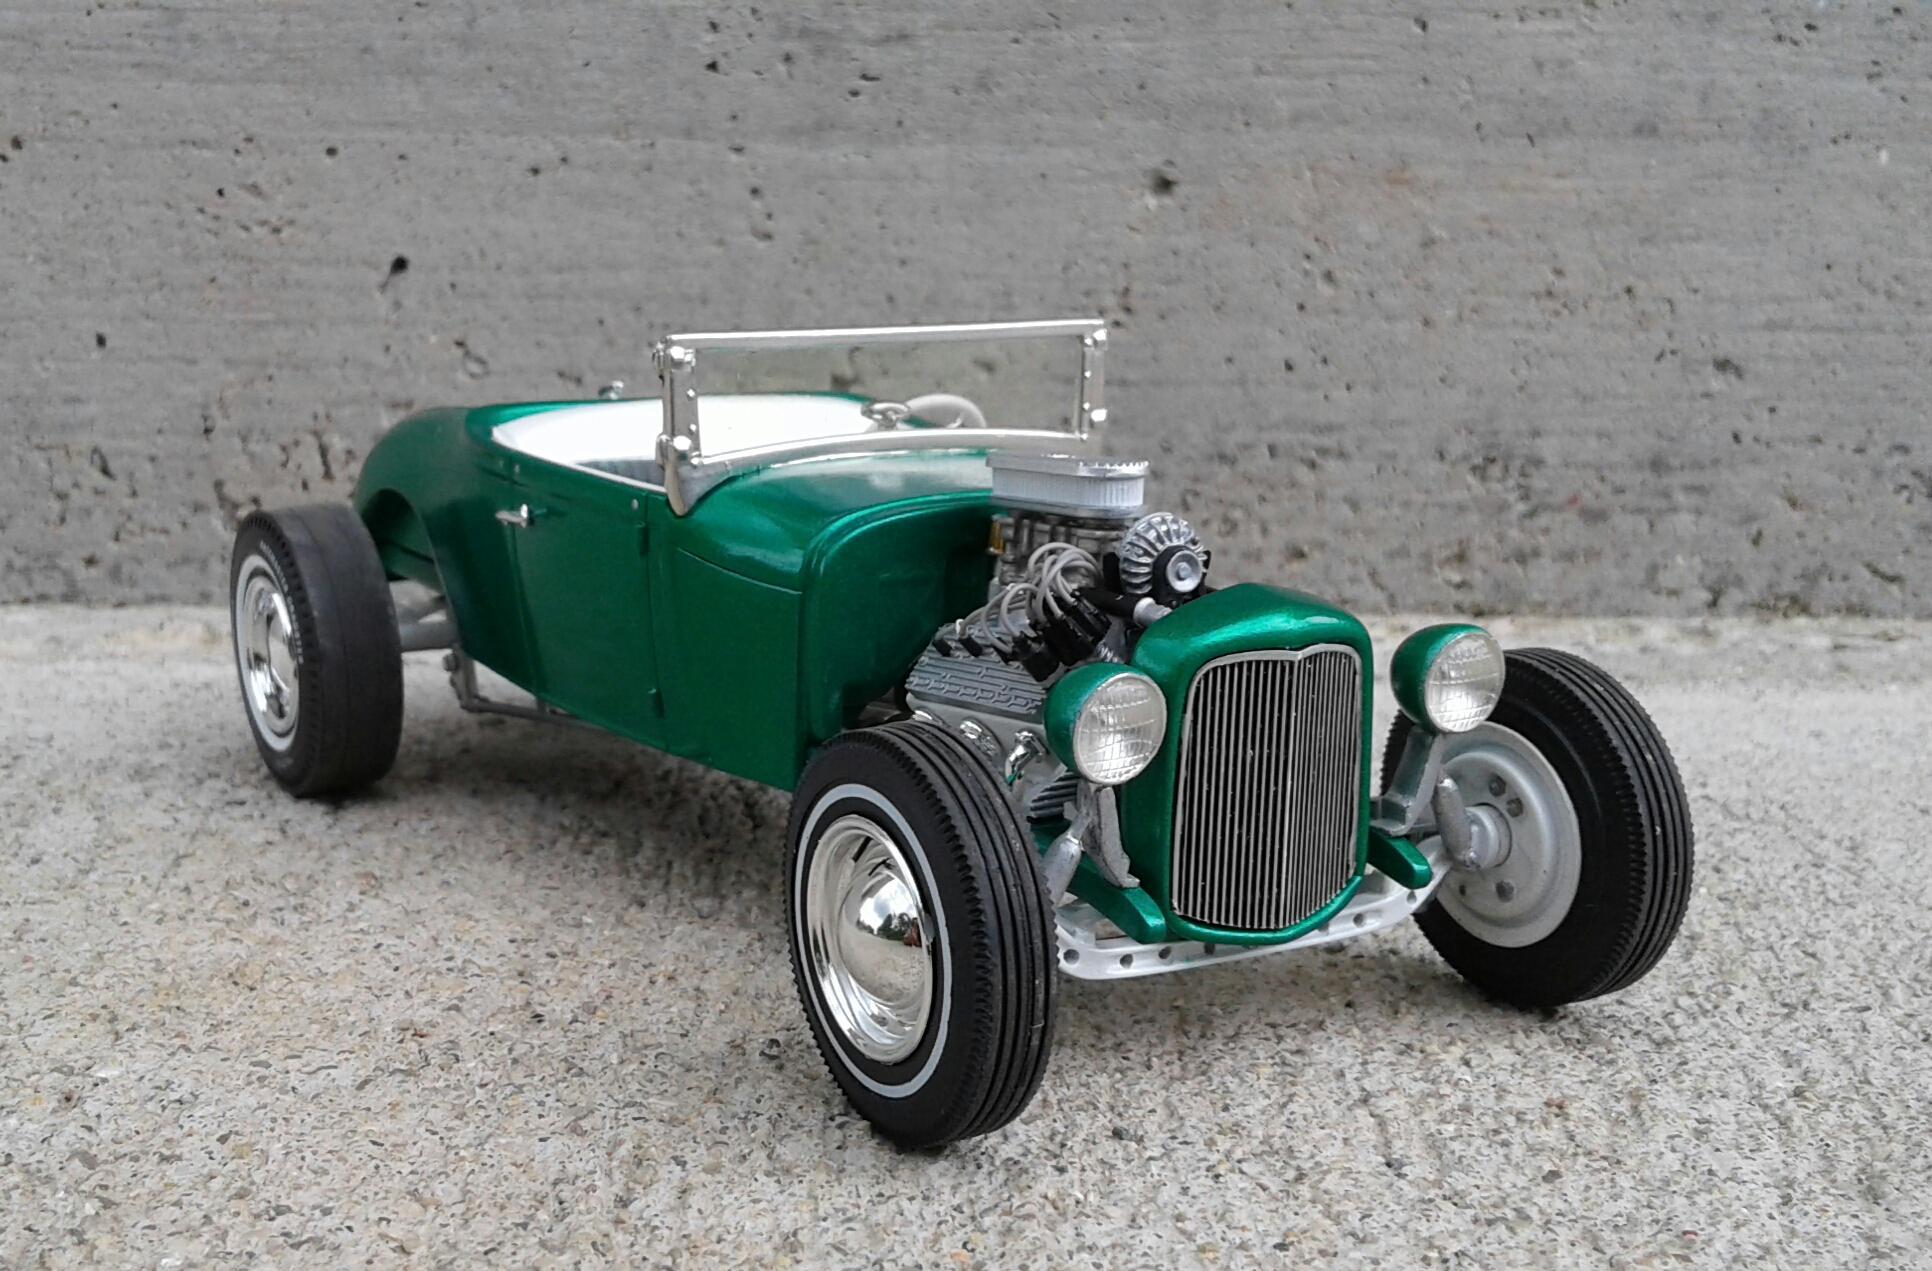
Another 29 Roadster Question
Plowboy replied to Calb56's topic in General Automotive Talk (Trucks and Cars)
You don't want to chop the grille too much like I did on this model. I've changed it since the photos. To me, the sweet spot is to have the top of the grille with the top of the cowl and the bottom of the grille just below the axle.
-
I paint mine with Tamiya TS 9 British Green.
-
Thanx David! I think they're supposed to be Ansens. But, they missed the mark on them.
-
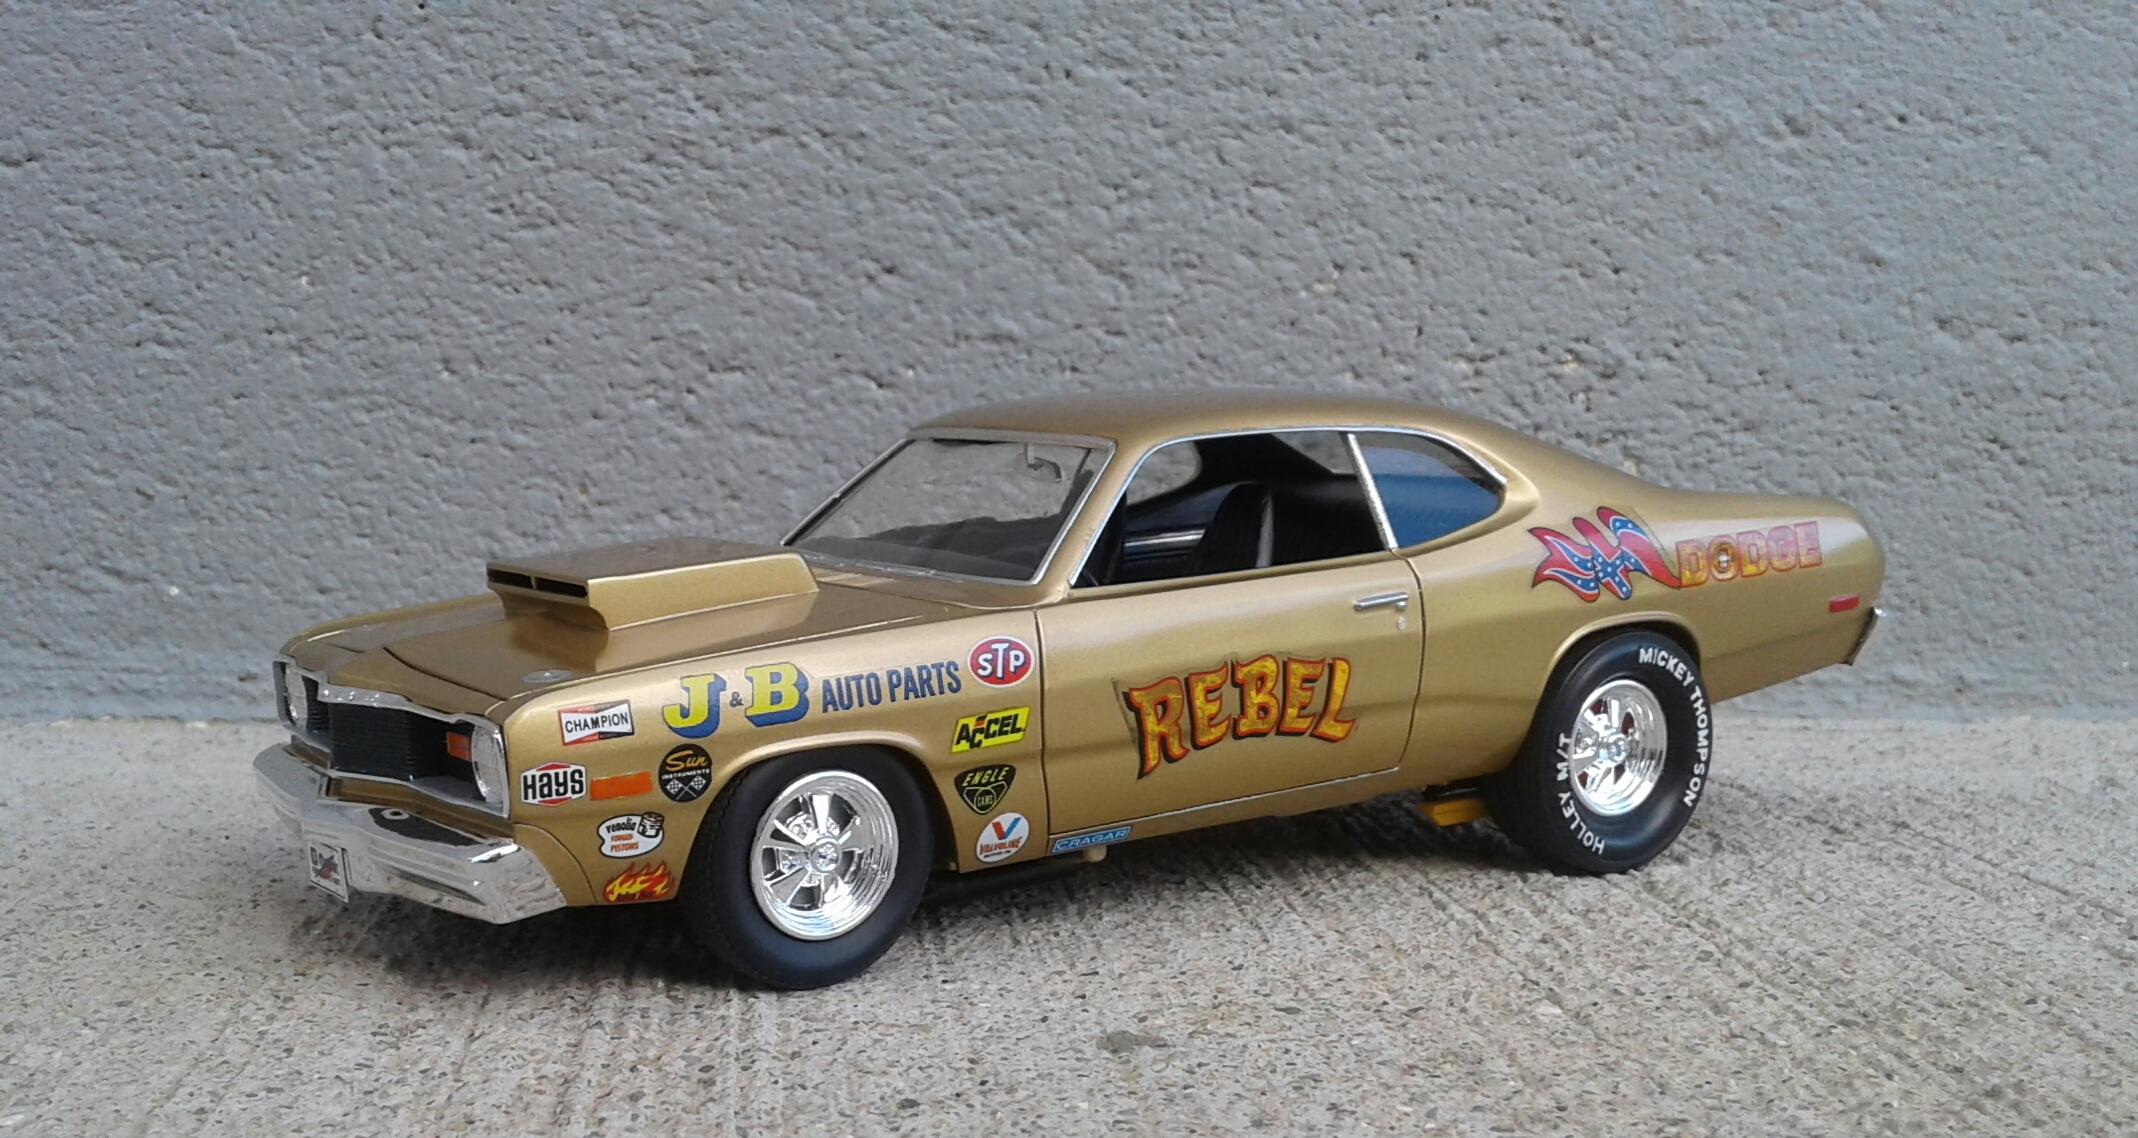
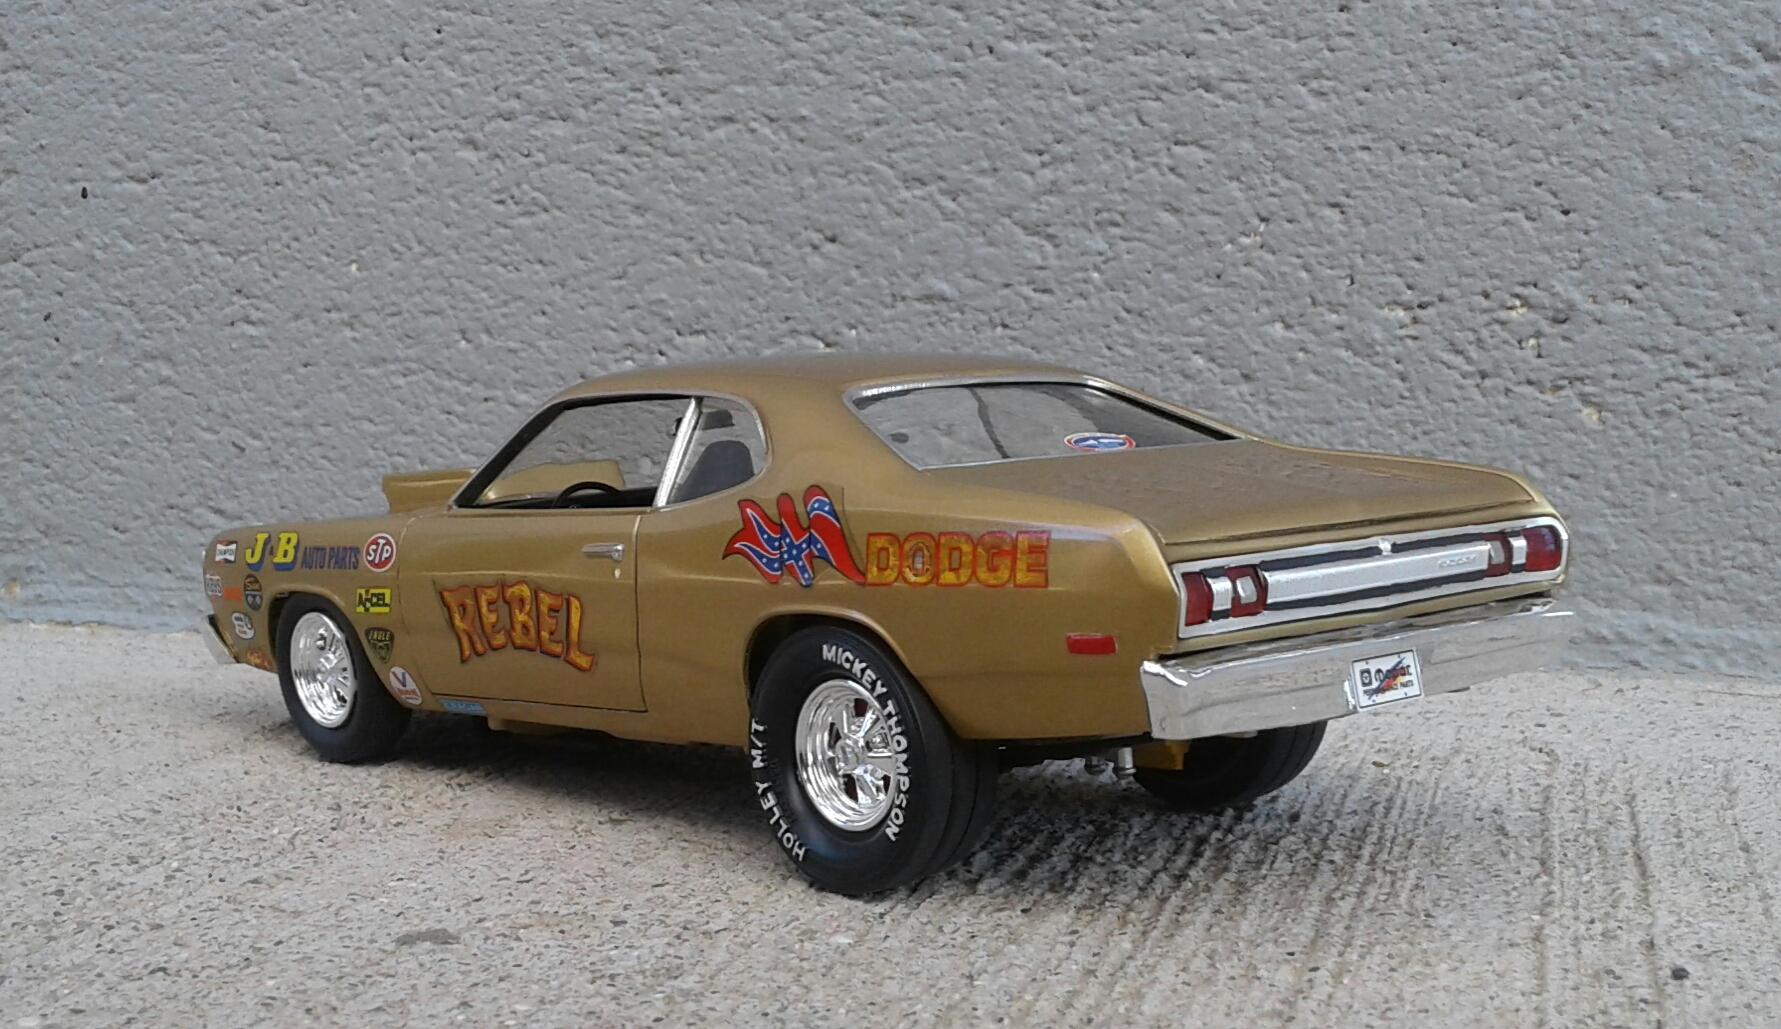
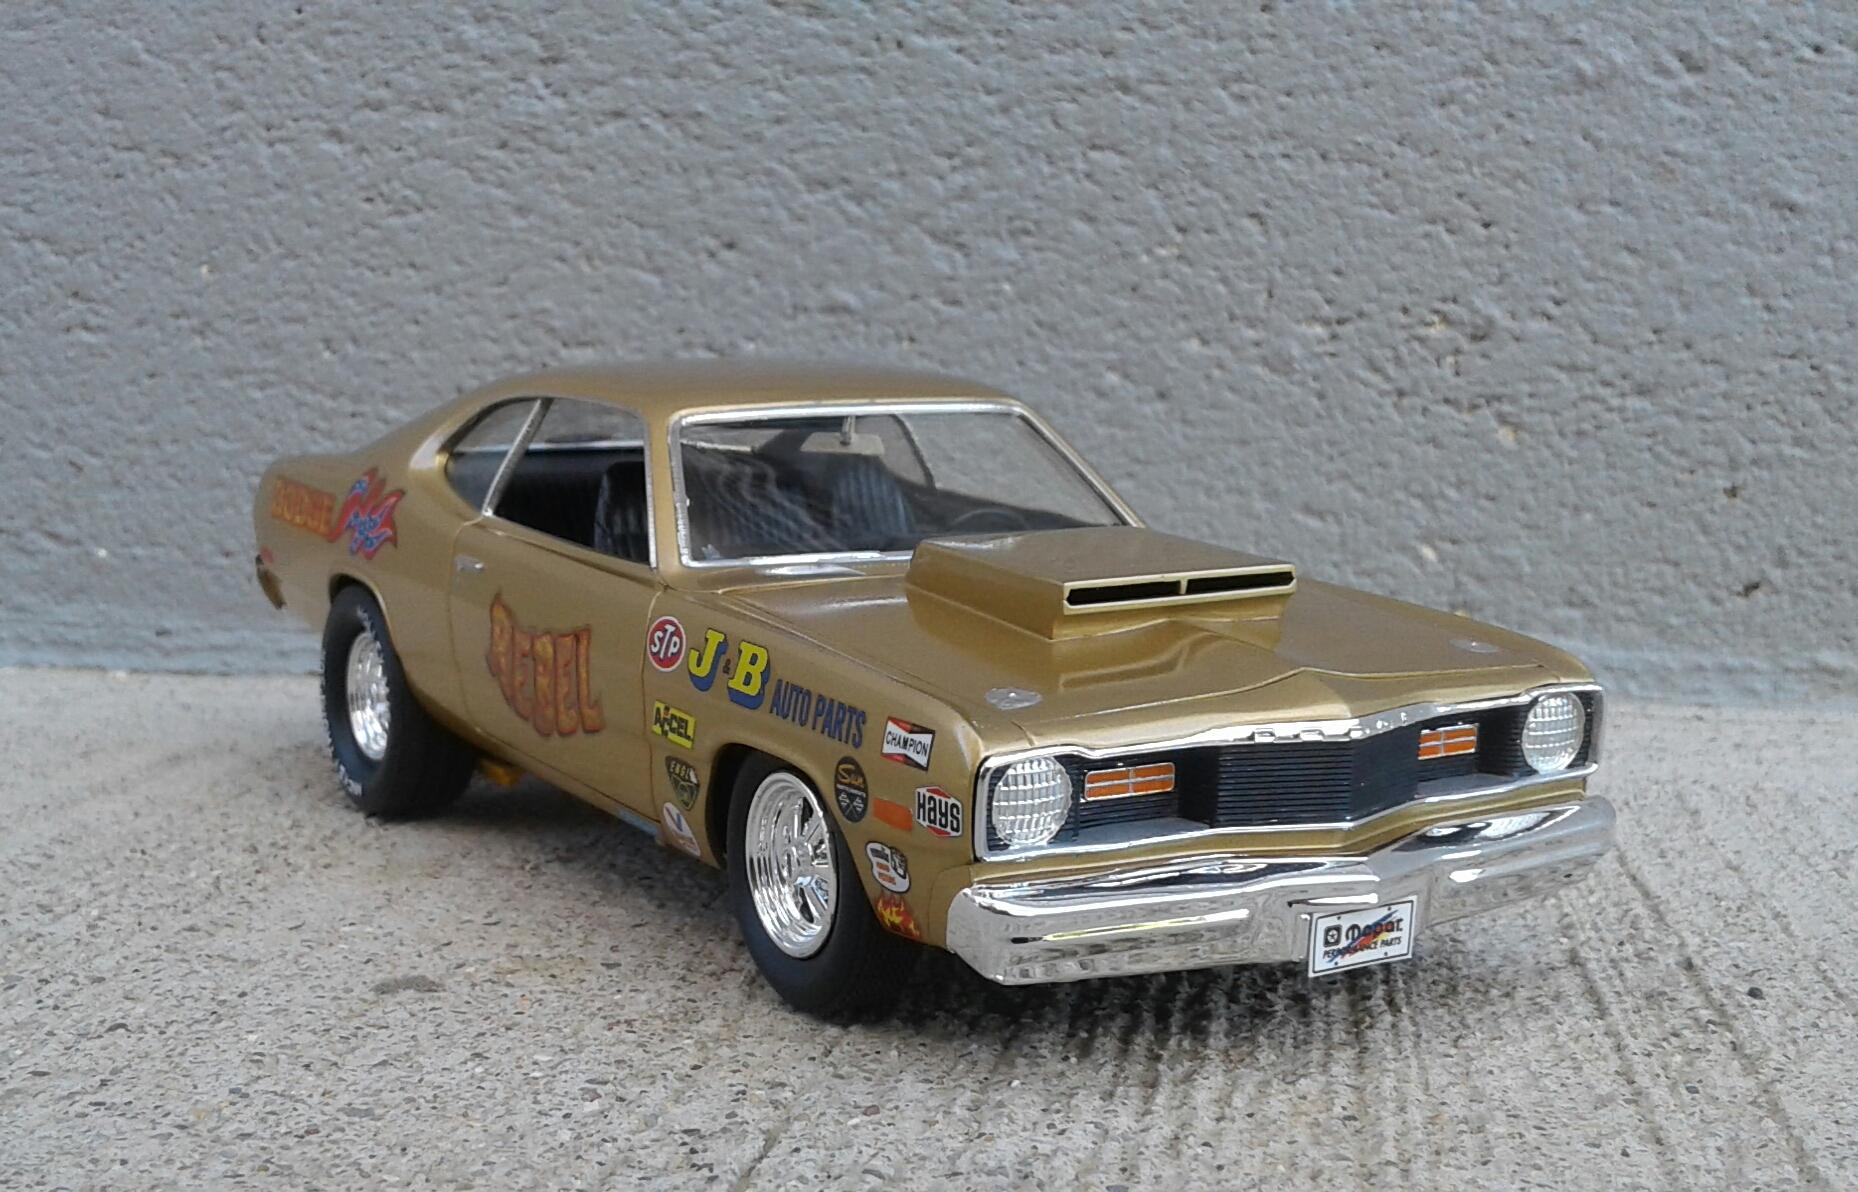
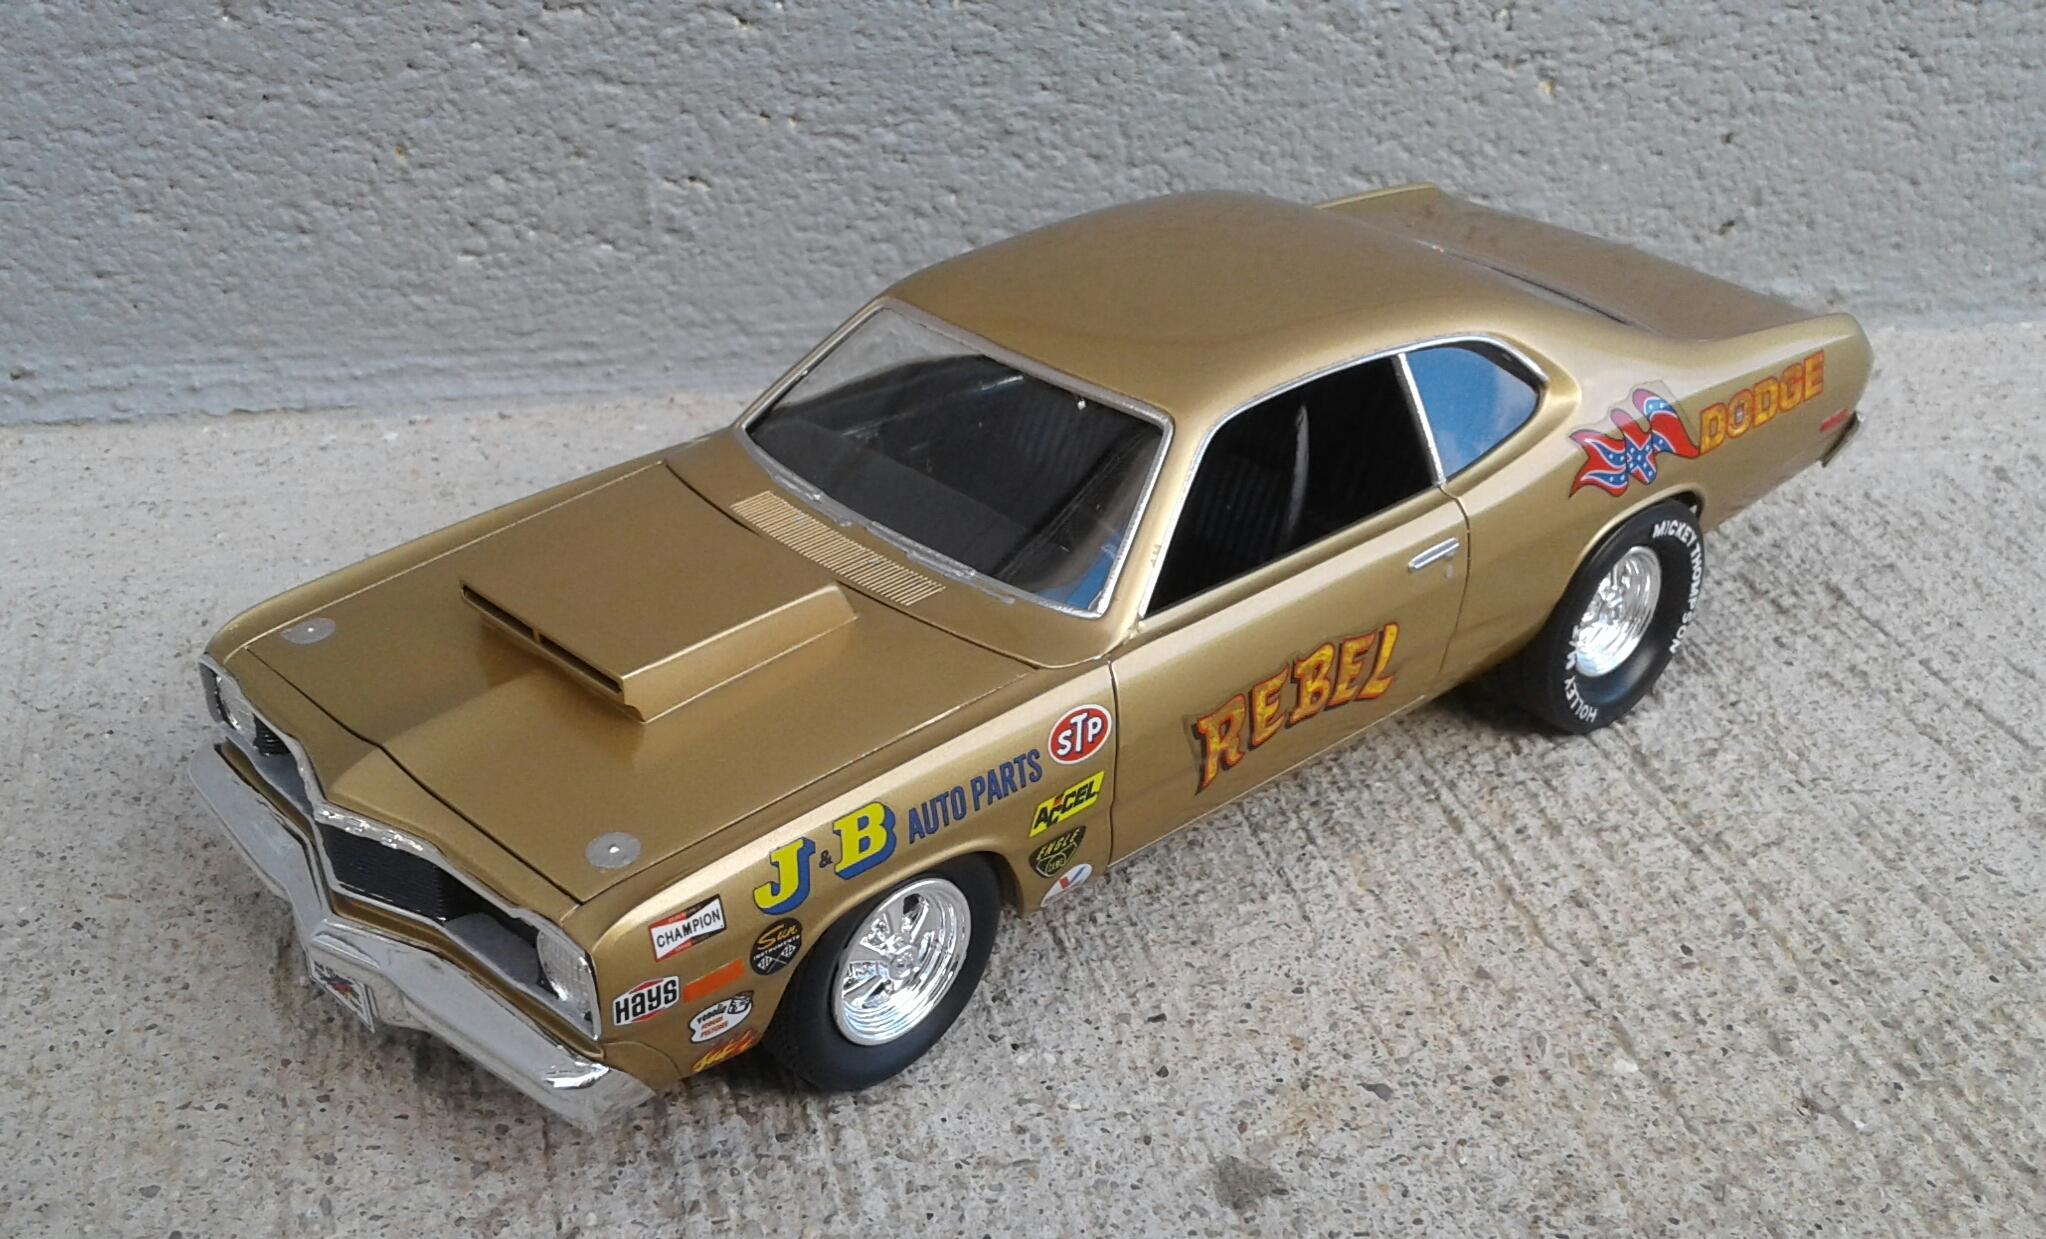
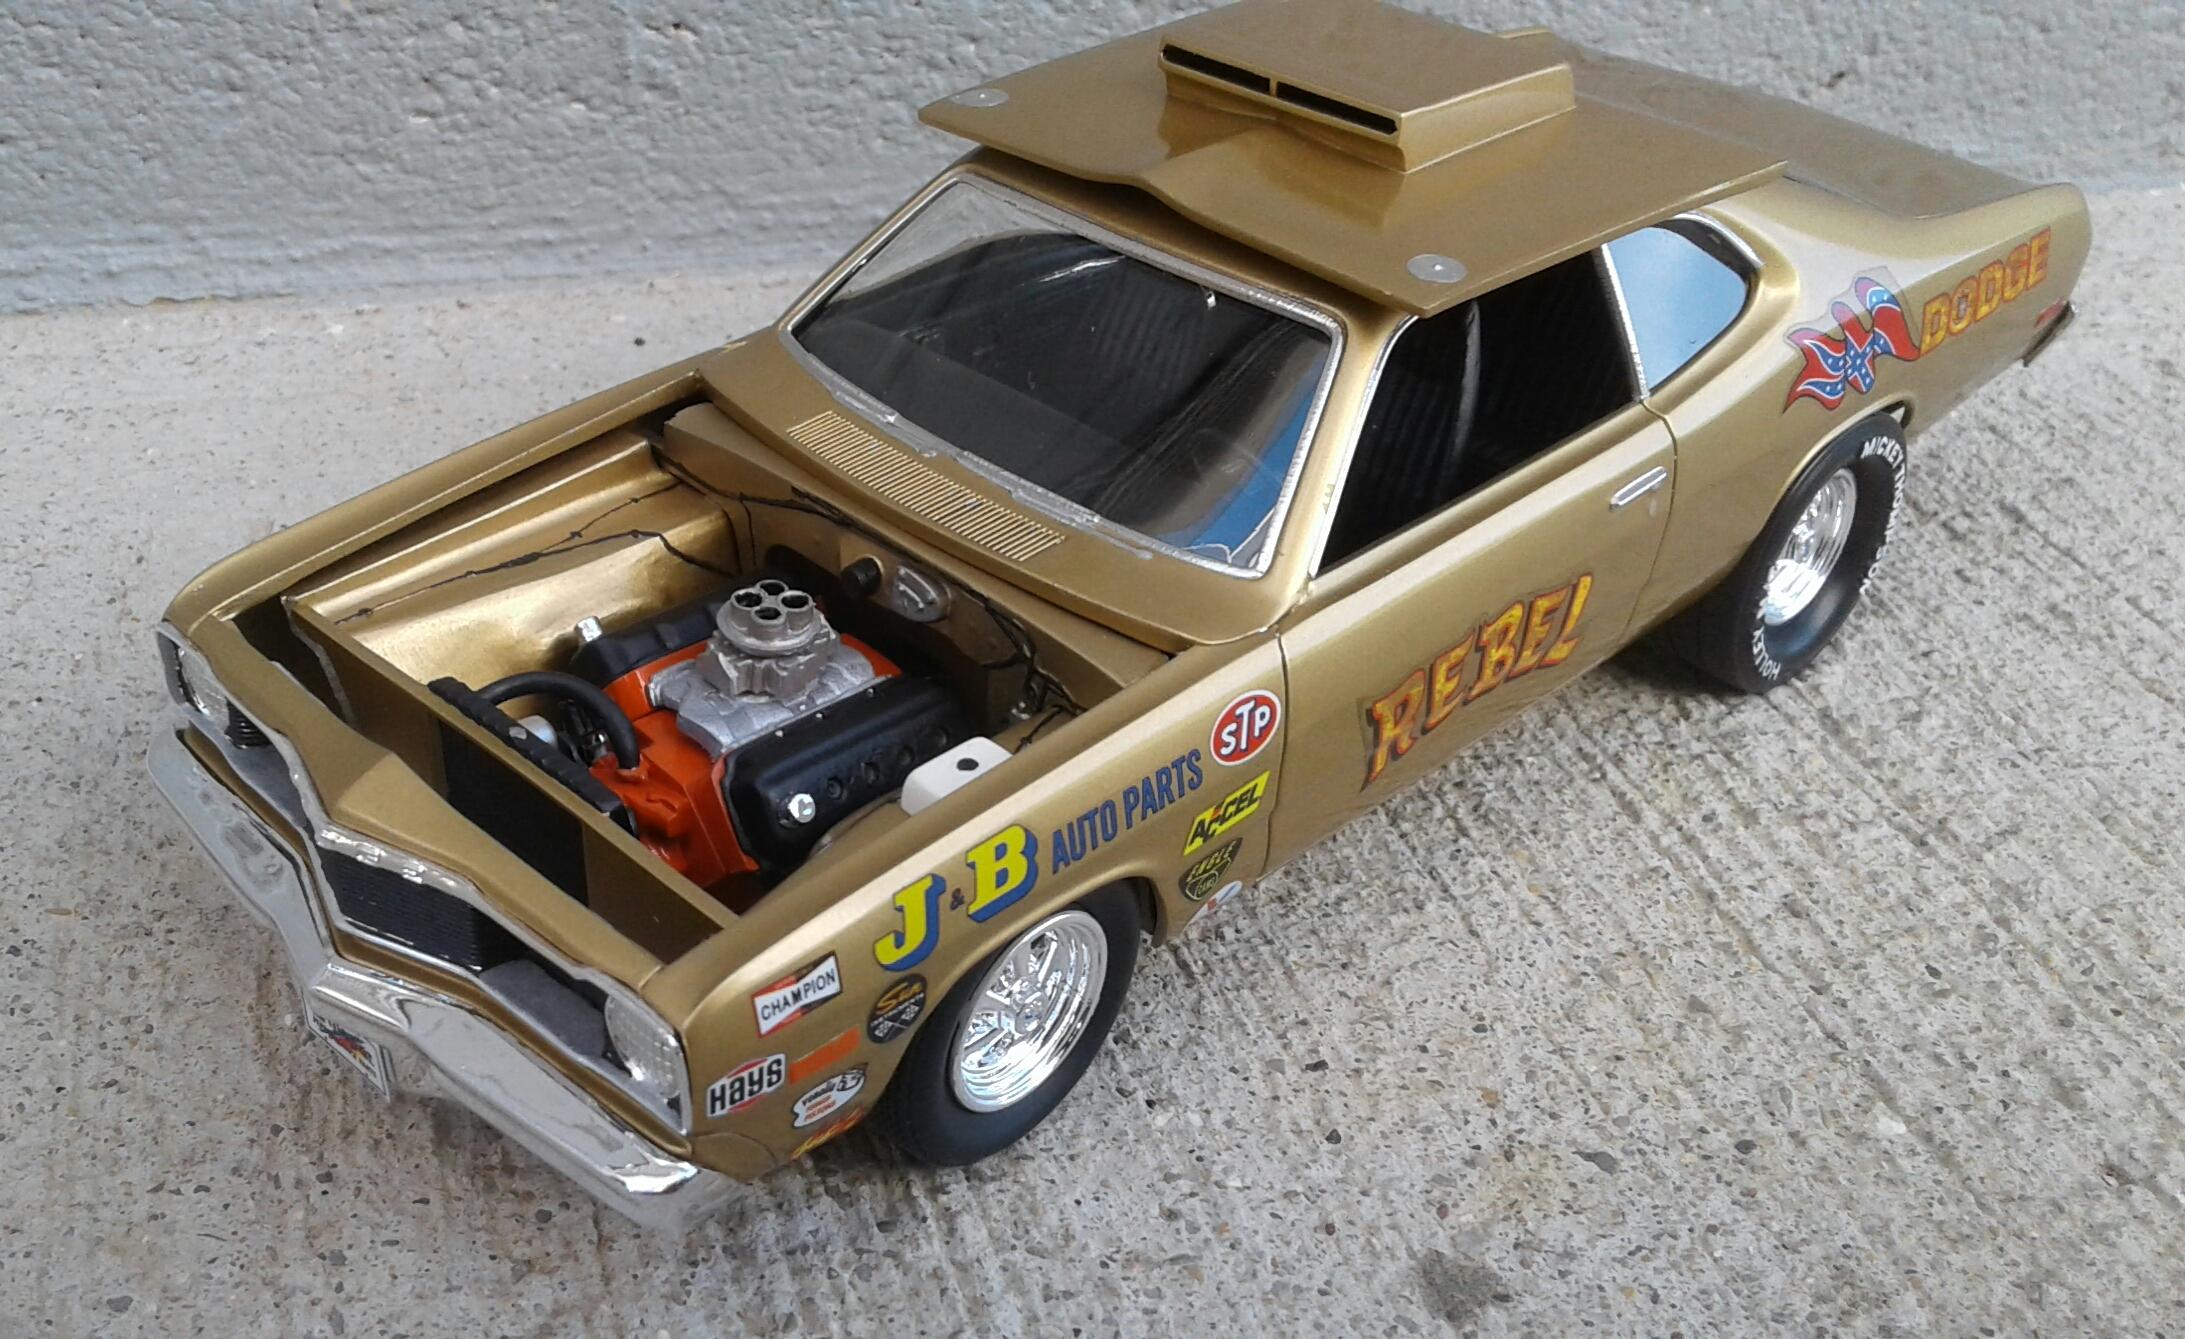
I built this years ago when it first came out as a reissue of the "Rebel Rouser". I just wanted a simple build straight out of the box. But, I couldn't stand either set of wheels that came with it. So, I used a set of Cragars from the AMT '66 Nova. I also fixed the front wheel openings as they're incorrect out of the box. Besides that, it's just paint and glue. The paint is Tamiya Gold with their clear. For what it is, it makes a decent looking model out of the box. It just needs better wheels. Thanx for checking it out!
-
That is a sharp looking Impala Rick! The color and wheels suits it perfect!
-
Super nice looking Corvette Harry! That first photo of it could pass for the real deal!
-
I use all three Jim. I've polished around forty models with them and still have enough to do several more. Trust me, it's the best money you'll spend! I don't buy the applicator cloths. I use a high thread count cotton cloth to apply and remove it.
-
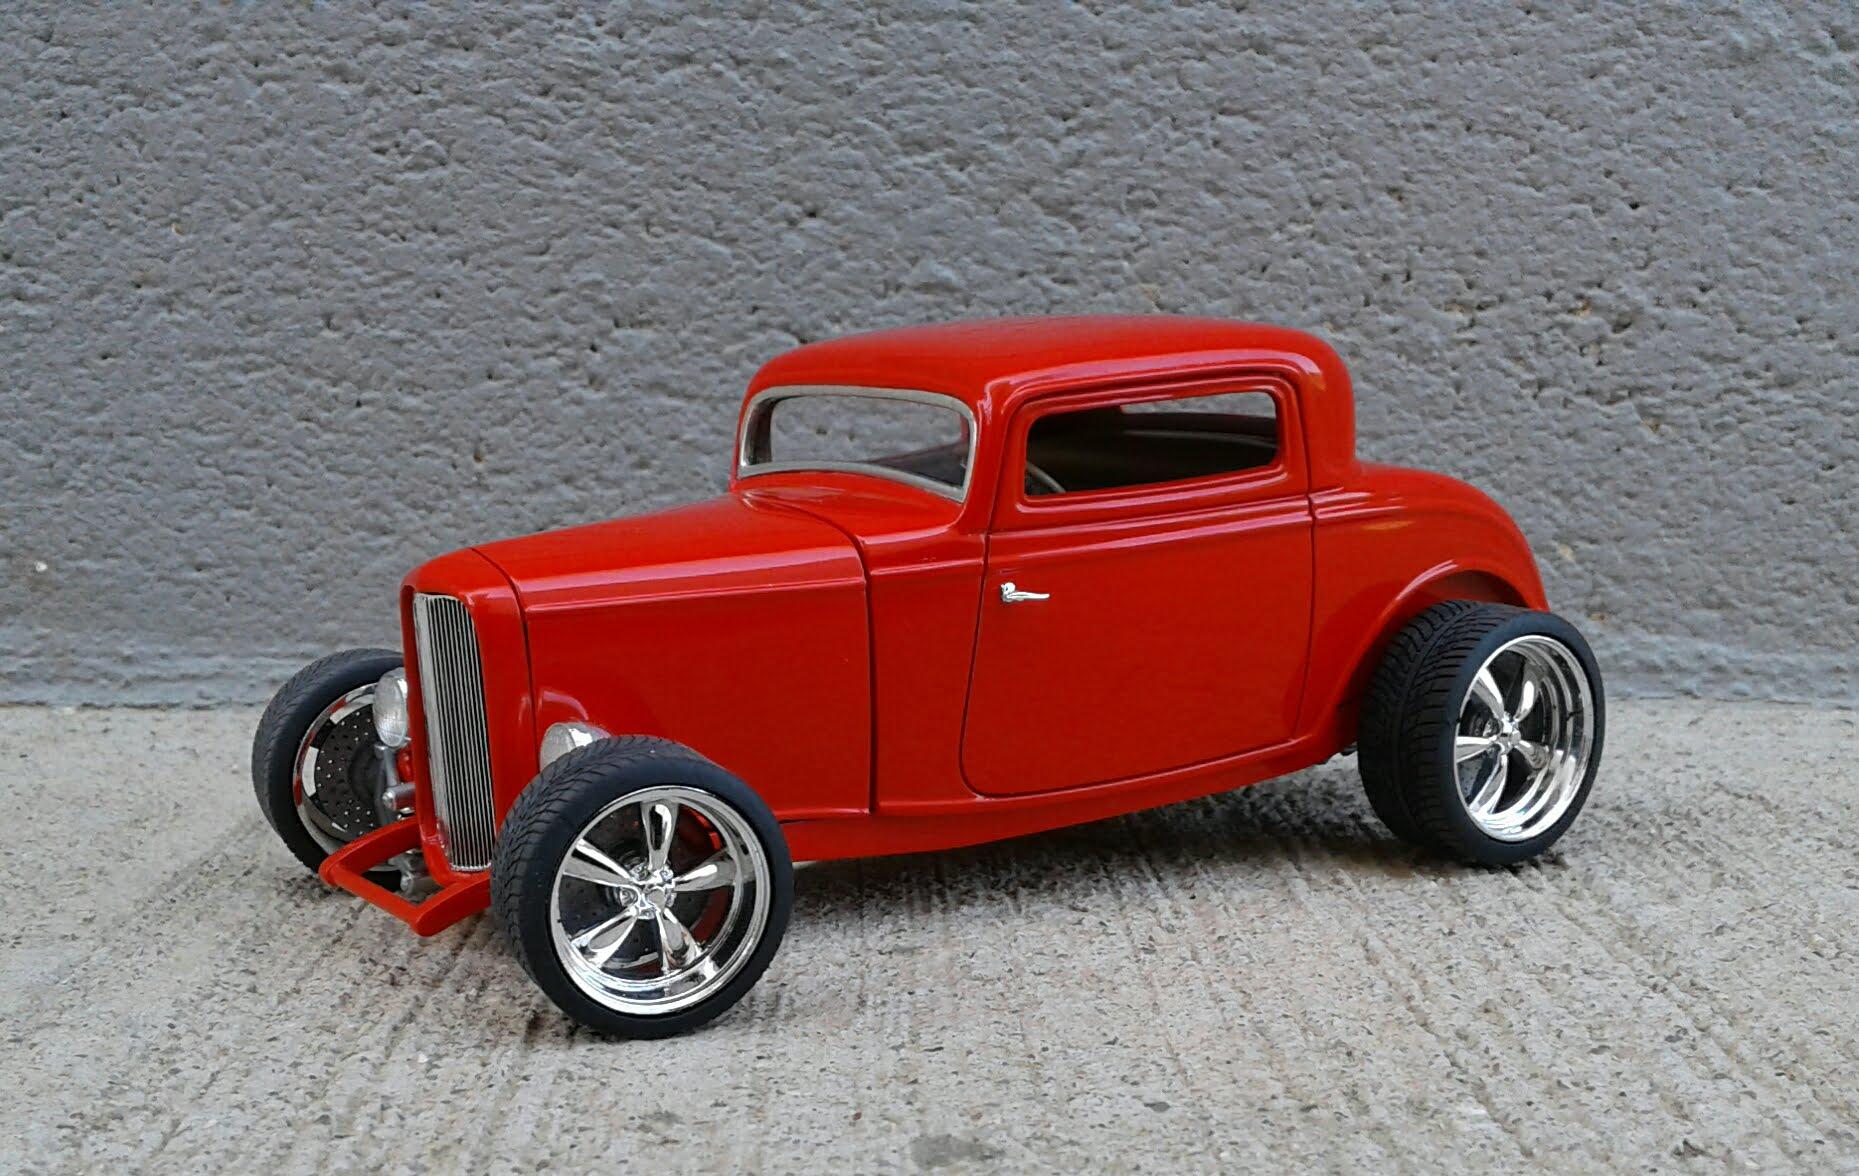
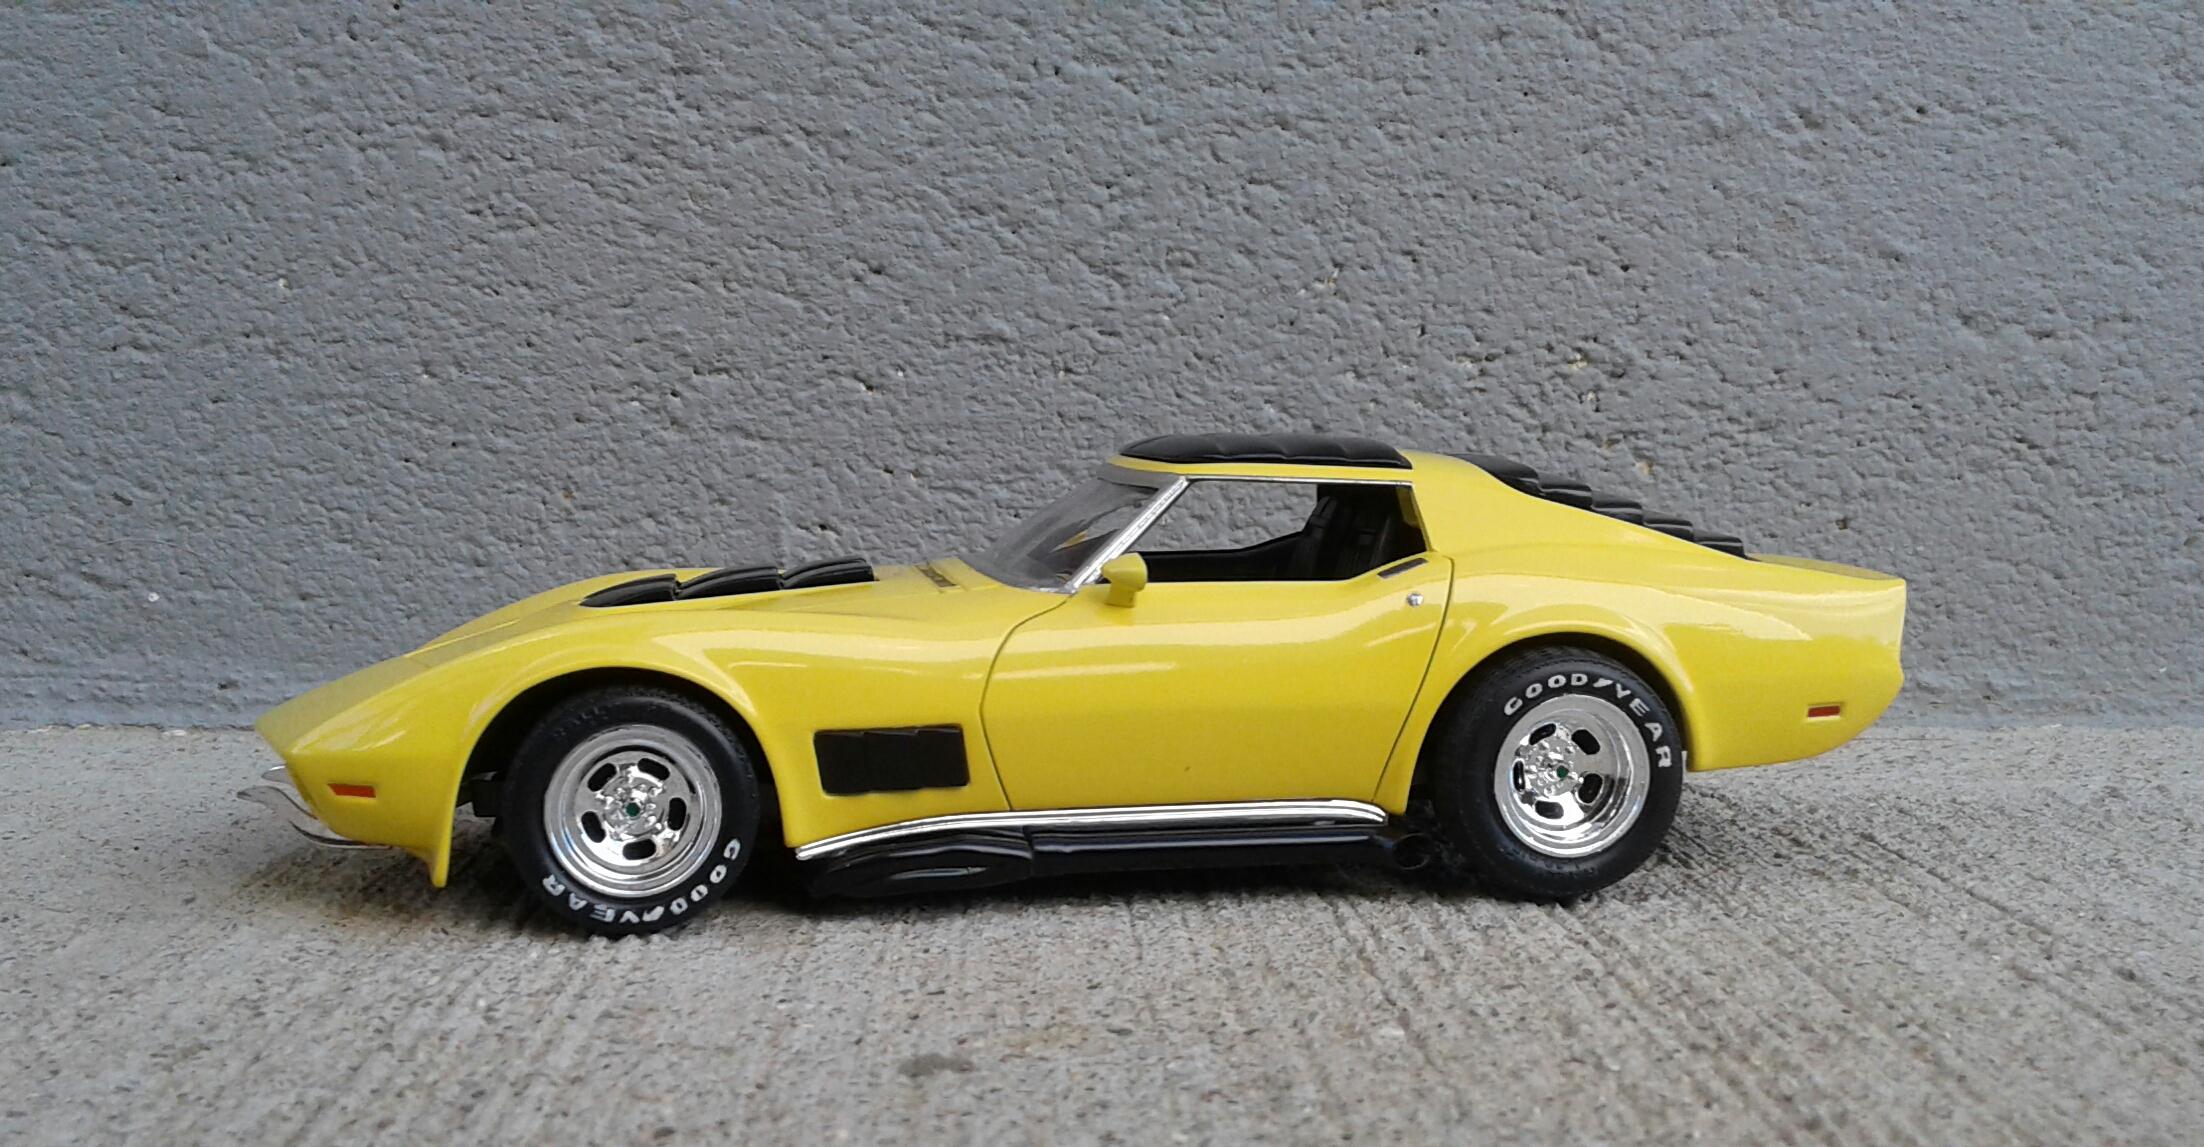
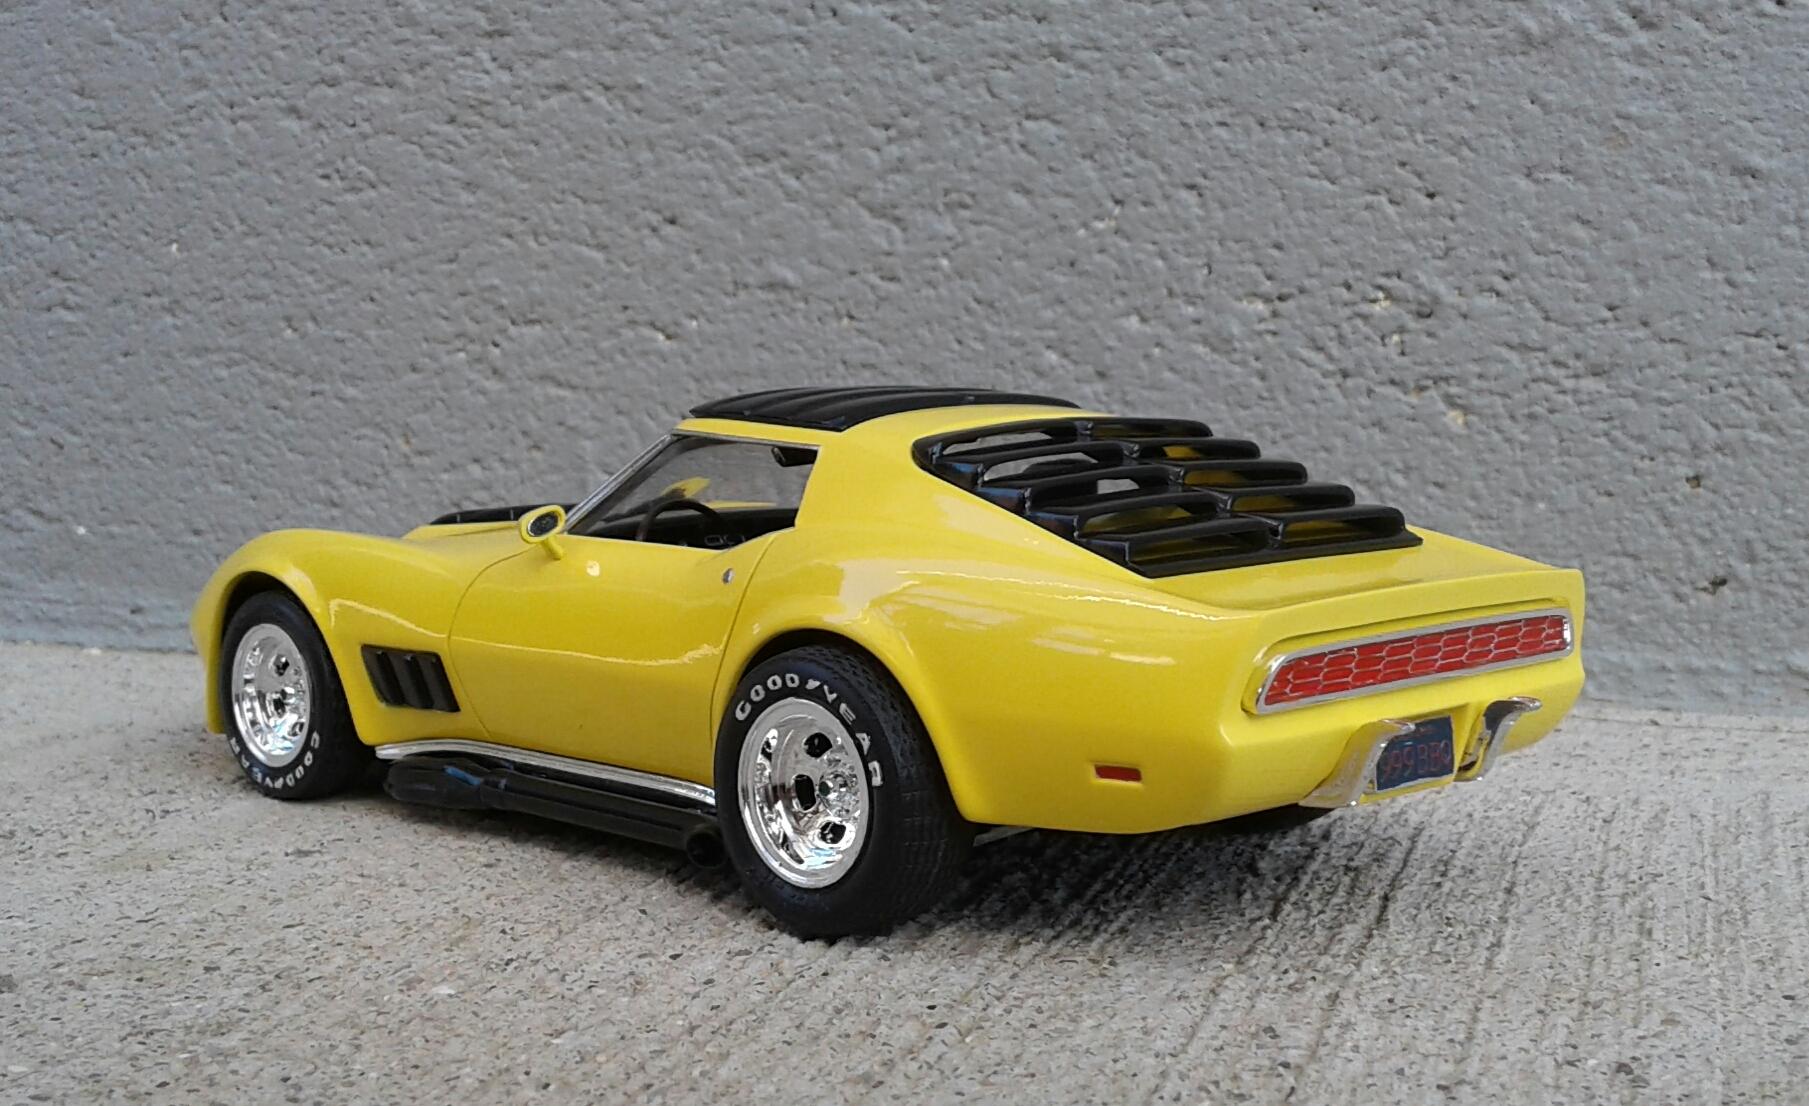
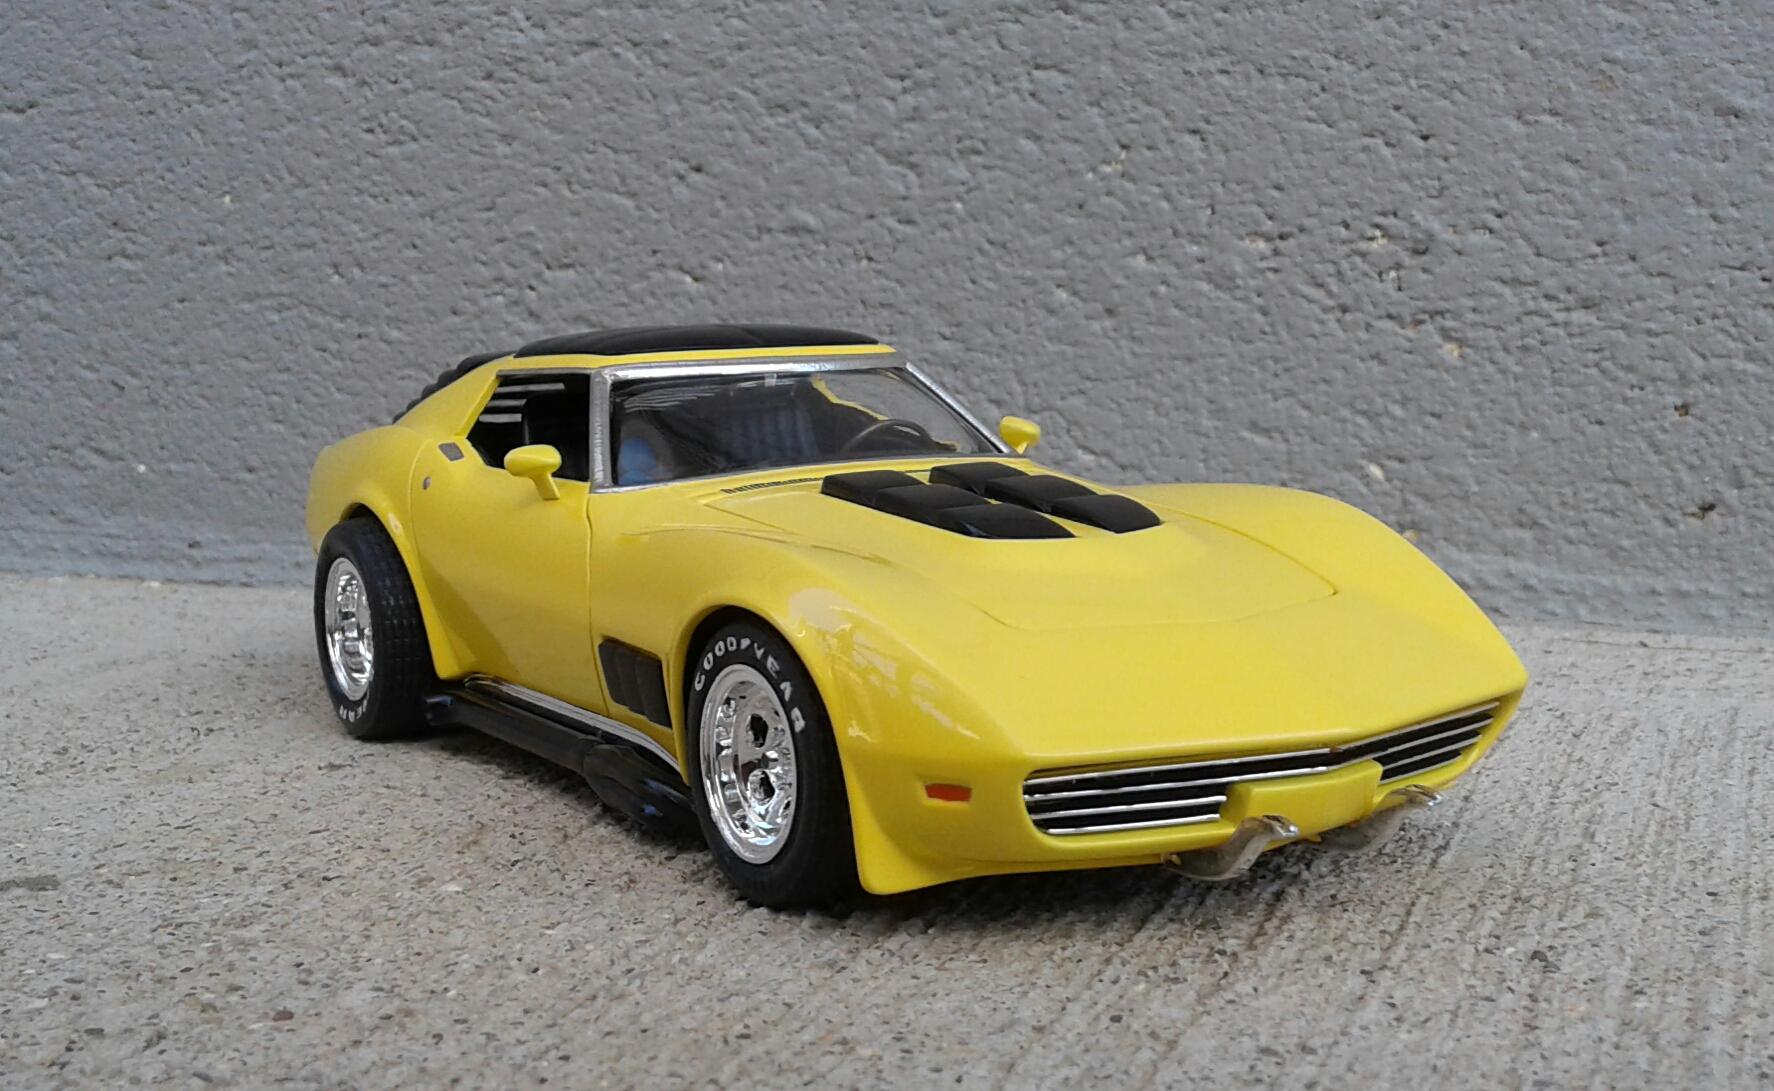
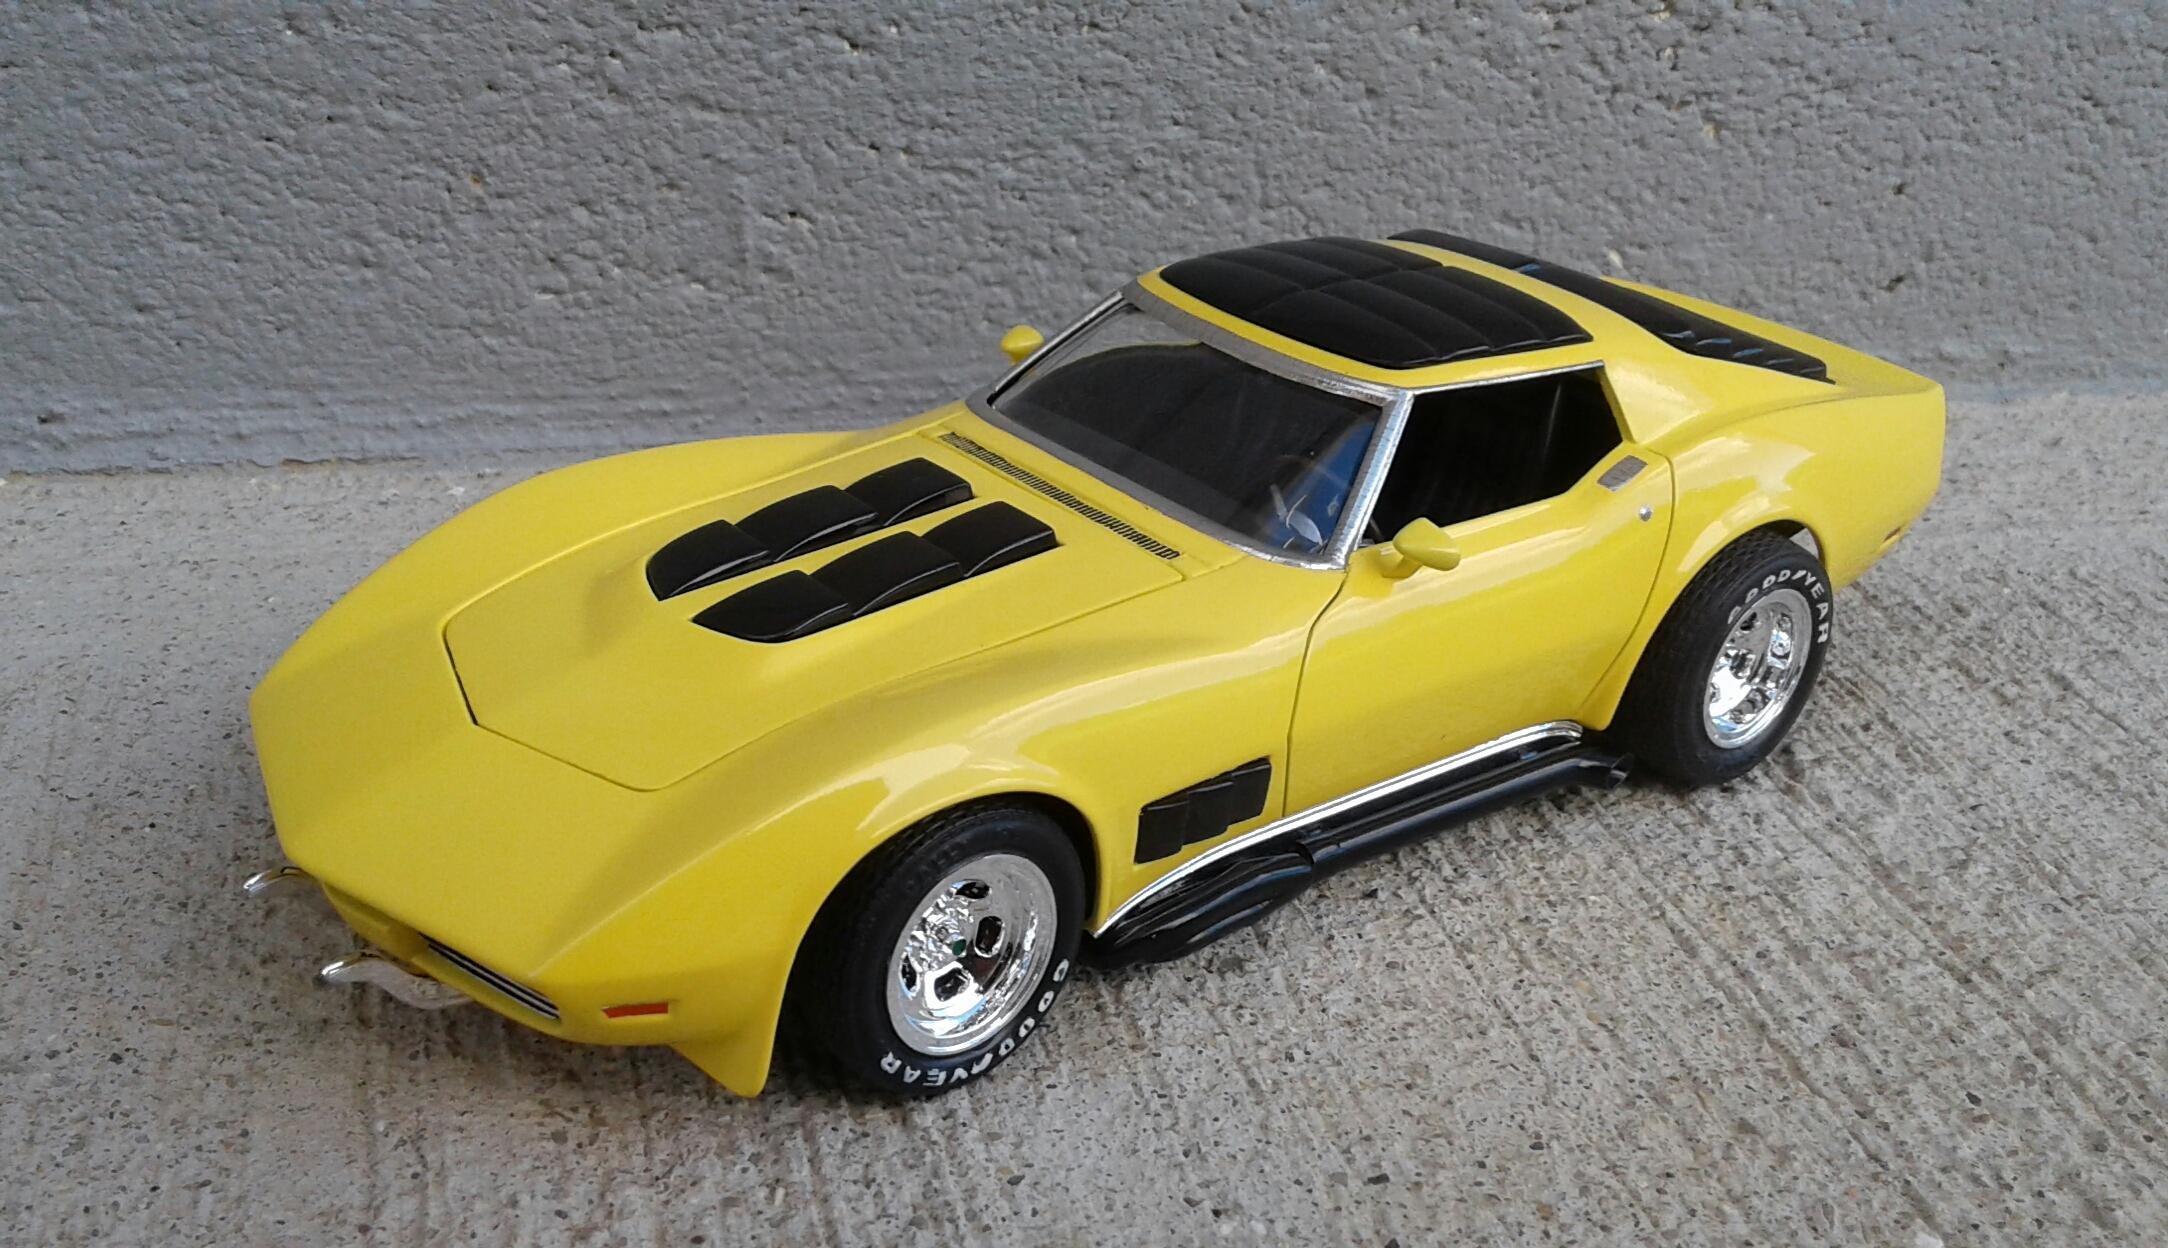
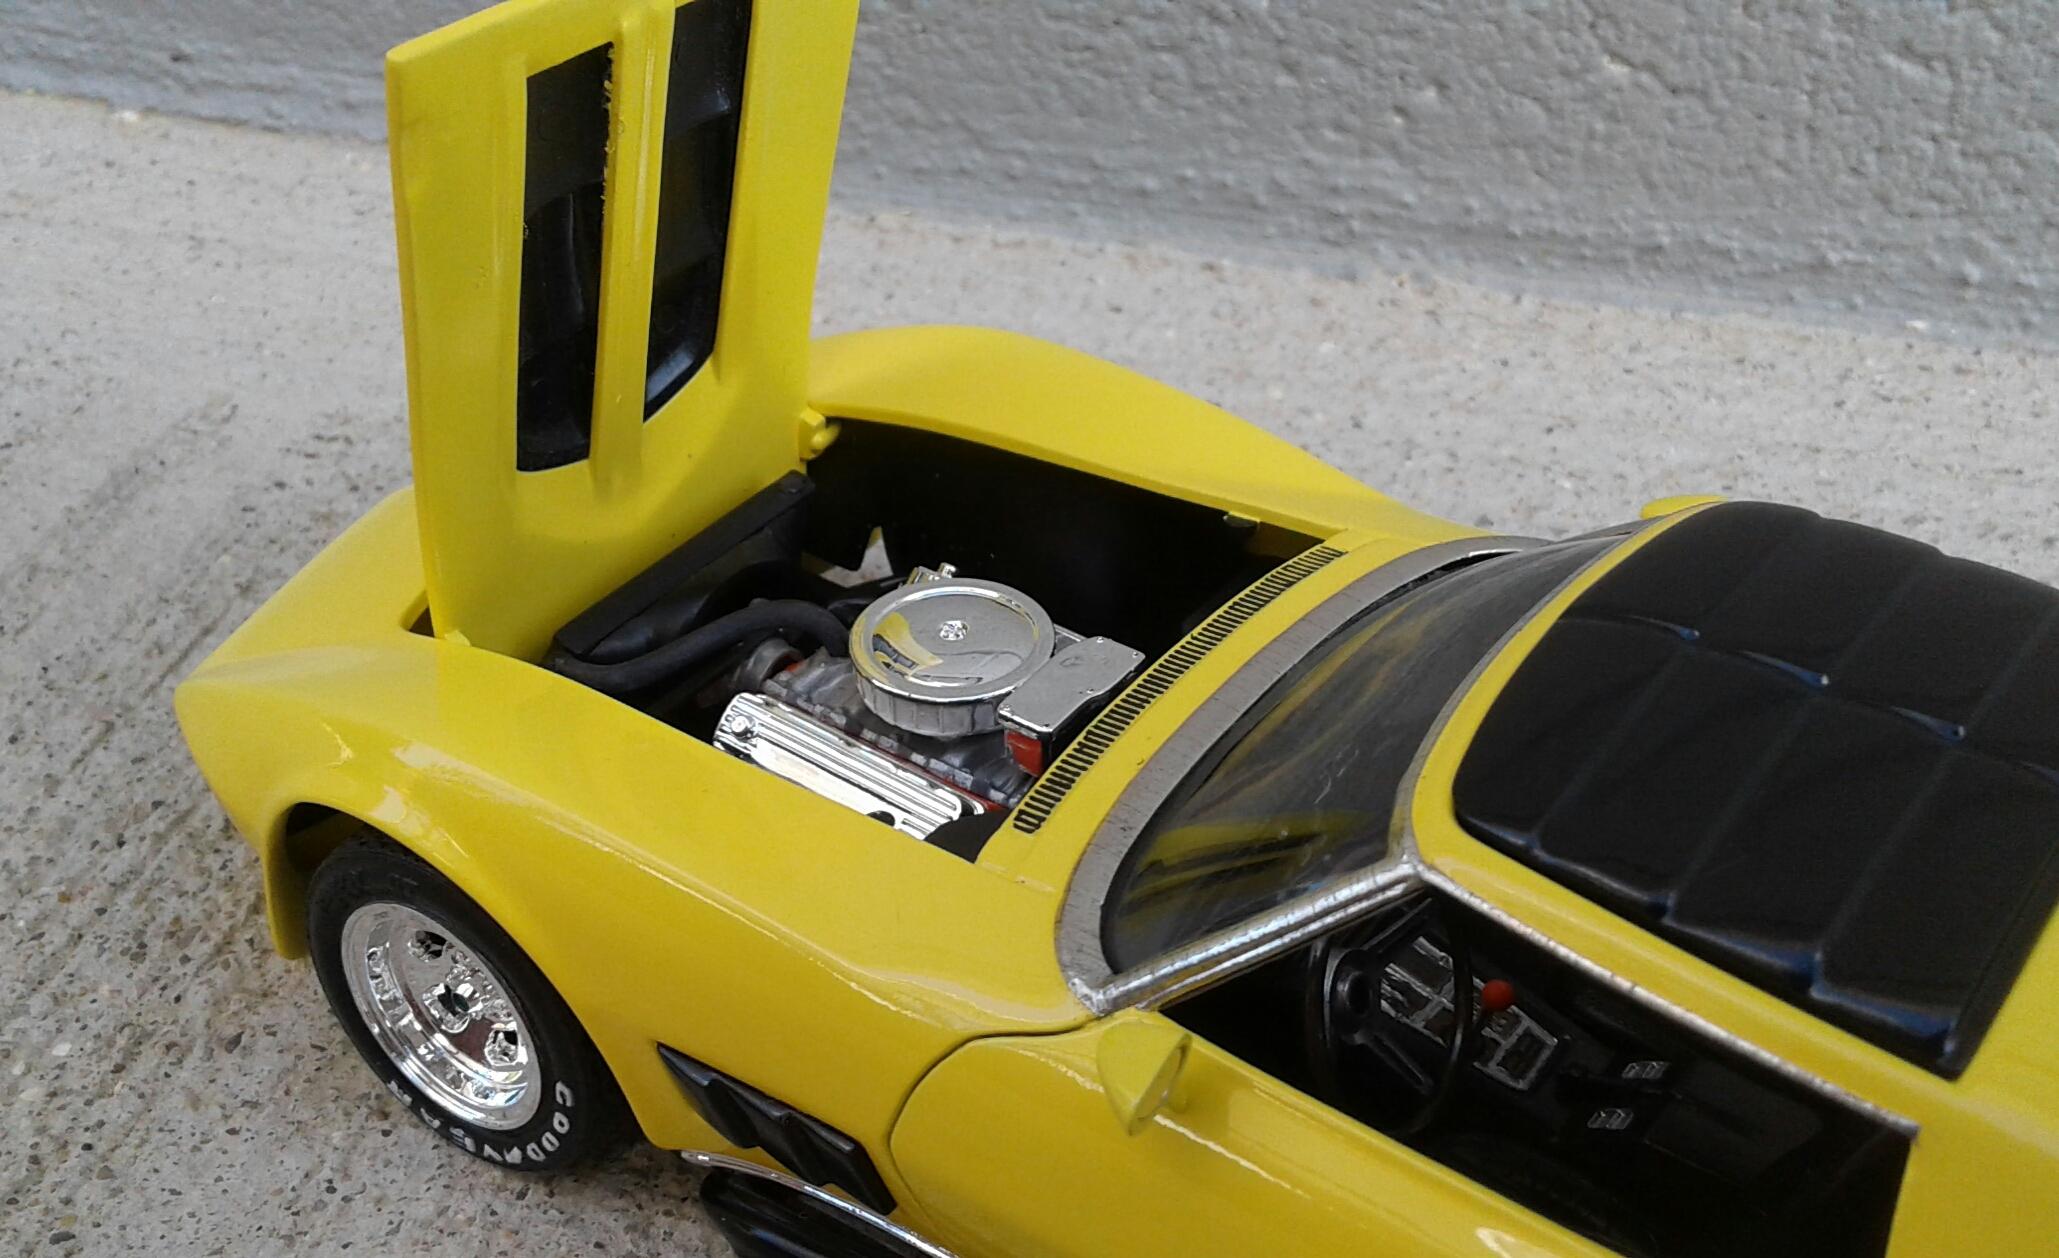
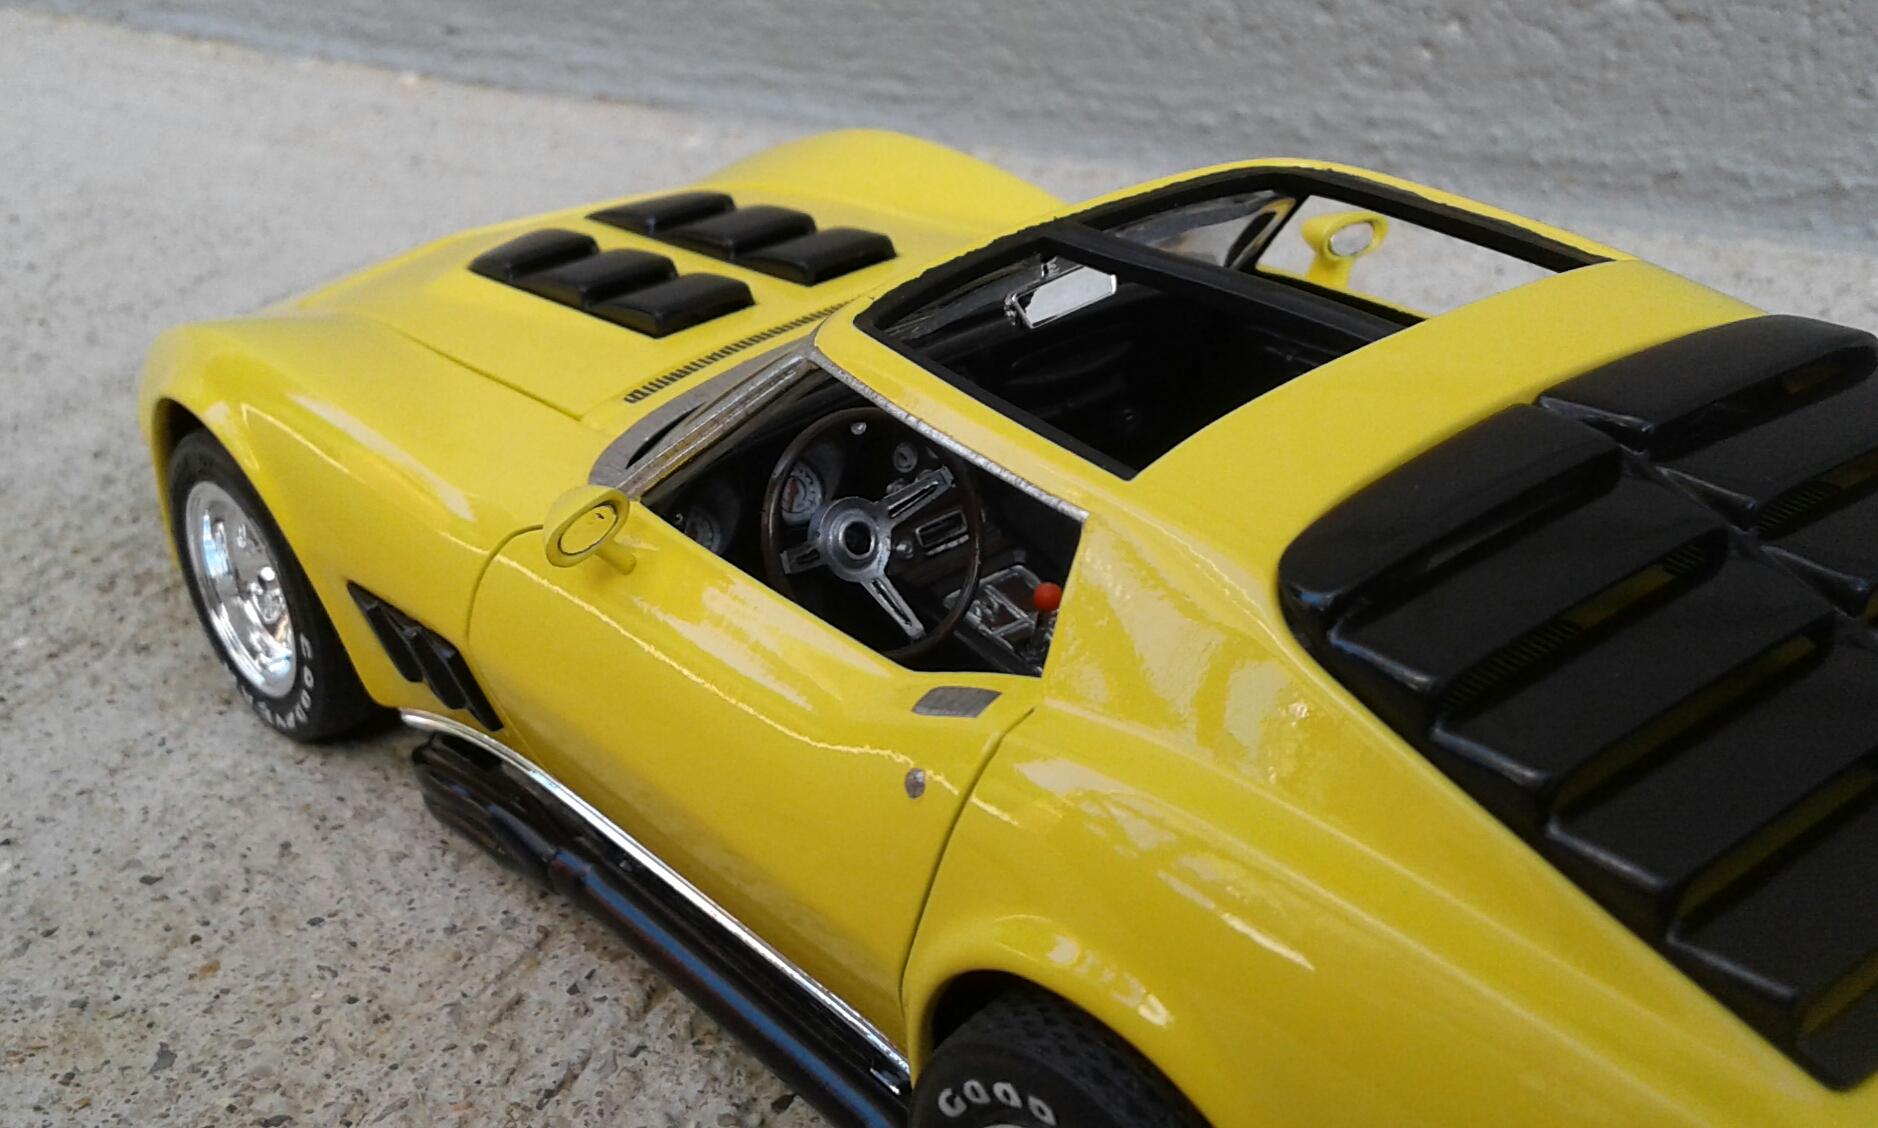
This kit is one of my very favorites from my youth. I can still remember my first go around with it. No paint and lots of glue! Still, I thought it was so cool! Heck, I still think it's a cool model! I got this kit along with the later issued SS Hatch in a trade some years ago. As soon as I got it, I went to work on it. This time, I used paint on it! I decided that since every one you see is orange, I was going to go a different route. So, I decided to paint it with Model Master Daytona Yellow and covered it with Tamiya TS-13 clear. It's straight out of the box. The orange shifter knob was to pay homage to the color it "should have been". Thanx for checking it out!
- 48 replies
-
- 10
-

-
It's a lot simpler! I used to use the polishing cloth system and I hated it! So much sanding! And even if you do make it to the 12000 grit without burning through, you still have to polish it to get rid of the haze. I used to only polish models I planned to show. But, with the Tamiya compounds, I polish every model just because it's so easy.