Sam I Am
-
Posts
3,029 -
Joined
-
Last visited
Content Type
Profiles
Forums
Events
Gallery
Everything posted by Sam I Am
-
Did it stay together this time? ?
-
What Happened to Big Boyz?
Sam I Am replied to Slimguy's topic in General Automotive Talk (Trucks and Cars)
I tried a number of years ago to get involved on that site when I first wanted to build a larger scale. I found that while there are a number of different sections, it is very slanted toward one in particular. The other ones have next to no traffic, unfortunately my interests lie in those subjects. So I will adjust to the new streamlined forums here and have fun with my first 1/8 build. ?? -
I am good with that white interior, I just would like to change the black insert to a green.
-
I agree wholeheartedly!
-
I must say that I agree with both statements. ?
-
WoW oh WoW oh WoW !!! That is about the perfect '30 coupe...for me. I love every part of it. My dad collected and restored many an old car, his first love was the Model T, but we had A's also. While he never did anything with the chopped '30 coupe body. We did have a nice full fendered '30 pickup with a 32 grill, radiator, and flathead 60. It all lined up perfectly. It was a faded baby blue with red wheels. Someday I want to build a model of it. Oh, and I grew up in Salem, OR. There was this guy down in Grant's Pass that put out some awesome 32 ford parts. ?
-
Yep, DEFINITELY going to copy this some day, and I get a jonesing to start every time you update the thread. ?
-
Don't tell me that! Mine is still in the box...unbuilt. ?? Seriously though, isn't that a beautiful mold. I drool over mine every couple of years....when I think I know how I want to build it....then chicken out.
-
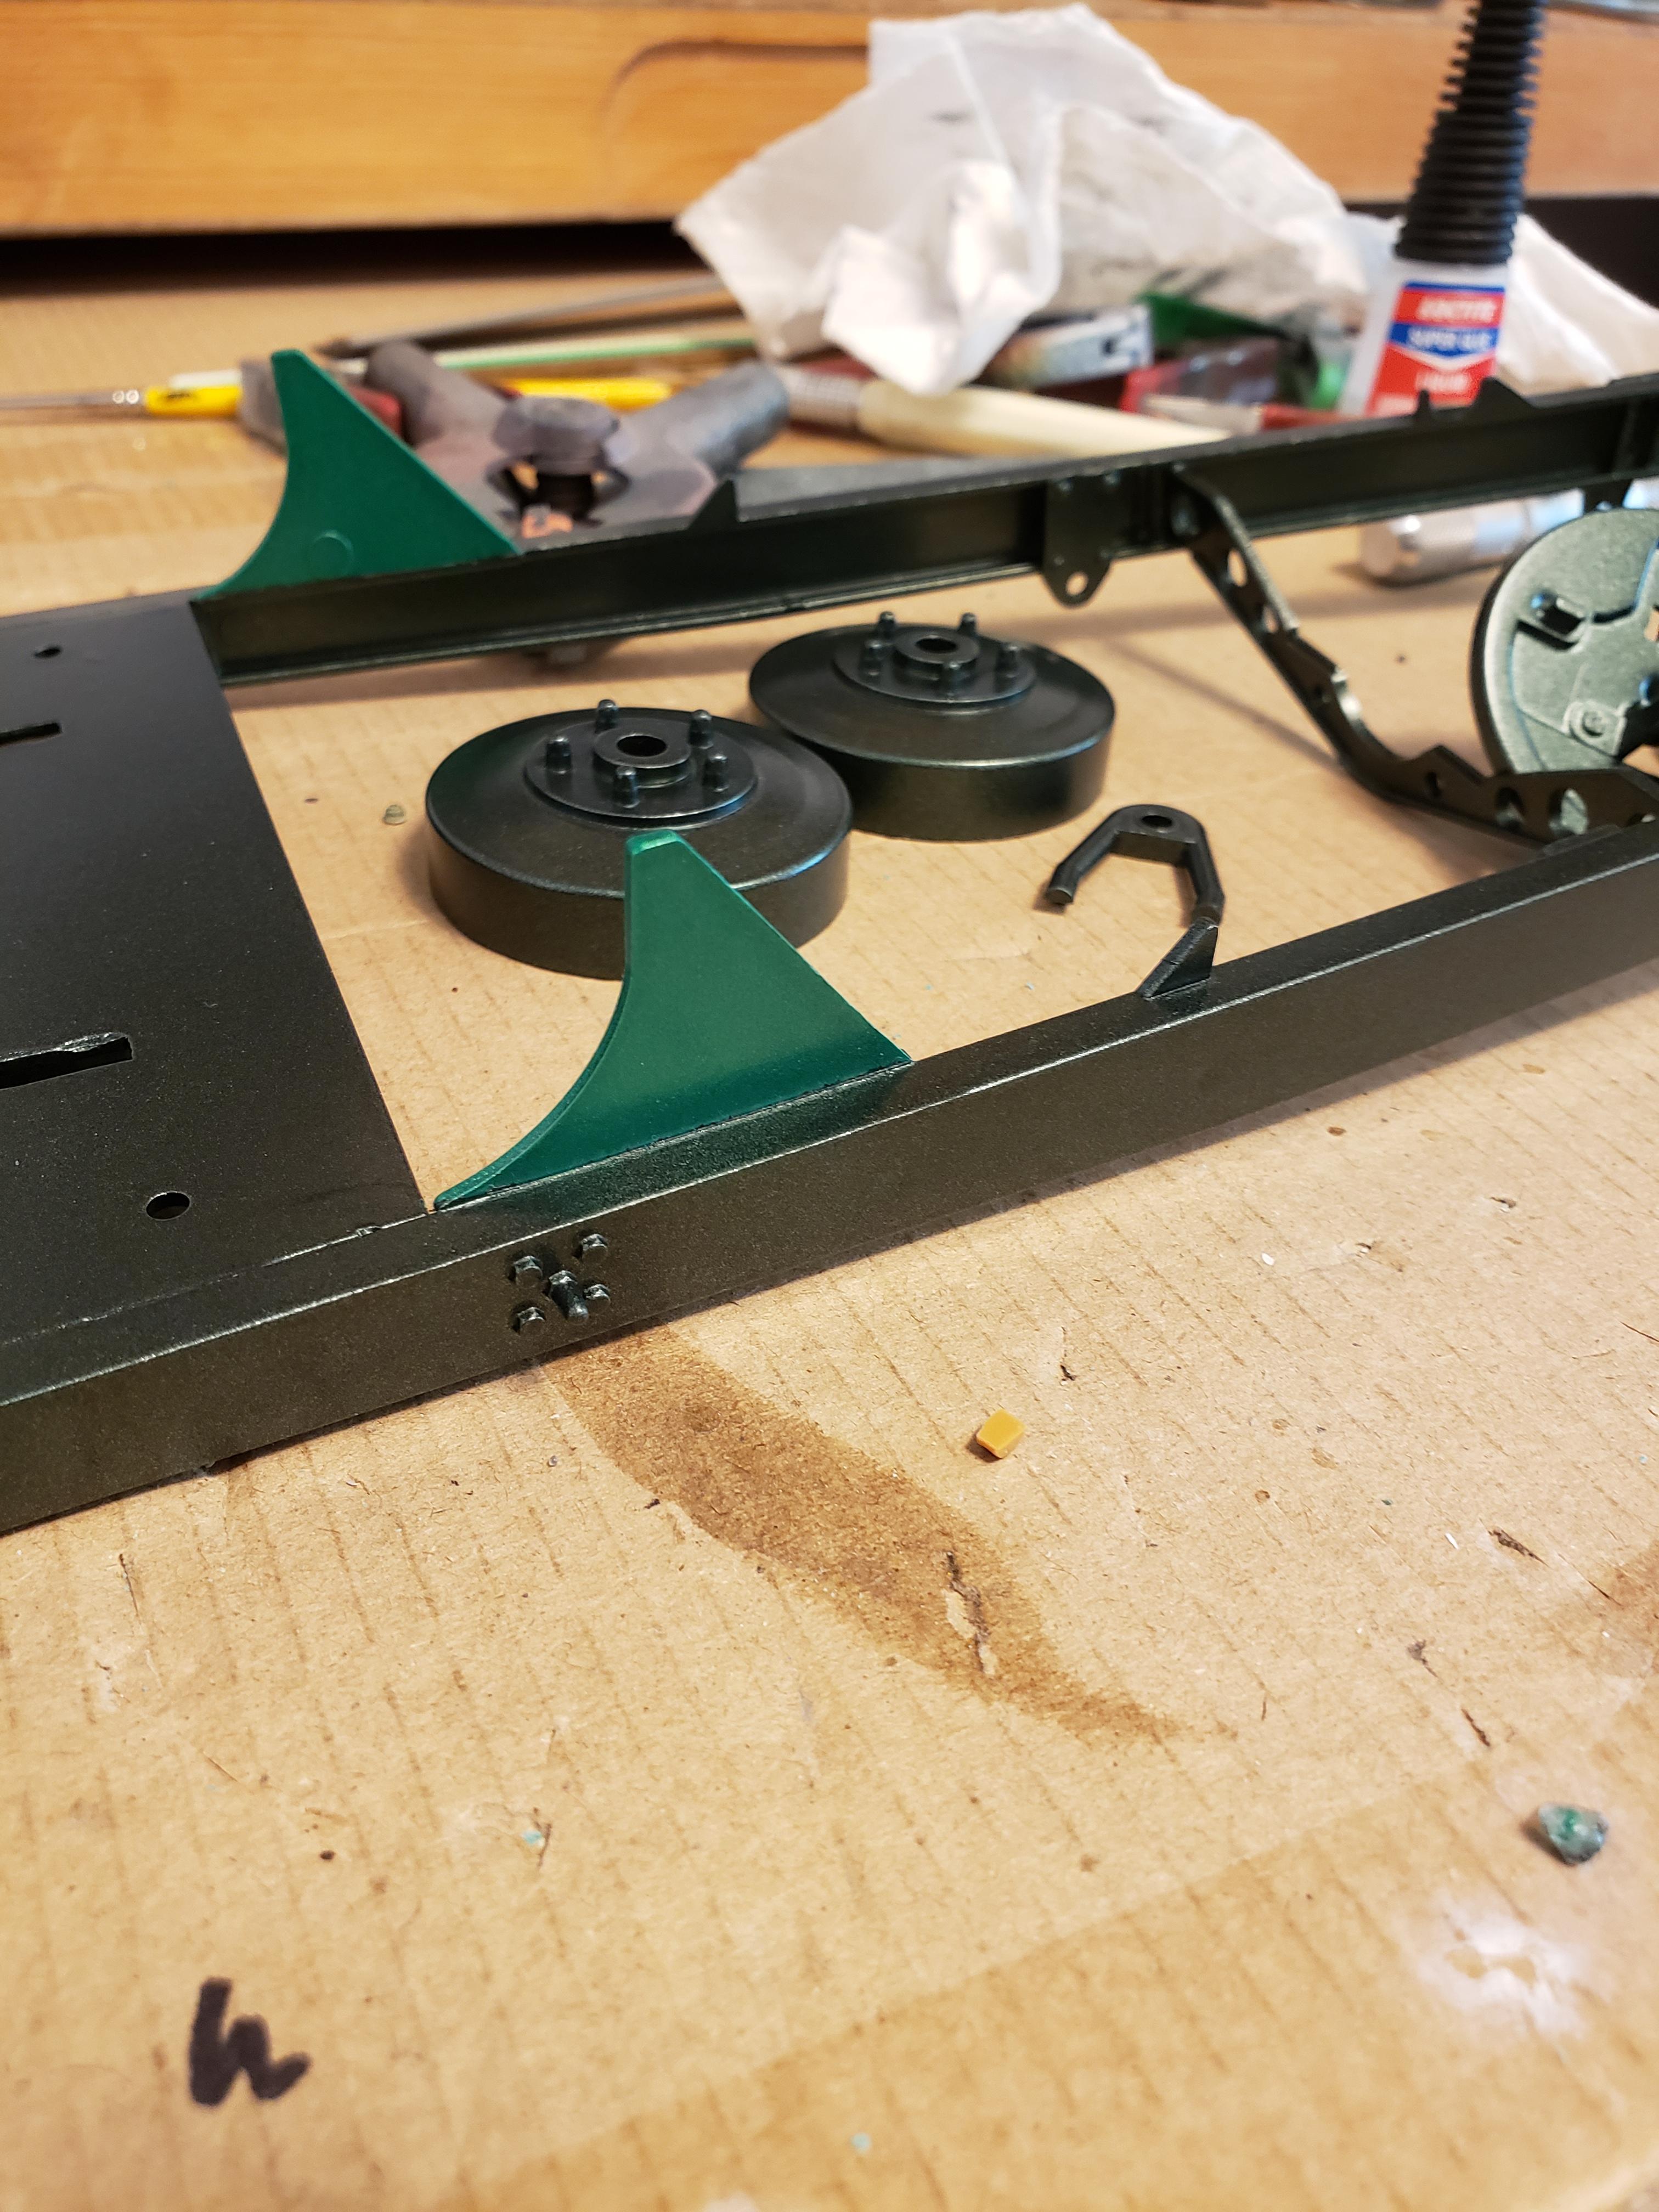
So here is the contrasting green for the chassis.

-
1960 Ford F-100
Sam I Am replied to Plowboy's topic in WIP: Model Trucks: Pickups, Vans, SUVs, Light Commercial
The thing I like about your builds is that if they were 1:1, I would own any (all) of them. ? -
Odd Duck C1000 Ford Phantom Build
Sam I Am replied to Oldmopars's topic in WIP: Model Trucks: Big Rigs and Heavy Equipment
if you have extra parts...use them up. ? -
Sure does look the part Scott !
-
Nice save !
-
Right back at ya!
-
Rick, are you over your bromance with Cam yet? ?? I will have to consider printing out my own instruments. Brittle plastic...?
-
Thanks guys! It's been a challenge cleaning up all this old glue. I keep telling myself that I will get to the untouched parts soon. ?
-
I picked up a few things in trades over the last week.
-
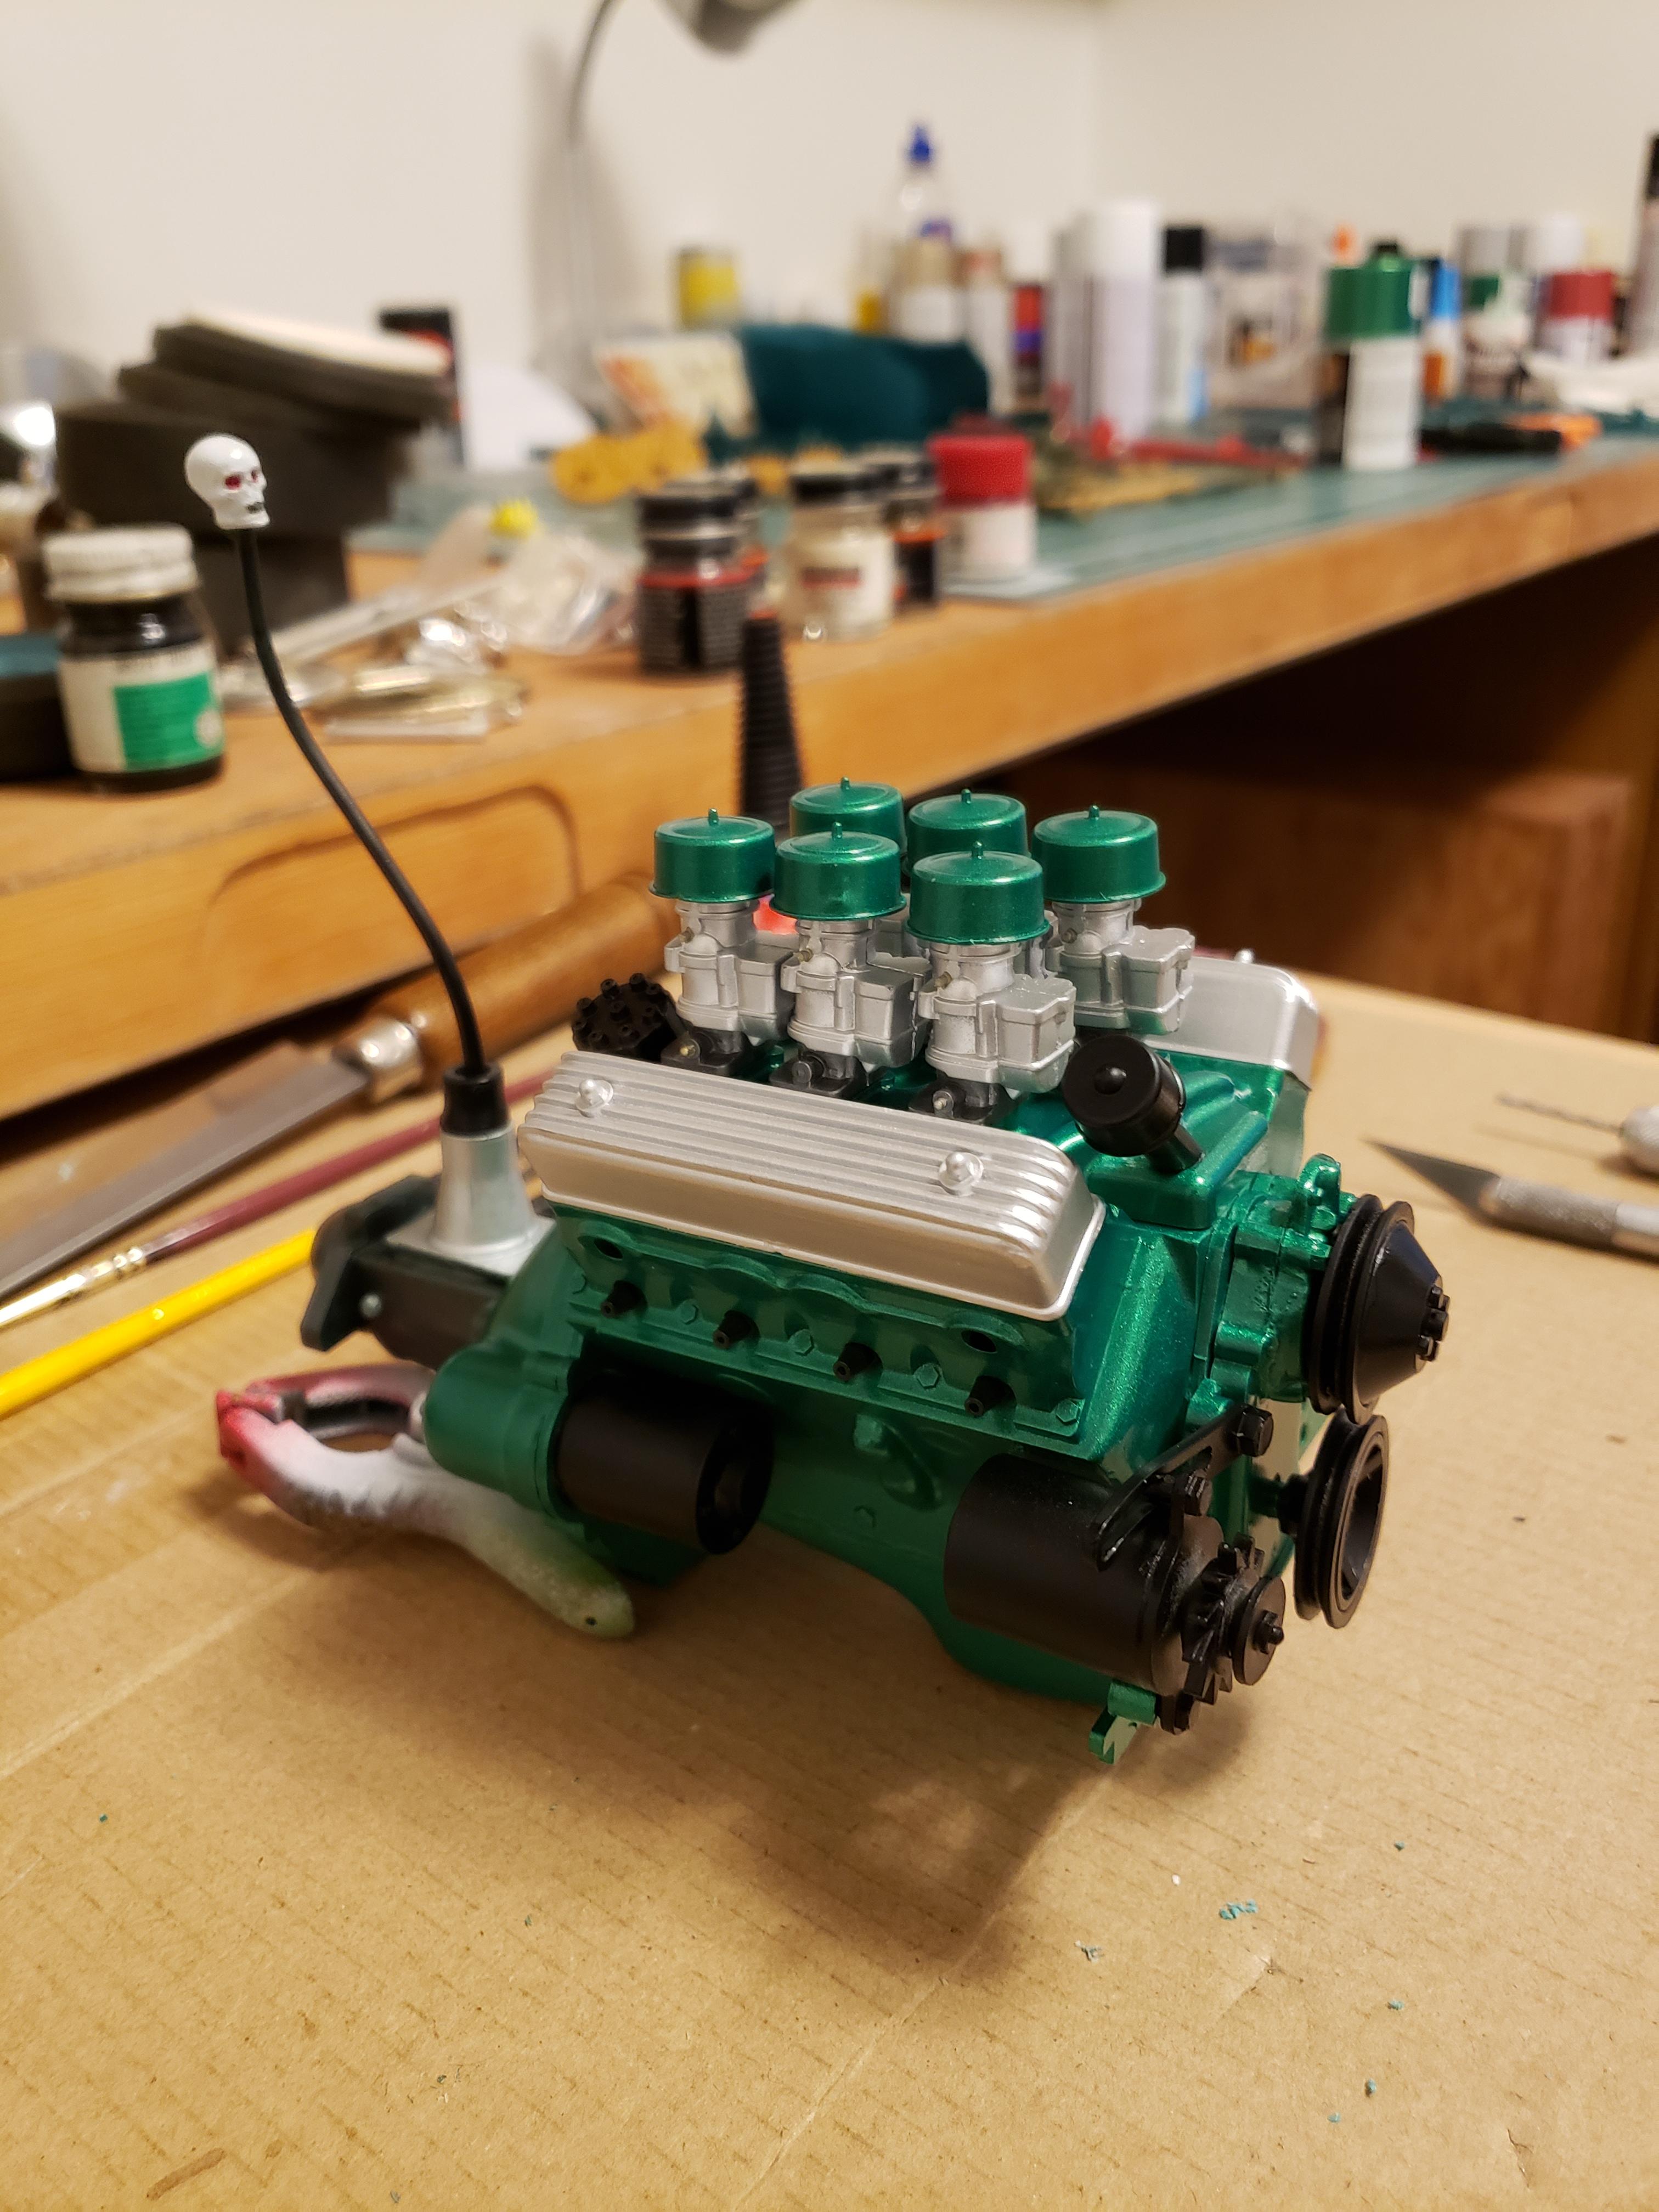
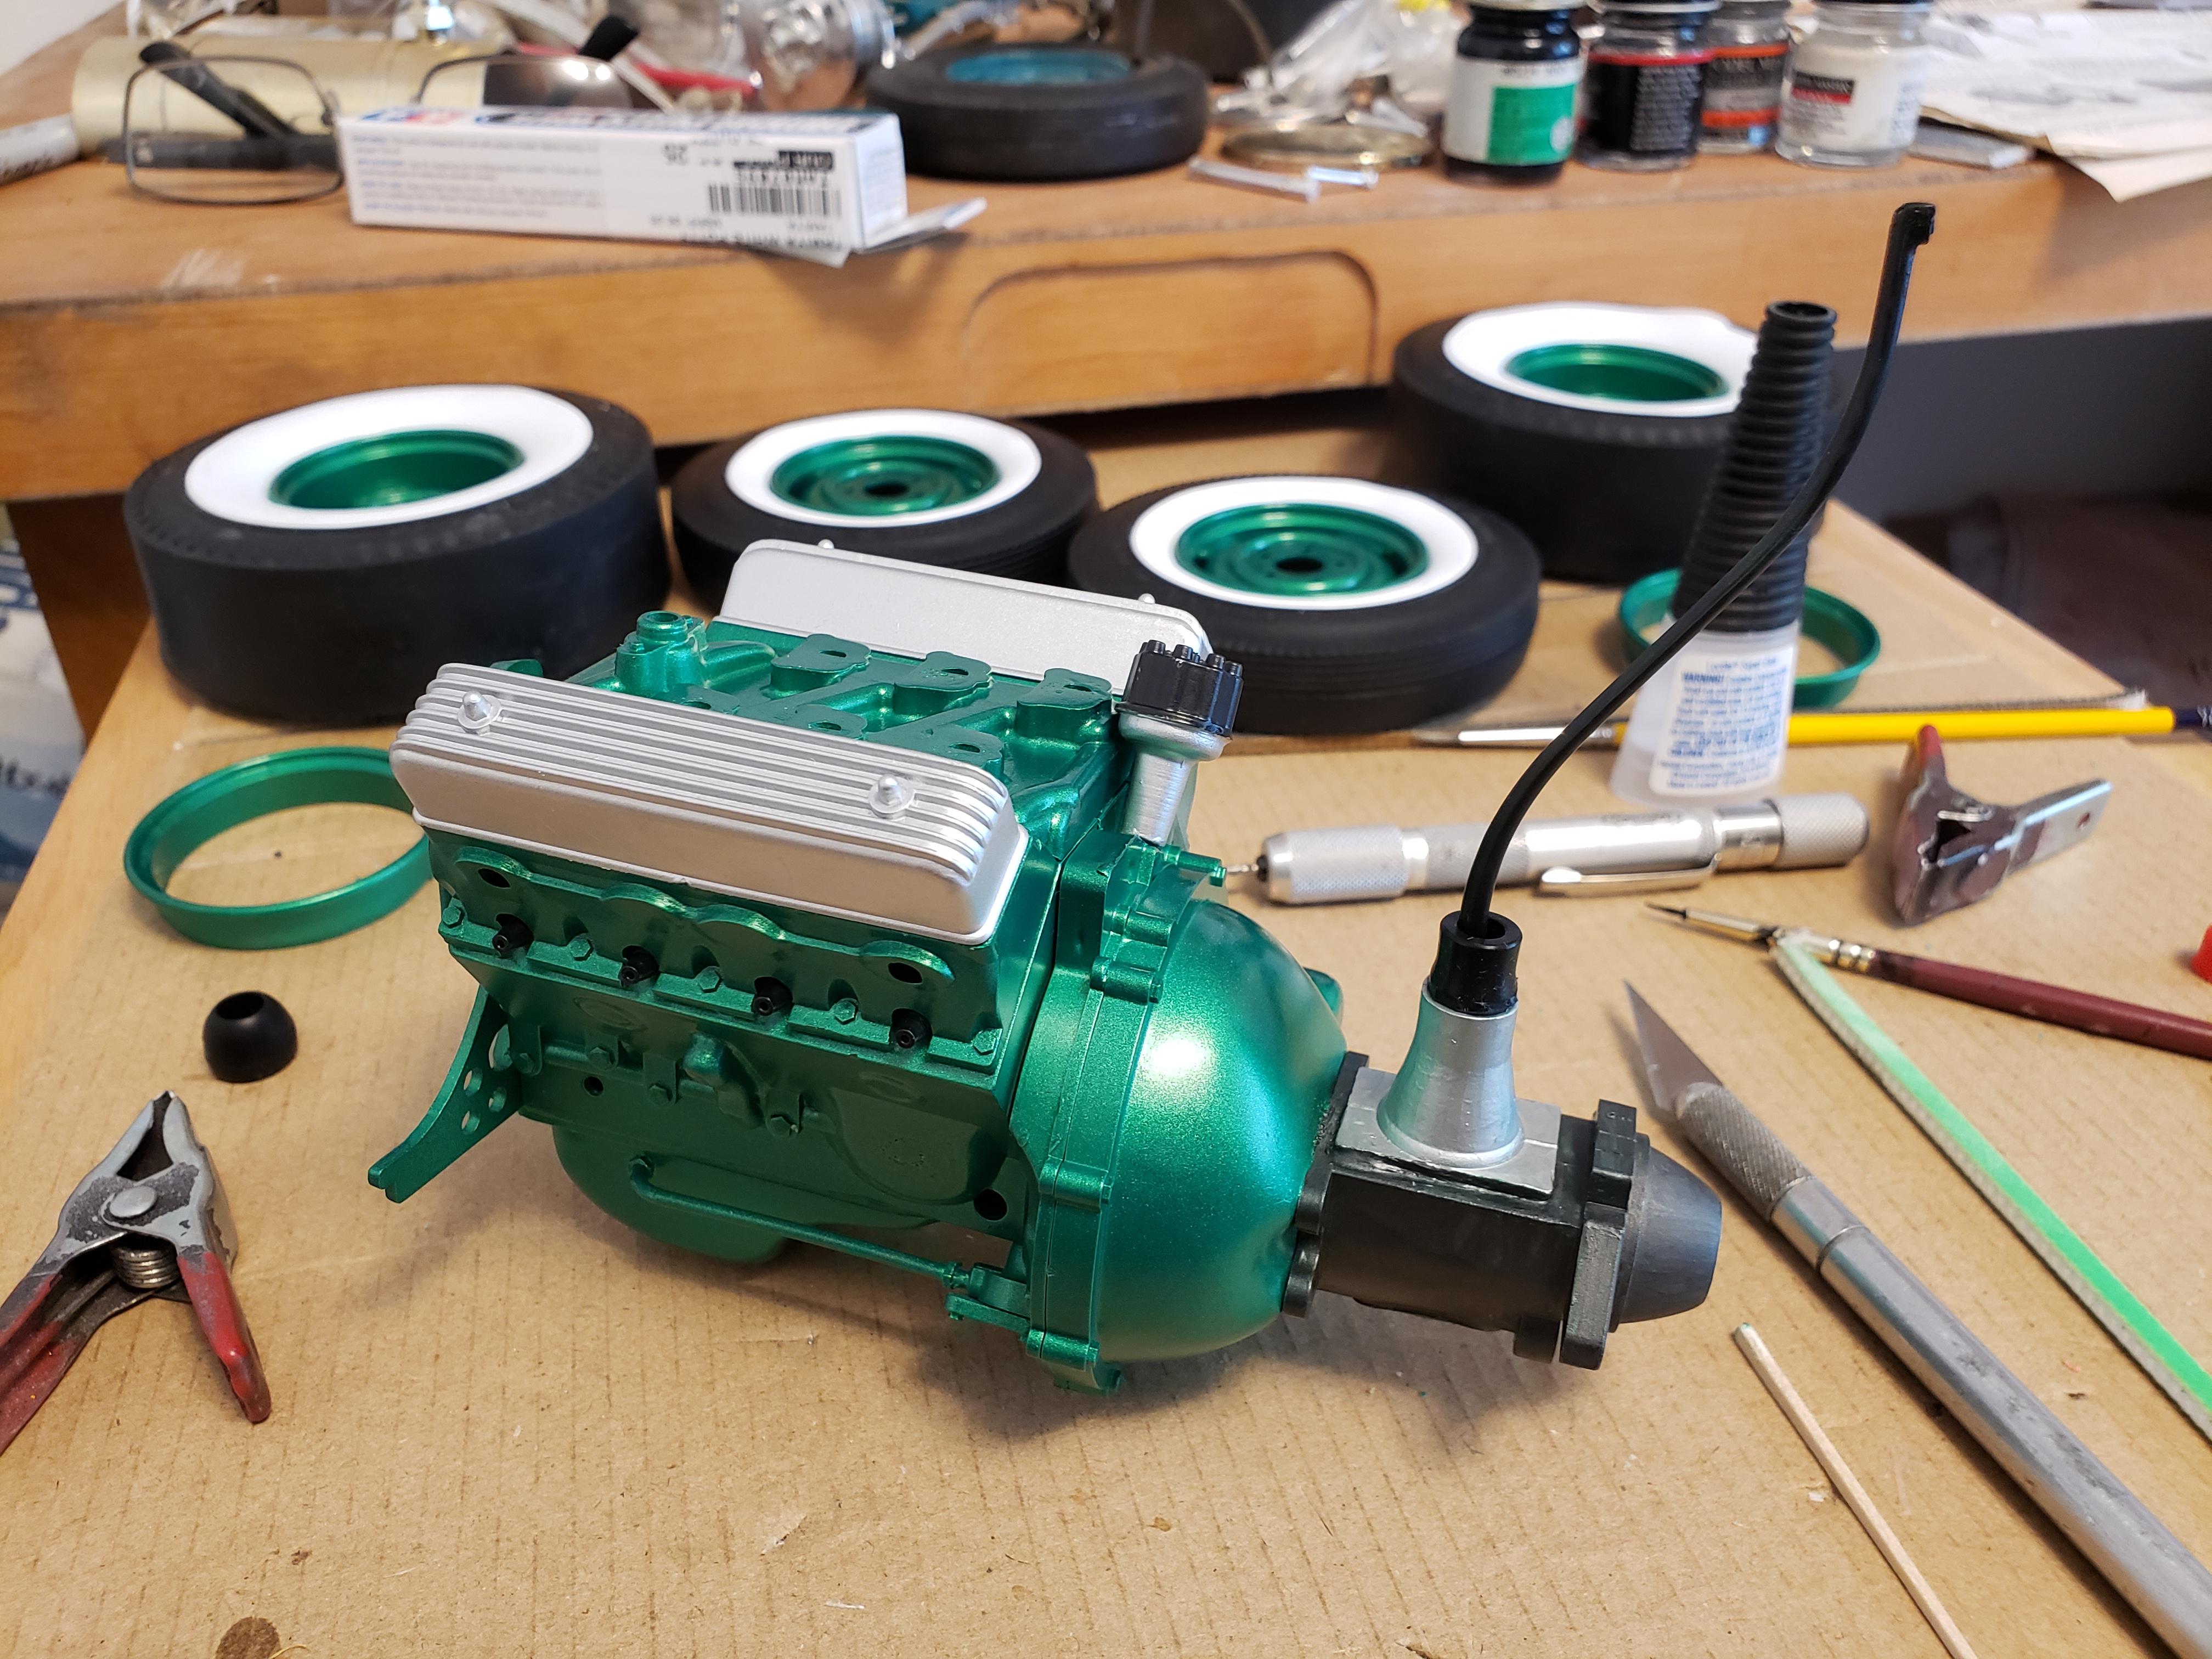
I managed to get the engine pretty much finished for my Bobtail T.
-
So after much cleaning (the previous builder just broke the parts off the tree and glued them together) and test fitting, and removing an ignition coil from the top of the breather tube...yea, you read correctly. I came up with this. It still needs wired, and I need to come up with a v-belt, but I am going to sit the engine aside for now and focus on the chassis.
-
Looking good Bill! Wish I had an "easy" kit in my stash. ?
-
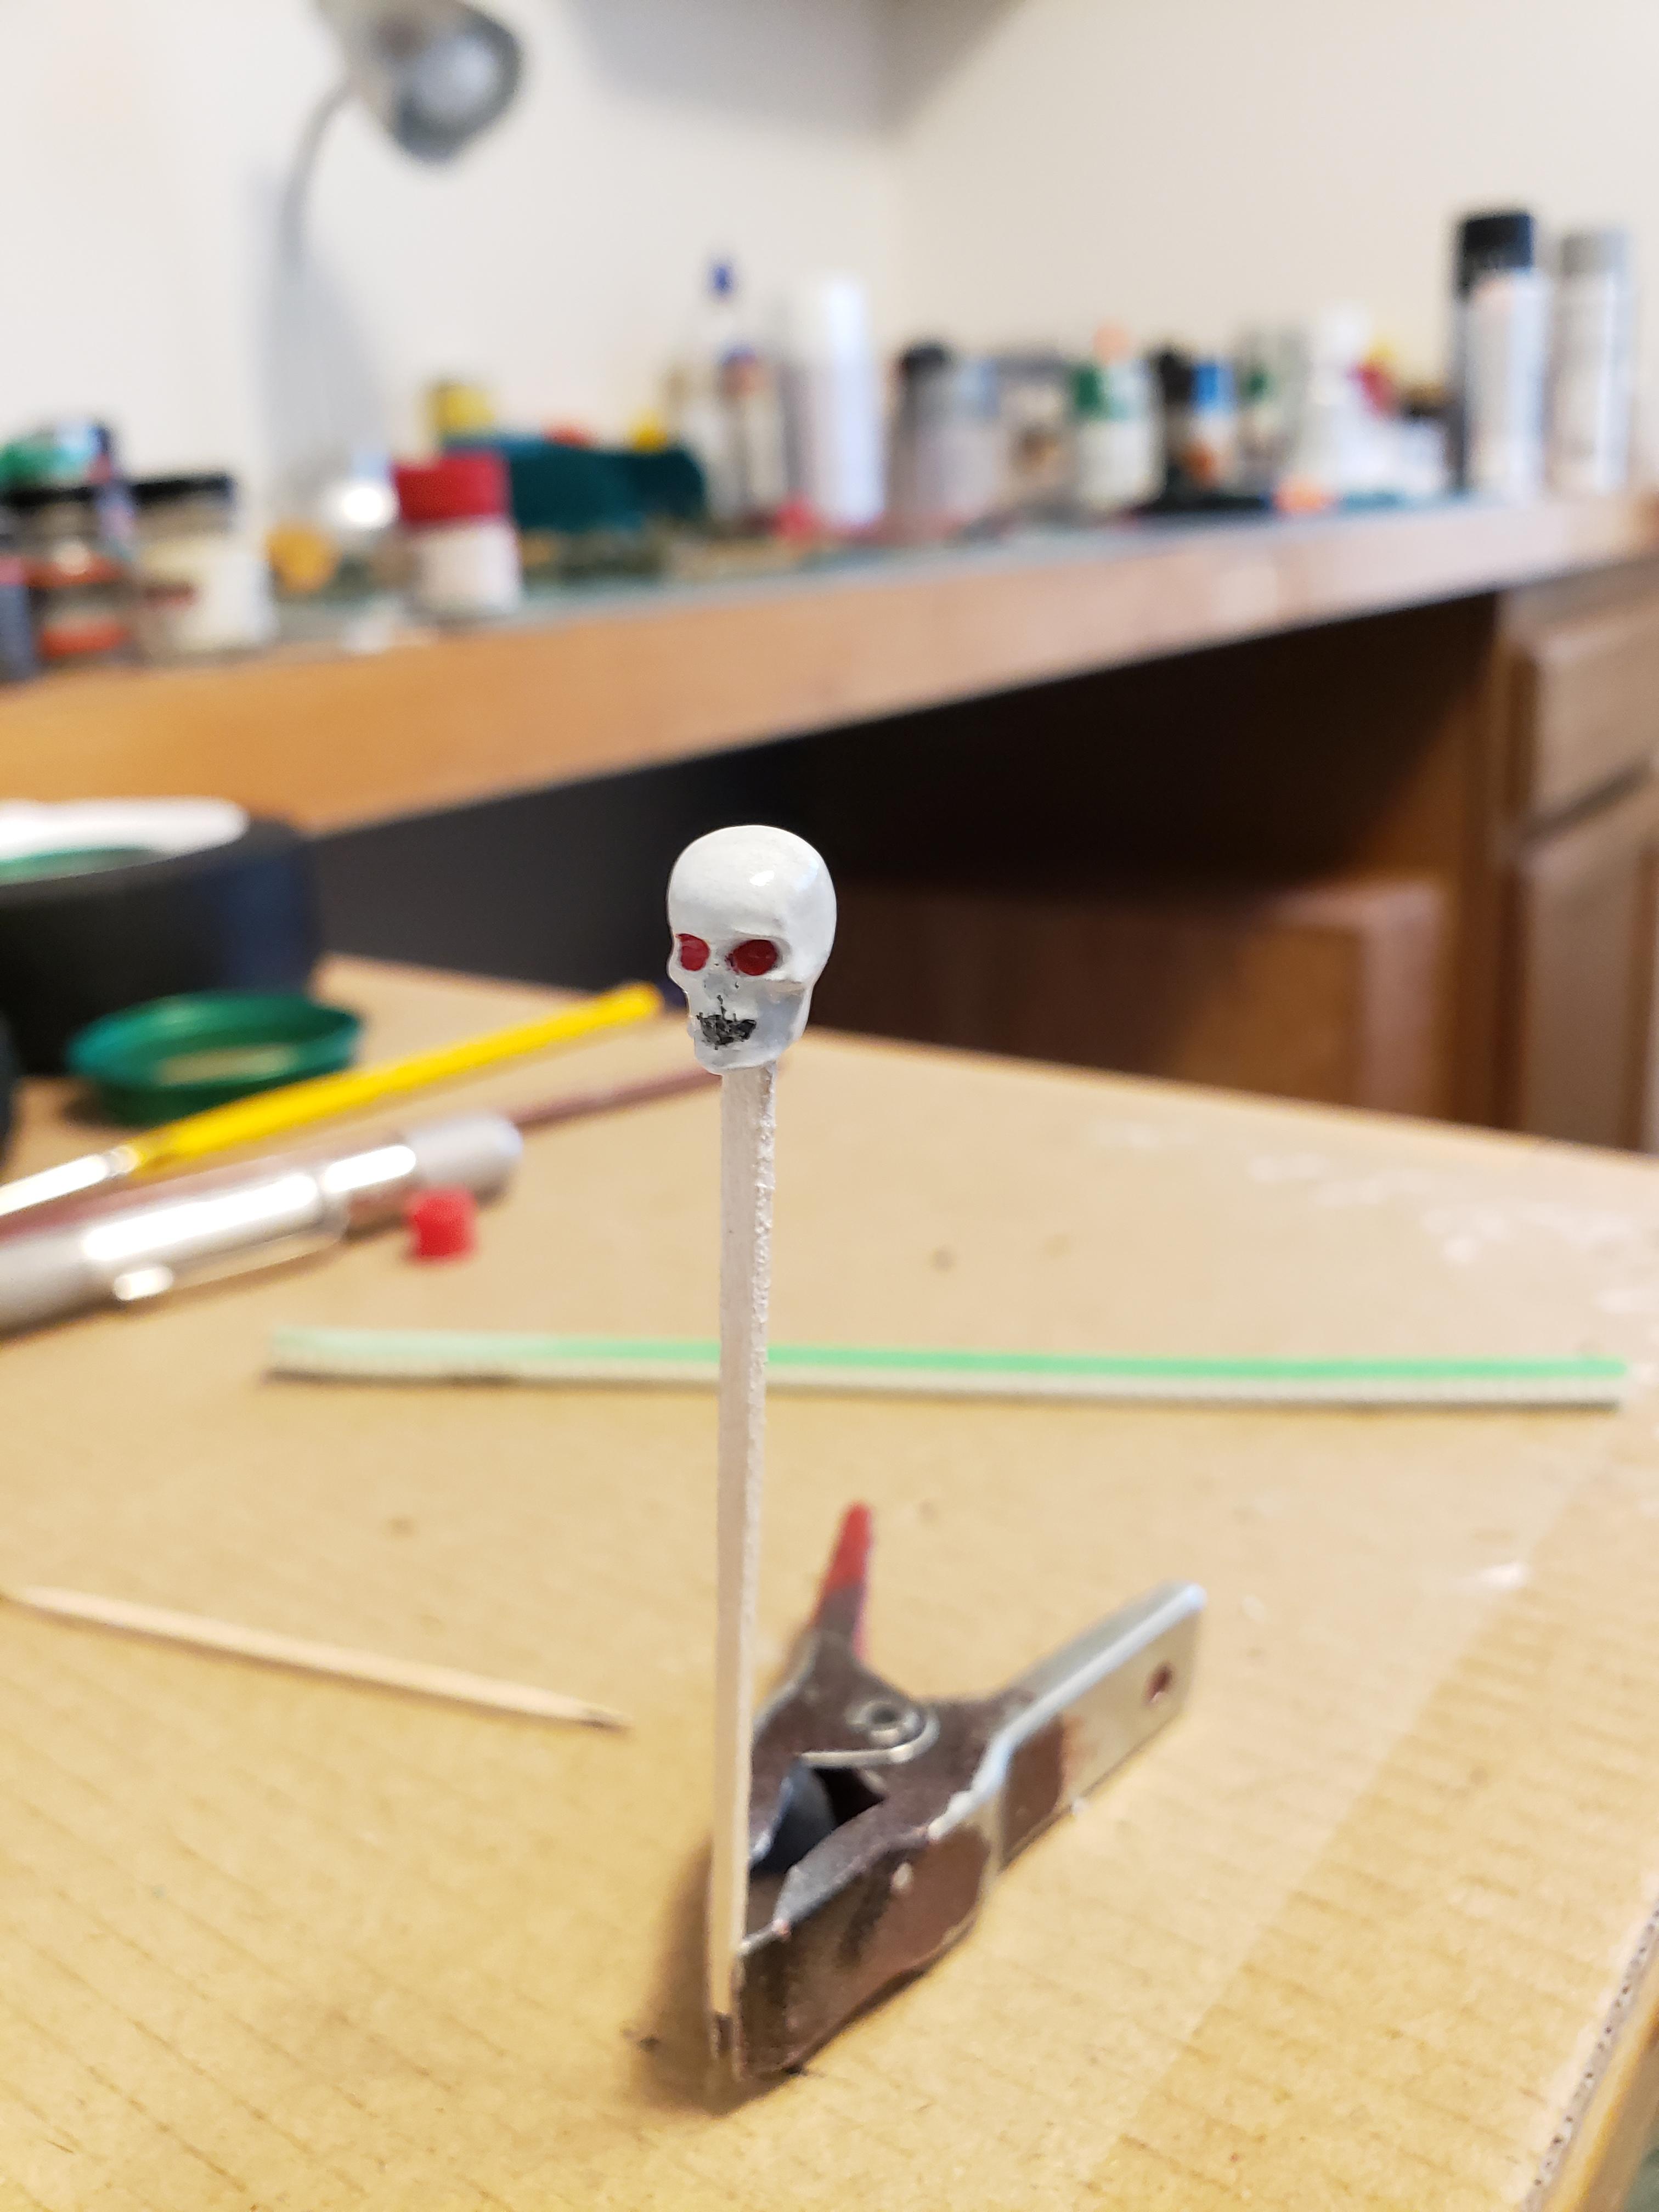
Anyone familiar with this kit is noticing a lot of the kit chrome parts are now painted. Between the chrome being in really bad shape, and the amount of glue on some parts, I just felt that the best thing was to strip it off. It will give it more of an average looking rod from the day rather than a blinged out show rod. Even though I said I wasn't going to add much detail, this scale makes it difficult not to, hence the gearshift knob.
-
Much better!
-
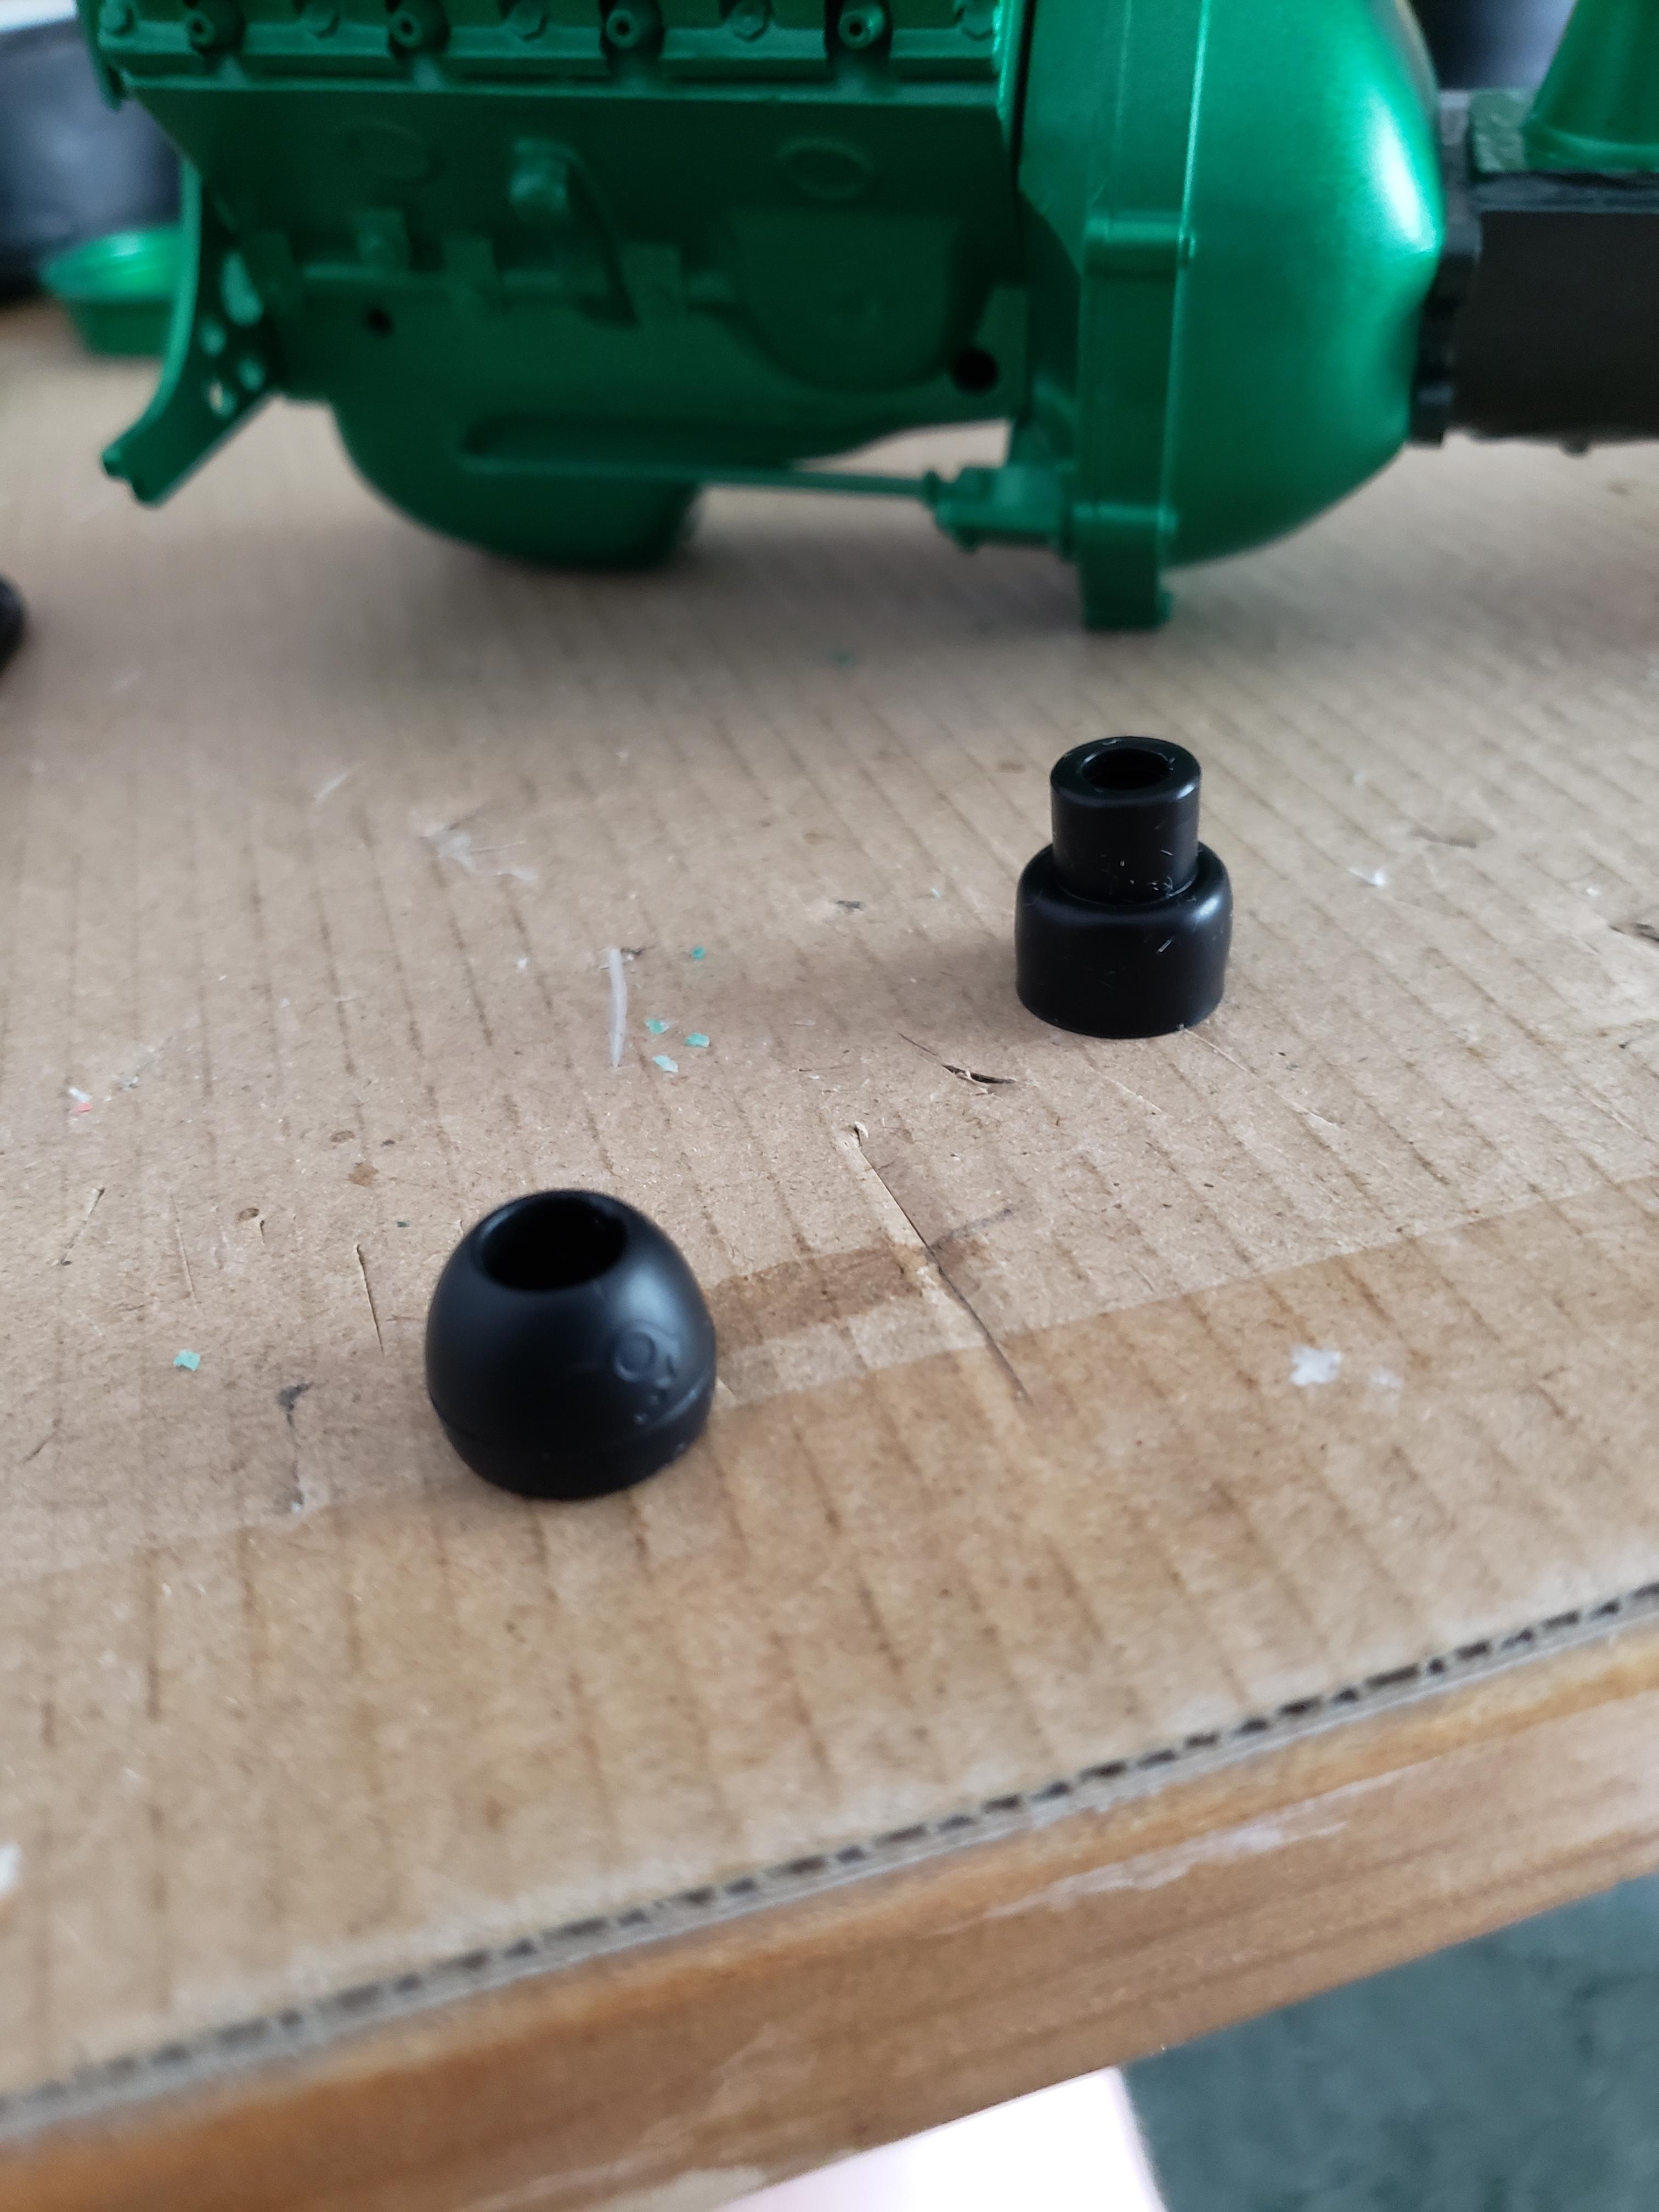
So after prying off as many parts as possible on the engine assembly, I was able to clean things up good enough for who it's for...me. I then did a little detail painting to break things up. I have found with this scale I better get over my love/hate relationship with my airbrush. Even the smallest part can be too big for a brush. Even though I do not plan on putting much detail into this build, one thing bugged me. Where the shifter handle goes into the top of the transmission you usually have a soft rubber or leather boot to hide and keep clean this connection. This model did not have one and looked just like it would if that boot was missing. I couldn't think of anything that I could use for this and so presented my dilemma to my wife. She turned around, opened a box of spare electronic parts, and pulled out the silicon tip off an ear bud. I LOVE my wife. I proceeded to turn it inside out and trim off the excess. I think it gives a very realistic look of a shifter boot.
-
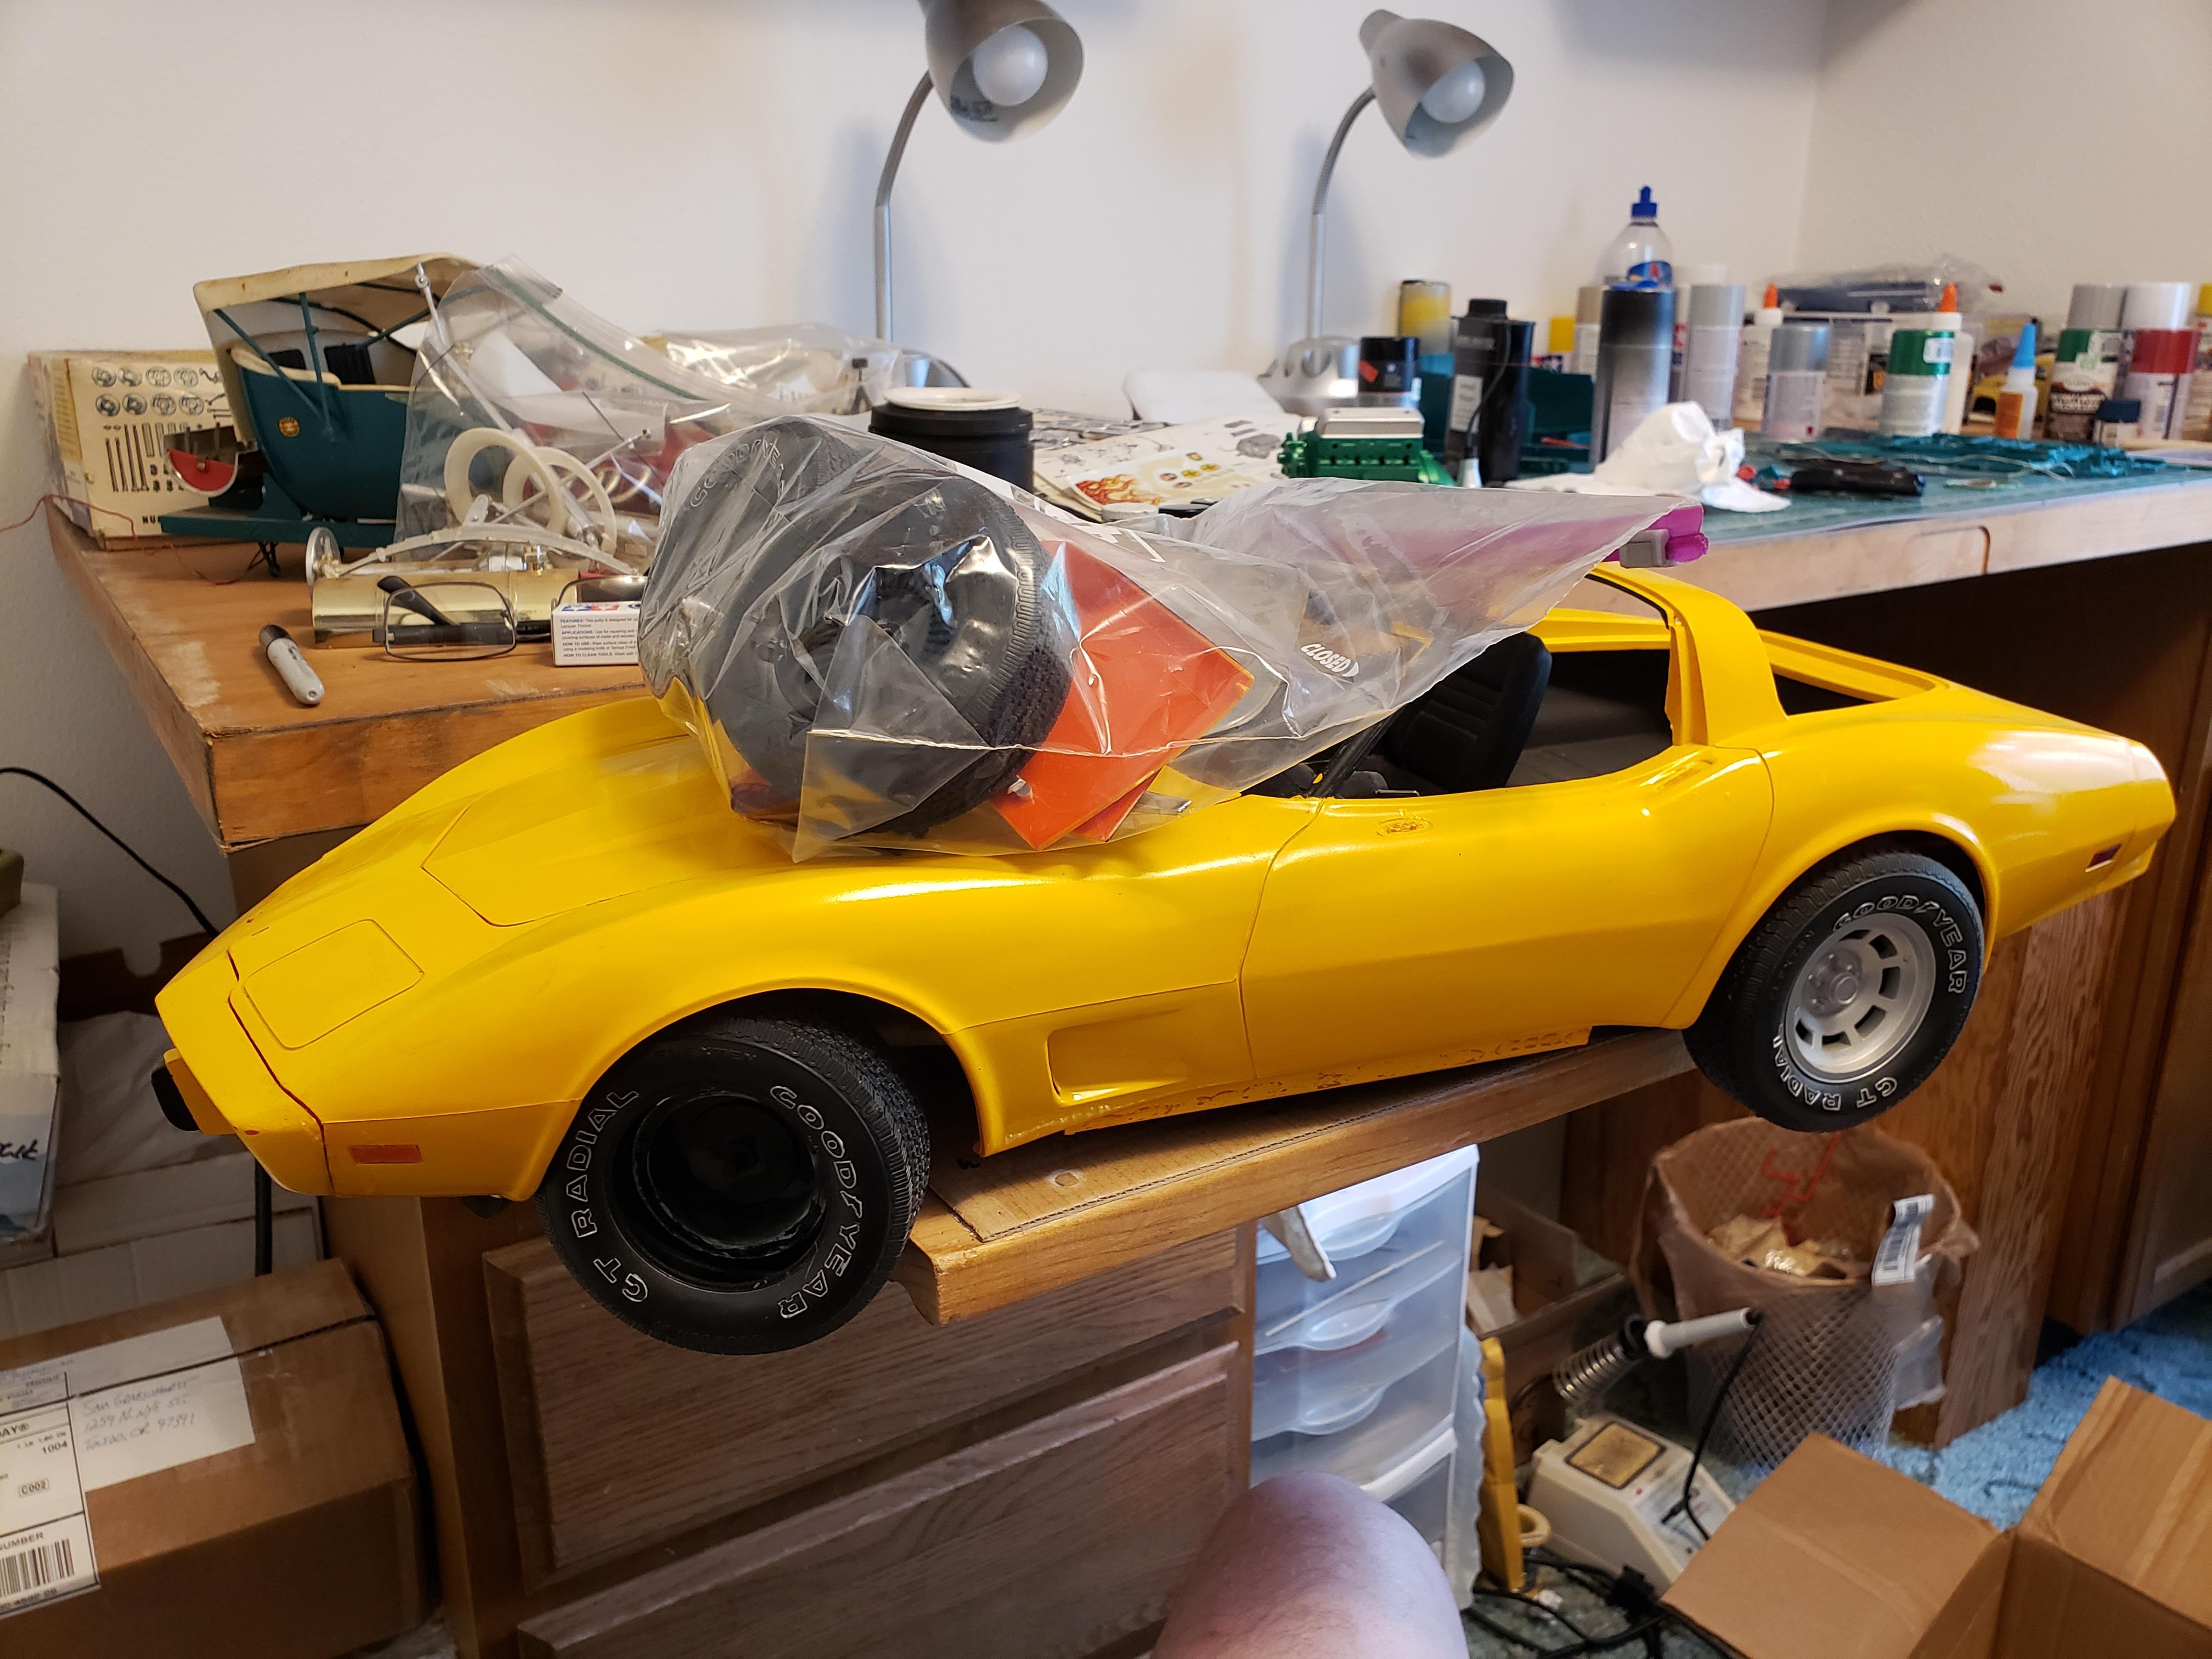
Glad you like the wheels. I used a little soft scrub with bleach on the white walls and dawn dish soap on the tires scrubbing both with a toothbrush. I had not thought about resin casting them. I have a casting kit but have not been brave enough to try my hand.
-
Turned out great. That color suits that car to a T.