gotnitro?
-
Posts
4,498 -
Joined
-
Last visited
Content Type
Profiles
Forums
Events
Gallery
Everything posted by gotnitro?
-
 Welcome aboard! Thanks for following along I was using an enlarged drawing for the layout I found browsing photos. Office supply store enlarged the drawing for me. The front corners were formed using the cowl off the Paystar kit. I added a filler strip to make both sides fit the drawing. The rear corners are just sanded, where the 2 sides met. I'll have to check the height from floor to bottom, but its close to 1/2 an inch if memory serves Any other questions please ask, I'll try to help
 -
IH 4070 COE "Tequila Sunrise"
gotnitro? replied to Warren D's topic in Model Trucks: Big Rigs and Heavy Equipment
Excellent work. Really good color combo -
Wow properly busy looking air lines you've done ! It looks amazing
-
Thanks! I didn't mix the paint very well it turned out really streaky...but looks worn Thanks ! I've been working all wknd trying to finish the interior, so I can start the roof. The next project....you never know what the squirrels will find lol.
-
beautiful work so far, she definatly looks like the iconic 80's car we had posters of plastered all over
-
The kids have plenty of places to hide their chewing gum now...all 22 seats are installed. Half way thru I realized my ca glue wasn't holding..figured it was time for another fresh bottle, this ones retired to the bin. A few looked lopsided after peering thru the glass, so adjustments were made. Overall I'm pleased Once those were set, I started hashing out the details up front. A pair of 3d printed fans from moluminum, scratchbuilt fire ext, and garbage can round out the current parts. Heres the bin before paint..and yes it'll have a bag lol Thanks for following

-
CCKW
gotnitro? replied to Chariots of Fire's topic in WIP: Model Trucks: Big Rigs and Heavy Equipment
excellent job so far interesting about the engineering making the frame split for transporting. -
BRBO2023 Italeri 378
gotnitro? replied to TruckerAL's topic in WIP: Model Trucks: Big Rigs and Heavy Equipment
looks fantastic ! The white frame w the root beer work really good together -
Job well done on the airlines
-
White Road Commander
gotnitro? replied to DRIPTROIT 71's topic in WIP: Model Trucks: Big Rigs and Heavy Equipment
Nice work so far ! That flashlight looks familiar..wonder if mine still has the filters -
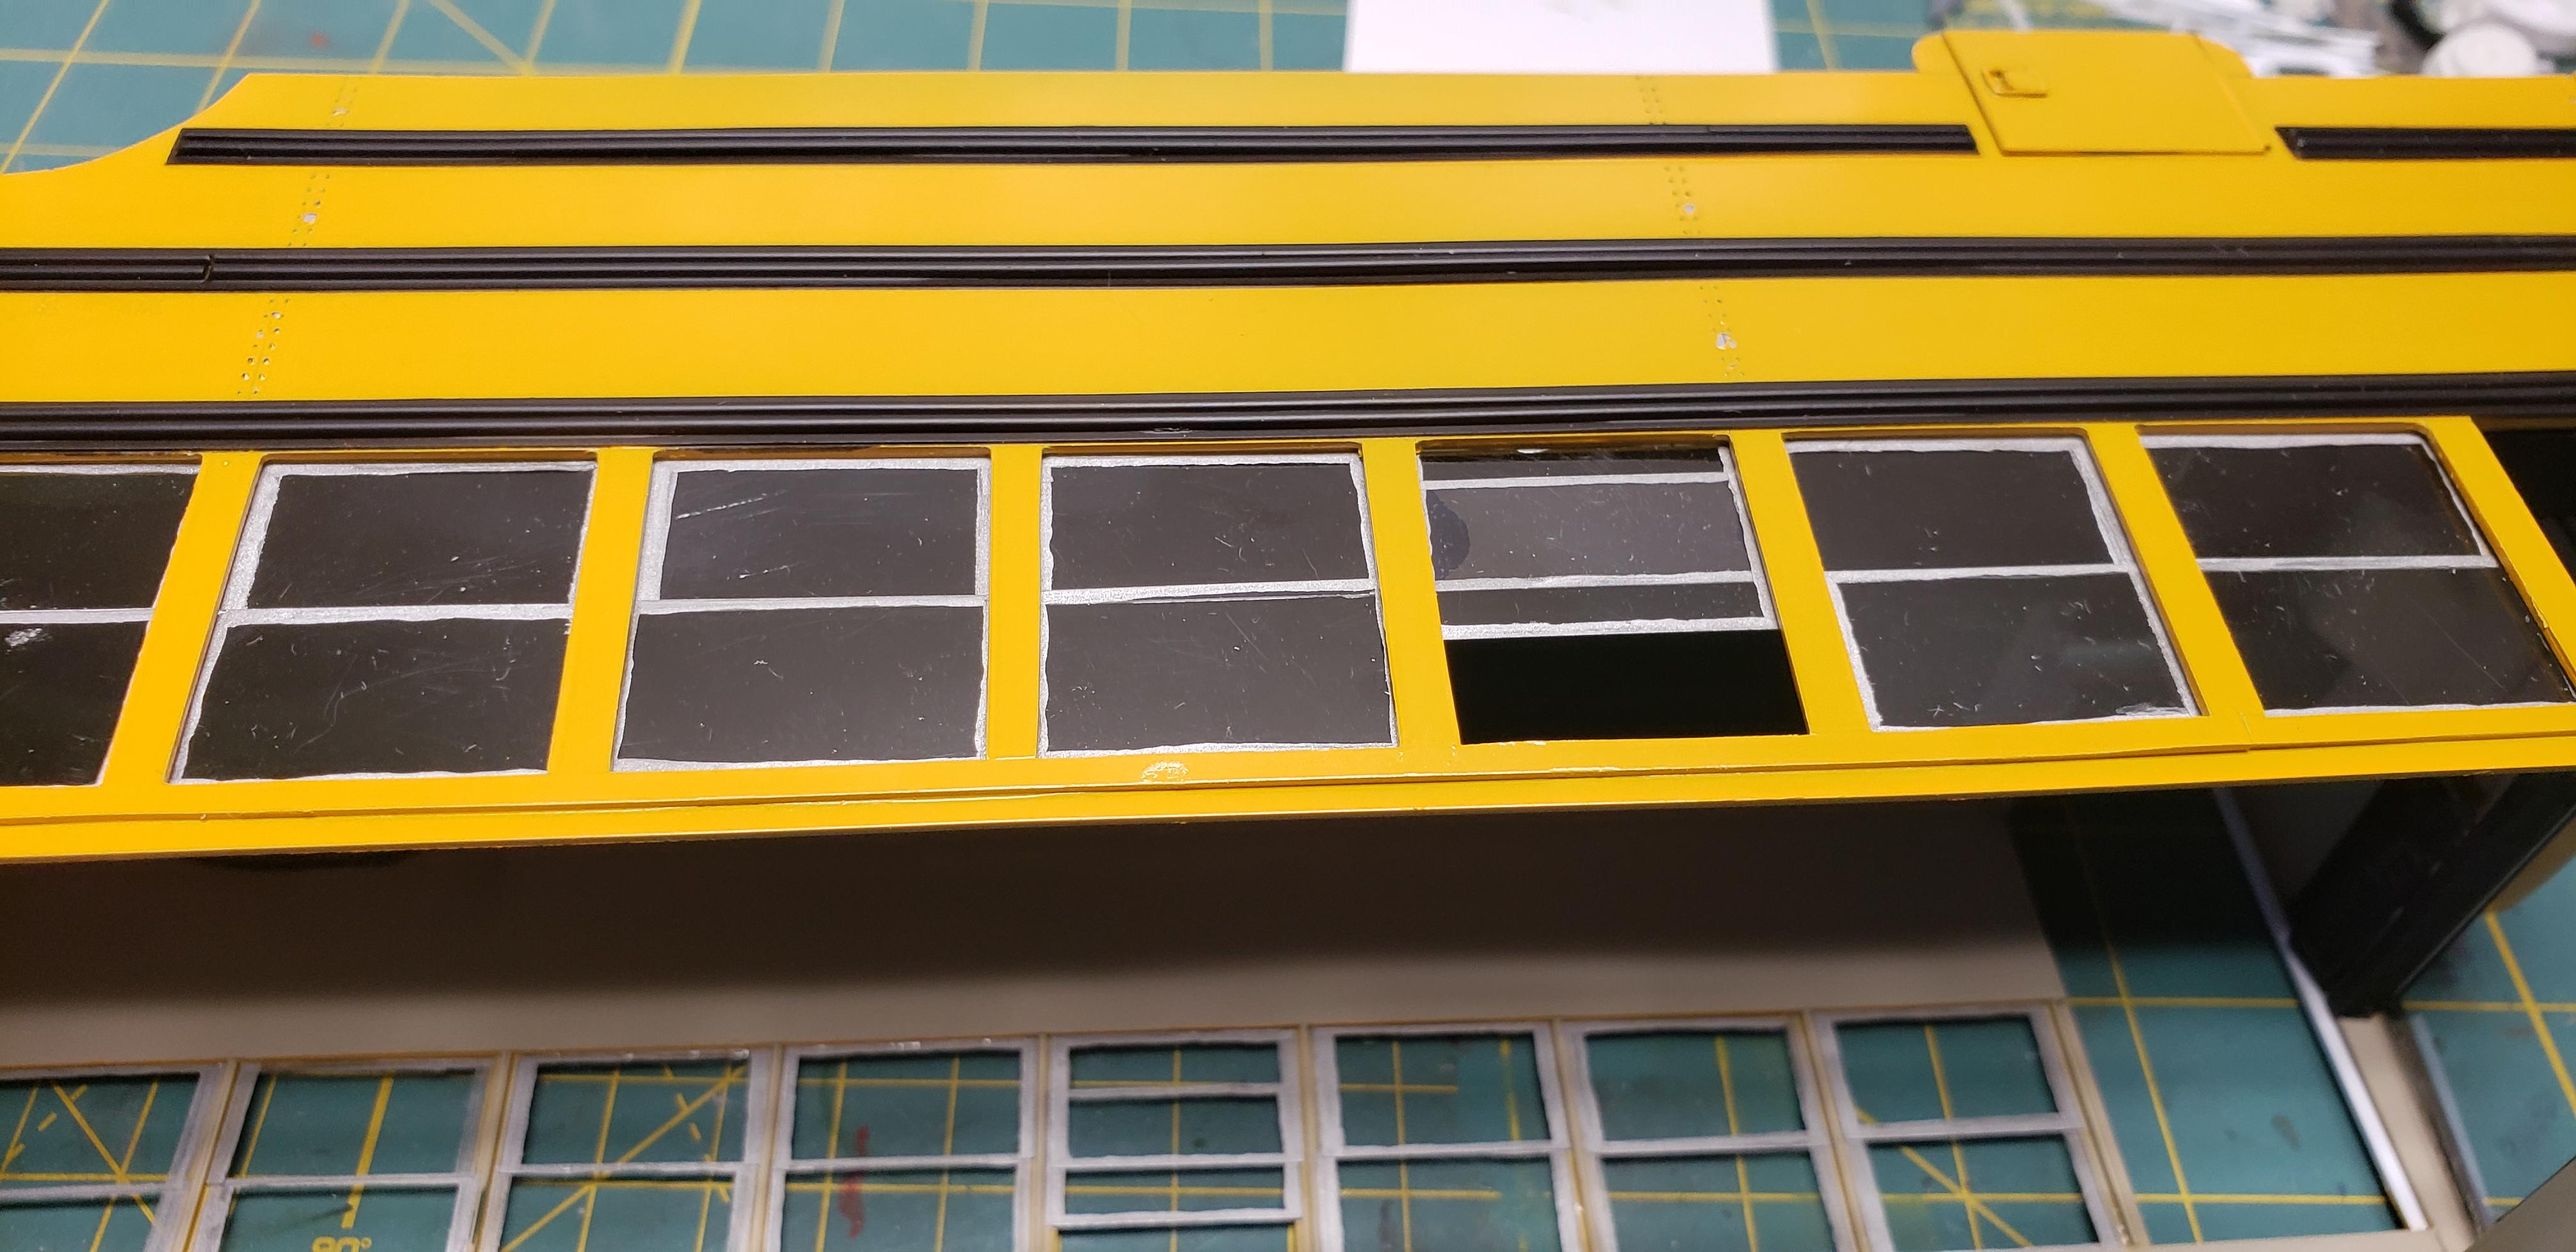
The glass installers arrived early today and didn't waste any time. Evergreen .005" clear sheet was chosen for the windows, and I ended up stacking several strips into my Chopper to avoid bending. This made a pile of windows very quick. I painted the edges w steel ..seems I'm out of aluminum paint. Once they dried, they were quickly installed w testors canopy glue. The kids left a couple windows open I see. There's a few paint tweaks to the frames yet, then a light brushing of Future to fill the mild scratches. Now the seats can be installed!
-
2023 BRGB Ford LTL9000/Great Dane refer
gotnitro? replied to tbill's topic in WIP: Model Trucks: Big Rigs and Heavy Equipment
Coming together now! -
2023 BRGB Ford LTL9000/Great Dane refer
gotnitro? replied to tbill's topic in WIP: Model Trucks: Big Rigs and Heavy Equipment
Good looking truck and colors -
ongoing oilfield project
gotnitro? replied to cdntrucking's topic in WIP: Model Trucks: Big Rigs and Heavy Equipment
Looking good so far ! I'd love to model one of the articulated trucks on the oil fields, so unique -
Thanks ! Trying to keep motivated Haha thanks ! @Warren D thanks for window info. I'm getting materials for windows, and will start them next
-
@TarheelRick thanks for your feedback its very welcome! I have plans for 2 window exits on each side, and 2 roof exits once I conquer that. Are there any common spots they place those window exits ? I was thinking nearest rear tire, and possibly half way back from O/O doors. Glad the rollover exit was successful, hear of tragedy when they go over.
-
Thanks ! Next up windows..lots of windows
-
Thanks ! Yes, its gonna have the school lettering that Rich drove for. I found out the bus number was 146 so that'll be added to
-
2023 BRGB TRIAXLE FREIGHTLINER WRECKER
gotnitro? replied to Dutzie's topic in WIP: Model Trucks: Big Rigs and Heavy Equipment
Good looking color w the black crane. Can't wait for the next update -
Rat Rod School Bus
gotnitro? replied to Alex Flint's topic in WIP: Model Trucks: Big Rigs and Heavy Equipment
Cool build ! Its bus season lol -
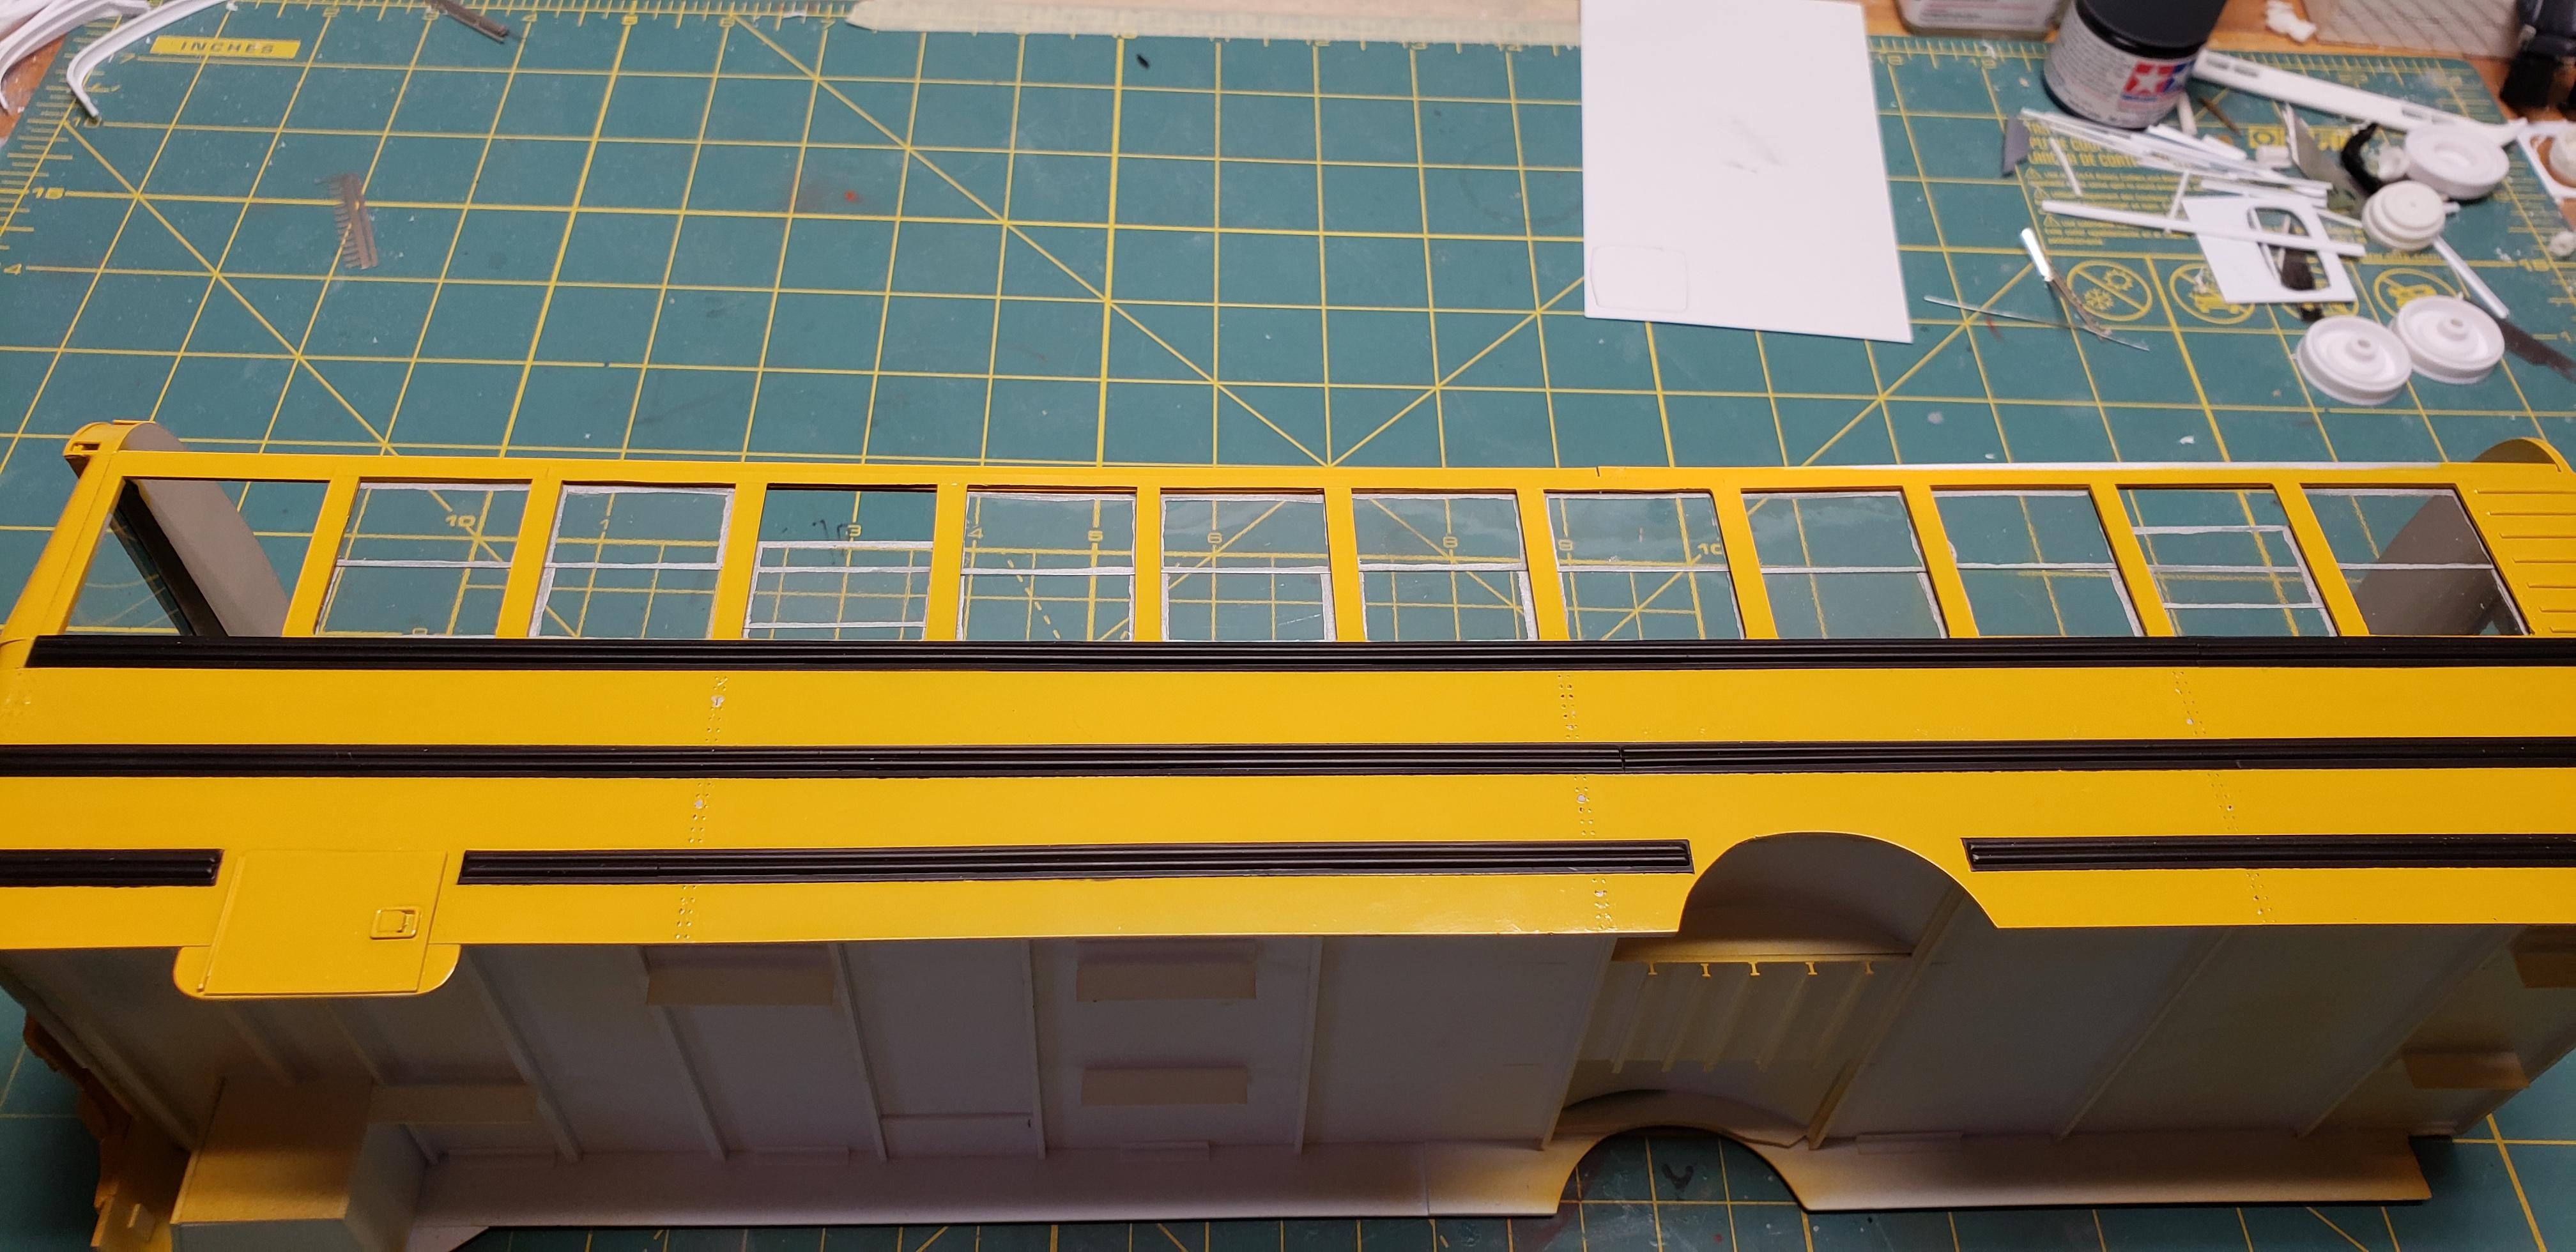
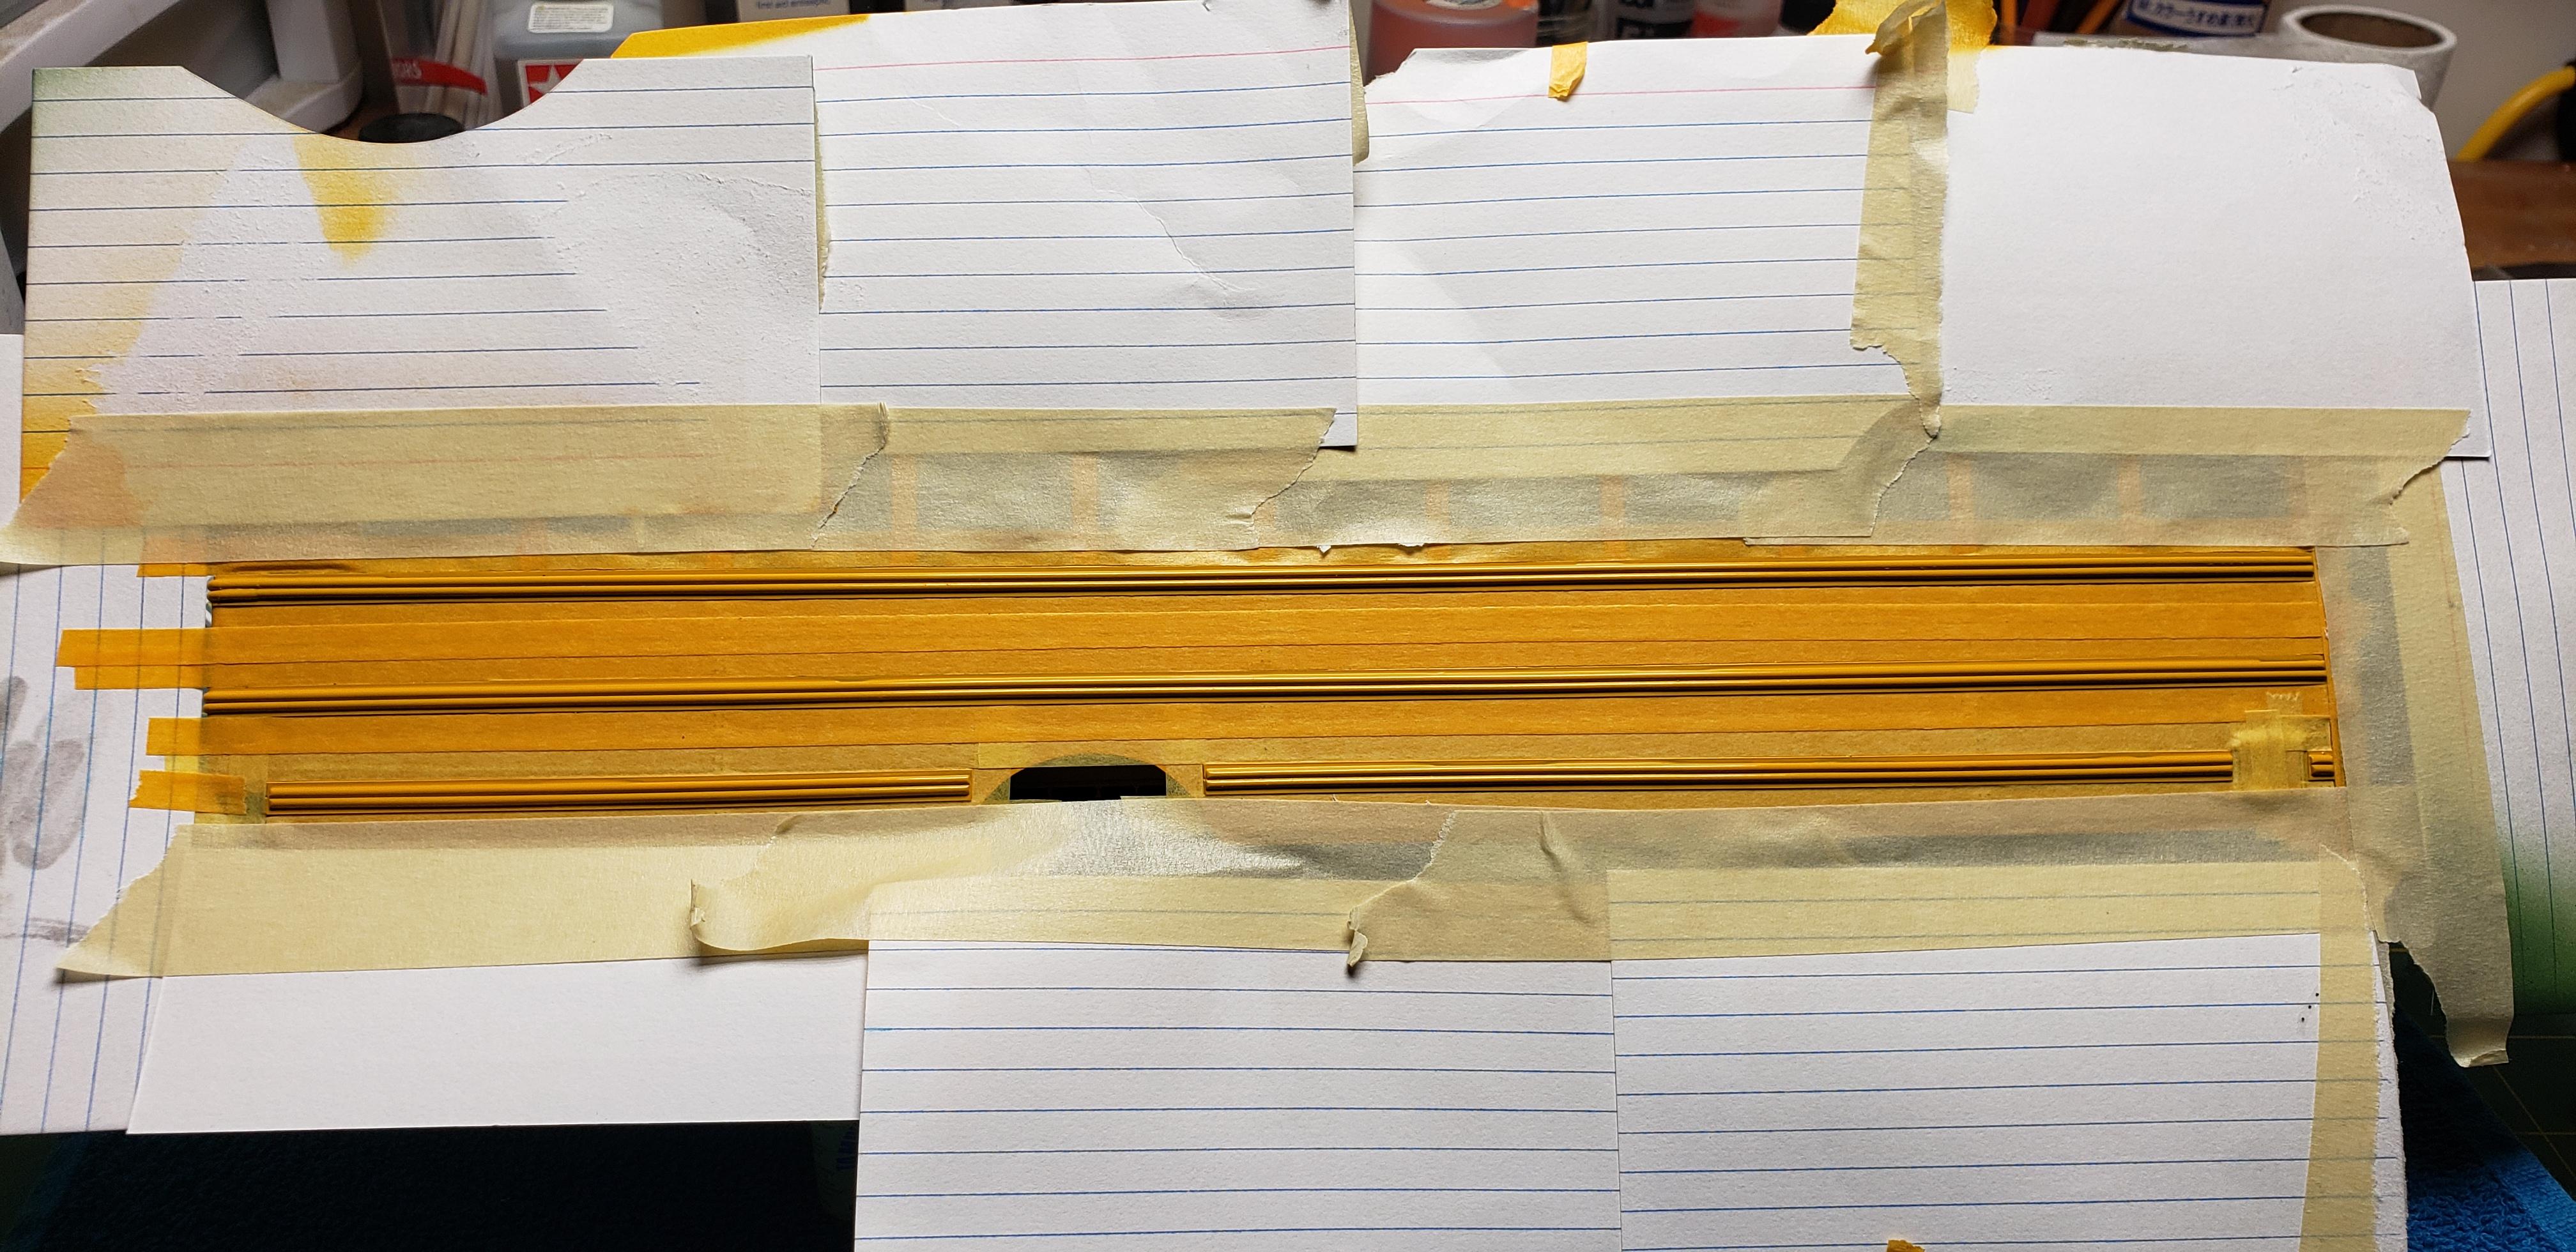
Tom- thanks for the kind words ! Glad it brought back memories for ya, its having the same effect on my wife's family. Her dad drove bus for a career before retiring. Cancer took his life way too soon, so this is a tribute for them. Instead of shoveling snow after work..I masked the curbside to paint the ribs. I had concern the tape could pull the rivets off the body, but gratefully everything stayed put. You can never have enough tape lol After a few passes w my Iwata airbrush and carefully removing tape for the other side its really looking like a bus. Thanks for riding along
-
@Chariots of Fire thanks for the suggestion about the plastic strips. Originally I wanted a removable roof, but since decided to close it up. I'll test some ideas after the paints dry. Your M 725 is beautiful ? @Mopar - D thanks for the opinion on a metal roof. I planned using thin narrow strips about say 3 inches wide to cover the roof in separate panels like the real ones.. So many choices
-
BRGB 2023 Official Thread
gotnitro? replied to Pete68's topic in WIP: Model Trucks: Big Rigs and Heavy Equipment
Really nice builds joining up ! -
2023 BRGB - GMC General Knight Rider
gotnitro? replied to Canso65's topic in WIP: Model Trucks: Big Rigs and Heavy Equipment
Nice start ! -
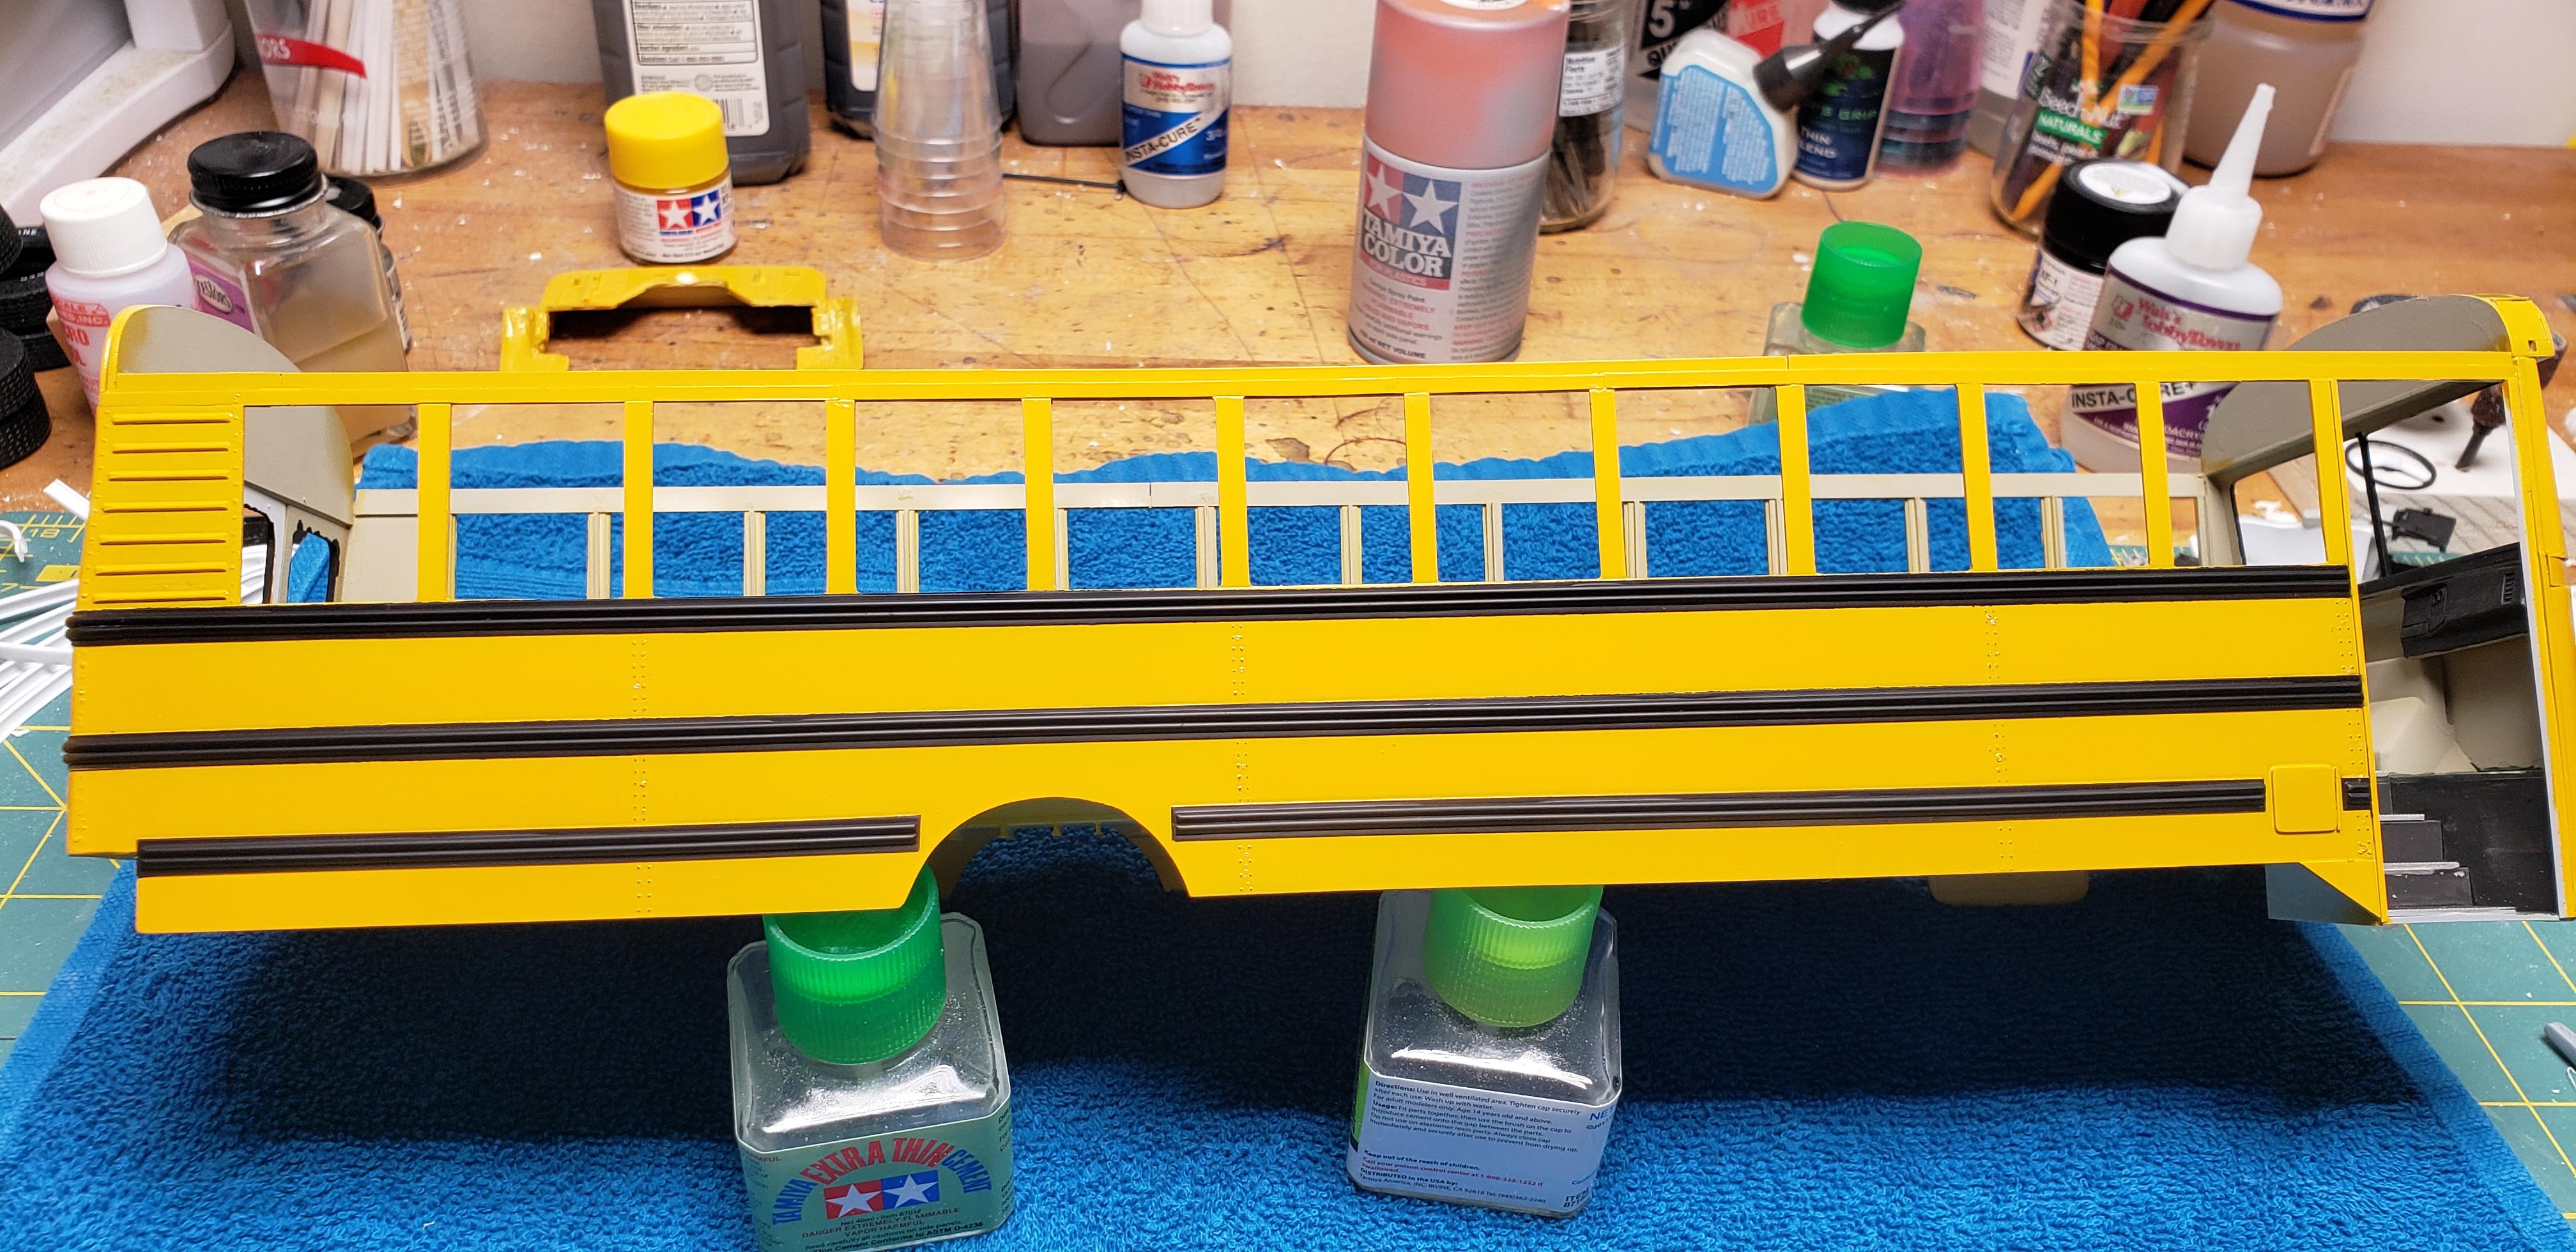
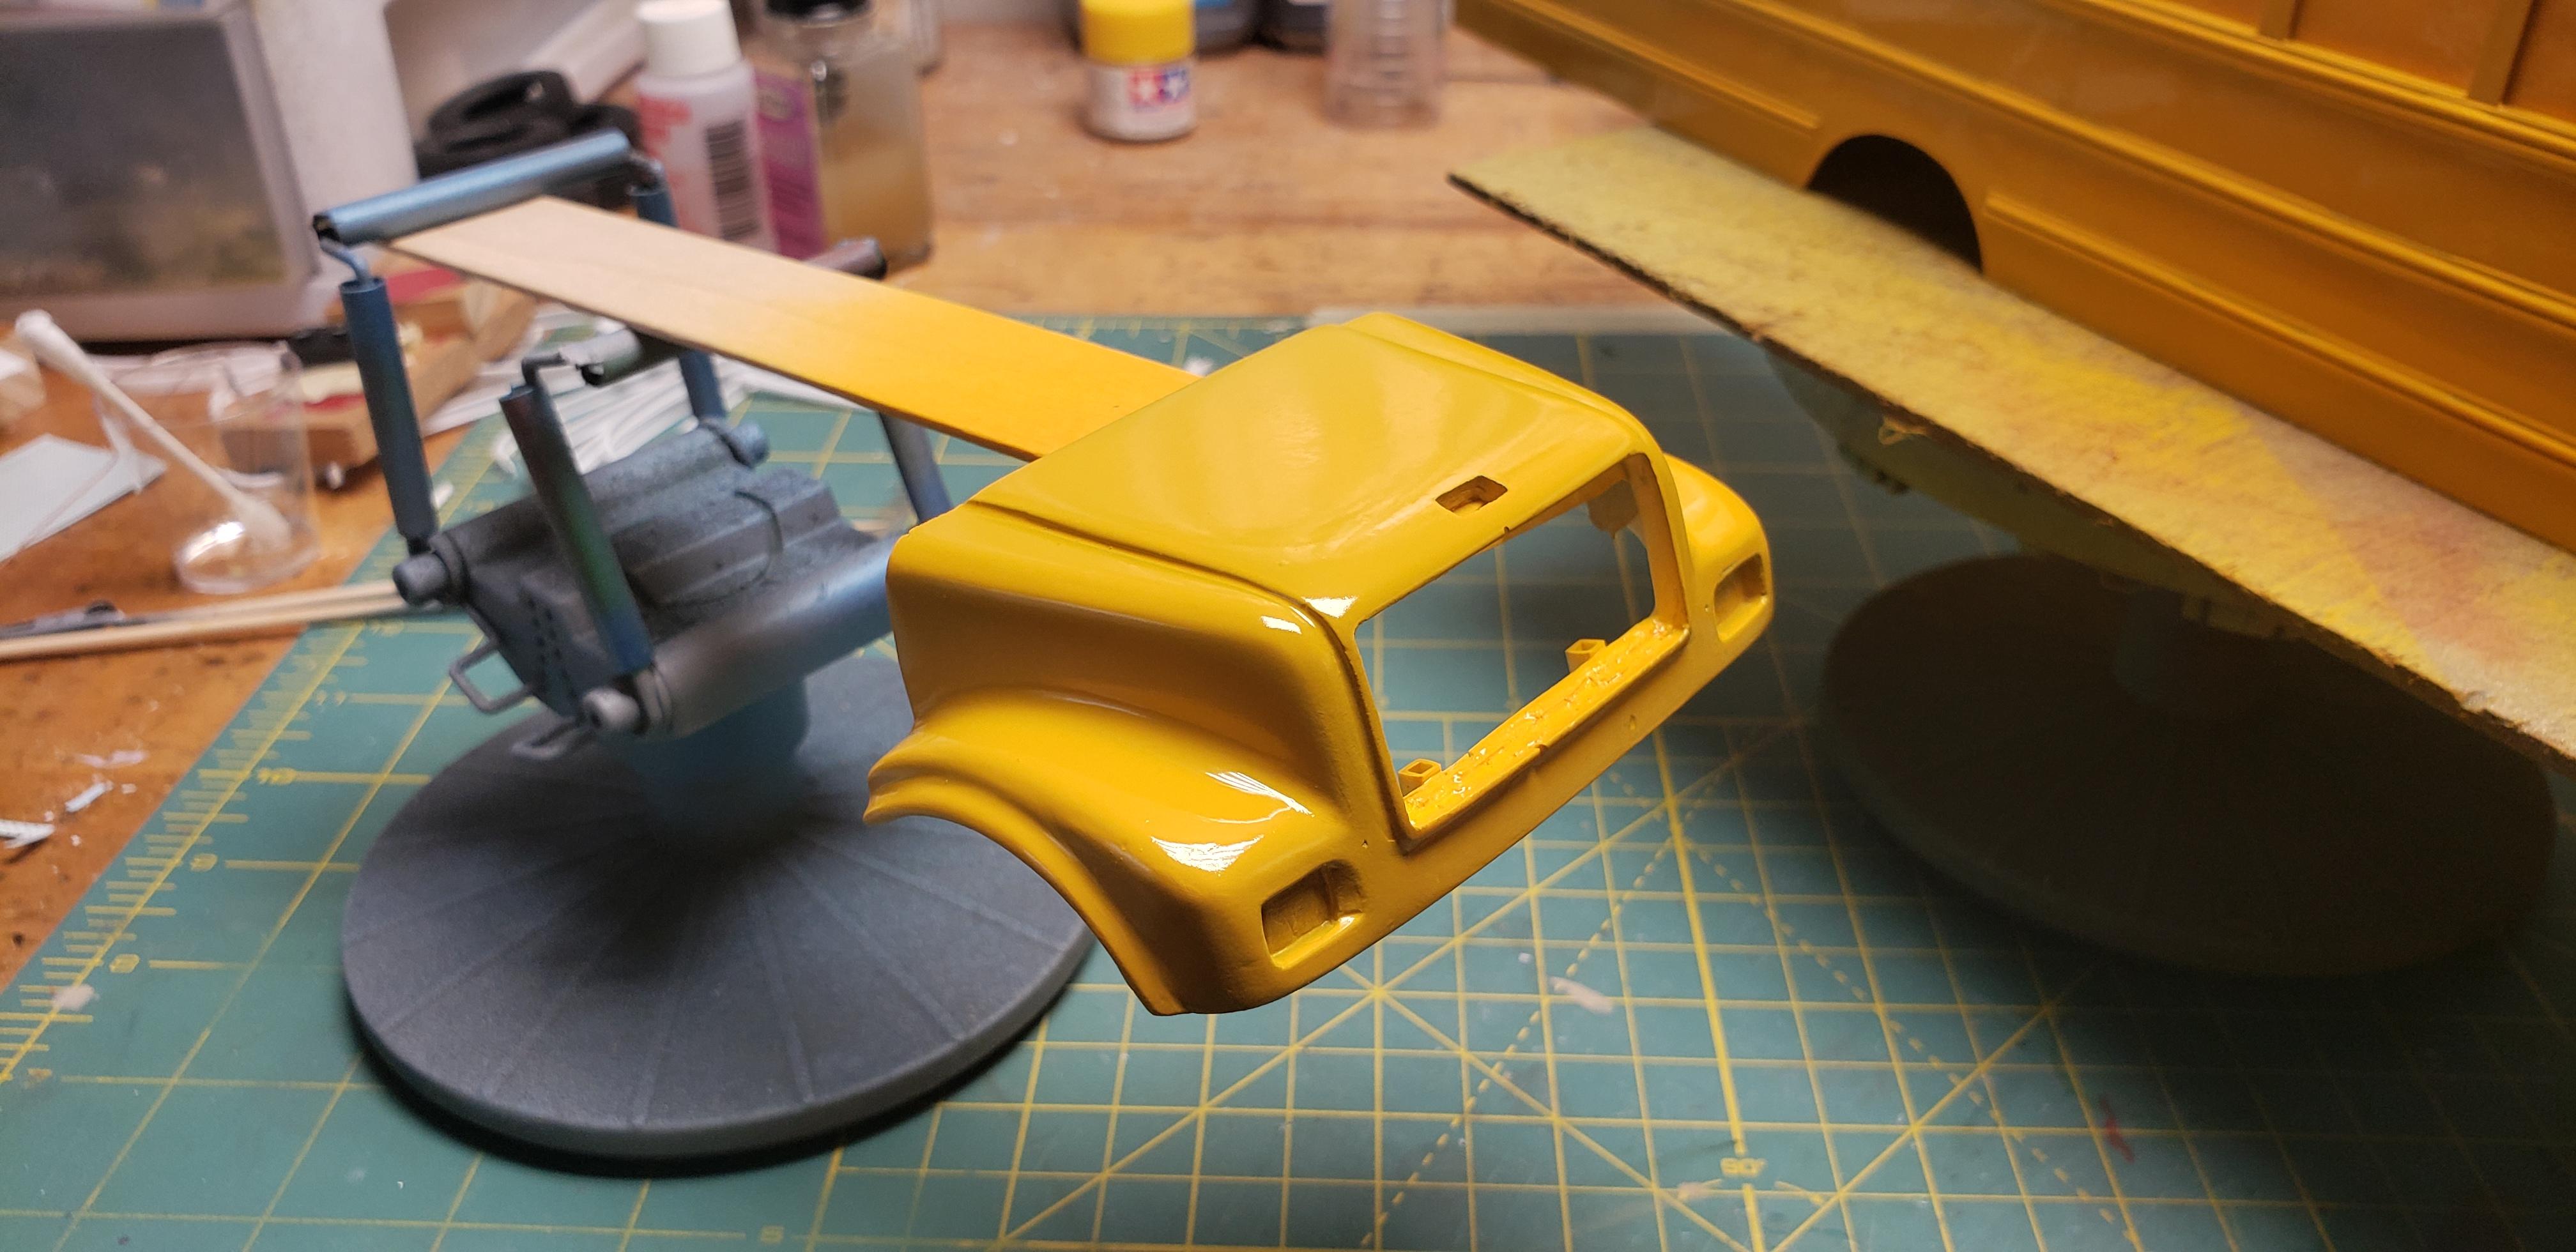
The paint is flying !!!!! I sealed the rivets under testors dullcoat, then broke out the paint. A couple even coats of Tamiya camel yellow later I had this.. The rivets still show thru the light coats, making me real happy! I can't wait to add the black paint to those ribs. I was planning to use thin plastic sheet for my roof, but several local builders suggested metal instead. Any opinions on this is welcome !