Straightliner59
-
Posts
5,814 -
Joined
-
Last visited
Content Type
Profiles
Forums
Events
Gallery
Everything posted by Straightliner59
-

Monogram 1926 Mack
Straightliner59 replied to Straightliner59's topic in WIP: Model Trucks: Big Rigs and Heavy Equipment
Thank you, David. I really appreciate that! It's been a learning experience, for sure!...Dan -
Monogram 1926 Mack
Straightliner59 replied to Straightliner59's topic in WIP: Model Trucks: Big Rigs and Heavy Equipment
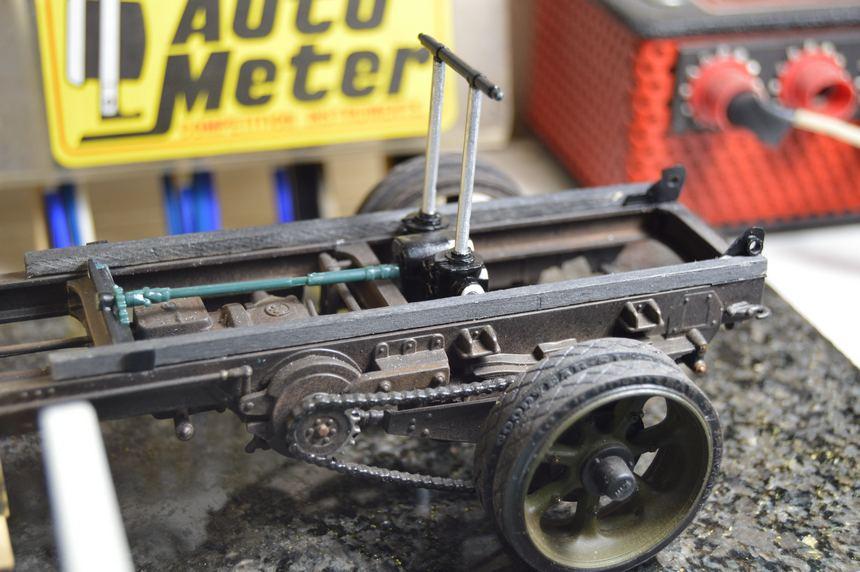
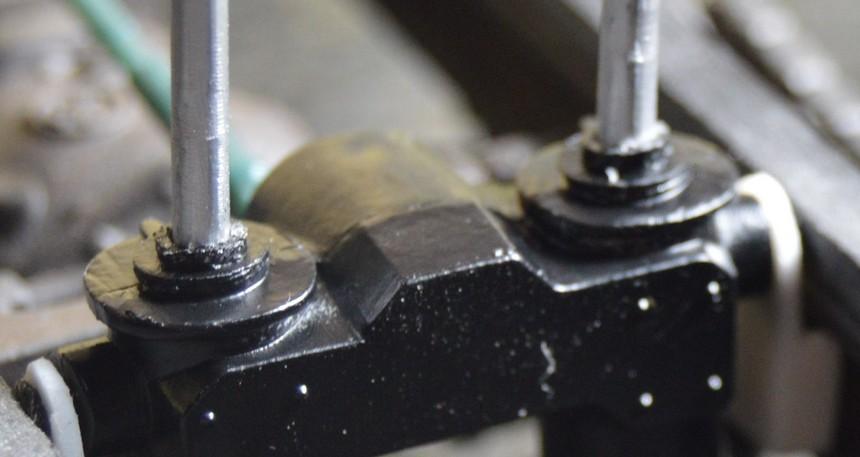
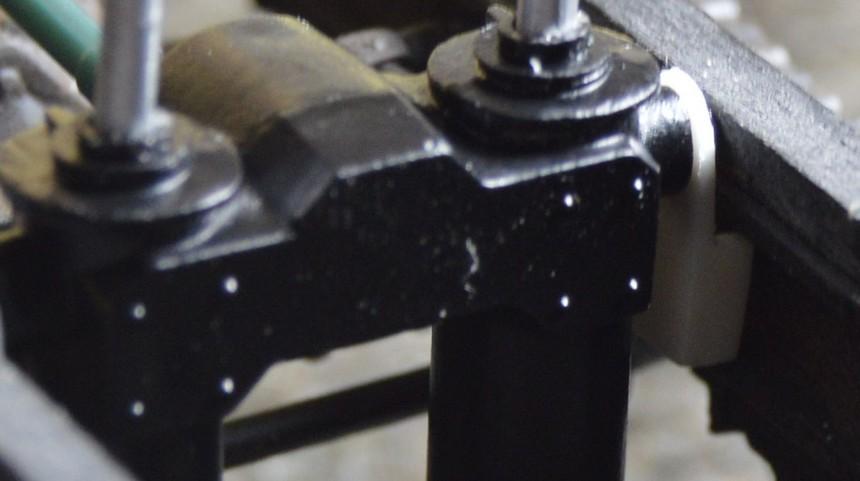
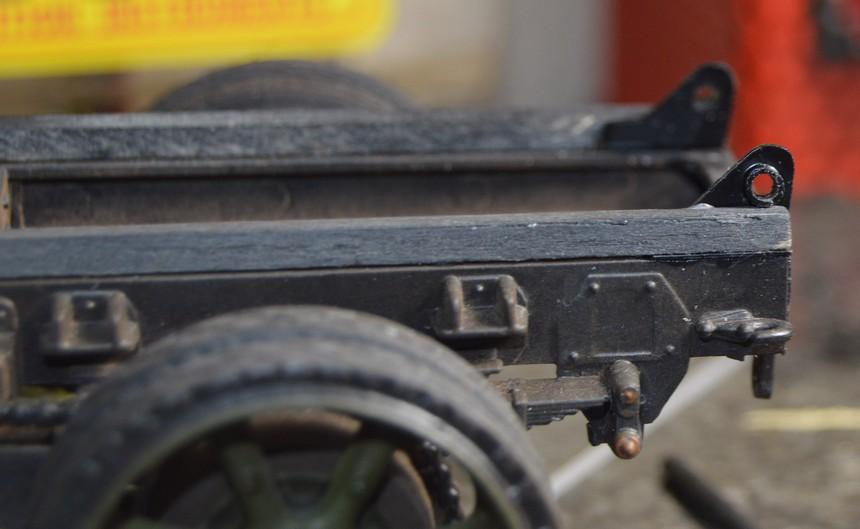
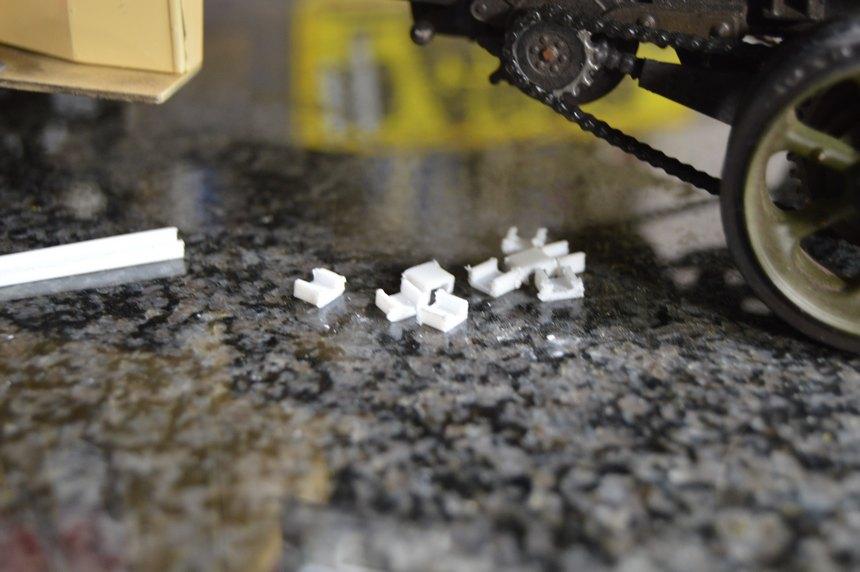
It took some "figgerin'" to build the bed hoist assembly! The hydraulic cylinders needed to be assembled, so that the seams could be removed, prior to paint. However, the pistons/rods need to be installed prior to cementing the cylinder halves together. I will have to illustrate it, one of these days, since I got caught up in designing and building it, that I neglected to take in-process photos! Sorry! Anyway...here's what I ended up with. The pieces in white are swaged onto the cylinders. They are carriers for the cylinder assembly that allowed me to turn the assembly in to the chassis rails, then slide it into position. Obviously, all of this needs paint, weathering, detail paint, etc. Now, though, I know it will all work, together with the bed. As always, questions, comments and critiques are welcome. Thanks for looking!...Dan
-
This arrived a day earlier than initially expected! Upon initial inspection, there is slight glue damage to the spare tire well, and to the chassis, where the shocks attach, and a very small blemish or two along the top of the windshield--barely noticeable! It's very nicely built, unpainted. There were a few extra parts from another on, in the box--six or seven. Also, there was an end panel from an original issue kit, and an instruction sheet. I put it in my display case, to await completion of the Mack. I might as well enjoy, until then, too!
-
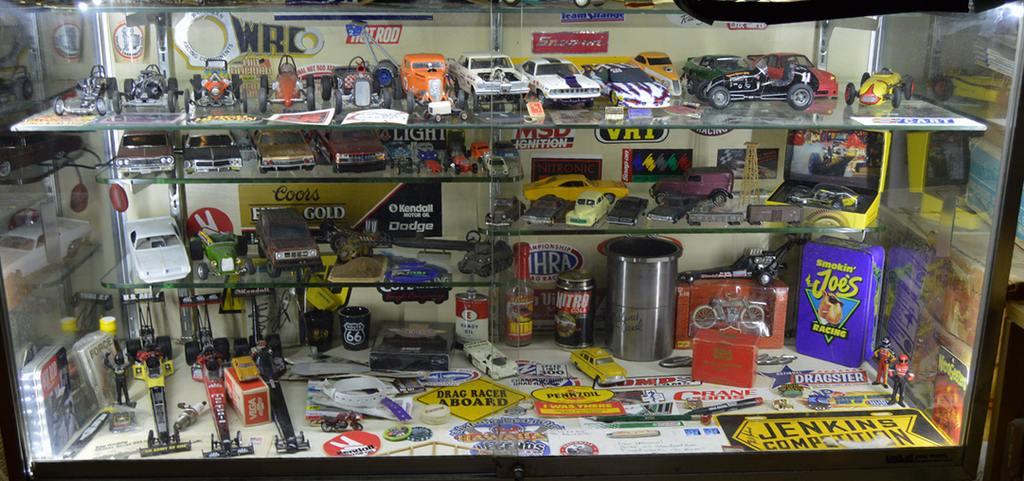
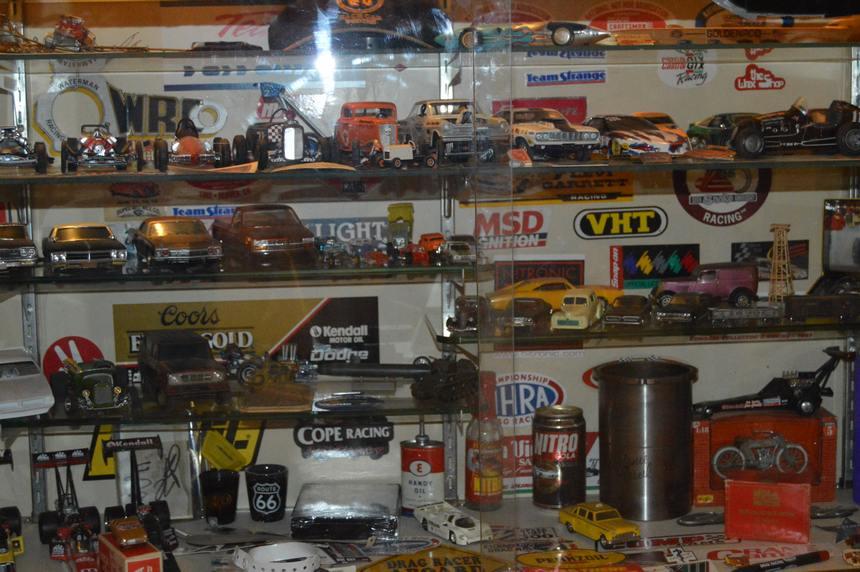
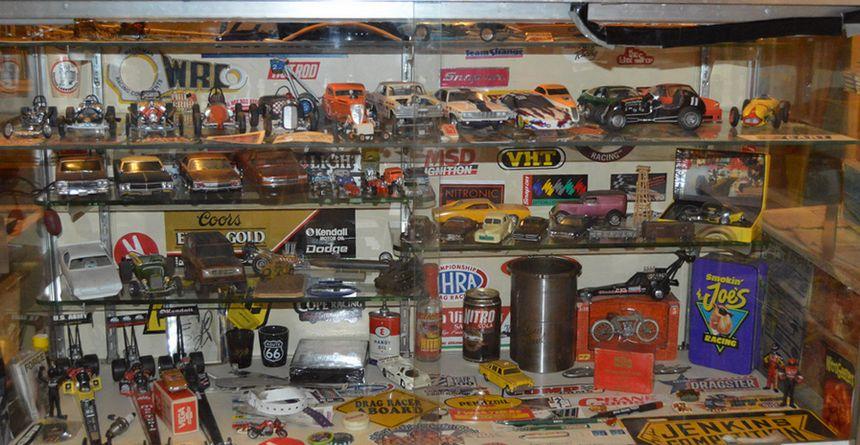
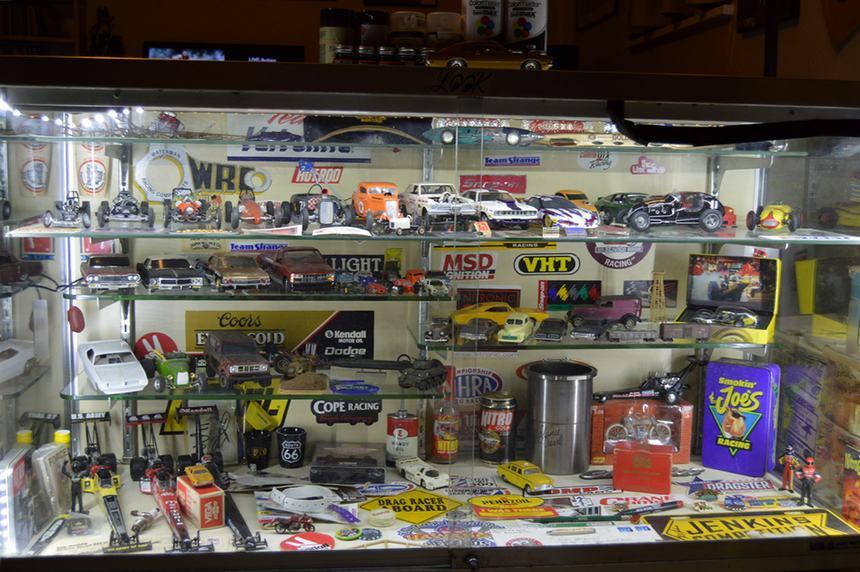
Thanks,David. The photos don't begin to show the improvement the lights made to the display case! Was very happy to get the Maverick, and to run across Testors/MM stuff at Hobby Lobby.
-
I don't know that whatever I used it on was around long enough for that to happen. I just remember seeing it, in an instruction sheet. That is good to know!
-
I would use petroleum jelly. I recall a few old kits recommending that, as lubricant.
-
It's a promo. I figured that since I want to build it, the promo is as good as a kit. If I want to go full out, detail-wise, it's a good start, and, should curbside be the ticket...well! Besides, I don't need to tell you what the kits are going for! ?
-
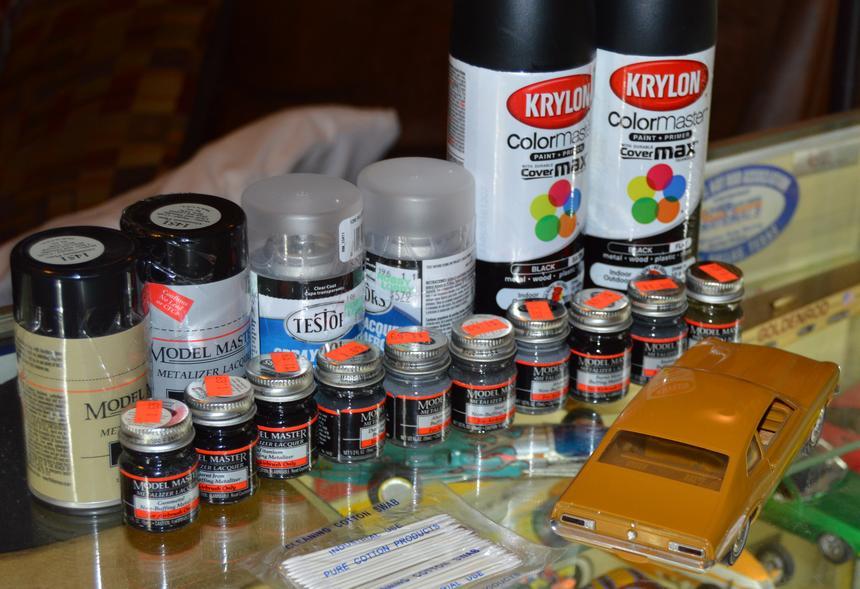
I got all these bottles of metalizers and the Maverick from different Ebay sales. Picked up the Krylon Black sprays (Satin, Flat), two cans of Model Master Buffing Aluminum Plate, and two of Dullcote and the swabs, at Hobby Lobby. And, I got some LEDs to light my display case!
-
Thanks, Carl! I have wanted one of these, forever!
-
Oh! I will recalculate, then. Thanks! Even though most people don't even seem to bother to get the class right, that stuff matters, to me!?
-
If I didn't already have a MP '70 Chevelle in the works, I probably would! MP was a very cool class!
-
Based on advertised shipping weight divided by 194, that's what it works out to (1975 rules).
-
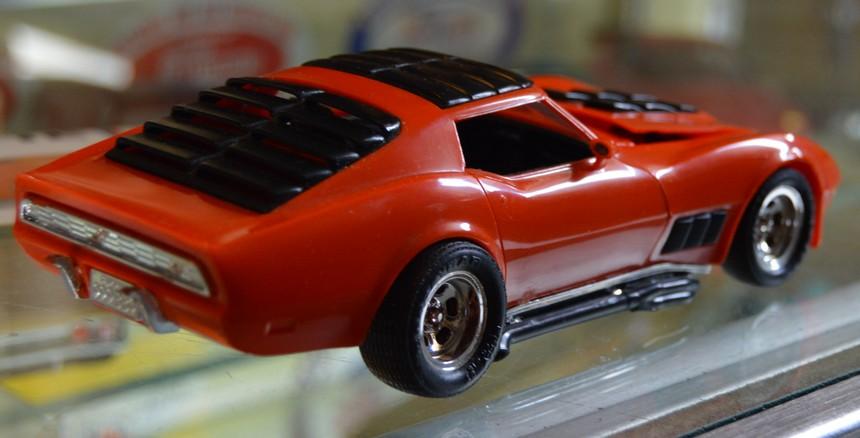
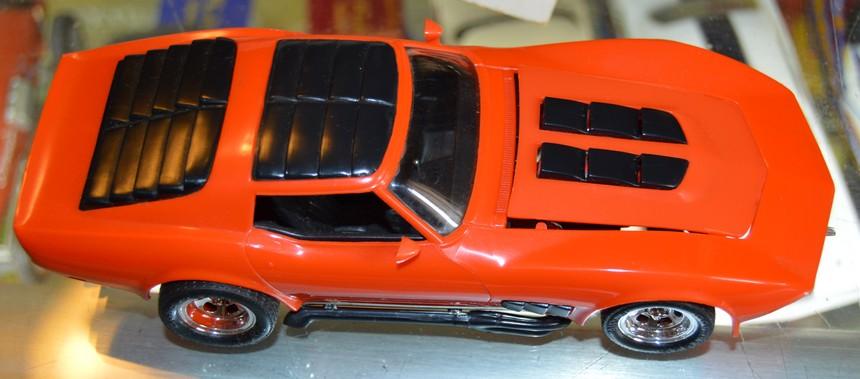
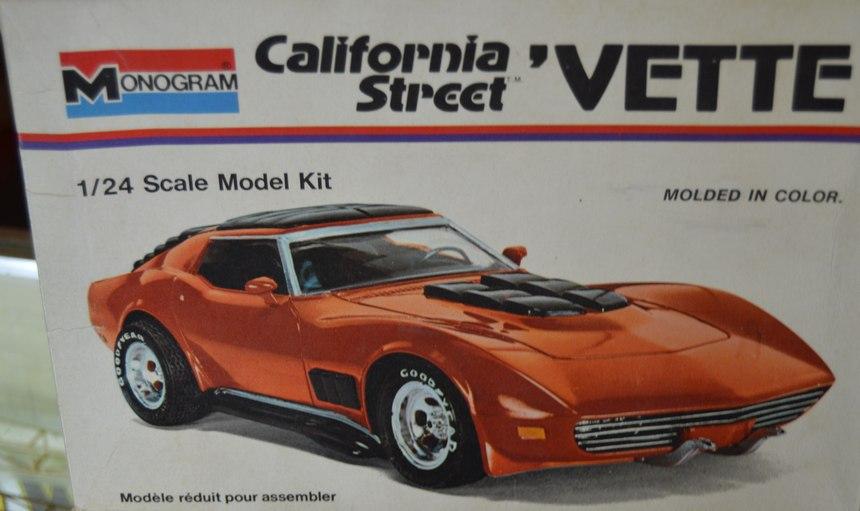
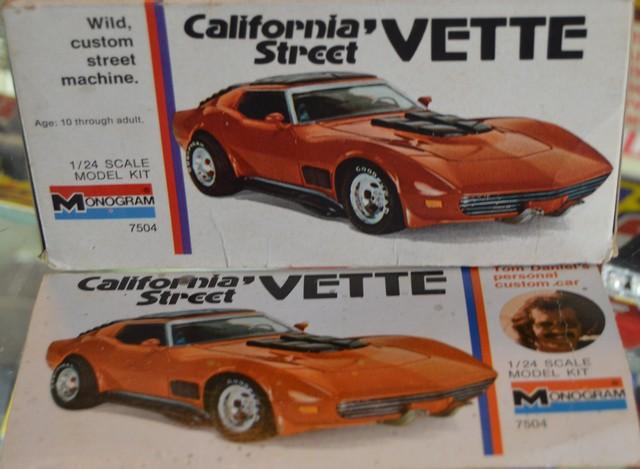
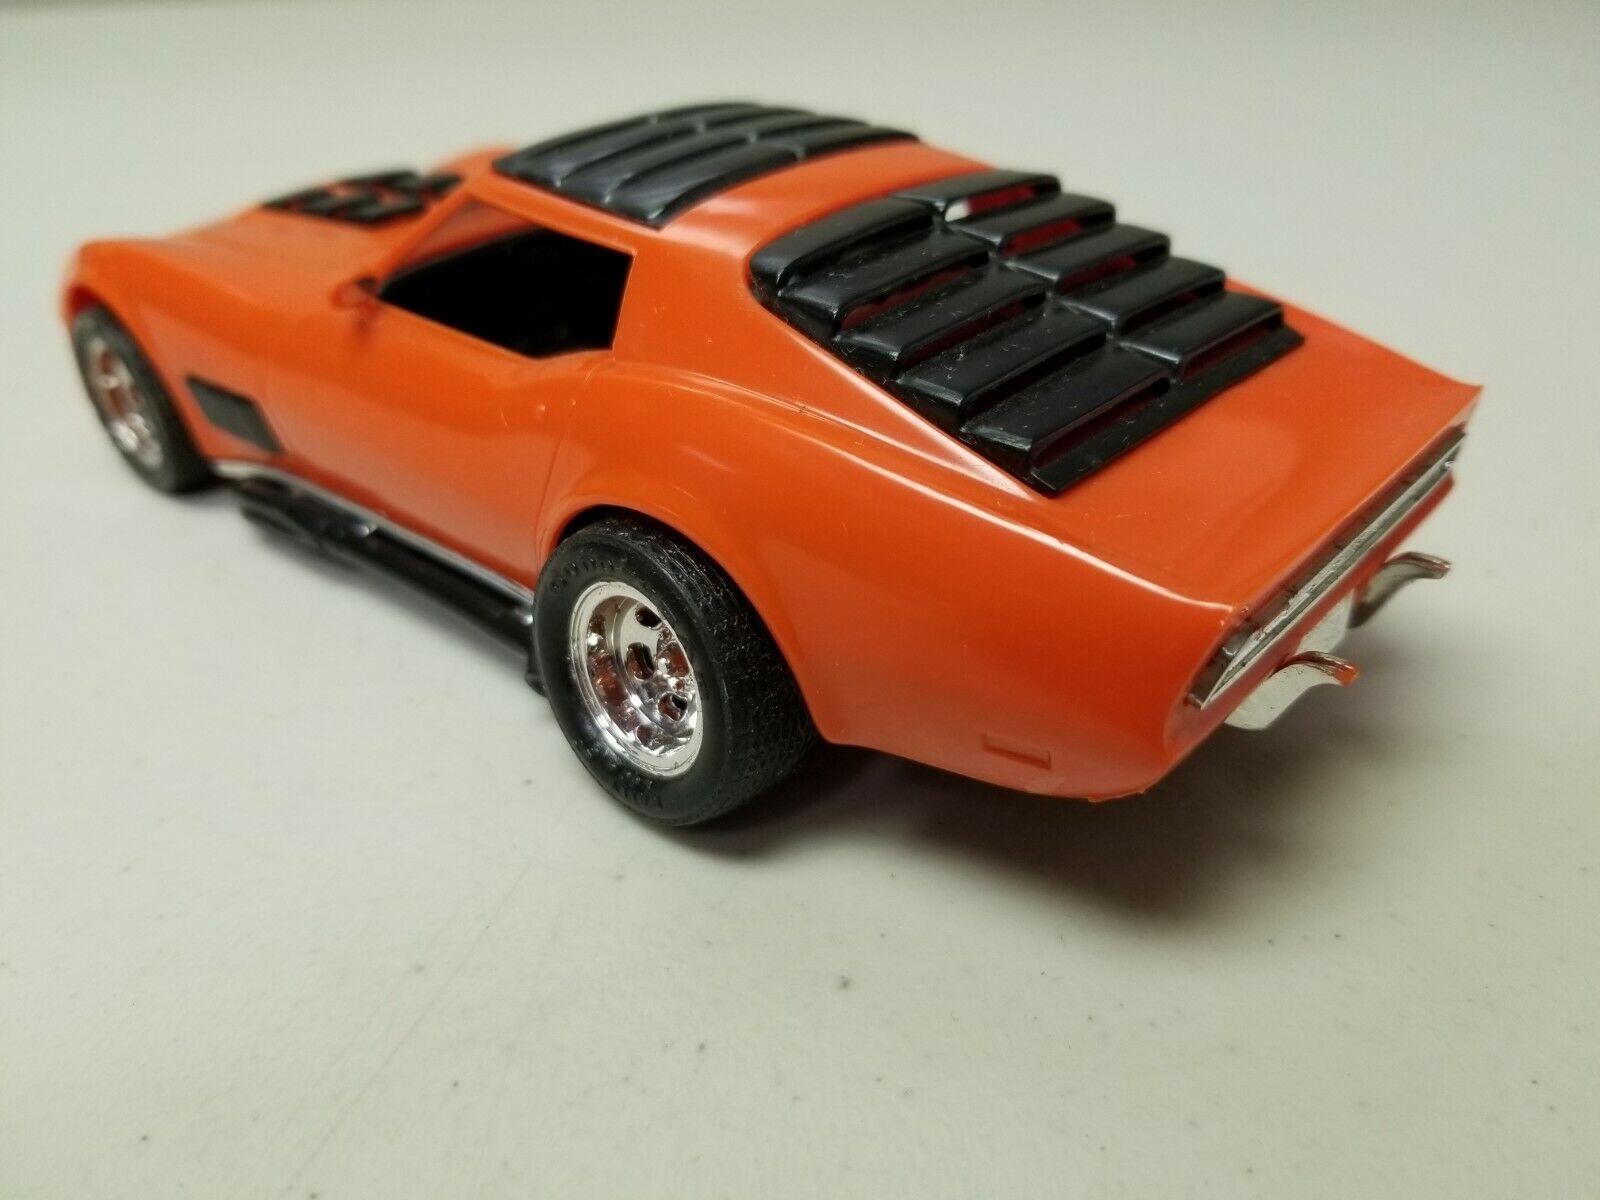
Well, I haven't received them, yet, but I did my part to stimulate the economy. Since I got the deposit, and Saturday is my birthday, I splurged and bought a couple of things I have wanted, for a while. First, I picked up a Maverick promo. Second, I won an auction for a looks-to-be cleanly assembled Monogram California Street Vette. I have never owned one, and have always loved the way it looks. It will likely move to the front of the line, after I finish the Mack. I'm pretty excited about it! I also picked up ten bottles of MM metalizers. Here are a couple of photos from the CSV auction. Extra happy that it's not painted--at all!
-
I think I will probably go L/S (maybe L/SA) curbside, like this:
-
Monogram 1926 Mack
Straightliner59 replied to Straightliner59's topic in WIP: Model Trucks: Big Rigs and Heavy Equipment
As far as I am concerned, you've earned the comparison. I have to say--the fit of this thing, given its age, is excellent. Part of getting the cab to fit properly is understanding just how it fits together. The instructions are a bit vague. Fiddling around with it and studying it definitely helped! Thank you, Francis. The hinges are definitely better than the little plastic donuts that were molded to the wooden cushions! You're so right about these challenges--they are a part of what makes this hobby so much fun--and rewarding! Like you, I'm in constant pursuit of improvement! Thank you, Tom! Thank you for looking, and for your comments. This has been something of a learning experience! -
1/43 scale Peterbilt 359s
Straightliner59 replied to Pete68's topic in WIP: Model Trucks: Big Rigs and Heavy Equipment
I really like these little kits. Nice work, with them! Where did you get these wheels? Are there sources for 1/43 scale truck parts? I have a Pete that I stretched and built a lumber bed, for. I also have a KW that's now a single-axle day cab that will tow a pair of 27' trailers. None of these projects are complete! ? -
64 Dodge D100 Pickup Pro Street
Straightliner59 replied to AmericanMuscleFan's topic in WIP: Drag Racing Models
Simply amazing, my friend! Like Mike said, before me, your work is truly inspirational. Thanks for sharing it with all of us, Francis! -
Yes, that stuff is good for lots of things. Especially belts and straps, but also tonneau covers, or other small, tarped areas. I know that "figure folks" use it, quite a lot, as well. You're right, too, regarding the plastic coated foil. The plastic tends to crack, frequently taking the foil, with it. Virgin sheets would be excellent! I have a couple of pieces left from Verlinden, years ago.
-
Excellent tutorial! You suggested that wire pins might work better/easier than the PE parts included with the set. I recommend that. The only thing I do differently is to use wine bottle foil, for the belt material. Thanks, for taking the time to put this together, Kurt!
-
Monogram 1926 Mack
Straightliner59 replied to Straightliner59's topic in WIP: Model Trucks: Big Rigs and Heavy Equipment
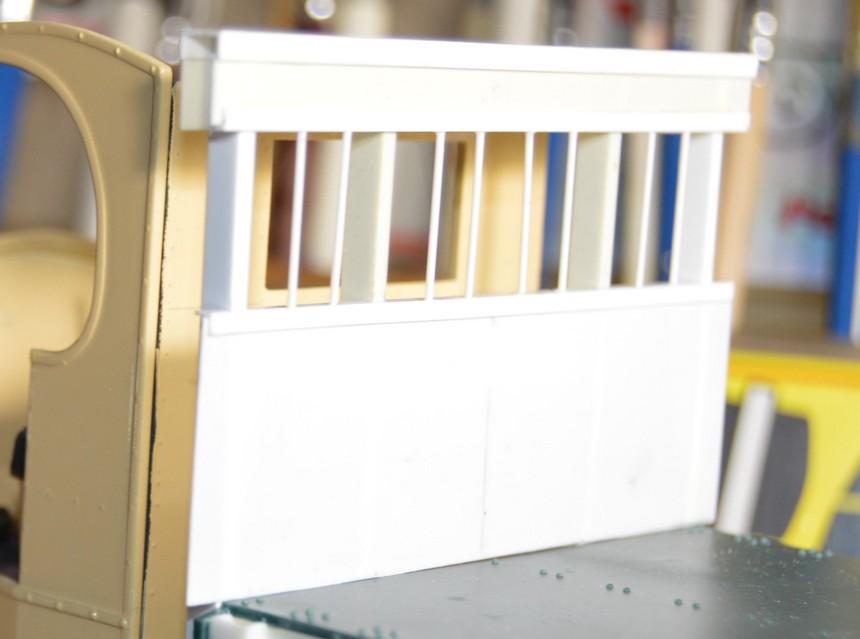
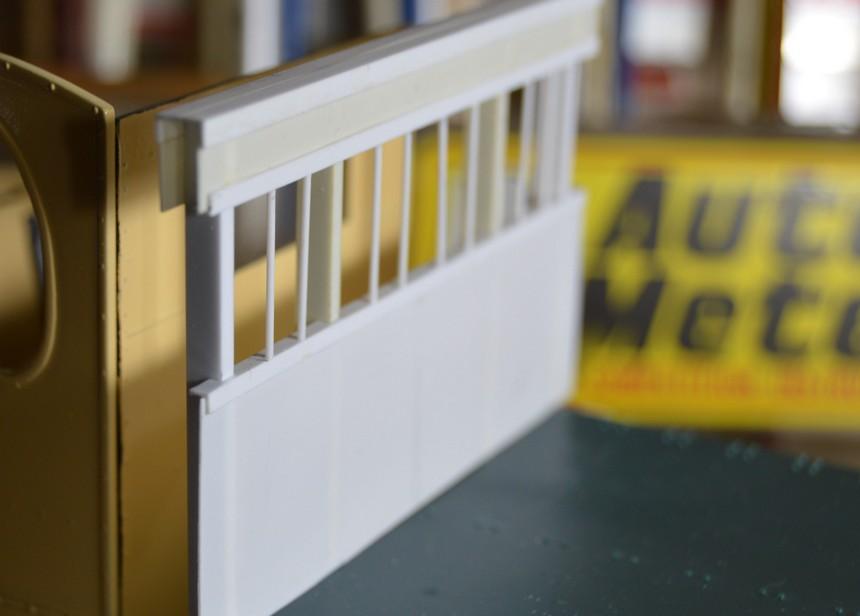
The wood bed cushions/hinge pieces were warped, from the box, so I replaced them with pieces made from plastic, for the hinges, and wood strips, for the cushions. The hinges aren't prototypical, but, they look better than the kit parts. I also messed around with the fit of the cab pieces, firewall and radiator. They fit together nicely, with some work. It will take a bit more work to get them to fit together snugly, AND on the chassis. I've seen enough work of guys who know how to do this (Charles Rowley, Joe Cavorley, to name just a couple) to know that it can be done, however. Of course, the new pieces in these photos still need weathering. I've had the bed mounted as it will be, permanently, so that's figured. Anyway, here are just a couple of shots of the latest work. Comments, questions and critiques are always welcome. Thanks for looking!
-
Solo Speedster the 'Salinas Special'
Straightliner59 replied to Rocking Rodney Rat's topic in Model Cars
That is excellent execution of a fantastic idea! Fabulous work, sir! -
1968 Dodge D800 Dump
Straightliner59 replied to DRIPTROIT 71's topic in WIP: Model Trucks: Big Rigs and Heavy Equipment
This is cool! I love that generation of Dodge trucks! Engine looks very nice! -
Monogram 1926 Mack
Straightliner59 replied to Straightliner59's topic in WIP: Model Trucks: Big Rigs and Heavy Equipment
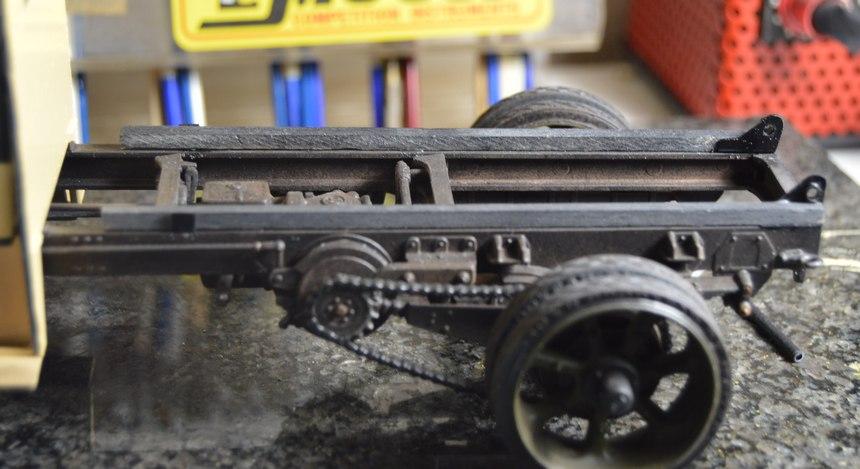
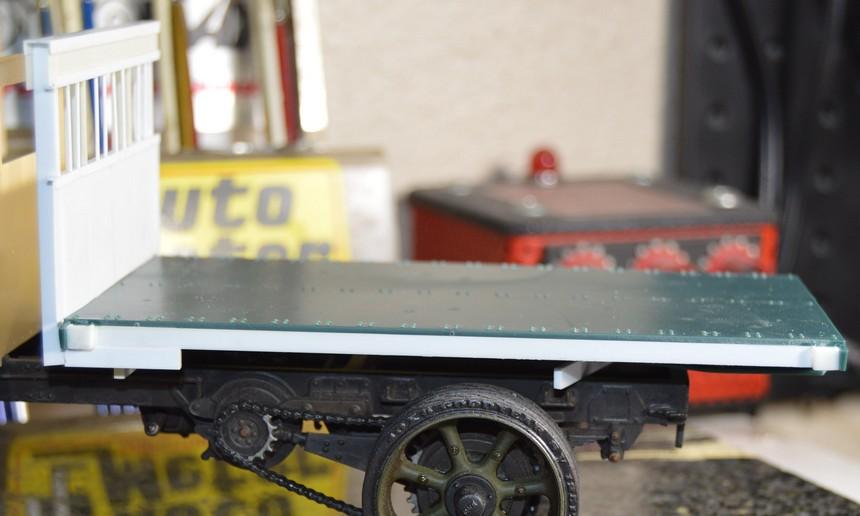
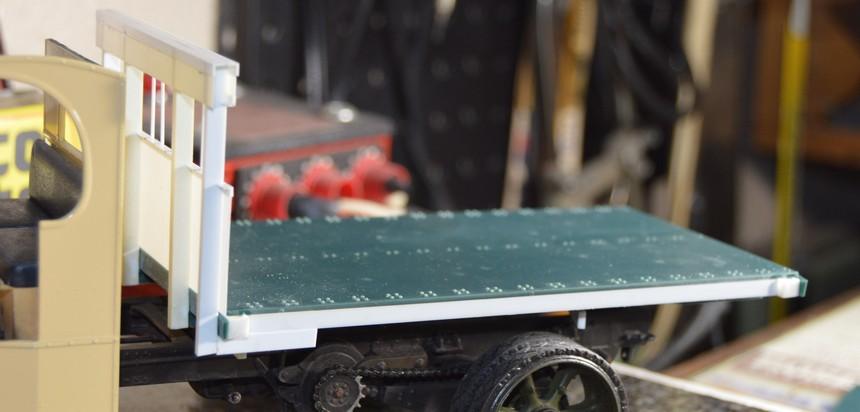
Thank you, Robert. I am hoping everything fits. I have tried to fit stuff, as I go, but, who knows, once paint is applied. It only takes a couple of thousandths to throw everything off! Thanks again for your kind words. Thank you, Brian! They are very cool, Francis! Thanks for looking in, my friend! I appreciate that, Mark! This is the dump truck, as well. I built the stake truck when that kit was new, back in '75 or '76. That one's long gone! Here's the bed/headboard assembly, so far. Sorry for the poor quality photos. The stake pockets are made from Evergreen square tube, split lengthwise, then cut to length. I will likely trim the sides of the headboard, back to the uprights. Well...there's still a pretty fair amount of work to do! ☺️ Thanks, everyone for your comments!
-
Monogram 1926 Mack
Straightliner59 replied to Straightliner59's topic in WIP: Model Trucks: Big Rigs and Heavy Equipment
Thanks, Charles. I haven't even started on the cab, other than the base paint. I got sidetracked, building the bed. I shouldn't need more than a couple of hours, once I get a chance to sit down with it, again. Then, I will begin to assemble and weather the cab! -
MCM Relaunch Update 11/6/2020
Straightliner59 replied to larrygre's topic in Model Cars Magazine News and Discussions
Just saw on FB; Larry Greenberg posted that #208 is being printed! Should be shipped, soon!