-
Posts
5,809 -
Joined
-
Last visited
Content Type
Profiles
Forums
Events
Gallery
Everything posted by Straightliner59
-
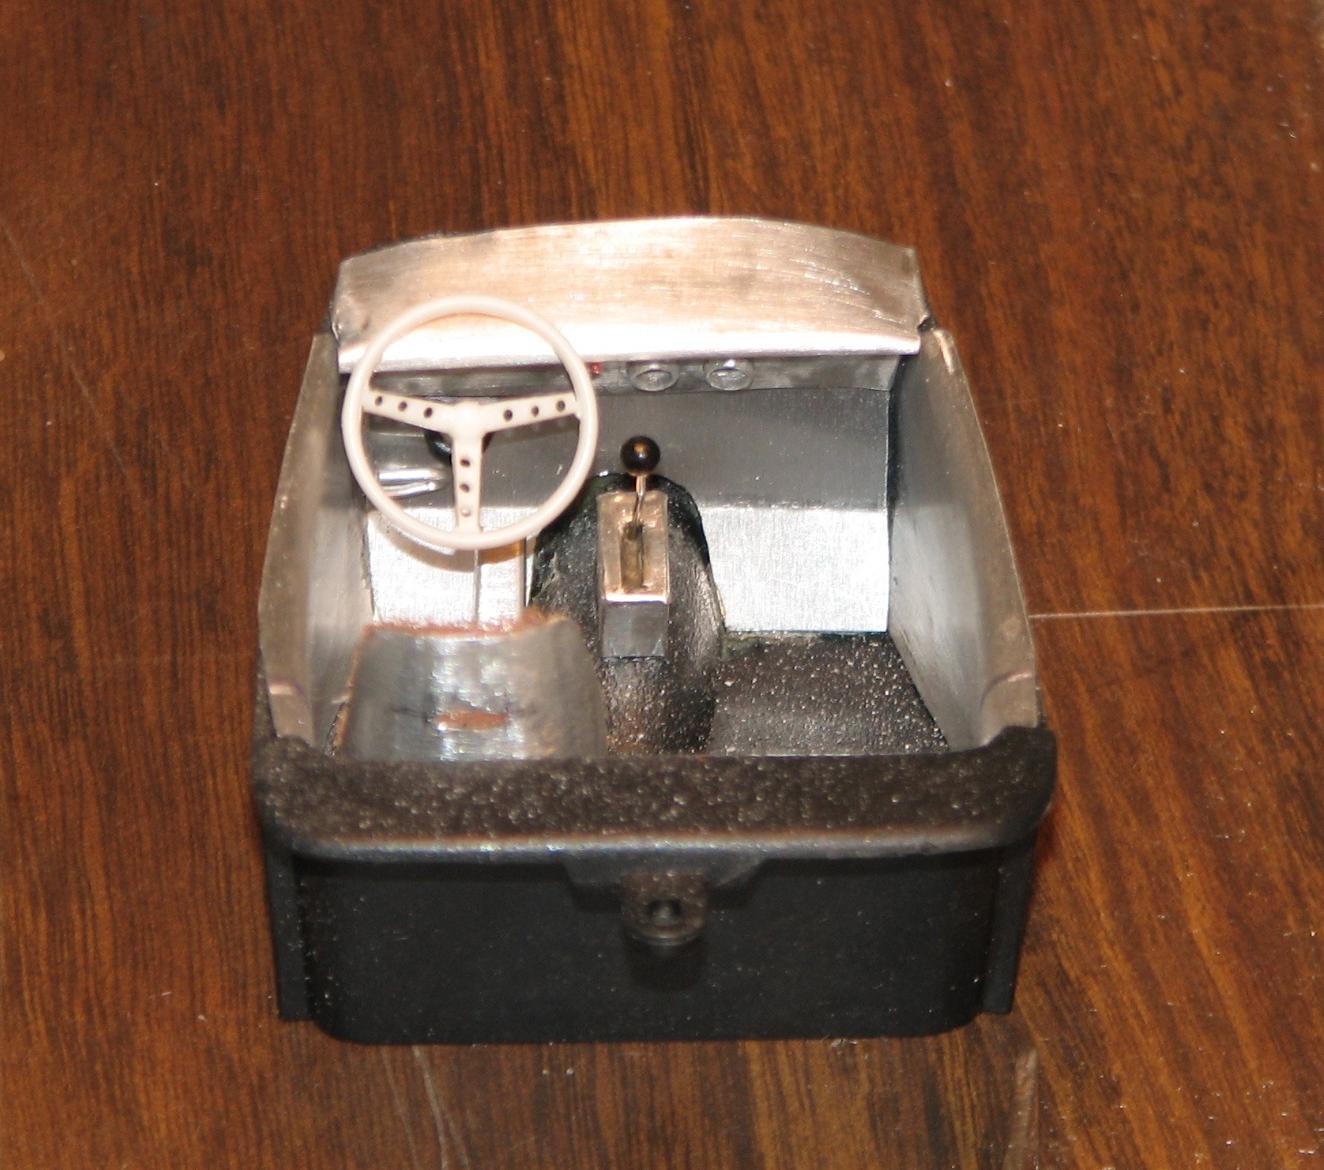
While the flashing is a little heavy (about .008", once the plastic coating is sanded off), whatever alloy it is, is perfect for creating compound curves, such as dragster cowls, once it's been annealed. I attempted the same with tooling aluminum, but, it doesn't form complex curves as readily. It tends to buckle, fold. Neither tooling aluminum or roaster pan aluminum feel really stiff/durable enough to build entire bodies with, although they do work nicely to create the odd panel, by burnishing them over a kit part. Tooling aluminum works wonderfully to make things like baby moons, and other plain hubcaps. I rubbed some down over the top of an air cleaner, and in the instance I was super-detailing one, I would definitely go that route. They all have their place, and each is better suited to some tasks, than others. The bottom line is, one can never have too many different materials! ? I skinned this vac-formed tank lakester with tooling aluminum. It was just a quickie build, but fun!
-
Aluminum flashing is what I have used, for years. I anneal it, if I need it softer, for more complex shapes. No need for that, for making panels, etc. It does have a thin plastic coating that needs to be sanded off,if you are going to anneal it. I made the scoop for my '34 with it, as well as the interior panels and dash. The body, seat bucket and firewall for my junior fueler. It's invaluable as a building material.
-
I'm enjoying watching these come together. Nice work, Karl!
-

Banjo Steering Wheel Question
Straightliner59 replied to Straightliner59's topic in Model Building Questions and Answers
Thank you, gentlemen! Your help is much appreciated! -

Banjo Steering Wheel Question
Straightliner59 posted a topic in Model Building Questions and Answers
Does anyone know who made this? I can't find the instructions. I am wondering where the little tabs go. -

Temorary glue.
Straightliner59 replied to porschercr's topic in Model Building Questions and Answers
Aleene's tacky glue is my choice. That's the stuff Snake displayed. Like he said, it's available at Walmart. It's also at virtually any craft store. -
Clearly, you don't know me! ? All kidding aside, thank you for your kind words. I'm not sure if I want to hang the pedals as they are stock, or devise some hot rodder's adaptation. Whichever way I go, I will make sure that it would work, in real life. I'm going to use a little "fruit jar" master cylinder. Your photos of your model's bellhousing/trans is very helpful! Thanks! Nice job with the clutch and brake pedal setup! Thanks for looking in, Jay.
-
Thanks, Paul! Yes, I don't want a rat rod, and I prefer the old stuff, to the high tech rods. Thanks for looking in!
-
Thank you, JC! I hope I can keep it rolling! It's time to start sorting out the pedals, and how I am going to mount them...
-
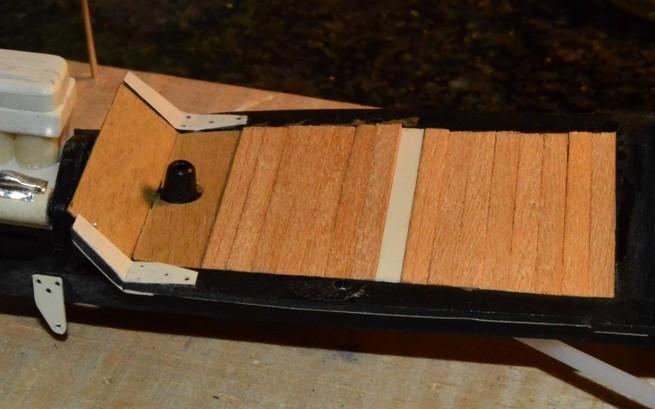
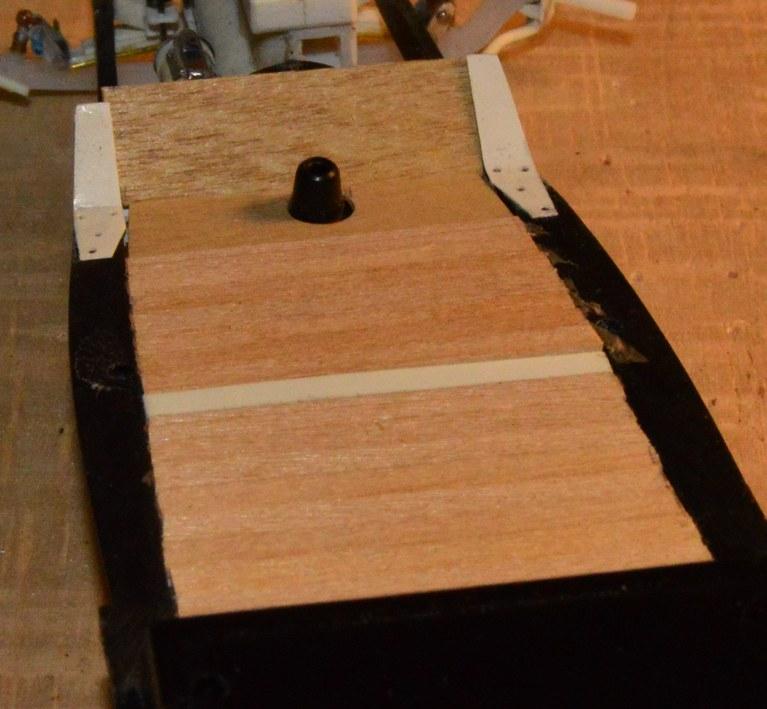
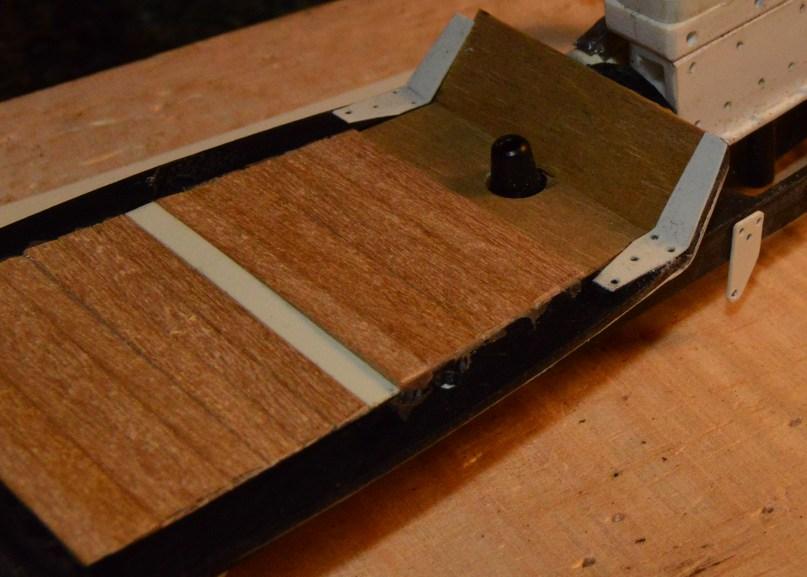
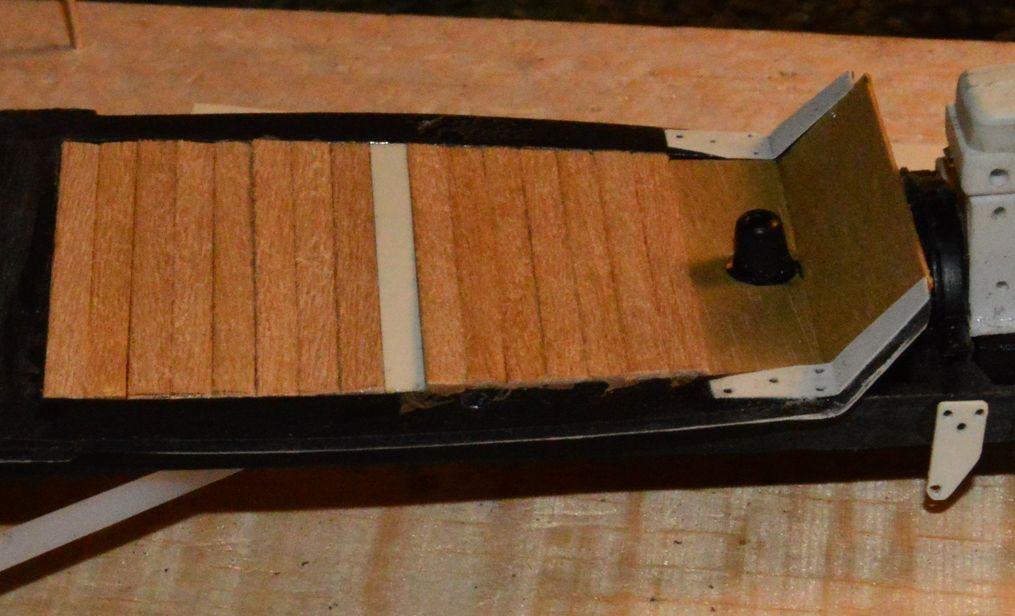
I got the toe-board made, along with the front section of floor. I couldn't figure a satisfactory way to fill the front floor area using the strips I made most of the floorboards from, because a couple of pieces would have no support, in the center of the chassis, due to the trans/shifter. I used .022" Midwest plywood to make the toe-board and the front floorboard. I think I will add another layer to the floorboard section.The toe-board will fit beautifully, once i have replaced the pedal hanger bracket. I'm pretty happy with it! Questions, comments and critiques always welcome!
-

"Bring Out Your Dead" Completion Build--ROUND 2 Is On!
Straightliner59 replied to Snake45's topic in WIP: Model Cars
It's just east of the International Date Line! ? -
Not since Logghe, Steffey and Rupp...that was one bad small block.
-

Model A Ford Starter Question
Straightliner59 replied to Straightliner59's topic in Model Building Questions and Answers
Thanks, Mark. I knew that was the stock type starter setup. Yeah, I'm not so fond of the alternator, on this one. I'll be using a generator, in case I want to race it at TROG! -

Model A Ford Starter Question
Straightliner59 replied to Straightliner59's topic in Model Building Questions and Answers
Thank you, Bill! That's the only way that I could figure, as to how it works. Thanks for confirming my suspicions! ? -

64 Dodge D100 Pickup Pro Street
Straightliner59 replied to AmericanMuscleFan's topic in WIP: Drag Racing Models
Super nice scratch work, Francis! Going to keep an eye on this one! -

Model A Ford Starter Question
Straightliner59 posted a topic in Model Building Questions and Answers
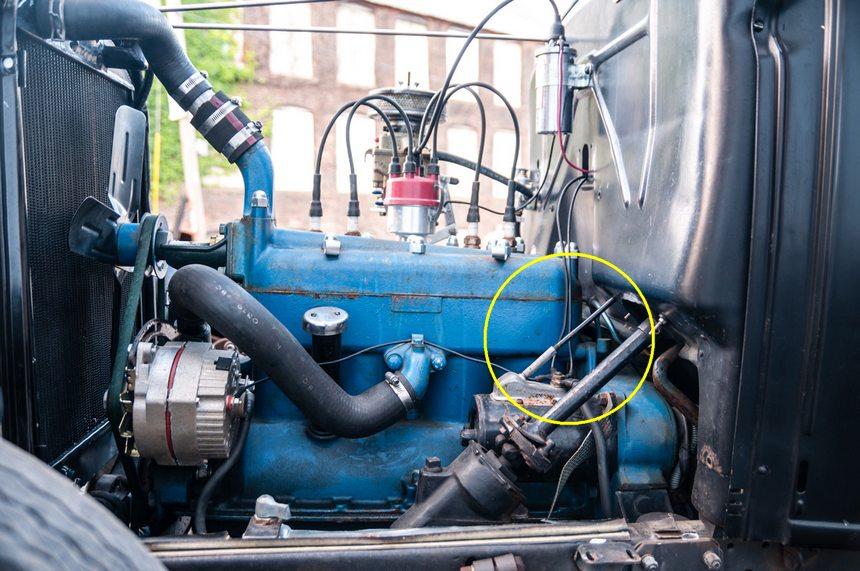
I am trying to sort this thing out, and I am having a time finding out exactly how this is set up. My best guess is that the rod, coming from the tube from the starter solenoid cover simply runs to the back side of the starter foot switch, and depresses a switch inside the housing, which actuates the starter. Does anyone know, for sure? I can't find text or photos that illustrate exactly how this works. Thanks for any advice! -
Thanks, Bob! Thanks for looking!
-
Thank you, much, Larry!
-
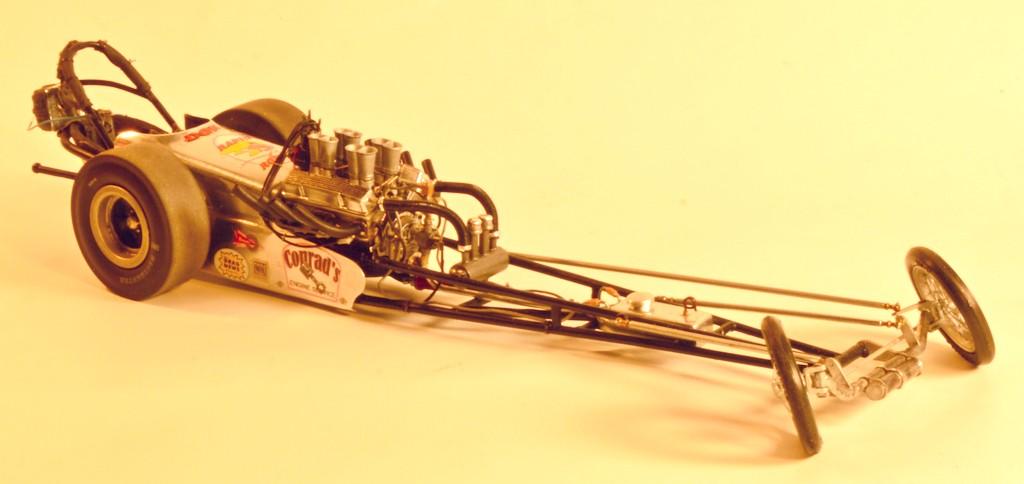
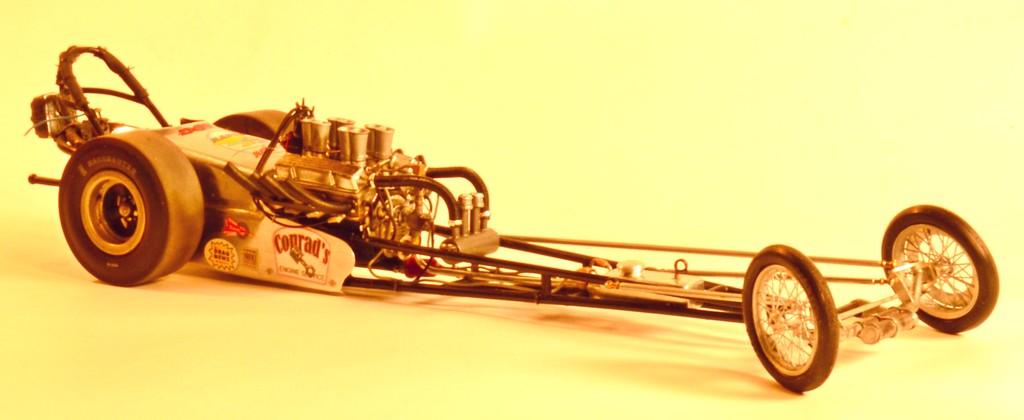
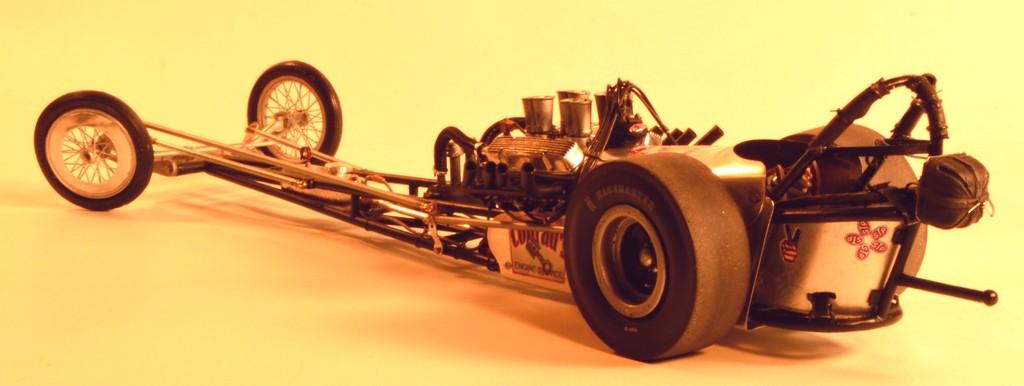
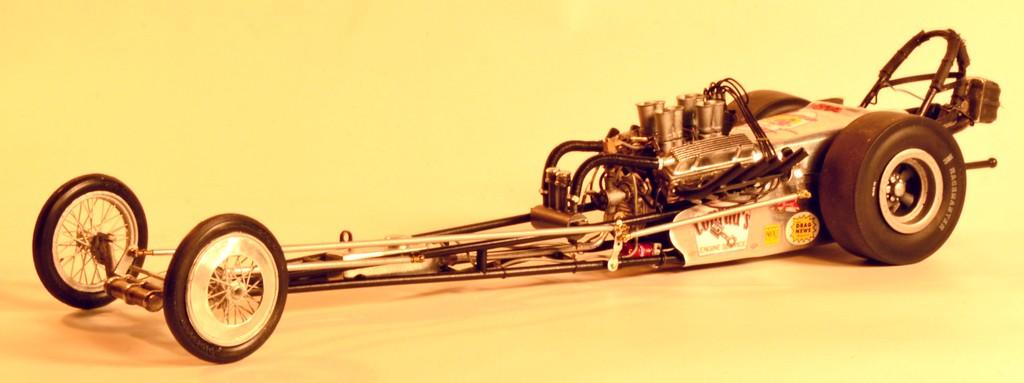
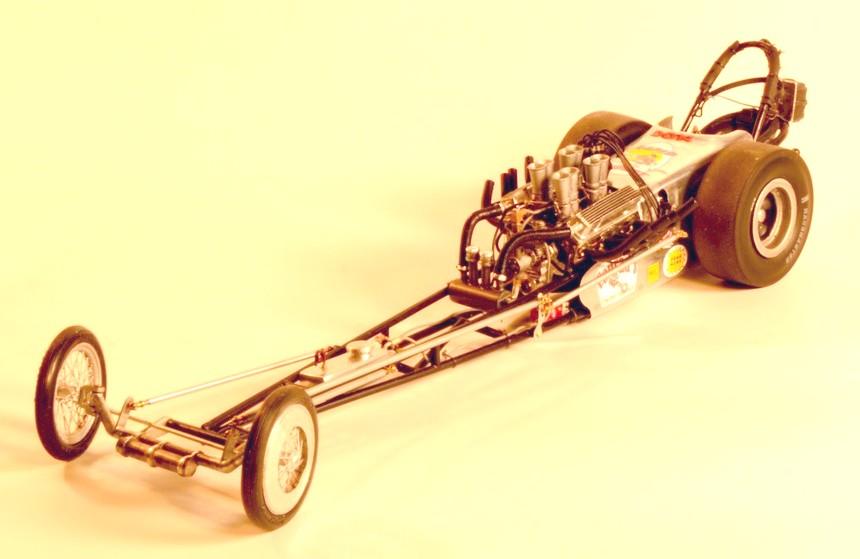
Thank you very much, Bruce! I appreciate that! It's nice to have it finished. One other new technique I used on this model was the front wheels, which are scratchbuilt using a fairly simple method I developed some years back, and had posted on the old StraightLineModeler website.
-
I finished one, this year. It was nearly 20 years, from the time I began work on it. I'm not worried about how many projects I complete (ya' think?! ?); What's most fun and satisfying, for me, is trying new techniques, and pushing the limits of the skills I have acquired, through the years. This model features my first real use of parts I scratchbuilt, then cast (the injector stacks), and my first all aluminum body. I am very happy, with it! The build thread is here:
-
Thank you, Alan. It looked to me to be the easiest way to make it look right! Thanks s0 much for your kind words. Thank you, Danno! It's been good, to get back to it!
-

"Bring Out Your Dead" Completion Build--ROUND 2 Is On!
Straightliner59 replied to Snake45's topic in WIP: Model Cars
That is sweet, Bernard! Those front wheels are beautiful. I may have to spring for a set of those. Congratulations on finishing it up!


