StevenGuthmiller
-
Posts
15,071 -
Joined
-
Last visited
Content Type
Profiles
Forums
Events
Gallery
Everything posted by StevenGuthmiller
-
I used 2 on the bottom, but one on the hinge and one on the firewall. I suppose that might provide better adhesion than one magnet on a metal sheet? Steve
-

"Polished" Stainless Steel Finish
StevenGuthmiller replied to 1972coronet's topic in Tips, Tricks, and Tutorials
I use Alclad in various finishes for all of my metal surfaces. Alclad carries a multitude of aluminum finishes, including "polished aluminum" which can be quite convincing if properly applied. Steve -
Check out this BMF.
StevenGuthmiller replied to Brutalform's topic in Model Building Questions and Answers
I've never had a sheet of foil wrinkle while in my possession. I keep mine in a file cabinet in my shop and have never had one display this phenomenon over time. I have however received sheets that have been wrinkled, and even bought one at a hobby shop that appeared unblemished through the tiny window, but I found it to be wrinkled when I removed it from the sleeve. As stated by some above, it's an unfortunate circumstance, and I agree that in most instances the wrinkled areas are un-usable because they inevitably crack, but the remainder of the sheet is perfectly serviceable. I don't think that circumstances like this are truly avoidable. It's just the nature of the beast. But much like a bad can of spray paint, which I have encountered much more often than a bad sheet of foil, it's just something that you have to deal with on occasion. Steve -
Airbrush thoughts?
StevenGuthmiller replied to Jonathan's topic in Model Building Questions and Answers
I really like my "Creos PS-290". Works really nicely for large areas like bodies because it includes a wide pattern "fan spray" nozzle. Plus the "trigger" is a really nice feature. I believe that I spent a little over $100.00 for the set. Steve -
'49 Cadillac by J&J Resin
StevenGuthmiller replied to avidinha's topic in Car Aftermarket / Resin / 3D Printed
Just out of curiosity, I have to ask. Does a stock body for the Foose kit do any good when there is little else in the Revell kit that's stock? Steve -
I painted over the magnets on my '64 with no adverse affects. The magnets appear to be strong enough to function very well regardless. Although on my project, they only had a single coat of paint over them. My local Hobby Lobby carries K&S products. I'll definitely check to see what they carry for metal strips the next time I'm in. I'll also check on the smaller magnets that you used. Mine are 1/8th inch, by 1/32nd. Steve
-
Thanks for the recognition Bob, and as is usually the case, the collaboration of ideas produces advancements. I like your idea of using the metal strips on the under side of the hood! That could possibly save me the hassle of building the "slide in" bracket and channel system that I used on my '64 Pontiac on my next project. Great idea! Steve
-
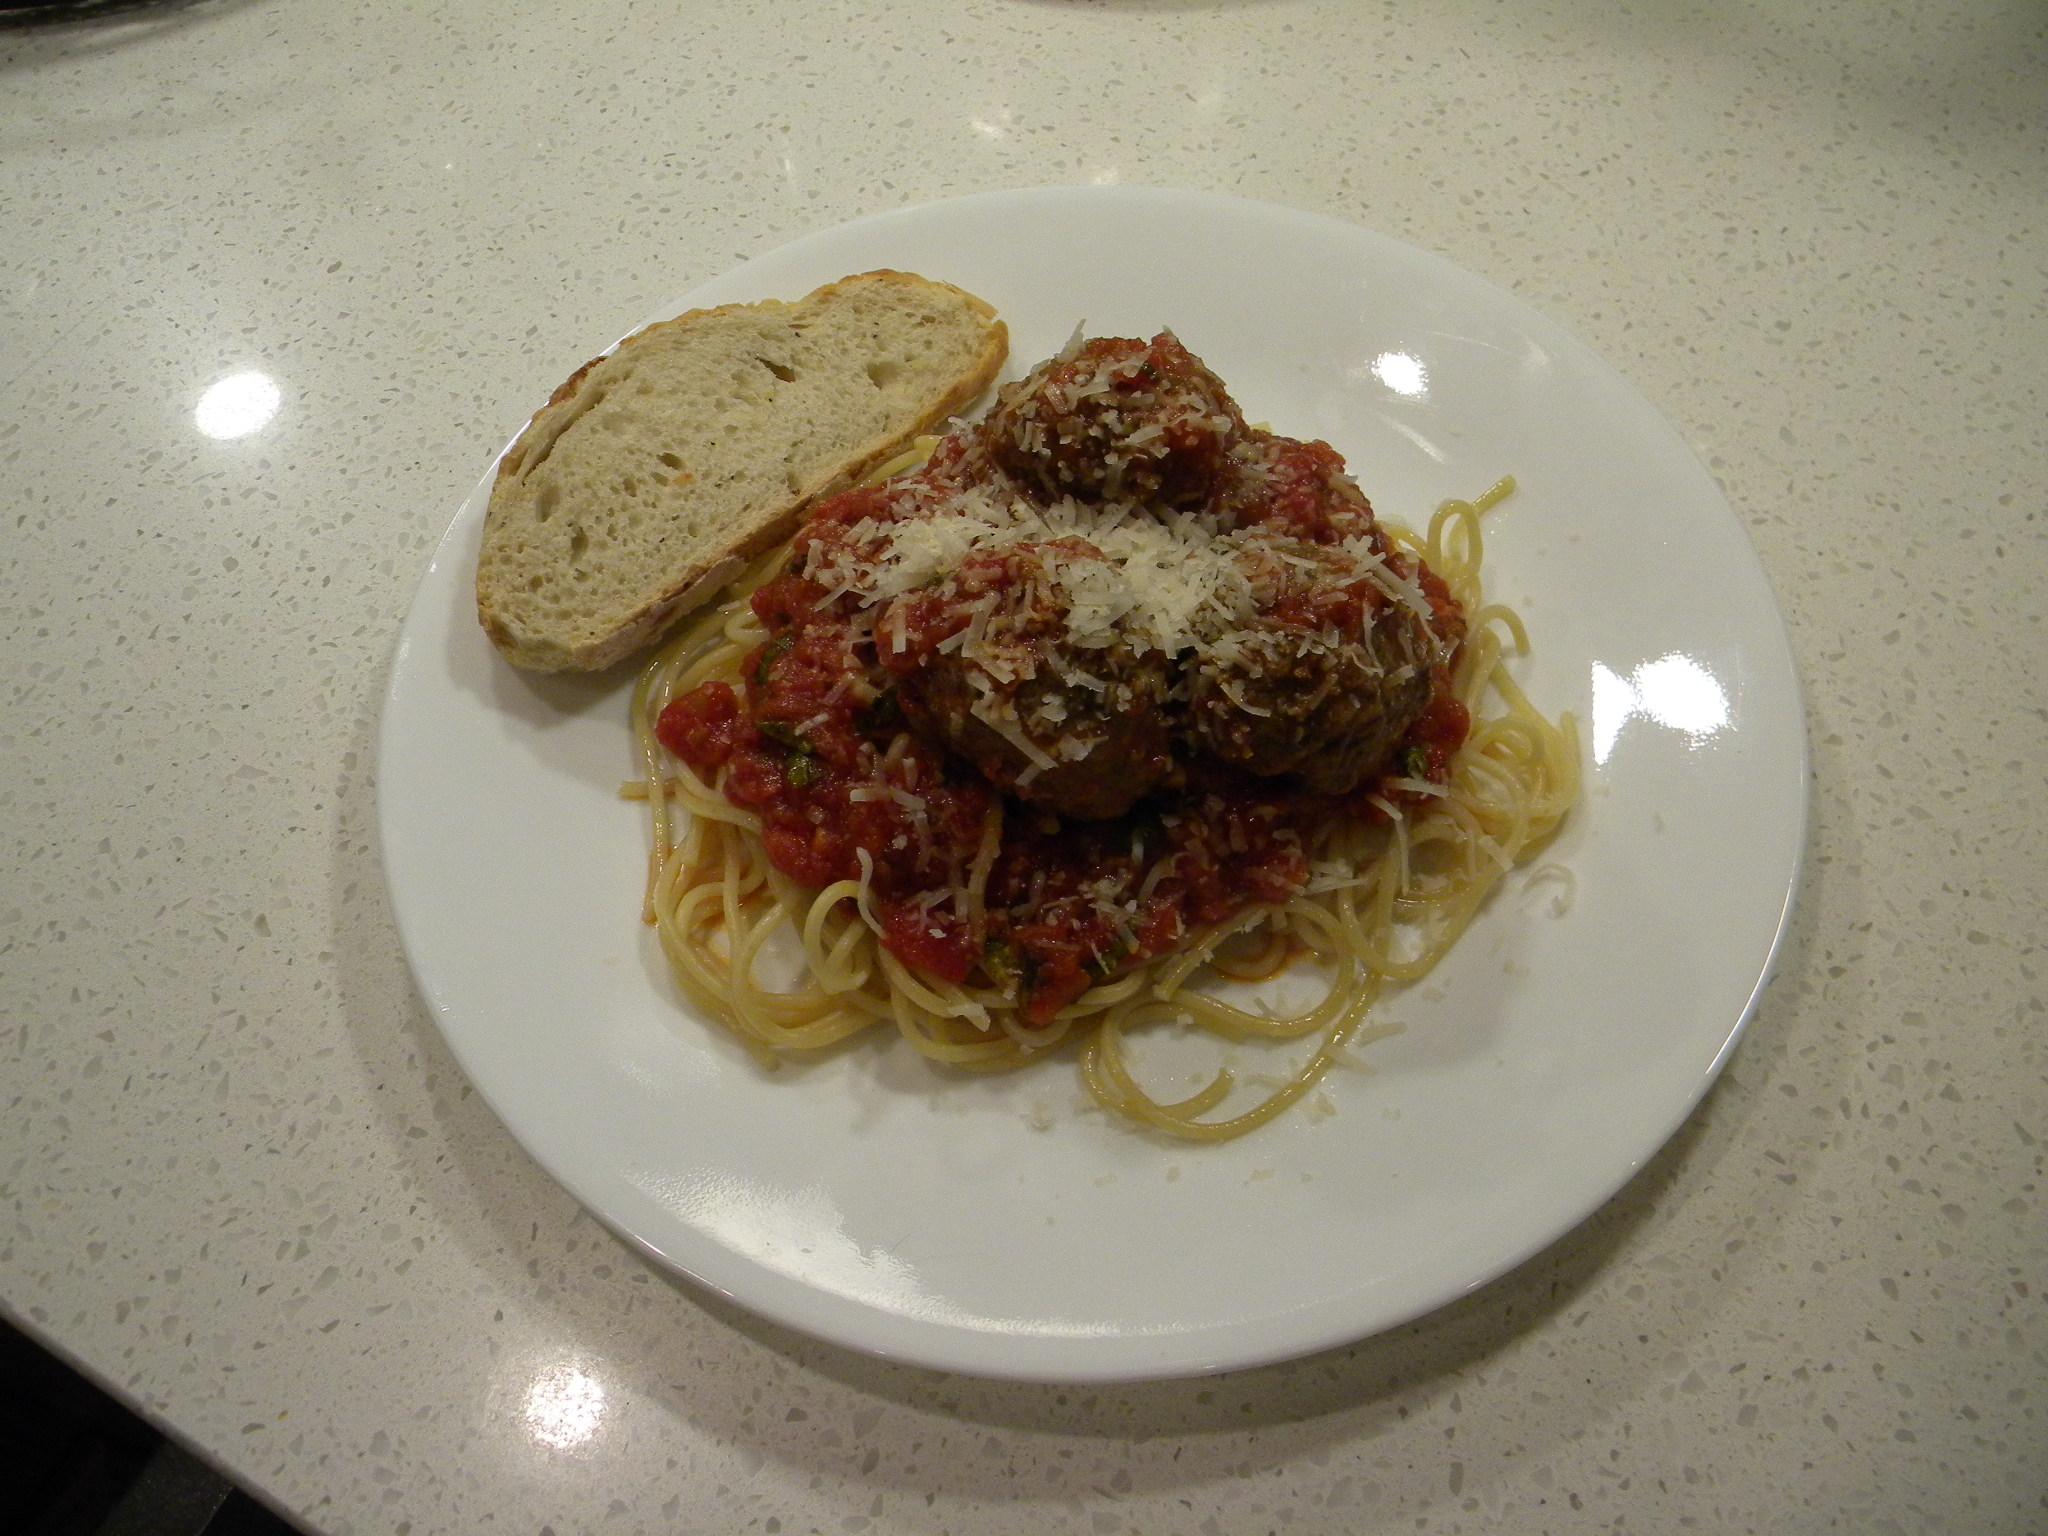
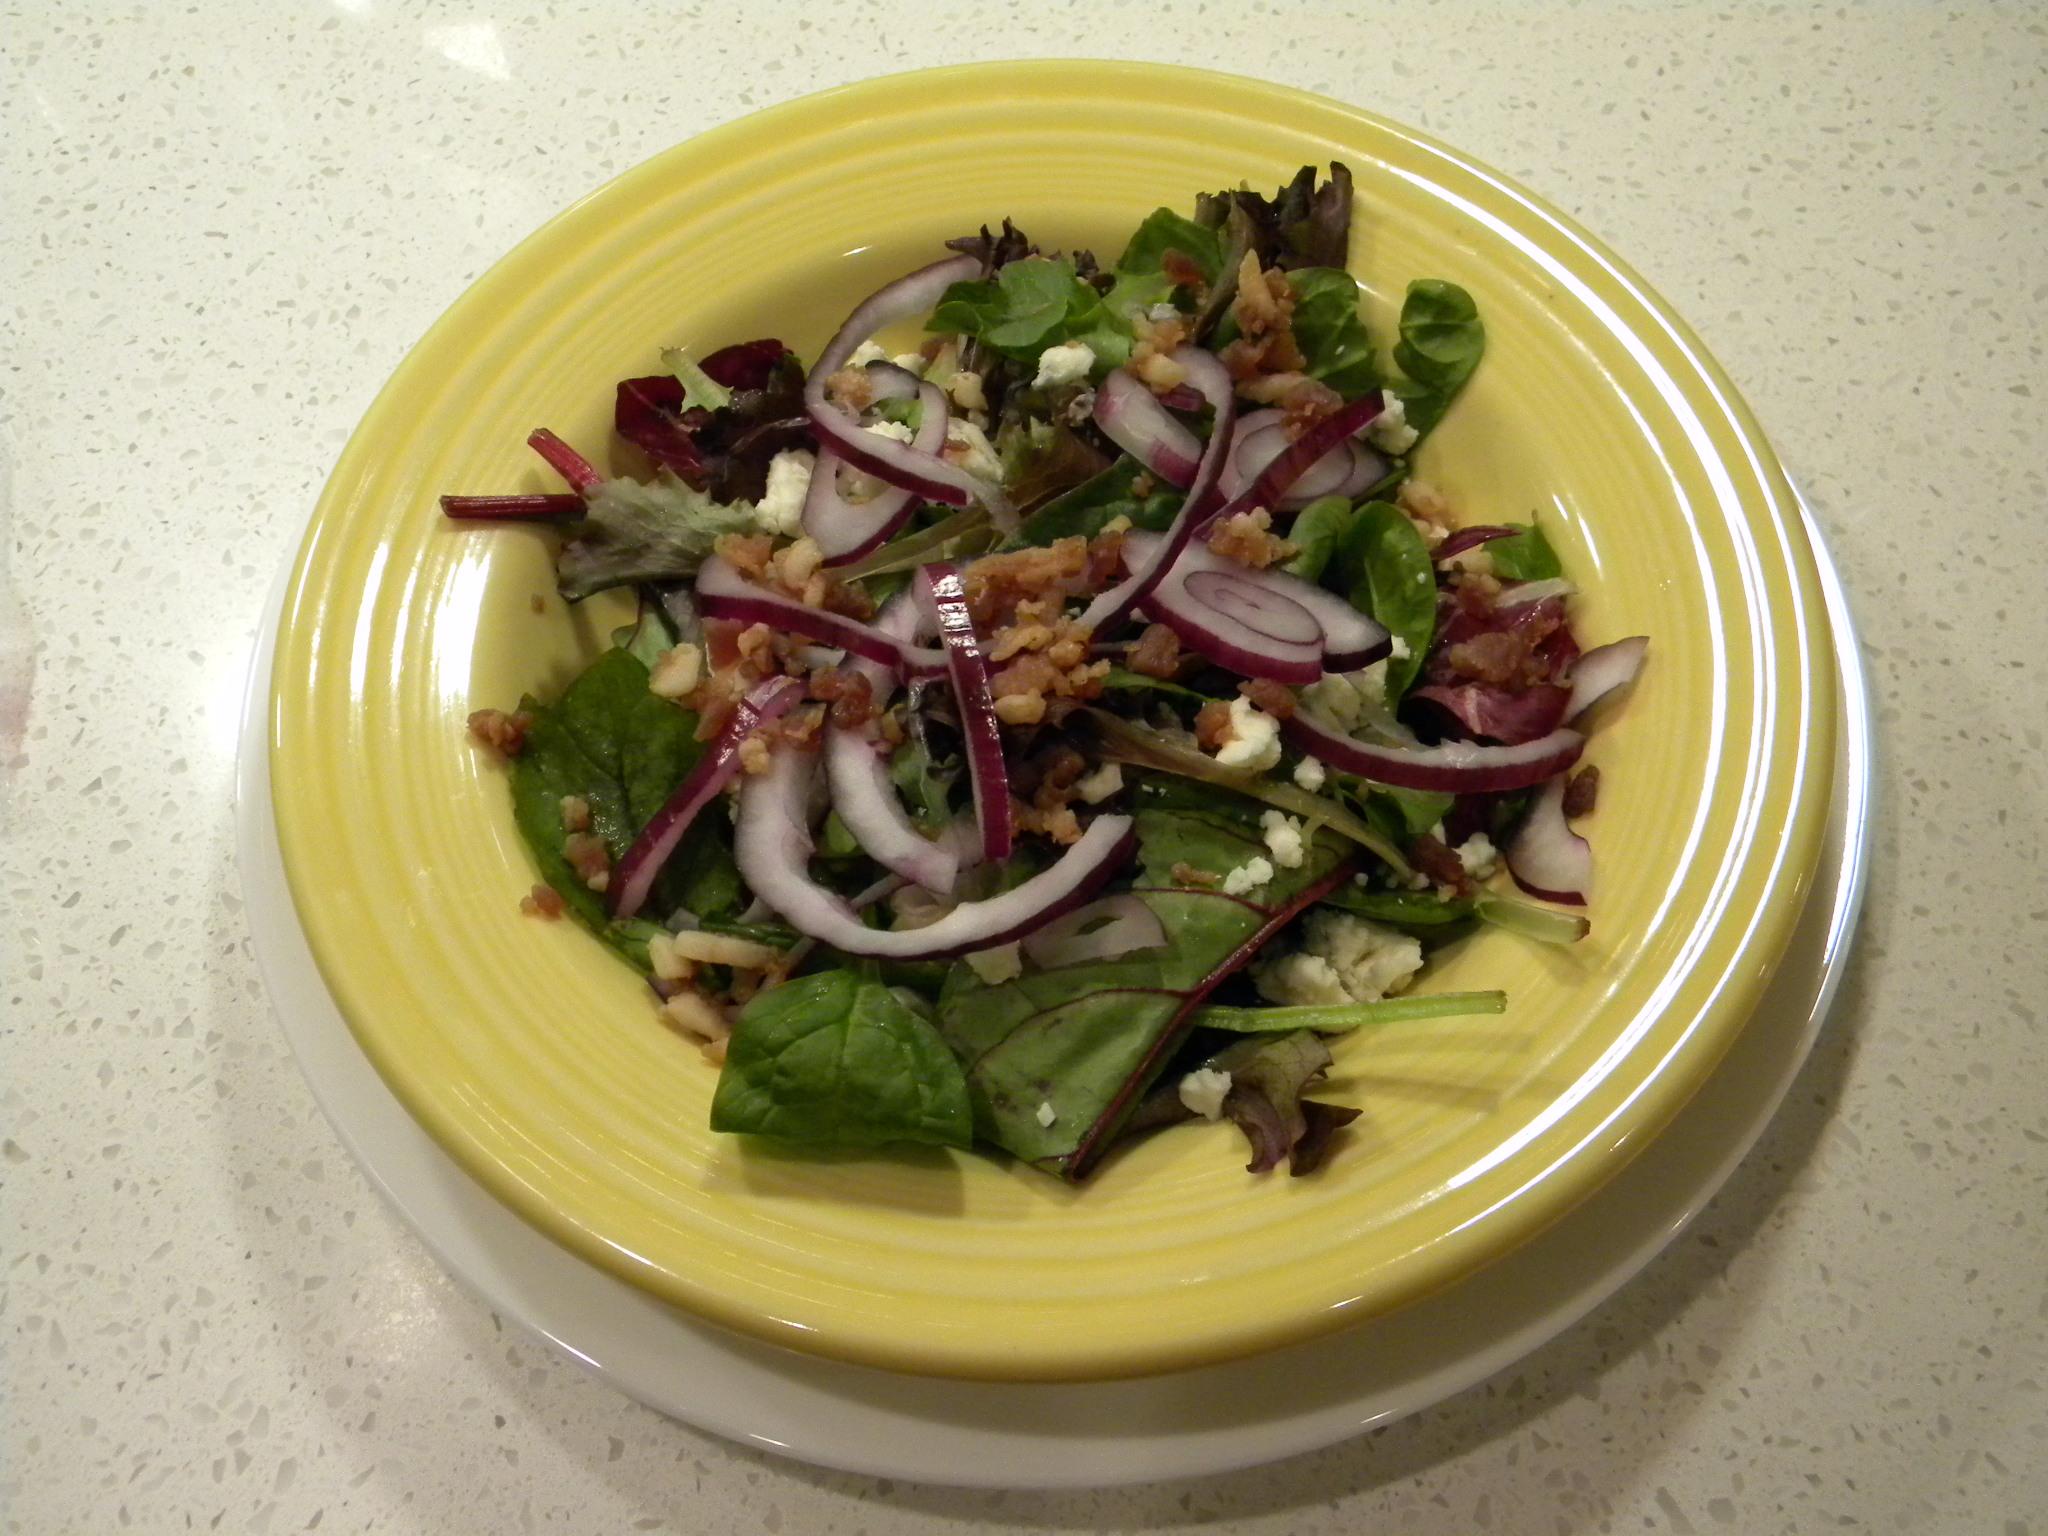
What Did You Have for Dinner?
StevenGuthmiller replied to StevenGuthmiller's topic in The Off-Topic Lounge
Tonight it was "Fat Peter Clemenza's" red sauce with spaghetti and a mixed green salad with red onion, blue cheese and bacon with Asian sesame dressing. "Come over here kid, learn something. You never know, you might have to cook for 20 guys someday. You see, you start with a little bit of oil. Then you fry some garlic. Then you throw in some tomatoes, some tomato paste, you fry it, you make sure it doesn't stick. You get it to a boil. You shove in all your sausage and your meatballs. Eh?.....add a little bit of wine....and a little bit of sugar....and that's my trick". No sausage tonight, but who needs it when you have homemade meatballs. Steve
-
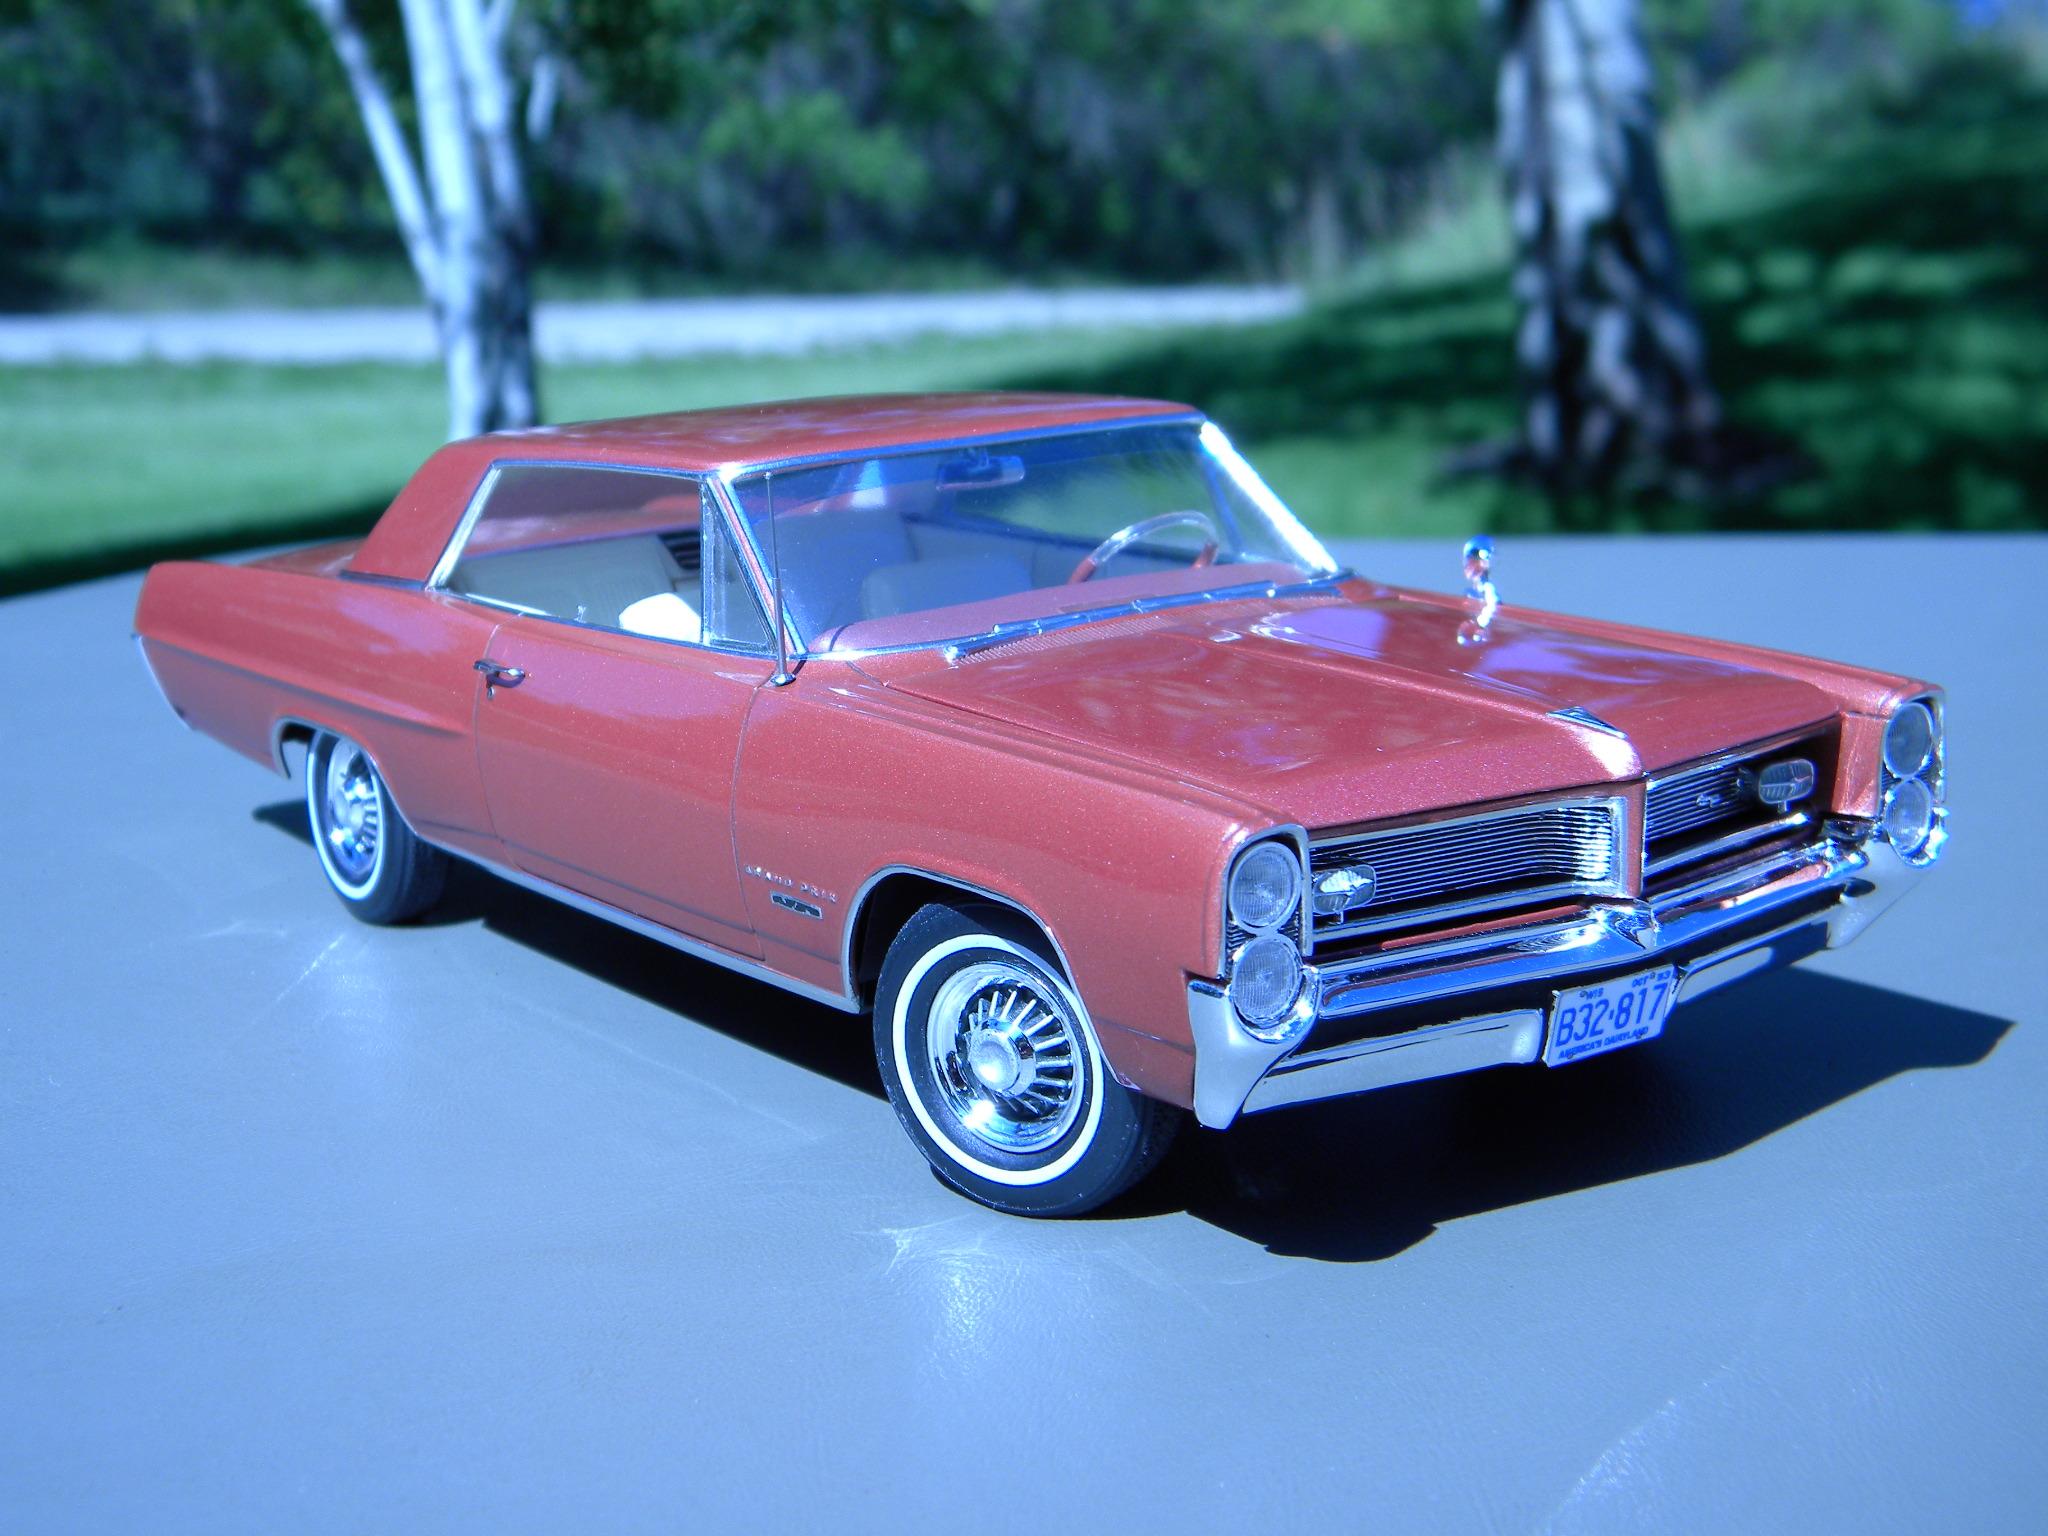
I'm guessing that you saw my finished '64 Grand Prix build that I referenced early in this thread. I really liked how the color came out! The color came from Scale Finishes. Steve
-
I'll take the Bonneville! Steve
-
I have to agree. In the model kit world, you basically have two options. Do I want to hold out some kind of hope that someone is going to re-pop a particular kit that I want sometime within the next 30 years, (hopefully before I'm dead), or do I want to be realistic and realize that I'm going to most likely have to bite the bullet and shell out a little cash if I really want it. Steve
-
67 Impala hubcaps?
StevenGuthmiller replied to SCRWDRVR's topic in Model Building Questions and Answers
The Biscayne caps look a lot like the Camaro caps I posted above from Fireball Modelworks. I will probably never build one of these 4 door Impala kits, but if I did, I would be using the Fireball caps. Steve -
Check out this BMF.
StevenGuthmiller replied to Brutalform's topic in Model Building Questions and Answers
Ordering directly from BMF is no guarantee that you will not encounter issues. They don't reserve anything special for their own distribution. It's all the same stuff. The only possible advantage is that it "might" be fresher than something that's been sitting on a hobby shop's shelves for some time, and it's most likely advantageous if it hasn't been exposed to too many environmental variations or too much handling during shipping, but there is no assurance that it will not encounter adverse conditions coming right from BMF either. Concurrently, there is a very low probability that issues such as low adhesion or a cracked or "bumpy" sheet is any less likely coming directly from the company. All that you can do is find a vendor that you trust and go with it. I order all of my BMF from Amazon and have seen no discernible difference in quality than ordering direct. It's a shot in the dark under any circumstance. At least ordering through Amazon carries the bonus of knowing that I'll have my foil in hand in a few days. Steve -
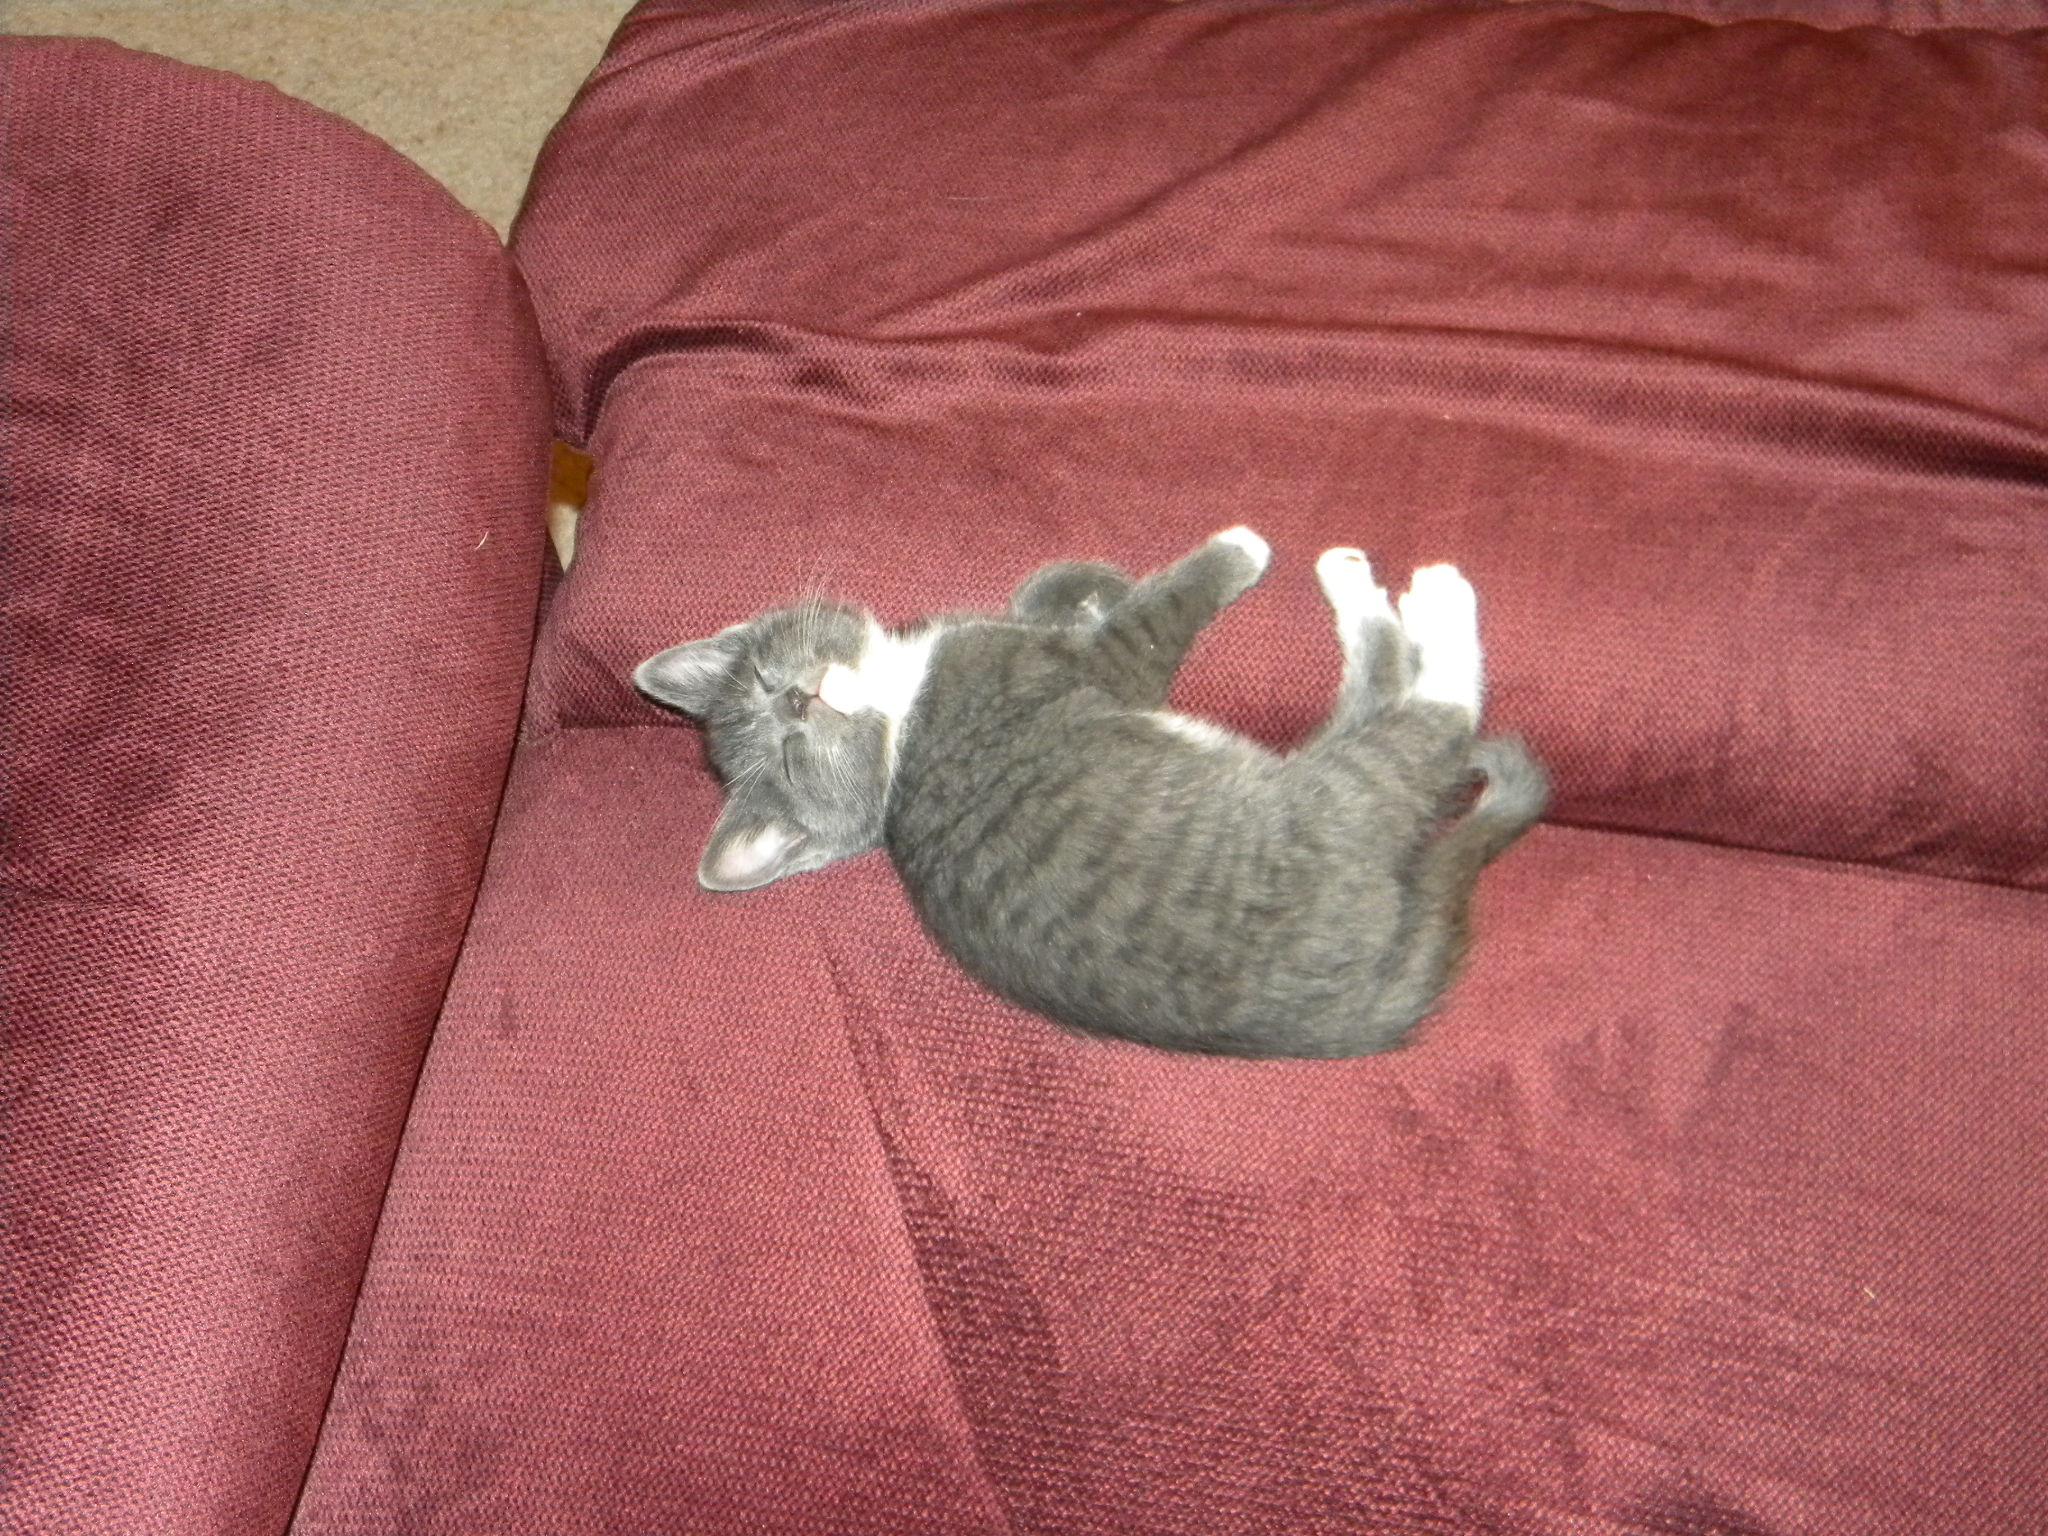
What Did You Get Today? (Not Model Related)
StevenGuthmiller replied to LOBBS's topic in The Off-Topic Lounge
We lost our feline friend of fifteen years, Lucy, almost a month ago. Yesterday we brought home her predecessor Marcy. 1.4 pounds of piss and vinegar! Steve
-
67 Impala hubcaps?
StevenGuthmiller replied to SCRWDRVR's topic in Model Building Questions and Answers
I'm not sure, but were the '67 full sized chevy poverty caps the same as Camaro? If so, Fireball Modelworks has the answer. Steve -
Car from early 30s paintim
StevenGuthmiller replied to youpey's topic in General Automotive Talk (Trucks and Cars)
I'm no expert, but I would expect that a '32 Chrysler Imperial LeBaron would have had pretty nice paint from the factory. It was a pretty high end machine right up there with a Cadillac, Lincoln or Duesenberg. A good majority of these luxury cars from this period were hand built, and were meticulously done. Certainly not on the same level as a Ford or Chevy. Steve -
What Did You Have for Dinner?
StevenGuthmiller replied to StevenGuthmiller's topic in The Off-Topic Lounge
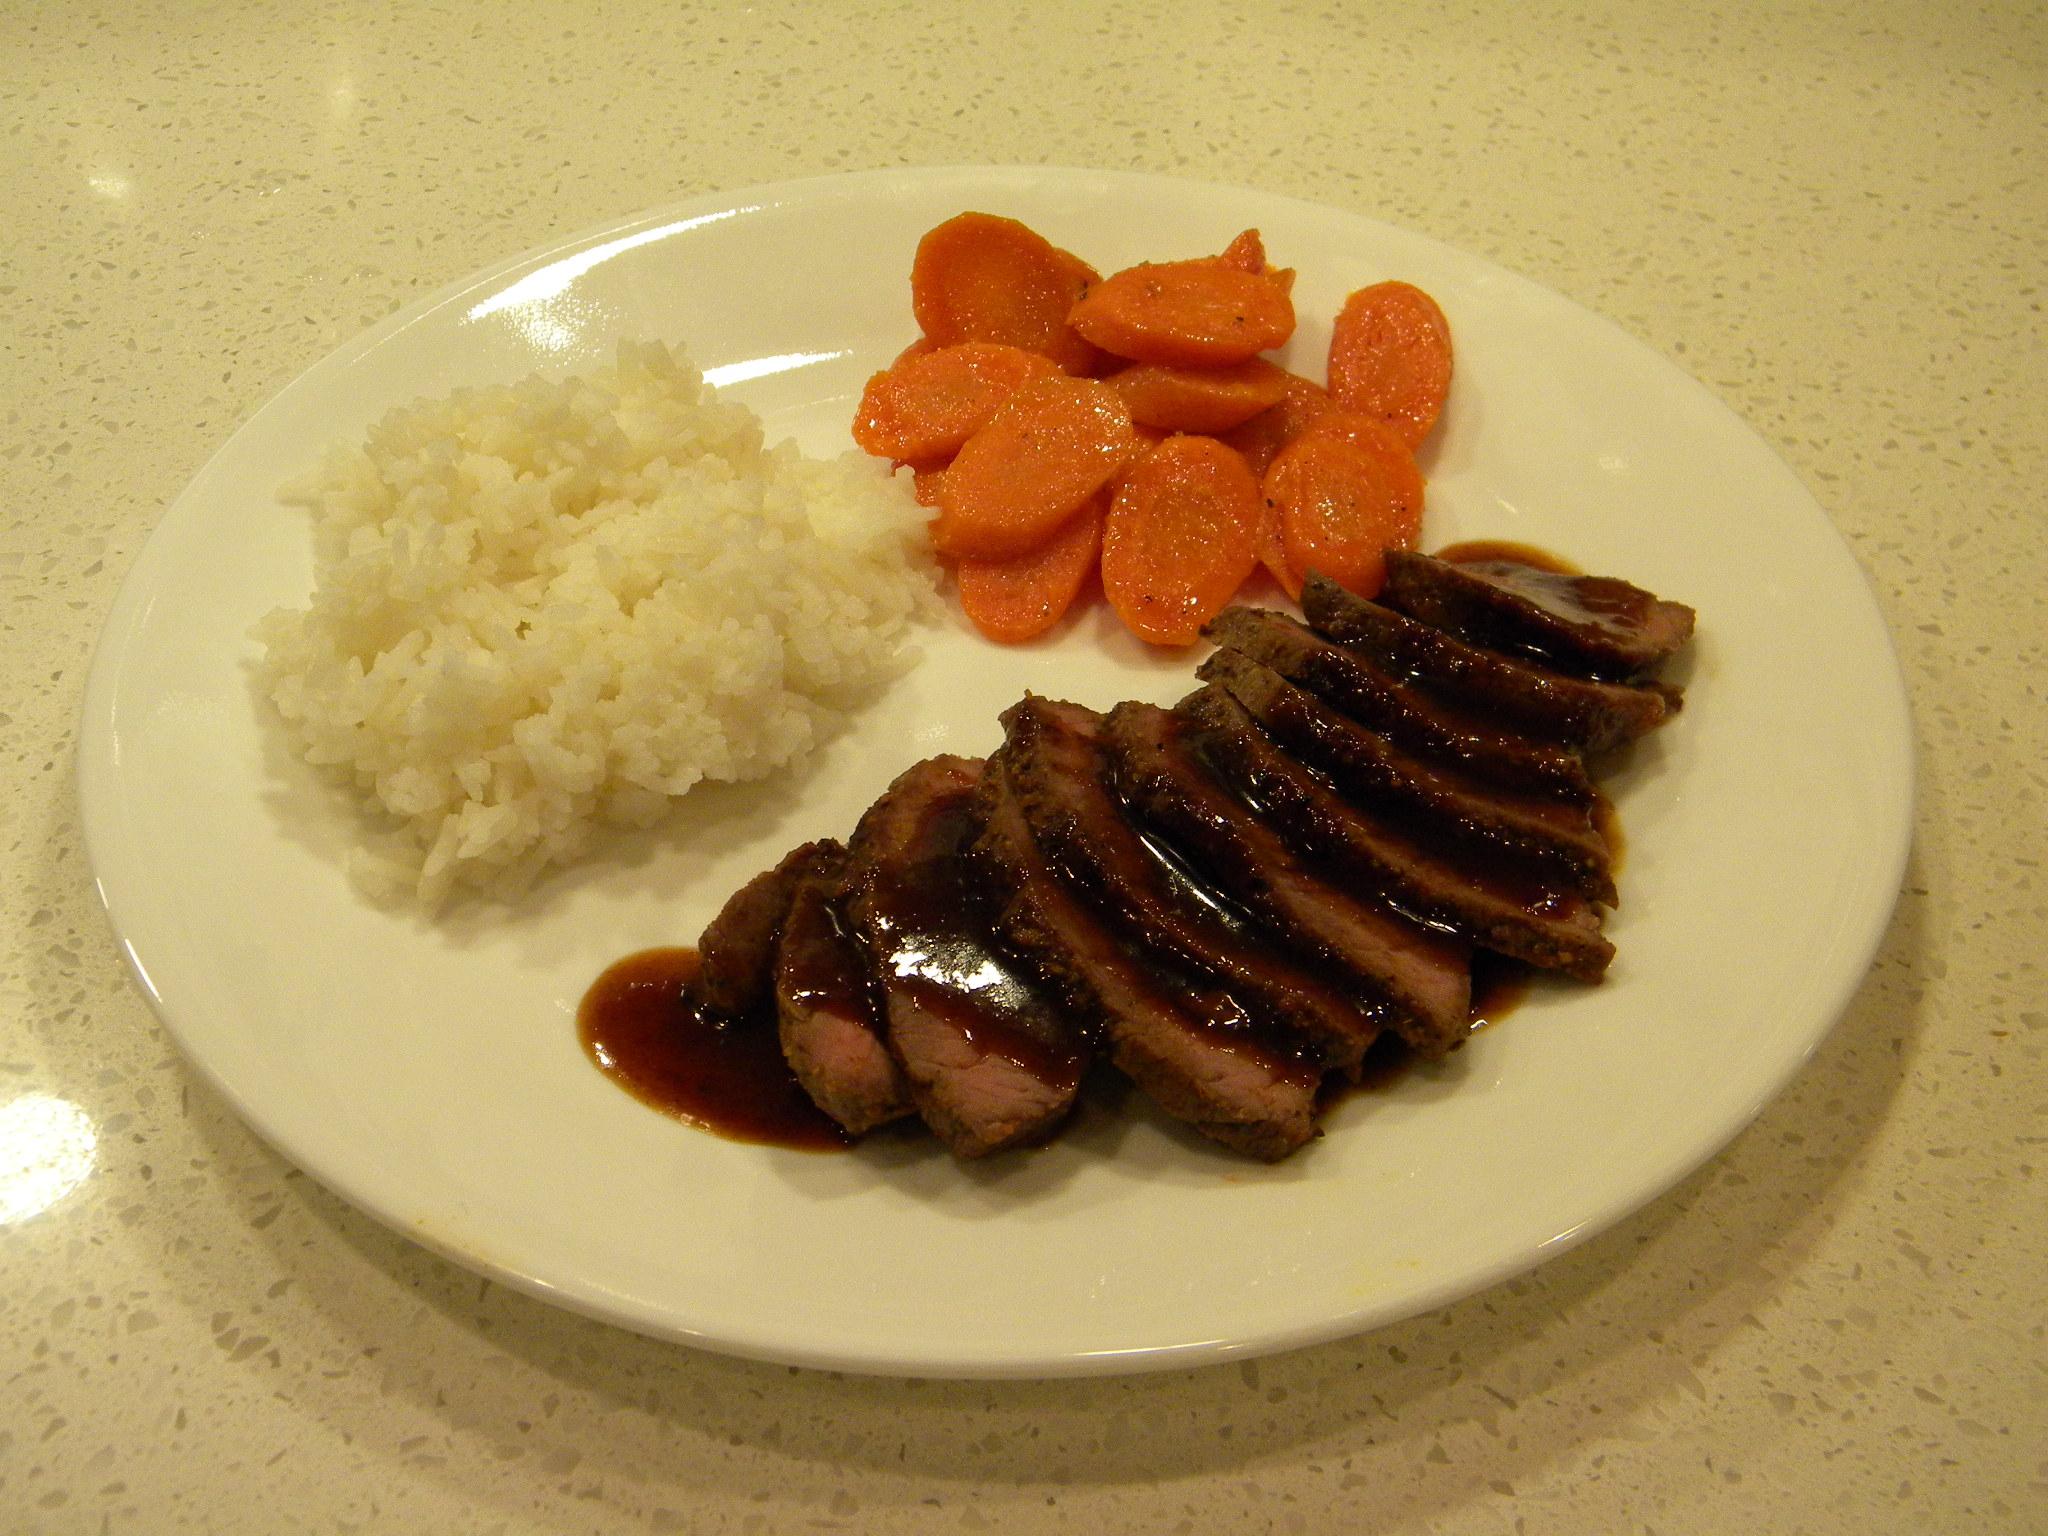
Japanese Sirloin Steaks with Mirin Demi-Glace, Buttery Glazed Carrots and Jasmine Rice. Steve
-
Not a big fan, so this is a guess, but I'll say "Kill Bill". One of the Kill Bill movies anyway. Steve
-
Issue 207 Is In the House!!!
StevenGuthmiller replied to Danno's topic in General Automotive Talk (Trucks and Cars)
Isn't it funny how things in life can turn around 180 degrees in no time at all. It was just a few short weeks ago when I was still reading posts on the SA forum about how the members there were so happy that "their" magazine was still around, accompanied by a considerable amount of "dissing" of MCW with their view of the handling of the mag. Now SA is gone forever, and MCM is beginning it's return. Maybe a little bit of poetic justice? Steve -
"Charging a man with murder in this place was like handing out speeding tickets in the Indy 500." Steve
-
Scarface! Steve
-
Not the same color. The '68 in that thread is "Cinnamon Bronze". Steve
-
I agree. I really have a soft spot for Patsy Cline. Steve
-
Okay. Granted. But I can post others if you would like. Steve
-
I might buy that if it weren't for the fact that others have done it before them with no issues whatsoever. The guys that put on the "Desert scale Classic" did an exemplary job. Just because one group screwed up doesn't mean that everyone else will follow suite. Maybe, just maybe, others can learn from this mistake and not repeat it! Steve