-
Posts
15,083 -
Joined
-
Last visited
Content Type
Profiles
Forums
Events
Gallery
Everything posted by StevenGuthmiller
-
I can attest to that. My '67 Galaxie kit was exactly the same. I re-chromed some of the parts, but left some dull as they seemed to do a very good job of representing stainless steel, like the hubcaps. Steve
-

Painting help needed.
StevenGuthmiller replied to James Maynard's topic in Model Building Questions and Answers
That is likely "crazing" which is not actually the paint wrinkling, but the plastic wrinkling, due to a hot paint like an automotive lacquer being shot over a styrene surface that was not properly prepared to accept it. Paint wrinkling is usually a result of incompatible paints being sprayed over the top of one and other. Steve -
Excellent work Bob!! Exactly The kind of workmanship that I would be proud to have in my collection! There are several talents that I pay great attention to on the boards, and you are absolutely one of the top! I'm excited to see what you're next project will be! Steve
-

What Did You Have for Dinner?
StevenGuthmiller replied to StevenGuthmiller's topic in The Off-Topic Lounge
Been on a bit of a steak kick lately. Sirloins with a red pepper sauce and roasted red potatoes and asparagus. On Mother's Day, we threw a couple of strip steaks and some potatoes with onions on the grill. Steve -
I appreciate the "niche" that Steve has provided on his board. Call it what you want, the vast majority of what is showcased there interests people like me with those particular narrower interests. I have never even visited half of the sections provided on this forum. If you prefer, maybe you could just refer to it as "streamlined". Steve
-
I don't have an issue with it as long as the site retains the ability to "edit" topics and posts. It wouldn't work at all here because without the ability to edit the subject line and let people know that the build is finished, nobody would ever know. Steve
-

AMT kits with automatic transmissions
StevenGuthmiller replied to porschercr's topic in Model Building Questions and Answers
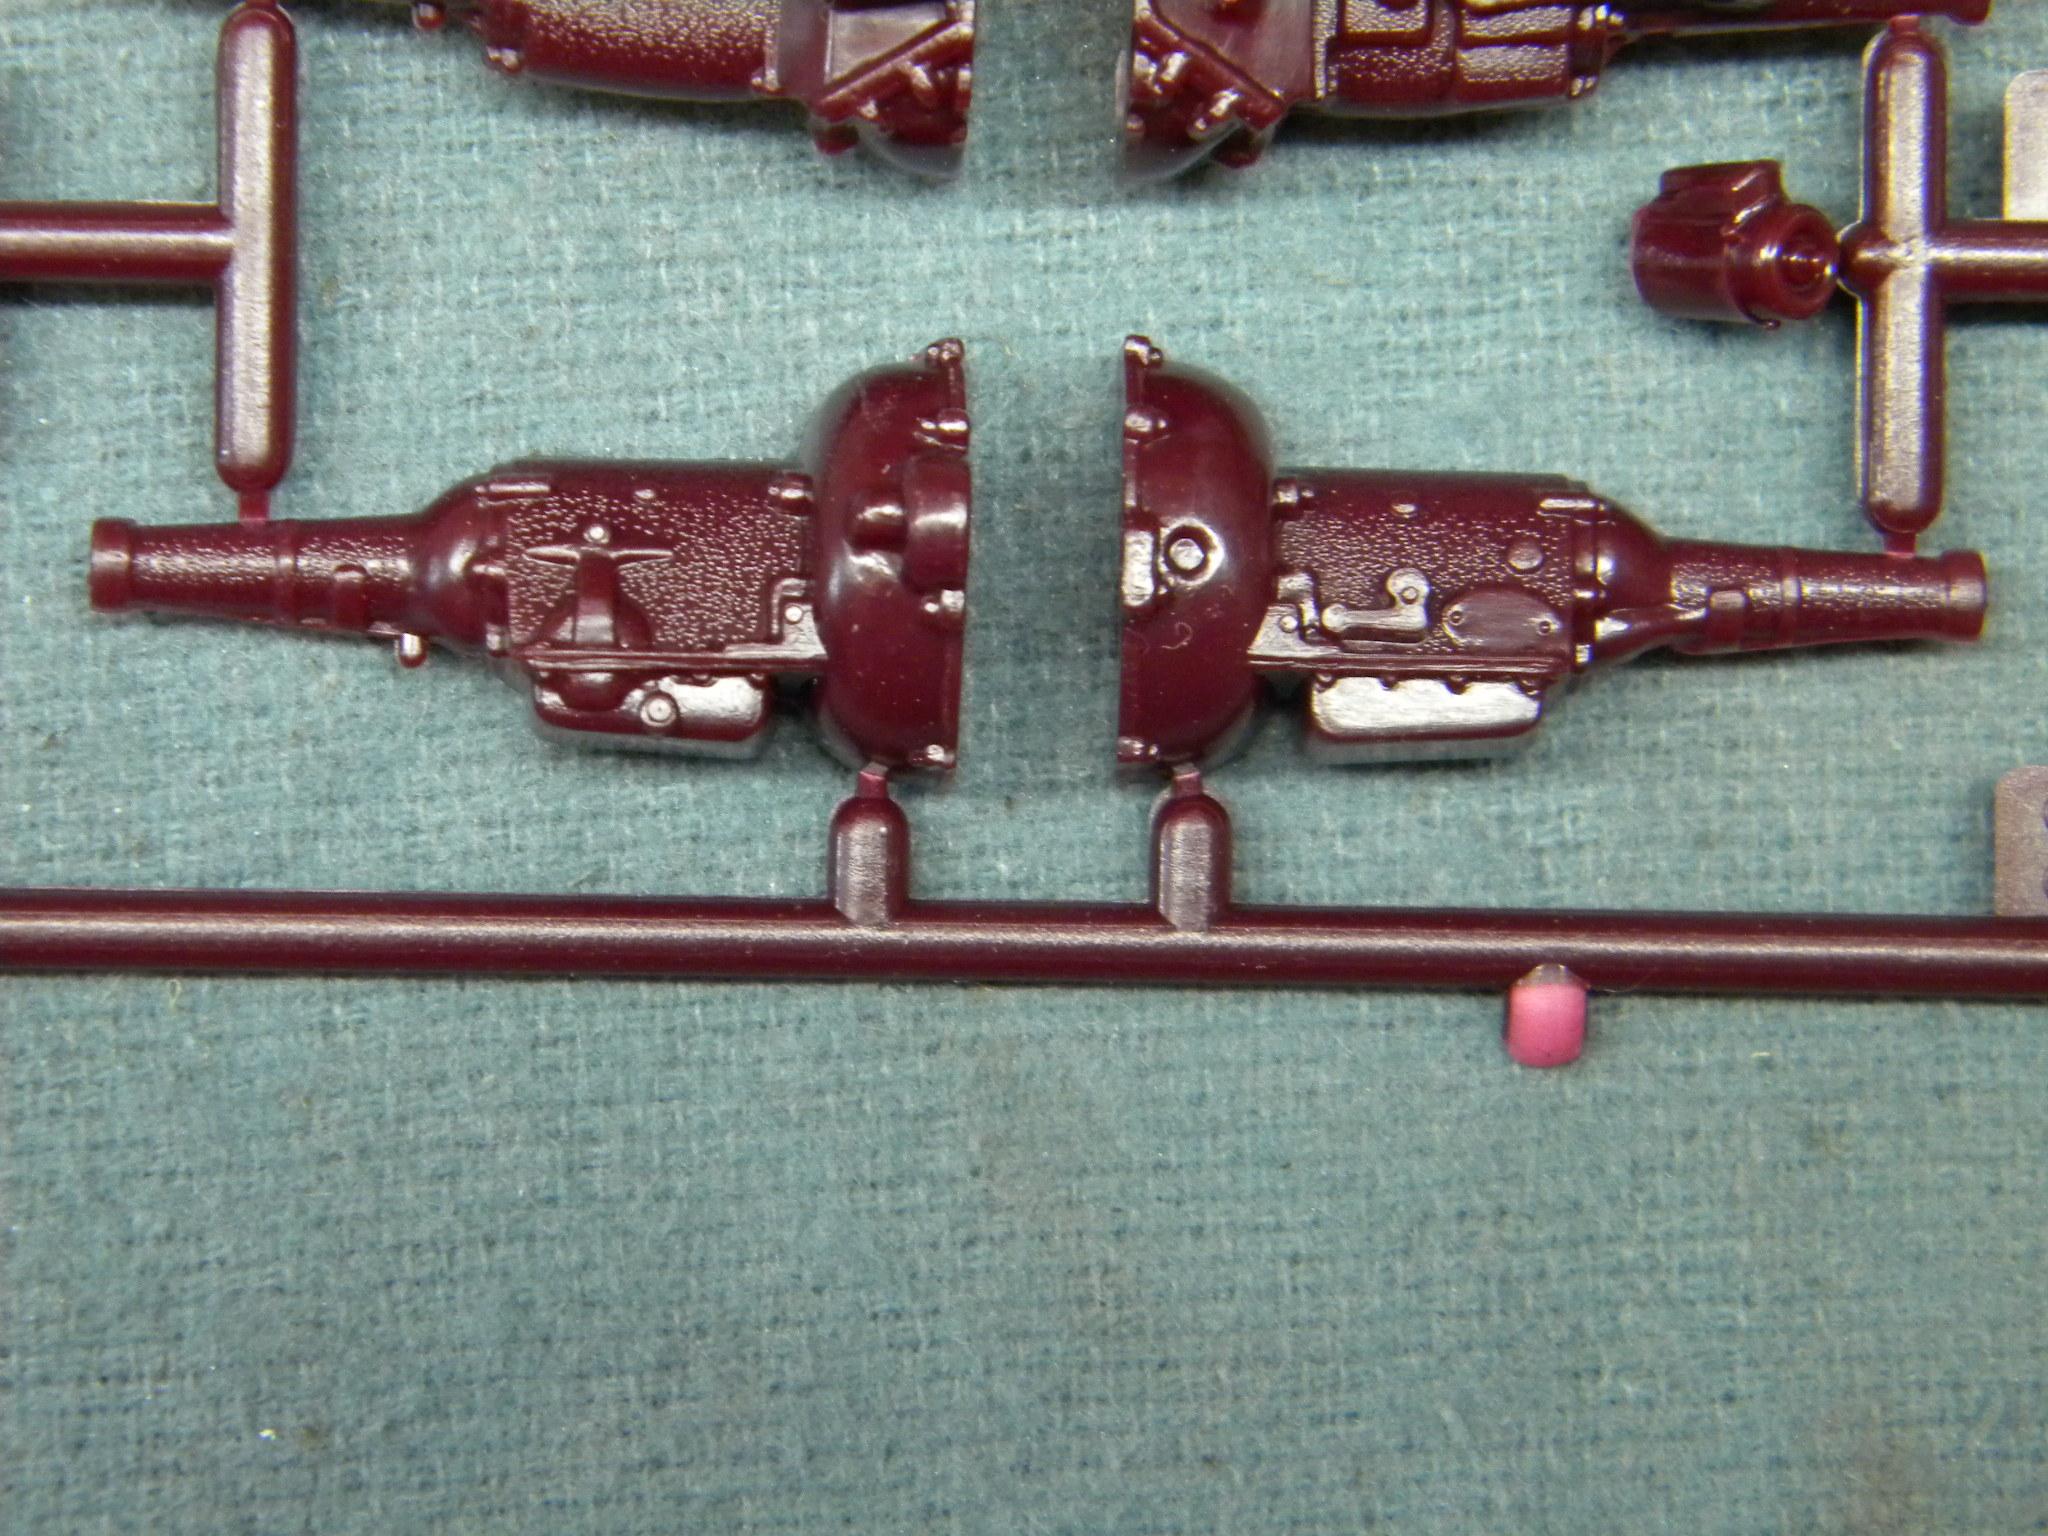
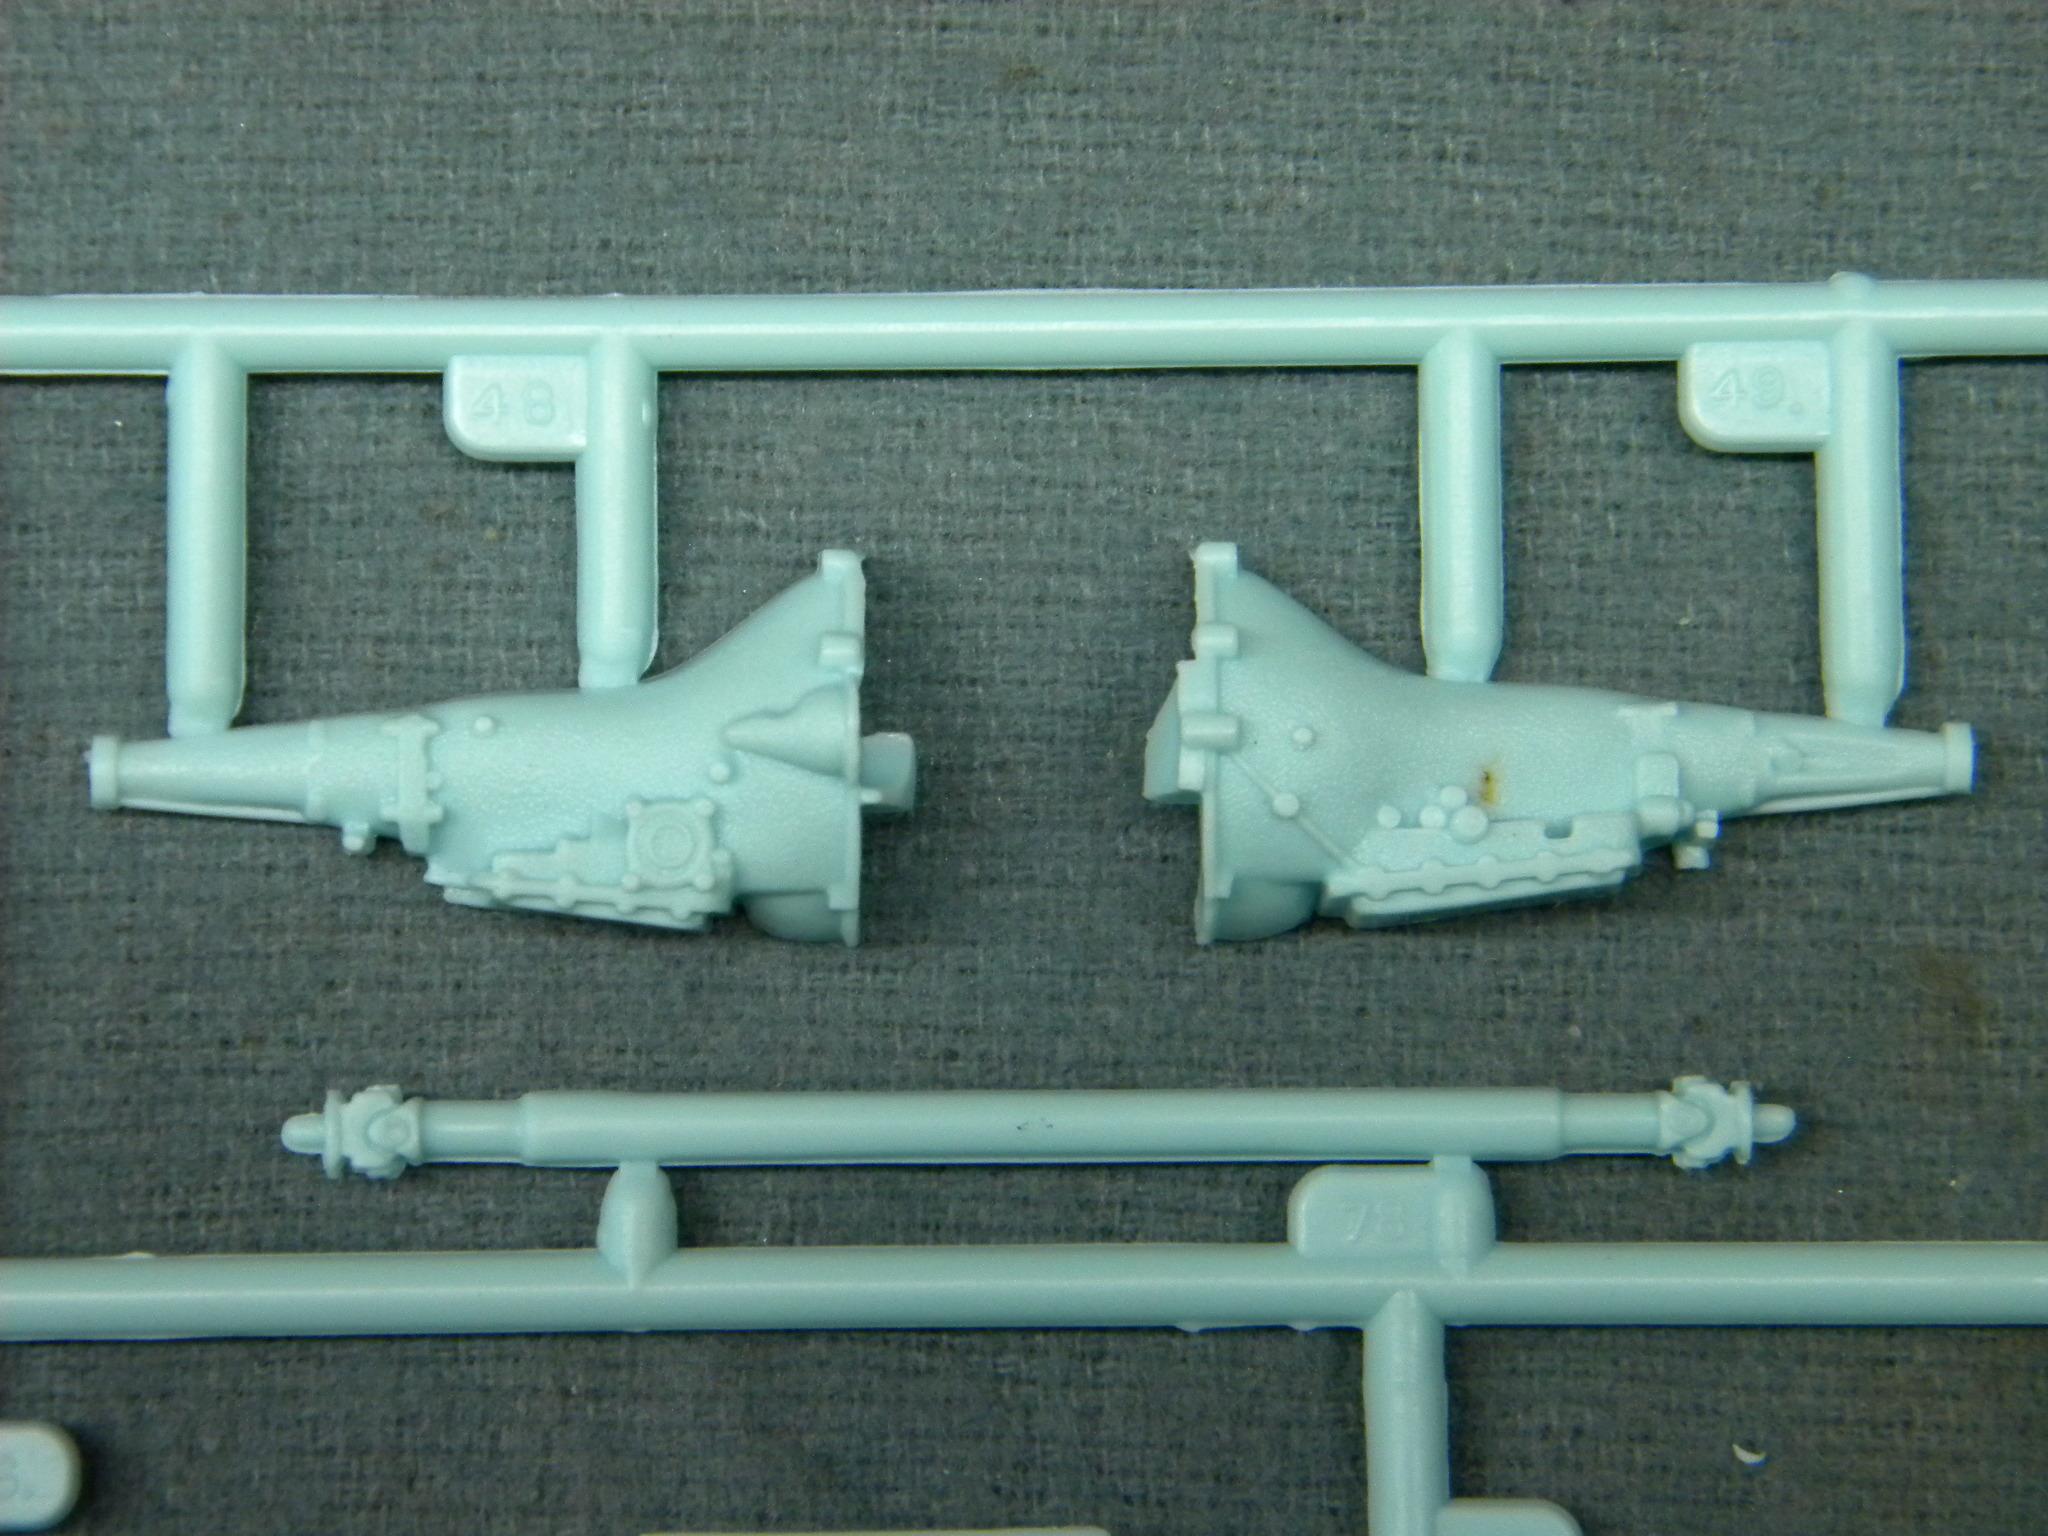
The AMT '66 Fairlane and '67 Mercury Cyclone kits both have optional automatics as well. No idea what model they are though. Revell '64 Thunderbolt. AMT '66 Fairlane and '67 Cyclone. EDIT. It appears that the AMT tranny is a C6. Not sure about the Thunderbolt. Steve -

Cloudy, Dull Paint Finish Problem
StevenGuthmiller replied to PeterB's topic in Model Building Questions and Answers
Not only can lacquers, (I imagine Tamiya's included) dry with little to no shine, but a clear coat might be necessary to bring out the true color. The above pictures dramatize that. The chassis plate looks drab and boring. The Ford body is rich and vibrant. I have really noticed this to an even greater extent with the Scale Finishes lacquers that I have been using. The colors before and after clear often bare no resemblance to one and other. This is a big part of the reason that I always use clear on a project. It adds great depth an richness to a color that can otherwise look washed out. Steve -

Help with paint job!
StevenGuthmiller replied to Bigtrain's topic in Model Building Questions and Answers
I usually mix mine to about the consistency of whole milk. Yeah, I know, we've heard that about a million times before. In other words, I add a little thinner, mix it well, add some more, mix again, etc, until the paint, when swirled against the side of the jar, mostly draws away instantly and just leaves a very thin, transparent tint of color on the side of the jar. That's my "scientific" method. But it's not like things can't be adjusted if necessary. I will usually mix my paint a little thicker than I think it should be and then spray a little. If it doesn't spray like I want it to, I'll add more thinner a little at a time until it sprays right. It's really not brain surgery. Steve -

Help with paint job!
StevenGuthmiller replied to Bigtrain's topic in Model Building Questions and Answers
I painted my last build with lacquer through an airbrush at around 40 psi. Turned out great! Steve -

Help with paint job!
StevenGuthmiller replied to Bigtrain's topic in Model Building Questions and Answers
The mixing ratio might be changed slightly between gloss and flat paint, but this seems beyond any messed up mixing ratio. I use Testors flat enamels all of the time thinned with lacquer thinner and shot through an airbrush, and I've never seen anything quite like this. I still think that this is some sort of compatibility issue. Some thinners will do strange things when mixed with an incompatible paint. Exactly what lacquer thinner did you use? Maybe try a different lacquer thinner. Steve -
I agree 100%. Have any of us ever had a long conversation with a friend or family that remained exactly on the original topic the entire time? That's just not a natural "human" thing to do. Steve
-

What did you see on the road today?
StevenGuthmiller replied to Harry P.'s topic in General Automotive Talk (Trucks and Cars)
Just being honest. Steve -

Help with paint job!
StevenGuthmiller replied to Bigtrain's topic in Model Building Questions and Answers
Just as spray cans can have their own issues. Bad paint, plugged or otherwise bad nozzles, plugged cans, missing propellant, leaking cans, spitting nozzles, etc, etc. There are pros and cons to everything we do. Steve -

Help with paint job!
StevenGuthmiller replied to Bigtrain's topic in Model Building Questions and Answers
Agreed. The use of an airbrush has nothing whatsoever to do with this. A spray can paint job can turn out horrible just as easily as with an airbrush. I speak from experience. Steve -

Painting help needed.
StevenGuthmiller replied to James Maynard's topic in Model Building Questions and Answers
Yes, that looks like a problem that could have been avoided altogether with cleaning, but above all, primer. The paint is obviously drawing away from sections with impurities underneath and edges, and pooling in others. In other words, the paint is sliding all over the place before it has a chance to begin drying. The primer is there for the paint to have something to bite into. Cleaning will eliminate much of the "drawing away" but you will never get the paint to adhere to edges without some primer for it to grab onto. The type of paint that you are using may be a part of the issue as well. Steve -
I think I have the basics of the center cap and spokes done. It was fabricated from various pieces of plastic tube and rod. Should be closer to the '64 look. Steve
-
It is the kit part from the AMT 1962 Pontiac Catalina kit. The original '64 Grand Prix steering wheel that I had was in need of some repair that I really didn't want to mess with, and I was going to upgrade it to a transparent steering wheel anyway, so the '62 wheel appeared to be the best bet. The center cap and horn ring however, were incorrect for a '64, so I decided to do some modifications. The spoke pieces were made from wedge shaped pieces of thin styrene sheet framed with thin strips of stretched sprue. These will be painted with simulated wood in the middle, and the edges will be foiled or painted with Alclad chrome. Today I will begin the process of fabricating a new center cap. The horn ring will be added later and will likely be made from stripped wire. Steve
-
I'm not sure if this is absolutely true. As I recall from my own experiences as a very young modeler, I may have been excited when I initially opened the box to see a complicated kit with a ton of parts, but that excitement waned very quickly when I, as a novice, realized that it was "too" complicated for a newb. I nearly stopped building more than once over the years because of an overly complicated military or nautical kit that I lost interest in far before it could be finished. My guess is that many a prospective modeler was turned off to the hobby when they lost interest in a first kit that was more than they could handle. Simplicity can be a very good thing to start out a fledgling modeler..........If you can convince them to start simple. Steve
-

What did you see on the road today?
StevenGuthmiller replied to Harry P.'s topic in General Automotive Talk (Trucks and Cars)
I have to agree to an extent. I can't tell any of these "super cars" apart anymore. They all look the same to me. Steve -
Today I finished up the transmission, did a little scribing for added definition on the dash, added some defroster vents, and began some work on modifying the '62 Catalina steering wheel to more closely resemble the '64. Steve


