stitchdup
-
Posts
7,139 -
Joined
-
Last visited
Content Type
Profiles
Forums
Events
Gallery
Everything posted by stitchdup
-
it might be the european model a, we had some differences from the ones you guys got.
-
smashed up 1/1 tail lights, 90s cars have the thickest plastic but more recent cars tend to be smooth plastic without dimples.
-
bartender slow cooked versions, most mutton could be rope boiled in stock
-

Need Pantograph wipers and belt hardware........
stitchdup replied to Allan31's topic in Model Building Questions and Answers
look at the ribbons in fabric shops. some of it is pretty convincing if matt coated and its in loads of sizes and colours -
also, i'm using tamiya glue for the first time on this and its working great on the old monogram plastic. previously i've used revell or humbrol glue and they didn't seem to hold very quick on the mongram plastic but the tamiya just grabs hold. Its a bit slower in going off but i think thats a decent compromise
-
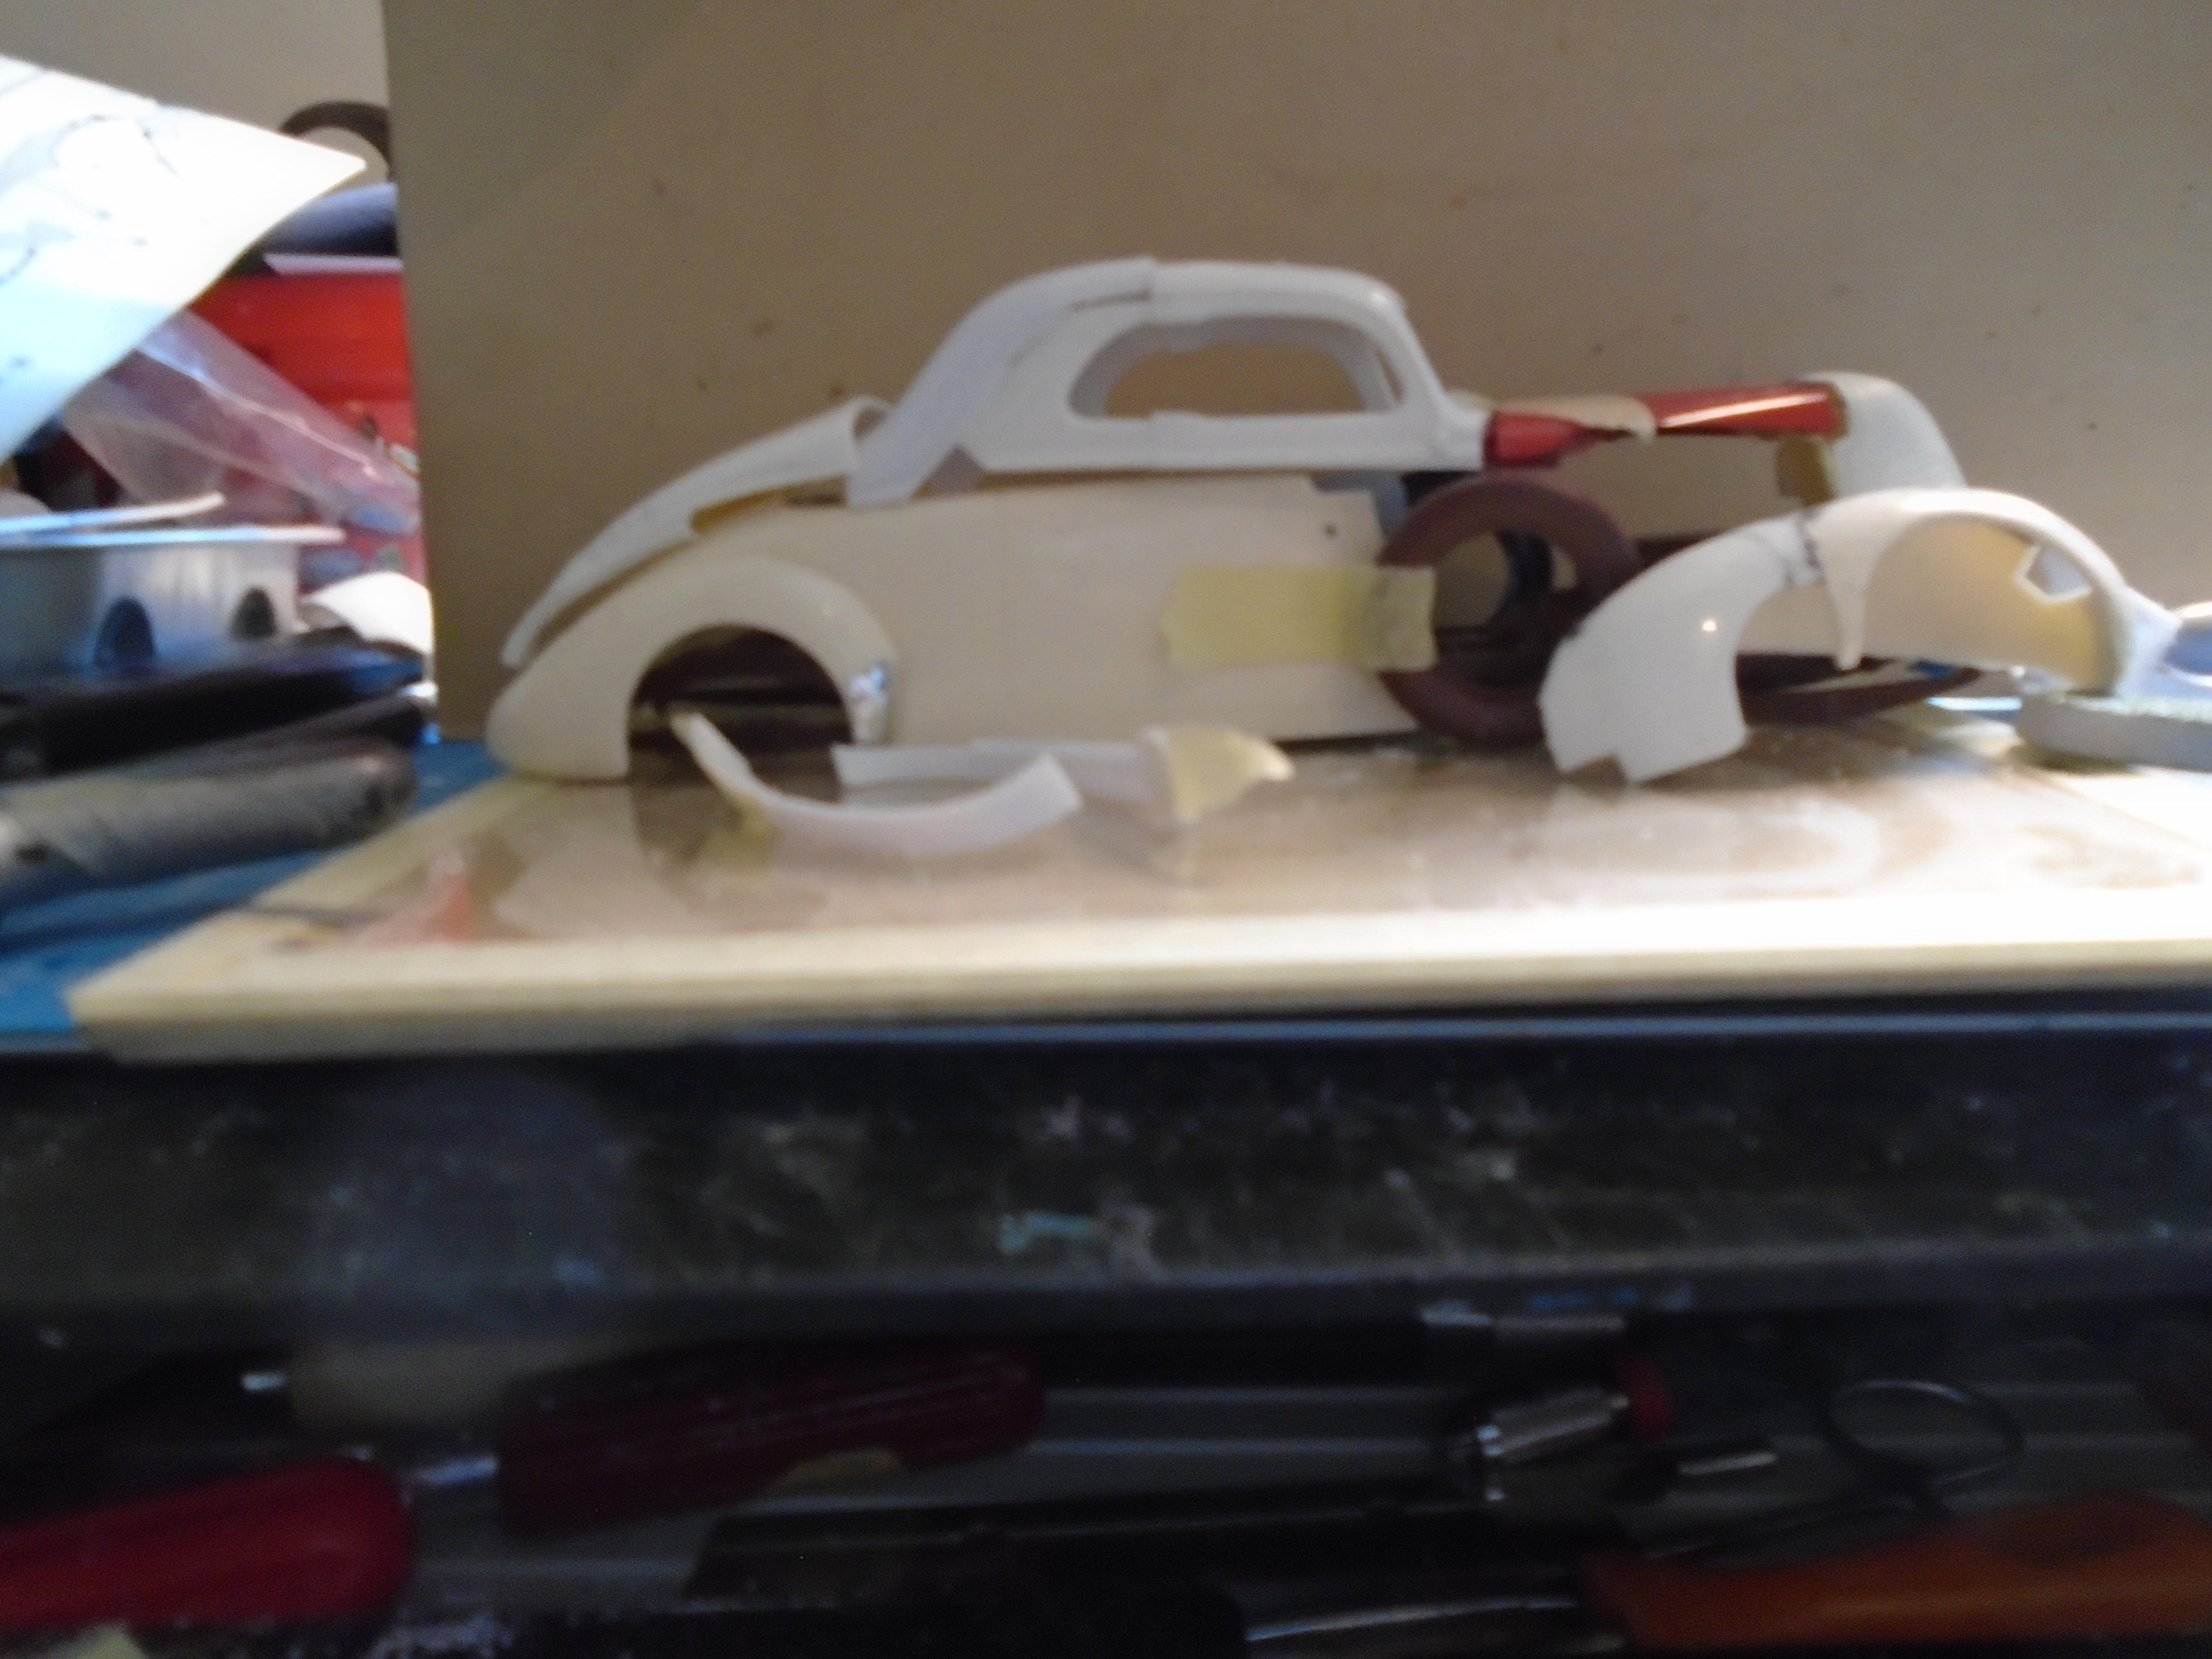
well i've goofed. using the the packard chassis was where i went wrong but i'll just cut the top off and move it back. I might have to do some more cutting on the top to make it fit better and since i'm cutting it up i'll go back to a 5 window.

-
Looking for a 1/24 Scale Curtiss OX-5 Engine.
stitchdup replied to stavanzer's topic in Model Building Questions and Answers
the engine bill posted looks very close to the one in the curtis bike i linked above. -
that car is my current screeen saver, its a different pic though and i've saved yours cos it shows the inside edge of the fenders better than most. My version is longer though
-
I watched the original ghostbusters last night for probably the first time in 25 years or more. It still holds up but the thing that stuck out to me the most was how much smoking was in it. It seemed like it was every time you saw the male actors they had a cig in their hand
-
Goodbye Hot Rod Magazine?
stitchdup replied to Rockford's topic in General Automotive Talk (Trucks and Cars)
I dont see it being away for ever. People said vinyl was dead when the cd arrived and while it almost disappeared it made a resurgance about 20 years ago and its only grown since, to the point new pressing plants are being built. Its the same with model building, there is a growth and people are starting to realise a digital subscription is all well and good but what happens if the magazine folds? they wont keep paying to keep it easily accesible. I had a book reader a few years ago that i'd bought a lot of books on and when it went belly up all my books disappeared, many of the magazines i have are defunct but i can still read them. -
Goodbye Hot Rod Magazine?
stitchdup replied to Rockford's topic in General Automotive Talk (Trucks and Cars)
and it looks really bad if you take the laptop into the toilet for a time, but its still the comfortable reading seat -
Pre-Paint check for Imperfections
stitchdup replied to Ralphie's topic in Model Building Questions and Answers
I use two lights as well as primer, w'n'd, repeat. my two lights are different types from different directions also, one incandescant and the other is an led. I prefer the incandescant bulb for finding flaws, the leds are just a bit too bright and tend to fill the depressions/flaw with light more making it harder to see shadows. dont discount your sense of touch too, your fingers are more sensetive than you think -
Need Pantograph wipers and belt hardware........
stitchdup replied to Allan31's topic in Model Building Questions and Answers
you could try spot model in spain. their pretty good for items like these -
Flame painting origins?
stitchdup replied to Earl Marischal's topic in General Automotive Talk (Trucks and Cars)
the story i've read (more than once) was returning airmen from ww2 used them on their hotrods (nose art was the inspiration) and it progressed on to drag and lakes cars. I dont recall if it said who was first -
Looking for a 1/24 Scale Curtiss OX-5 Engine.
stitchdup replied to stavanzer's topic in Model Building Questions and Answers
I dont know much about this period of cars but did the curtis use a motorbike engine? I've seen some early cars that appear to uae the bike engines and there is a curtis bike with engine available but it appears to be an 8 pot. maybe with some faffinf about it could be cut down and rescaled to work for your project https://cults3d.com/en/3d-model/various/glenn-curtis-4-410cc-1906 or theres a few engines to pick from under aircraft. https://cults3d.com/en/search?q=aircraft+engine -
seaweed isn't actually that bad but preparing it for eating stinks but its more of a palate cleanser than a meal
-
I missed that line but the company on wheeler dealers definately did it on the plastic external trim, not on the lenses. i'm trying to find the episode
-
heres some plastic lights that have been done https://www.chromerestorationspecialist.co.uk/services/headlamp-re-silvering/
-
yes,
-
i saw this on wheeler dealers. they used it to redo the chrome on the plastic trim for a jag xjs headlight https://www.yeoldestrippery.com/mirror-silvering
-
Your most difficult kits
stitchdup replied to T-Ray's topic in General Automotive Talk (Trucks and Cars)
Any of the miniart tractor kits. The parts fit is great but some items like fuel taps could have been molded on instead of being seperate parts. can you imagine how tiny the part is when its only about an inch and a half full size. or some of the carb body parts having so little strength they break just from being set down gently, or the seat being 14 parts when it could easily have been three. even a rose stopcock like you see on old taps is 6 parts. I've started one of them but i really have to be in the mood to work on it as its such a pita. I suspect the others are going to be worse as they have the pre war steel wheels to build up but even with the difficulty i'll keep buying them as i like old tractors. this is the one i've been working on
-
if you use the more complicated method of a photo host site like flickr, you can use the settings on there to stop your pics being downloadable but that wont stop screenshots, and you risk your pics not showing if other members use some ad blockers or you forget to apy your yearly membership. it makes it a longer task to post to the forum too as you need to copy pic codes and stuff, but you can stop your pics being downlaoded
-
How to strip Trumpeter chrome?
stitchdup replied to kensar's topic in Model Building Questions and Answers
your best bet if nothing is stripping the chrome is to just sand it with 800+ grit, prime it and paint over it. -
starting to look like someting now. I'm going to be stretching and raising the rear fenders next. Then i really need to decide between coupe or truck.
-
method actors tend to use that as an excuse for just being rude